 Contributor post by Cassie
Hey y'all, it is Cassie from CuppyCake GumDrop Boutique & More!
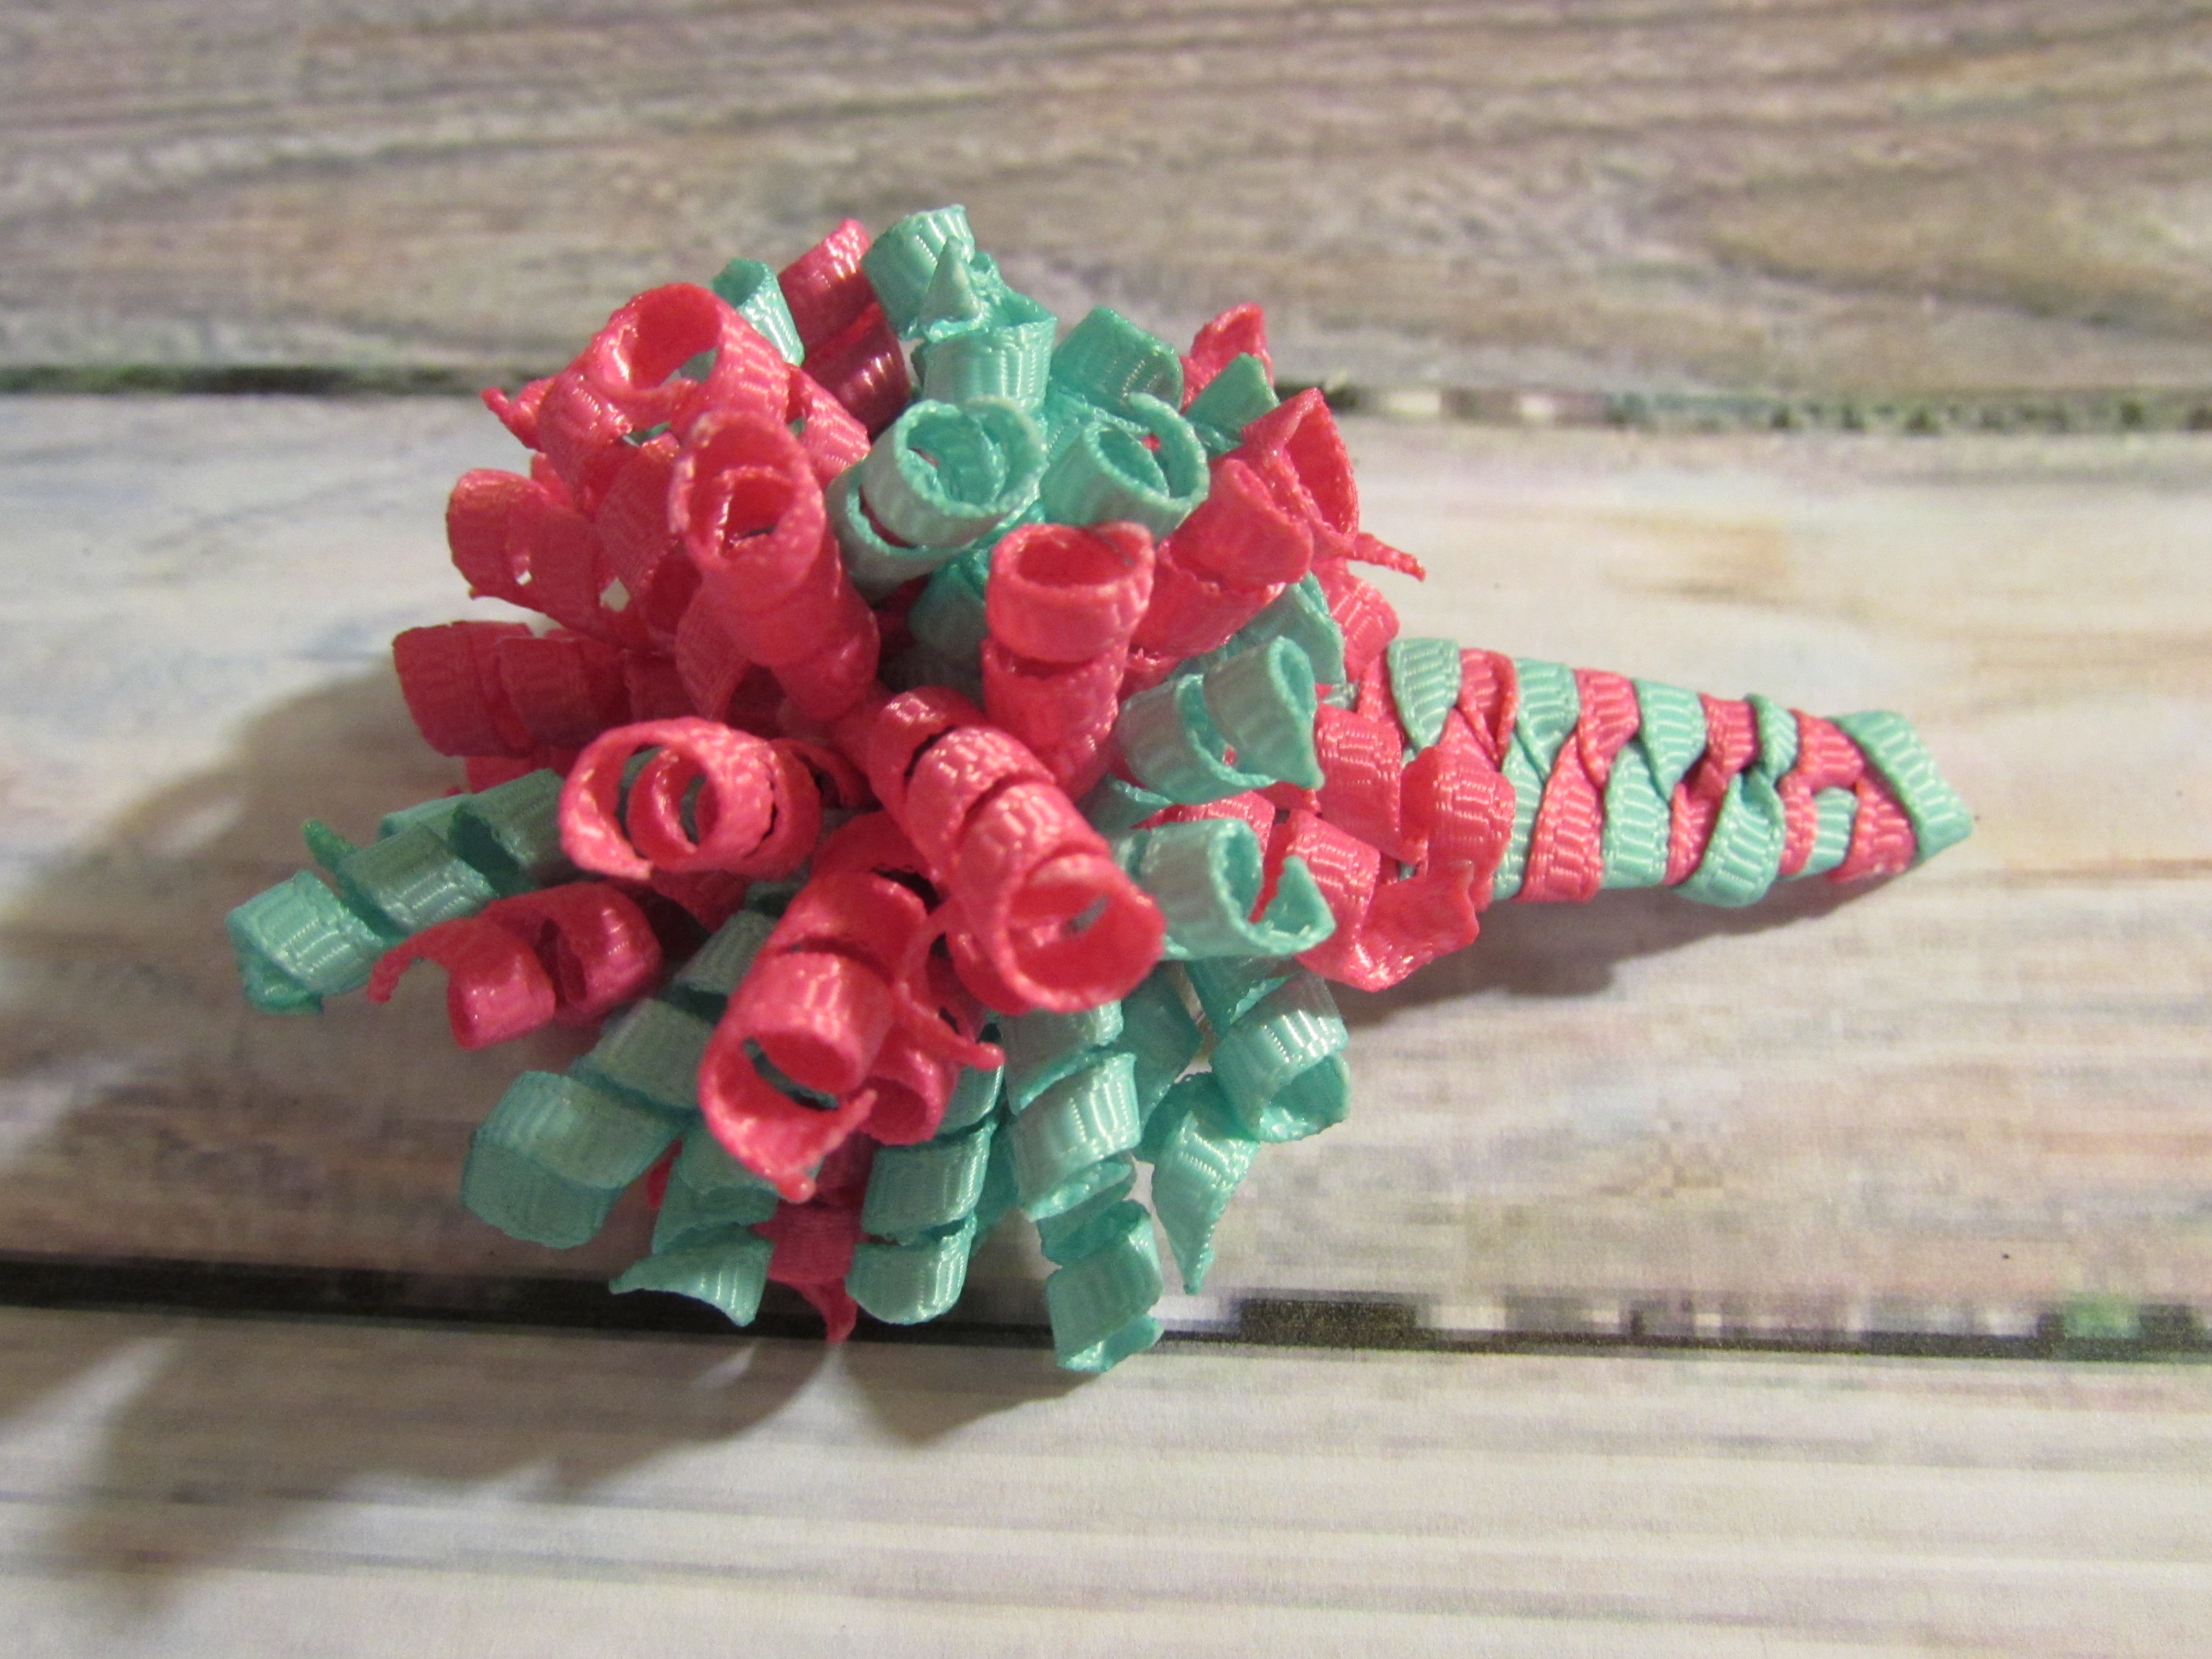
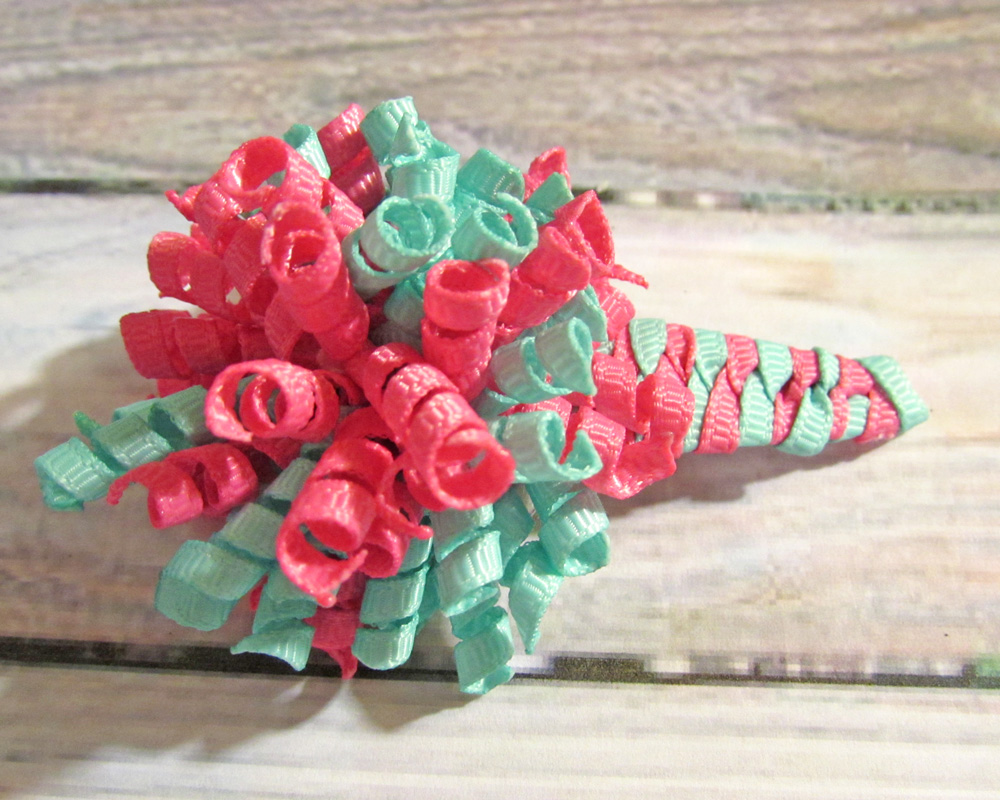
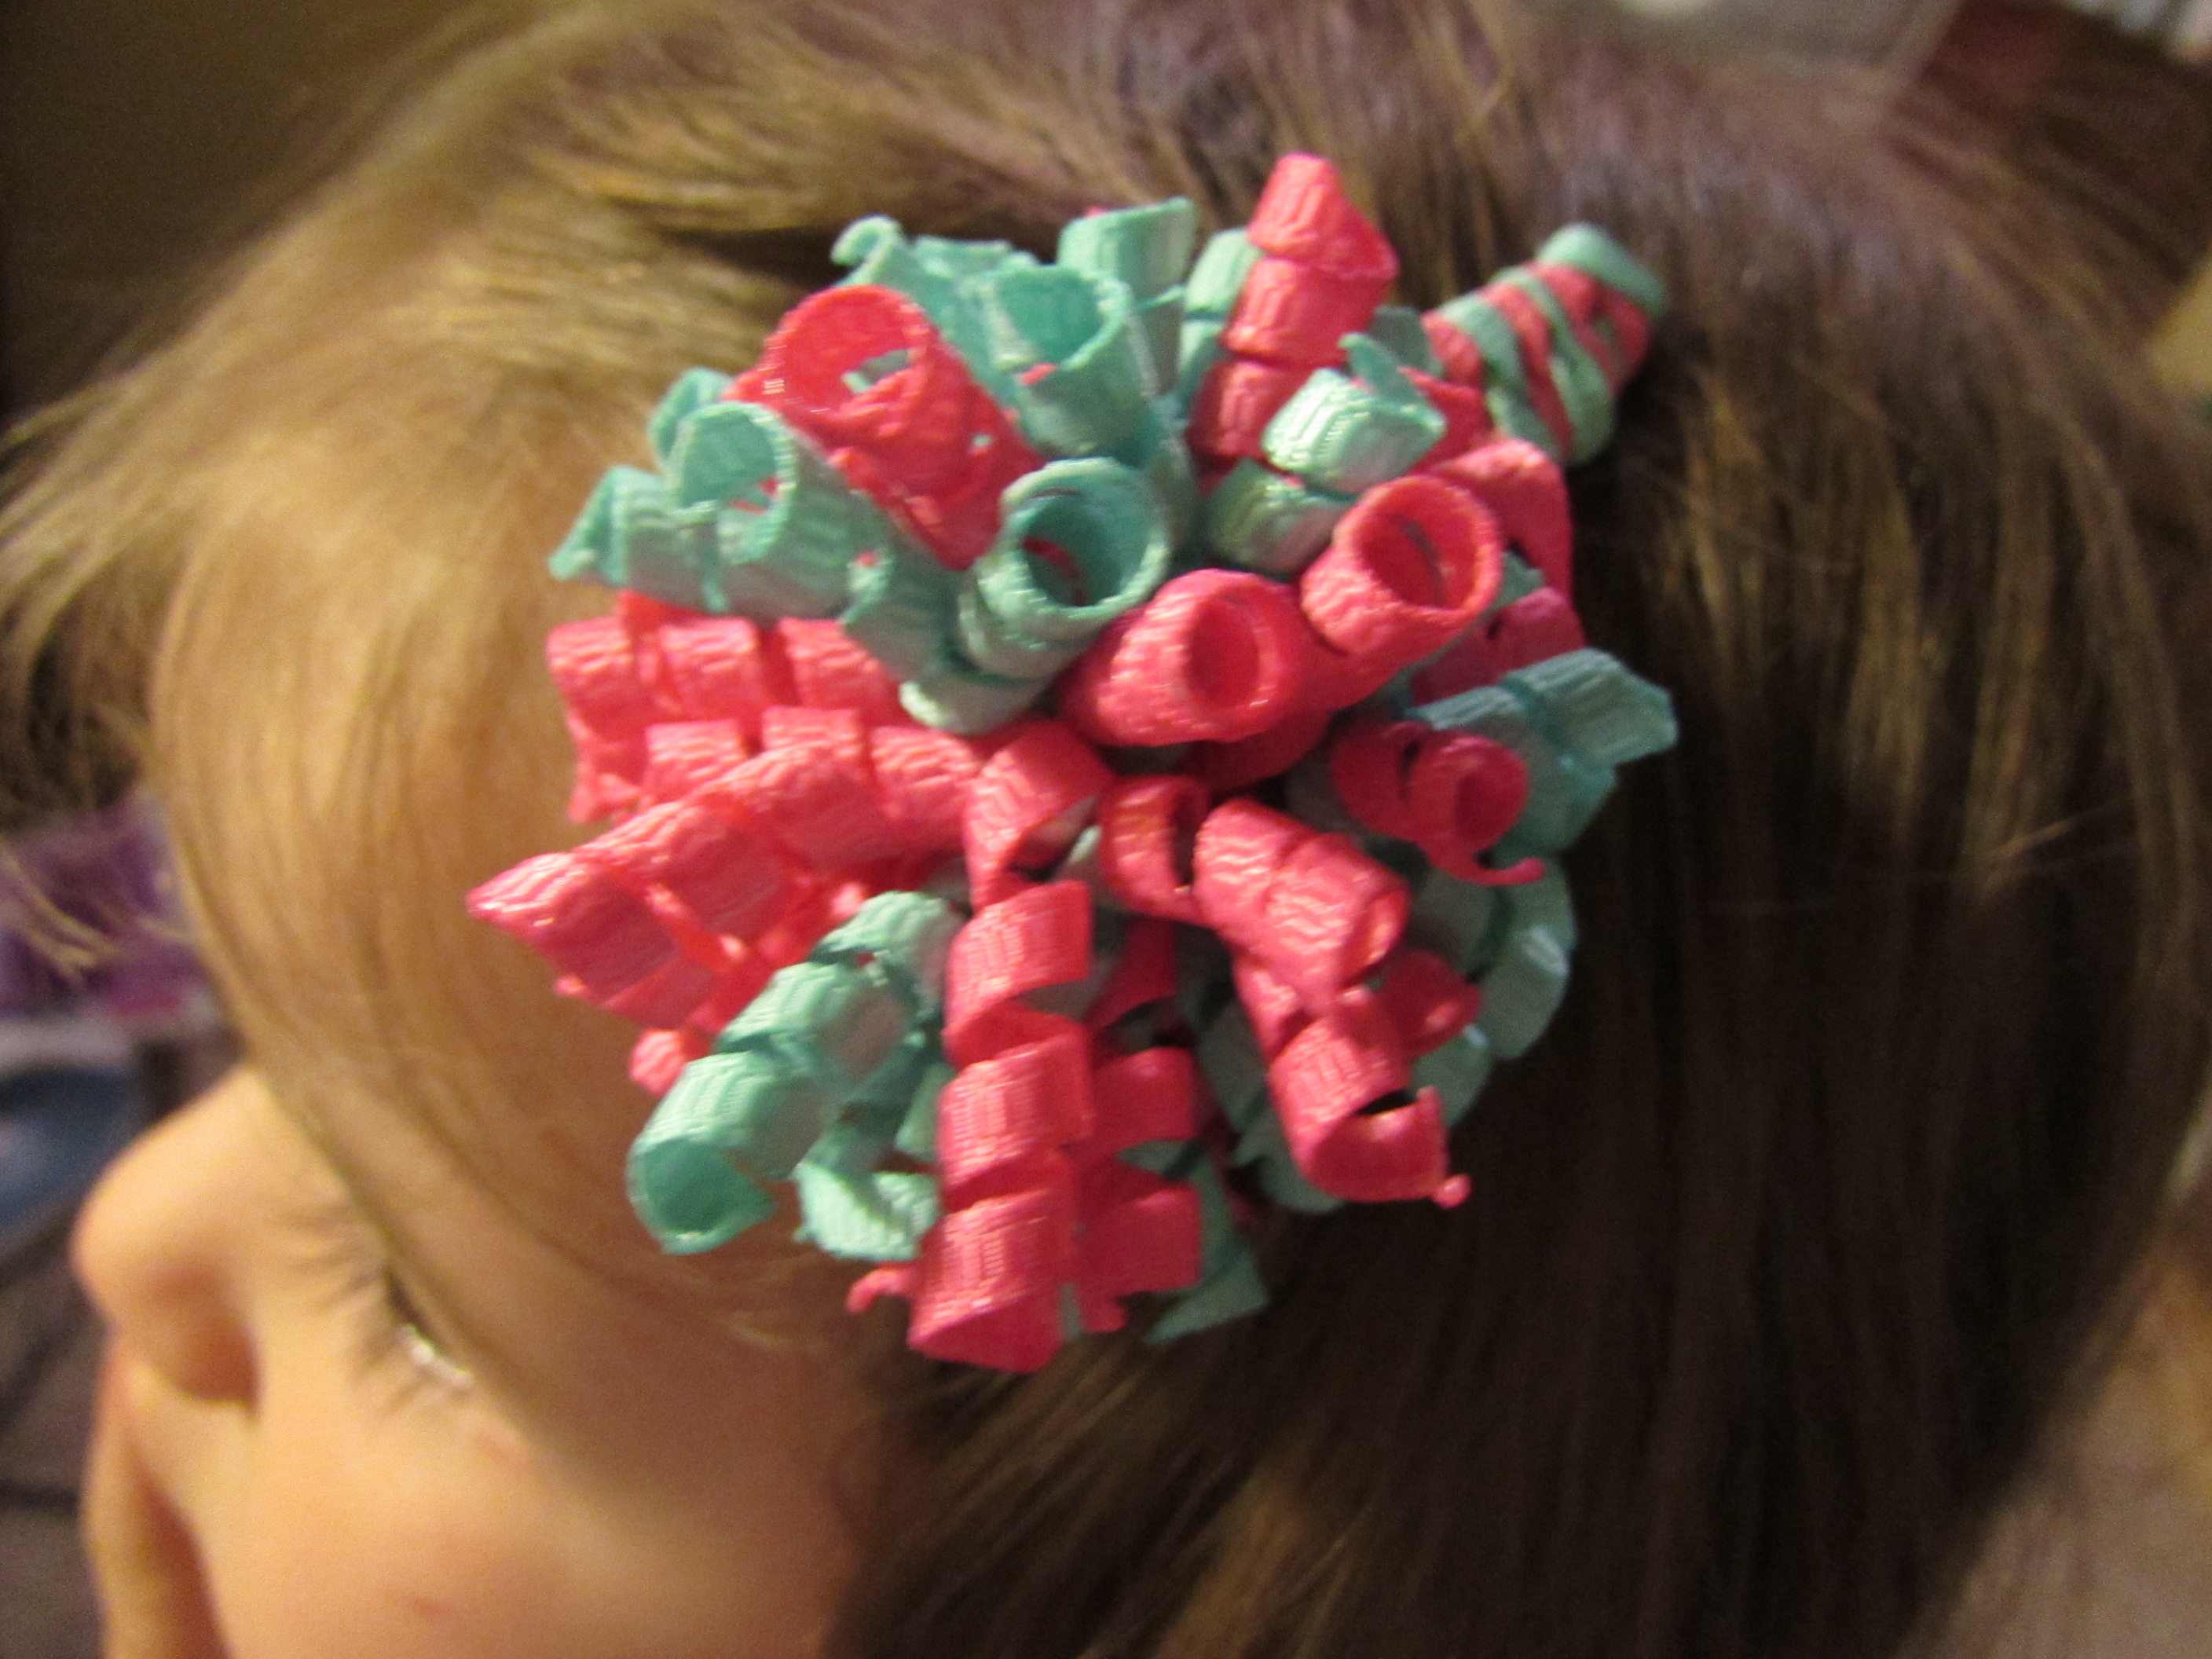
Today we will be making this adorable woven metal snap clip with a mini korker.
Items needed for this project are:
1/8" Korkers
50mm Snap Clips
Hot glue
Needled & Thread {{ yes we NEED this }}
Scissors
Bamboo Skewers
Lighter
Measuring tool
Hotglue gun
* Part 1: Woven Clip
Step 1: Bake your korkers
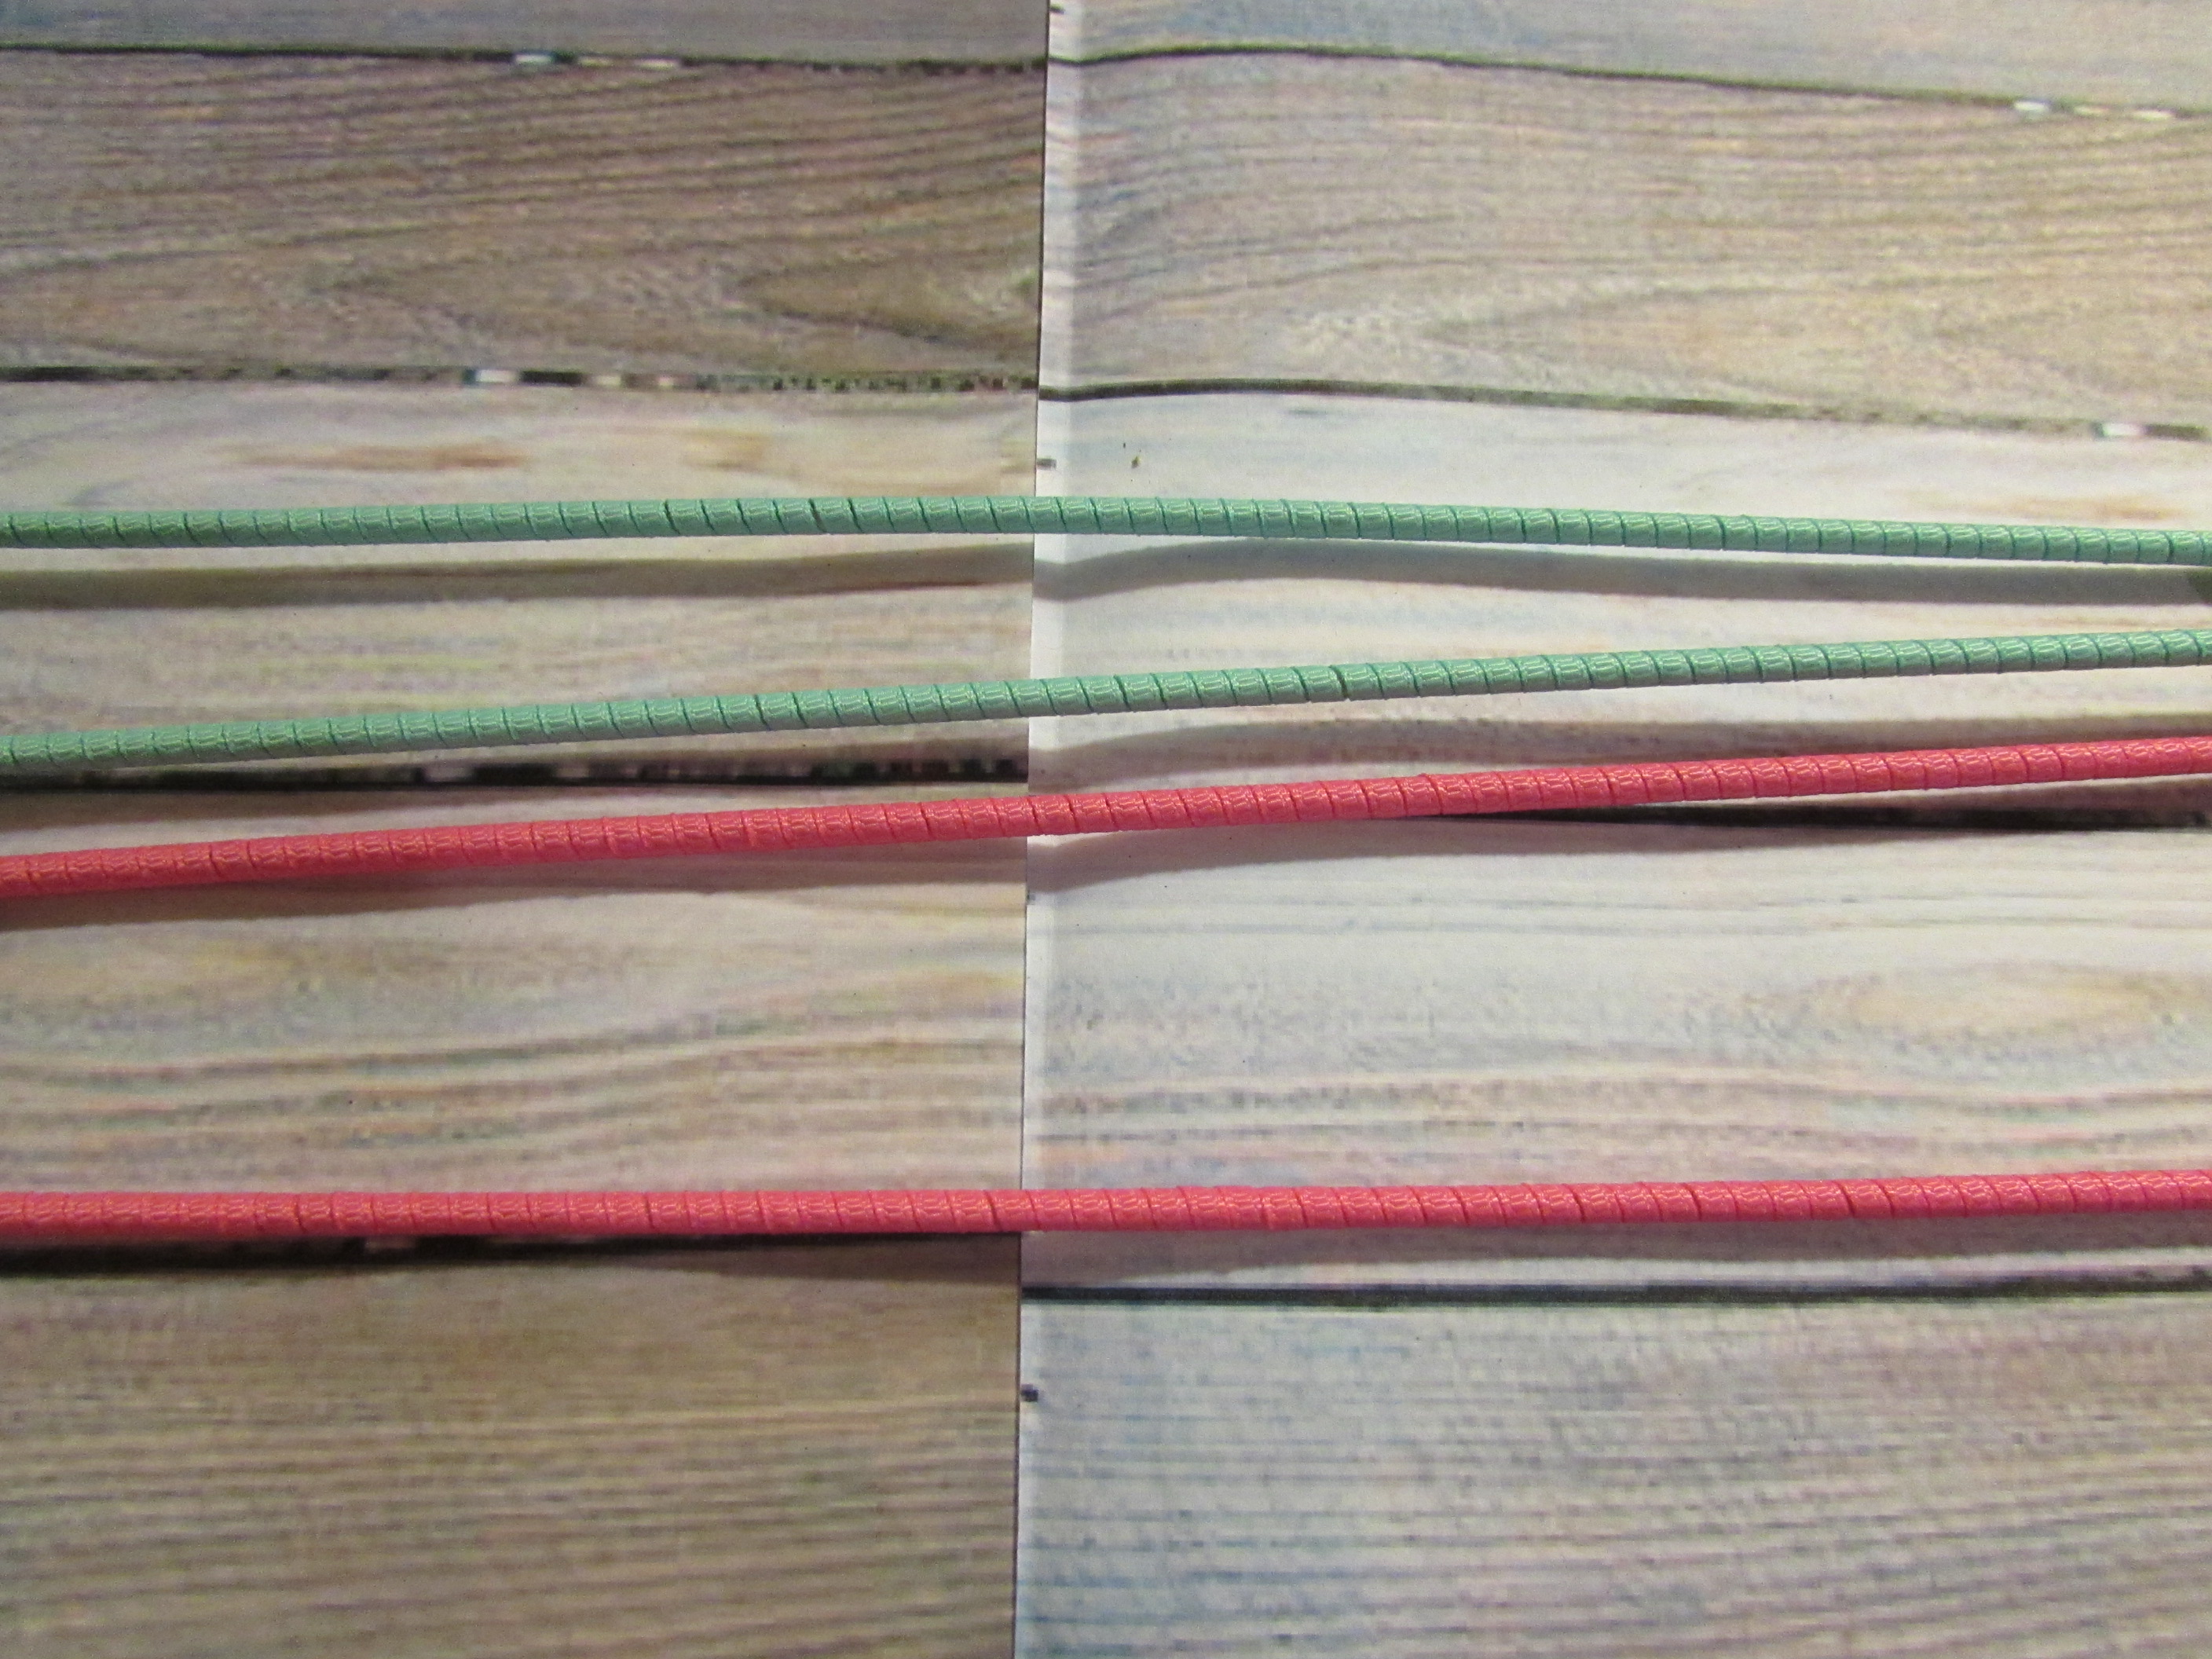
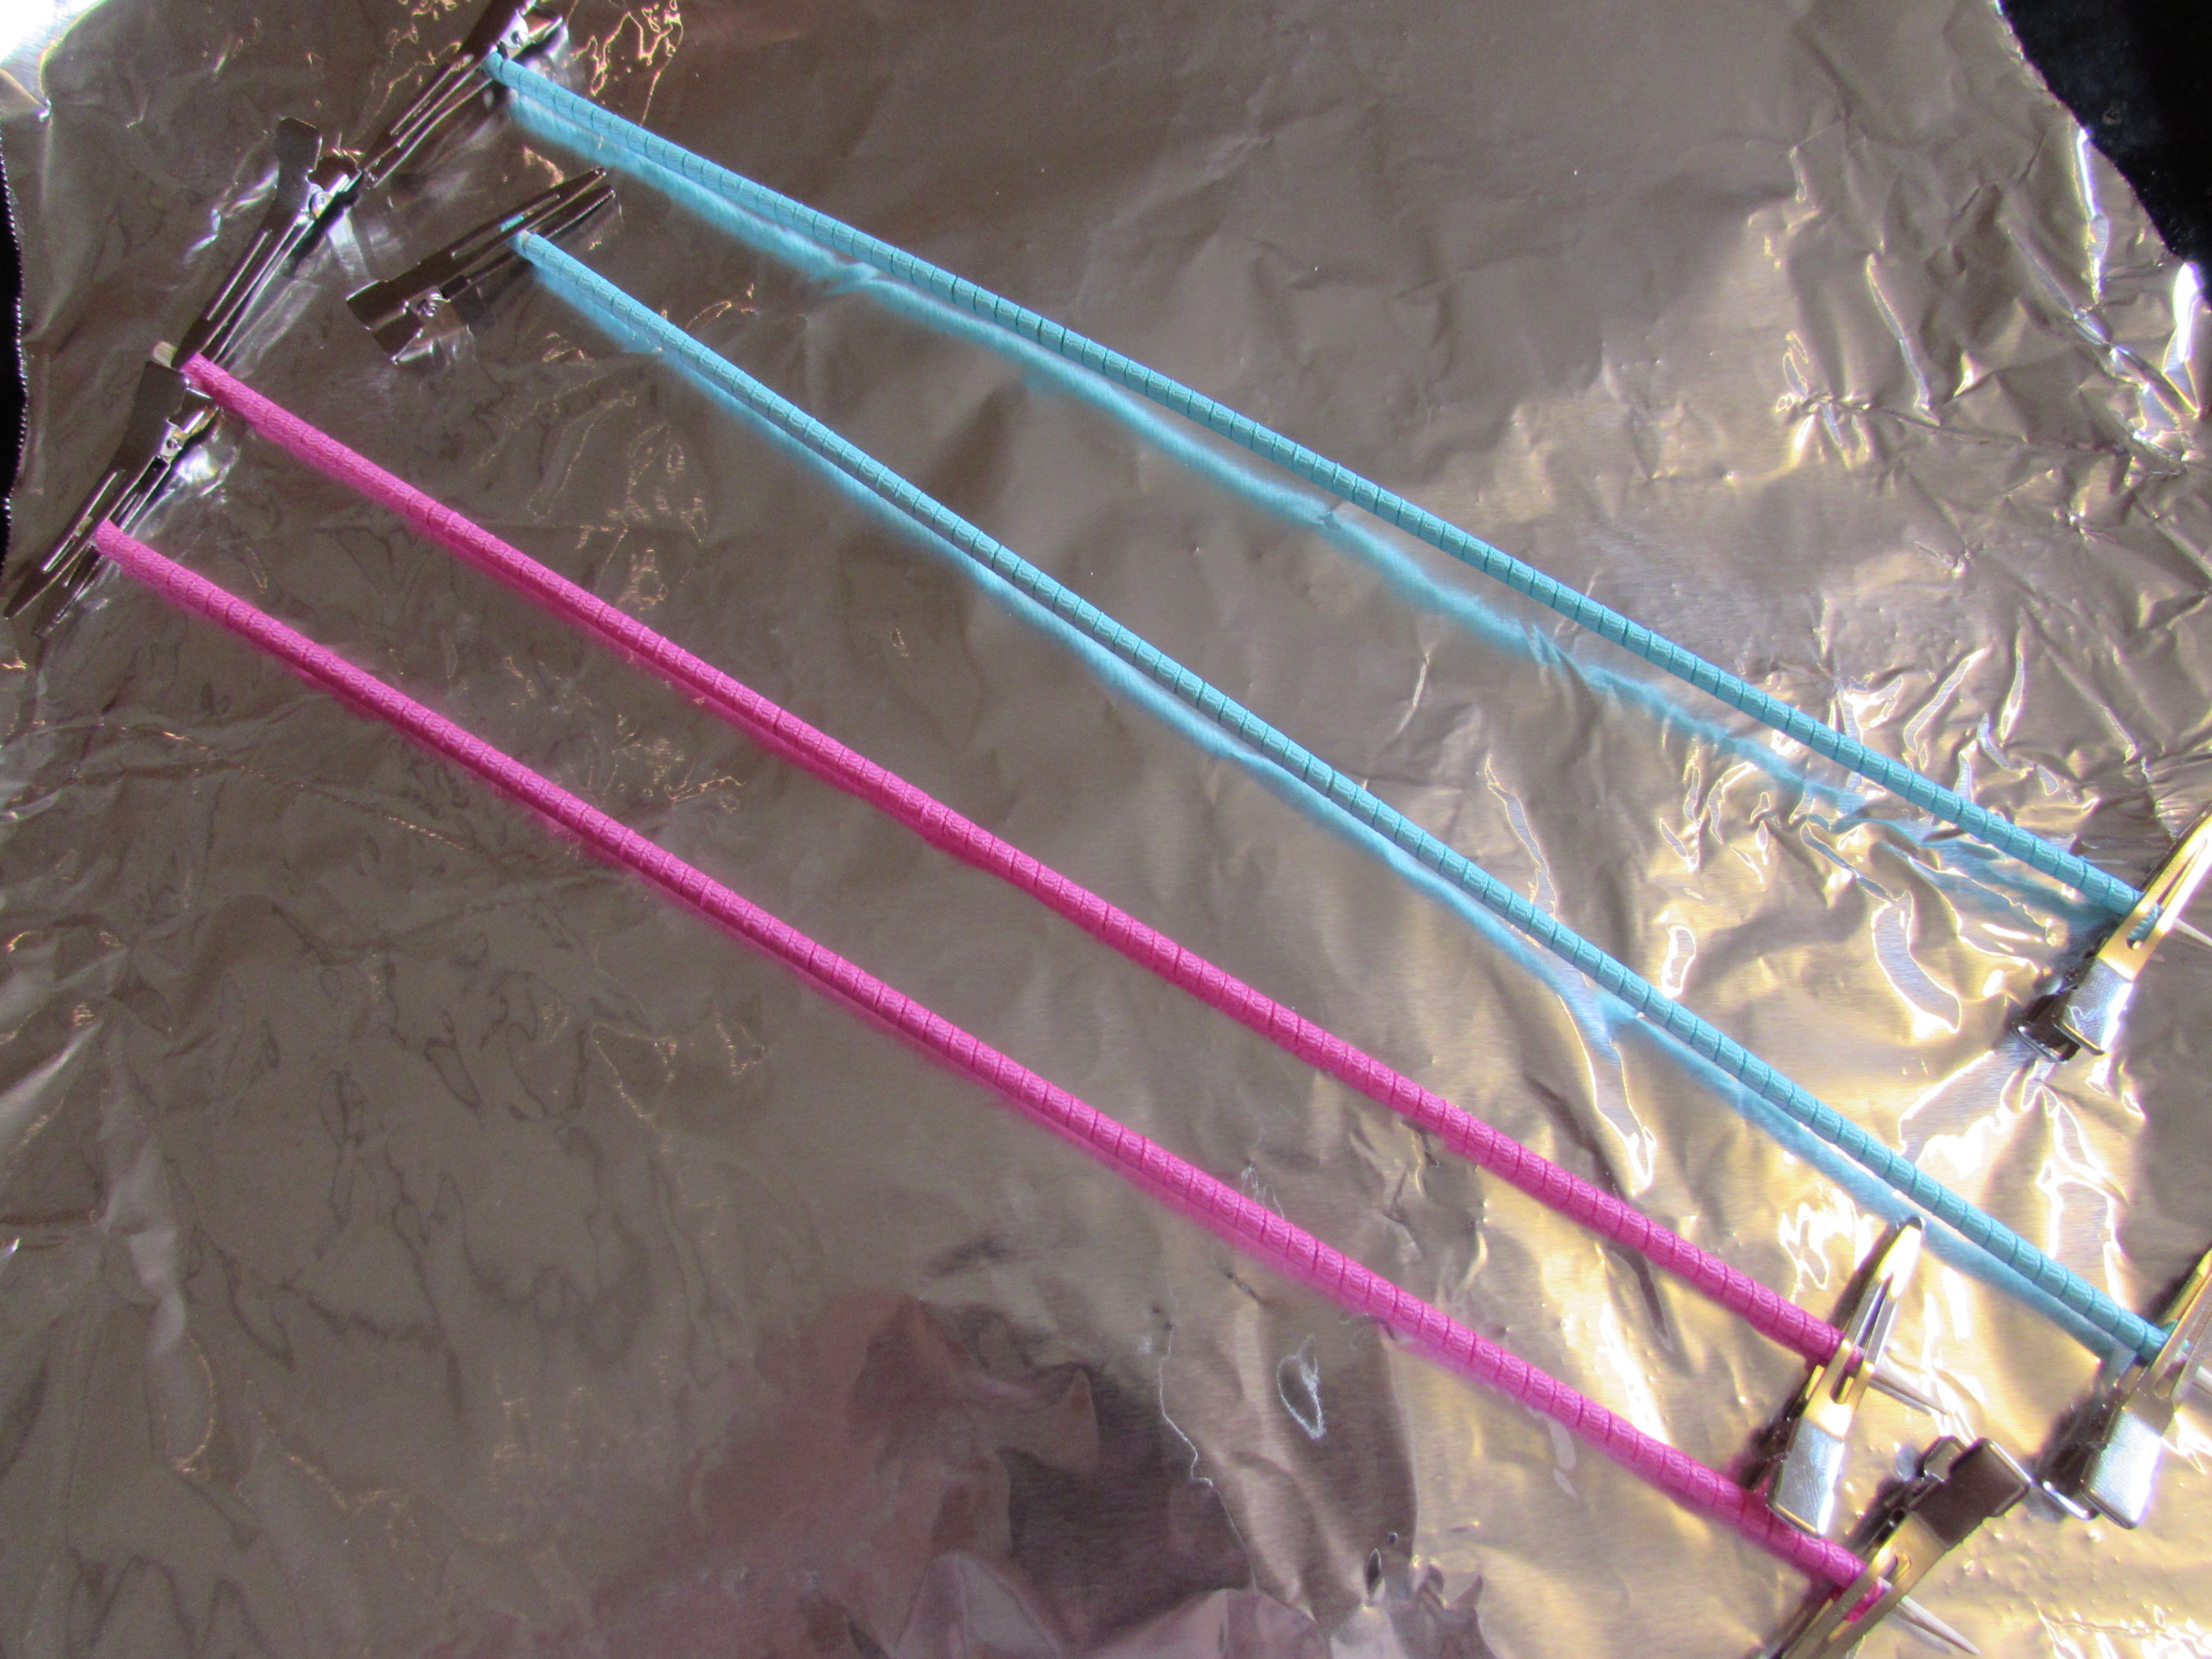 * I used 12" Bamboo Skewers & Alligator Clips
* Preheat your oven at 225 degrees
* Lay skewers on a cookie sheet lined with FOIL!
* Bake 5-10 minutes. Be sure to keep an eye on them so you don't burn them. All ovens are different so make sure you watch it.
Step 2: Gather your supplies while your waiting.
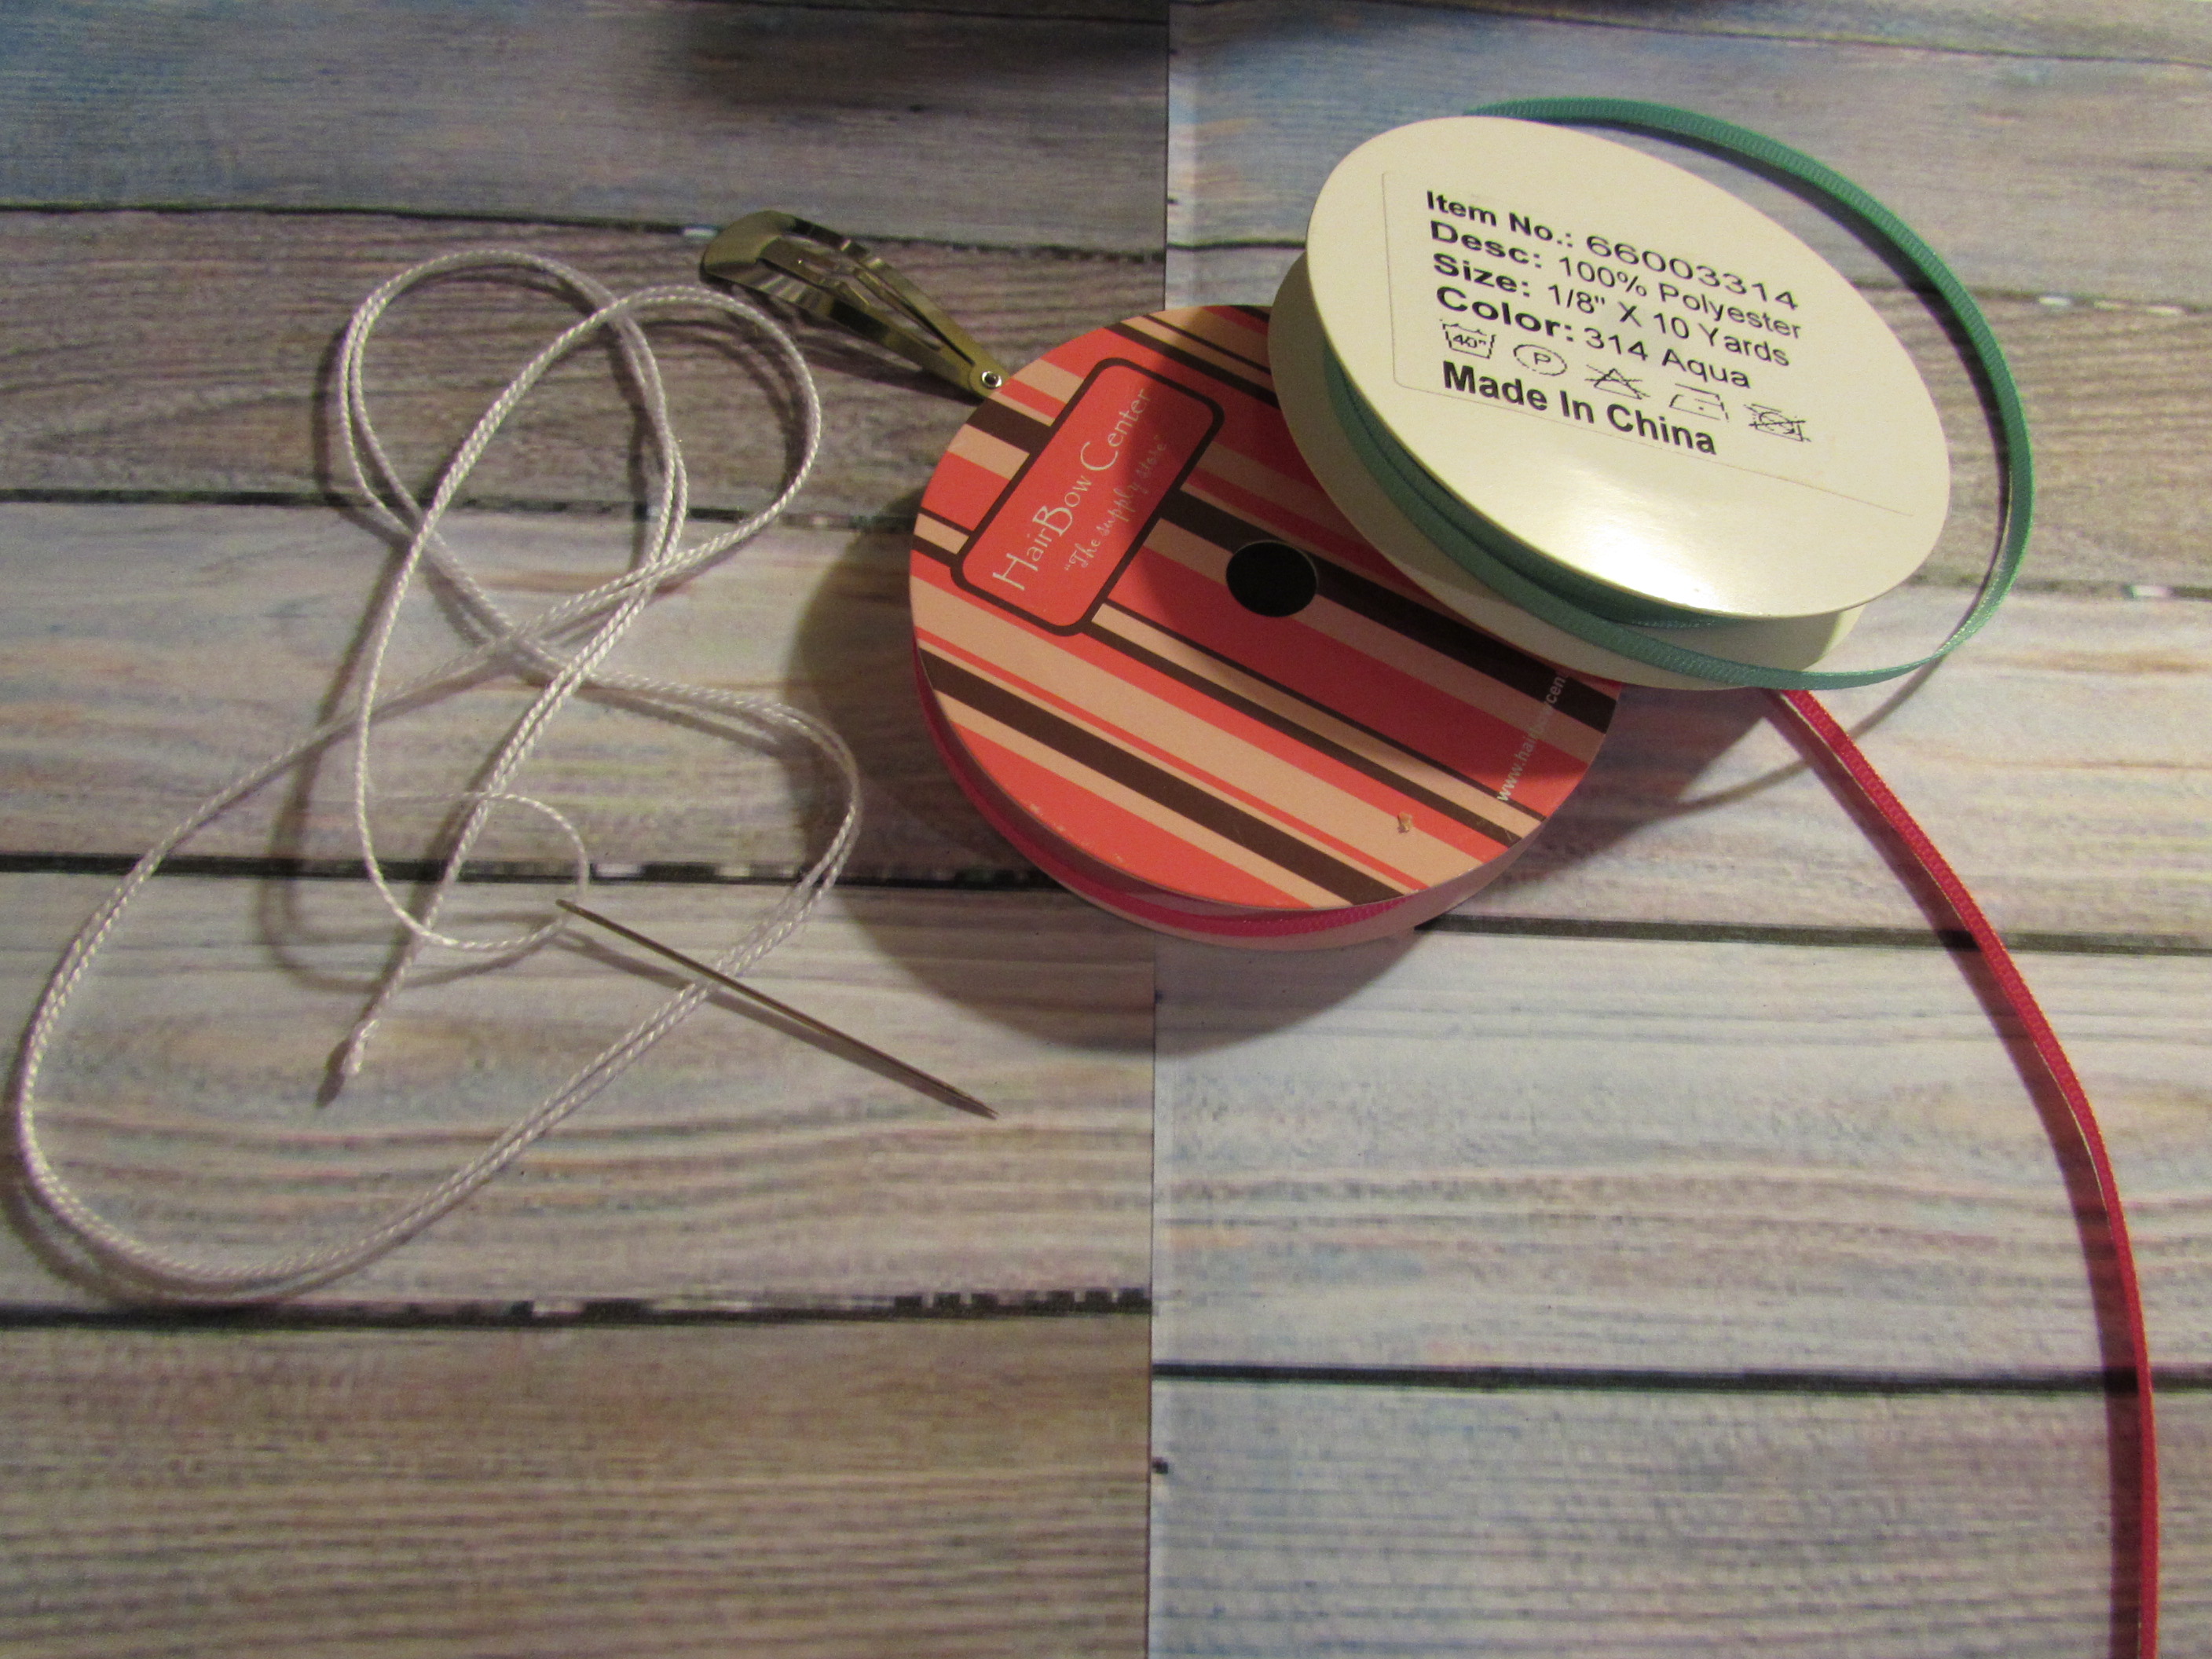 * Step 3: Cut your ribbon about 23" long.
* Step 4: Heat Seal the ends.
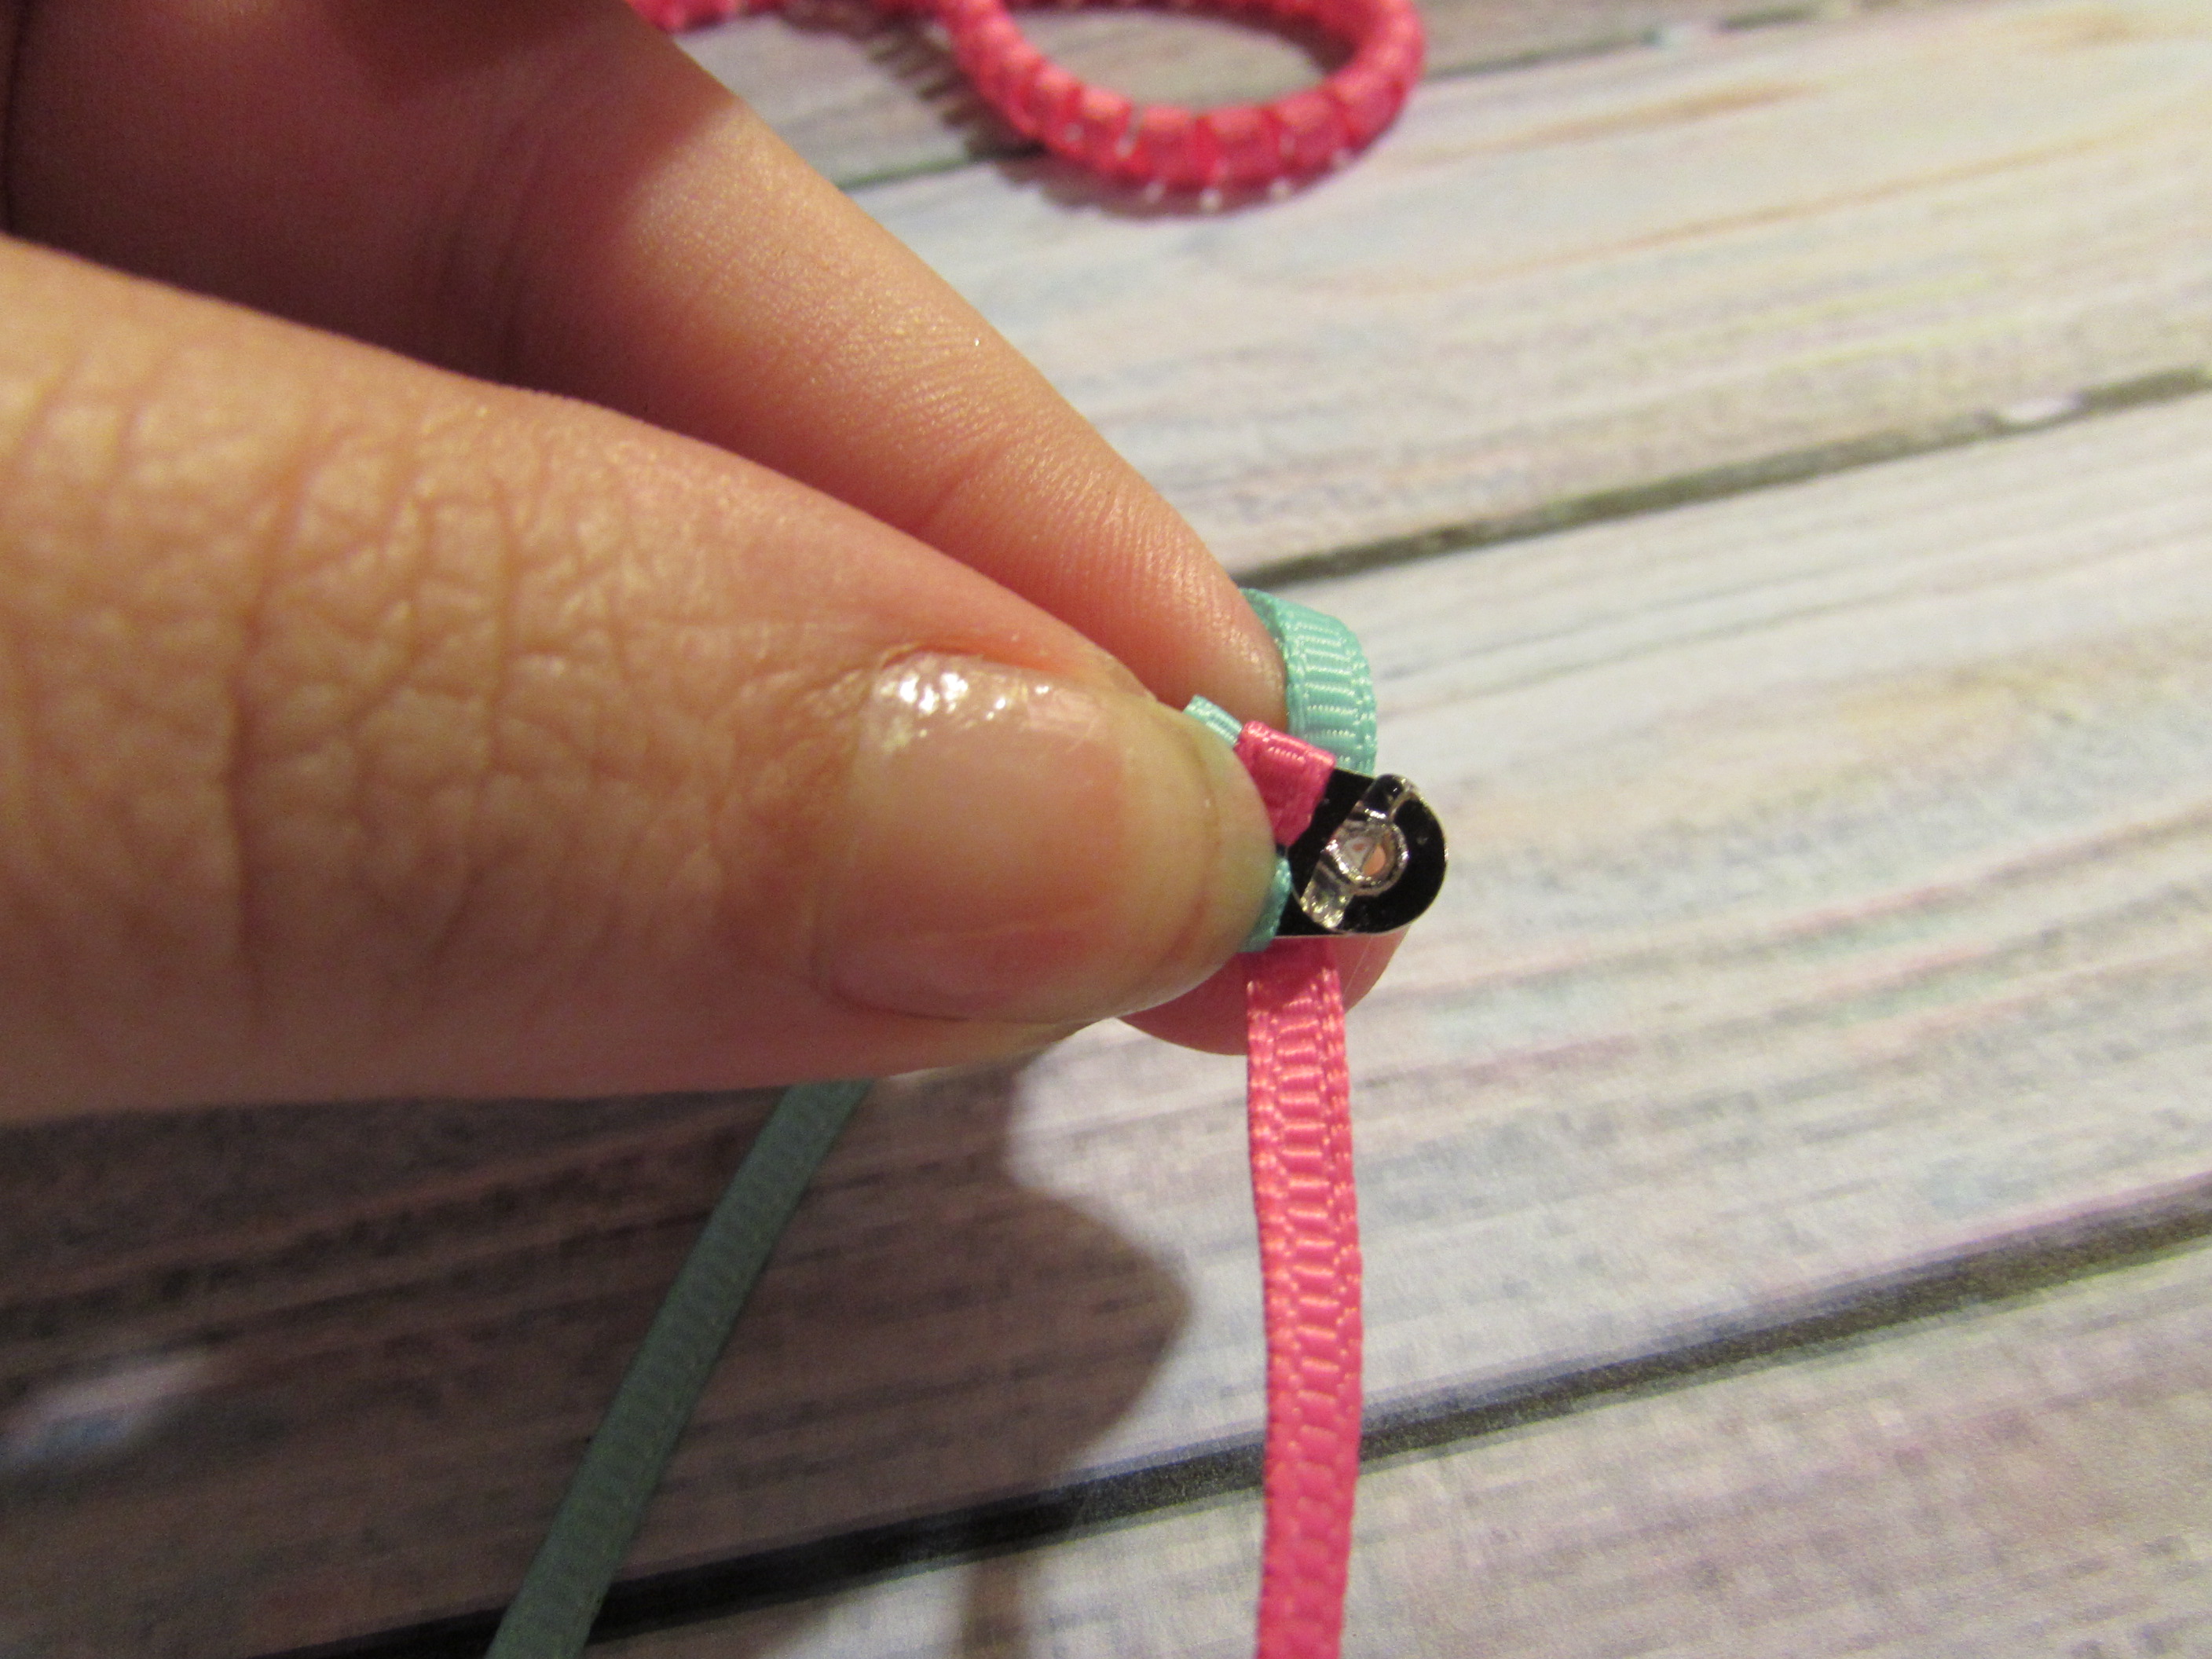
* Step 5: Open snap clip, line your ribbon as pictured.
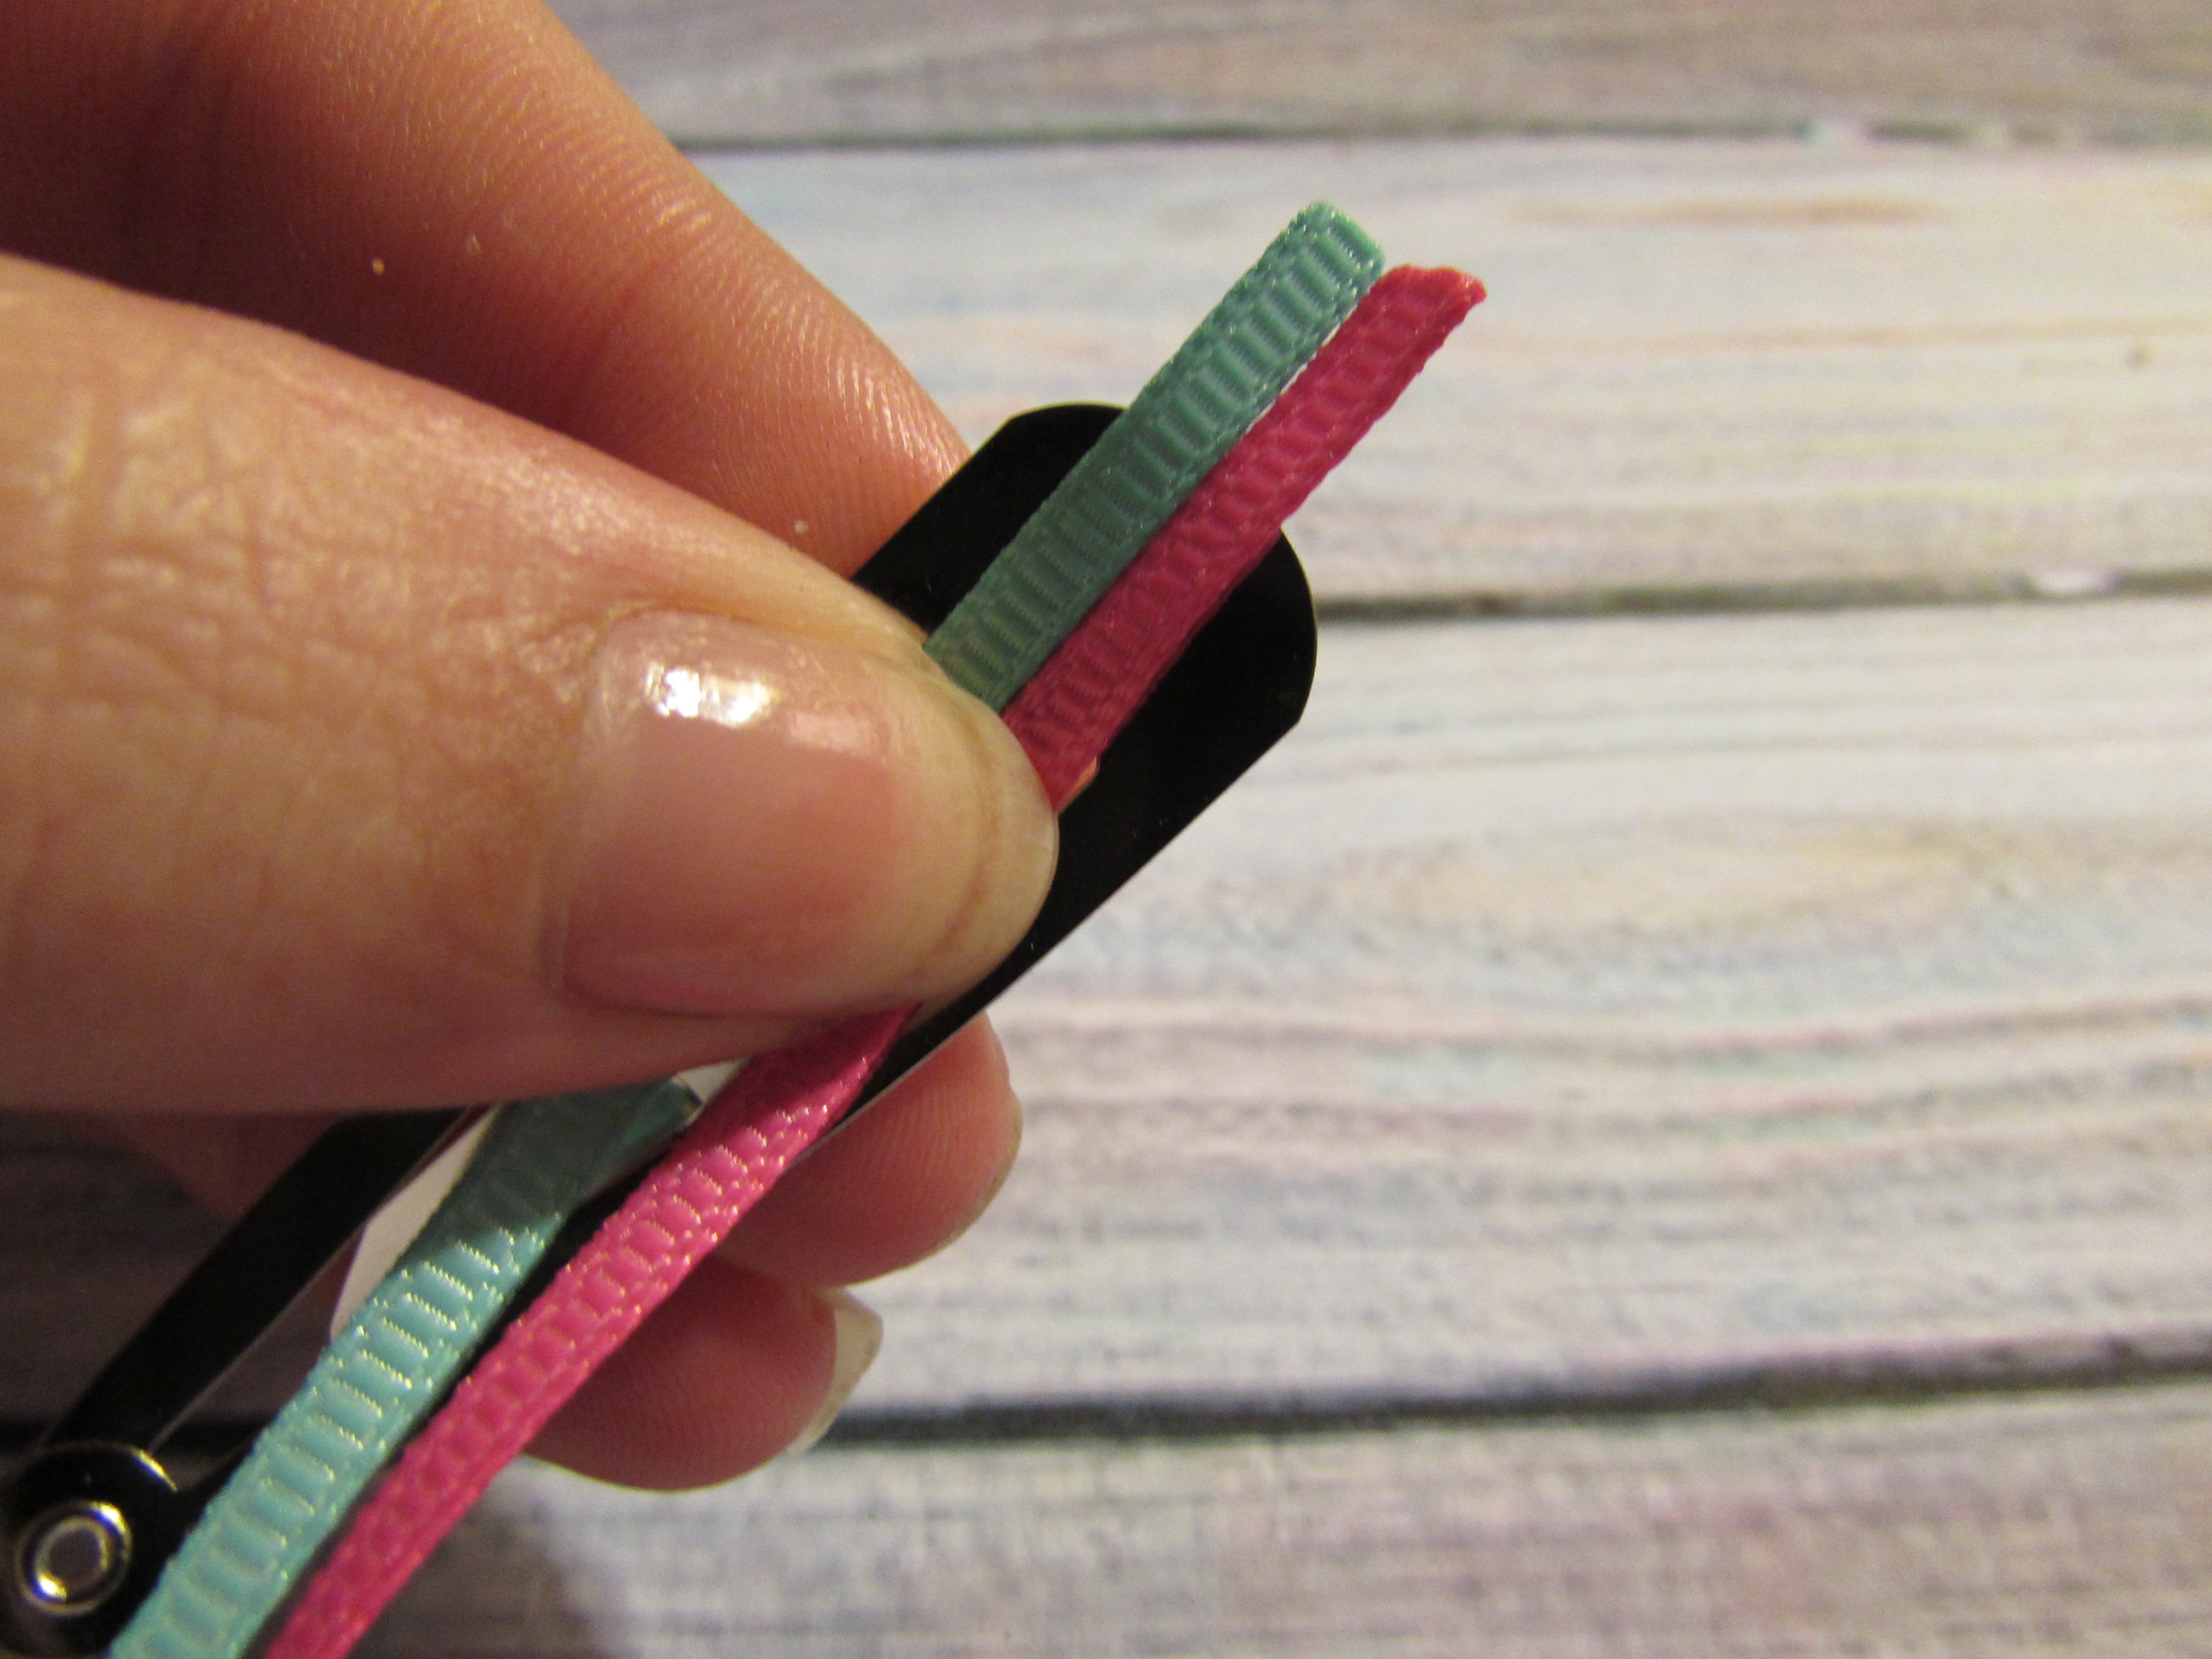 * Step 6: Flip Over and hotglue the ends to the back of the clip.
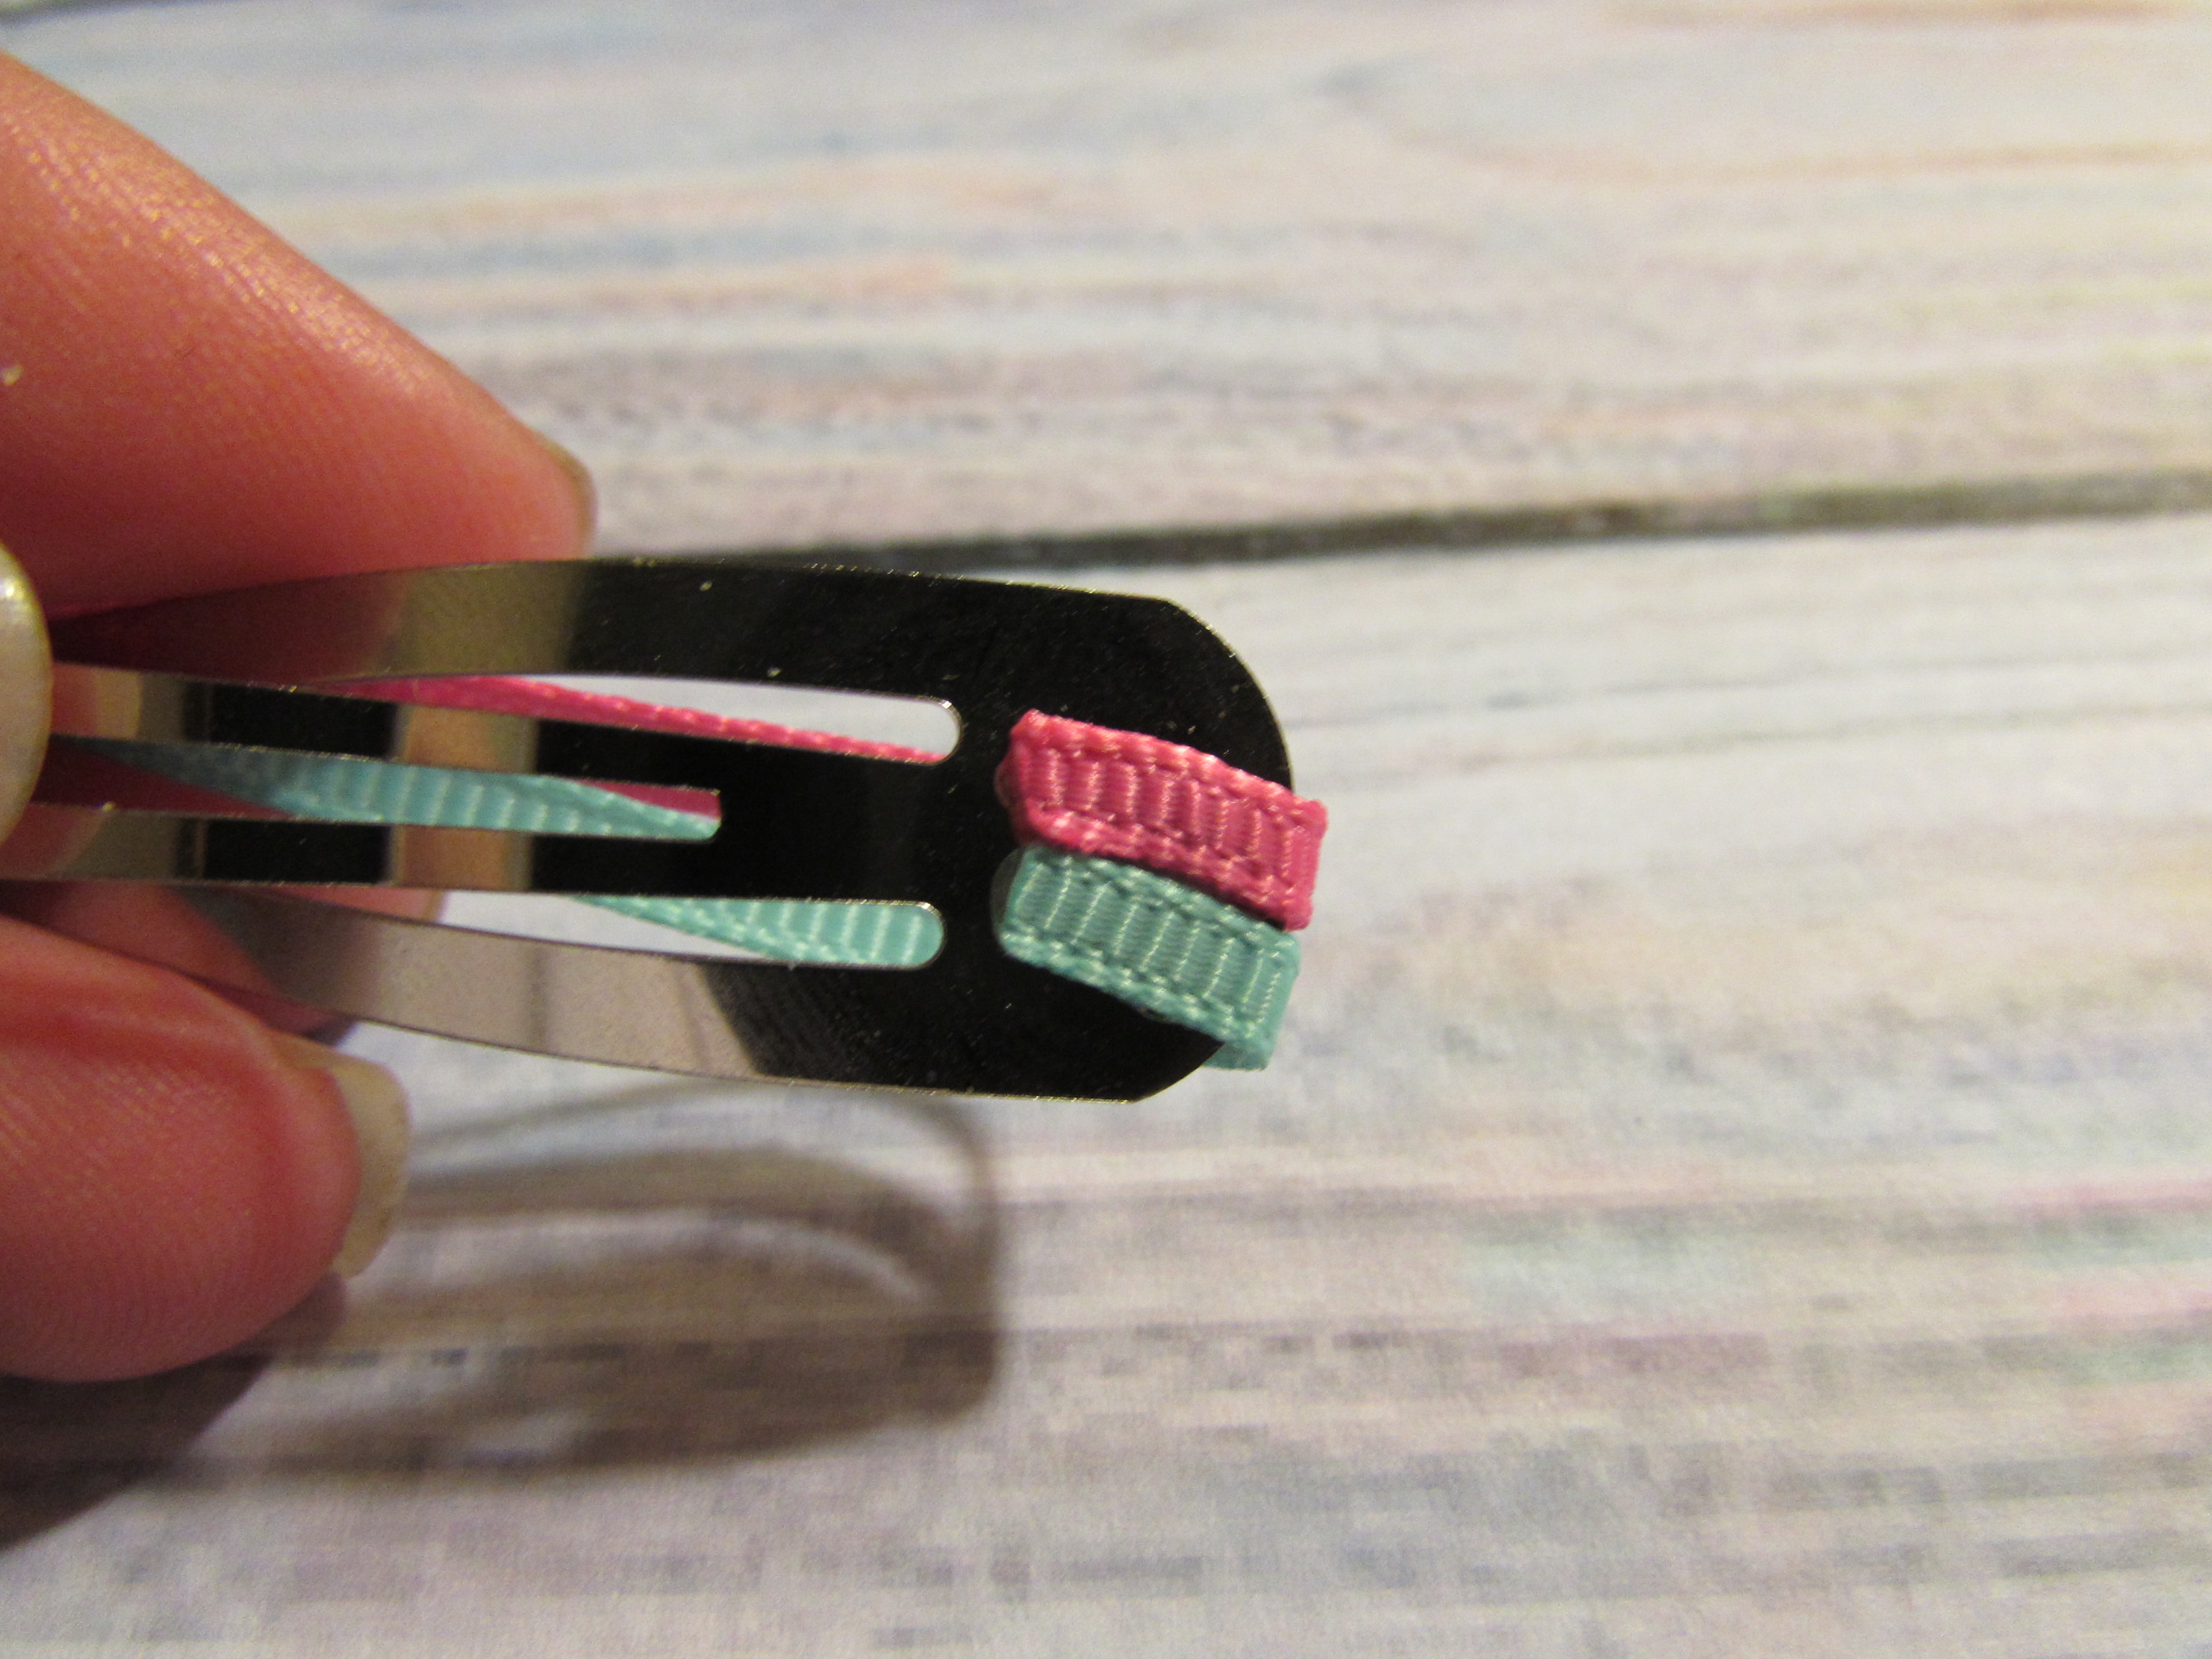 * Step 7: Flip back over and place the ribbon on the inside of the clip hole.
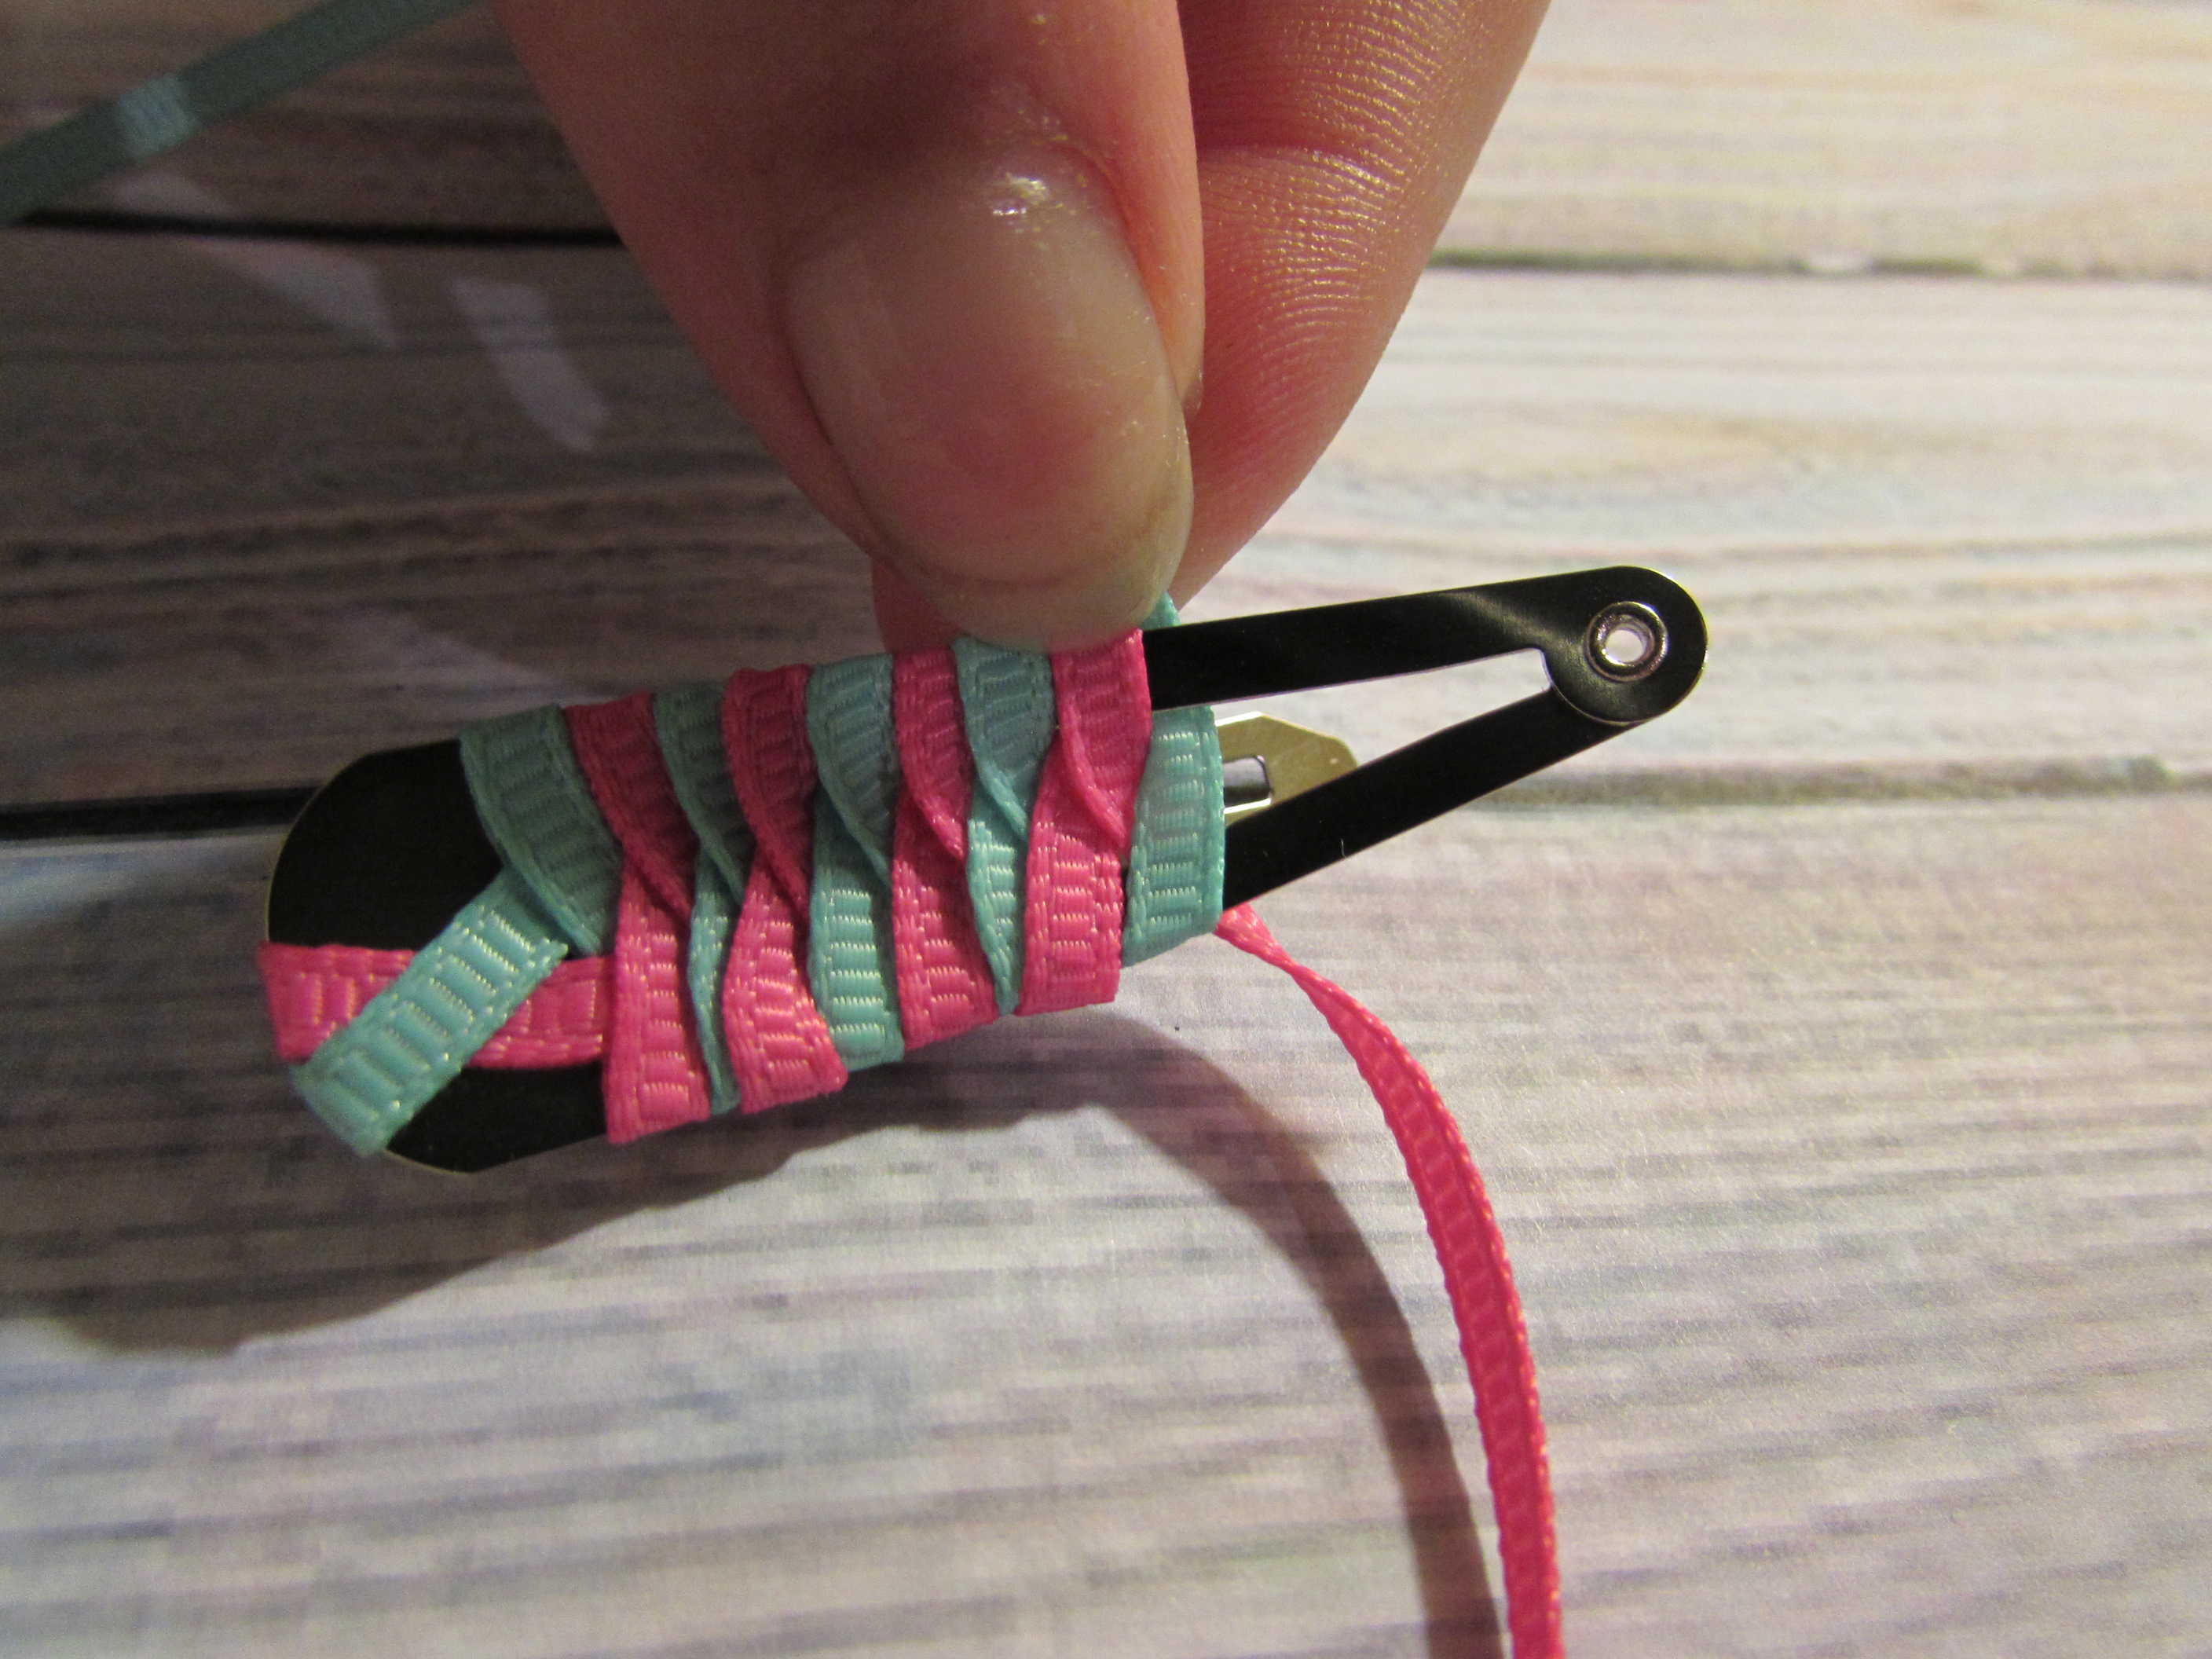
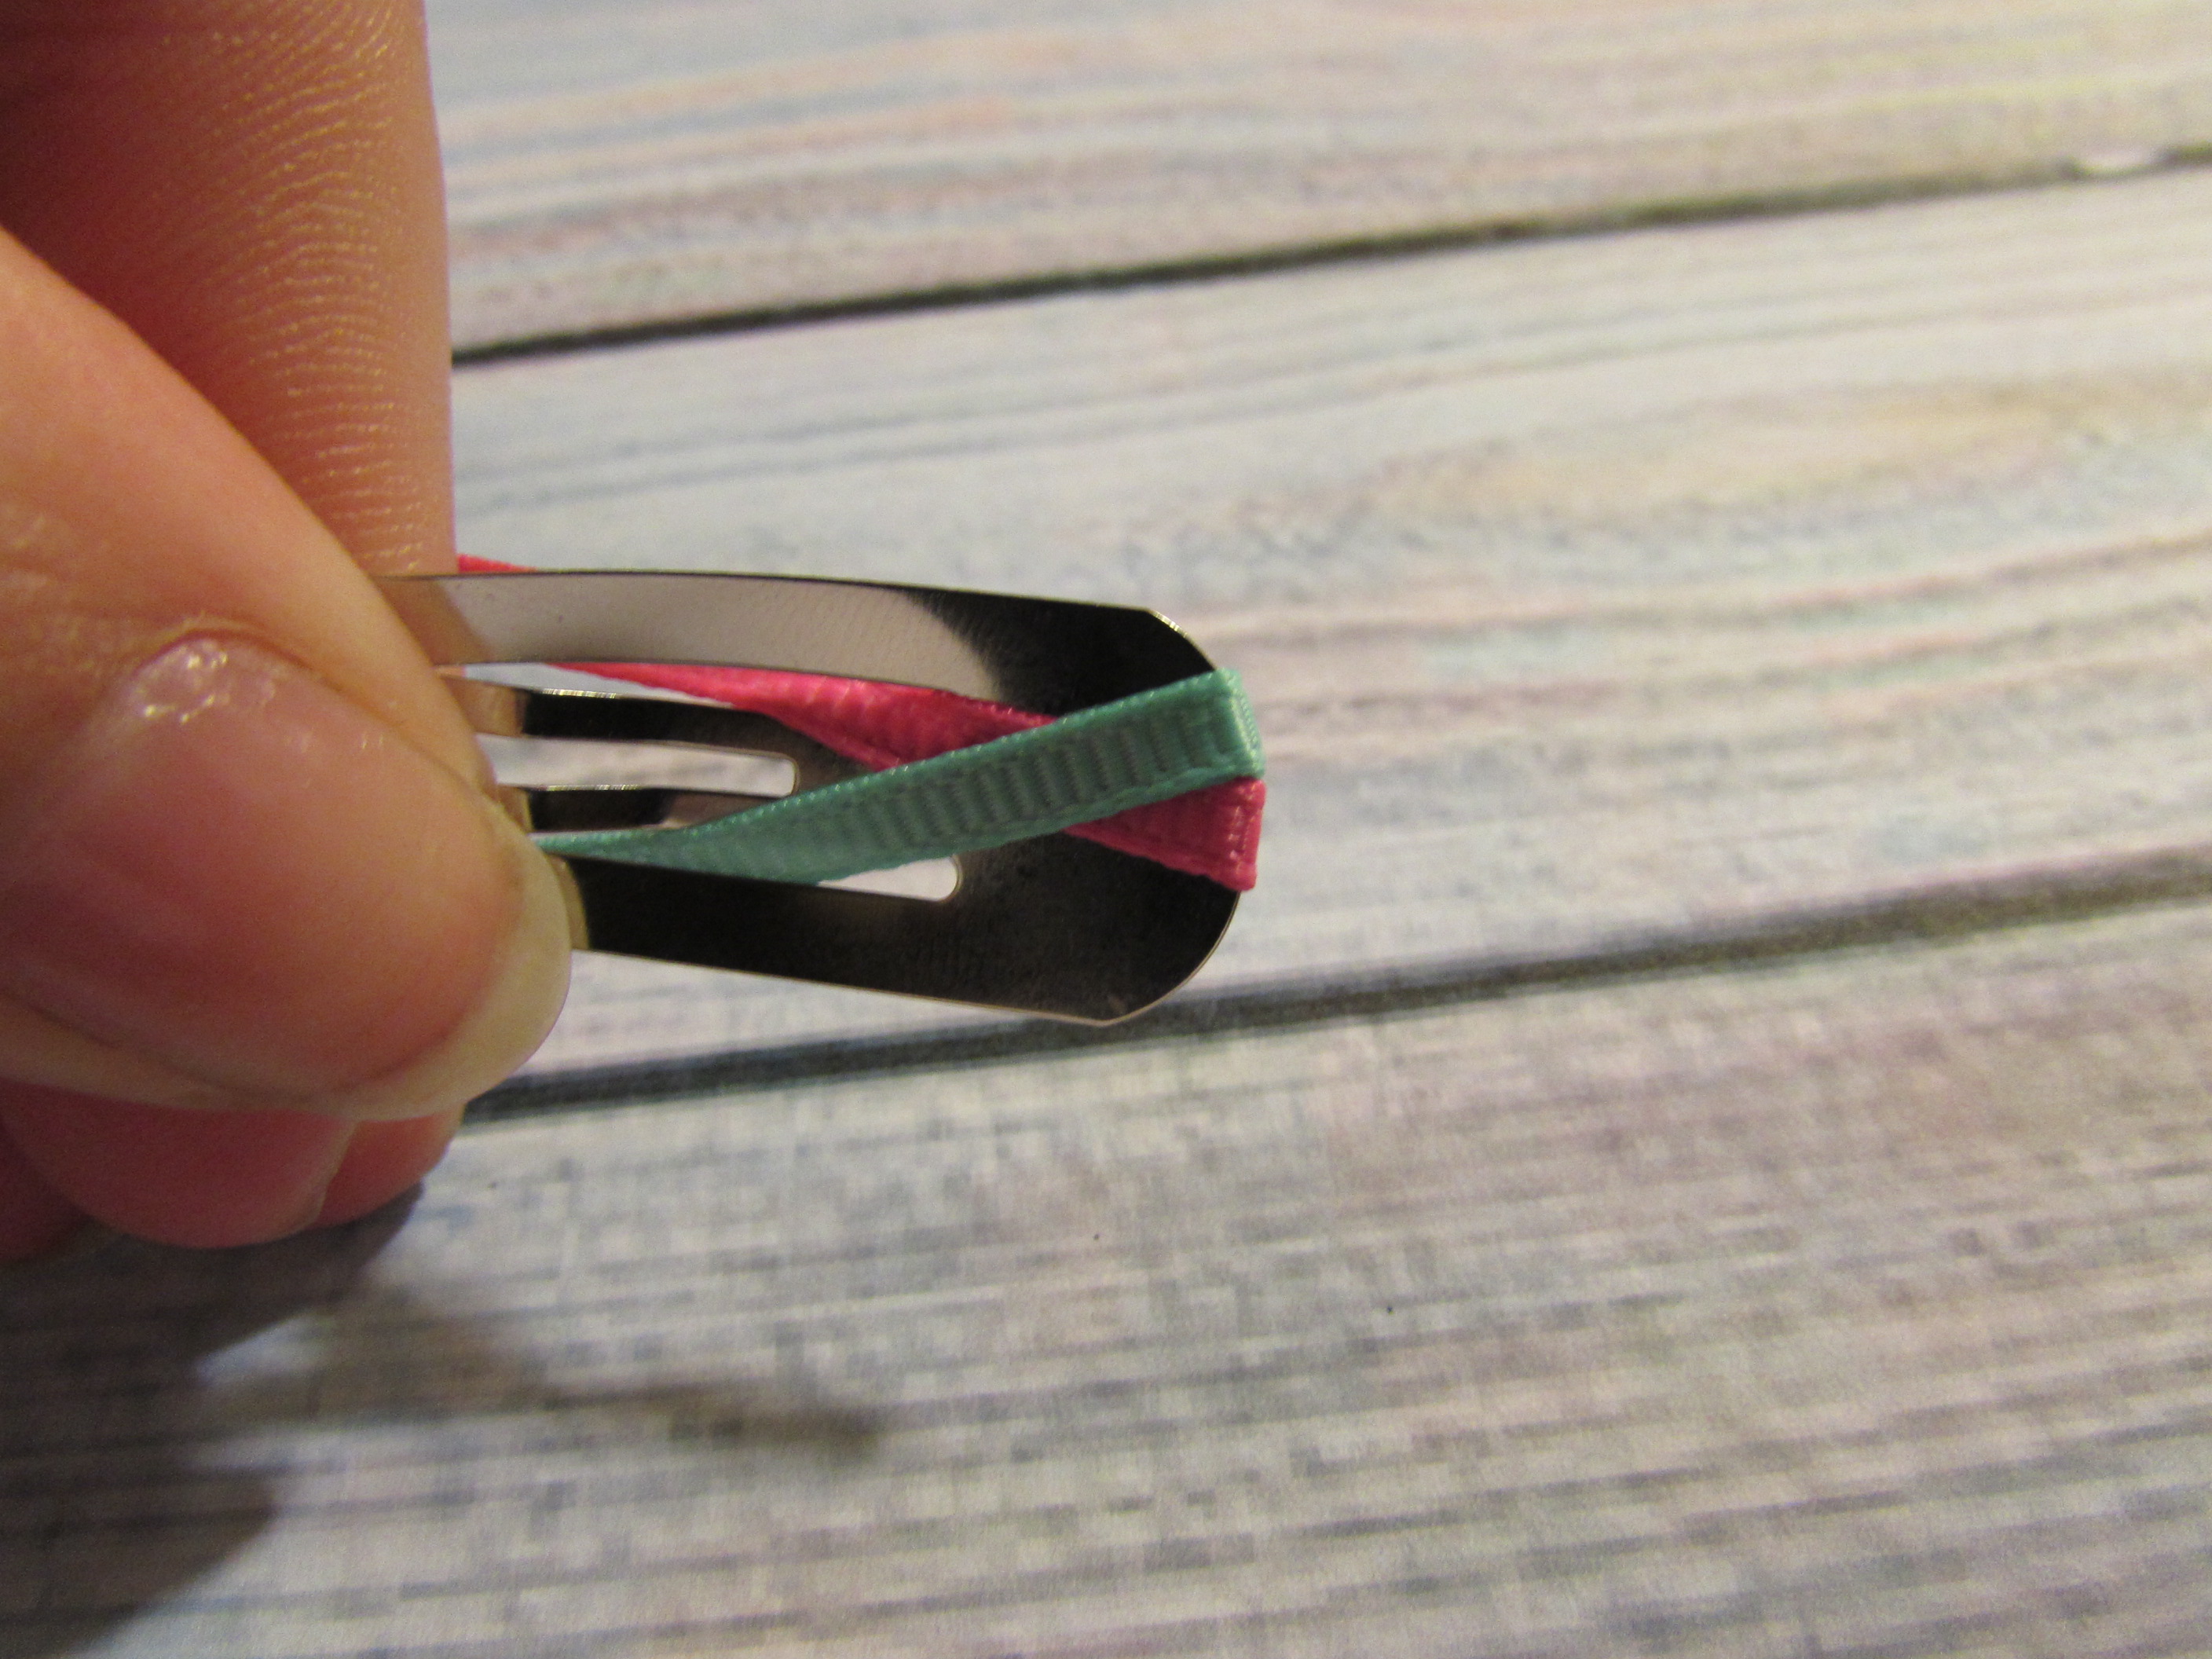 * Step 8: Take the right ribbon and flip it over the clip and bring back in the center on the opposite side.
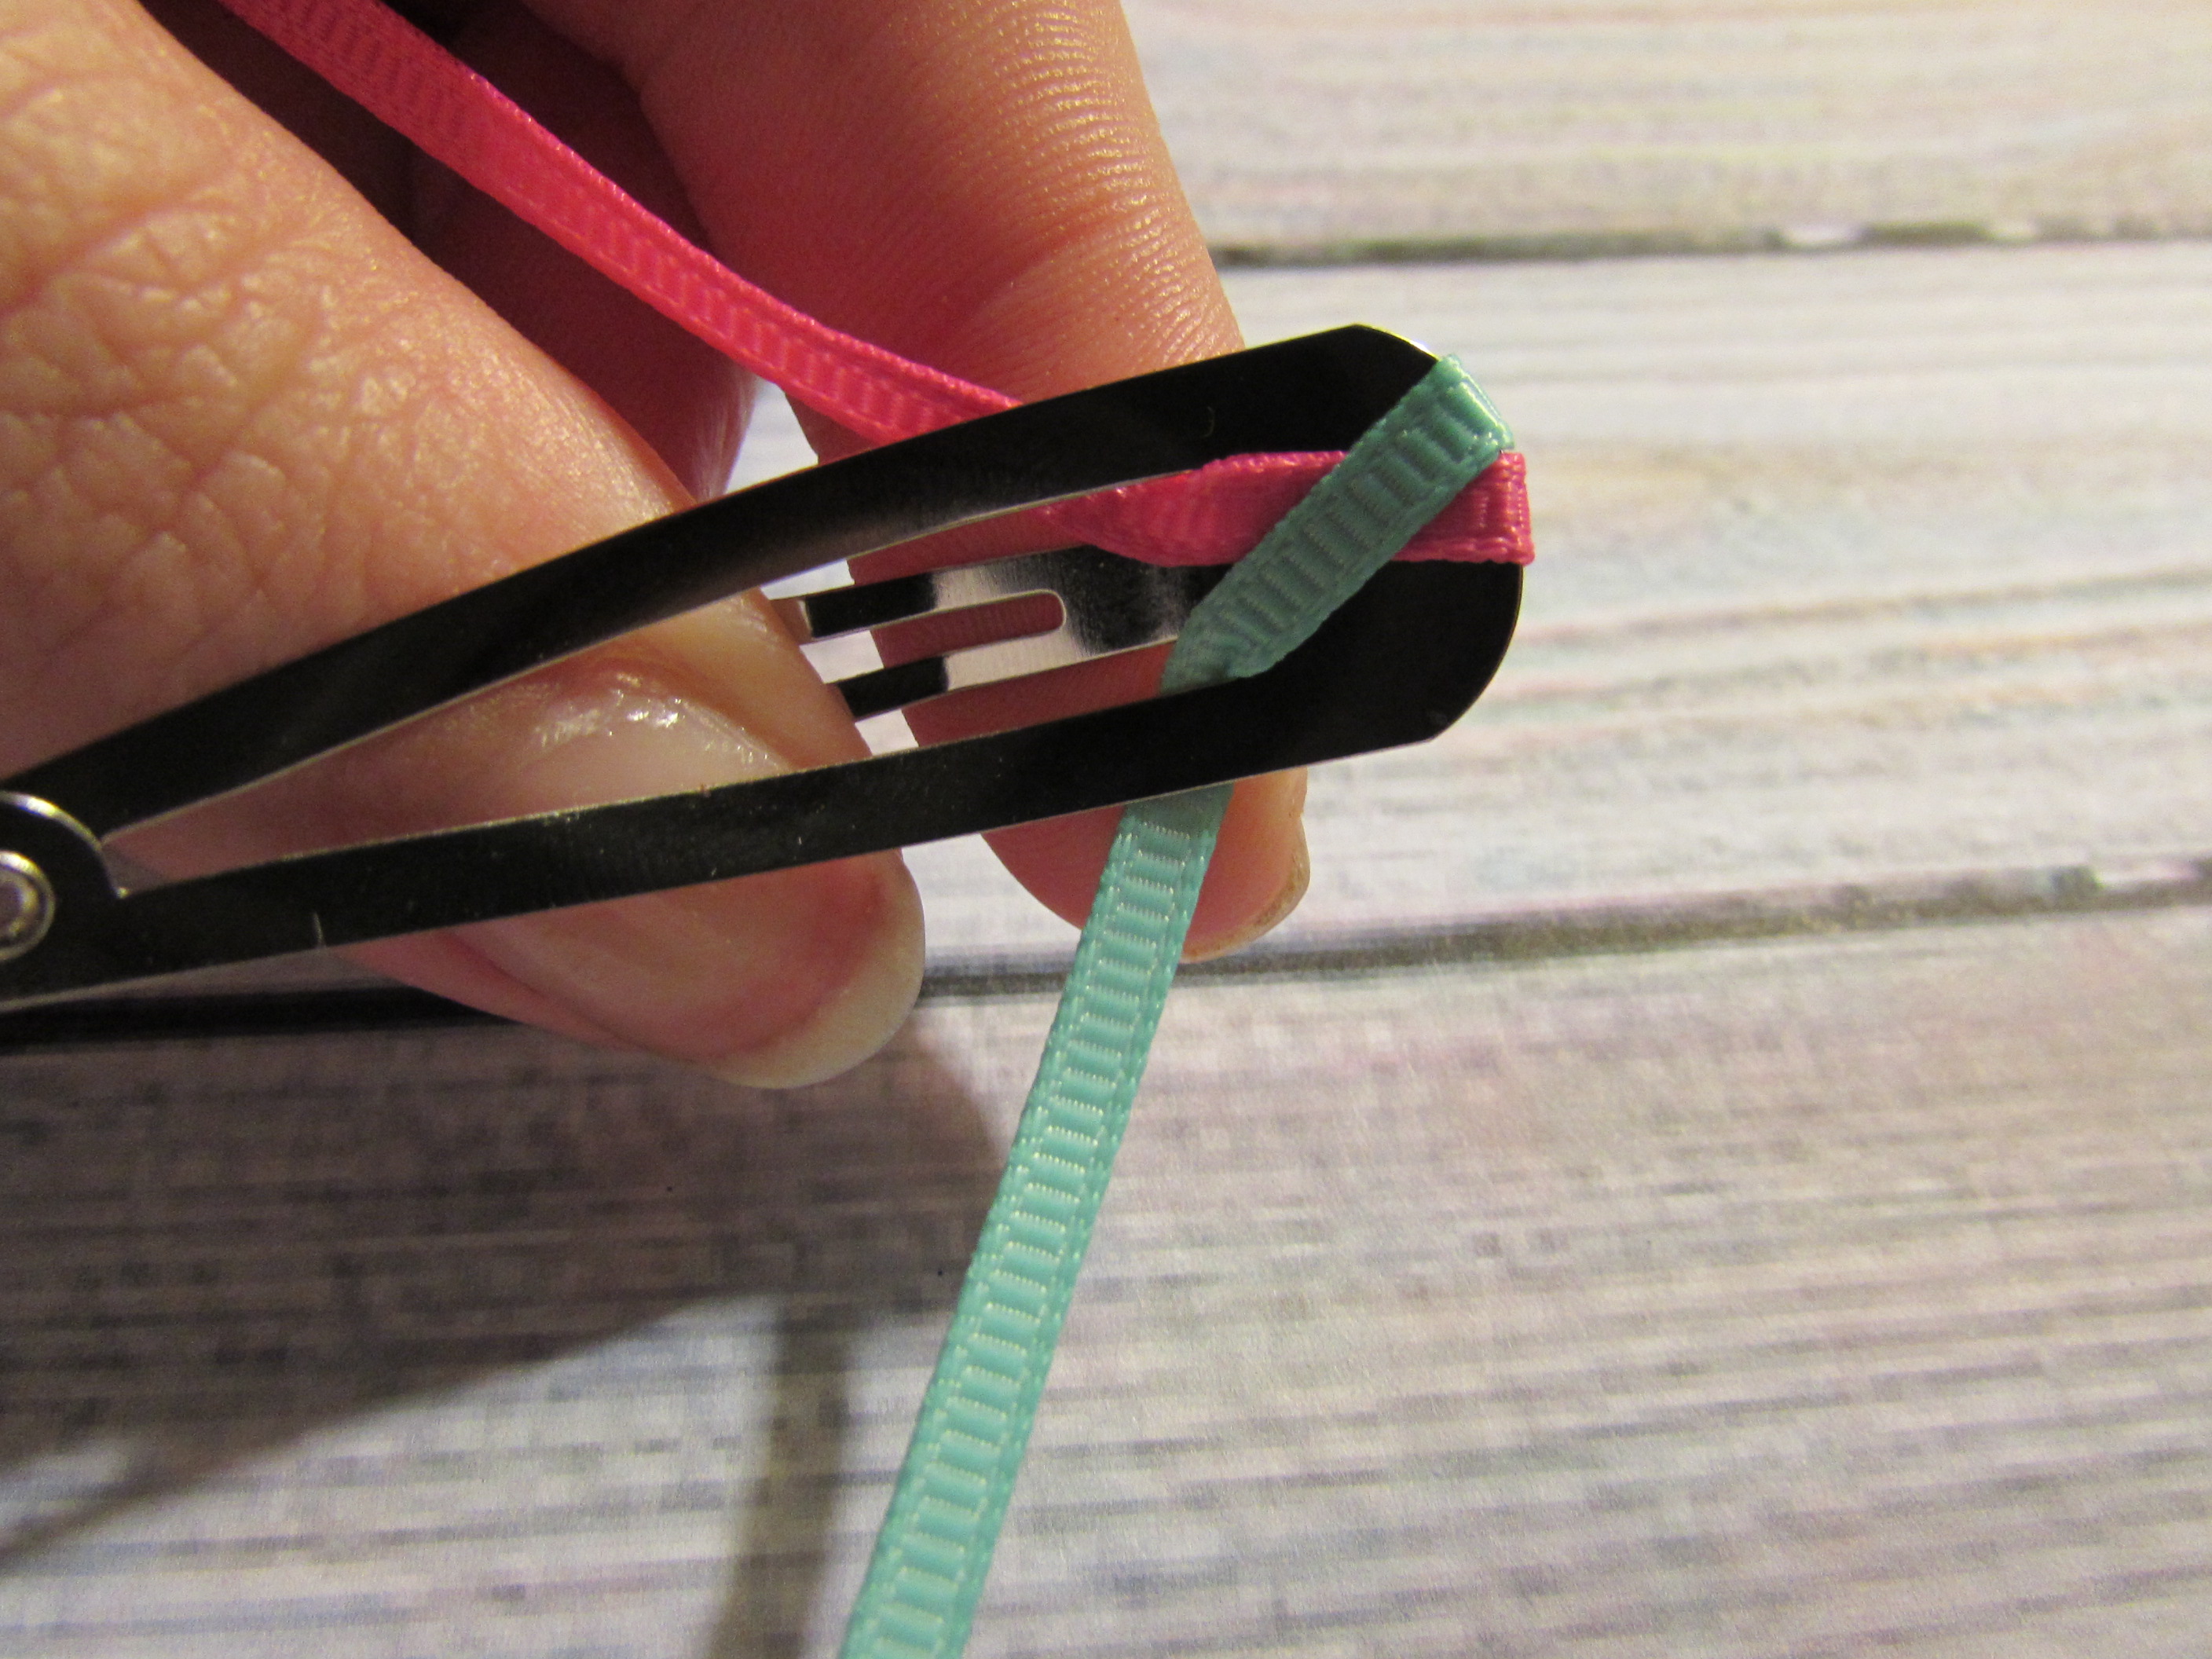
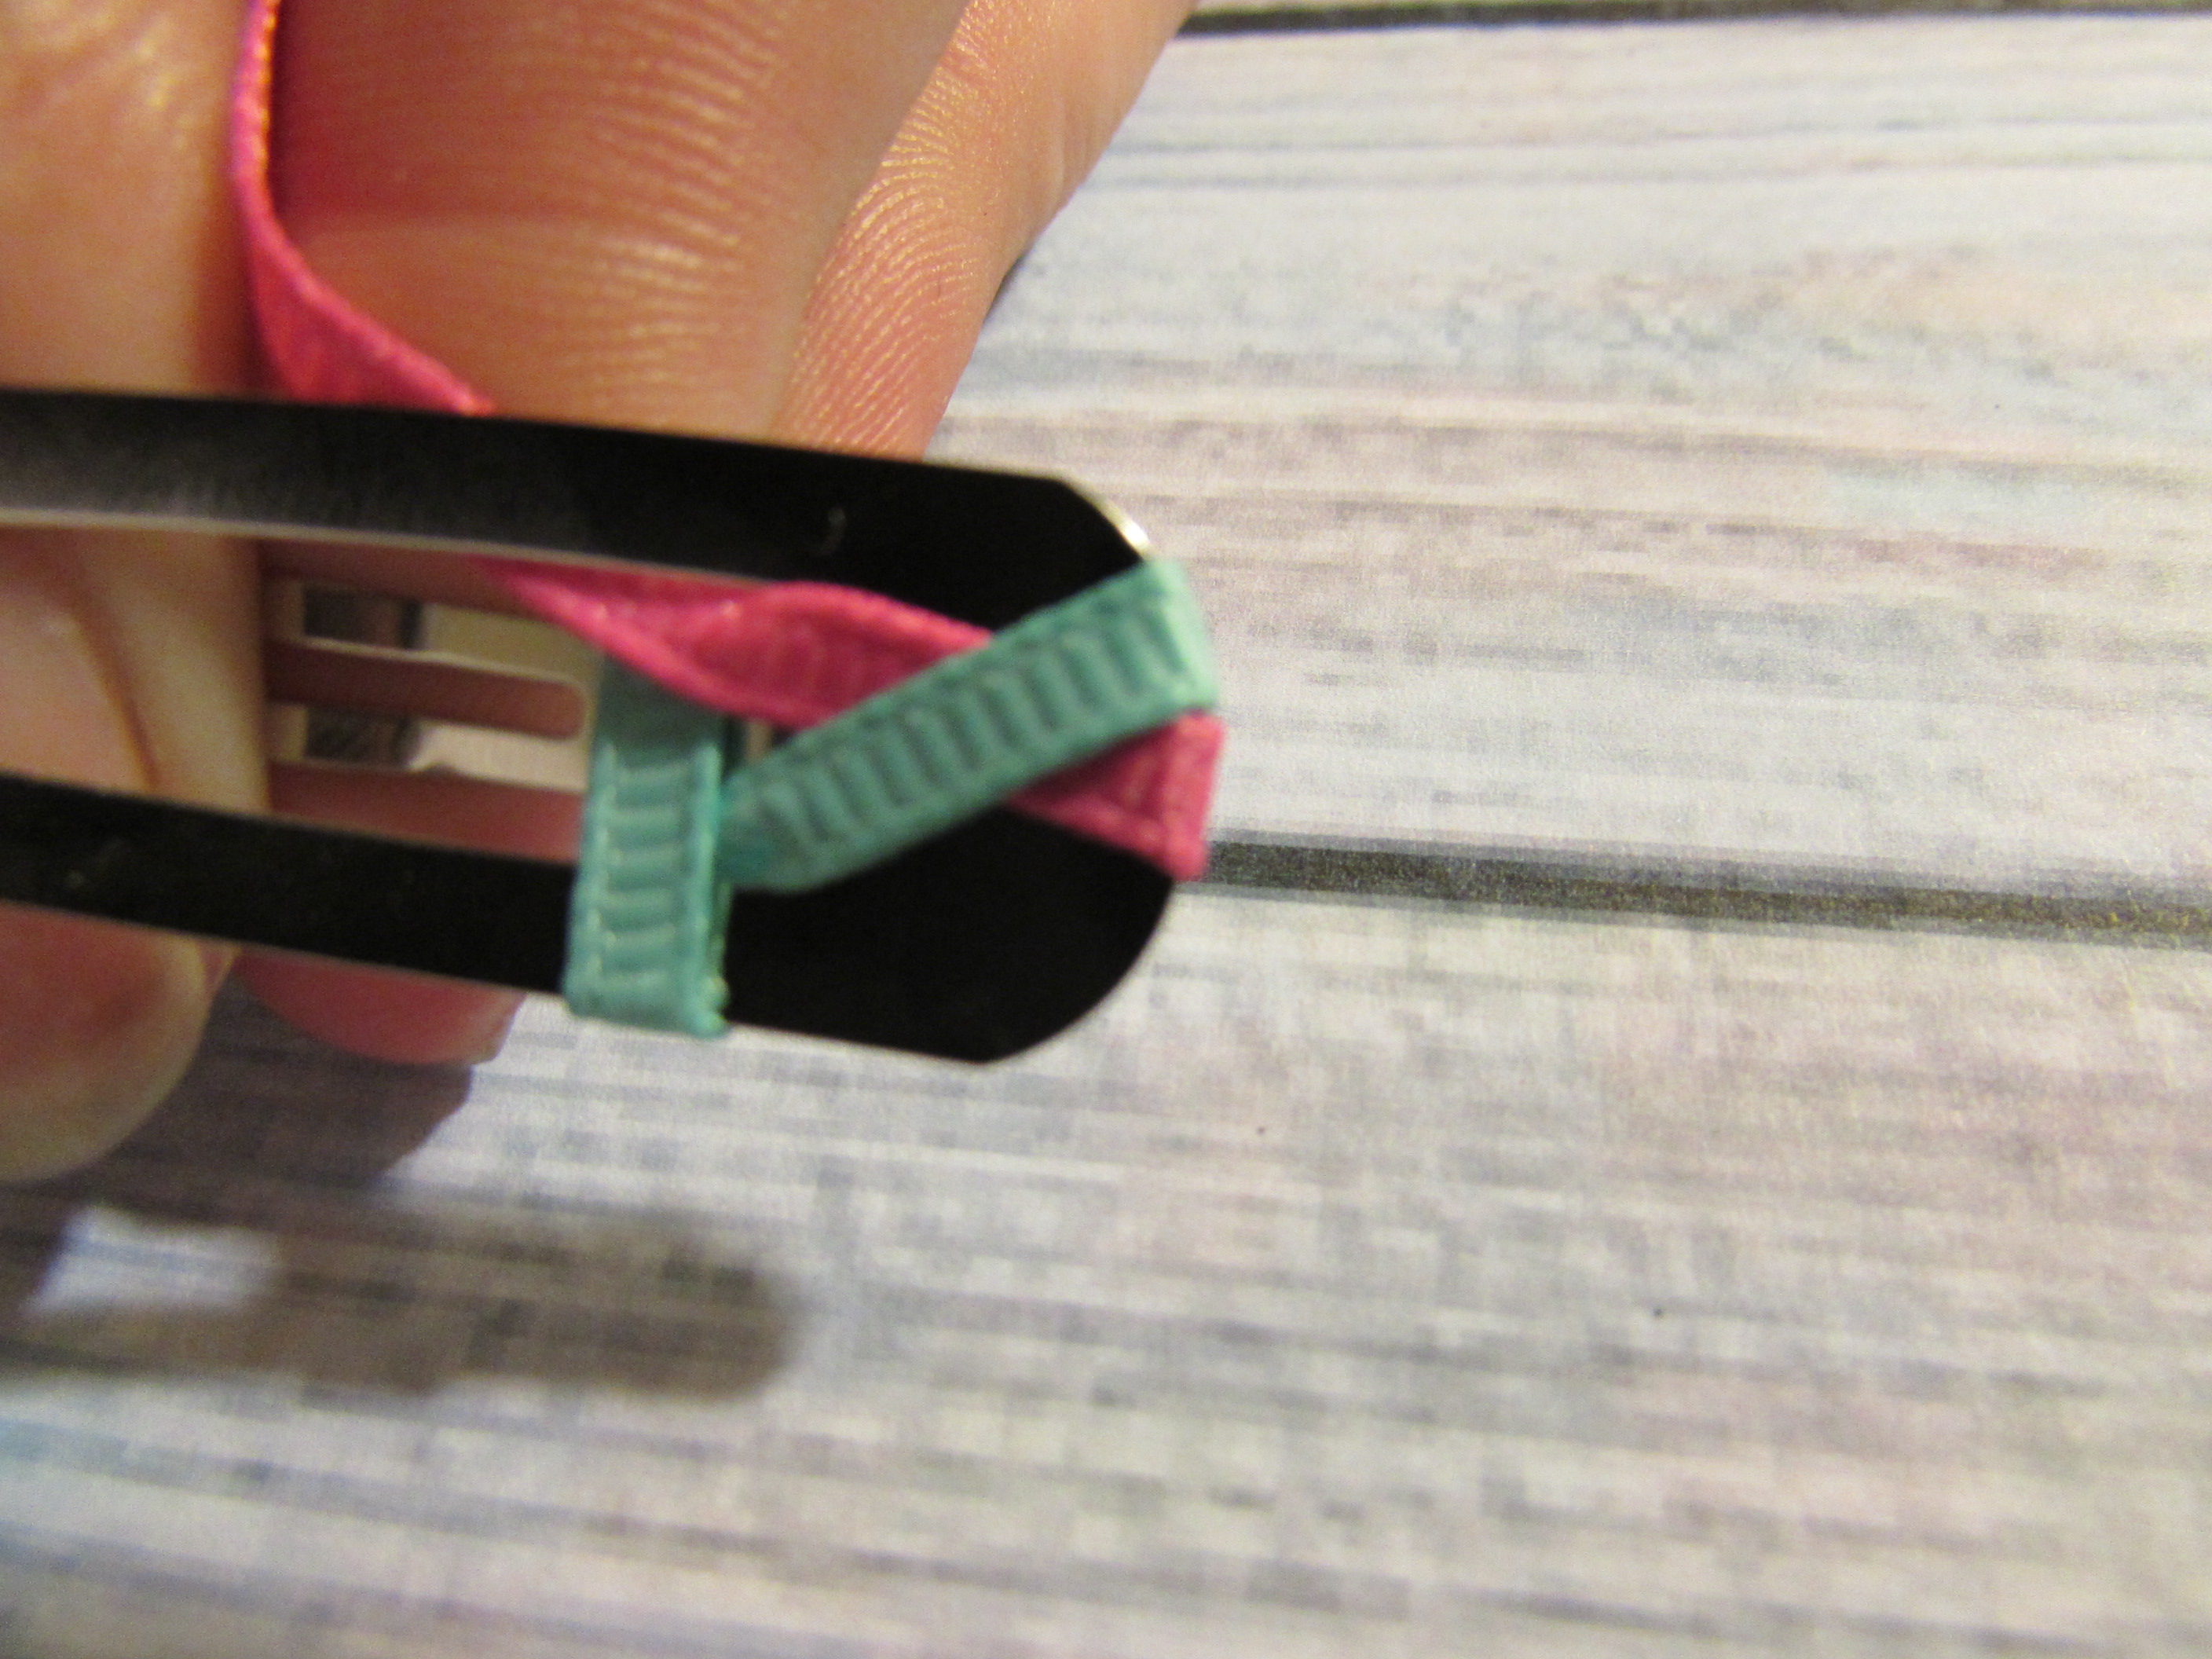 * Step 9: Take the left ribbon and flip it over the clip and bring back in the center on the opposite side.
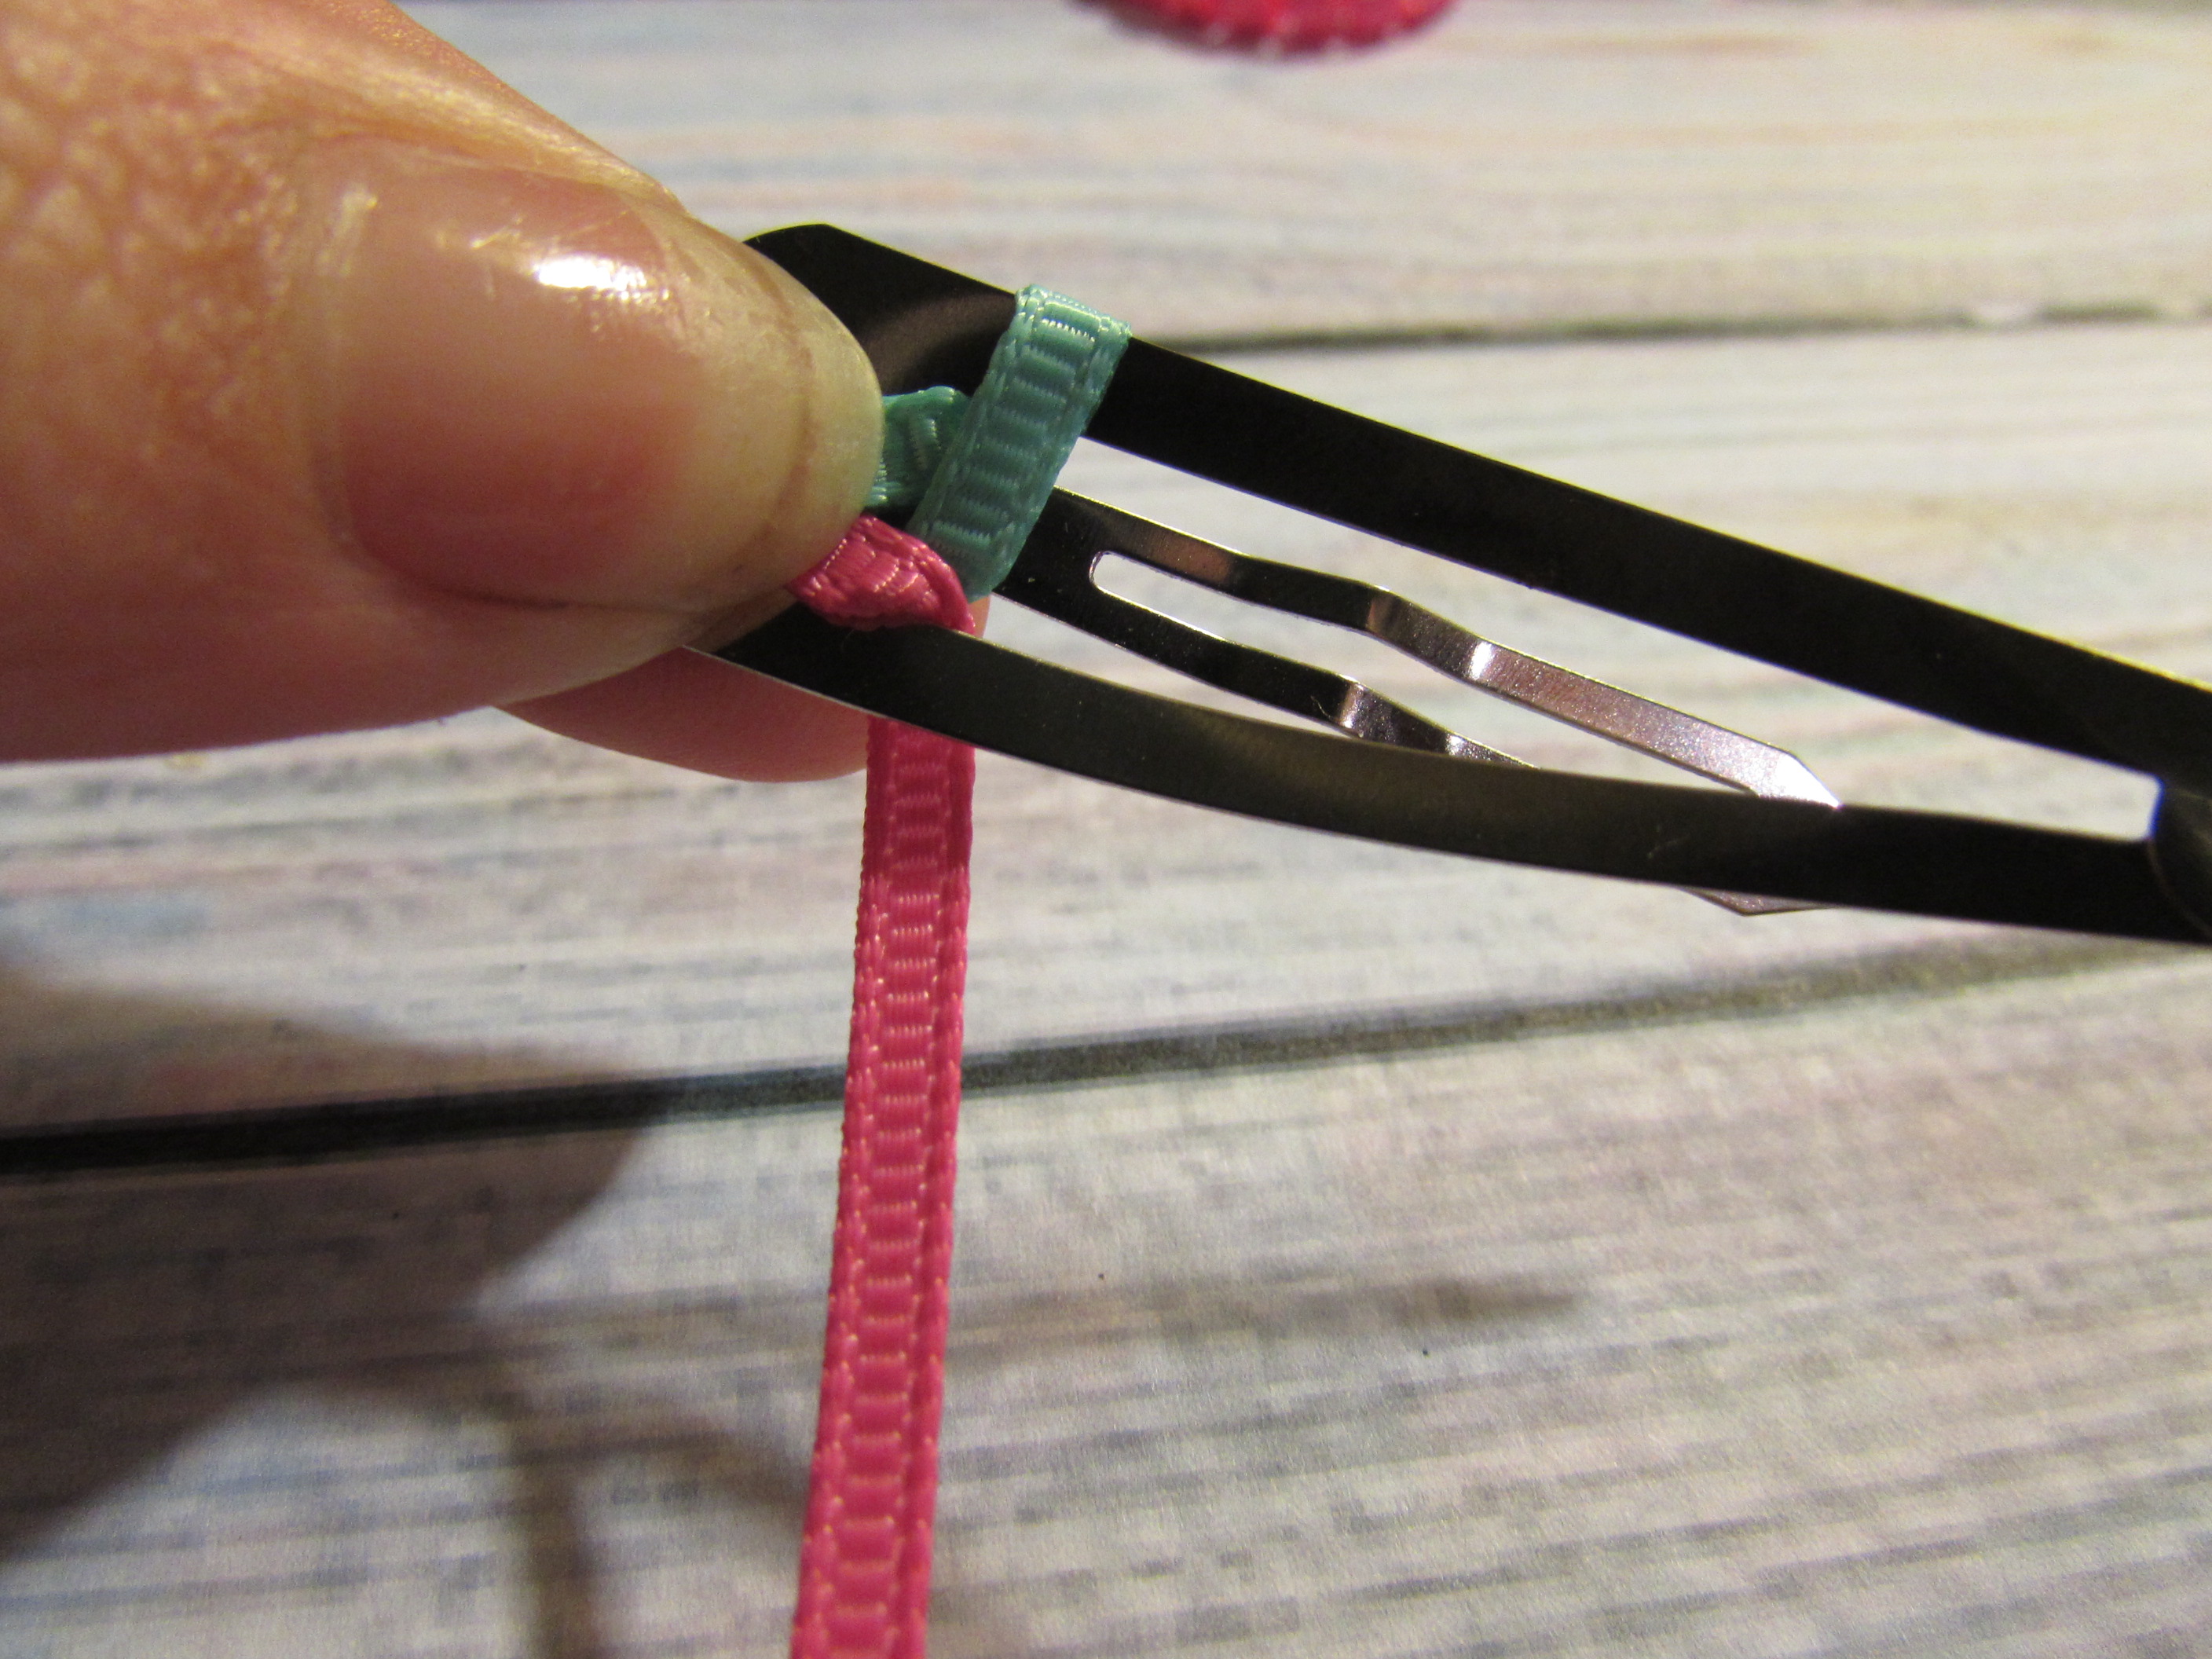
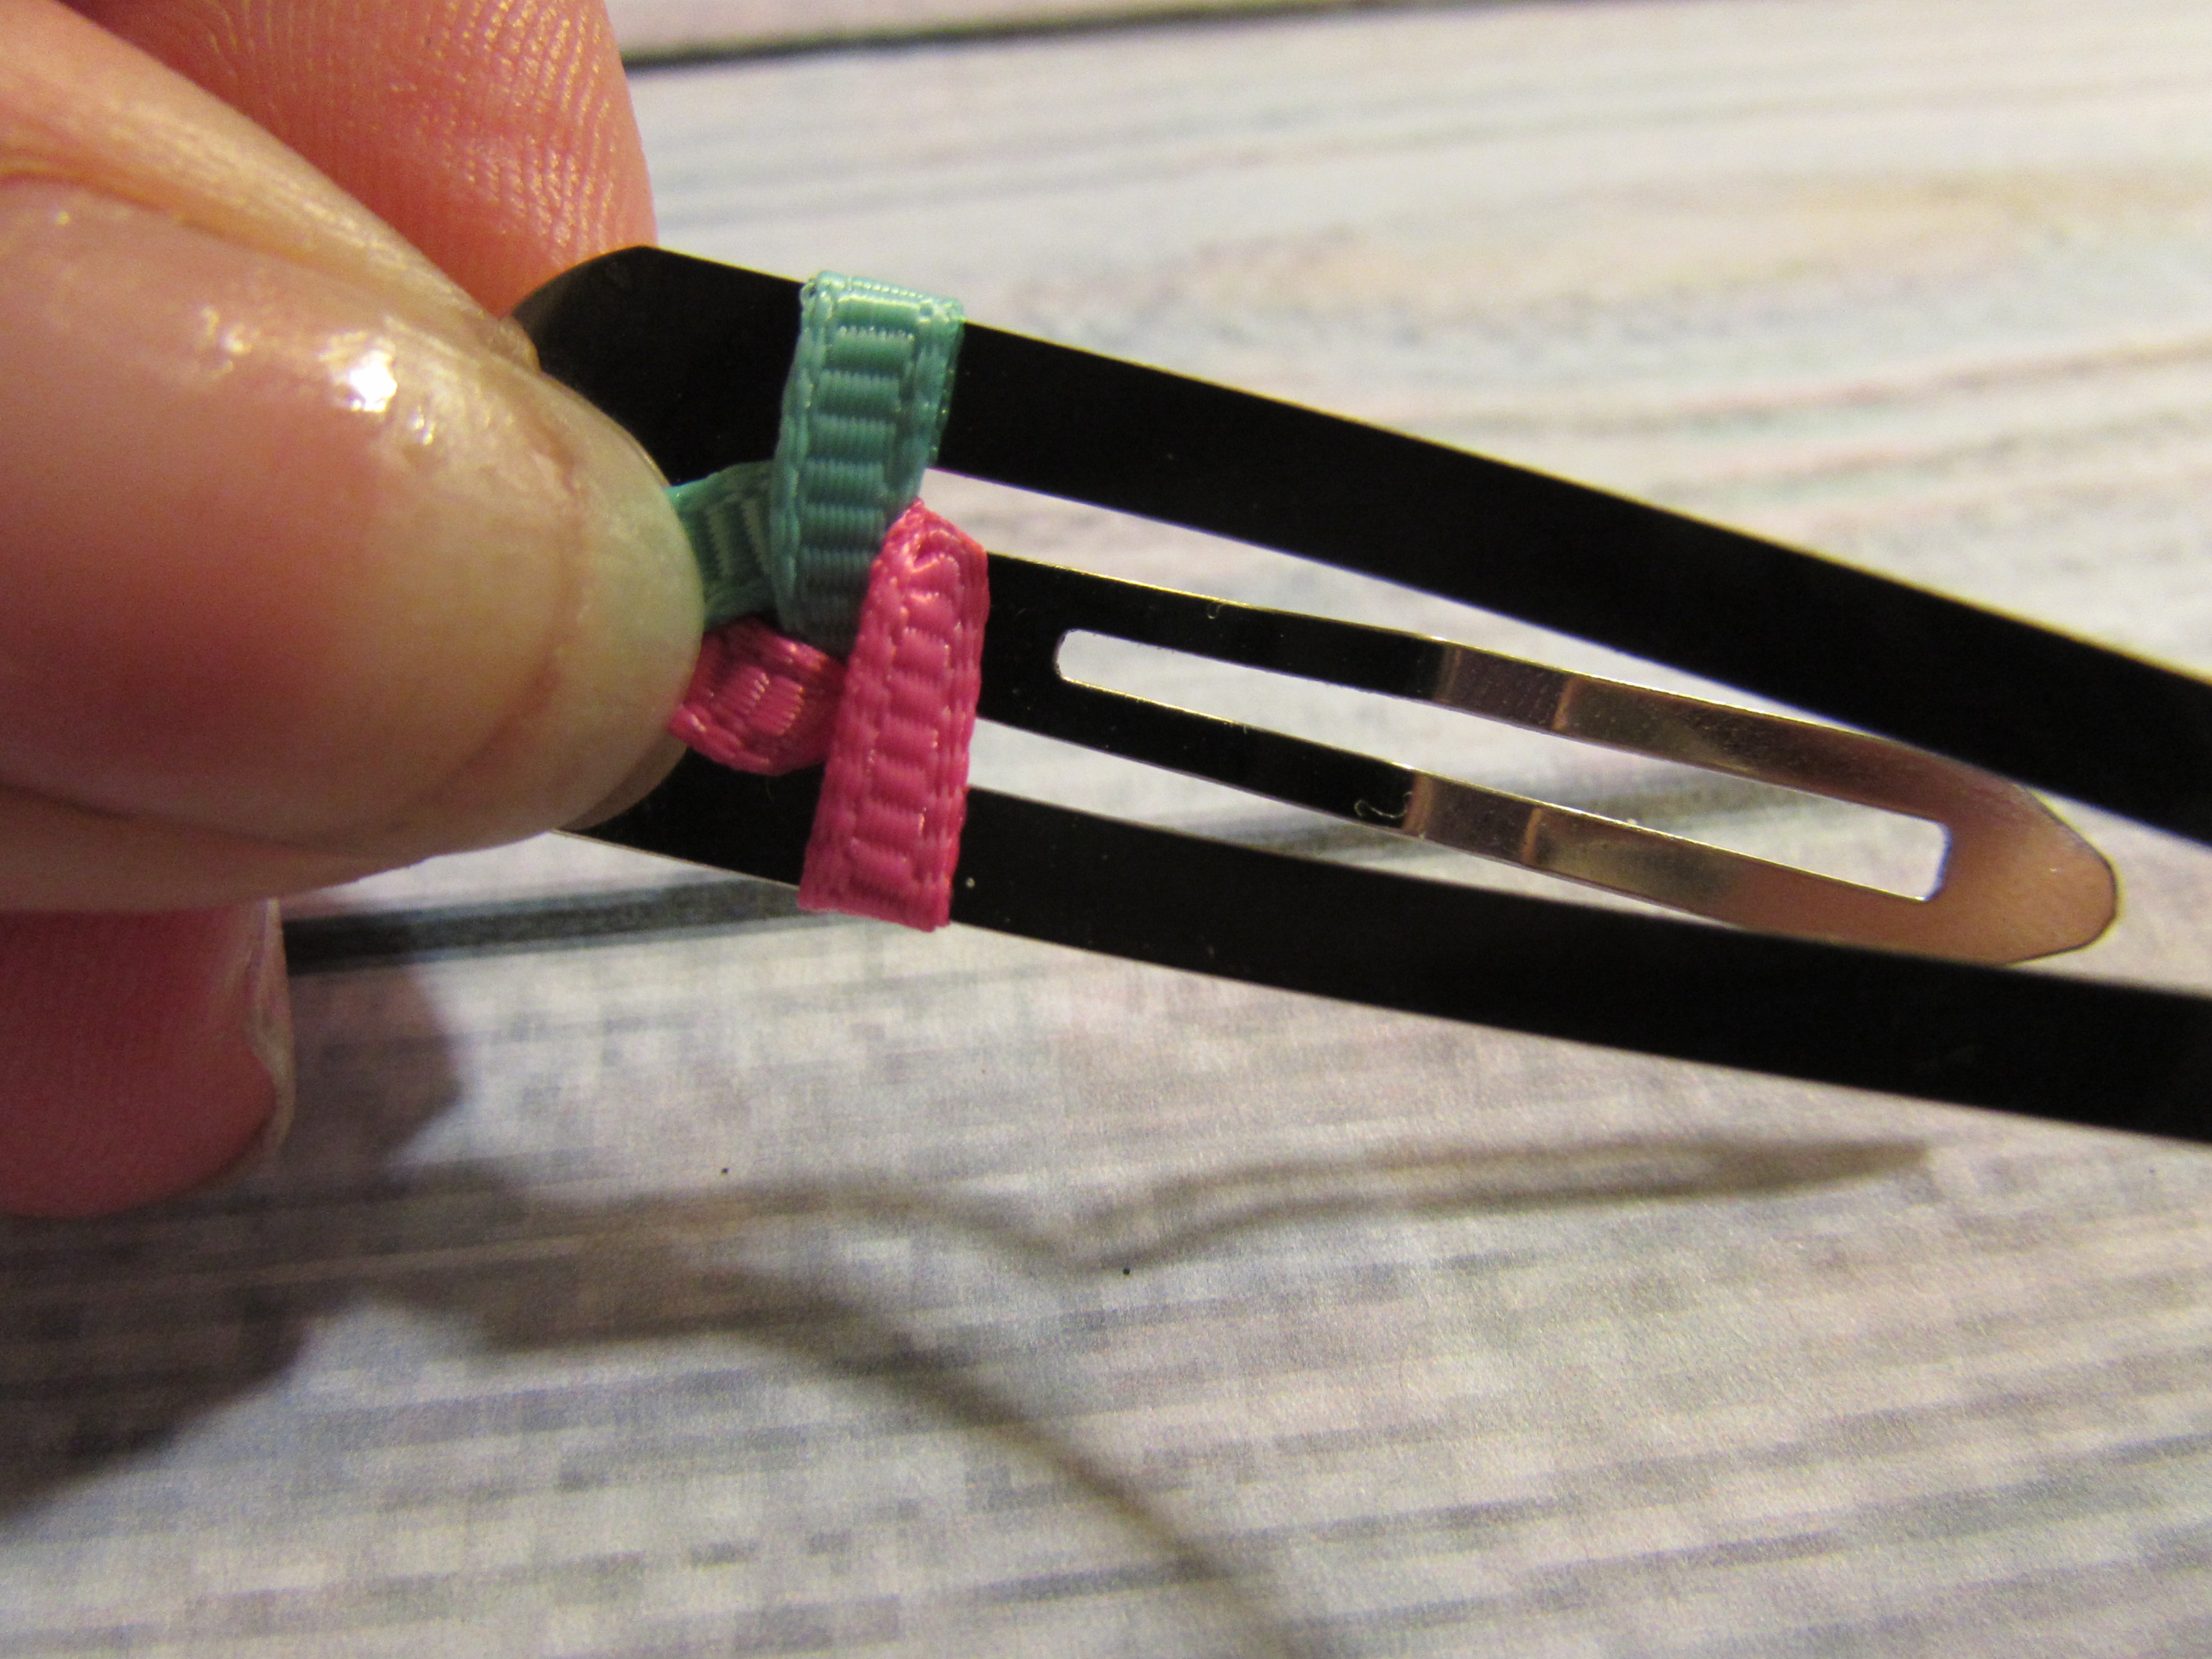 * Step 10: Take the right ribbon and put it inside the clip and bring it through to the opposite side.
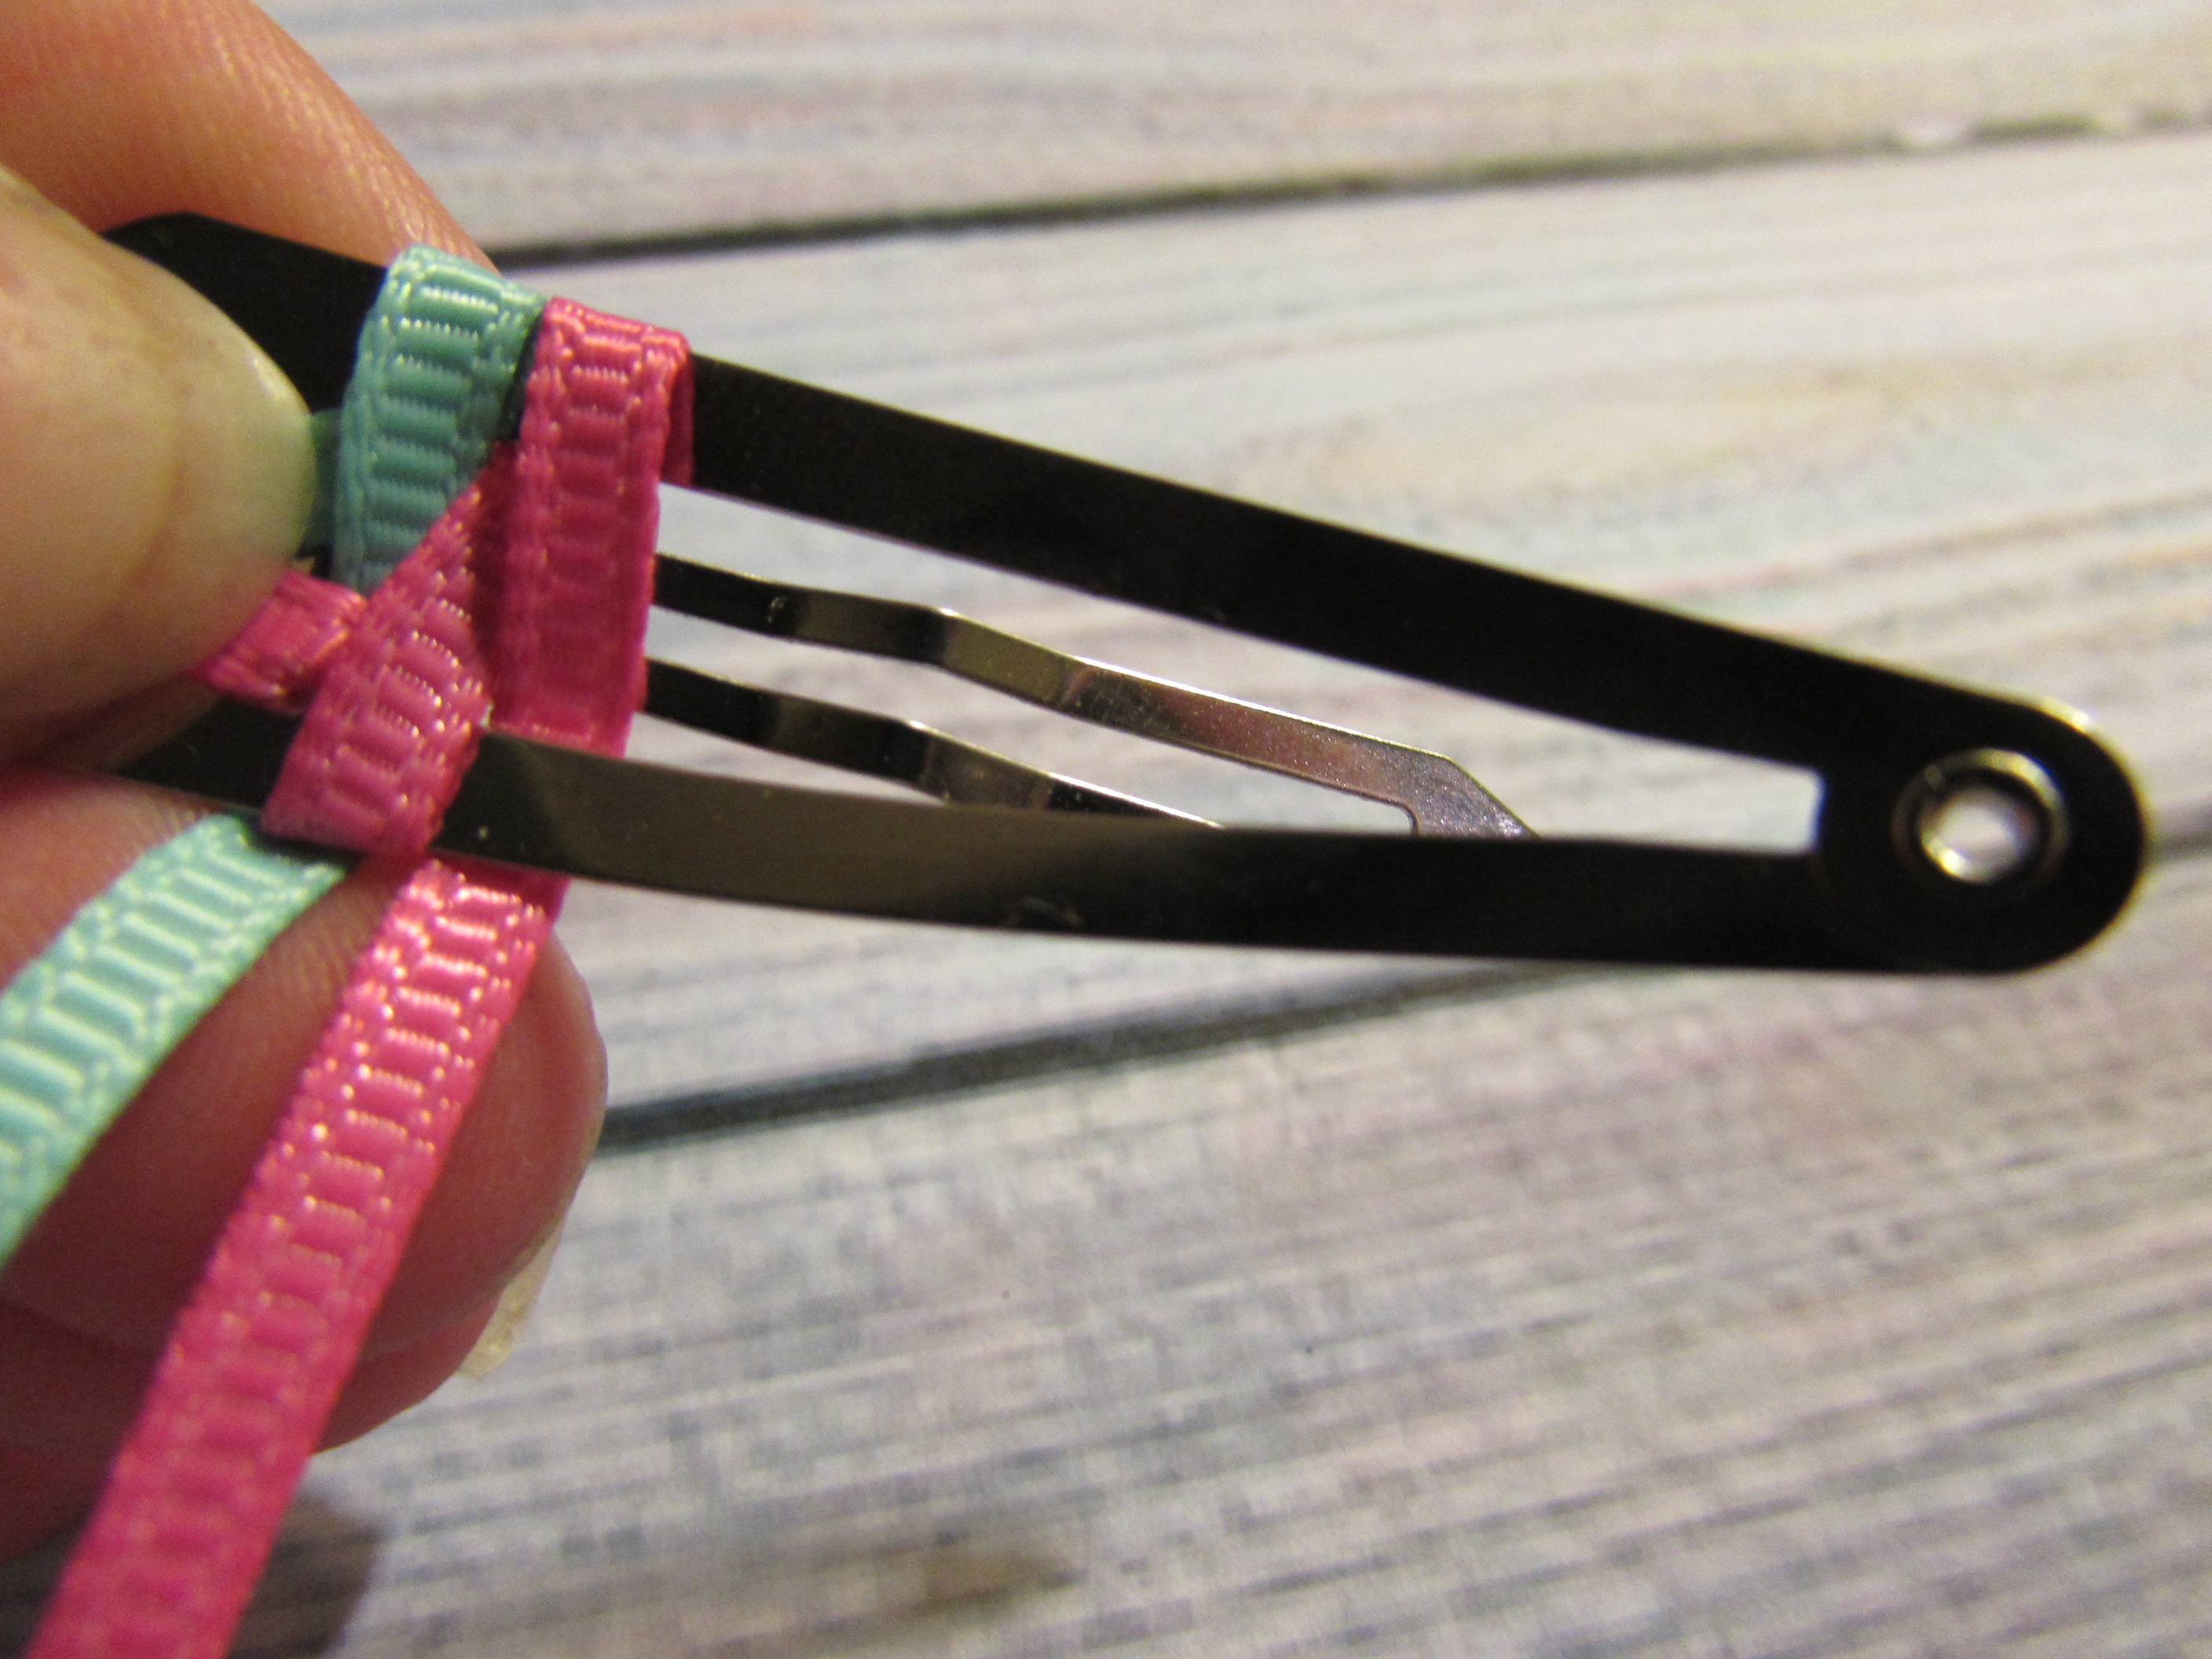 * Step 11. Take the left ribbon and put inside the clip and bring it through the opposite side
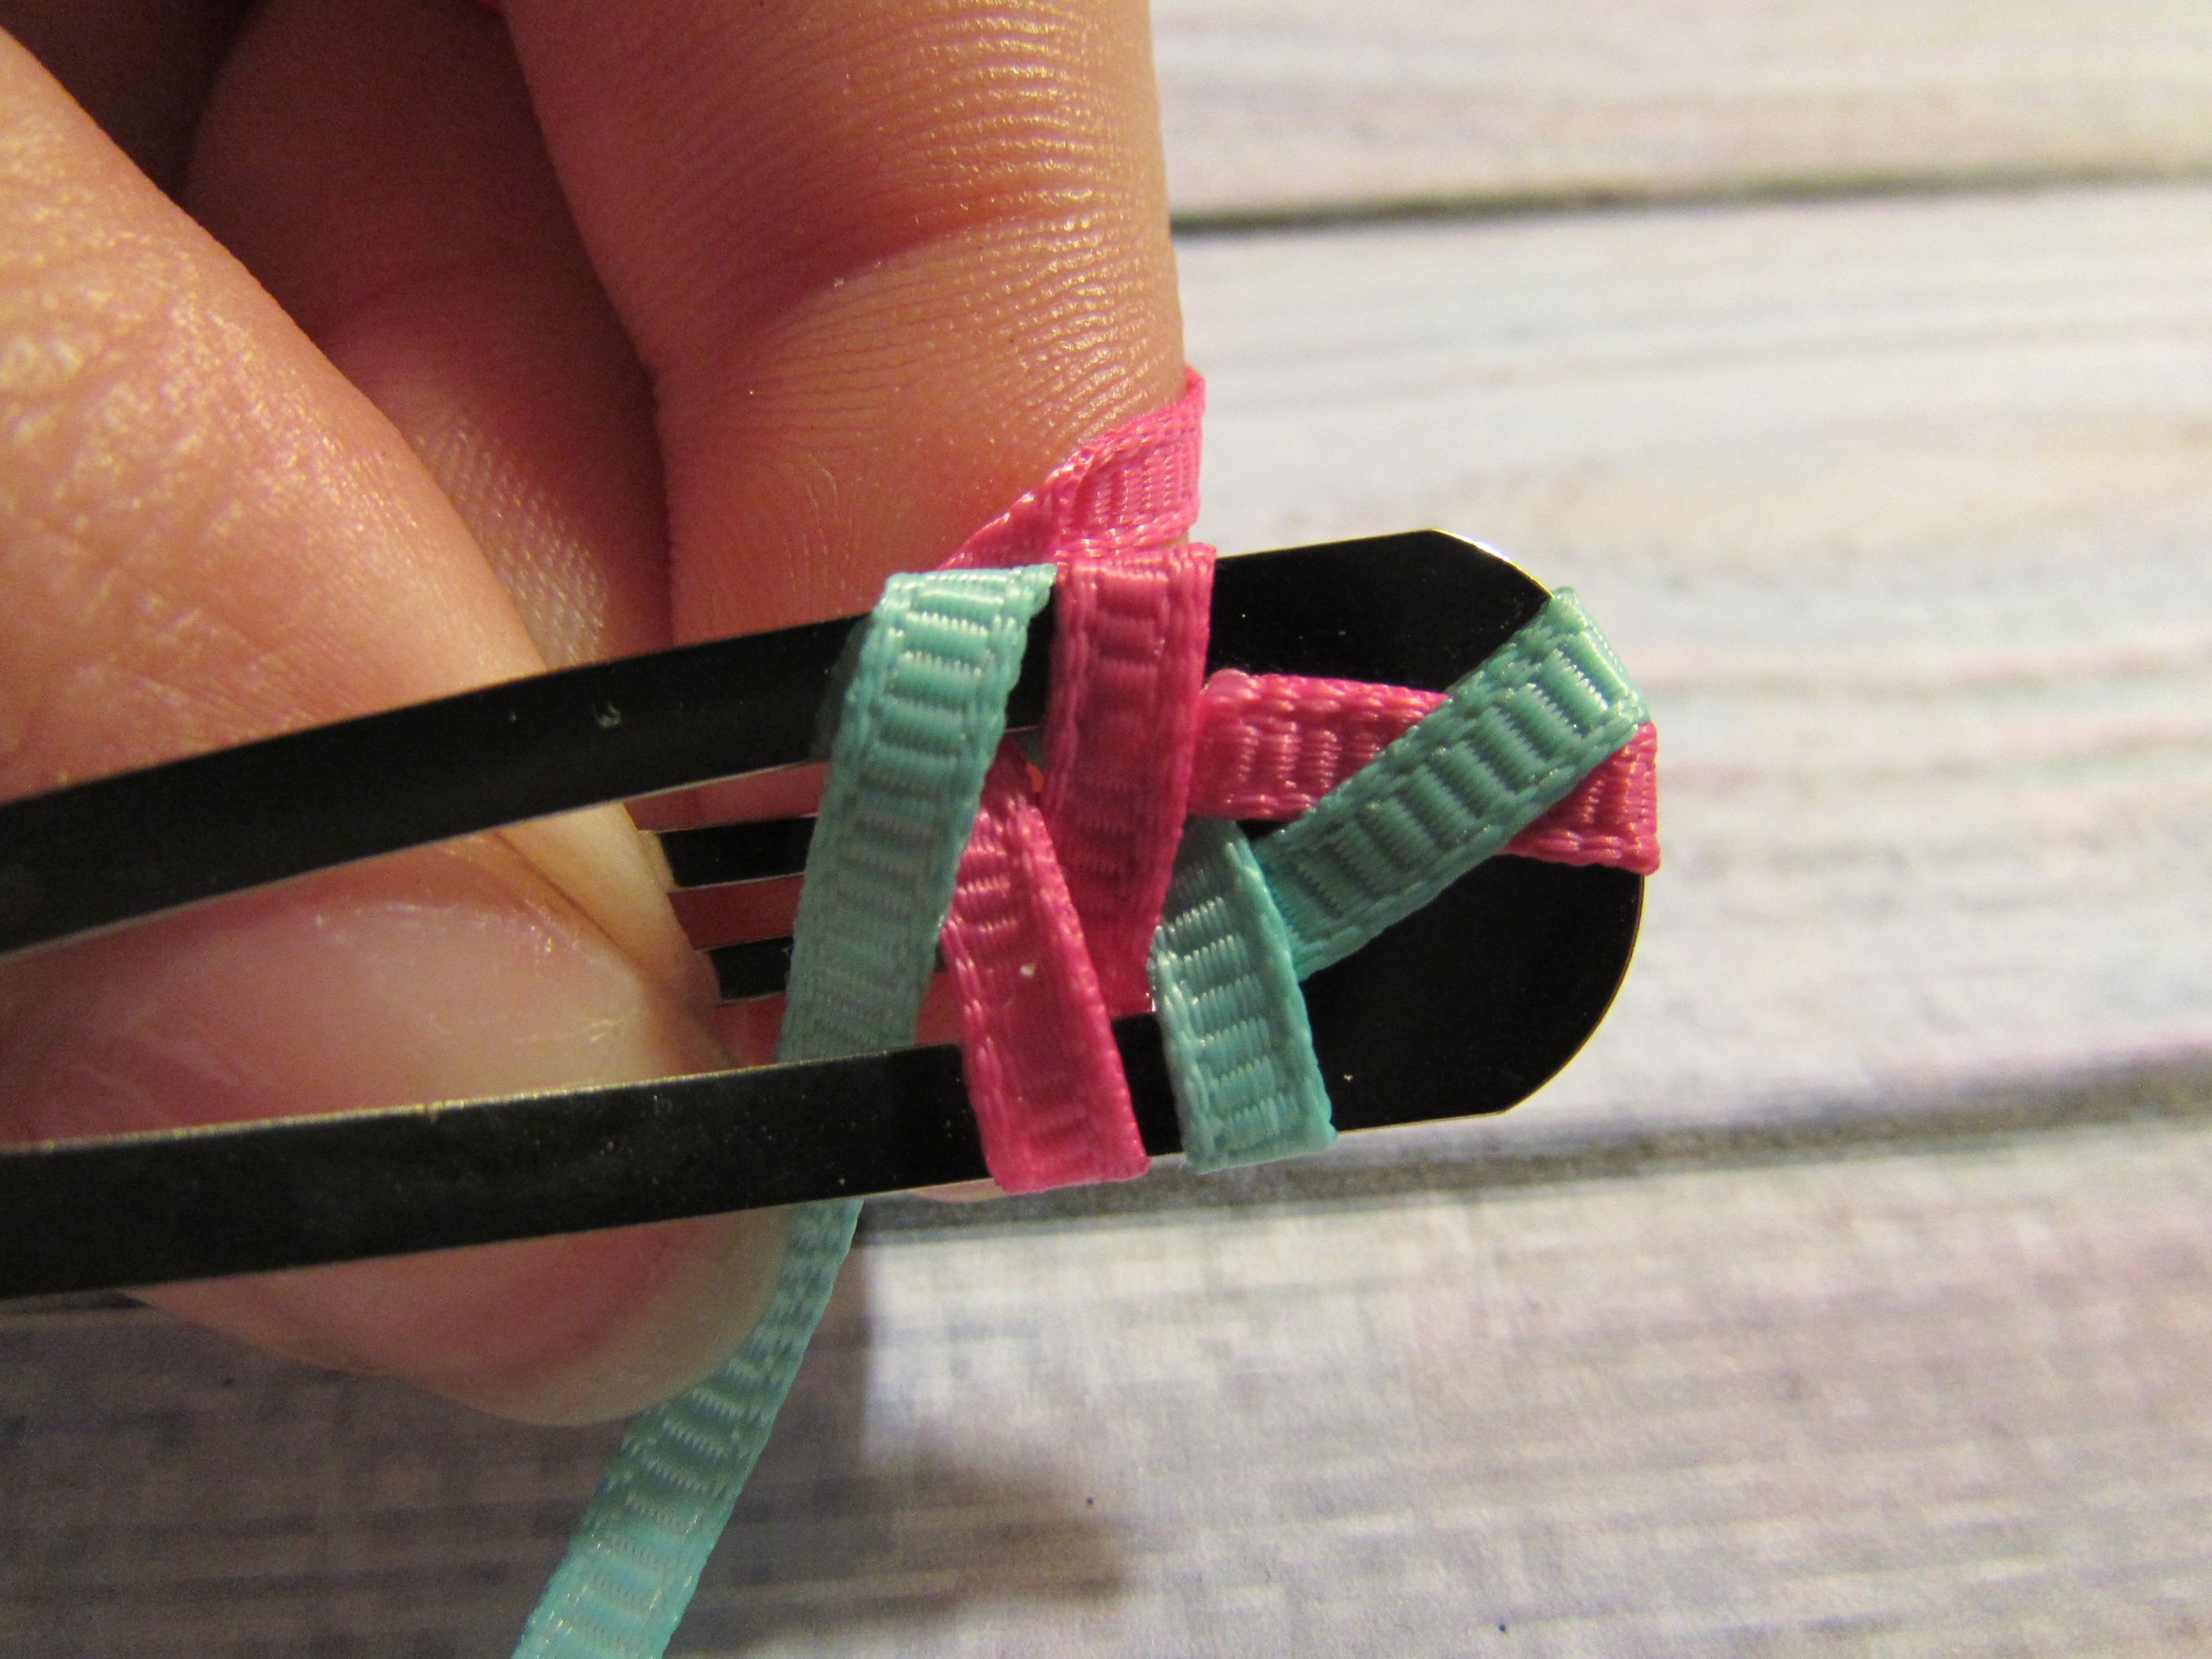 * Step 12: Push the ribbon up as you go making it tight
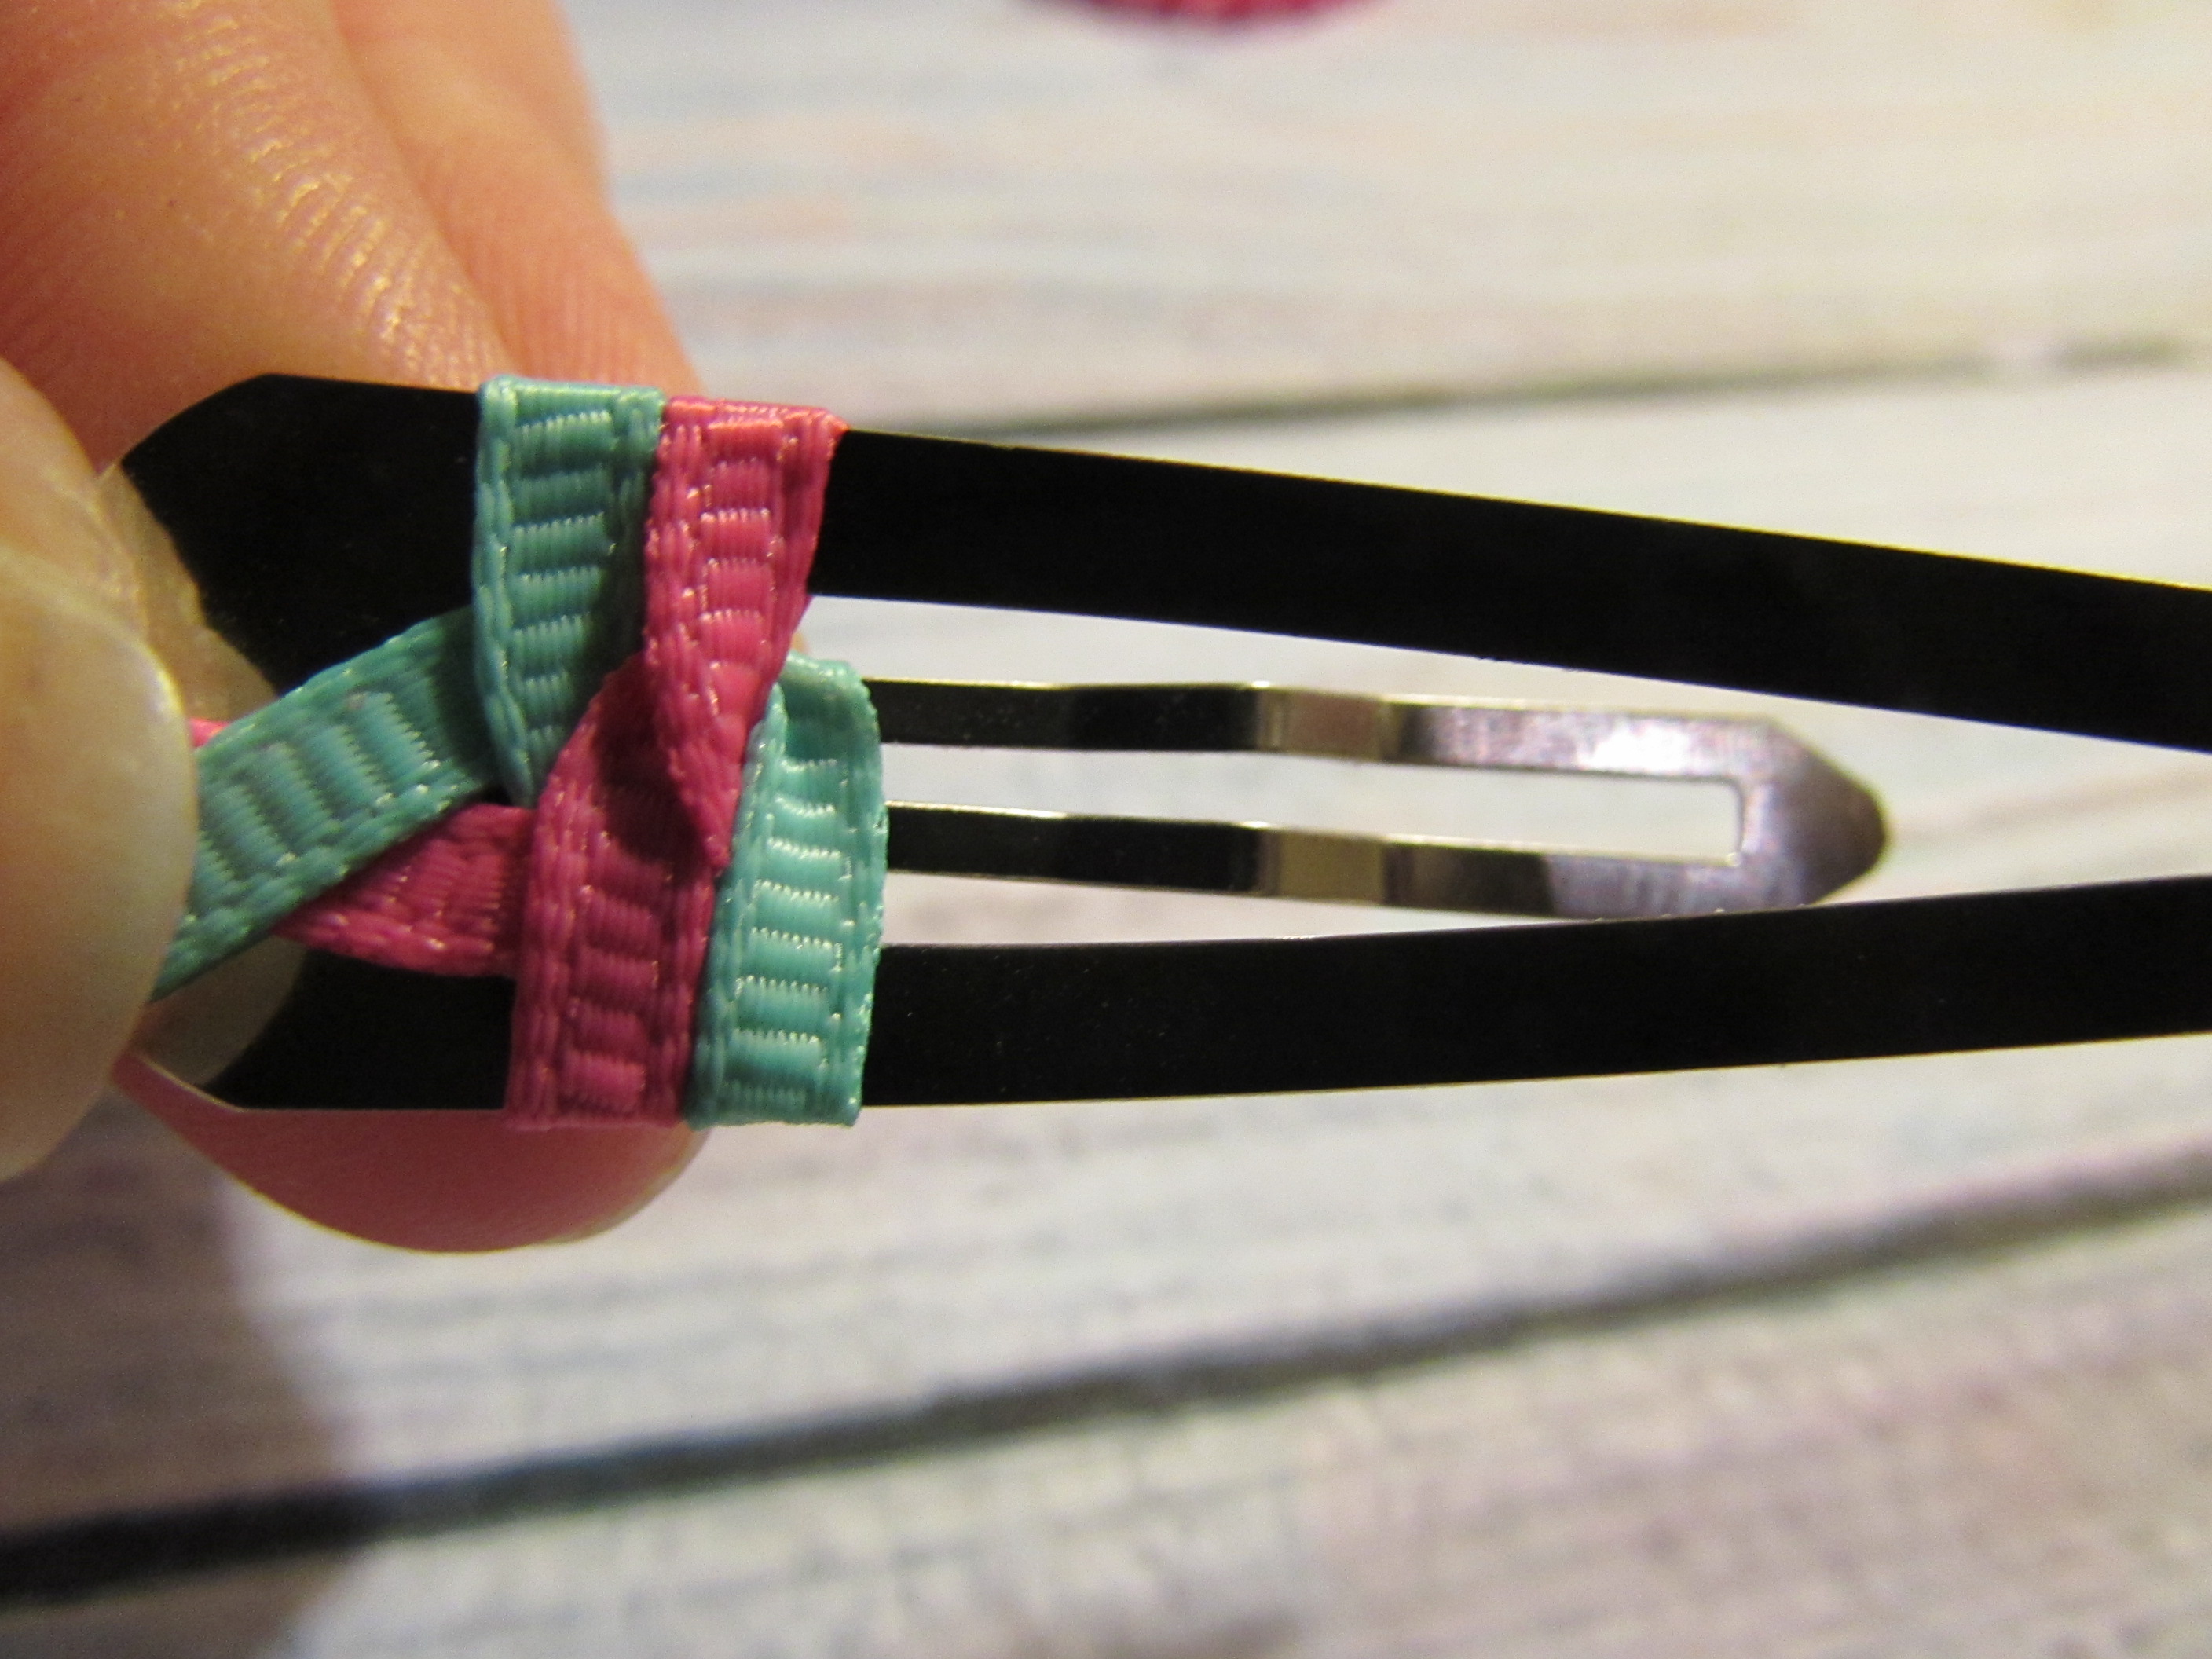 - Don't worry about the end of the clip. We will cover that with our mini korker bow :-)
* Step 13: Keep repeating Steps 8-12 until your done
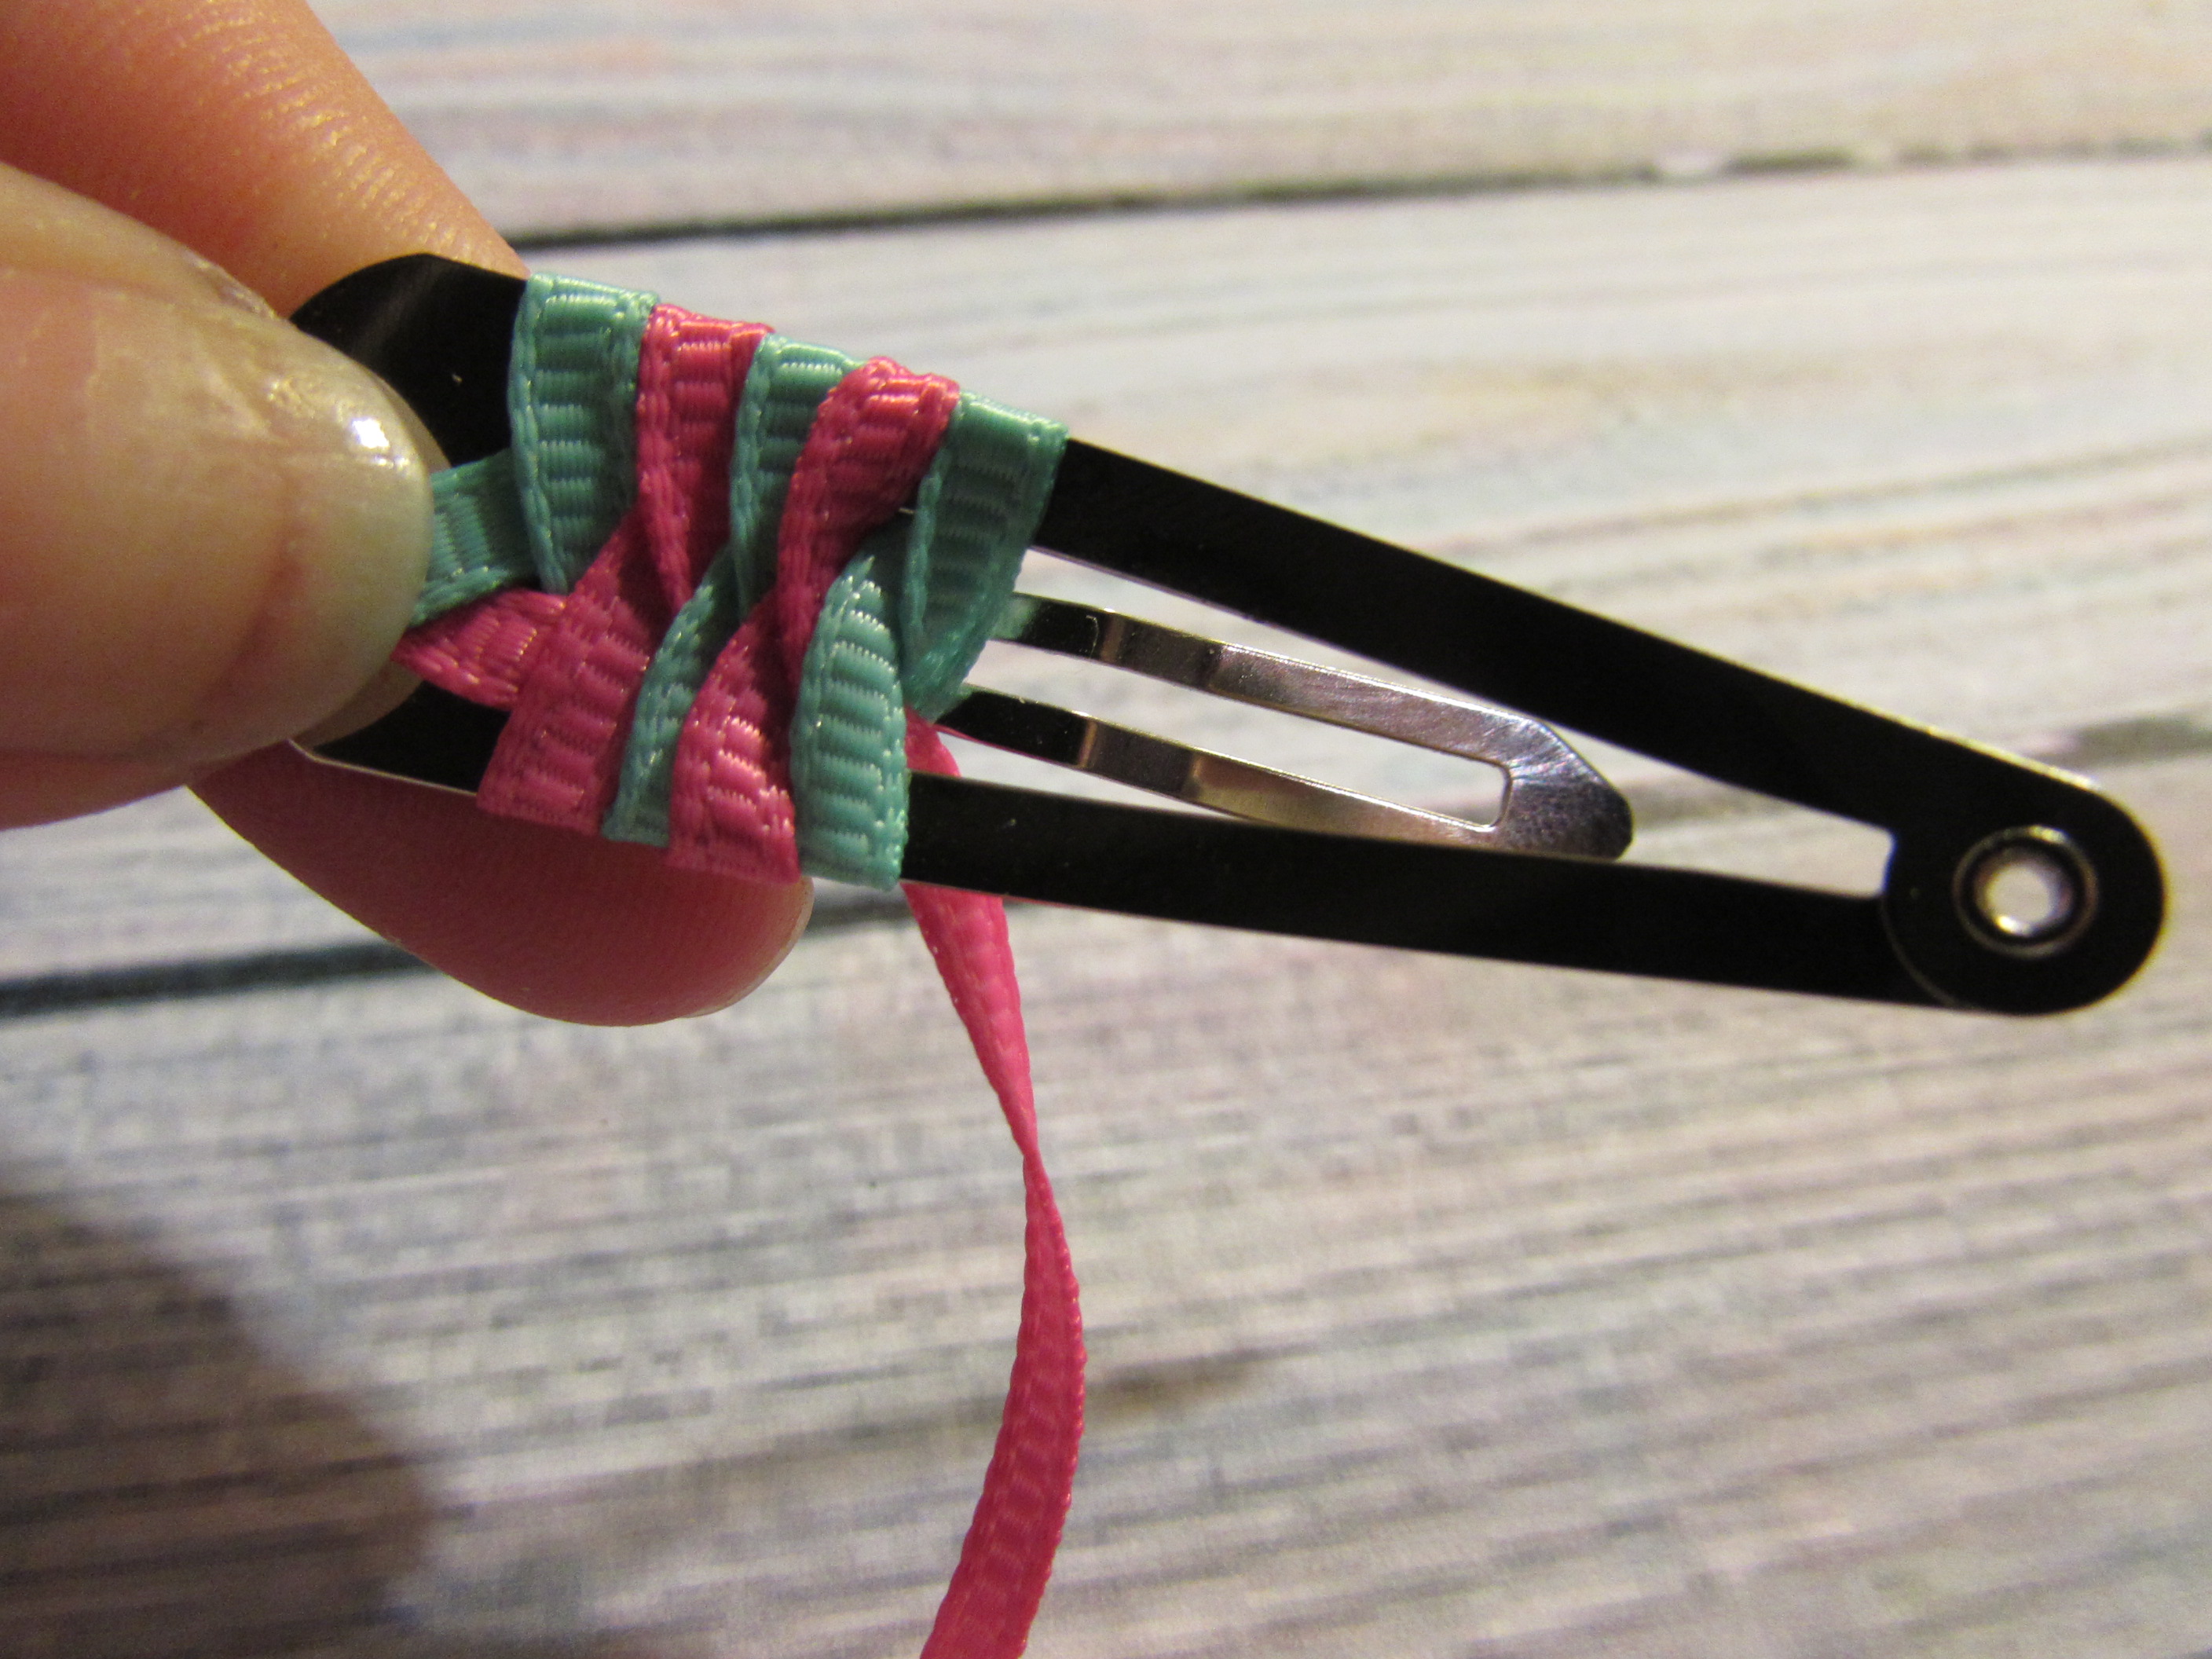
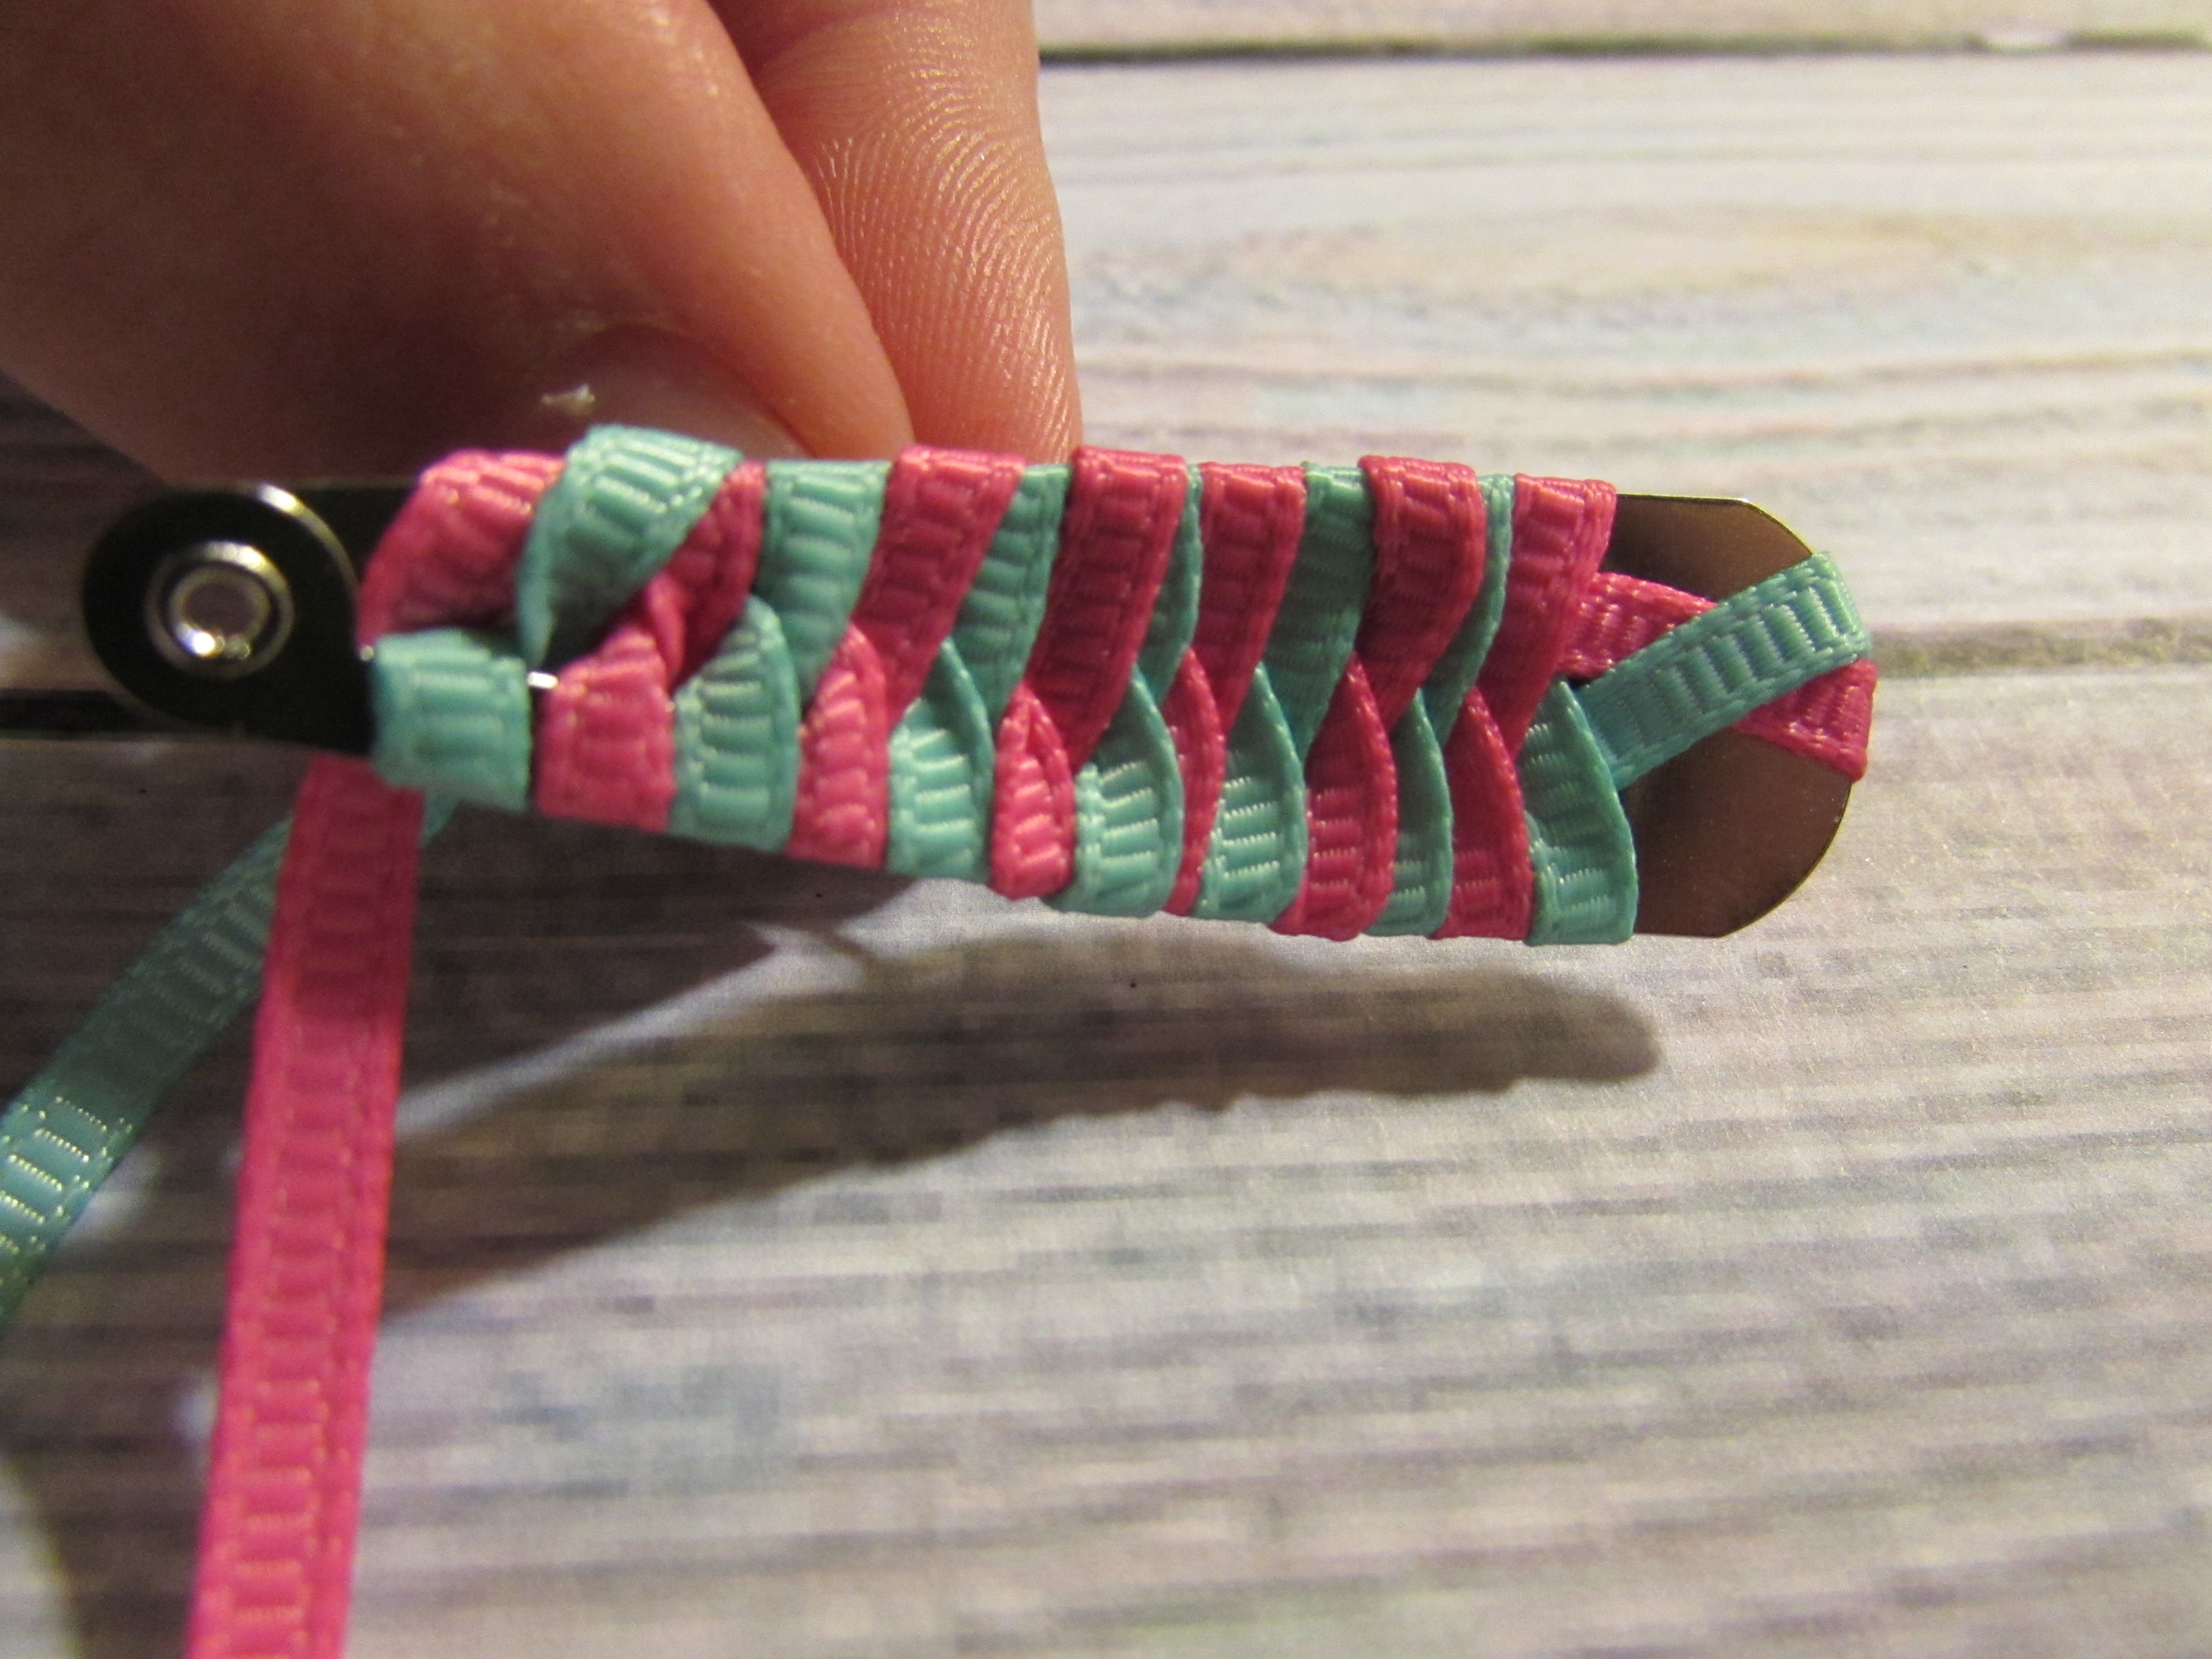
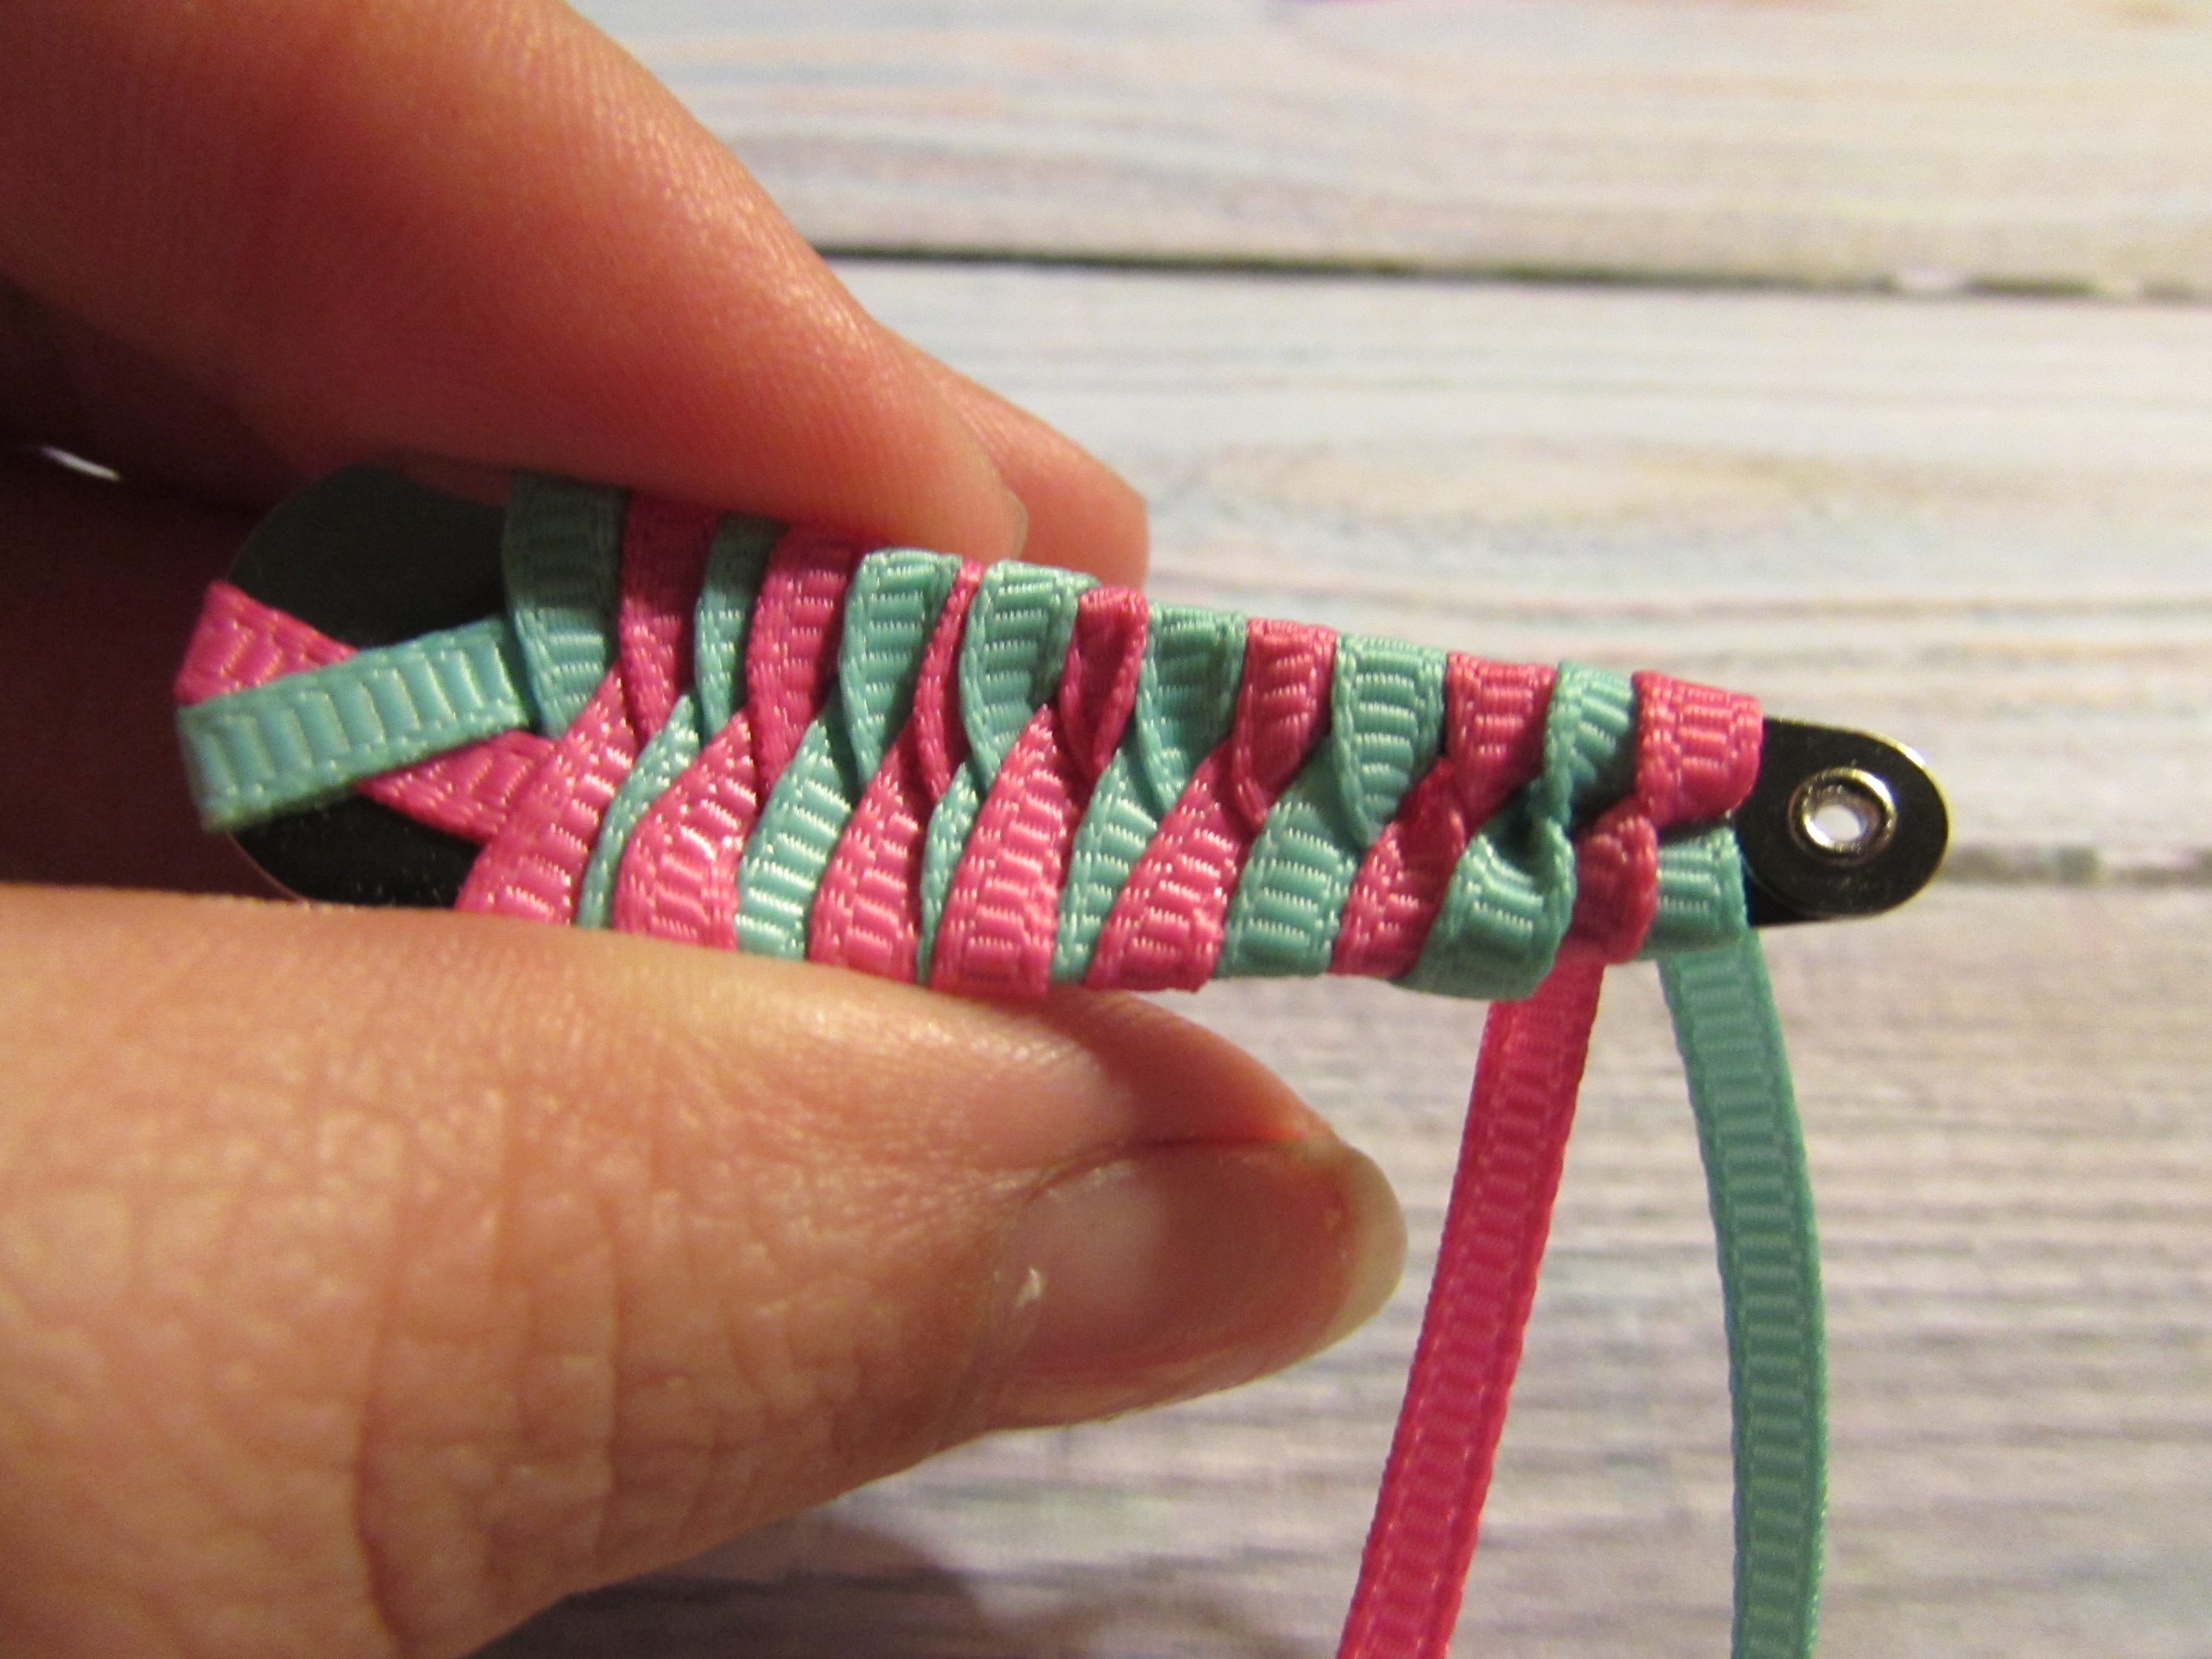 * Step 14: As you near the end you will see it gets a bit tougher to do your weaves. Just keep pushing upward to get the rest of your clip wrapped.
* Step 15: Now your at the end of the clip. How you finish this off is up to you, but this is how I do it.
- Wrap around the clip to the other side.
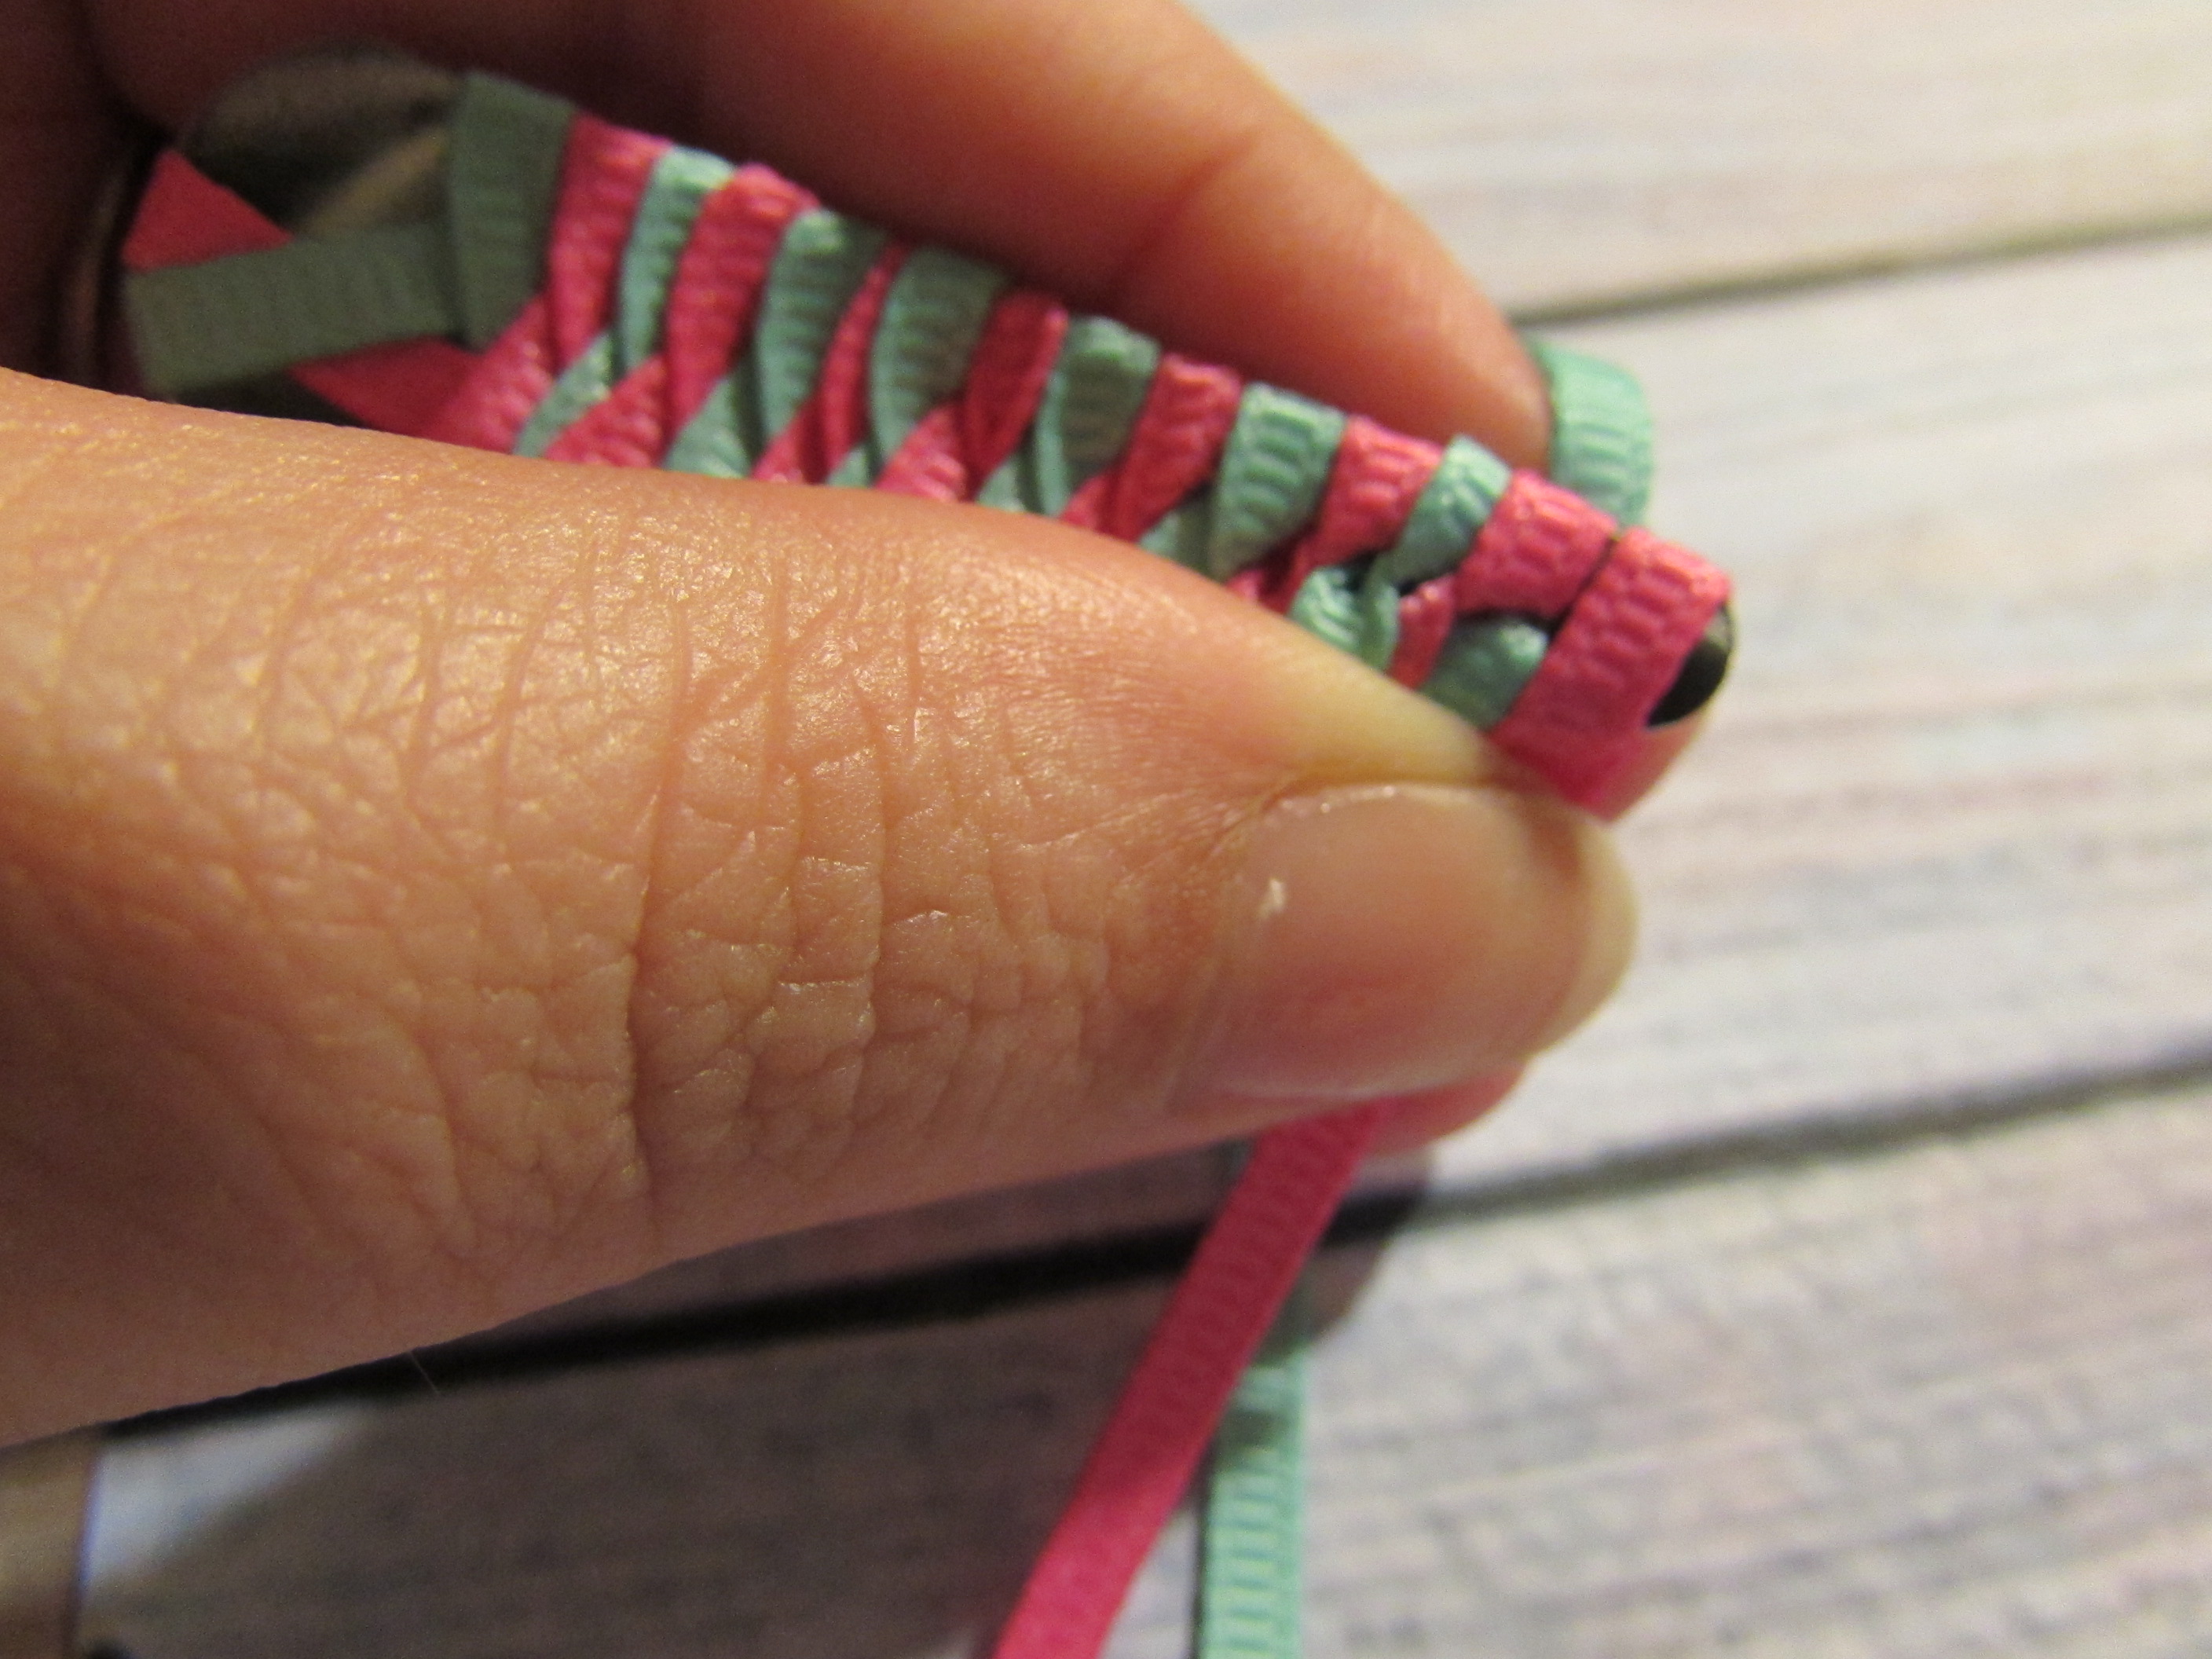 - Hotglue into place
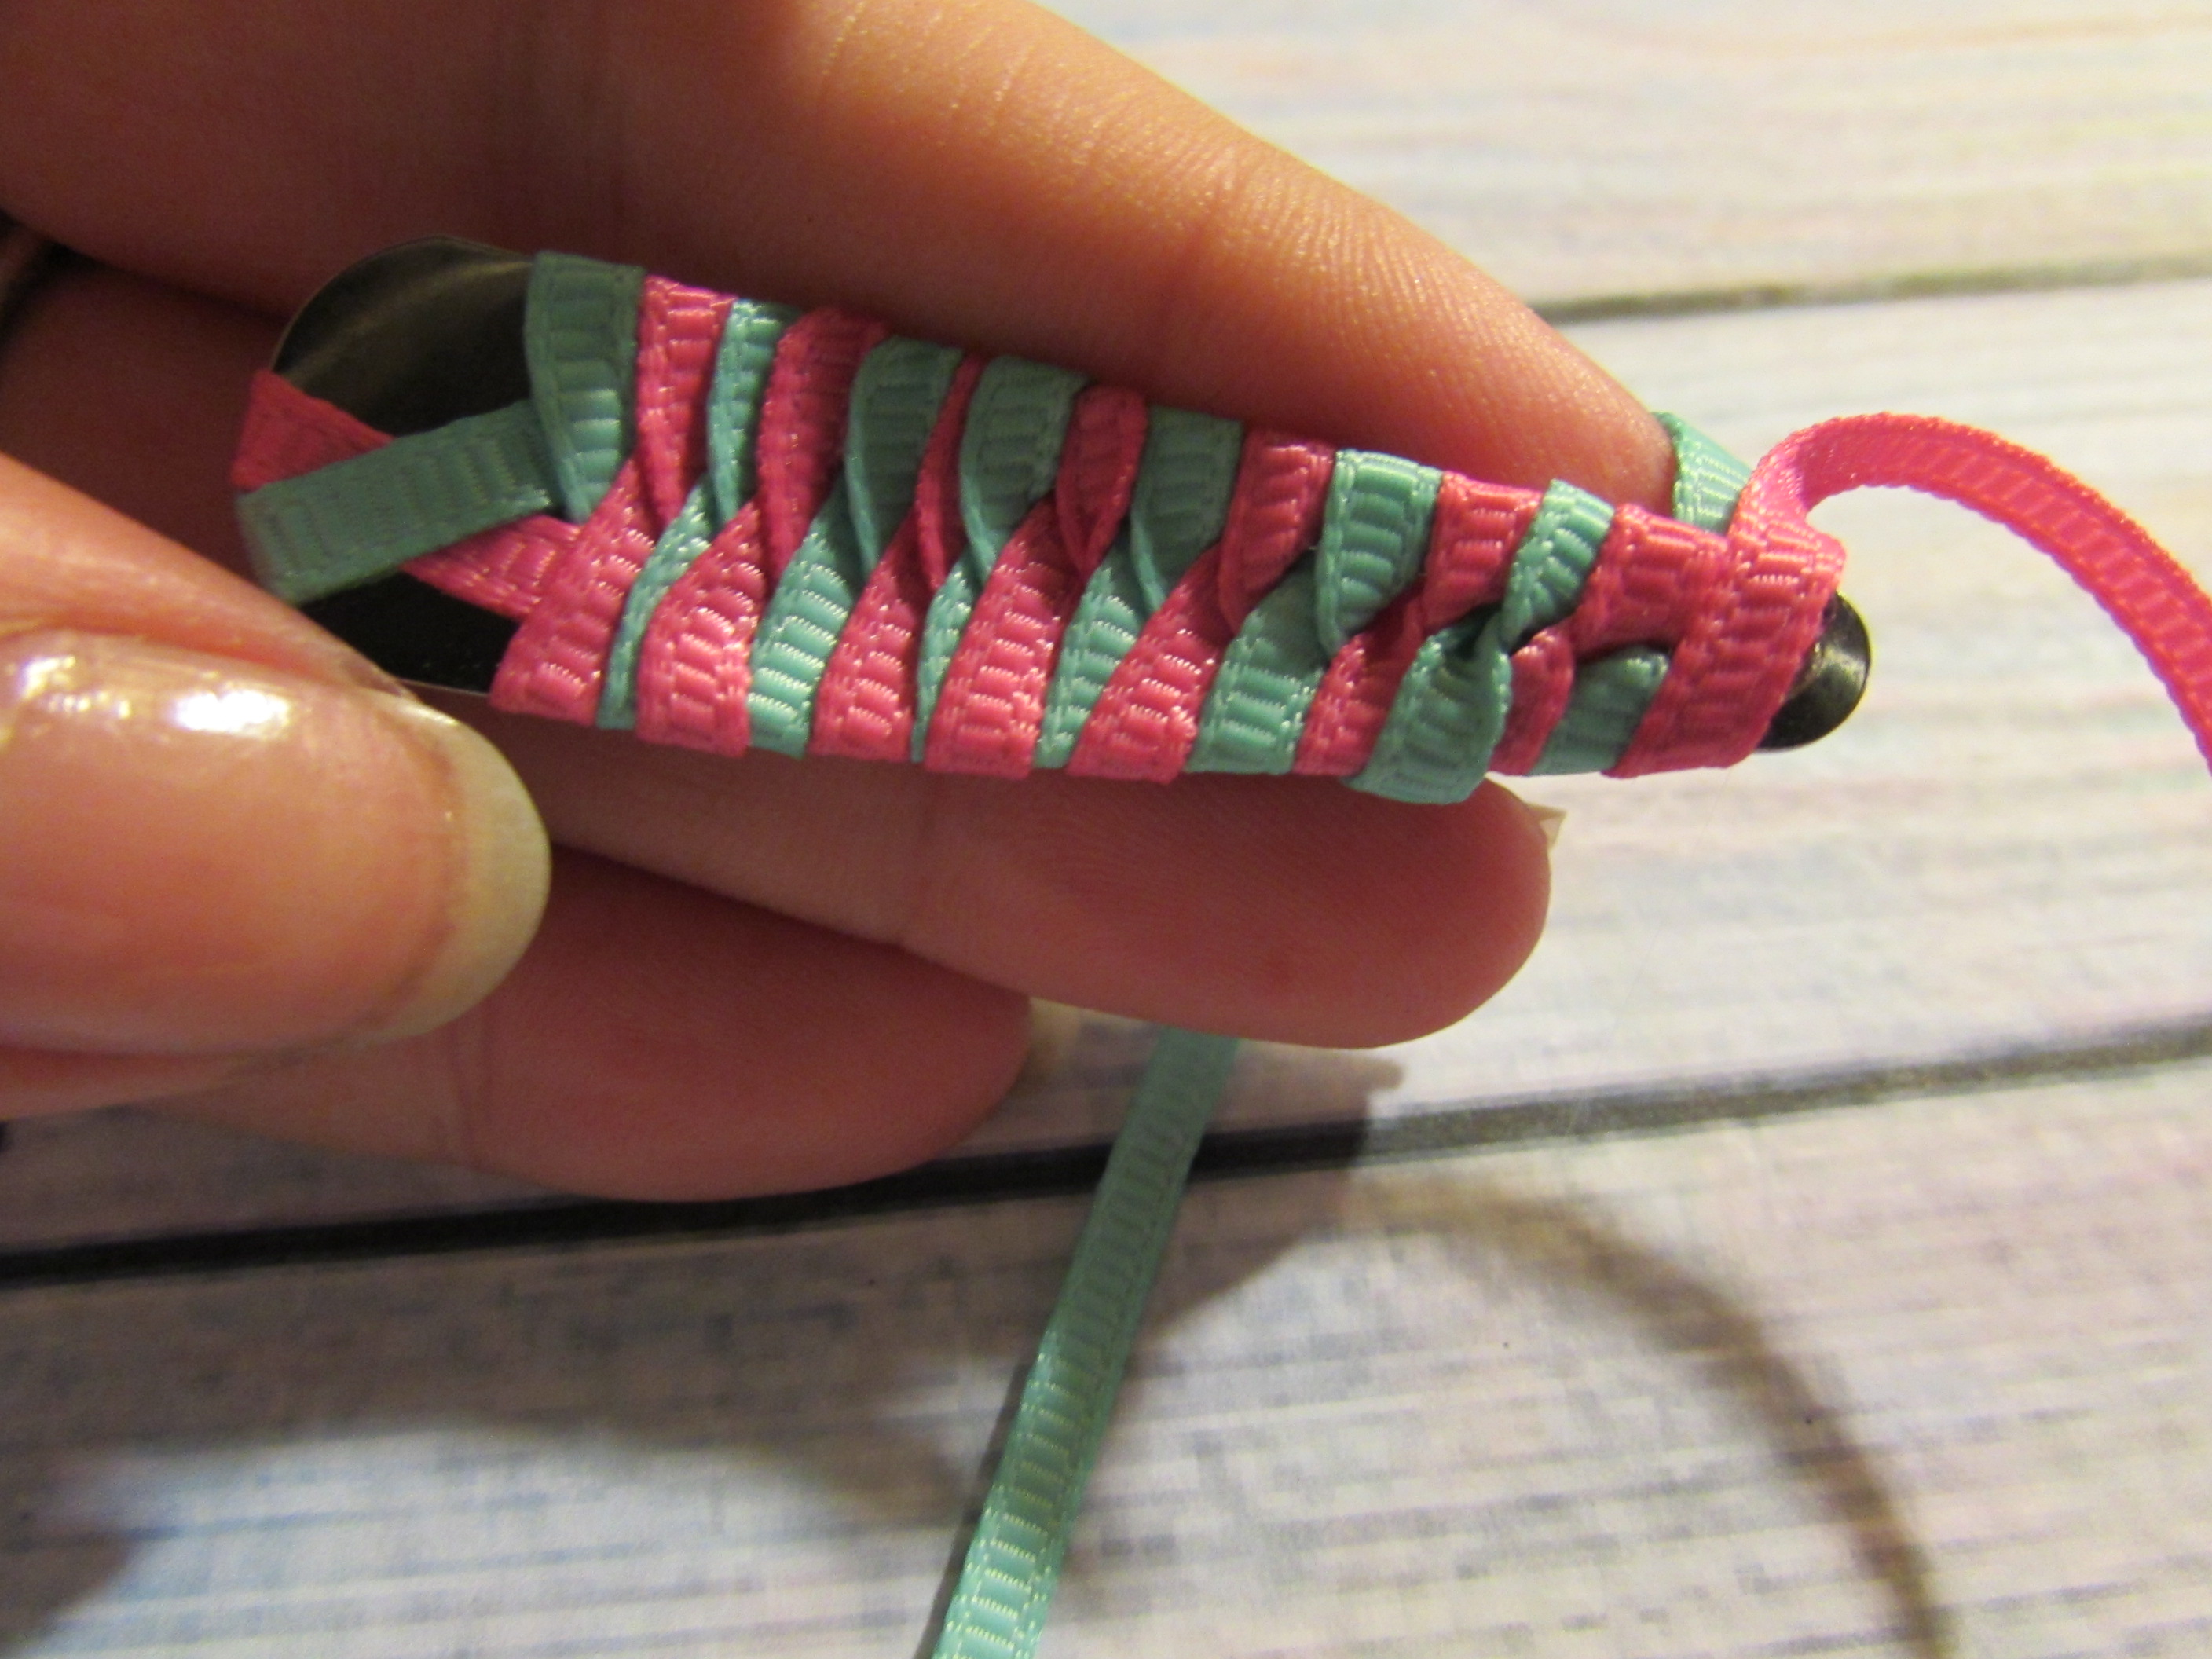 - Wrap the other ribbon to the other side --- keeping the woven effect
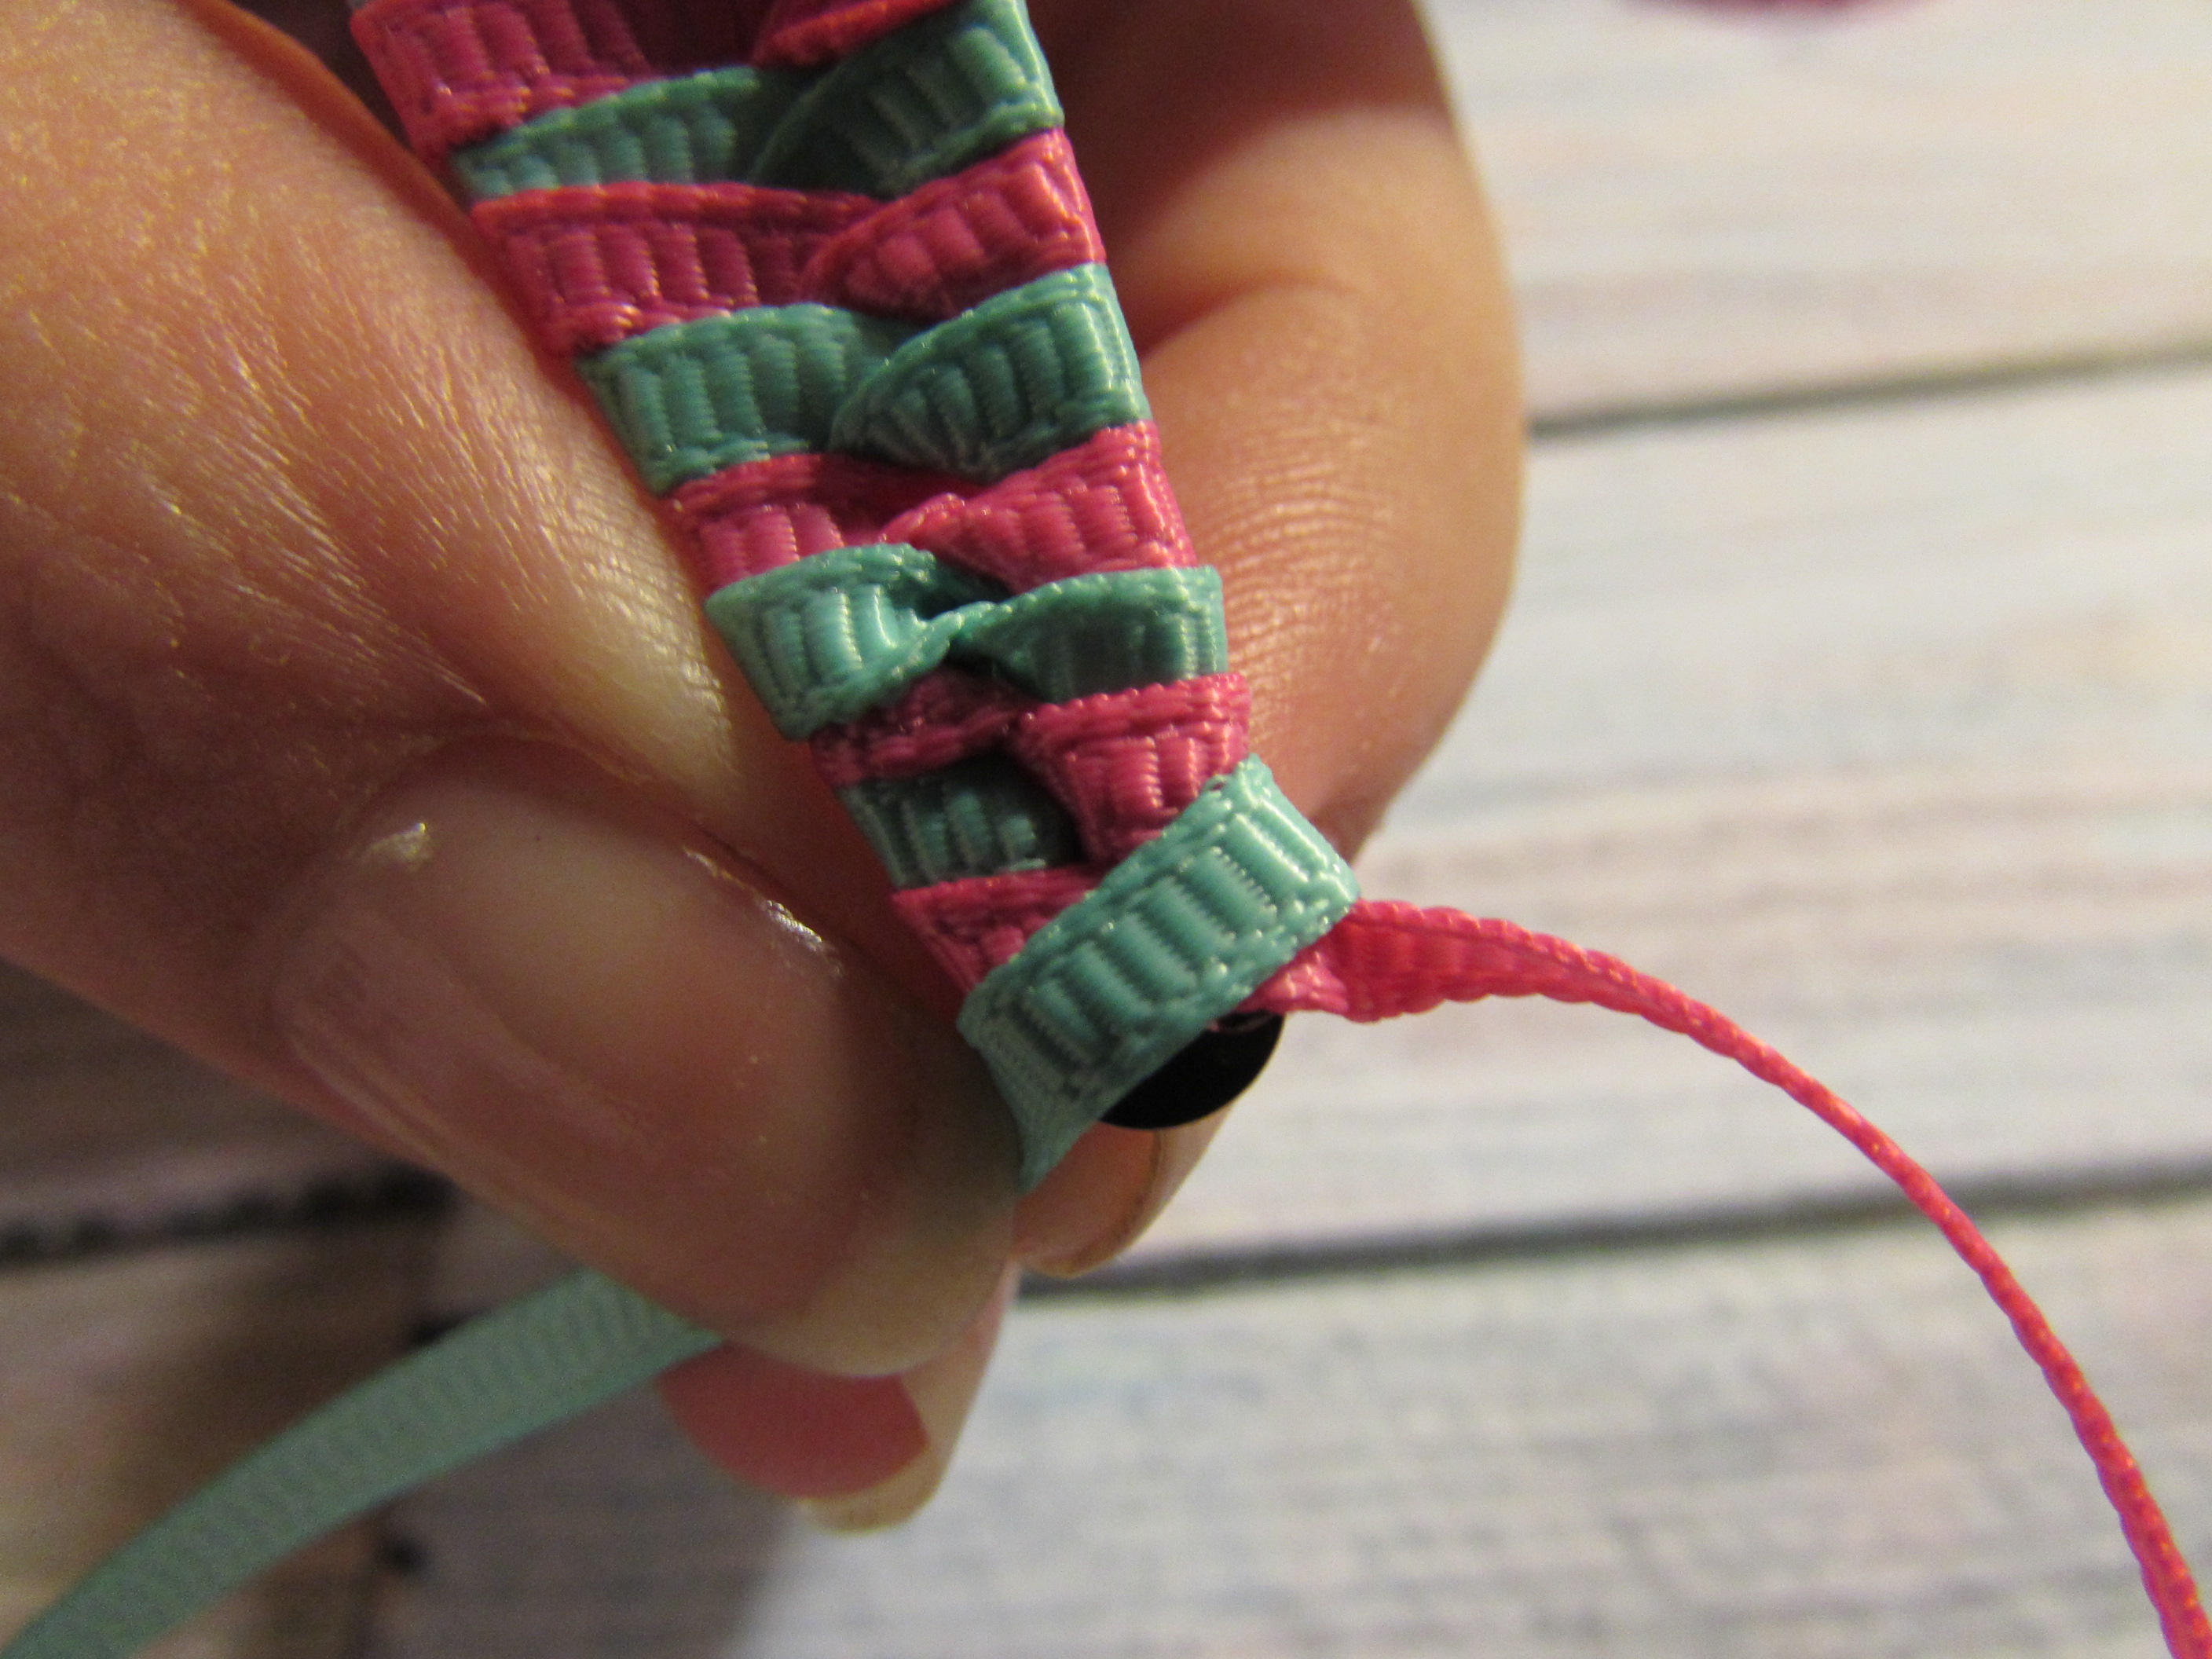 - Hotglue into place
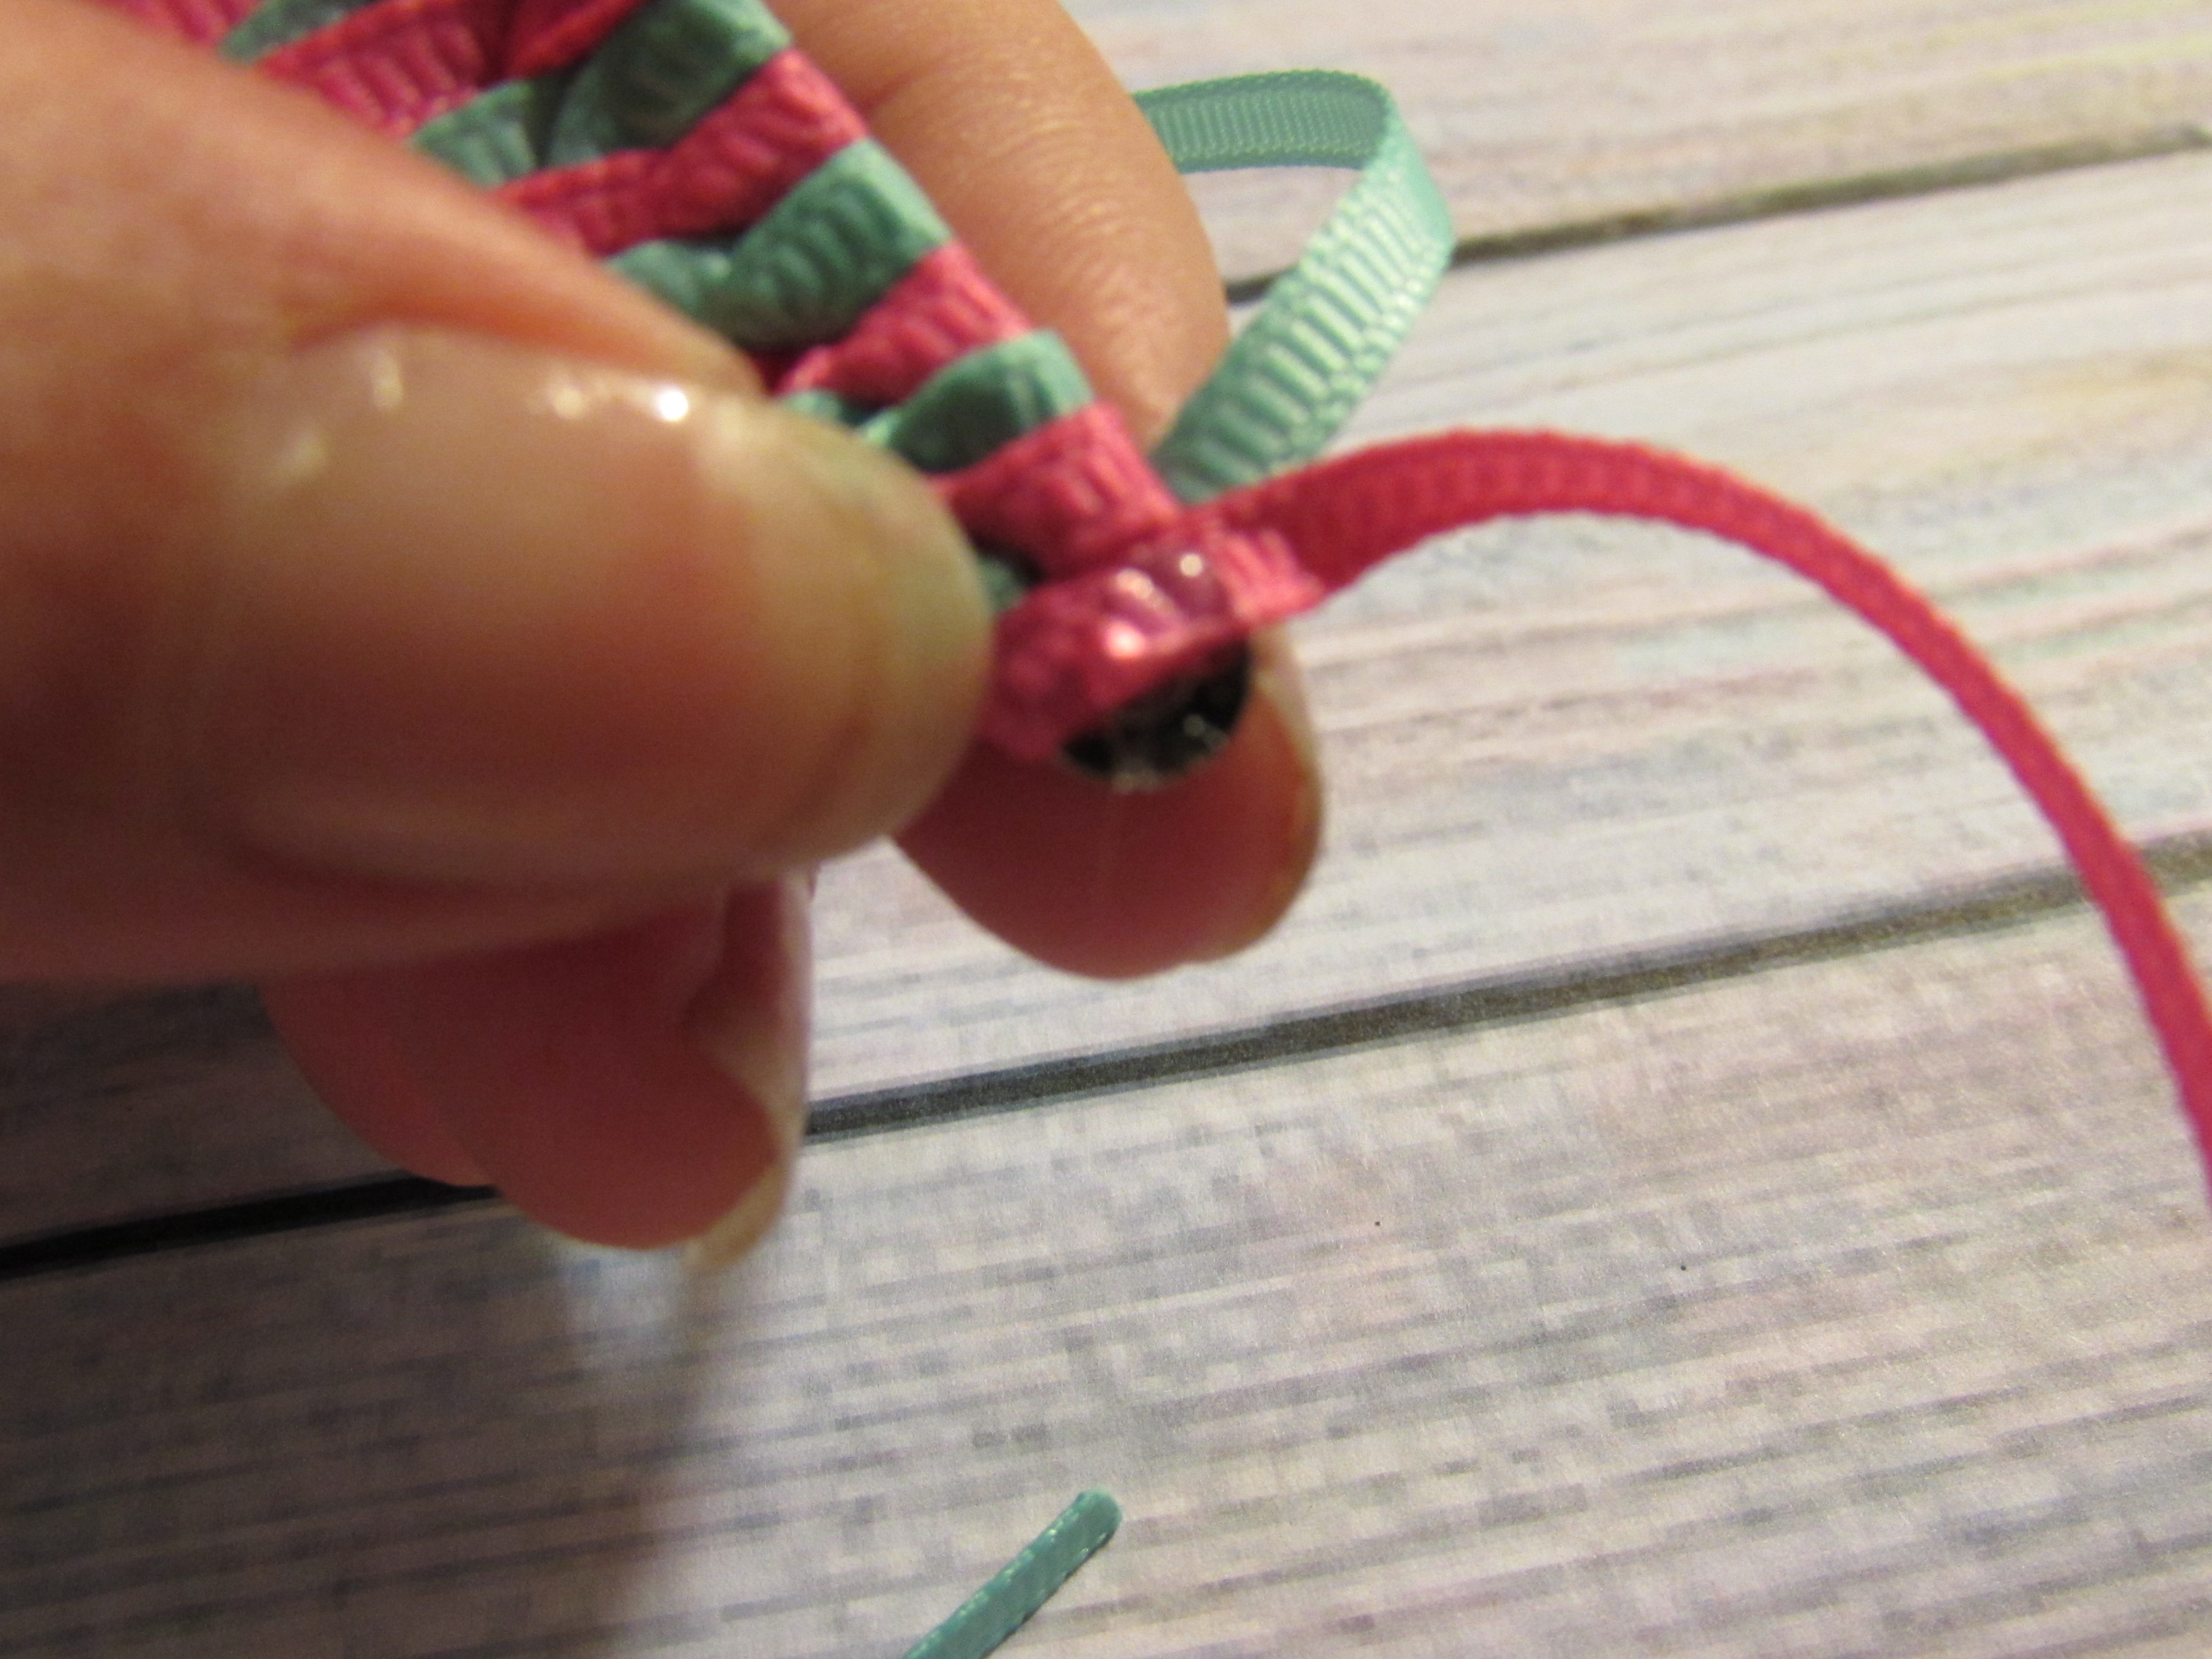 * Step 16: Flip the clip over and apply hotglue as pictured

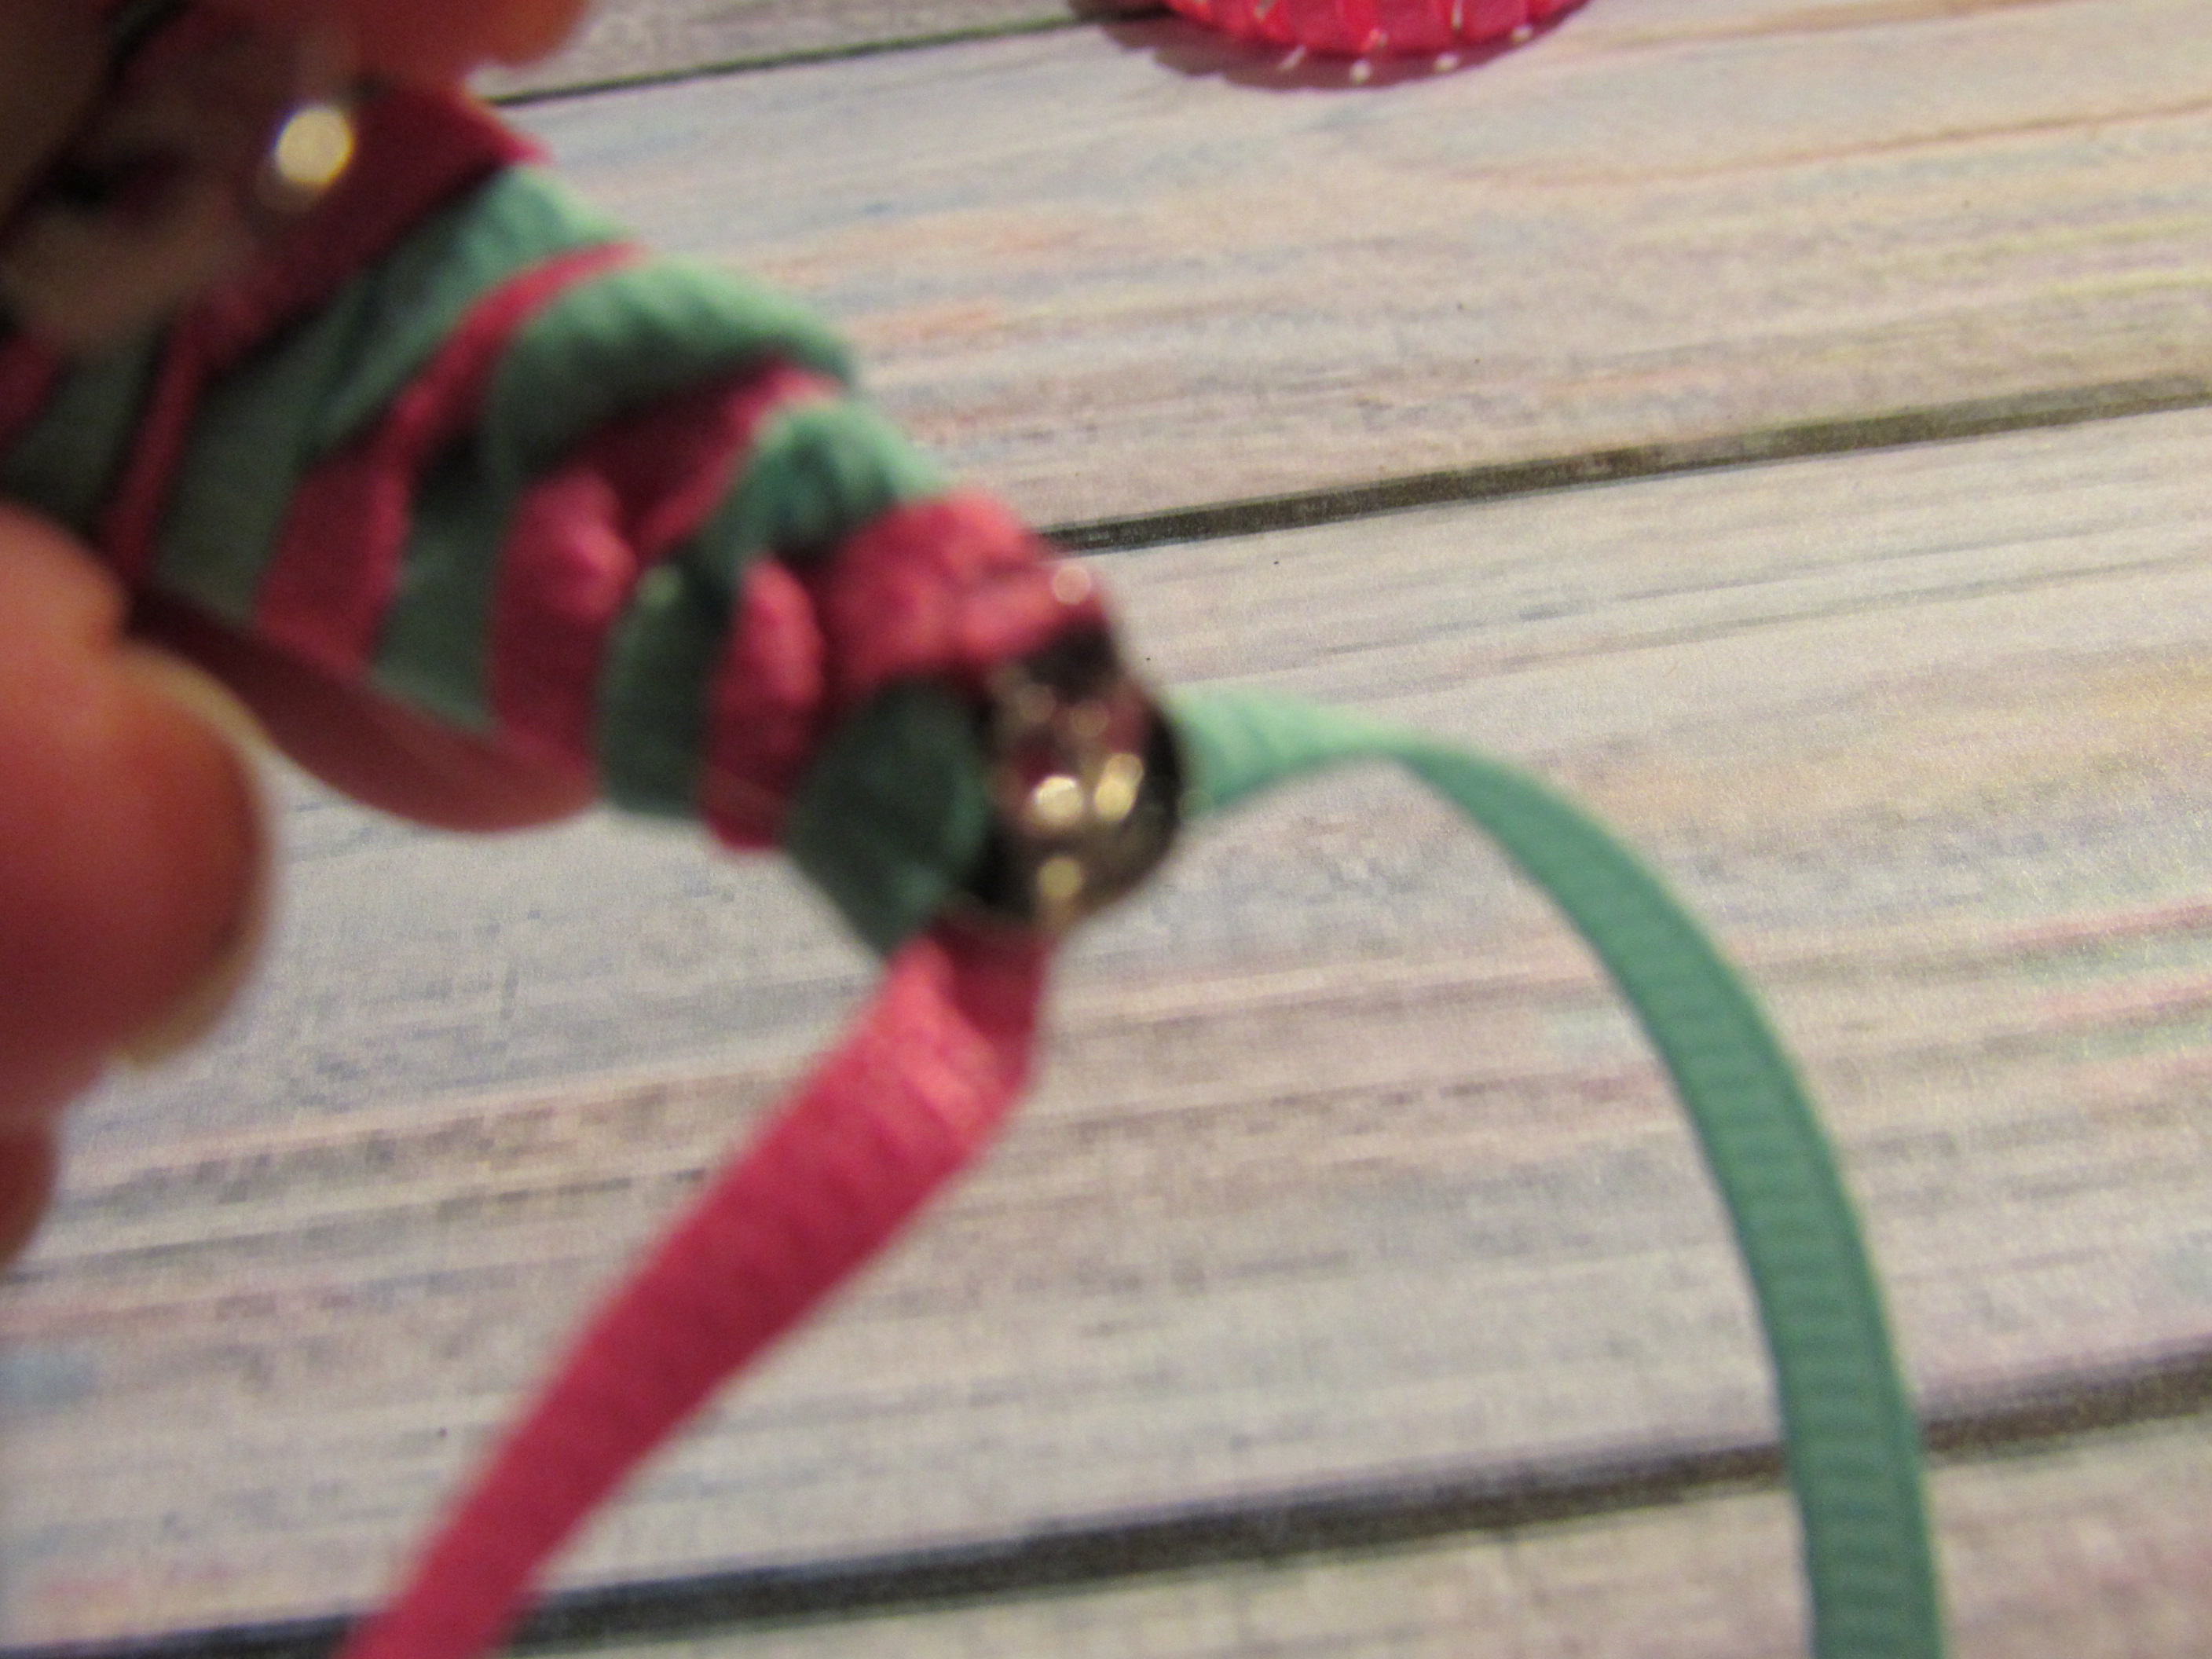 * Step 17: Do same for the other ribbon
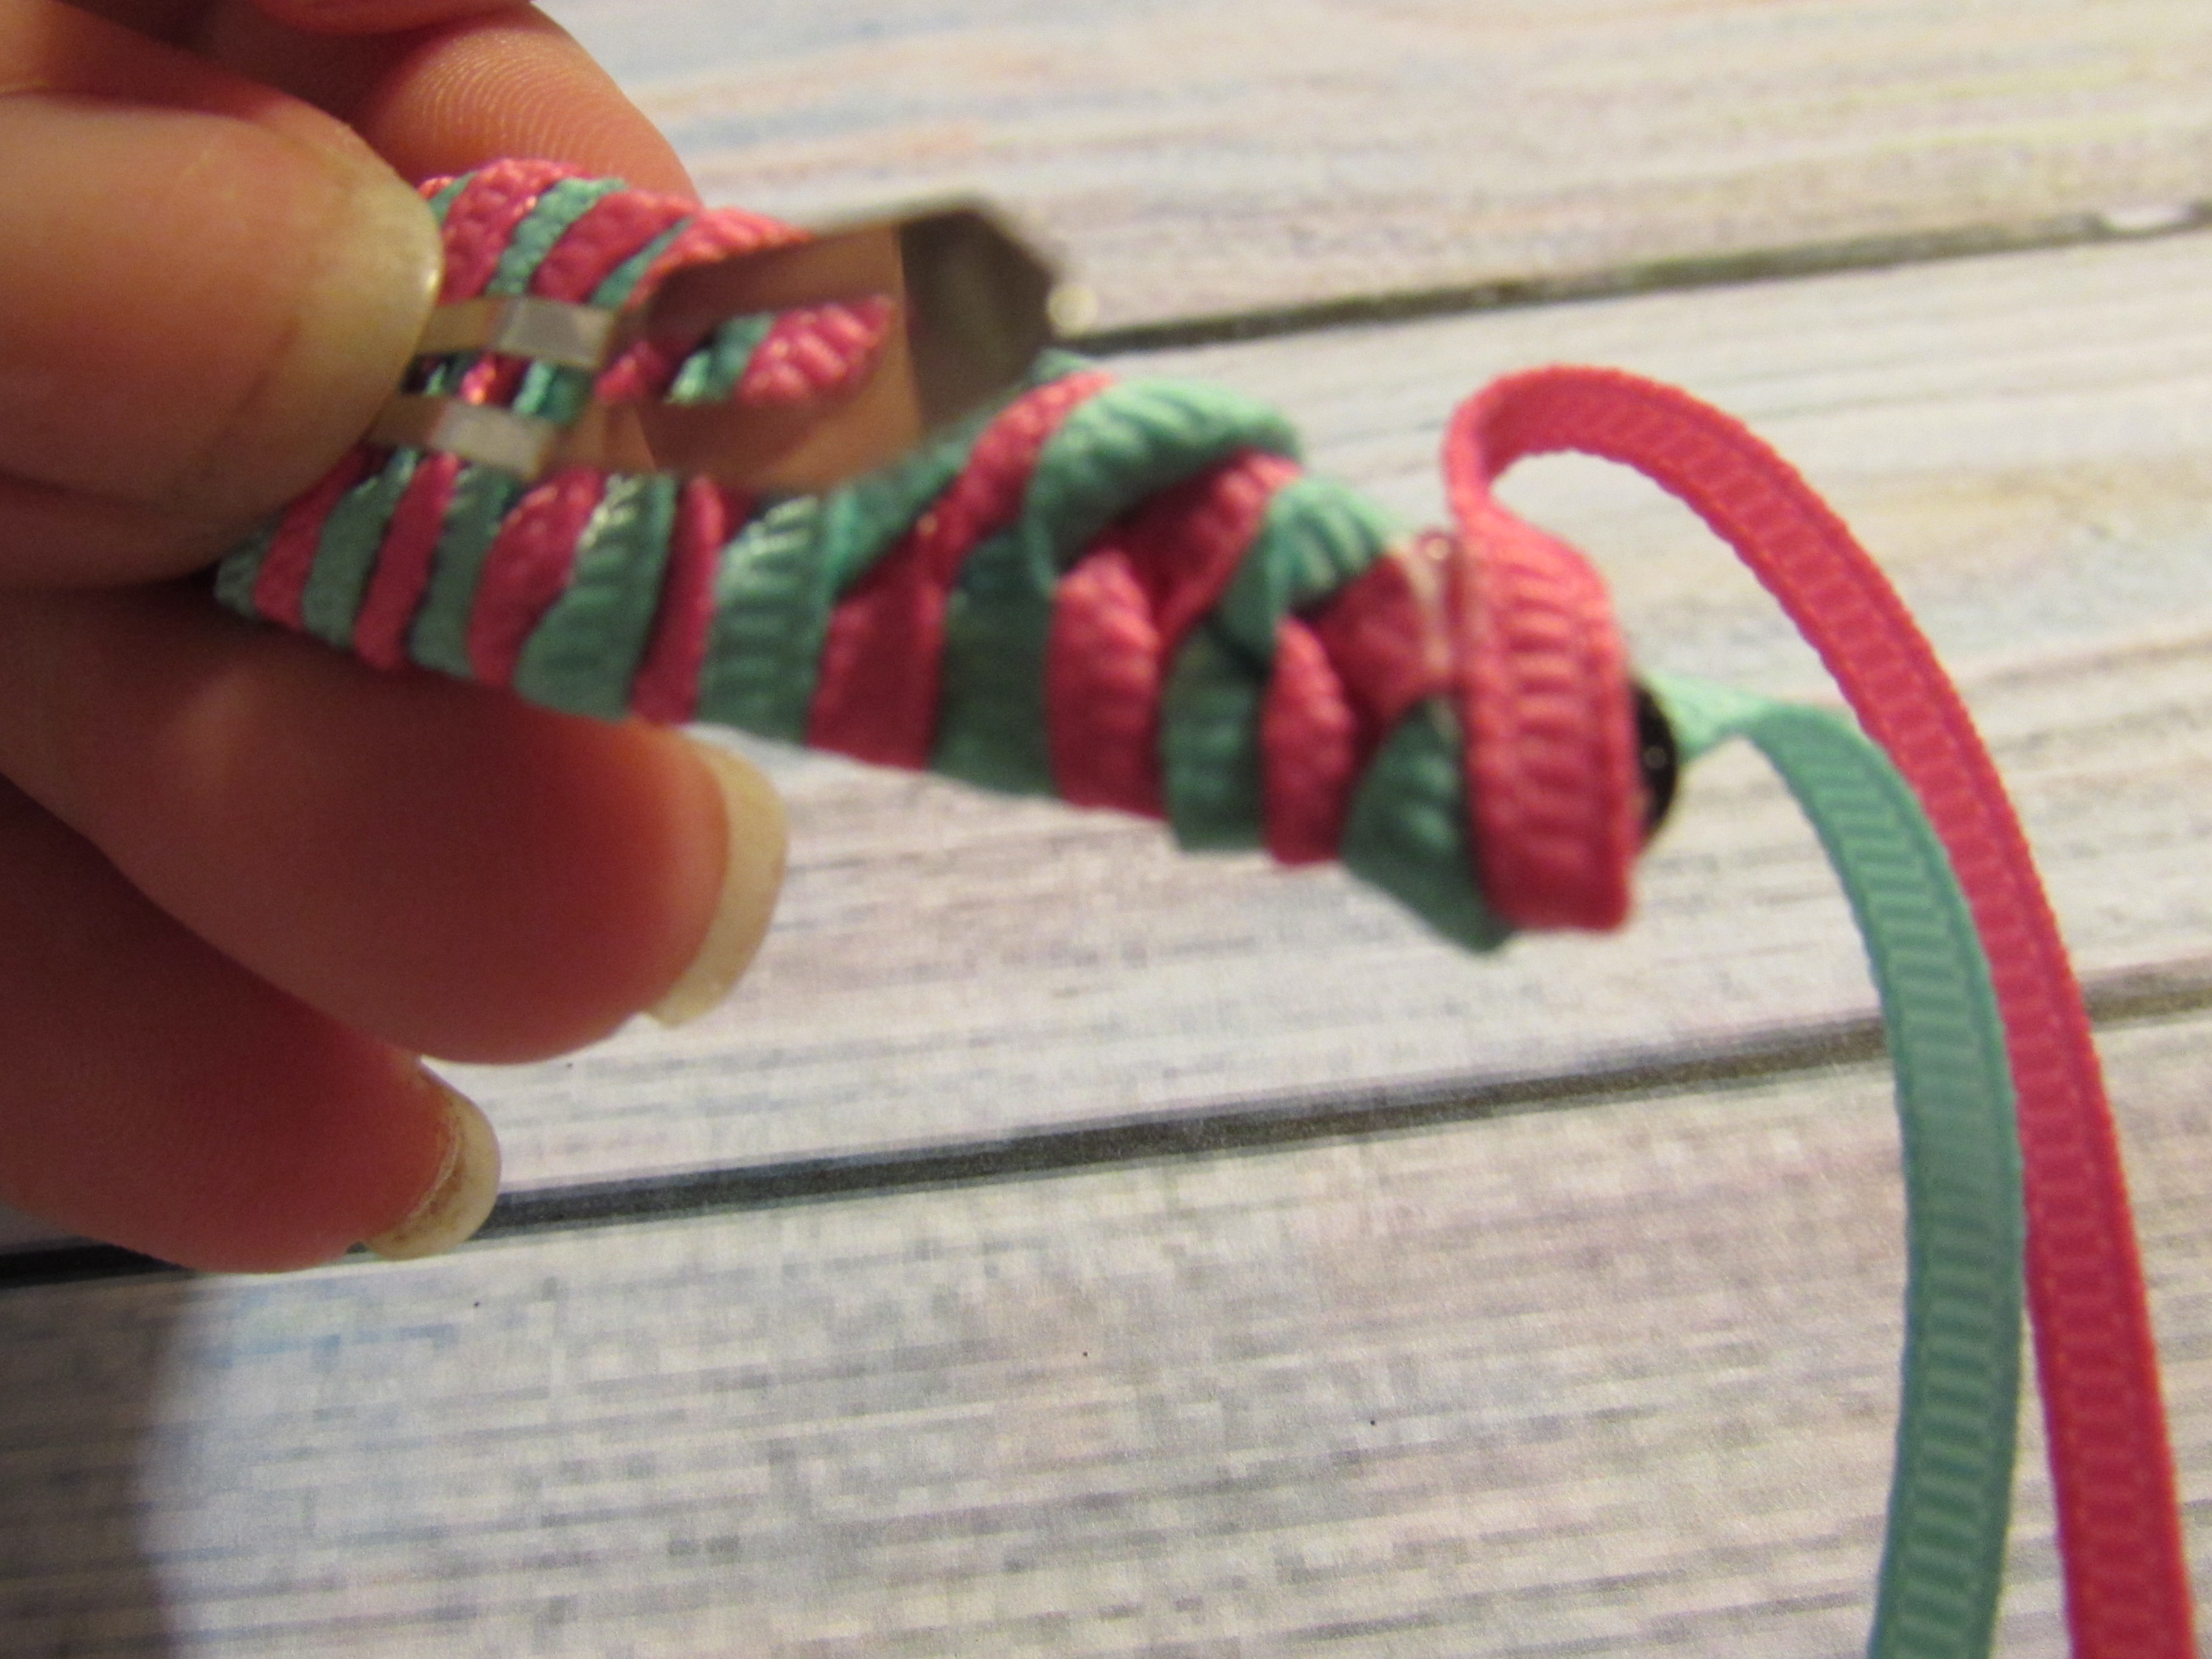
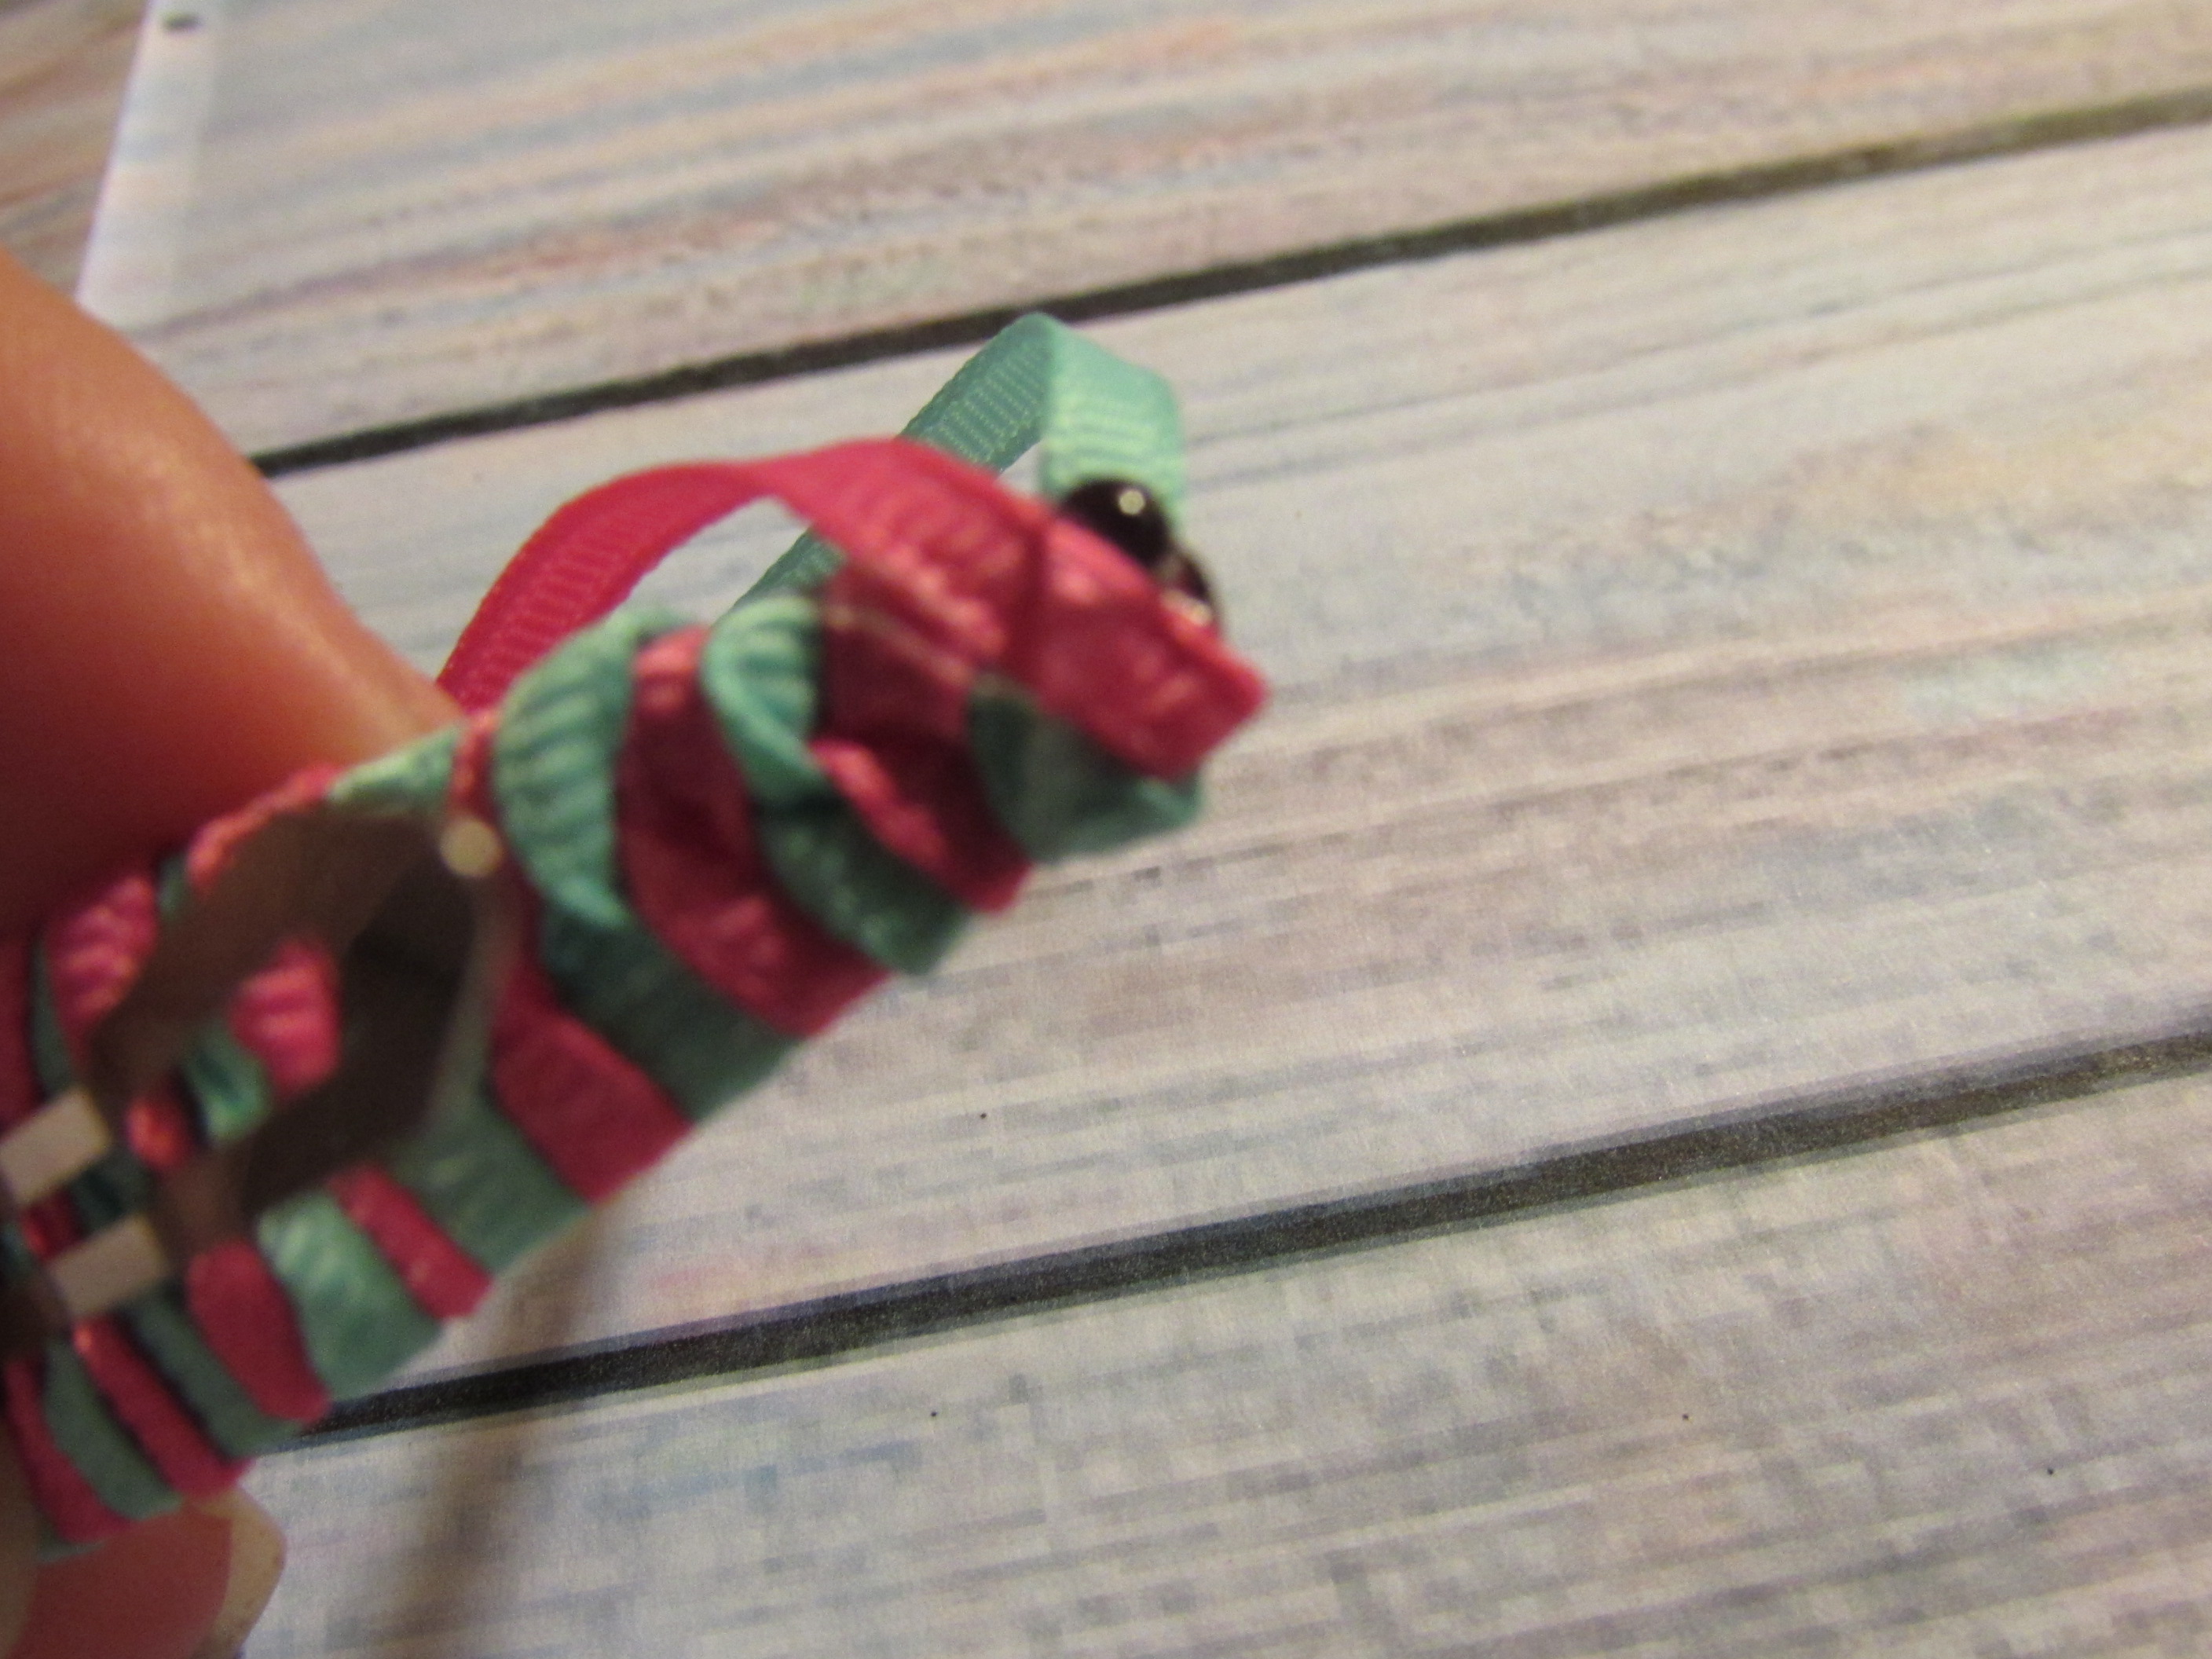 * Step 18: Cut and heat seal ribbon ends
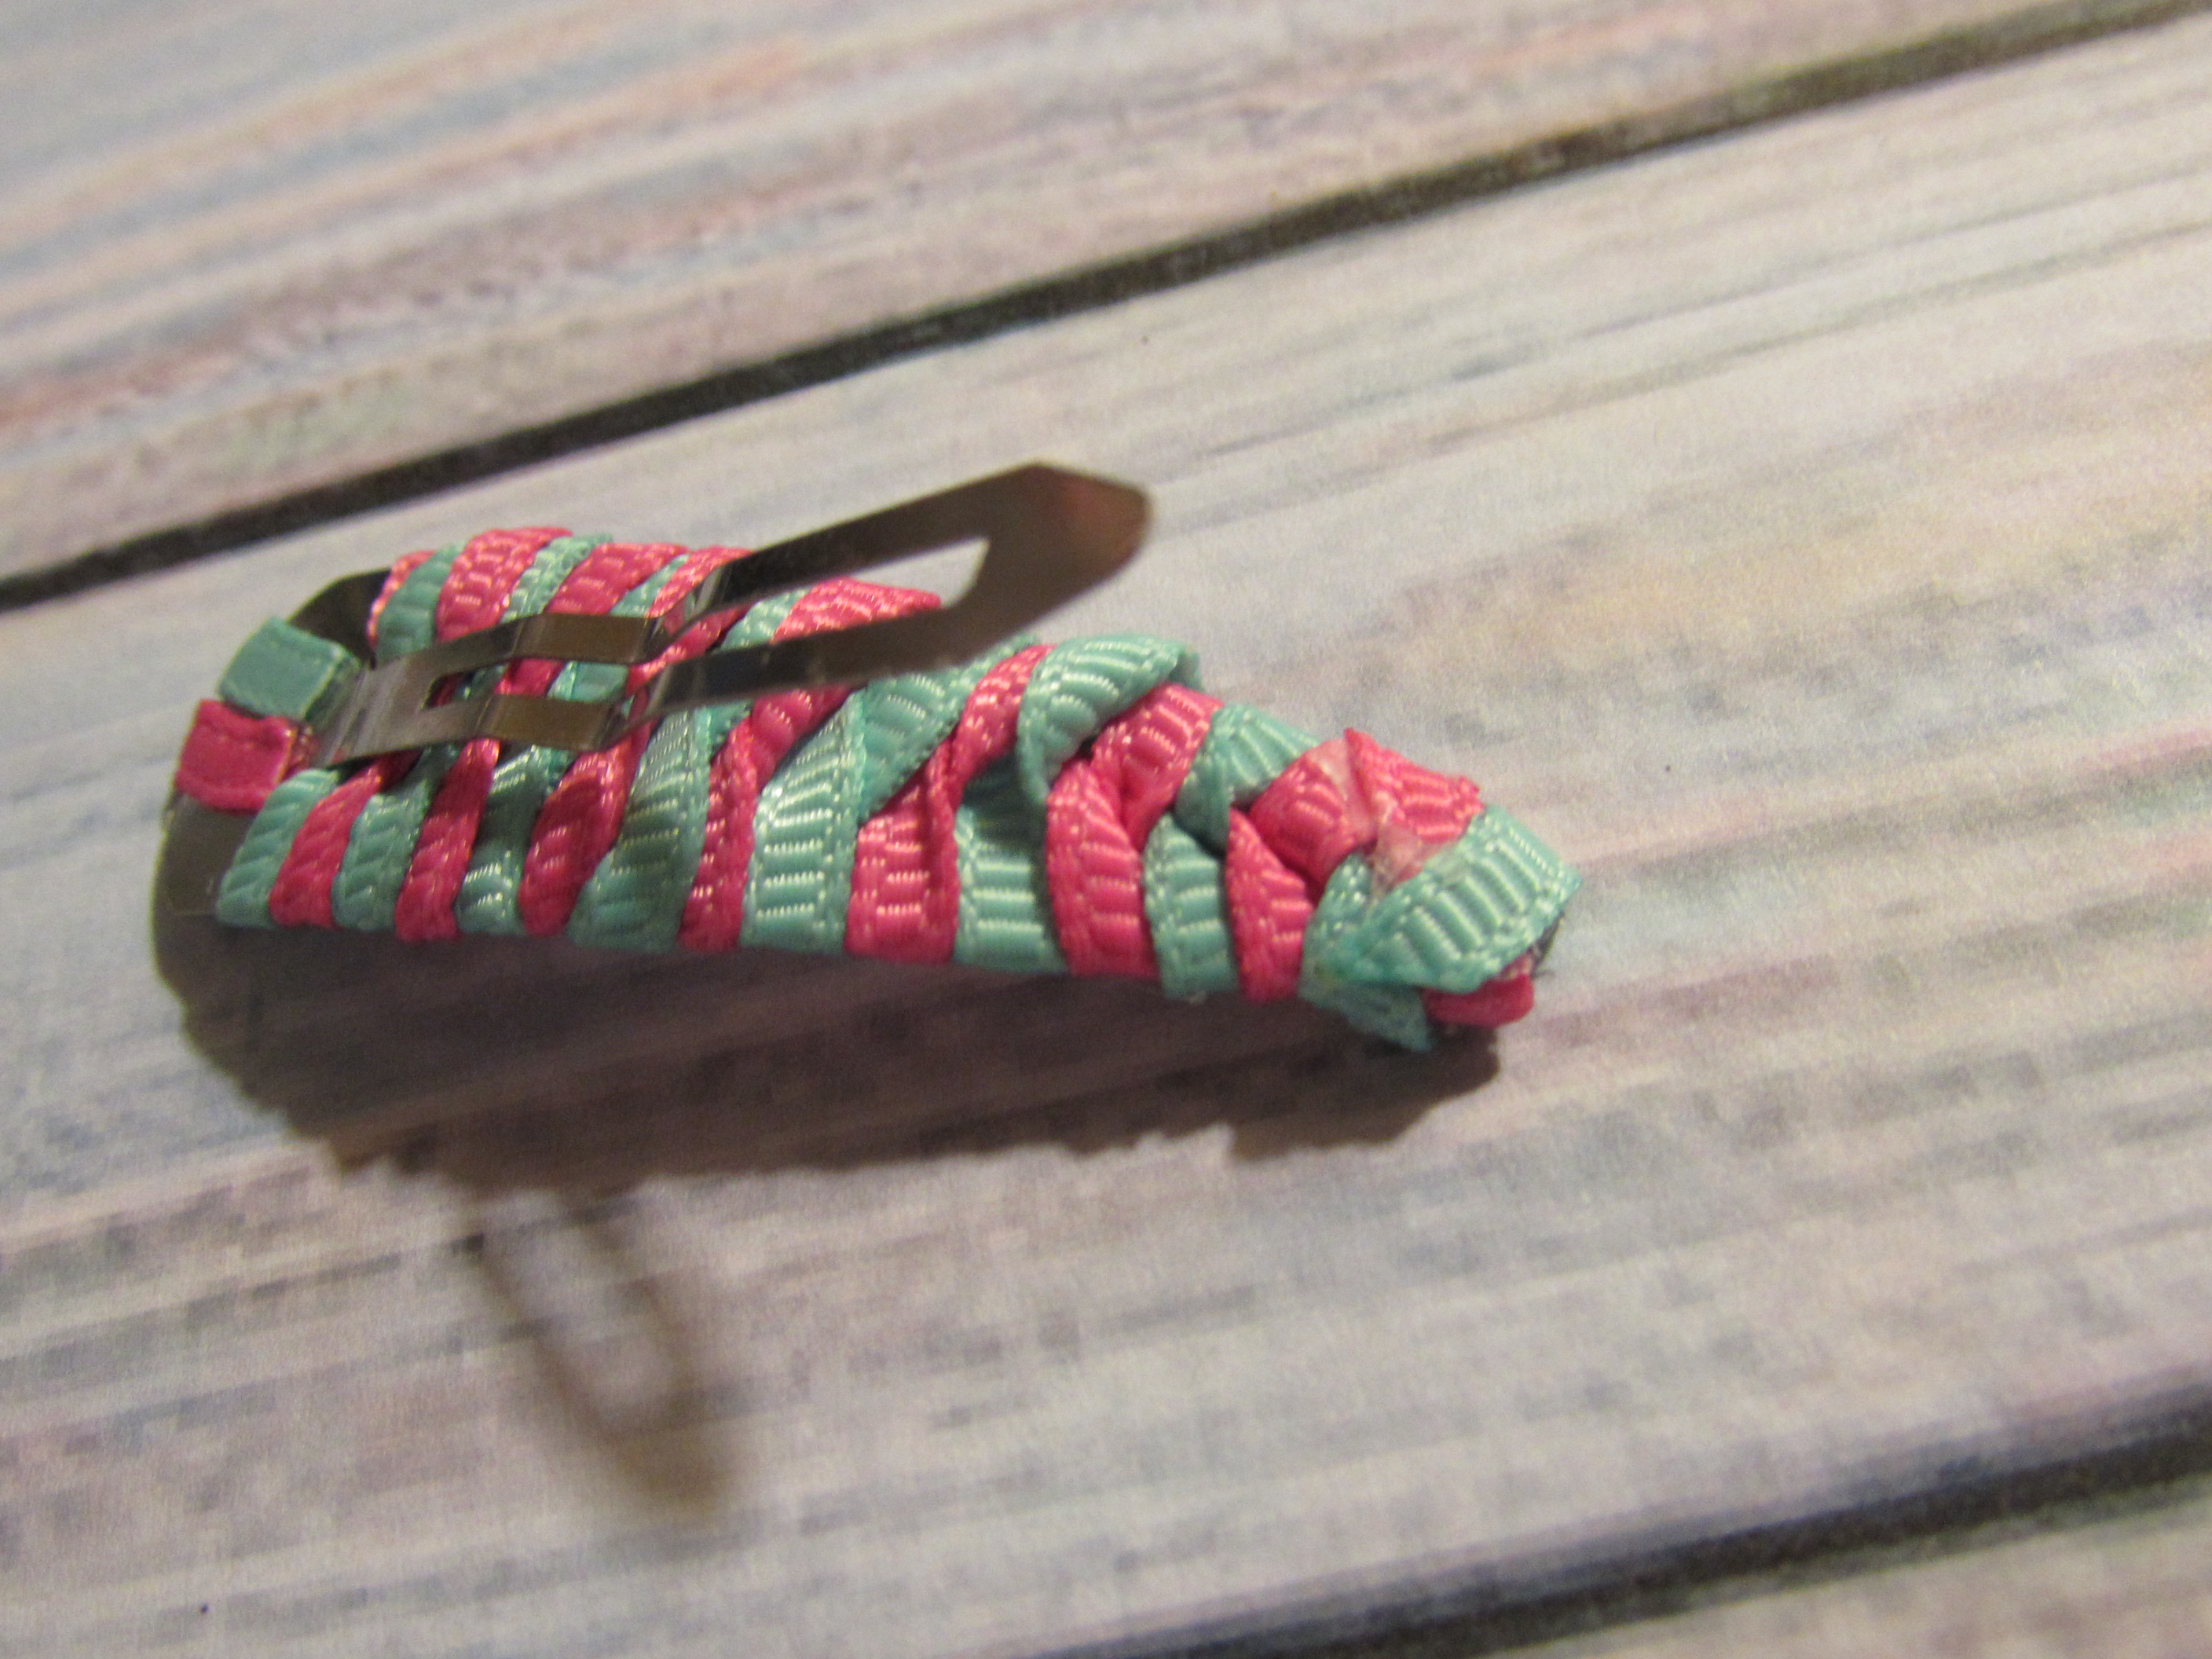 *** Snap and Move to the side.
* Part 2: Mini Korker Bow
* Step 1: Gather your supplies
Korkers
Lighter
Needle & thread
Scissors
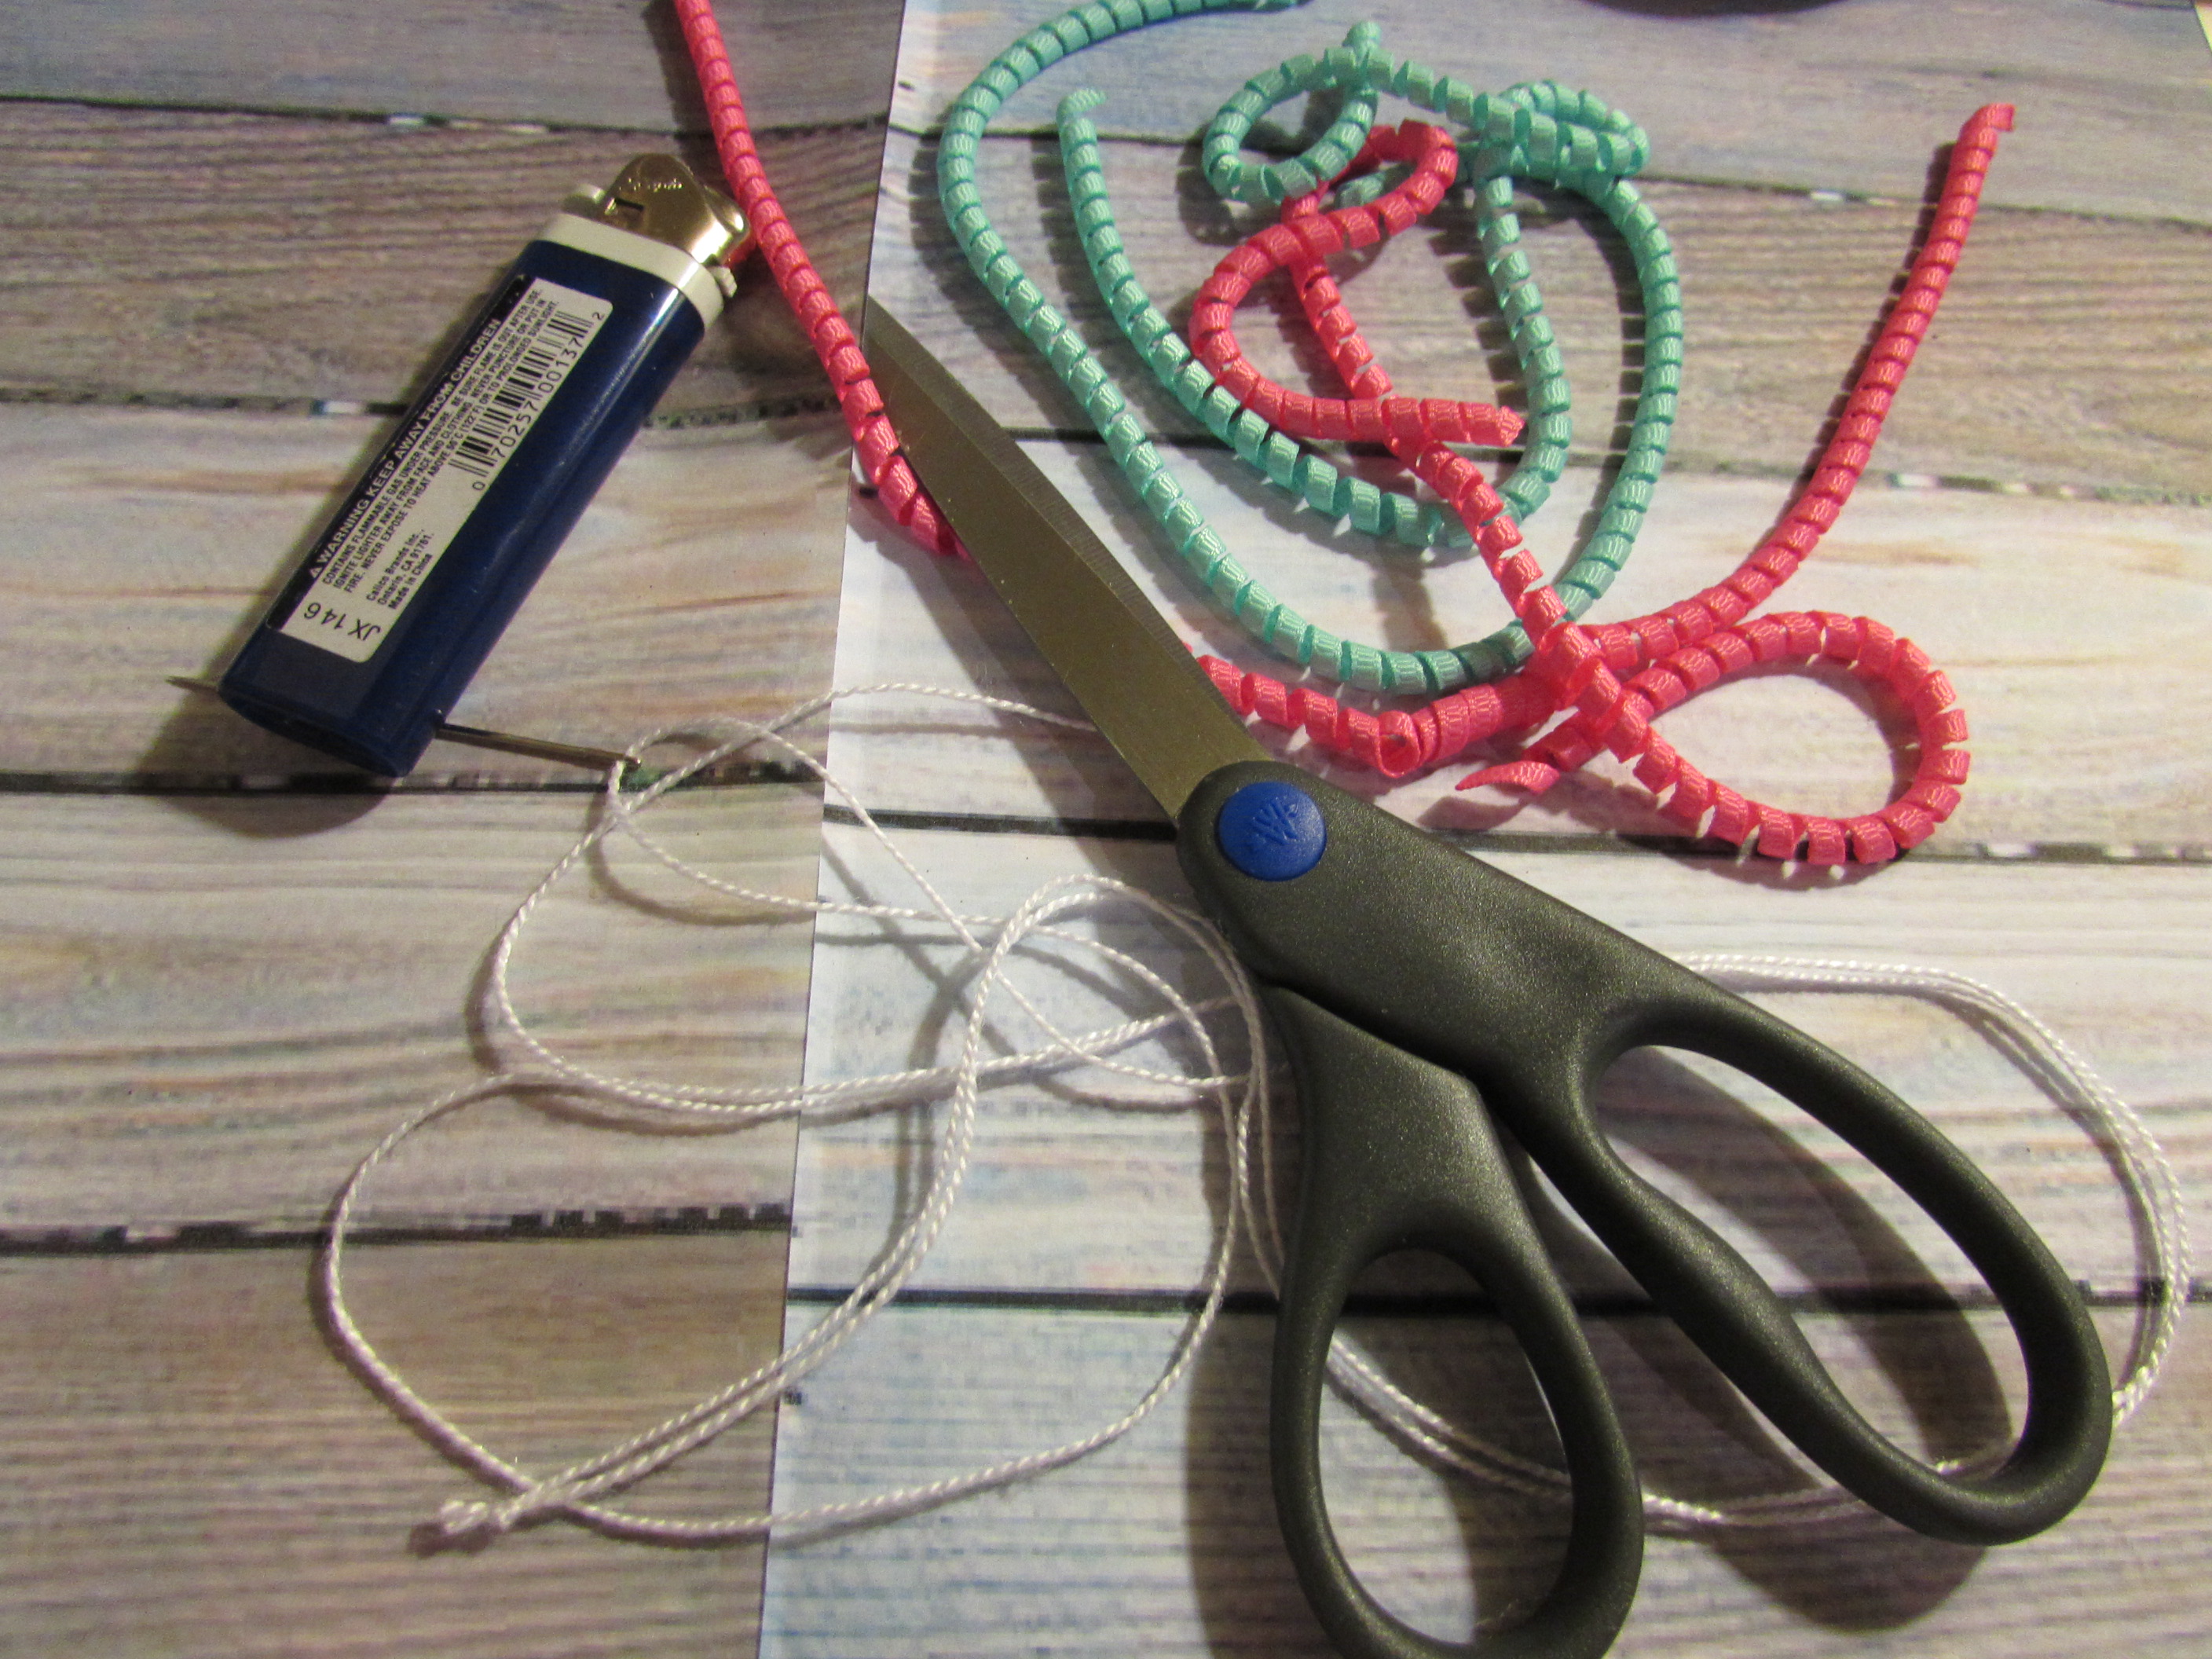 * Step 2: Cut your korker pieces. About 1.5" pieces. Heat seal ALL ends
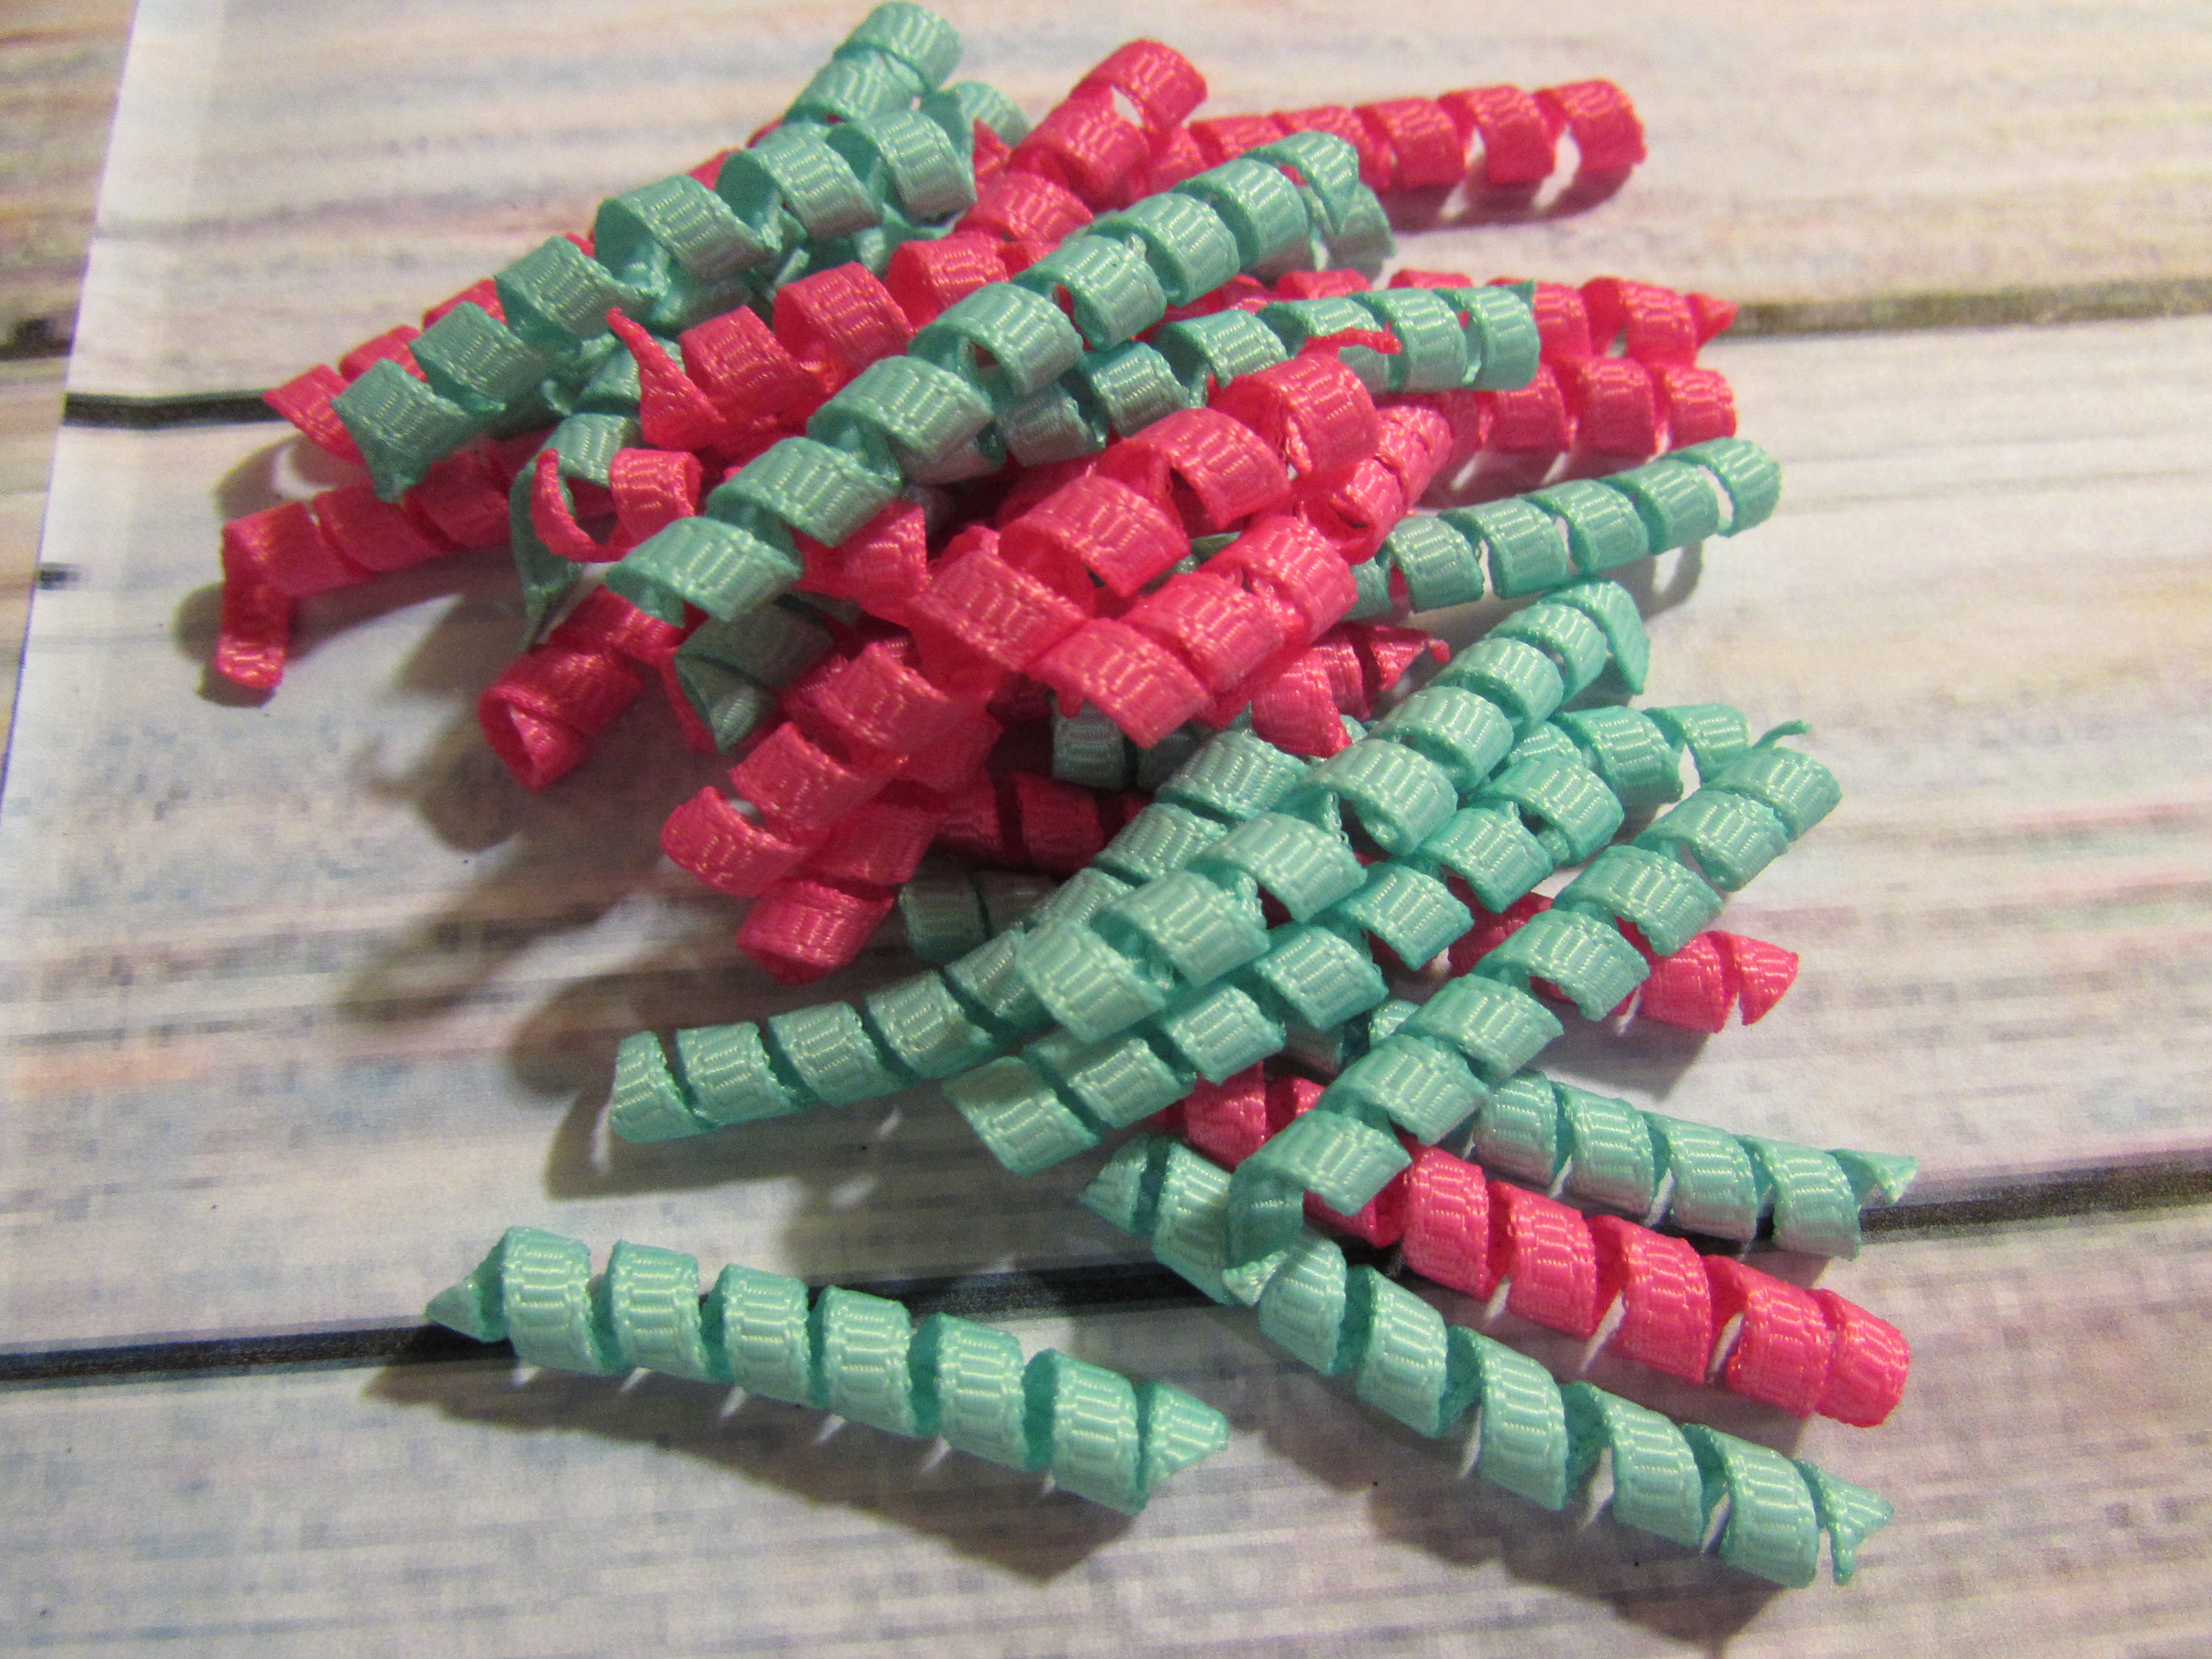 * Step 3: Get your needle and thread and start putting your korker pieces together. You can use as many or as little as you would like.
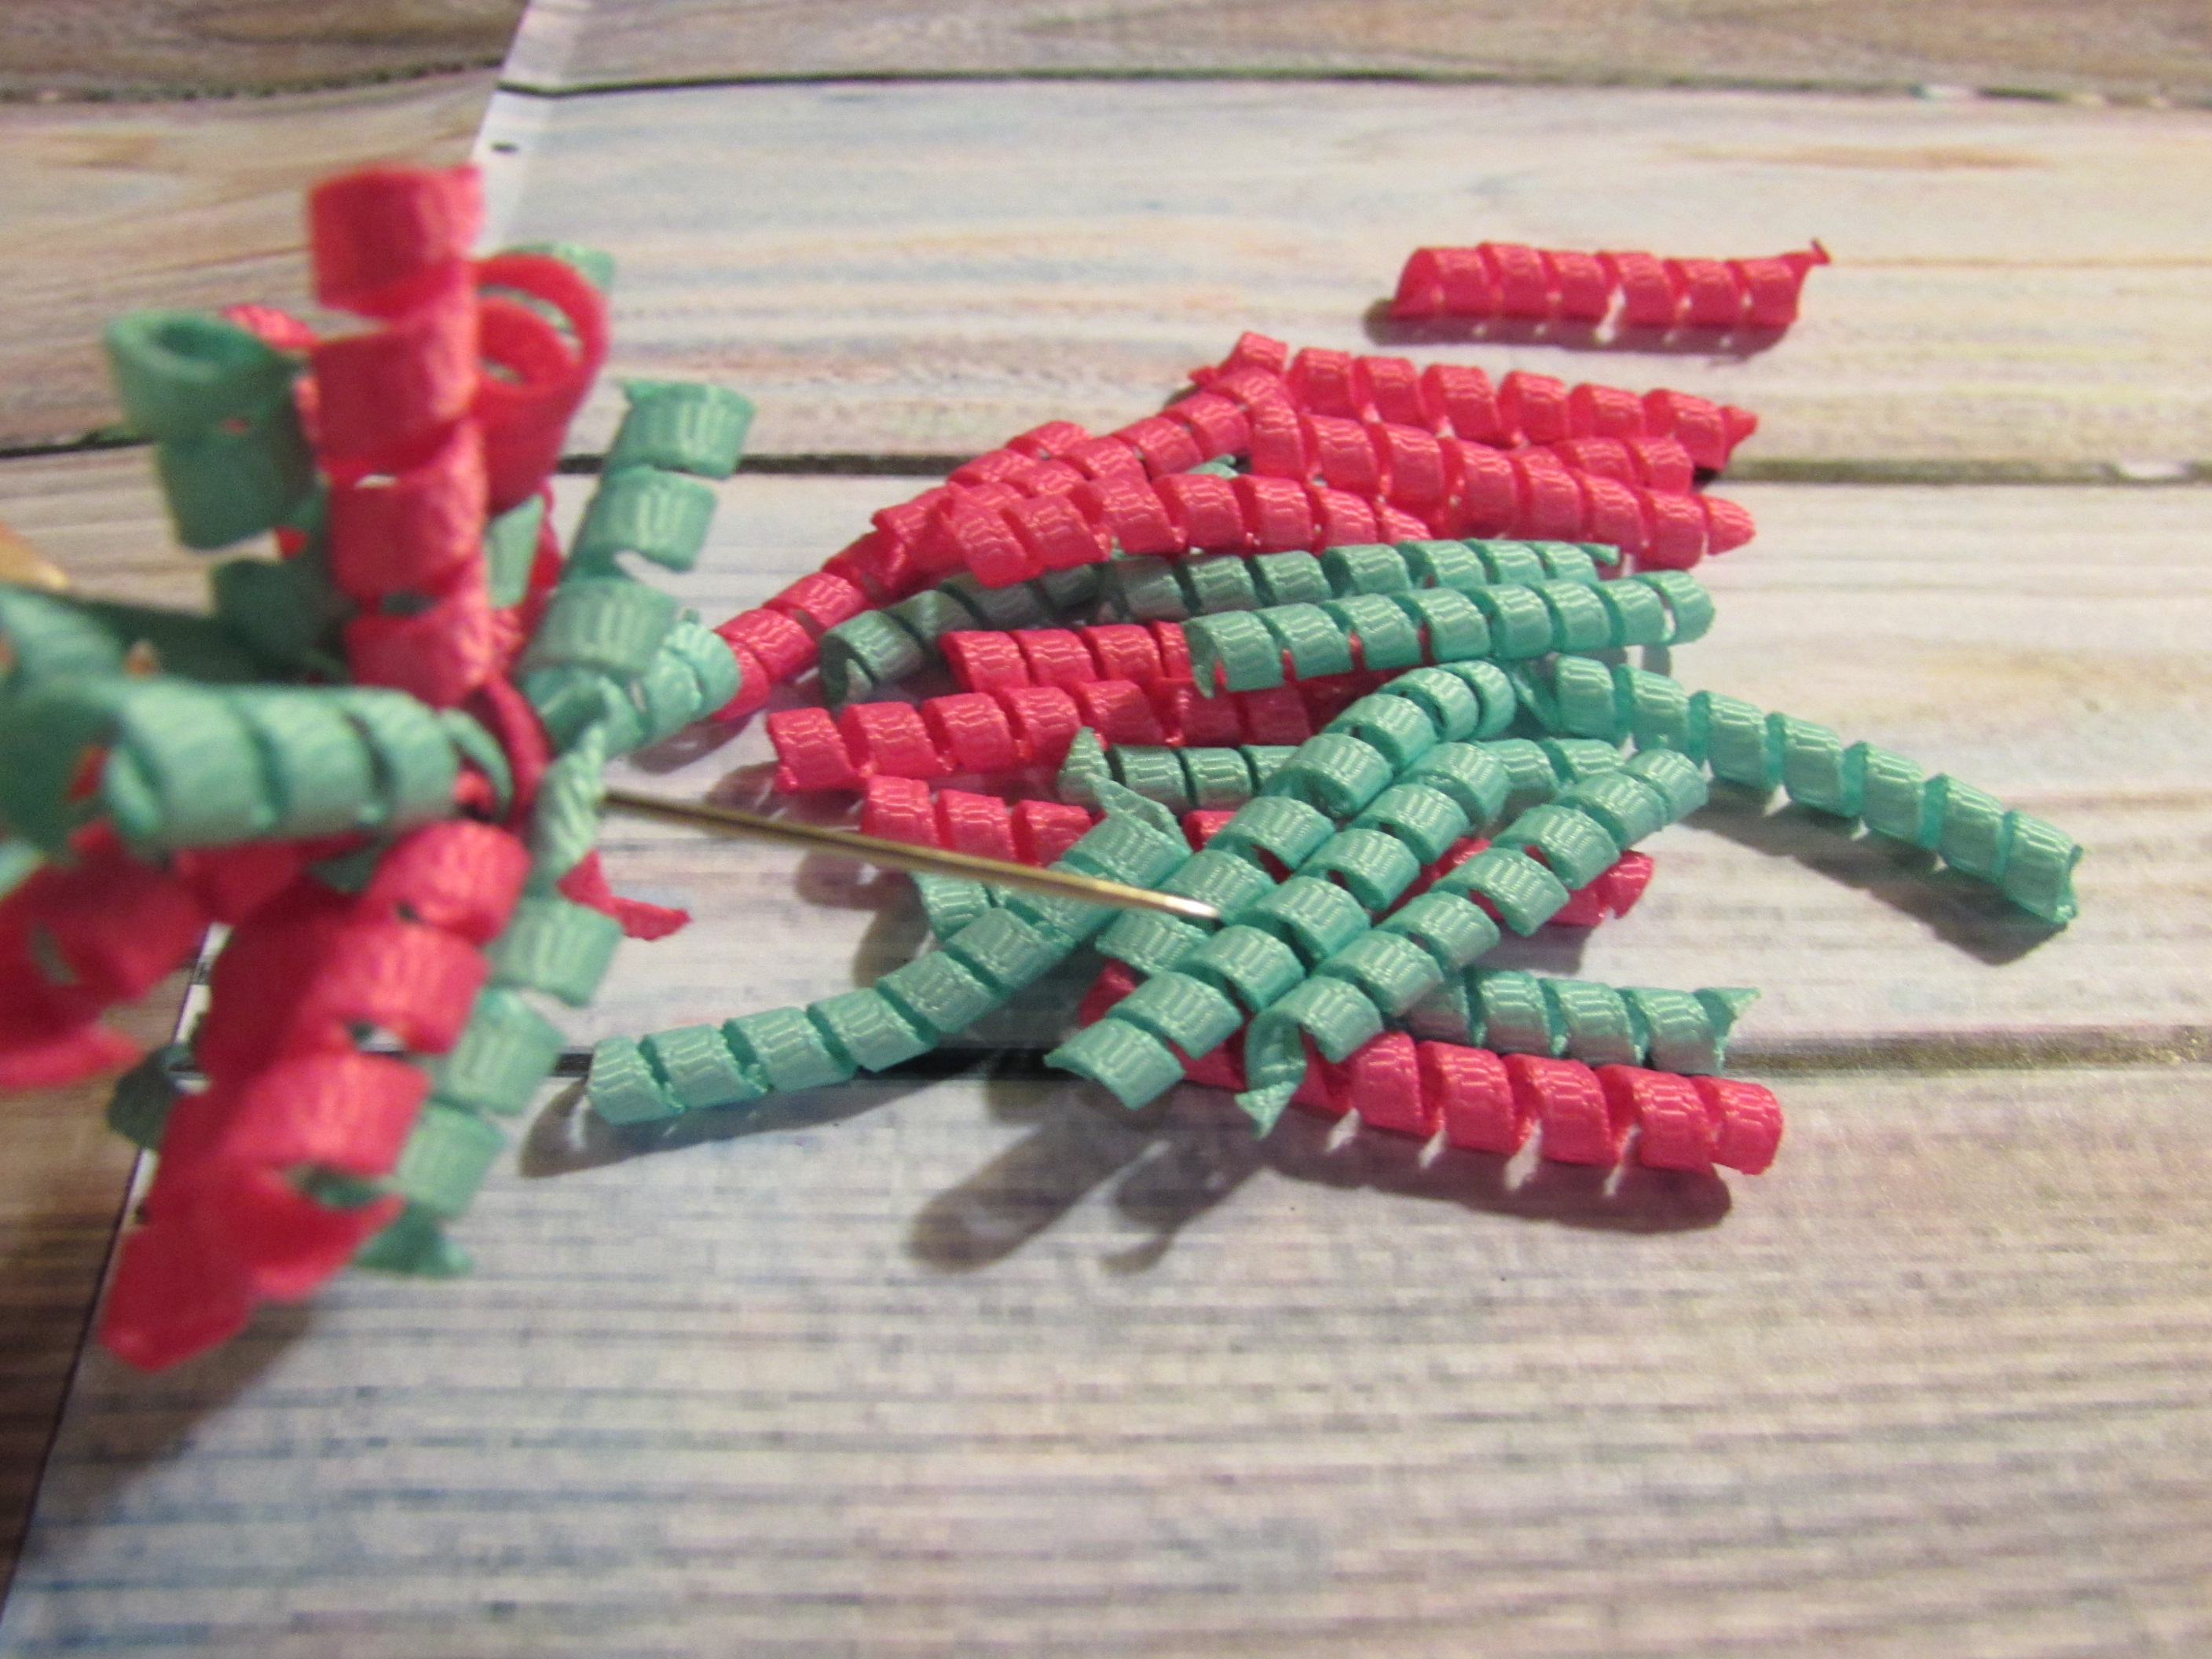
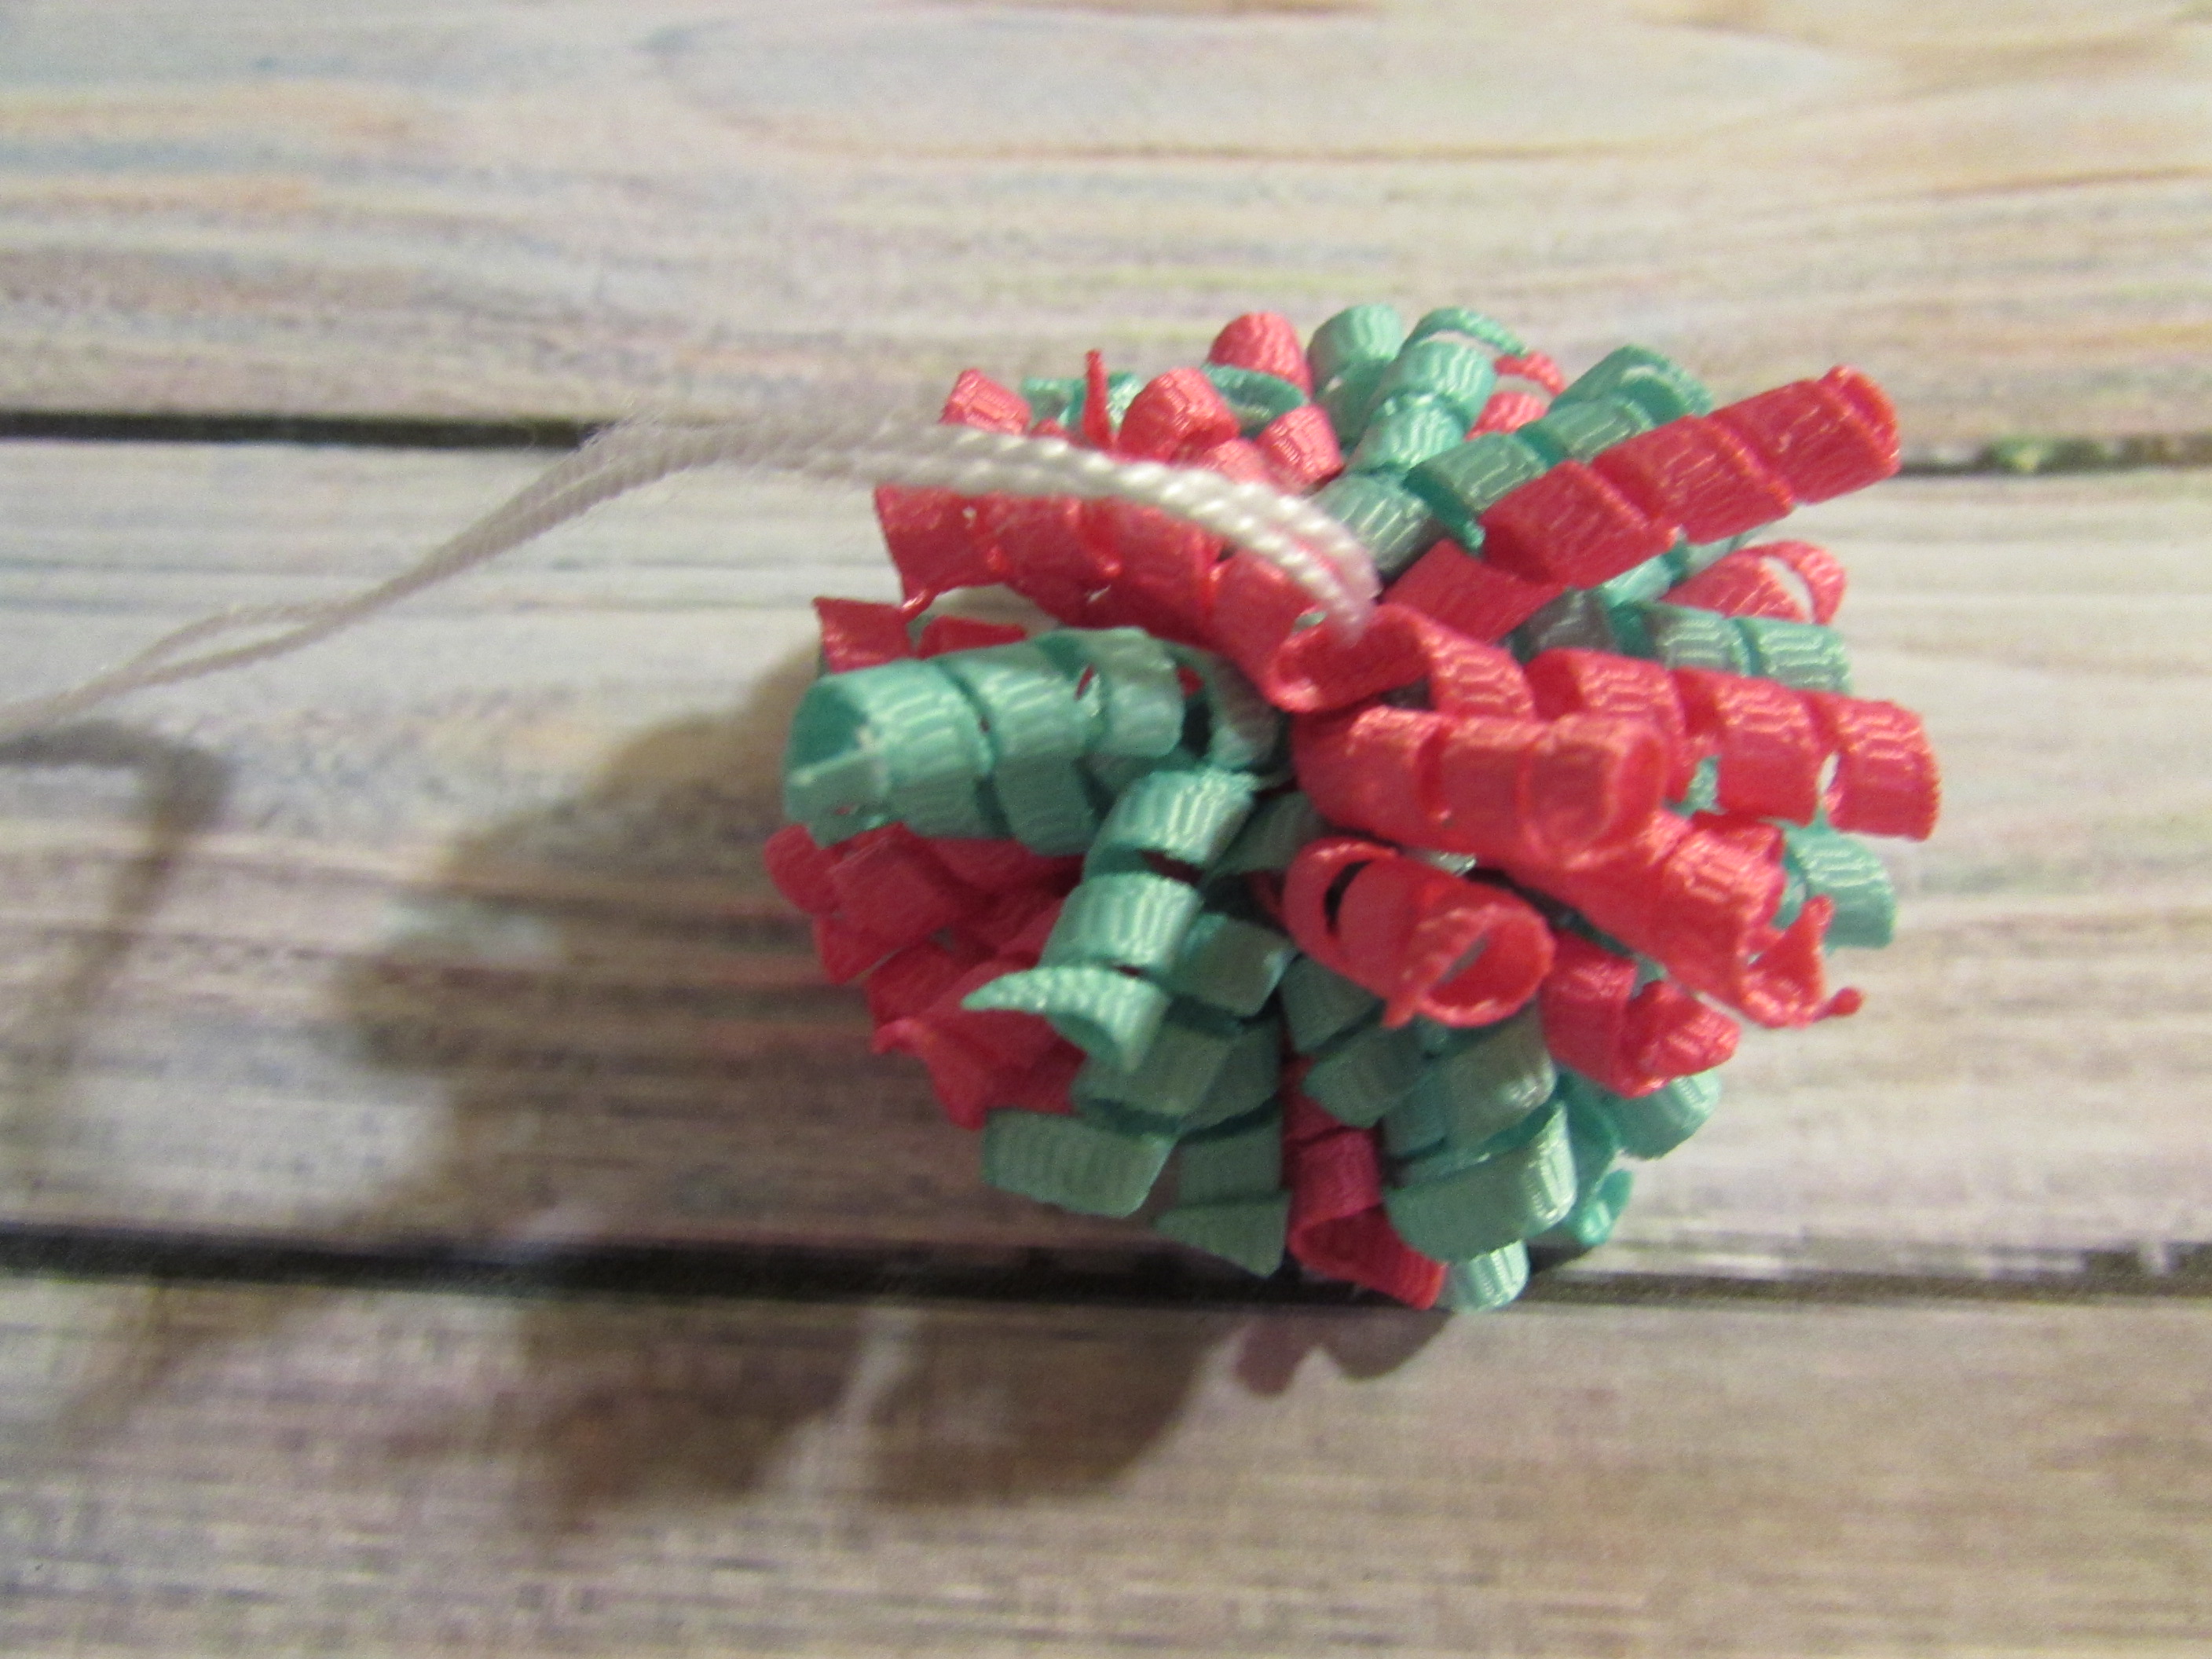 * Step 4: When you get your korker the way you want it, cut your needle off of the bow leaving enough thread to tie off your bow.
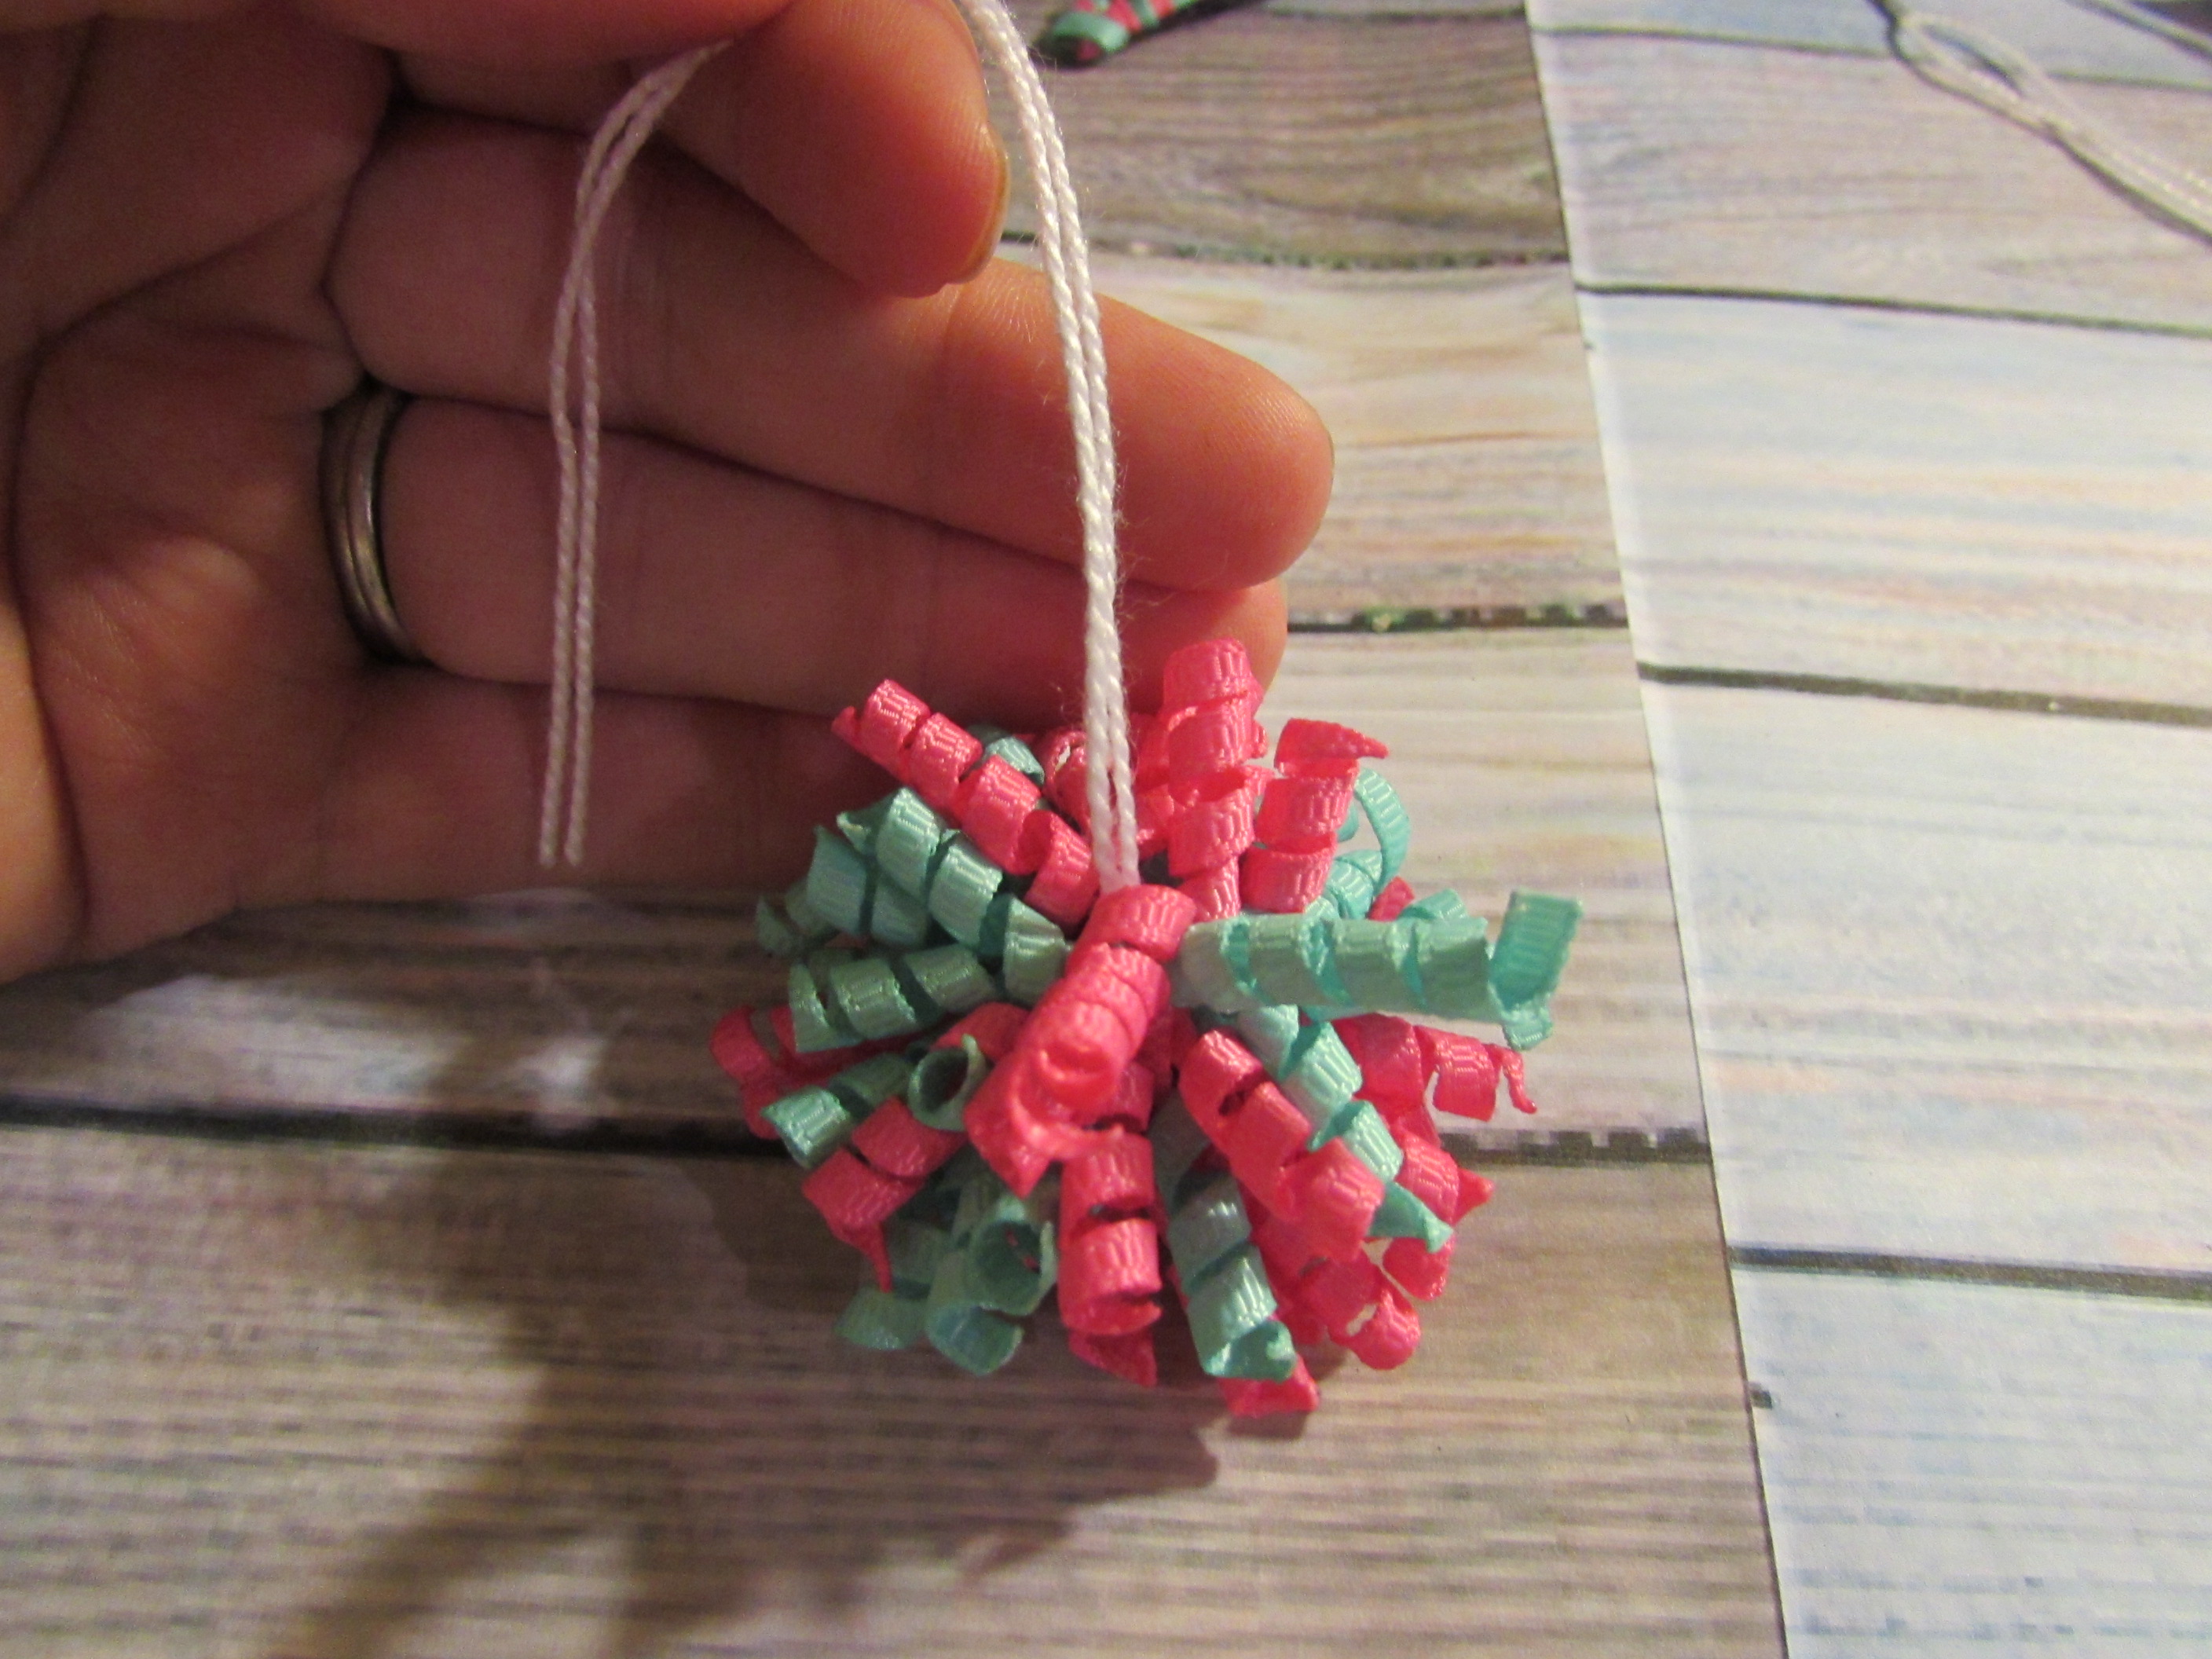 - Tie a knot several times
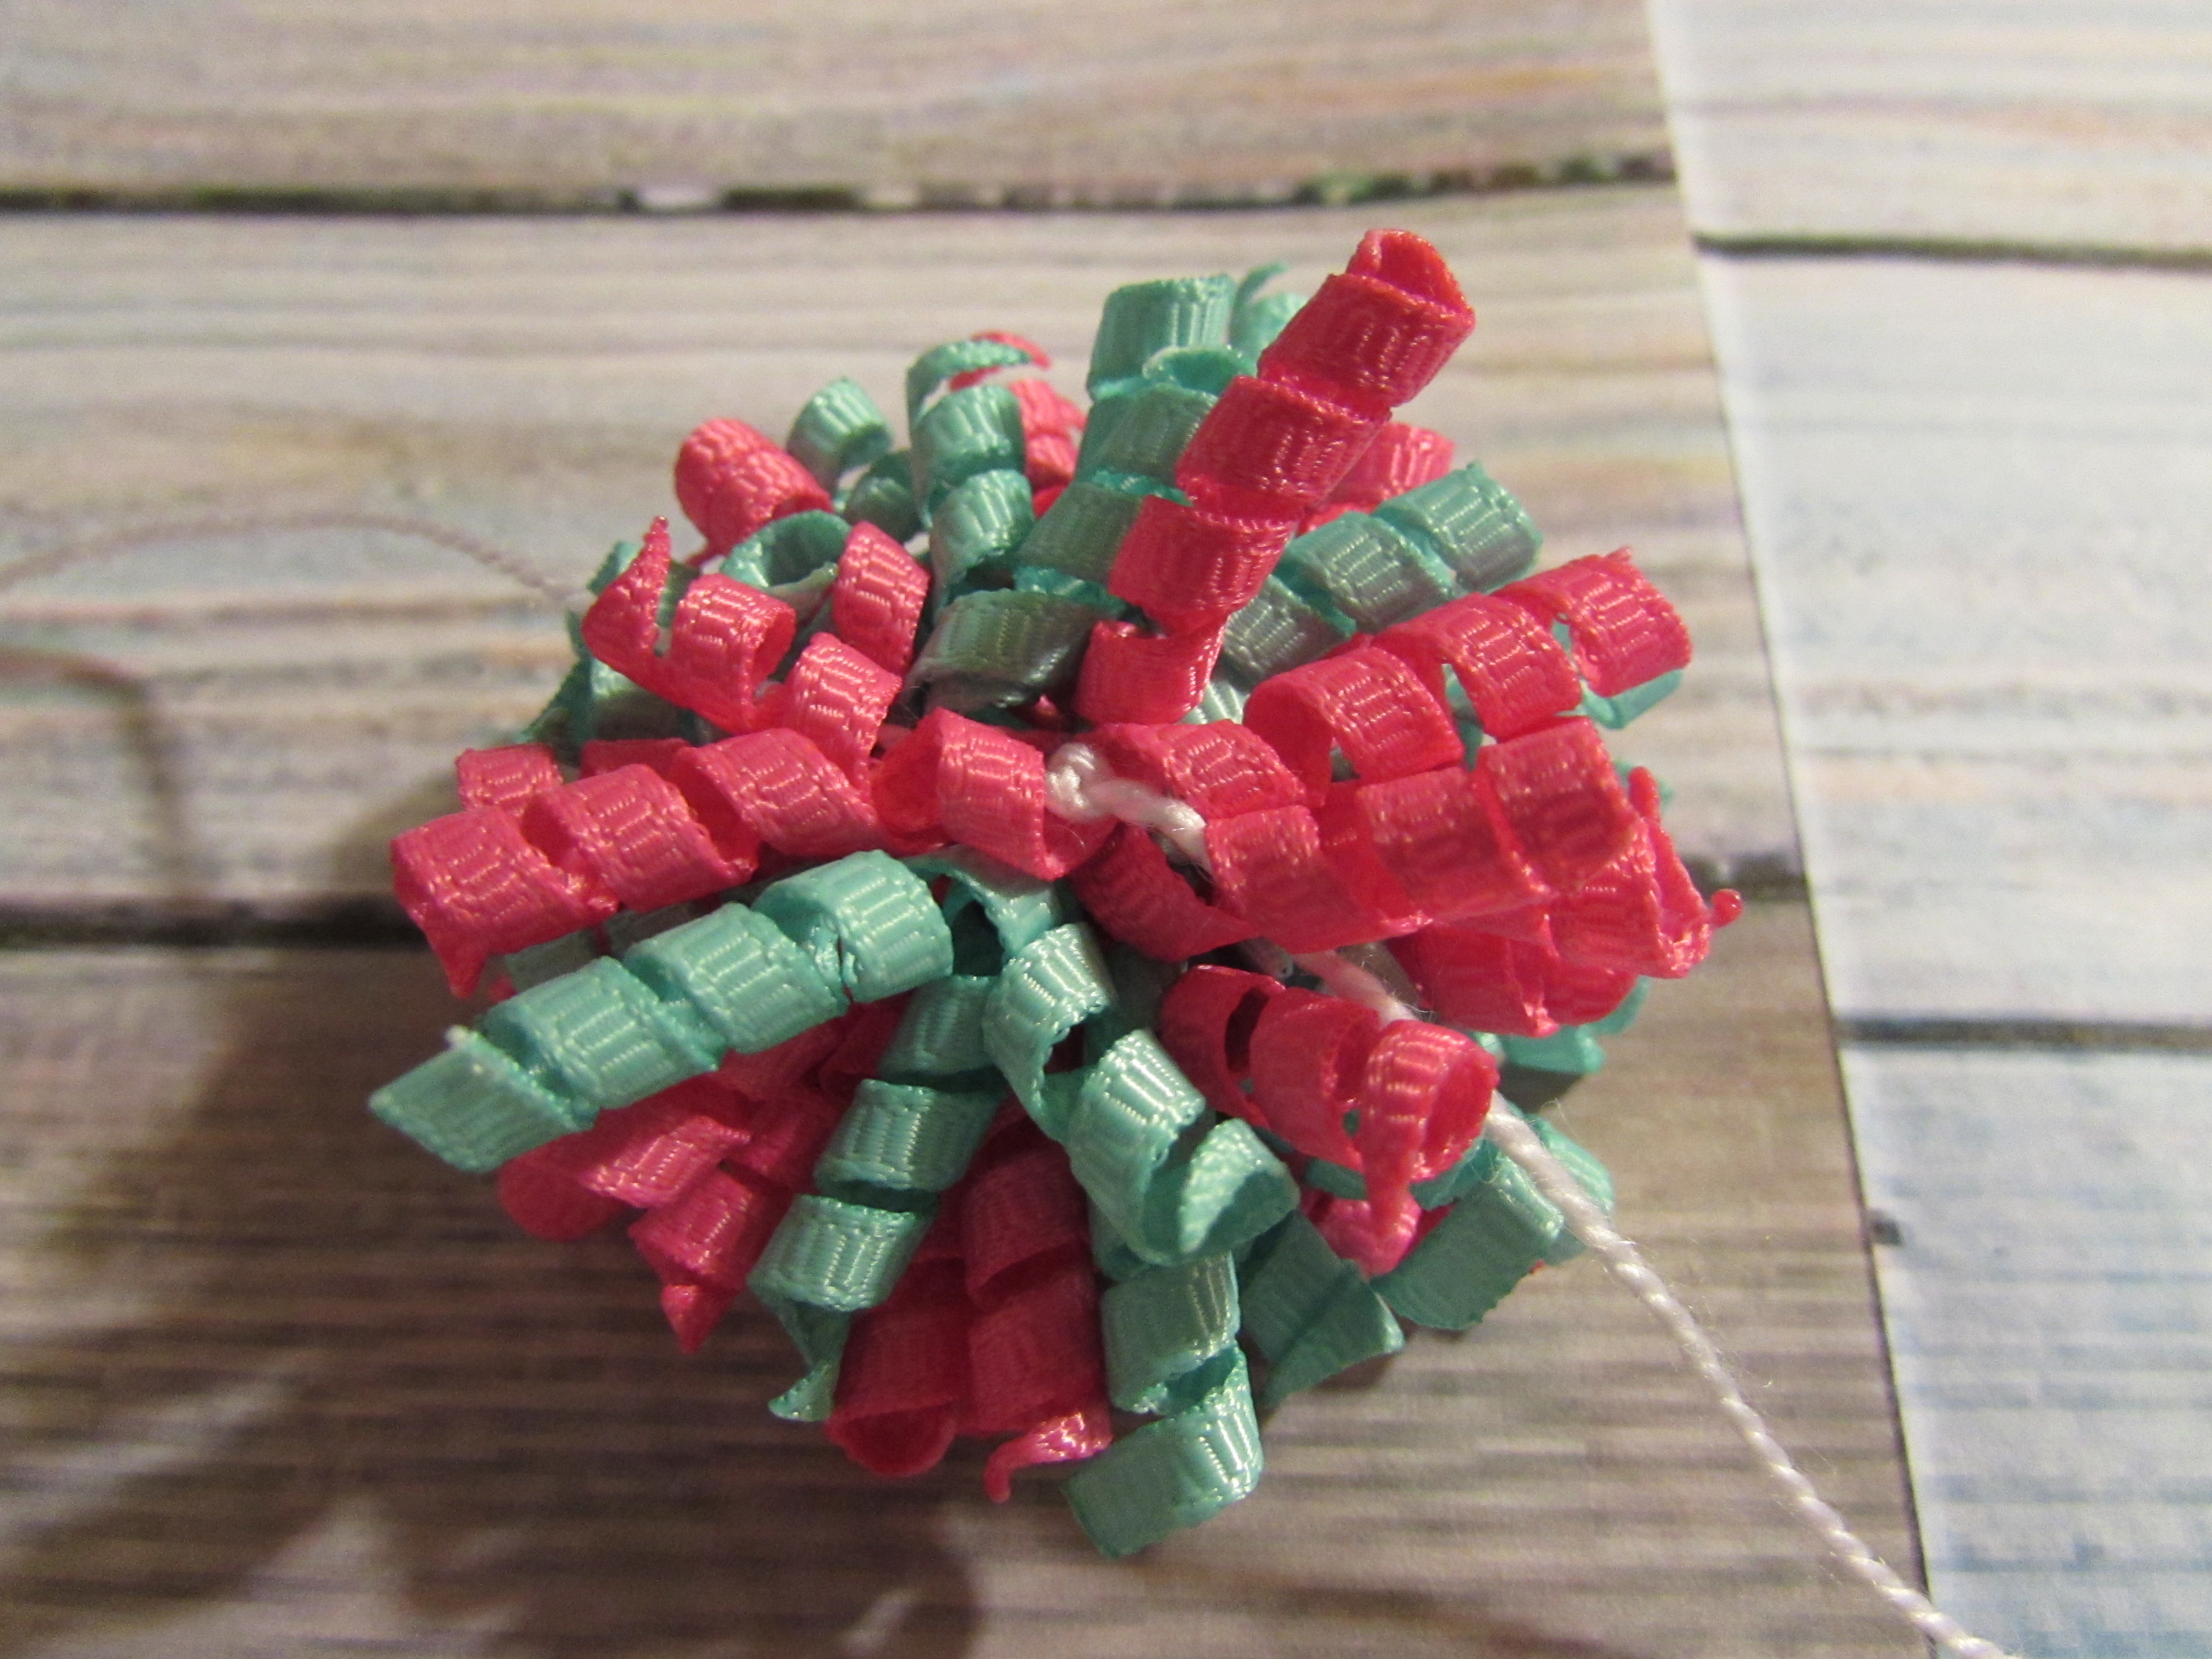 * Step 5: Cut off the extra thread
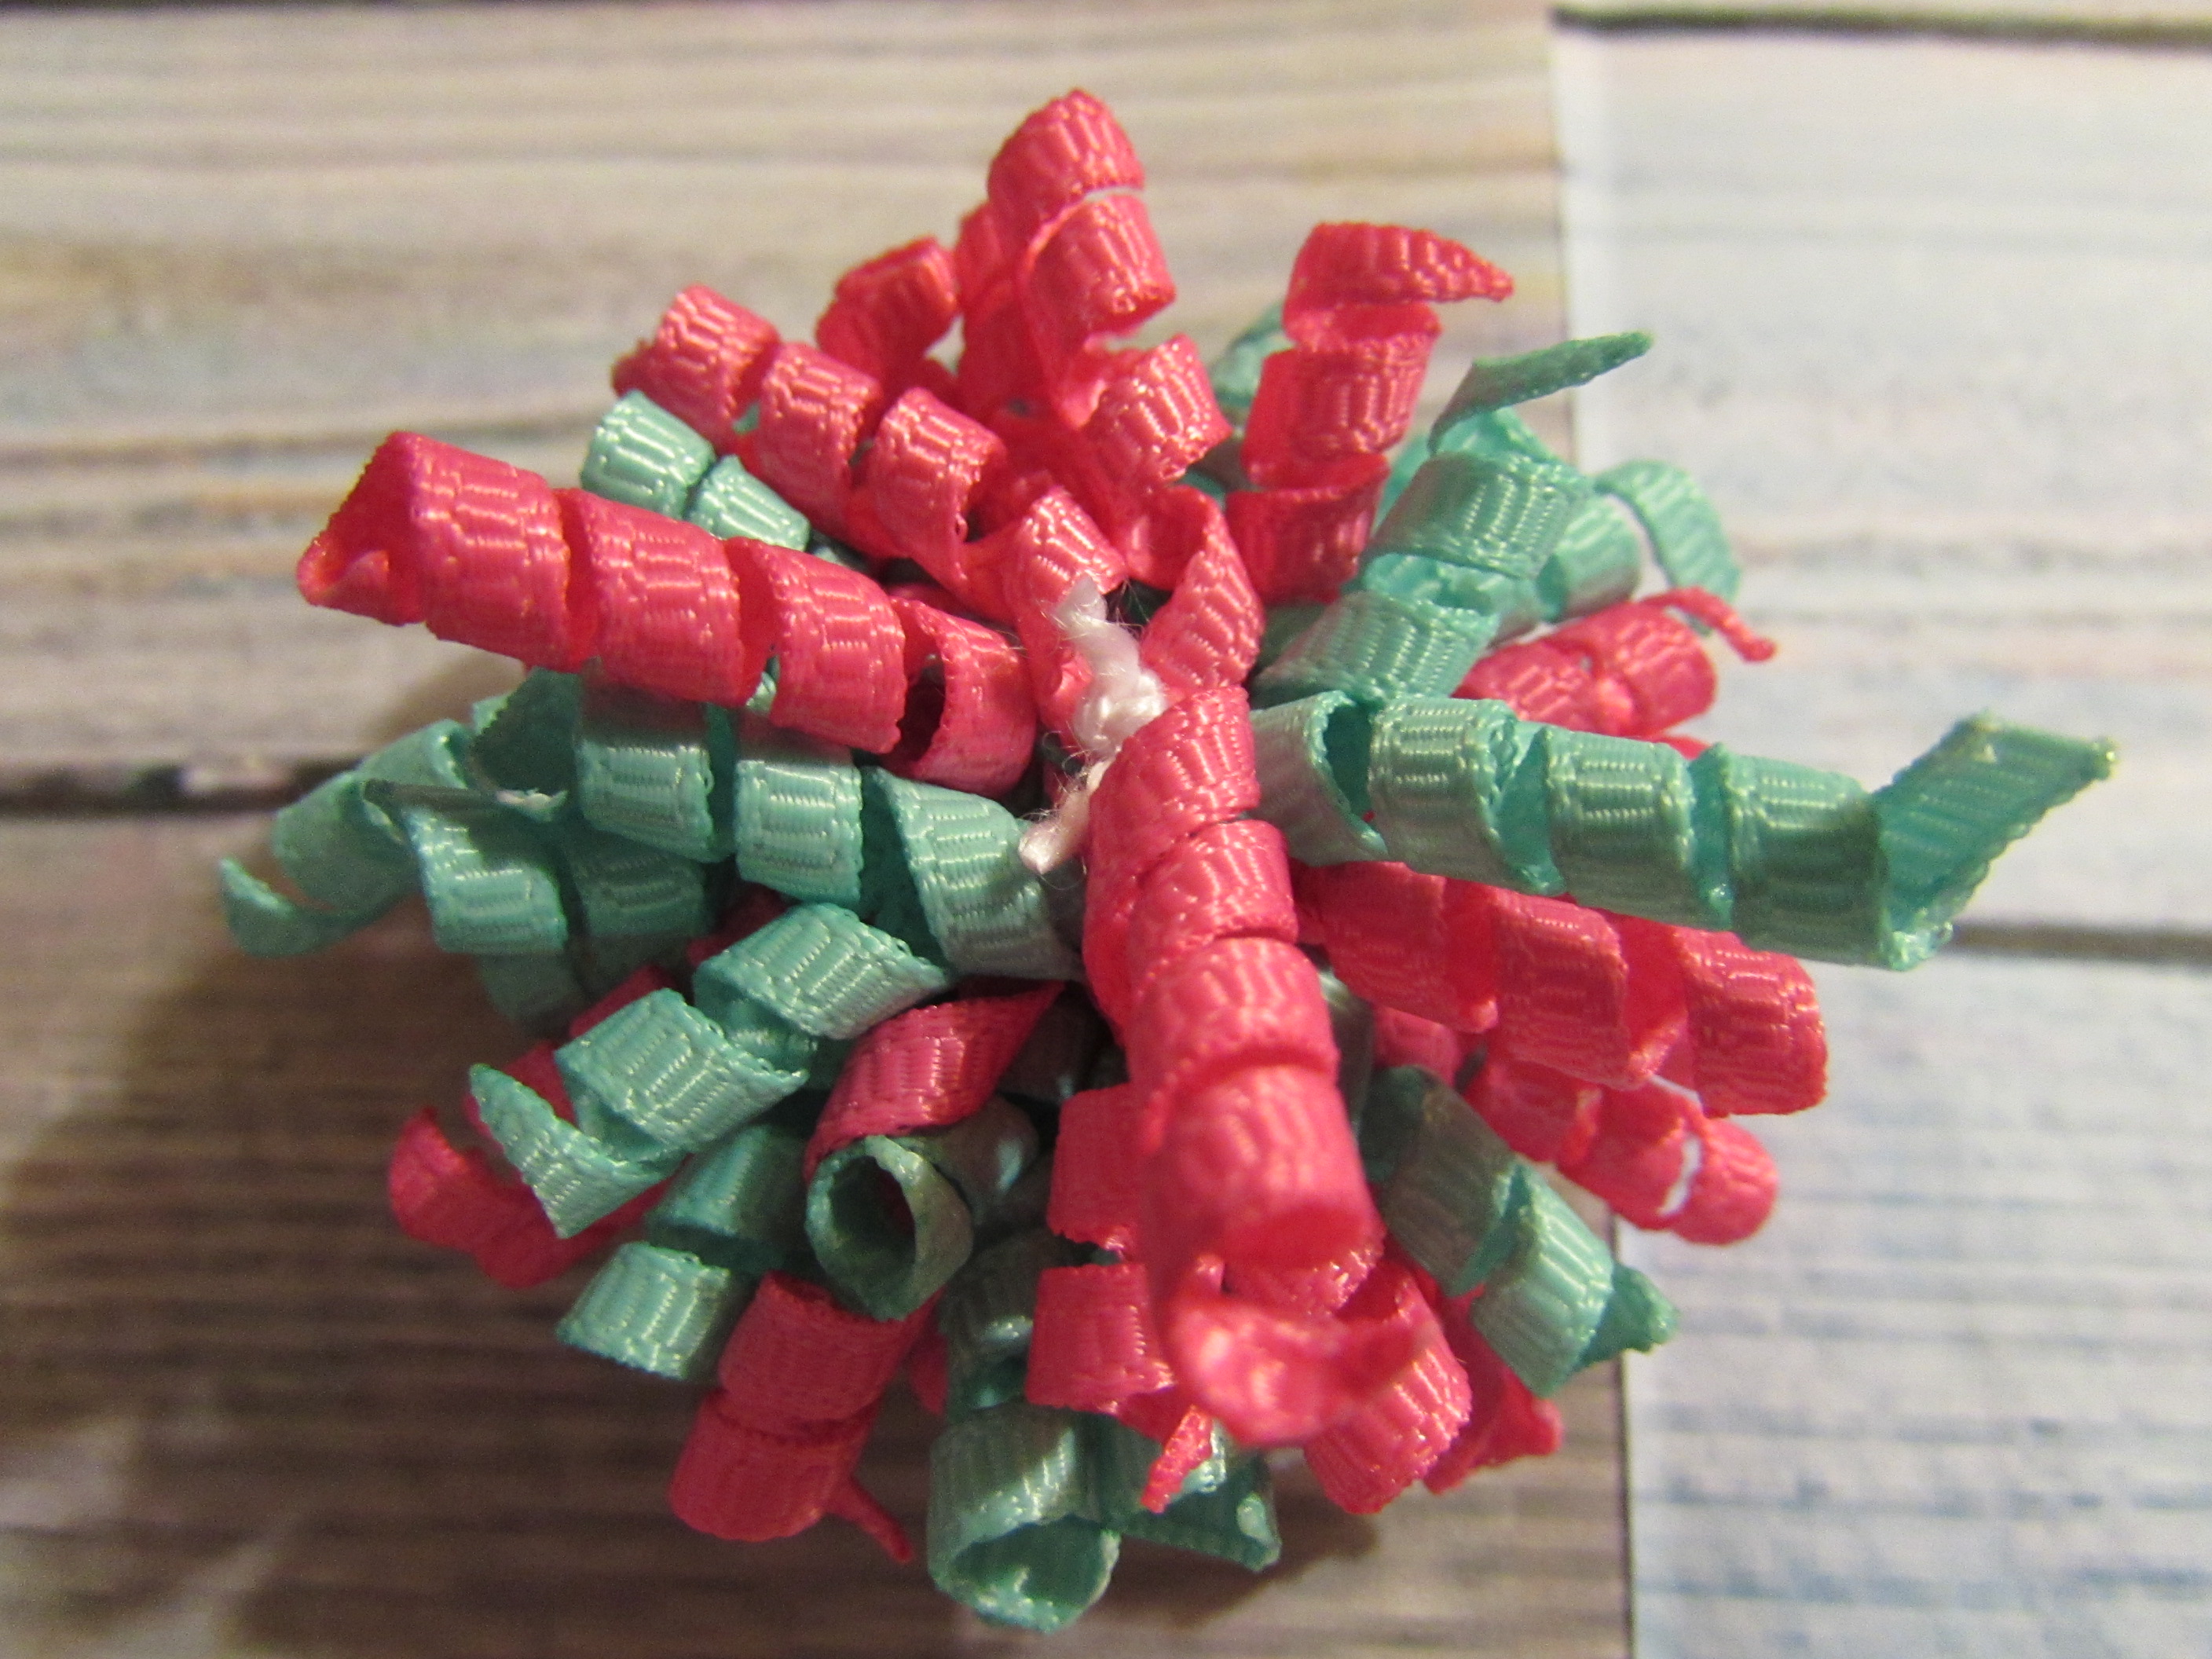 * Step 6: Trim your bow {{ If needed }}
- If you trim your korkers make sure you go back through and heat seal those ends!
* Step 7: Apply the bow to your clip
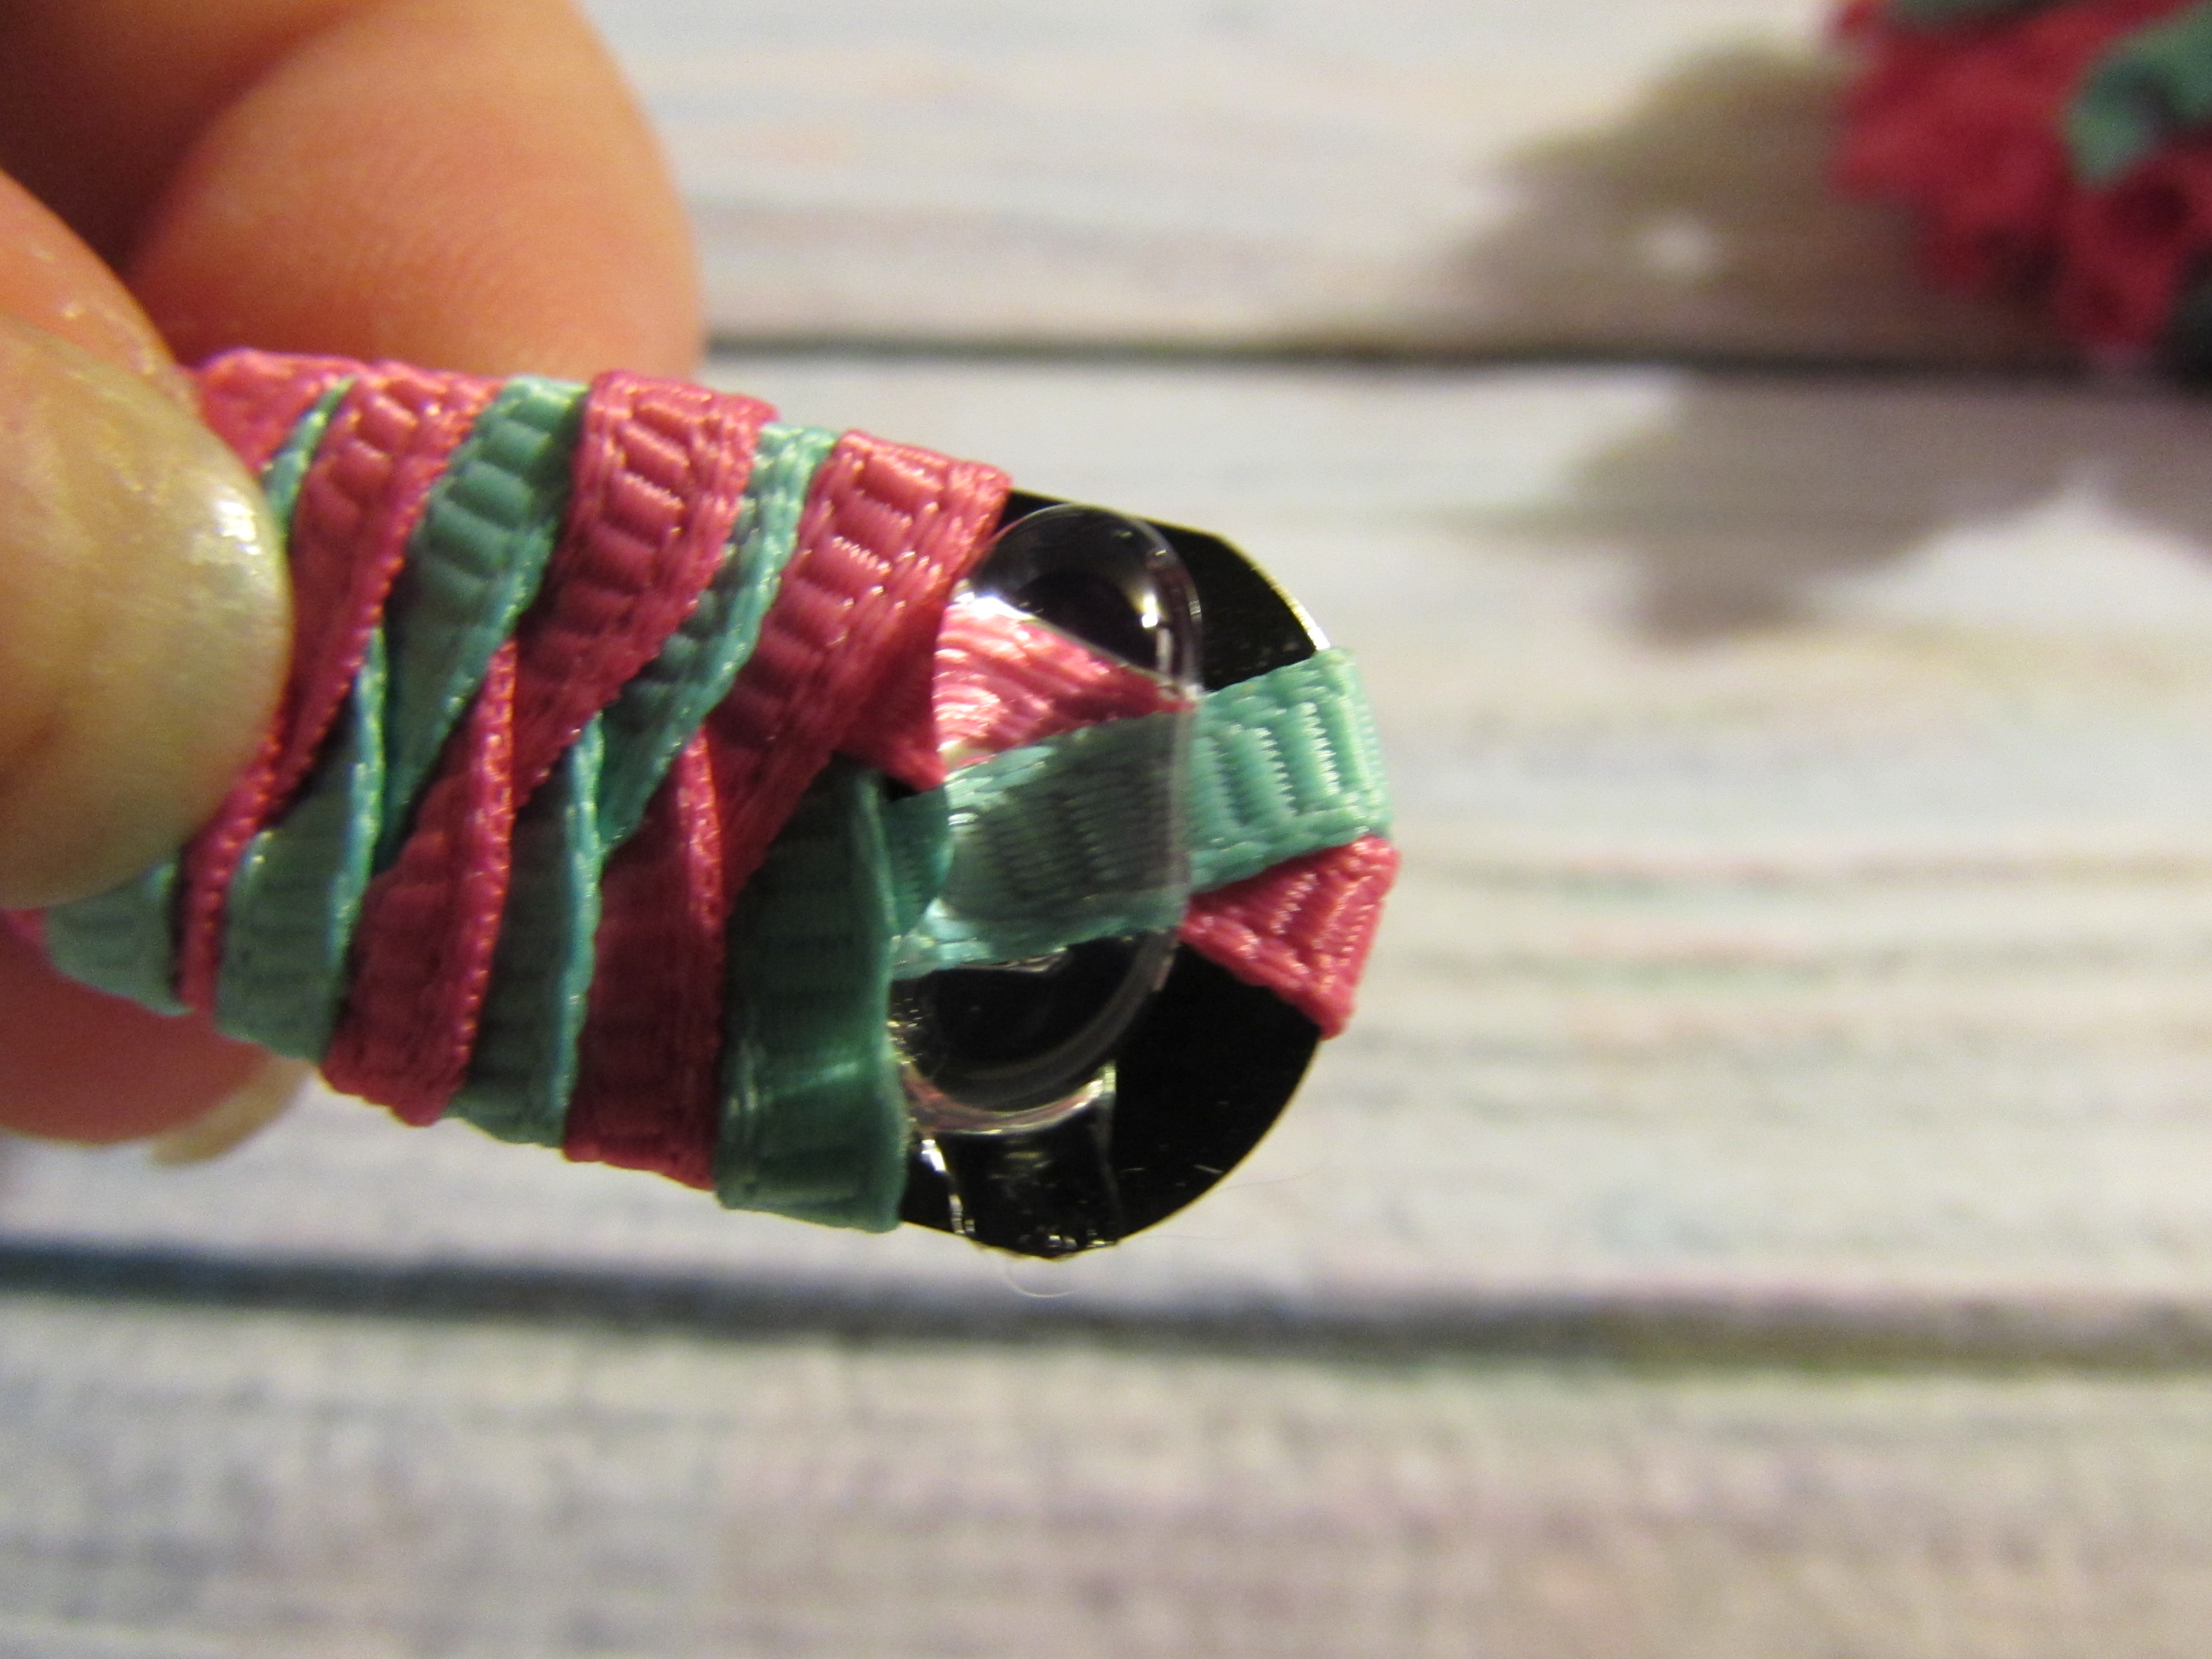
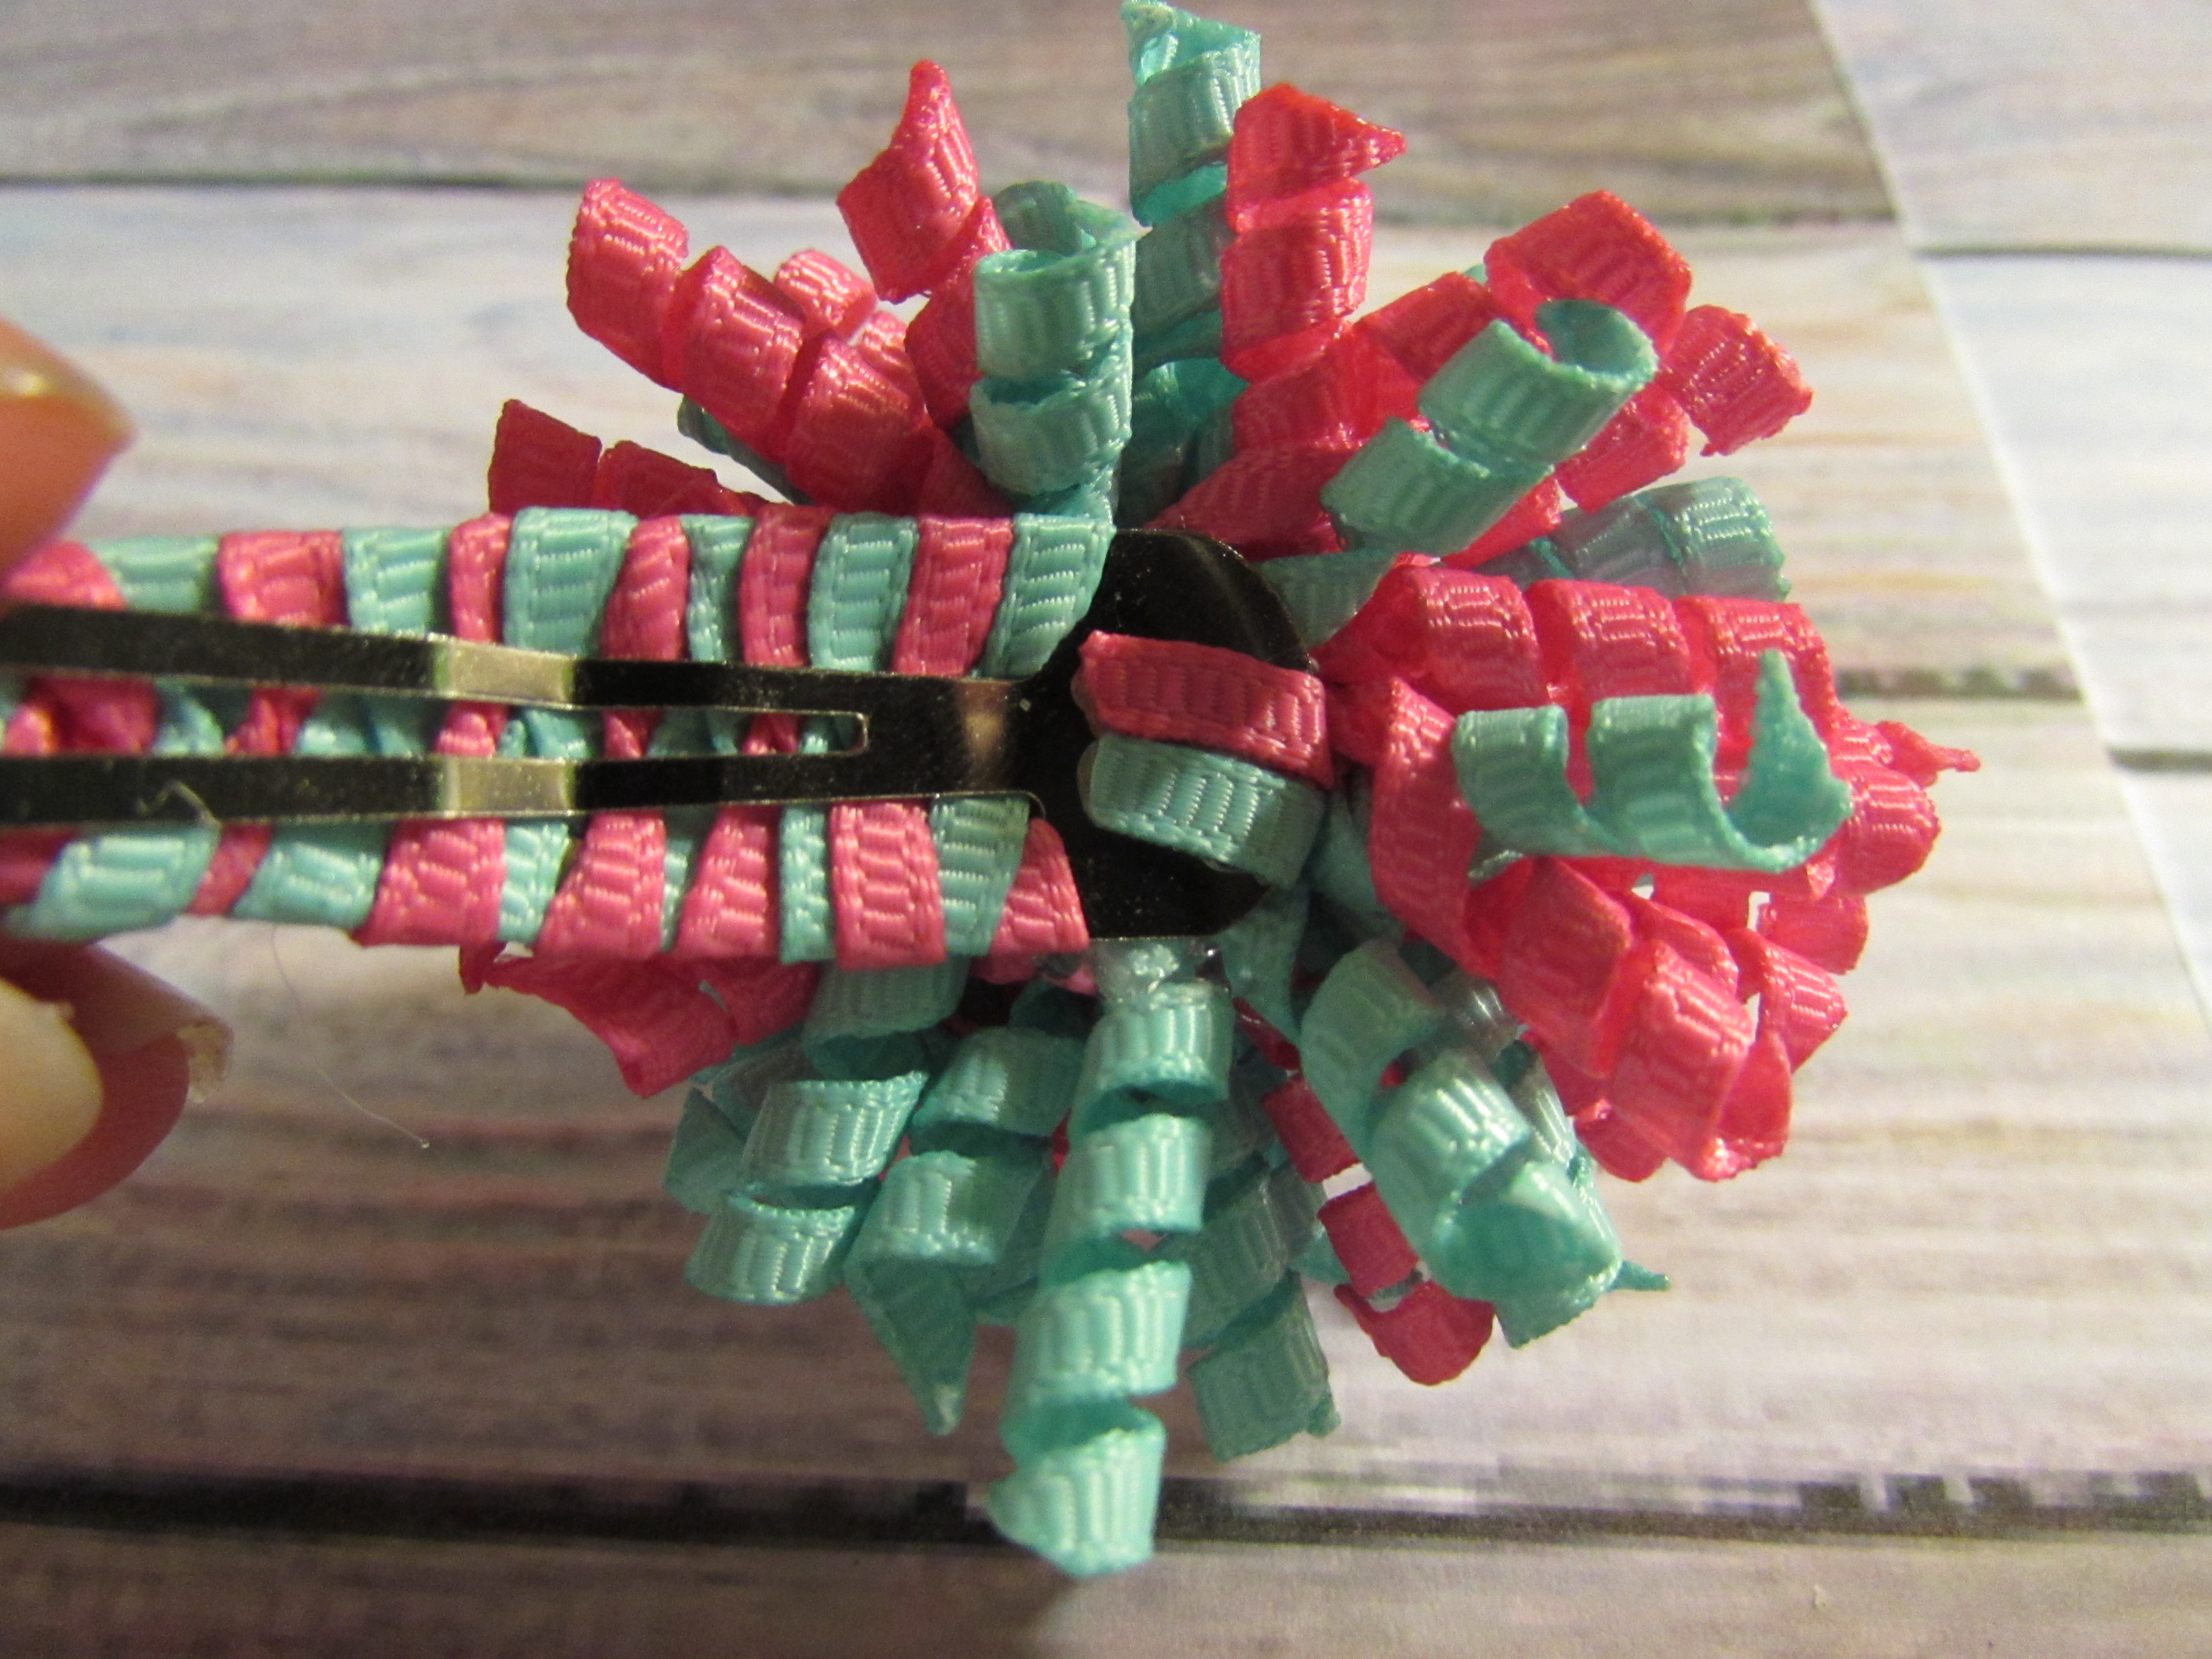 * Step 8: If you would like too {{ I did }} take a 1" felt circle and apply it to the clip and the korker bottom.
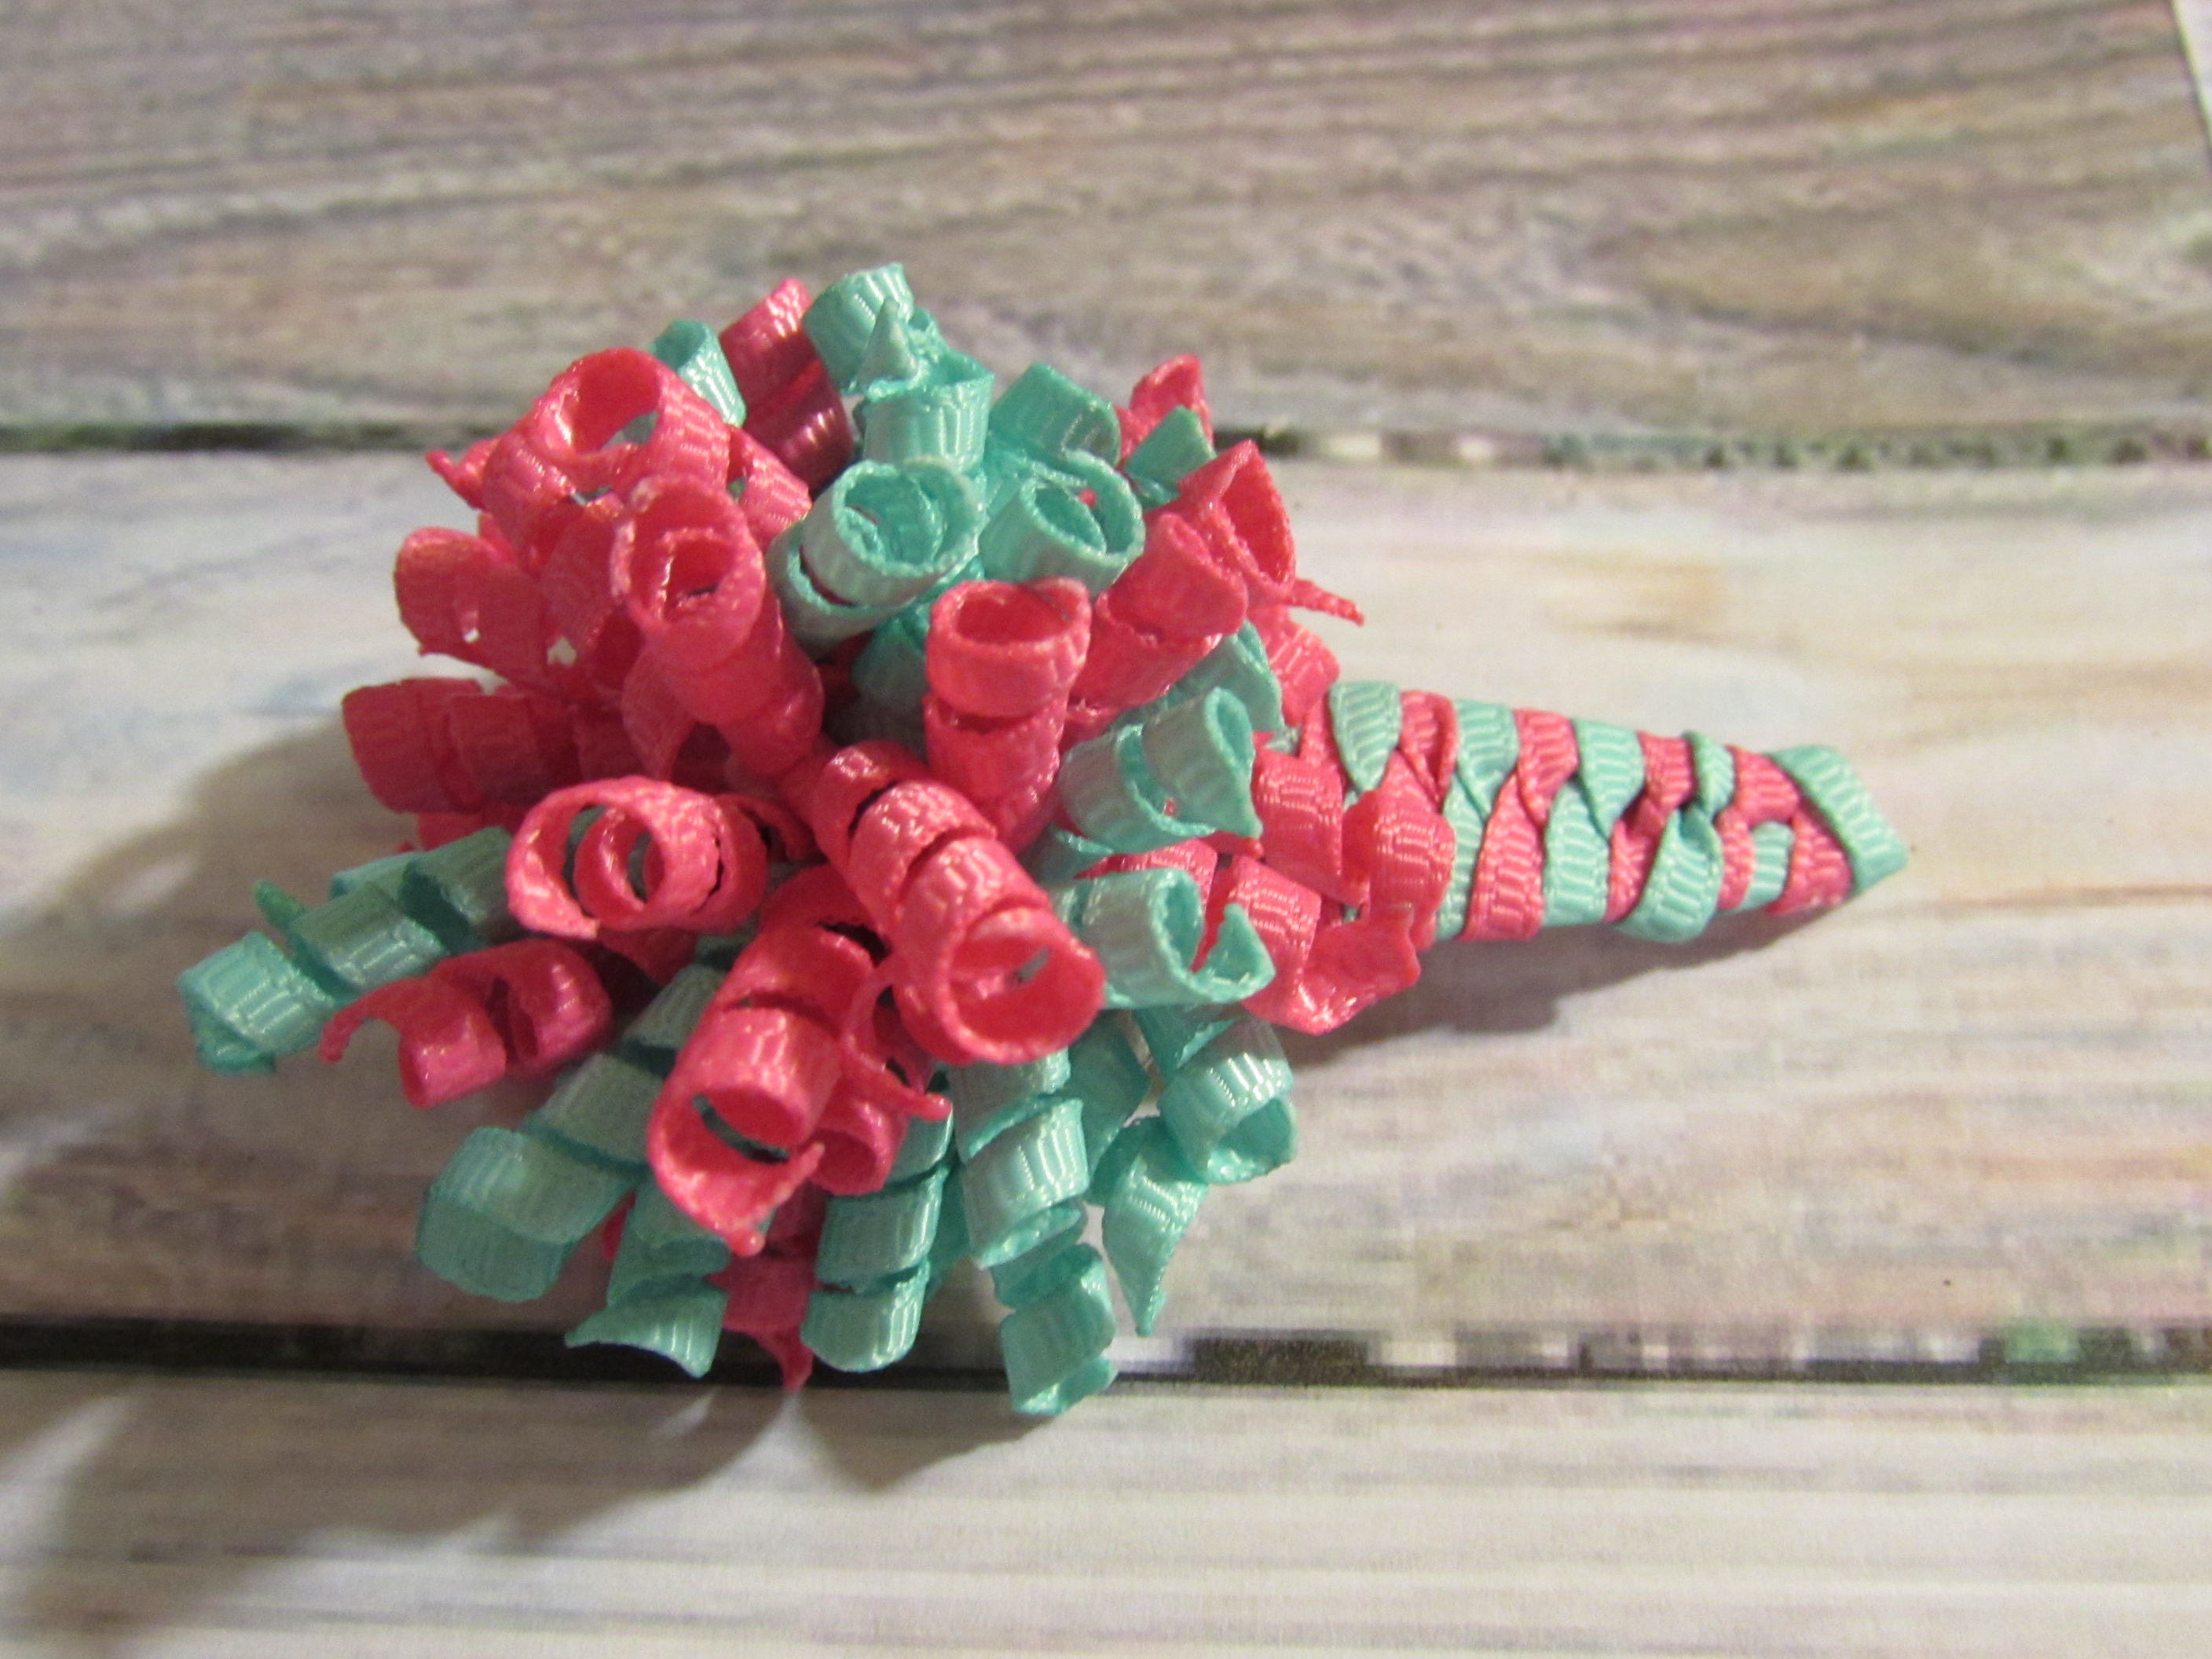
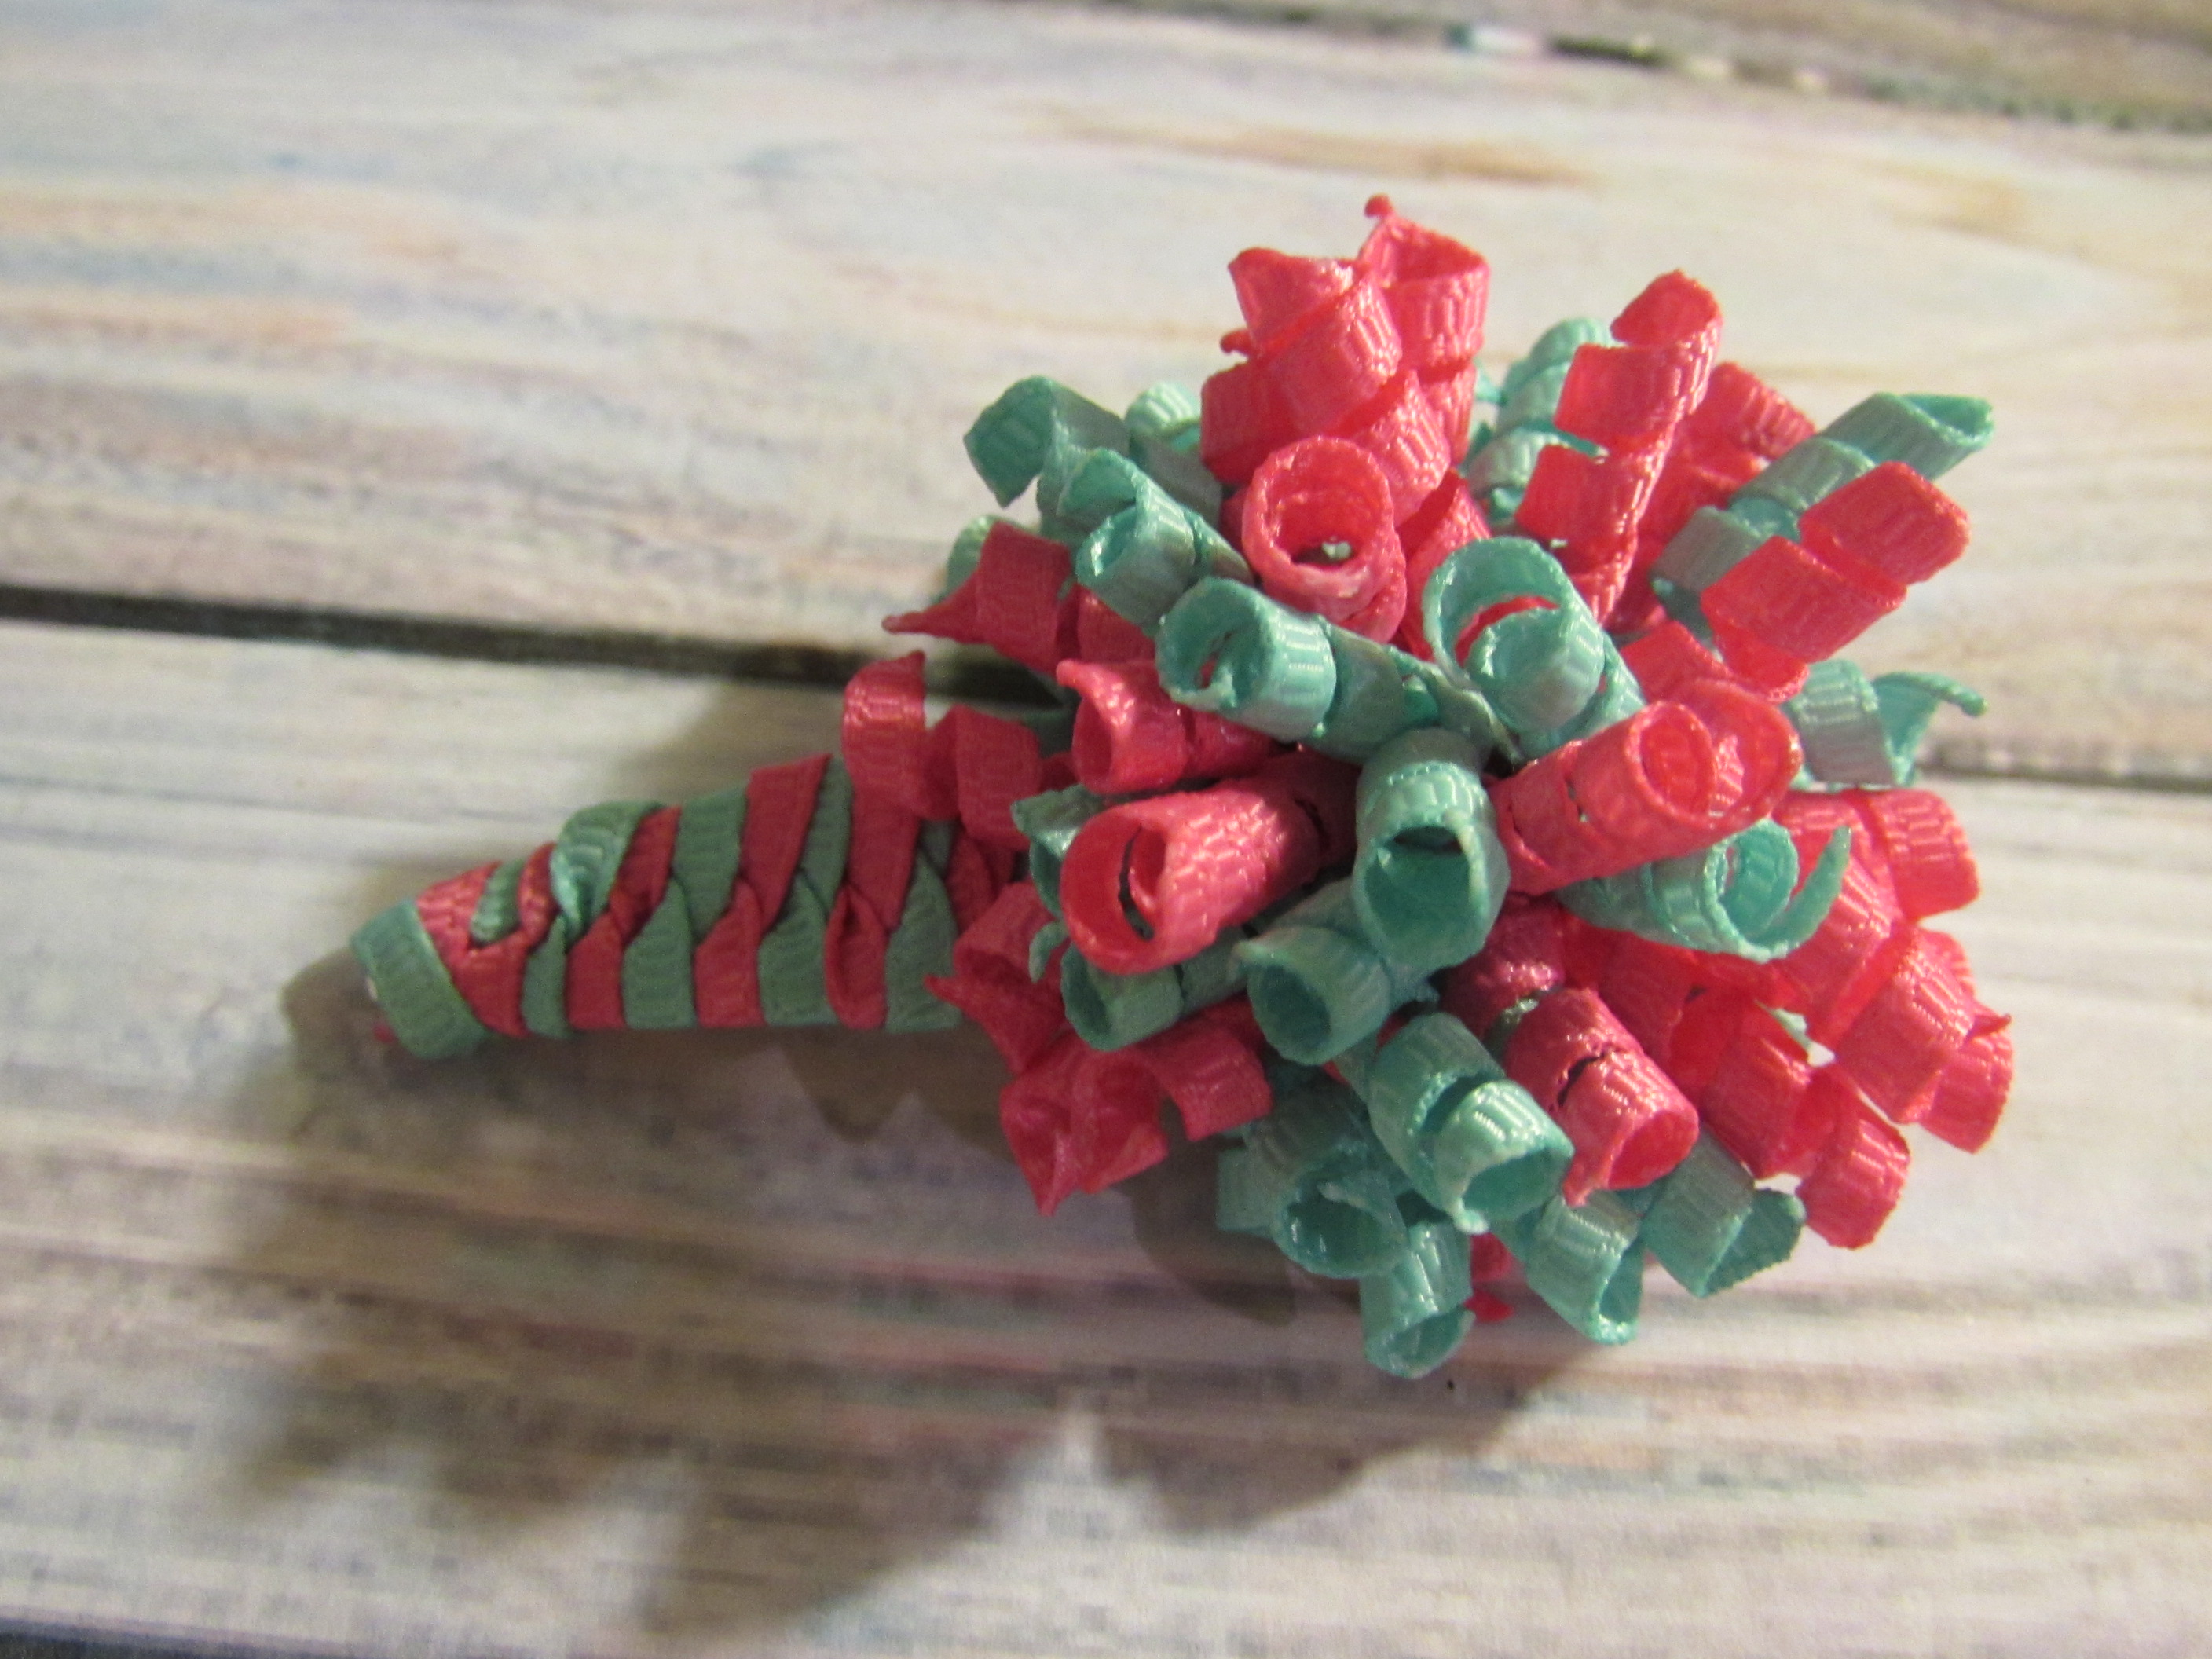
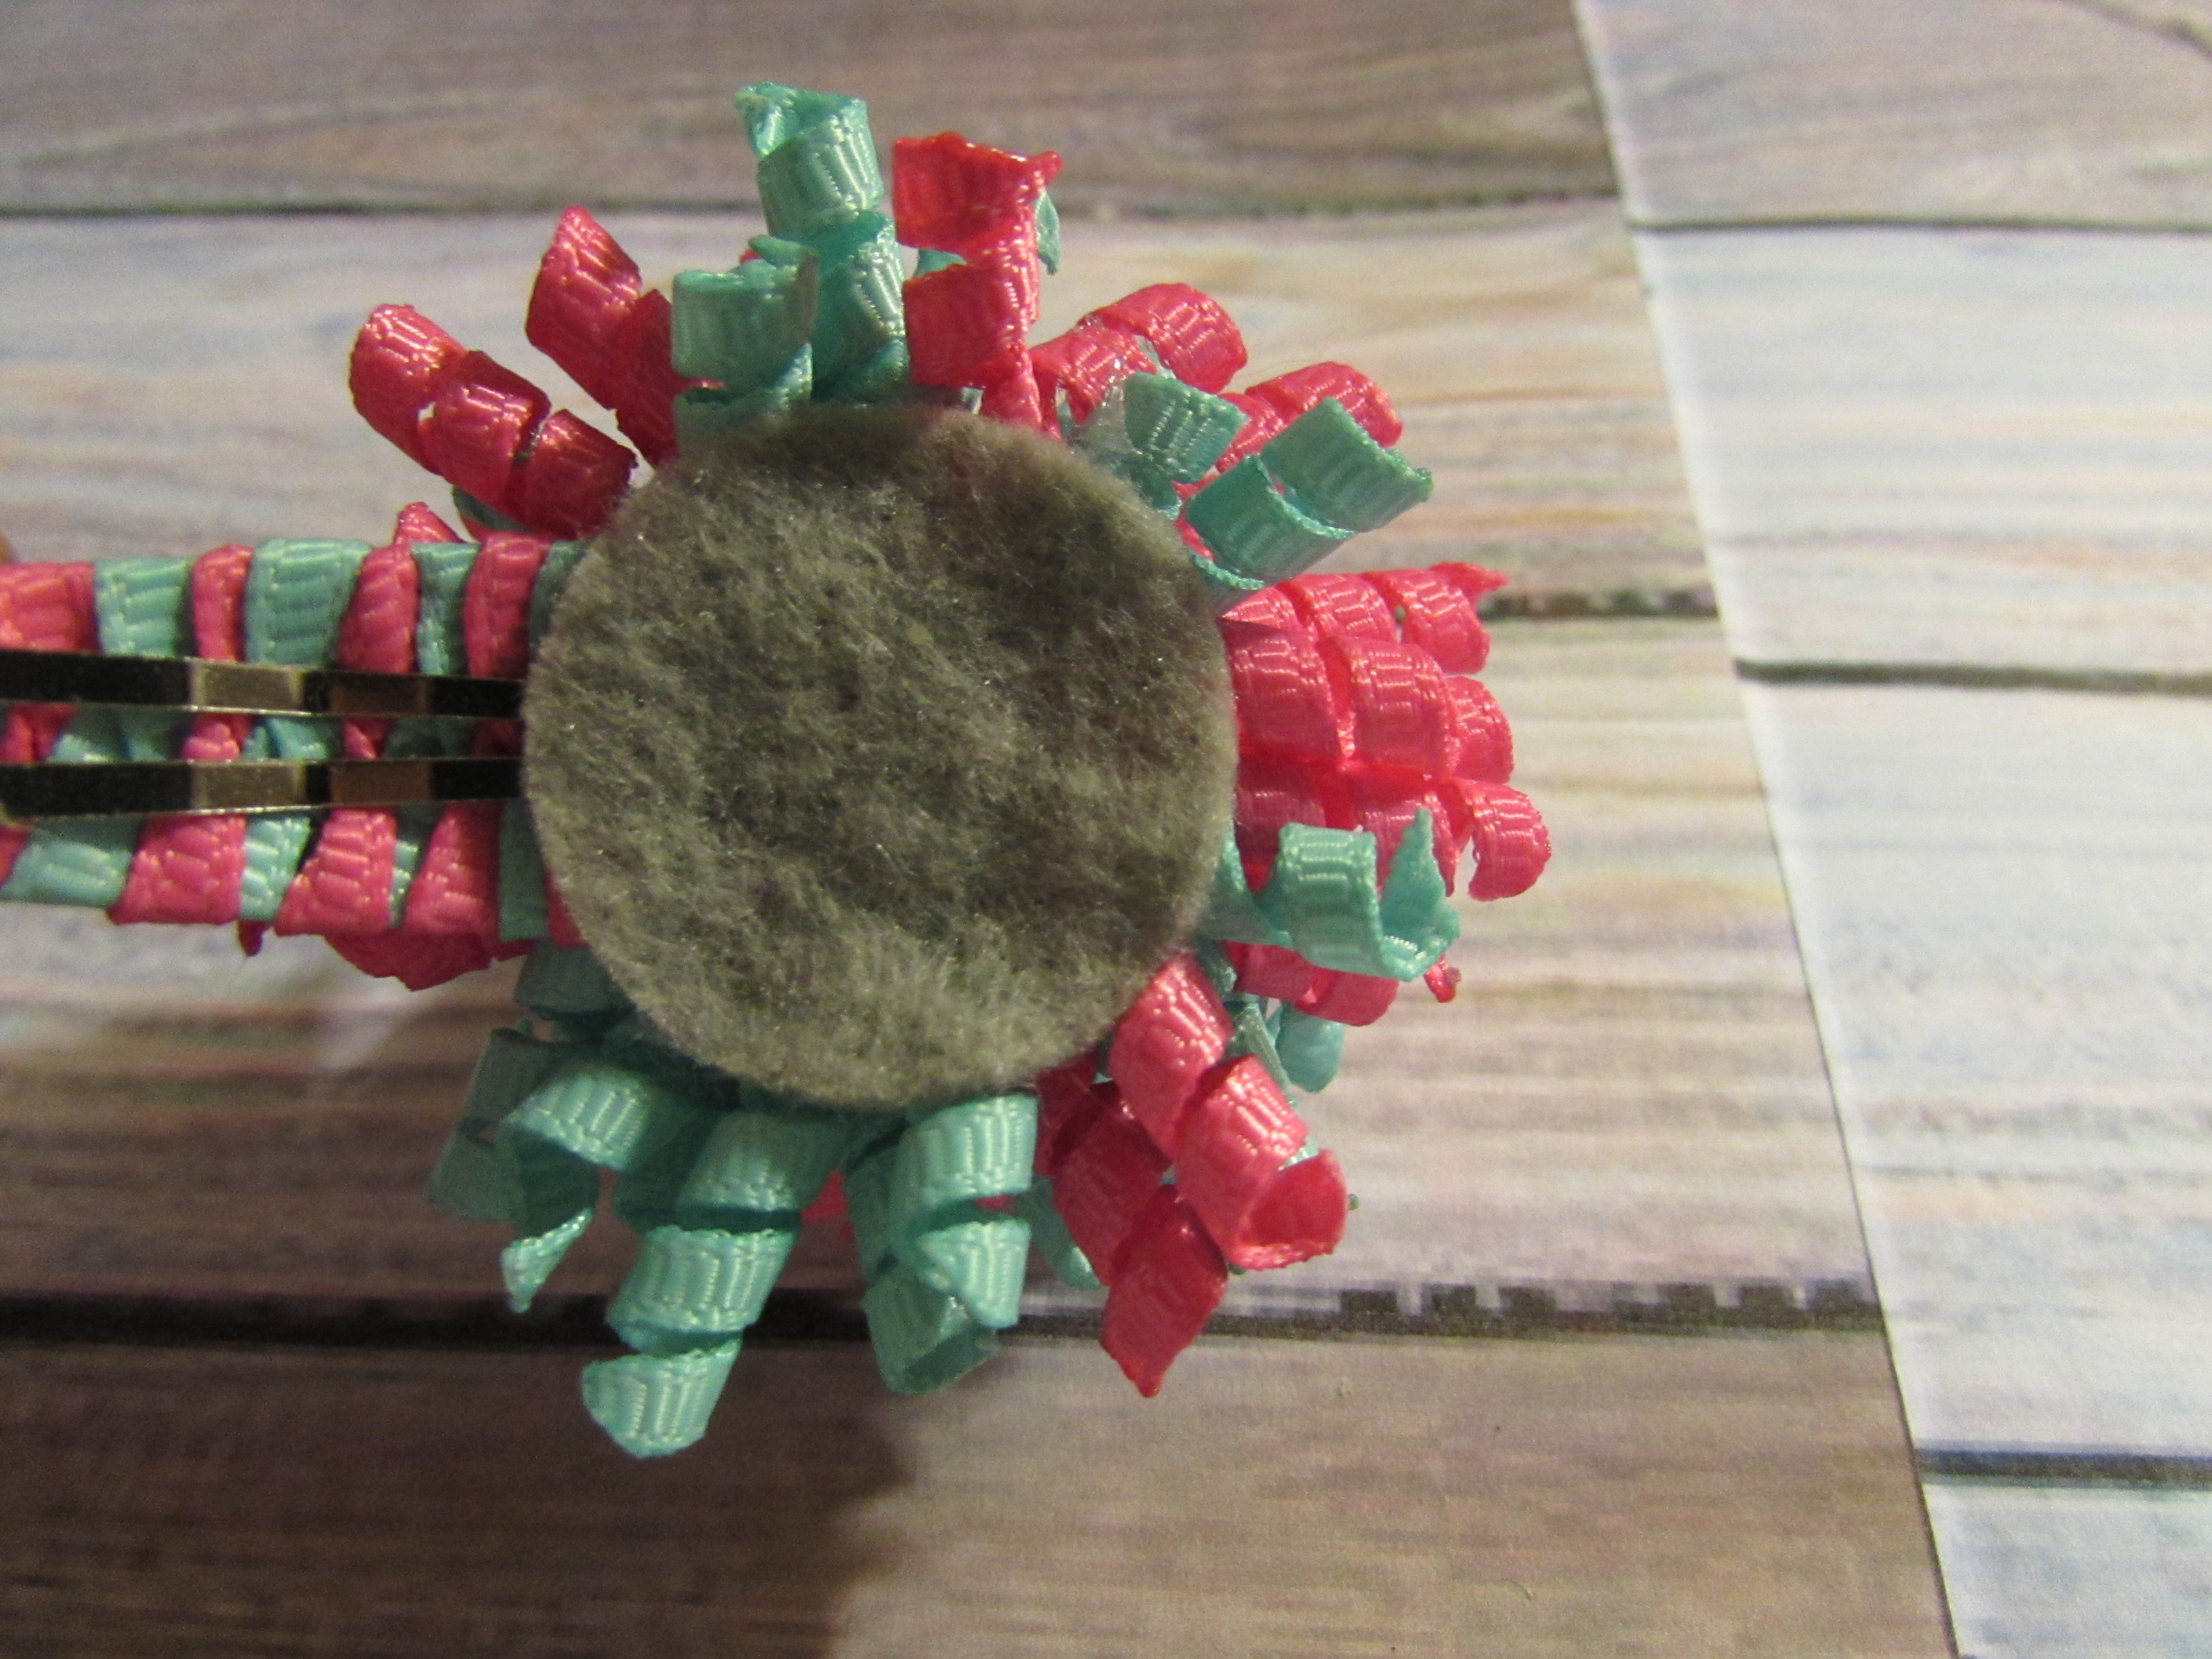 **** YOU'RE DONE! ****


 TOOLS
TOOLS
 NEW
NEW


