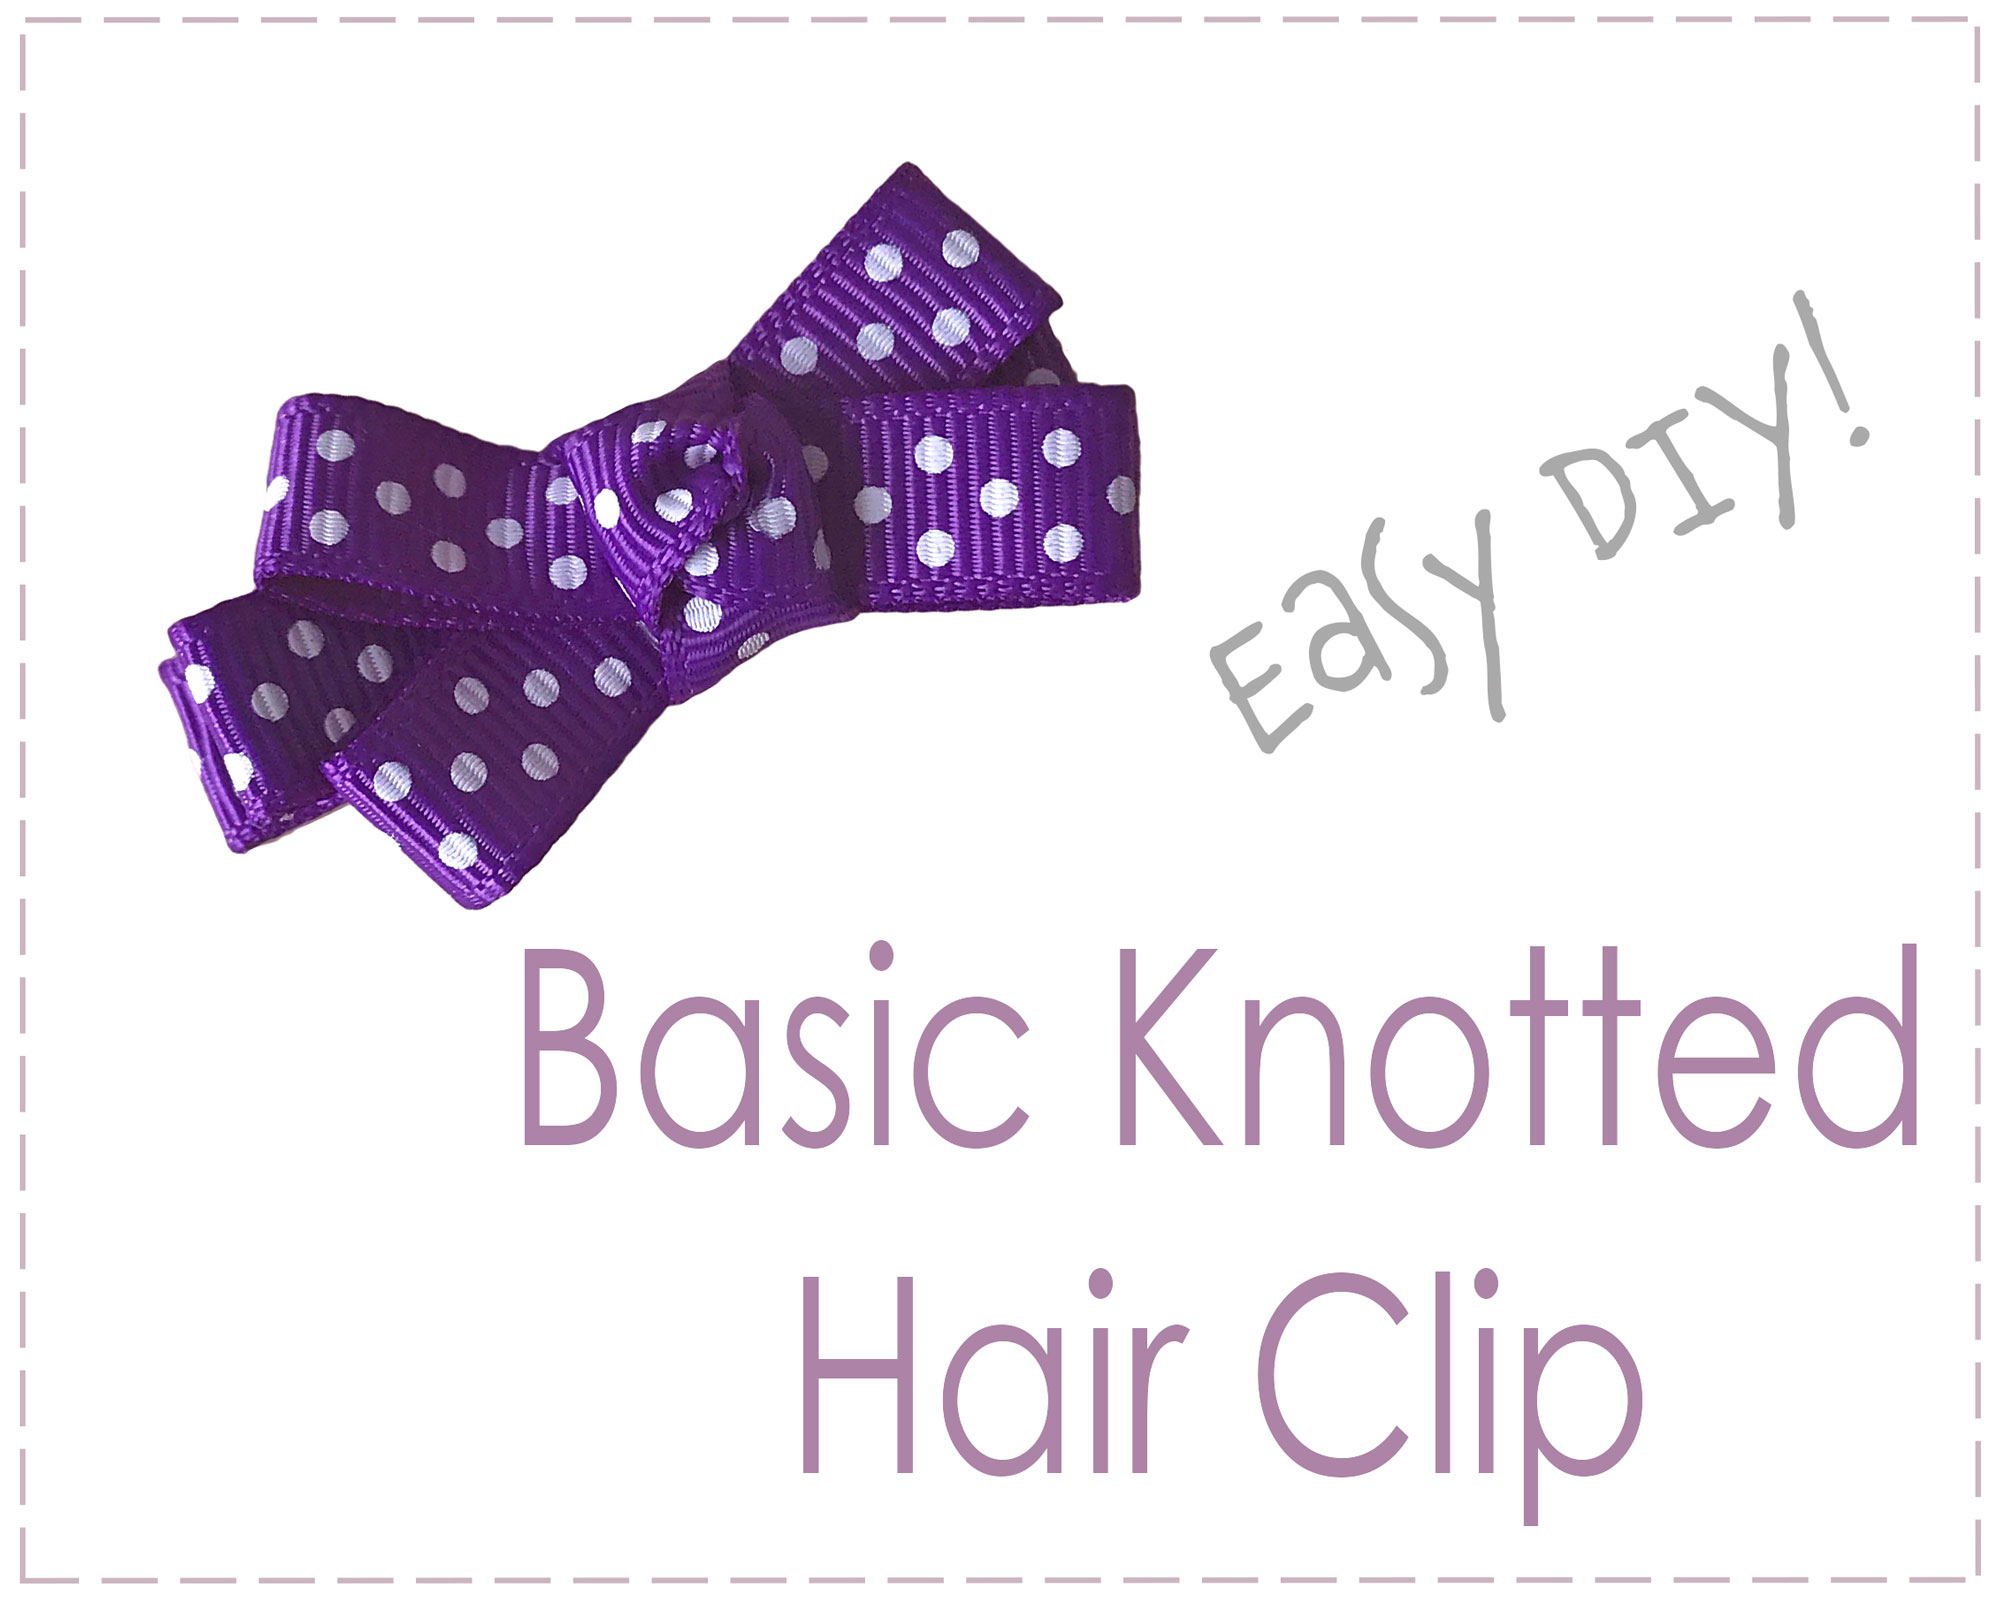
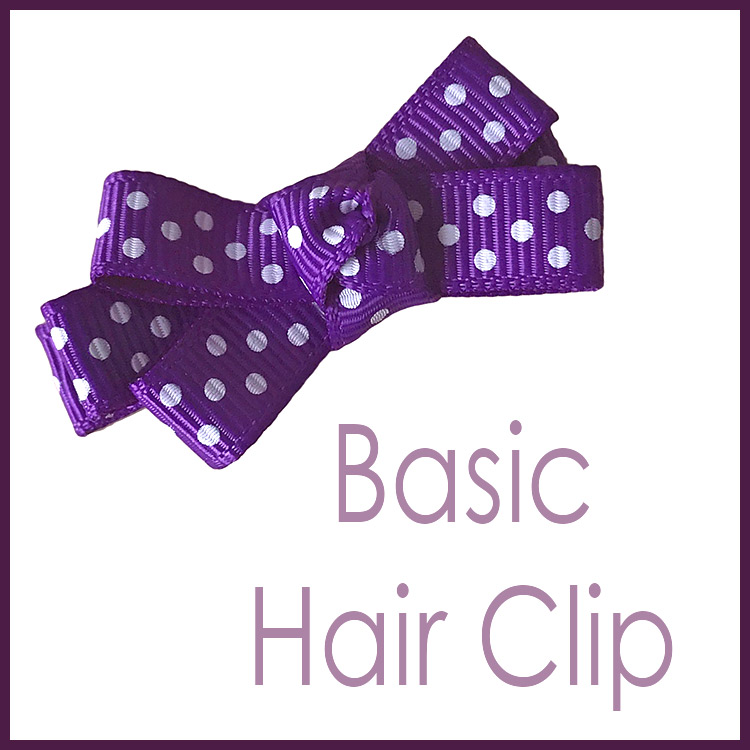
Contributor post by Danielle at Korker Krazy We are going back to the basics today with a classic DIY instructional tutorial on how to make an itty-bitty knotted center hair clippie. These little hair-bows are small but mighty as they are popular for girls of all ages from babies to big girls needing something to hold back the hair from around their face. This tutorial is also handy as it goes over the basics of creating and adding the traditional knotted hair-bow center that is used in almost every style and size of hair-bow and also details how to line a clip with ribbon, another essential hair-bow making skill.
Supplies Needed:
- Alligator Clip
- 3/8" Swiss Dots Grosgrain Ribbon in Purple
- Hot Glue Gun & Glue
- Scissors
- Lighter
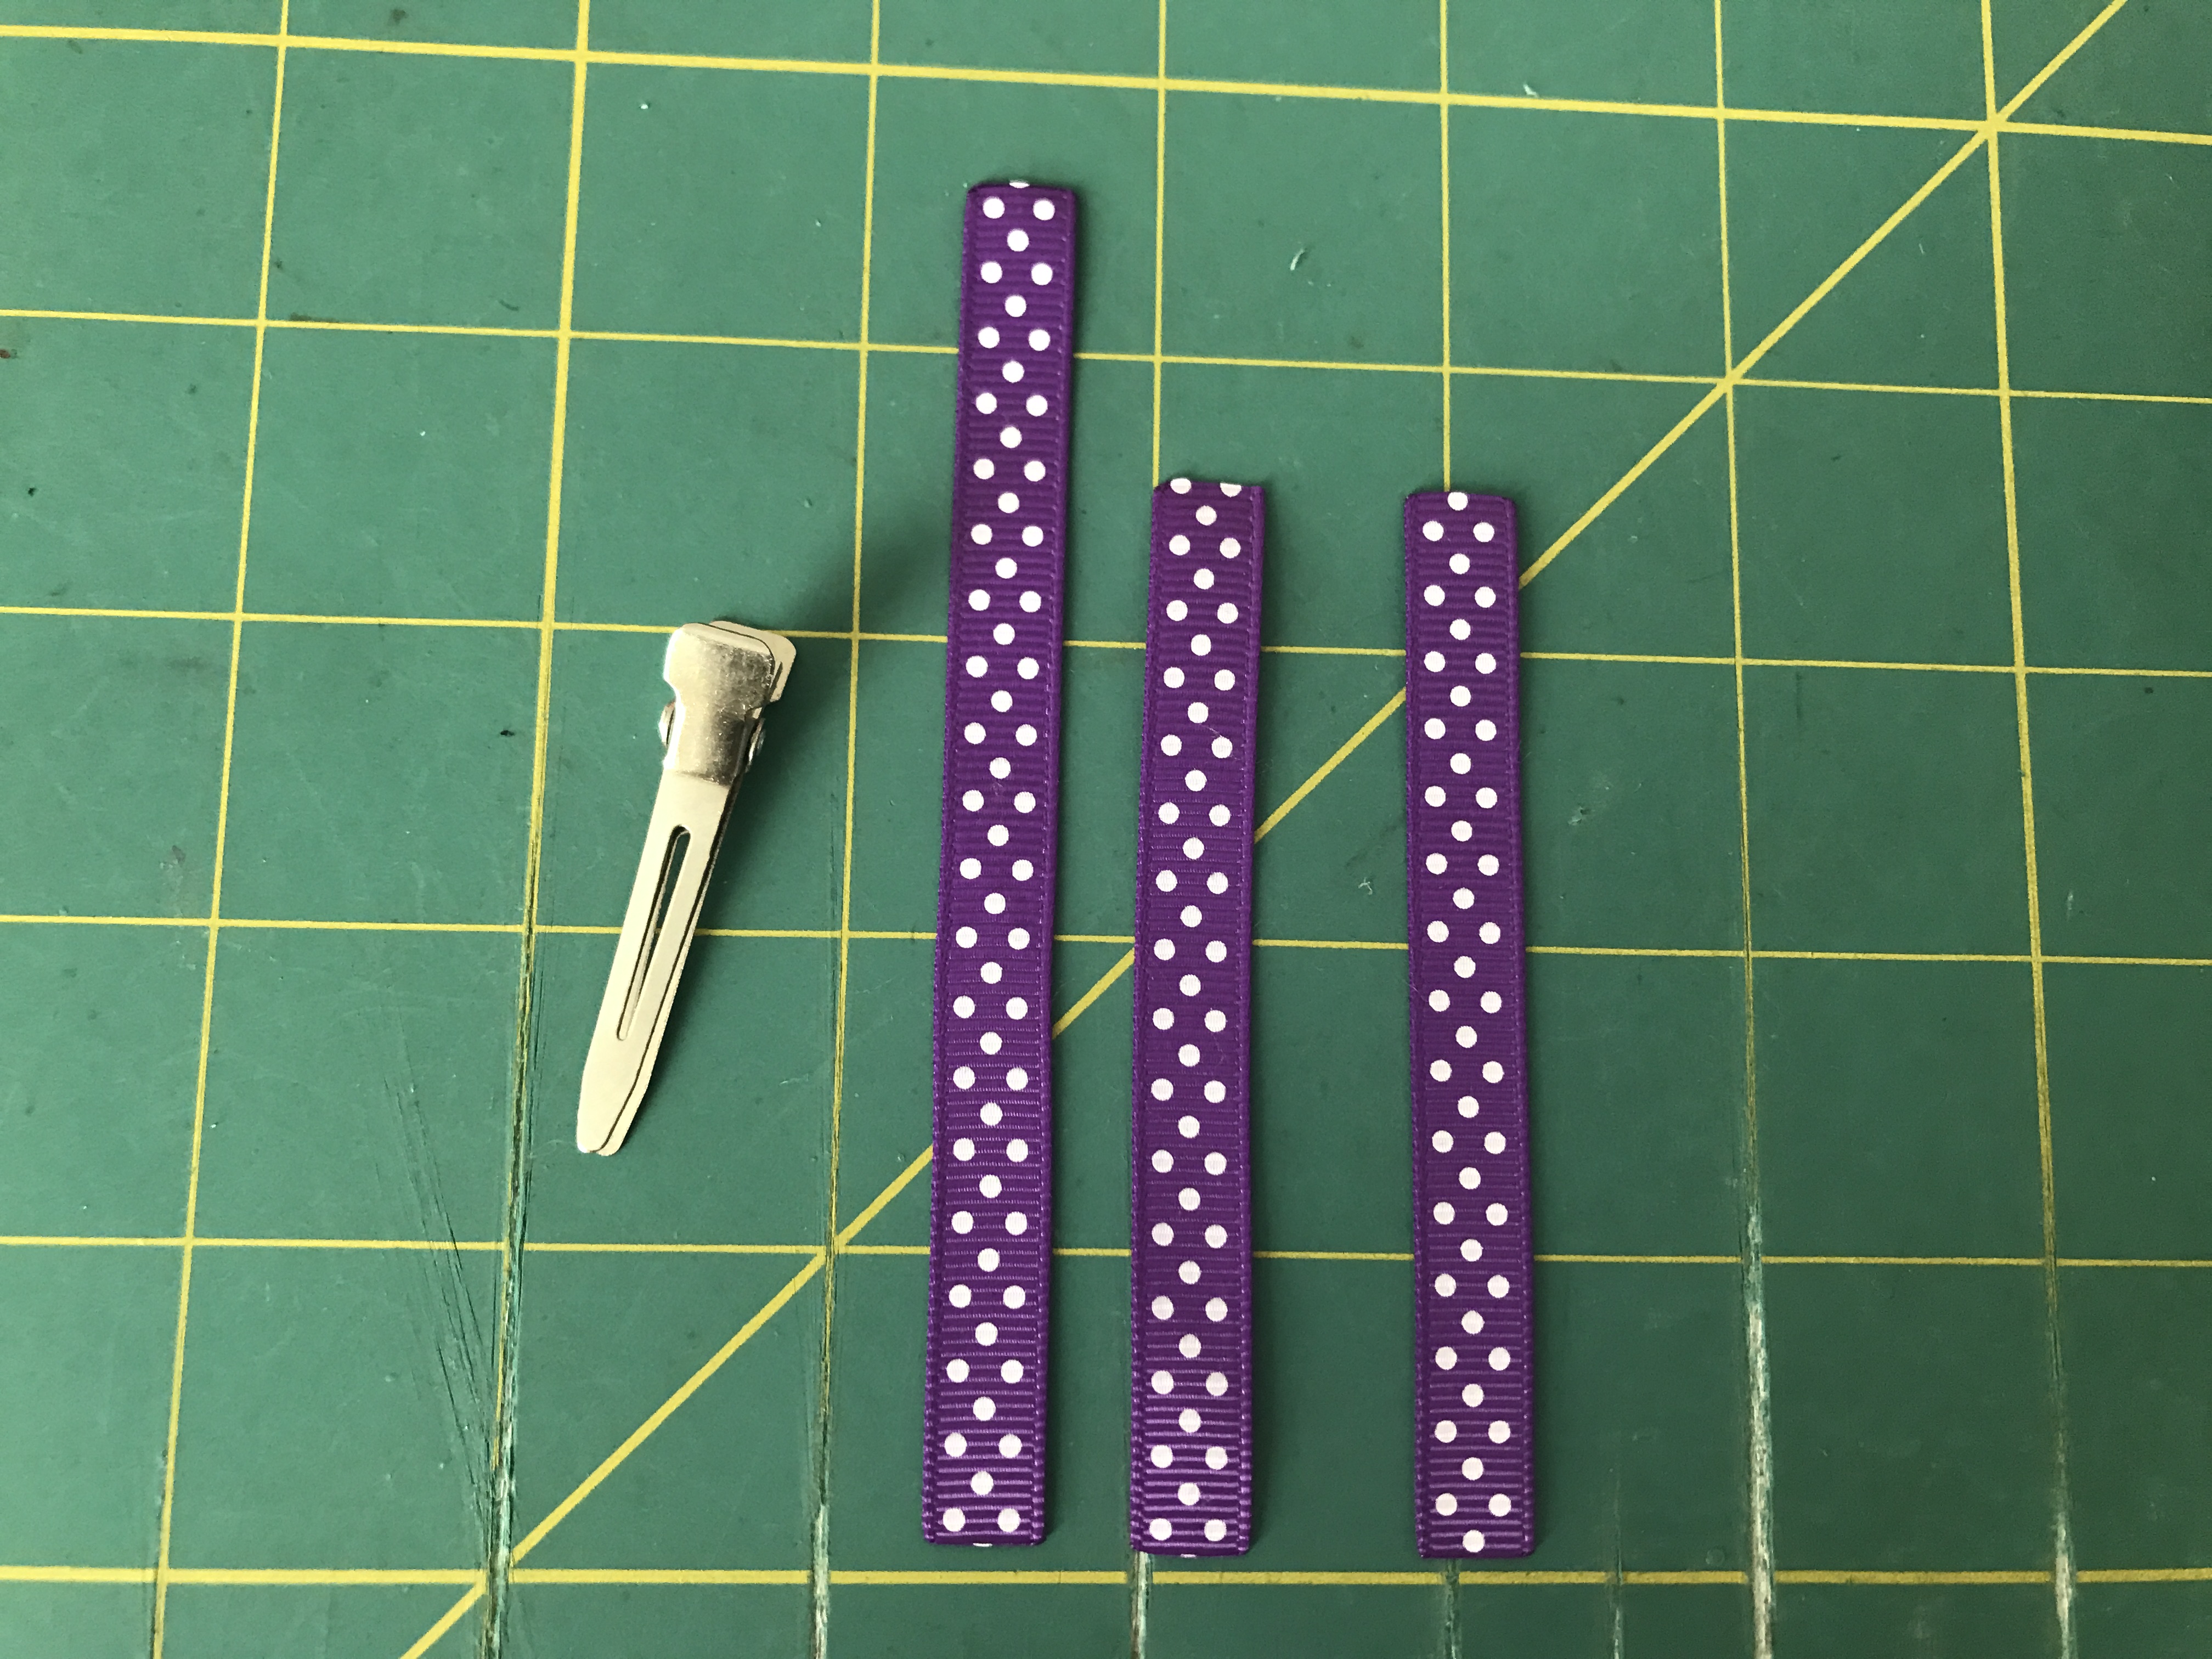
Cut your ribbon and heat seal the ends. 2 - 3.5" pieces 1 - 4.5" piece 1 scrap piece a few inches long for the knotted center
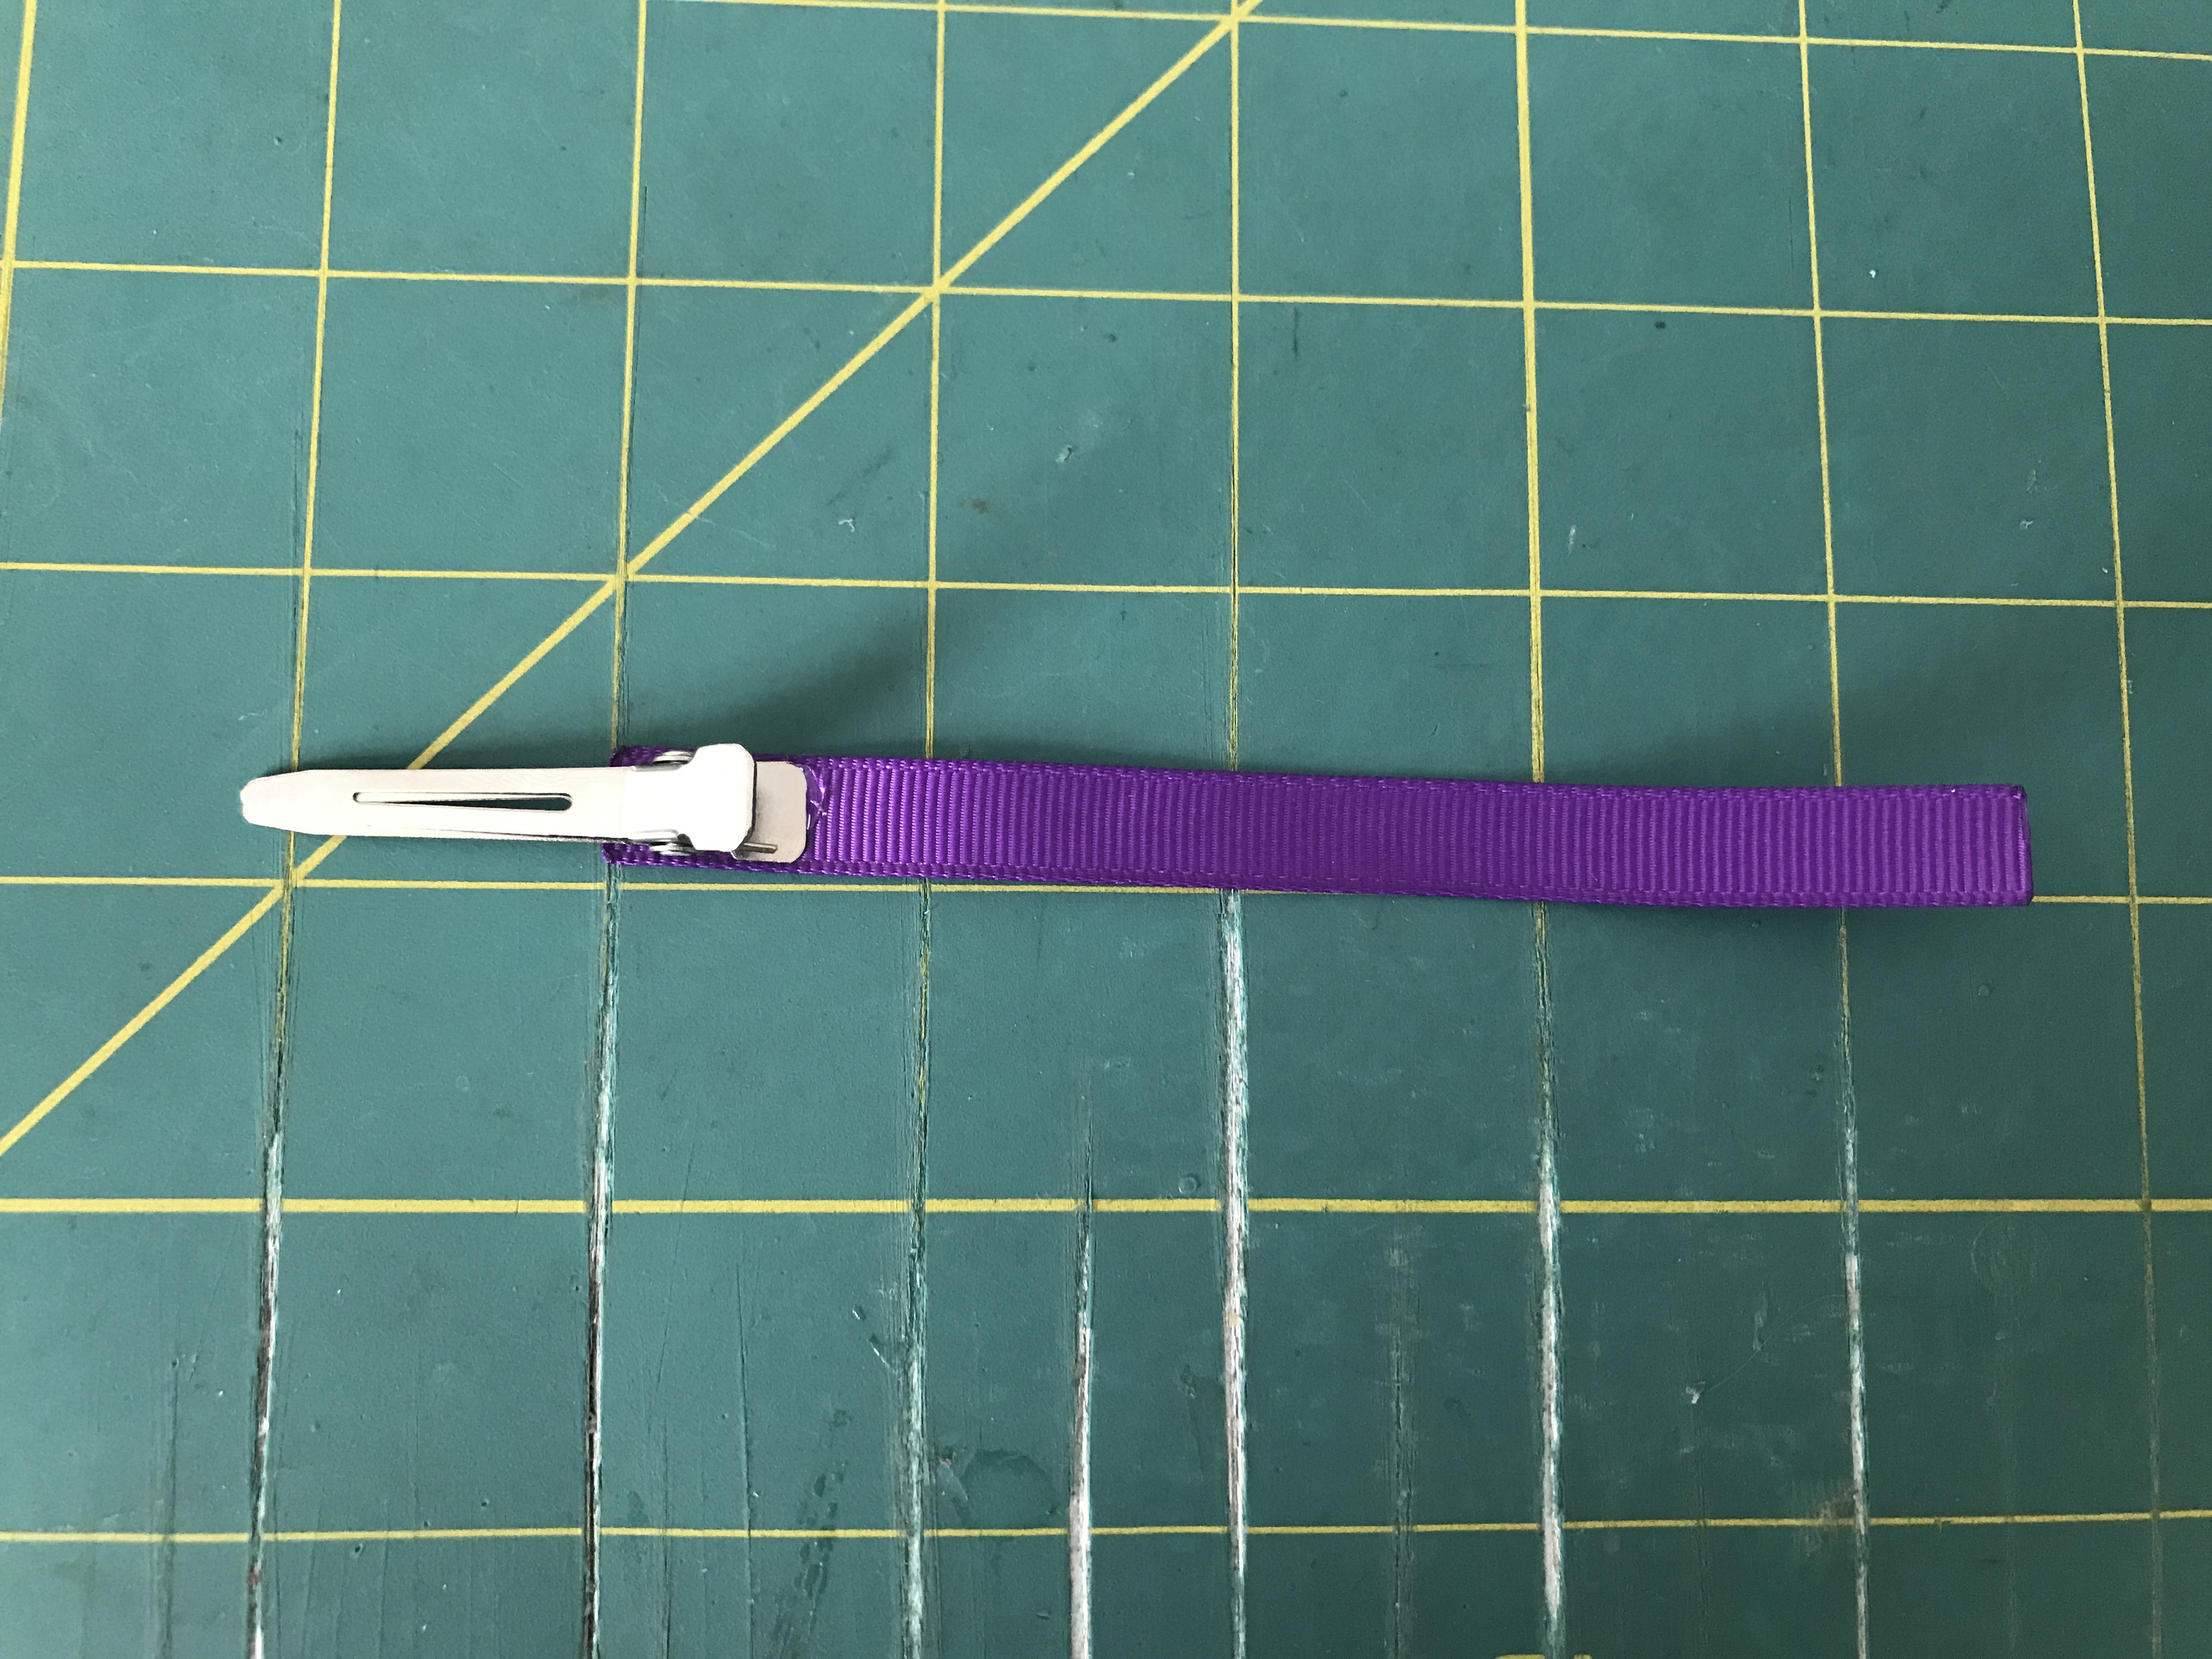
For this step you will need your 4.5" strip of 3/8" ribbon. We are going to start on the back of the clip (the flat side). Put a line of hot glue on the clip - Start above the slit in the clip and continue until the end. Place one end of your ribbon on the line of glue and press down for a few seconds.
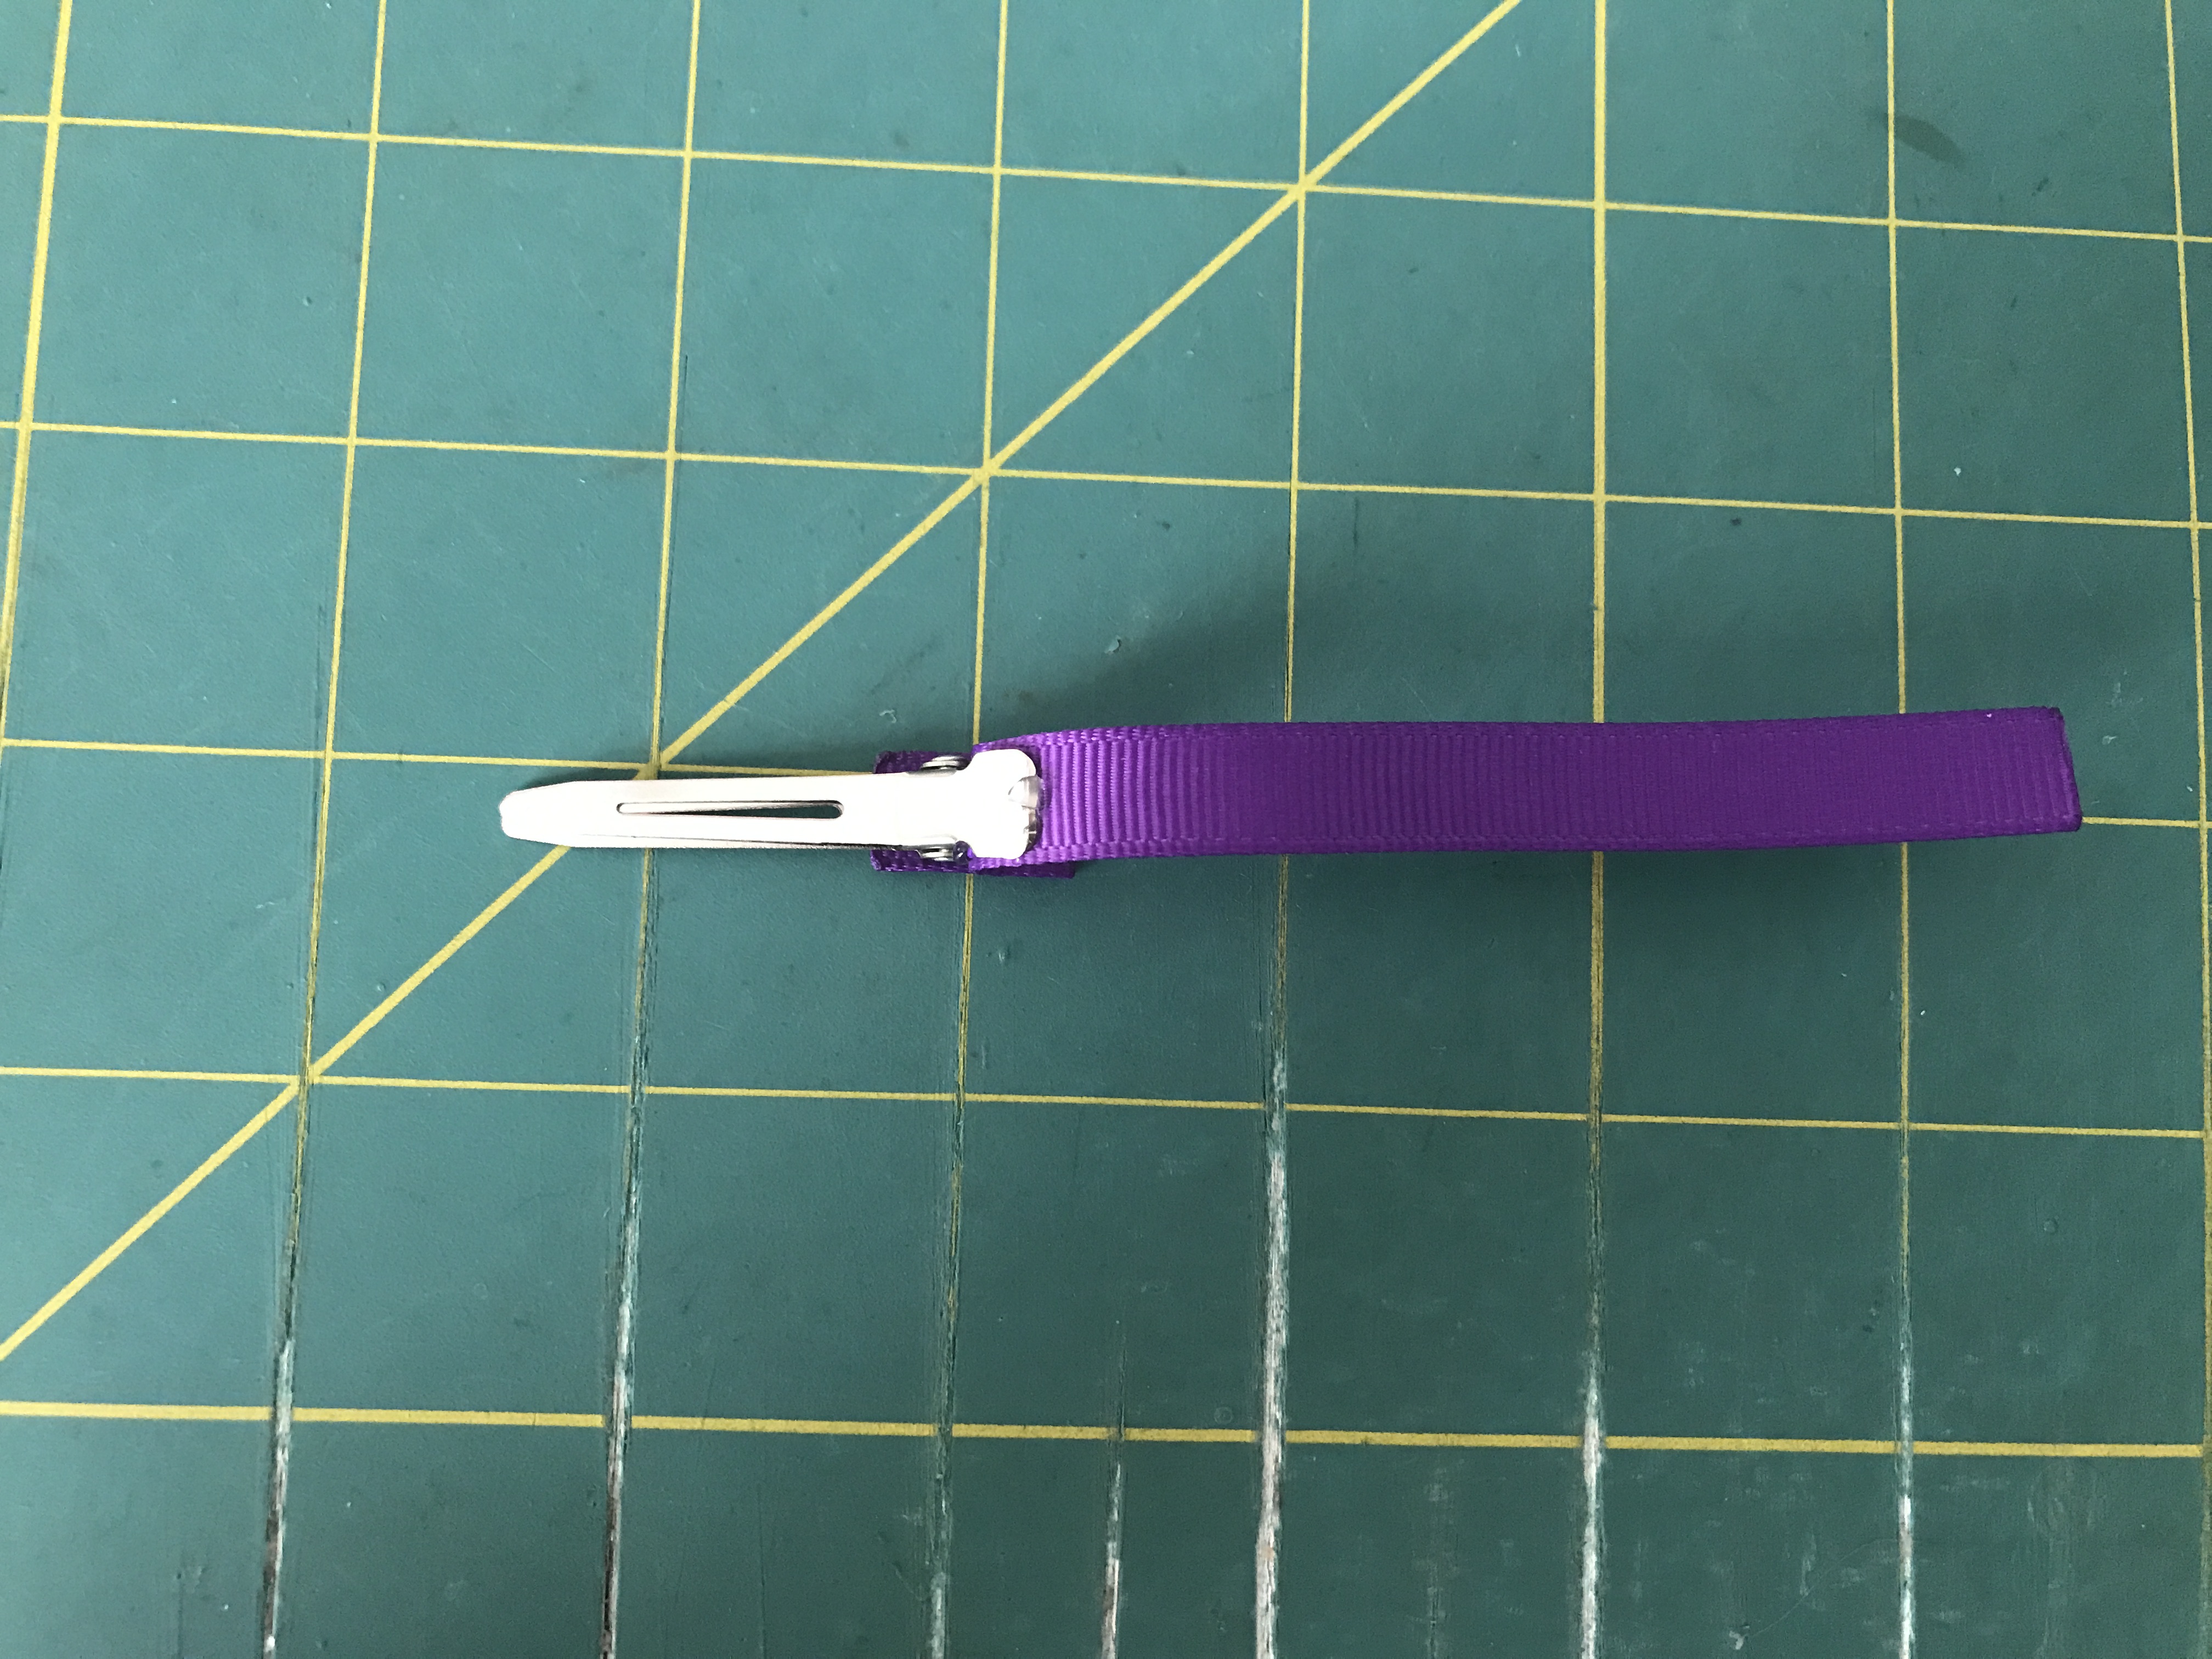
Next, Put a dab of glue on both inner sides of the pinch ends and quickly tuck the ribbon inside.
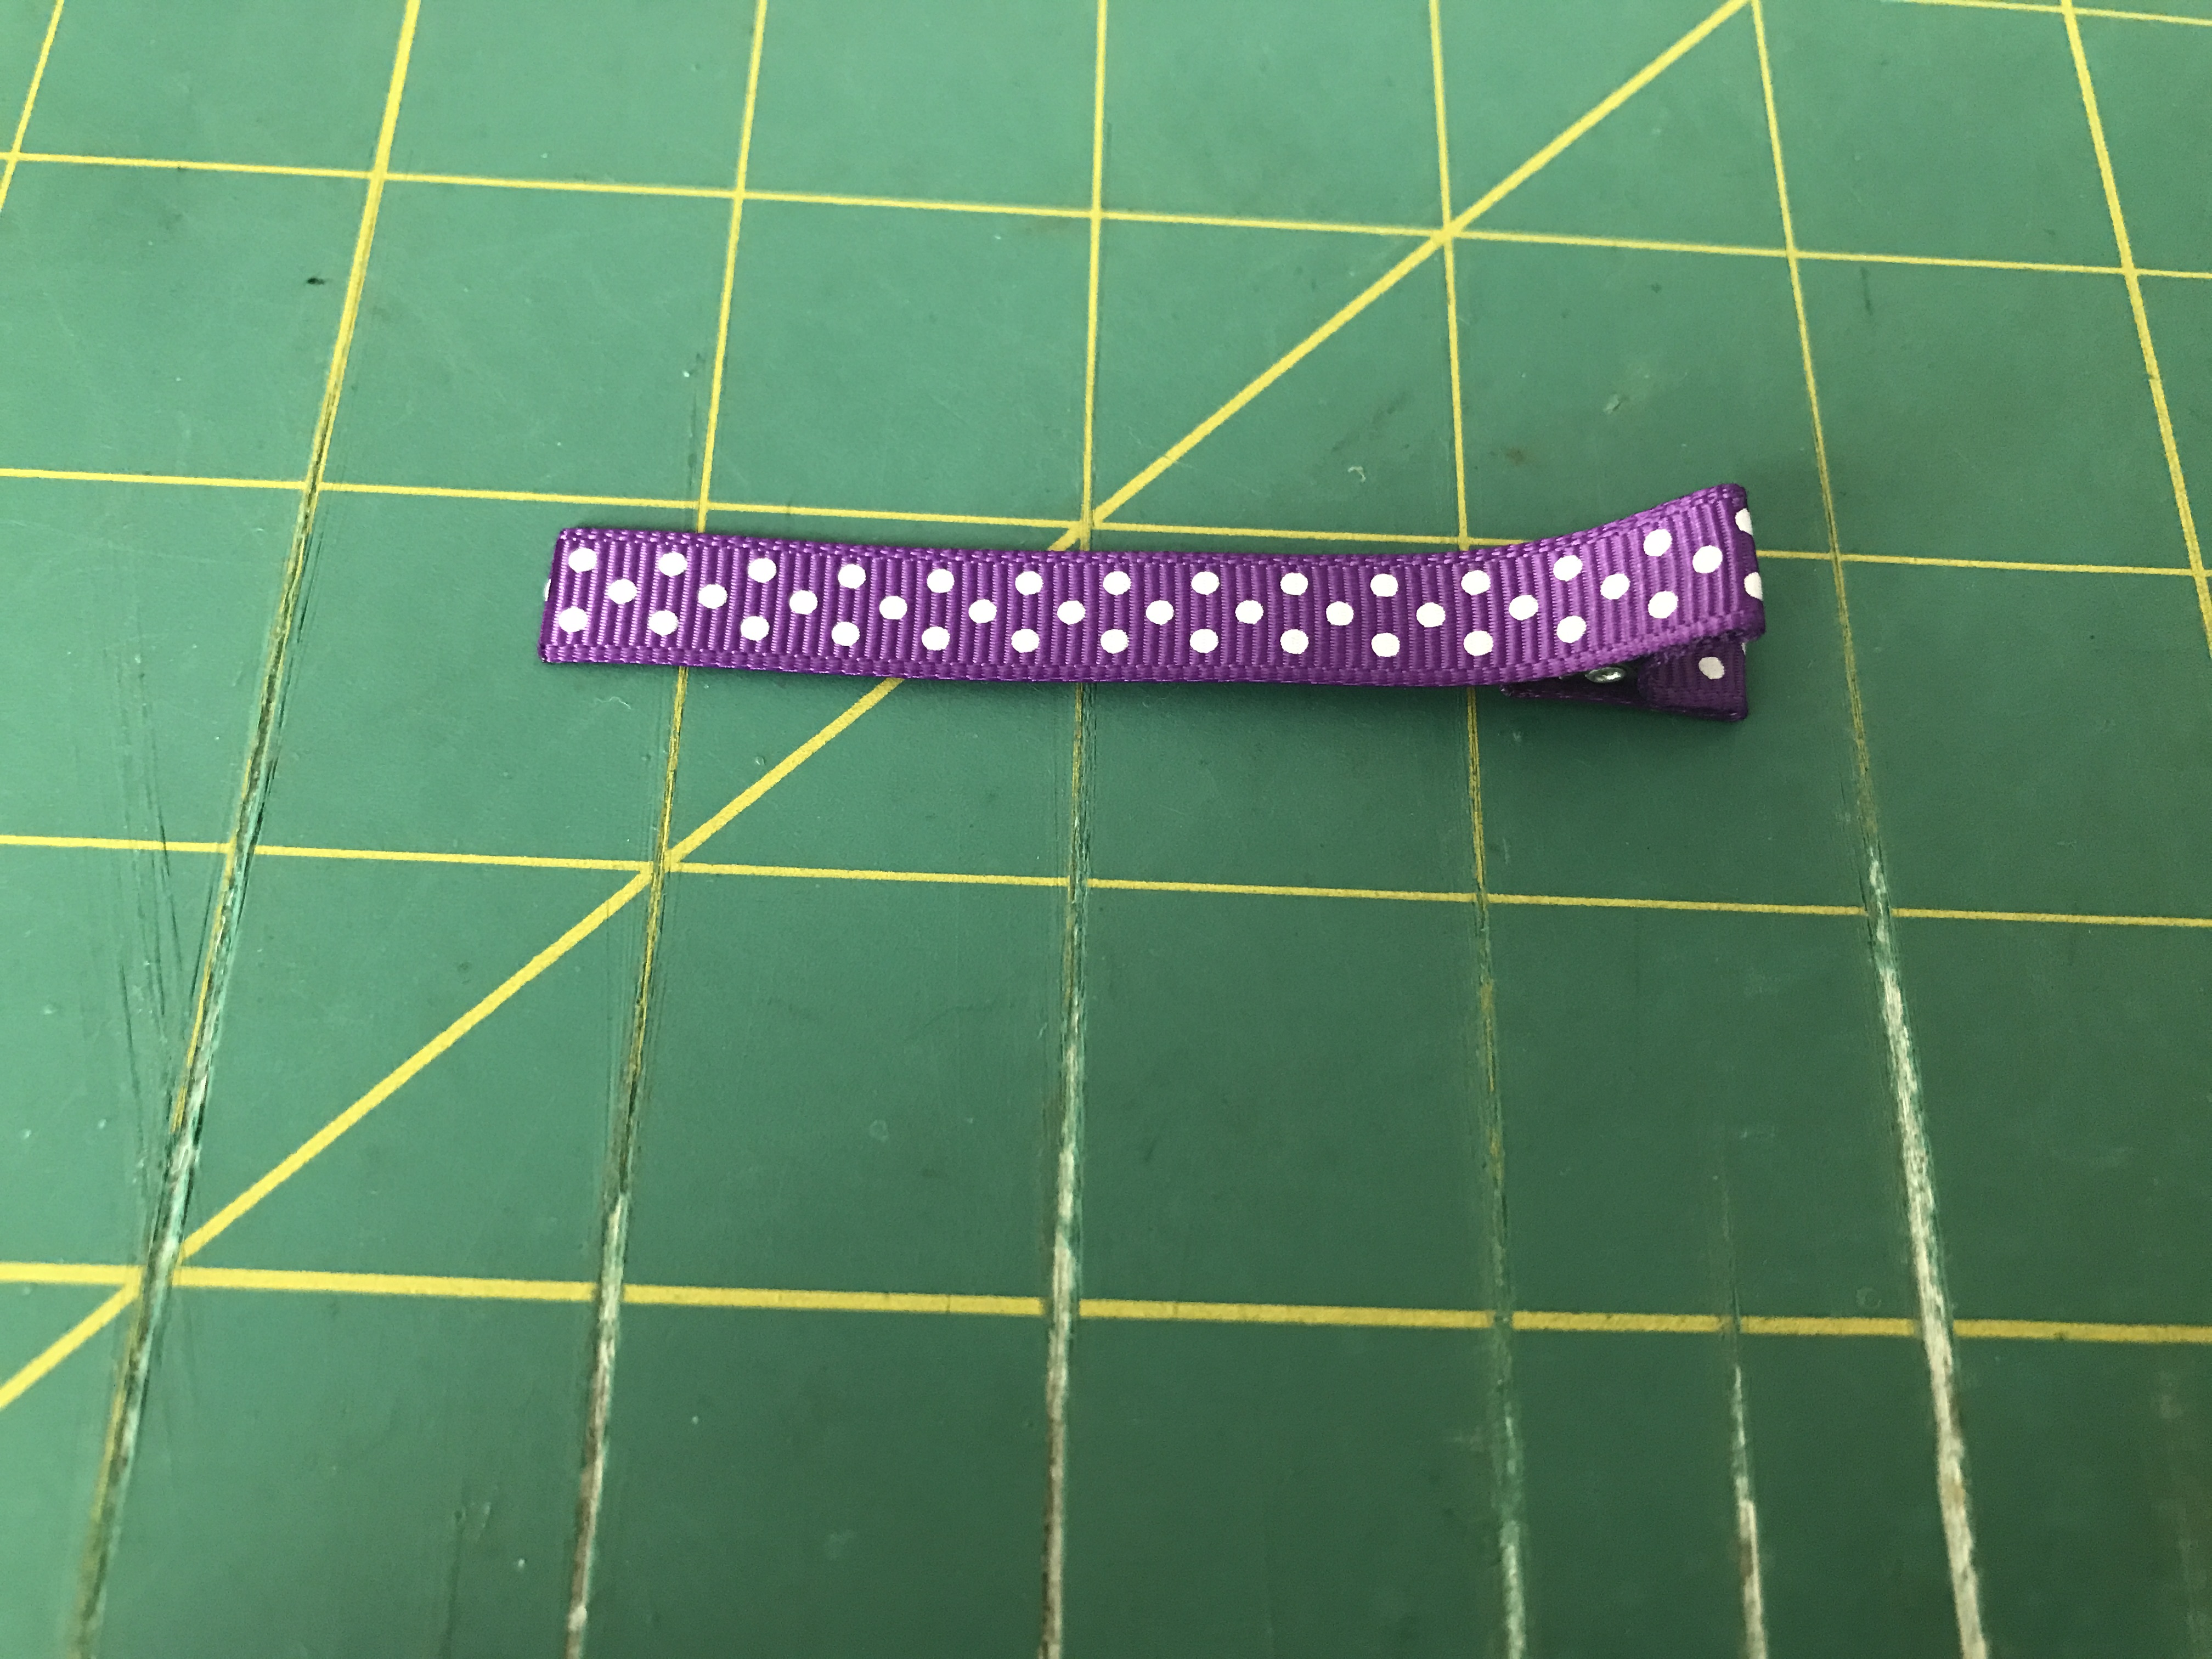
Then, put a line of glue from the top of the clip to right above the slit and quickly fold your ribbon over. Make sure your ribbon is even on the clip.
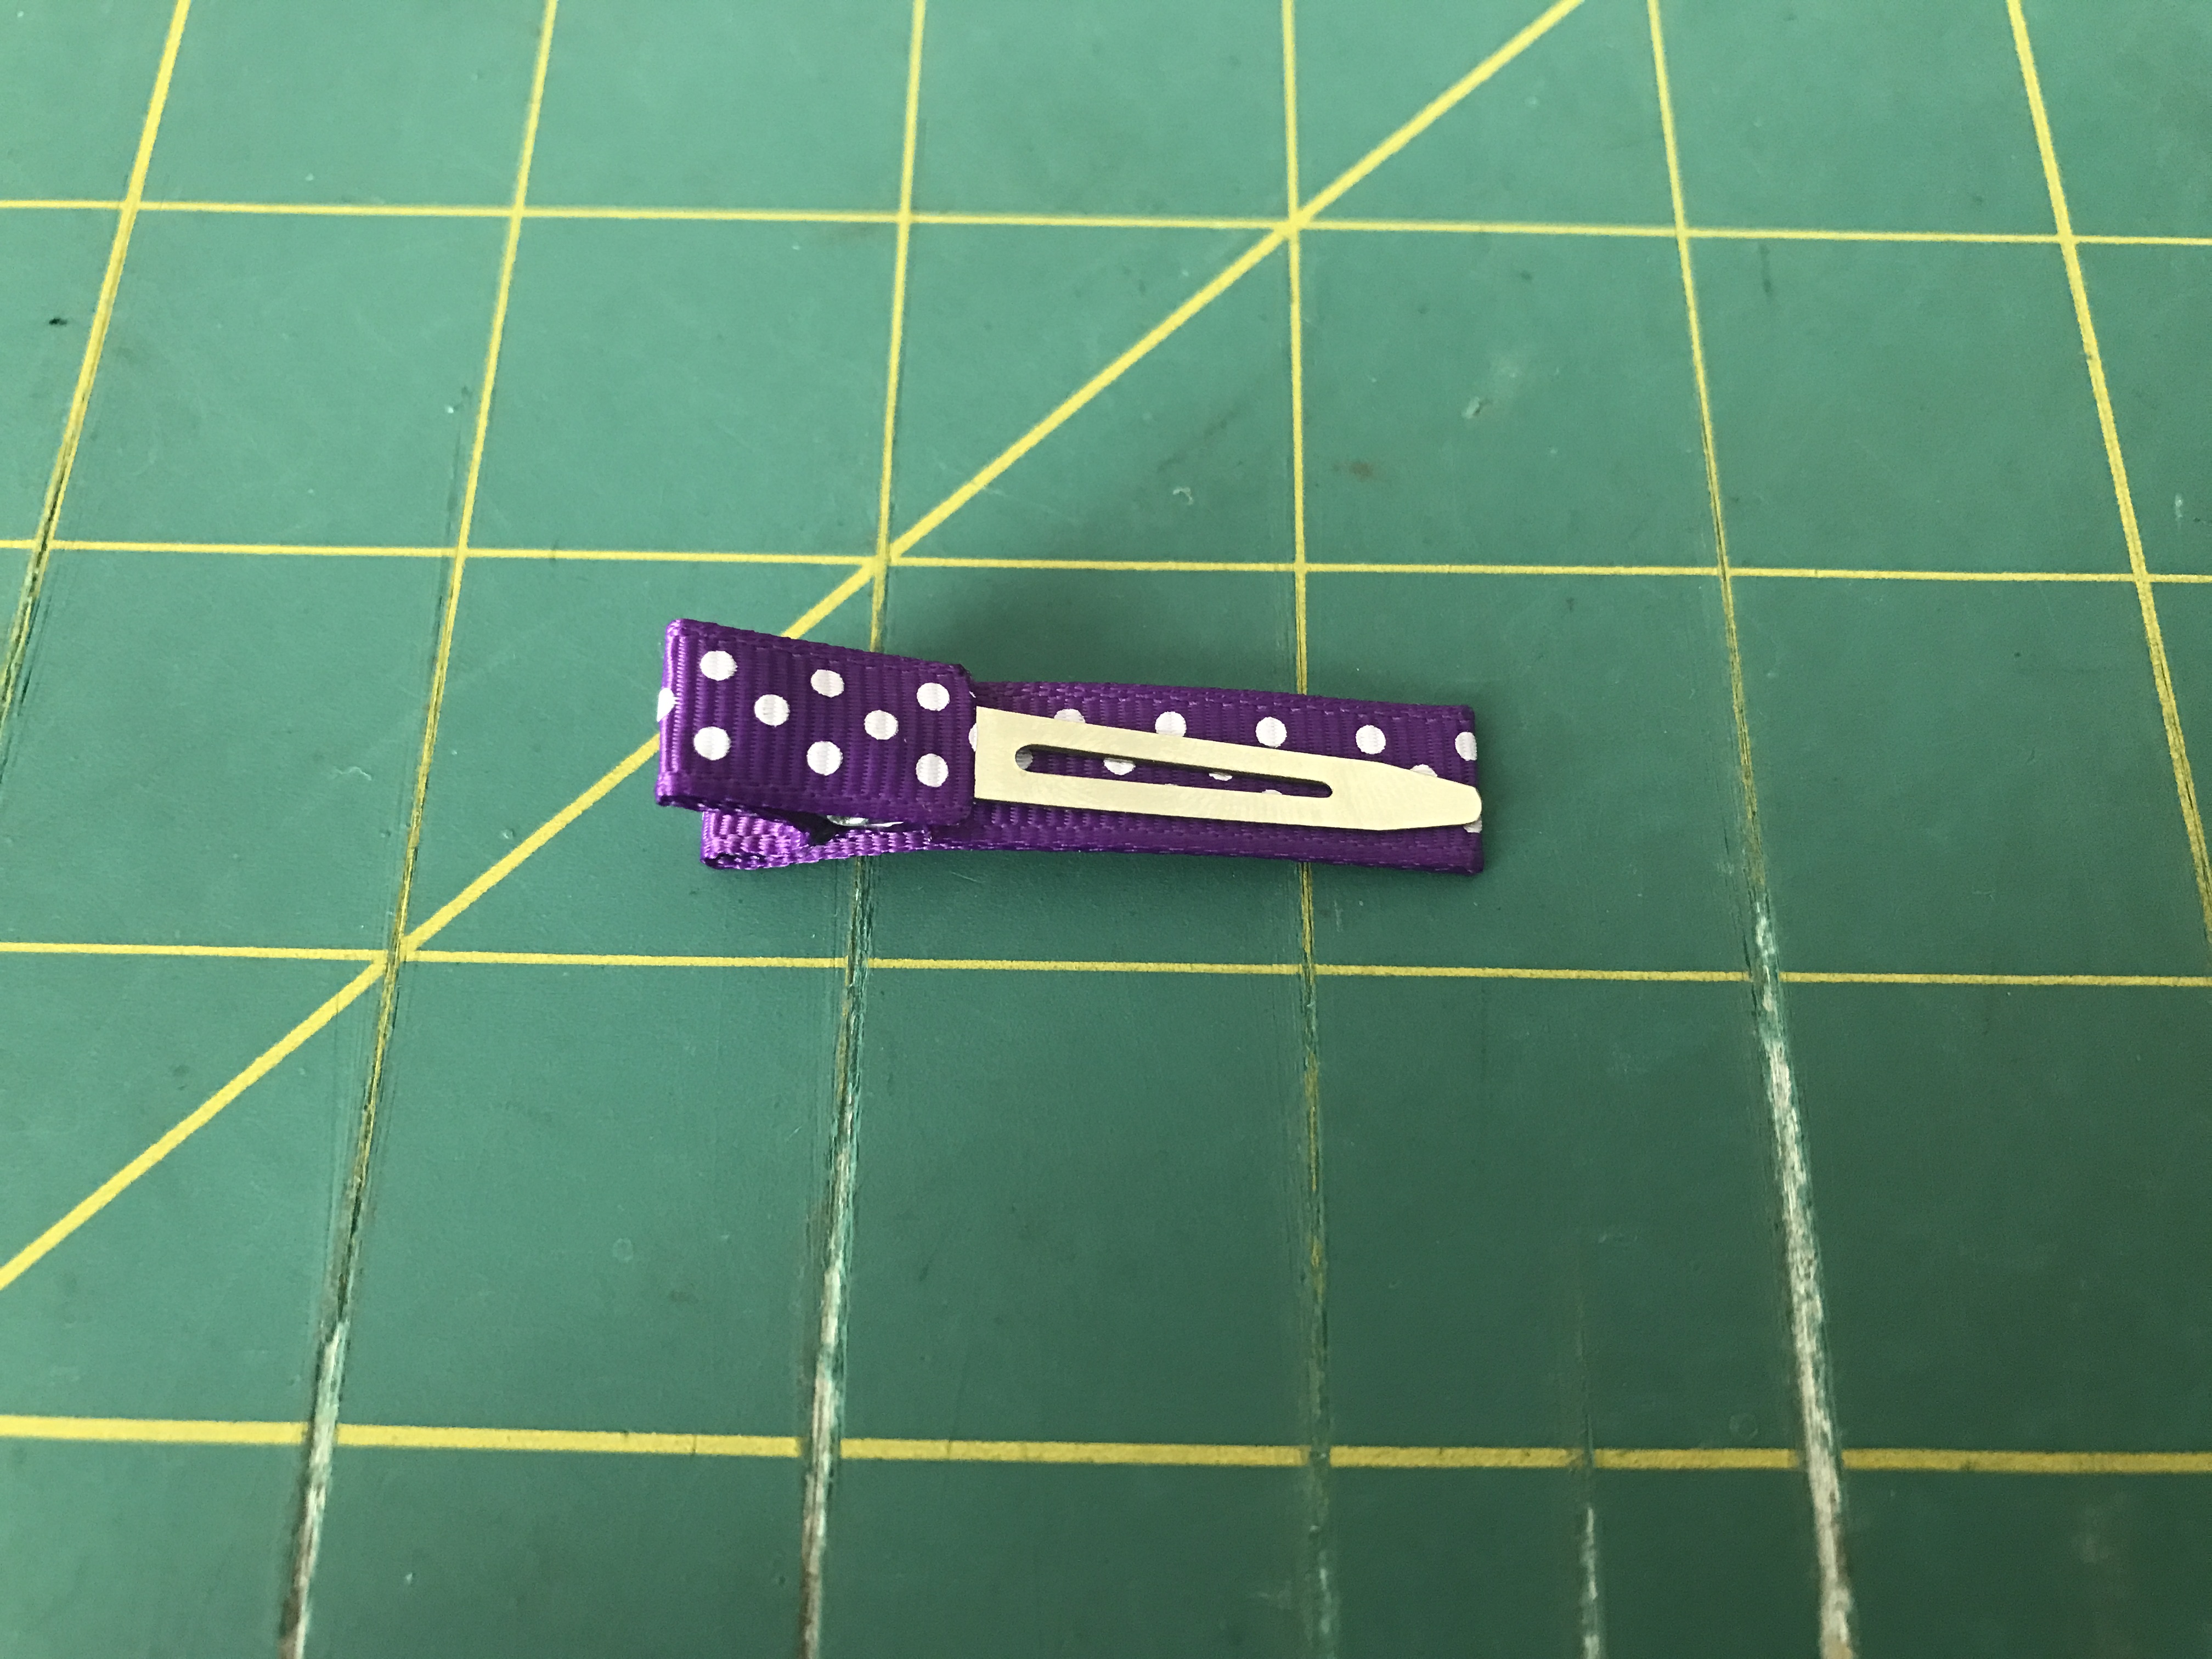
Finally, hold your clip open and put a line of glue from the back of the clip to the tip. Quickly fold your ribbon inside and press down with your thumb smoothing out the glue.
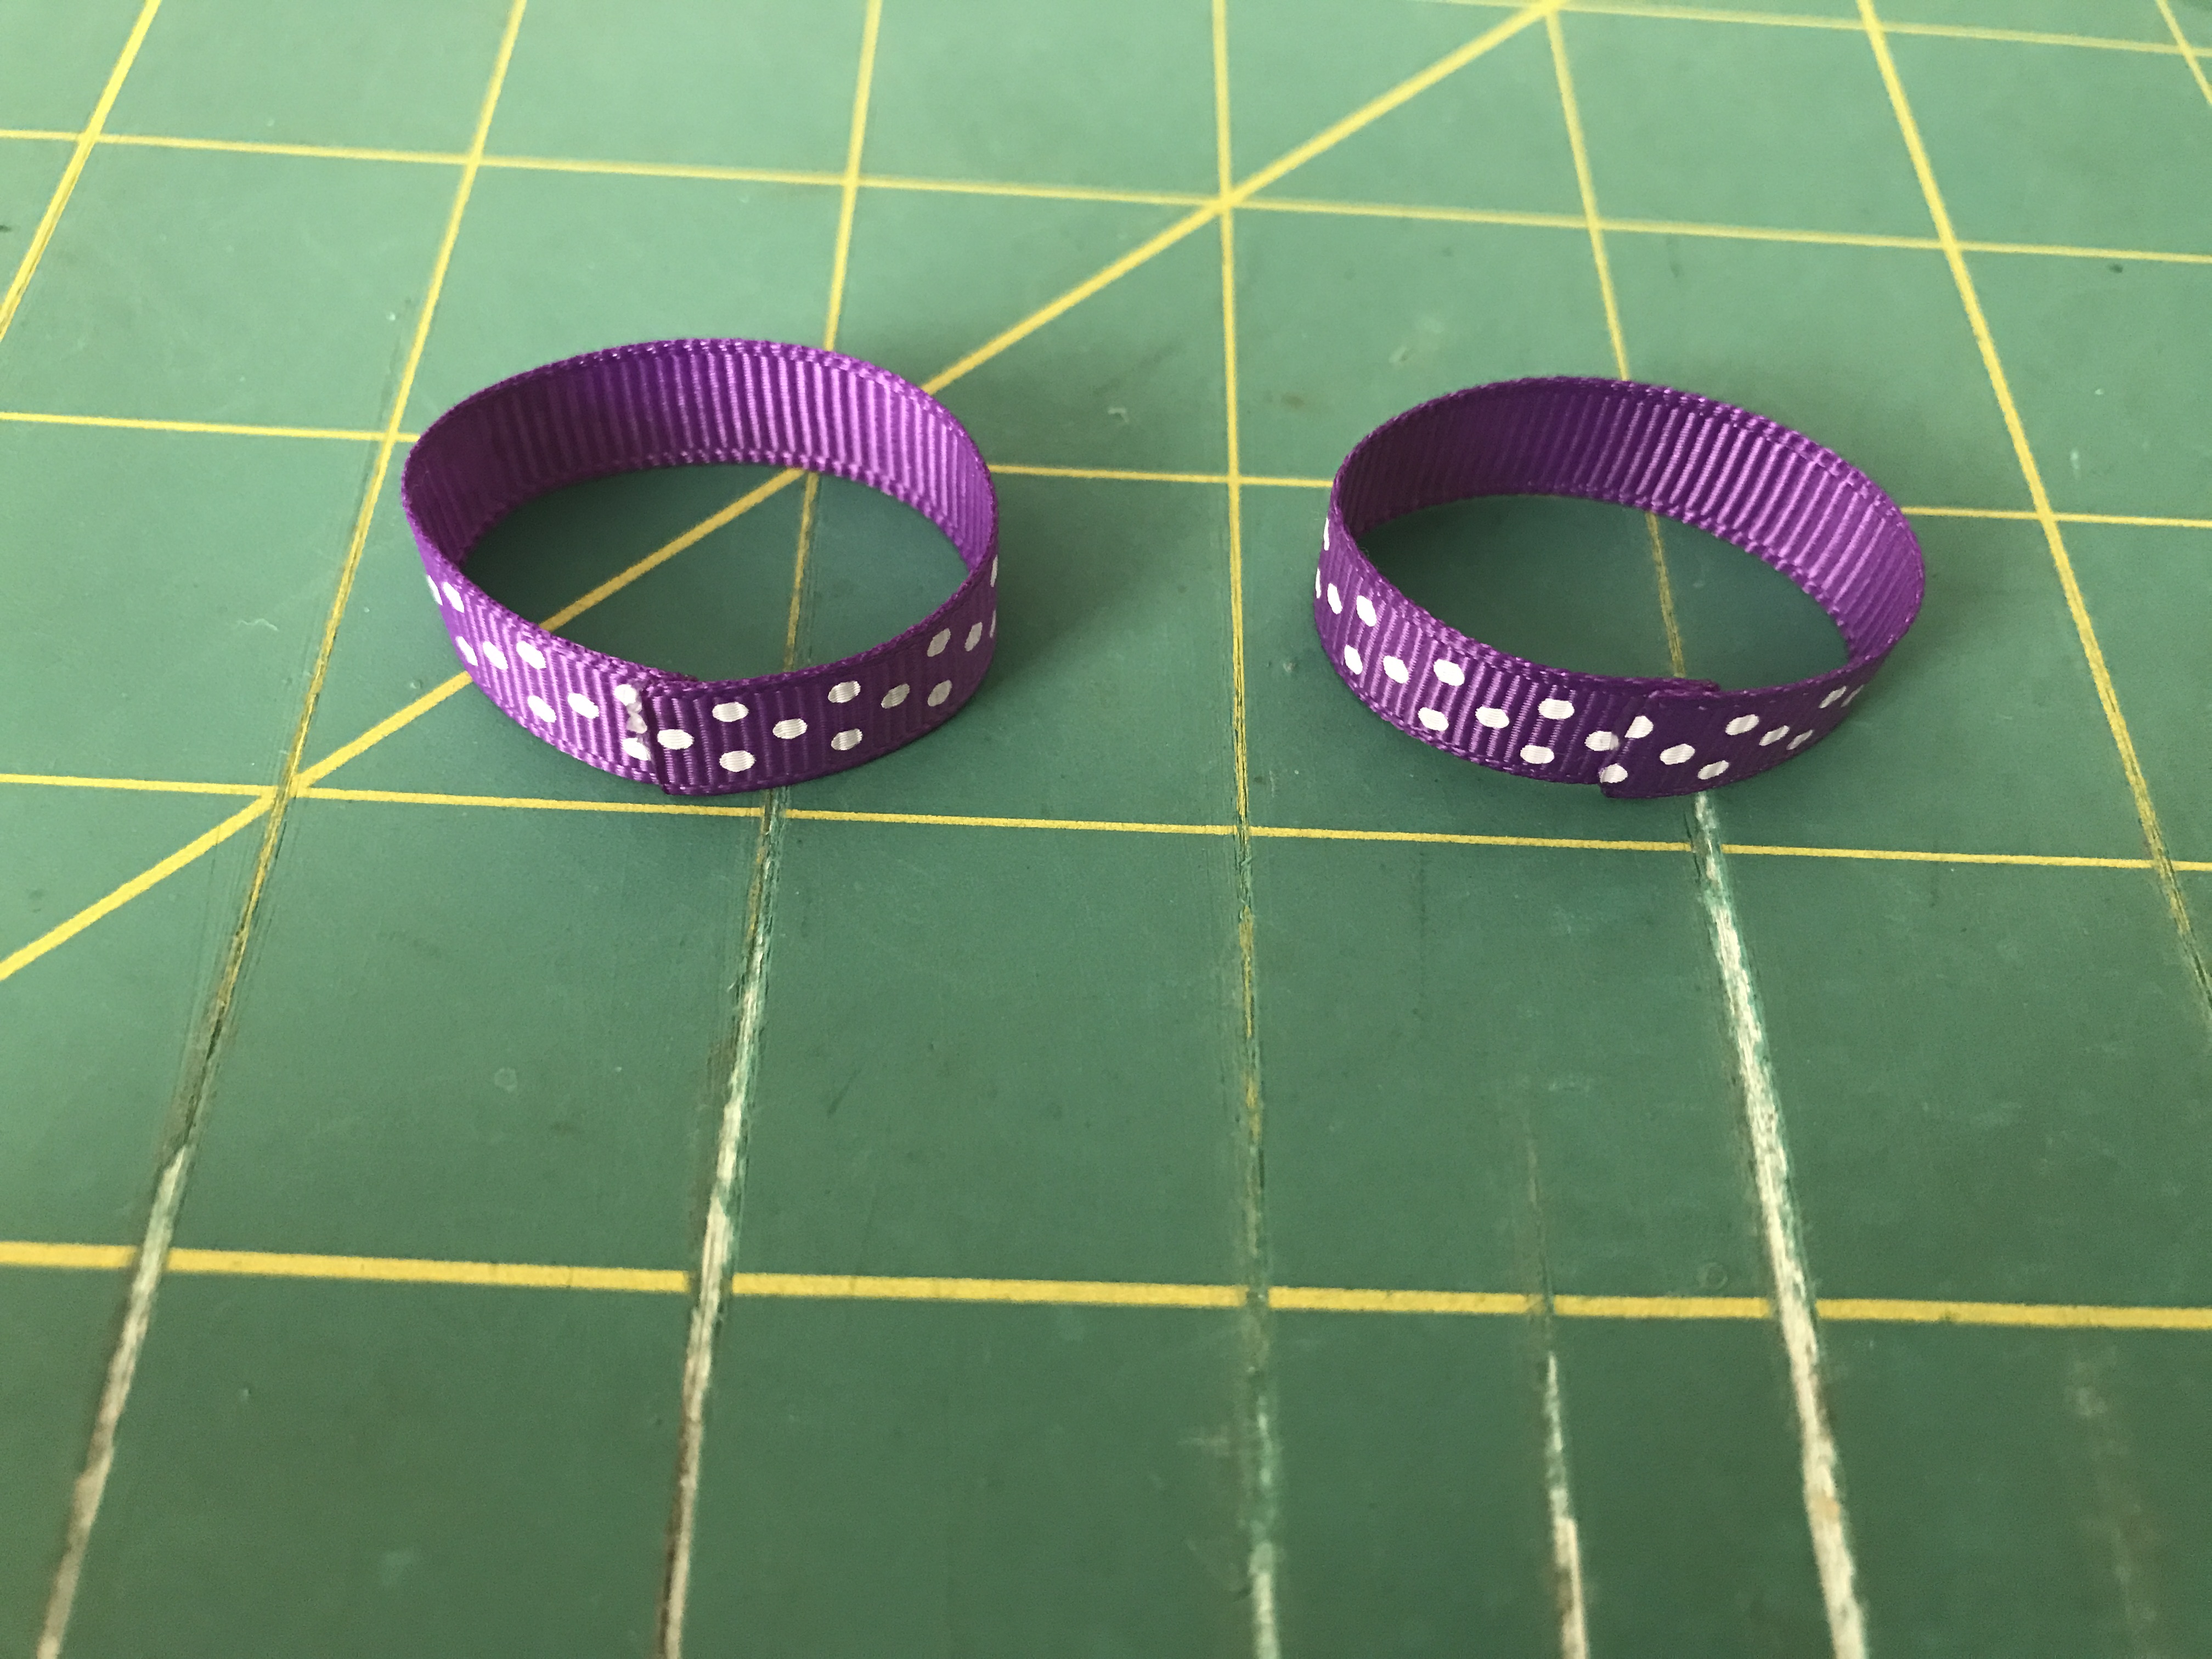
Now you are going to make the loops. For this step use your 3.5" strips of 3/8" ribbon. Glue both ends together to form a circle.
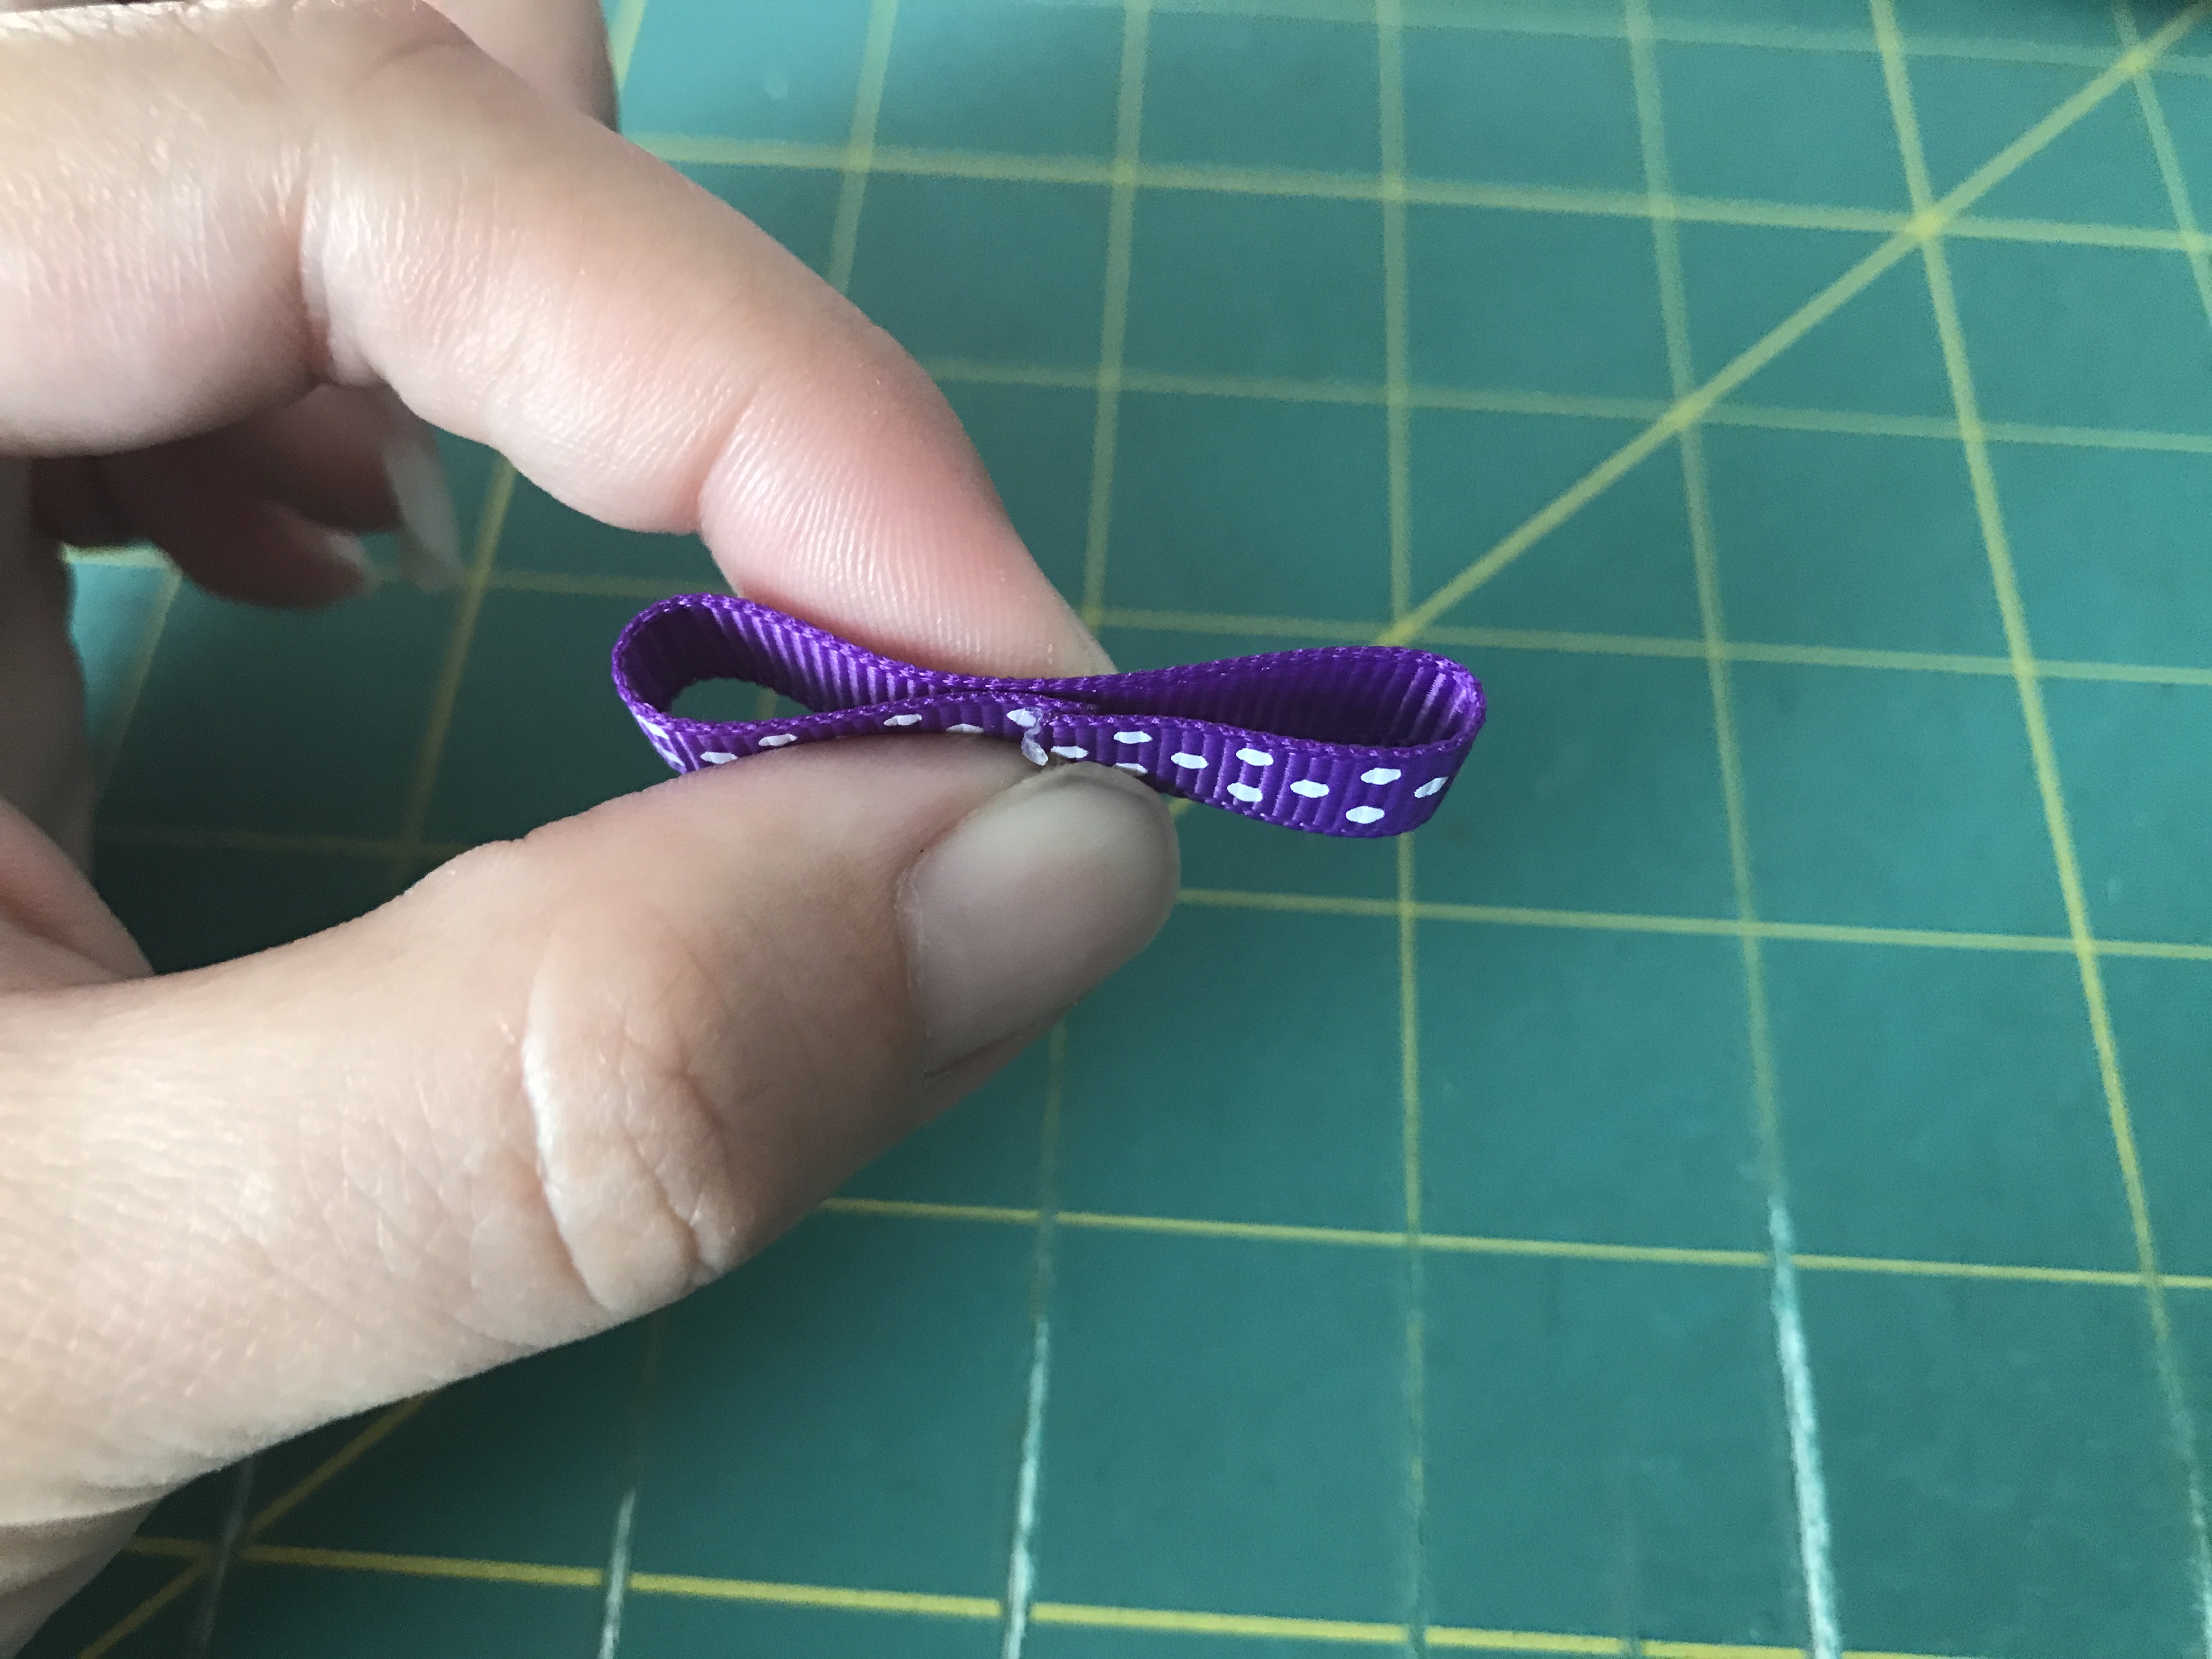
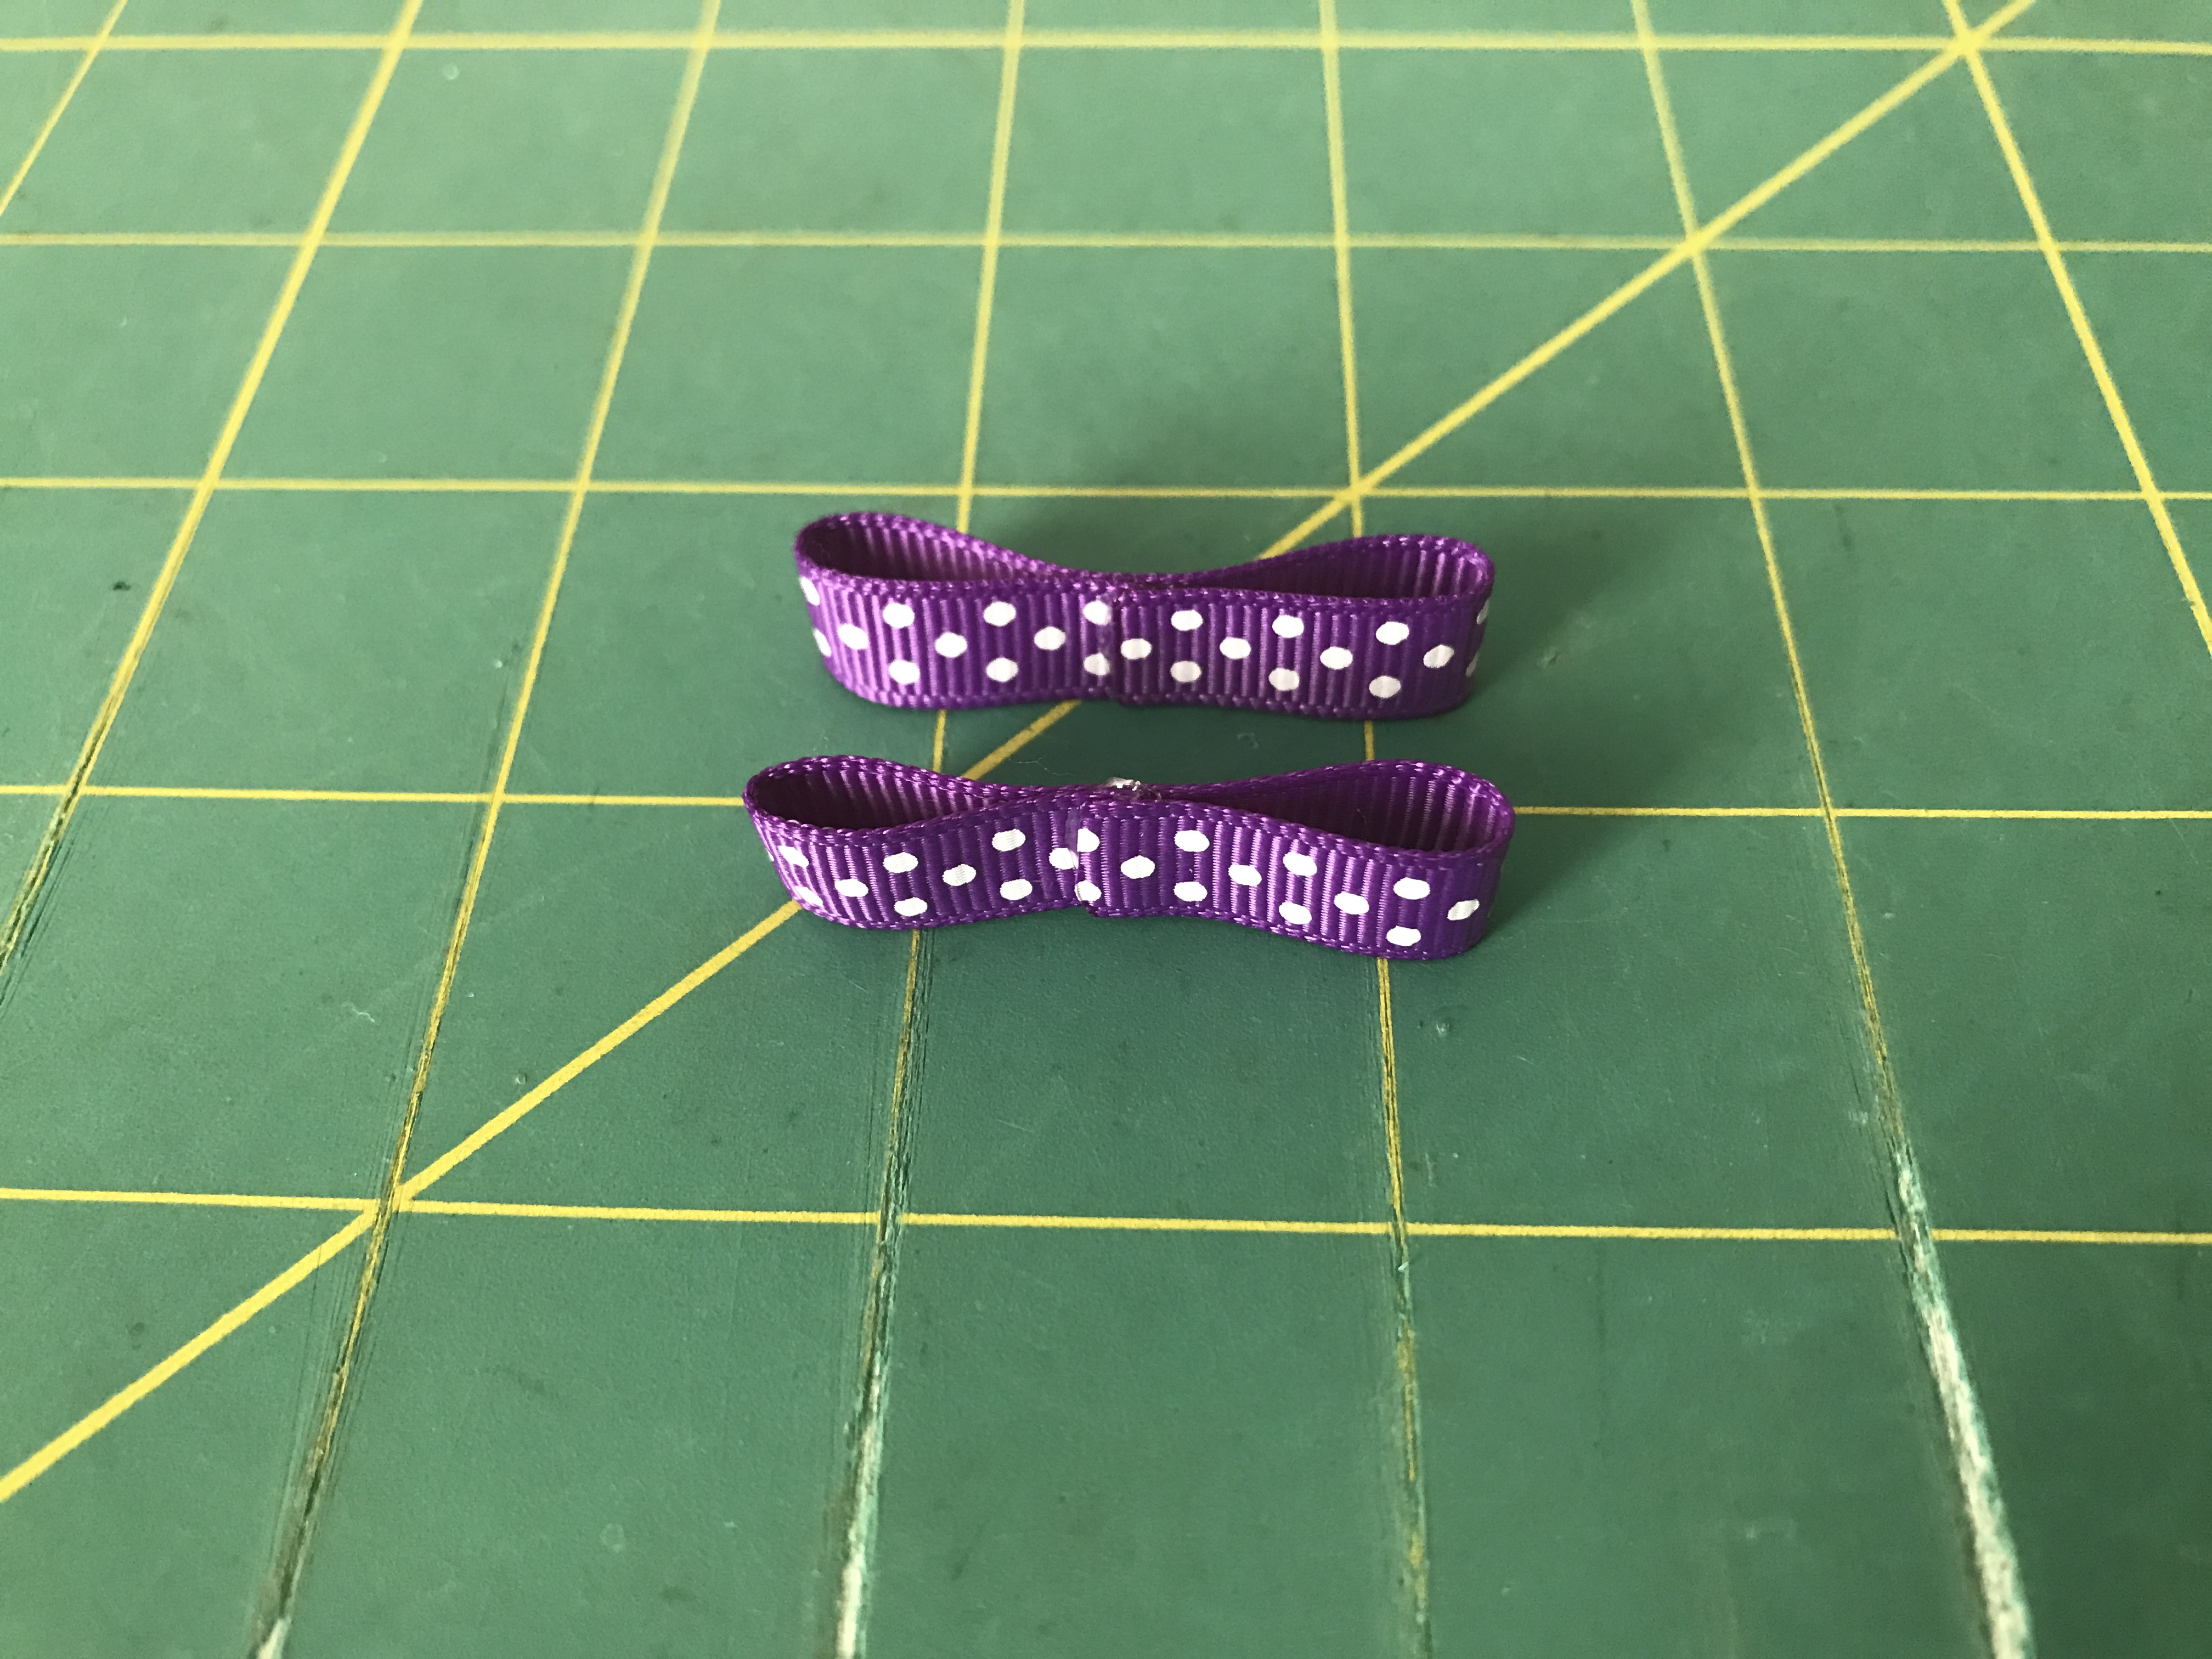
Next, put a line of glue across the inside seam (where you glued the ends together) and press the top of the loop down. For this step I suggest you test out pressing the loop down before you add the glue - You want to make 2 even loops.
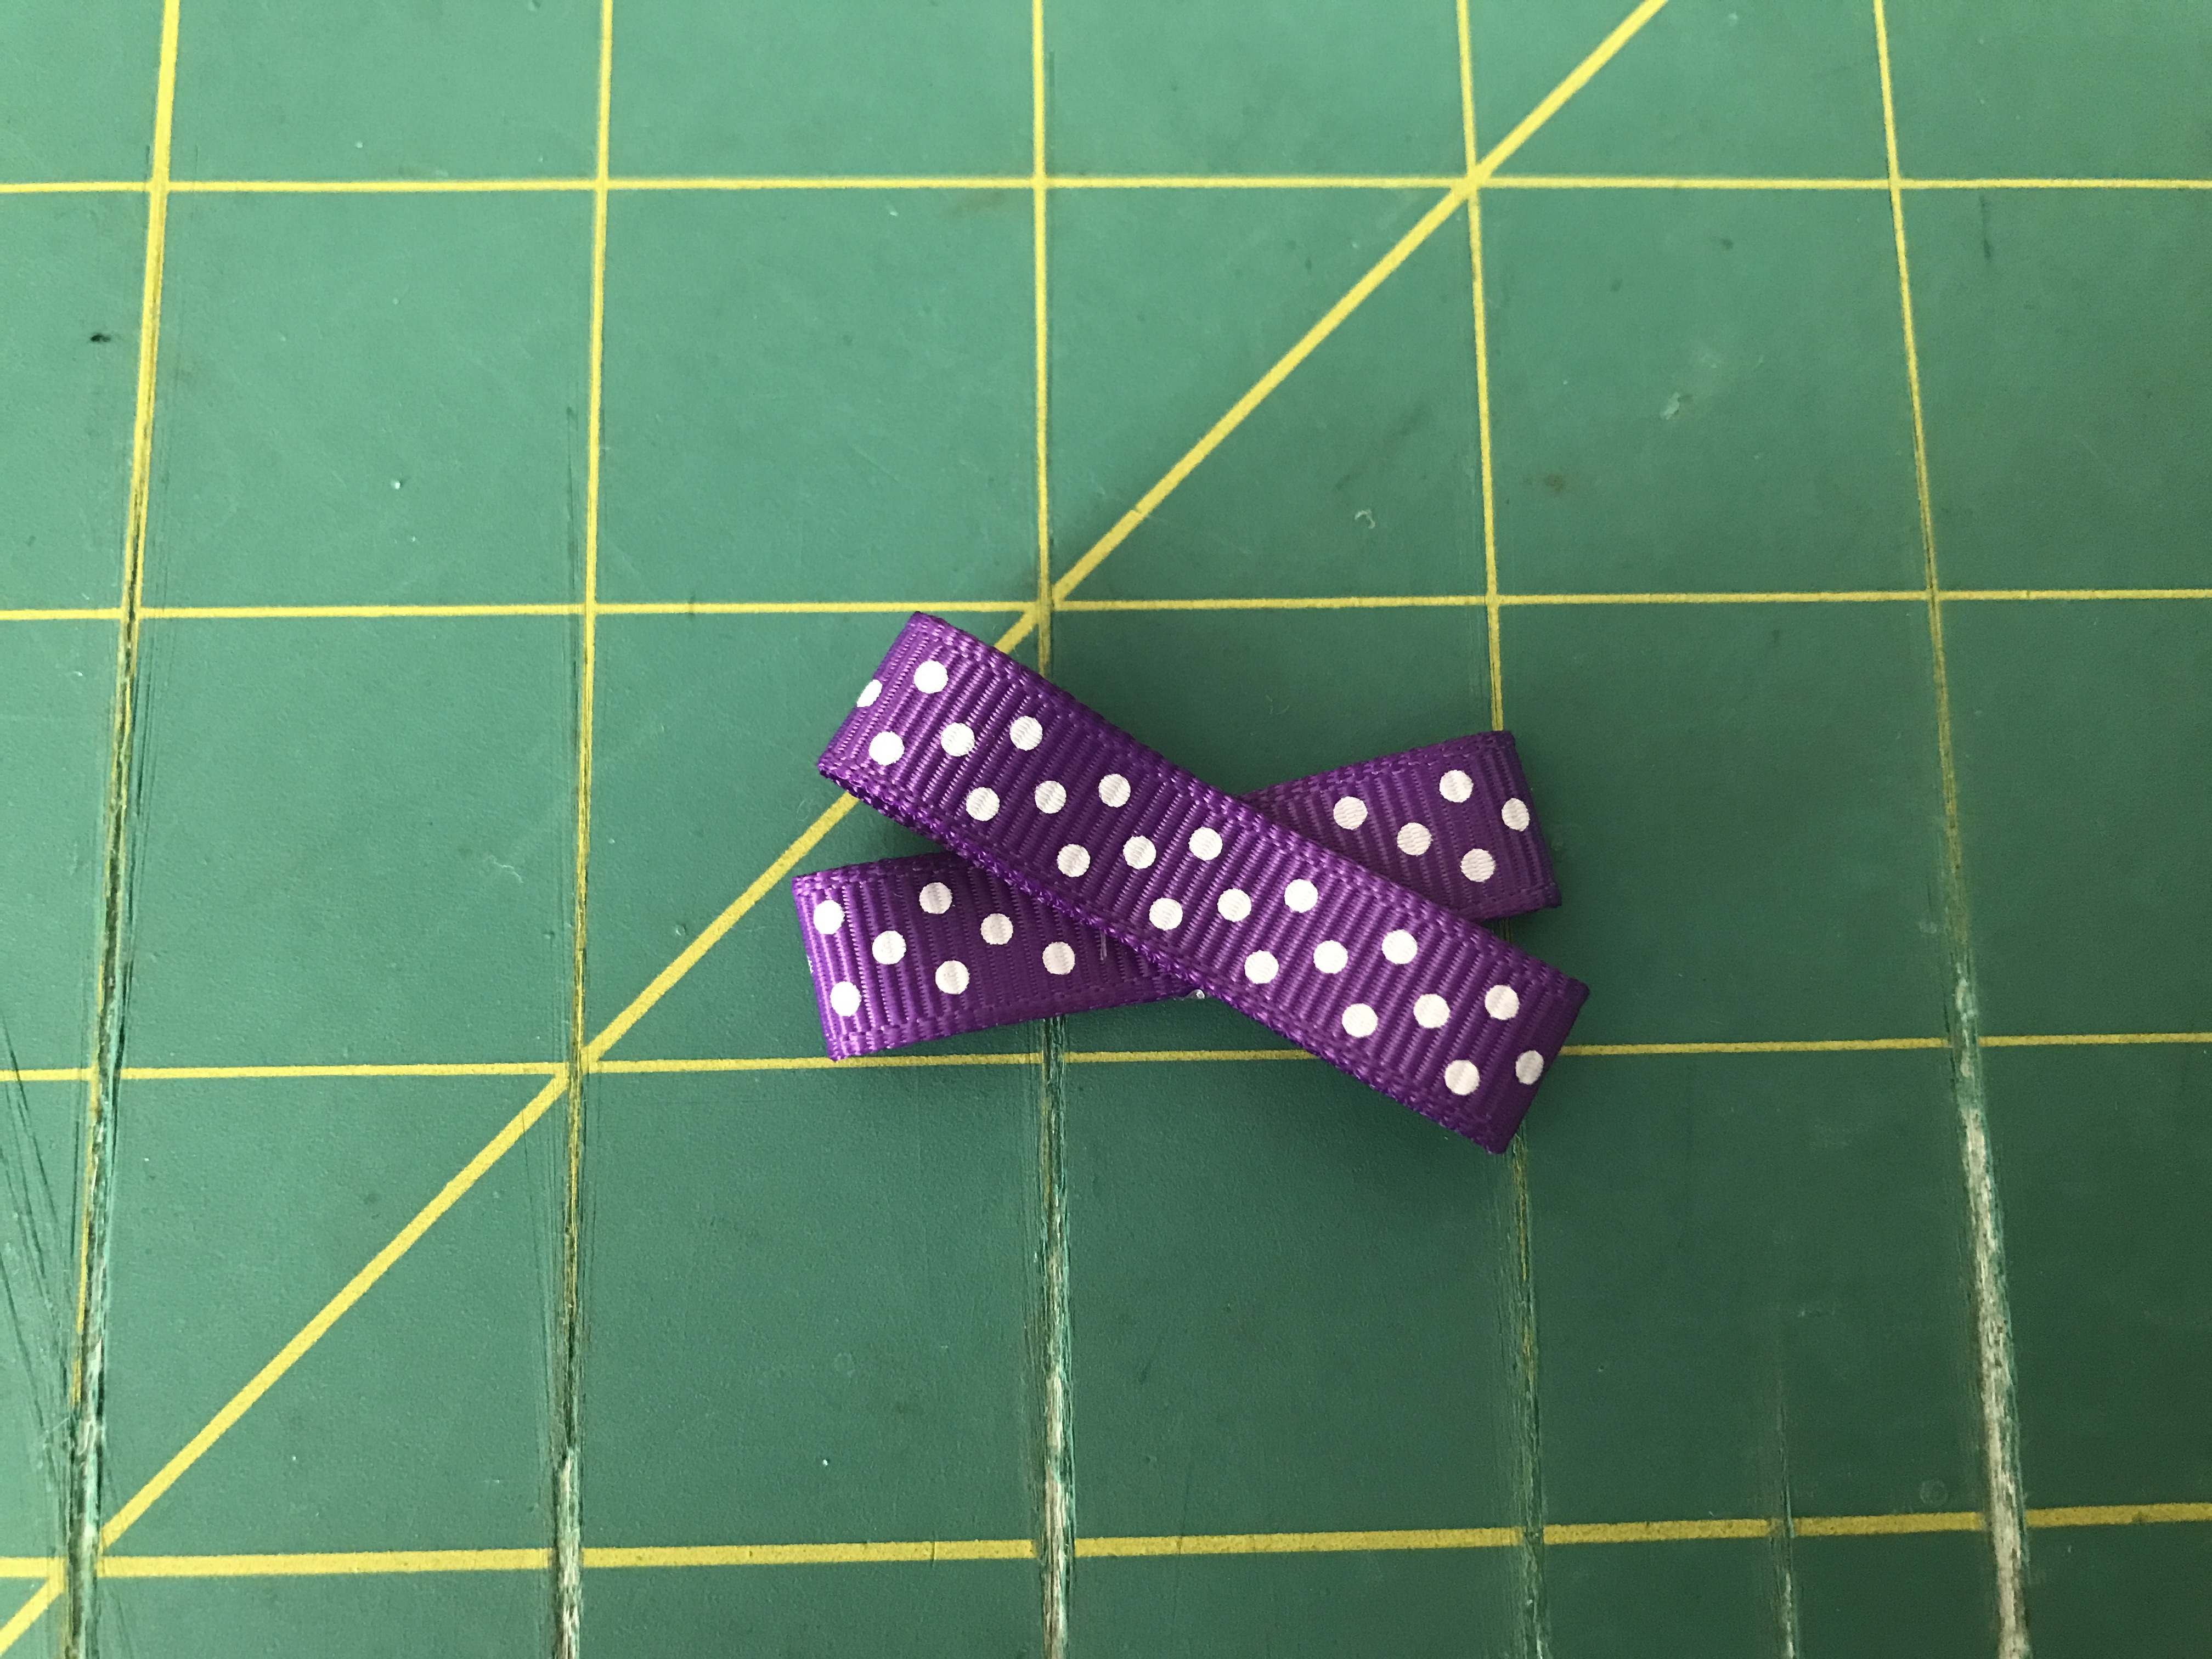
Then, glue your two loops together in the center to form an "x".
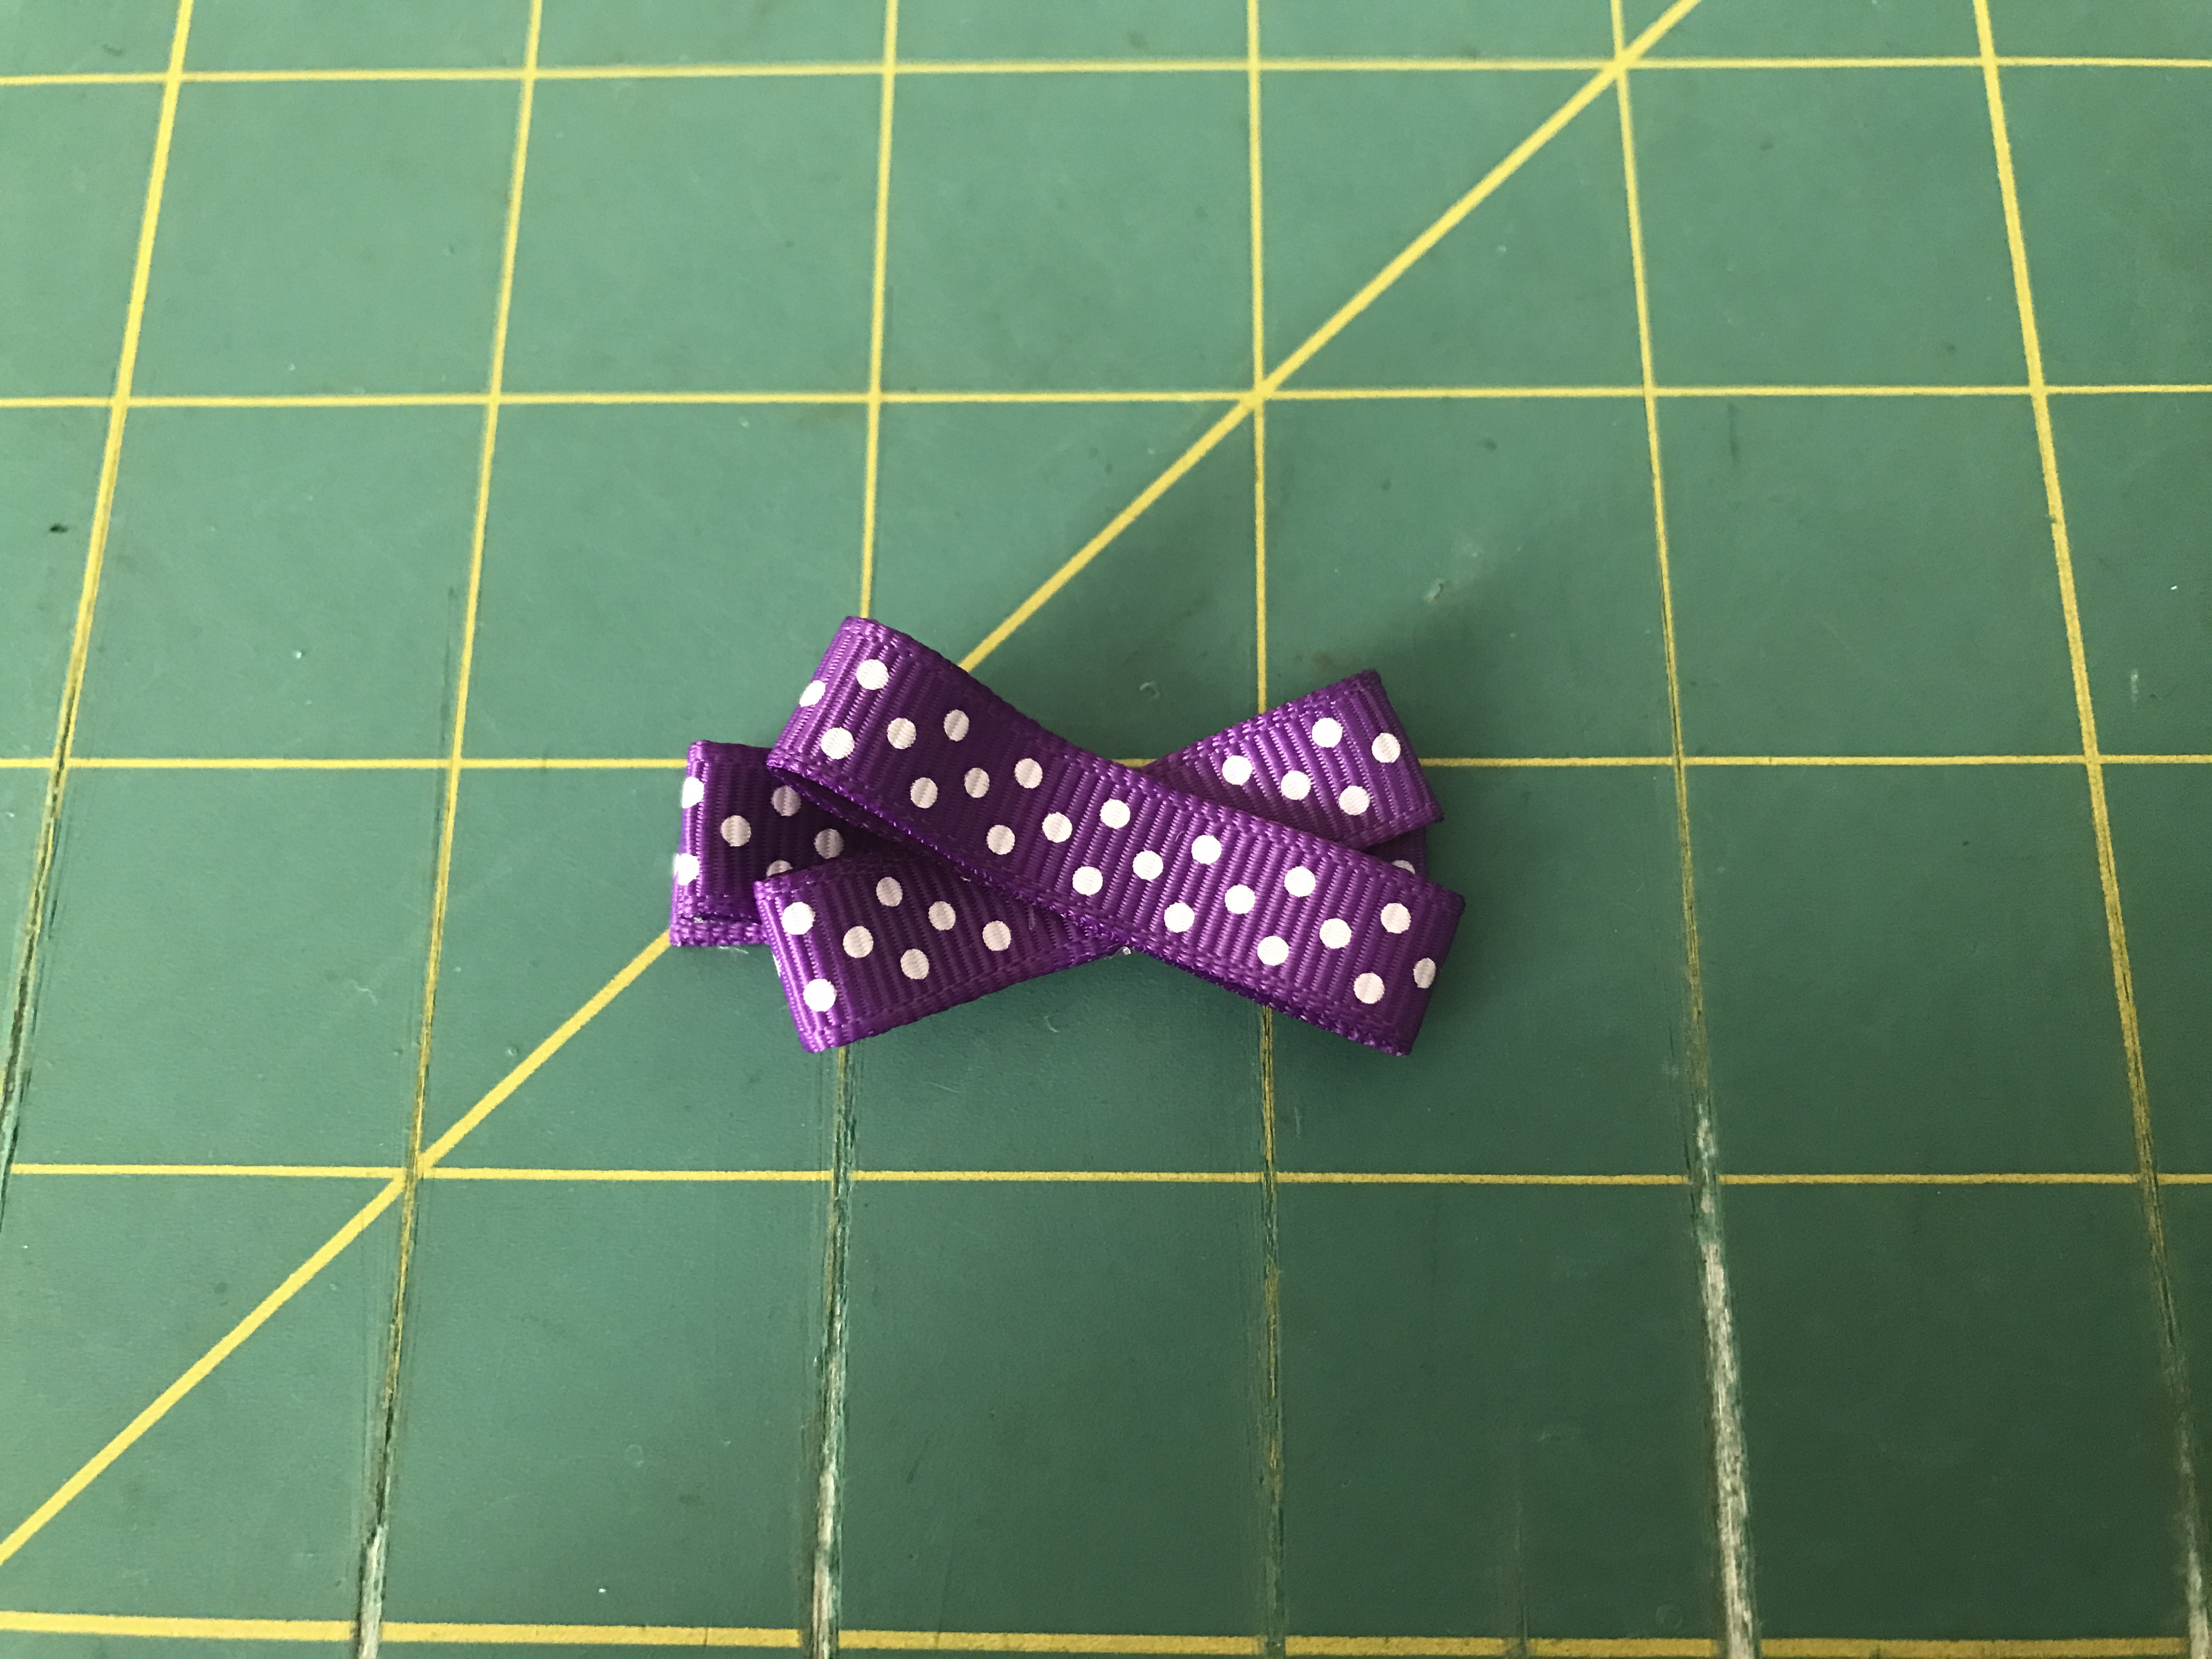
Finally, glue your "x" to the top of your lined clip.
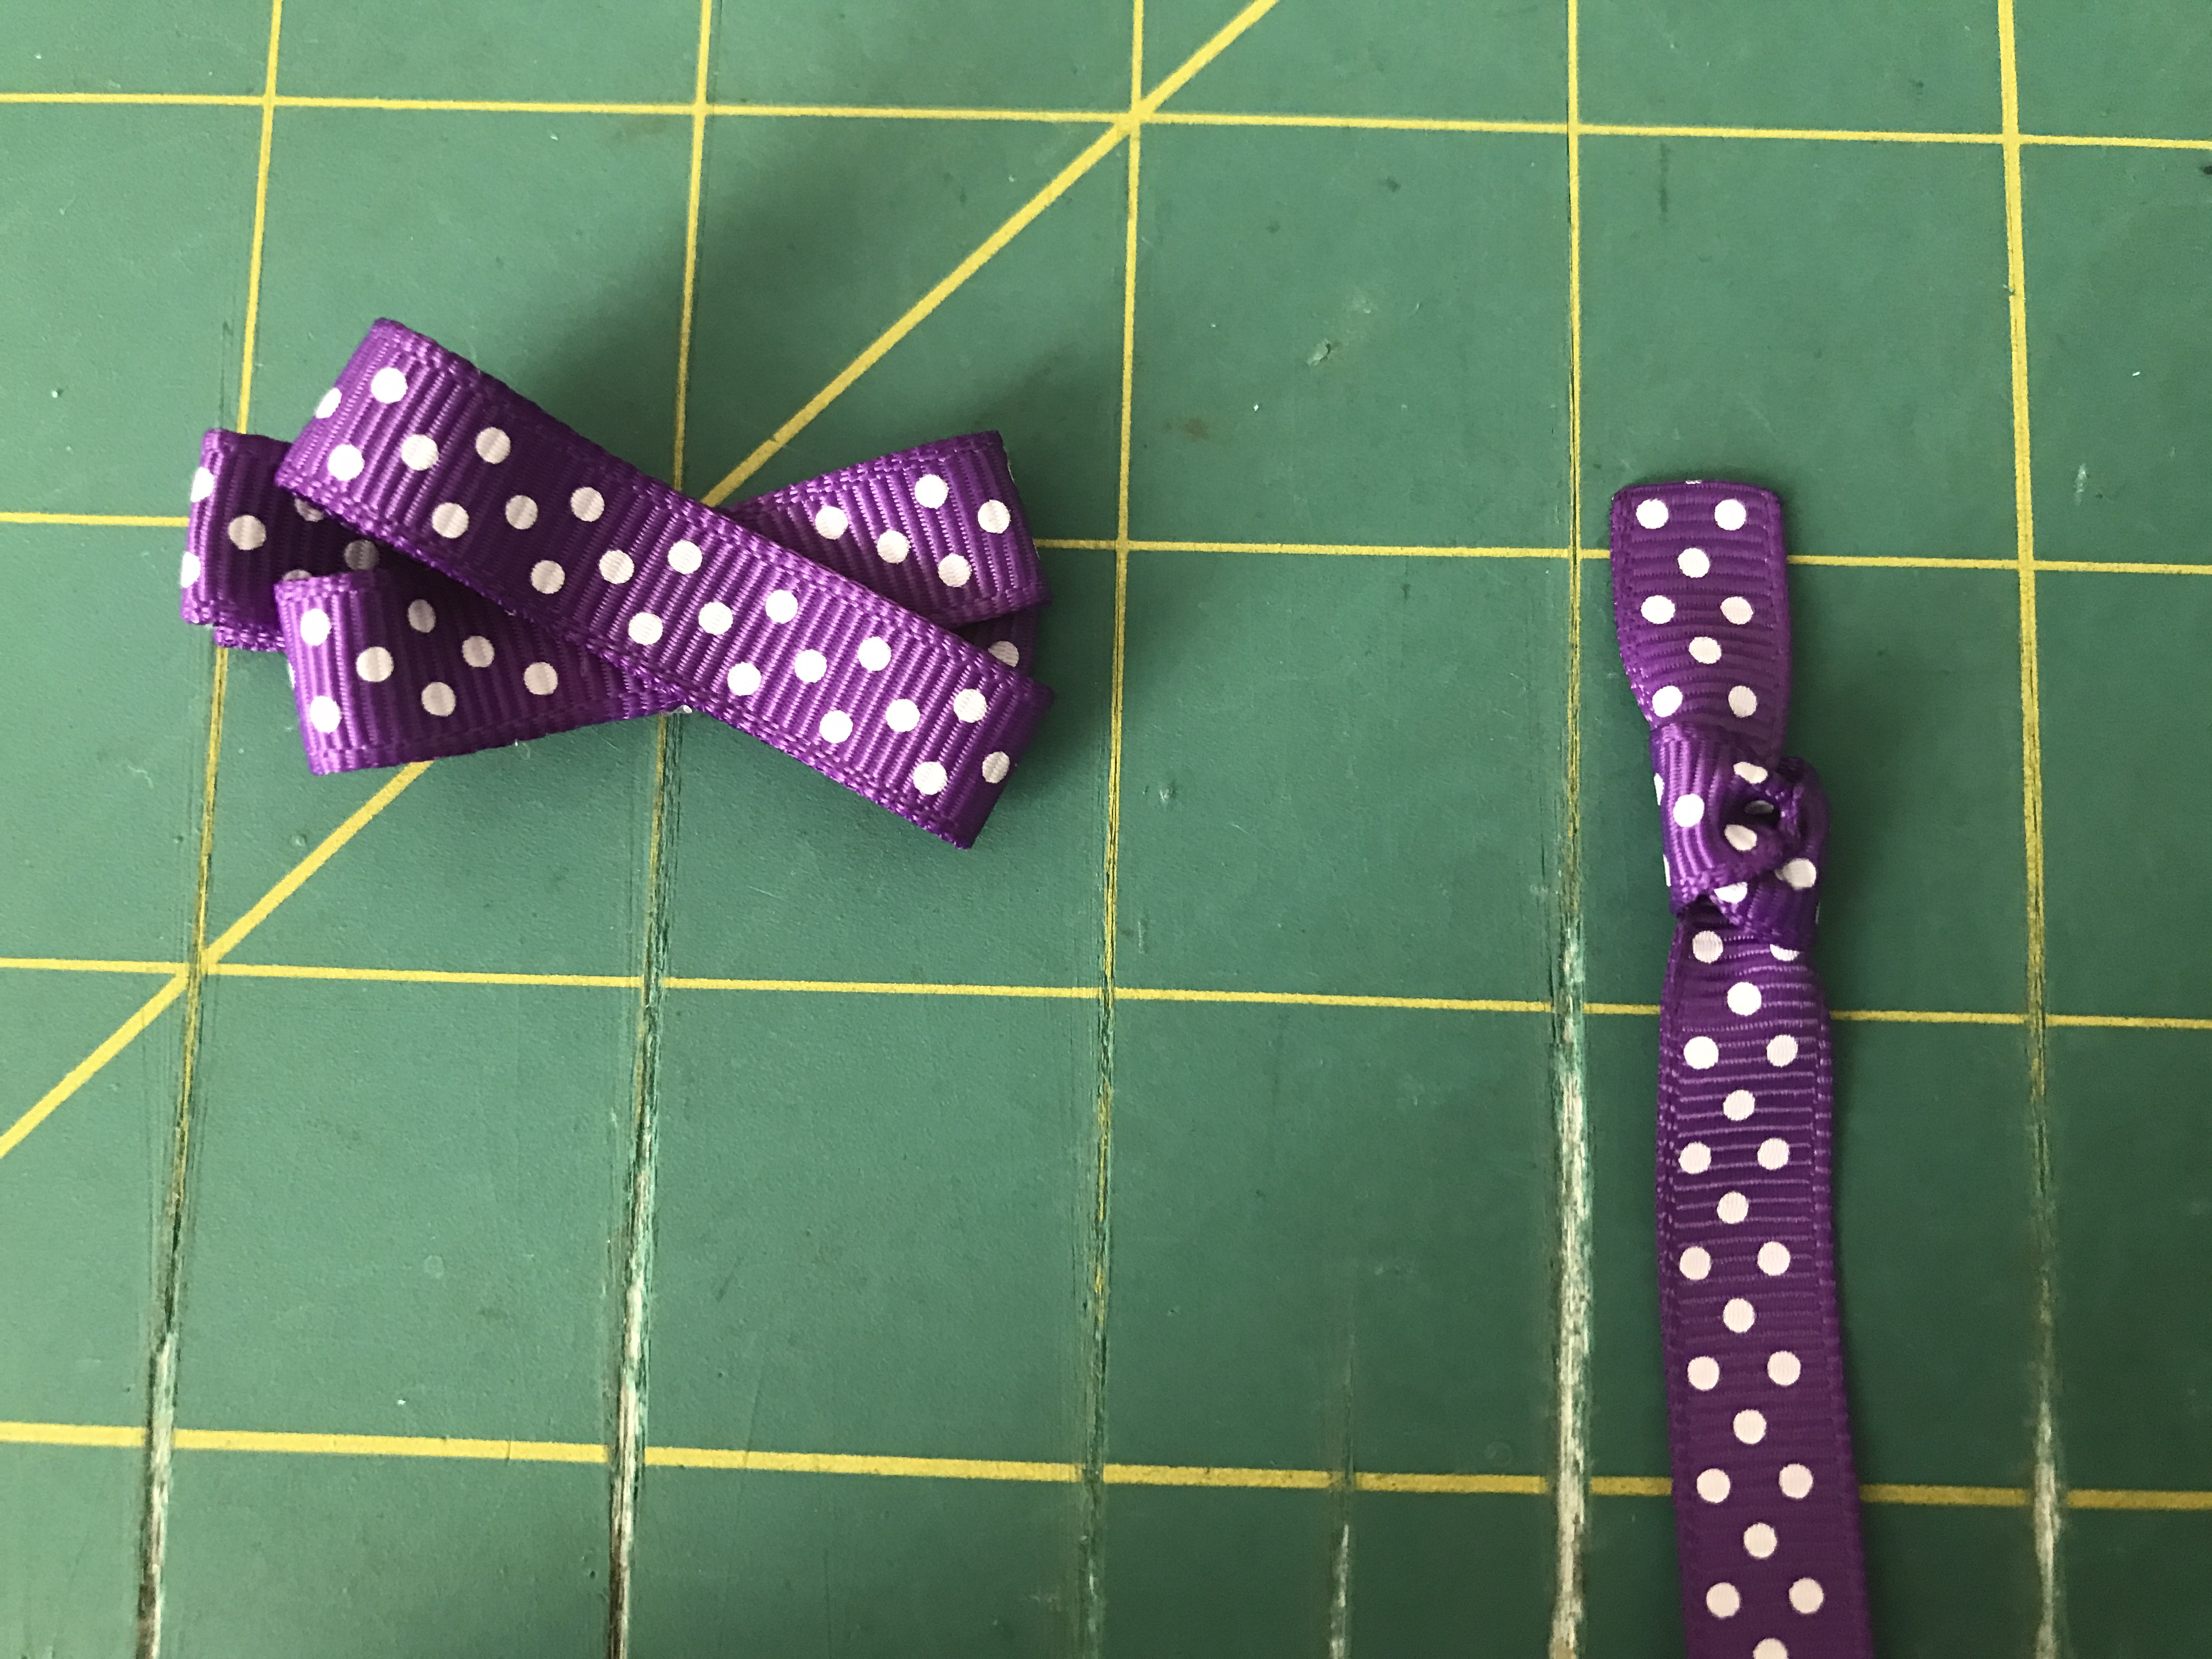
Our last step is to wrap the center! Using your scrap piece of ribbon make a knot by tying a traditional knot except before pulling tight, flip one of the ribbon ends one more half turn so that it makes a "box" shaped knot and the right sides of the ribbon are showing on each end. Gently pull the ribbons so that the "box" center flattens slightly, but not in a tight knot.

Glue the knot to the center of your x.
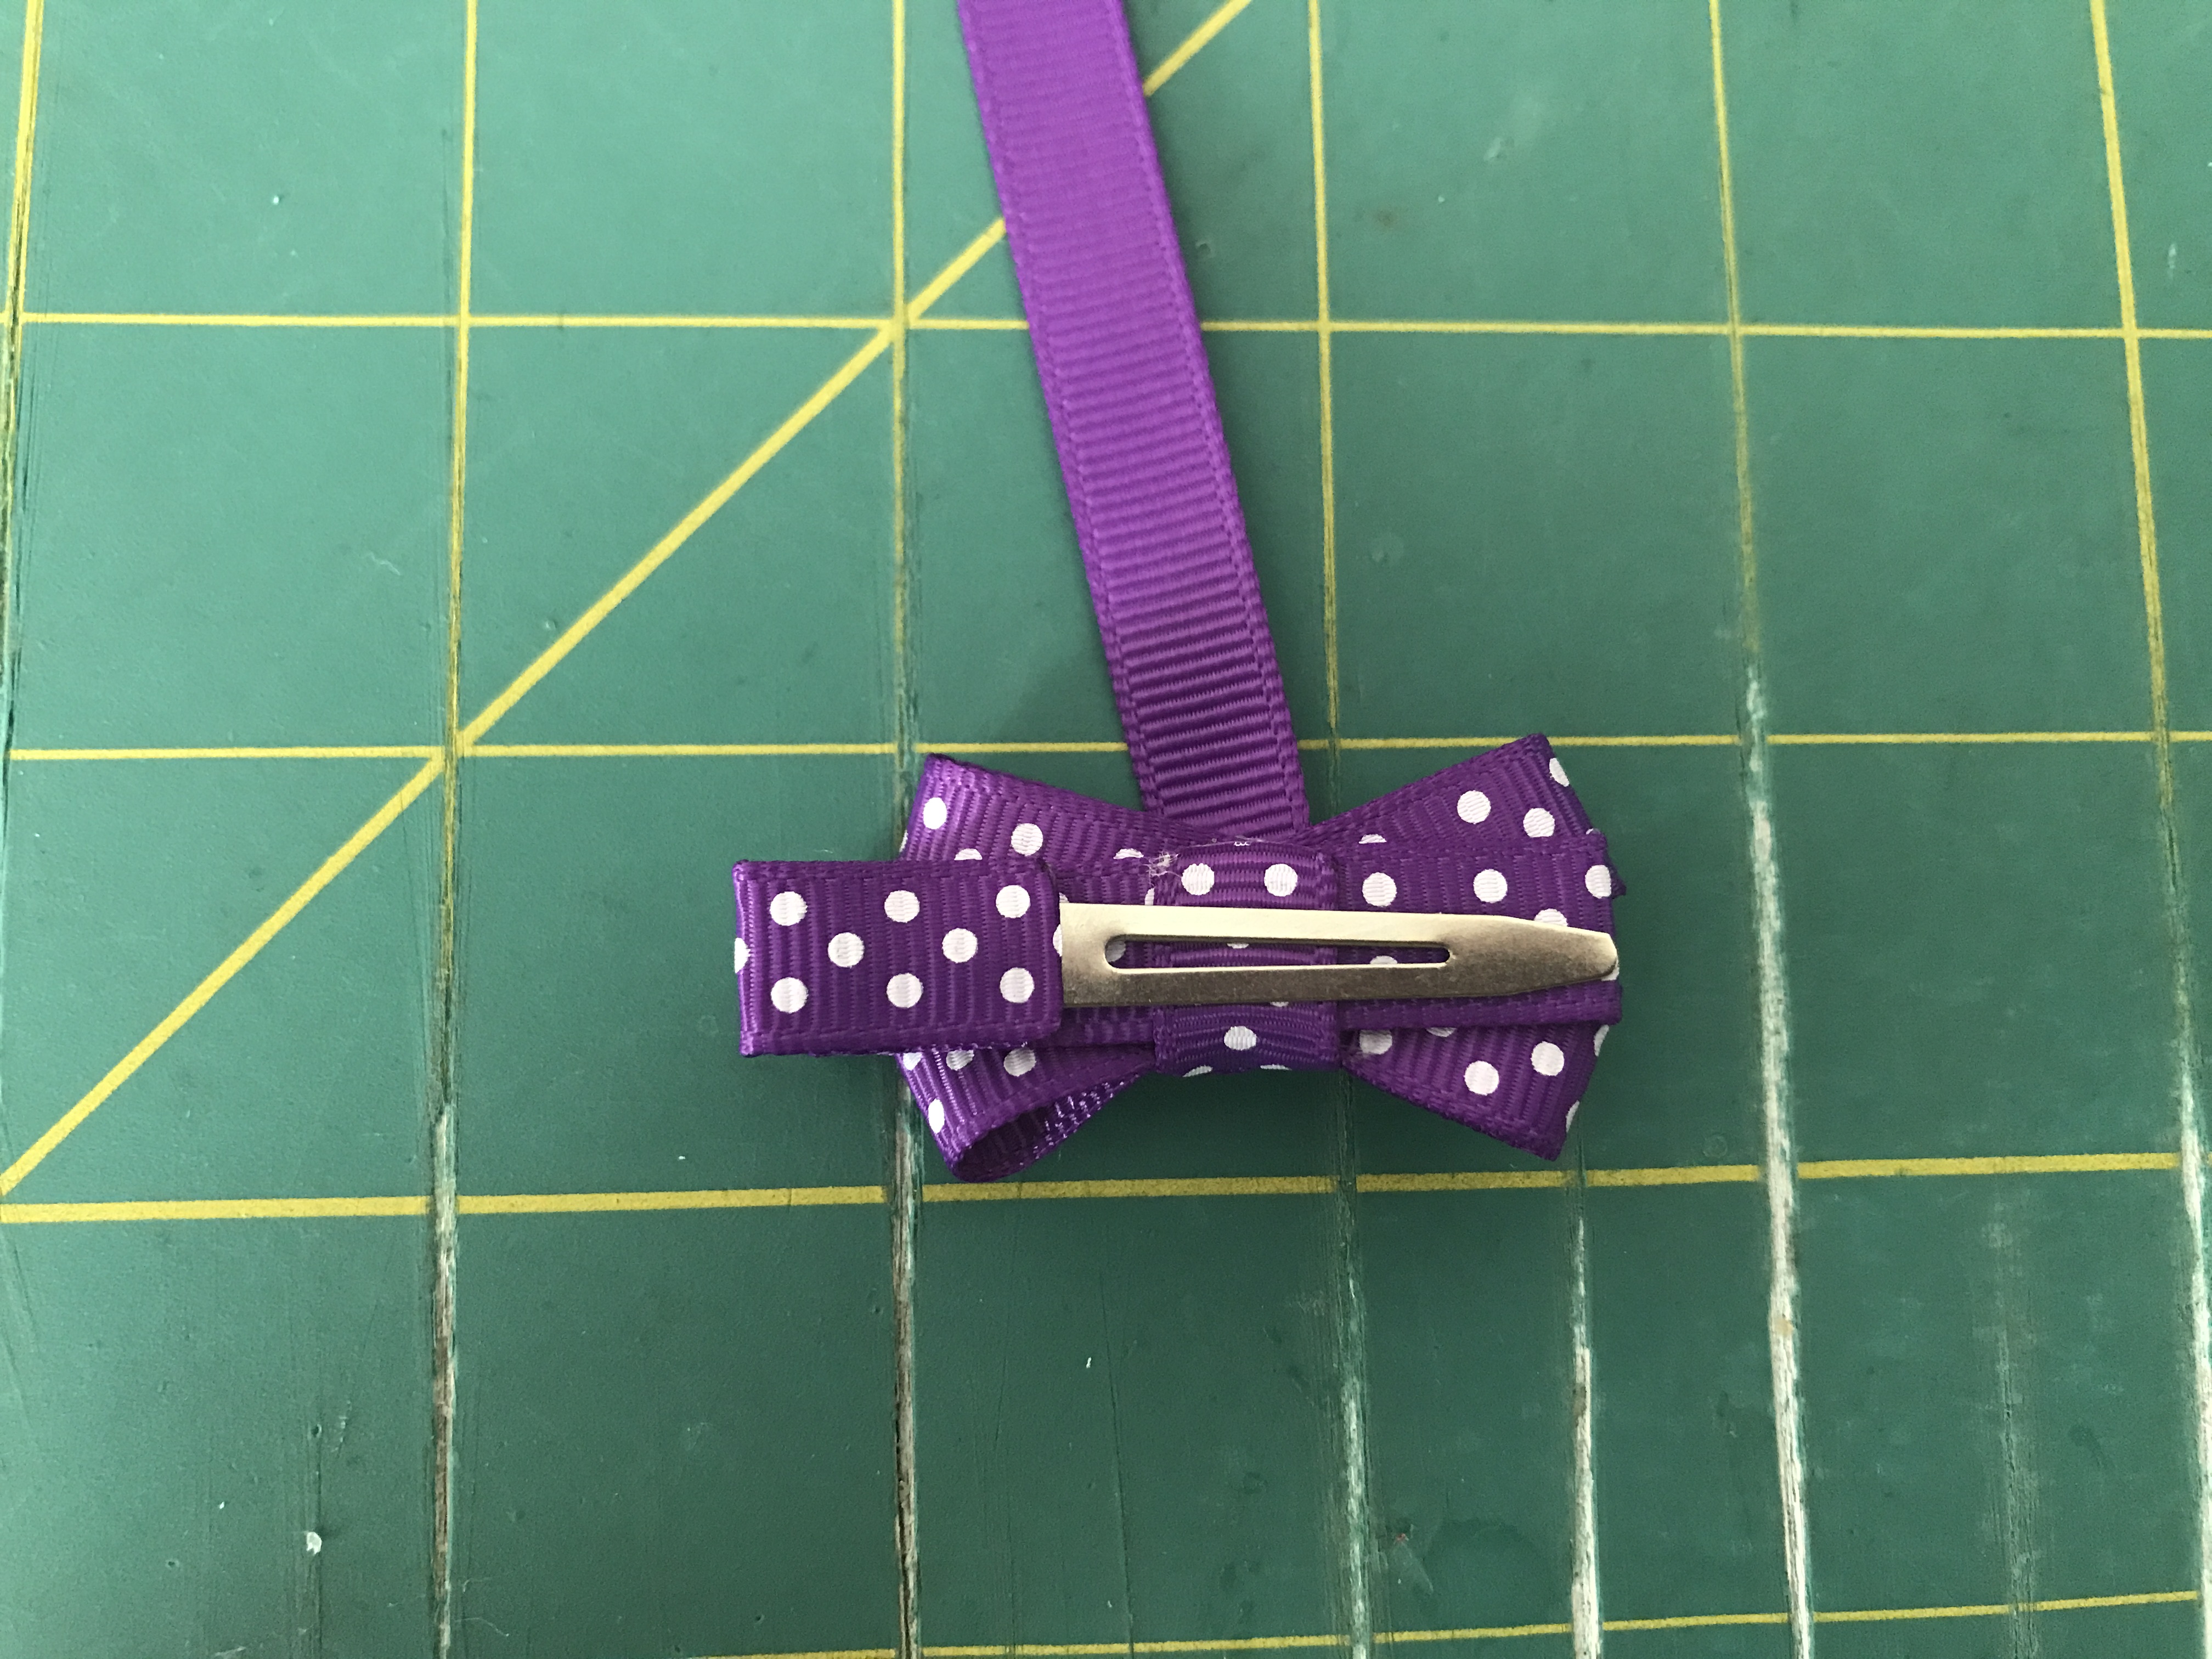
Flip your clip over, glue the short side down onto the back of the clip. Make sure you pinch the clip open so you do not glue the metal part that is showing.
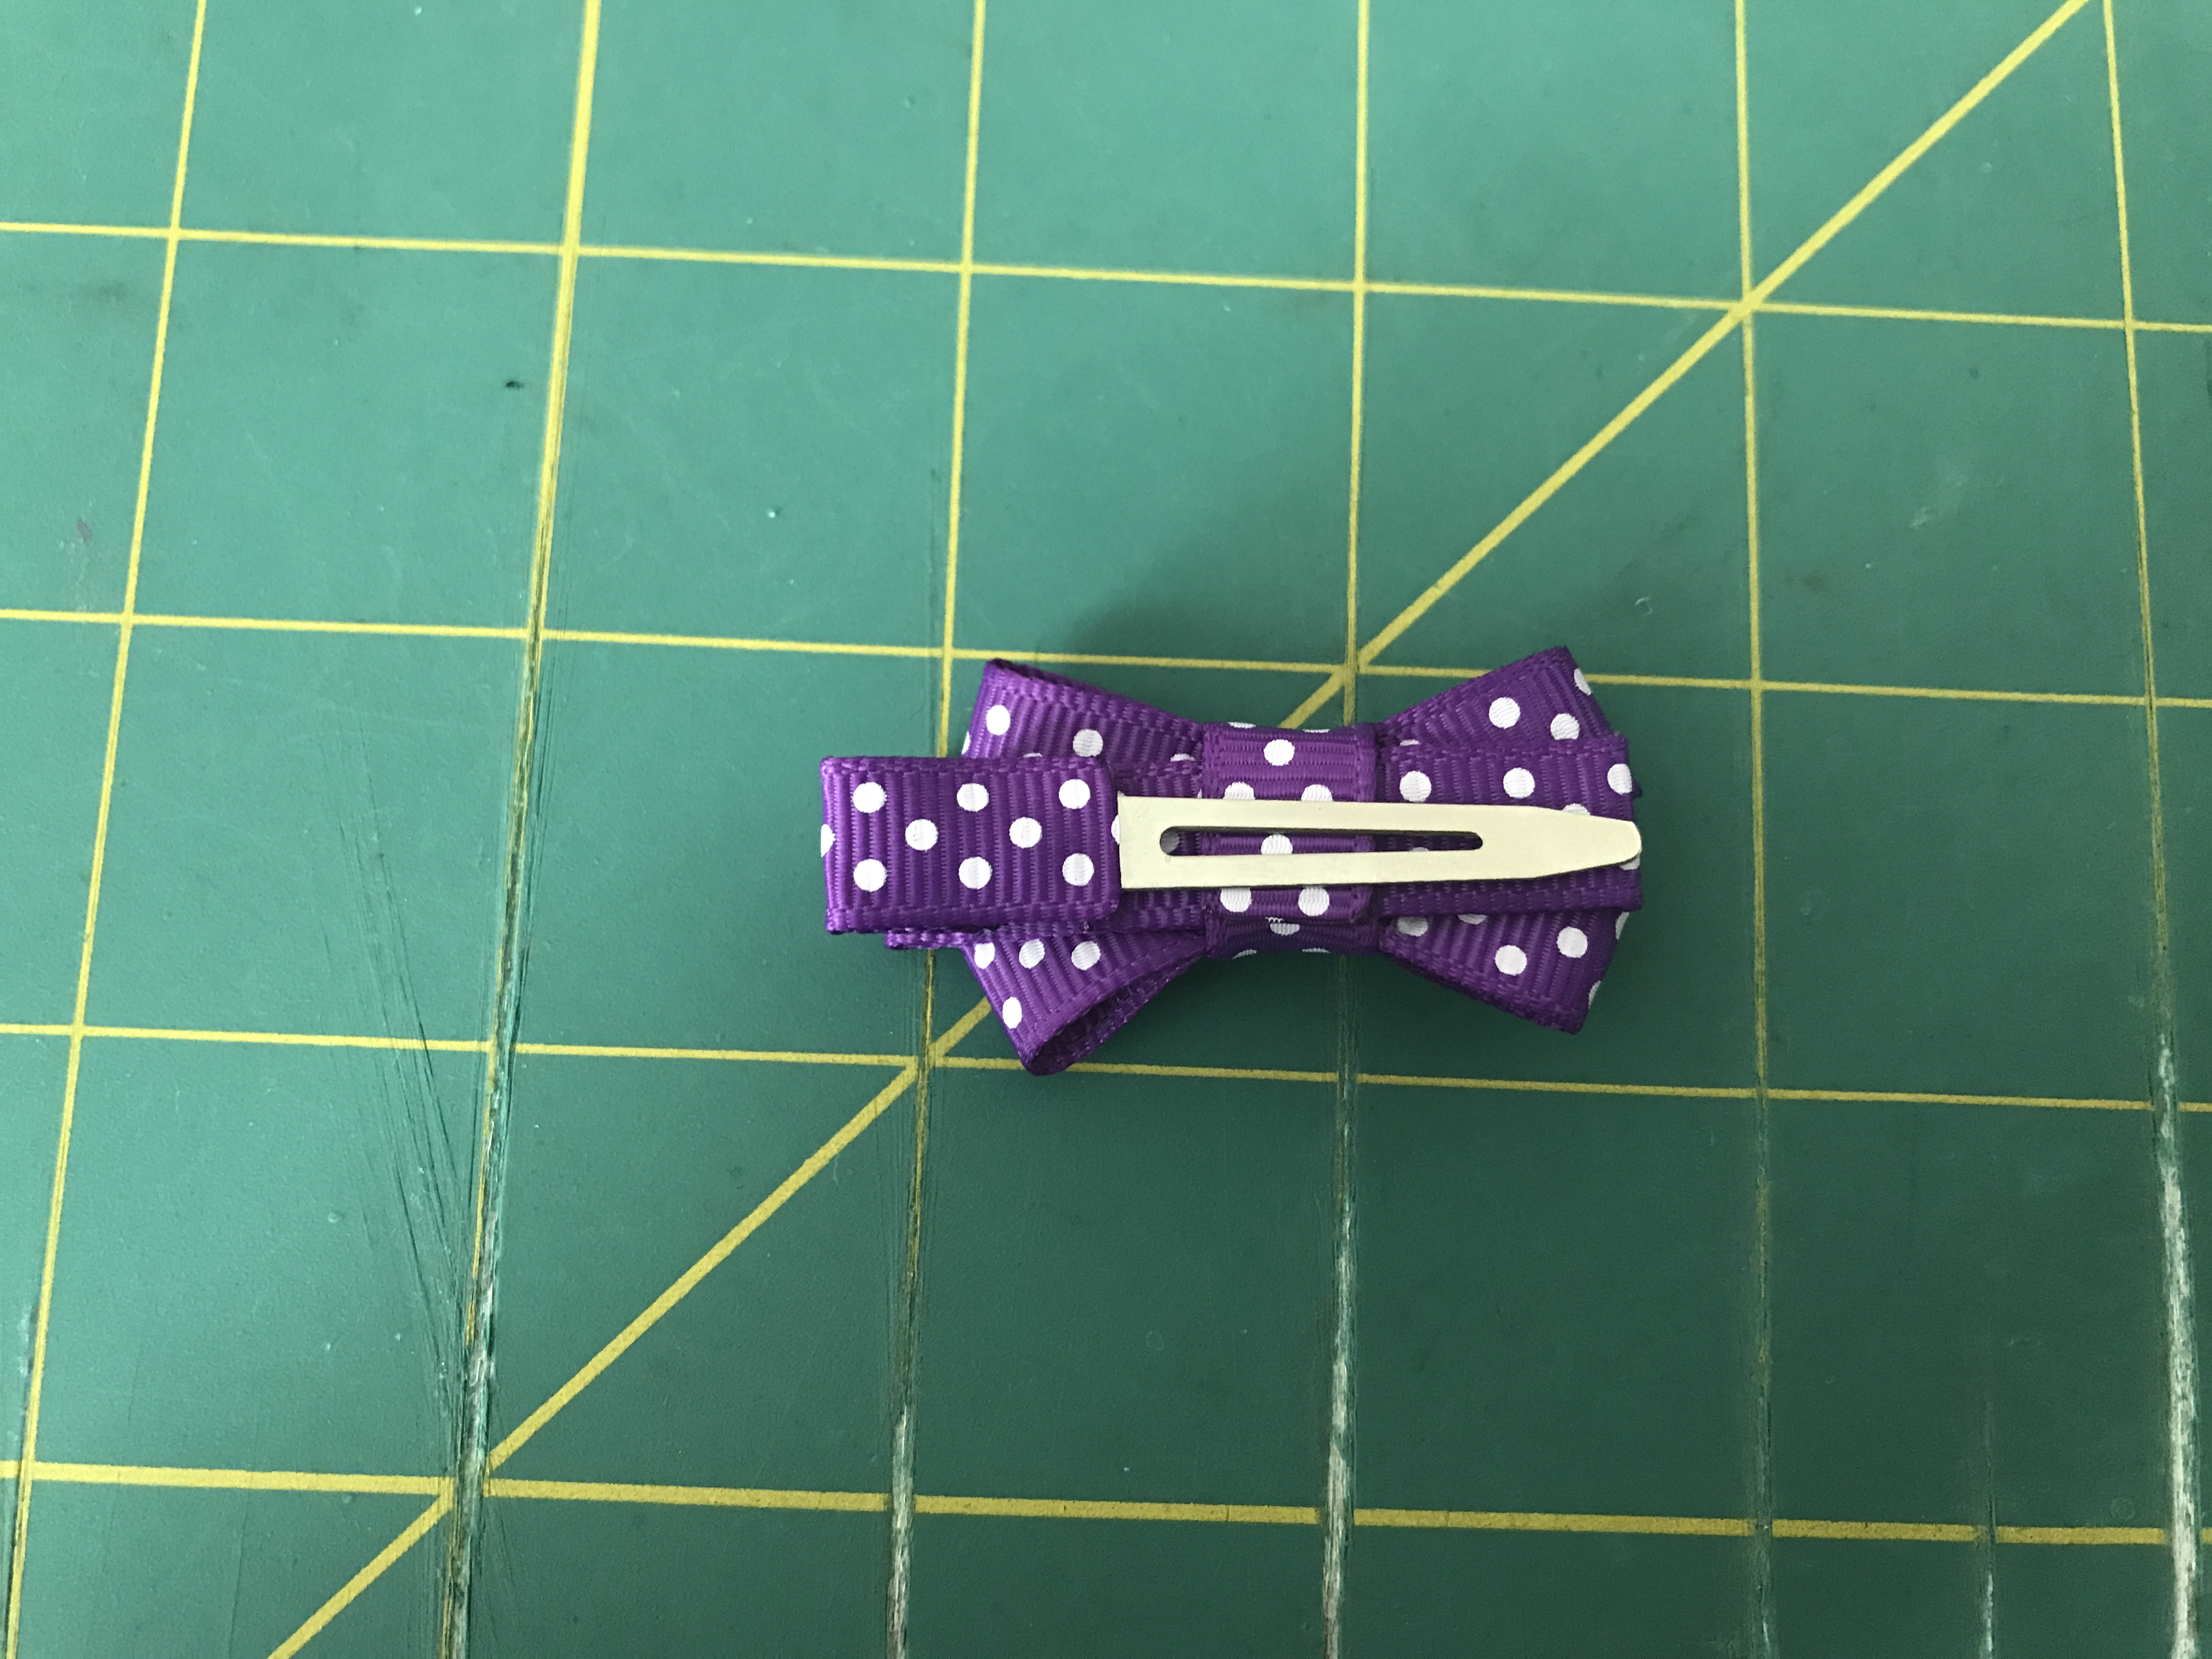
Fold your long piece over and trim the end. Heat seal the end you trimmed to keep it from fraying and glue it down, and you've finished your hair-clip.


 TOOLS
TOOLS
 NEW
NEW


