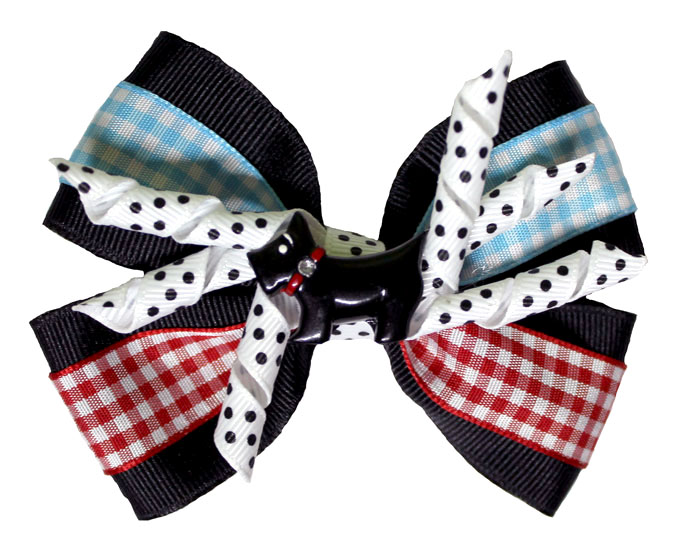
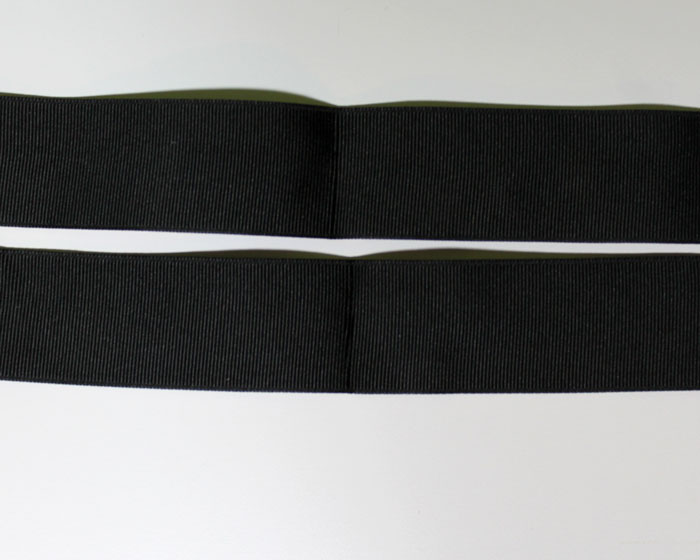
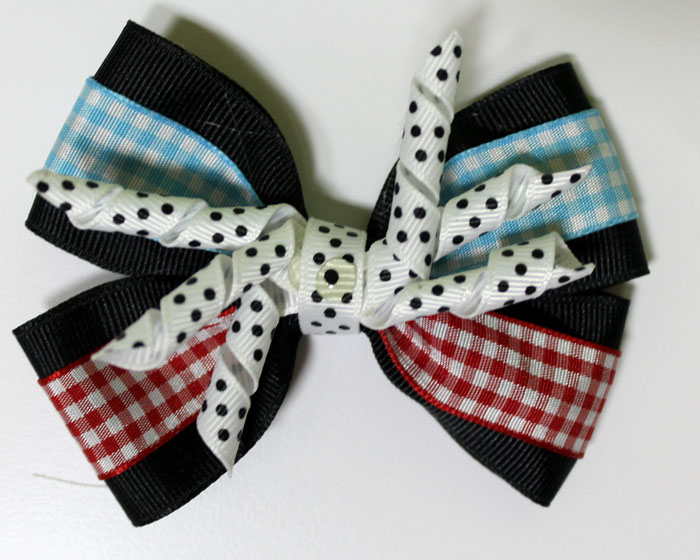
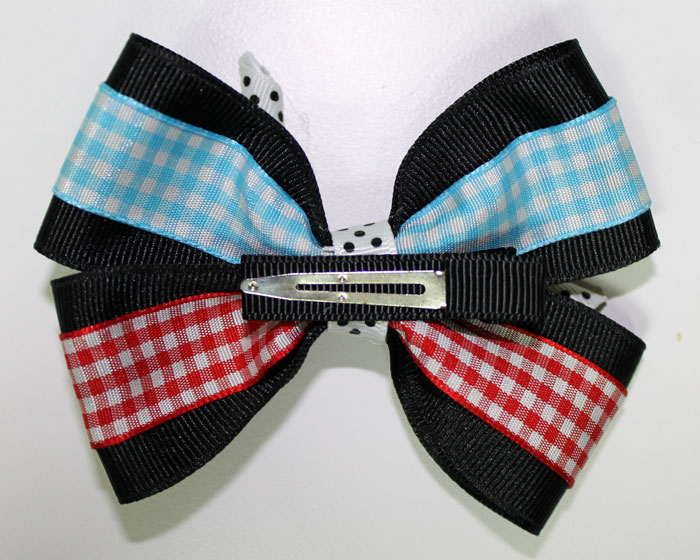
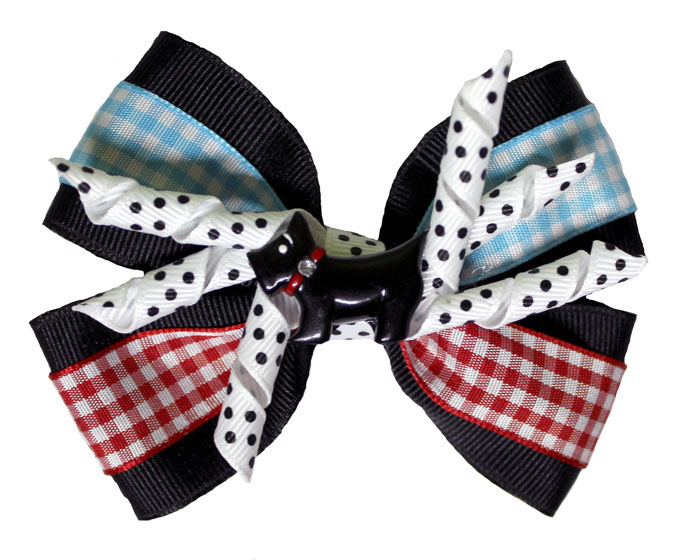
Upon growing up in a small town in Kansas, The Wizard of Oz was watched a lot at our house. In saying that, any time I see gingham it always reminds me of Dorothy's dress. So today I put together a cute, easy Dorothy/Toto themed hair-bow that will look absolutely adorable on any little girl.
Supplies Needed:
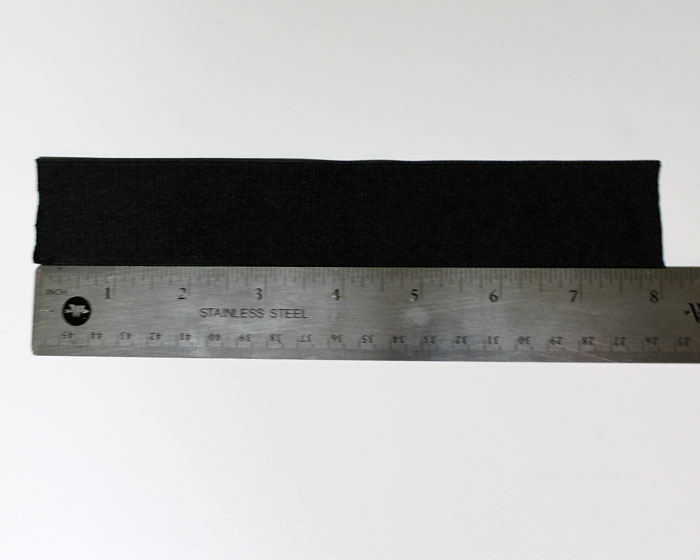
- 11/2" Black Grosgrain Ribbon
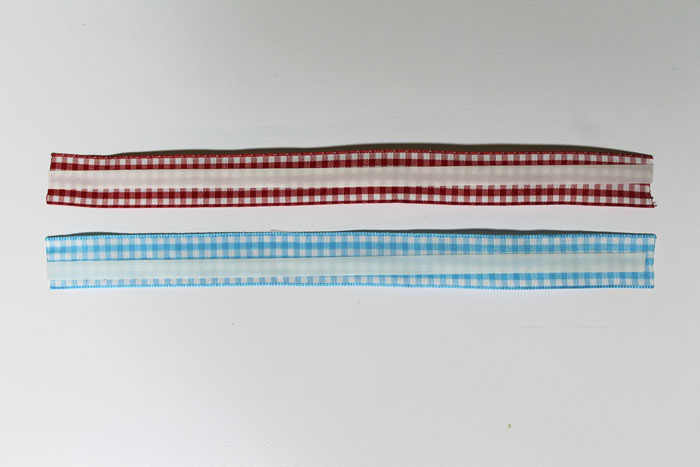
- Red and Turquoise Gingham Plaid Ribbon
- White/Black Dots Korker Ribbon
- Scottie Dog Flatback Resin
- Black Ribbon Lined Clip
- Double Sided Sticky Tape
- Scissors
- Ruler
- Glue Gun
- needle and thread
- lighter- heat seal
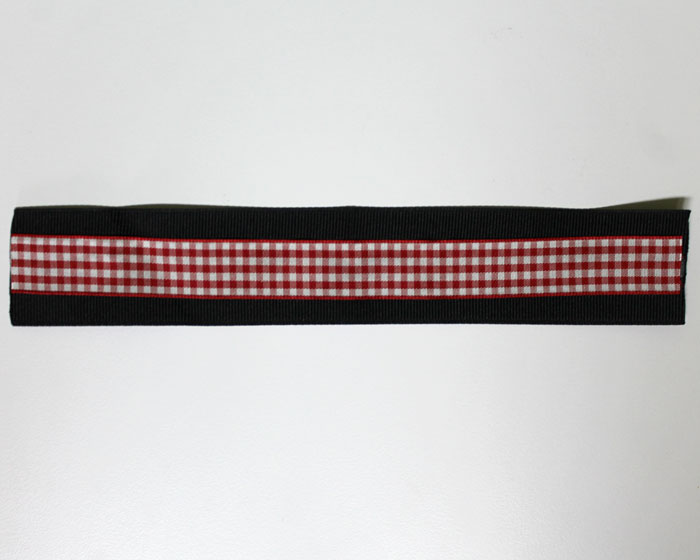
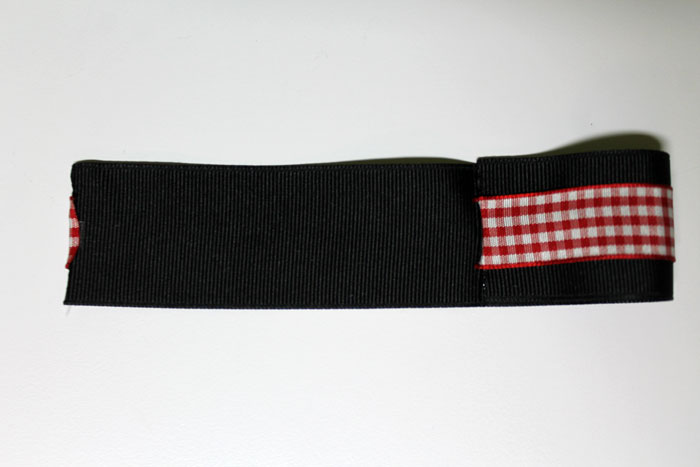
Step 3: Peel the paper backing off of the tape and apply the gingham to the middle of the grosgrain ribbon.
Step 4: Fold the ribbon in half and lay the ribbon gingham side down.
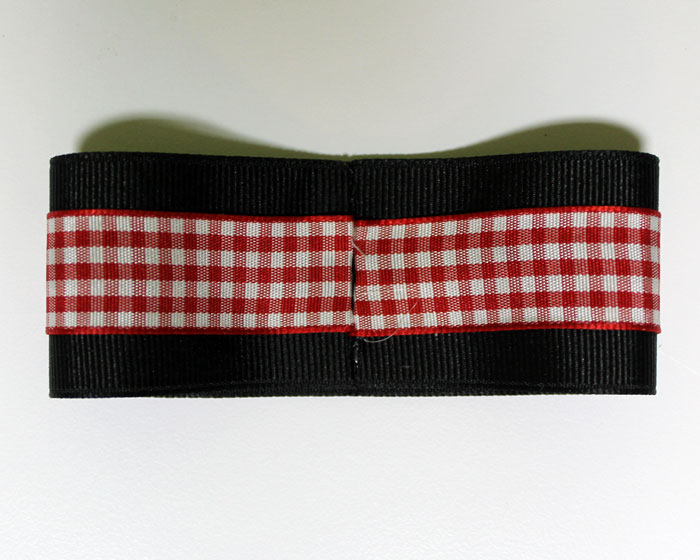
Step 5: Run a strip of glue down the center crease that you made and fold both ends in to the middle.
Step 6: Using the seam from joining the ends, fold the center of the ribbon by using the accordion folding method.
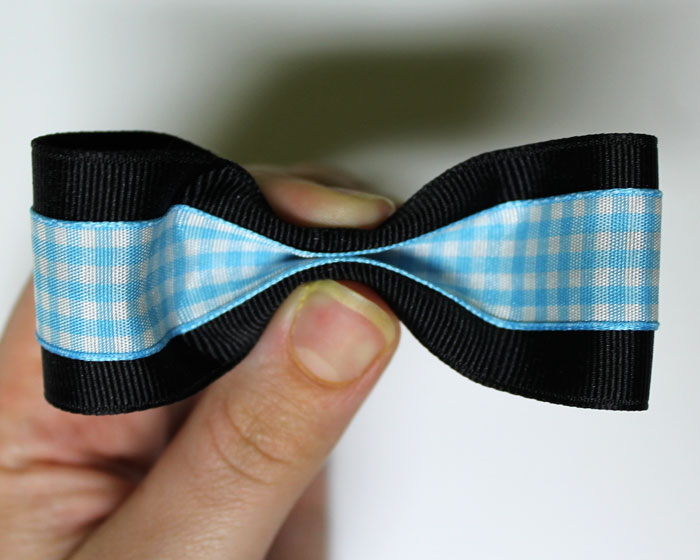 Step 7: Apply glue into the center of the ribbon, and also in the folds on the back to hold the fold in place.
Repeat steps 2 through 7 for both pieces of 1 1/2" grosgrain ribbon.
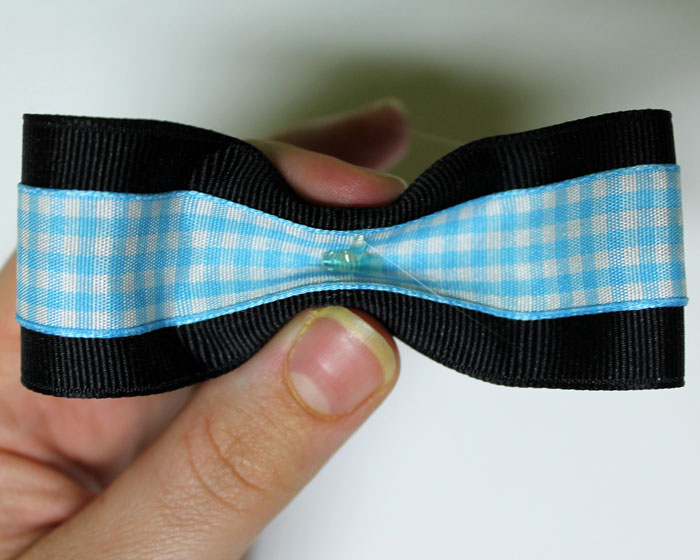
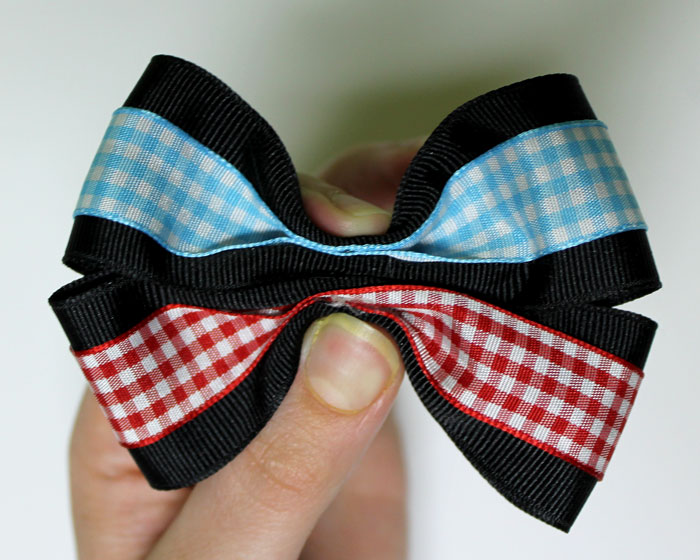
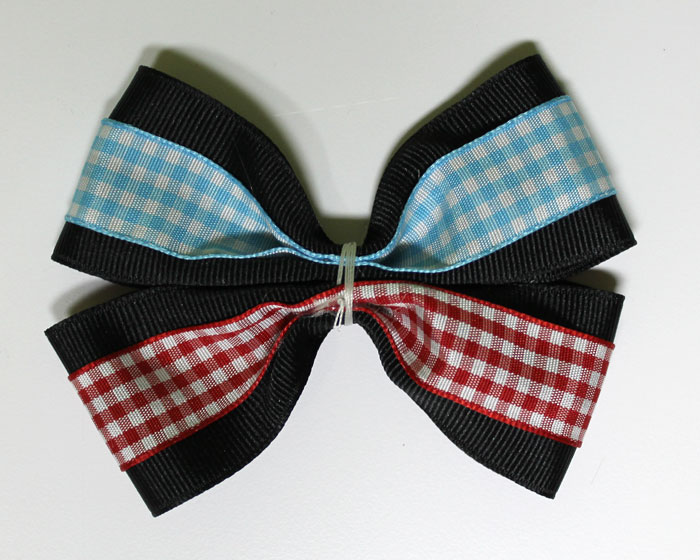
Step 8: Once both bows are made take and fit them together by holding the centers together.
Step 9: Now take the needle and thread and run a simple stitch through the center. Then wrap the thread around the center of the bow a few times and tie off in the back.
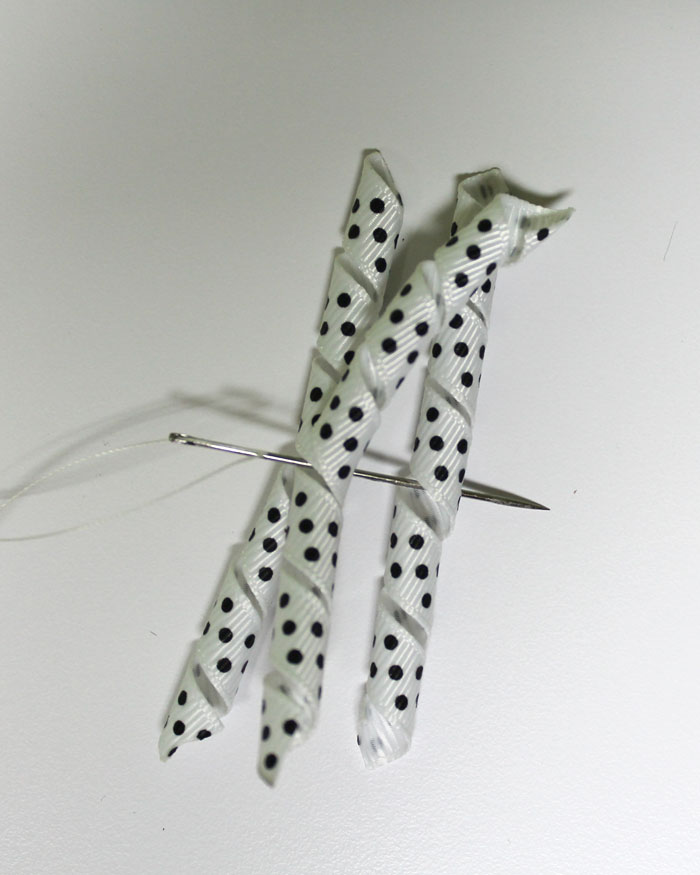
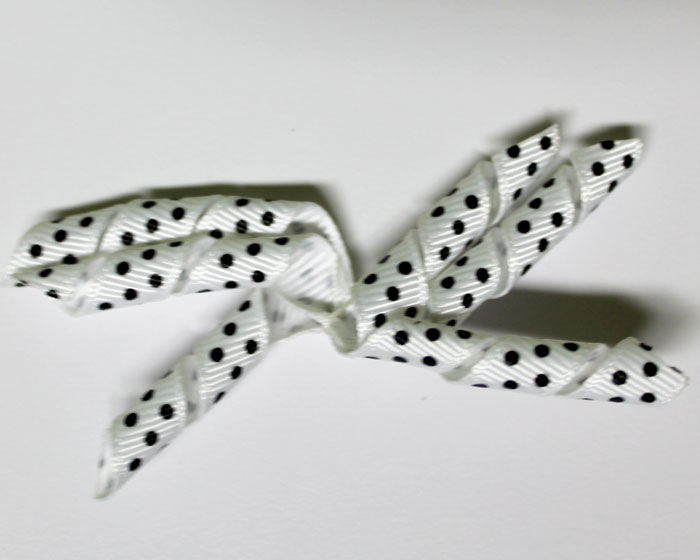
Step 10: Cut three pieces of the korker ribbon at three inches long. Then run the needle through the center of all three pieces of korker and wrap the thread around once and tie off.
Step 11: Glue the korker piece to the center of the bow, then cut about a 1 1/2" piece of additional korker and glue this around the center of the bow.
Step 12: Apply glue along the top of the alligator clip and place it on the back of the bow.
Step 13:Place glue in the center of your bow and then place your resin in the center, and your are done!
Thanks for reading and I hope you enjoyed this tutorial! :)


 TOOLS
TOOLS
 NEW
NEW


