Contributor post by Danielle
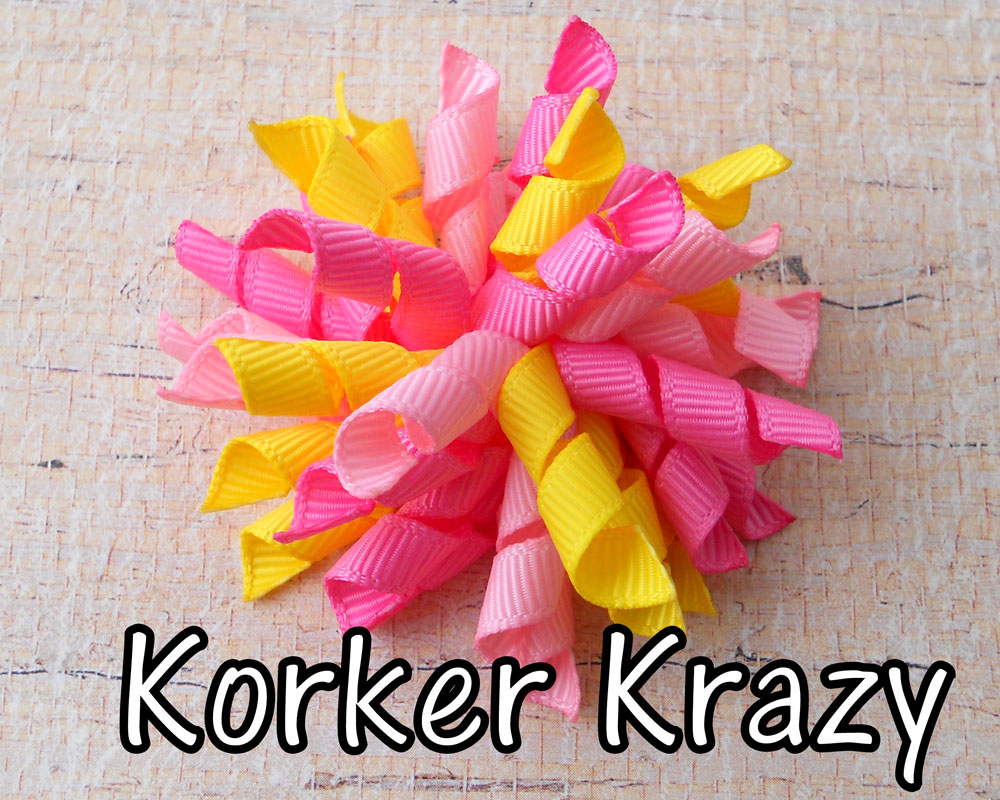
Danielle here from Korker Krazy! Spring is just around the corner and we are all ready for some bright and fun colors! Korker hairbows are a great way to play with color as endless combinations are possible. Today I'm going to show you how to make 2" mini korker bows!
Supplies Needed: 1/4" Grosgrain Ribbon or pre-curled 1/4" korker pieces I am using 150 pink, 156 hot pink and 645 yellow 3/16" Wooden Dowels (12" length) - These can be purchased at any craft store or Walmart. Clothespins (mini or regular size) Scissors Lighter Needle and Thread
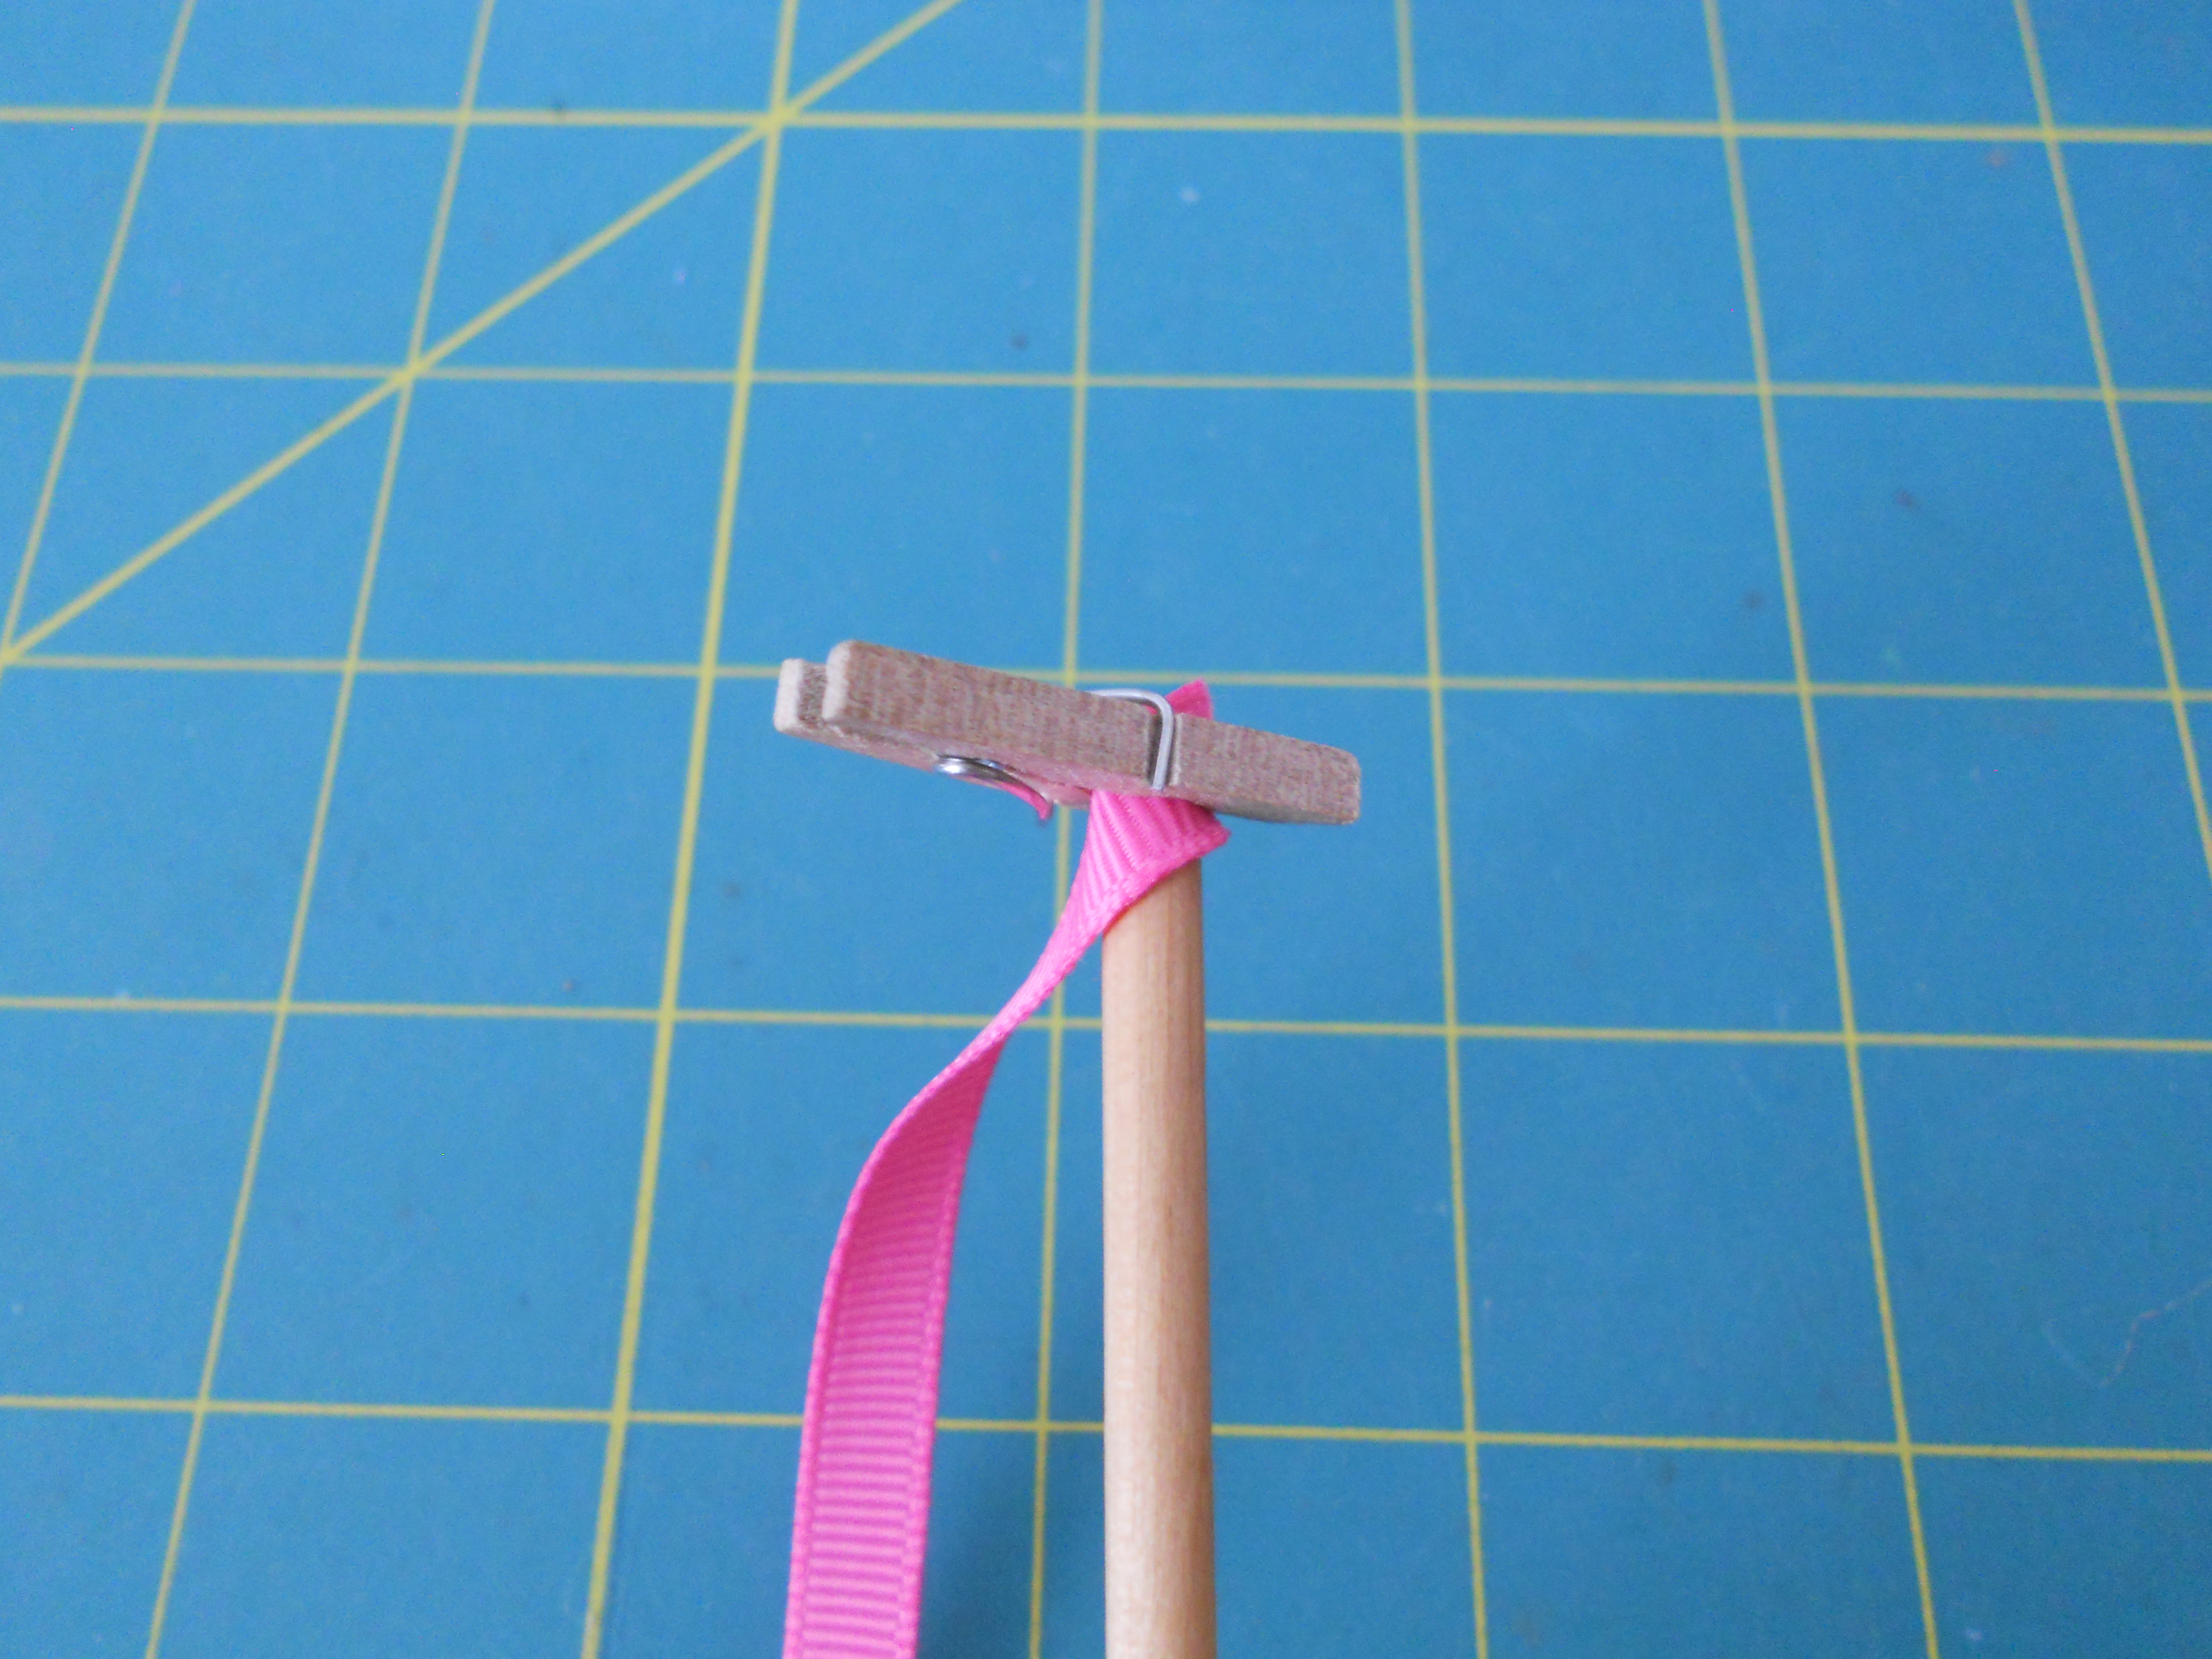
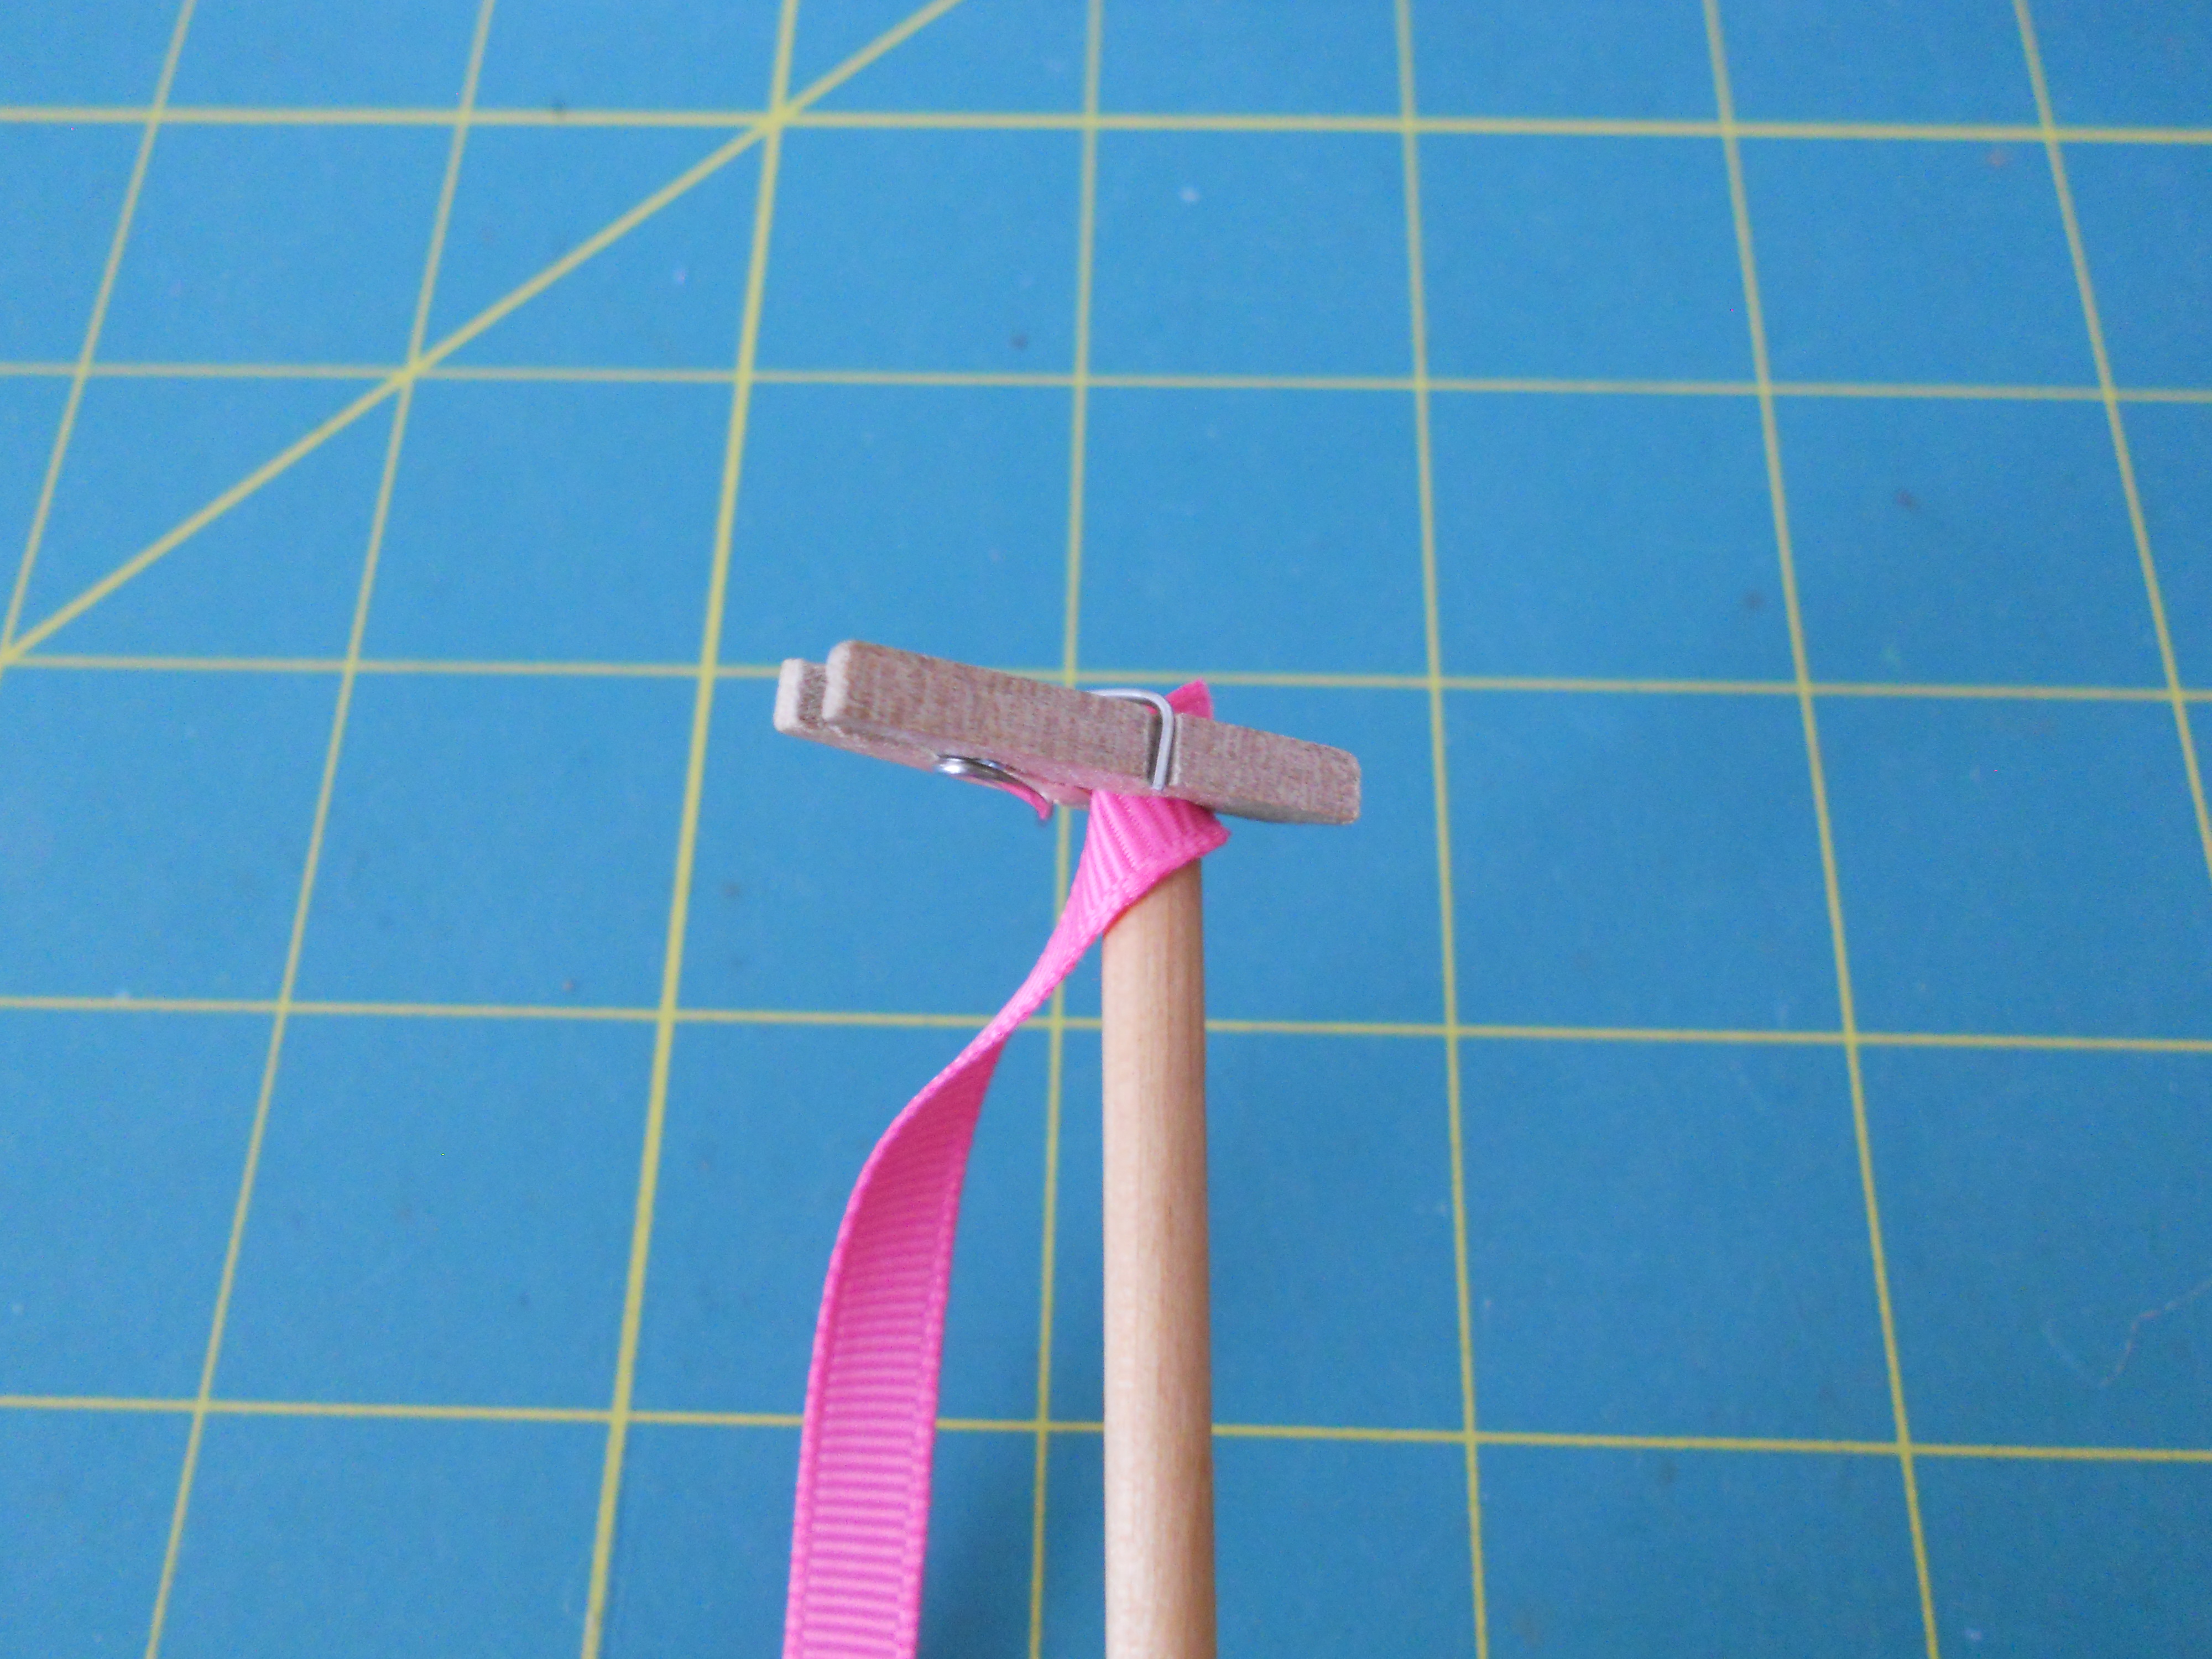
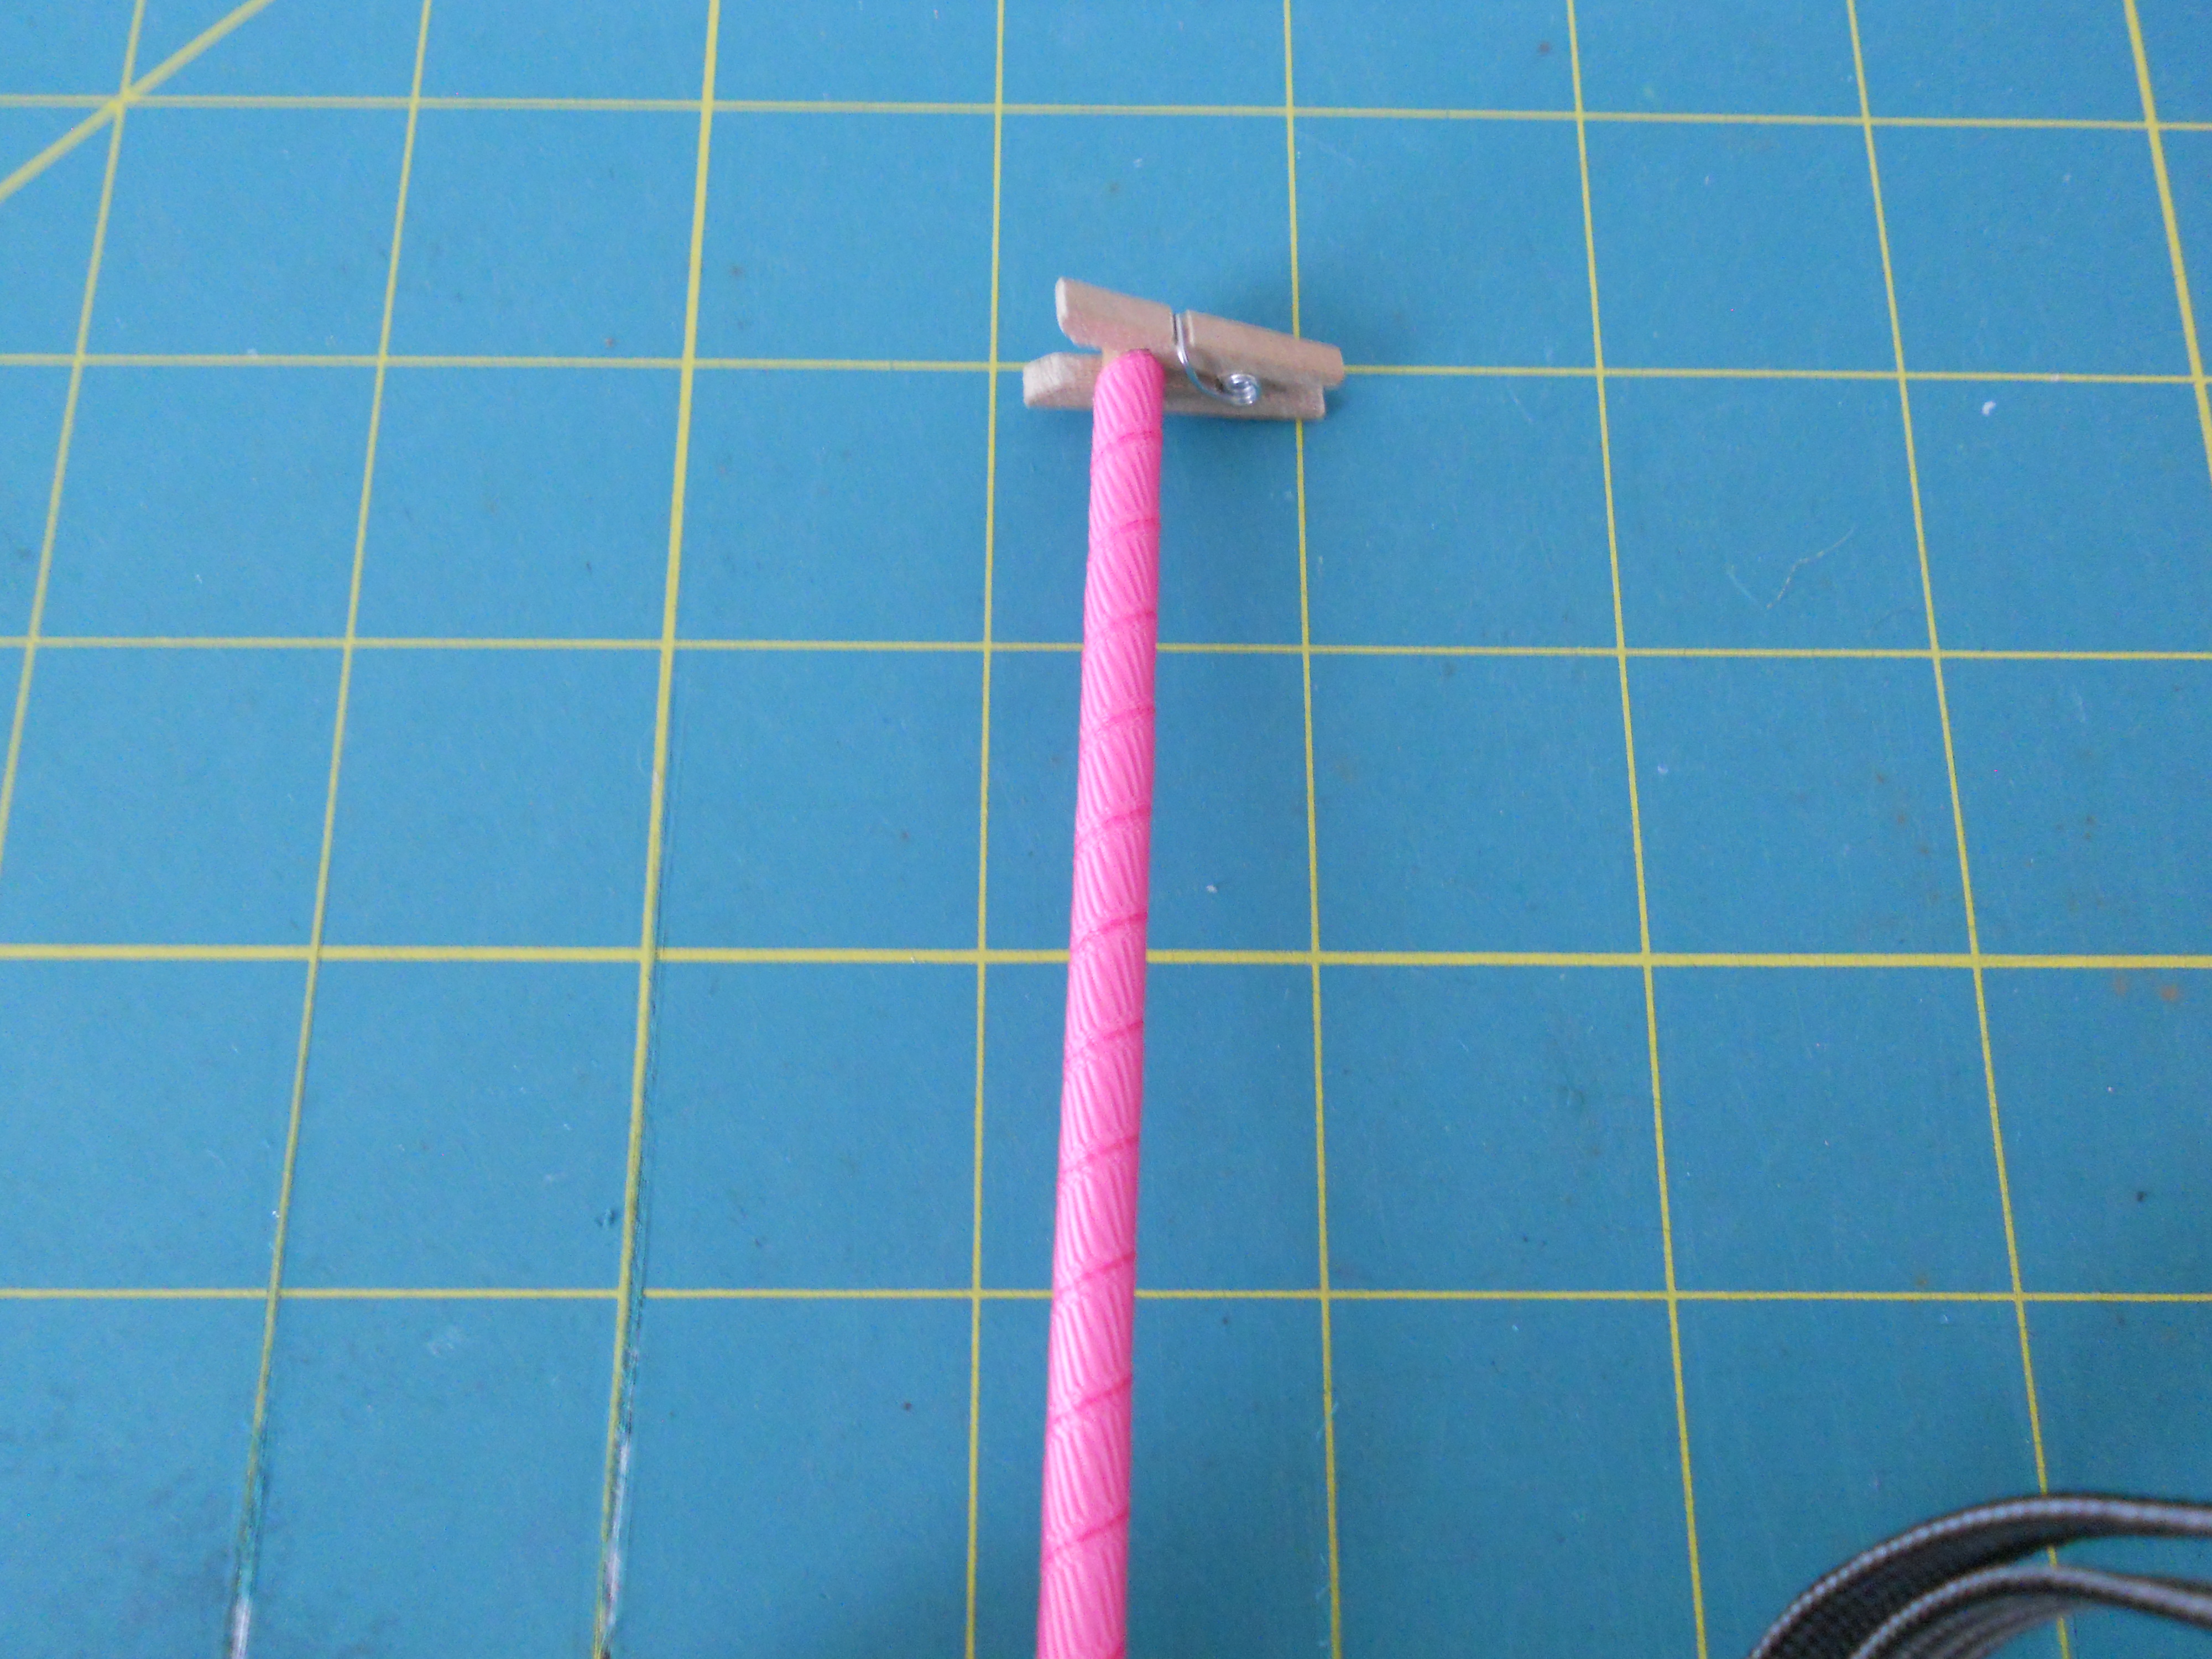
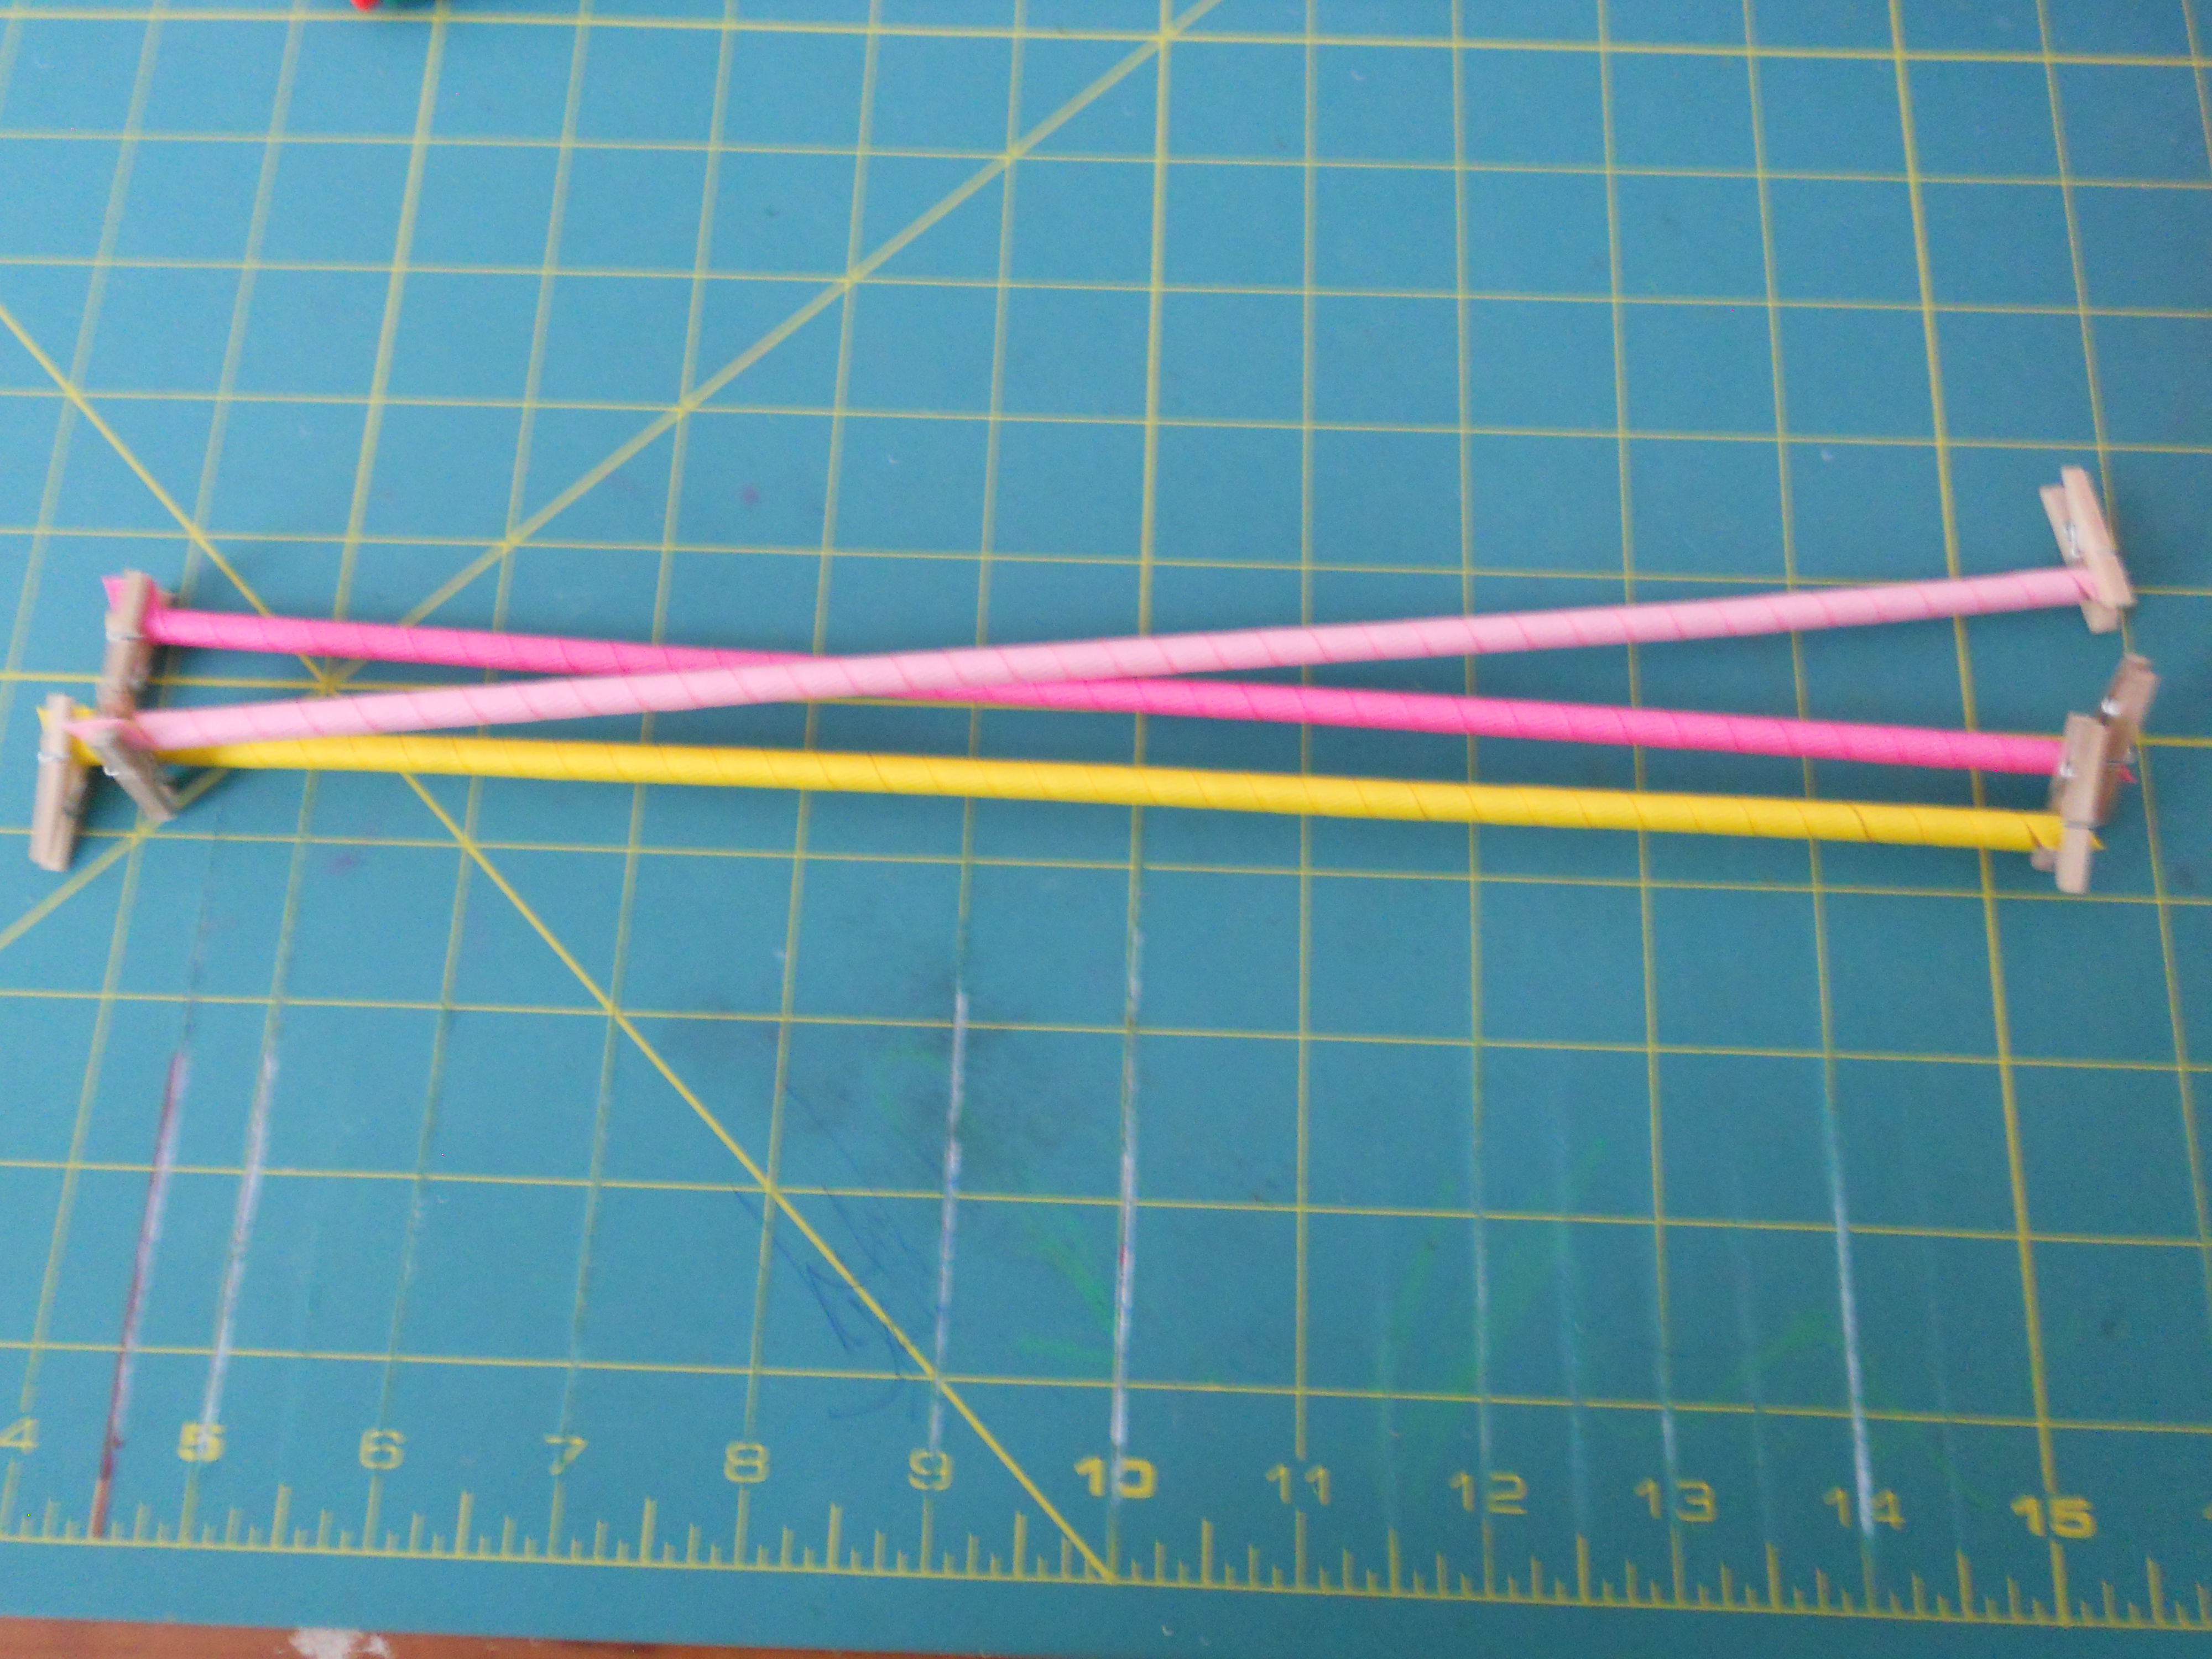
First we are going to wrap the ribbon around the dowels and secure both ends with a clothespin. To make one mini korker bow you will need three 12" korker pieces.
Now that you have your dowels wrapped place them on a baking tray and bake for 25 minutes at 245 degrees. You do not need to spray anything on the ribbon! Once they are finished baking remove the pan from the oven and allow the ribbon to cool completely before removing it from the dowels.
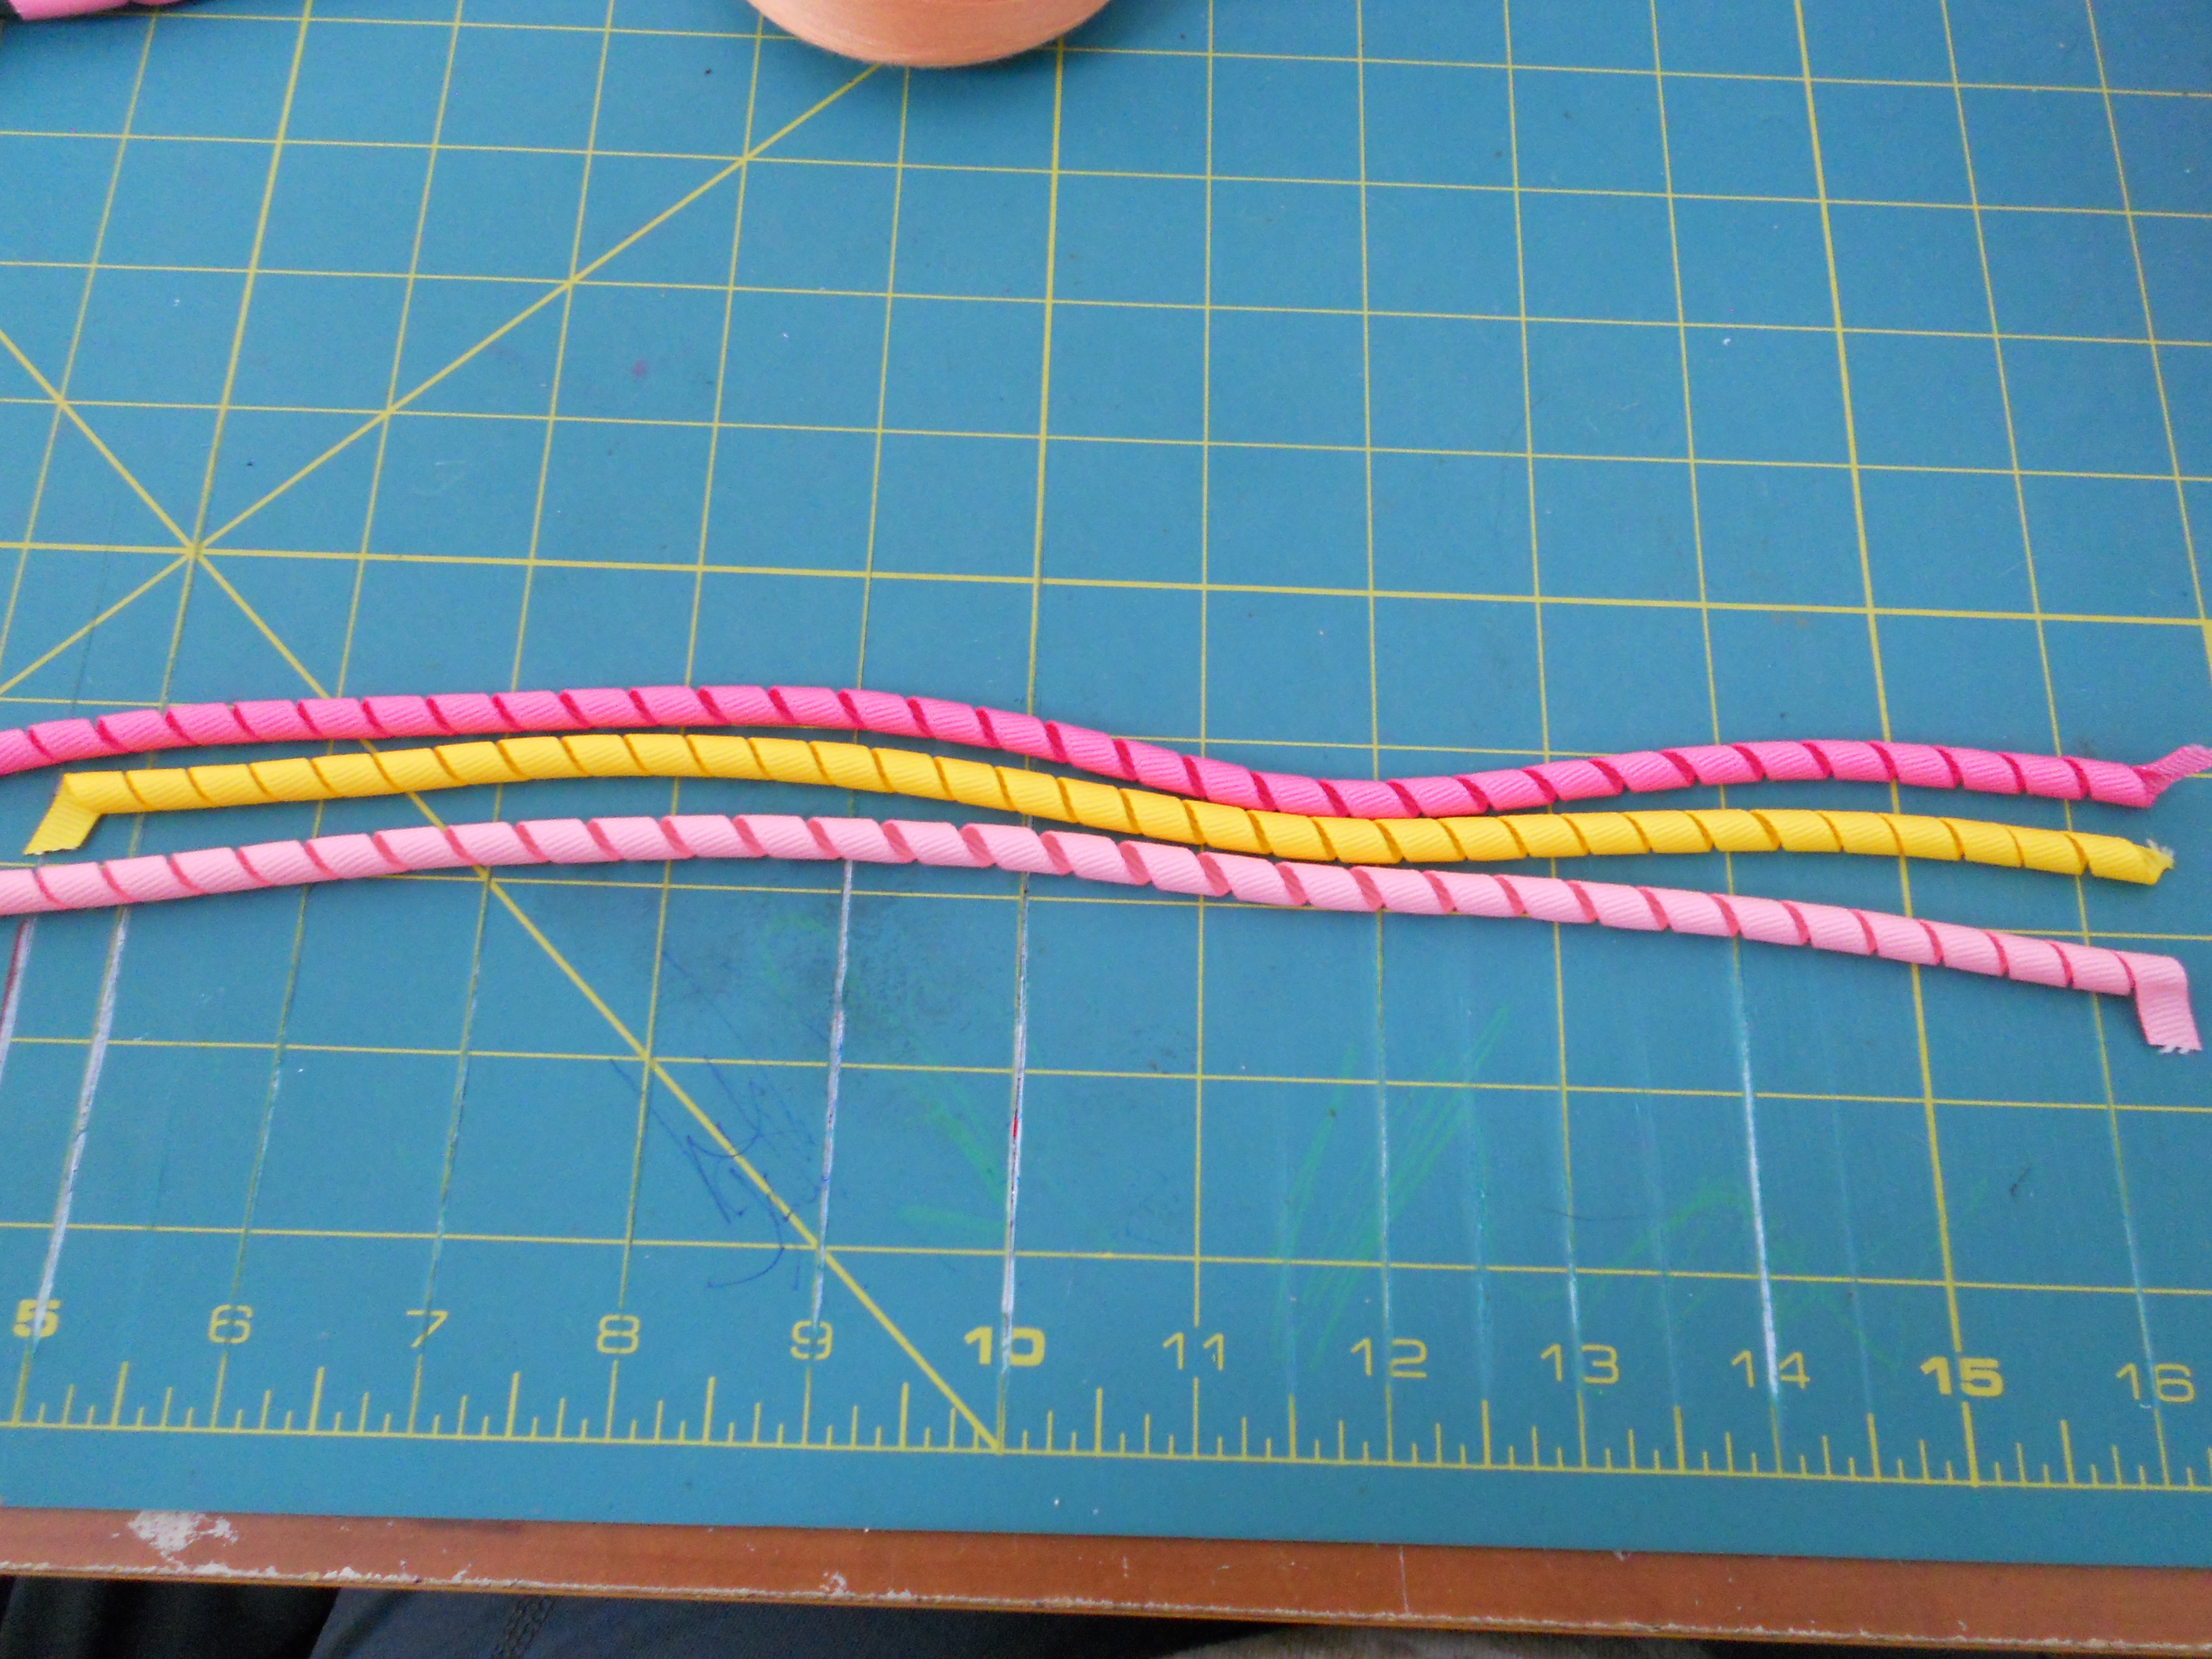
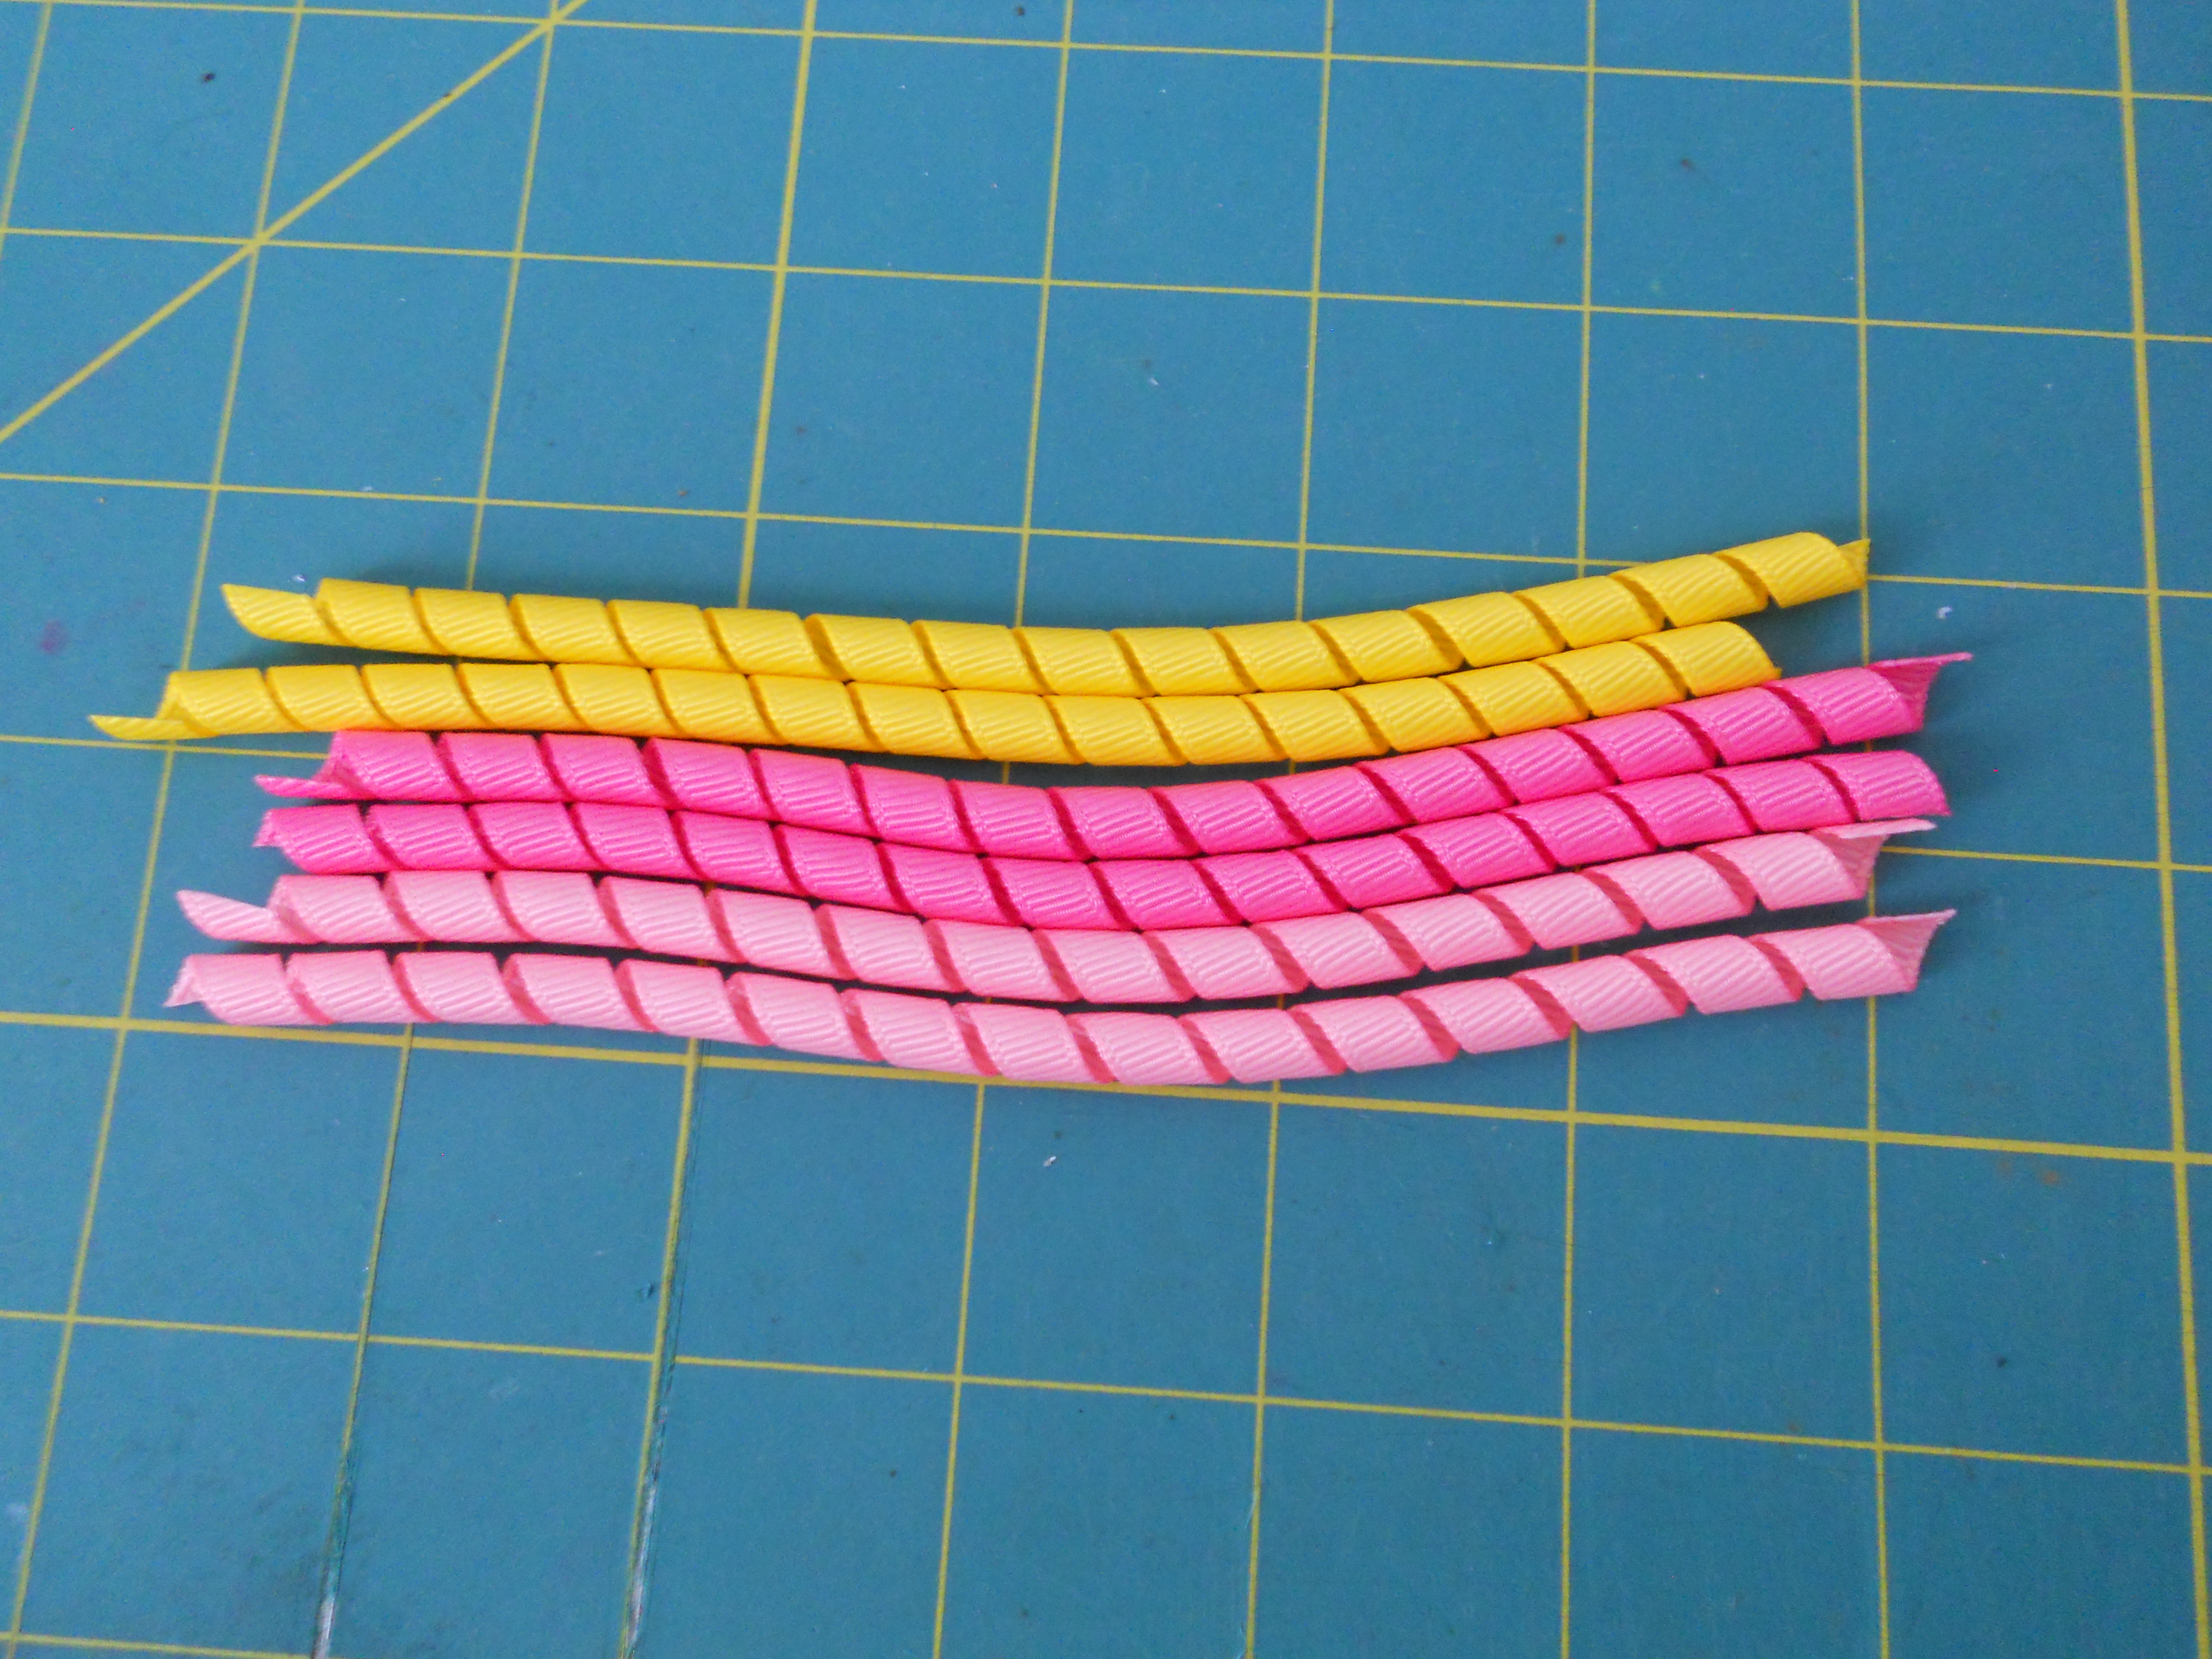
Now you have three 12" korker pieces.
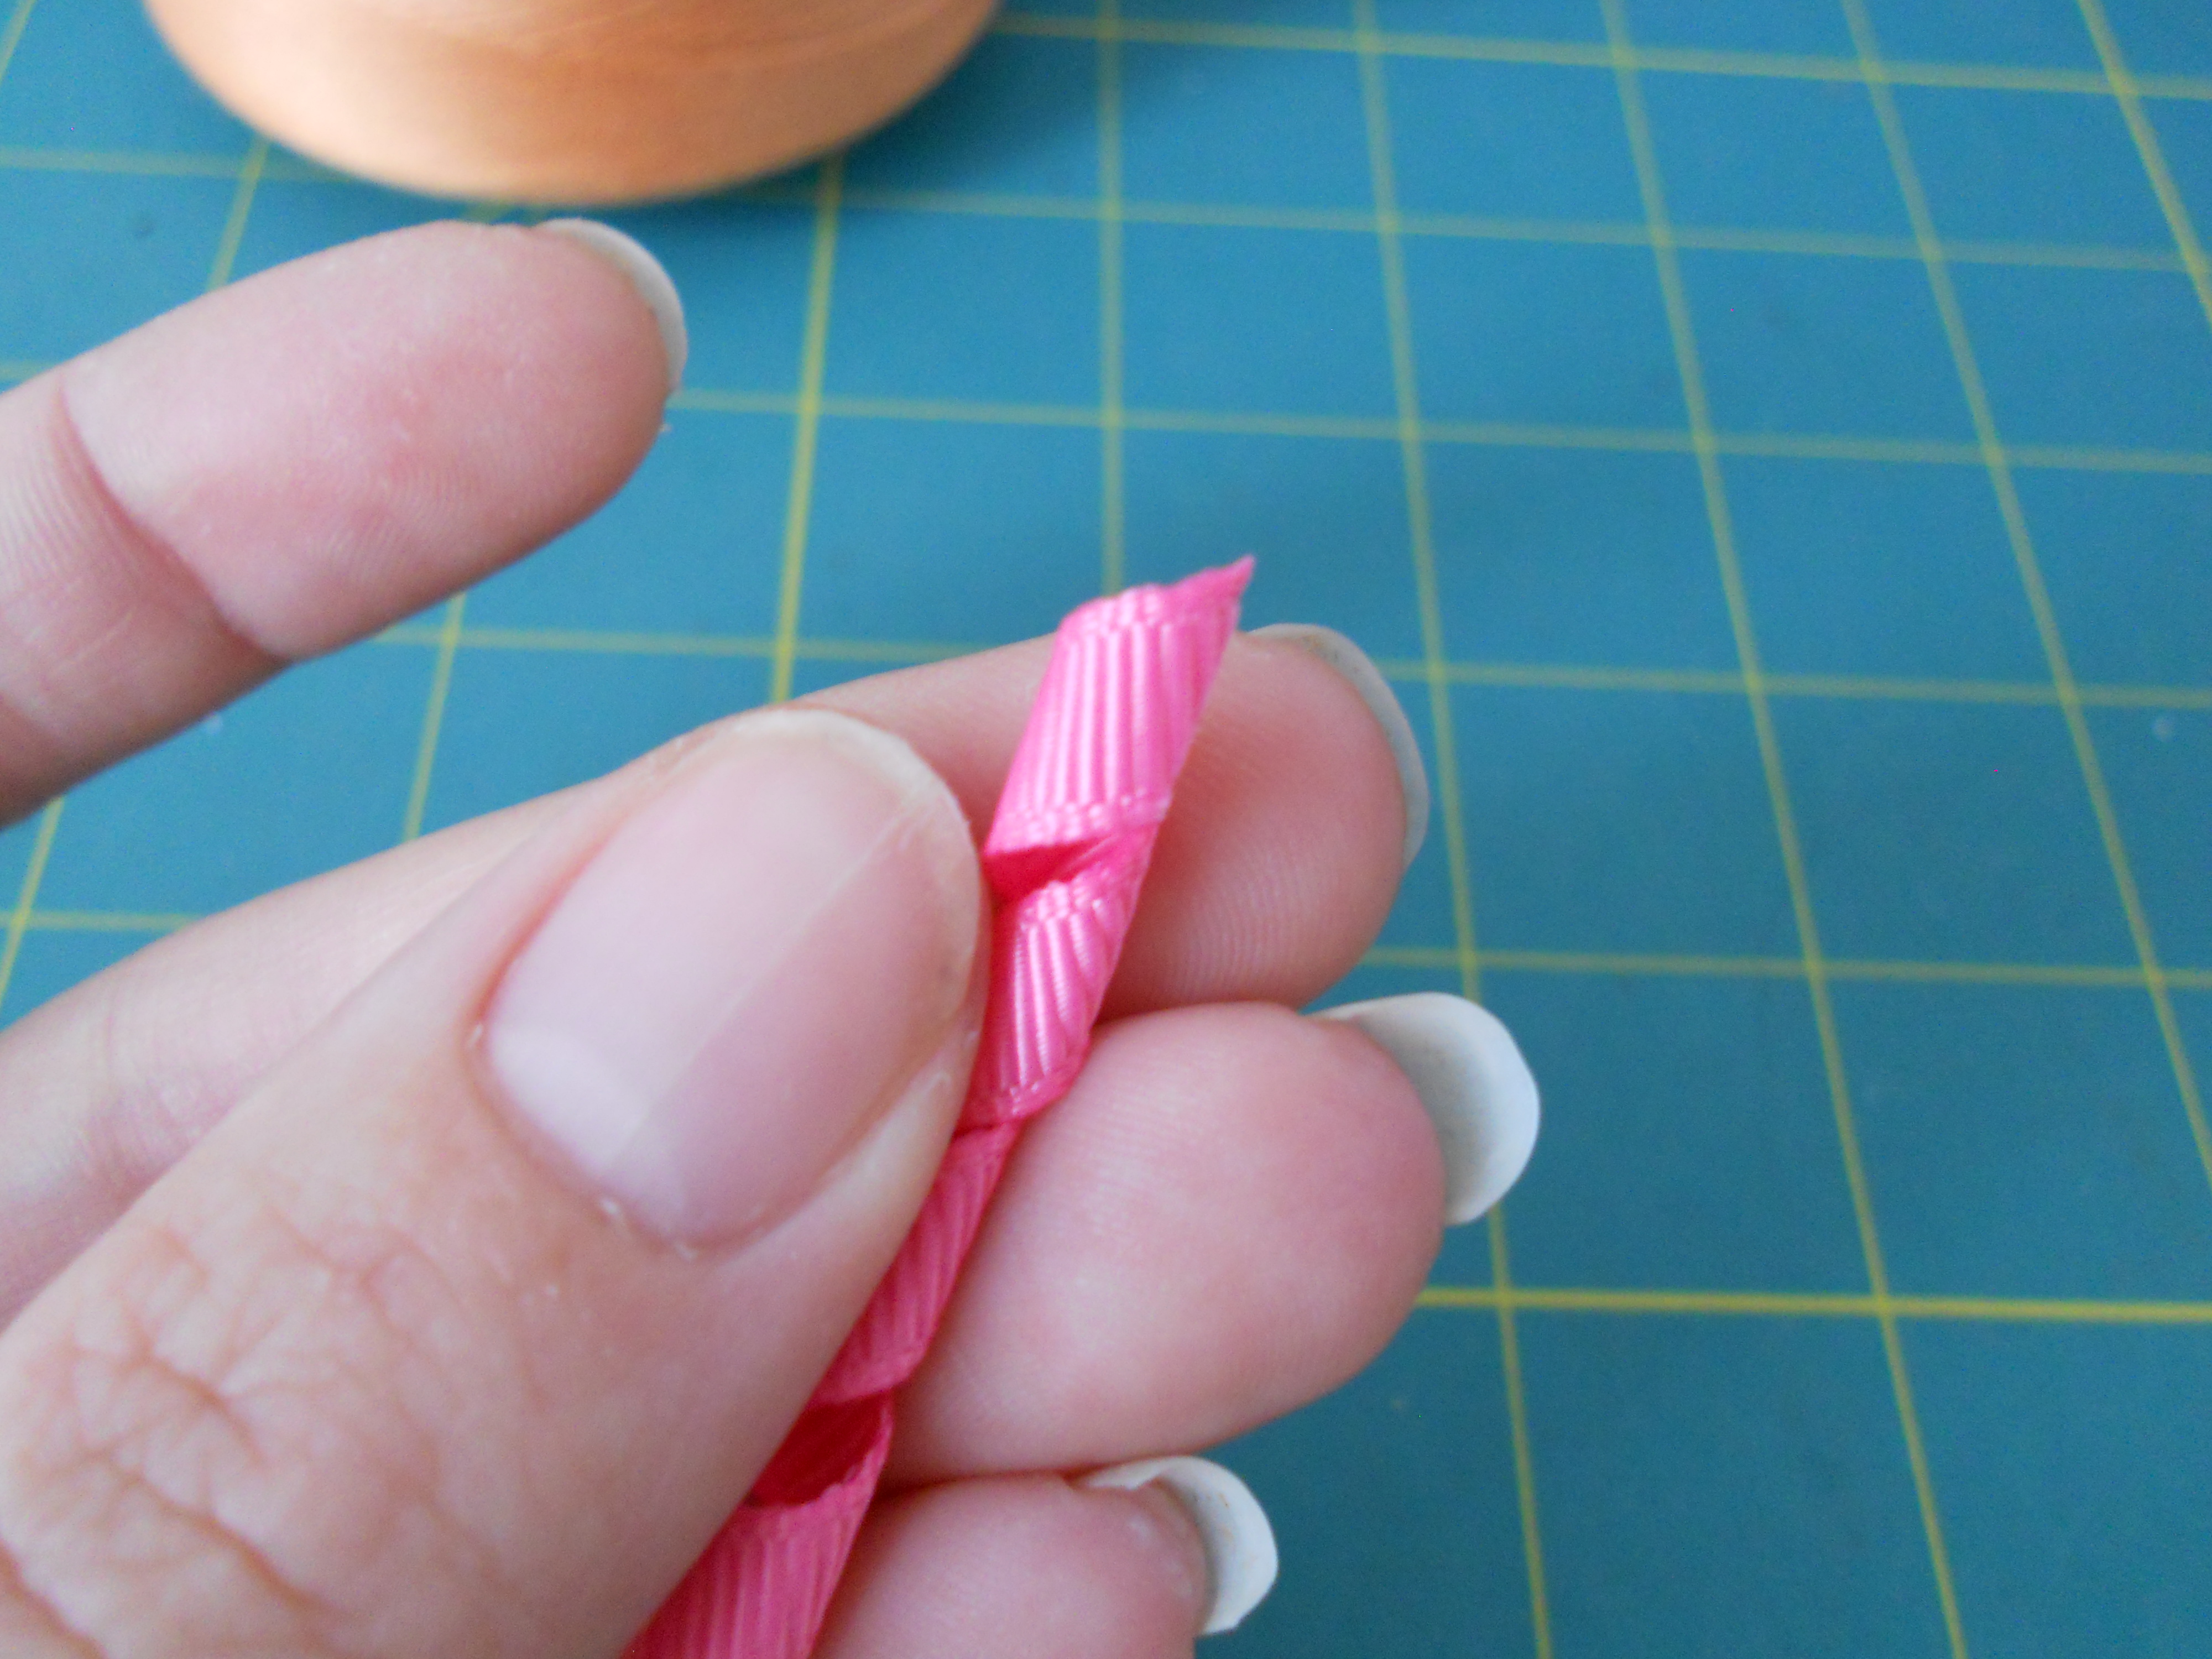
First, we are going to trim all of the ends with scissors. I like to trim mine at an angle and make sure I trim each end the same way.
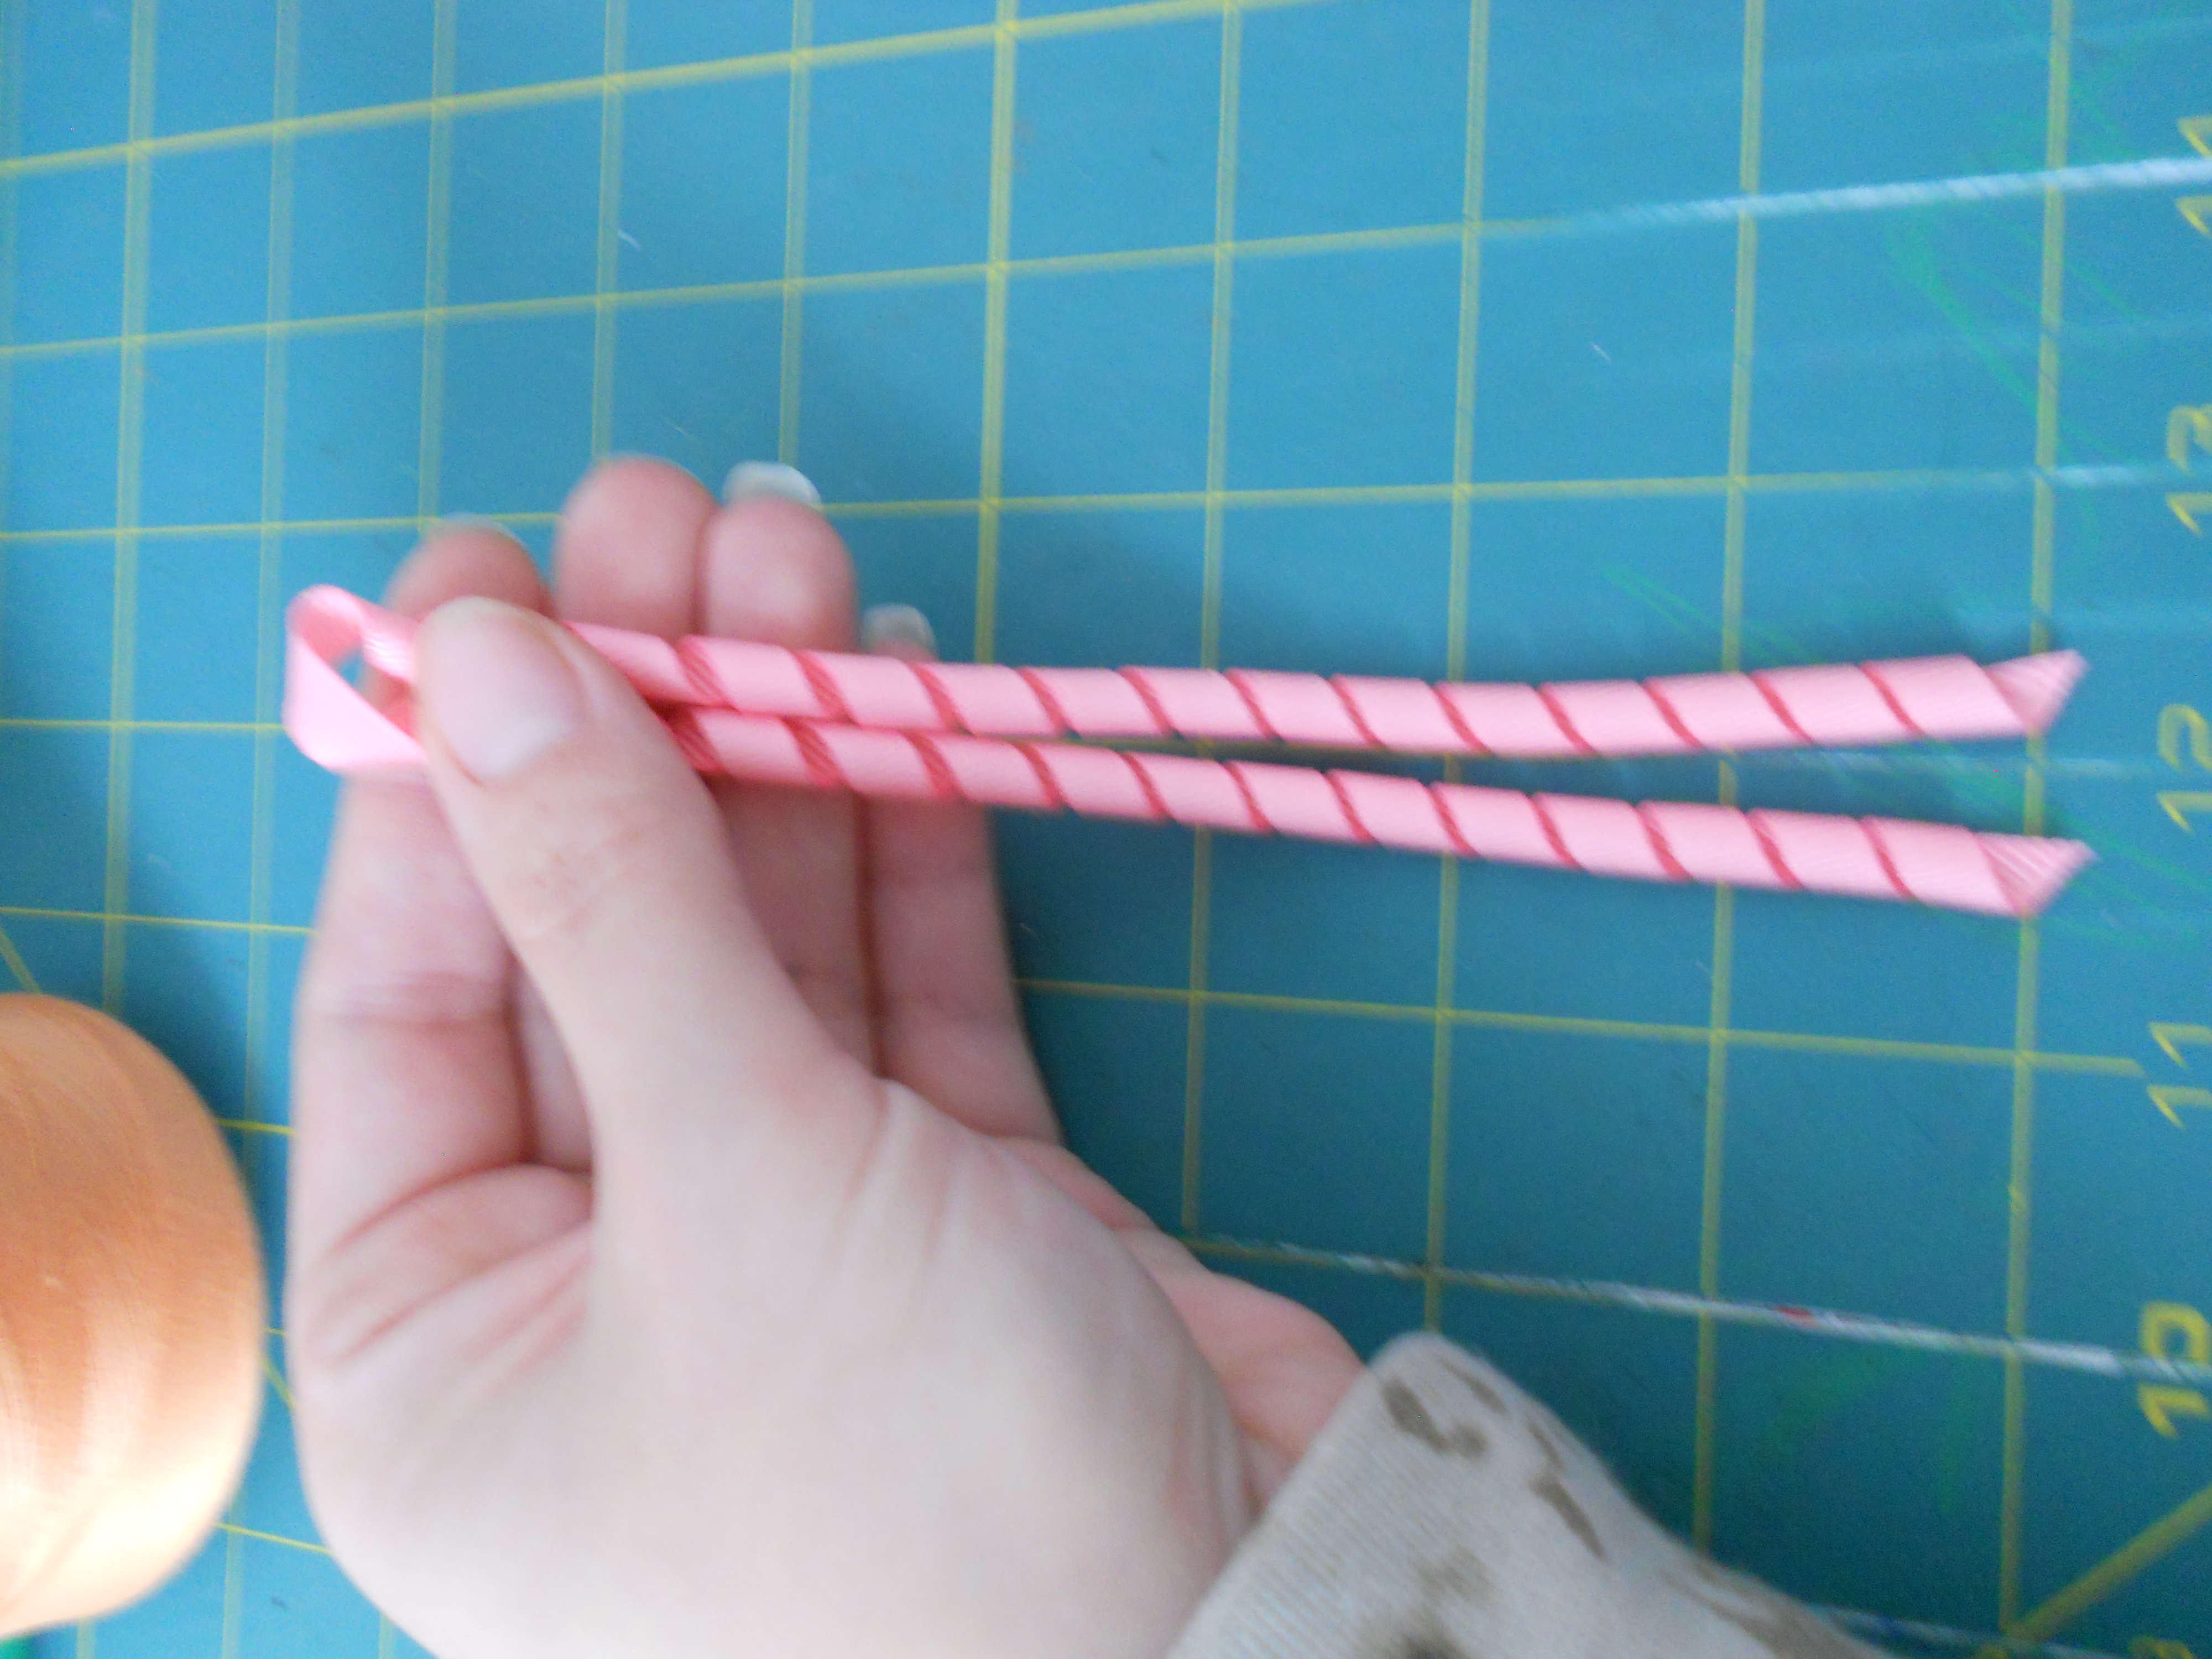
Next, cut each 12" piece in half. You should now have six 6" pieces.
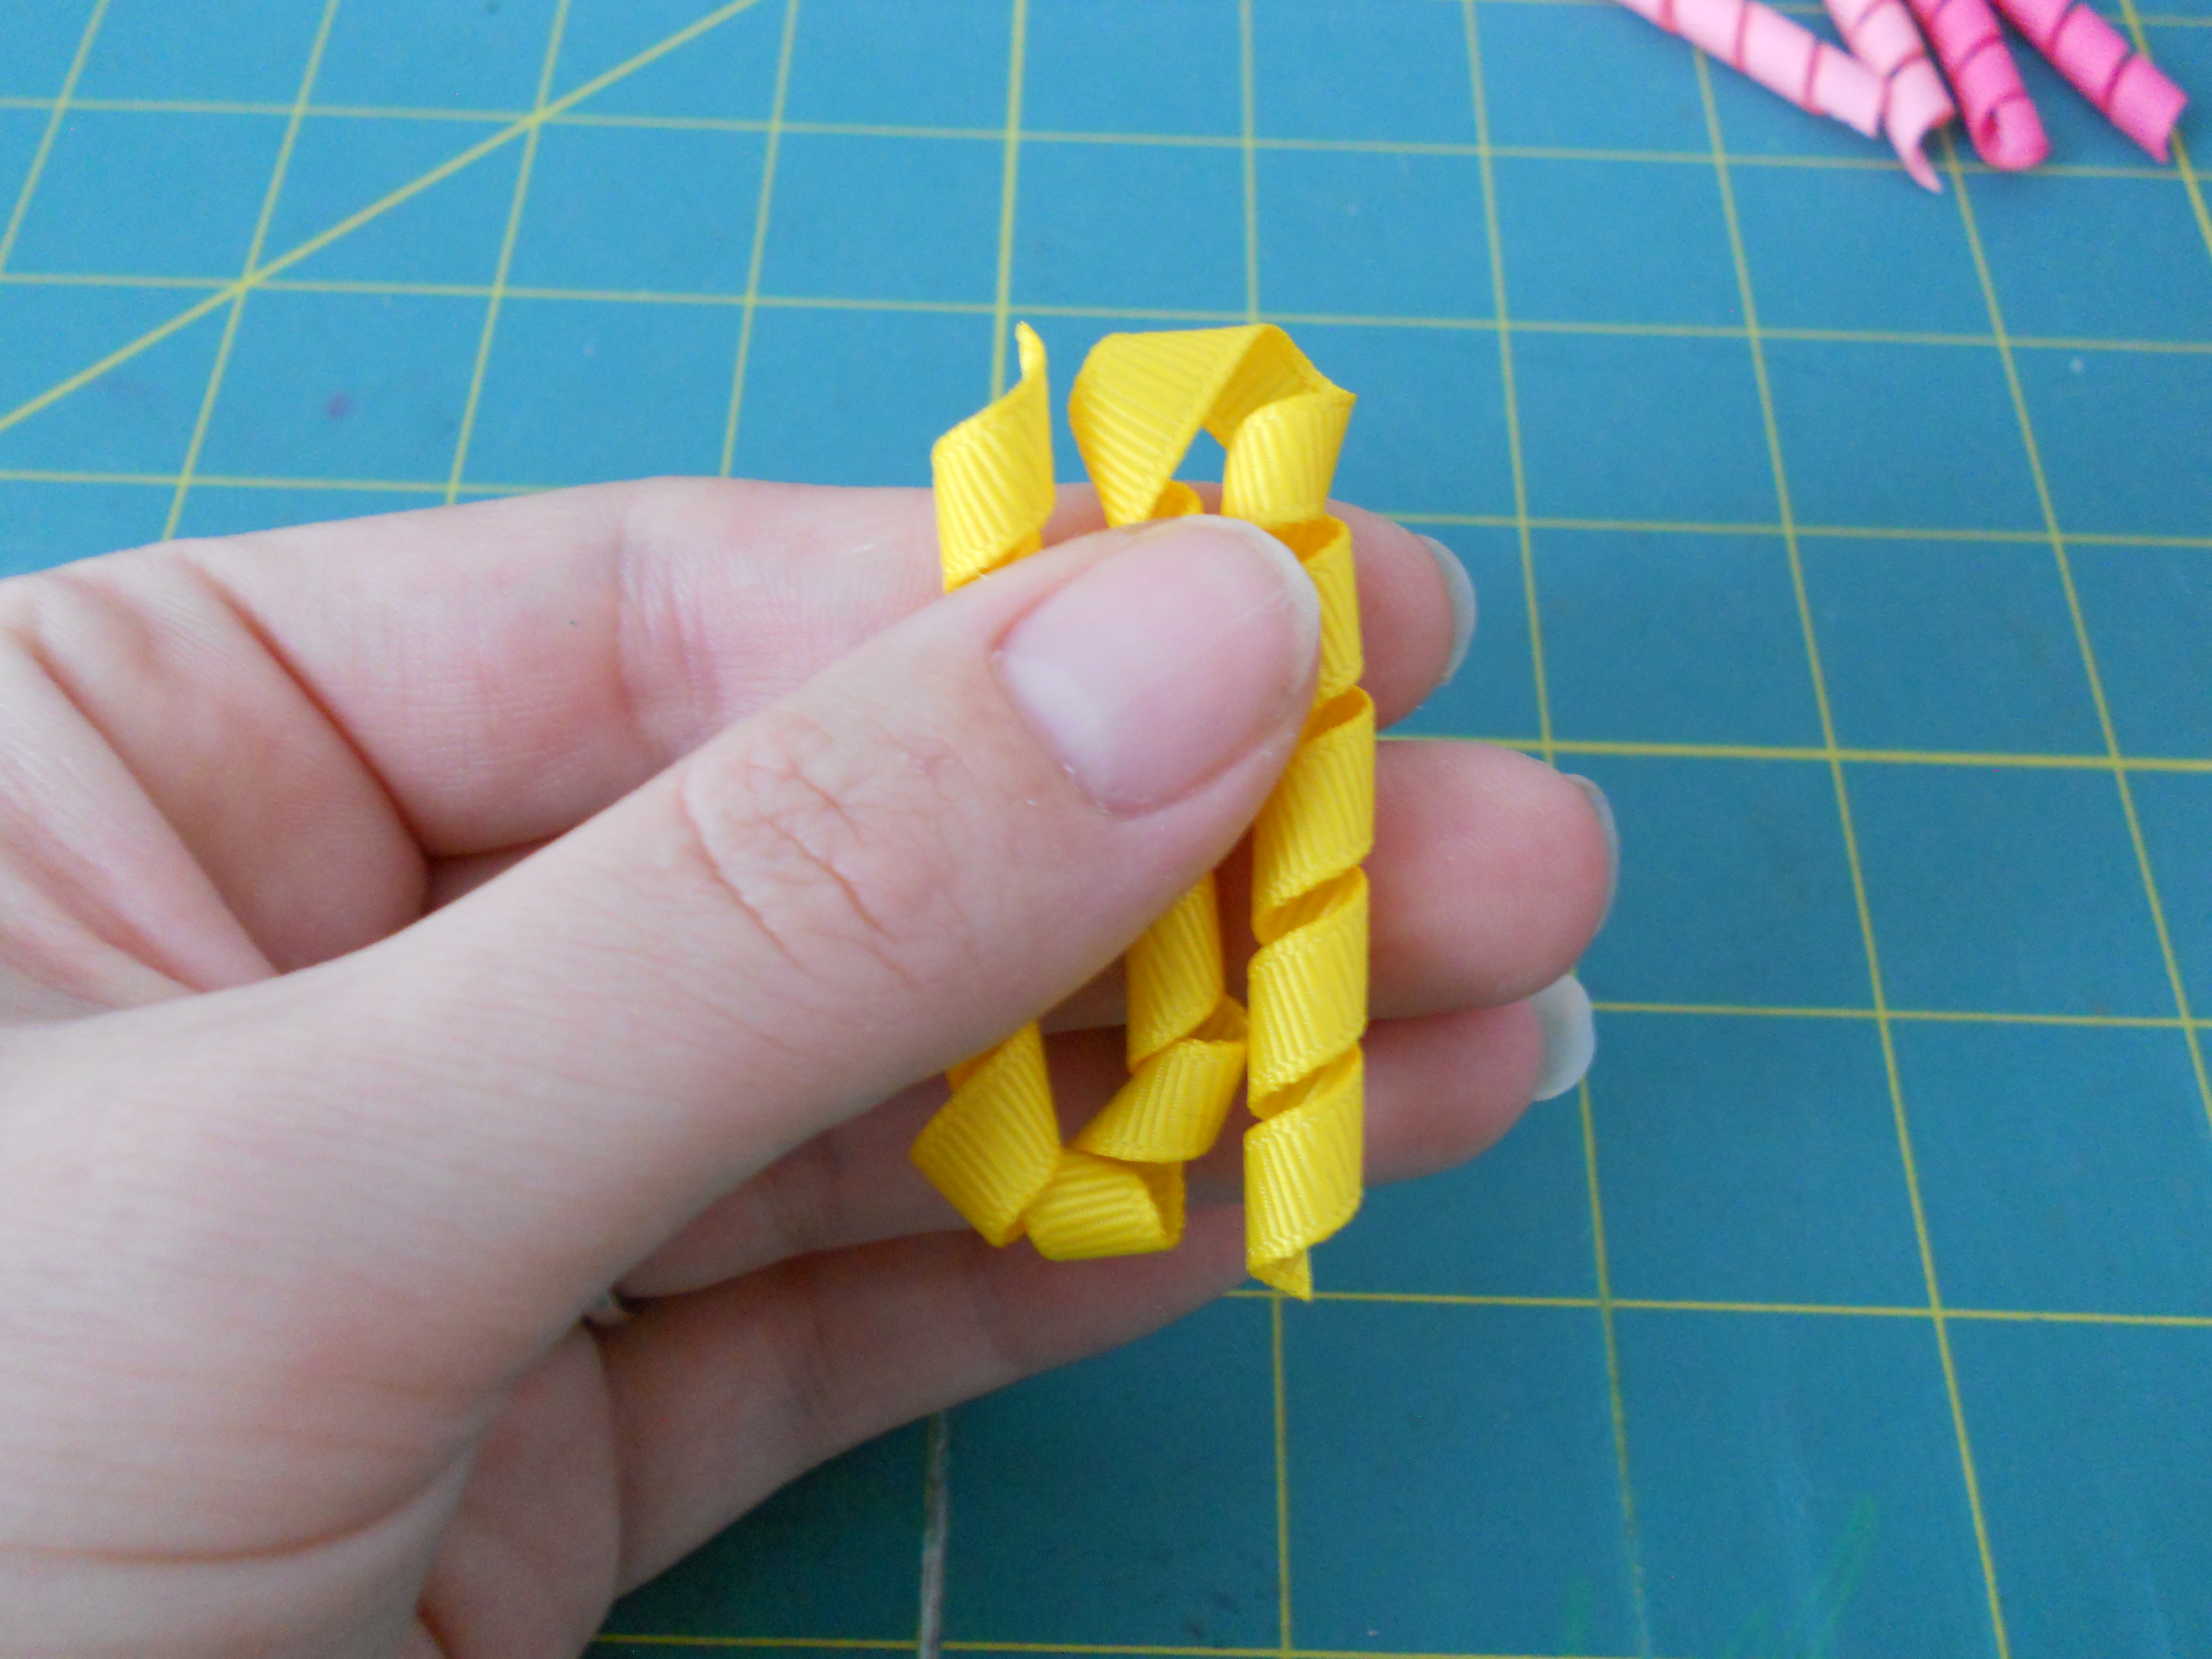
Now we are going to cut each 6" piece into 3 pieces. For this step I fold the ribbon into thirds and then make my cuts.
You should have 18 2" pieces.
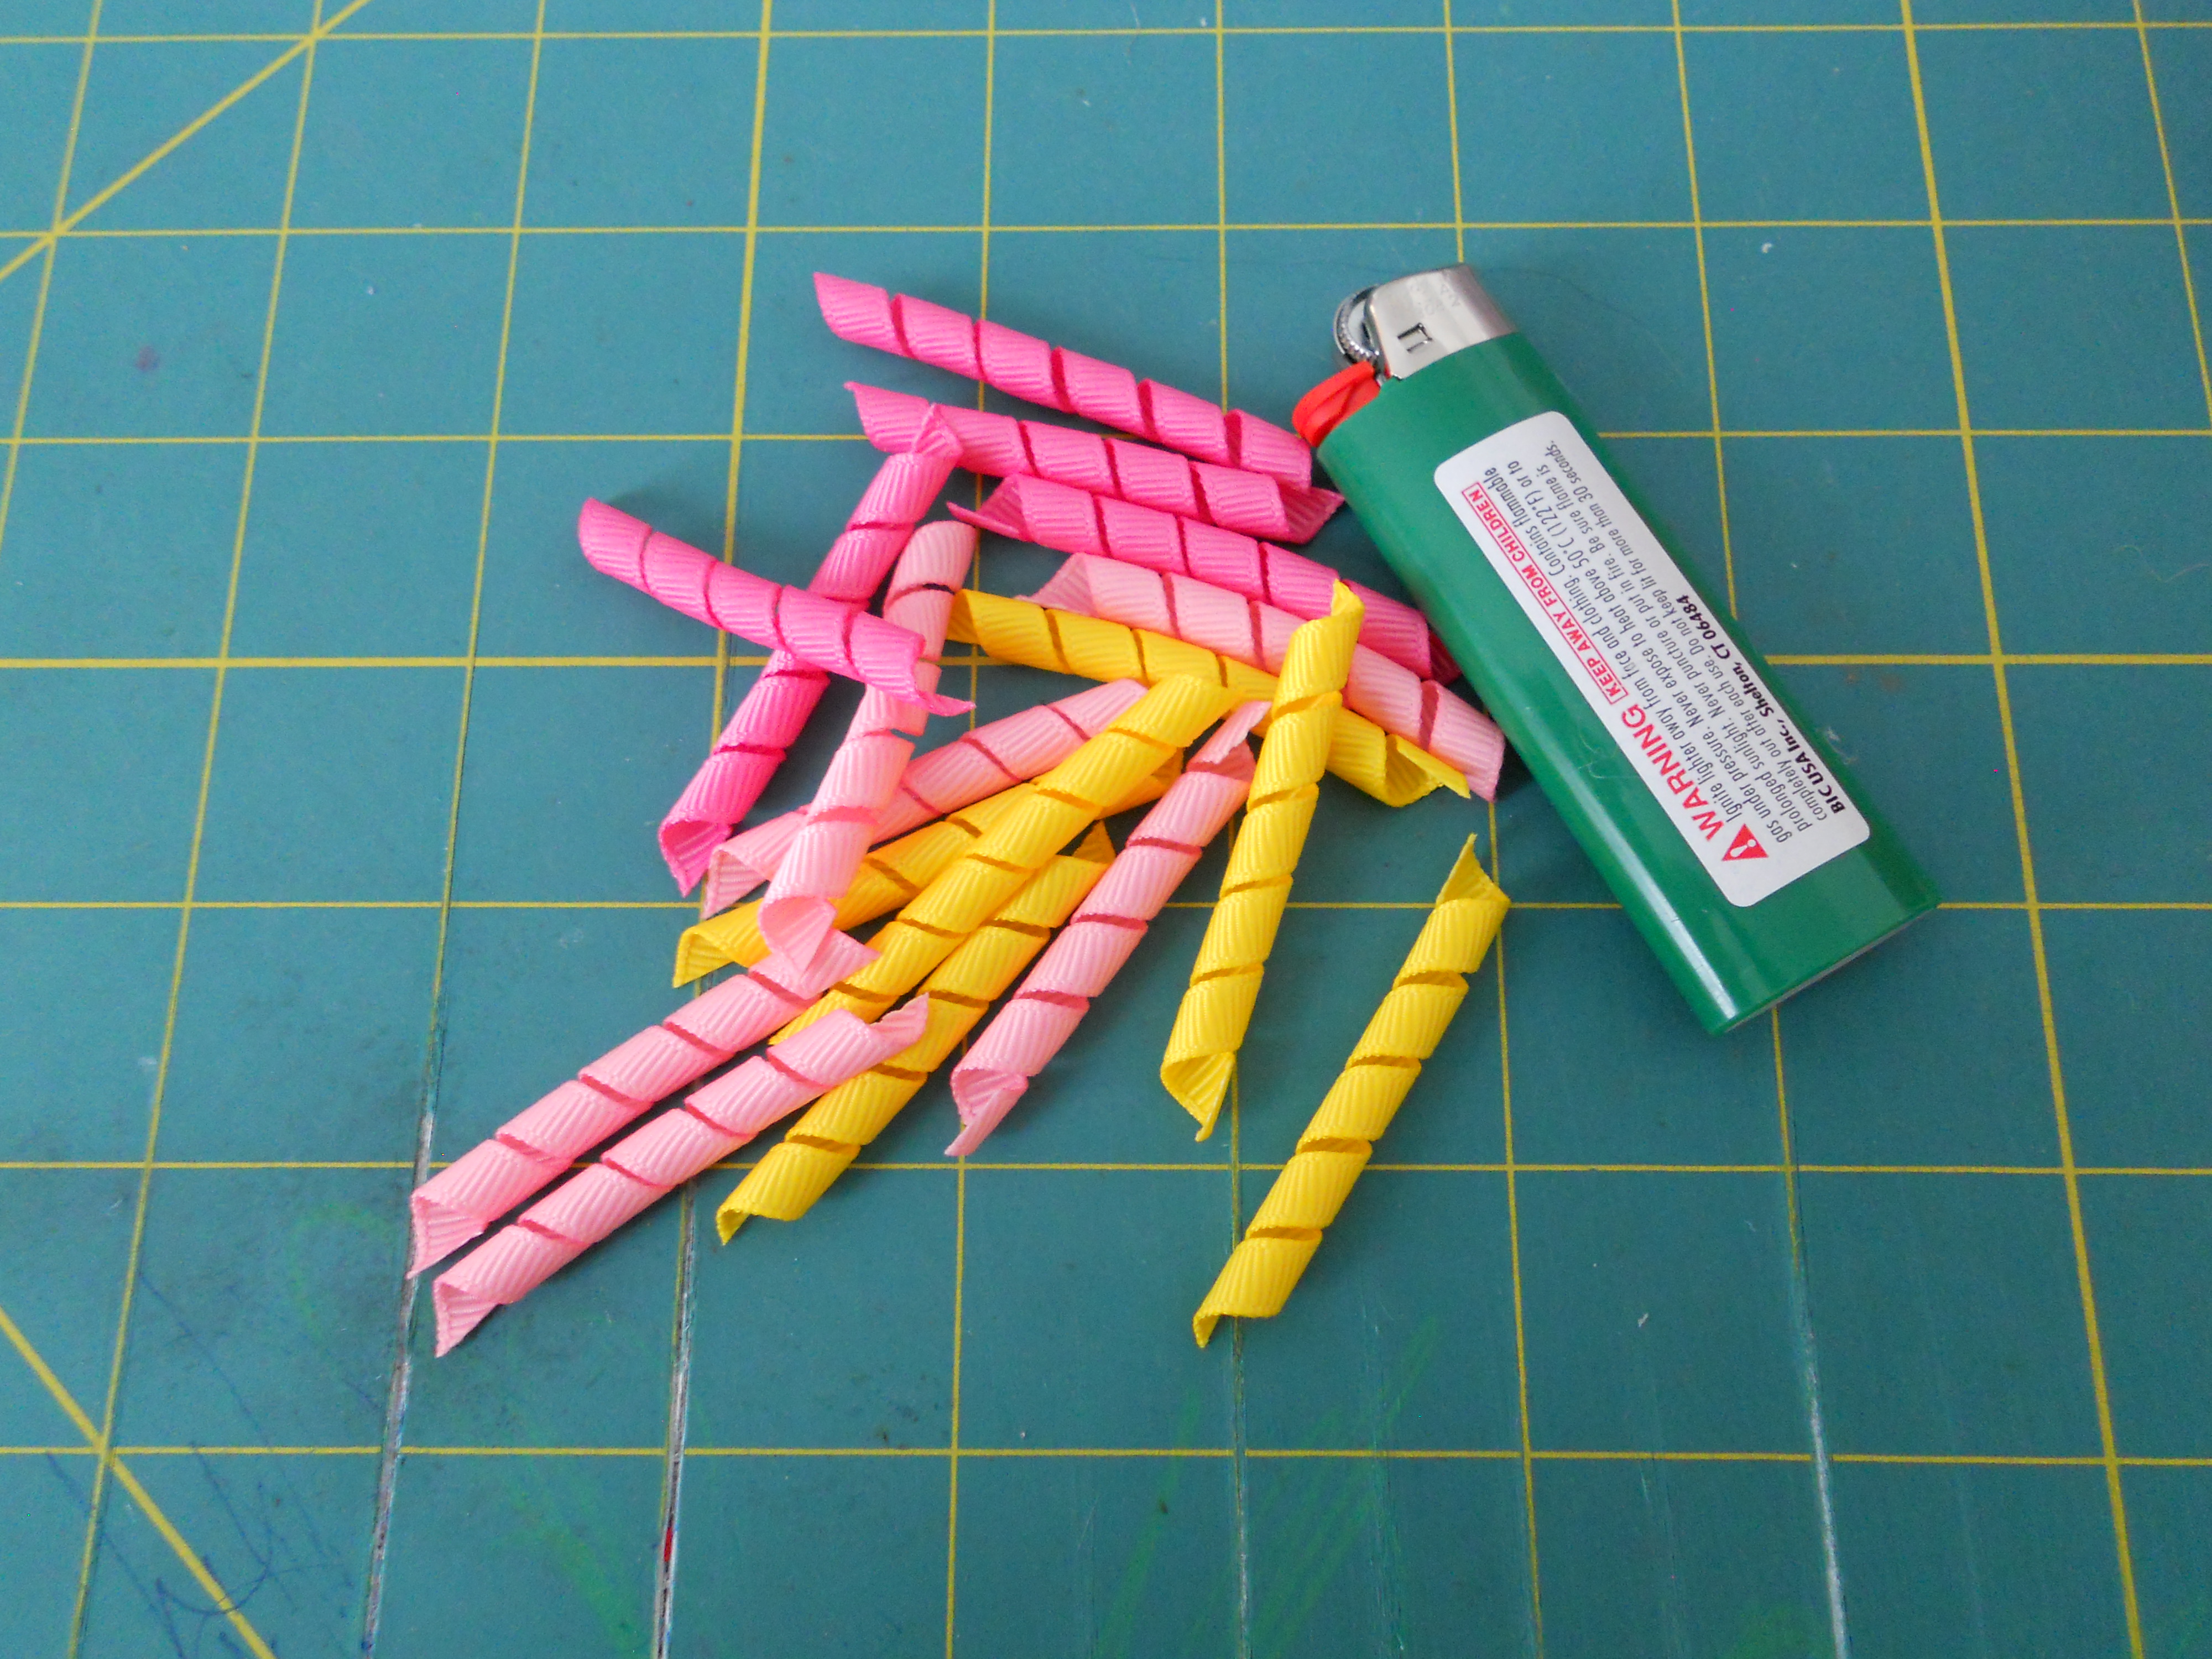
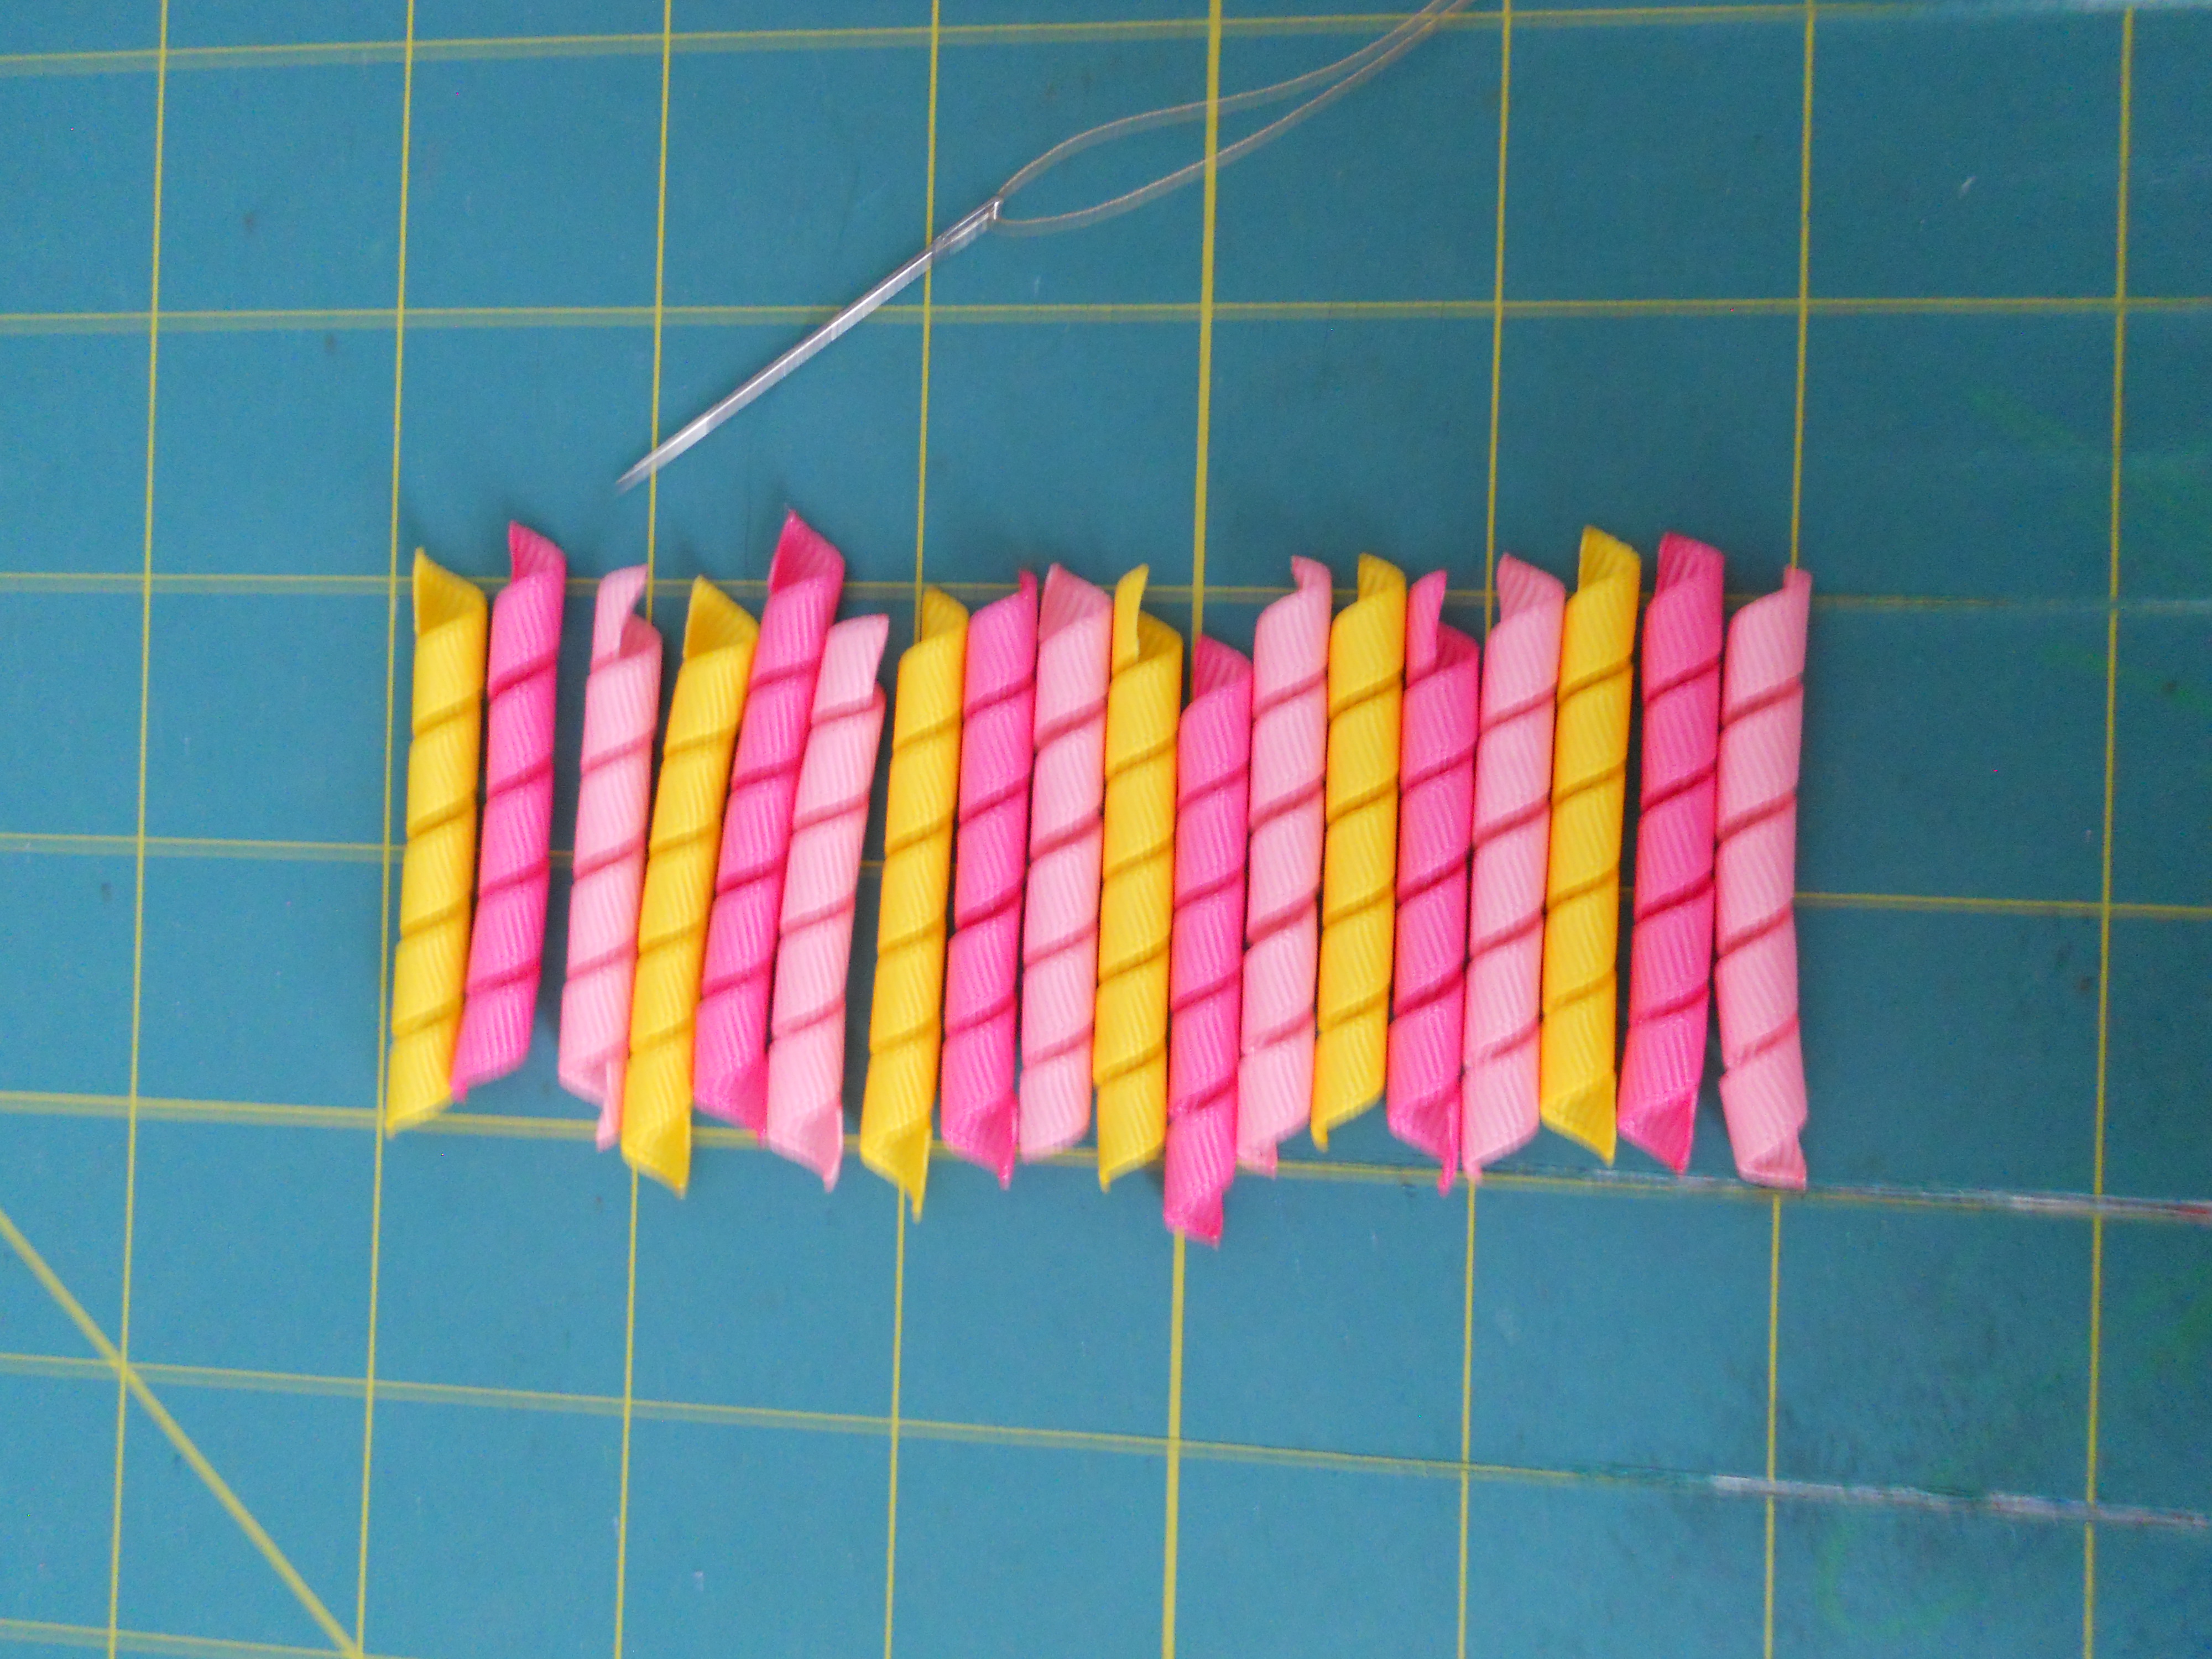
Heat seal every end with your lighter. You can do this by lightly running the lighter along the edge. This step prevents fraying and is essential for the finished product. Now decide on your pattern! Line your korker pieces up in the order you want your bow and thread your needle
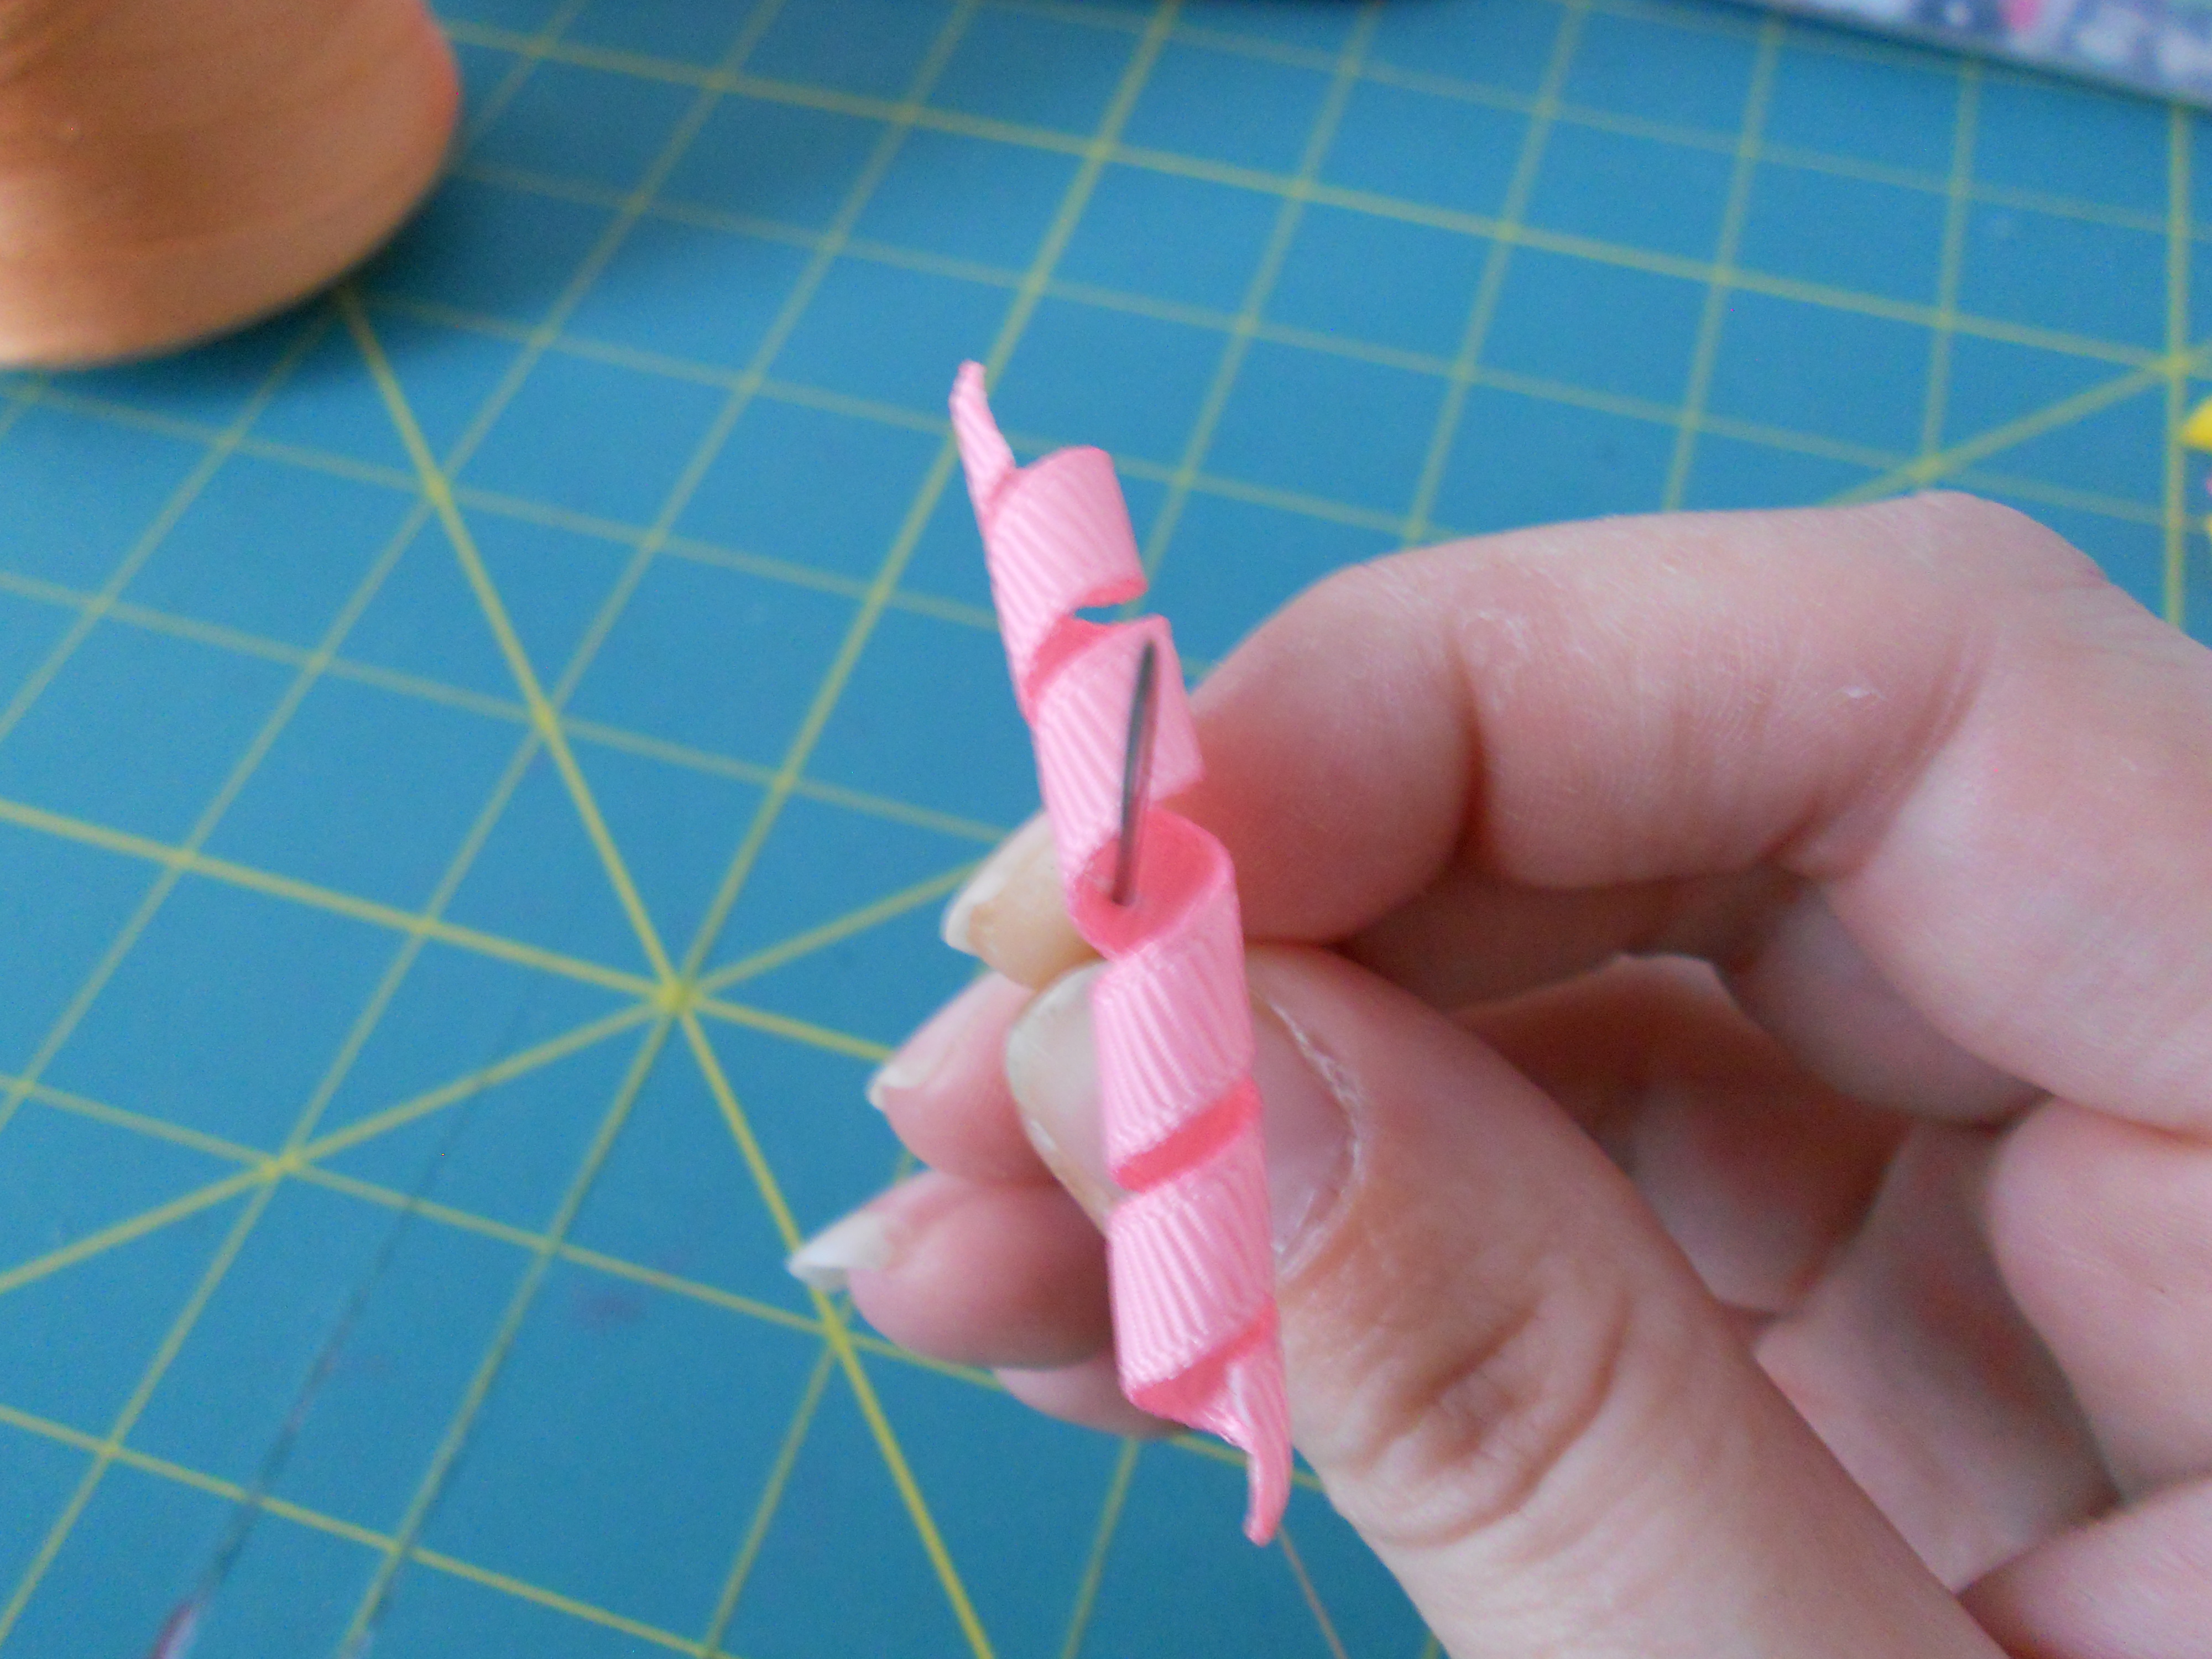
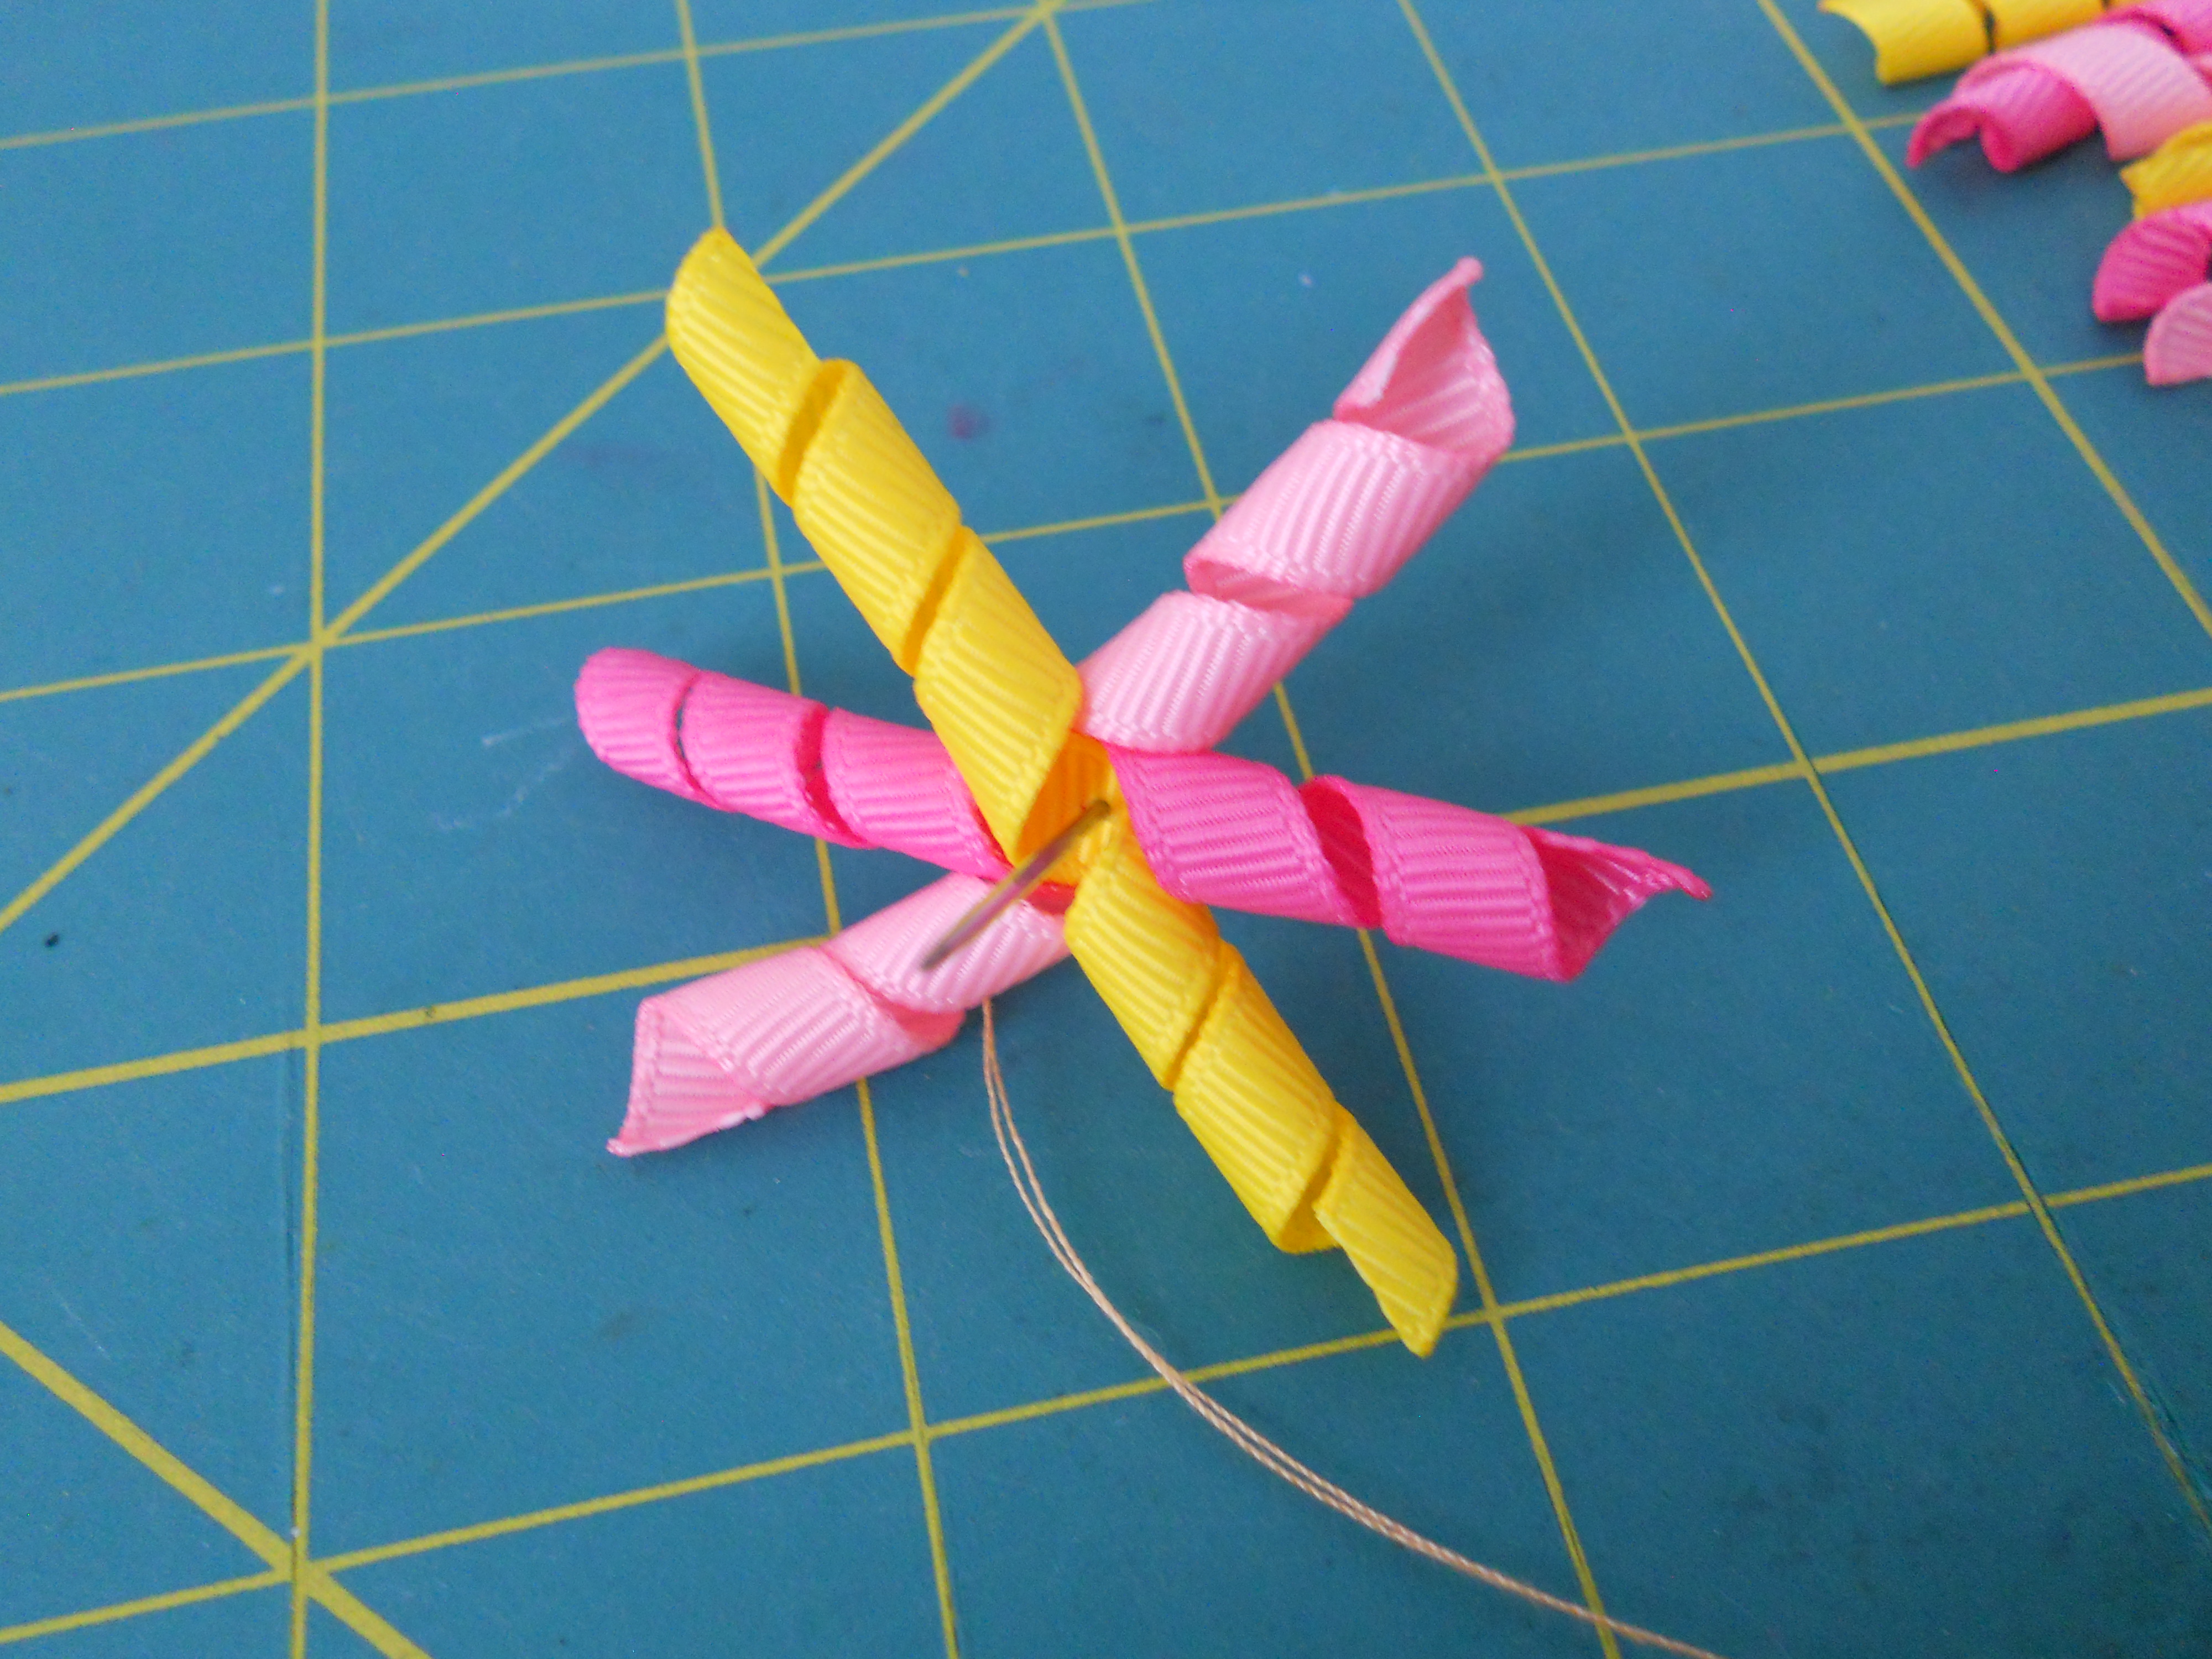
Take one piece at a time and thread them onto your needle. With each new piece make sure you press it down onto the piece before. We want the centers to be stacked up together.
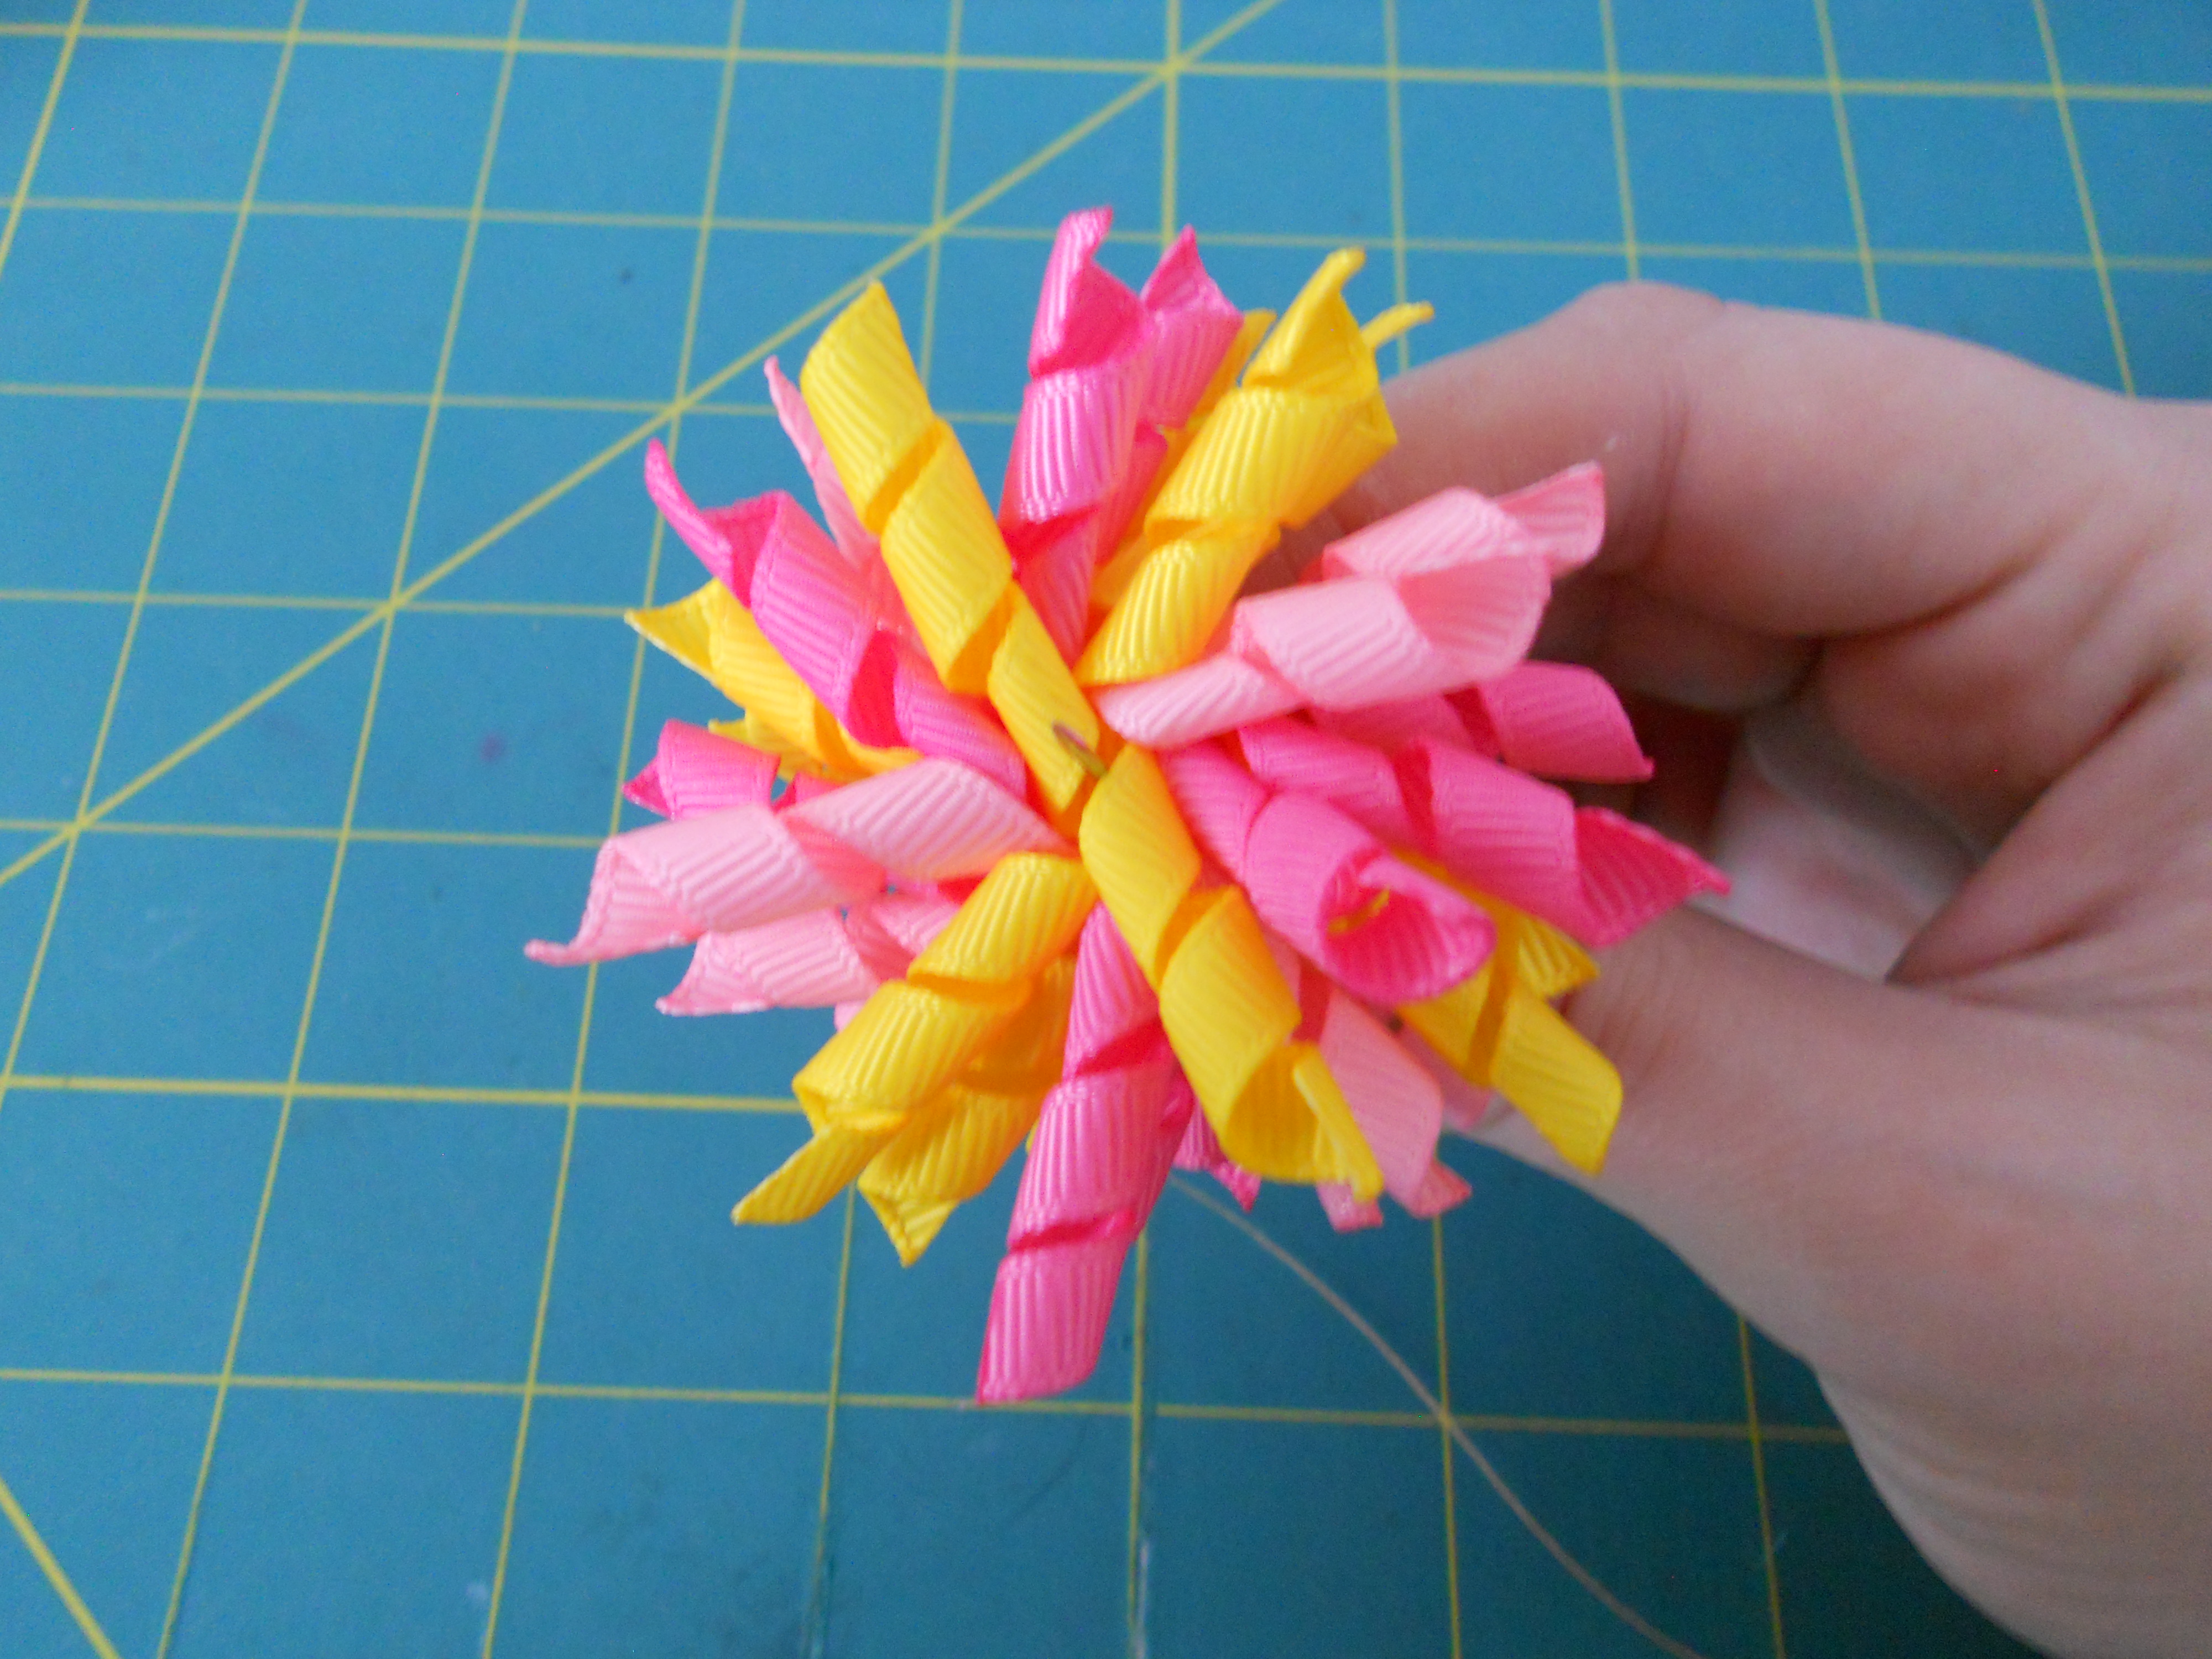
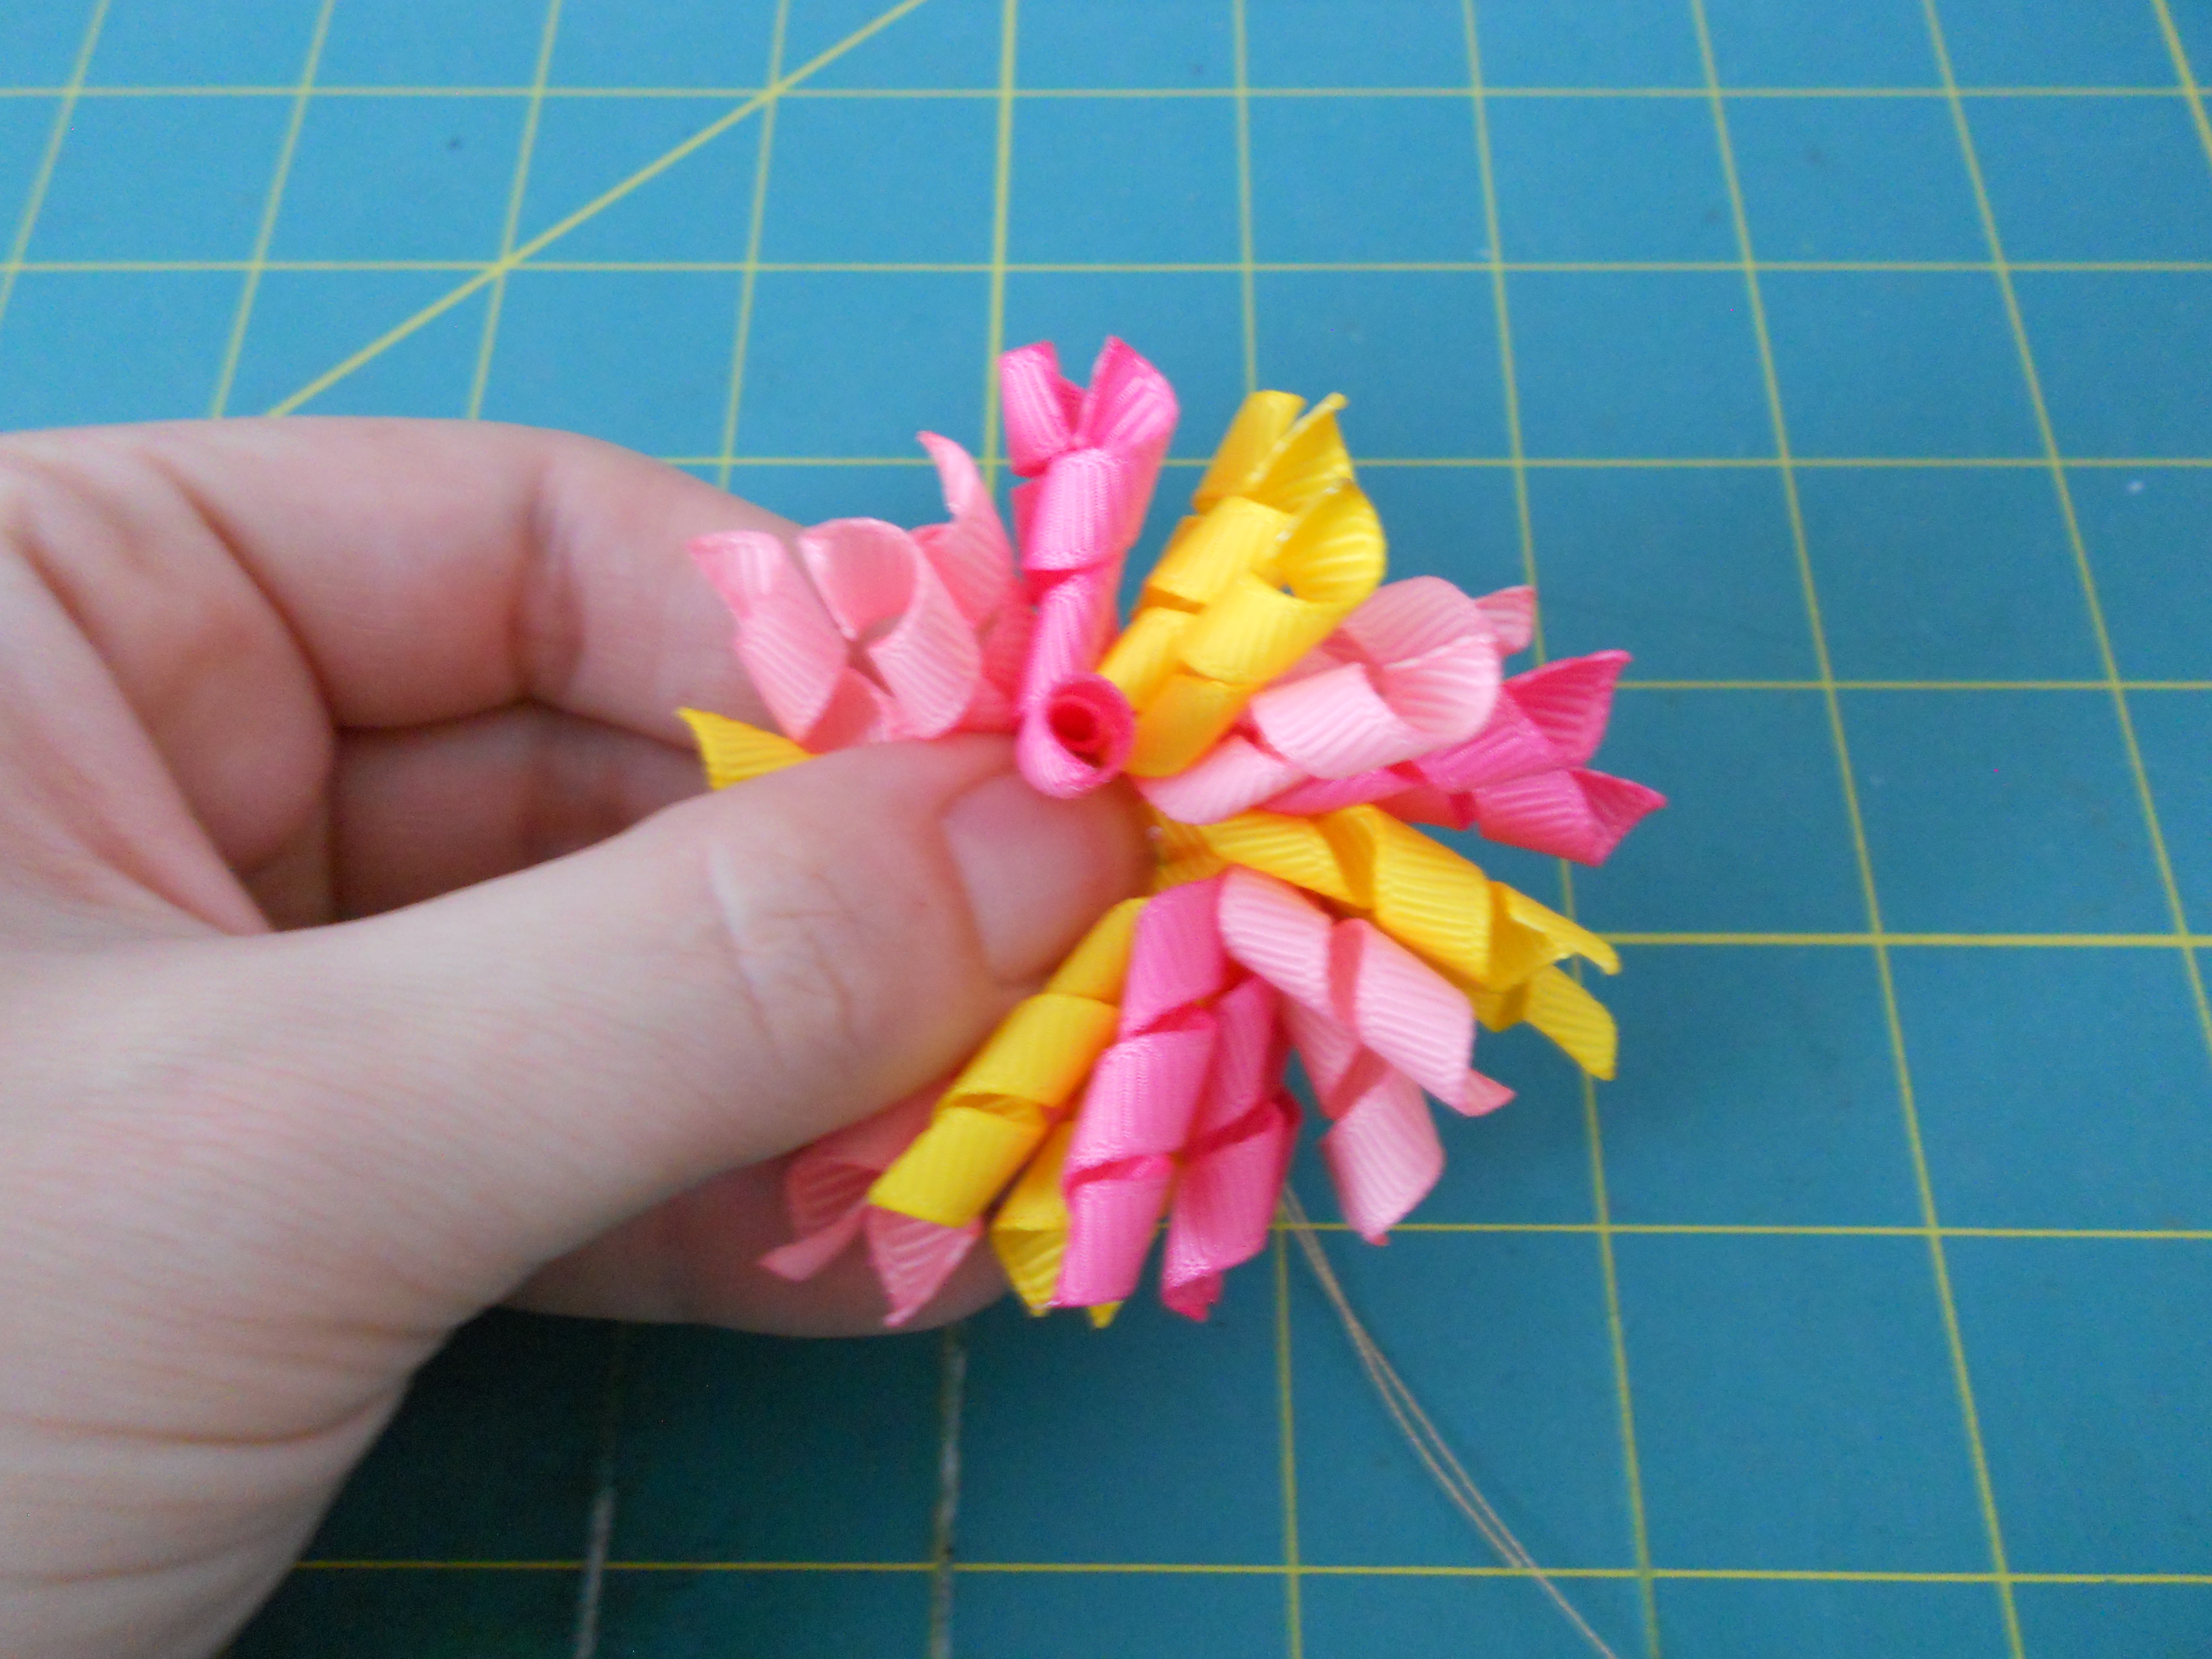
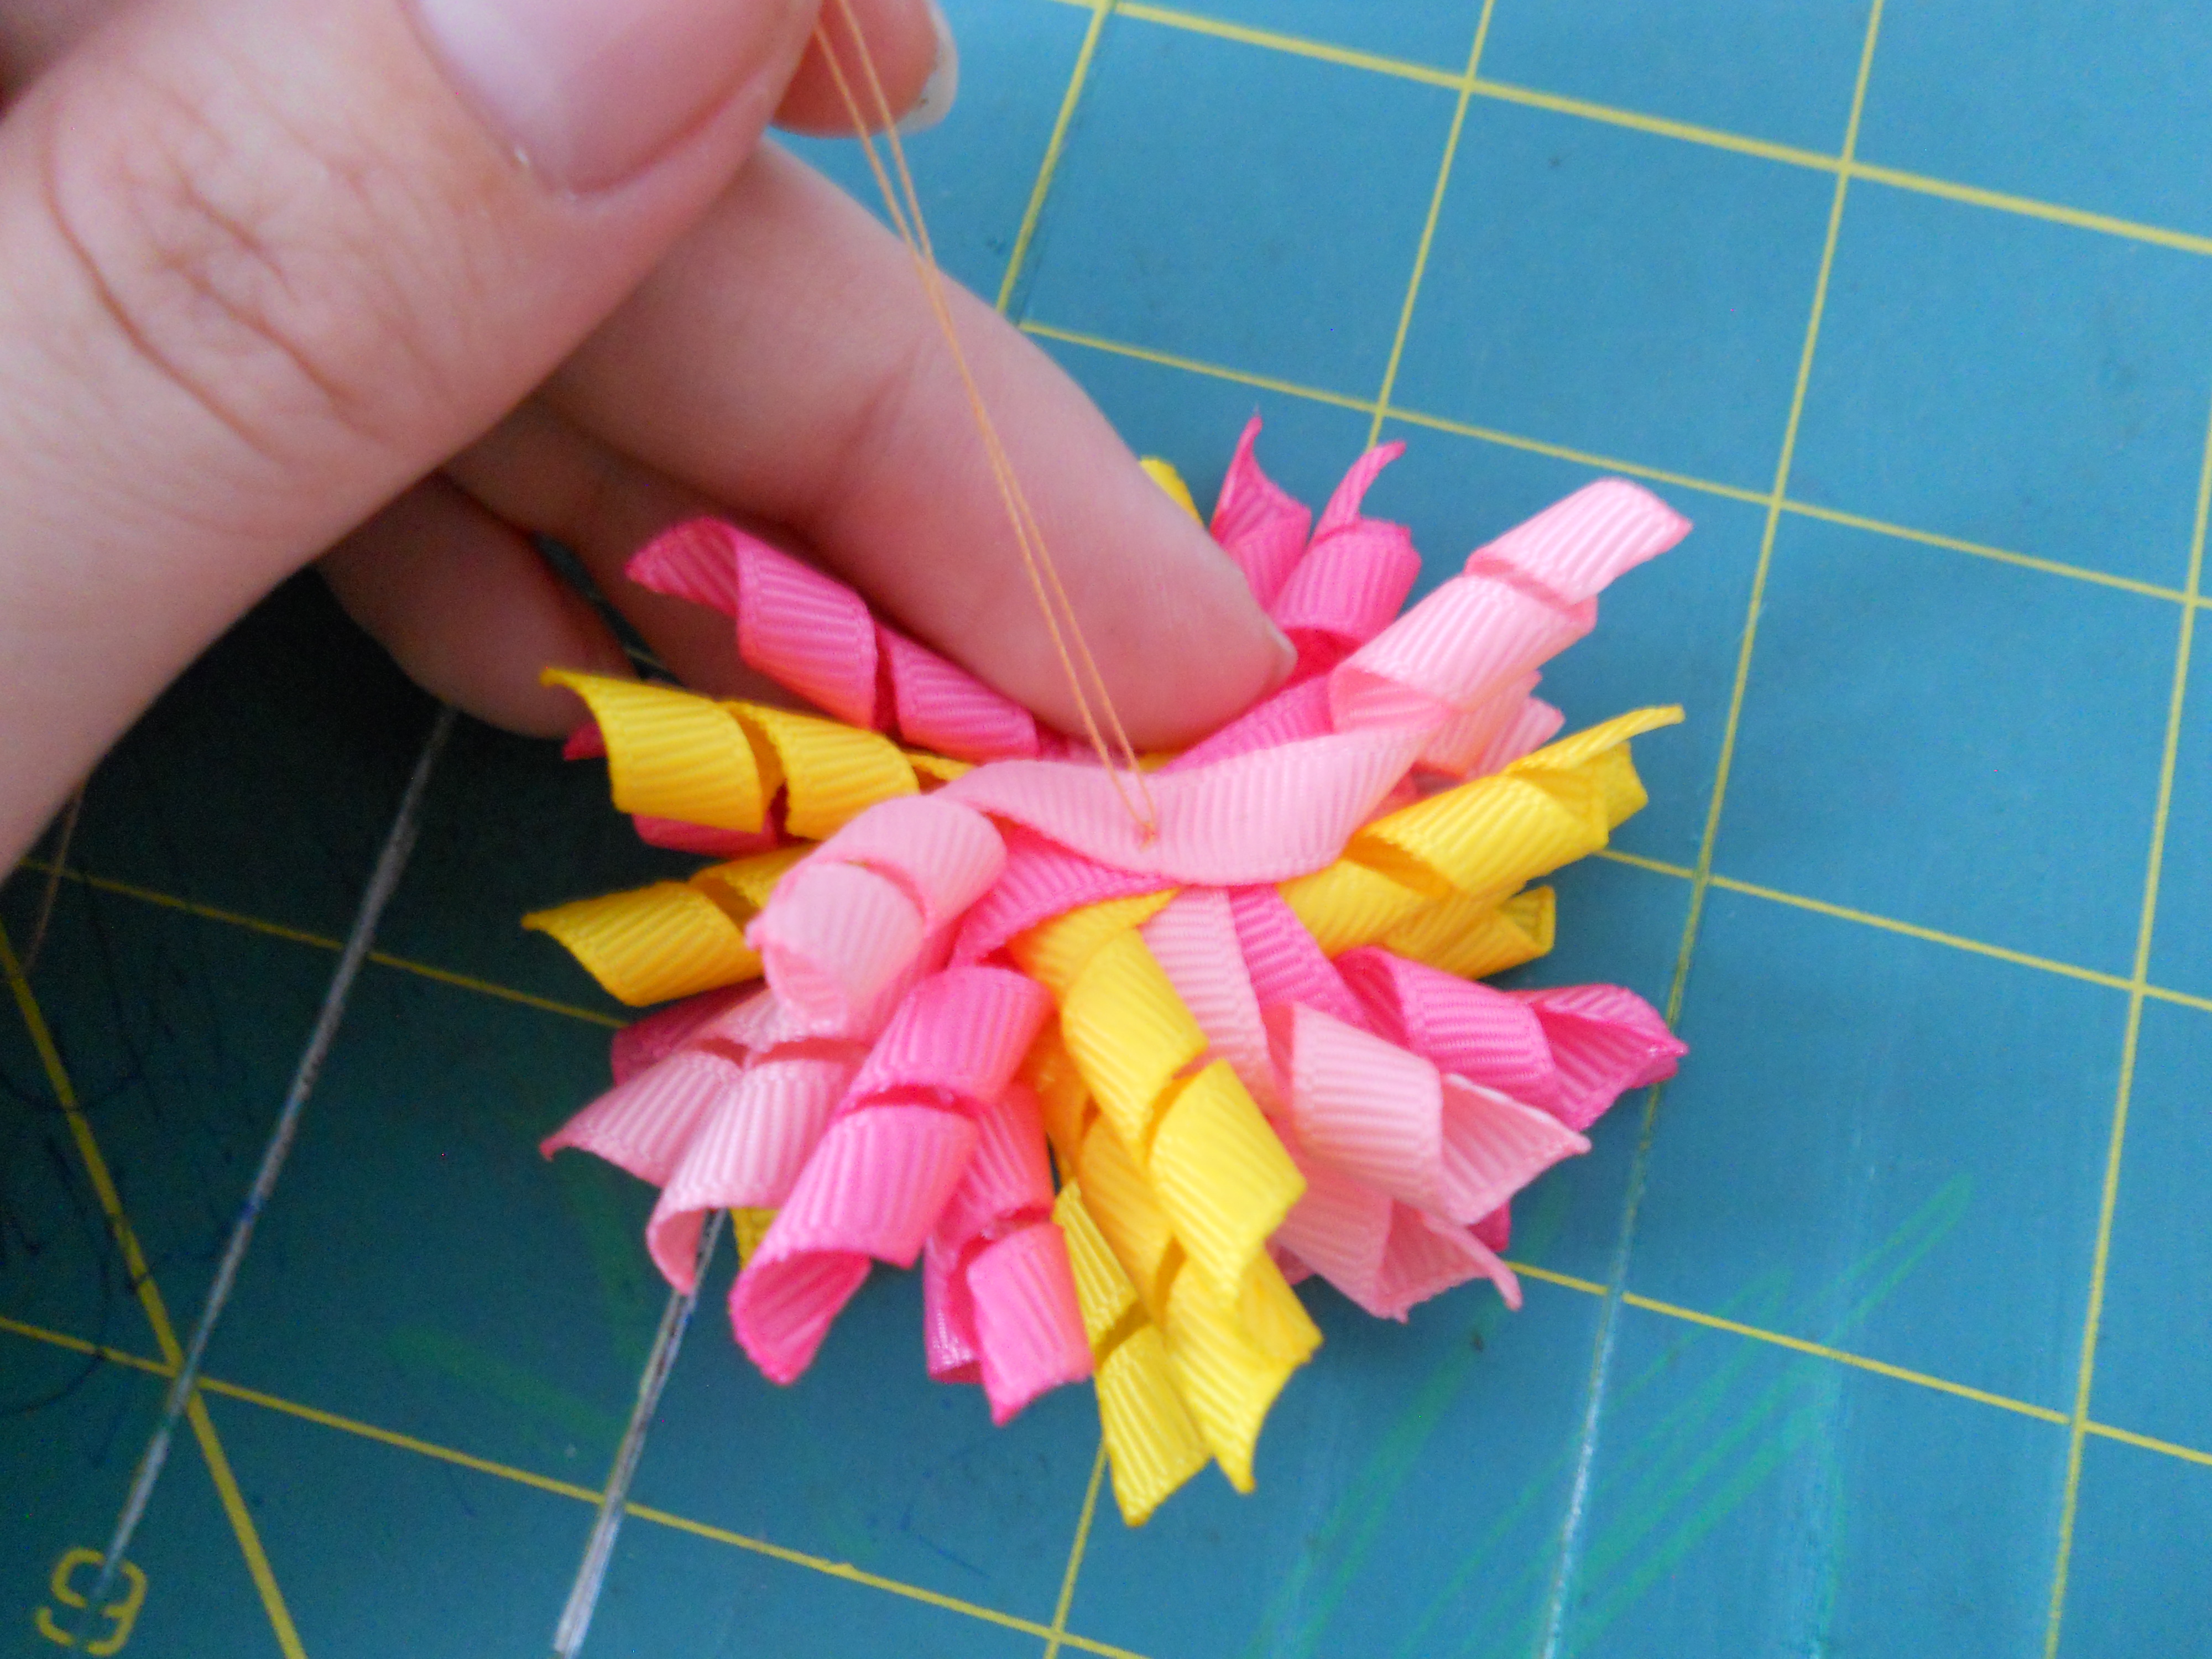
Once all of your pieces are on the needle hold the center with your finger next to the needle and your thumb on the back of the bow. Thread your needle back and forth through the center several times. Keep your finger and thumb on the middle of the bow so your korker pieces don't get tied with the thread.
Flip your bow over to the back and knot the thread several times. You can then add a lined clip on the back or a ponytail elastic.
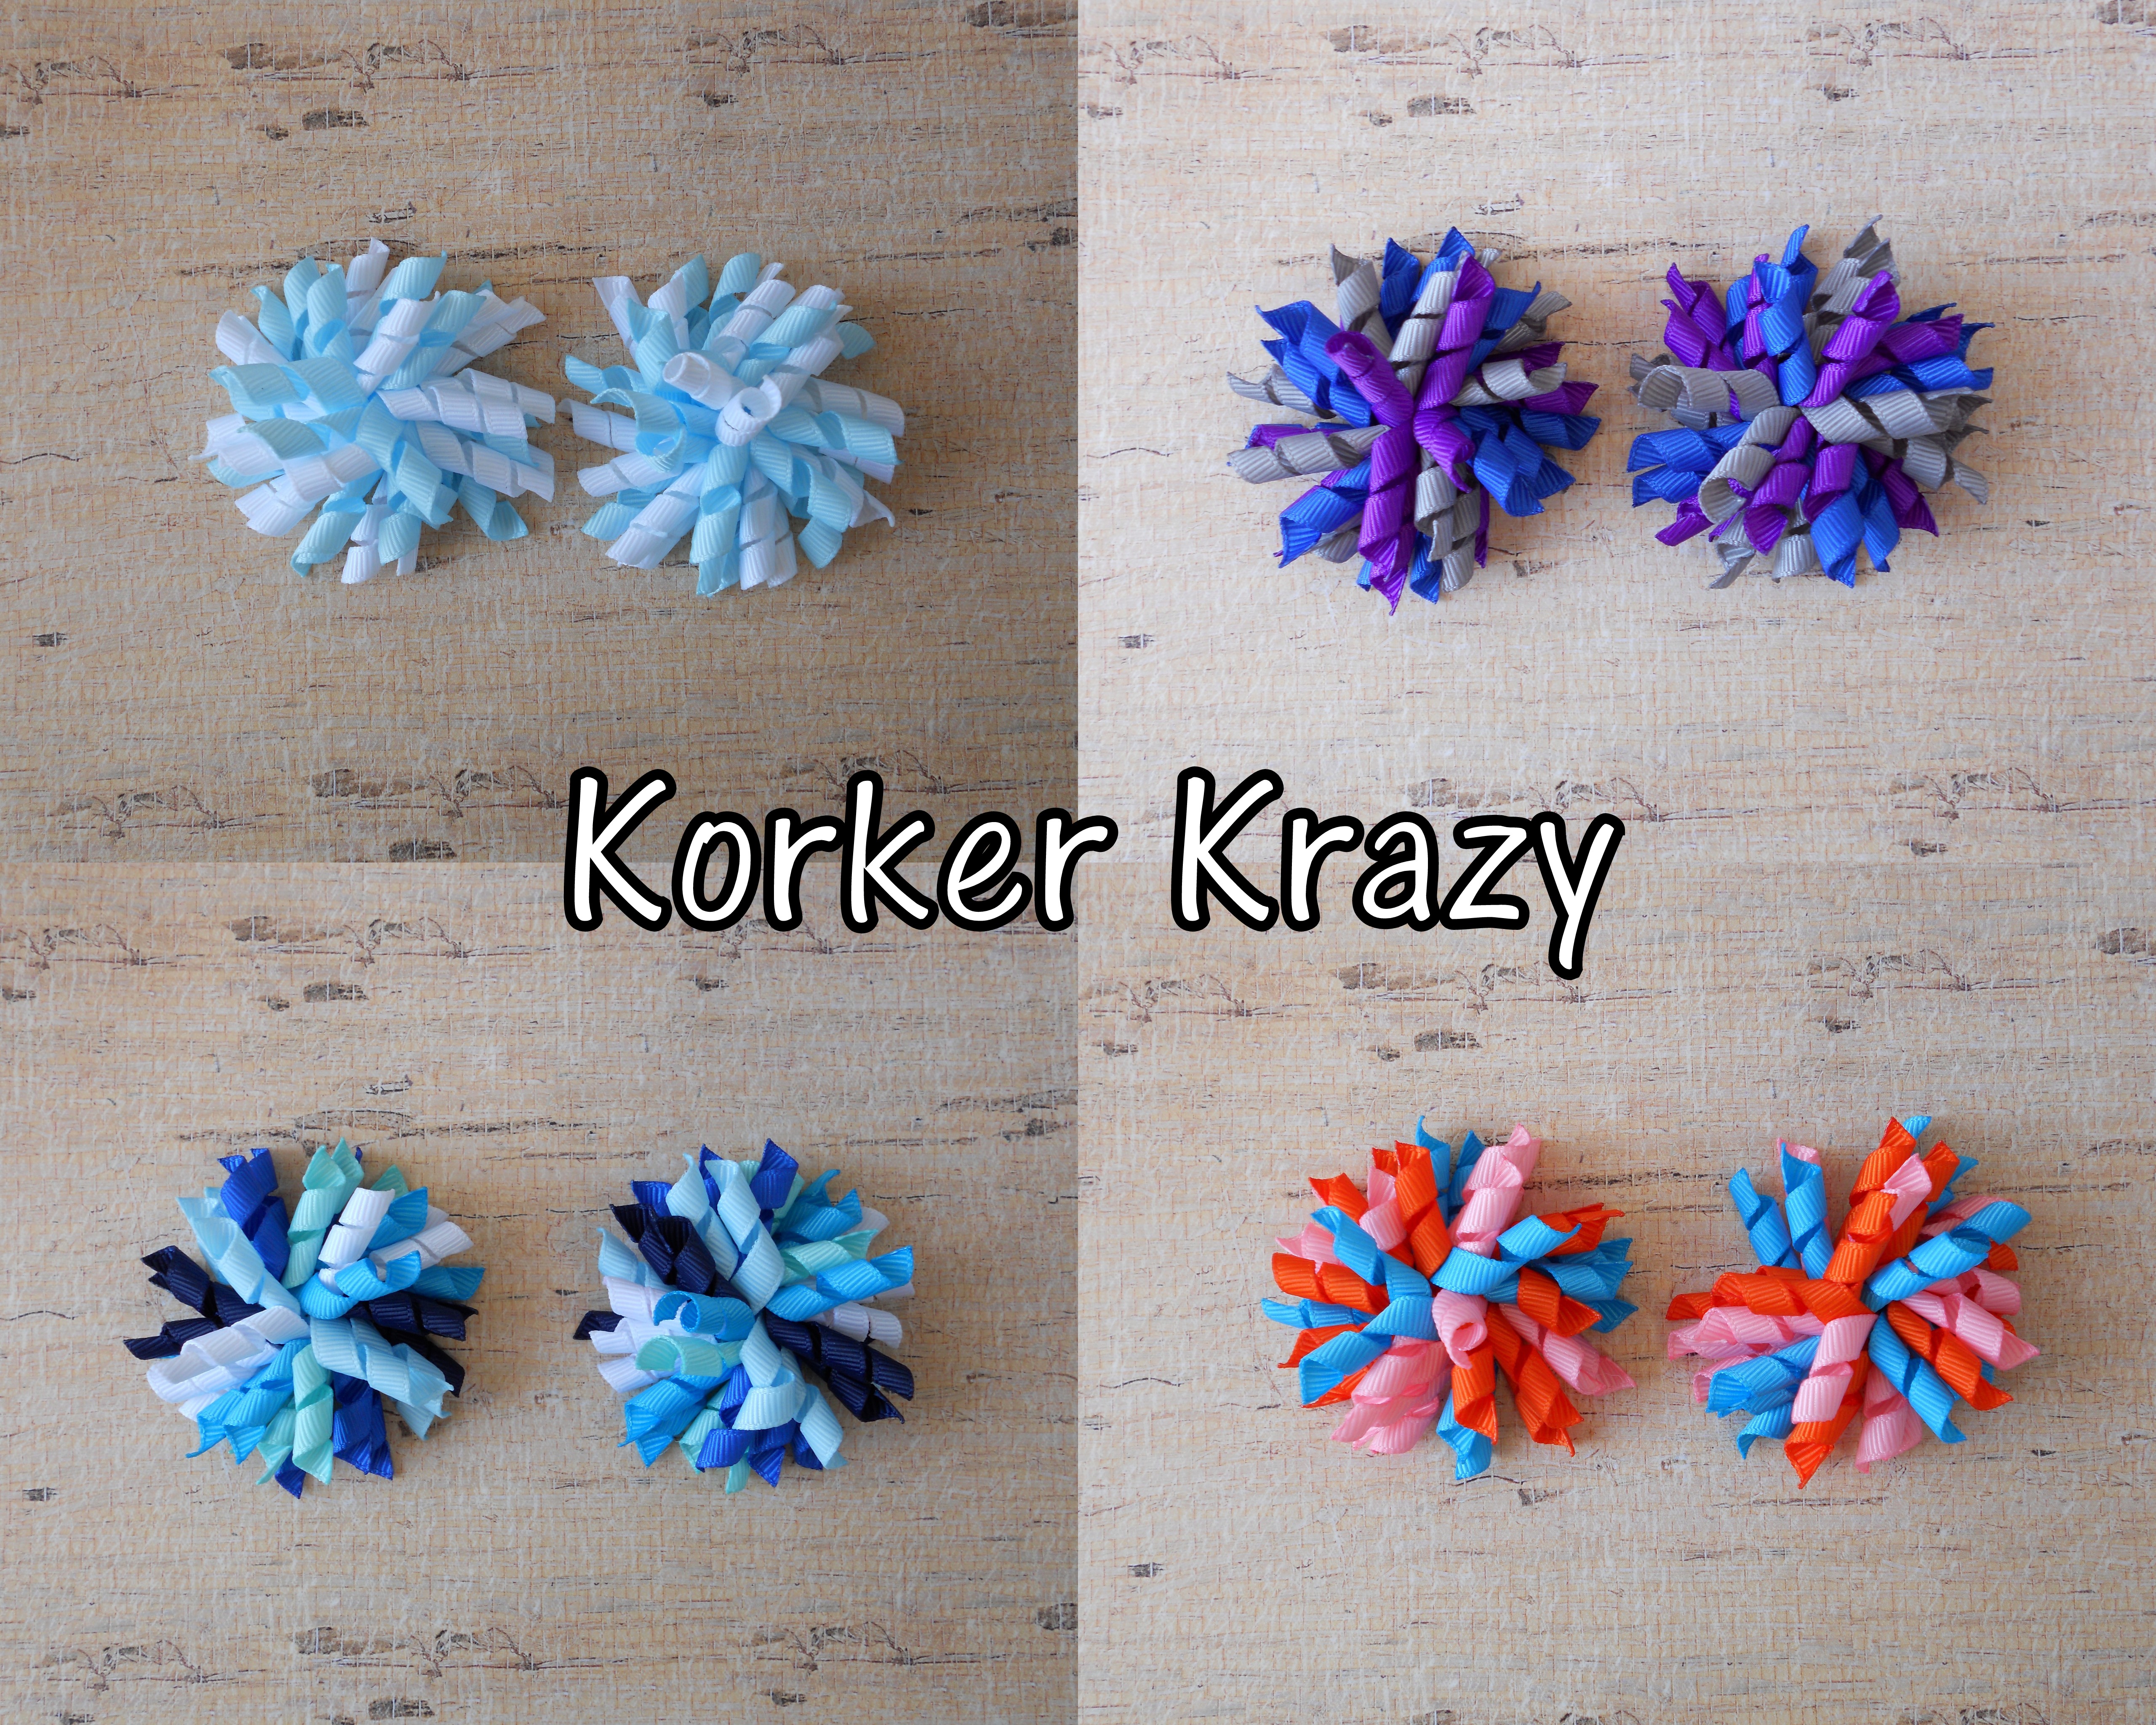
You're all finished! How cute are these little bows? They are great for pig tails or as a clip to hold bangs out of your little one's face.
The options are endless for these mini korker bows! HairBow Center has a variety of colors in 1/4" ribbon. Show me your creations in the comments :)


 TOOLS
TOOLS
 NEW
NEW


