 Contributor post by Cassie
Hey guys!
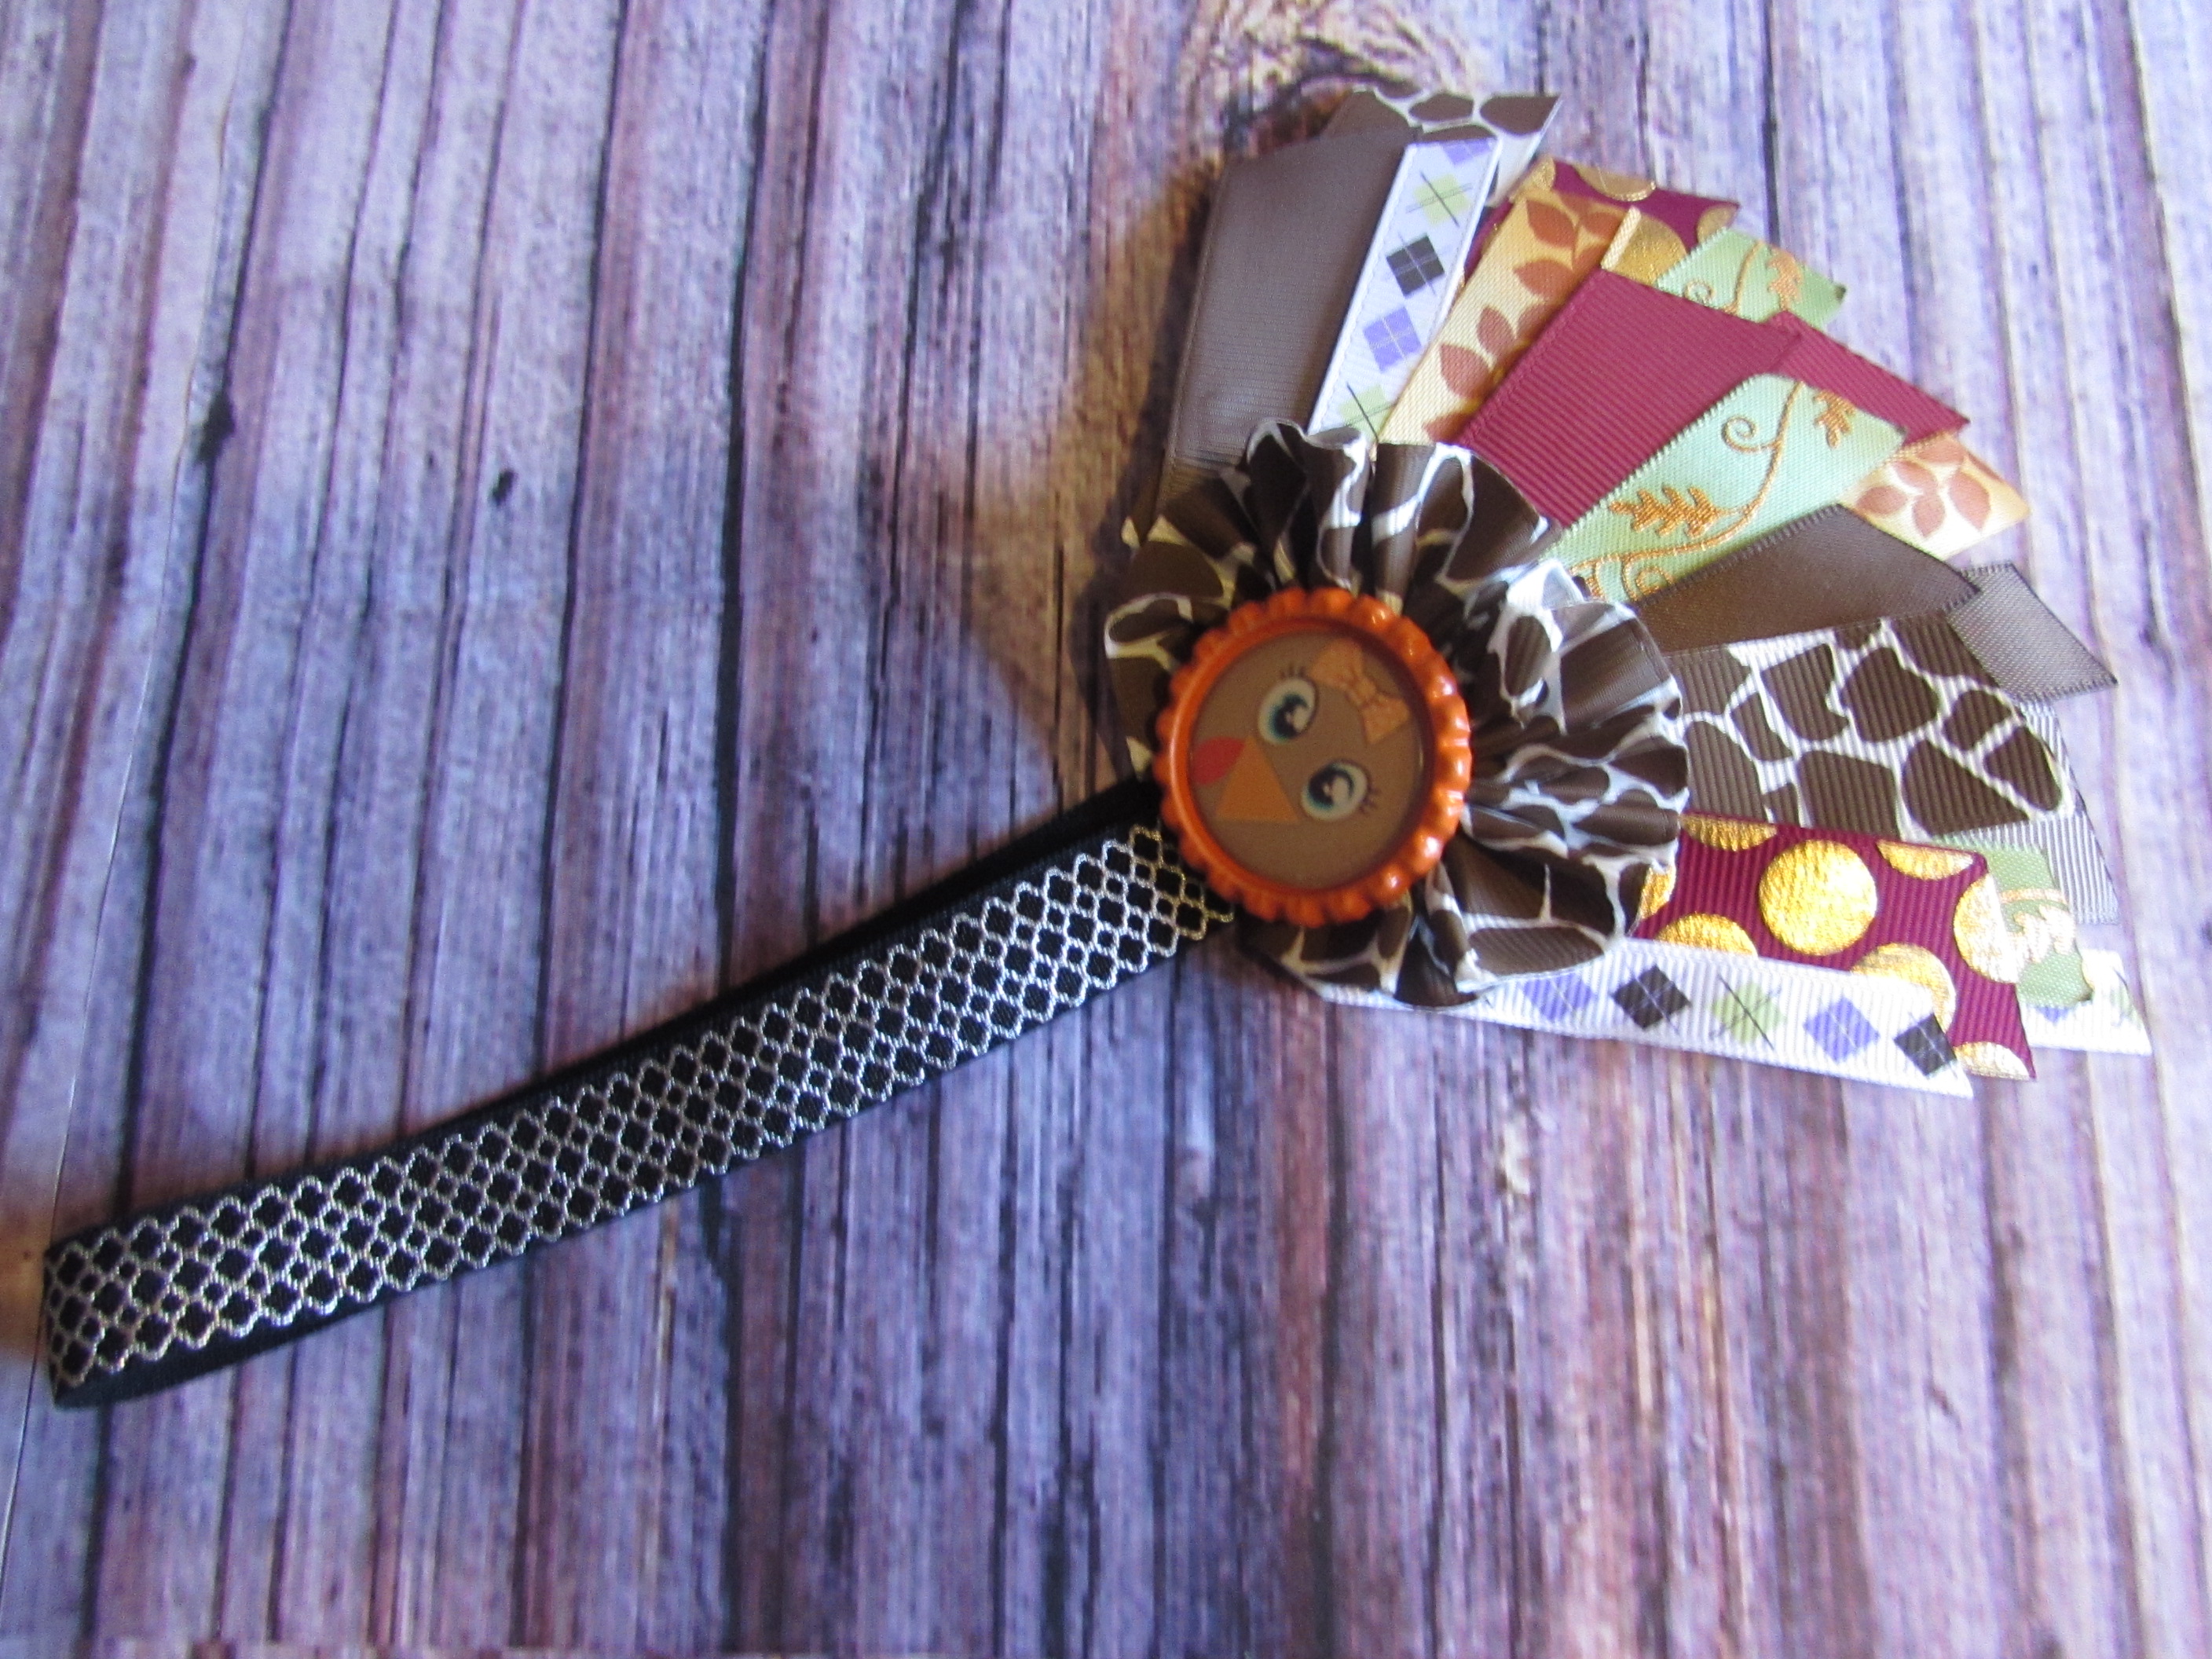
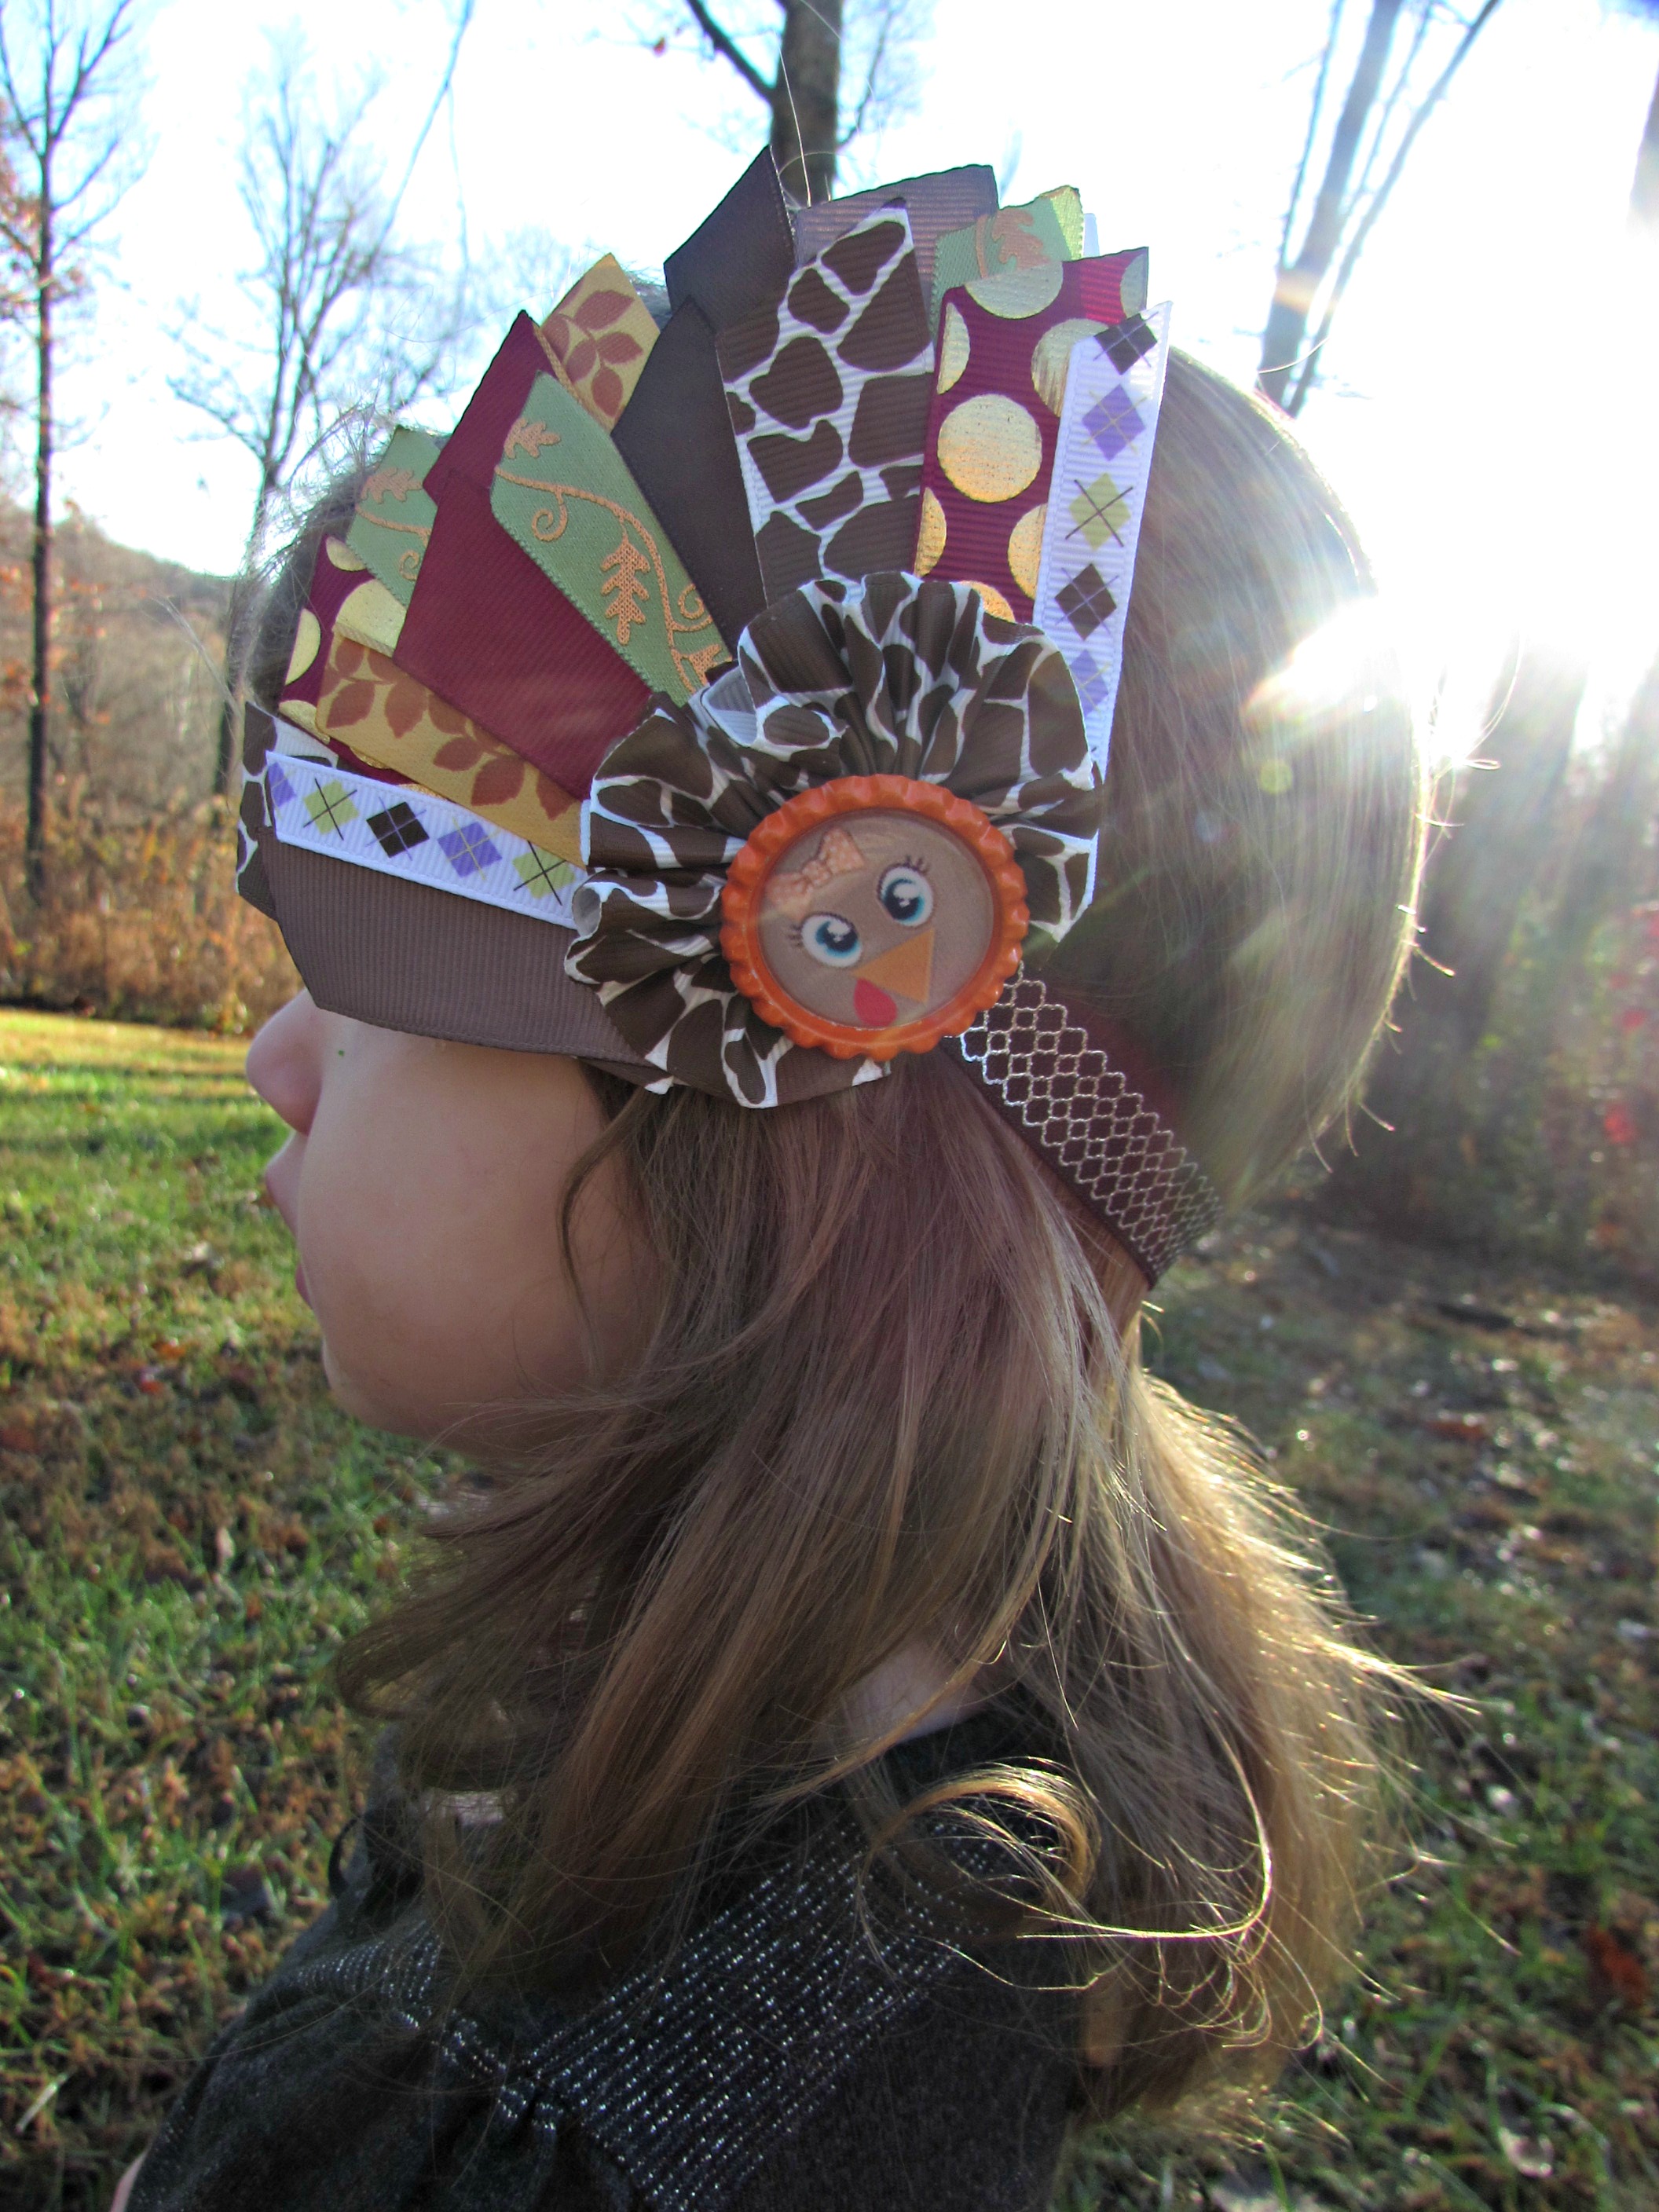
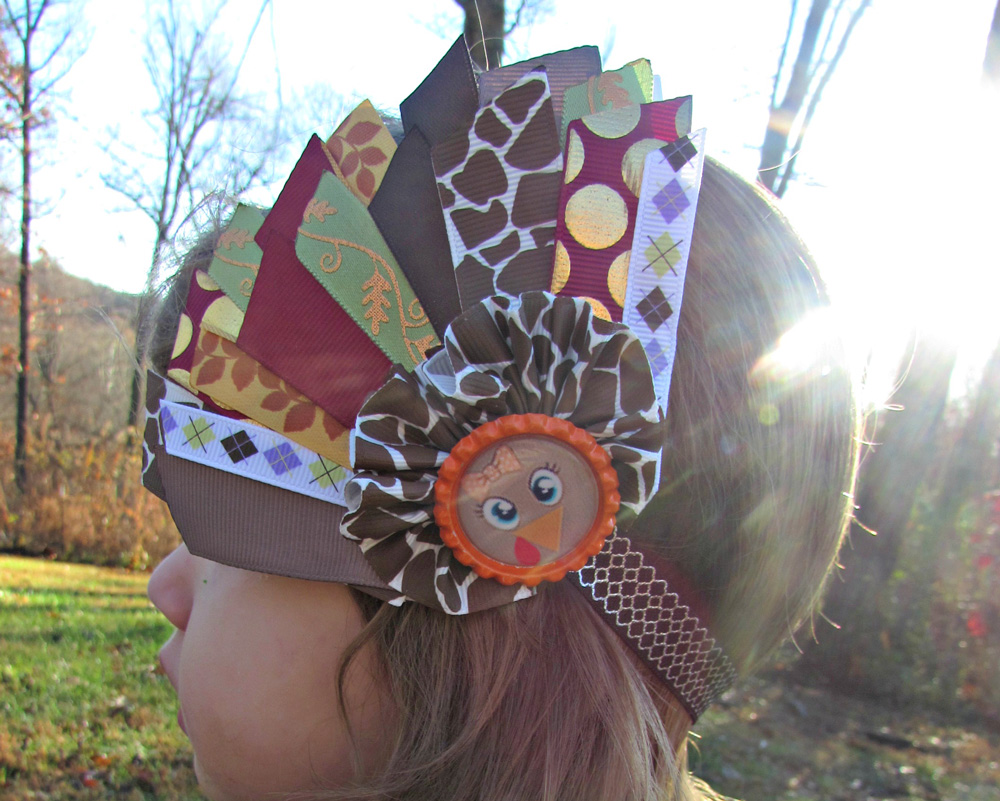
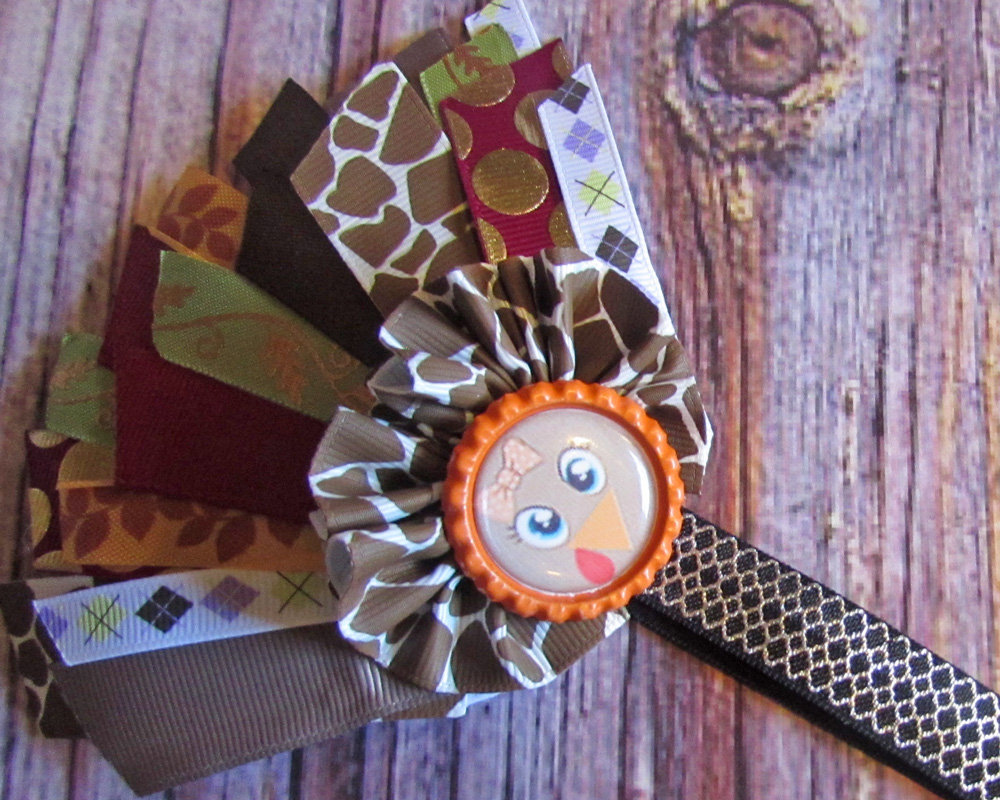
Hope you're having a great fall season so far! Today, we will be making this simple, unique, creative and adorable Turkey Headband. Simply adorable and can be made a number of ways {{ depending on ribbon, etc that you use }}
Look how cute, fun and funky that headband is!?
Alright! So now, let's gather those supplies and get ready!
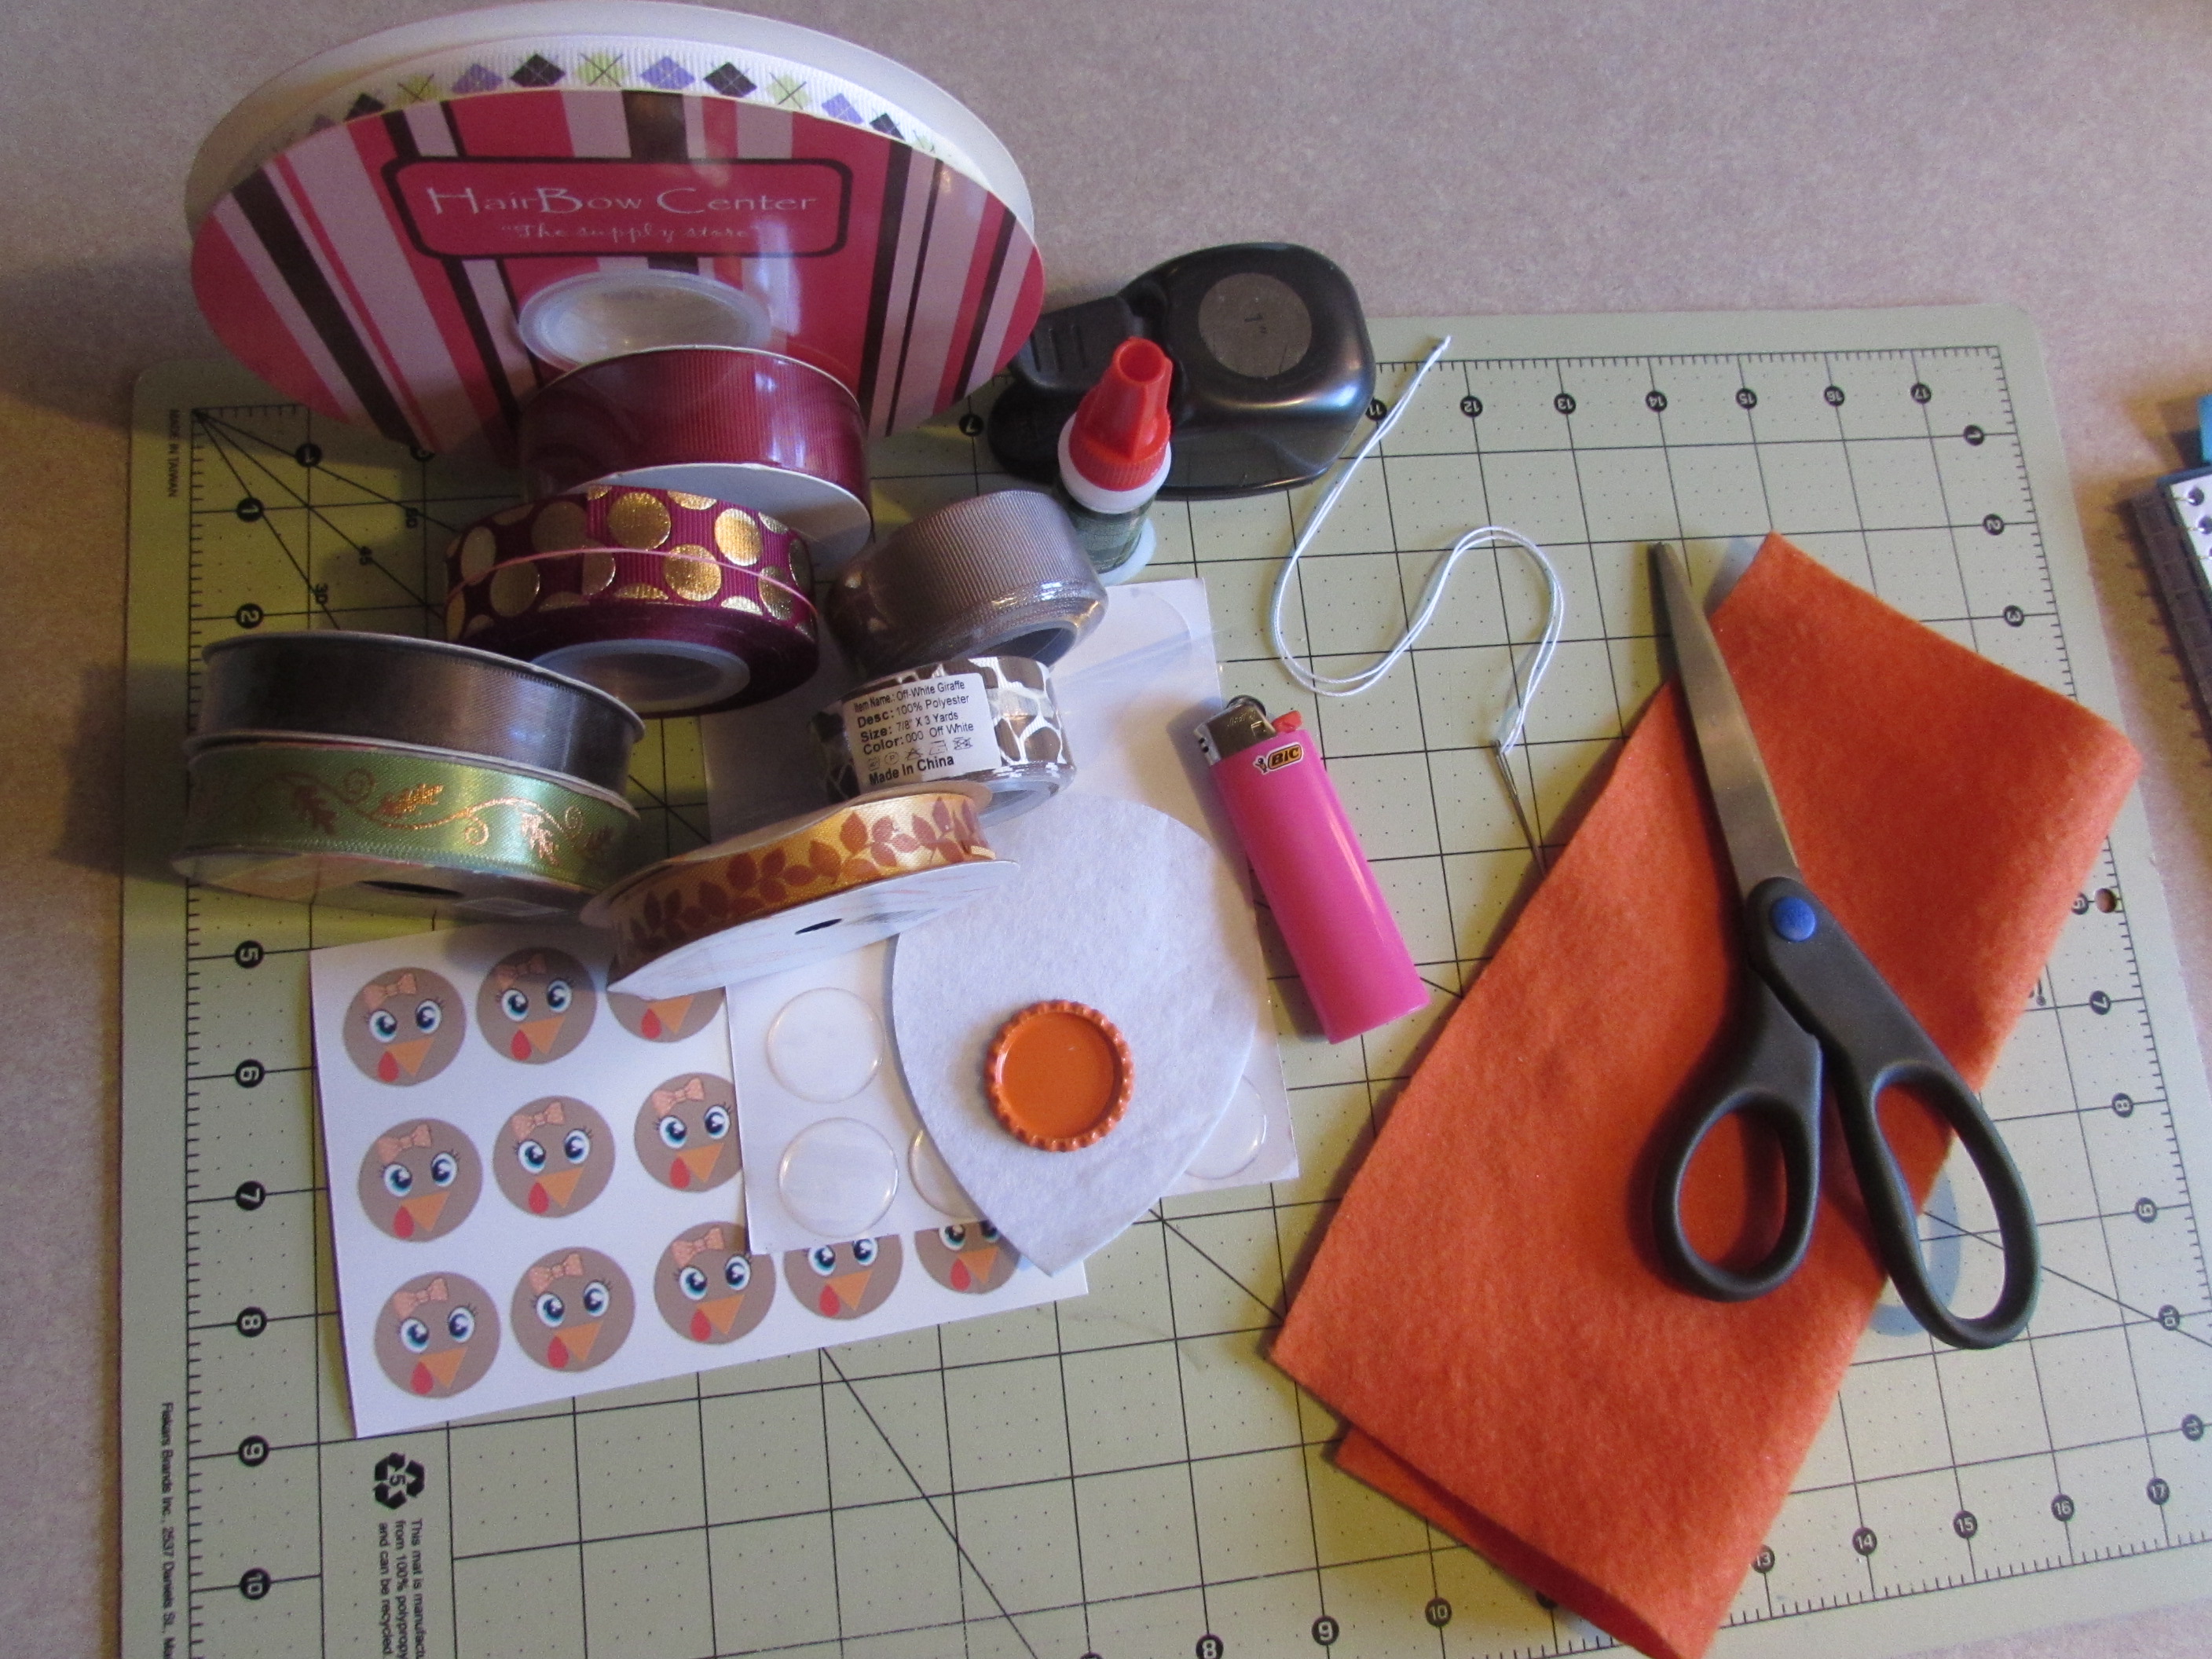
Supplies Needed:
* Felt
* Scissors
* Ribbon {{ various sizes, colors, textures, shapes, etc }}
* Bottle Cap Image {{ can be found at the below link }}
http://www.themommycraftsalotblog.com/2015/10/its-almost-turkey-time-bottle-cap.html
* Hotglue/hotglue gun
* Lighter
* Needle/Thread
* 1" hole punch {{ don't have one? scissors will work as well }}
* Superglue
* Pliers {{ optional but I always keep a pair handy }}
Now that we are ready let's get started
Step 1:
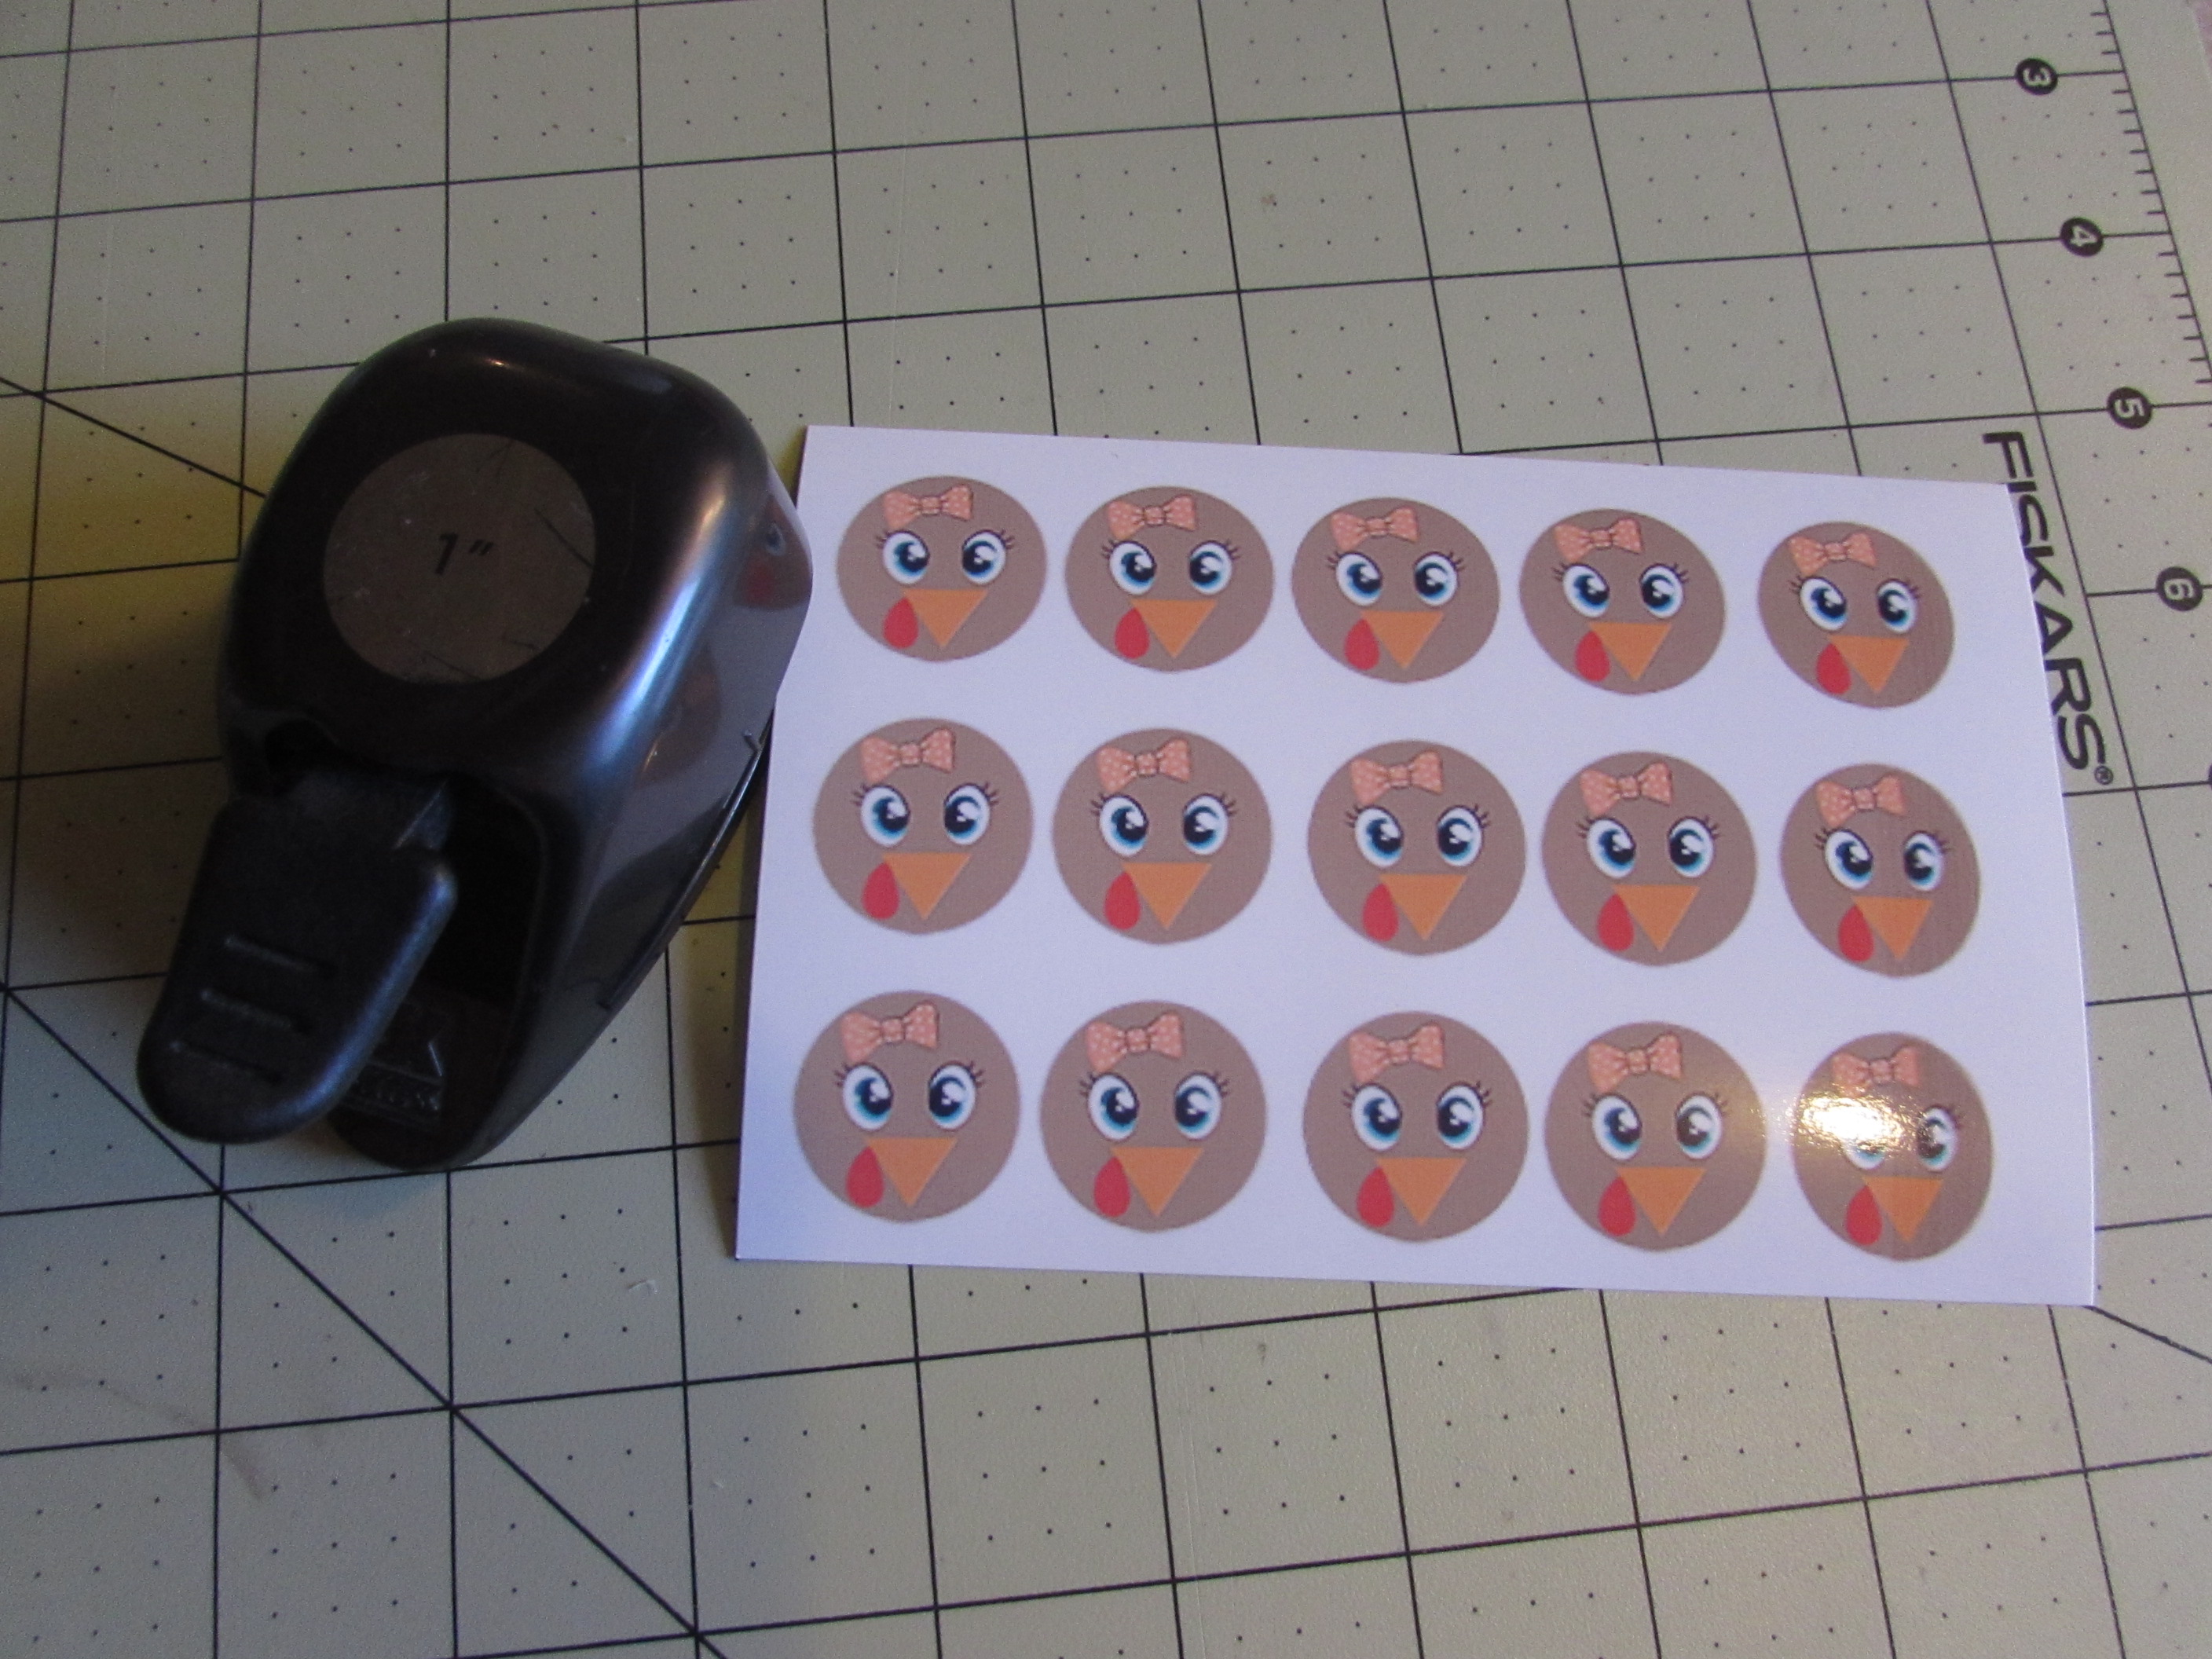
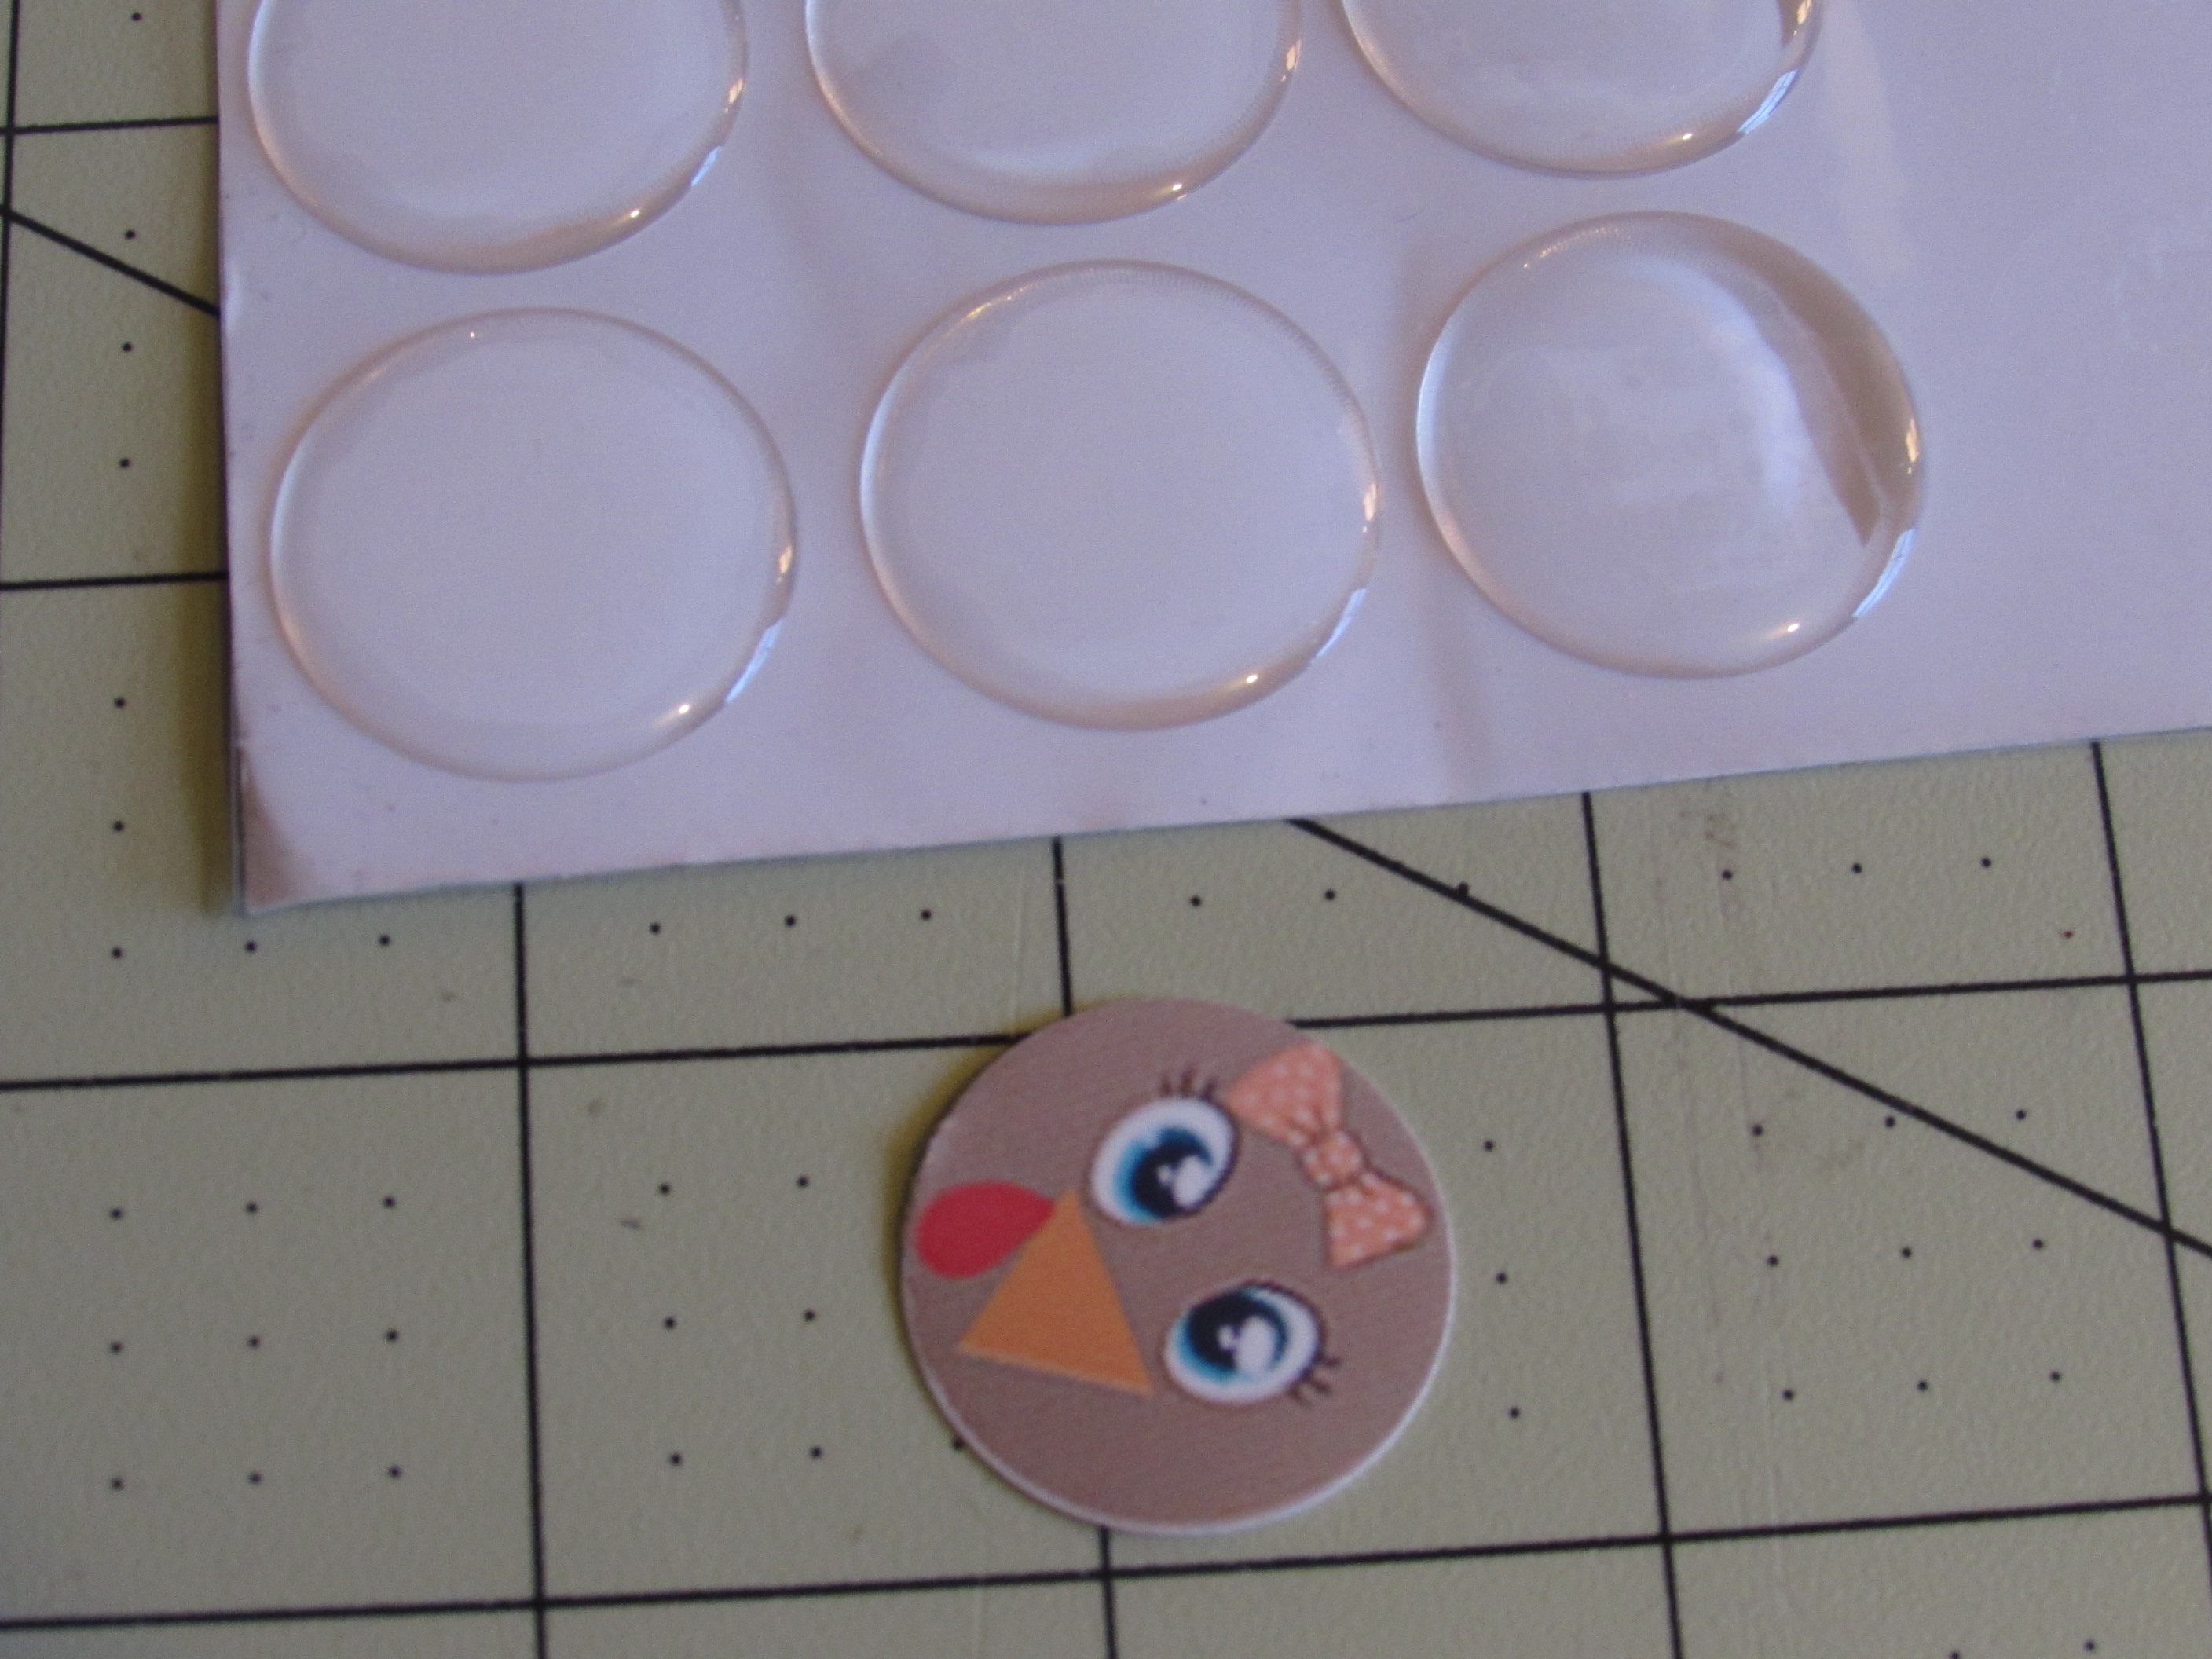
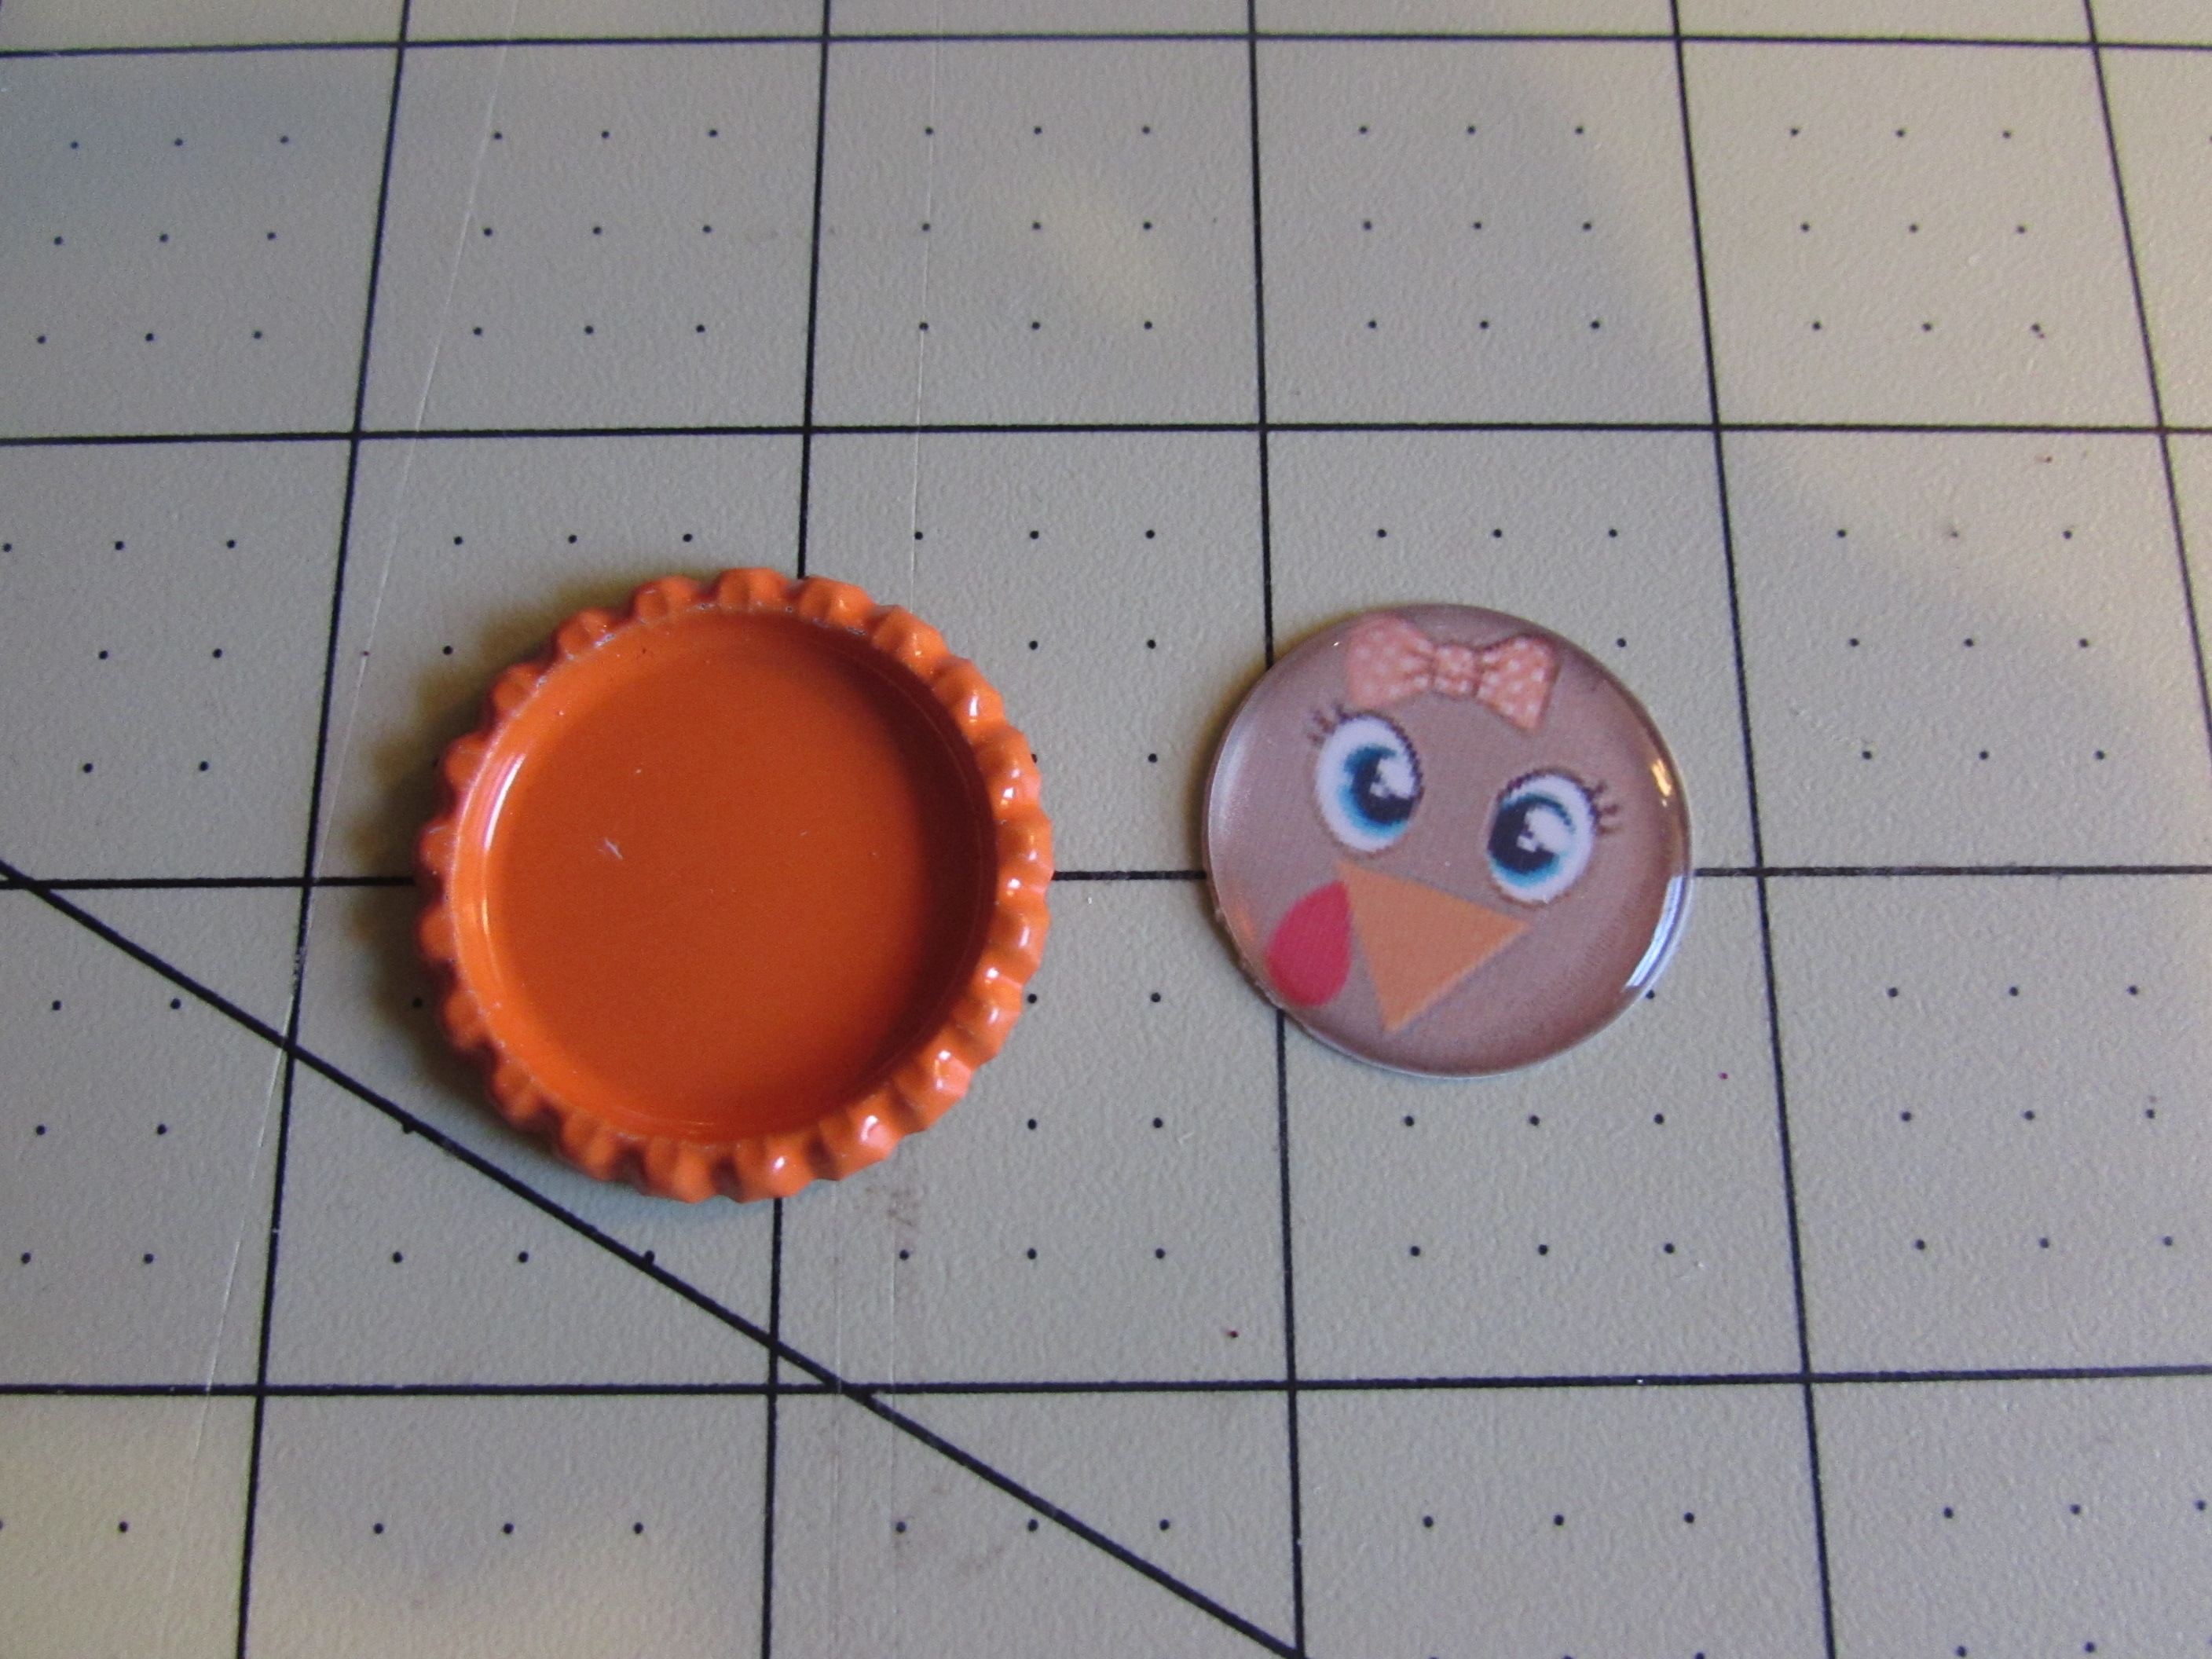
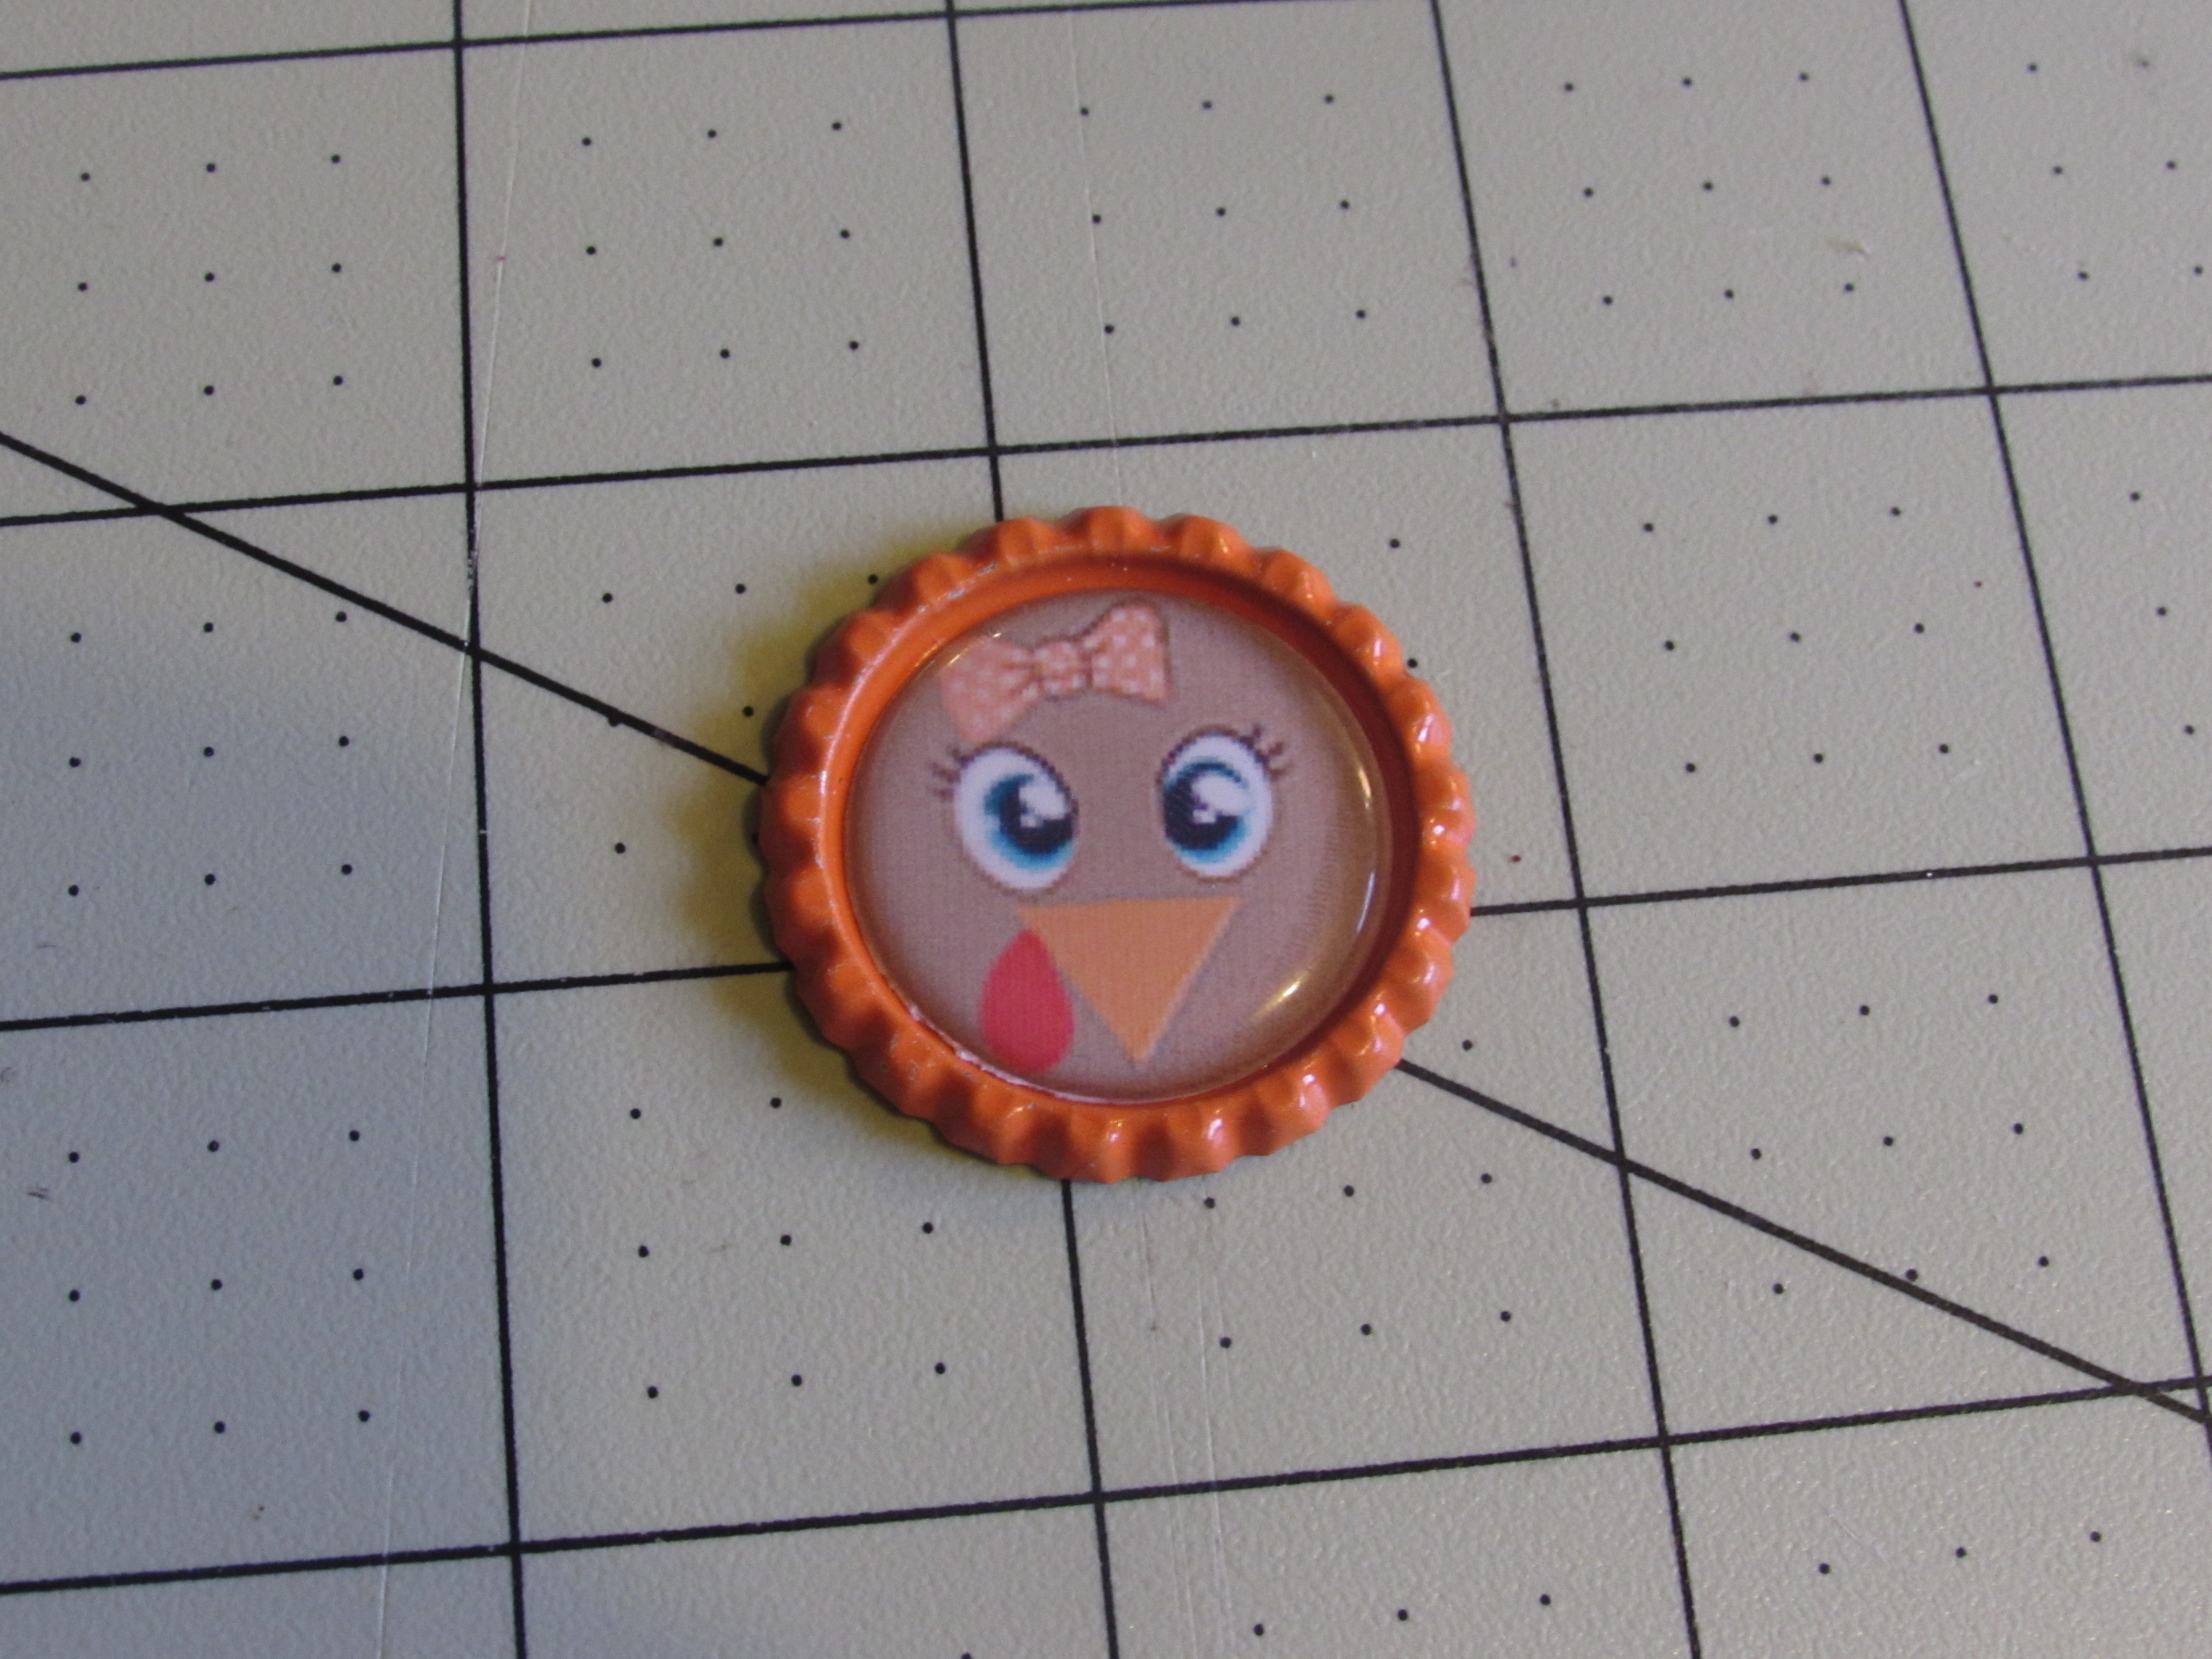
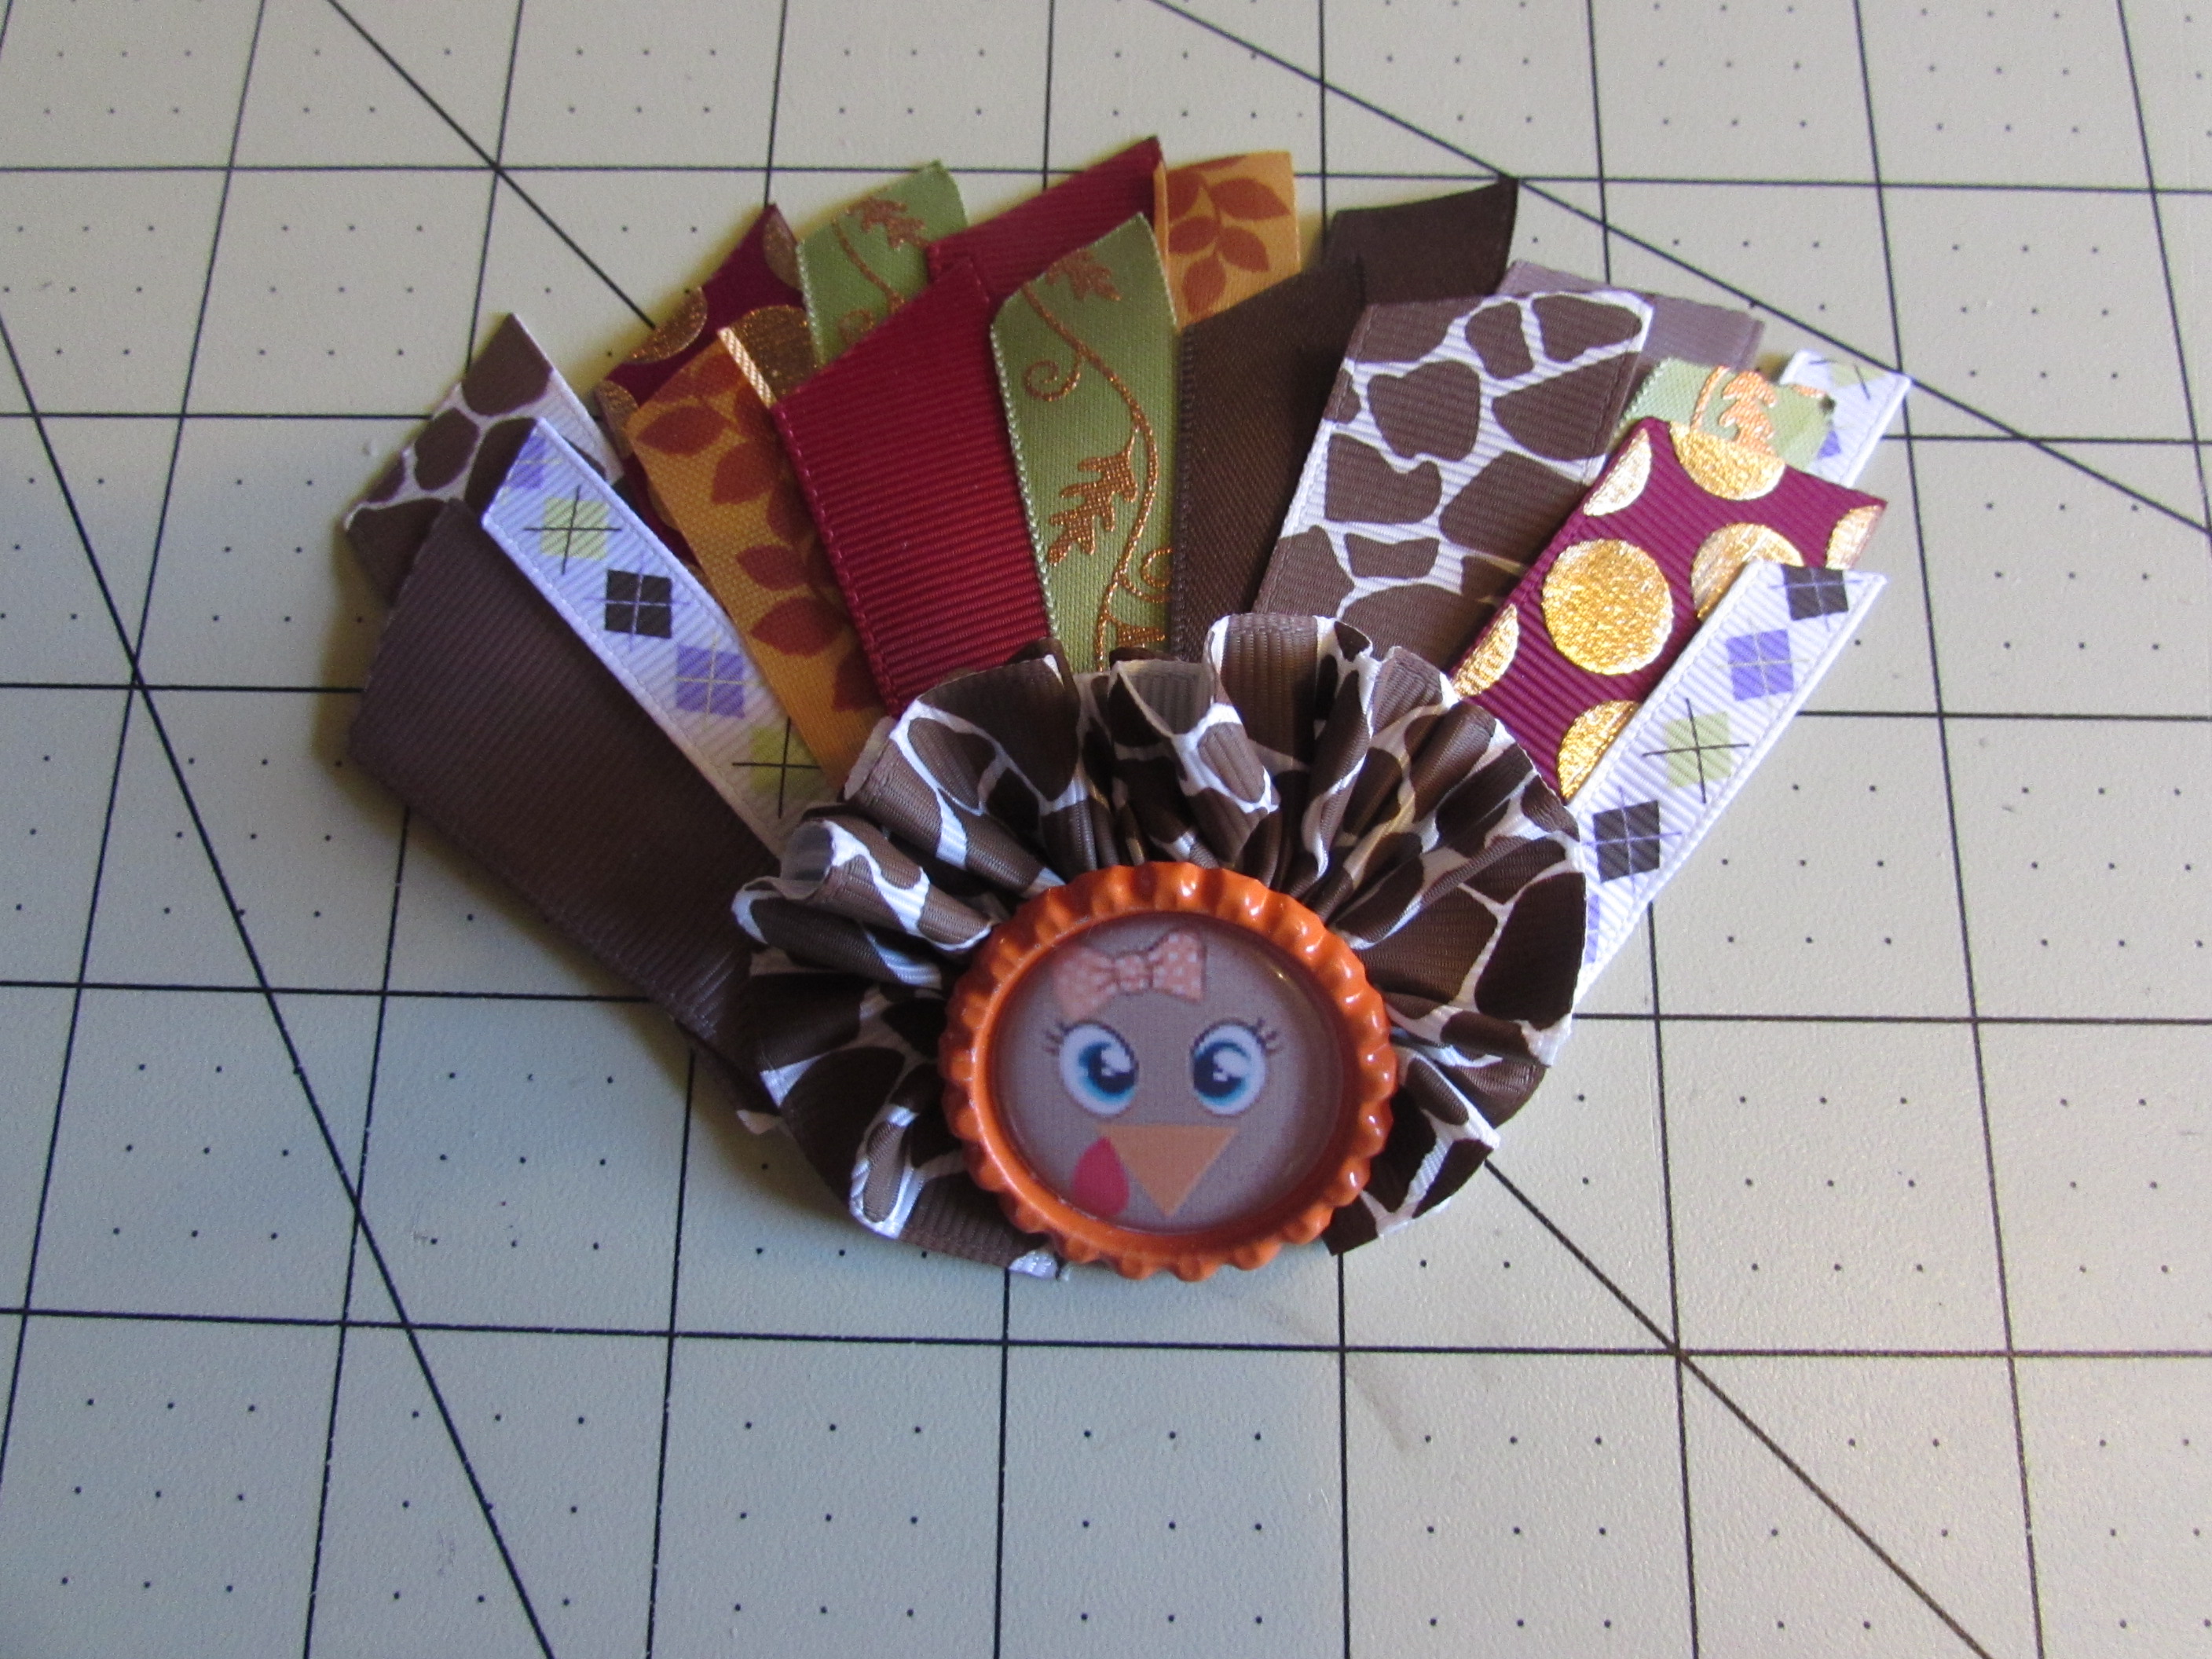
You want to make sure you have printed out the above turkey faces bottle cap image sheet. You now need to punch out 1 turkey face. Apply your epoxy sticker on top. Put superglue all over the center of your bottle cap. Lay your image/sticker on top of the superglue. I apply pressure for about 15-20 seconds.
* My superglue is brush on kind so I brush superglue over the entire center of the cap.
Step 2:
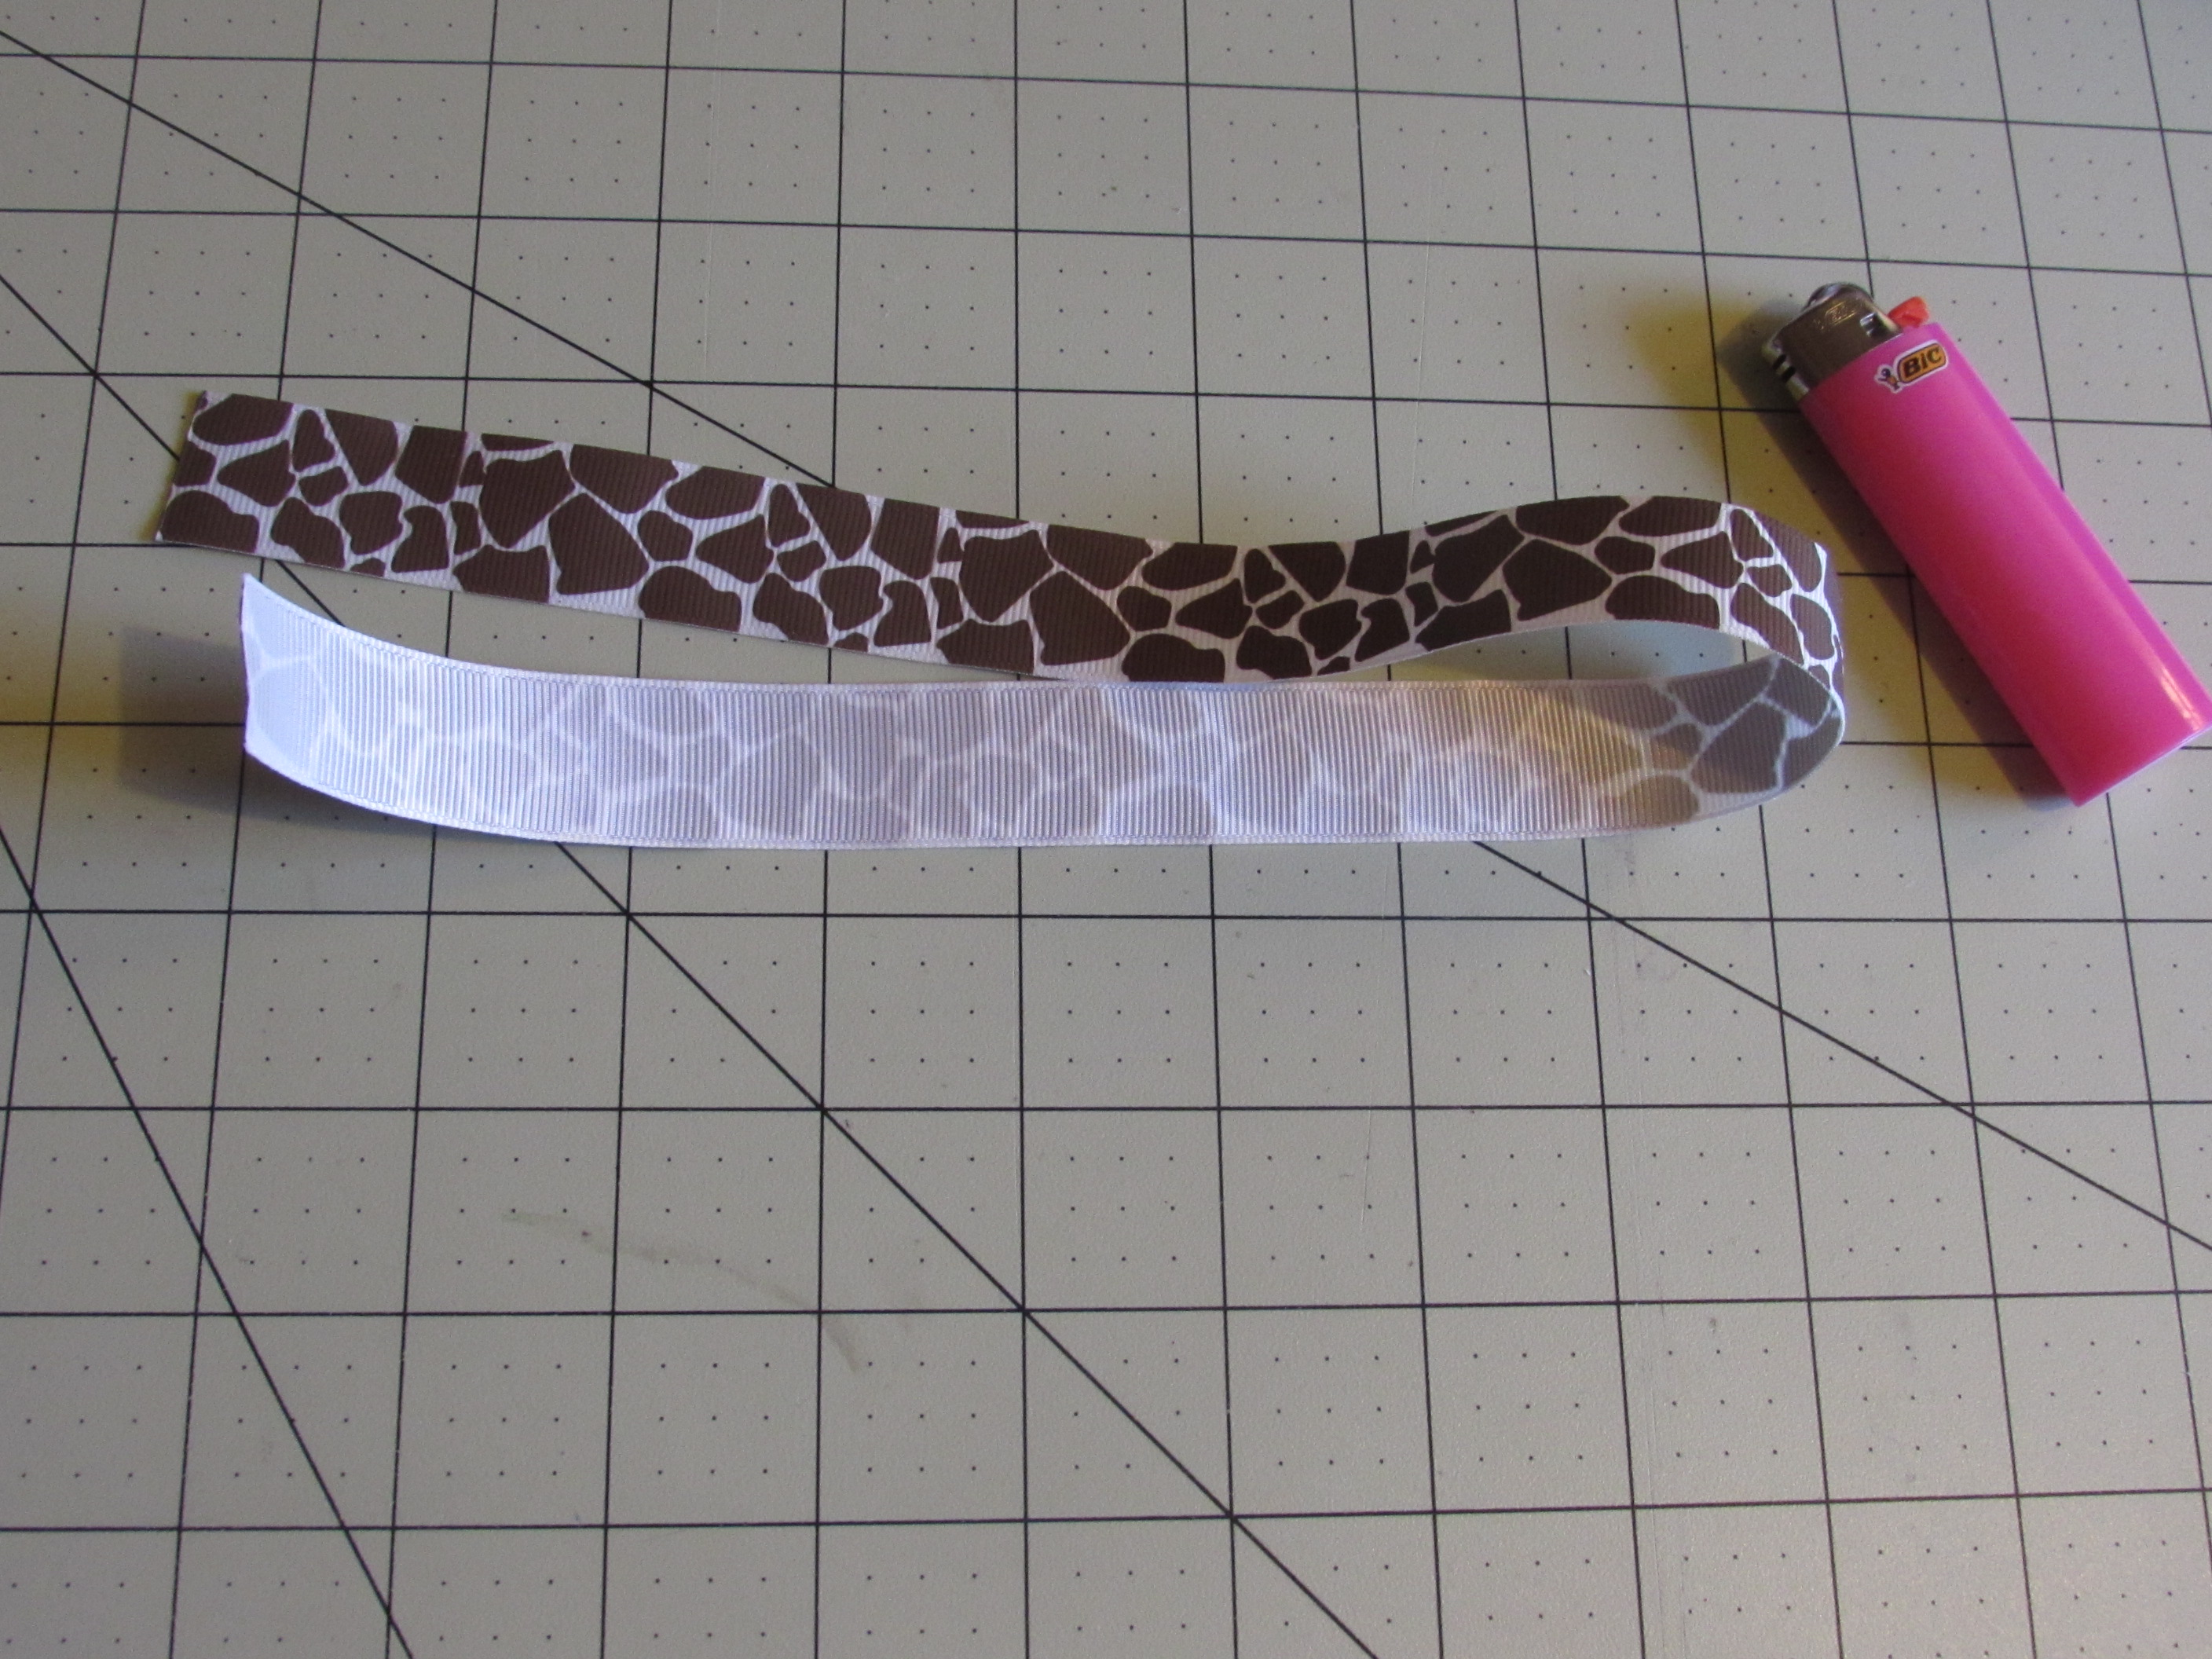
Cut 18" of 7/8" ribbon, be sure to heat-seal the ends.
Step 3:
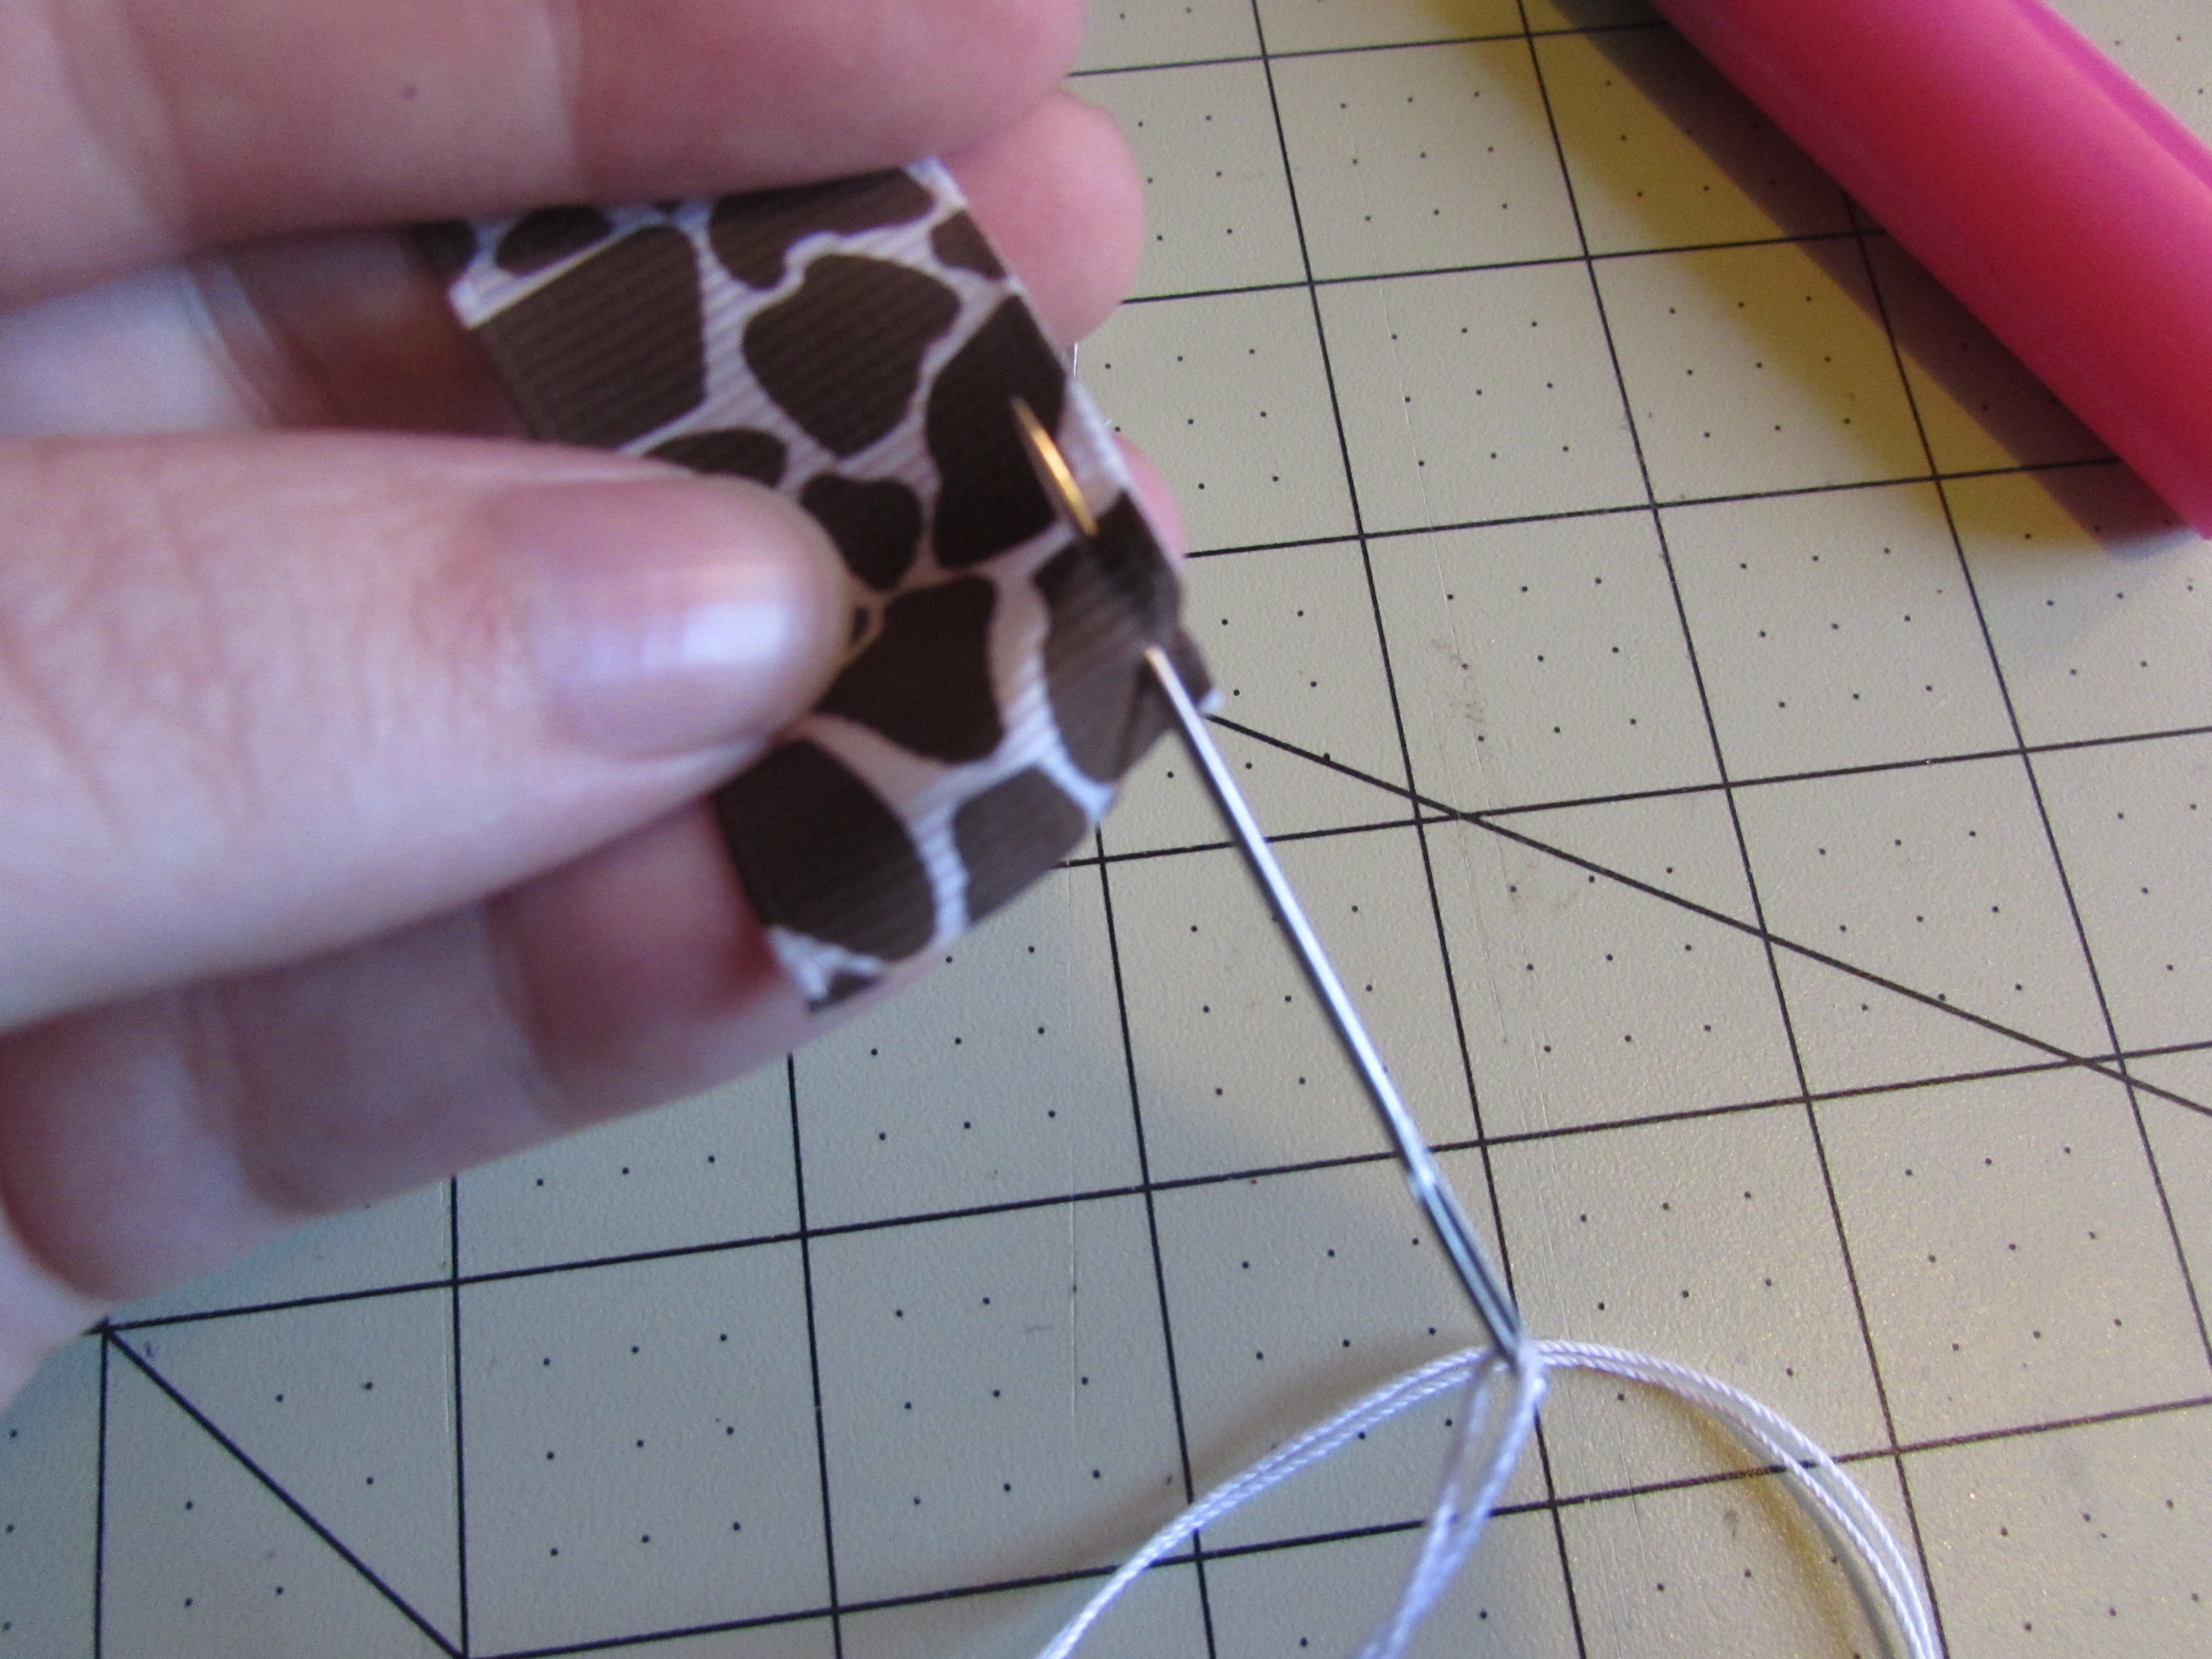
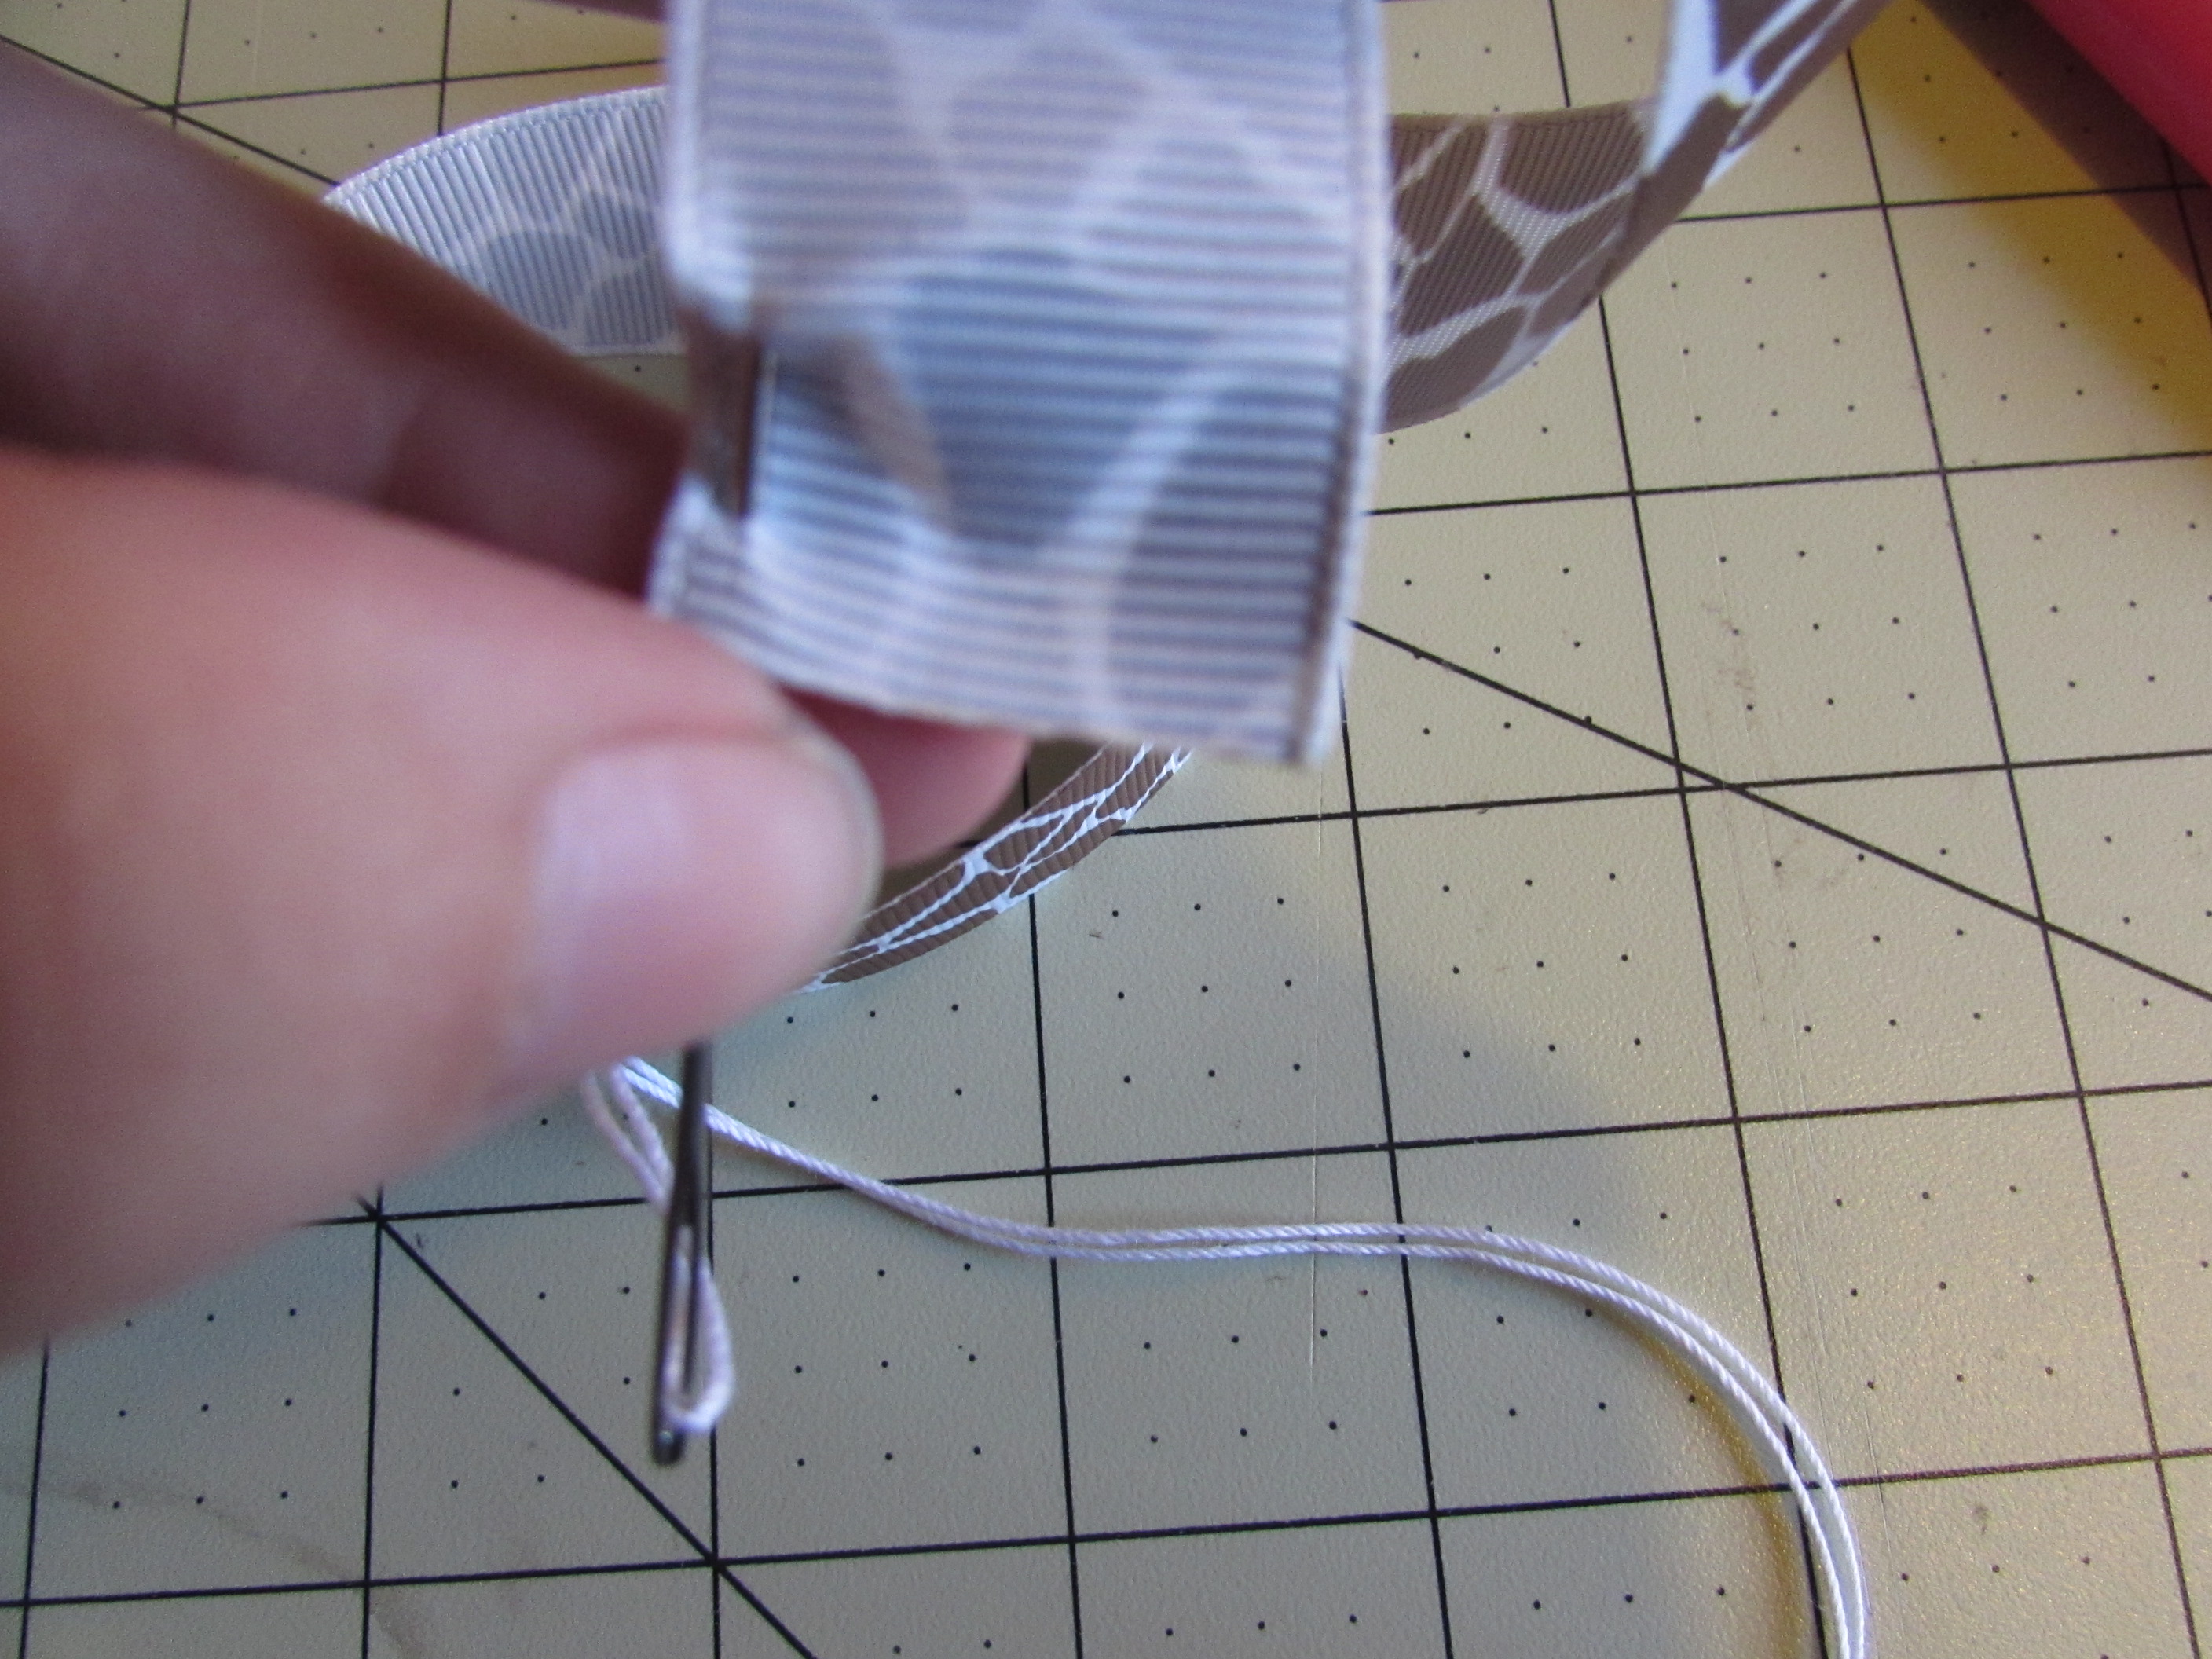
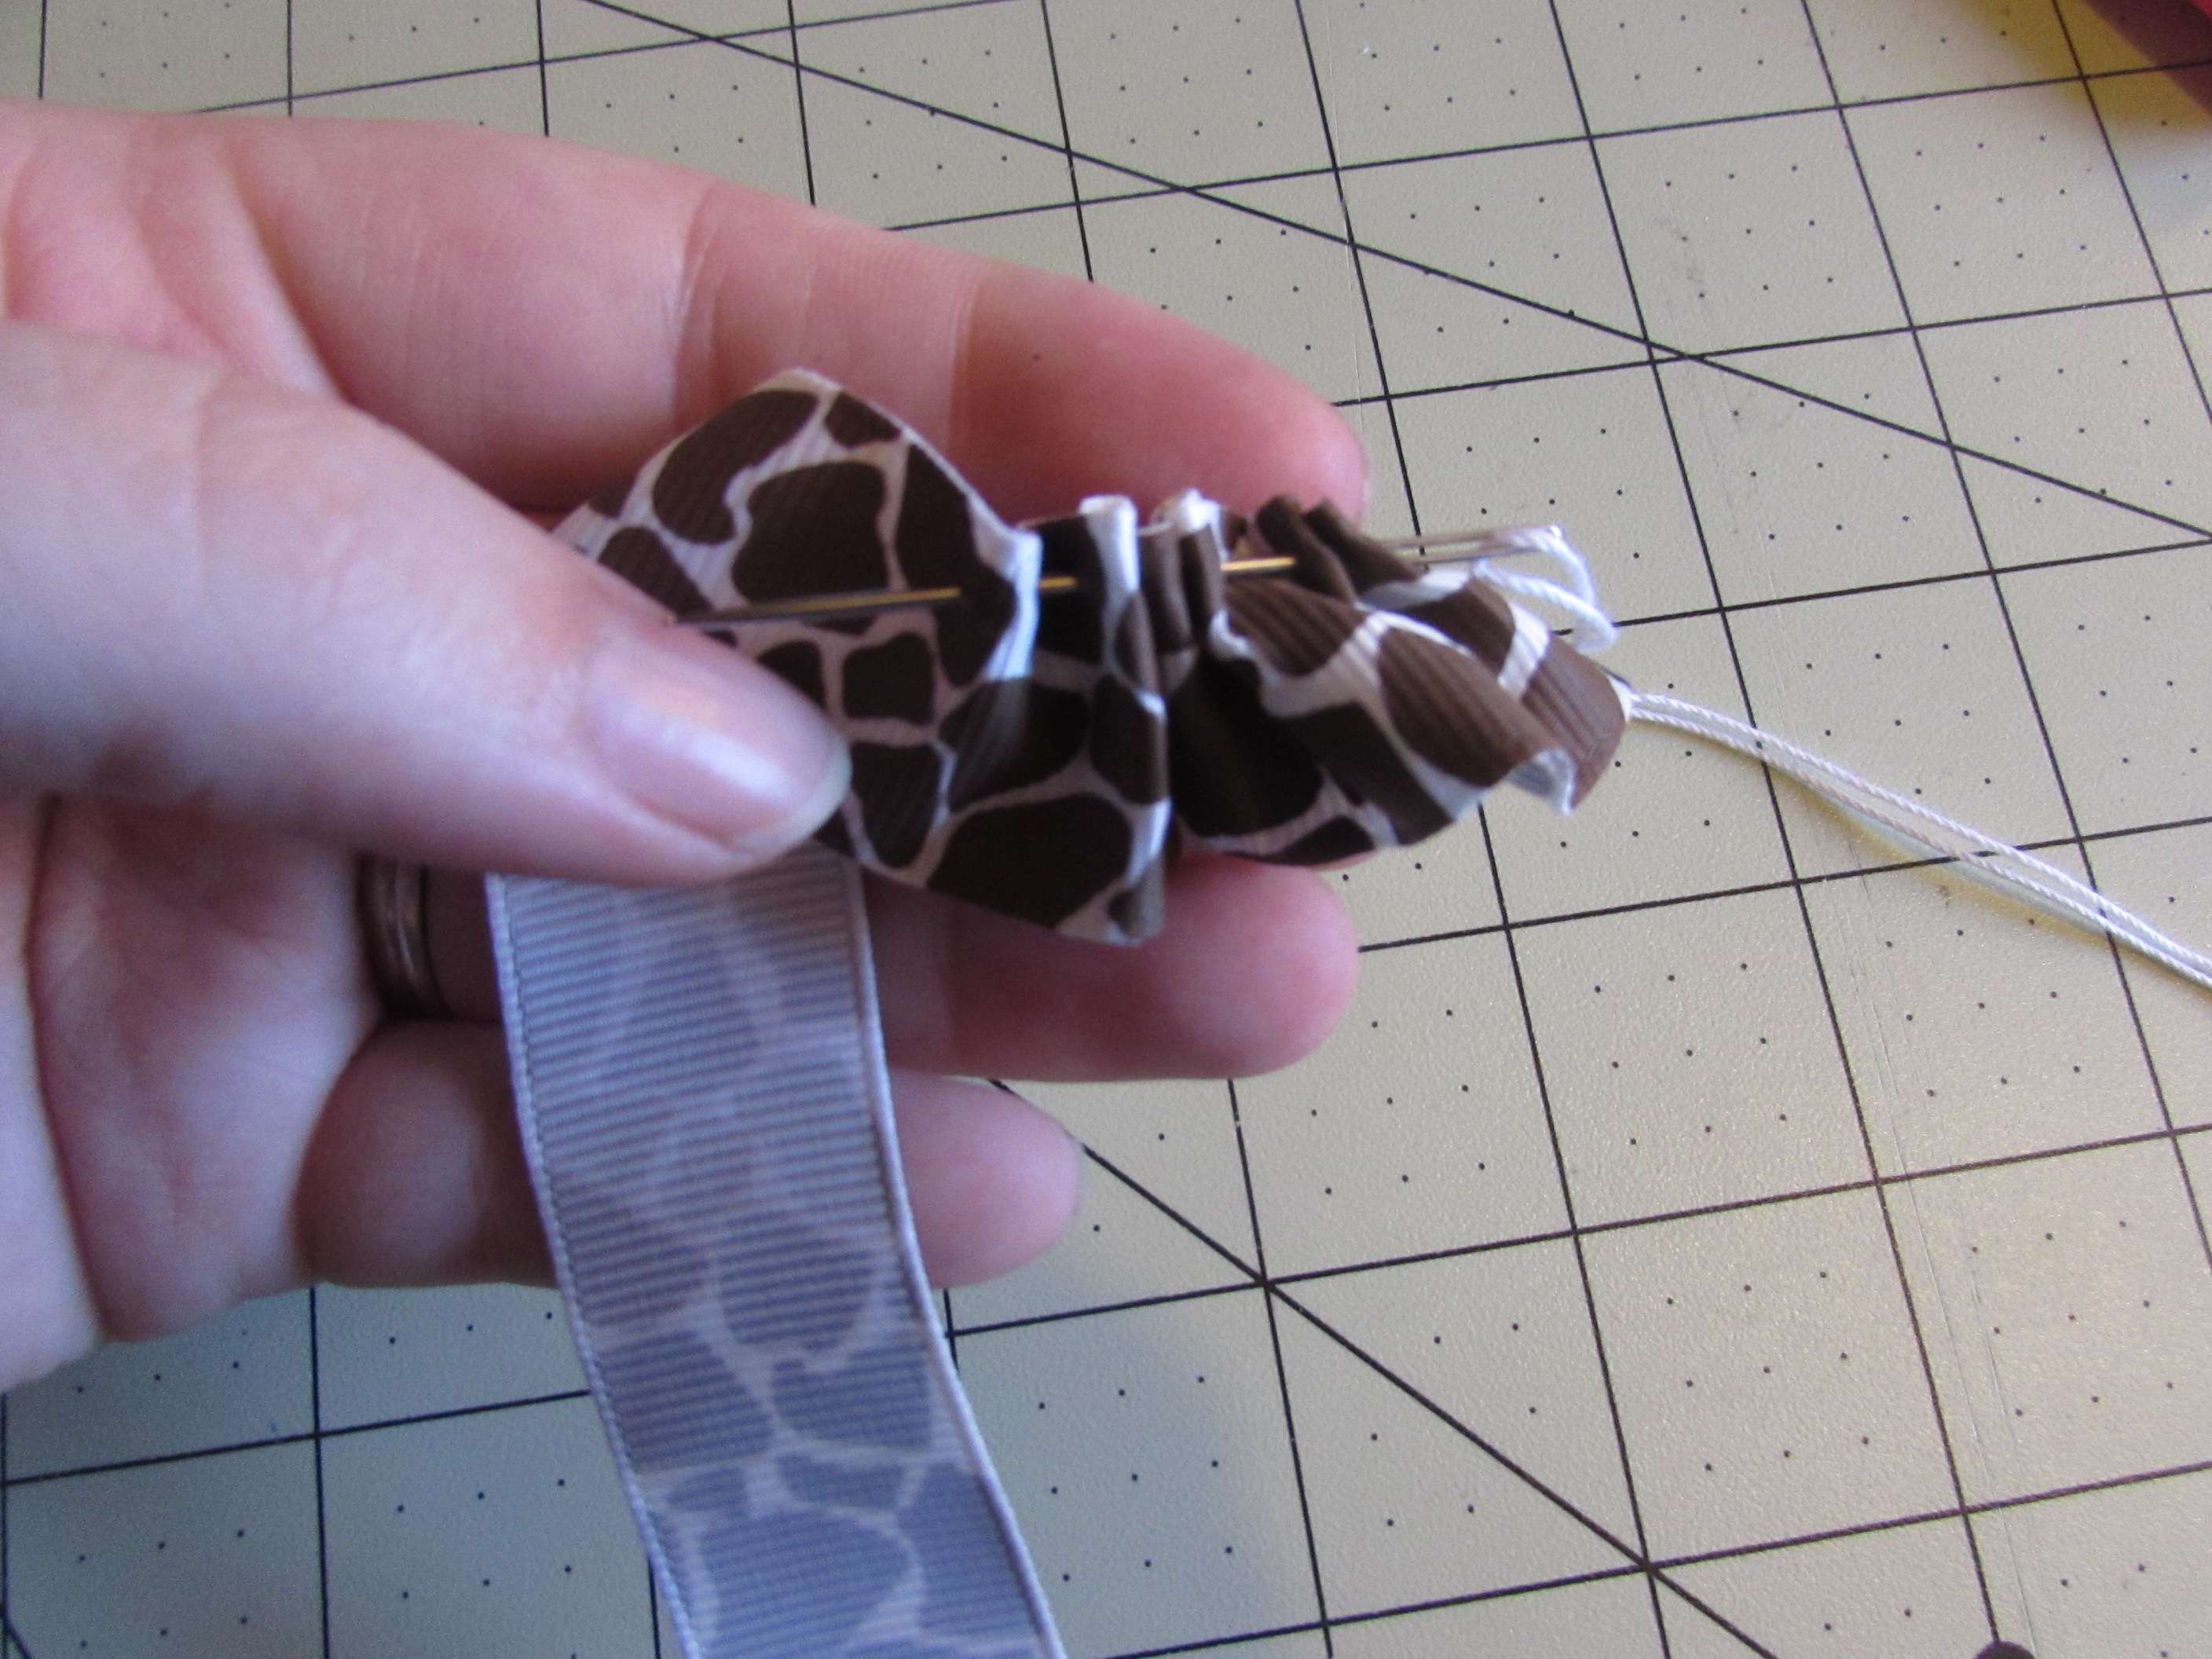
You are going to want to get your needle and thread {{ make sure there is a knot in the end }} and sew along one edge of the ribbon you just cut, sewing in and out.
Please note: You do NOT want to sew the ends together.
Step 4:
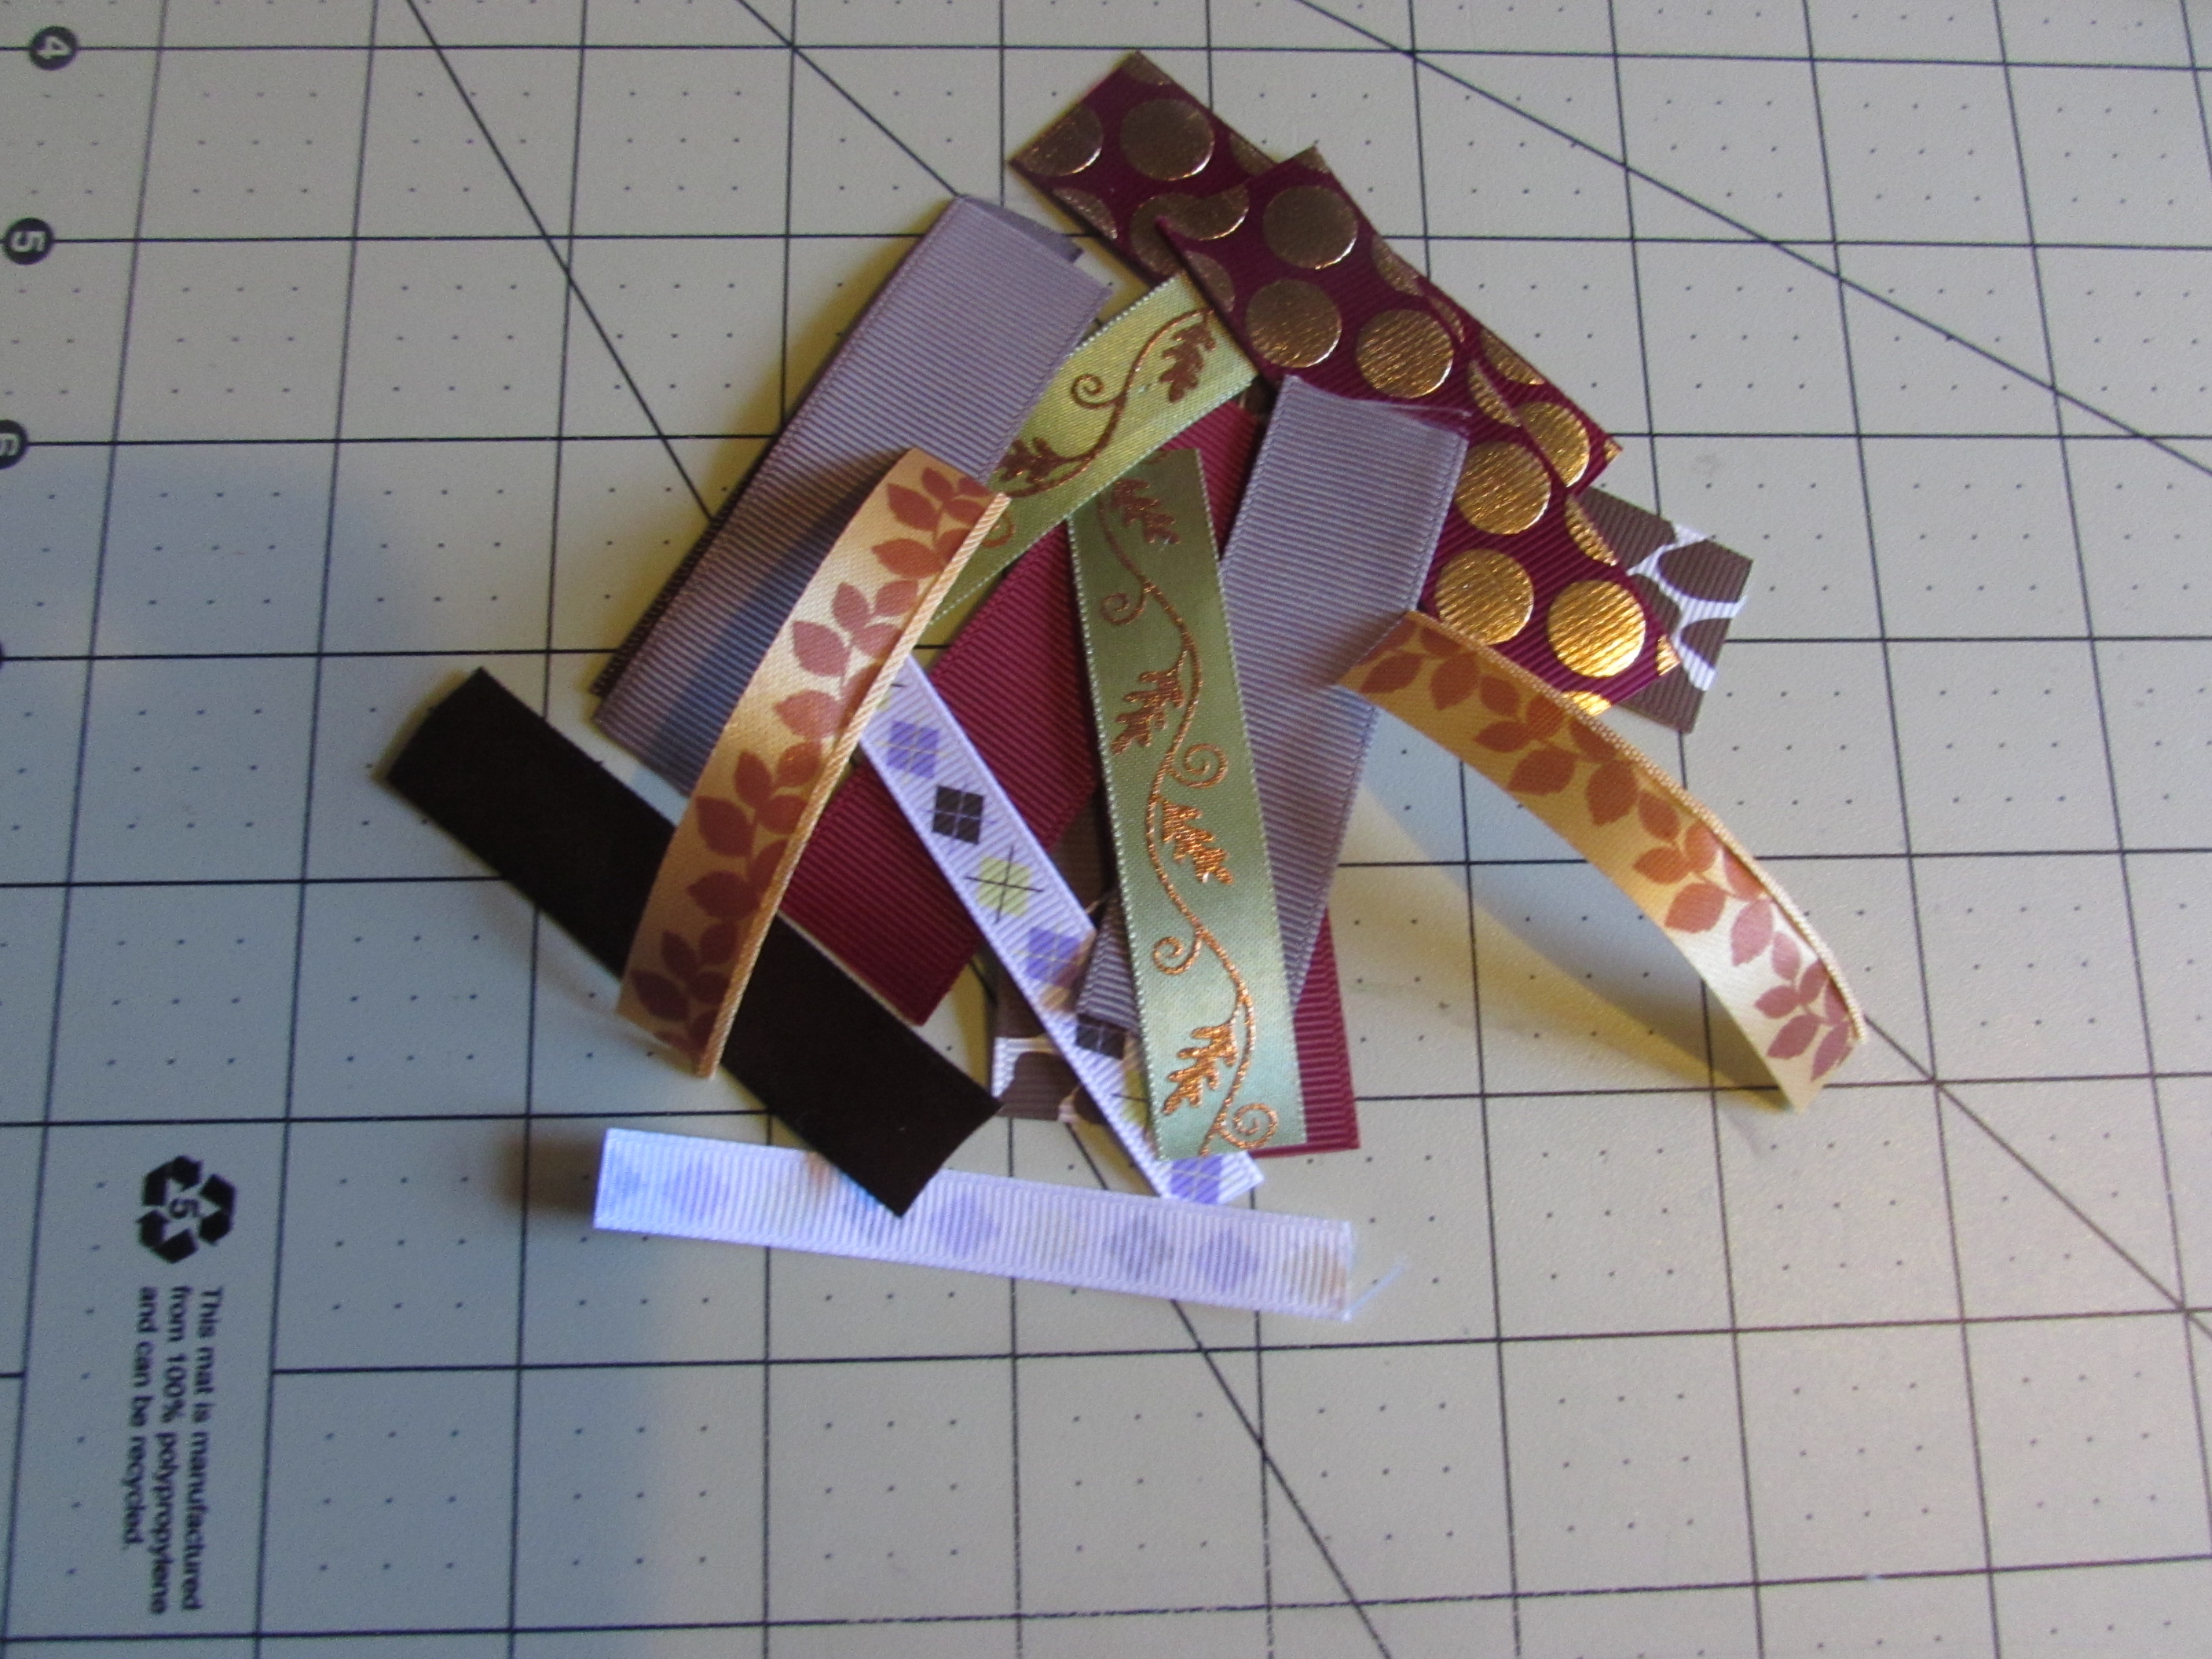
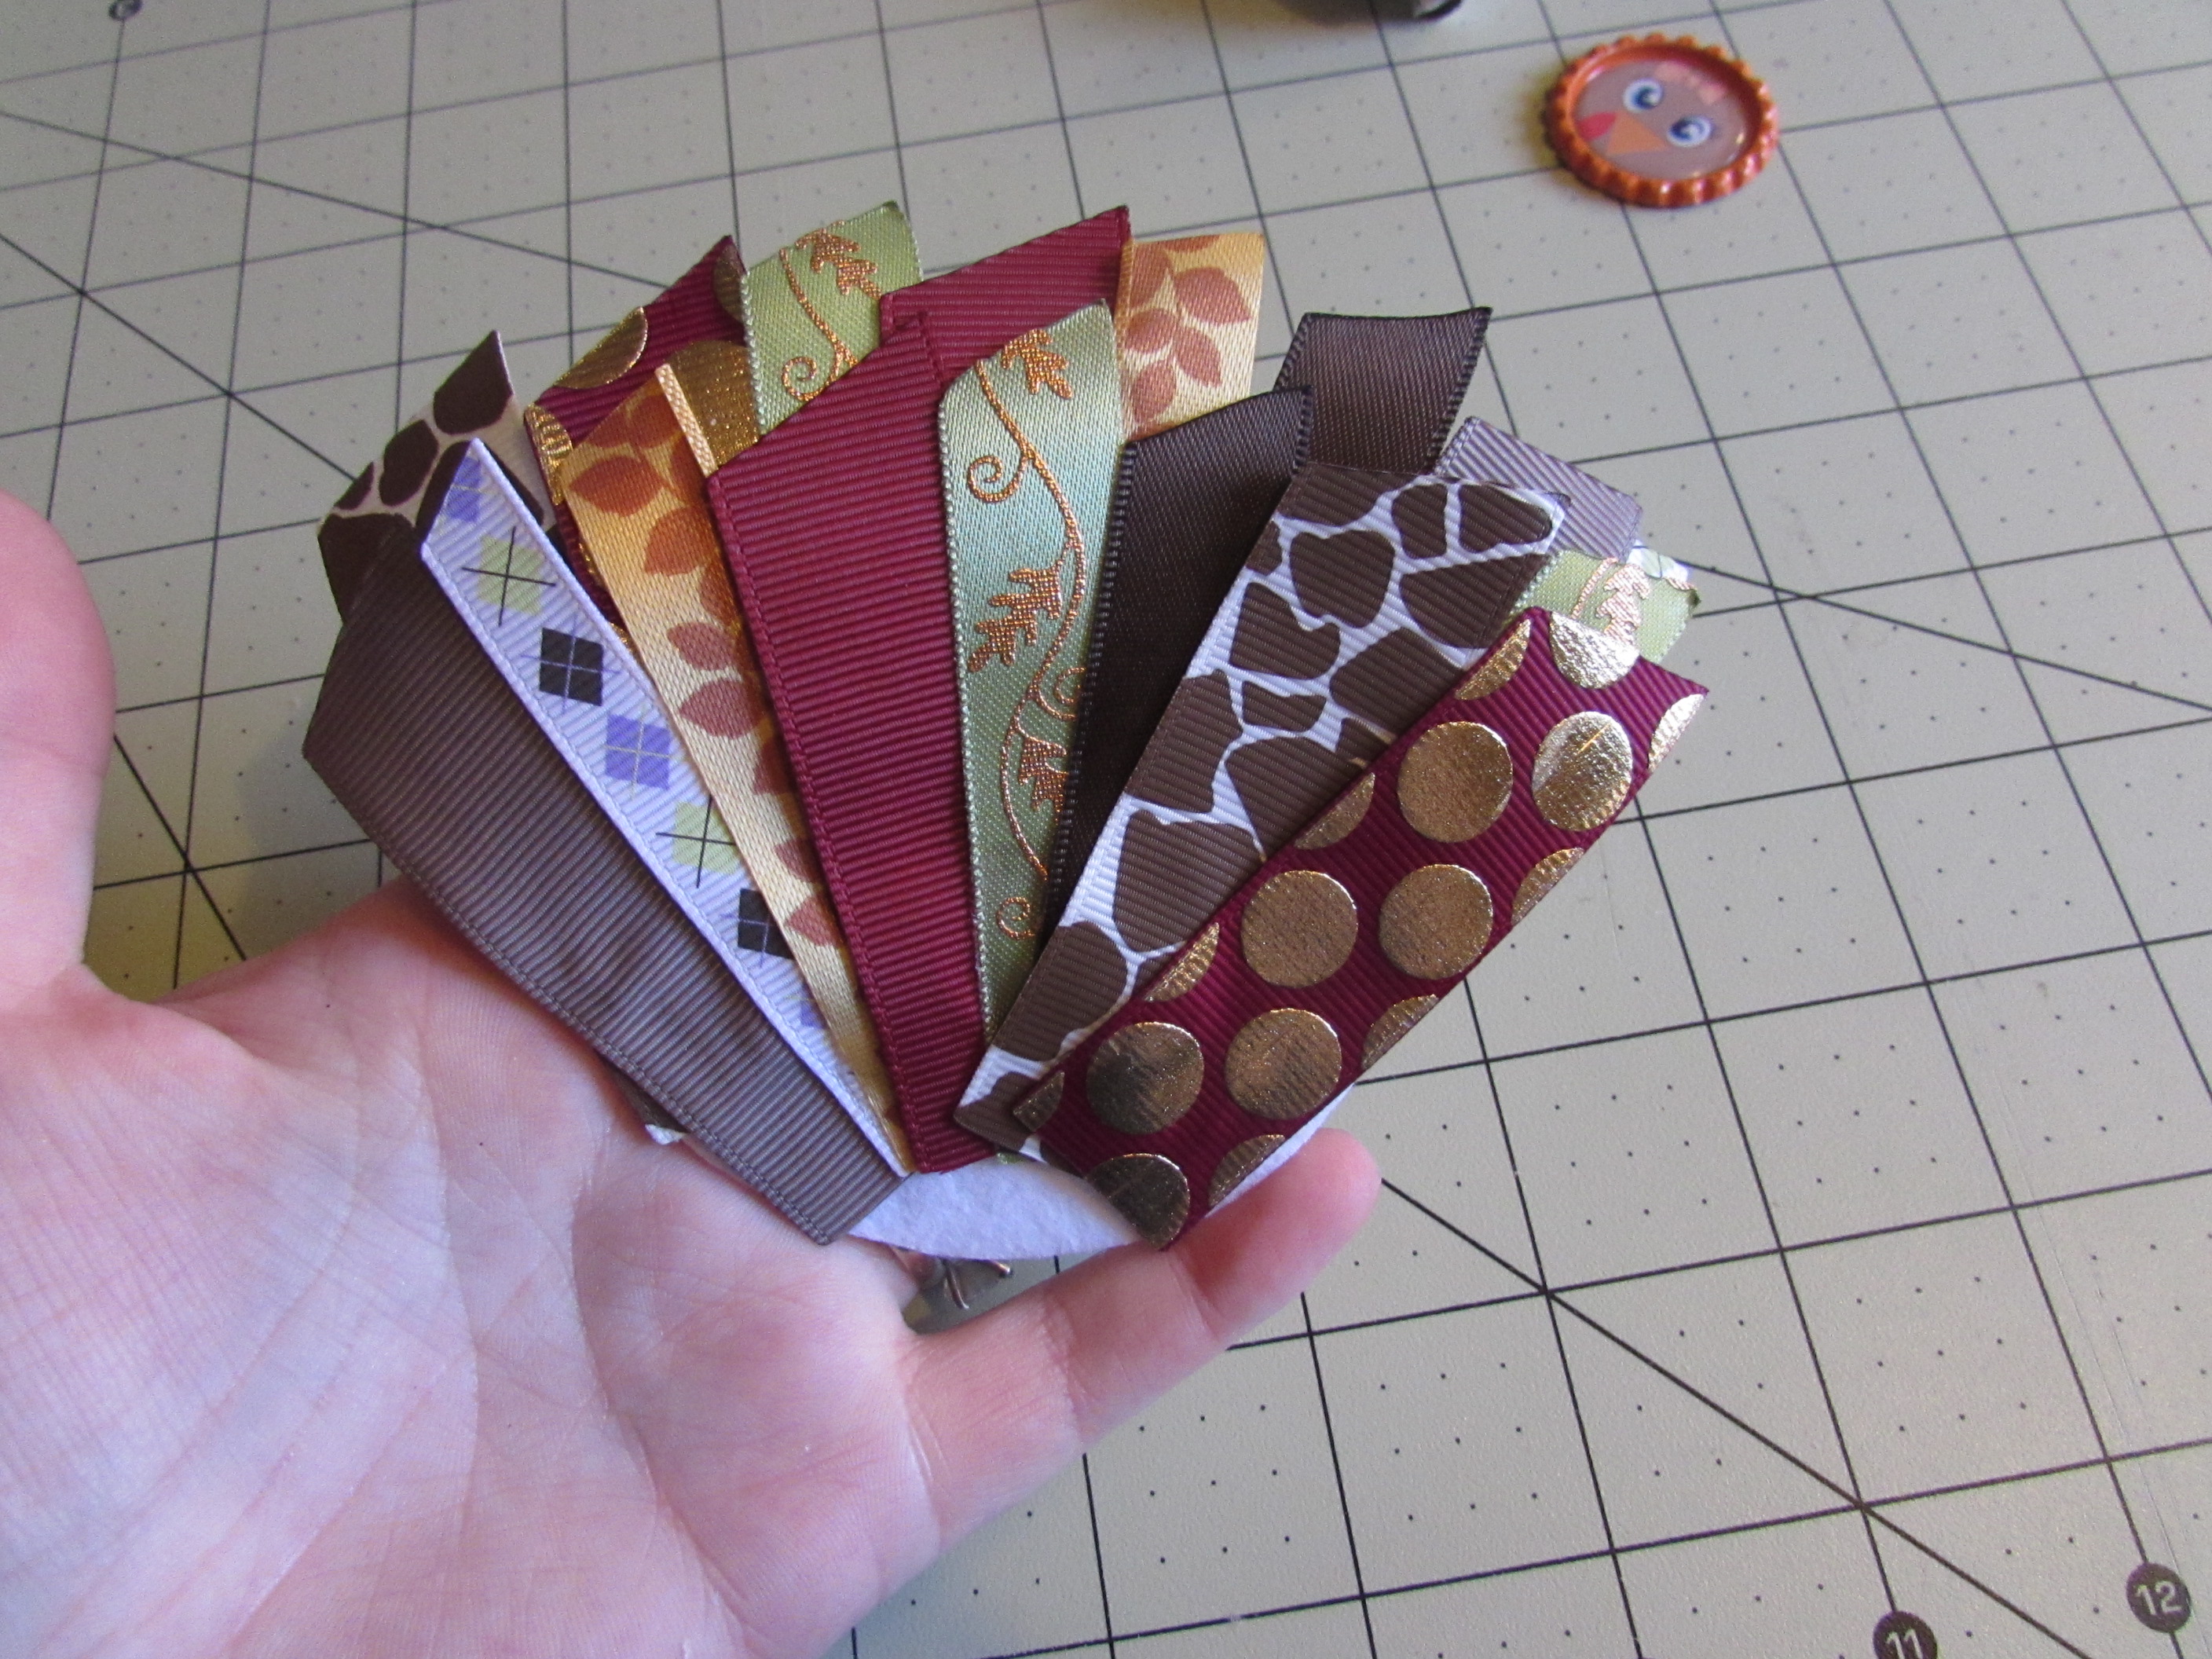
This is the step you get creative with your ribbons. You will need to cut everything roughly 3" long {{ this can vary depending on the size you are making }}
Please Note: You do NOT have to heat seal your ends at this point.
Step 5:
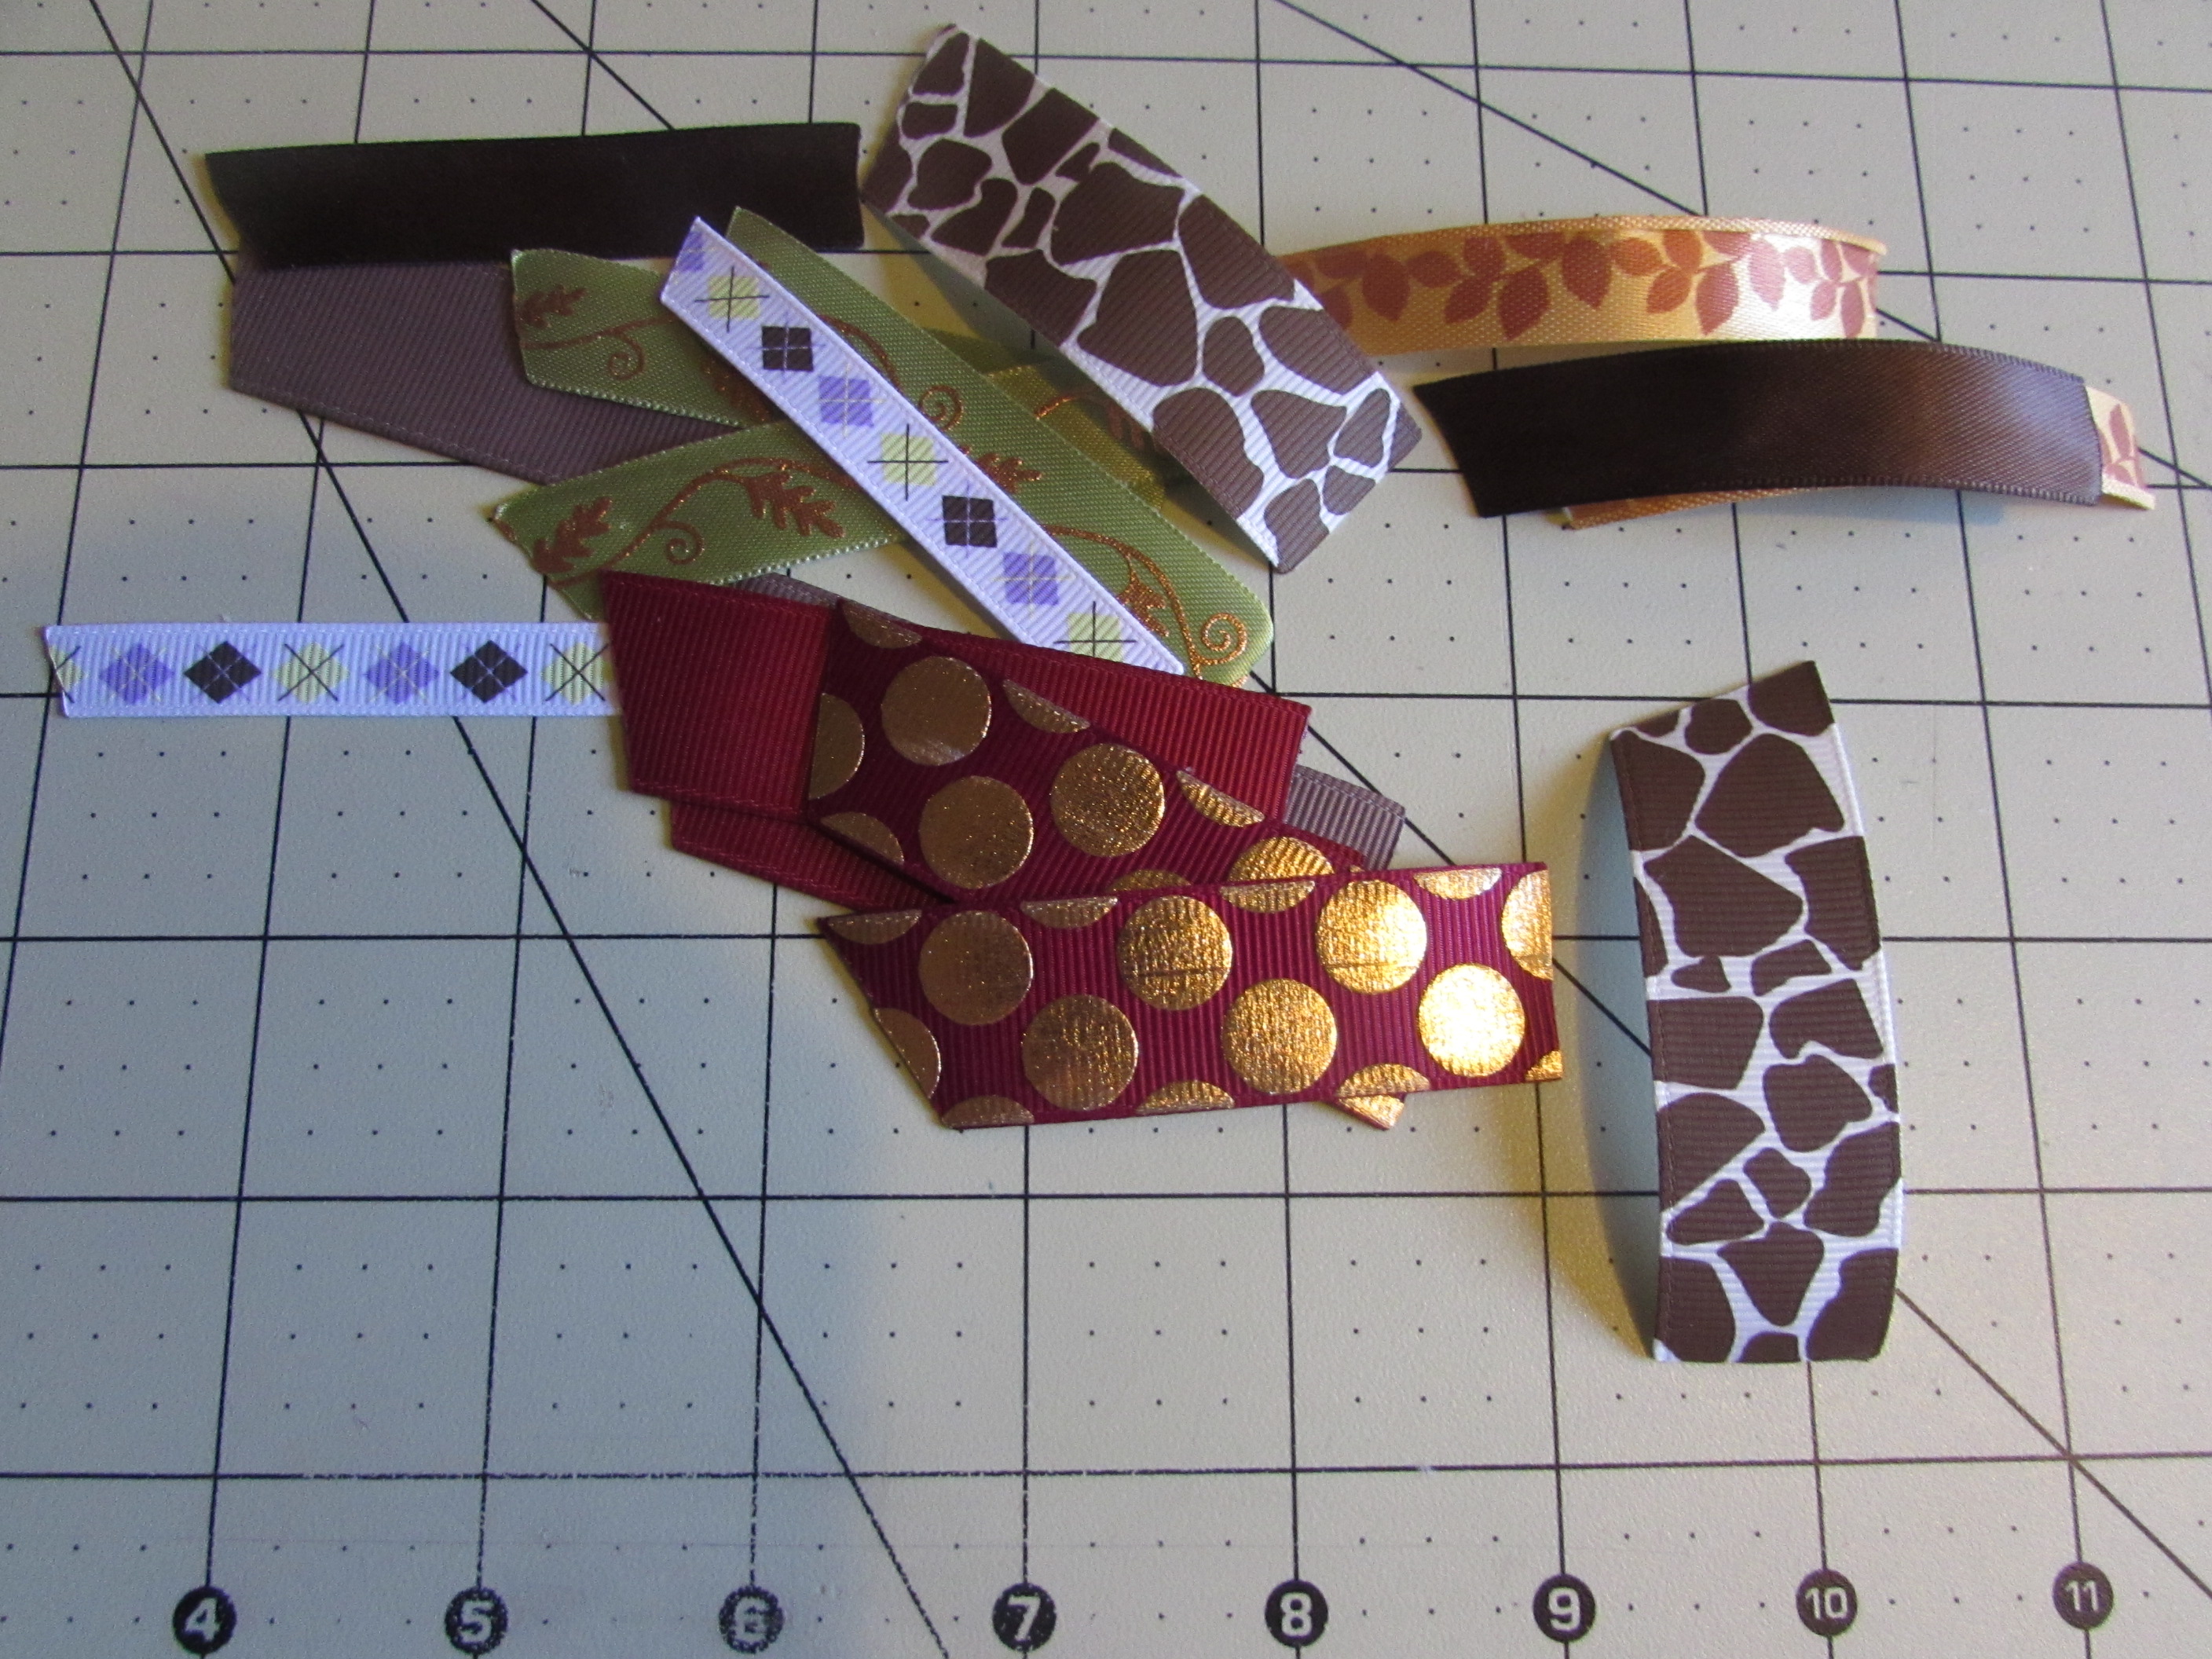
You are going to want to cut your ribbons on the ends however you would like. I cut mine with a slant but you can leave them straight, do {{ v }} cuts, etc. This is completely up to you. Be sure to heat seal BOTH ends of the ribbon.
Step 6:
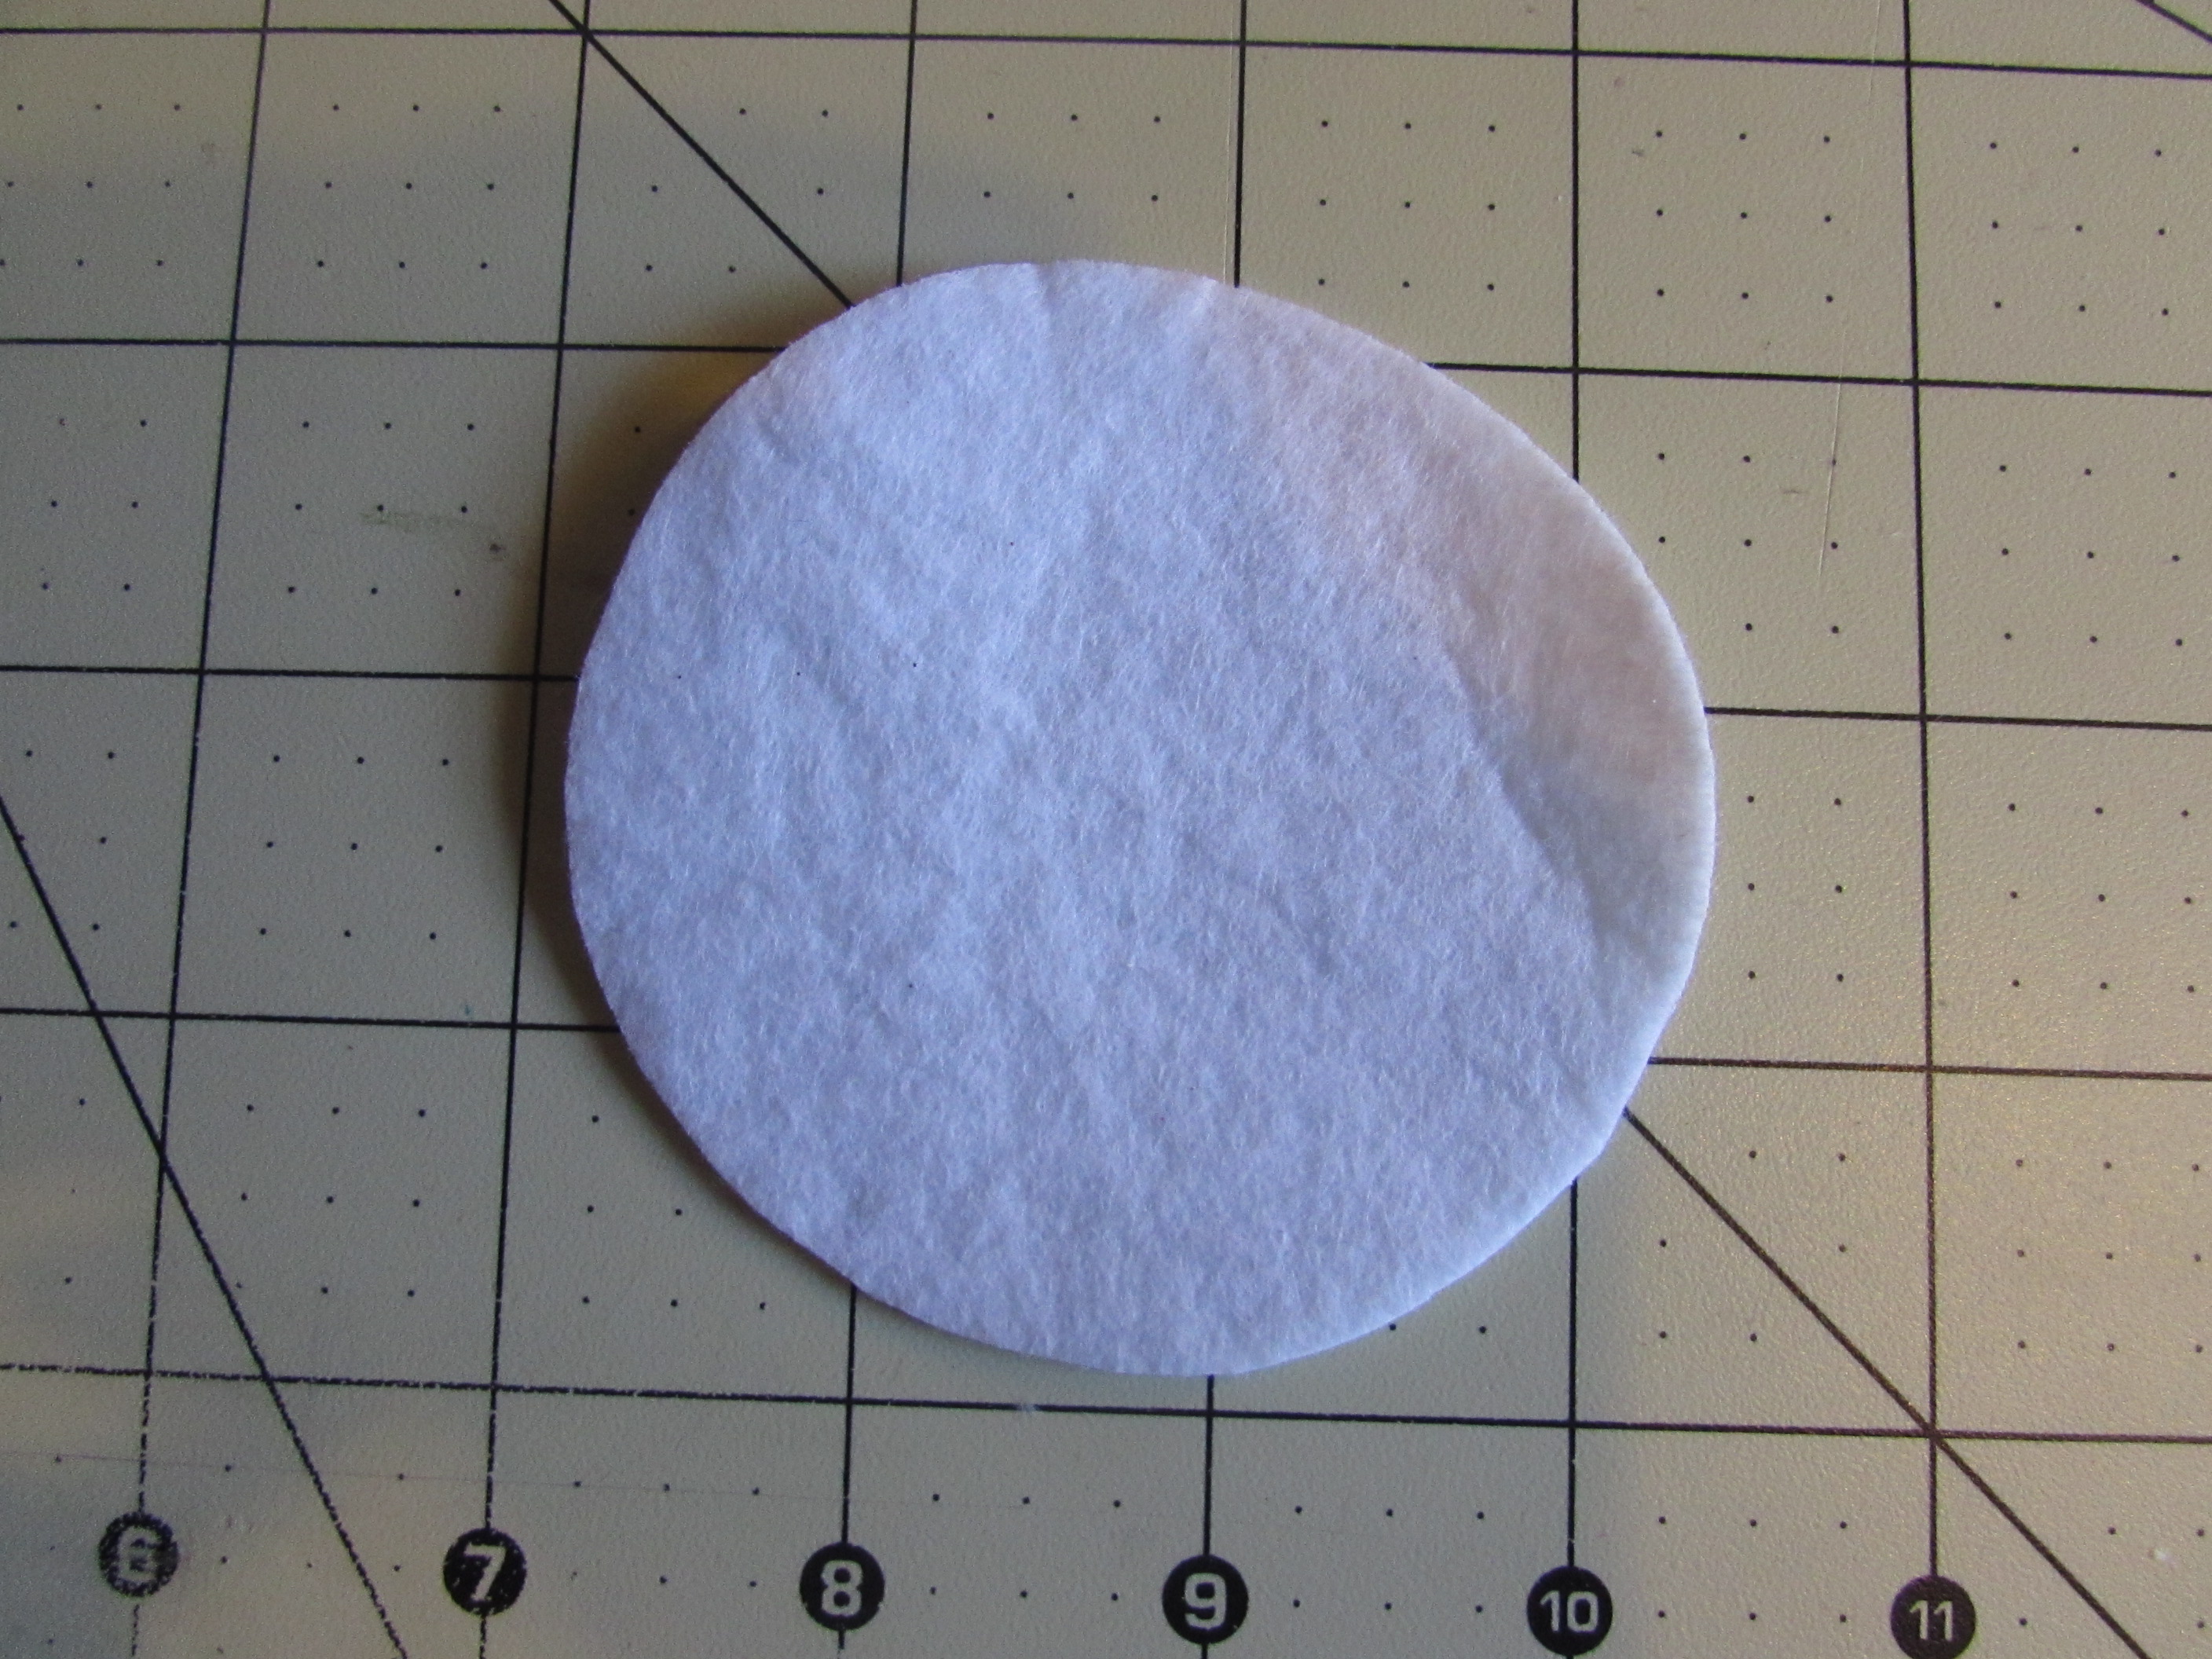
Take your felt and cut a circle. Mine is about 3.25" wide. I used a feather pad felt and simple folded the circle end over and cut to create the circle. However, I have found it might be also good to keep the feather pad as is and use it with circle end up and point downward. However, again I did not.
Step 7:
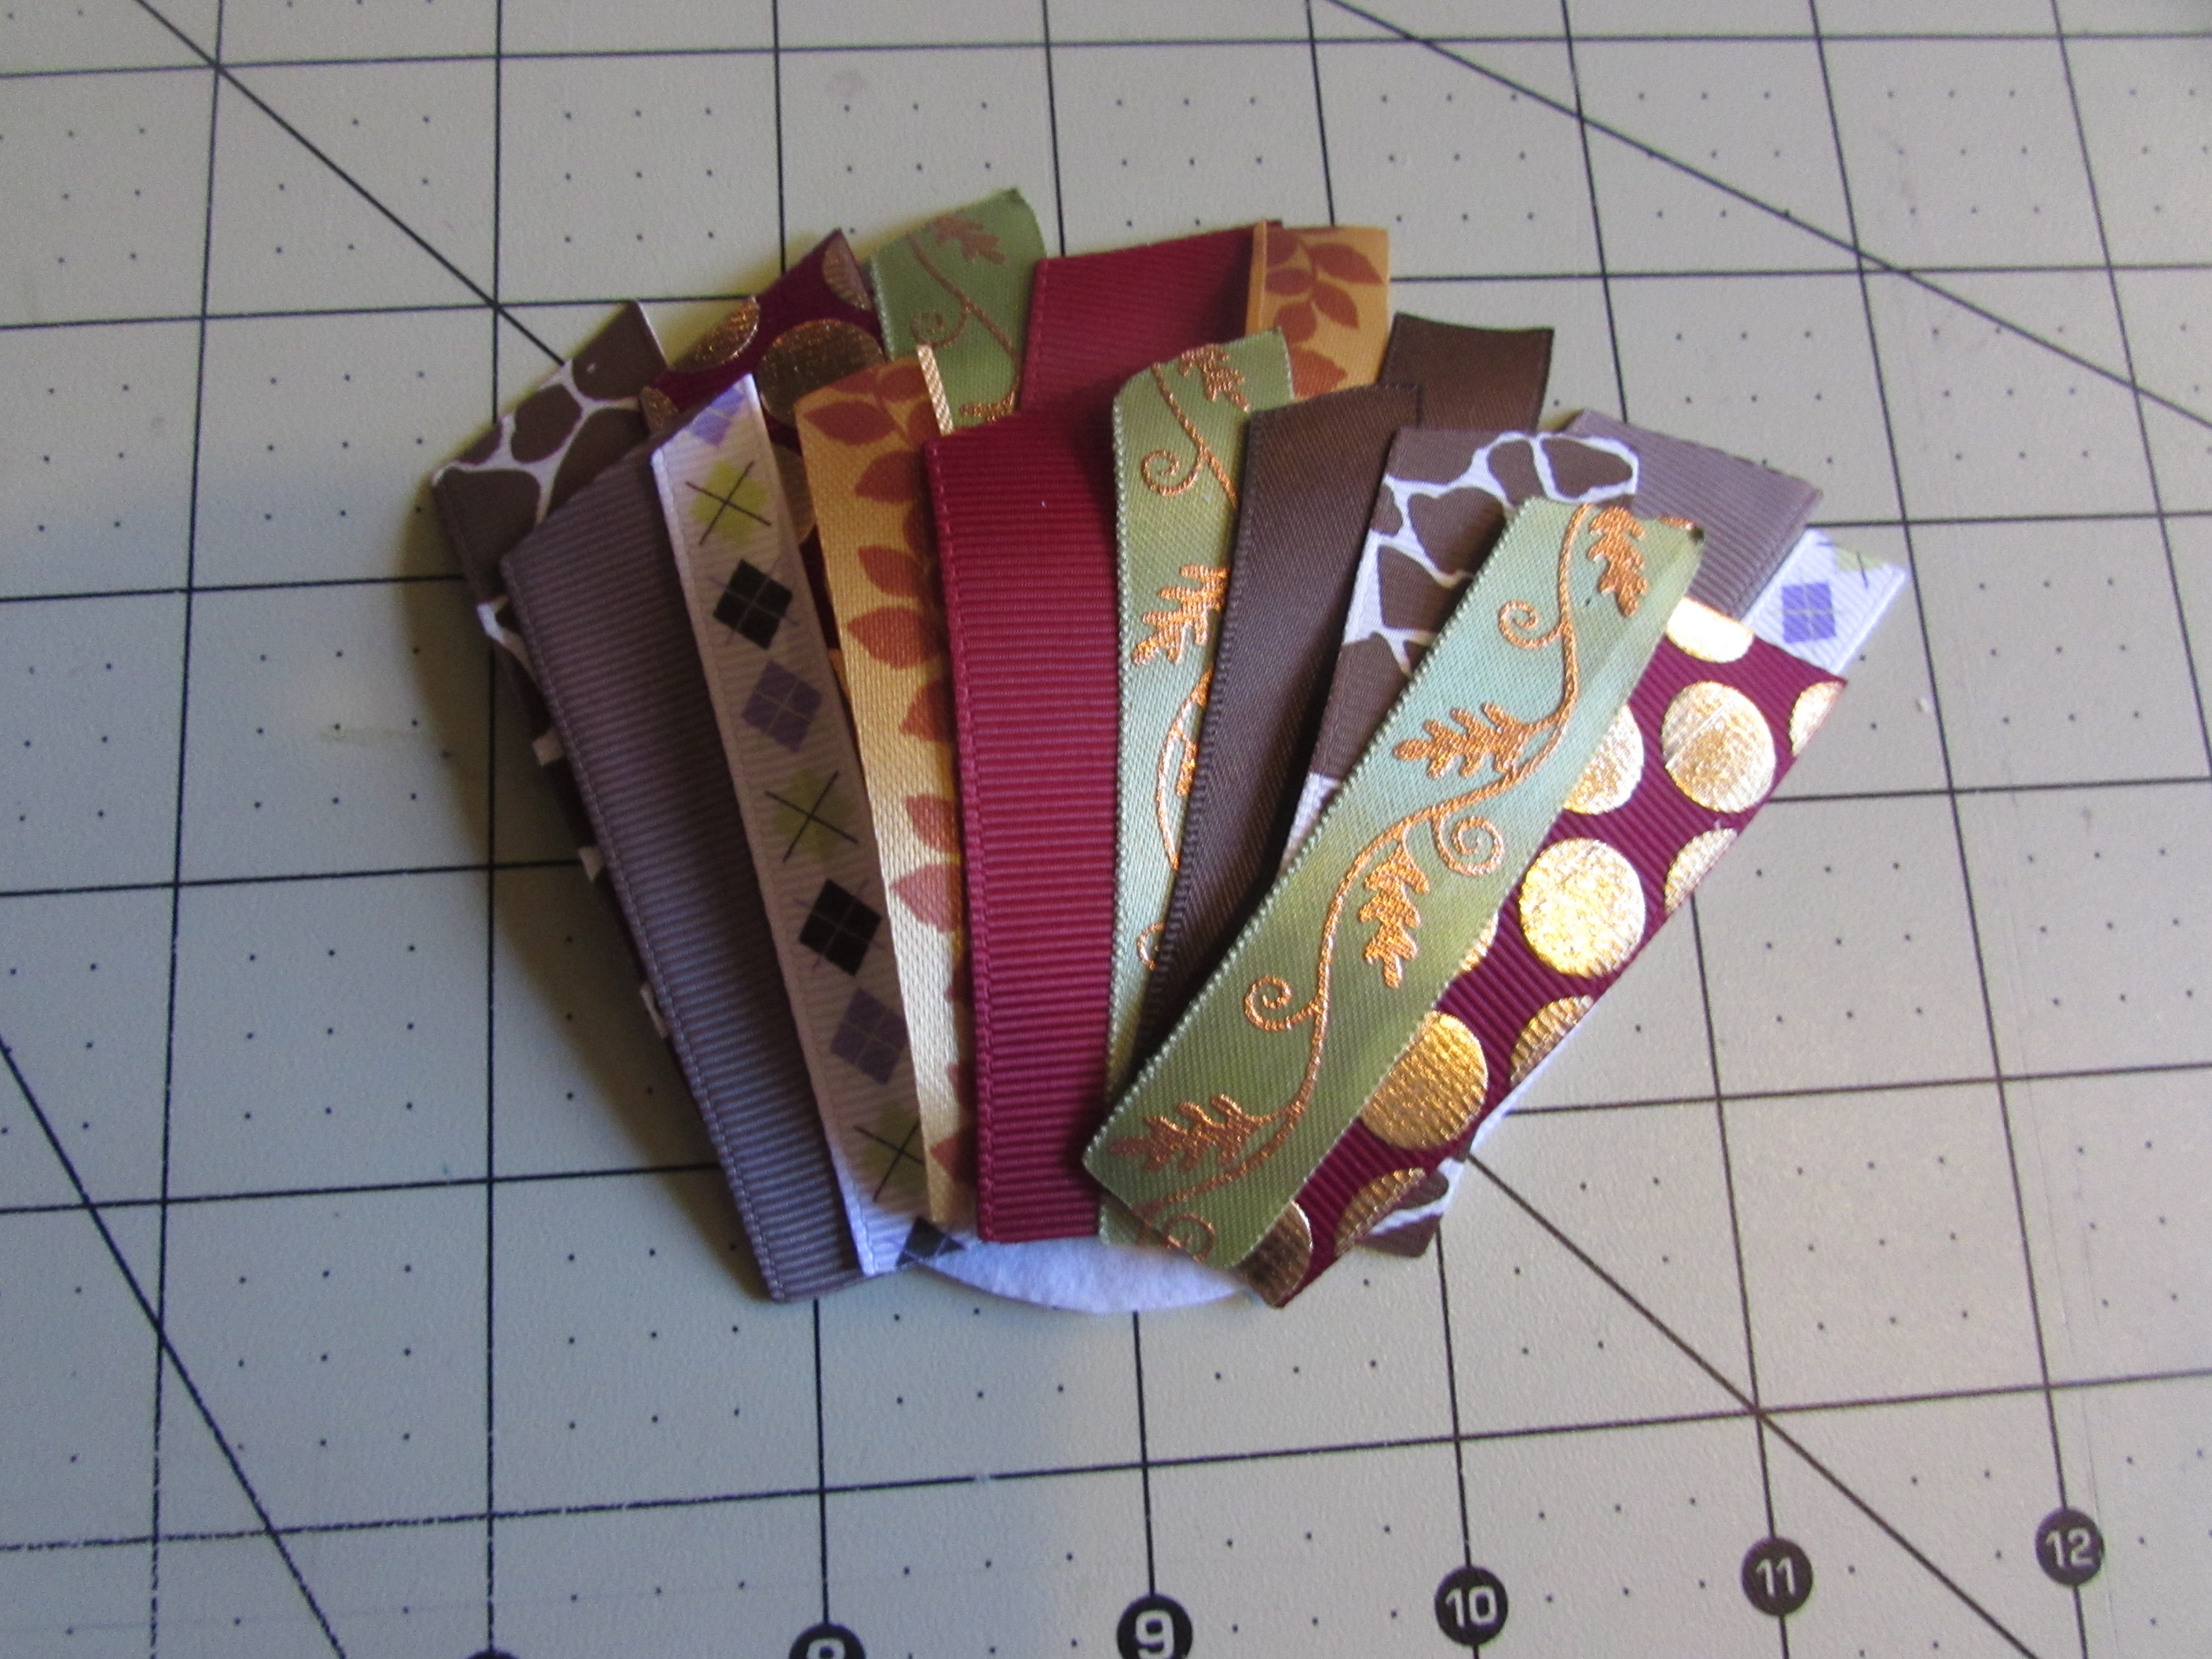
Now place your ribbons on the piece of felt how you would like for it to look. I advise you NOT to glue down during this part in case if you want to move things around.
Step 8:
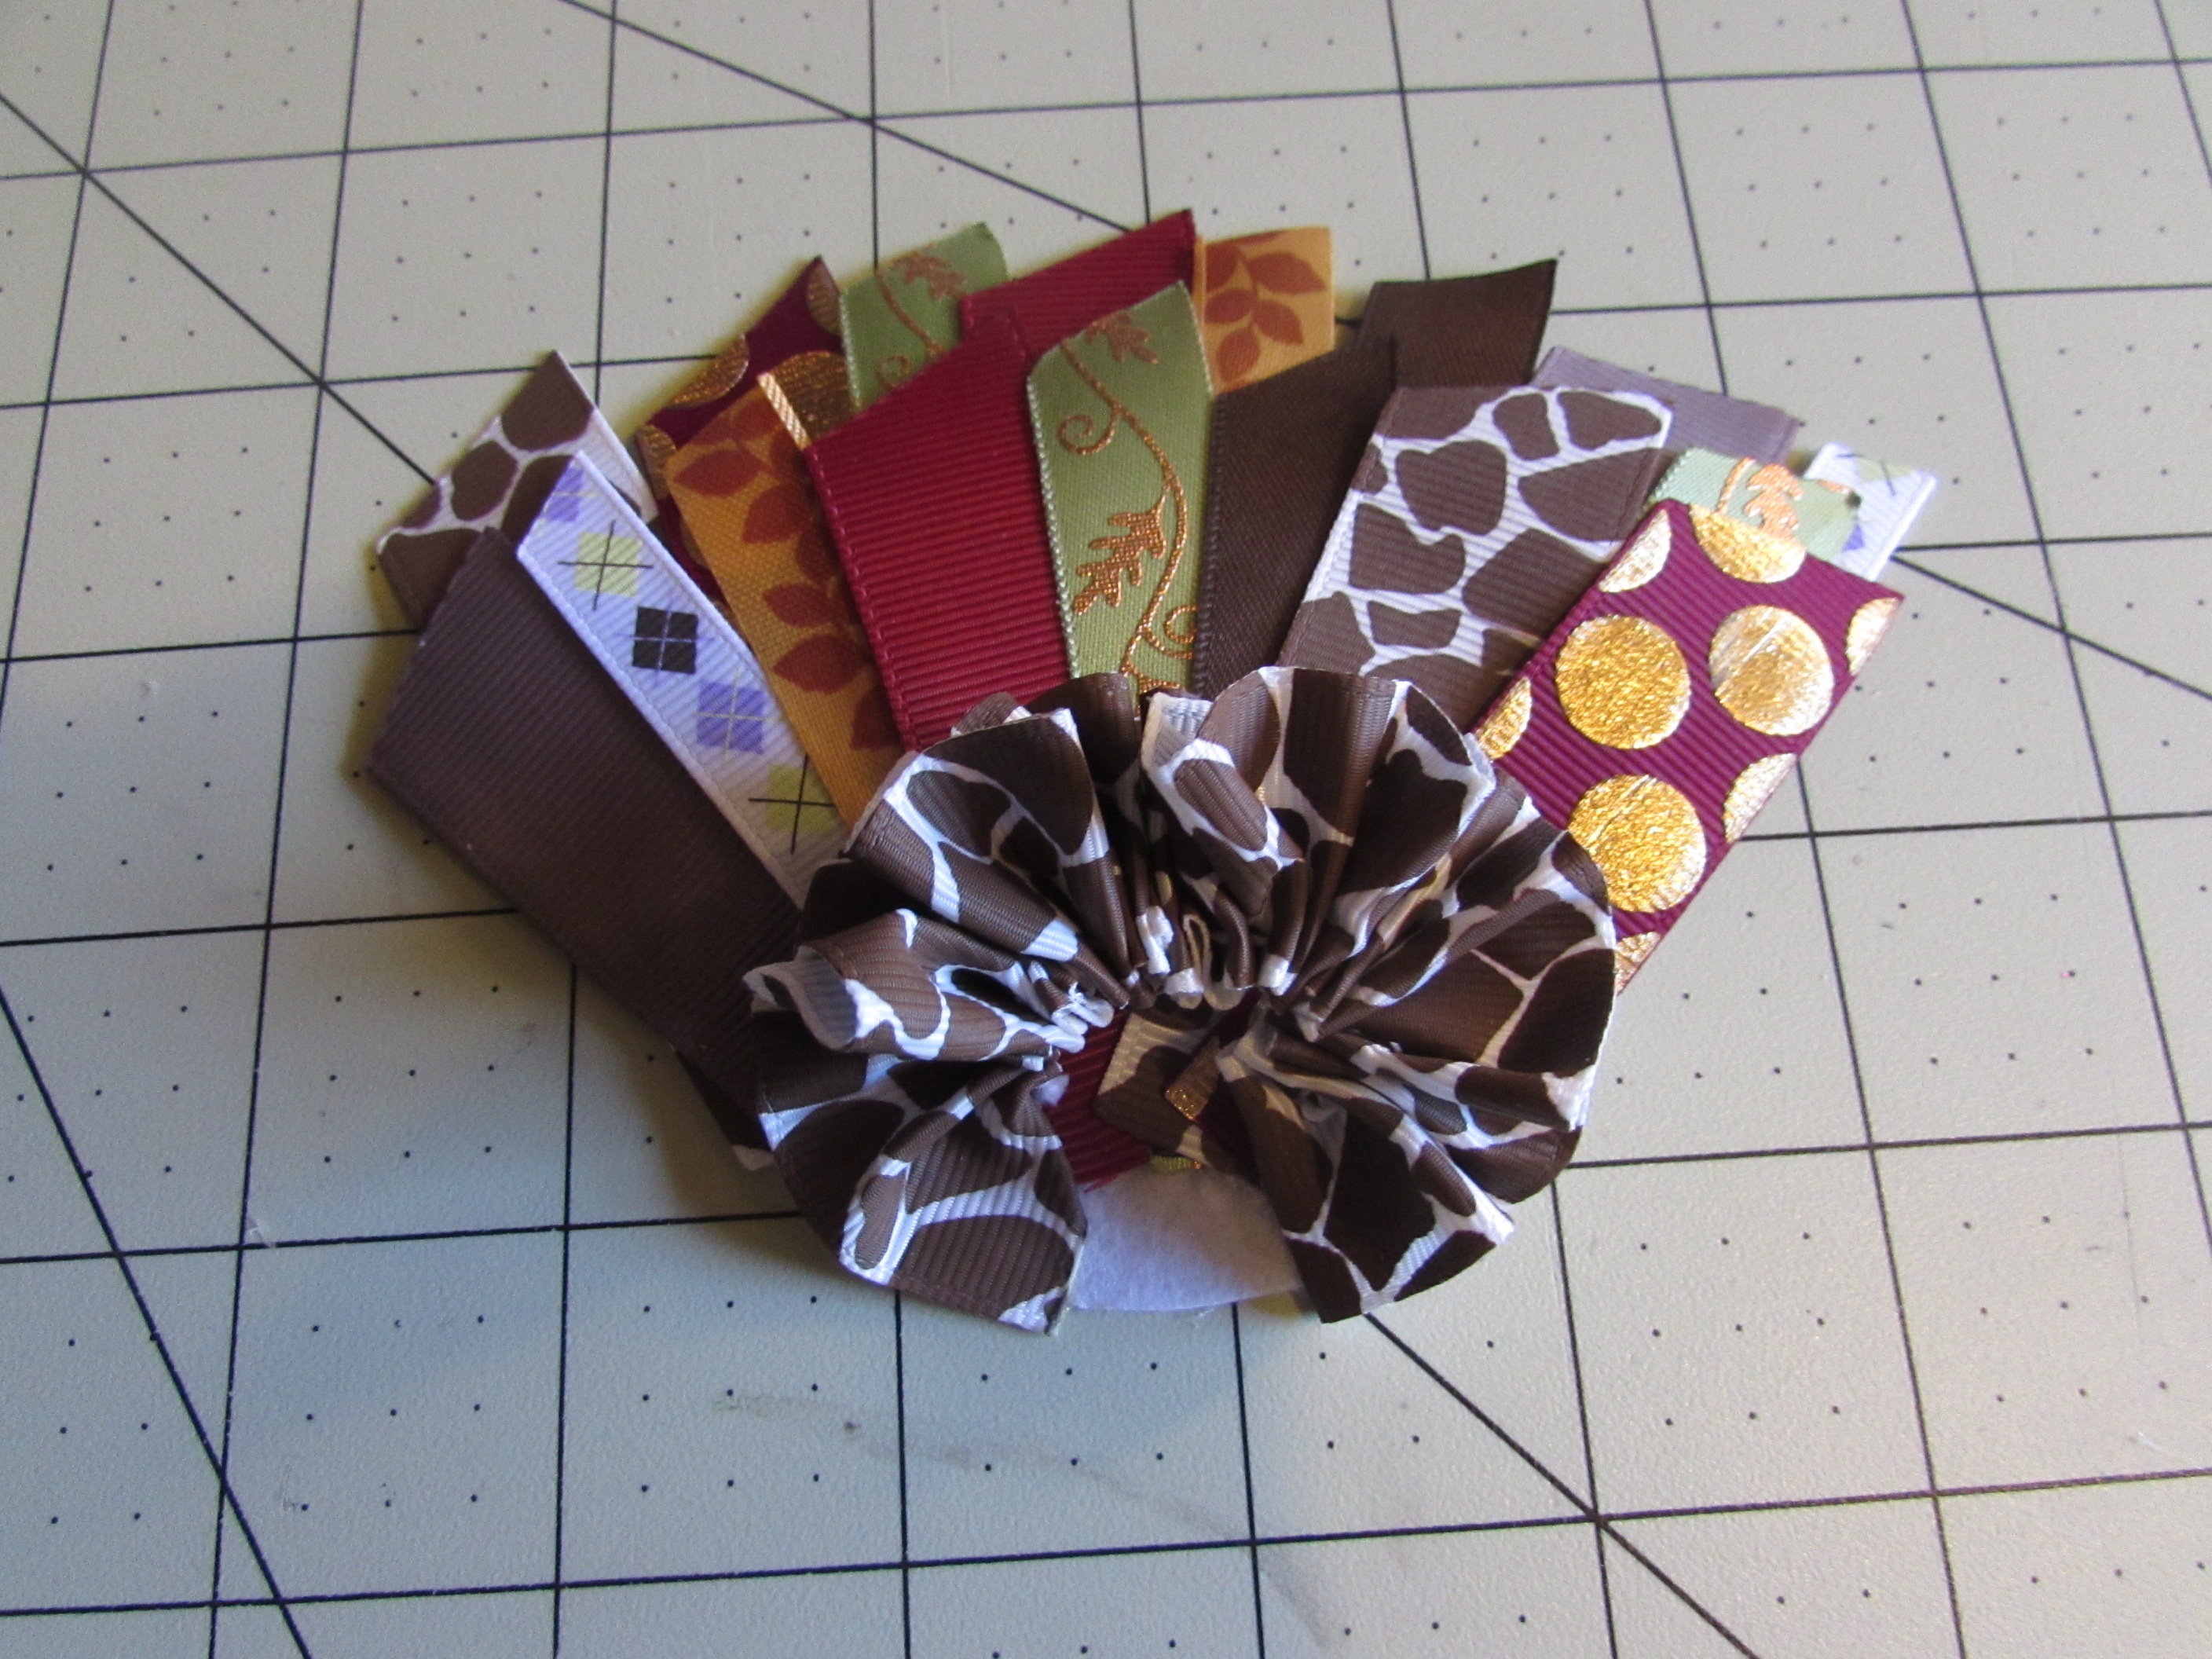
Now that you have it how you want it, you can glue the ribbons down on to the felt. As you can tell I moved mine around a bit, that is why I advise you not to glue down until you have it exactly how you want it.
Step 9:
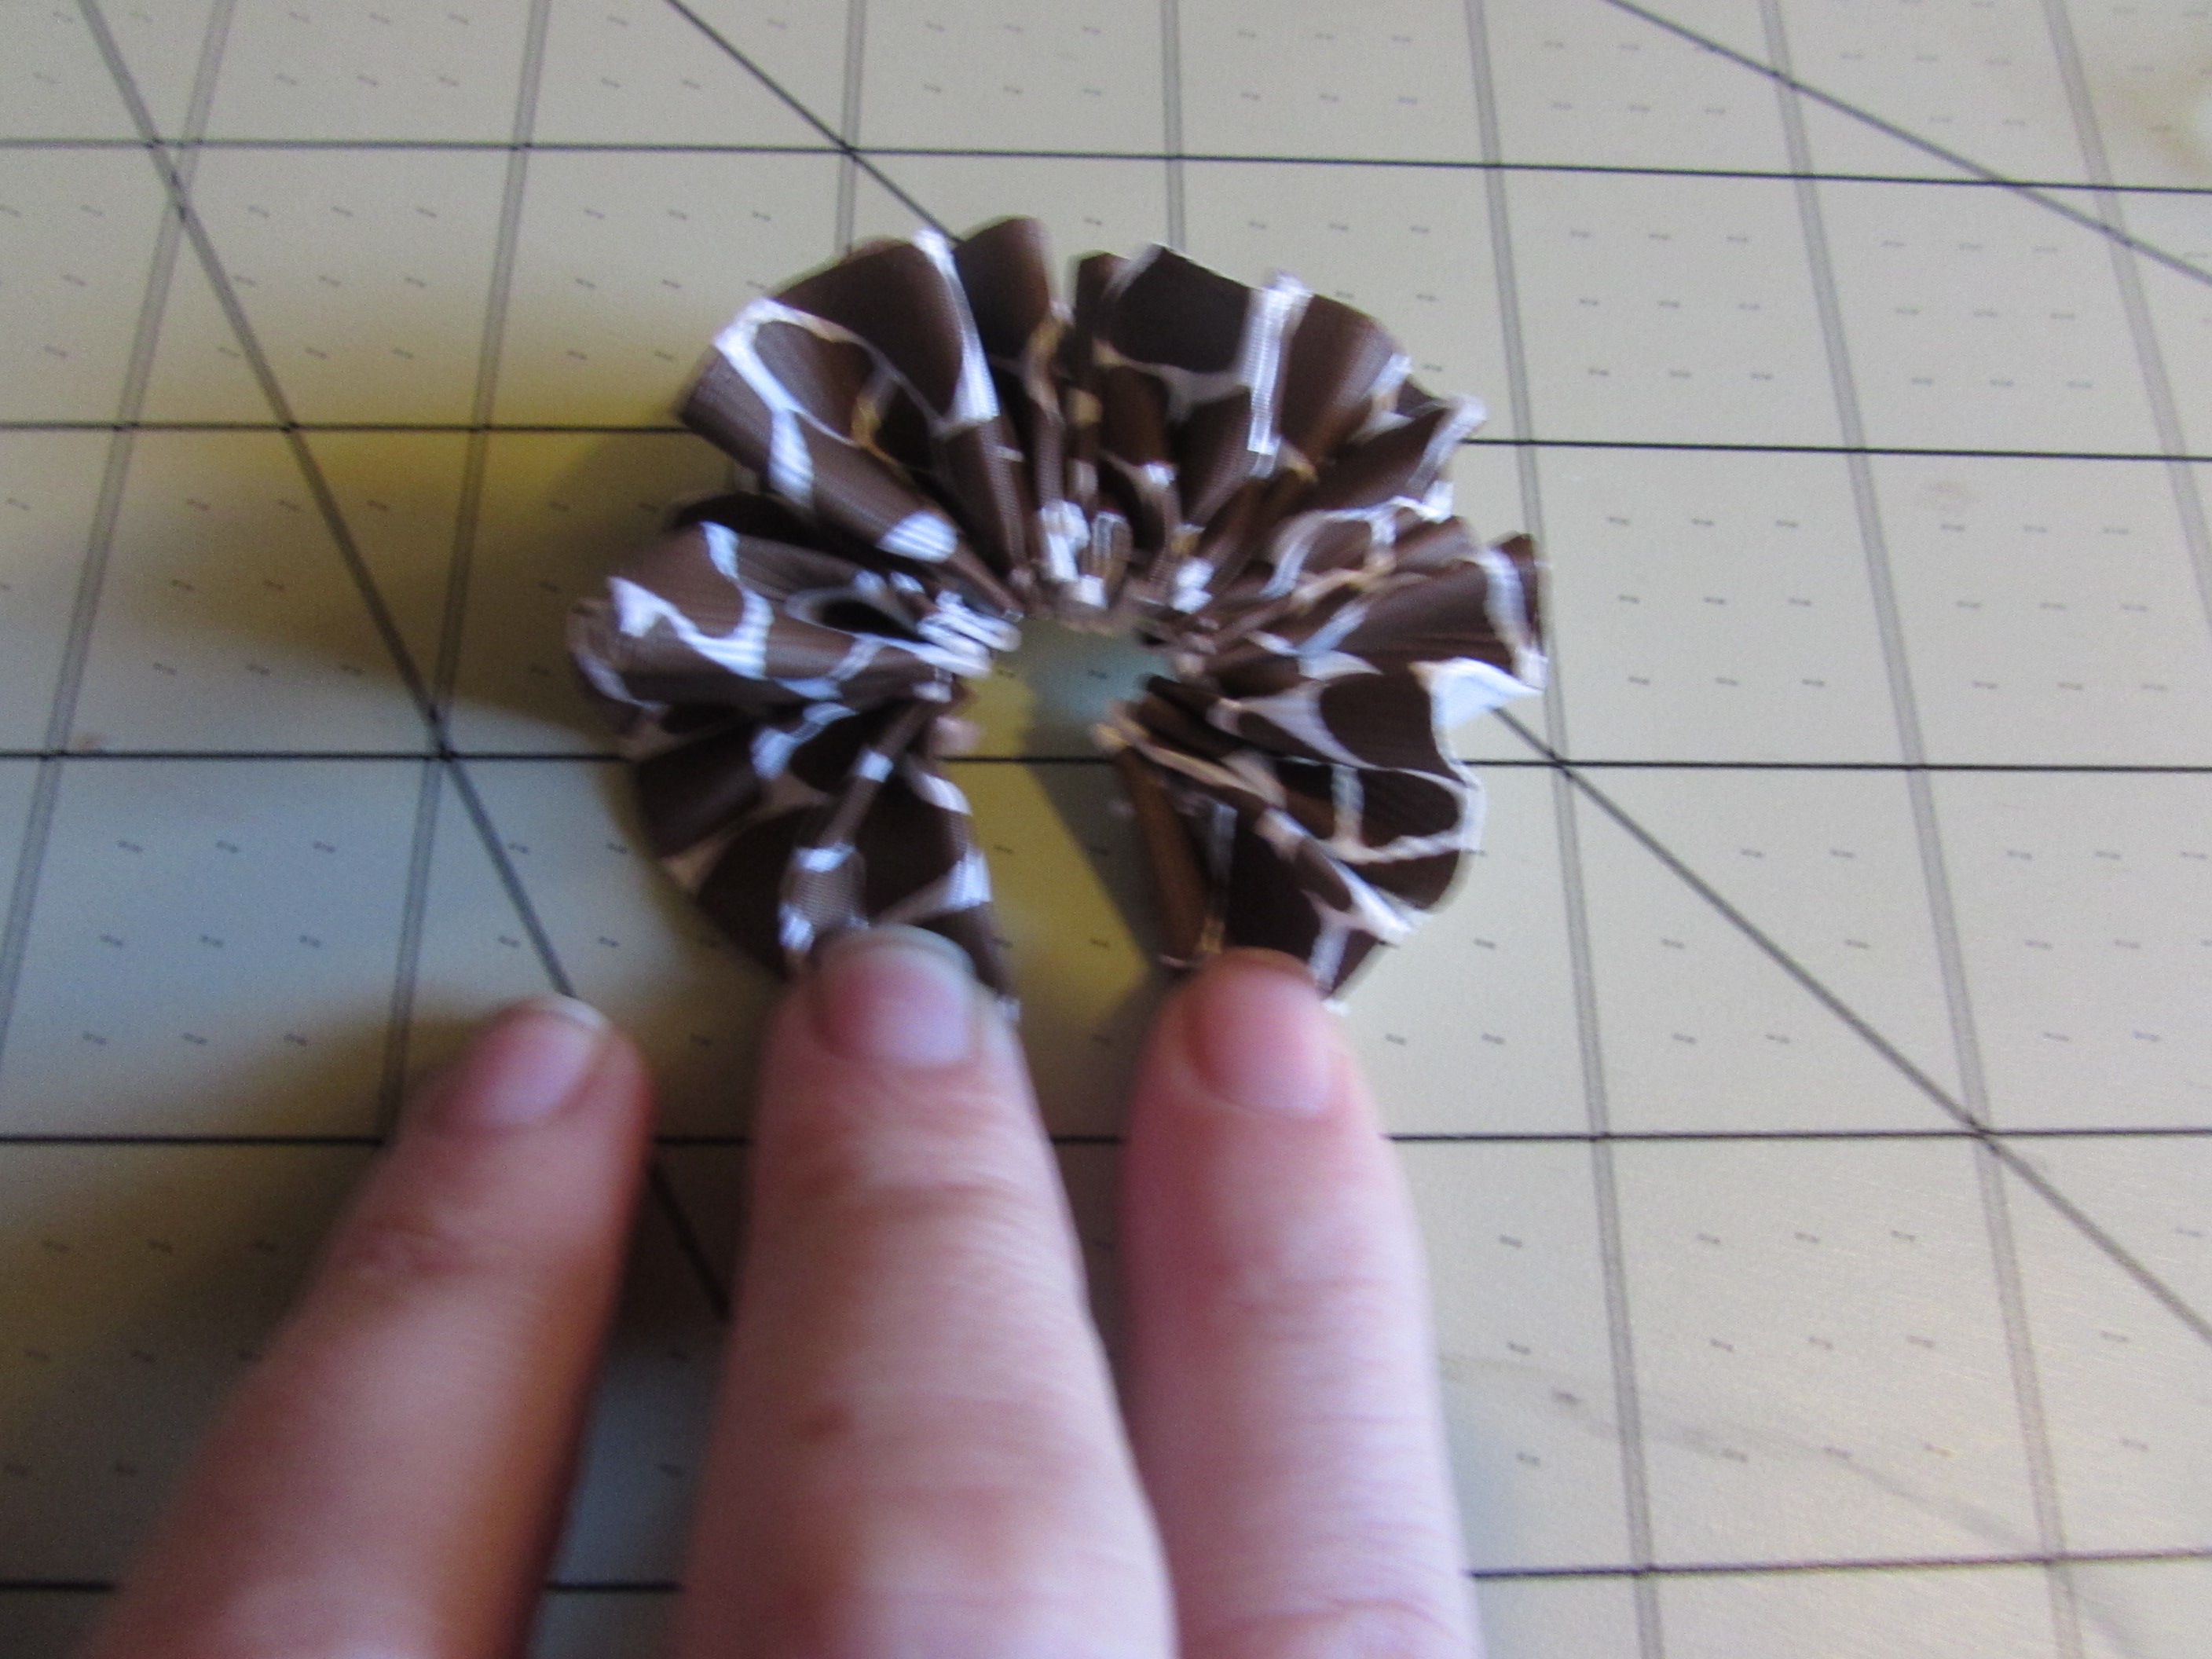
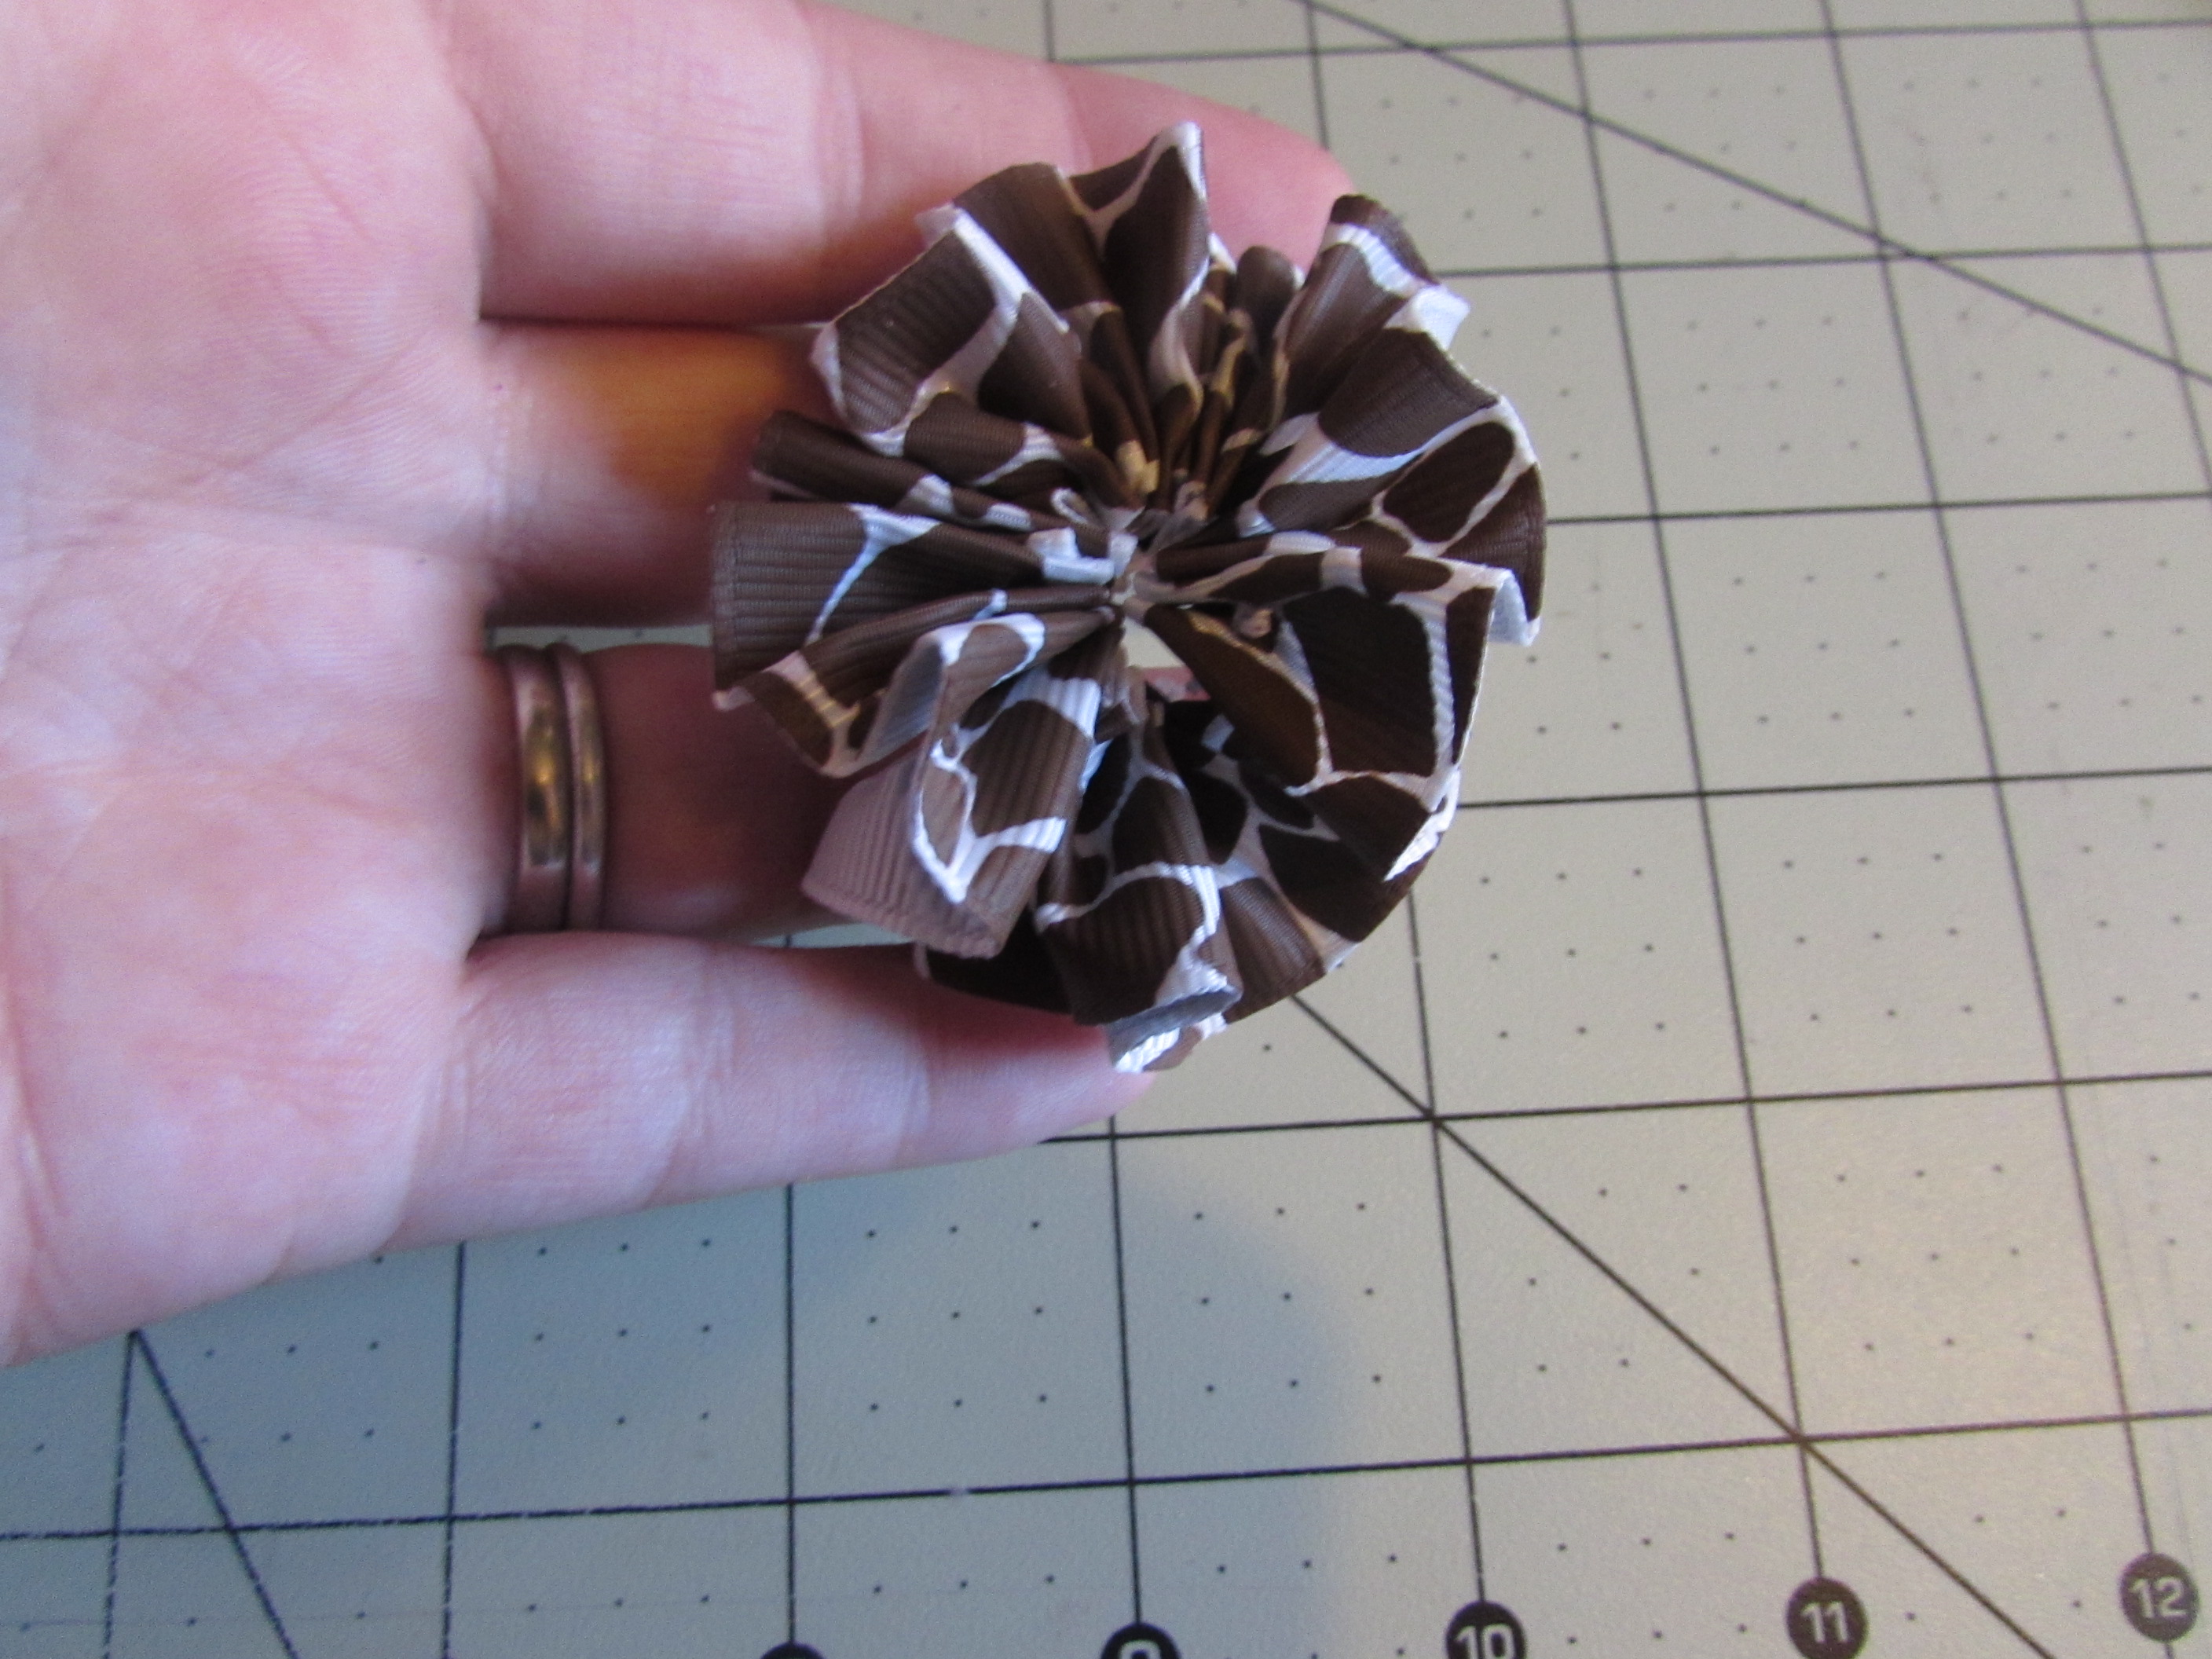
At this point, you are going to want to glue your "ruffle" down. You are going to want to make sure the ends are not touching and your bottle cap fits perfectly in the ruffle {{ where it appears to "wrap" around the bottle cap }}
Step 10:
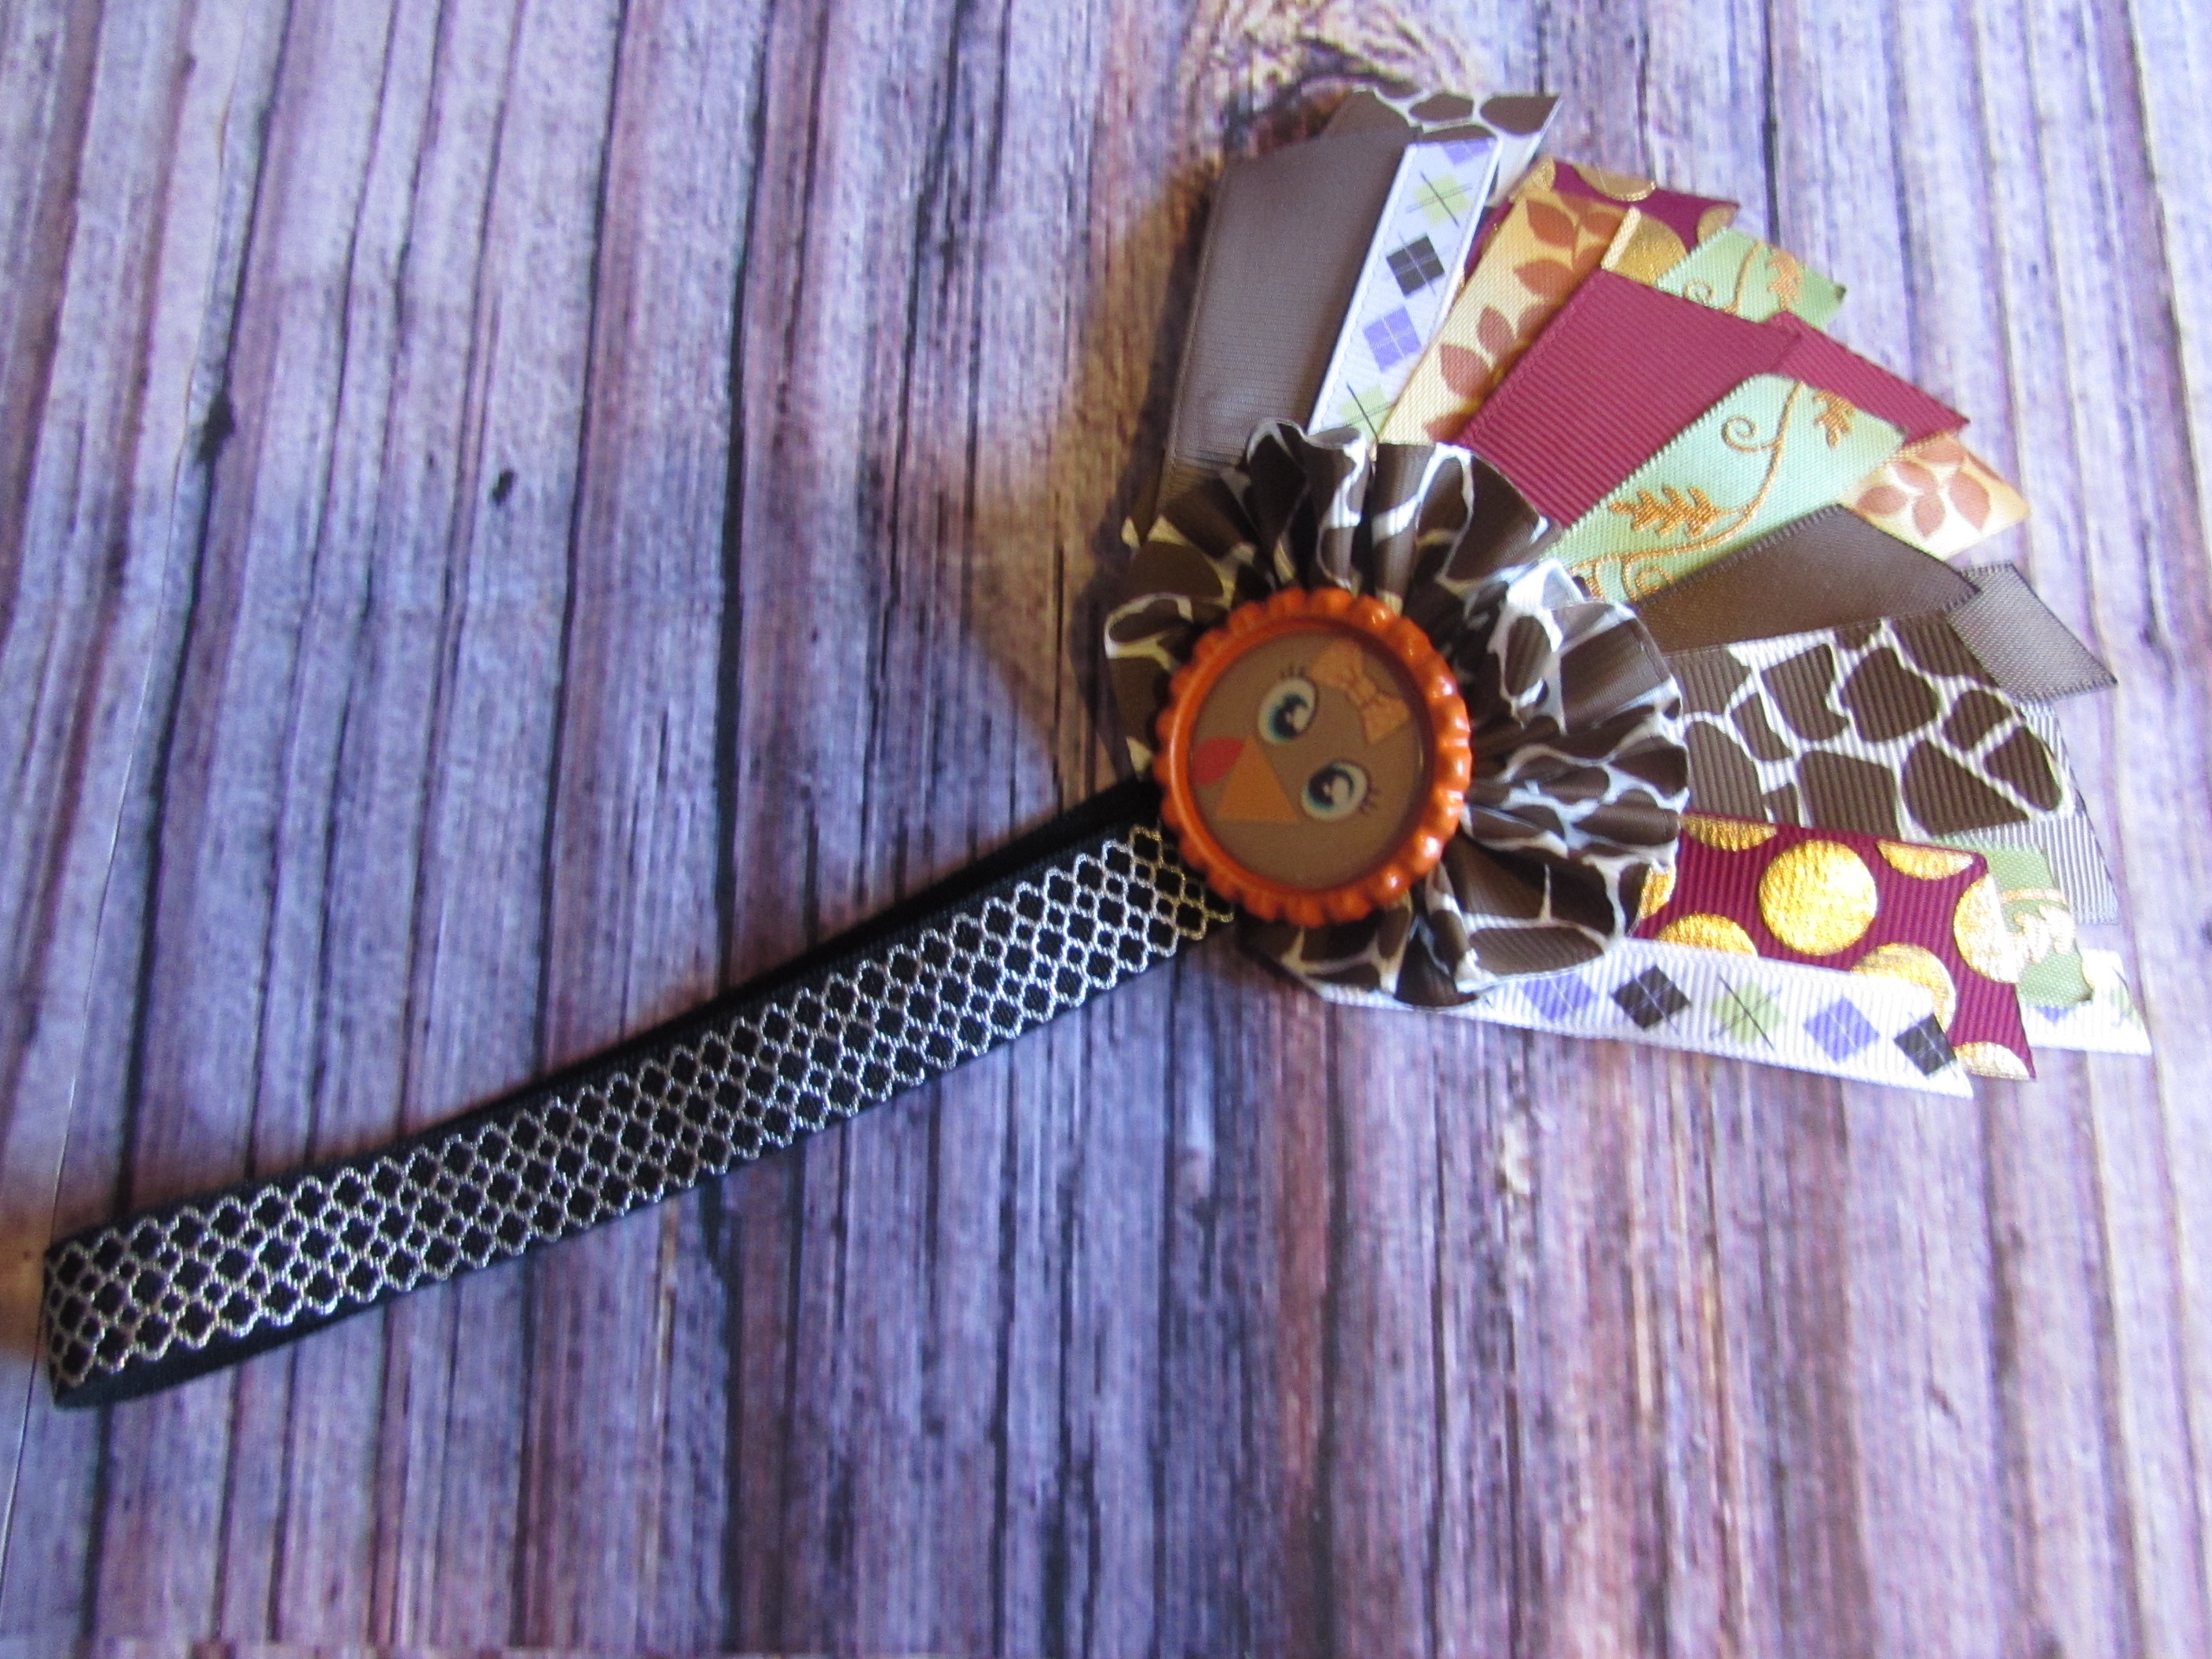
You are ready to finish it off. Add a clip or a headband and you're done. We added an elastic headband to ours.
Look how adorable that headband is. Thanks to Linda H. {{ Mommy Craftsalot }} for permission to link her blog post for the digital images. Thanks to my amazing daughter who was willing to let me snap some pictures of her wearing it without any issues lol.
Have a great day!


 TOOLS
TOOLS
 NEW
NEW


