Contributor post by Cassie
Good Morning Guys!
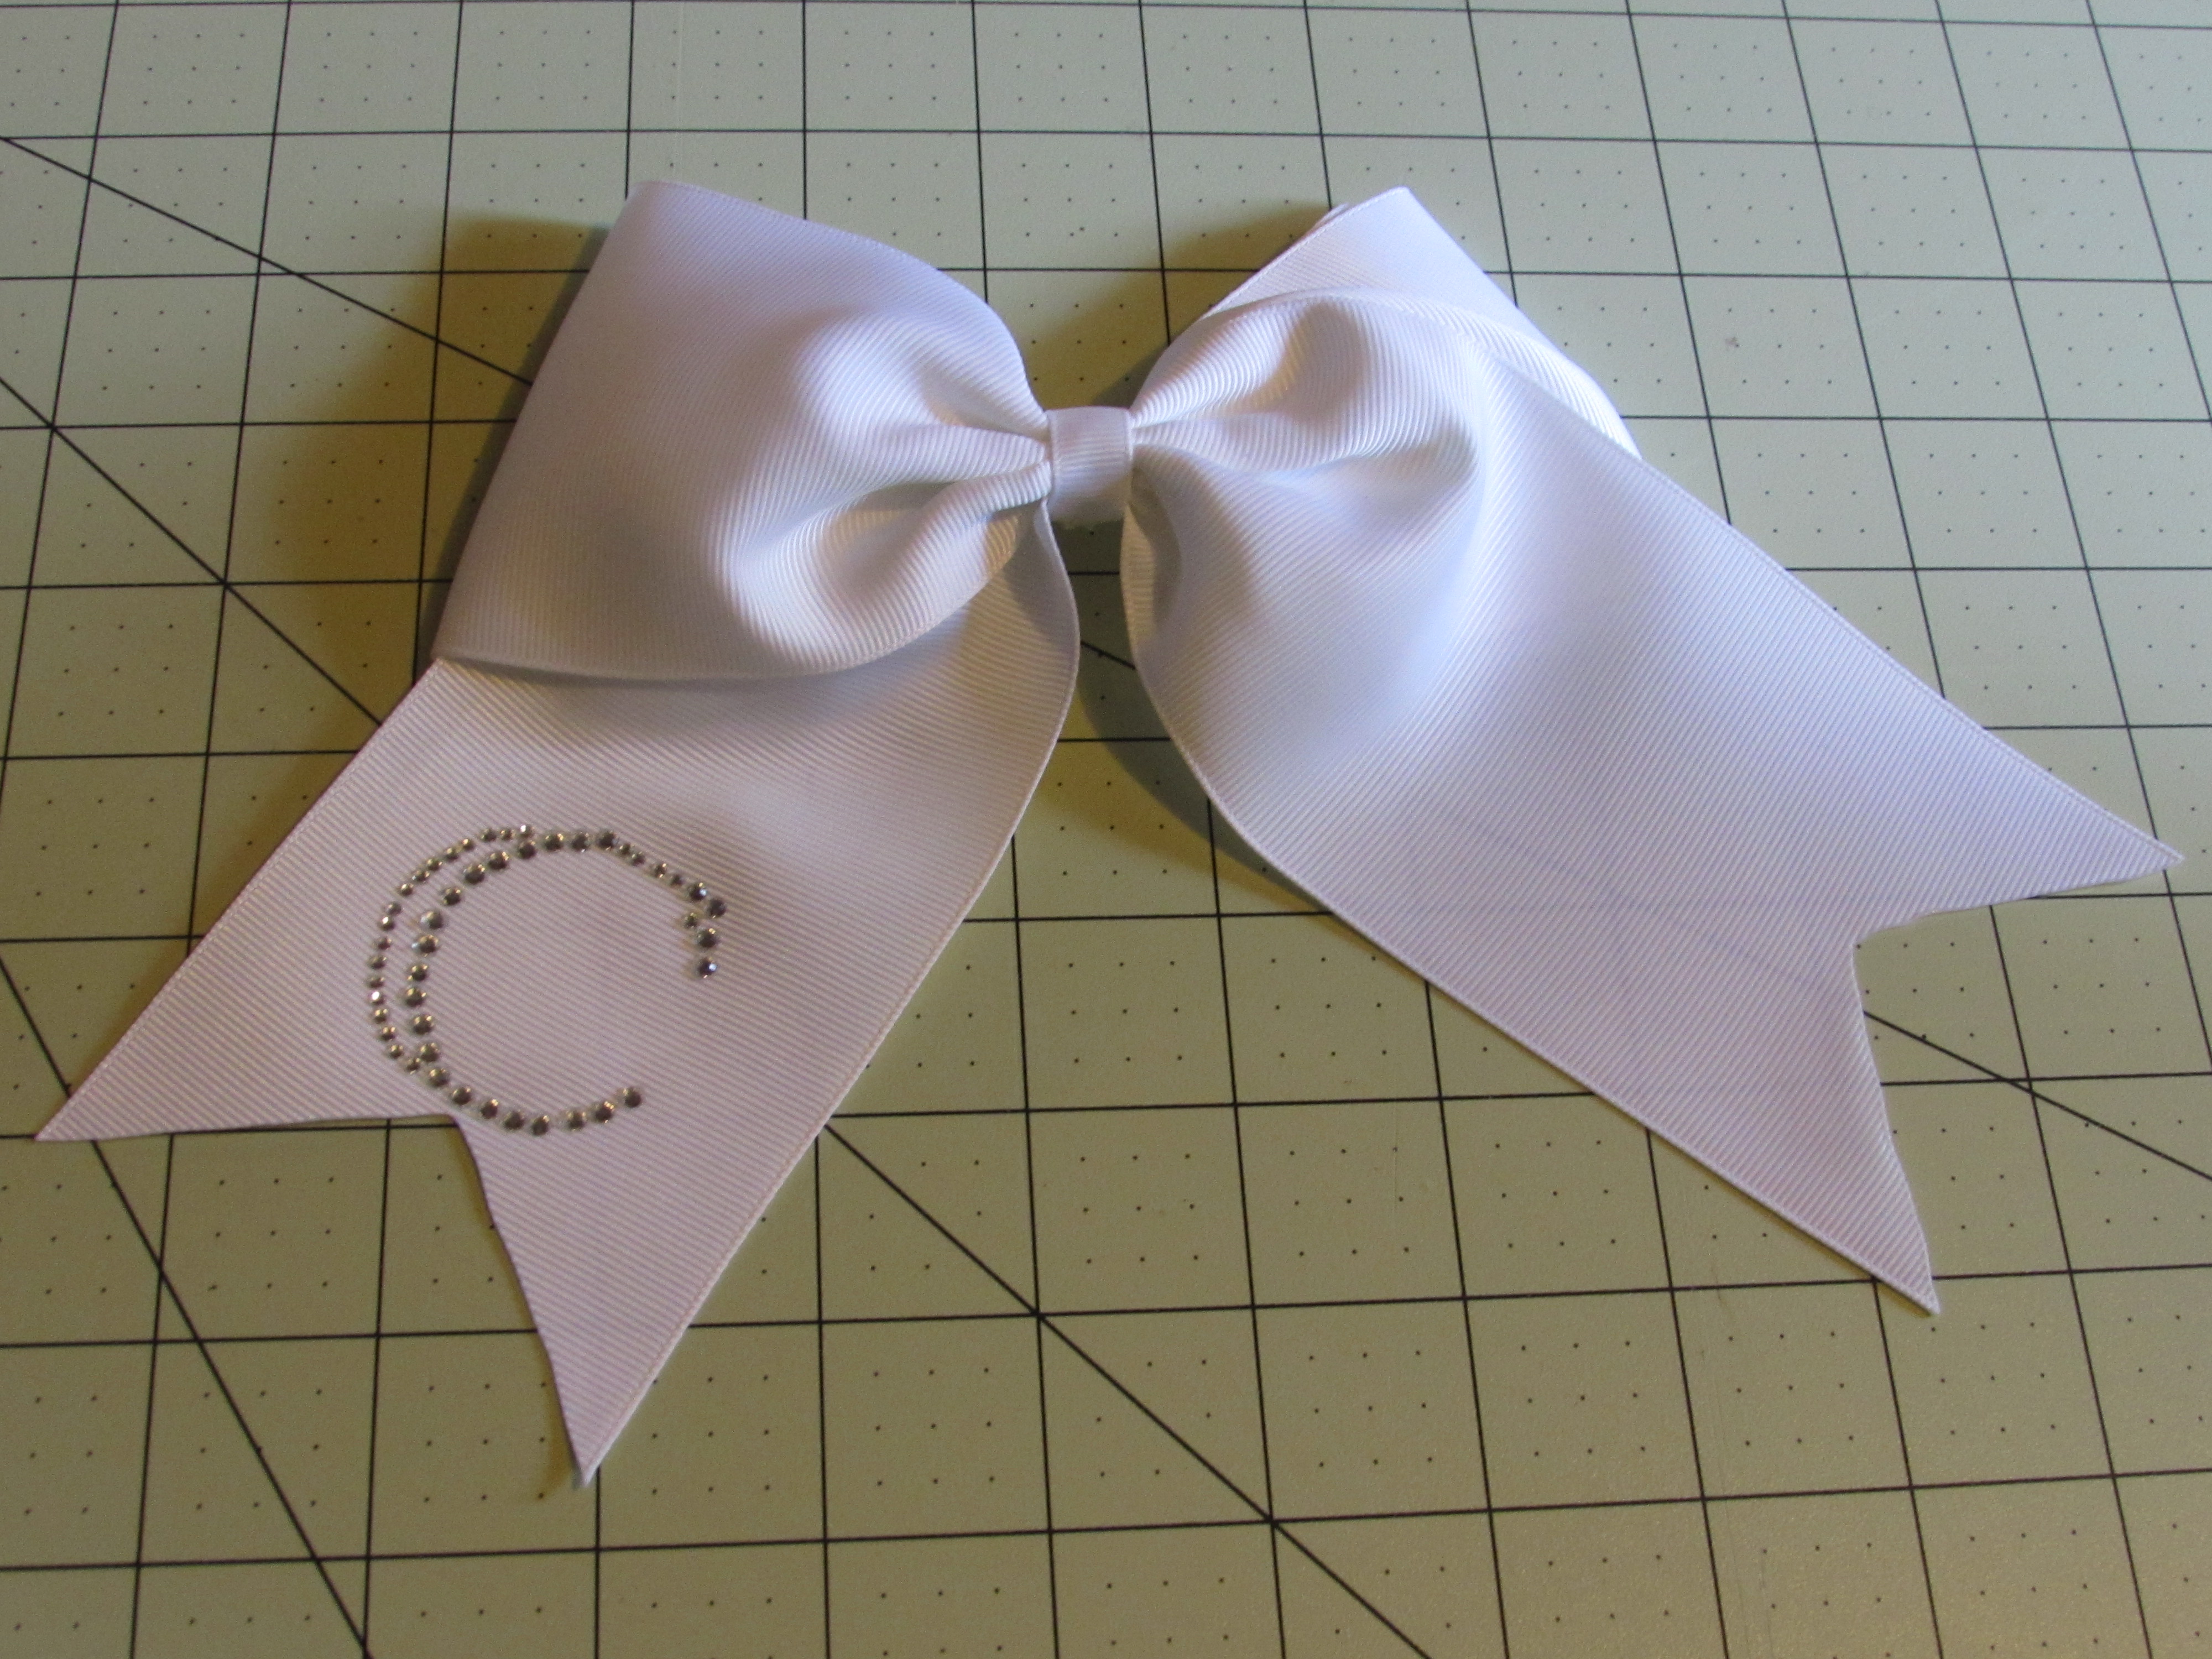
It is Cassie here, from CuppyCake GumDrop Boutique & More! As the school year is starting, my daughter is finally in school and she has been having me make her cheer bows! Go big or go home, right?! She isn't even in cheerleading {{ yet }} lol. At least we will be ready for it when she is, right? Anyways, today we are going to be making a simple cheer bow using rhinestone monogram initials.
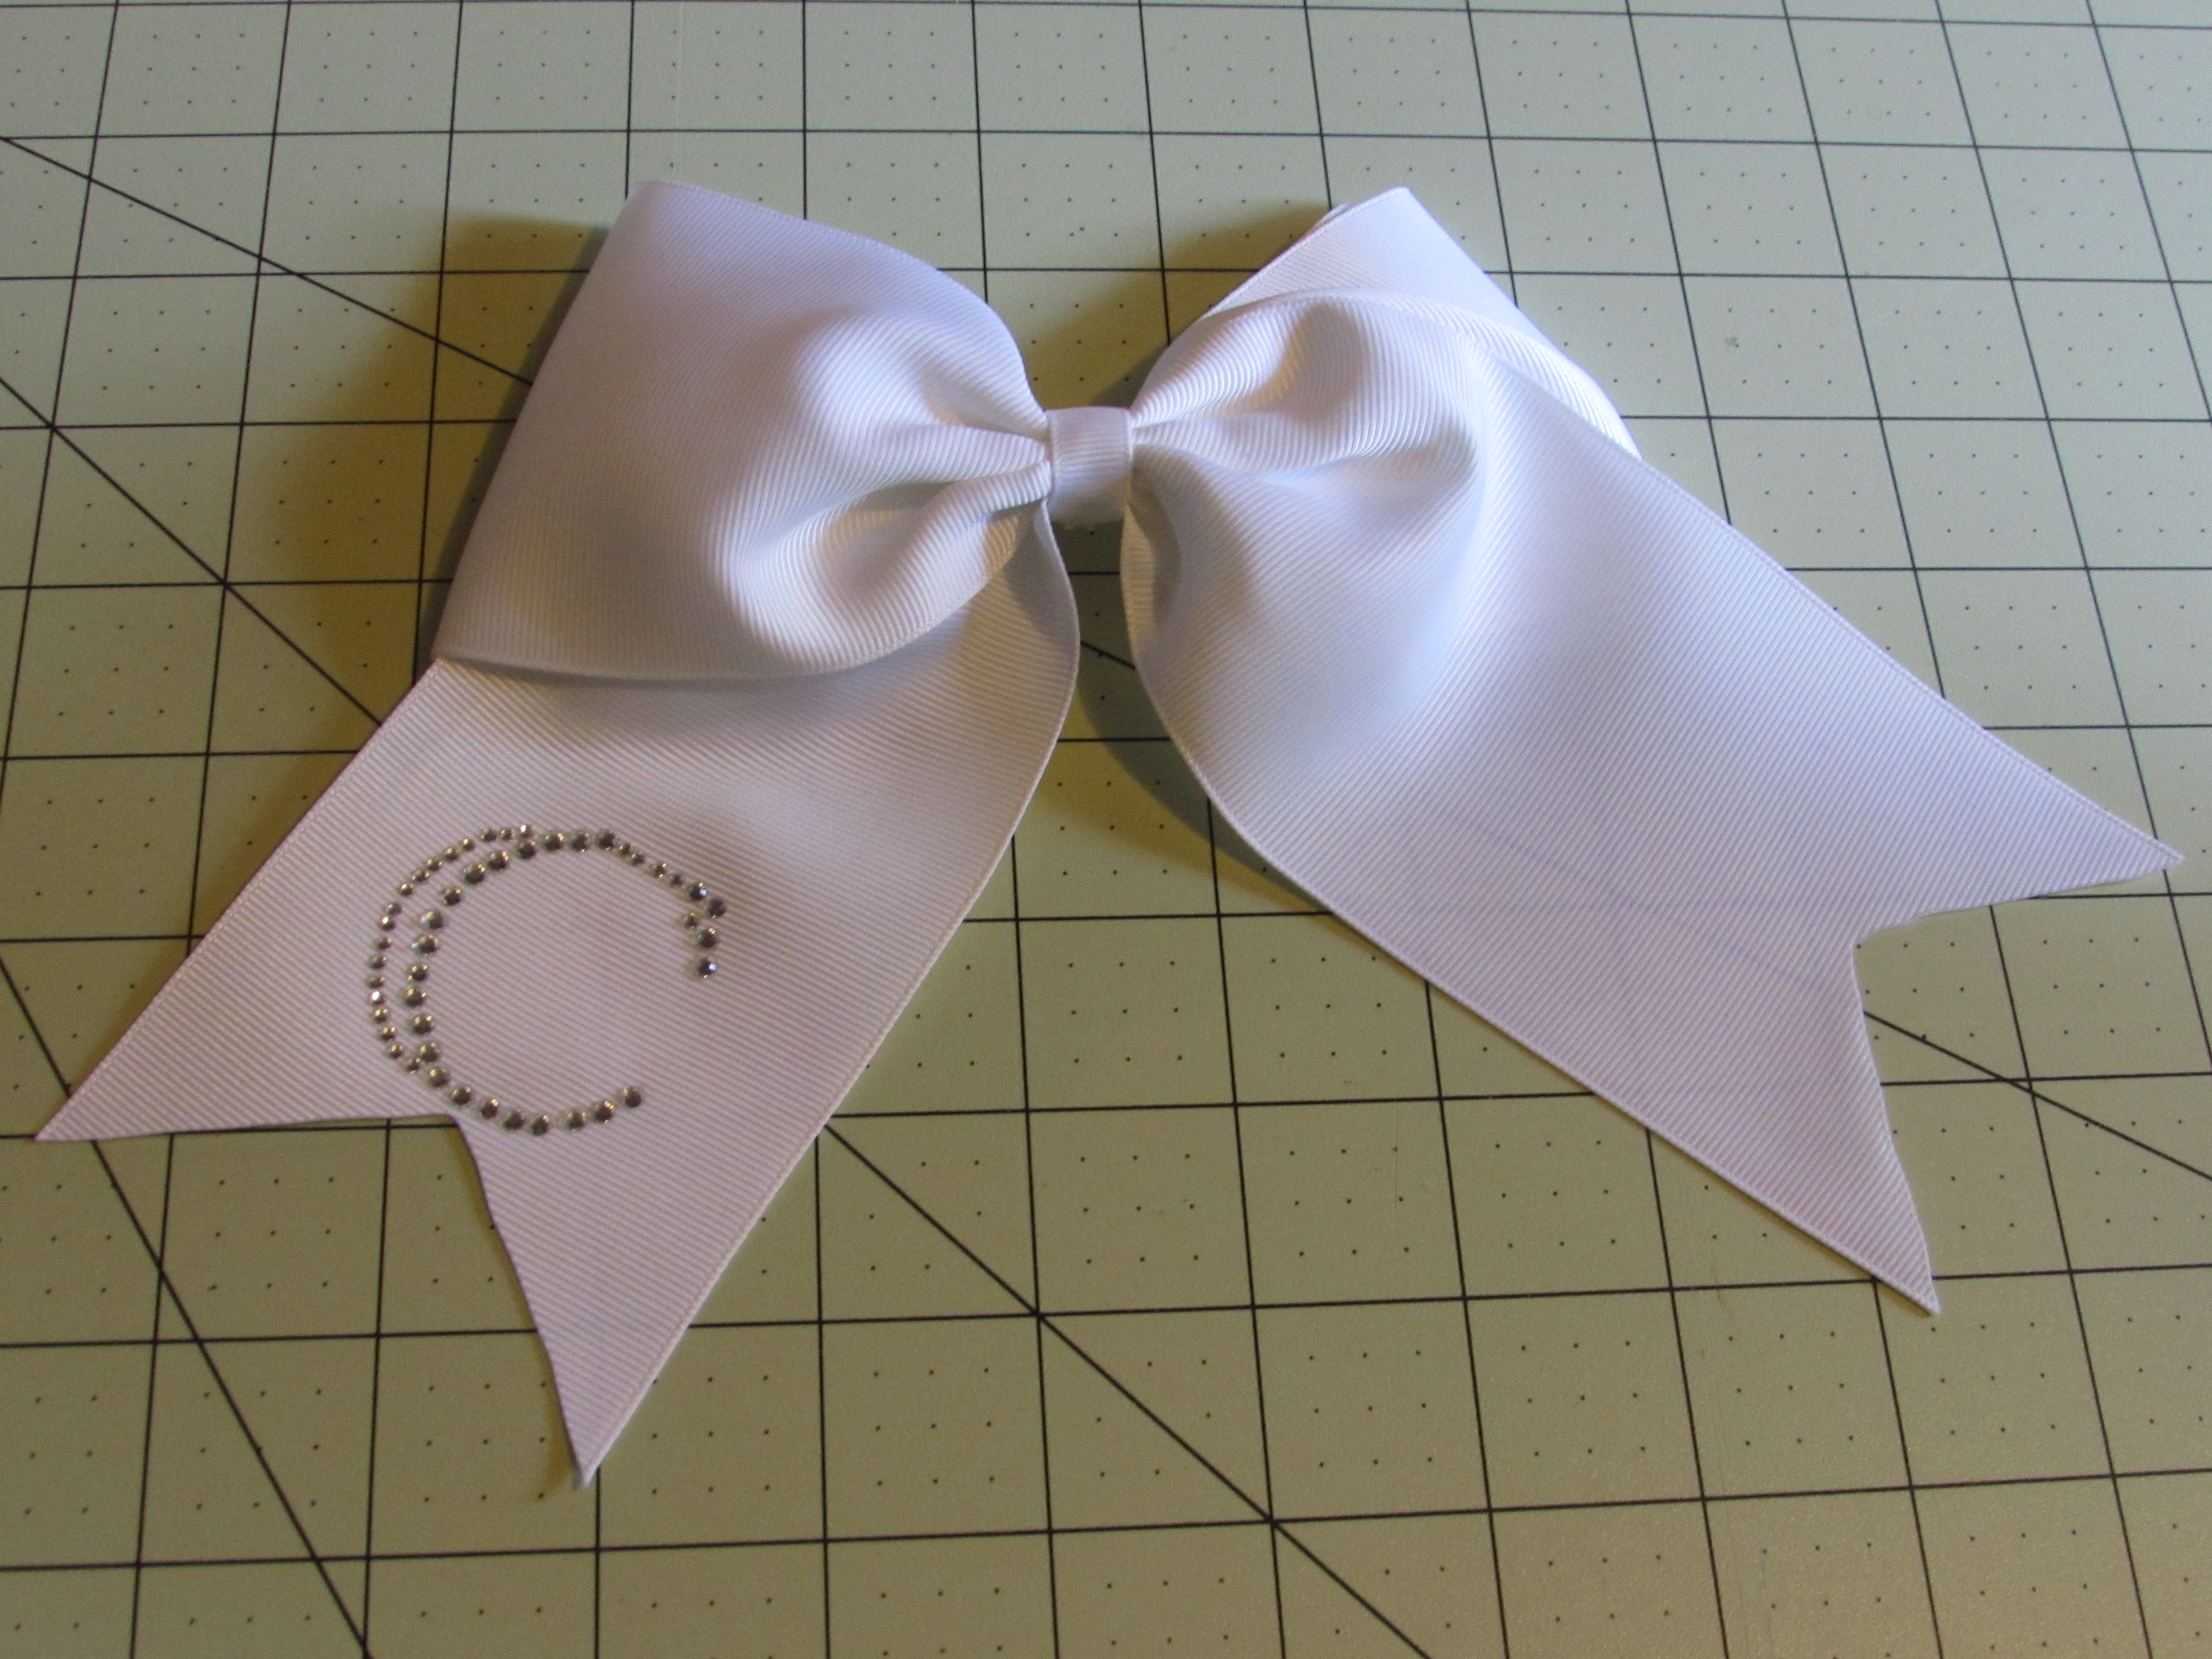
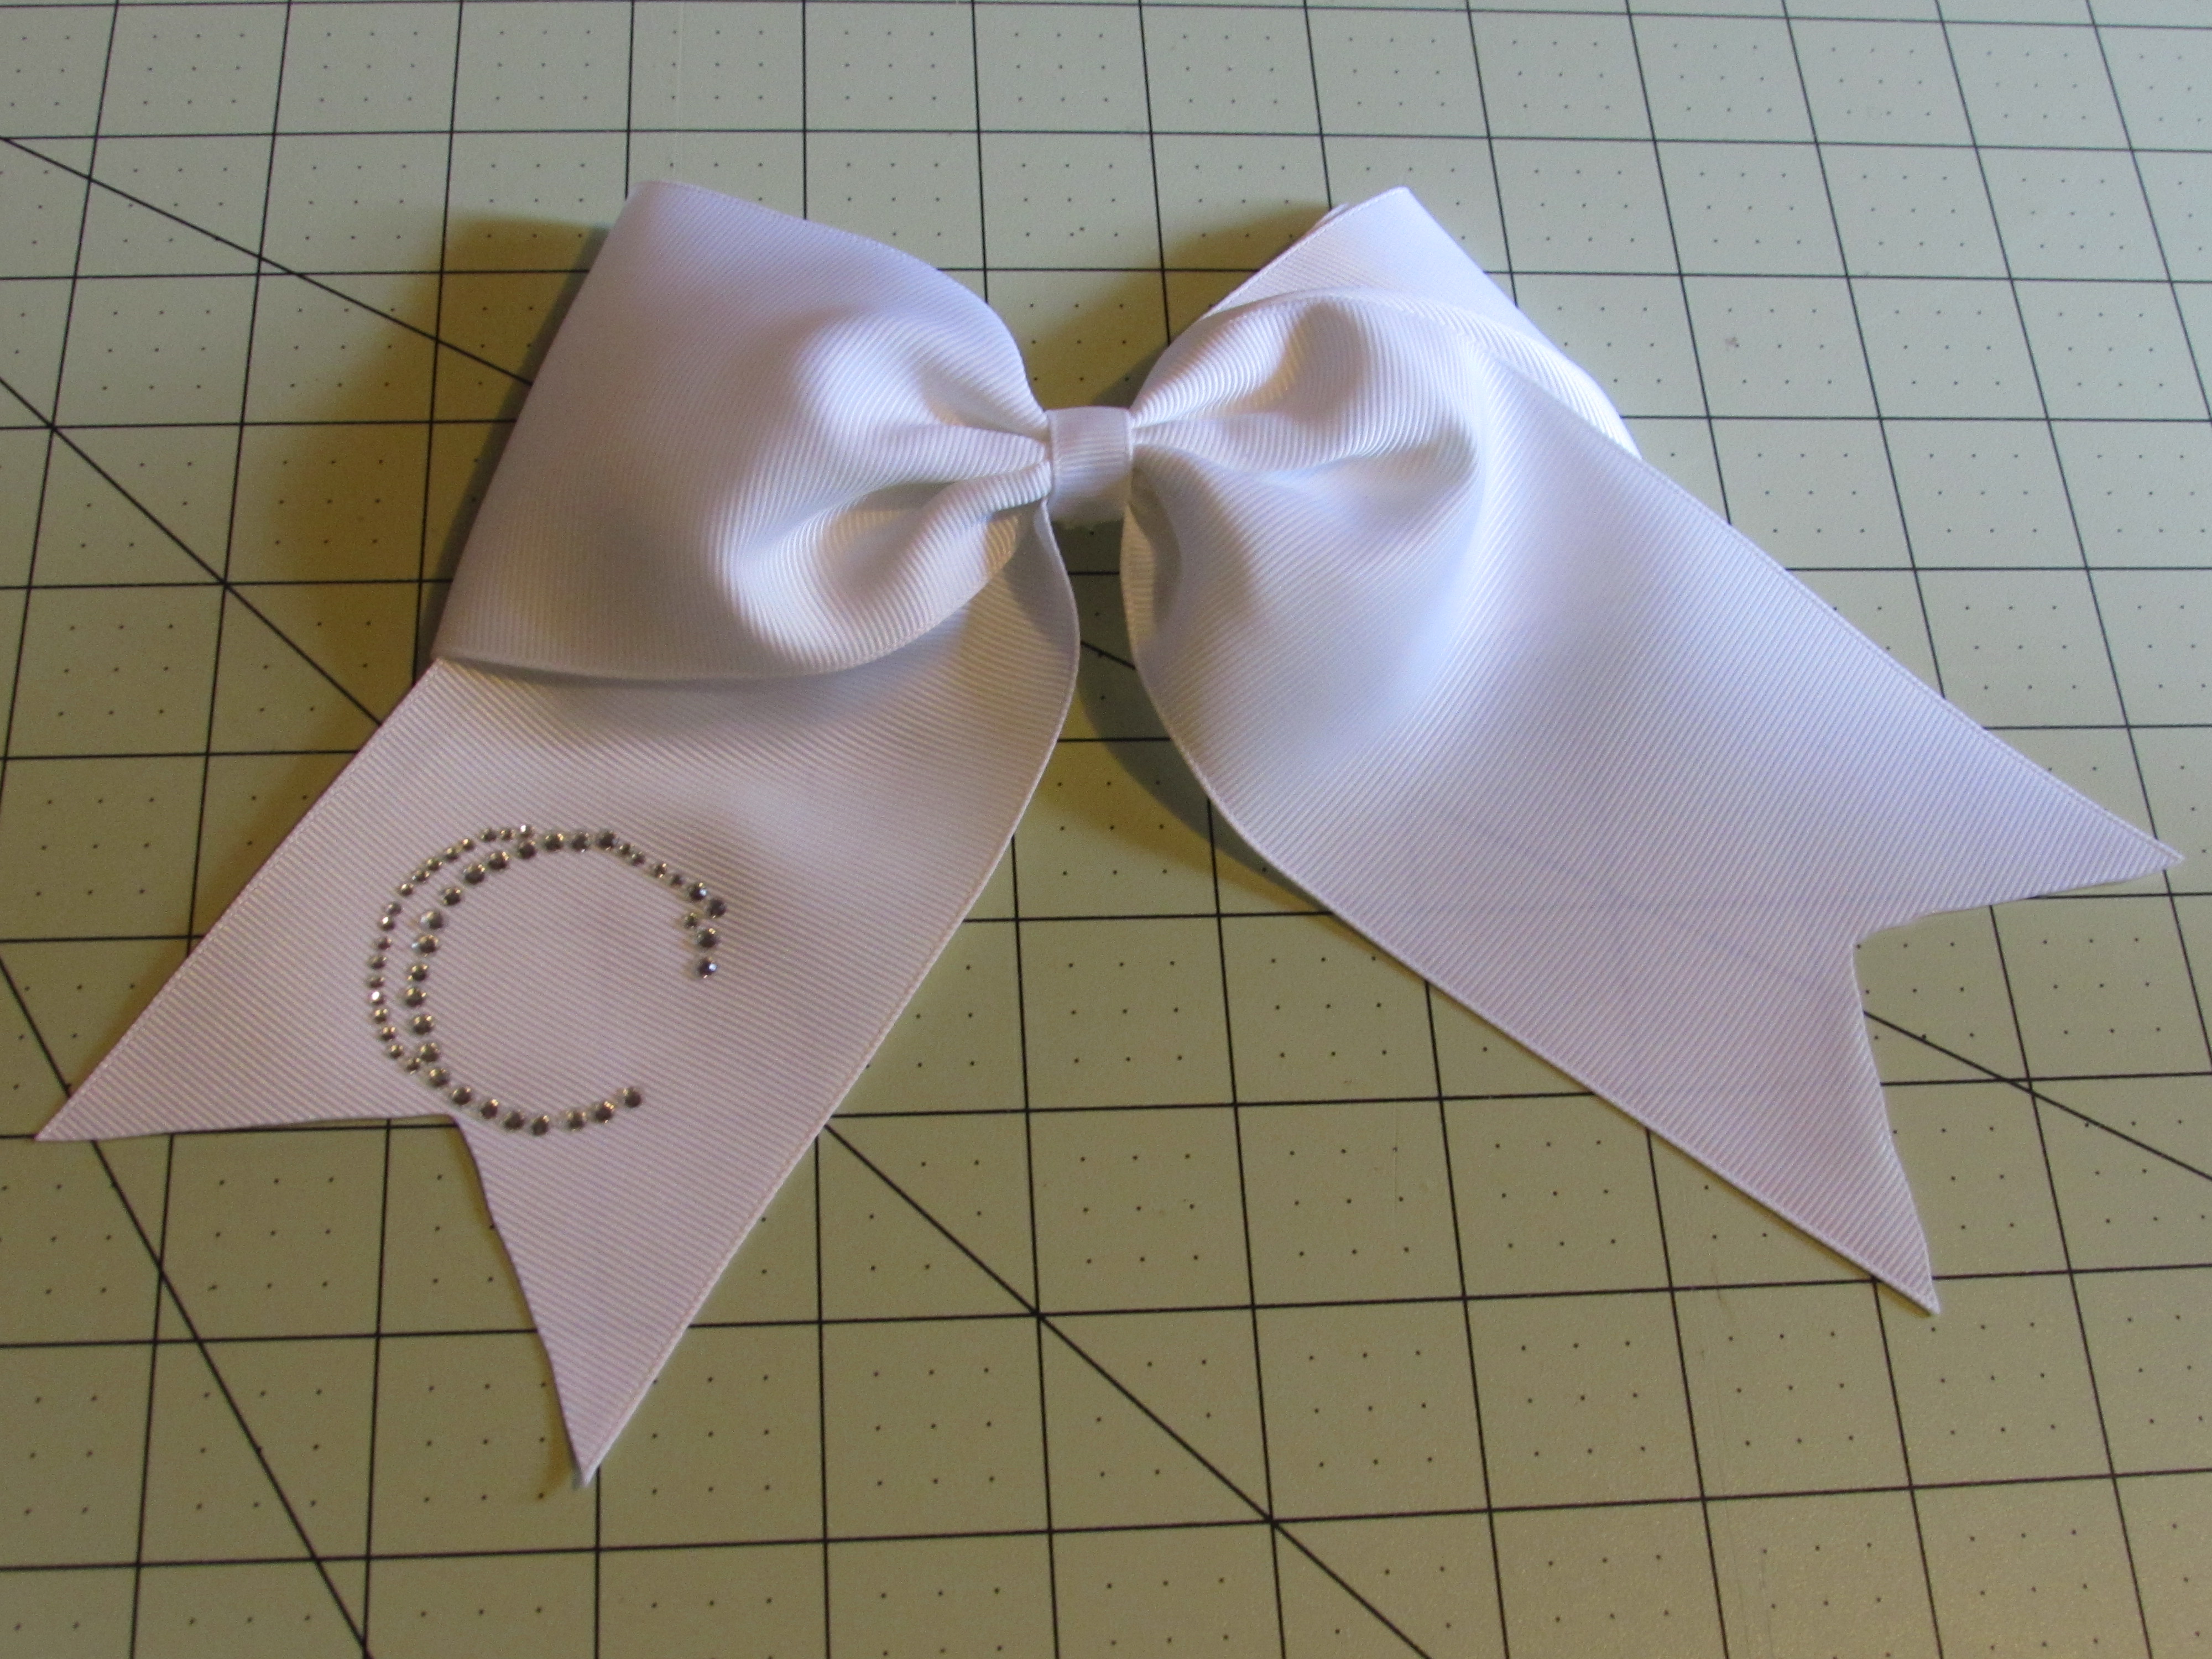
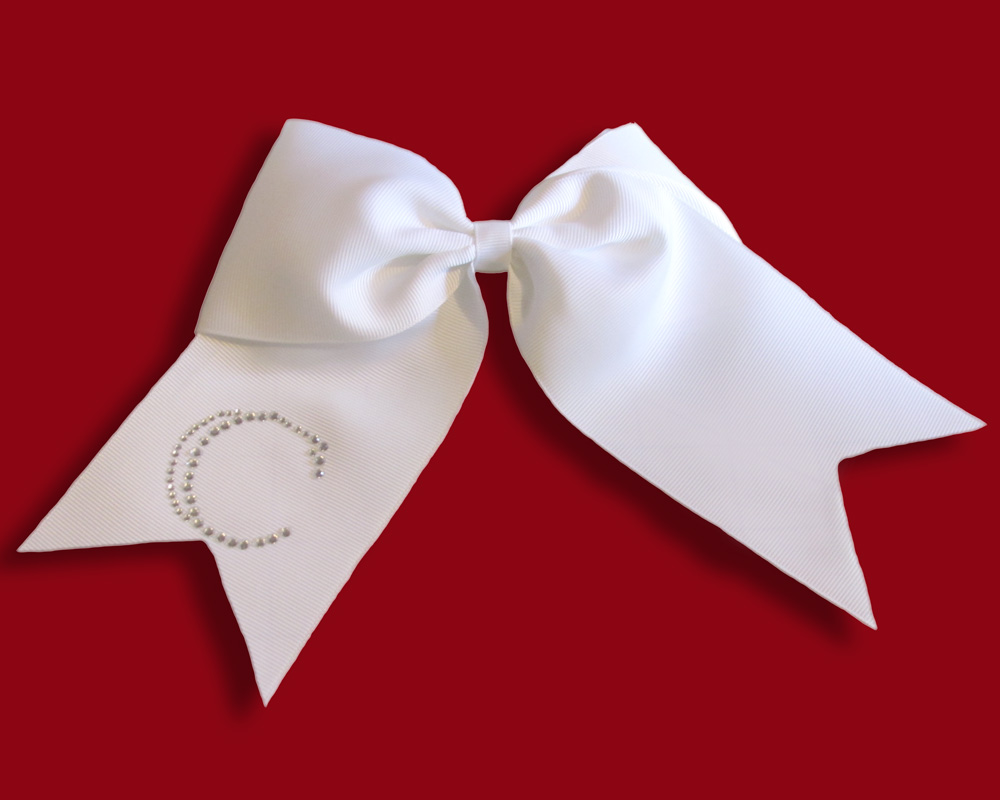
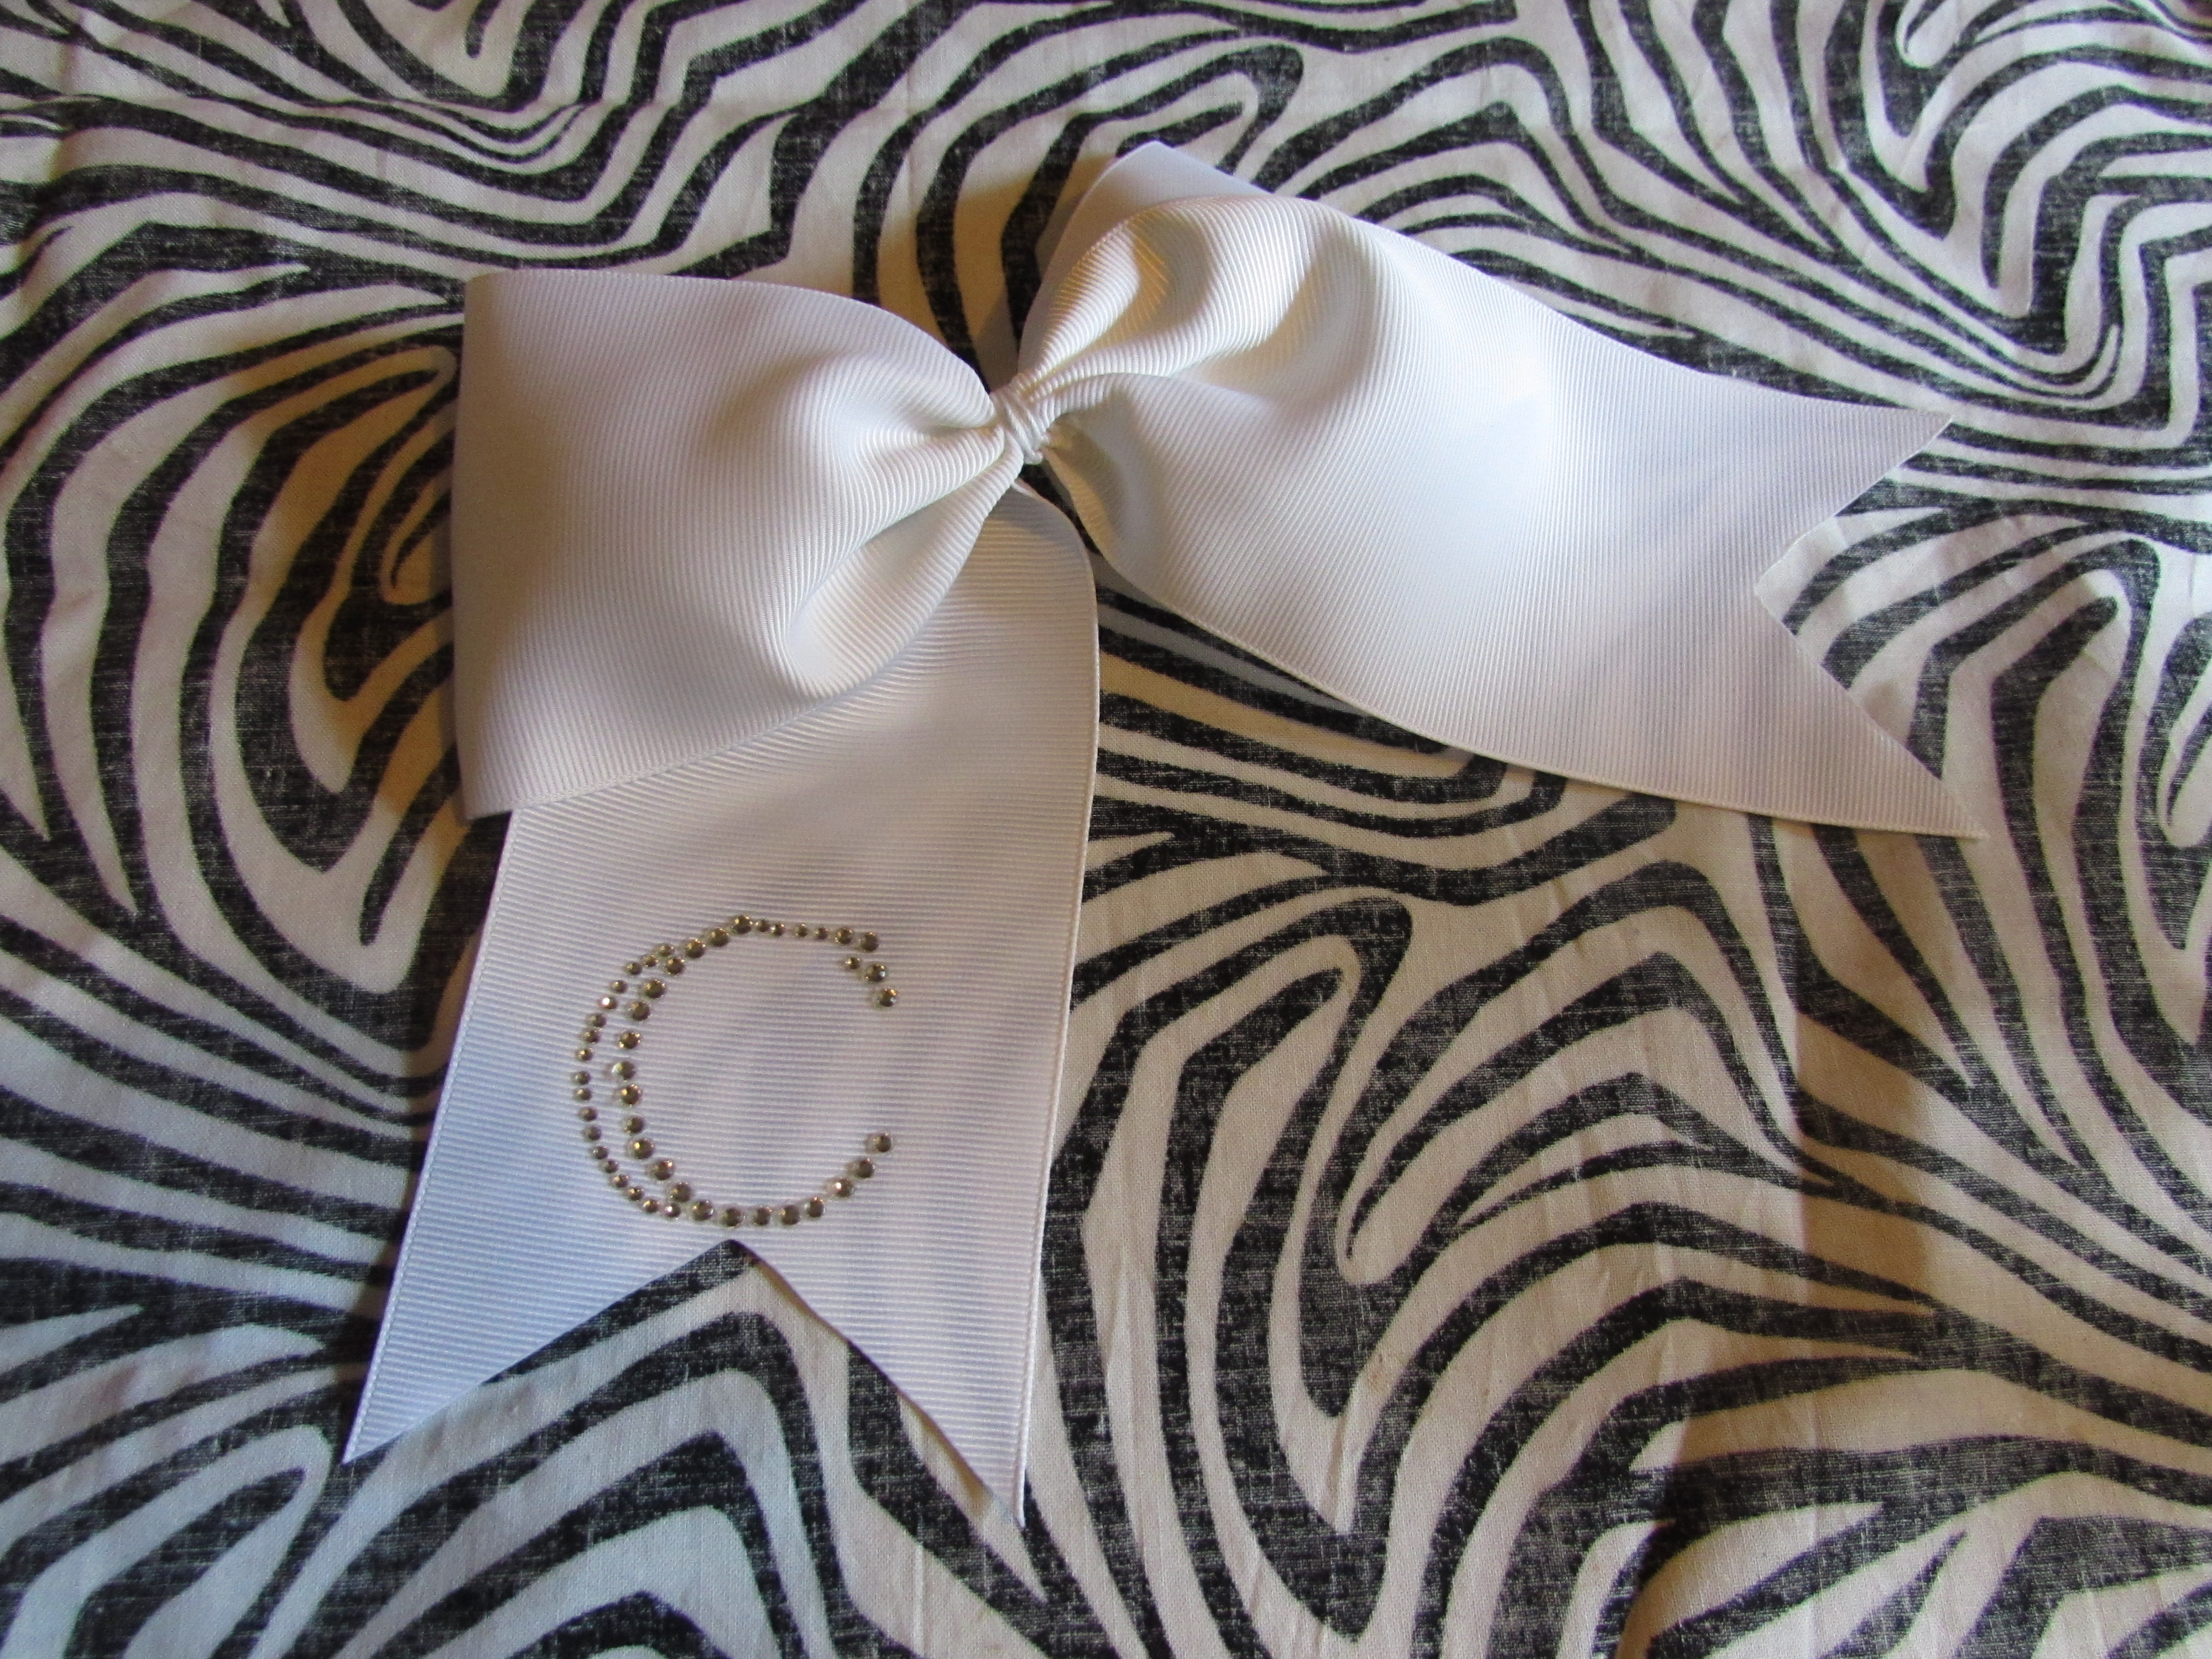
Look at that?! Seriously, isn't it just the cutest simple cheer bow EVER! Measures about 6" wide! Once you get the hang of this simple adorable one you can make ANYTHING! So, let's gather our supplies and get started :))
Supplies Needed:
-
6" ribbon template {{ HOMEMADE is what I will be using }}
- 26" of
3" wide ribbon
- Scissors
- Lighter
- Needle/Thread
- Lined
Alligator Clip {{ can use french barrette, alligator clip, or ponytail elastic }}
- 3" of
3/8" wide ribbon
- Hotglue/ gun
- Pliers {{ optional }}
- Iron
- Fabric
-
Iron On Rhinestone Letter
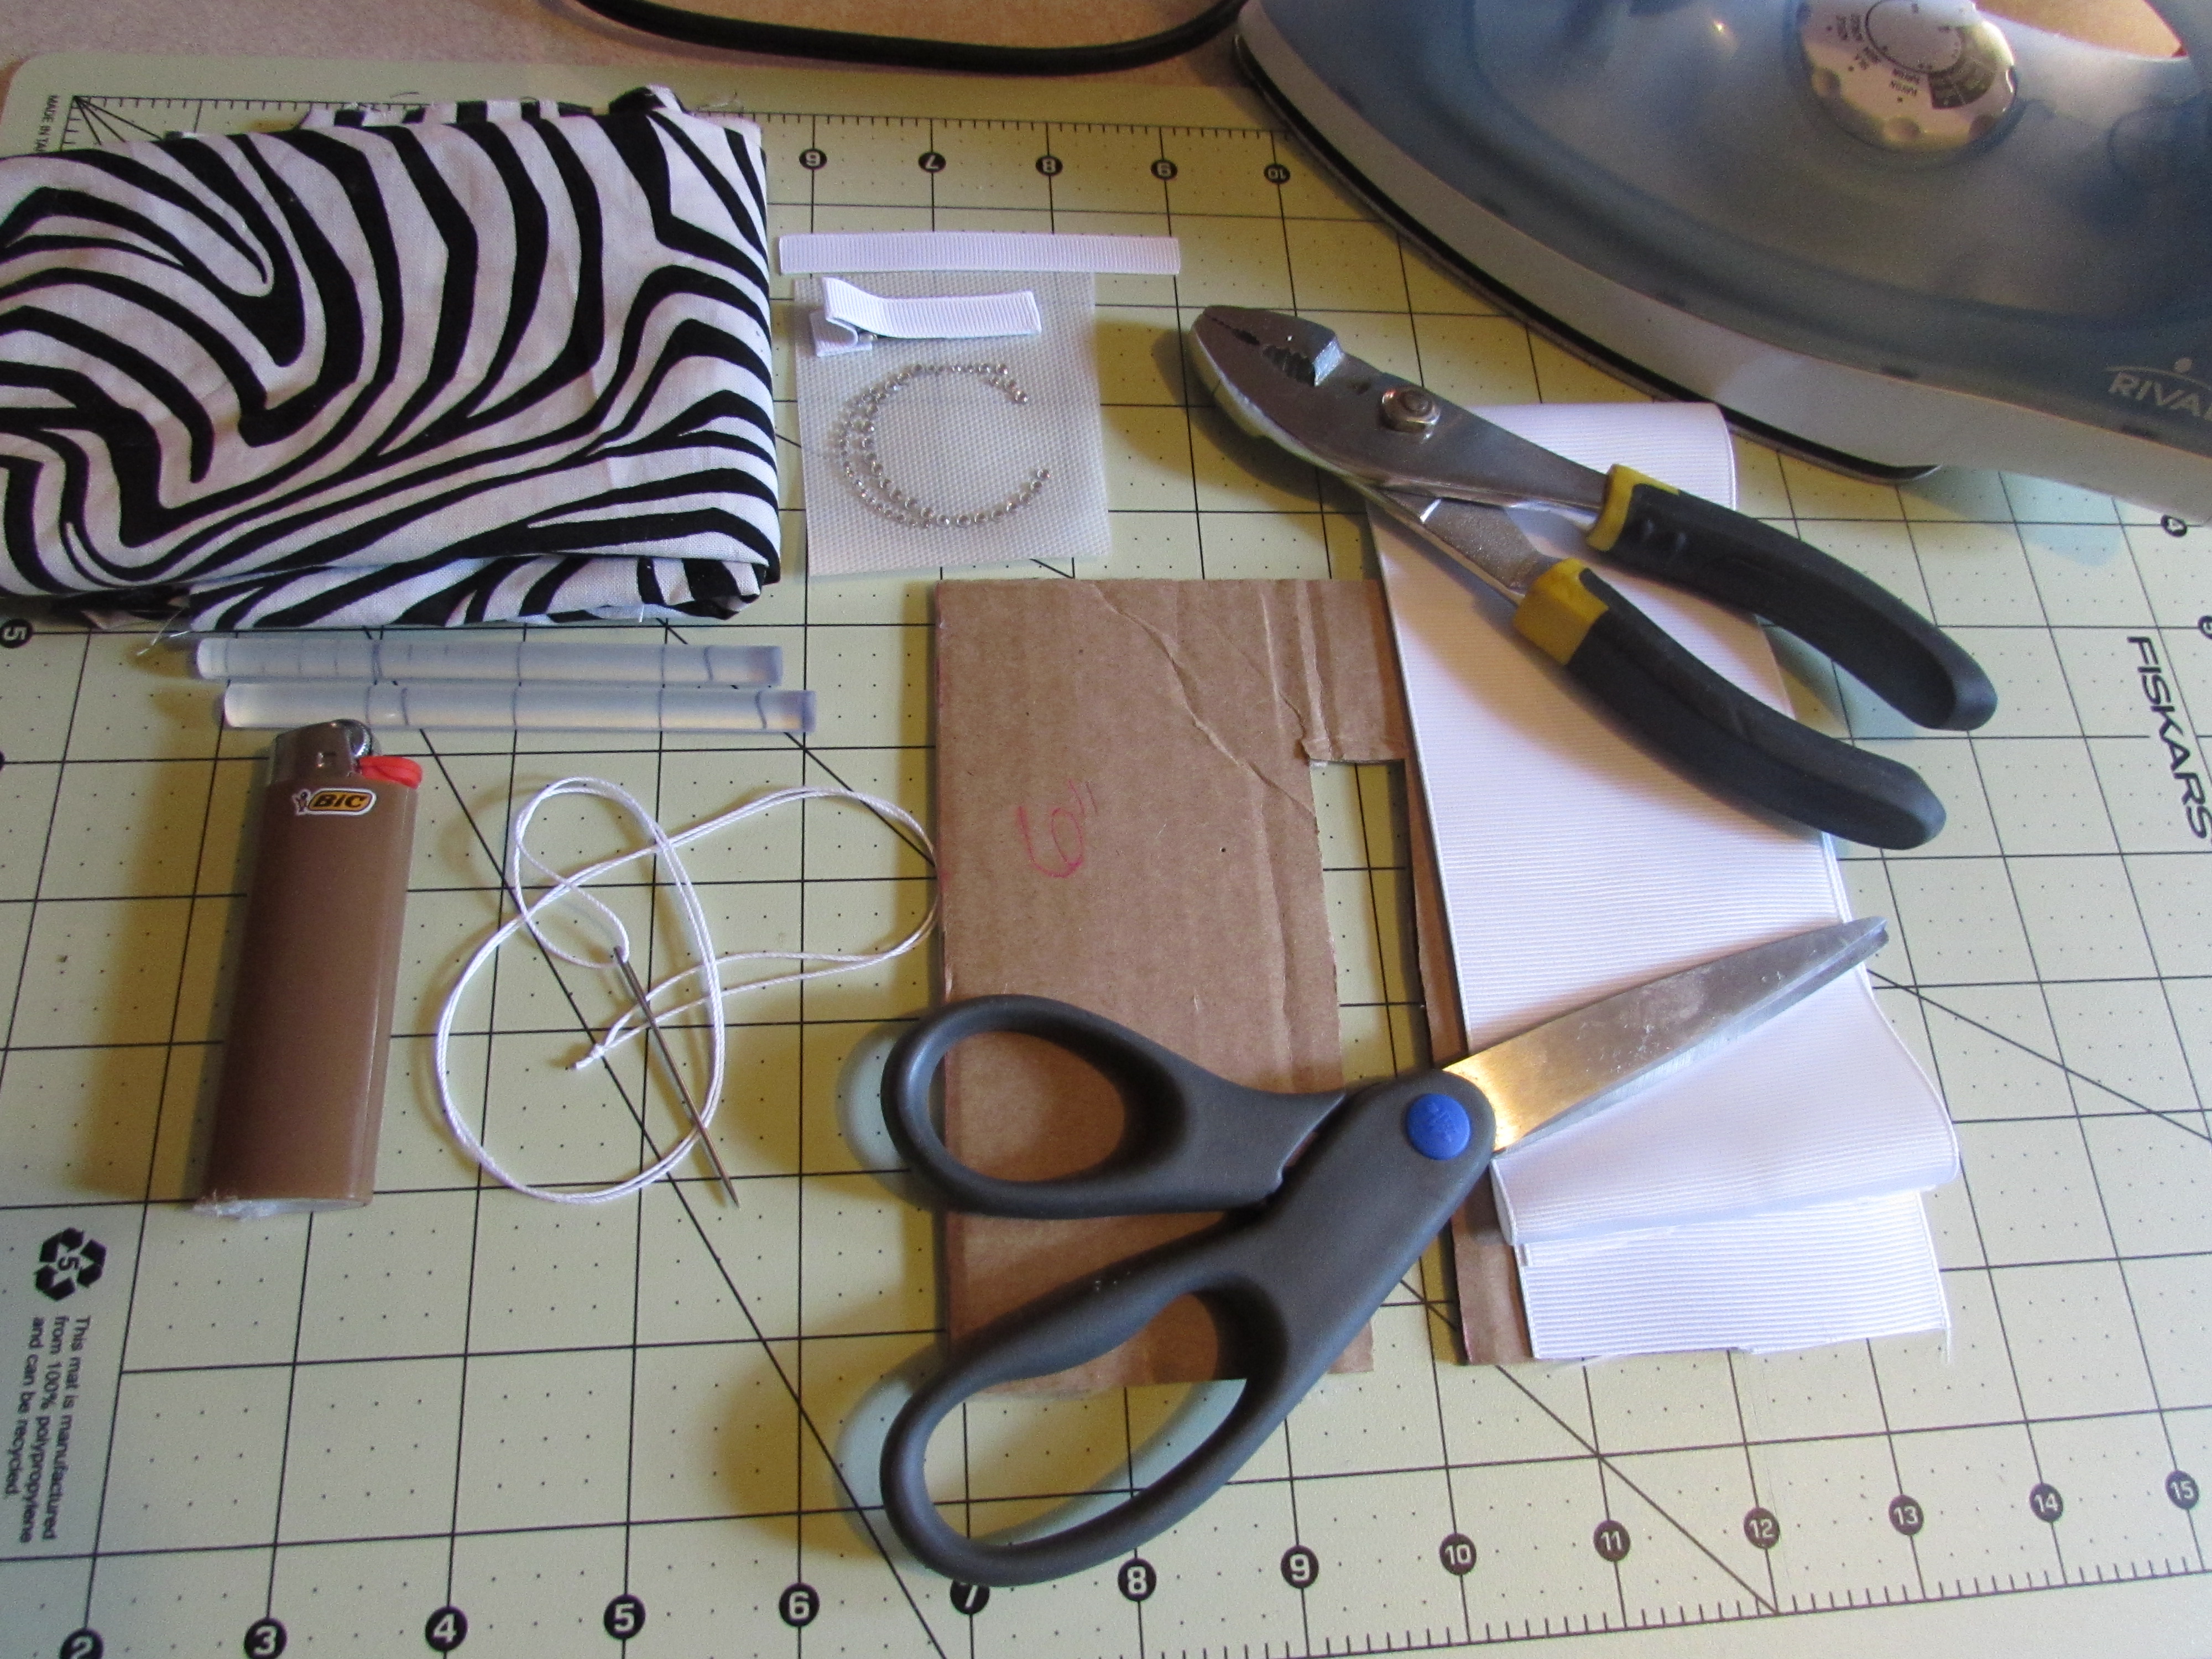
Now that we have our supplies, let's get started.
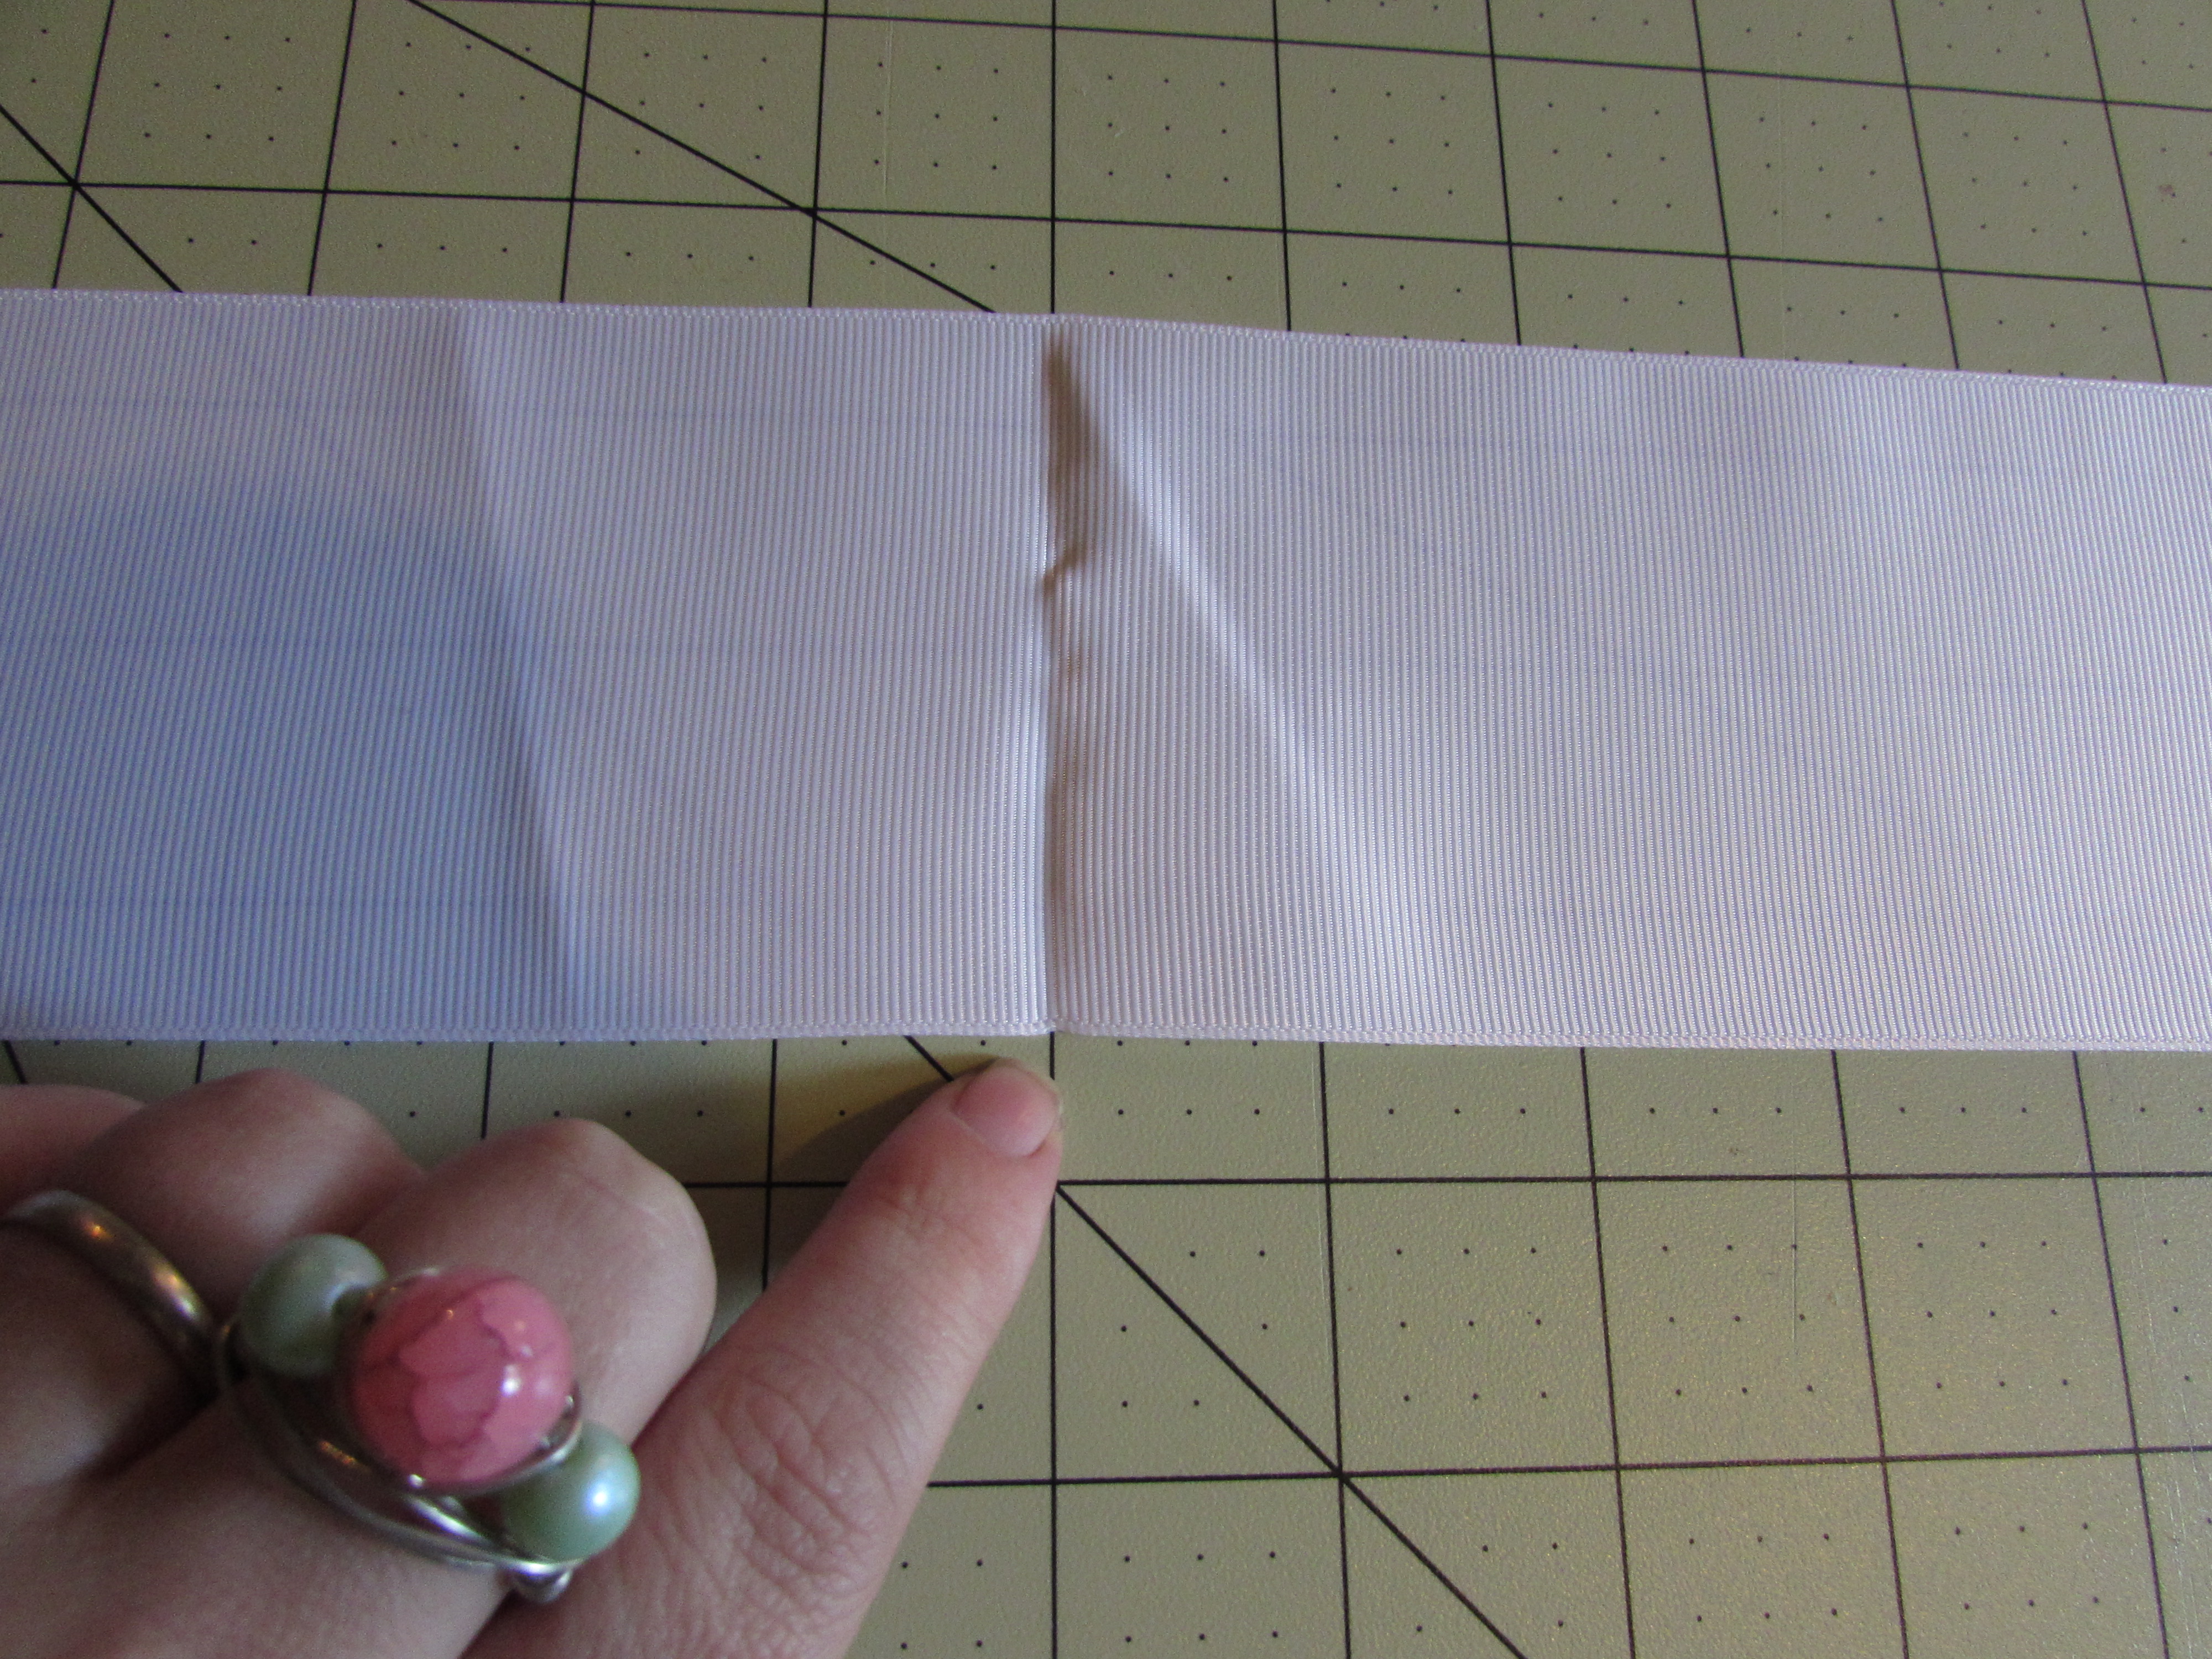
Step 1: Fold your ribbon in half and crease it
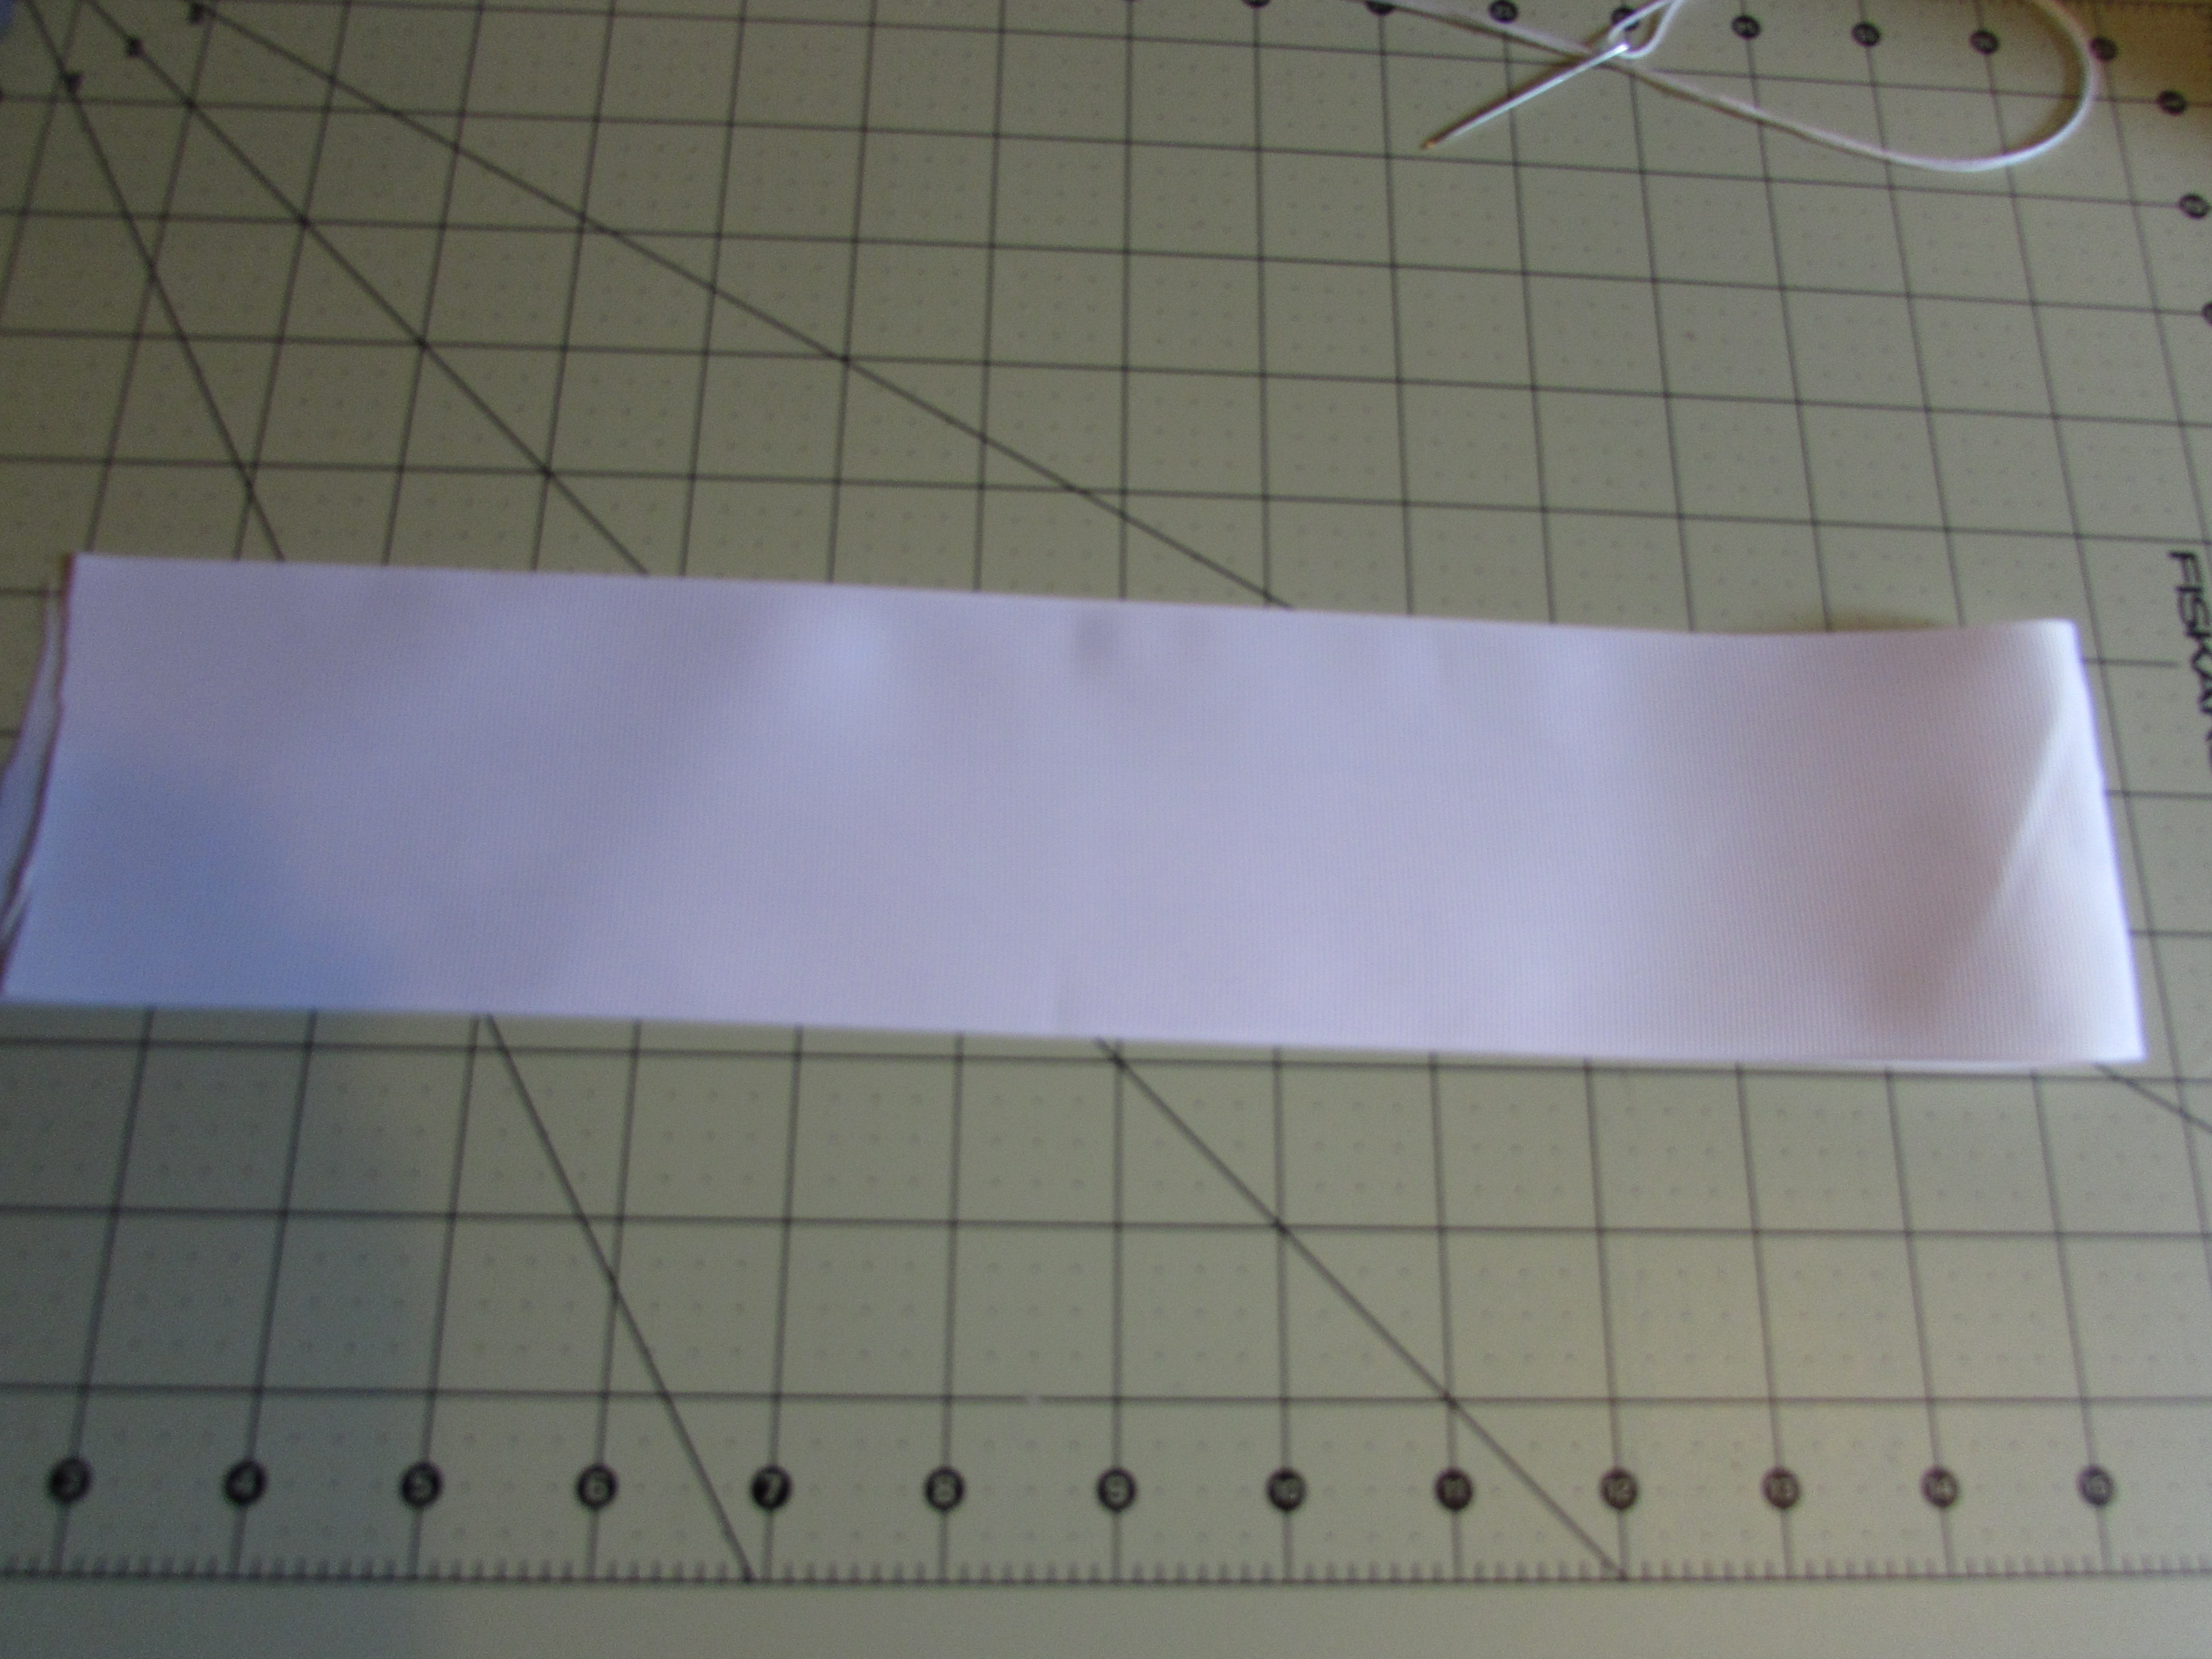
Step 2: Open the ribbon, lay the crease on one of the dark inch lines on your mat {{ if you are using a mat like I am
Step 3: Lay the template on the ribbon with the crease in the center
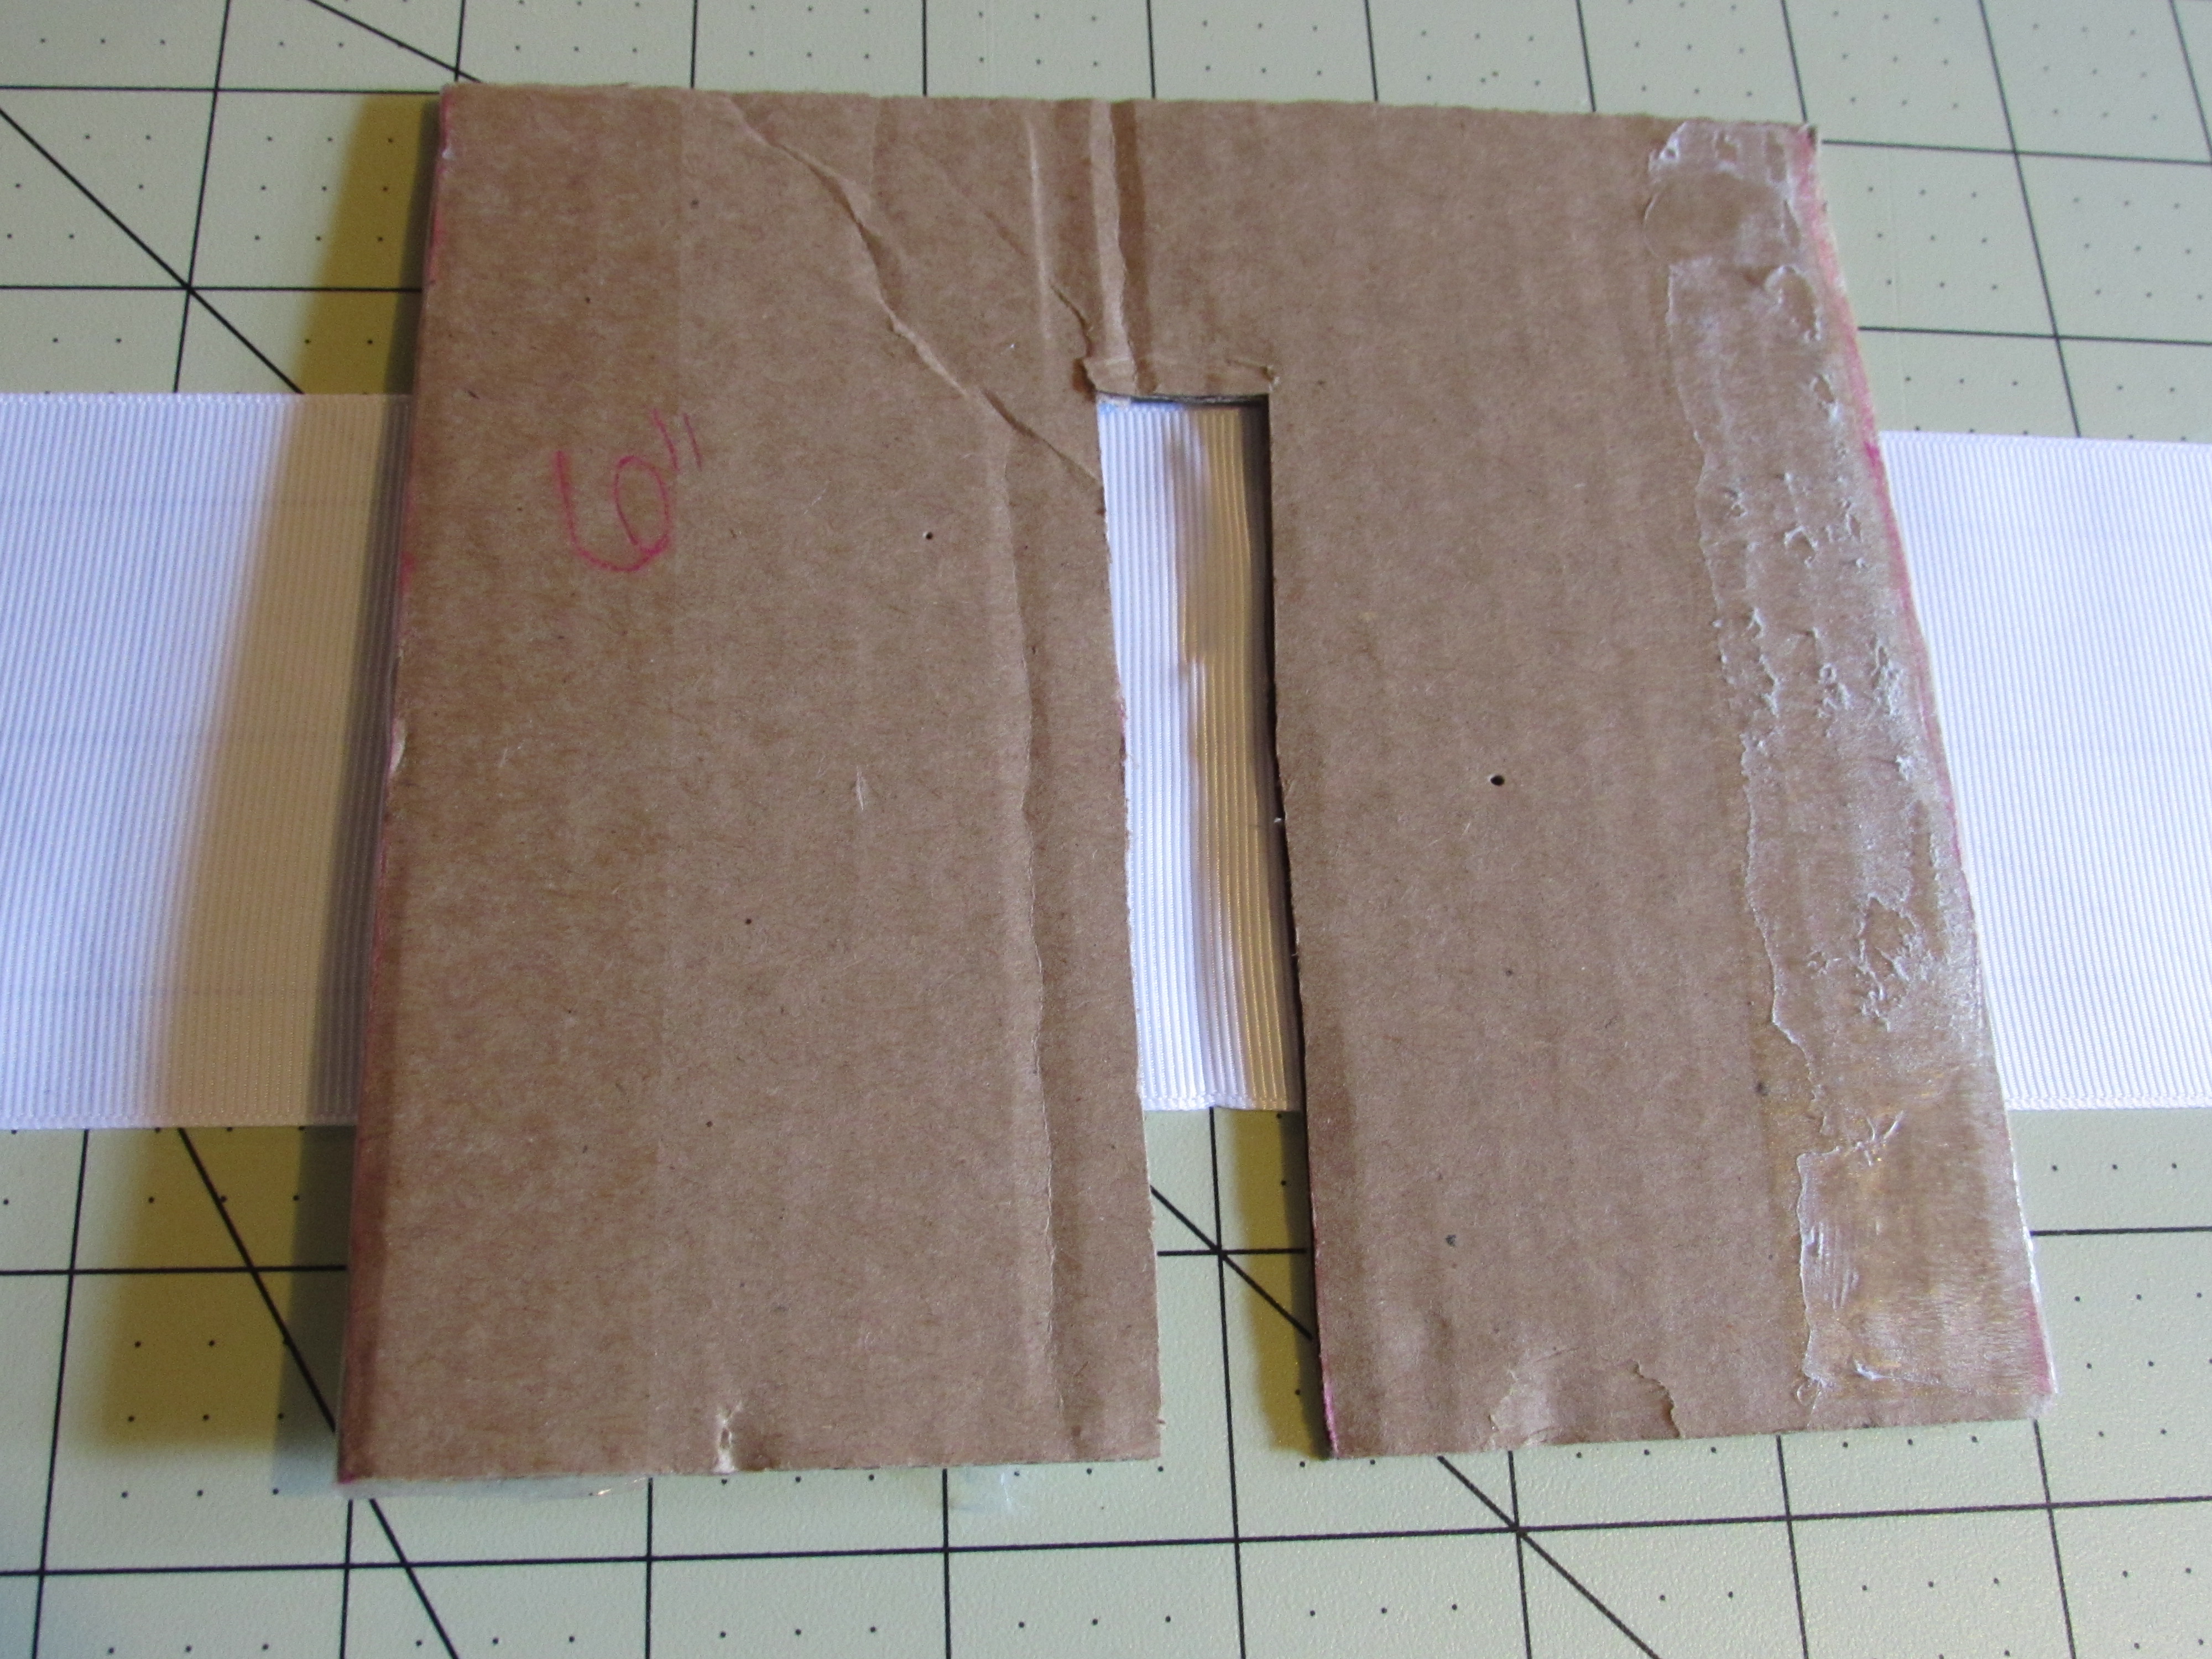
Step 4: Wrap the right side ribbon over to the left side
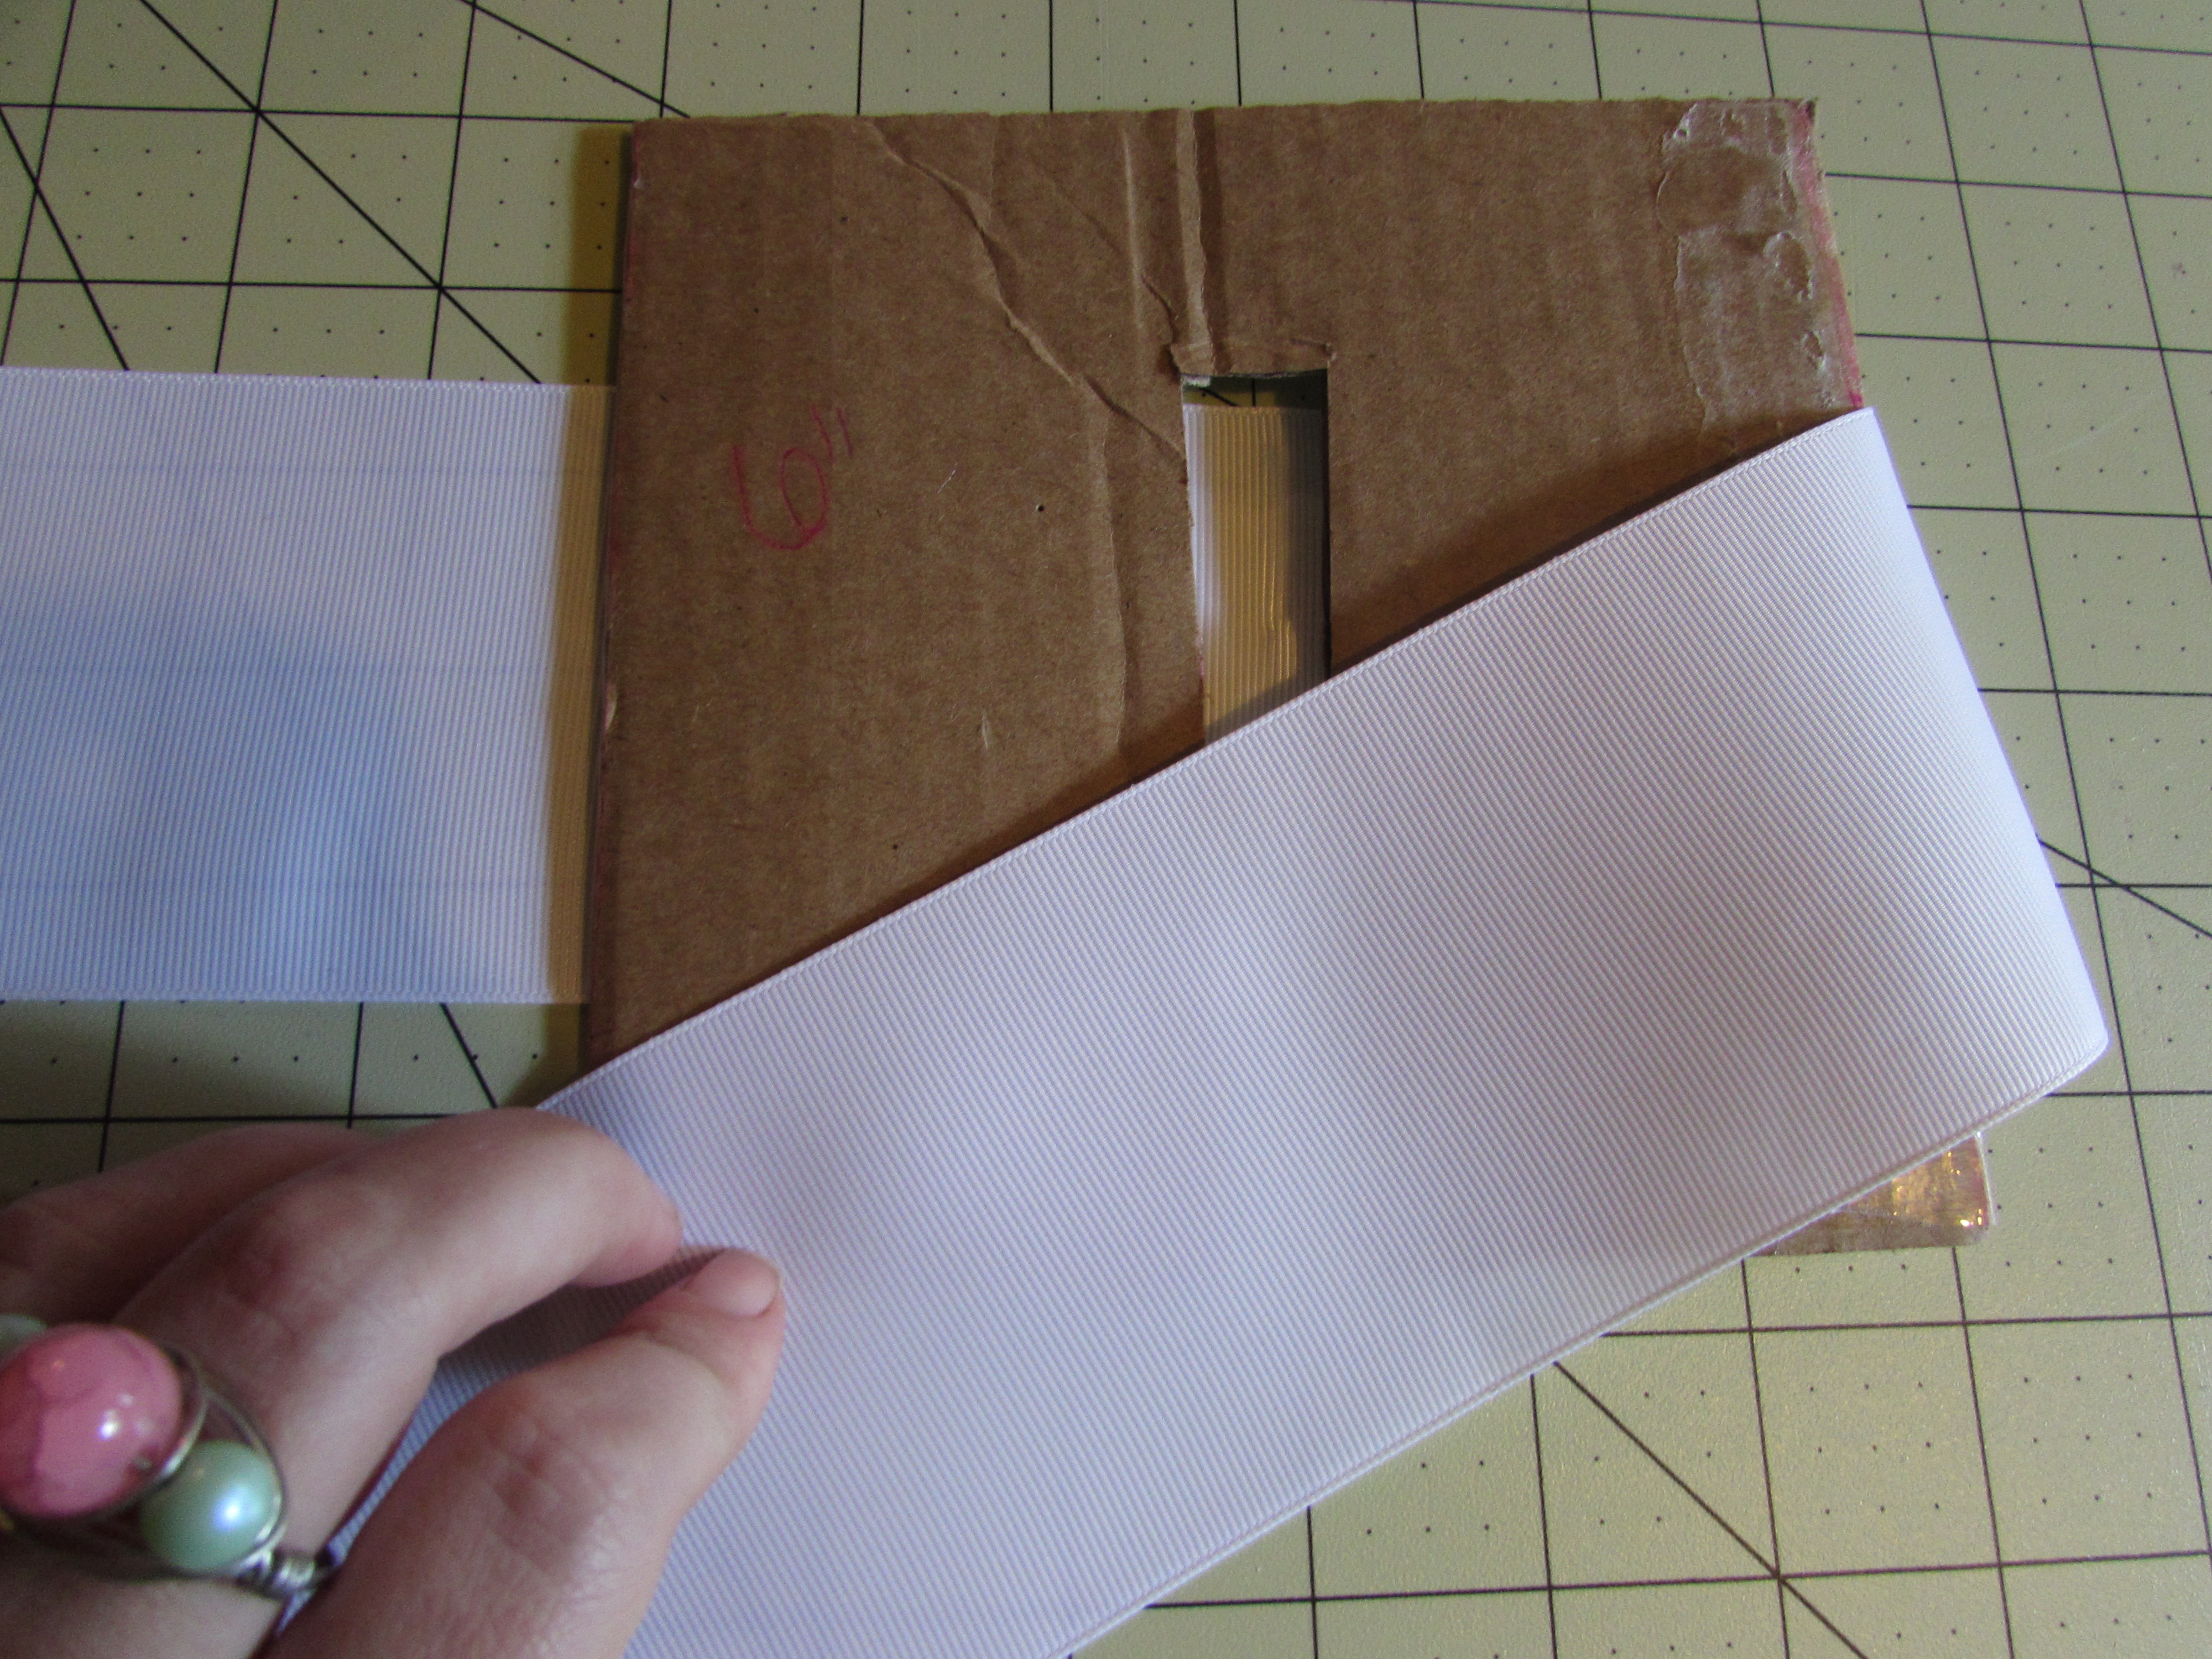
Step 5: Wrap the left ribbon to the right side overlapping the right side ribbon.
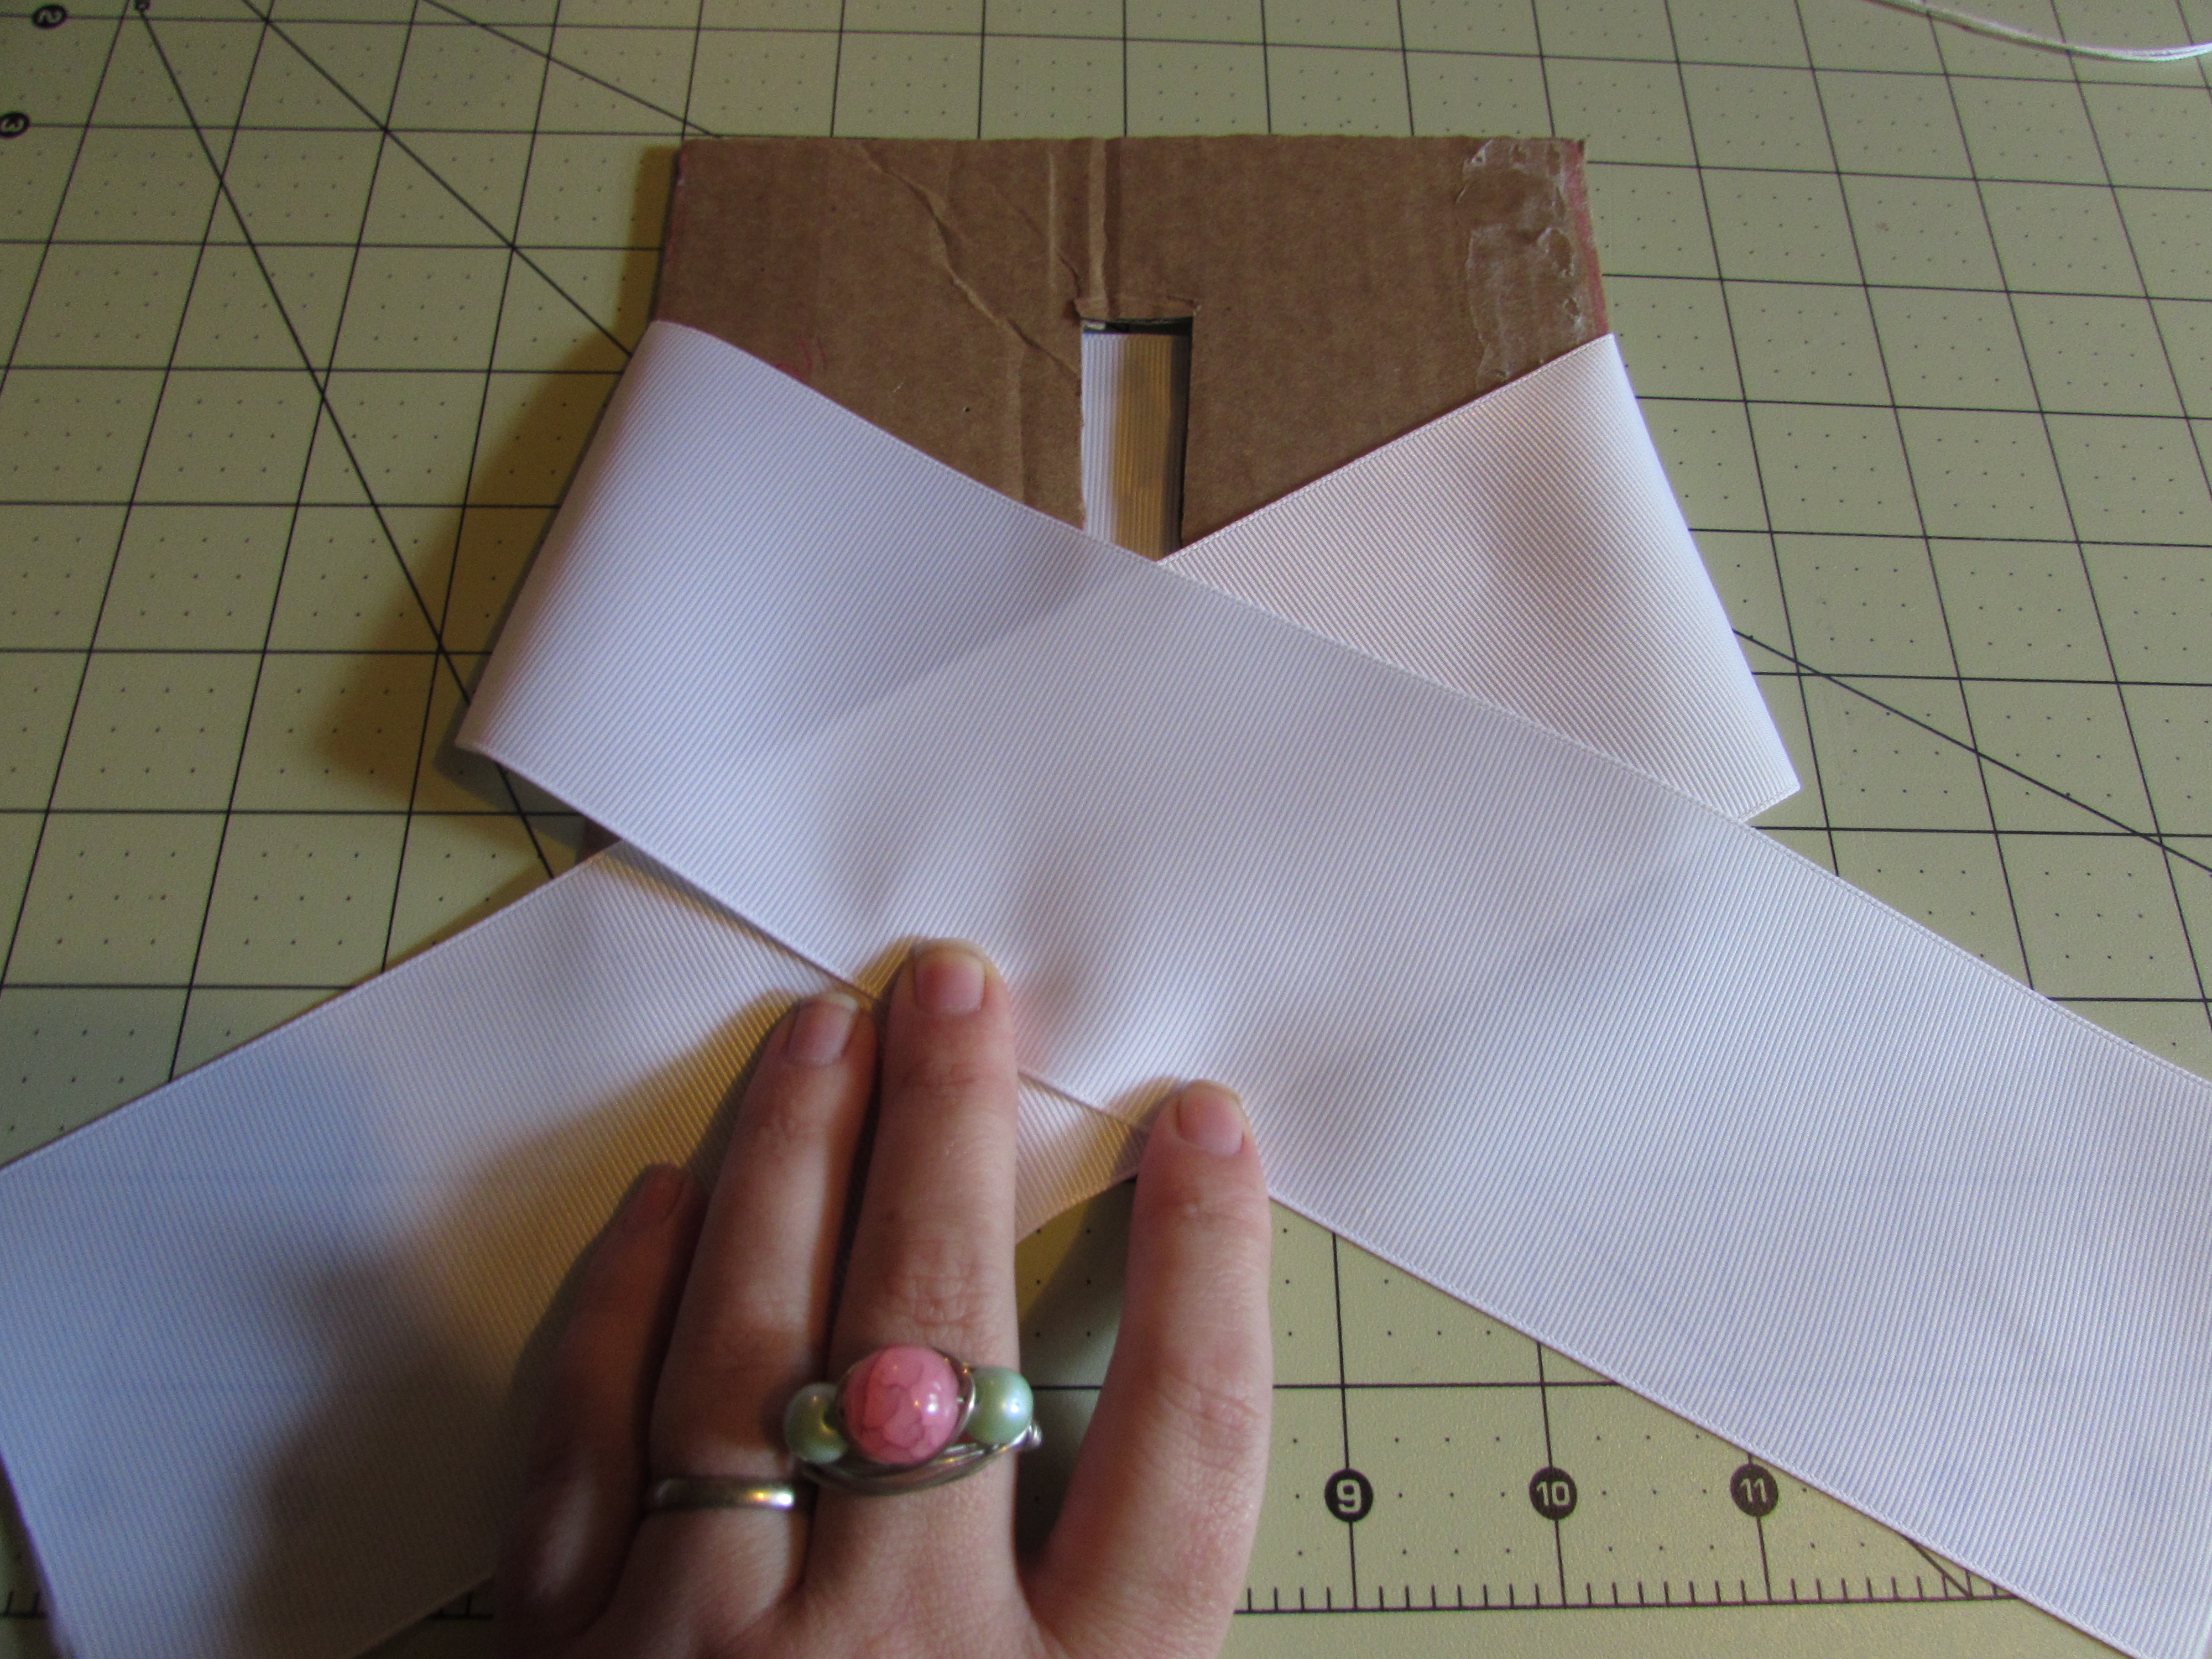
Step 6: Place your clip in the center of the crossed ribbon
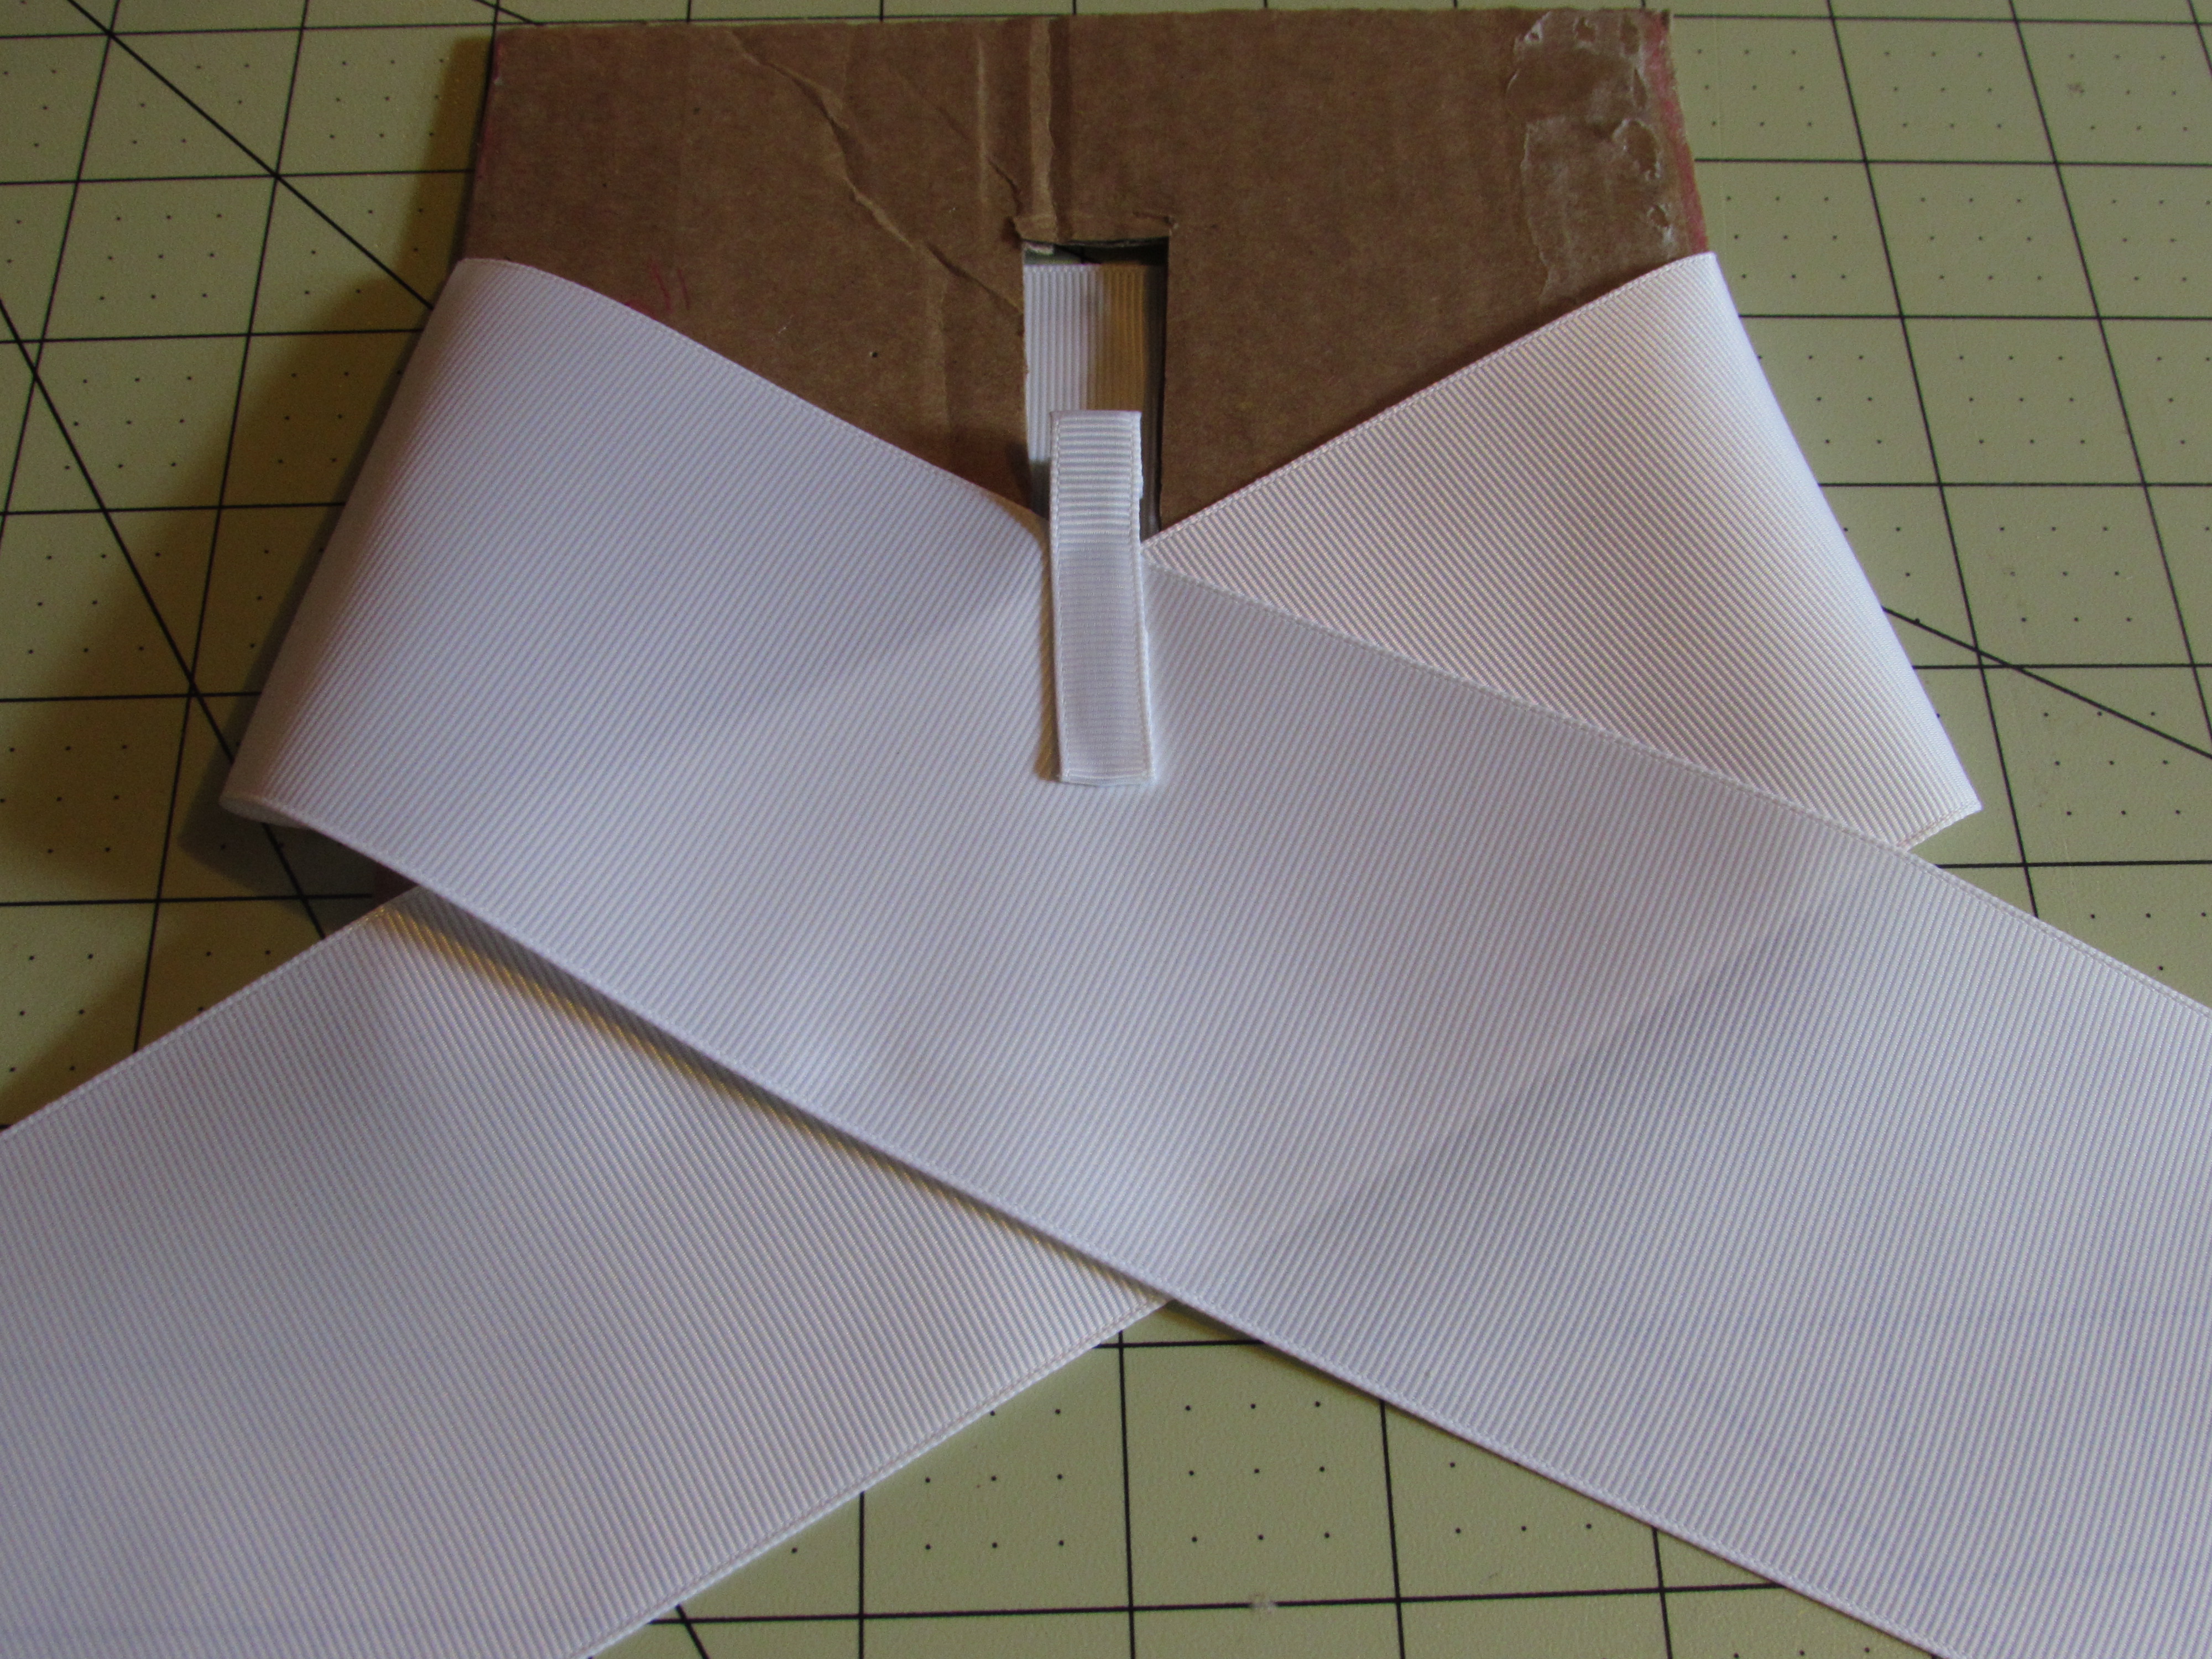
Step 7: Remove the template carefully. You can also easily do this without a template! Simply fold the 2 ribbon ends over so that they look as shown, being sure to keep the tails even.
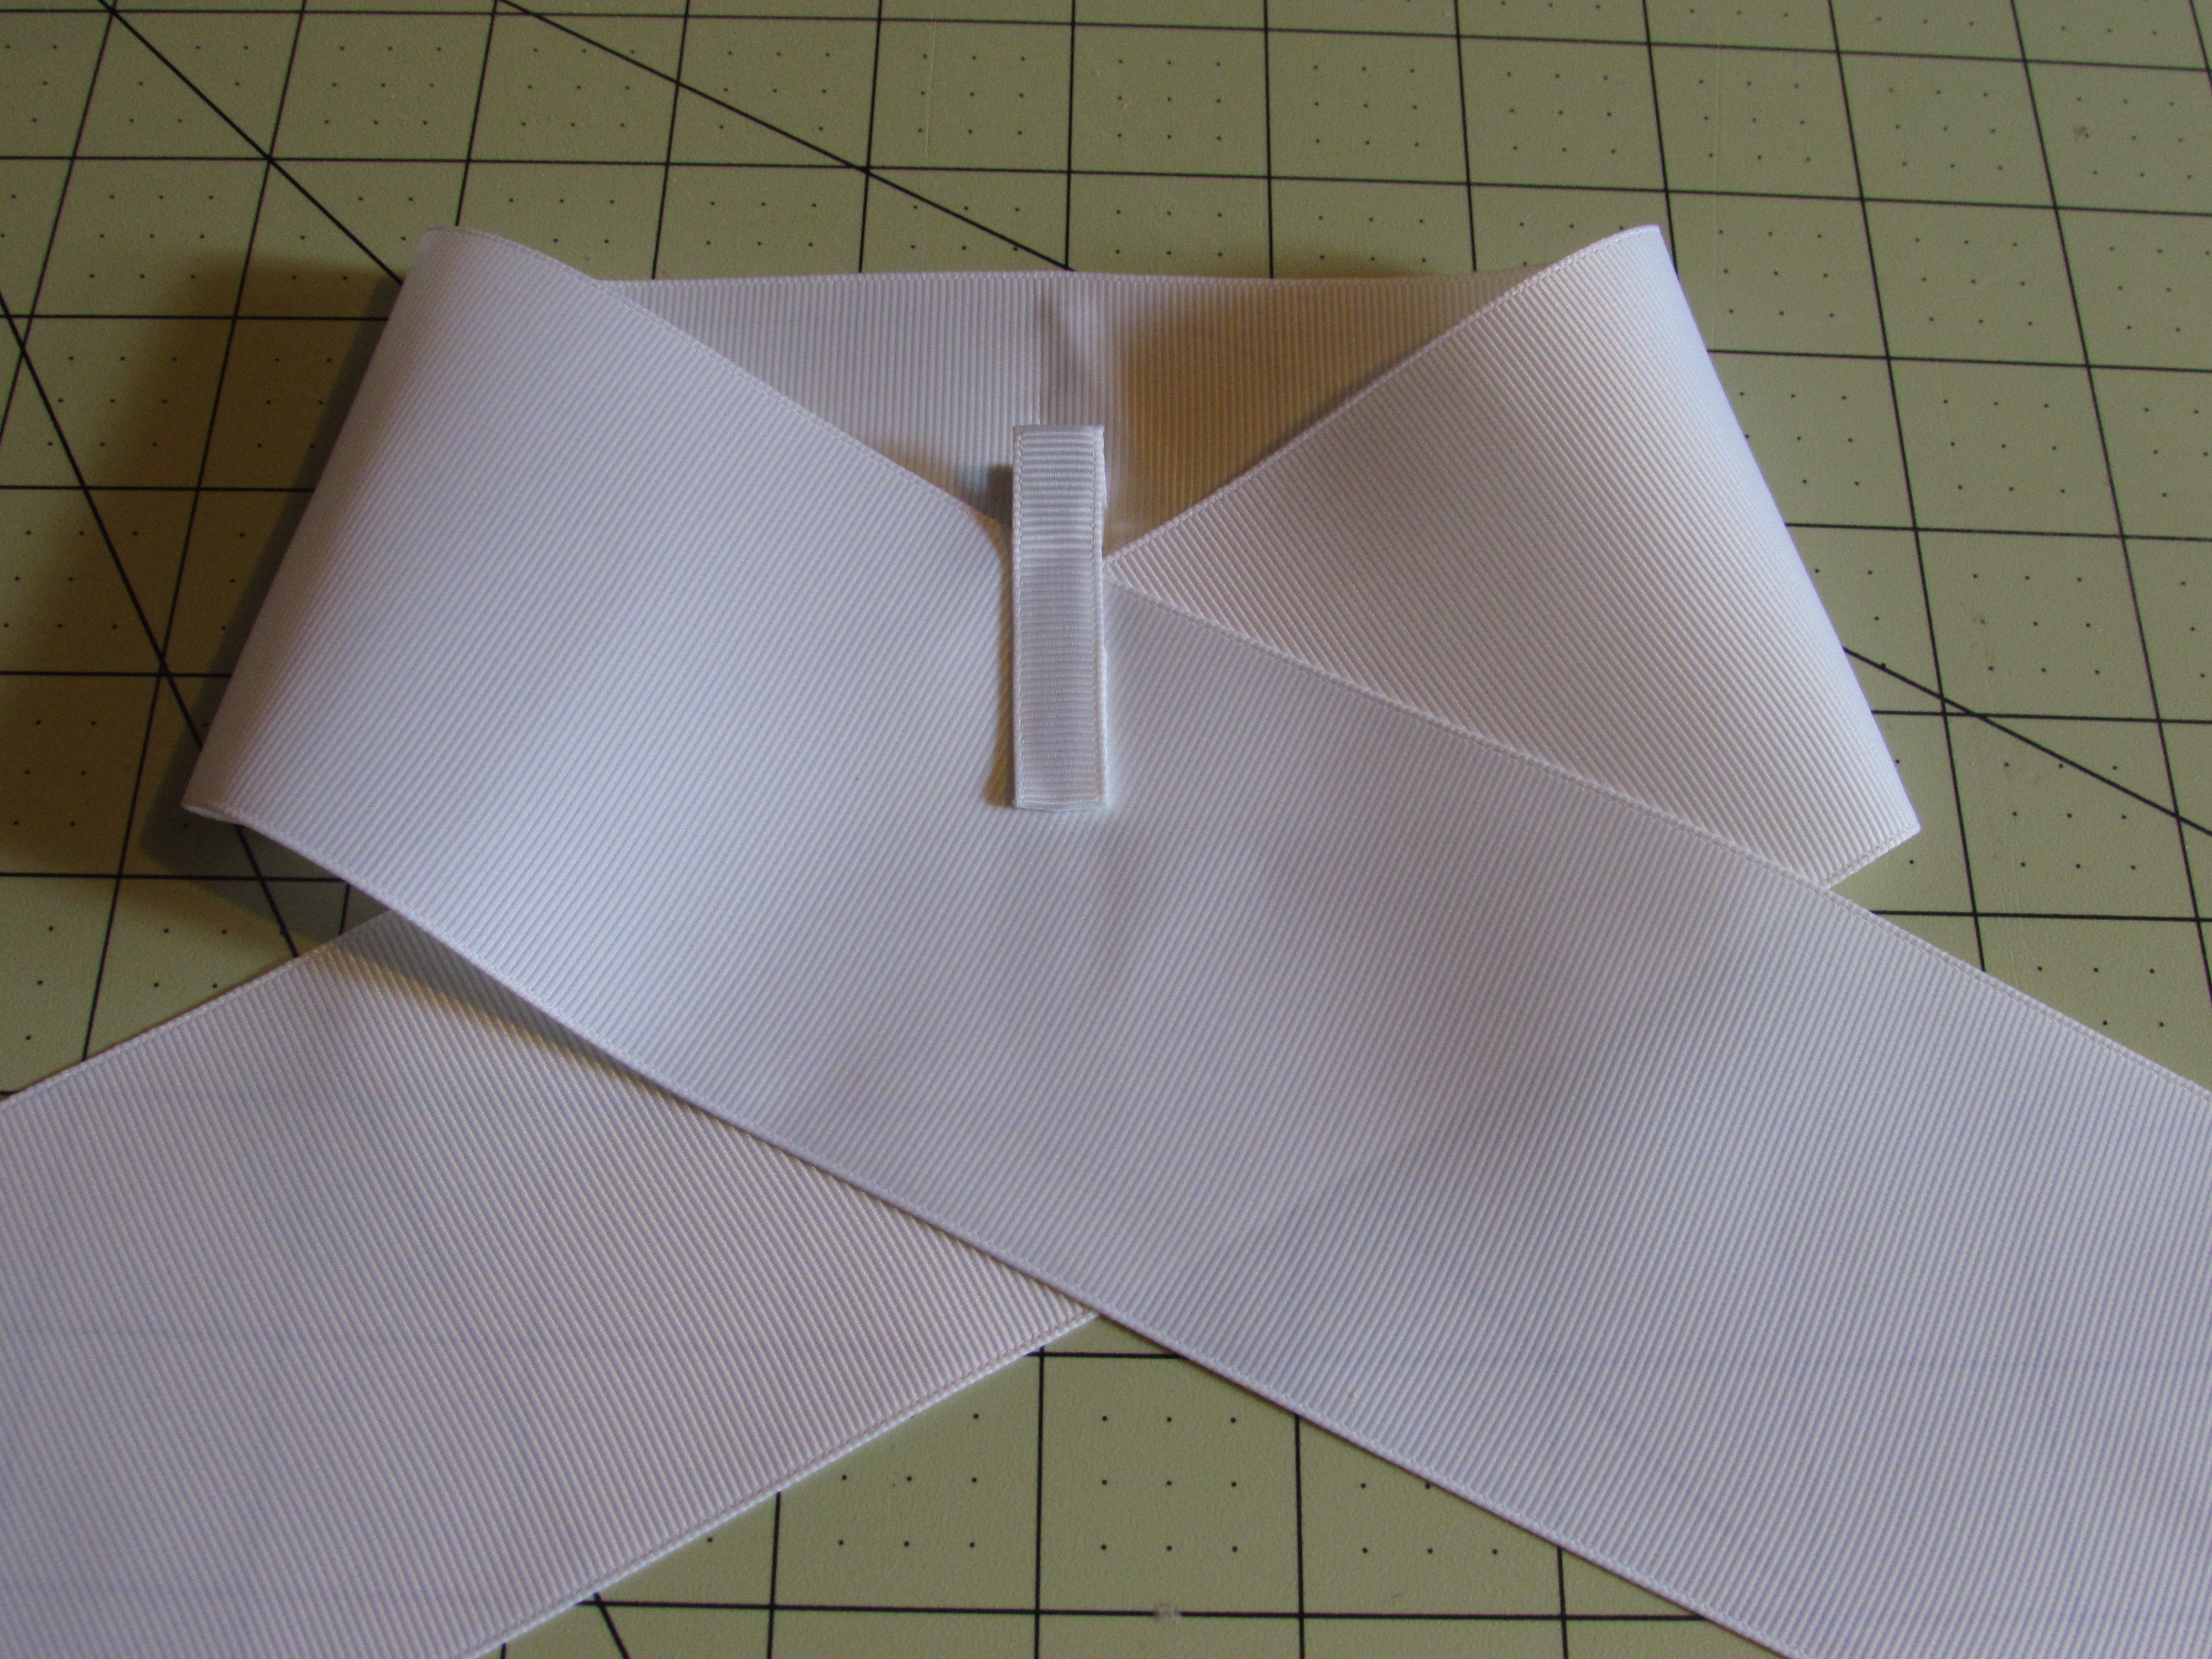
* The crease and your clip should line up perfectly
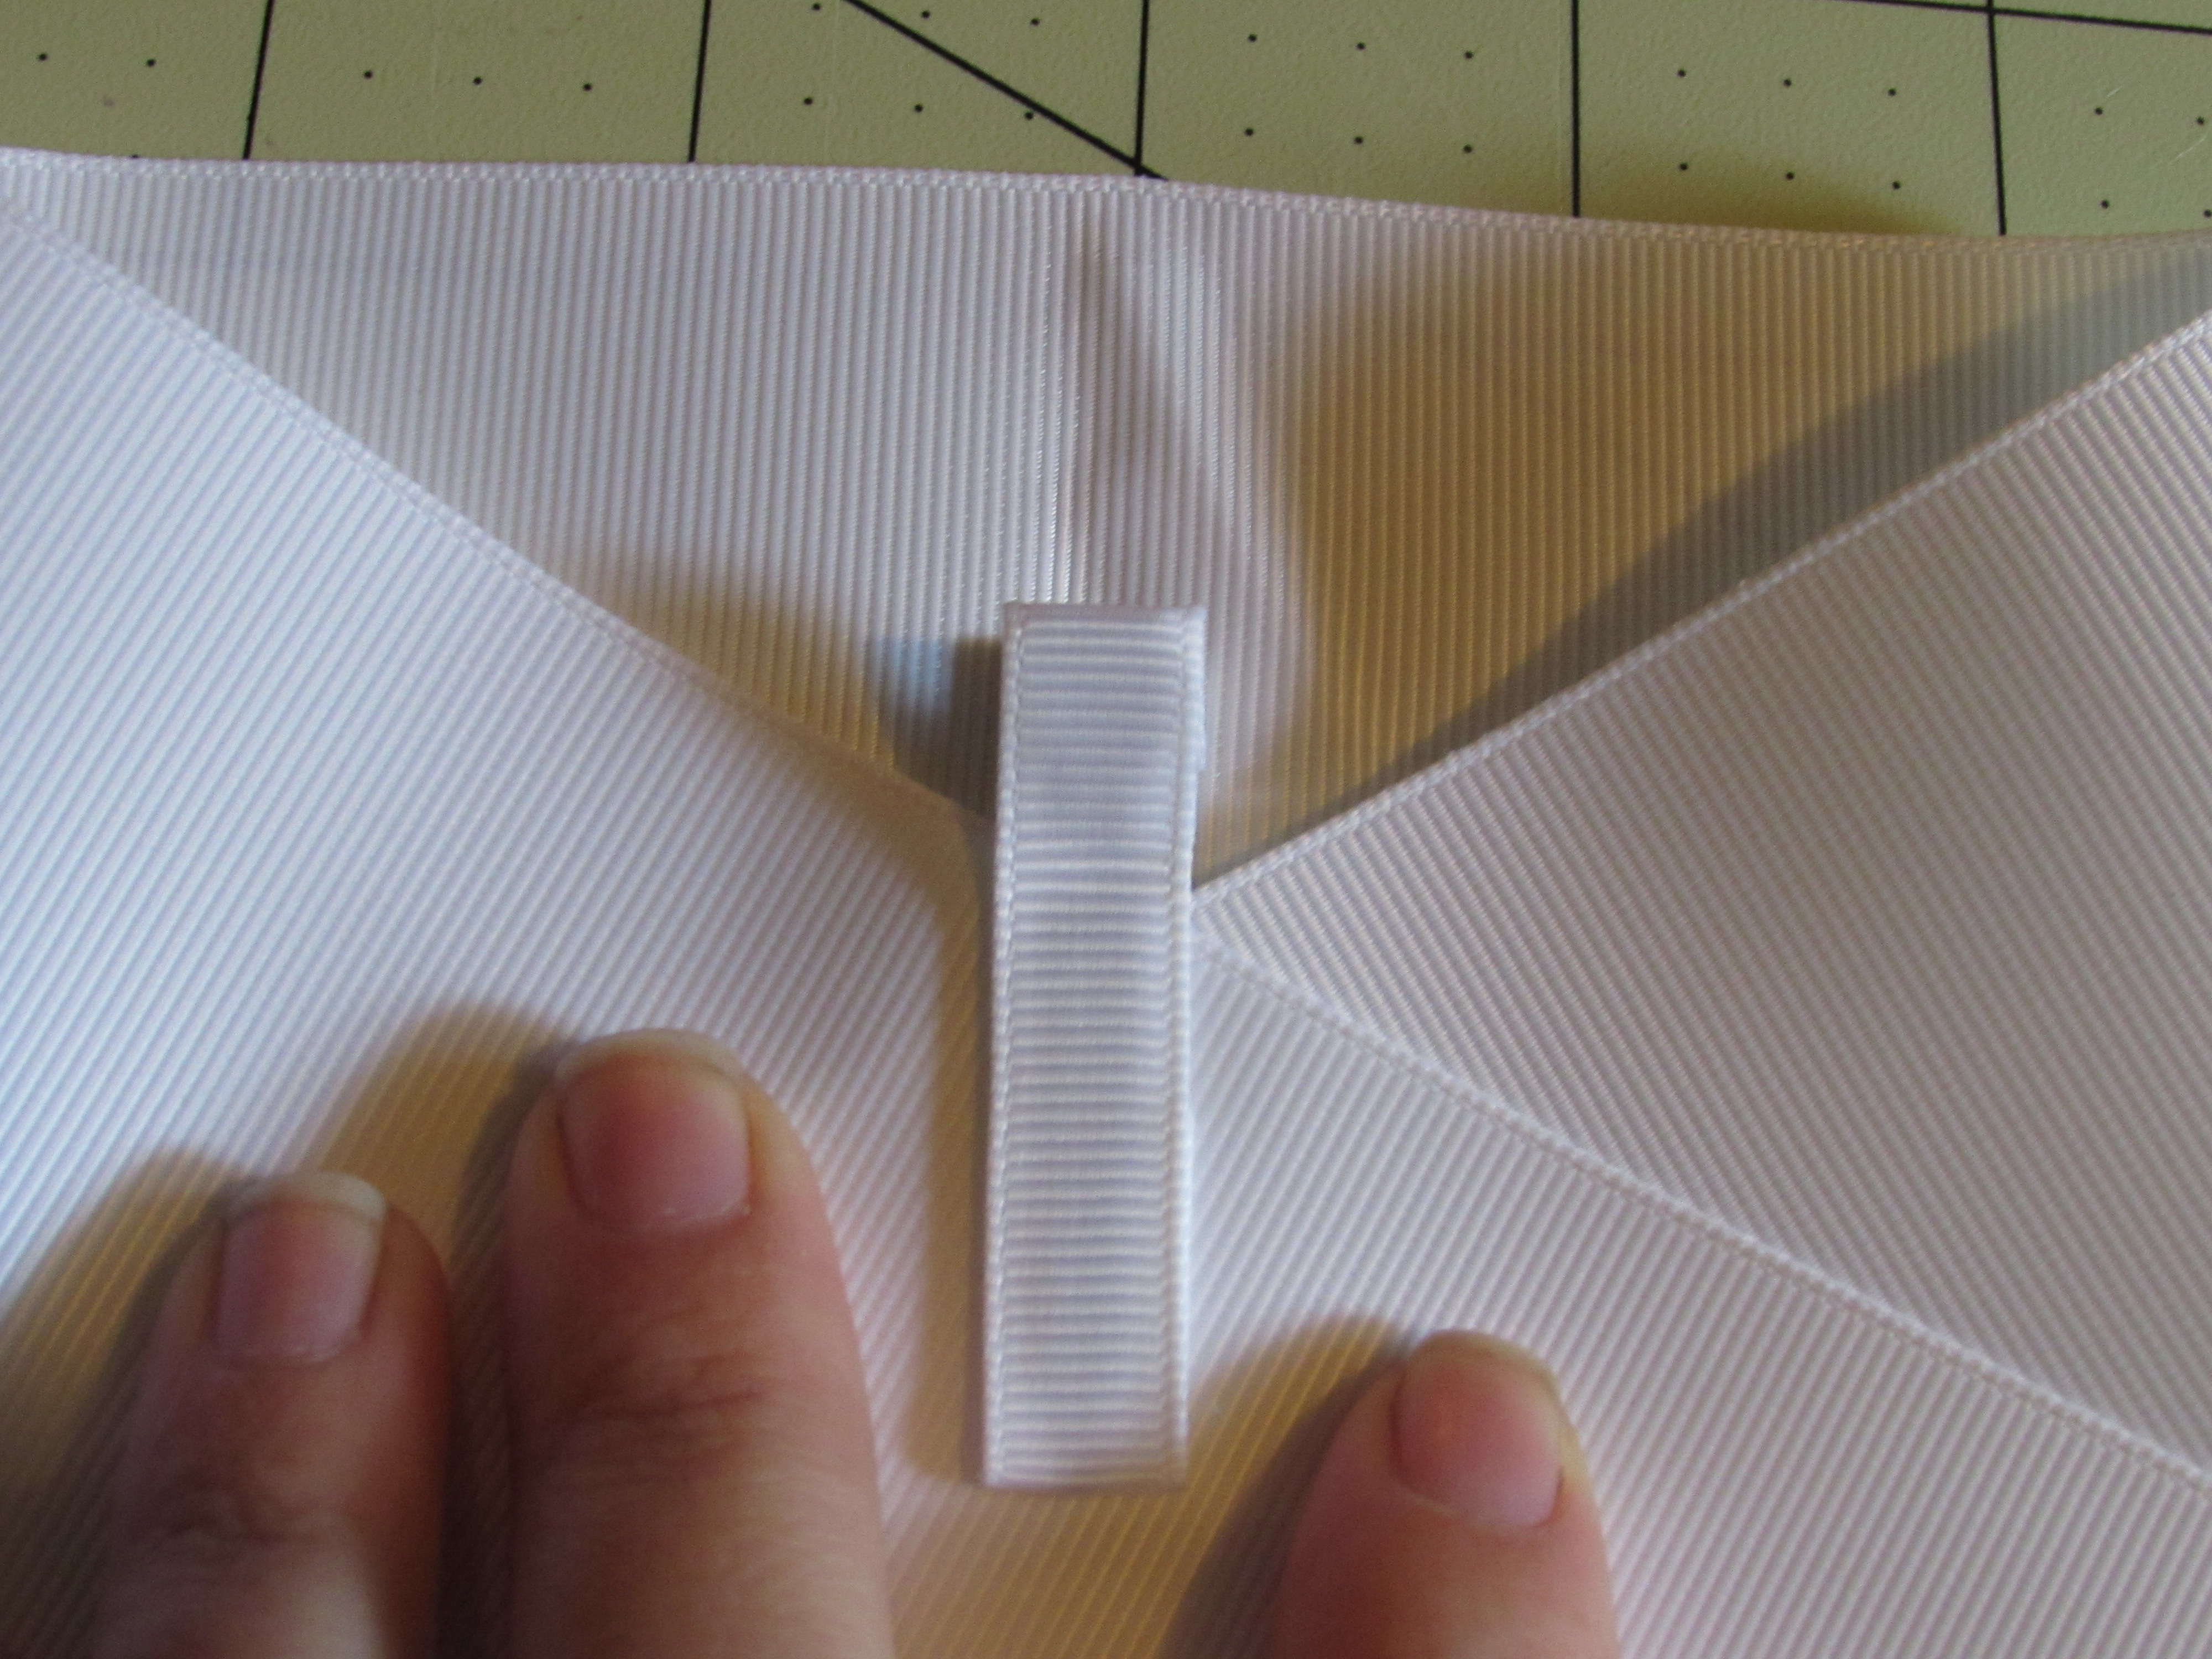
Step 8: Flip the bow over, slide the back down keeping the crease even with your clip
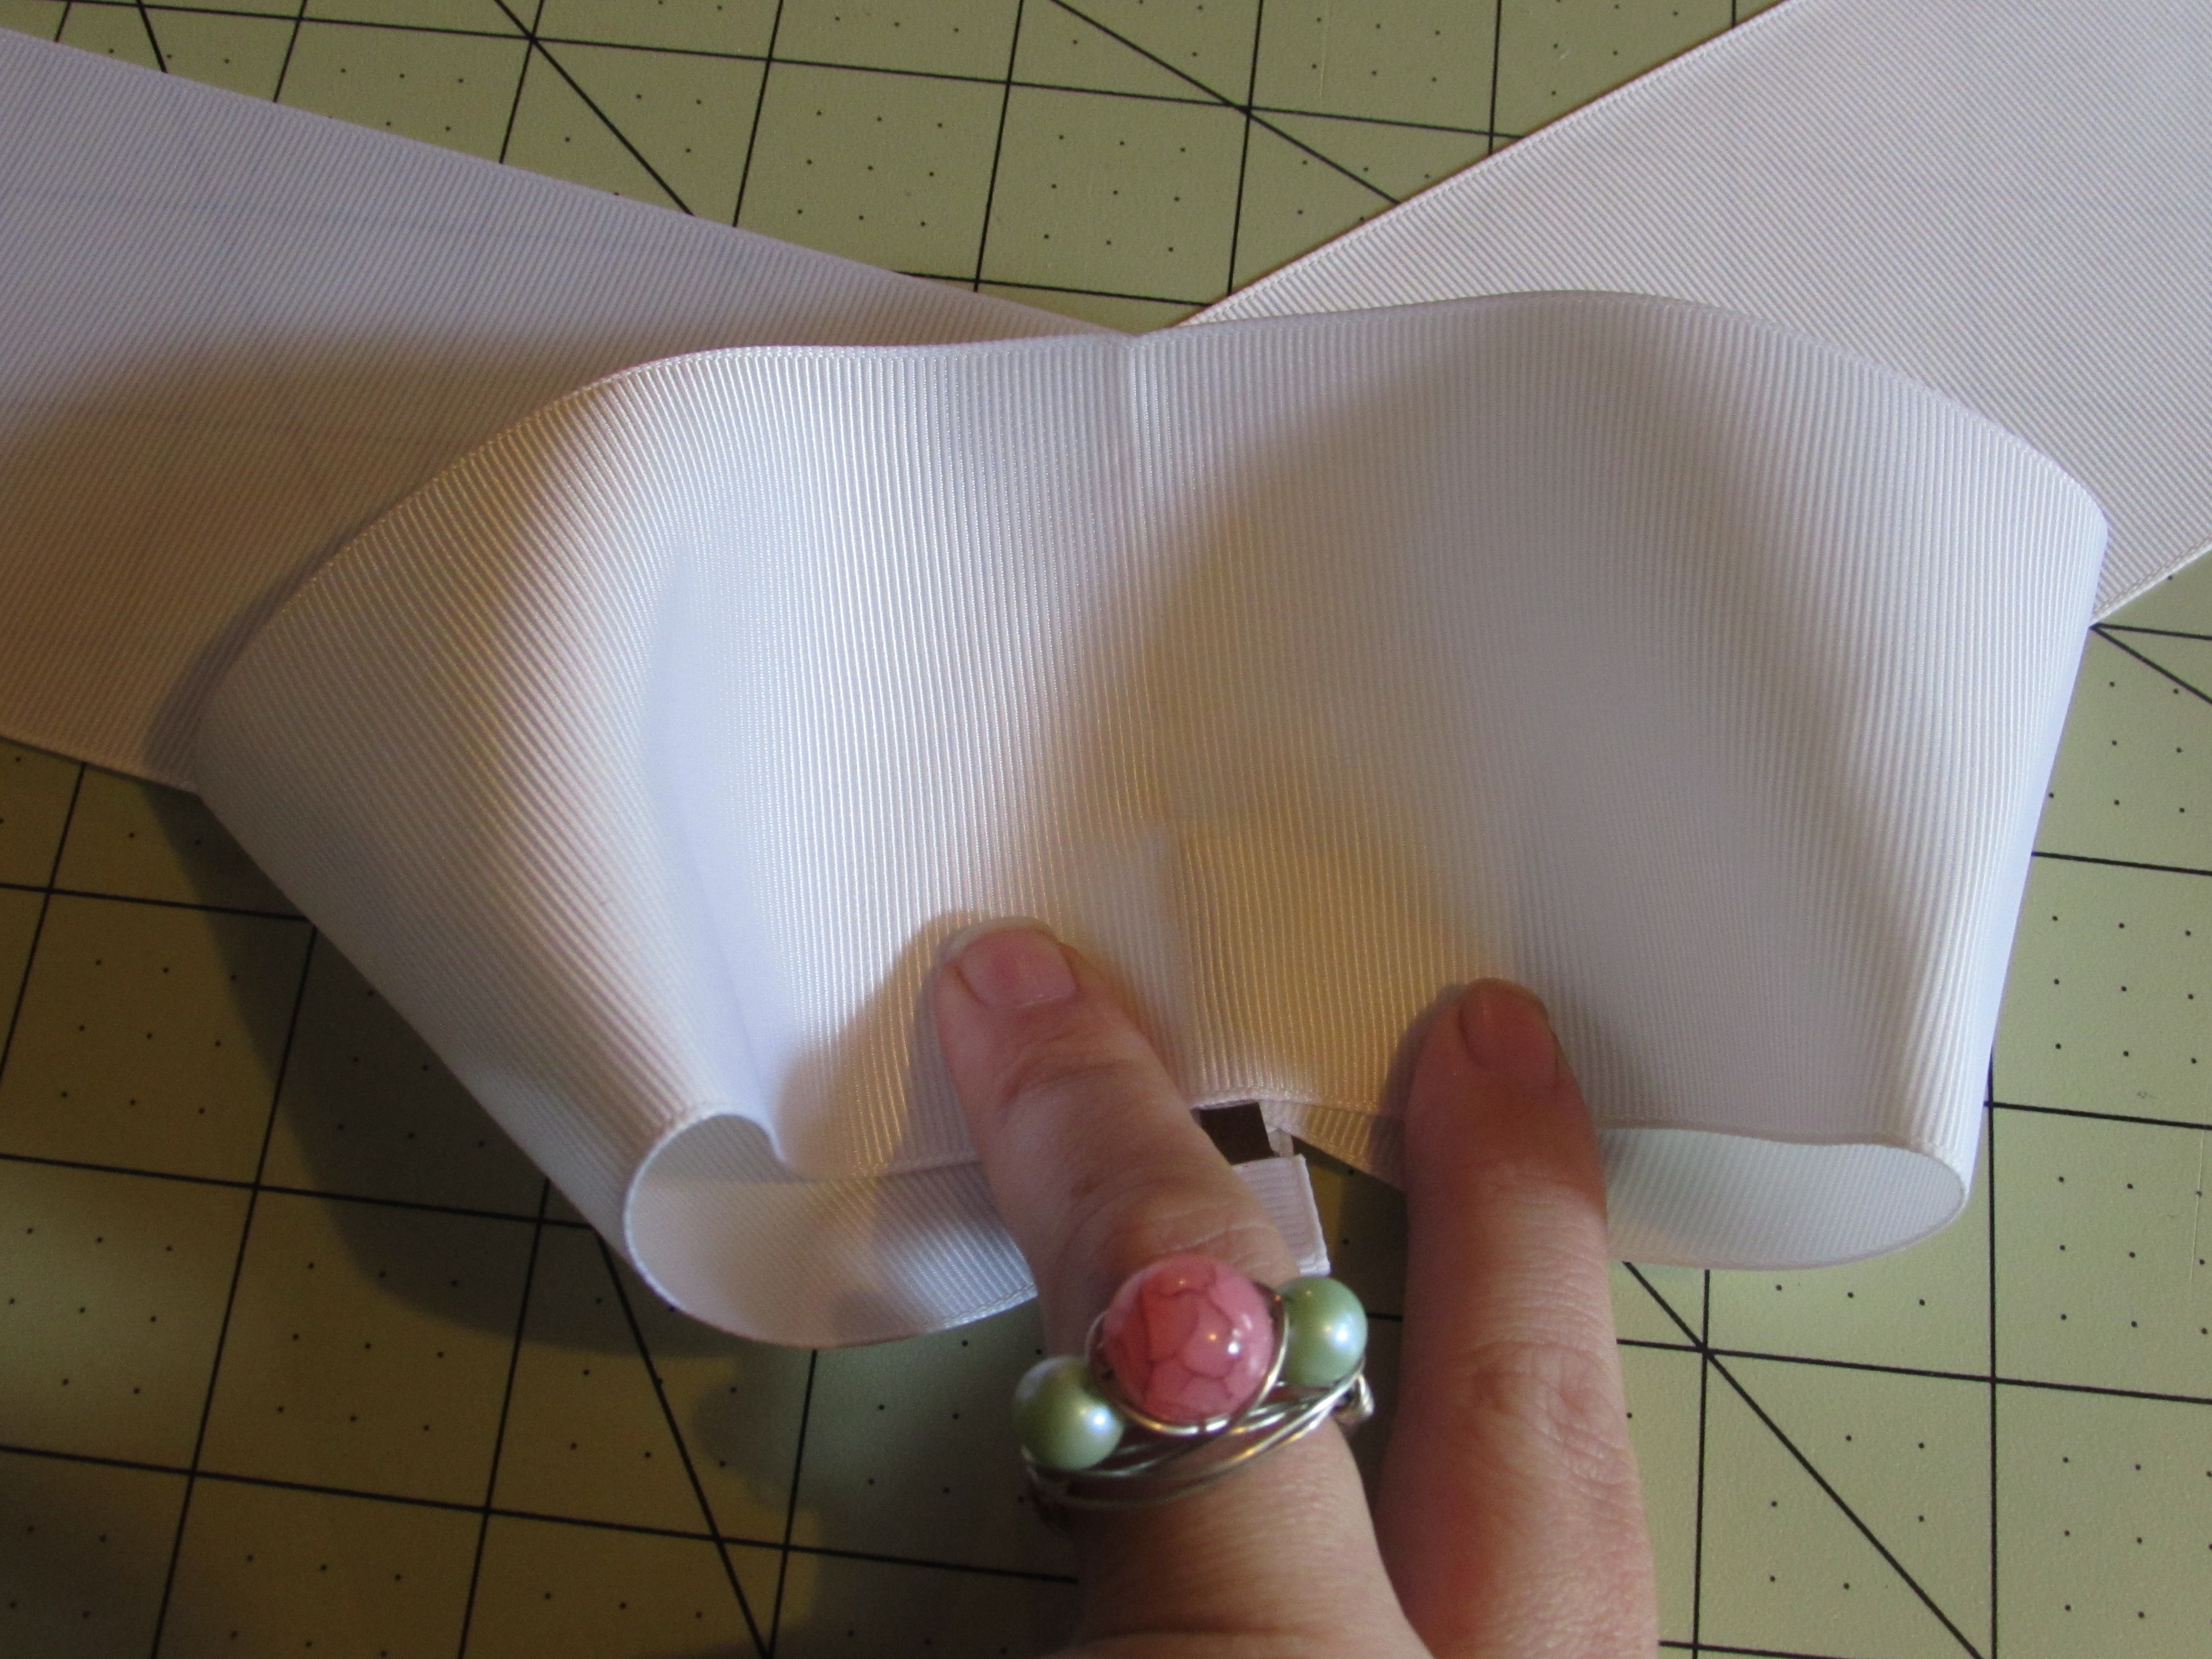
Step 9: Flip bow over to the front and crease 3 {{ three }} times
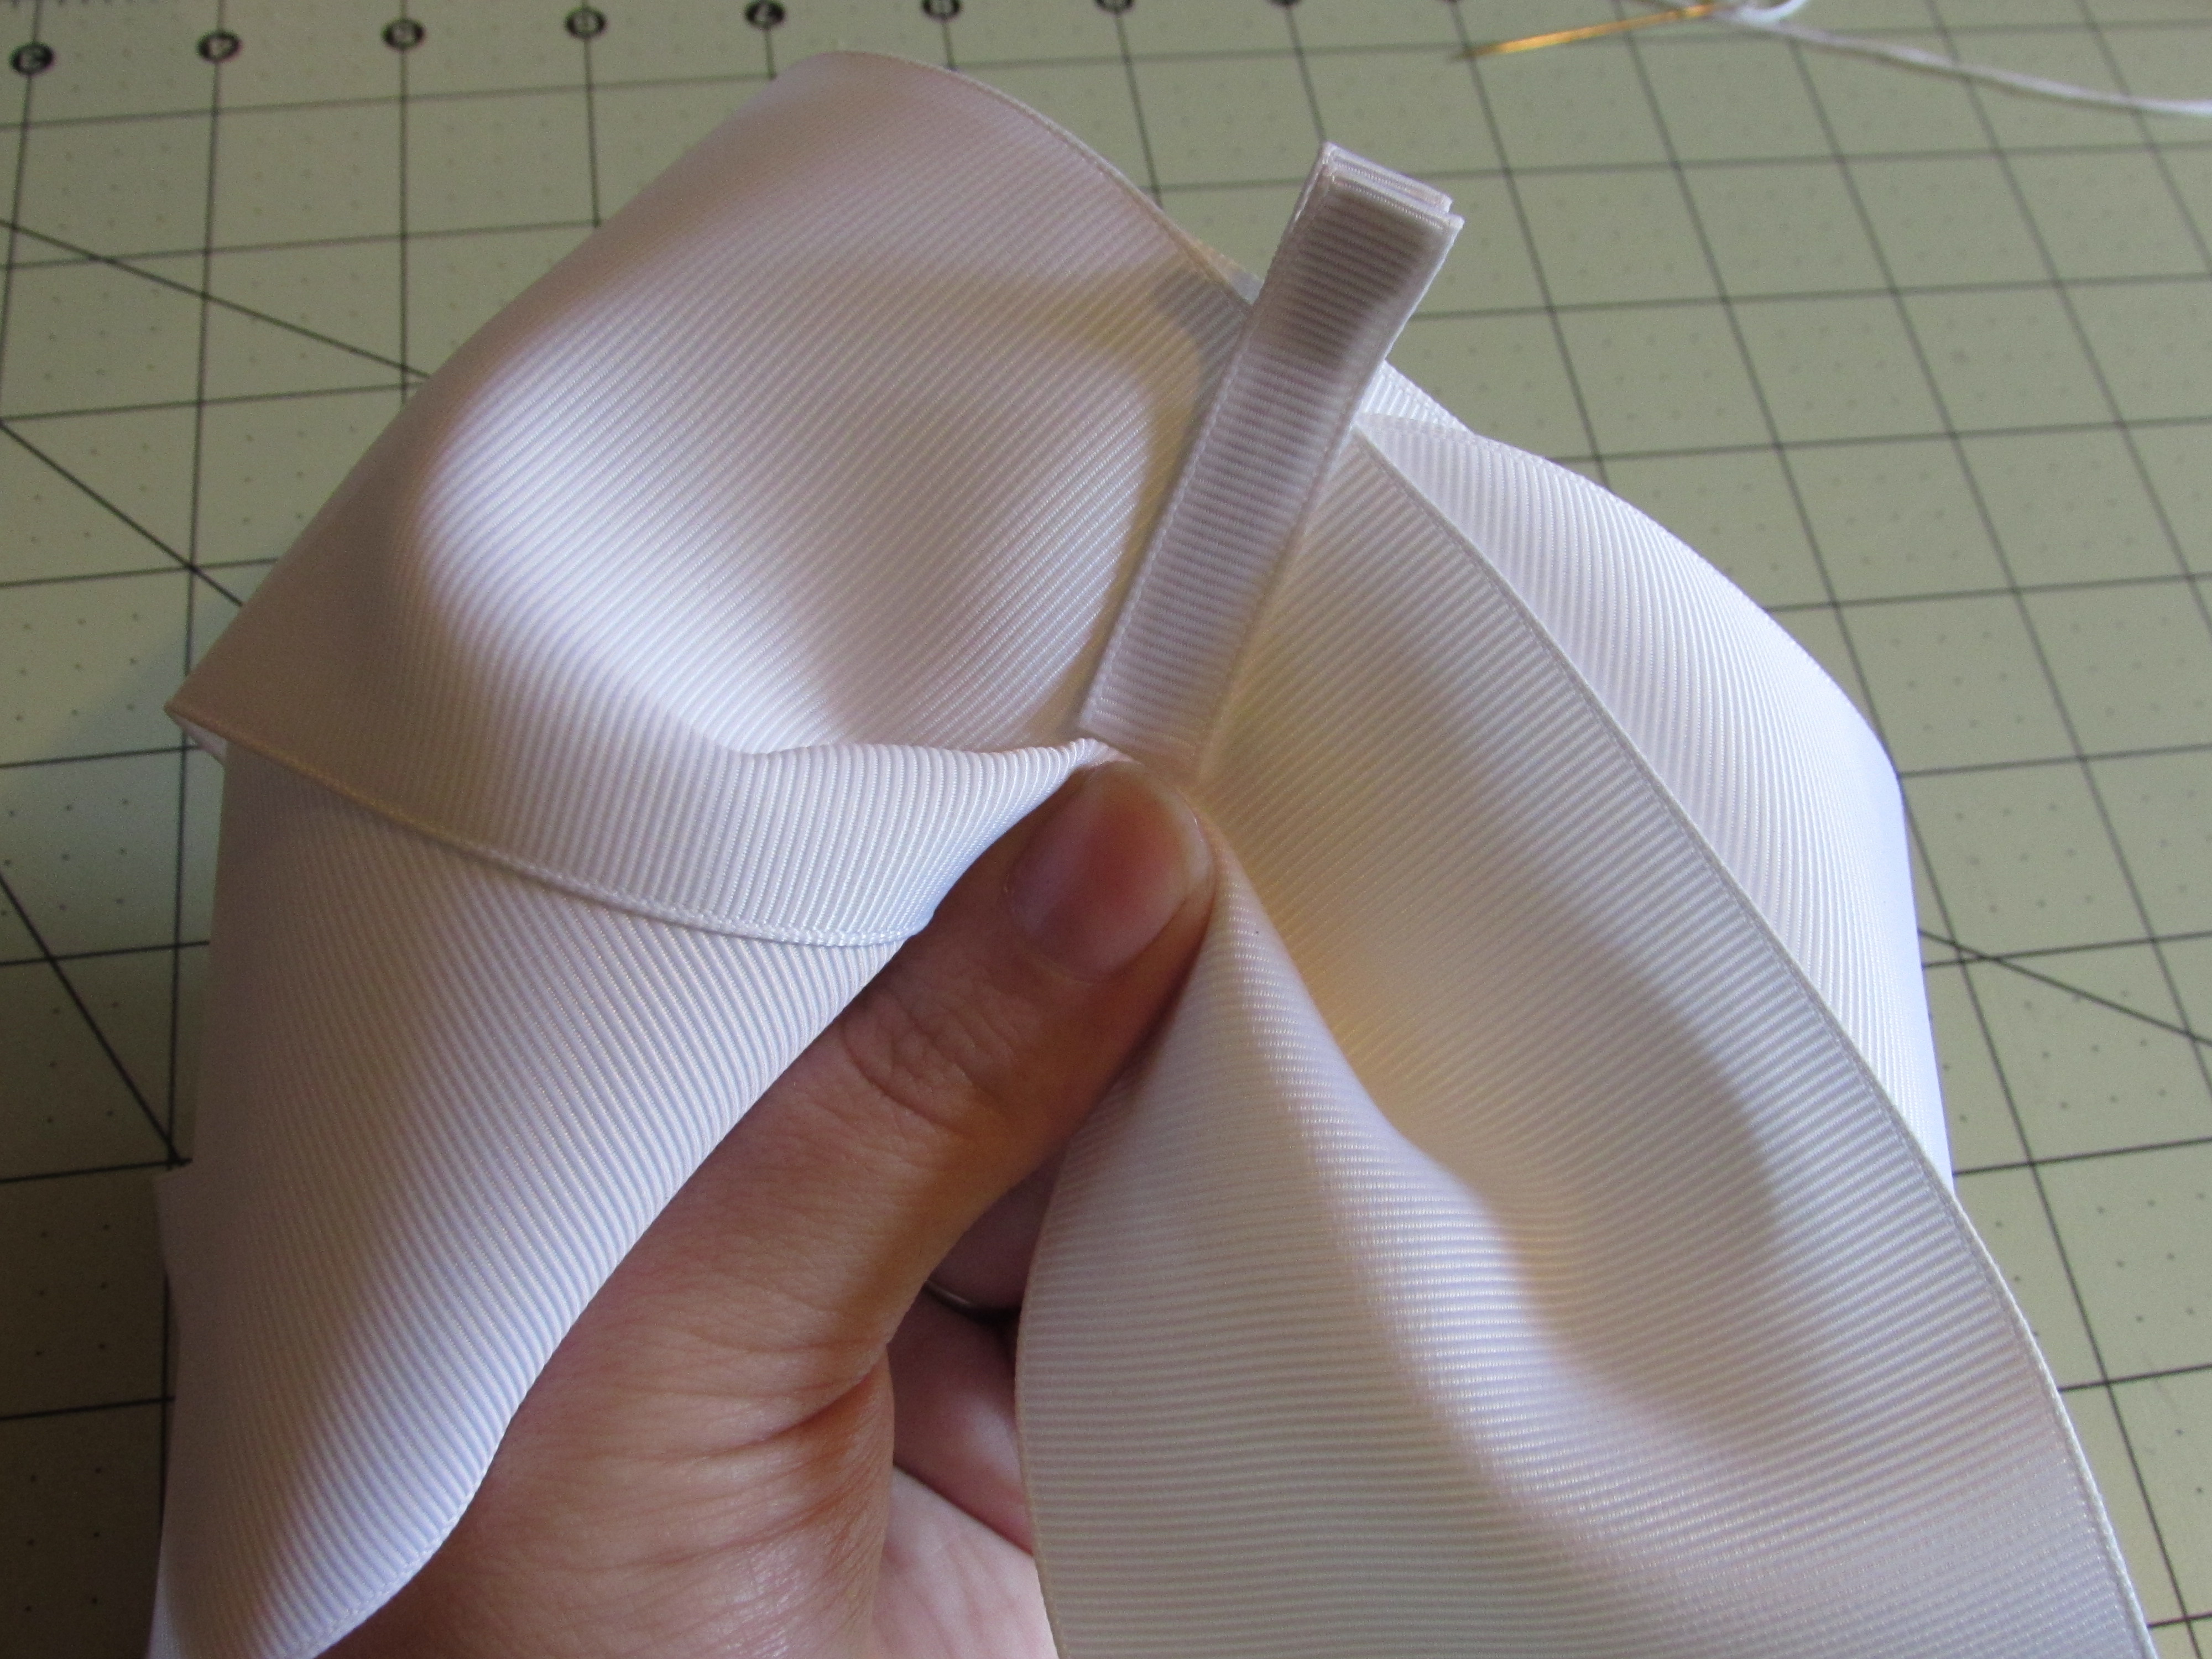
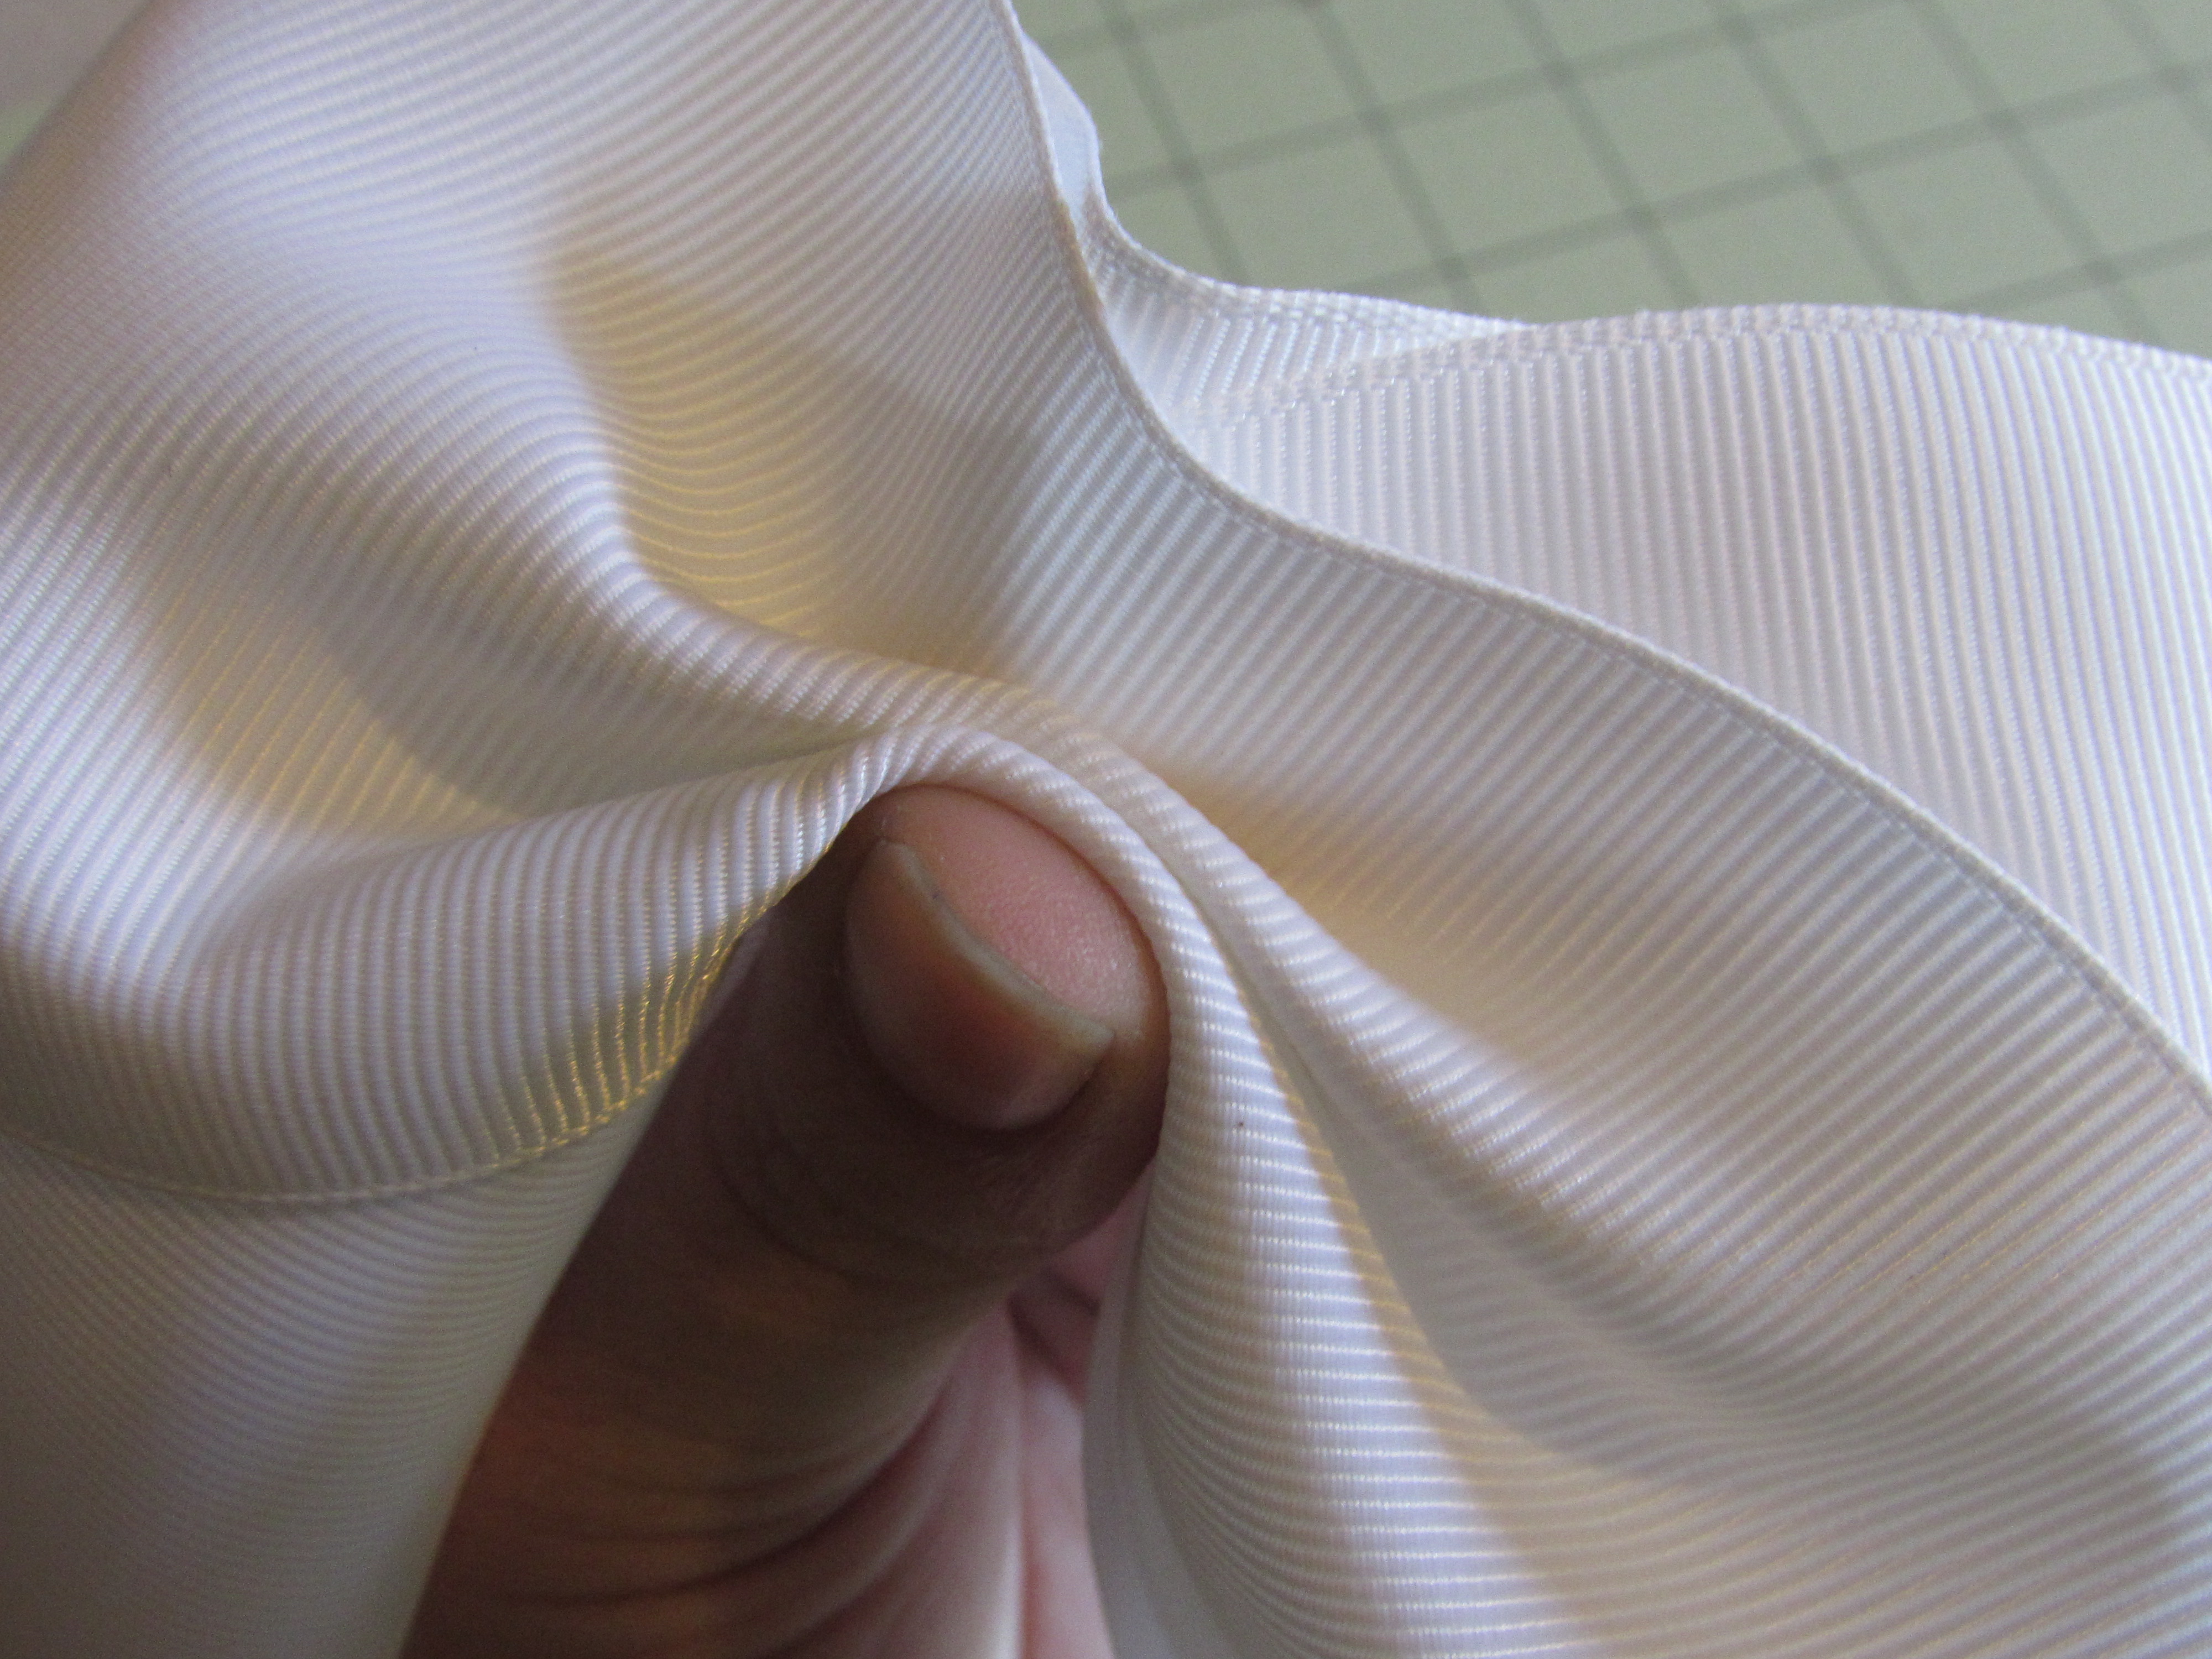
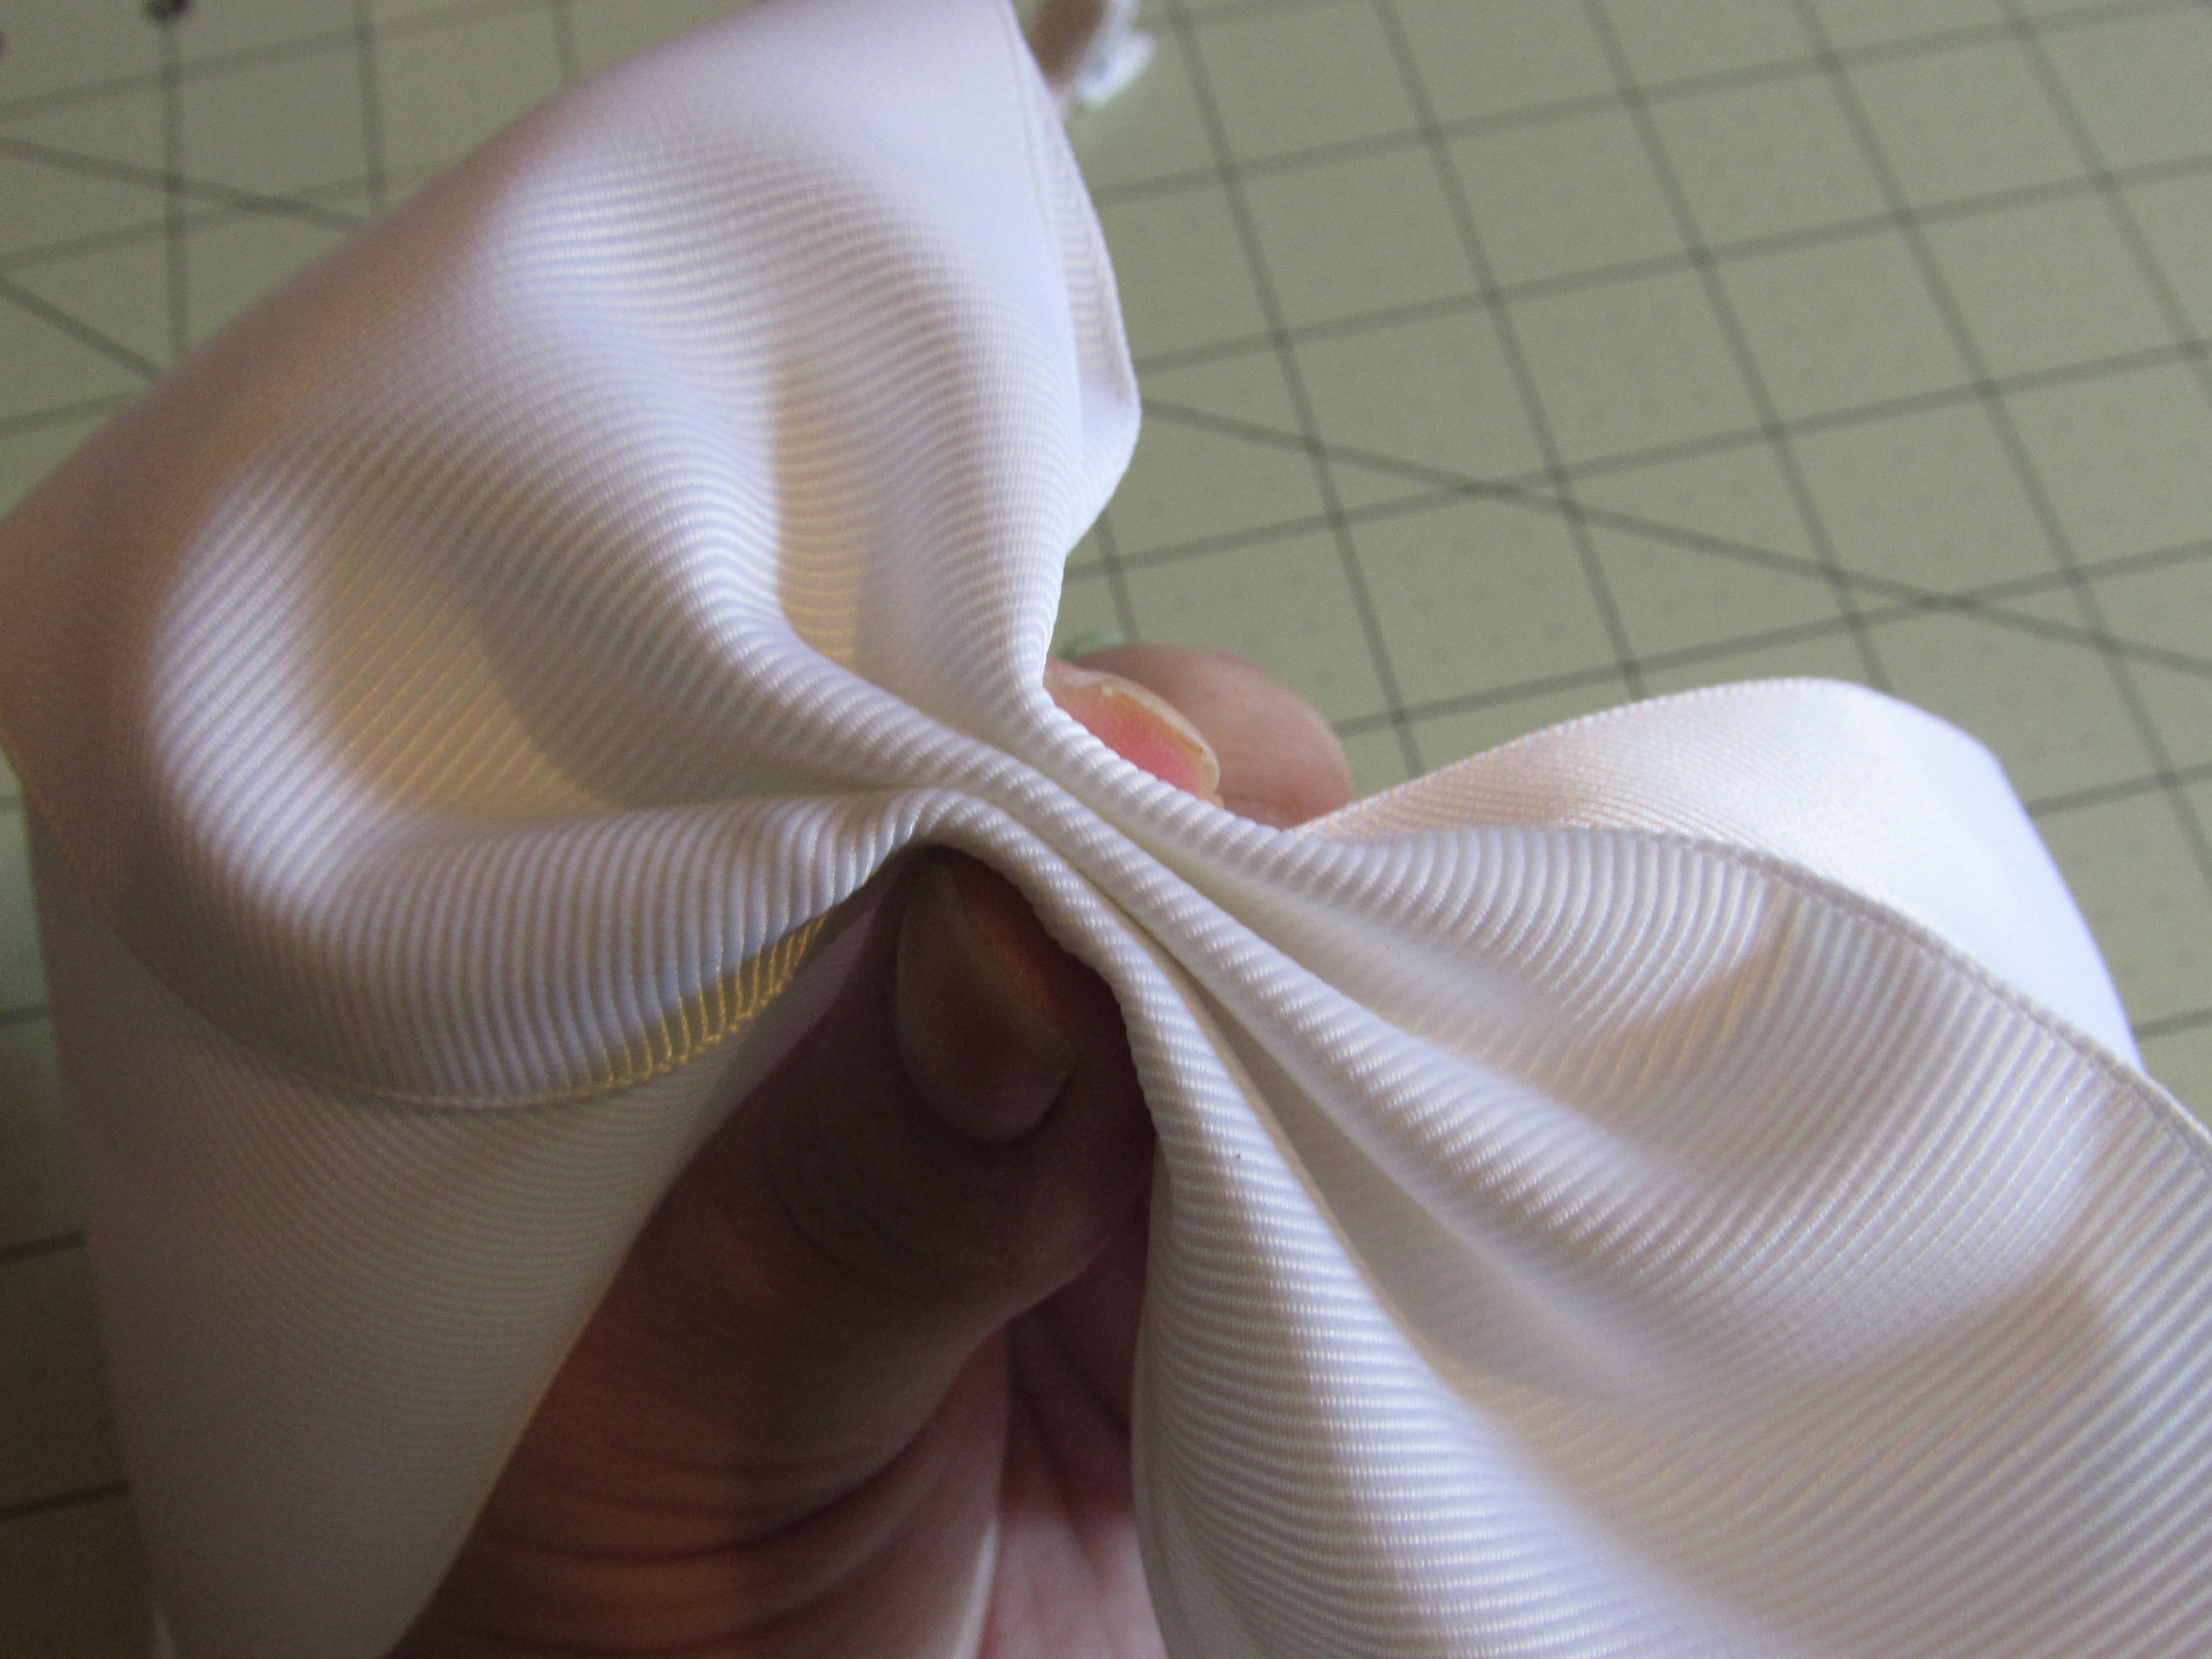
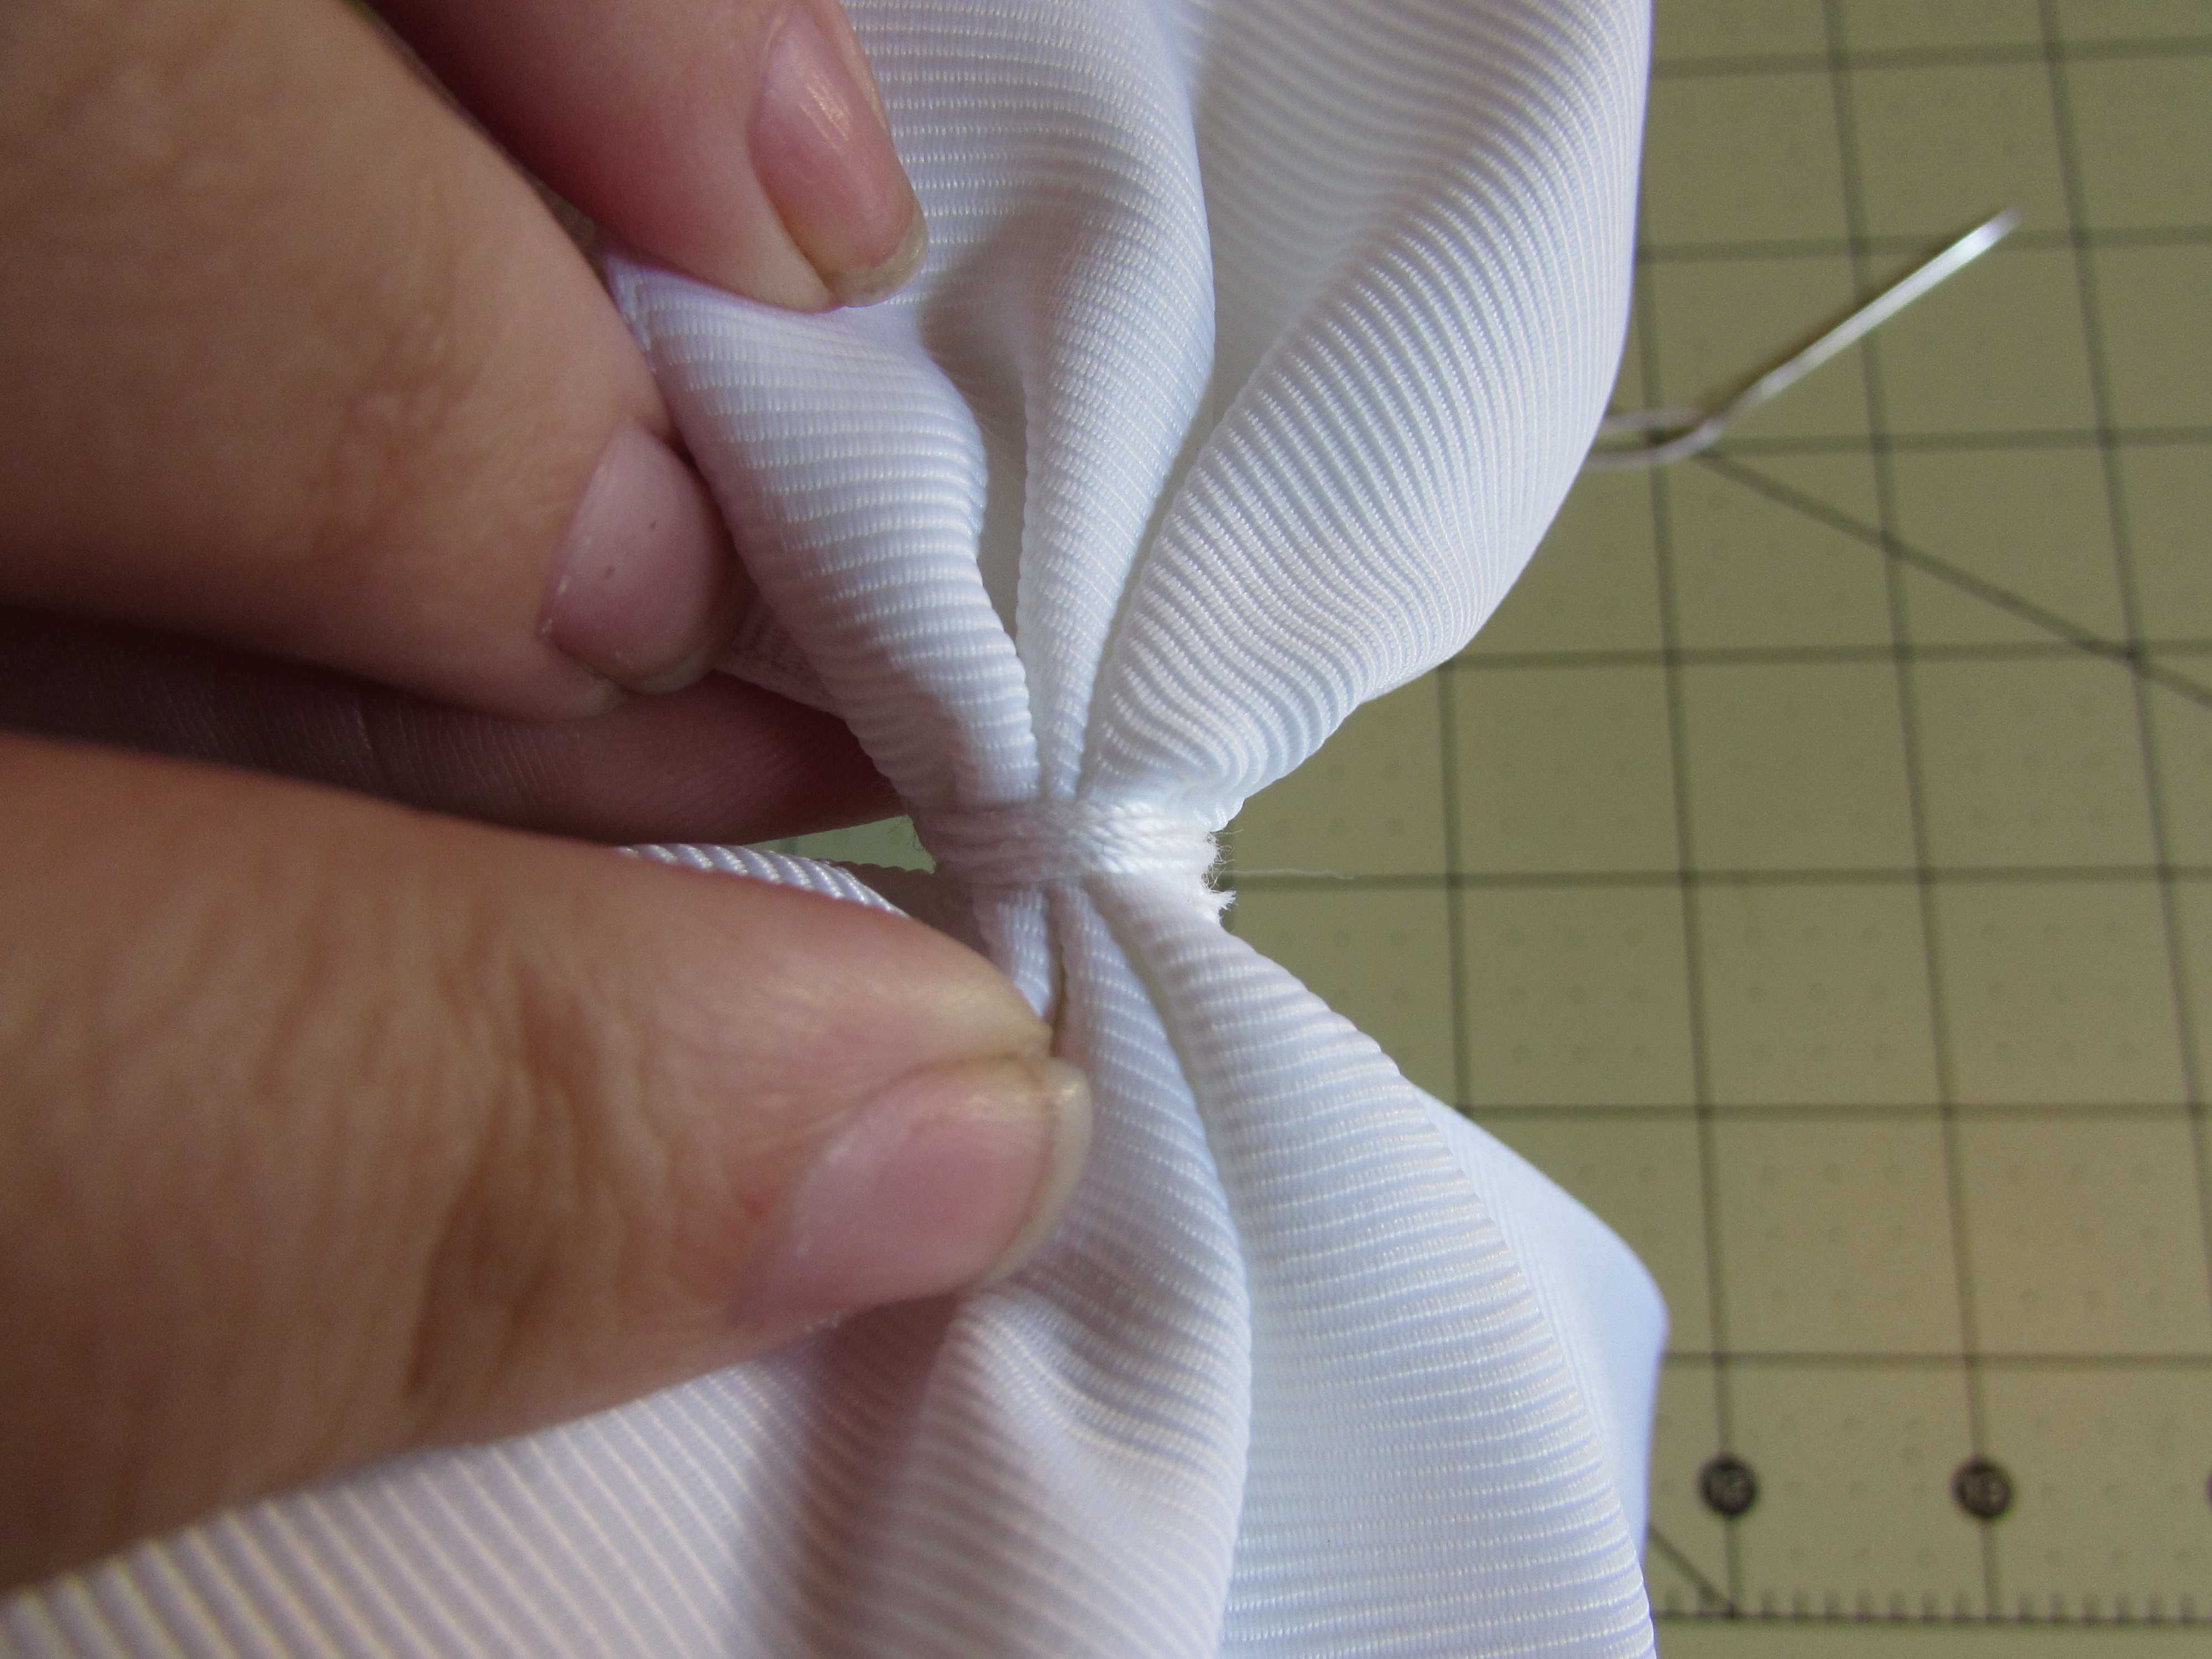
Step 10: Push the needle and thread through the center of the crease
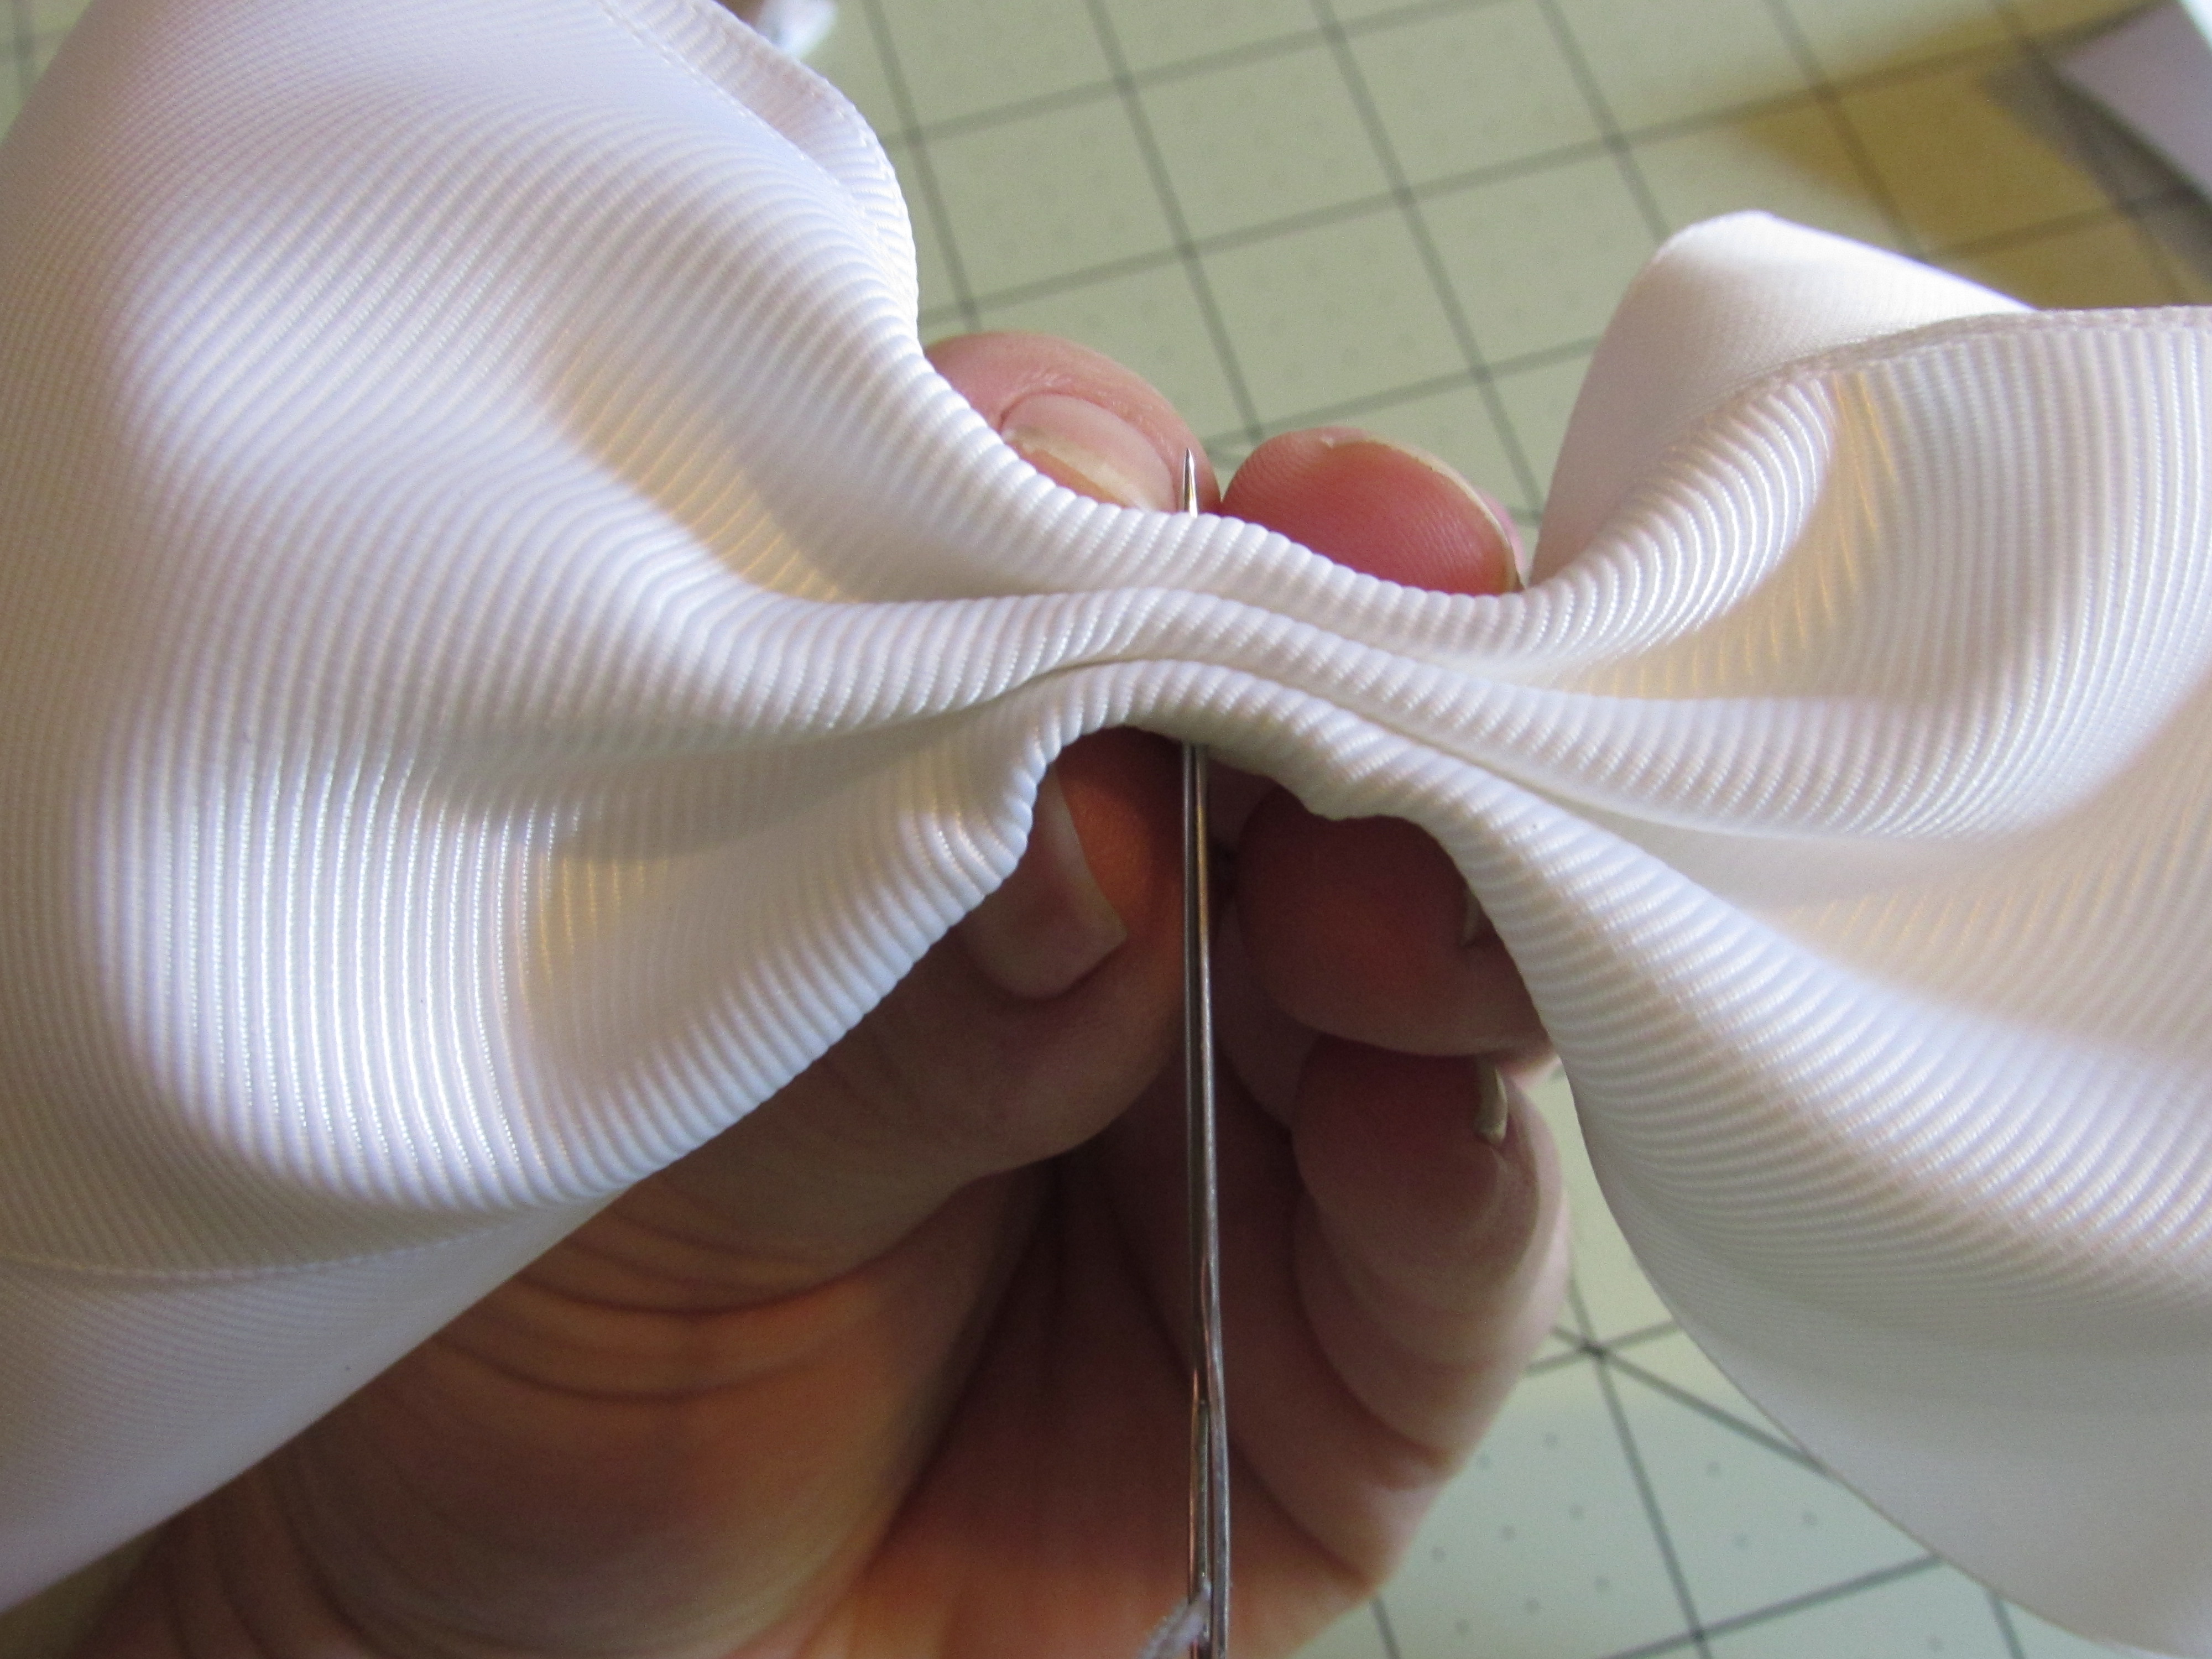
Step 11: Wrap and sew off the center
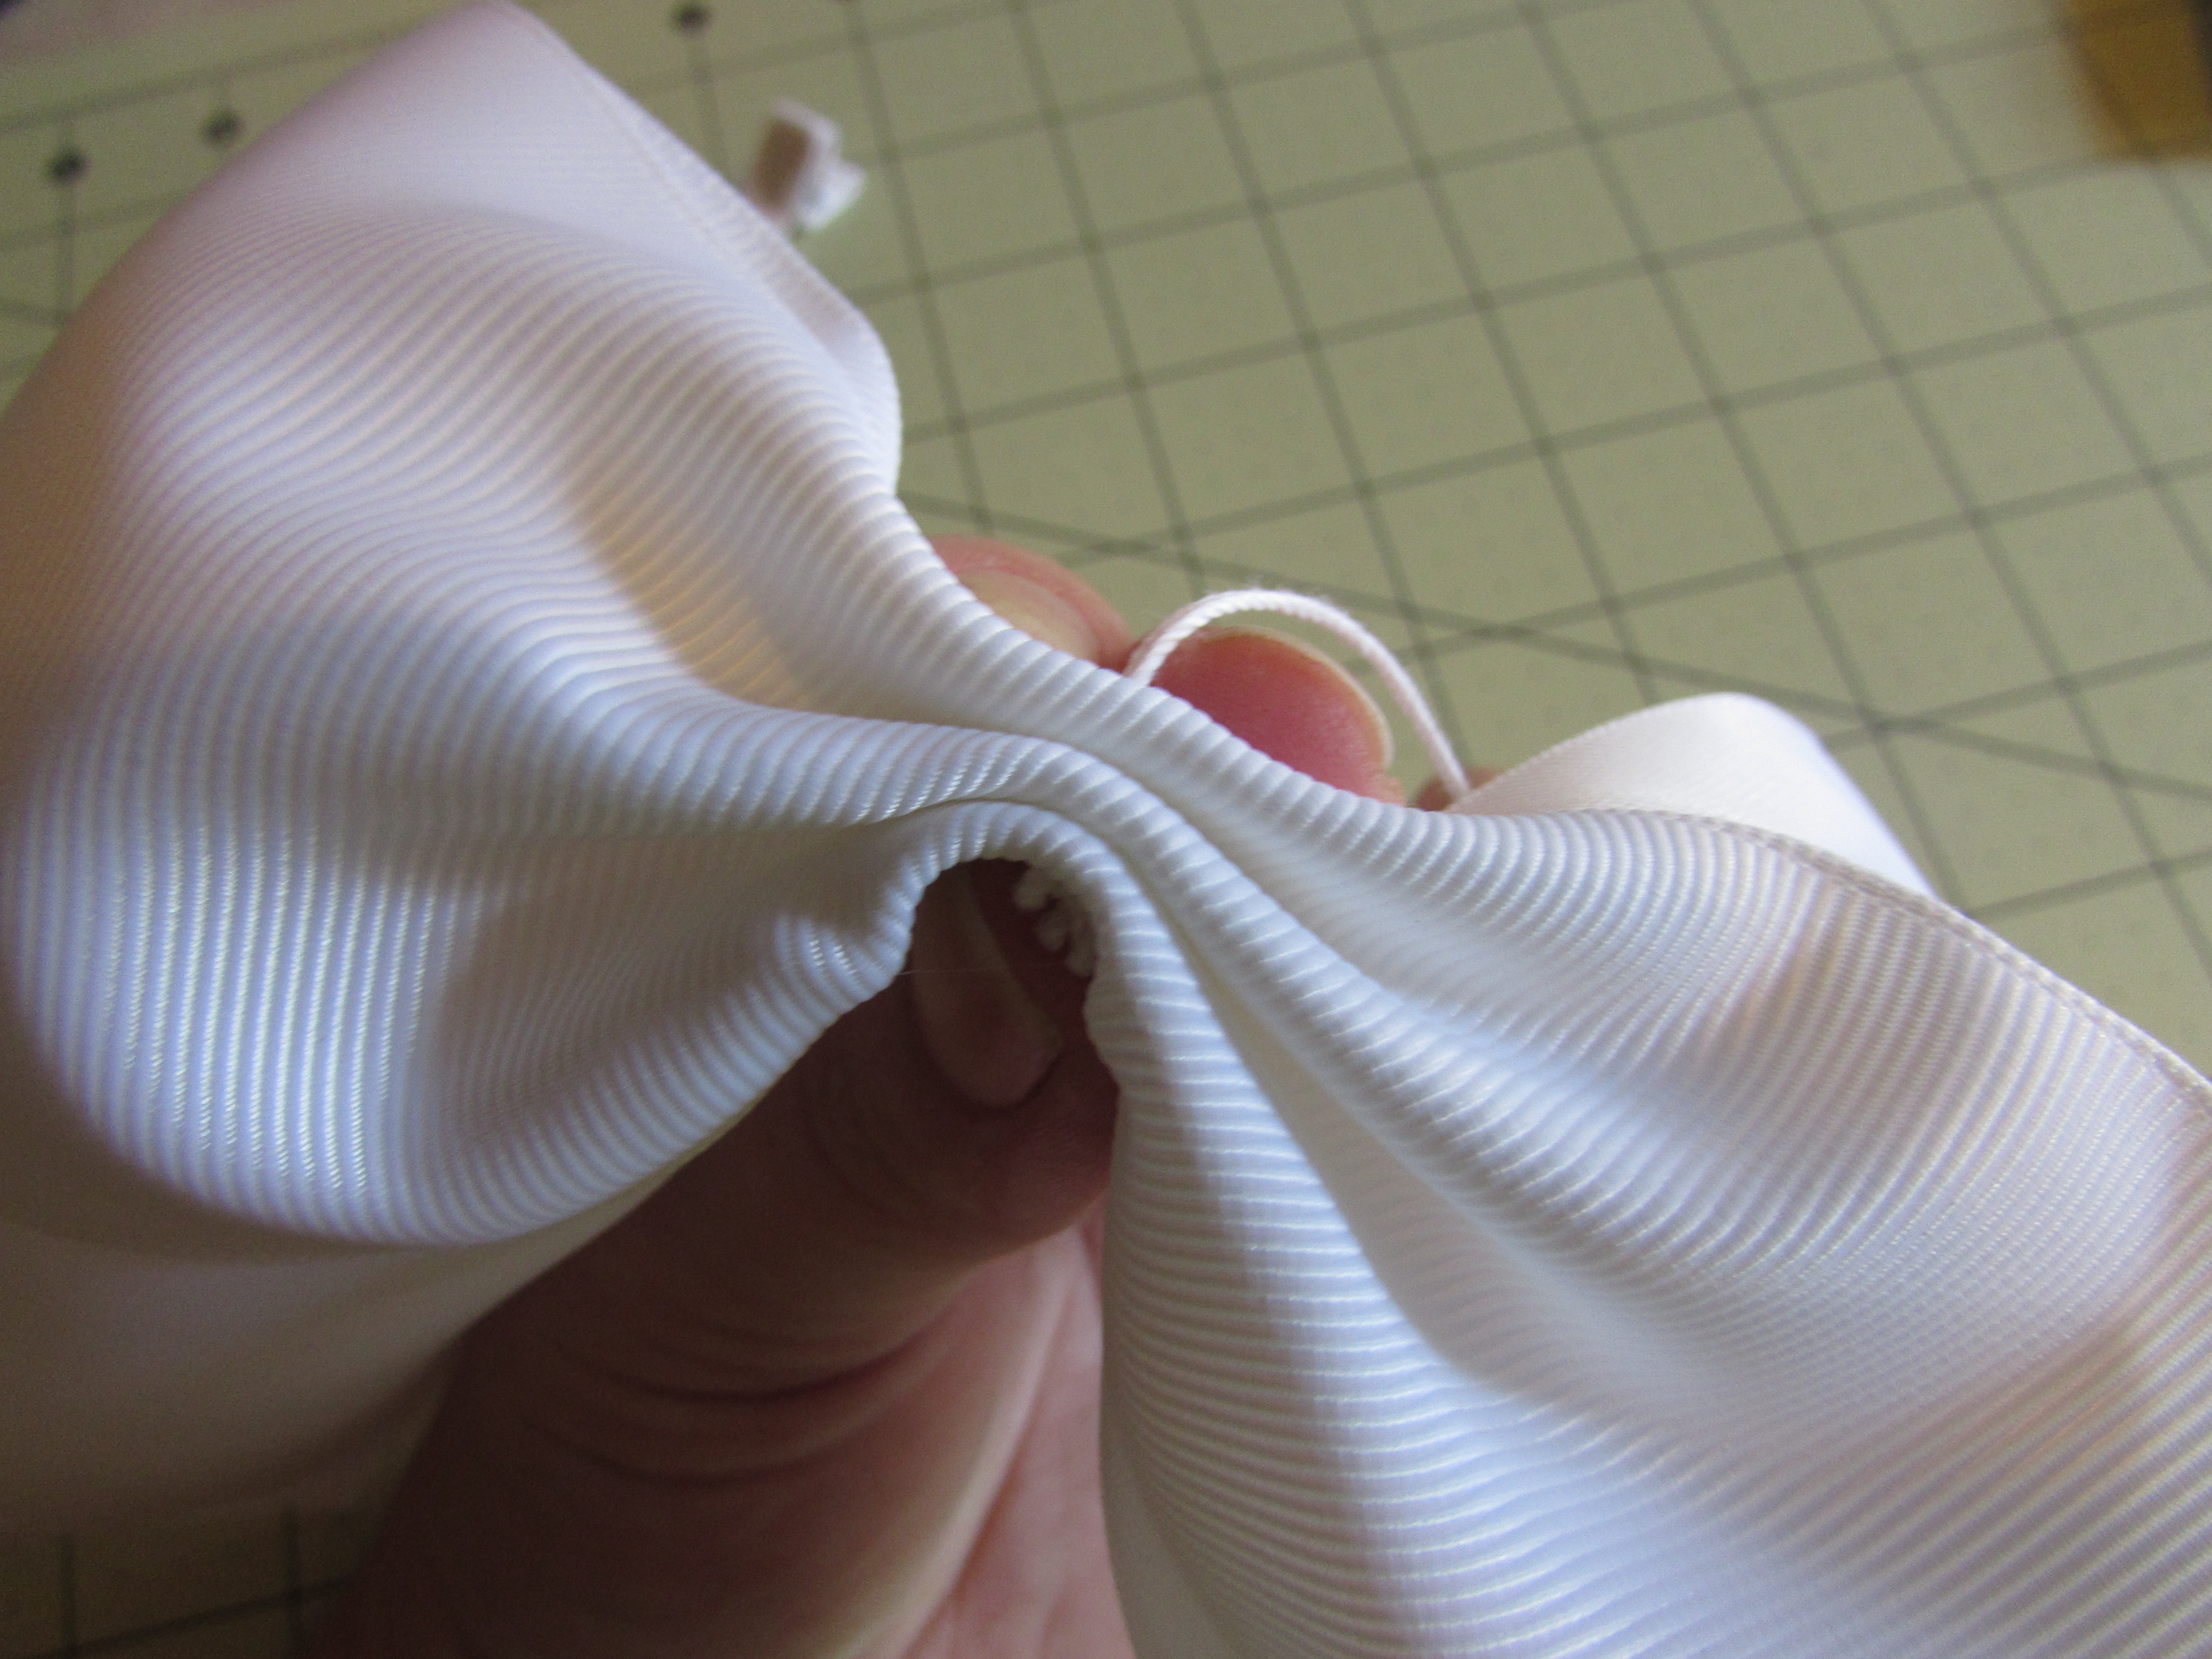
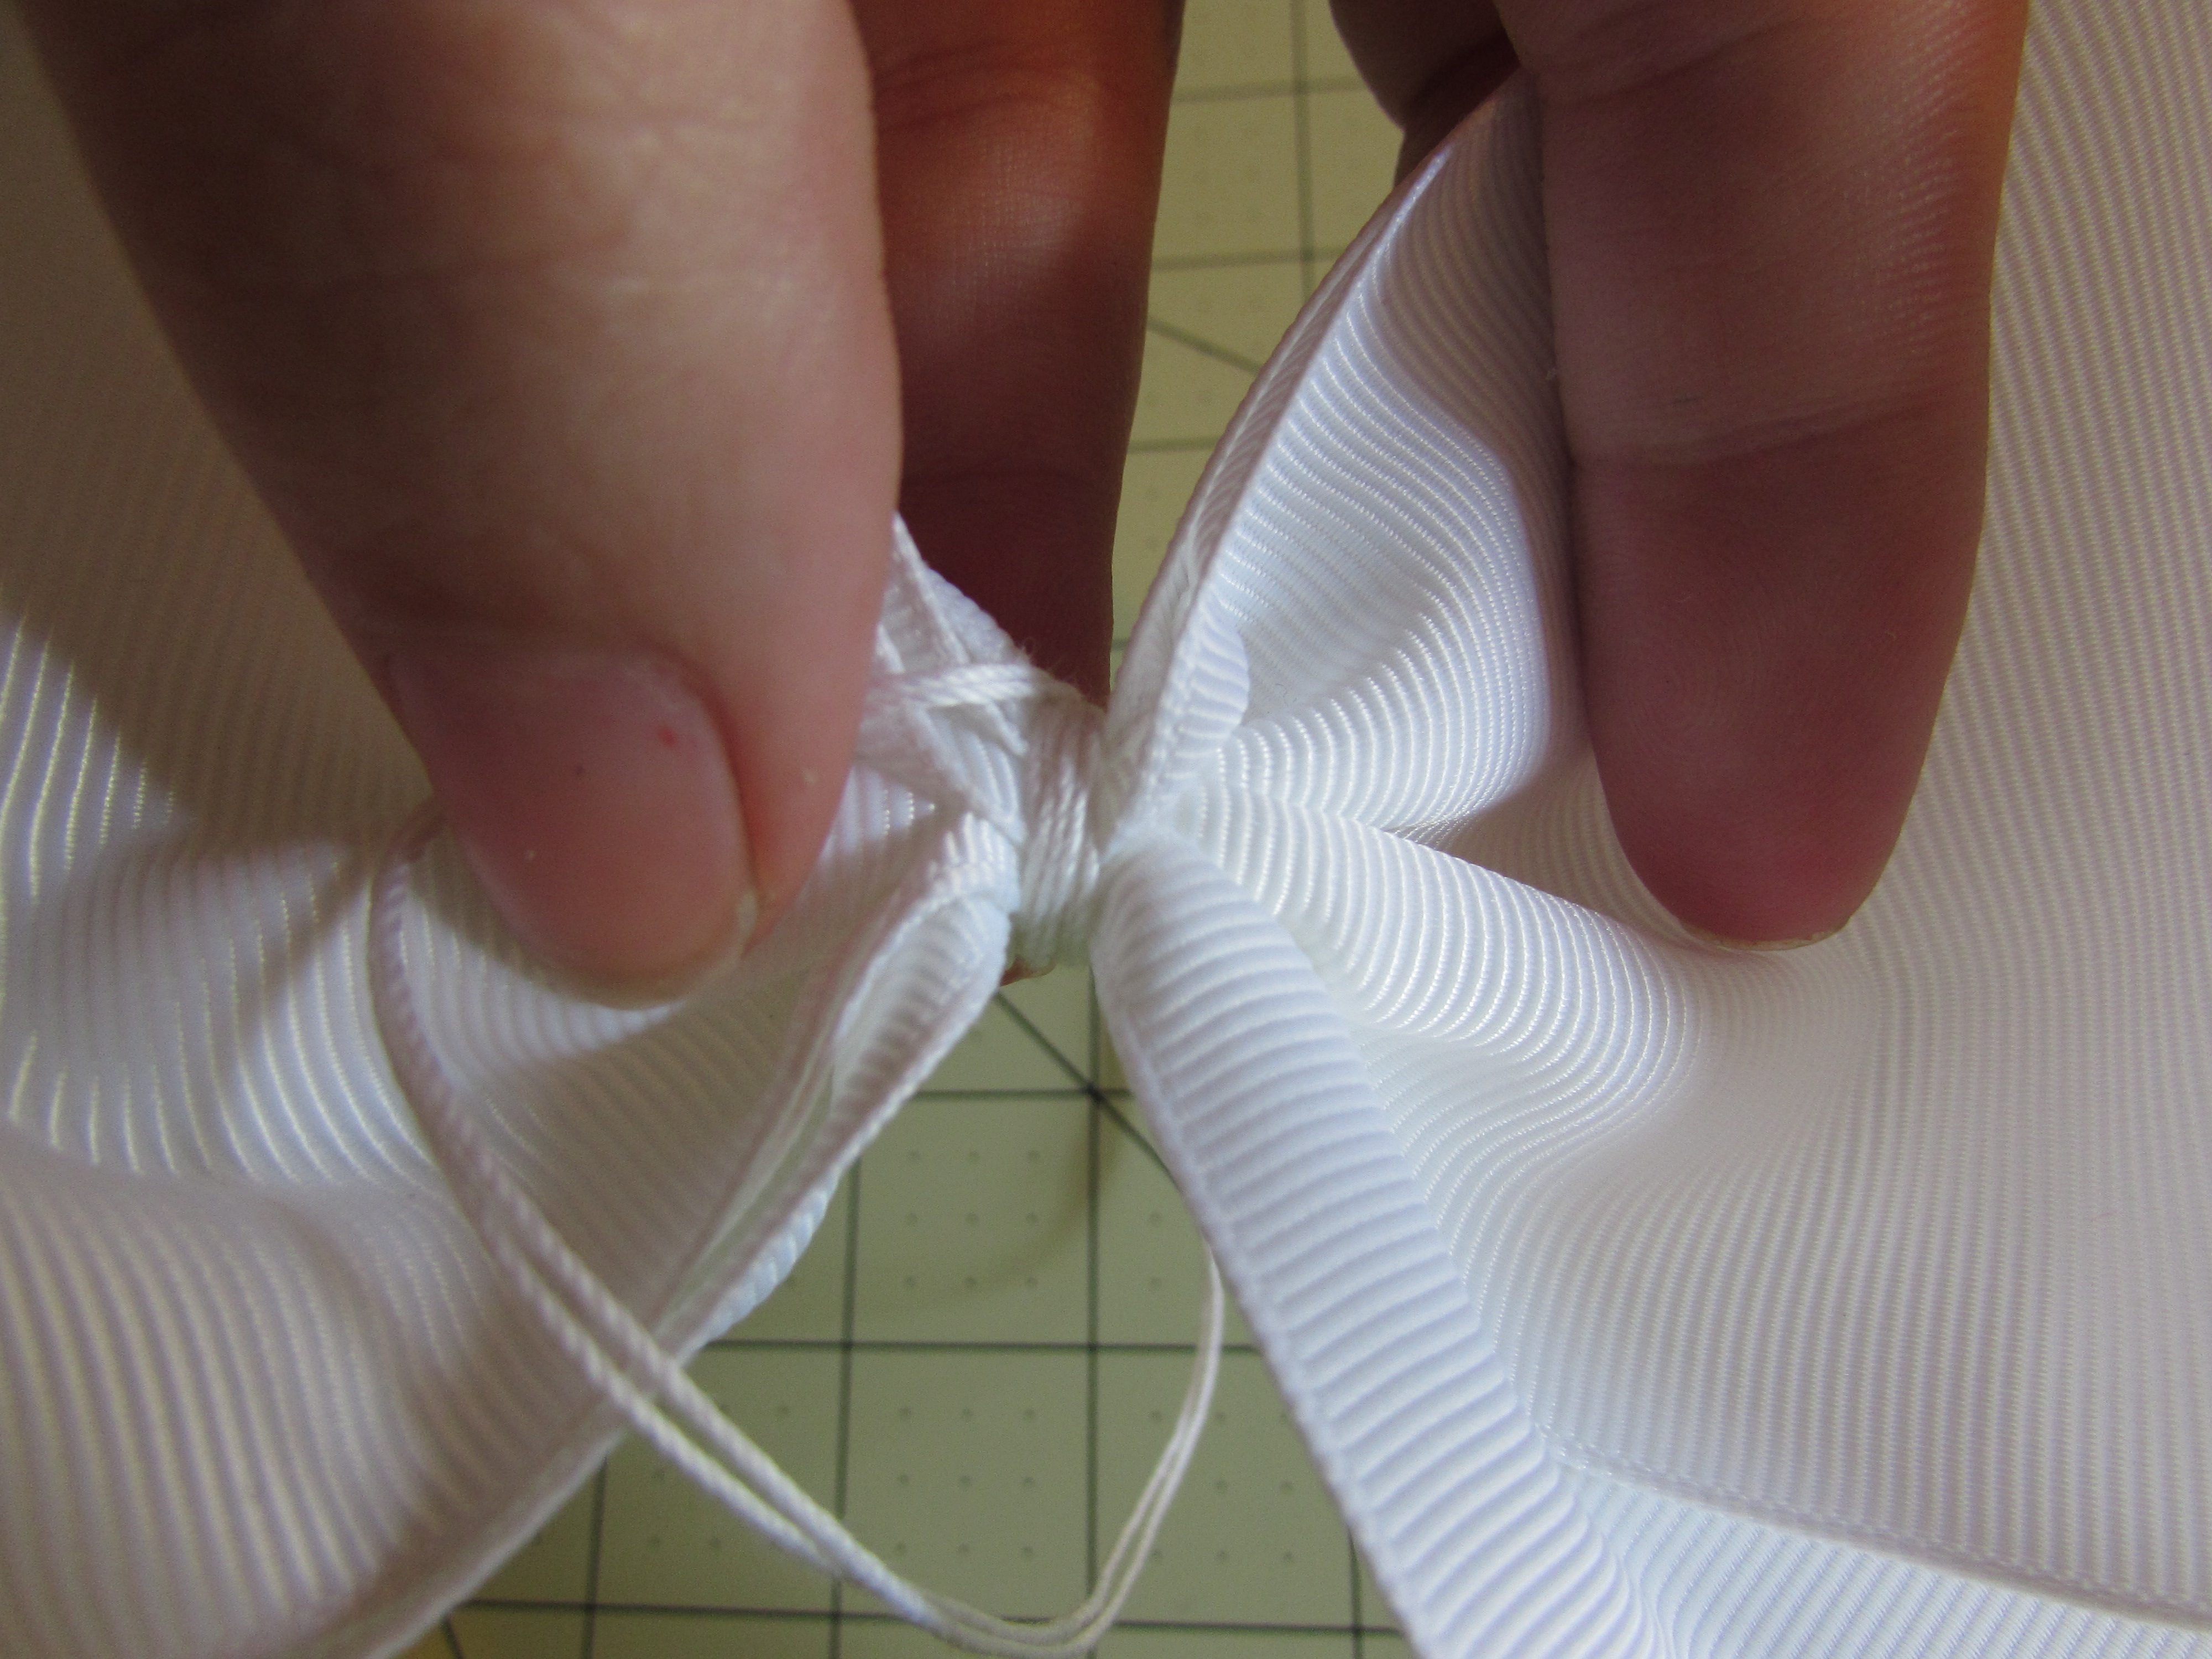
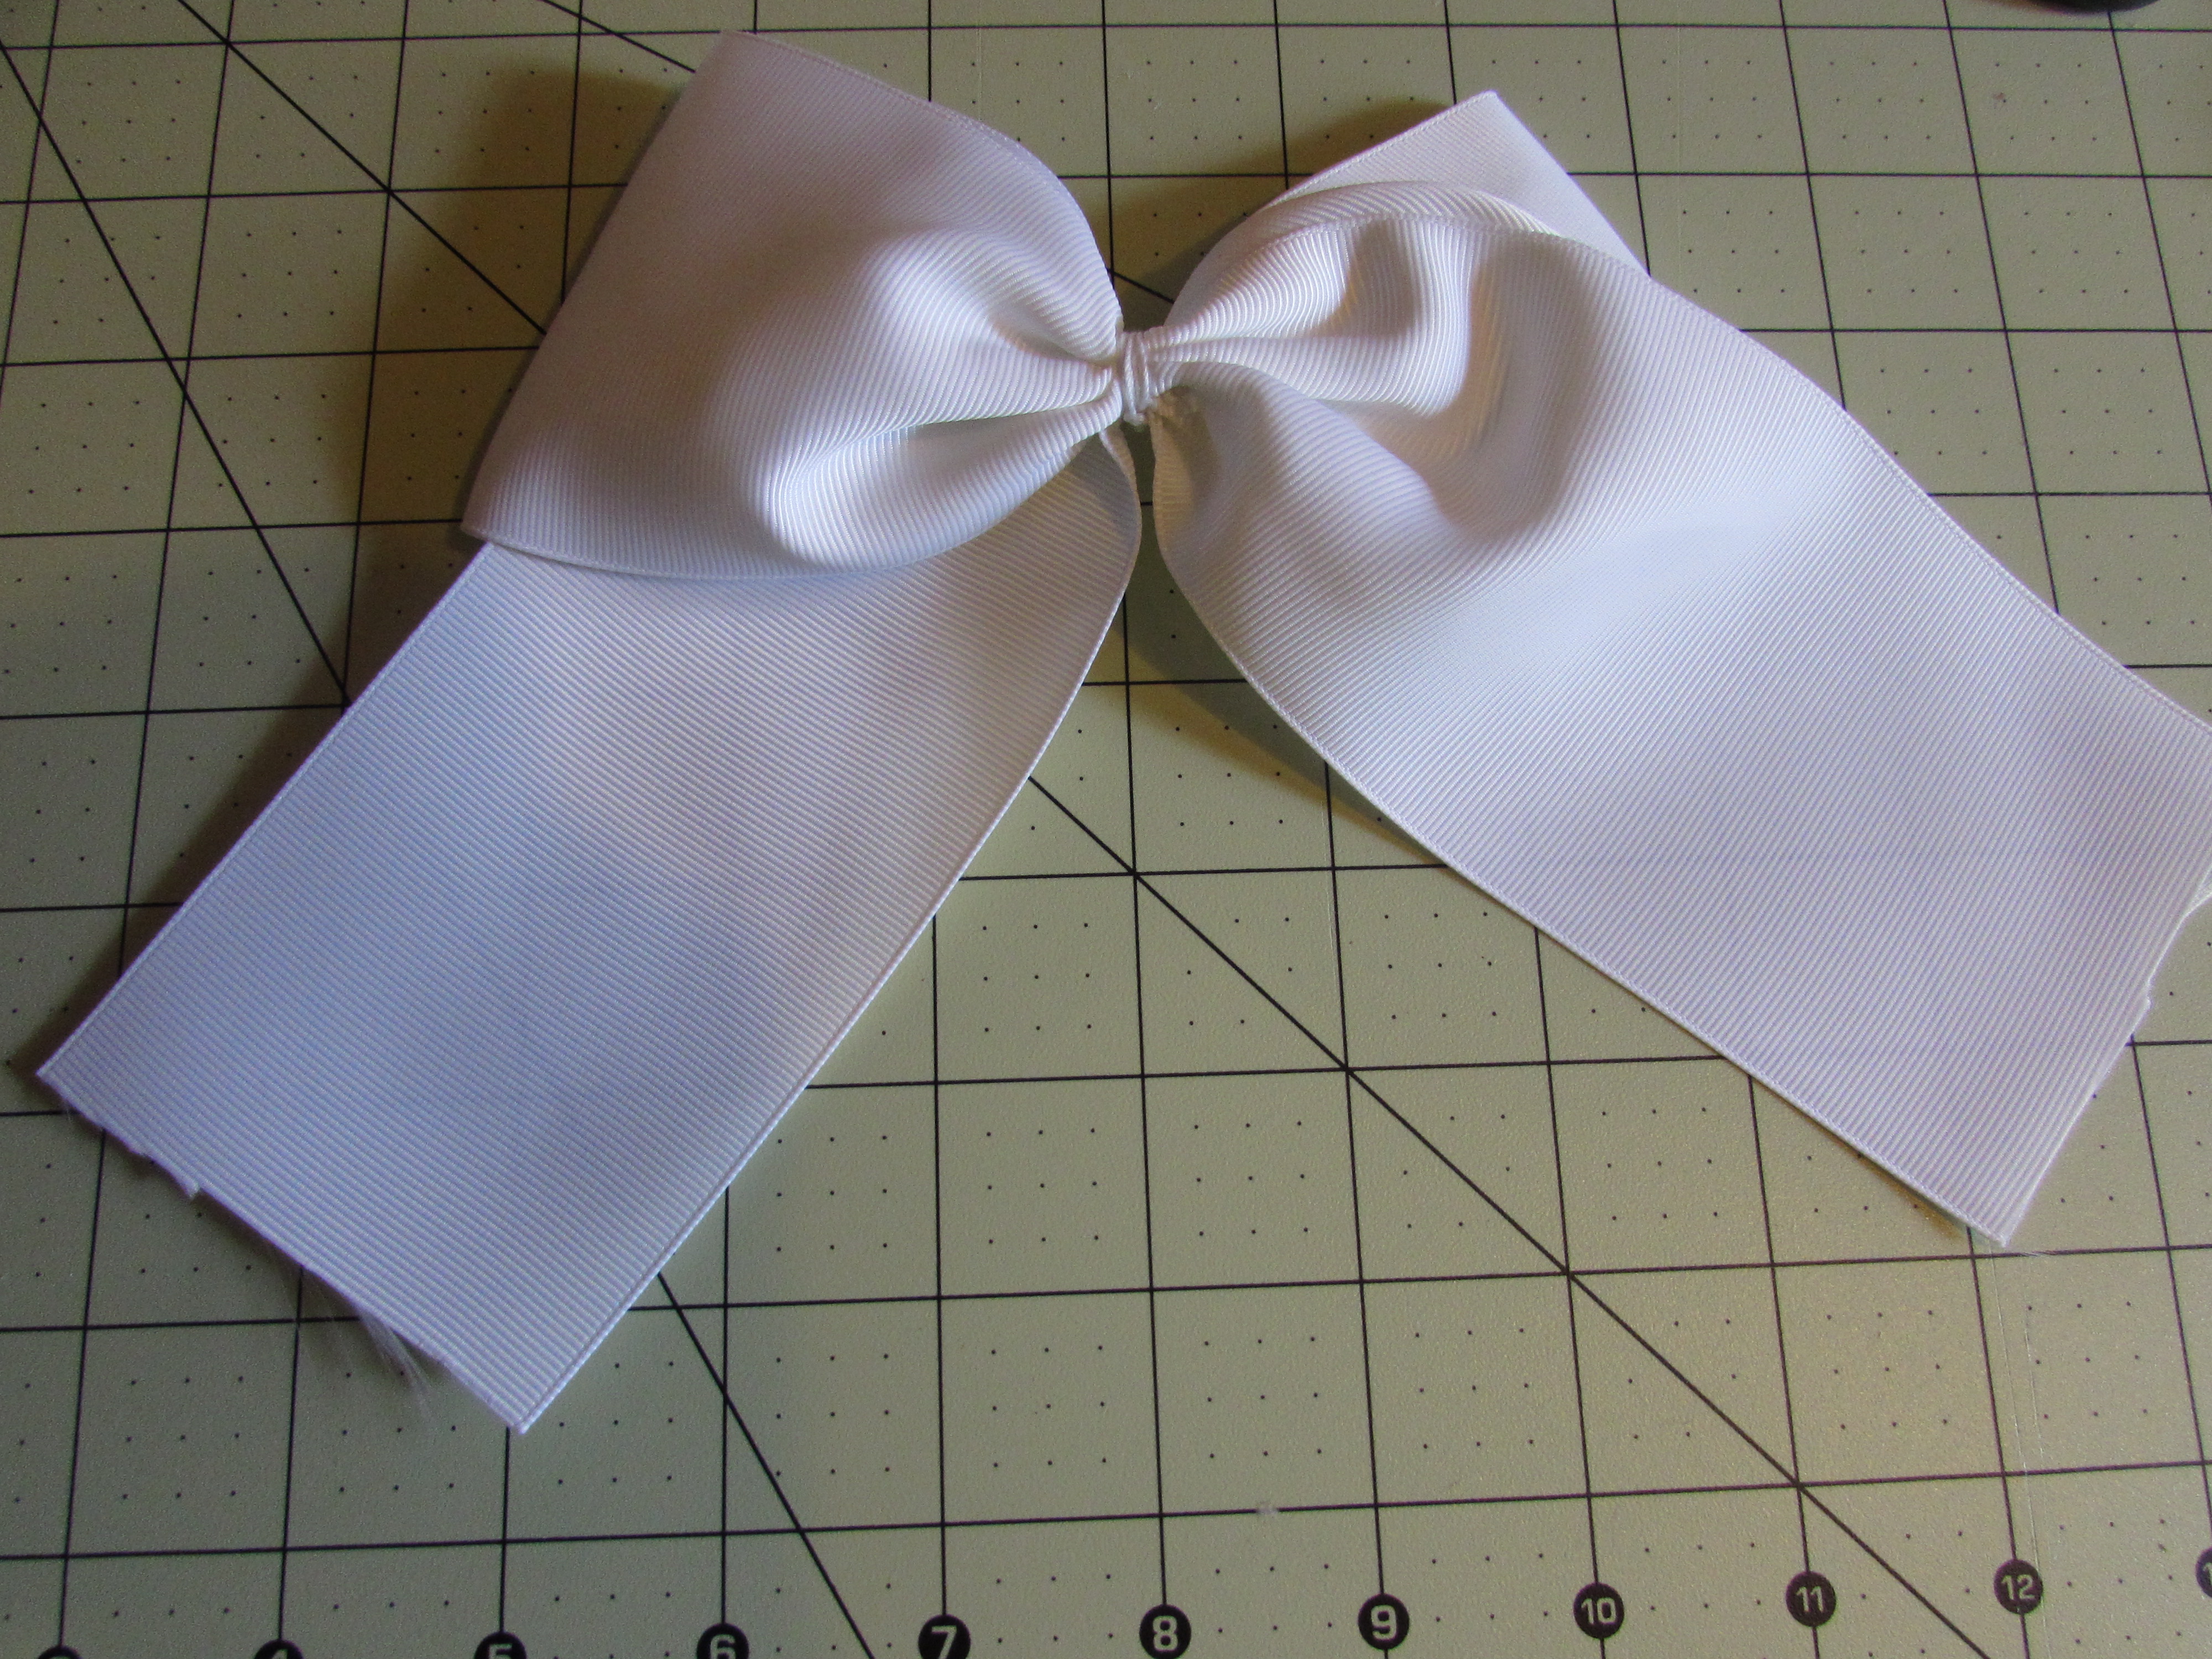
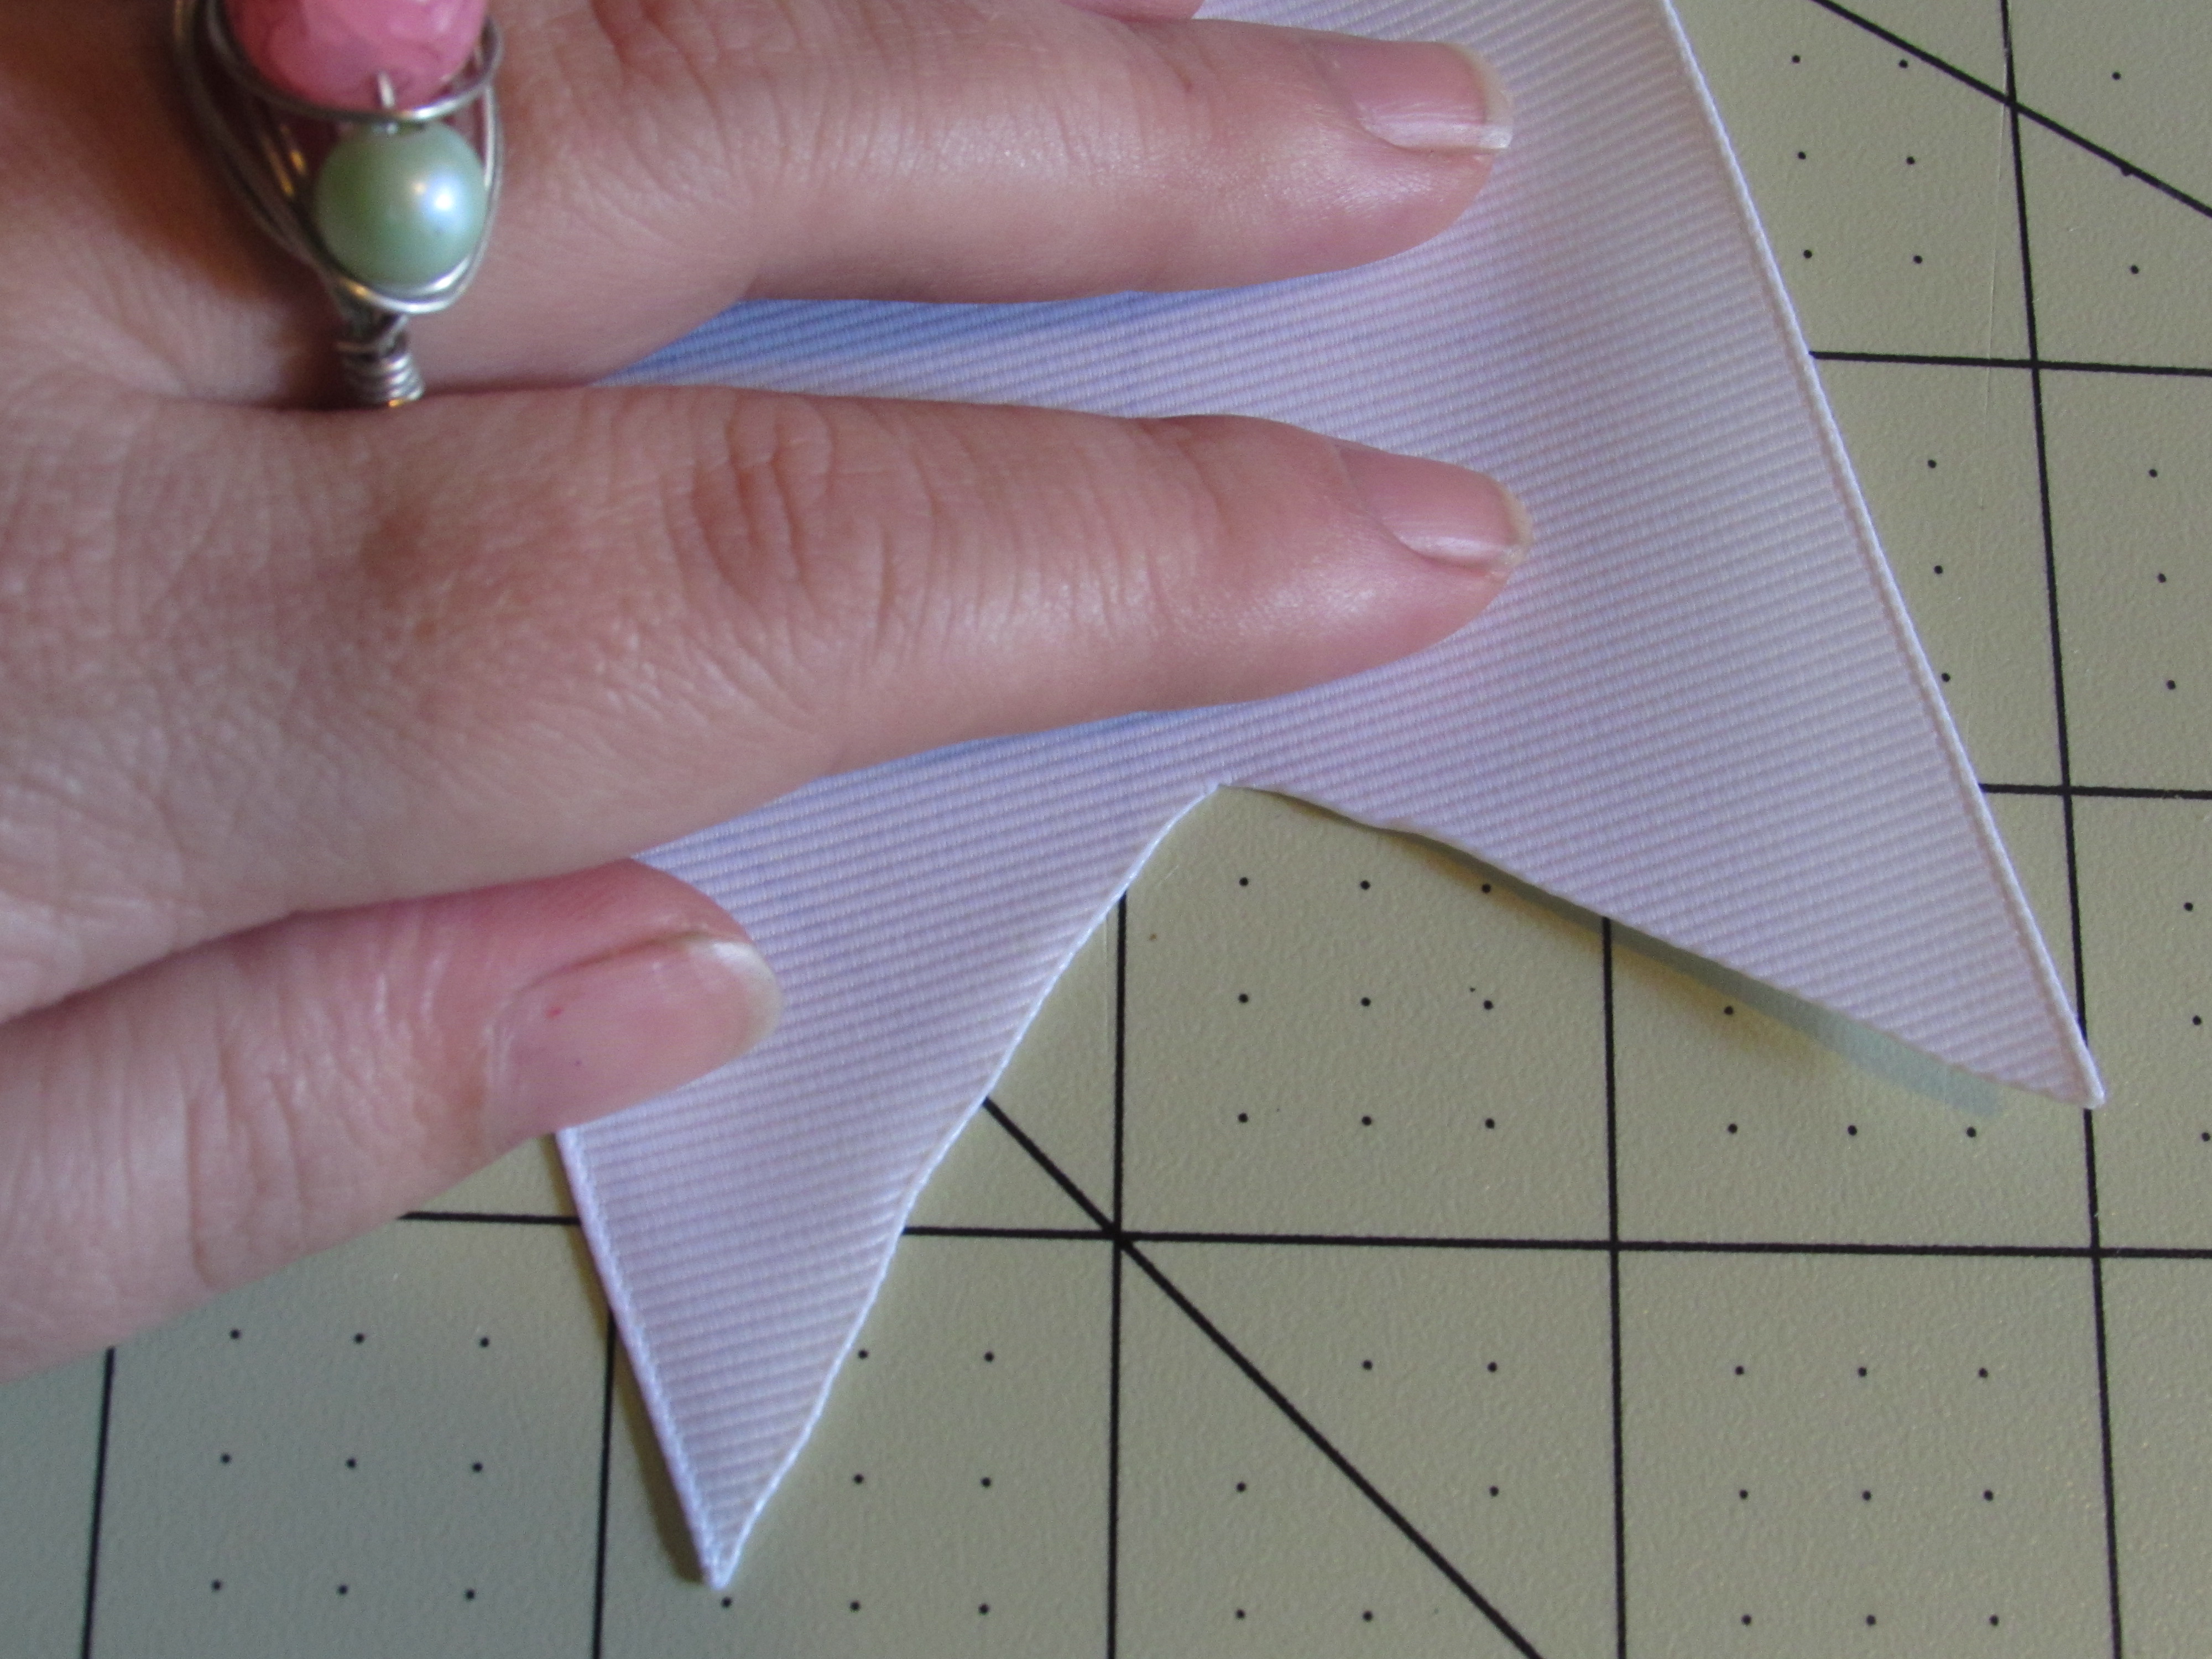
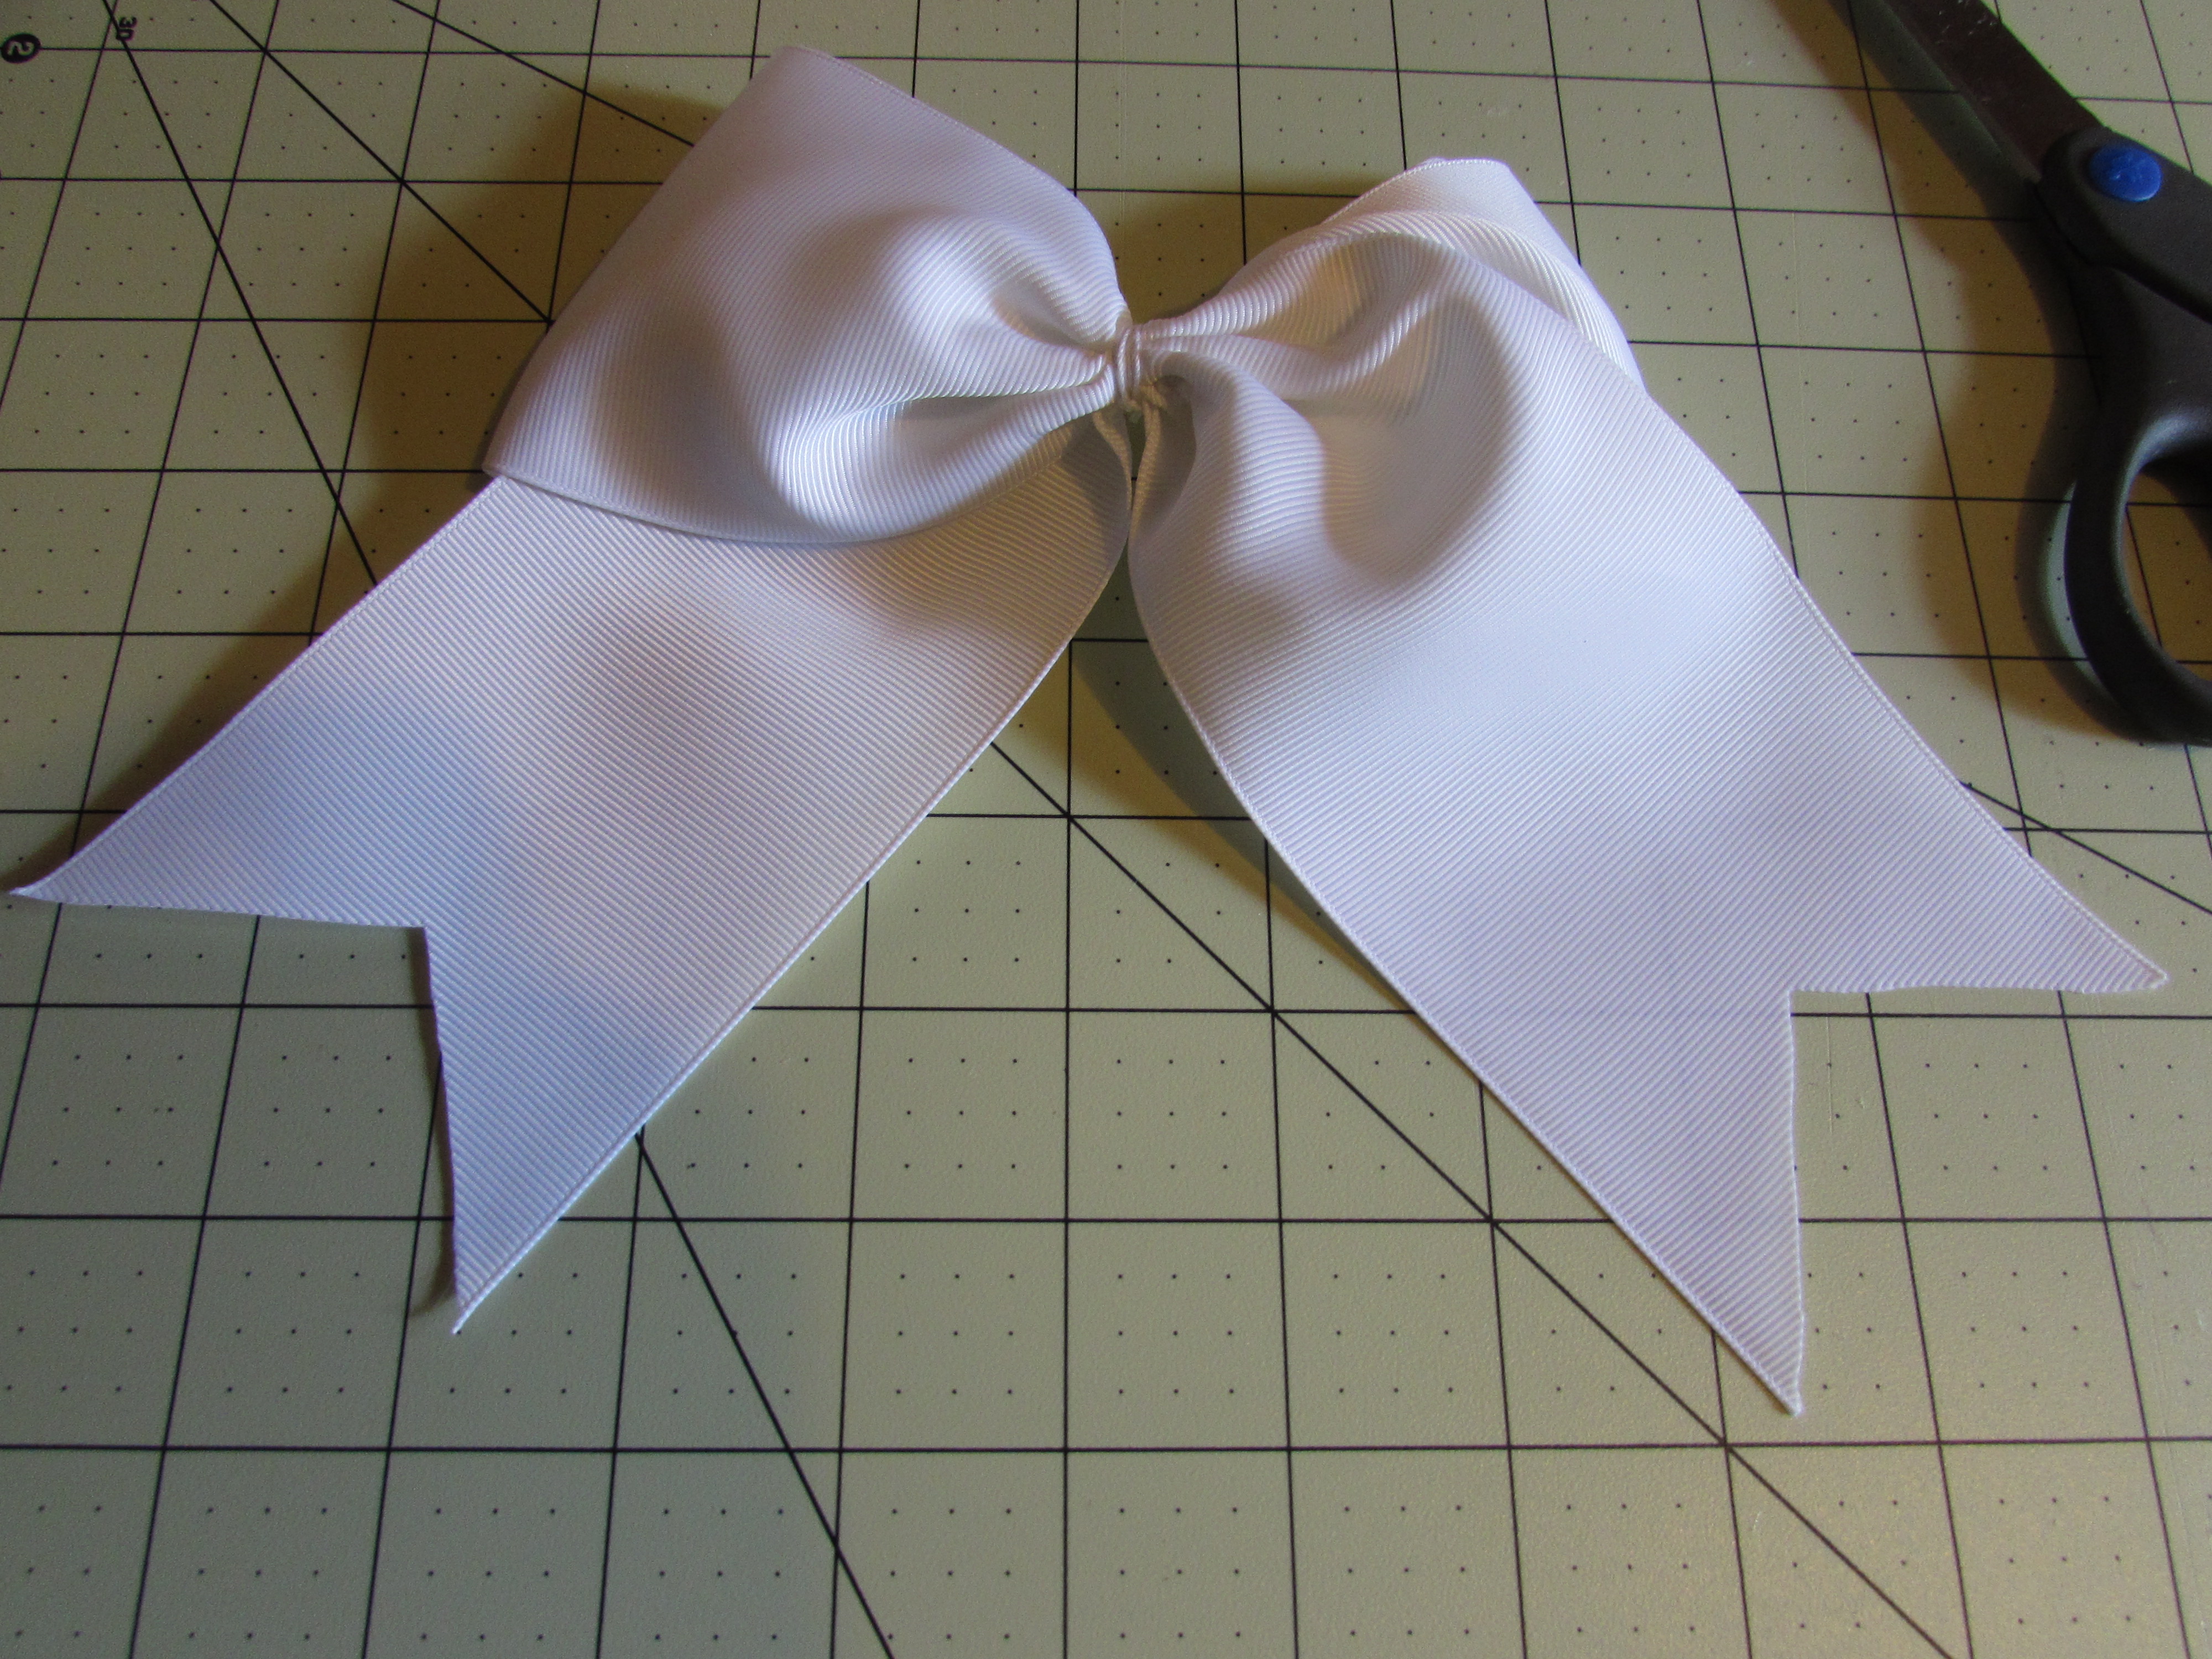
Step 12: Cut your ribbon ends how you wish and heat seal
- I am doing a " V " cut in mine
Step 13:
Turn your iron on. At this point you want to be very careful, working with an iron can be dangerous so please take caution.
- Your iron needs to be on the highest "cotton" setting with NO STEAM
- Lay your fabric down on a hard surface. I use my kitchen counter
- Lay your bow on top of the fabric
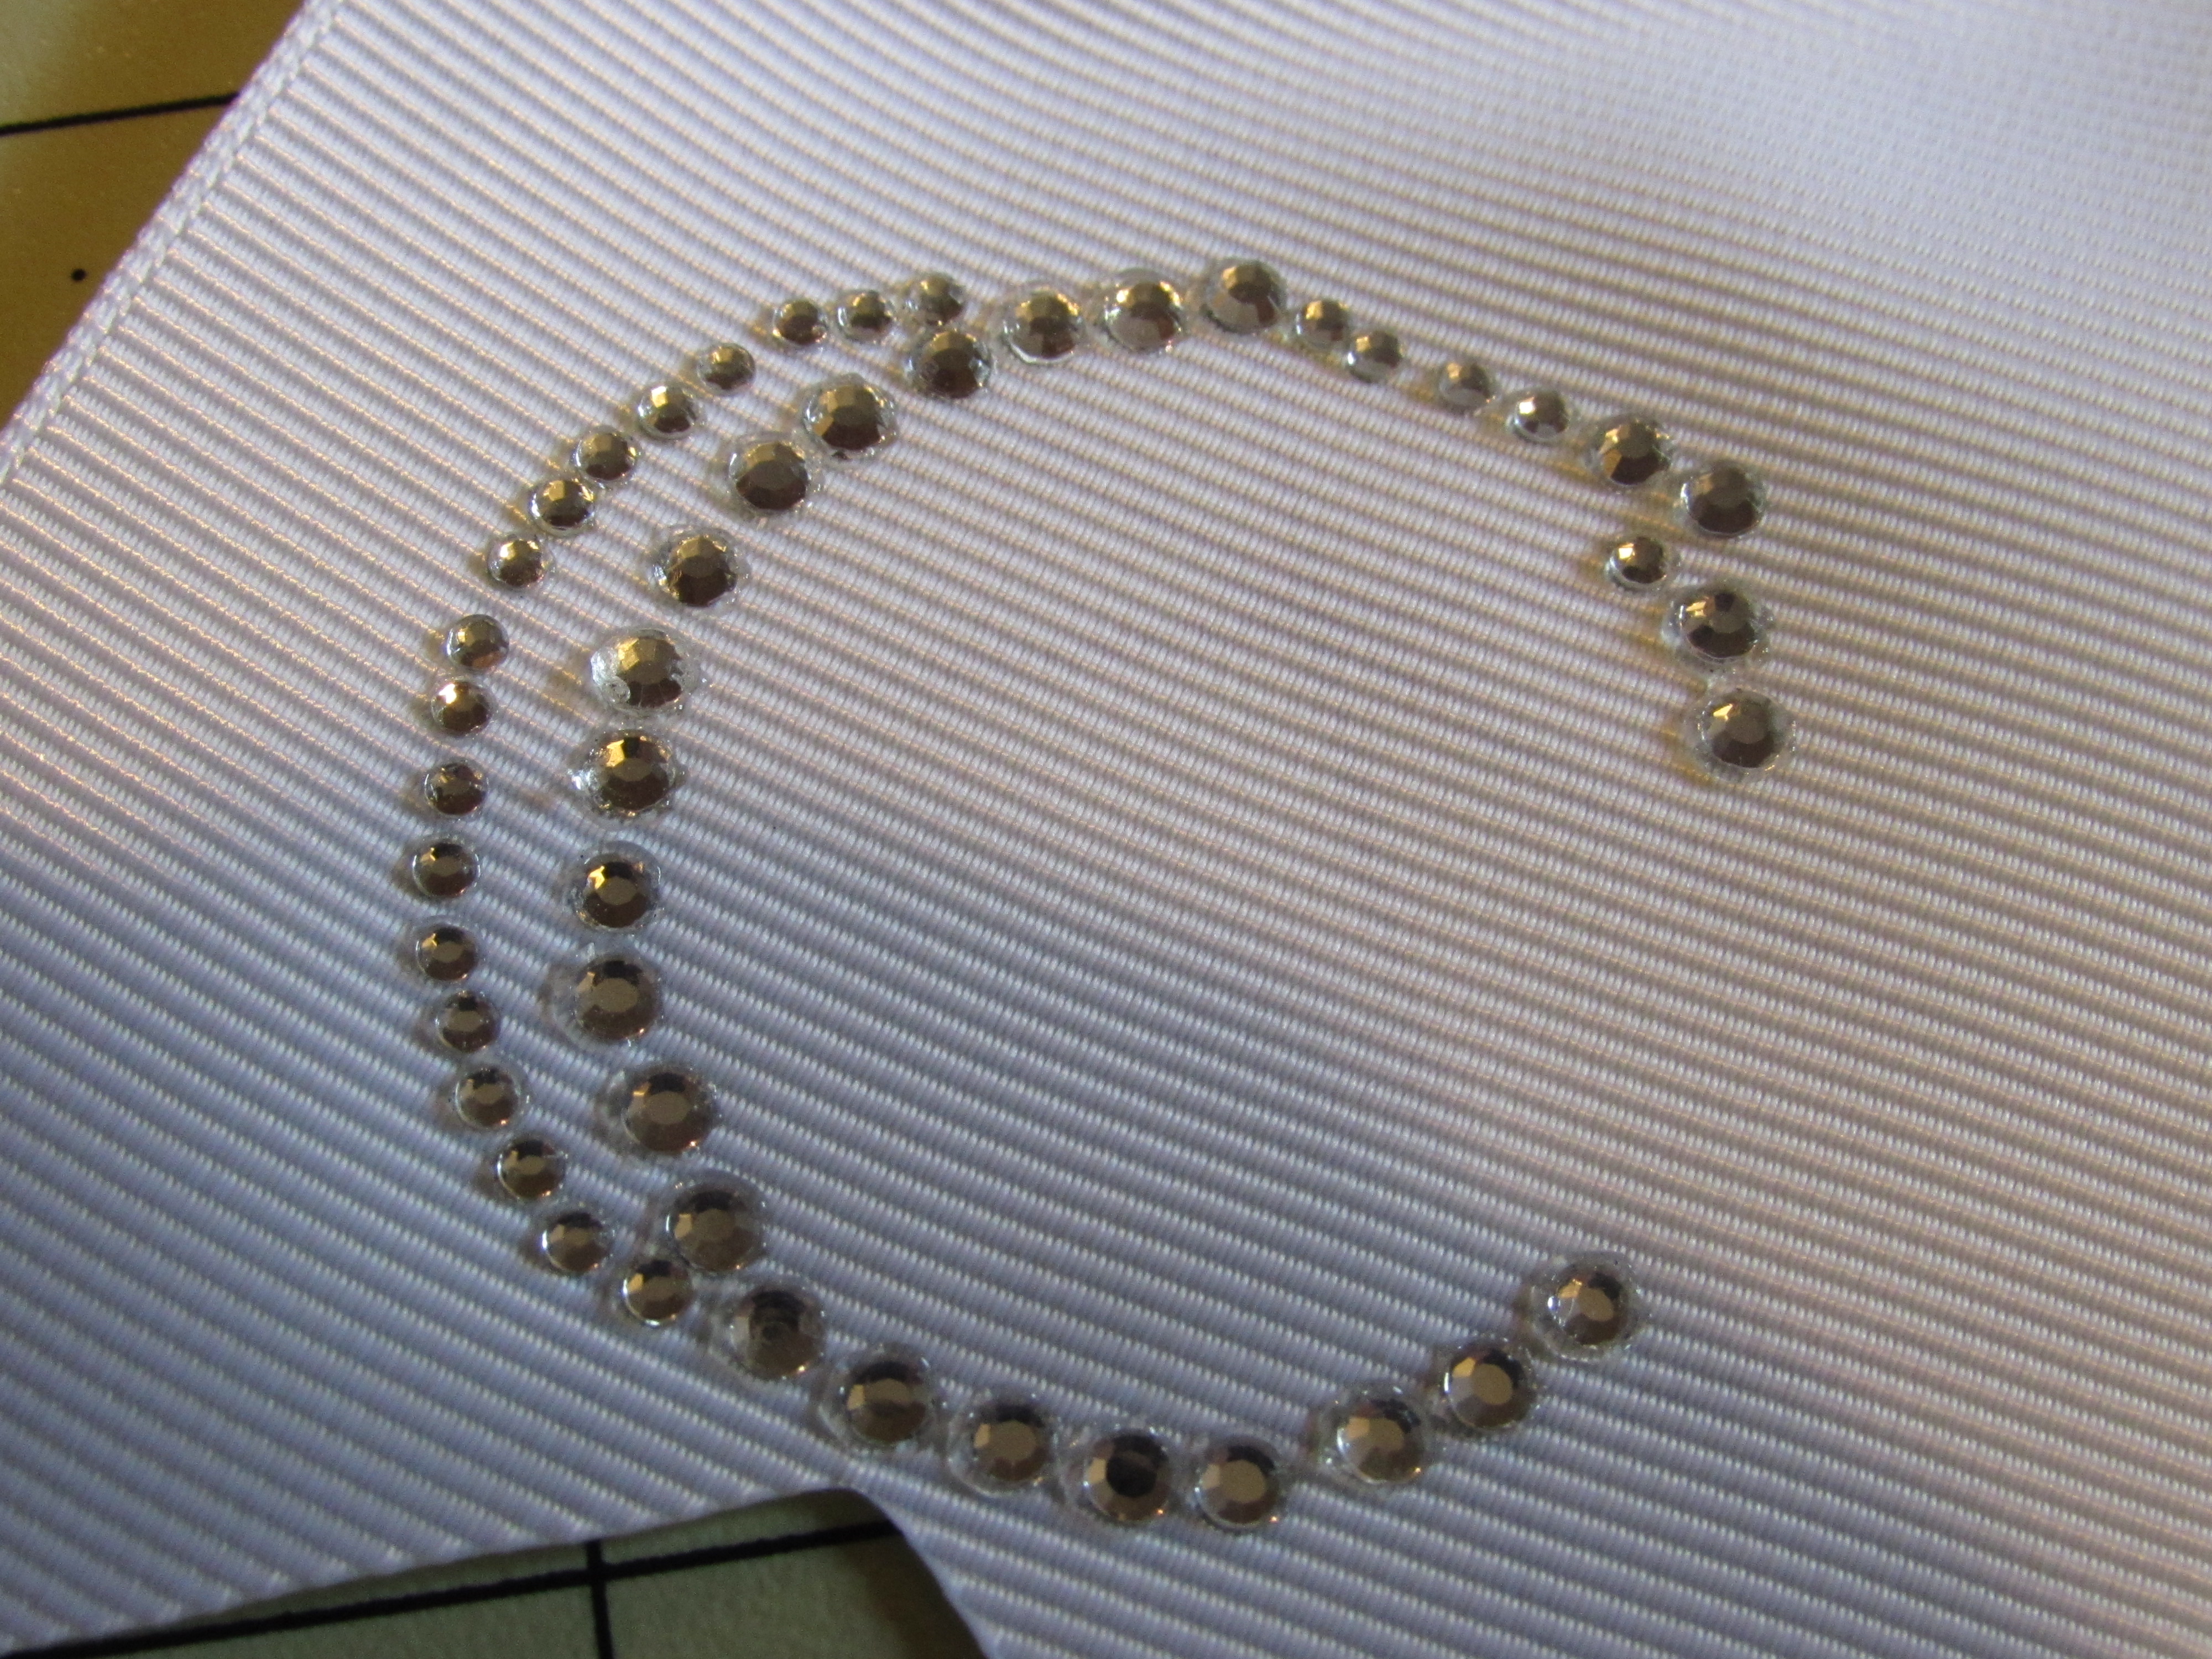
- Peel the letter off the backing and place it on the bow
* You need to be careful so you do not pull stones off
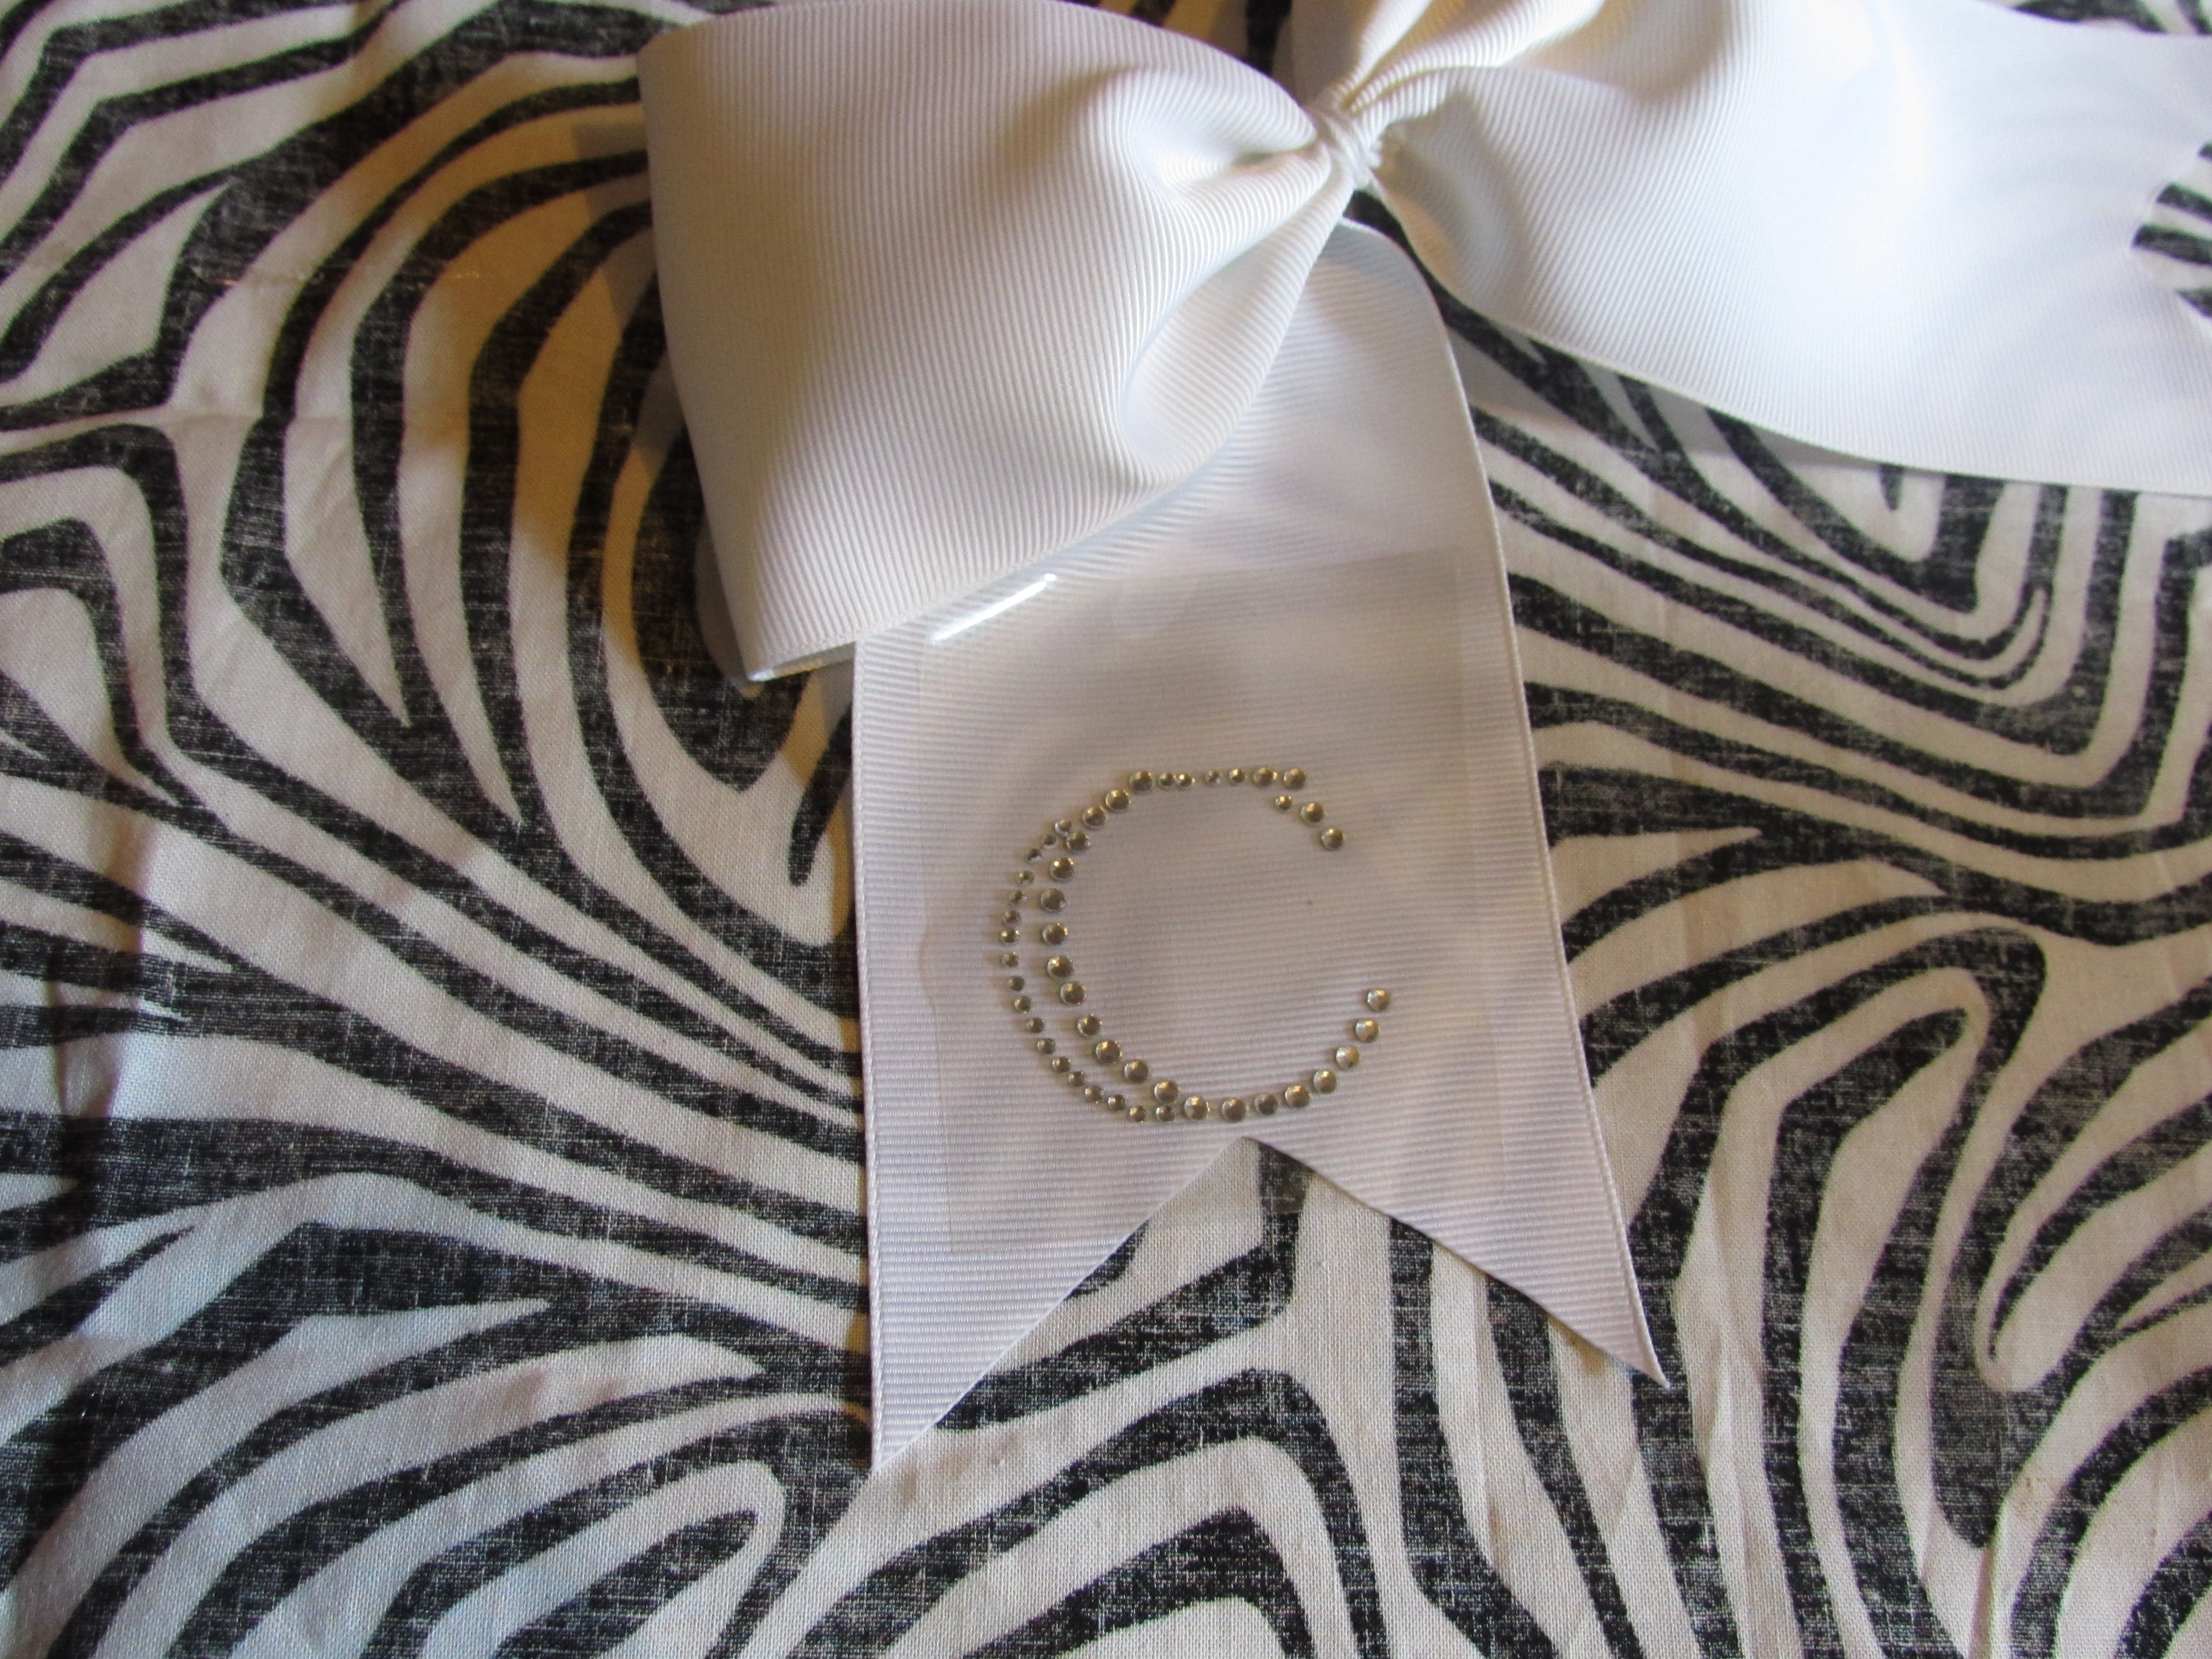
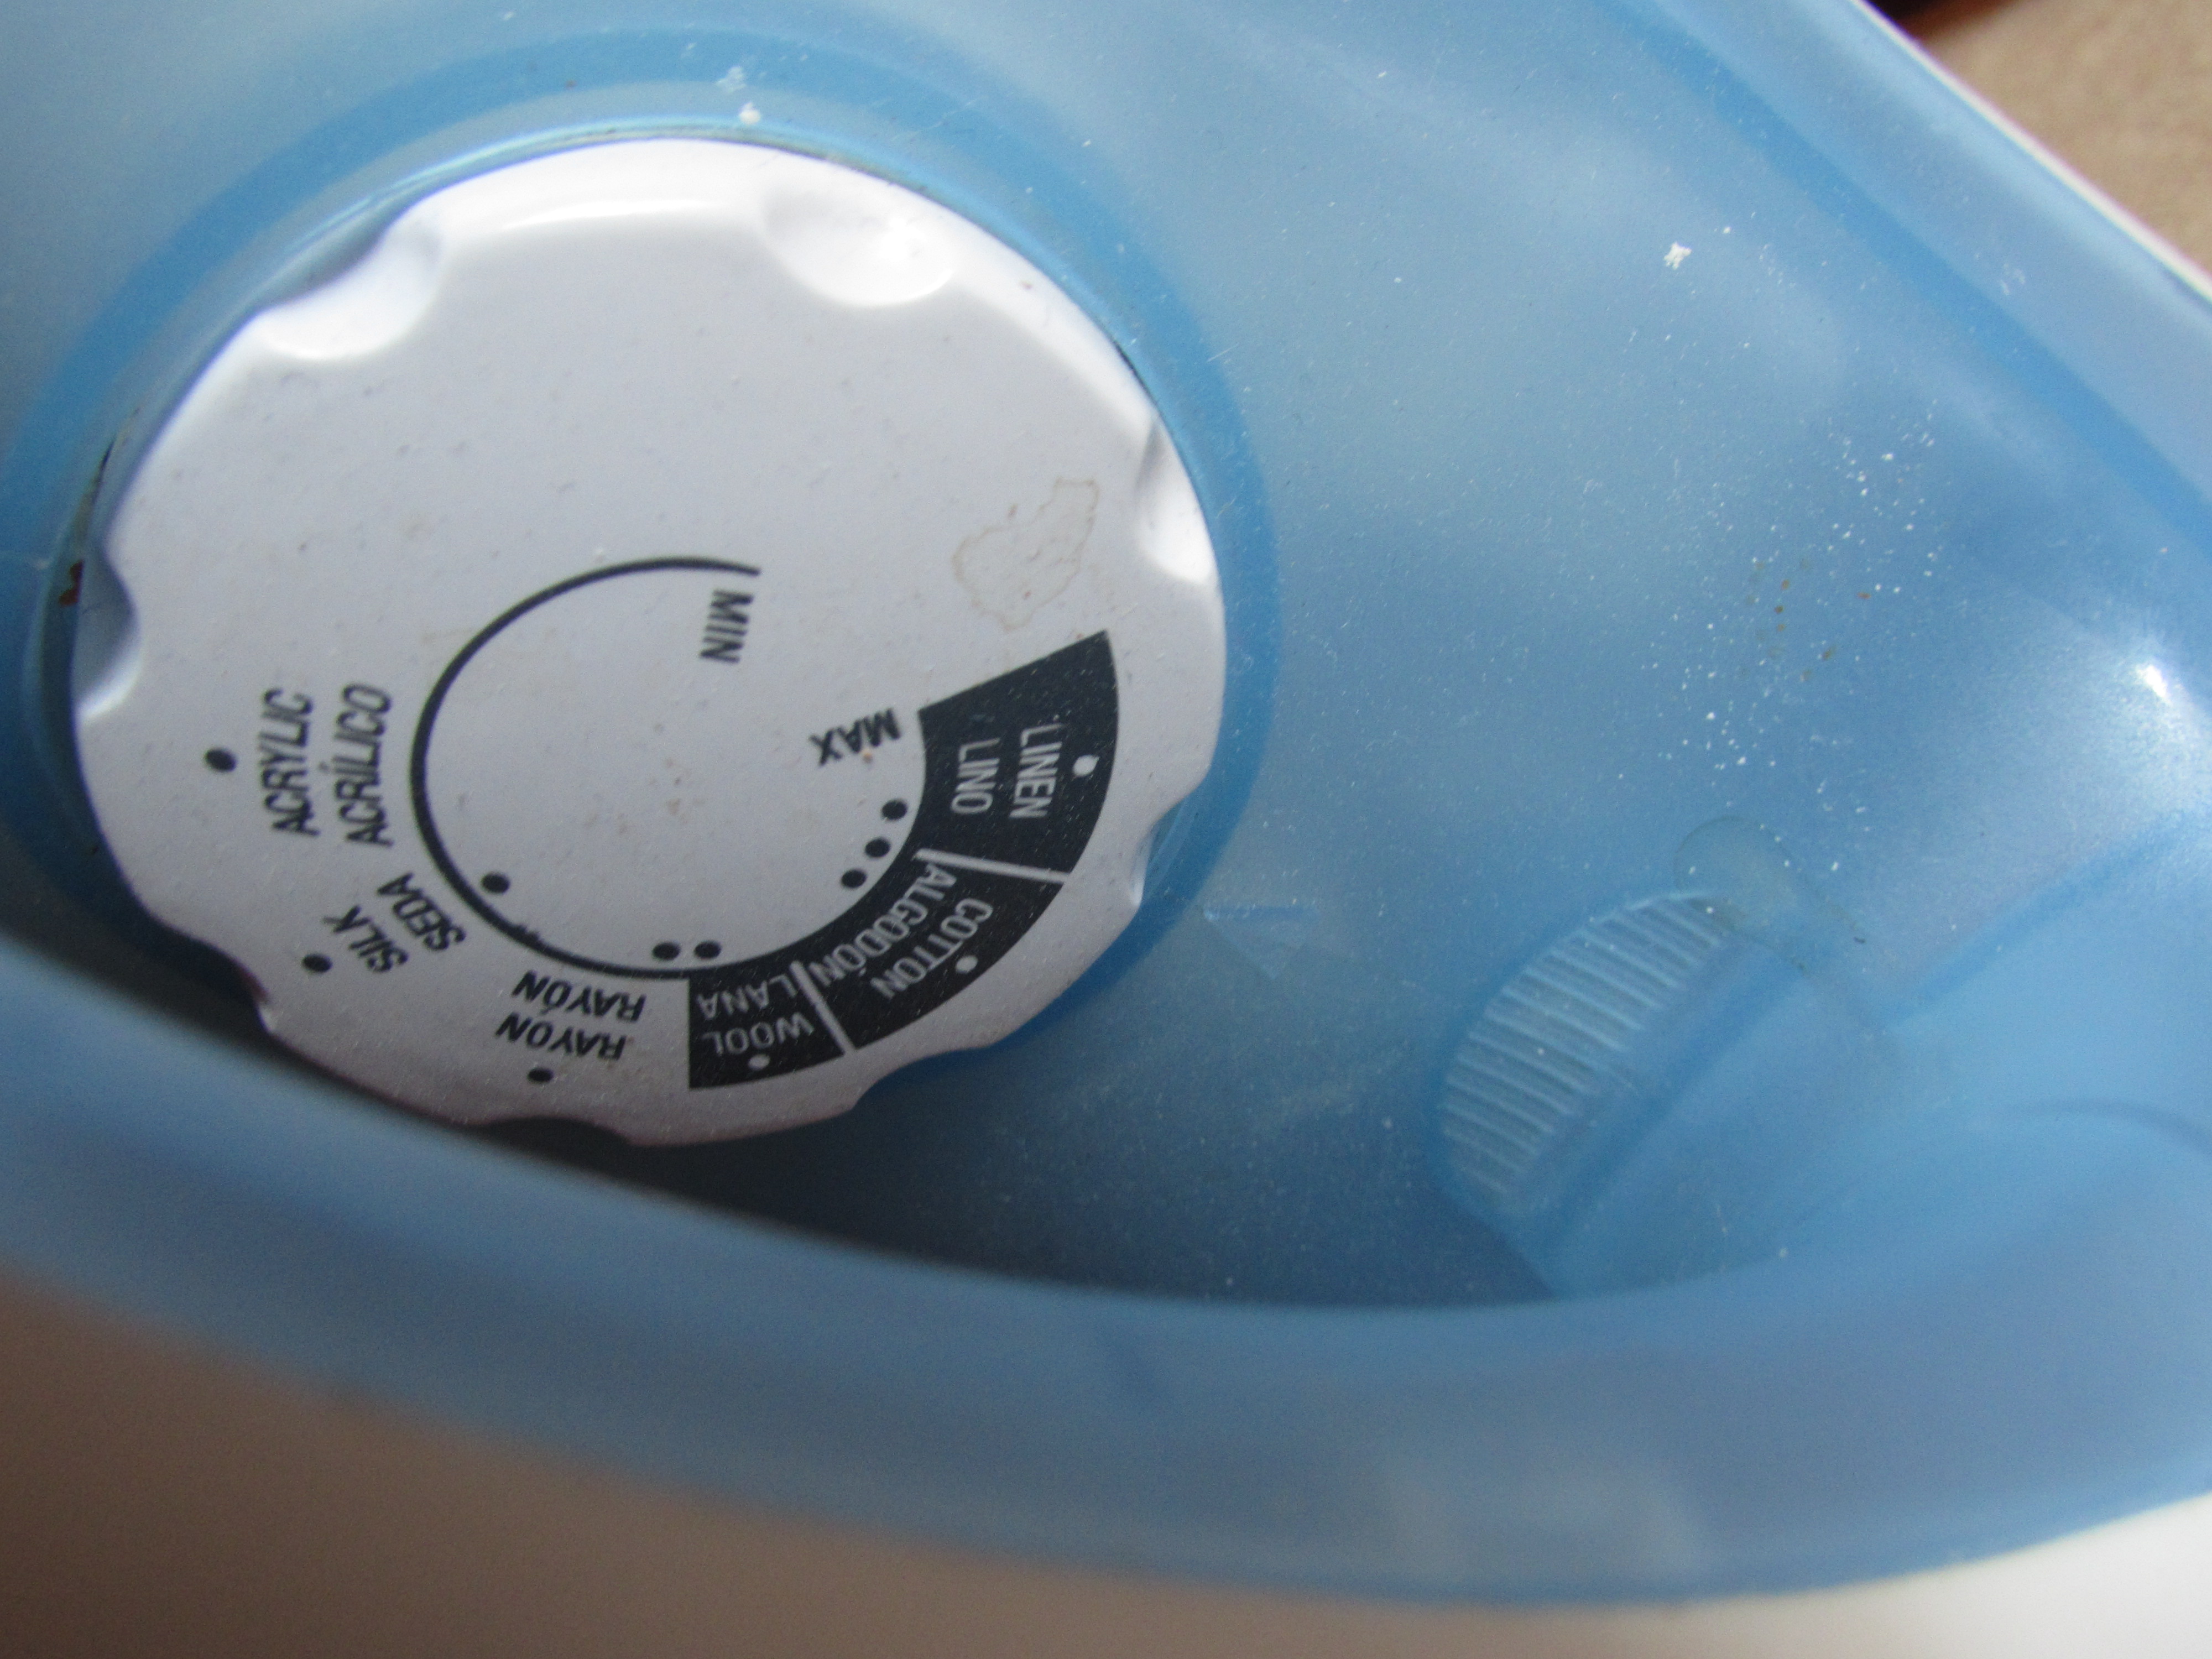
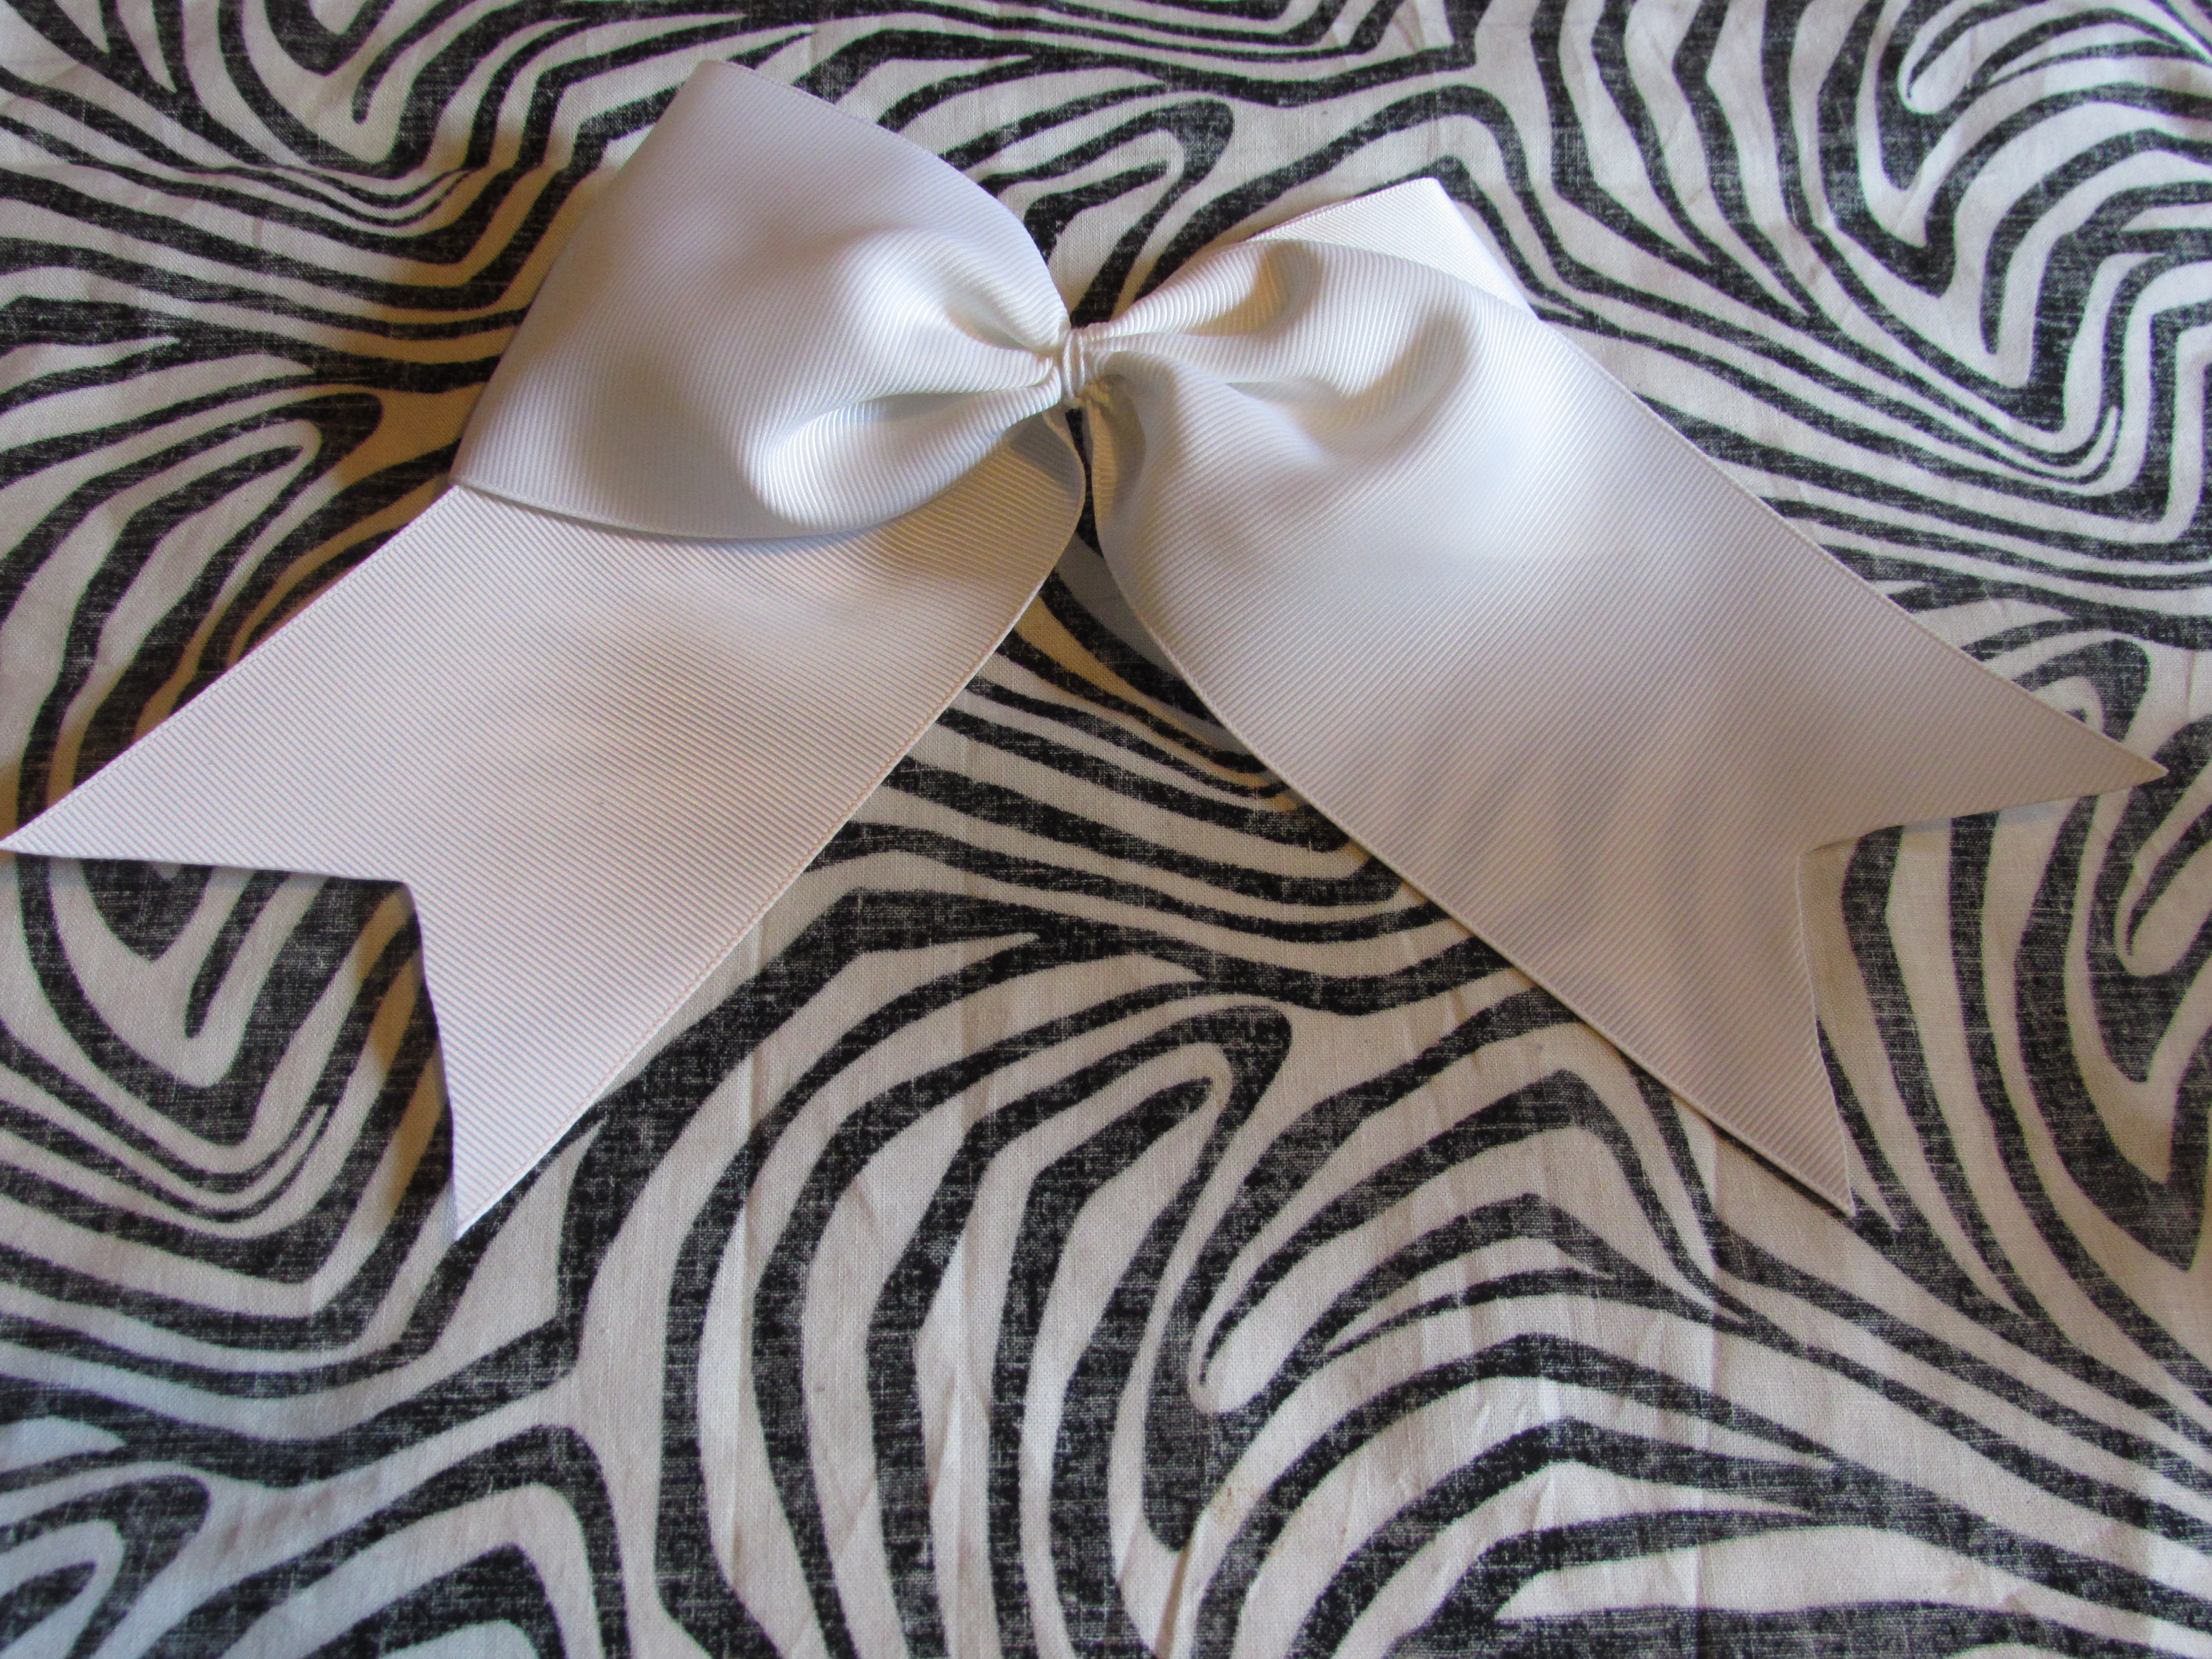
Step 14: Fold the fabric over the plastic part of the letter and bow
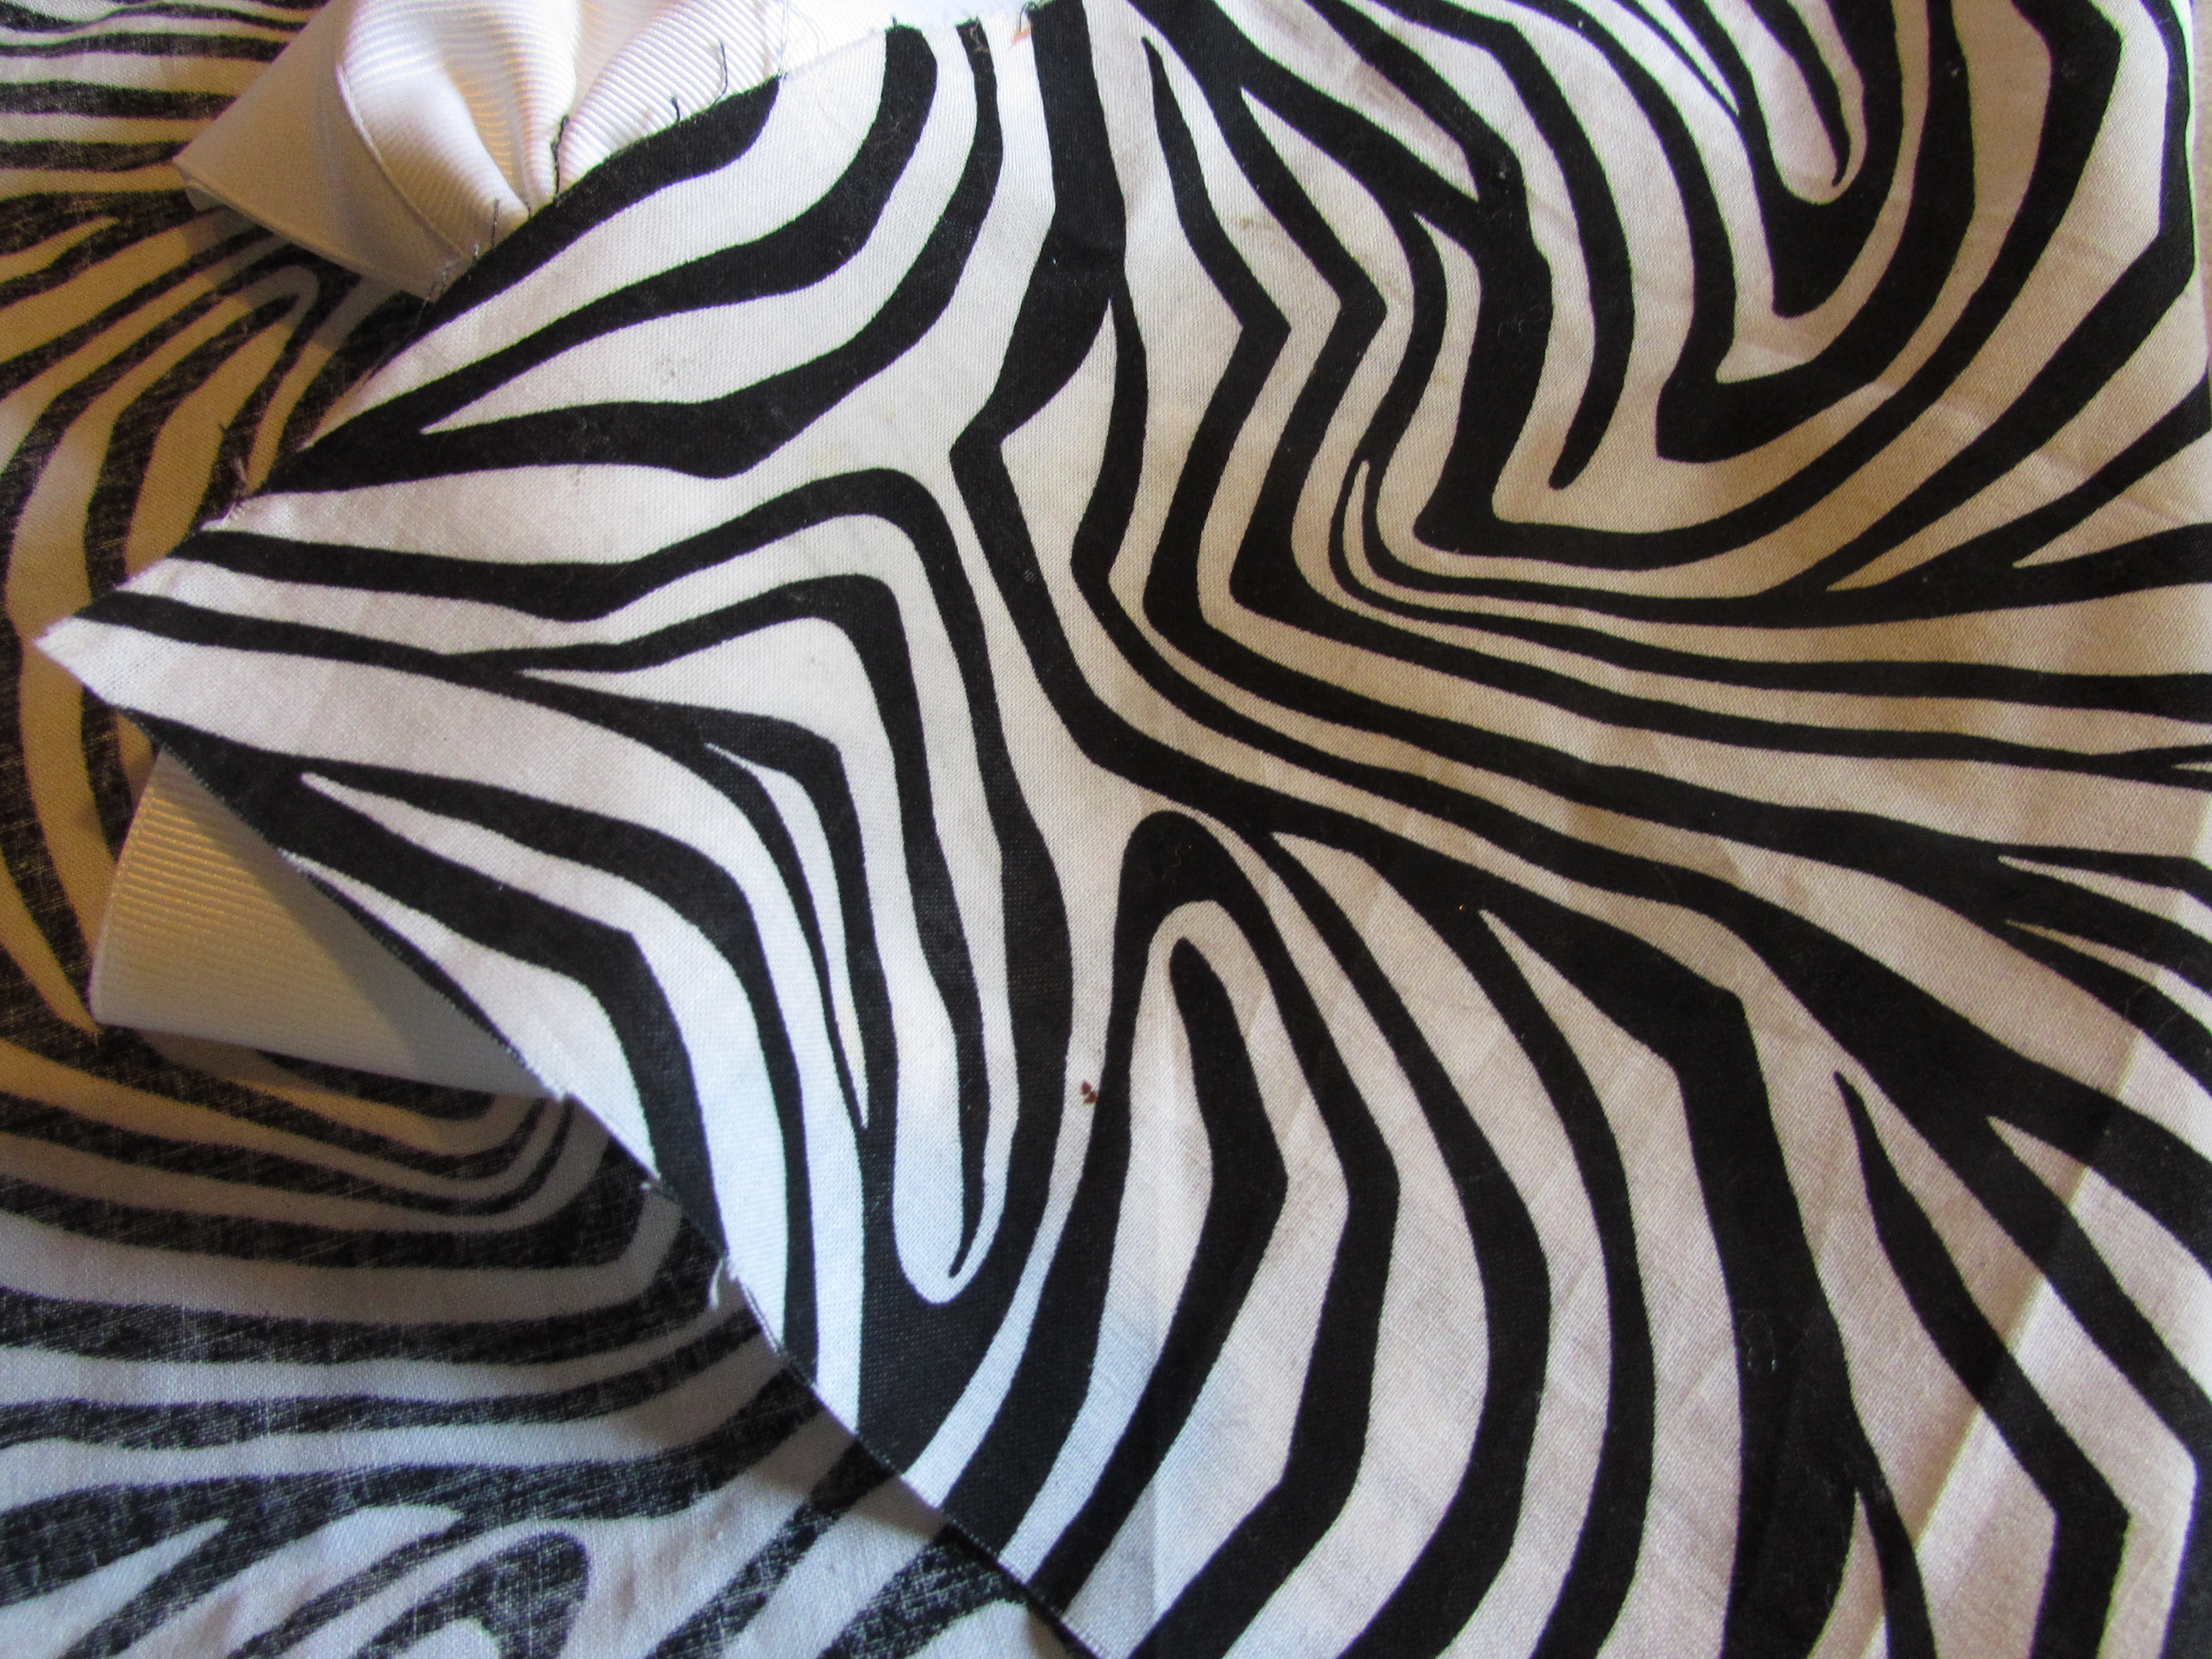
Step 15: Apply pressure and heat over the fabric and rhinestone. About 20-30 seconds with a lot of pressure
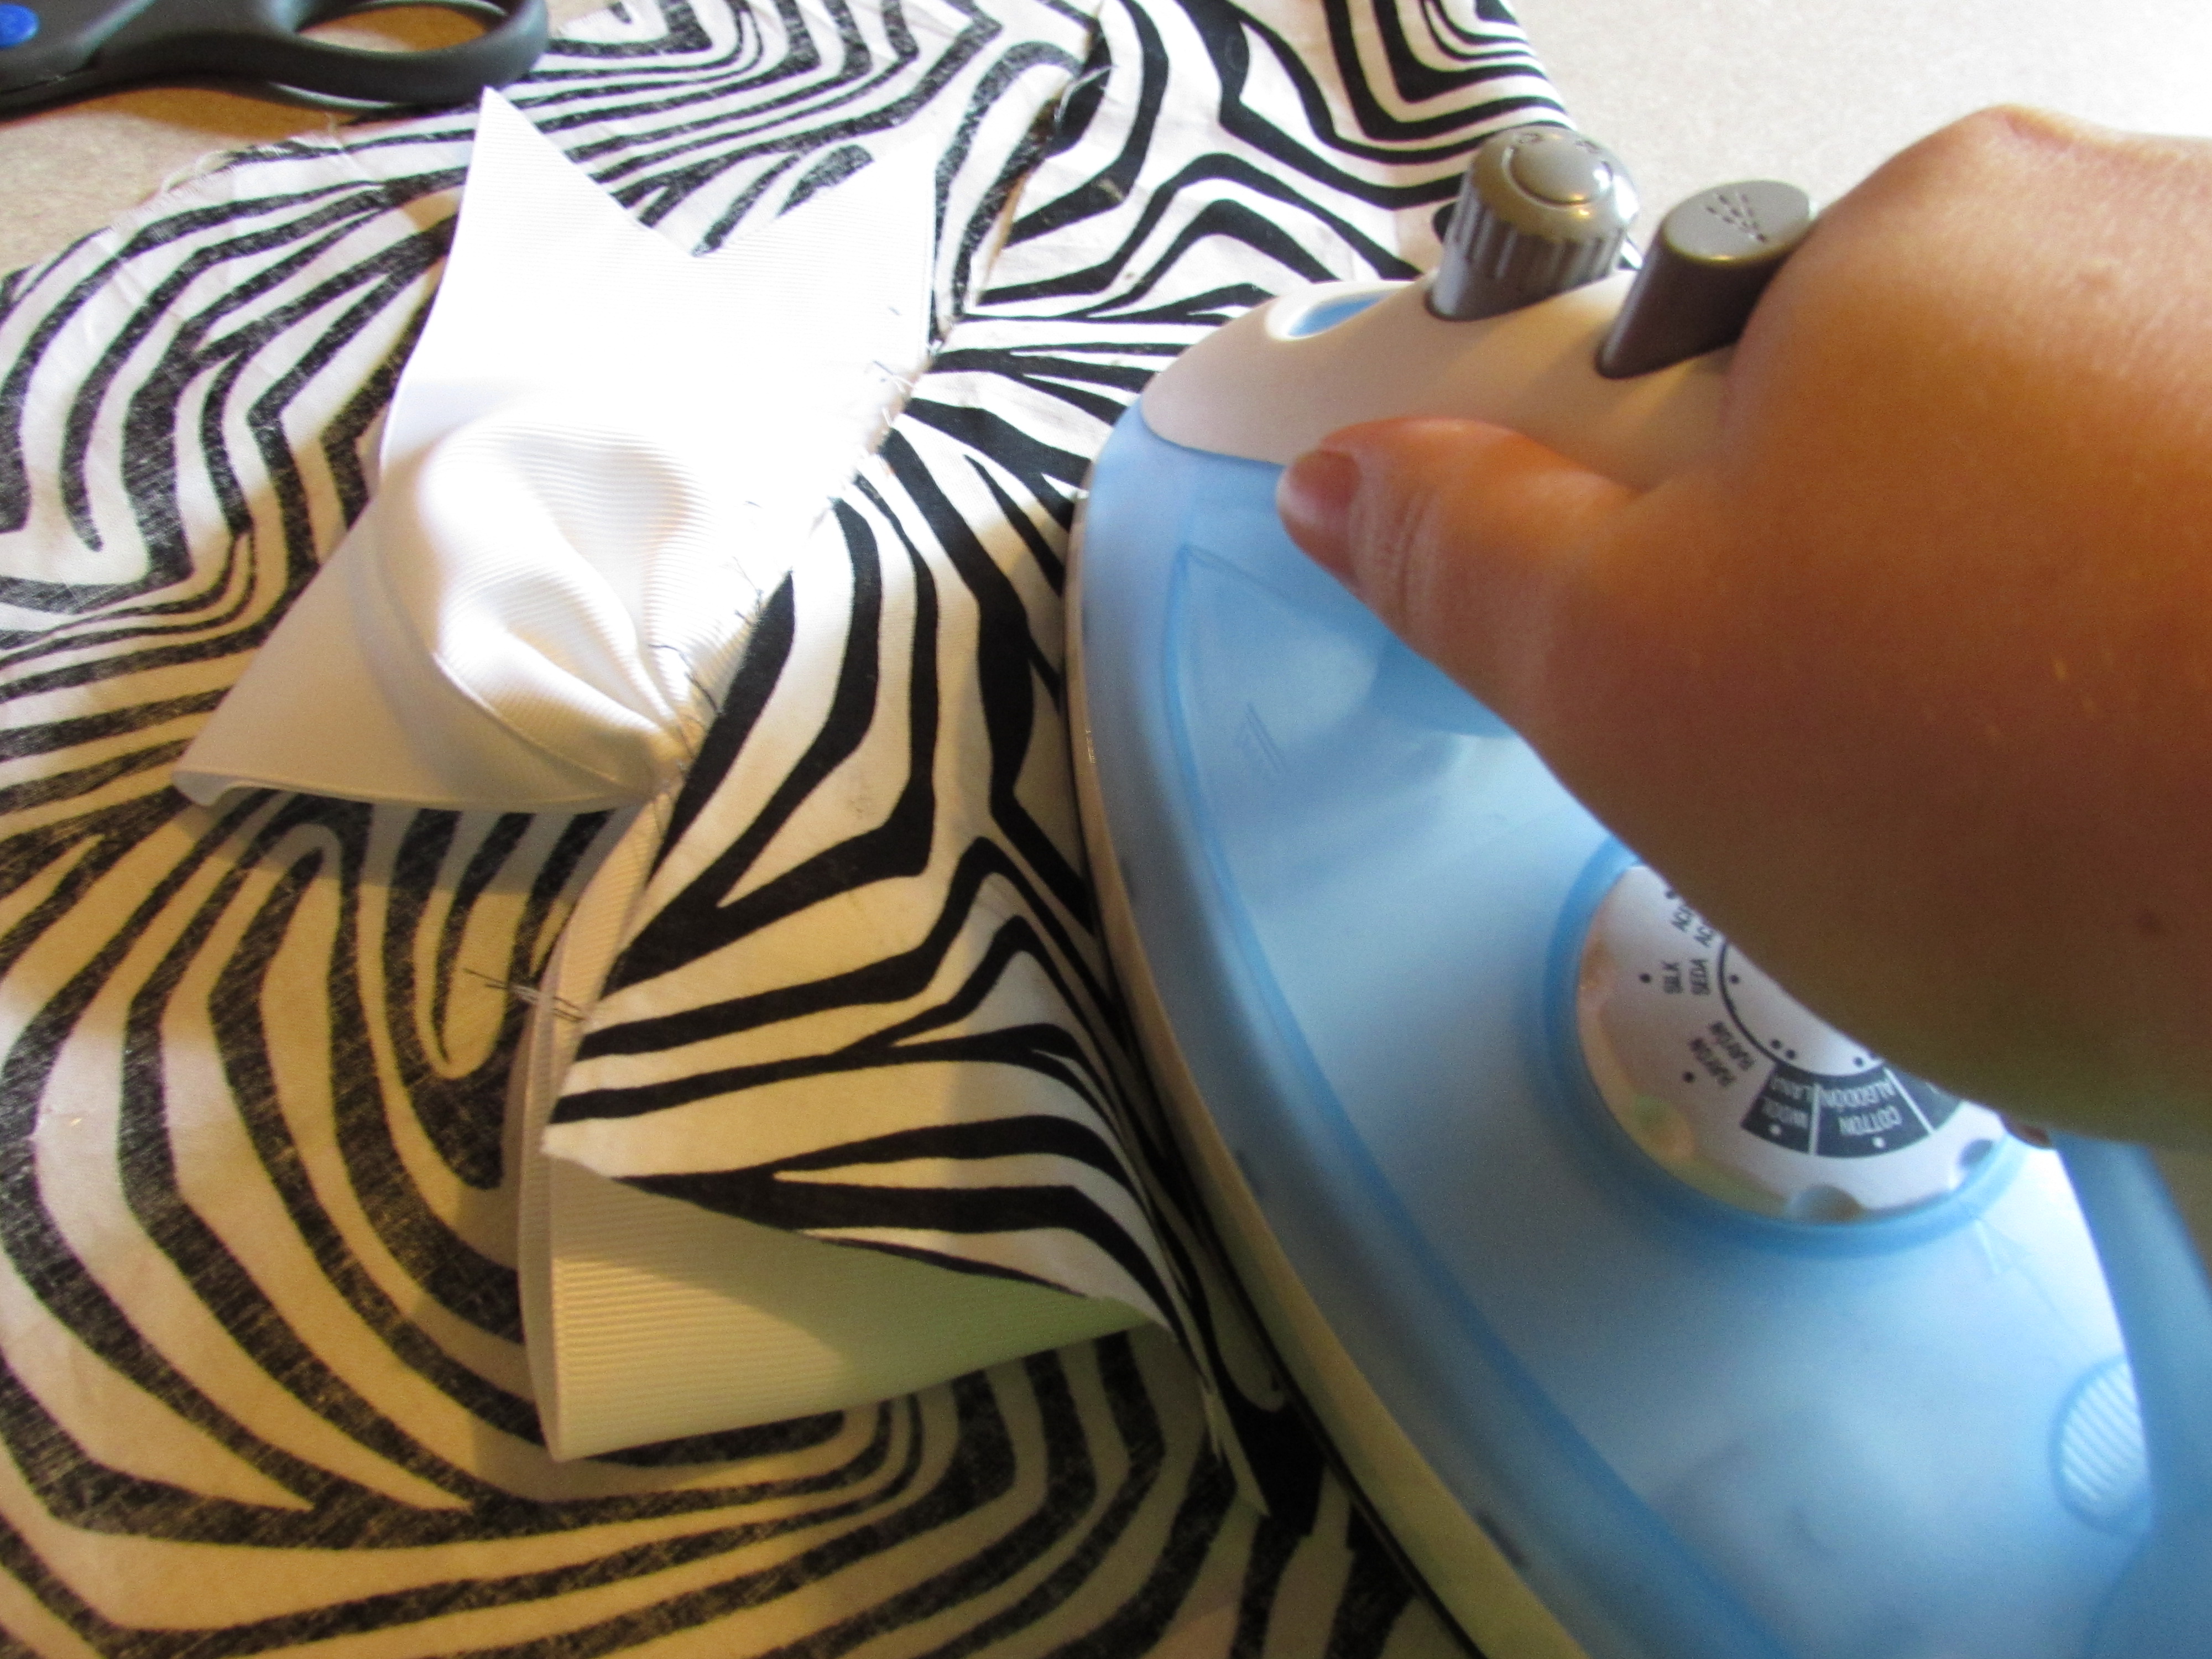
Step 16: Uncover and carefully peel off the plastic. If it does not adhere the rhinestones onto the ribbon, lay the plastic back down, cover and apply more heat and pressure. - If it comes off then you are ready to move onto the next step
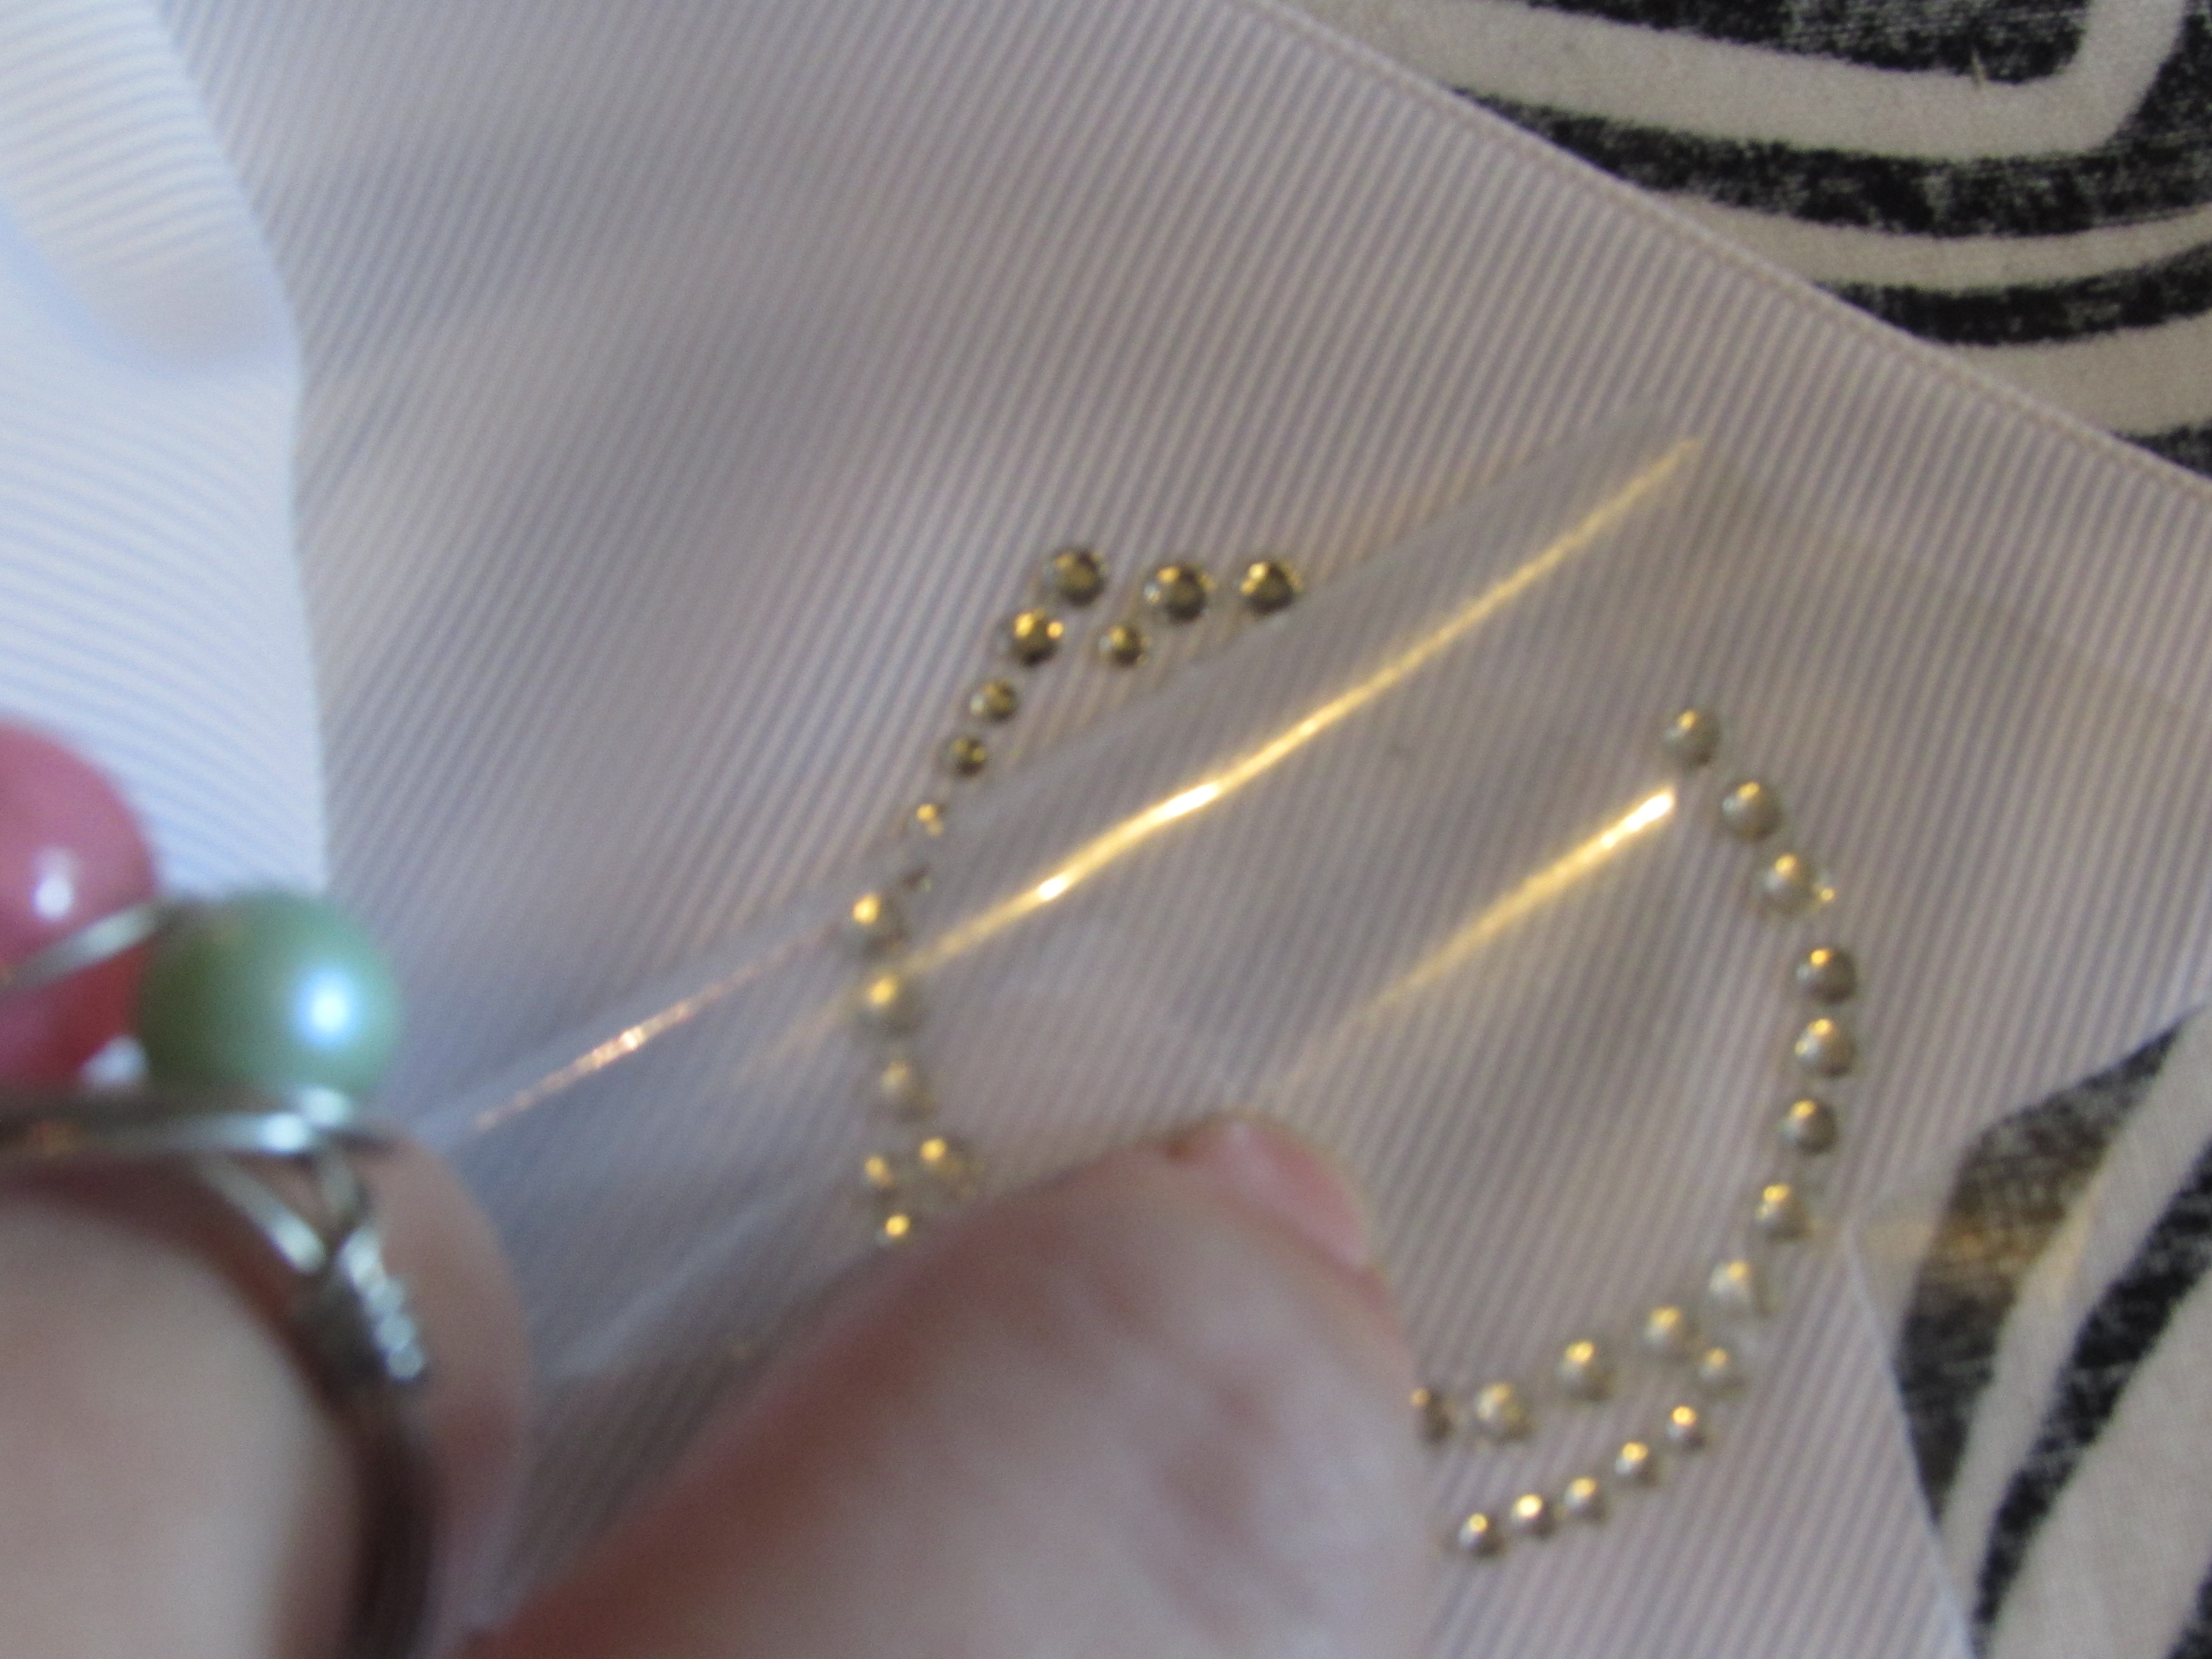
Step 17: Unplug your iron and move out of reach of children and yourself to avoid any accidents that may happen. I put mine on my washing machine and shut the door while it cools down.
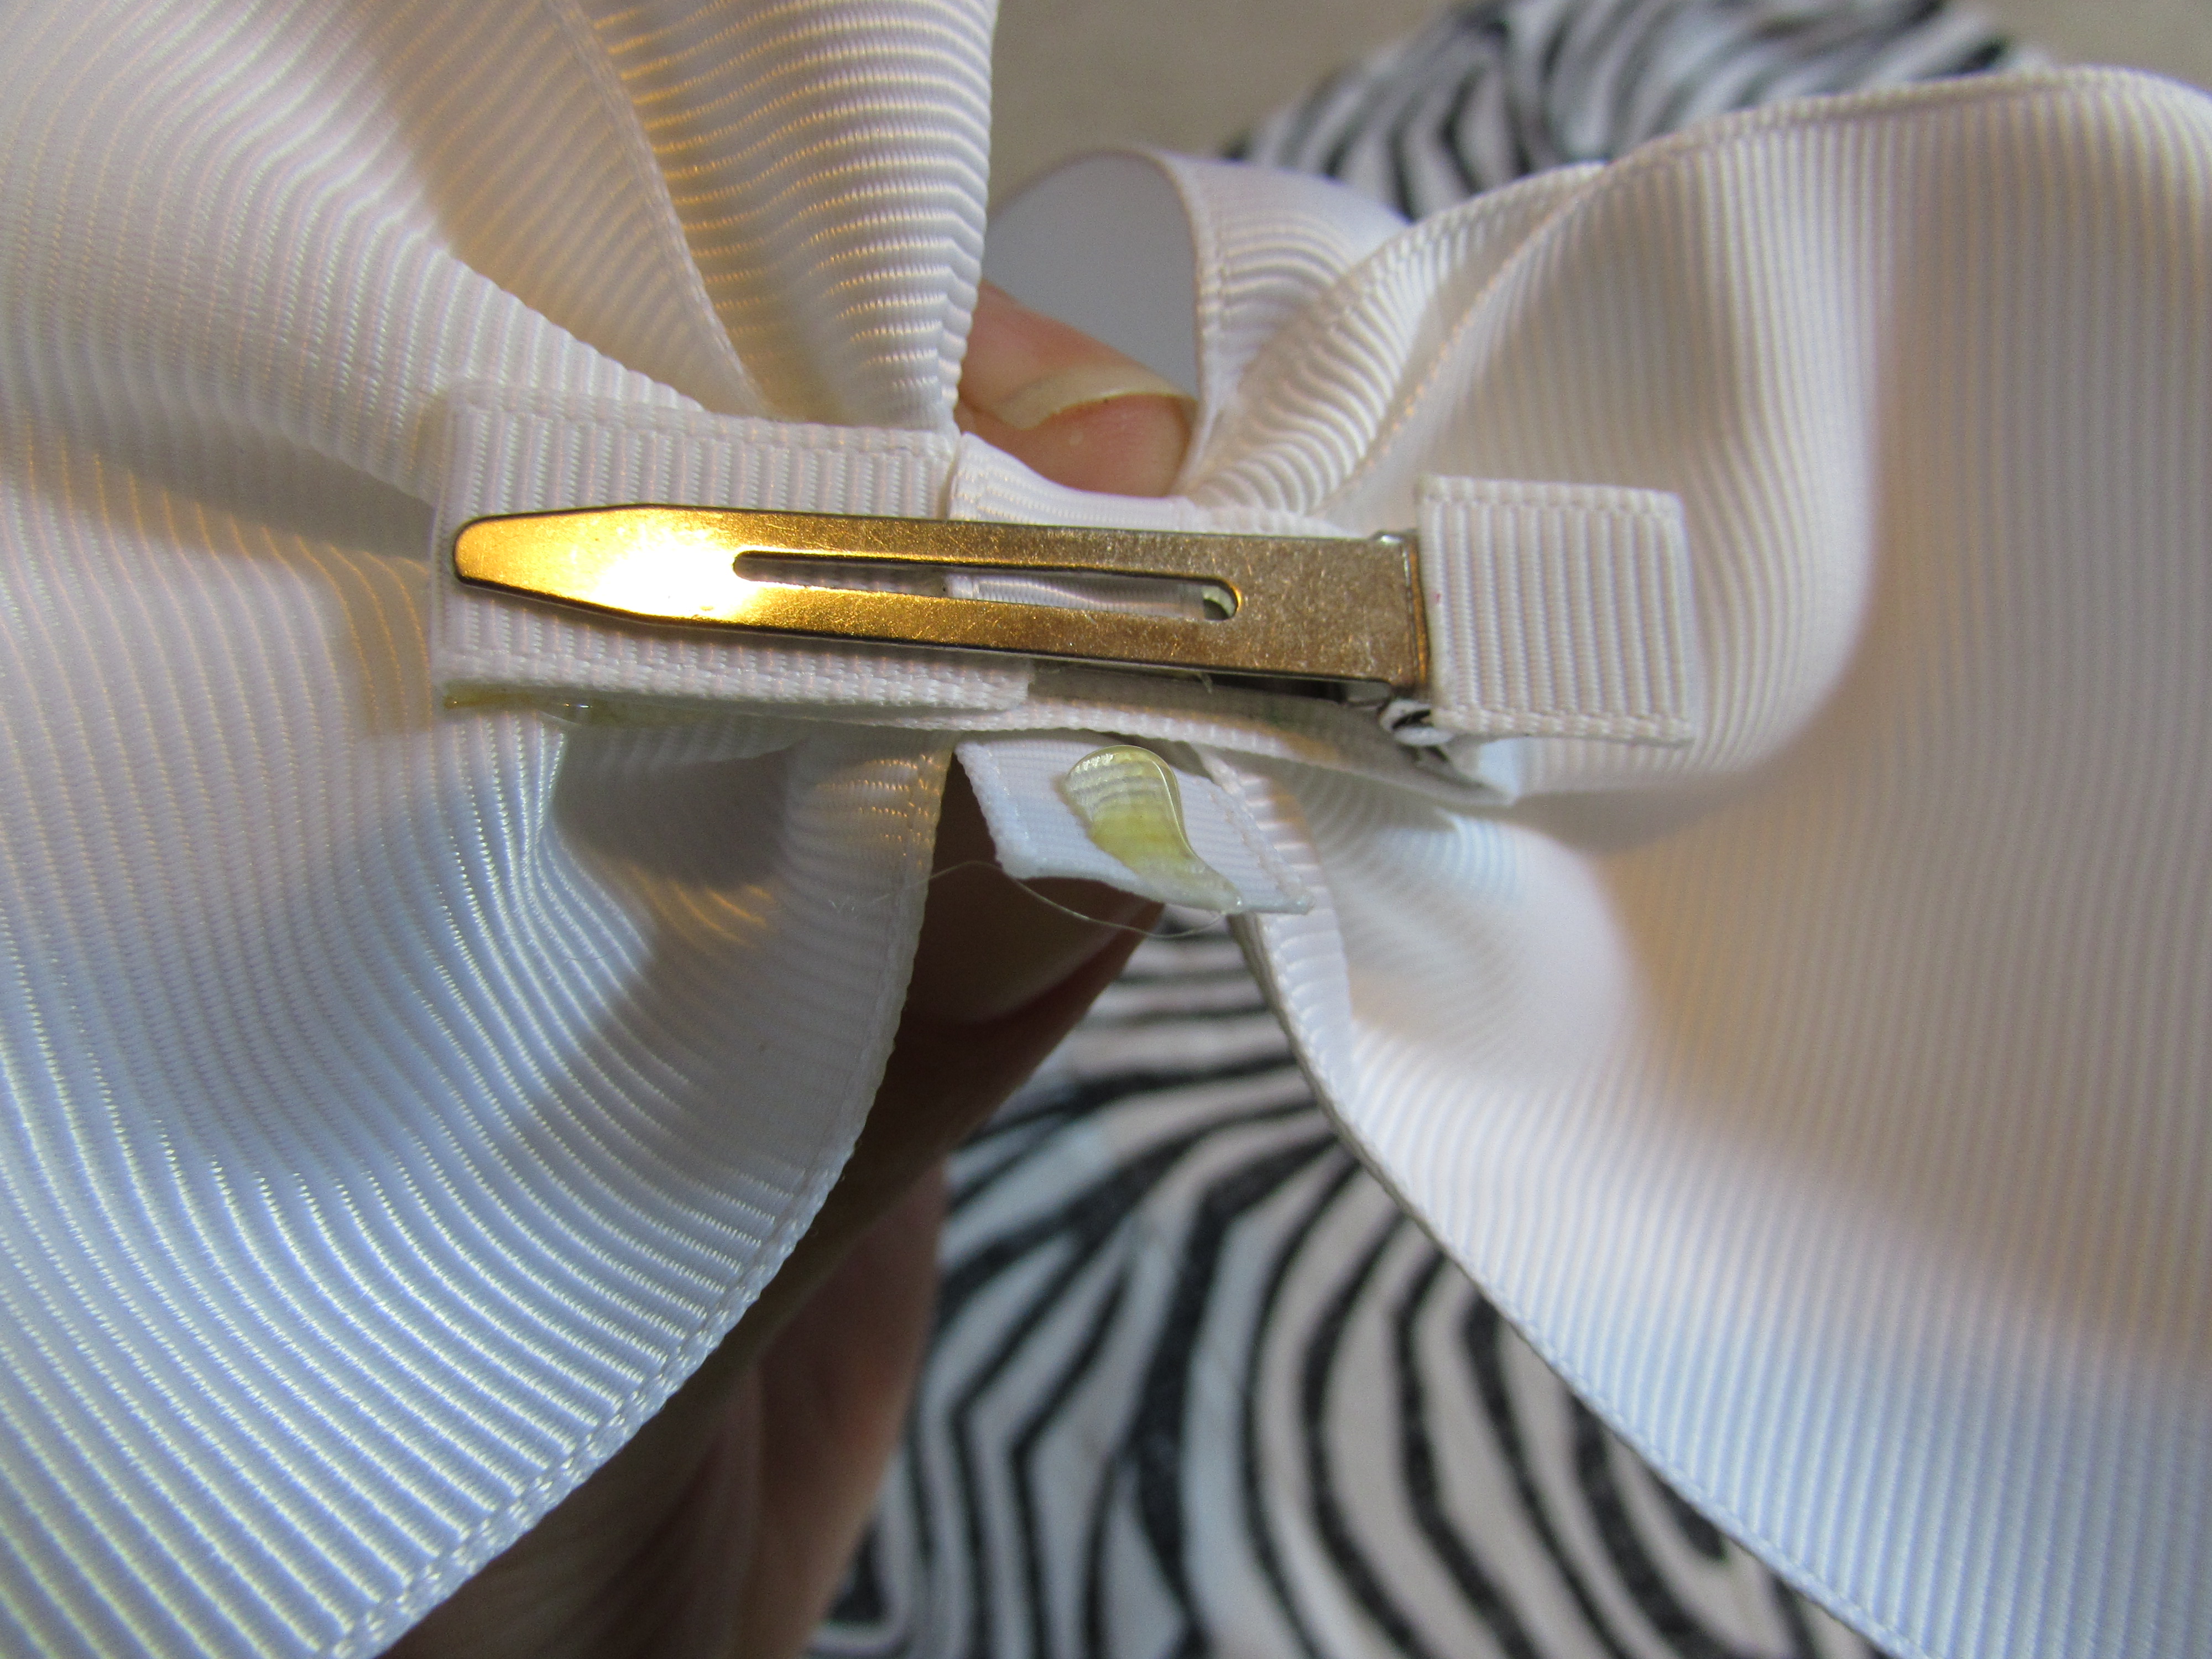
Step 18: Apply glue to the clip and add to the back of your bow
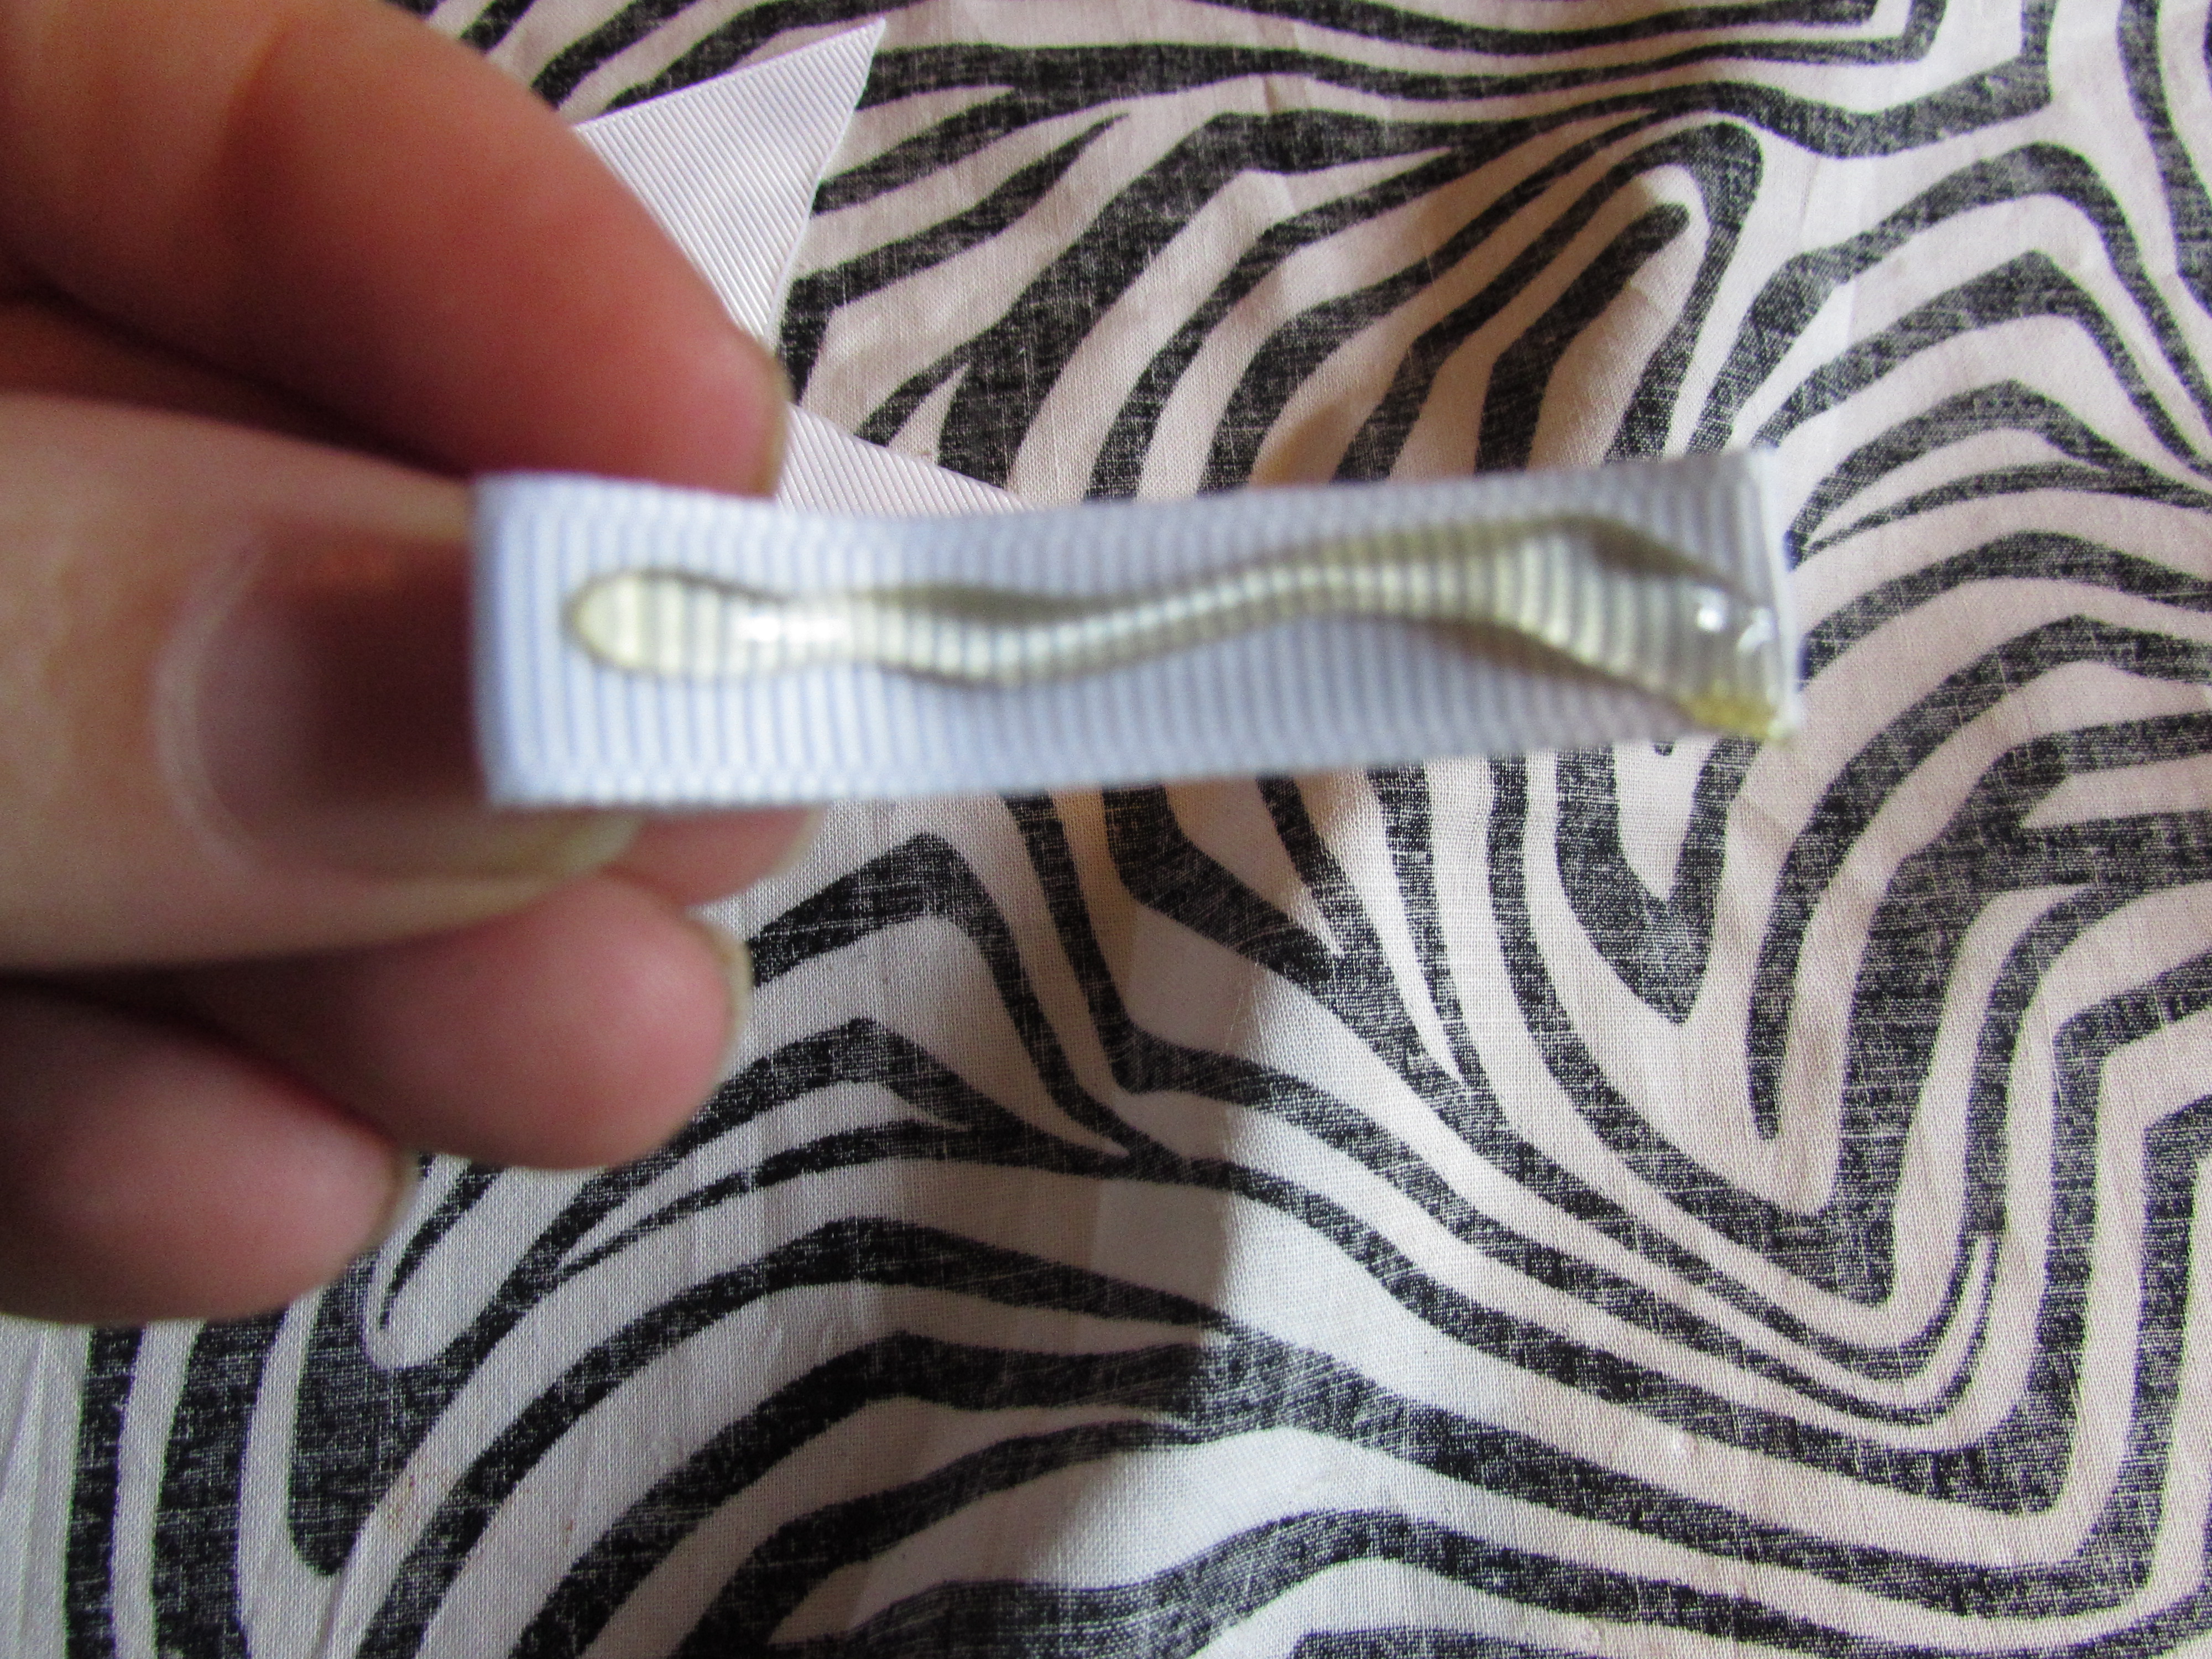
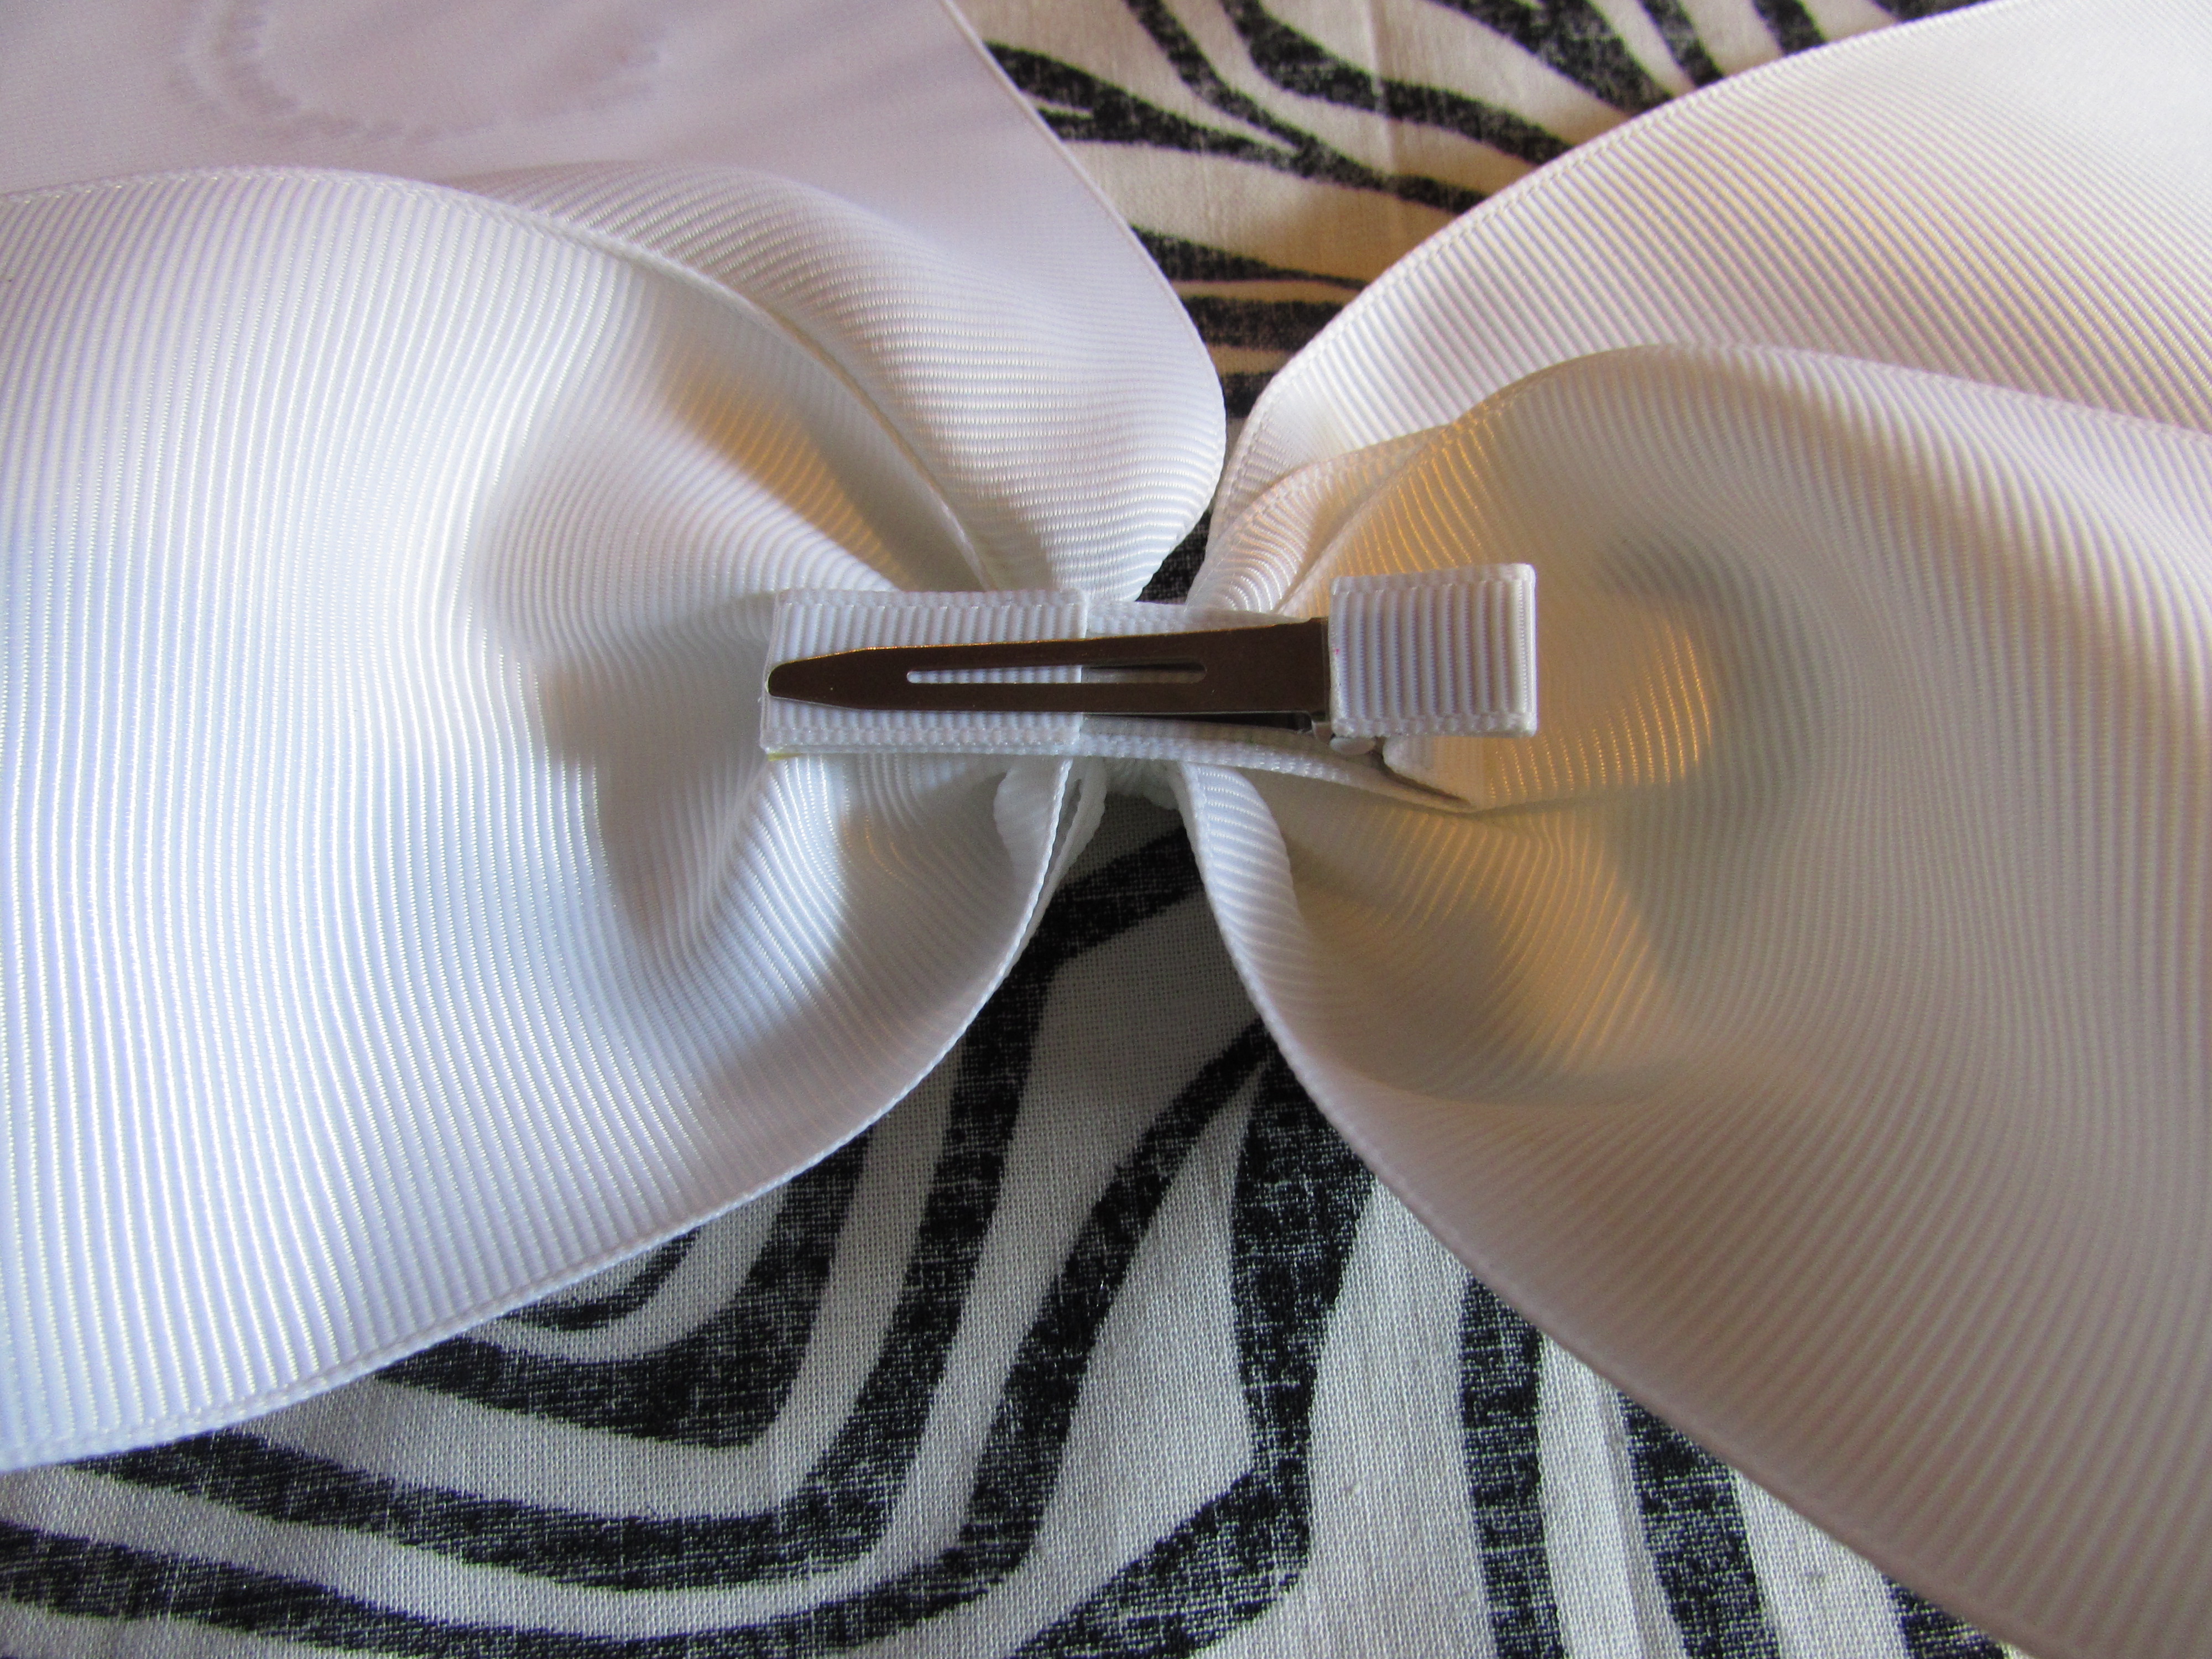
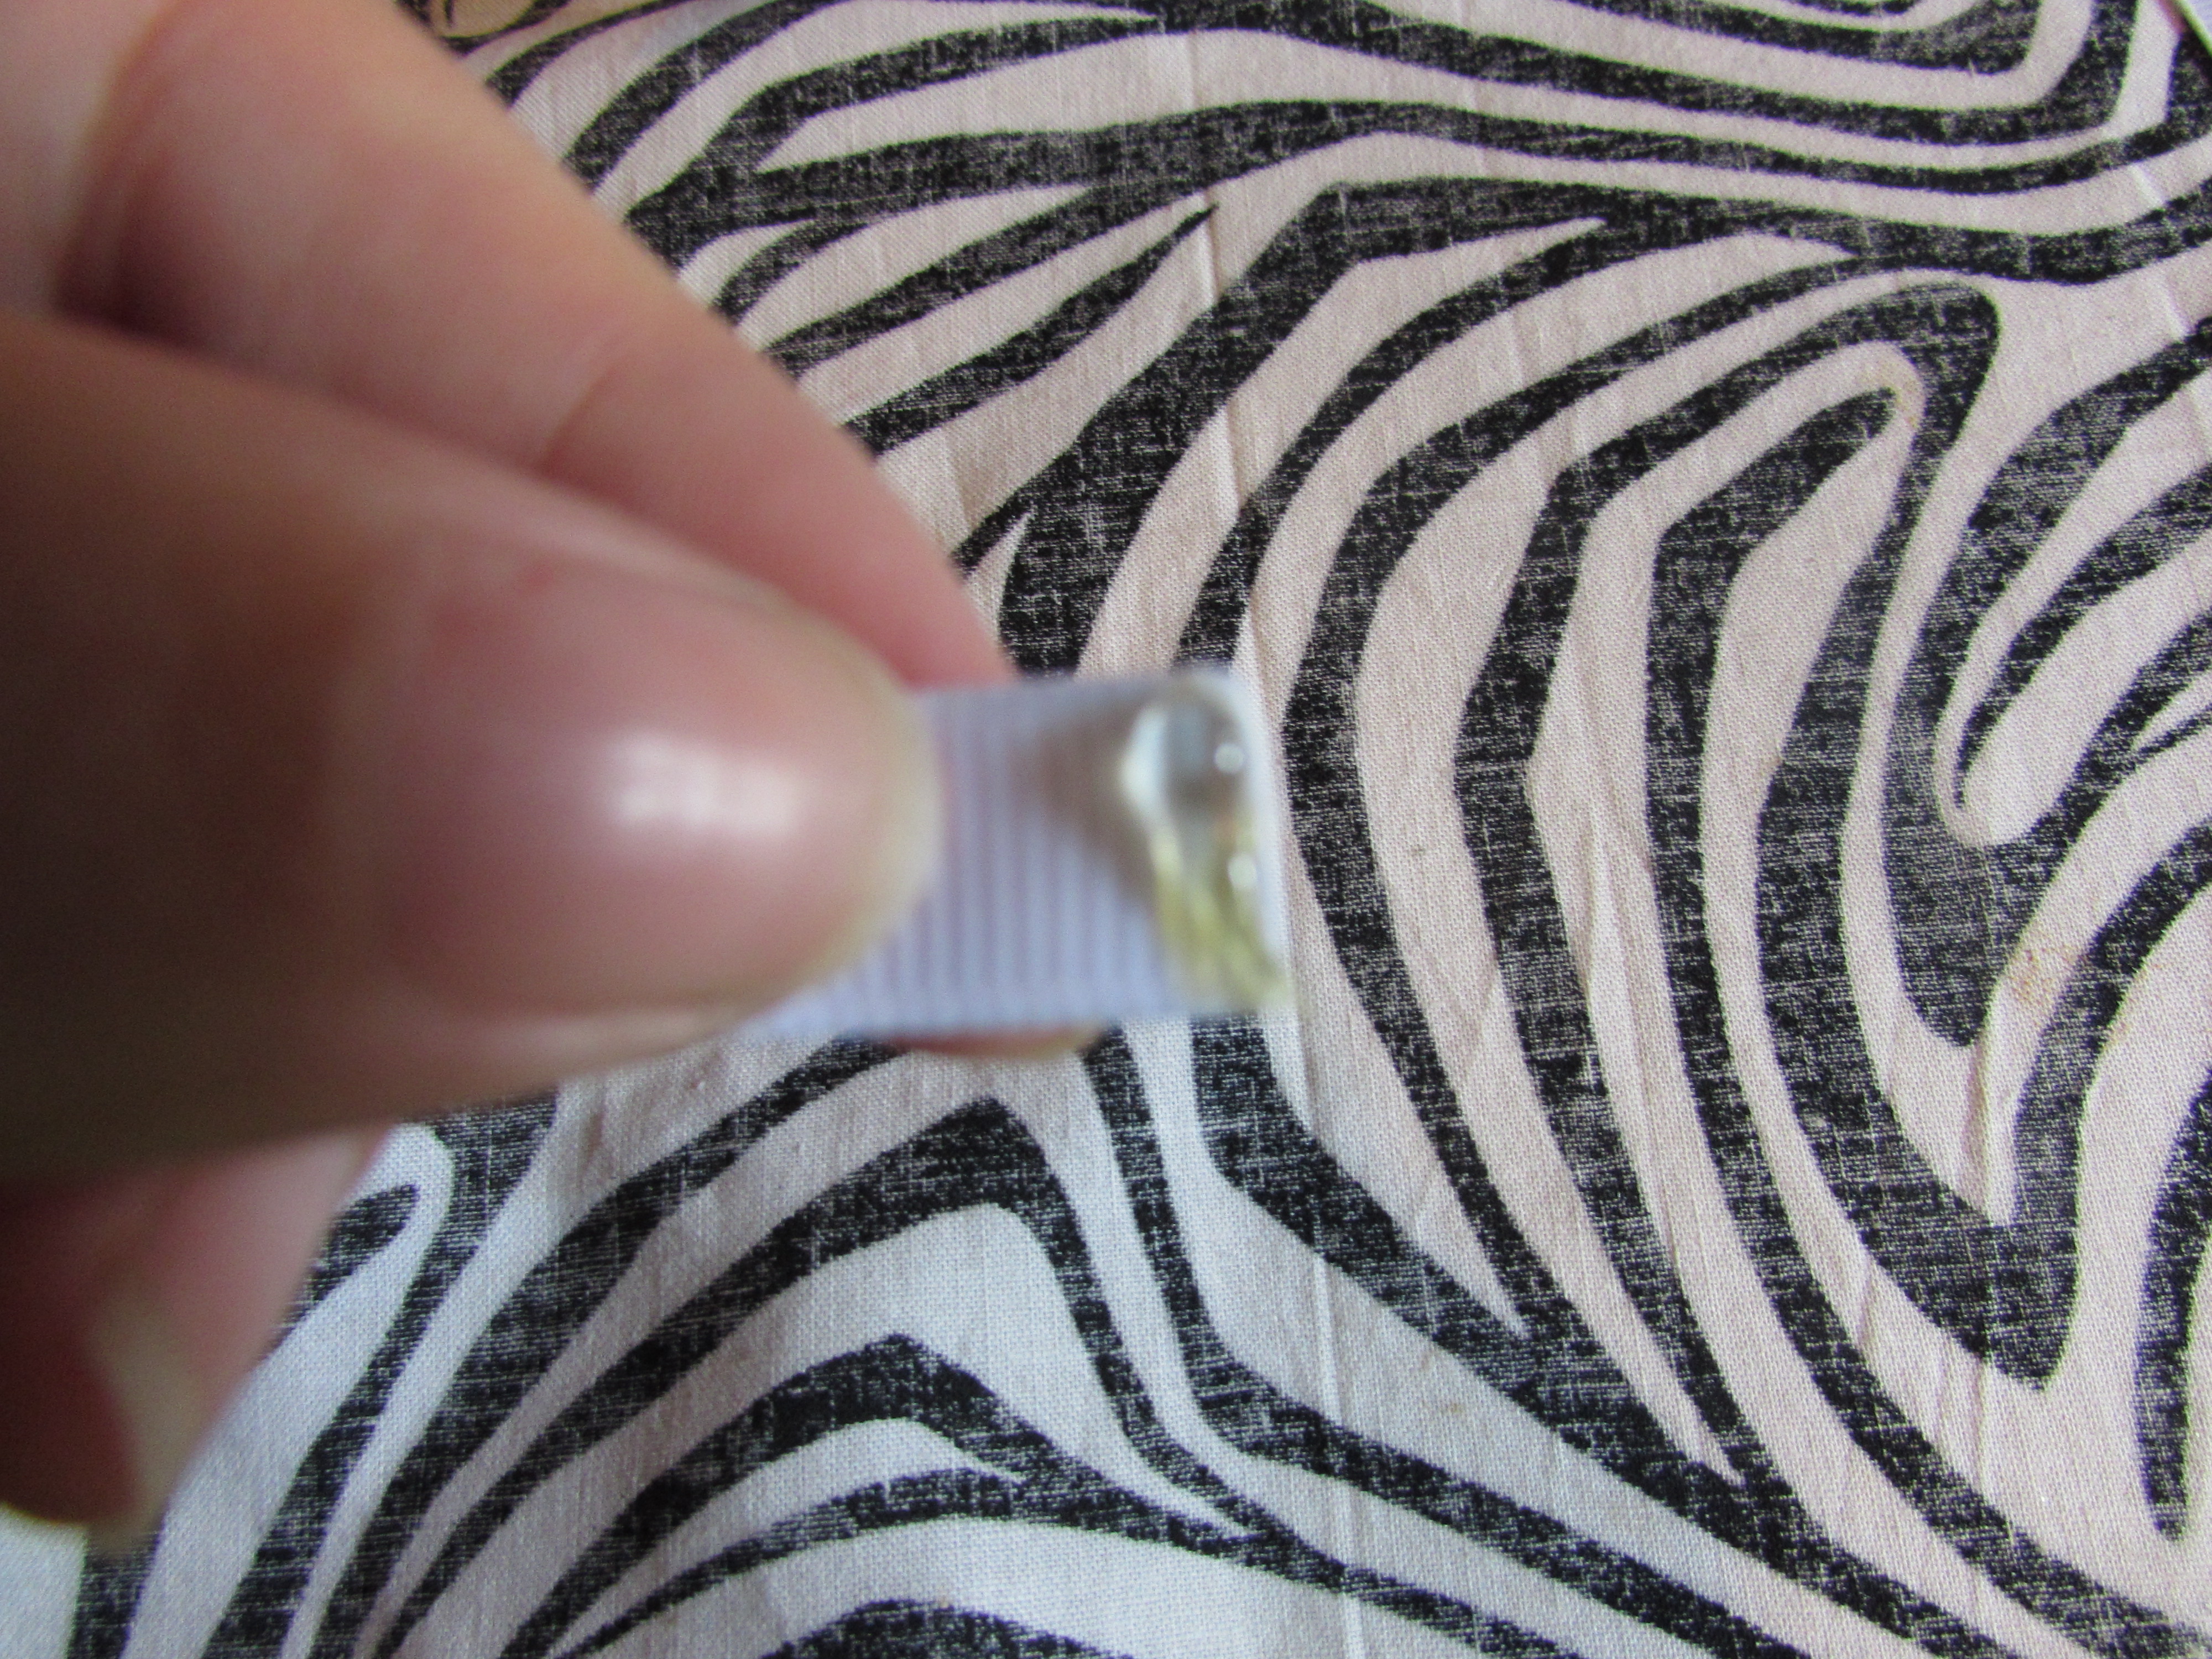
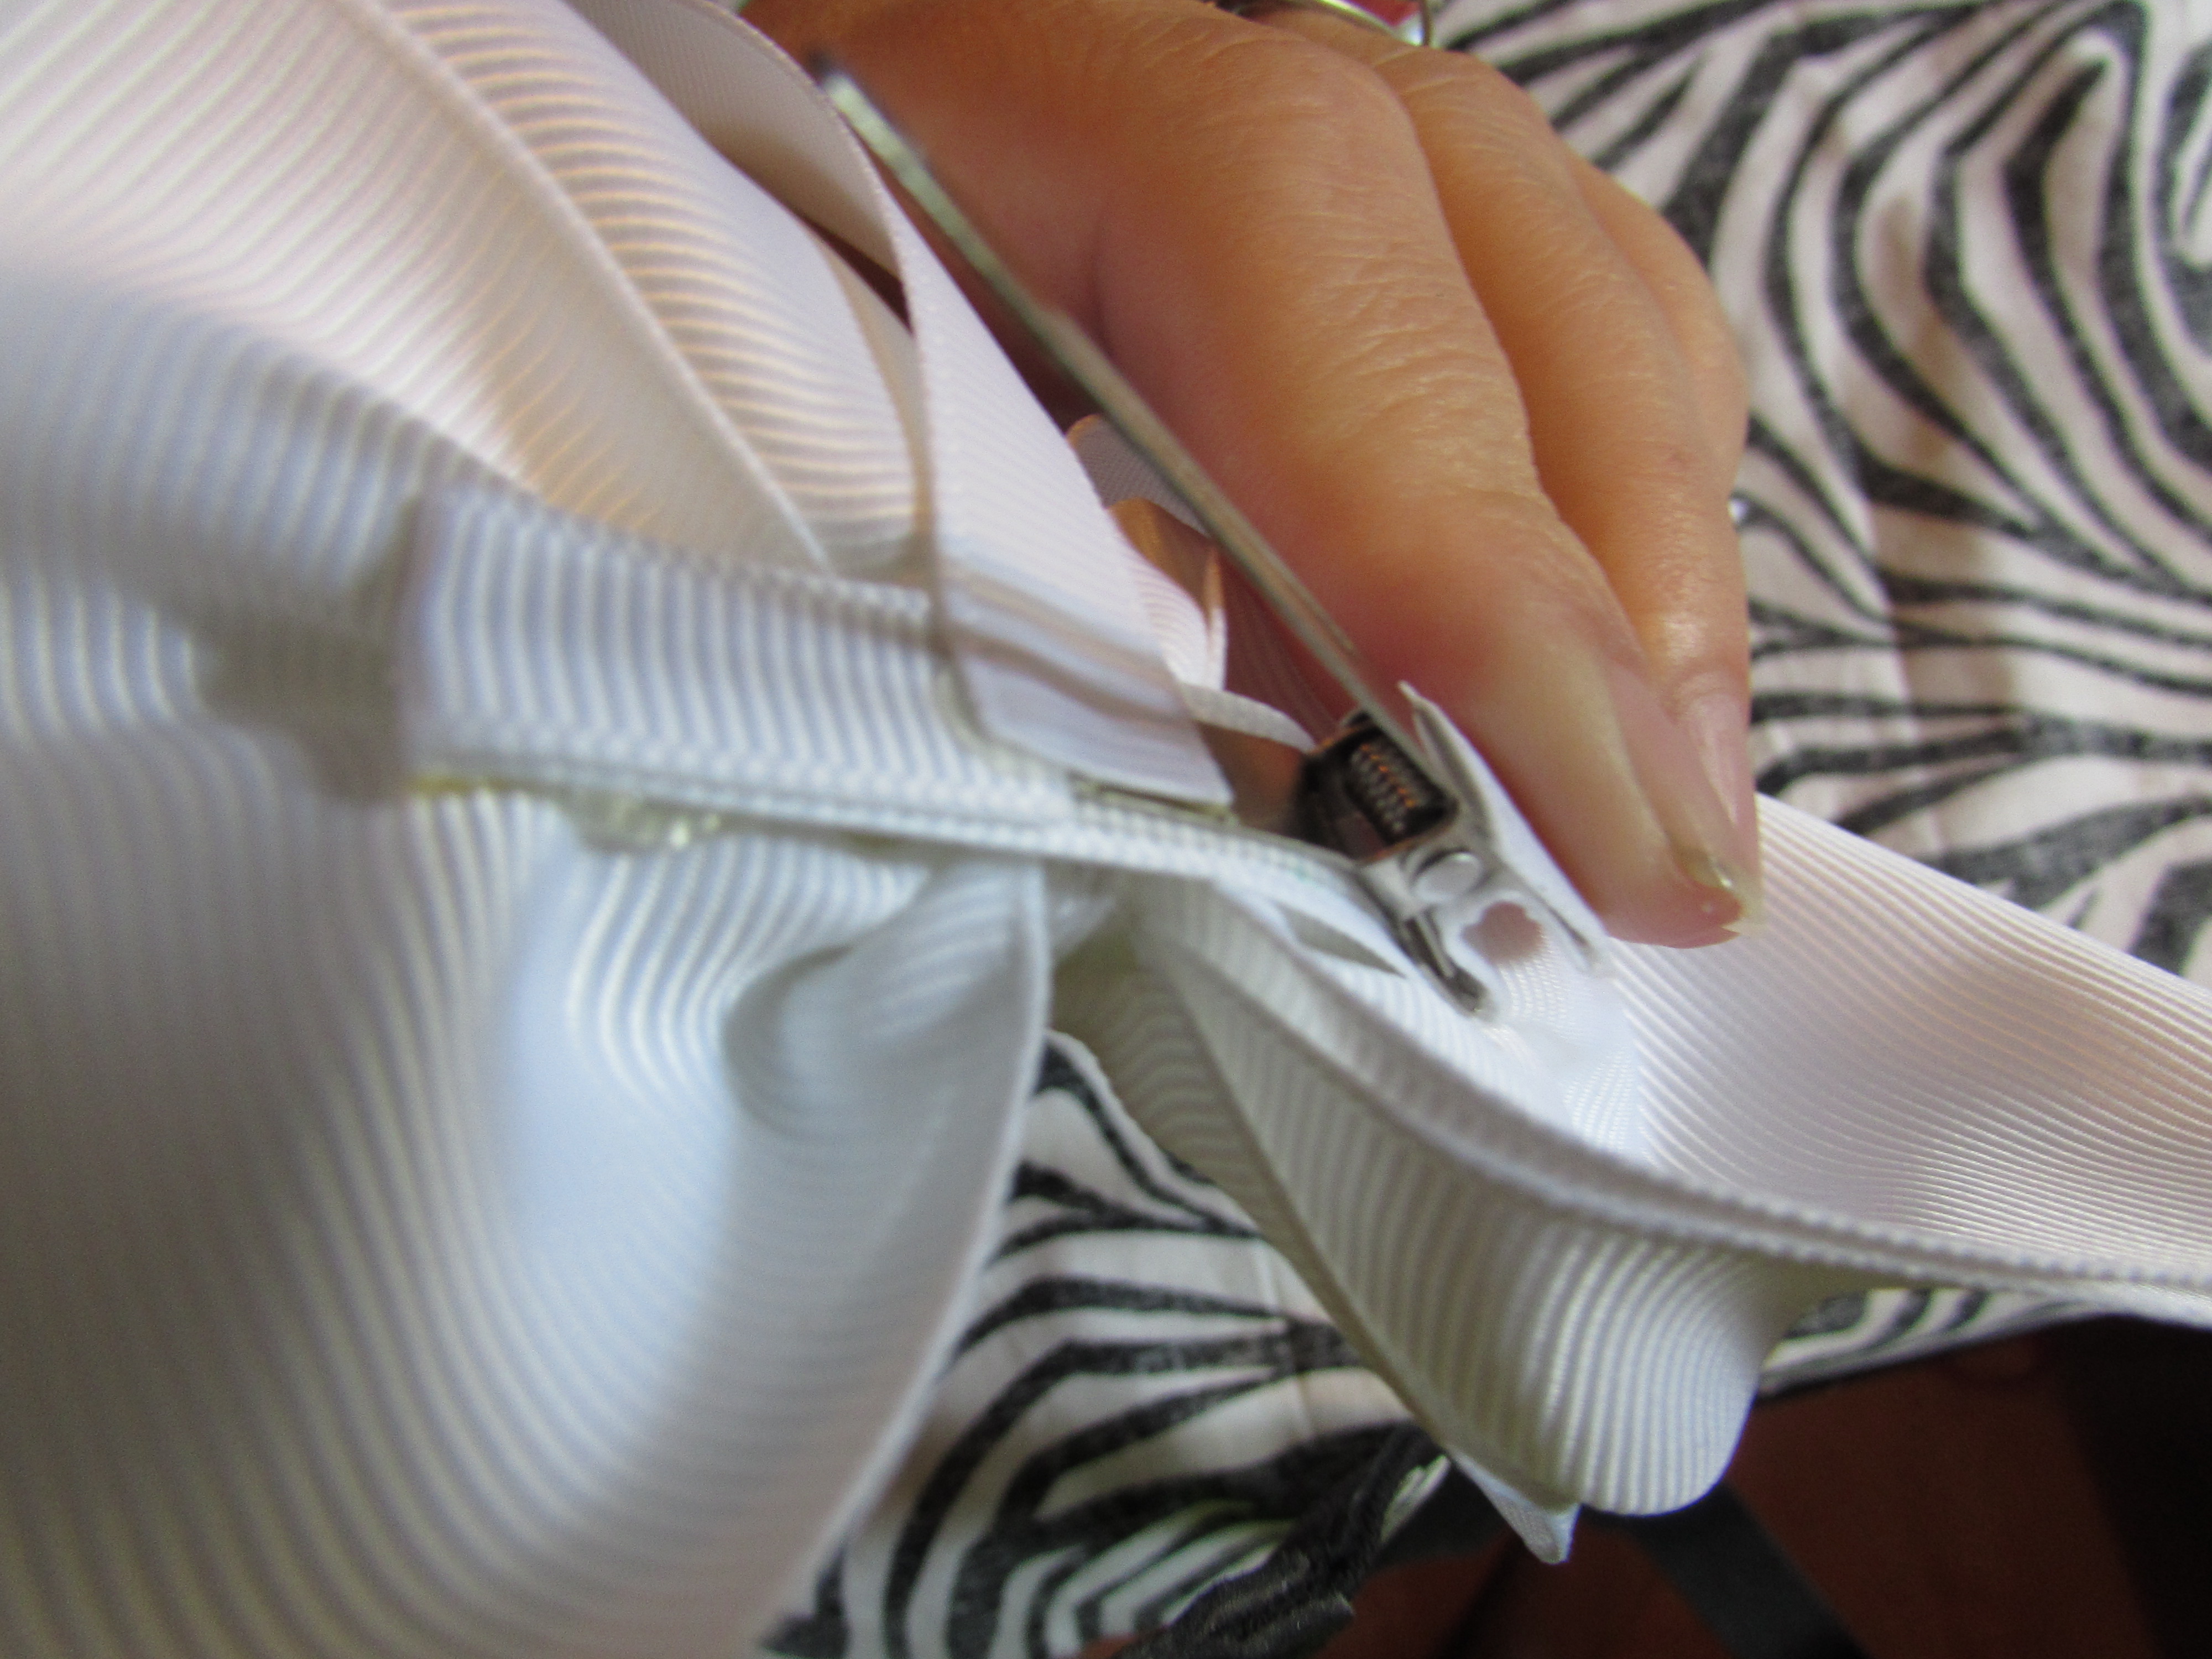
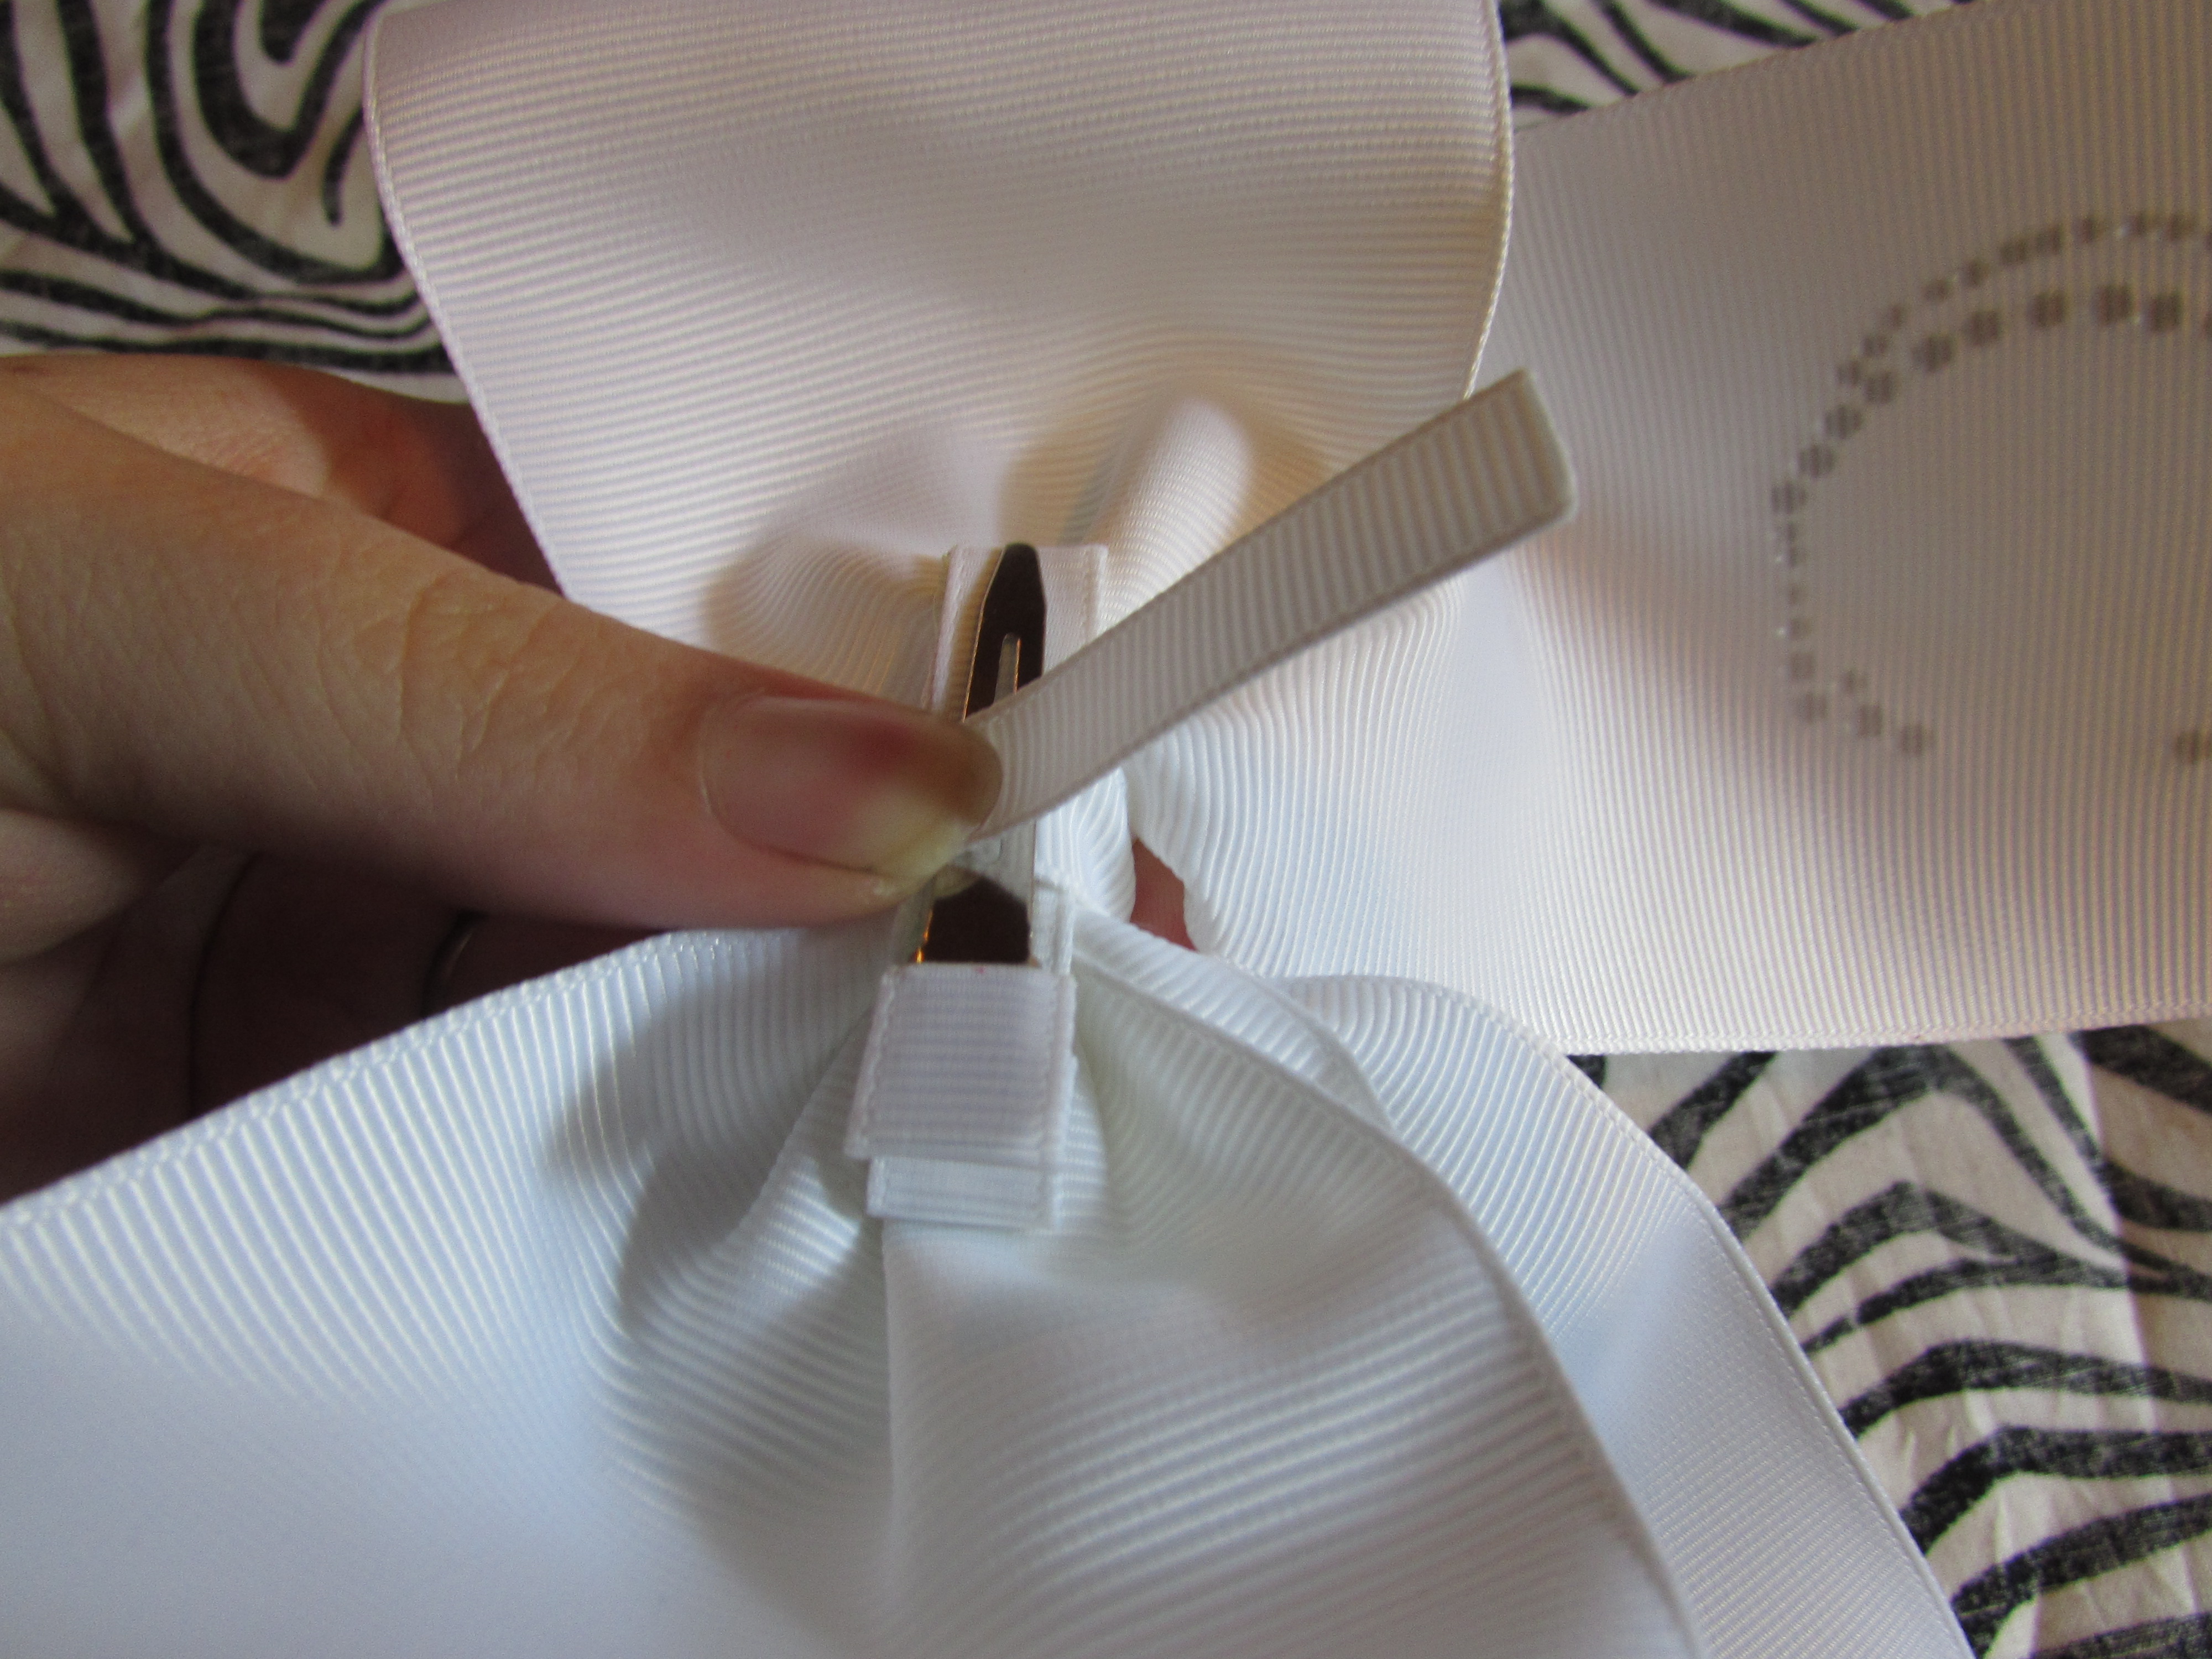
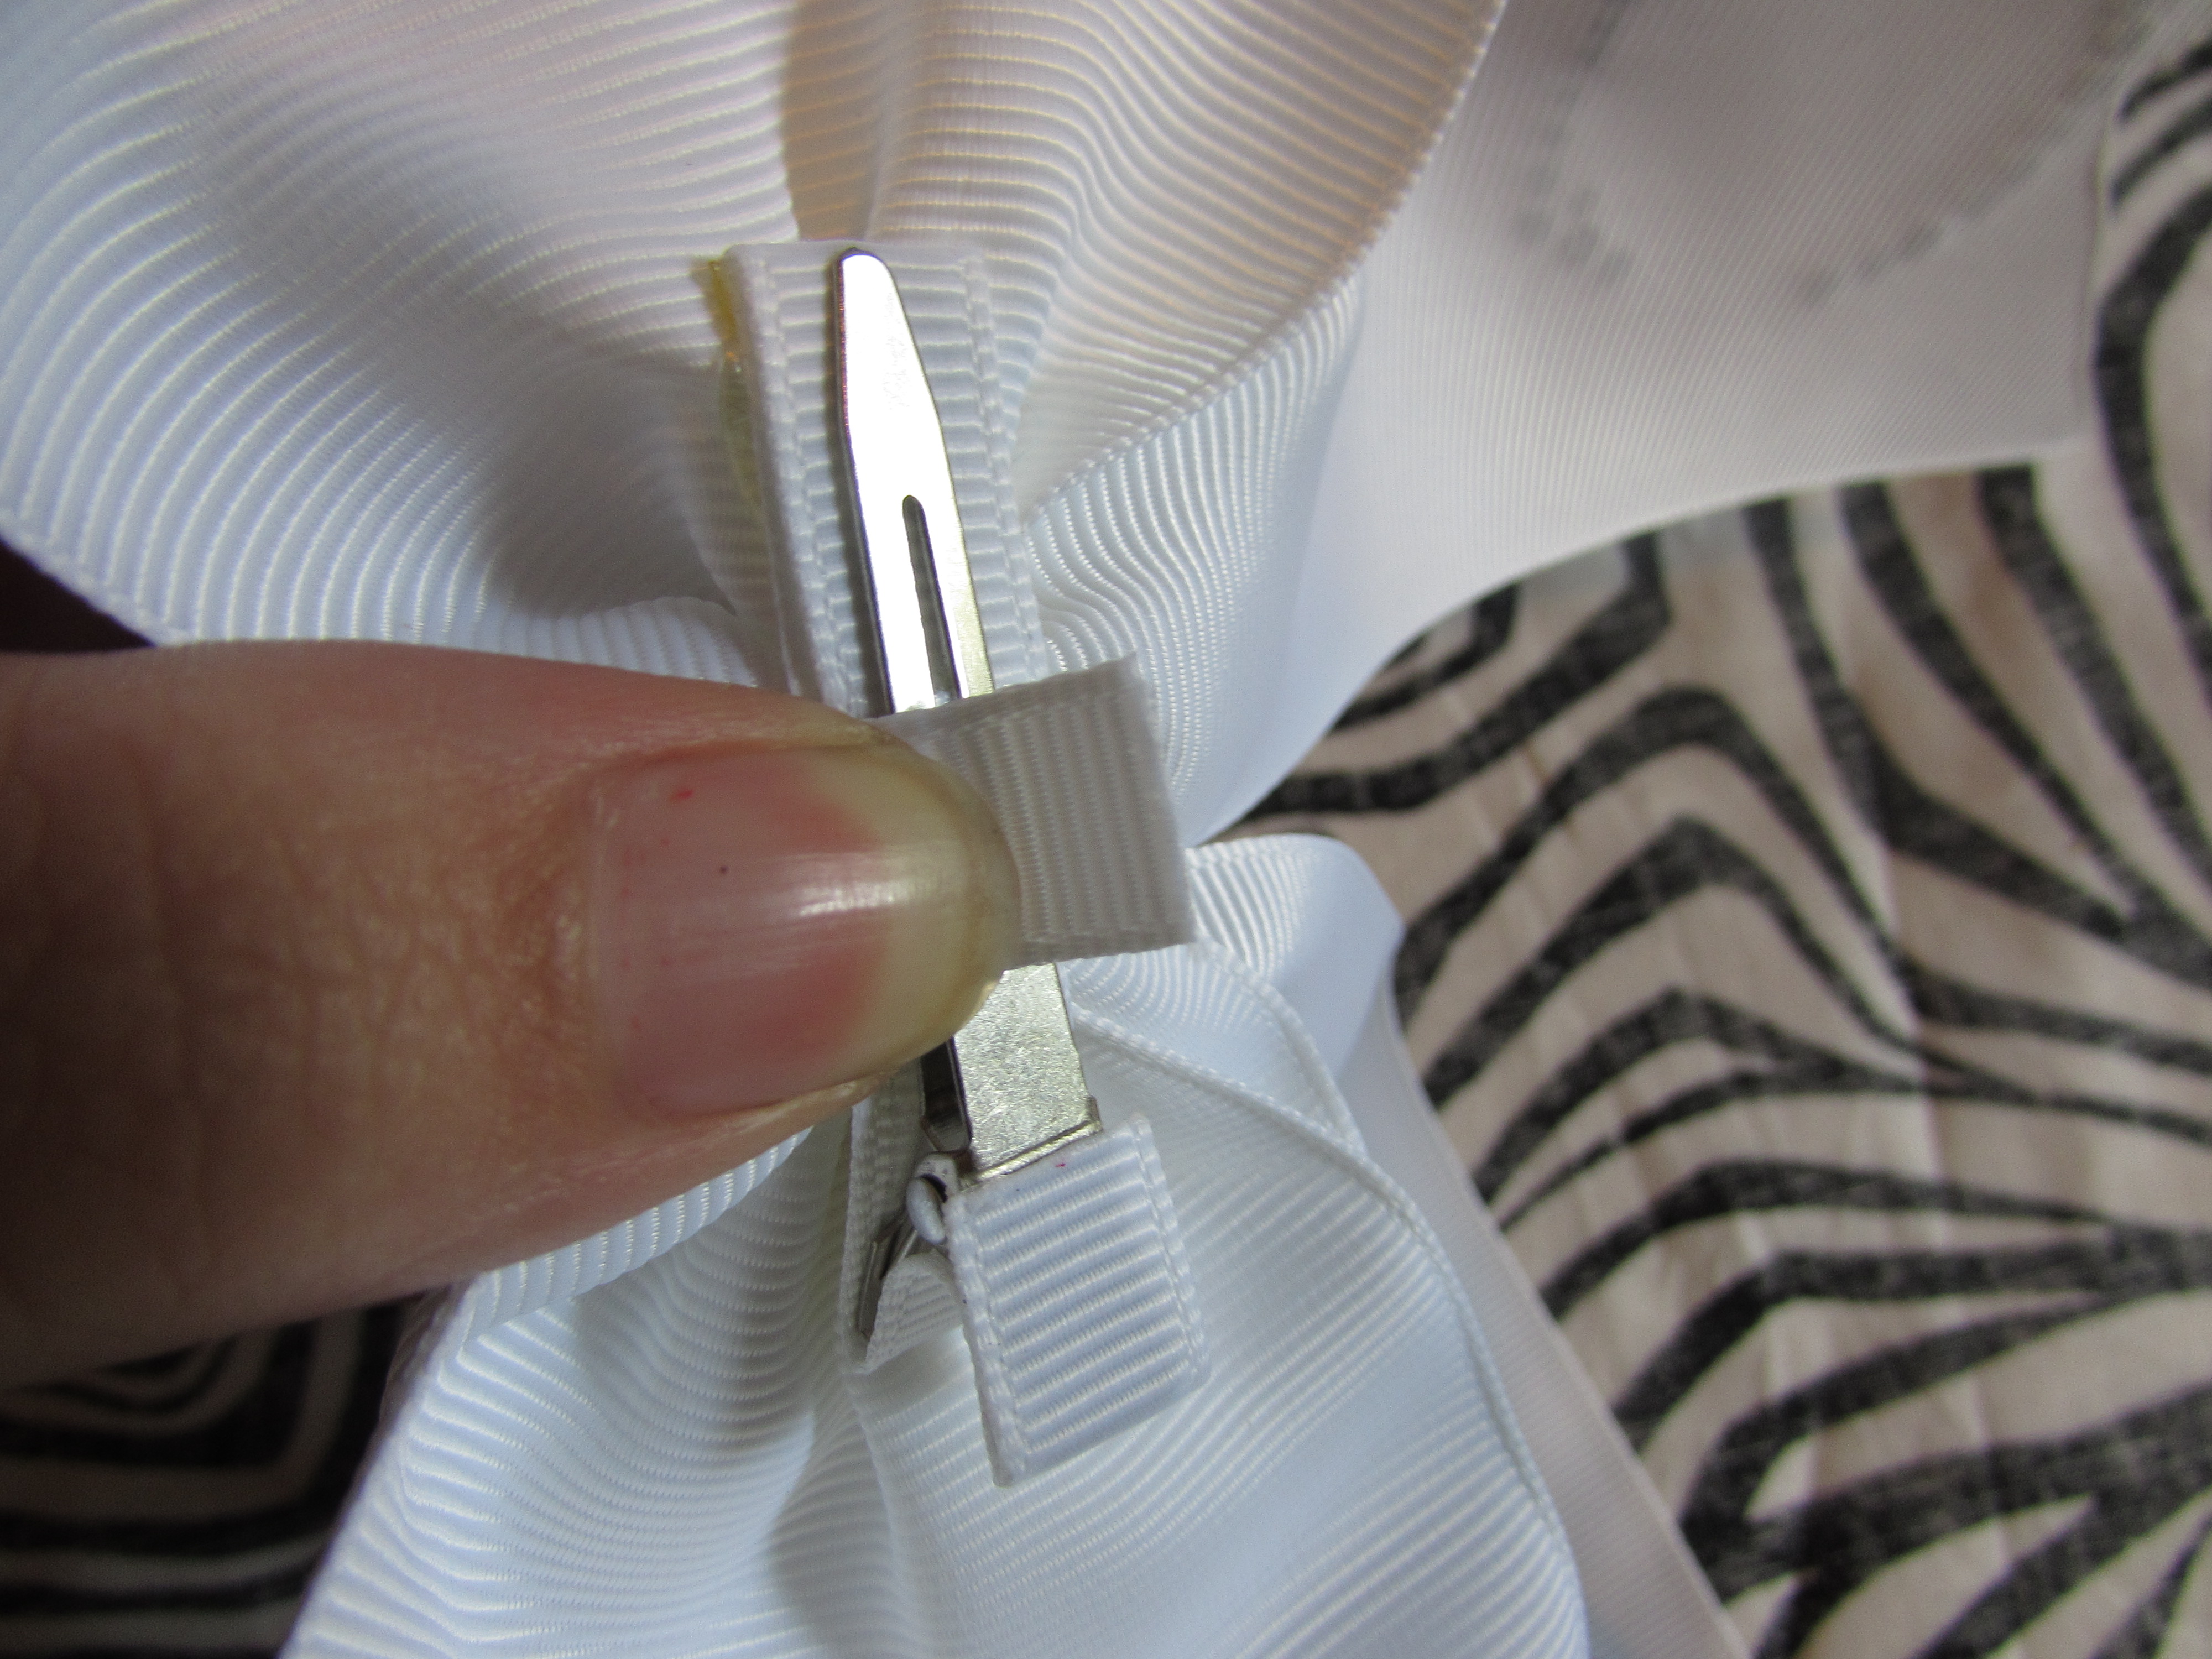
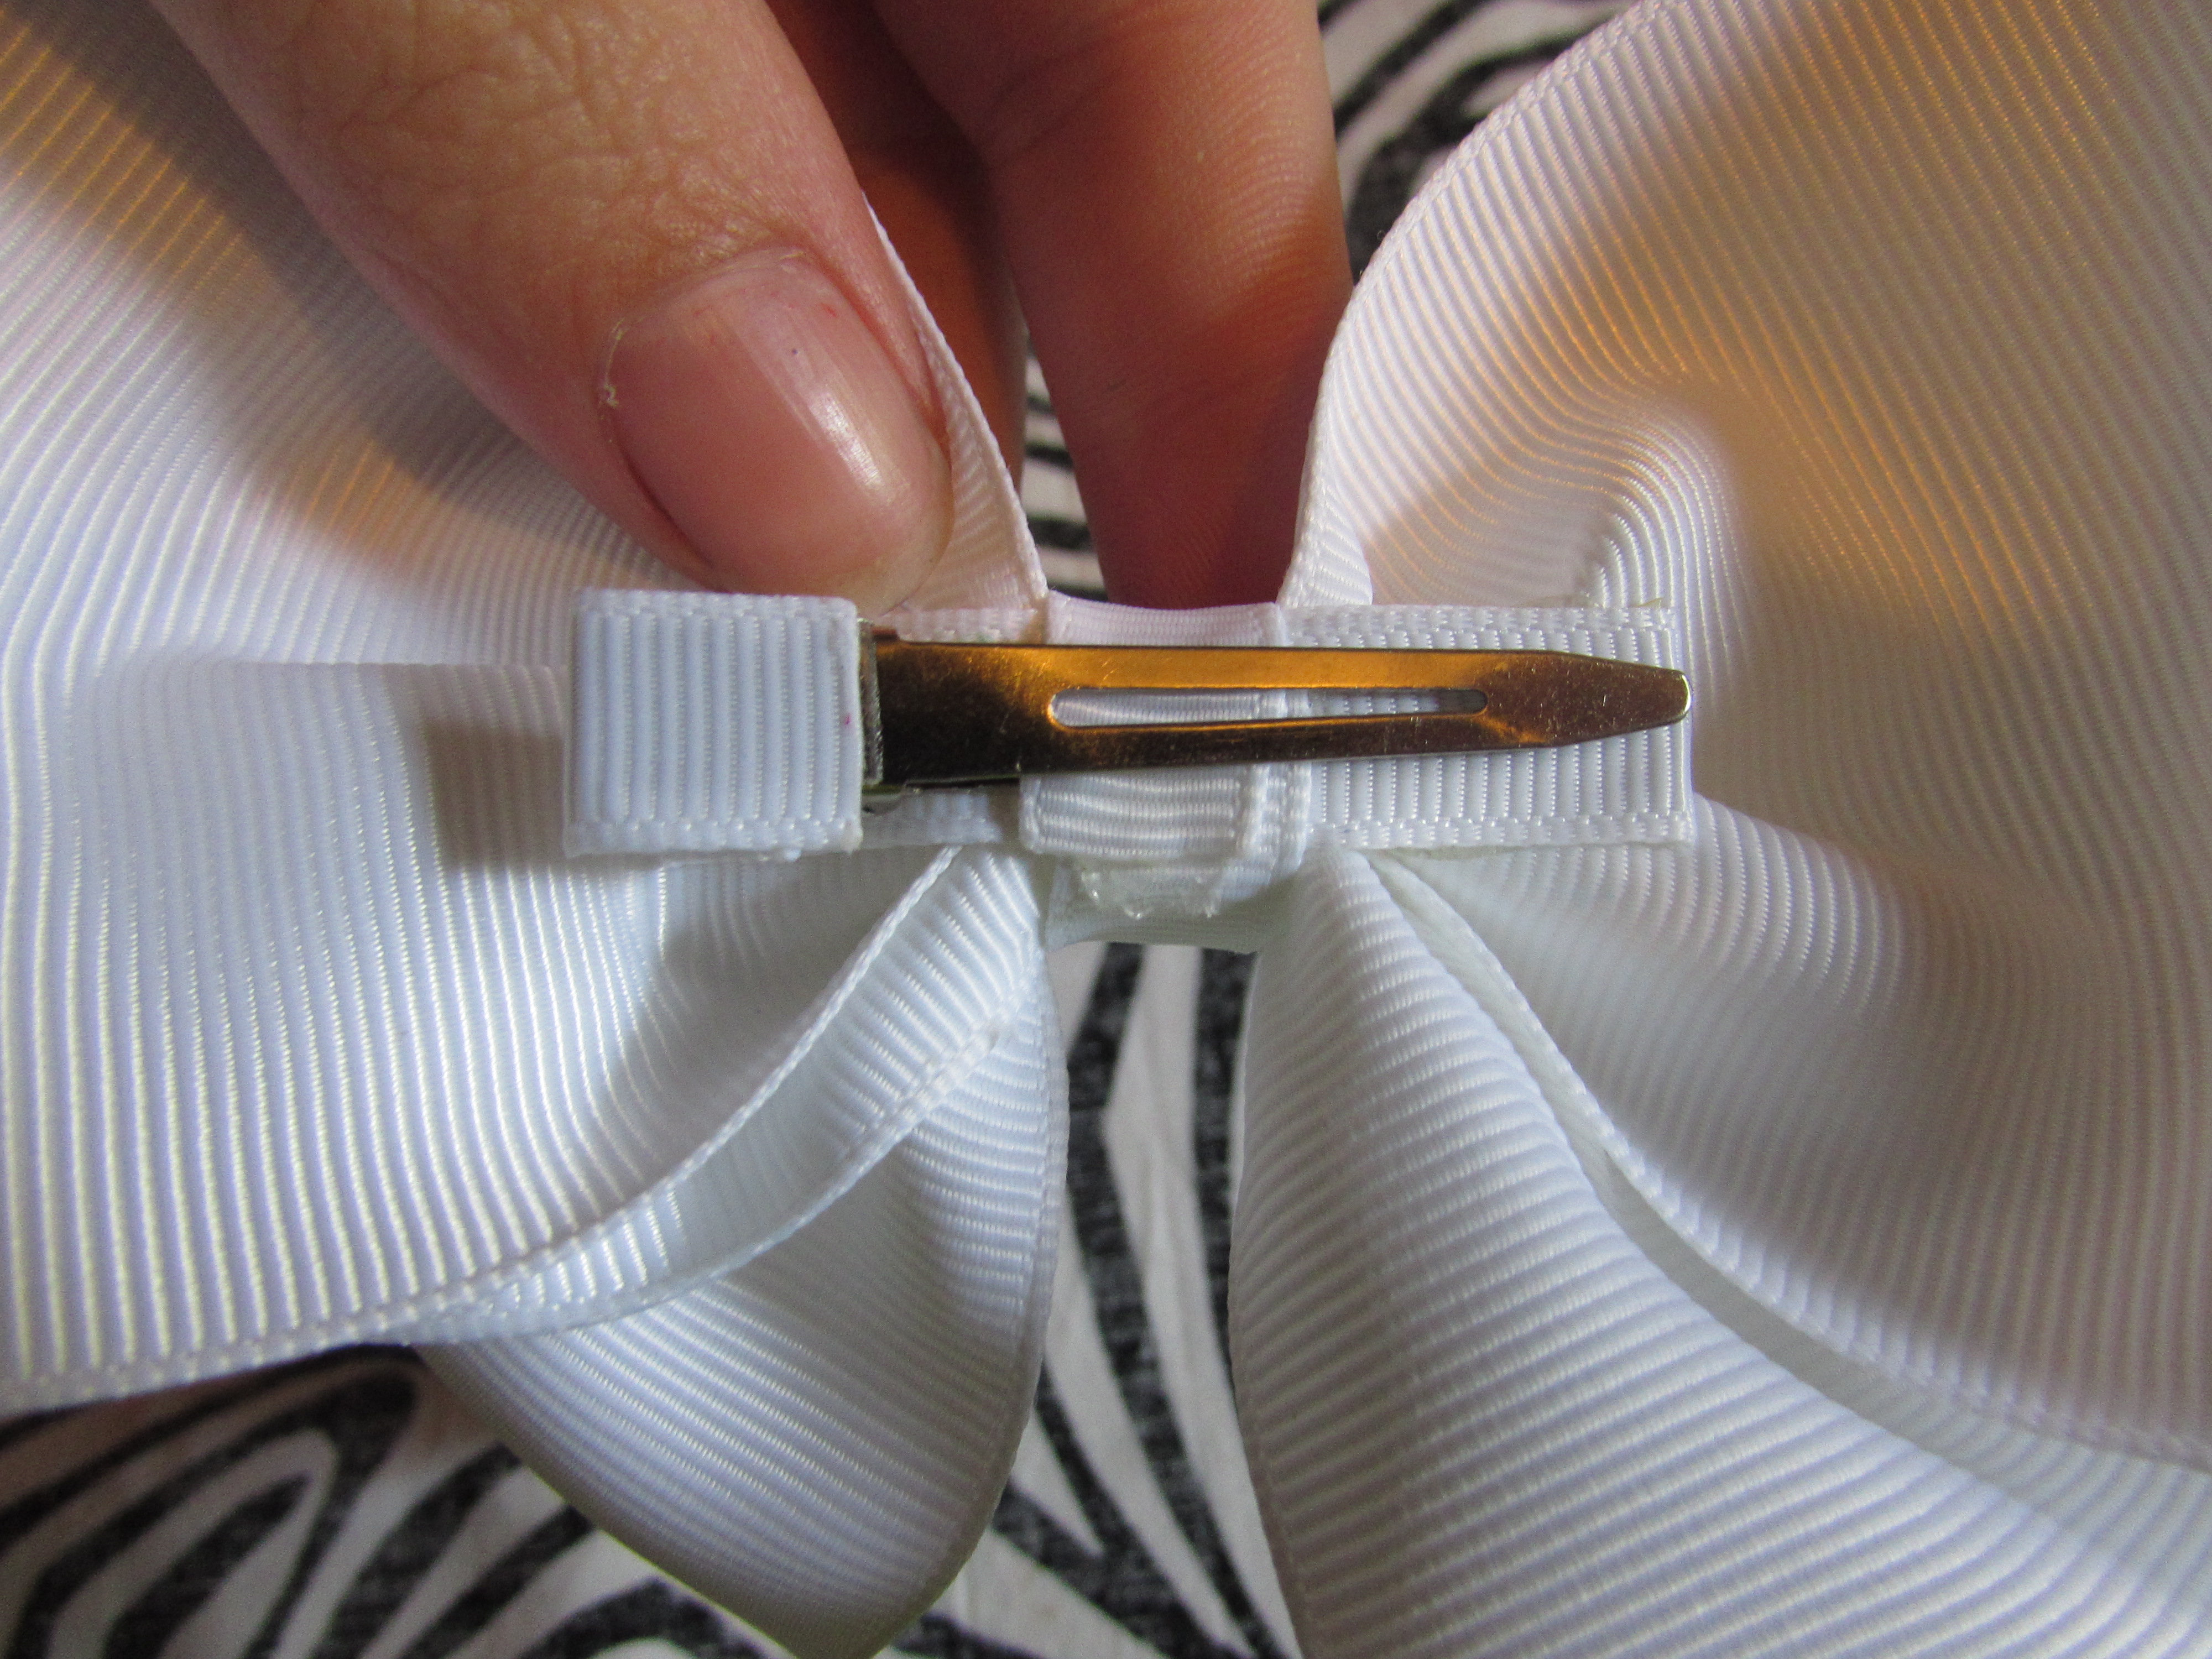
Step 19: Apply a dab of hot glue on one end of your 3/8" ribbon for the center. Apply the ribbon under the clip, wrap around the bow, glue on top of the starting ribbon. May have to trim and heat seal
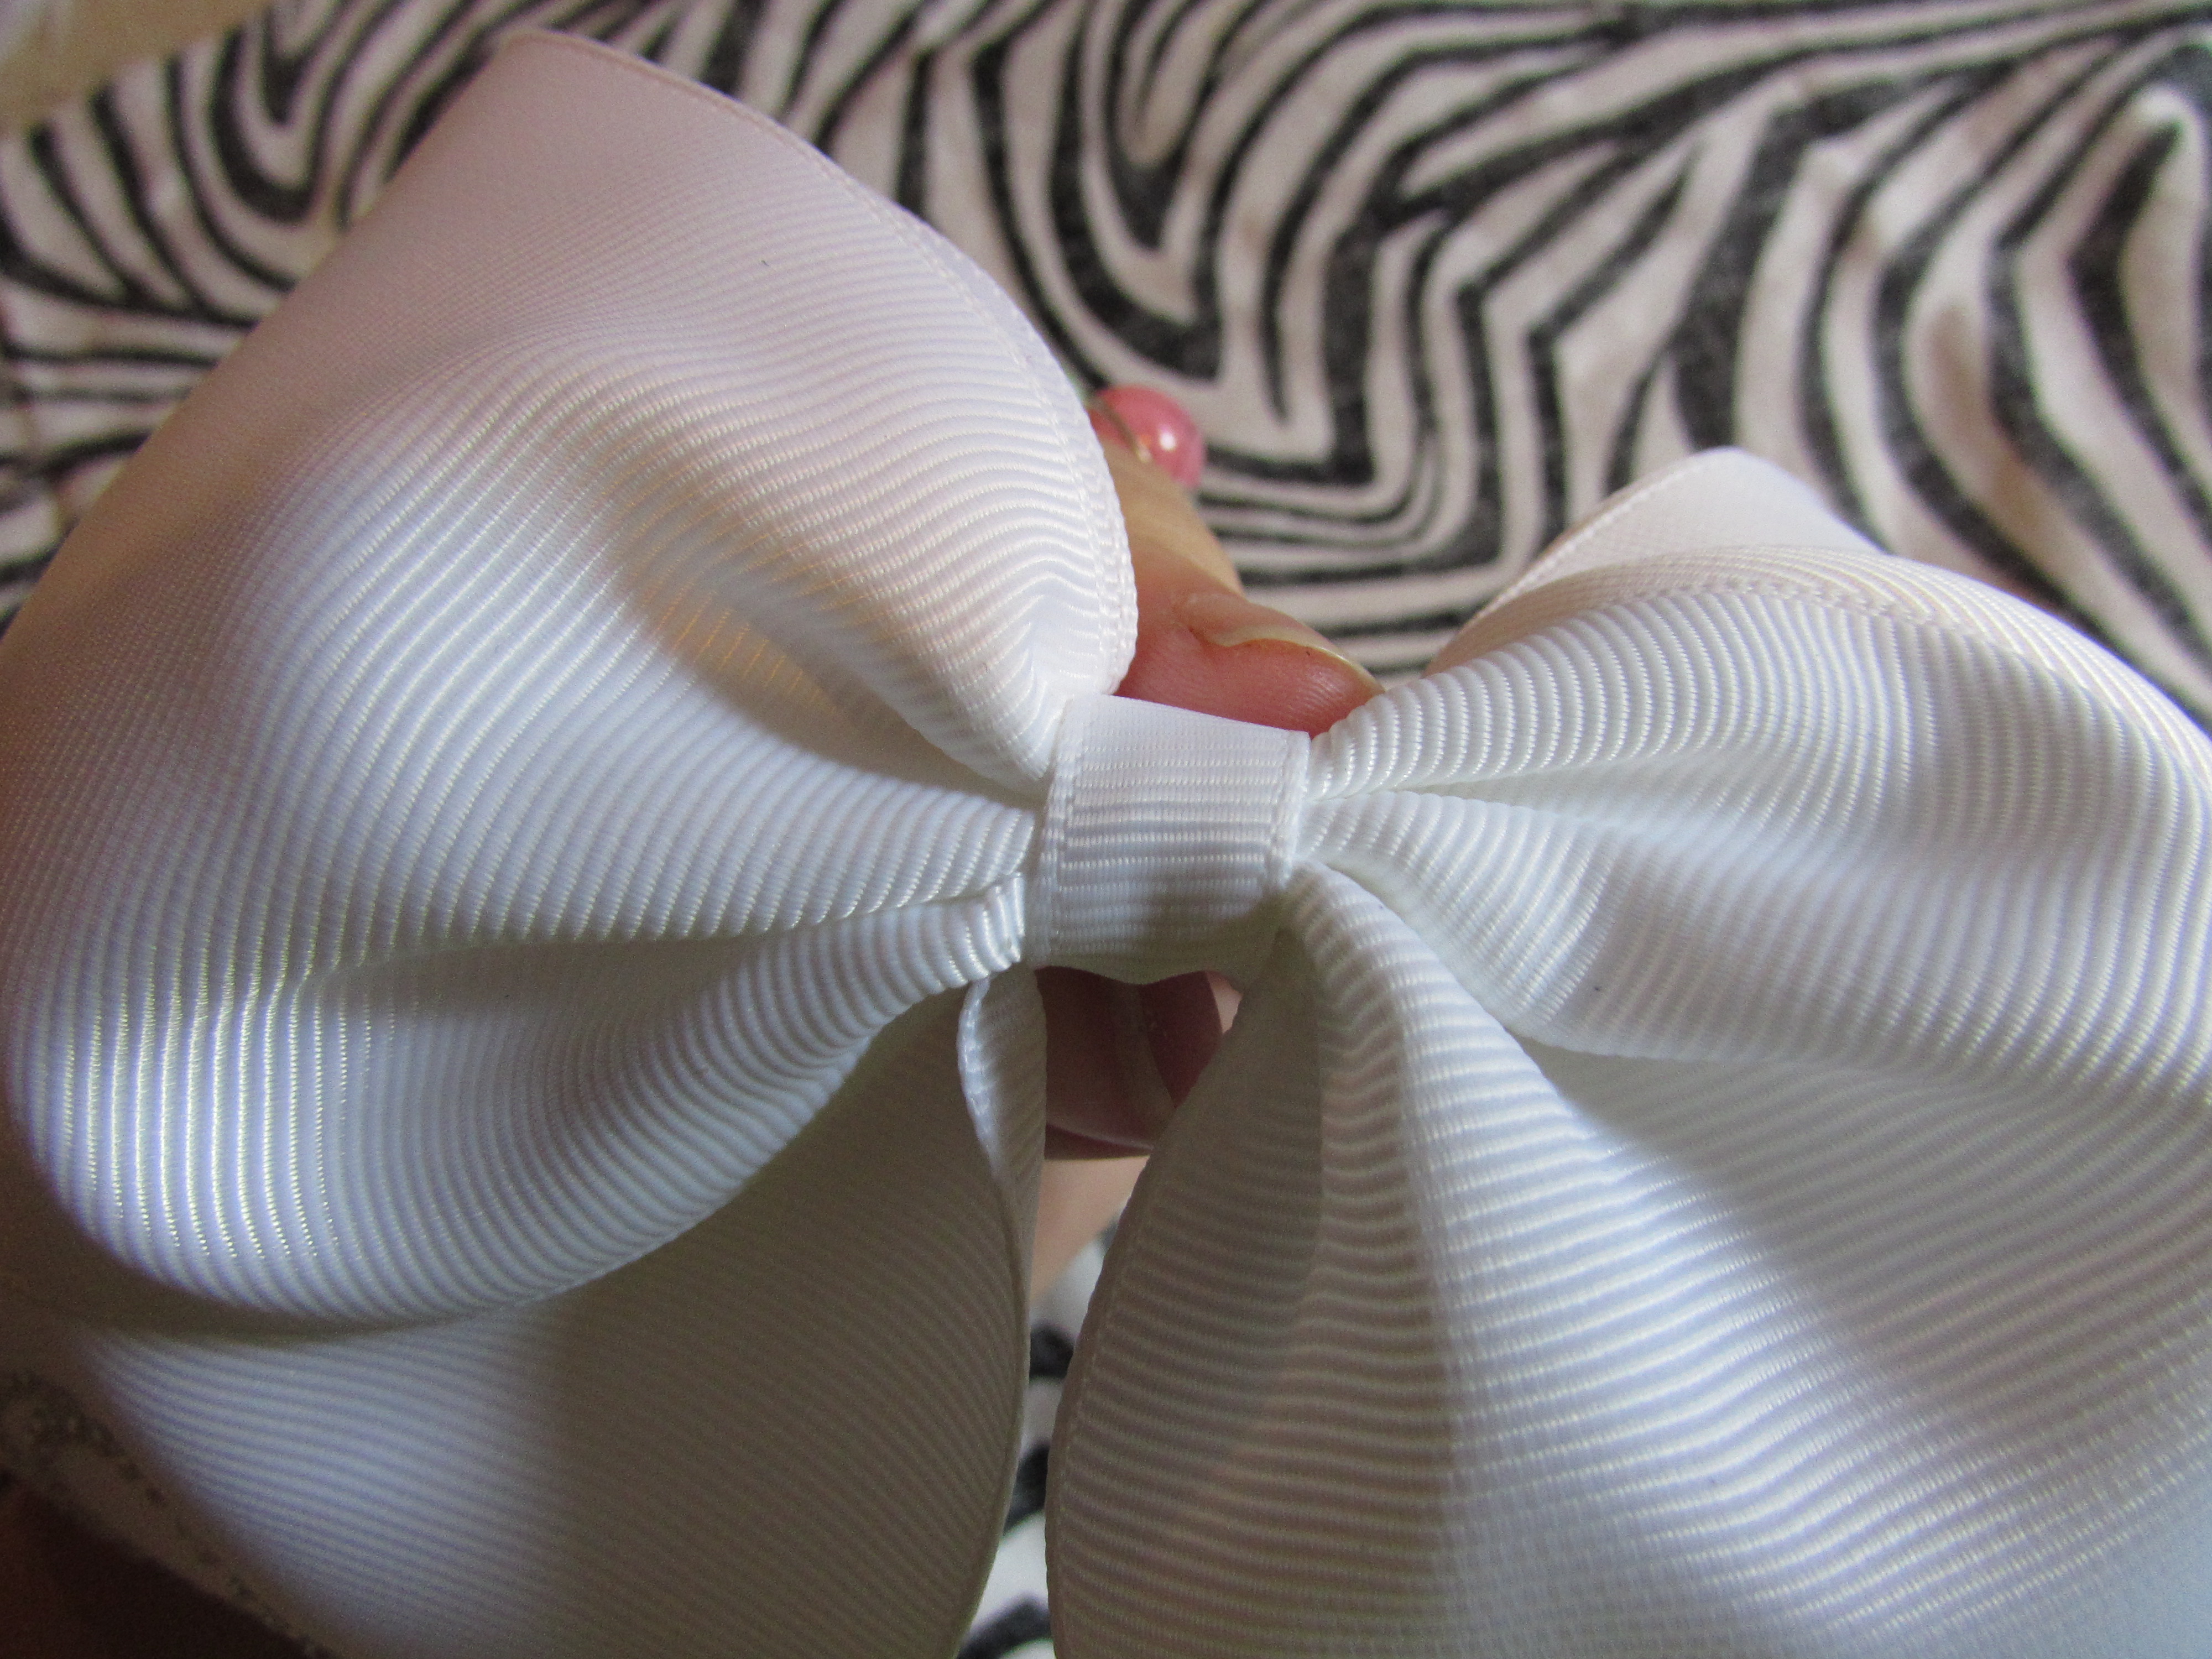
And there you have it guys! A simple Rhinestone Initial Cheer Bow!
Visit the rest of our blog for more Crafting Tutorials and DIY Instructions like this Monogrammed Rhinestone Cheer Bow!

 Look at that?! Seriously, isn't it just the cutest simple cheer bow EVER! Measures about 6" wide! Once you get the hang of this simple adorable one you can make ANYTHING! So, let's gather our supplies and get started :))
Supplies Needed:
- 6" ribbon template {{ HOMEMADE is what I will be using }}
- 26" of 3" wide ribbon
- Scissors
- Lighter
- Needle/Thread
- Lined Alligator Clip {{ can use french barrette, alligator clip, or ponytail elastic }}
- 3" of 3/8" wide ribbon
- Hotglue/ gun
- Pliers {{ optional }}
- Iron
- Fabric
- Iron On Rhinestone Letter
 Now that we have our supplies, let's get started.
Step 1: Fold your ribbon in half and crease it
 Step 2: Open the ribbon, lay the crease on one of the dark inch lines on your mat {{ if you are using a mat like I am
 Step 3: Lay the template on the ribbon with the crease in the center
 Step 4: Wrap the right side ribbon over to the left side
 Step 5: Wrap the left ribbon to the right side overlapping the right side ribbon.
 Step 6: Place your clip in the center of the crossed ribbon
 Step 7: Remove the template carefully. You can also easily do this without a template! Simply fold the 2 ribbon ends over so that they look as shown, being sure to keep the tails even.
 * The crease and your clip should line up perfectly
 Step 8: Flip the bow over, slide the back down keeping the crease even with your clip
 Step 9: Flip bow over to the front and crease 3 {{ three }} times


 Step 10: Push the needle and thread through the center of the crease
 Step 11: Wrap and sew off the center


 Step 12: Cut your ribbon ends how you wish and heat seal
- I am doing a " V " cut in mine

 Step 13:
Turn your iron on. At this point you want to be very careful, working with an iron can be dangerous so please take caution.
- Your iron needs to be on the highest "cotton" setting with NO STEAM
- Lay your fabric down on a hard surface. I use my kitchen counter
- Lay your bow on top of the fabric
- Peel the letter off the backing and place it on the bow
* You need to be careful so you do not pull stones off


 Step 14: Fold the fabric over the plastic part of the letter and bow
 Step 15: Apply pressure and heat over the fabric and rhinestone. About 20-30 seconds with a lot of pressure
 Step 16: Uncover and carefully peel off the plastic. If it does not adhere the rhinestones onto the ribbon, lay the plastic back down, cover and apply more heat and pressure. - If it comes off then you are ready to move onto the next step

 Step 17: Unplug your iron and move out of reach of children and yourself to avoid any accidents that may happen. I put mine on my washing machine and shut the door while it cools down.
Step 18: Apply glue to the clip and add to the back of your bow

 Step 19: Apply a dab of hot glue on one end of your 3/8" ribbon for the center. Apply the ribbon under the clip, wrap around the bow, glue on top of the starting ribbon. May have to trim and heat seal


 And there you have it guys! A simple Rhinestone Initial Cheer Bow!


 TOOLS
TOOLS
 NEW
NEW


