 Contributor post by Brittany
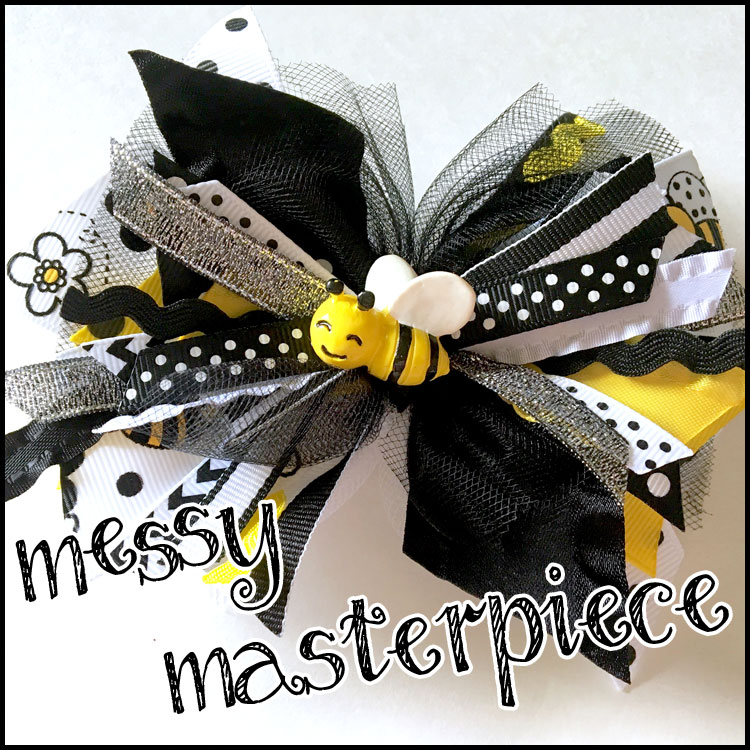
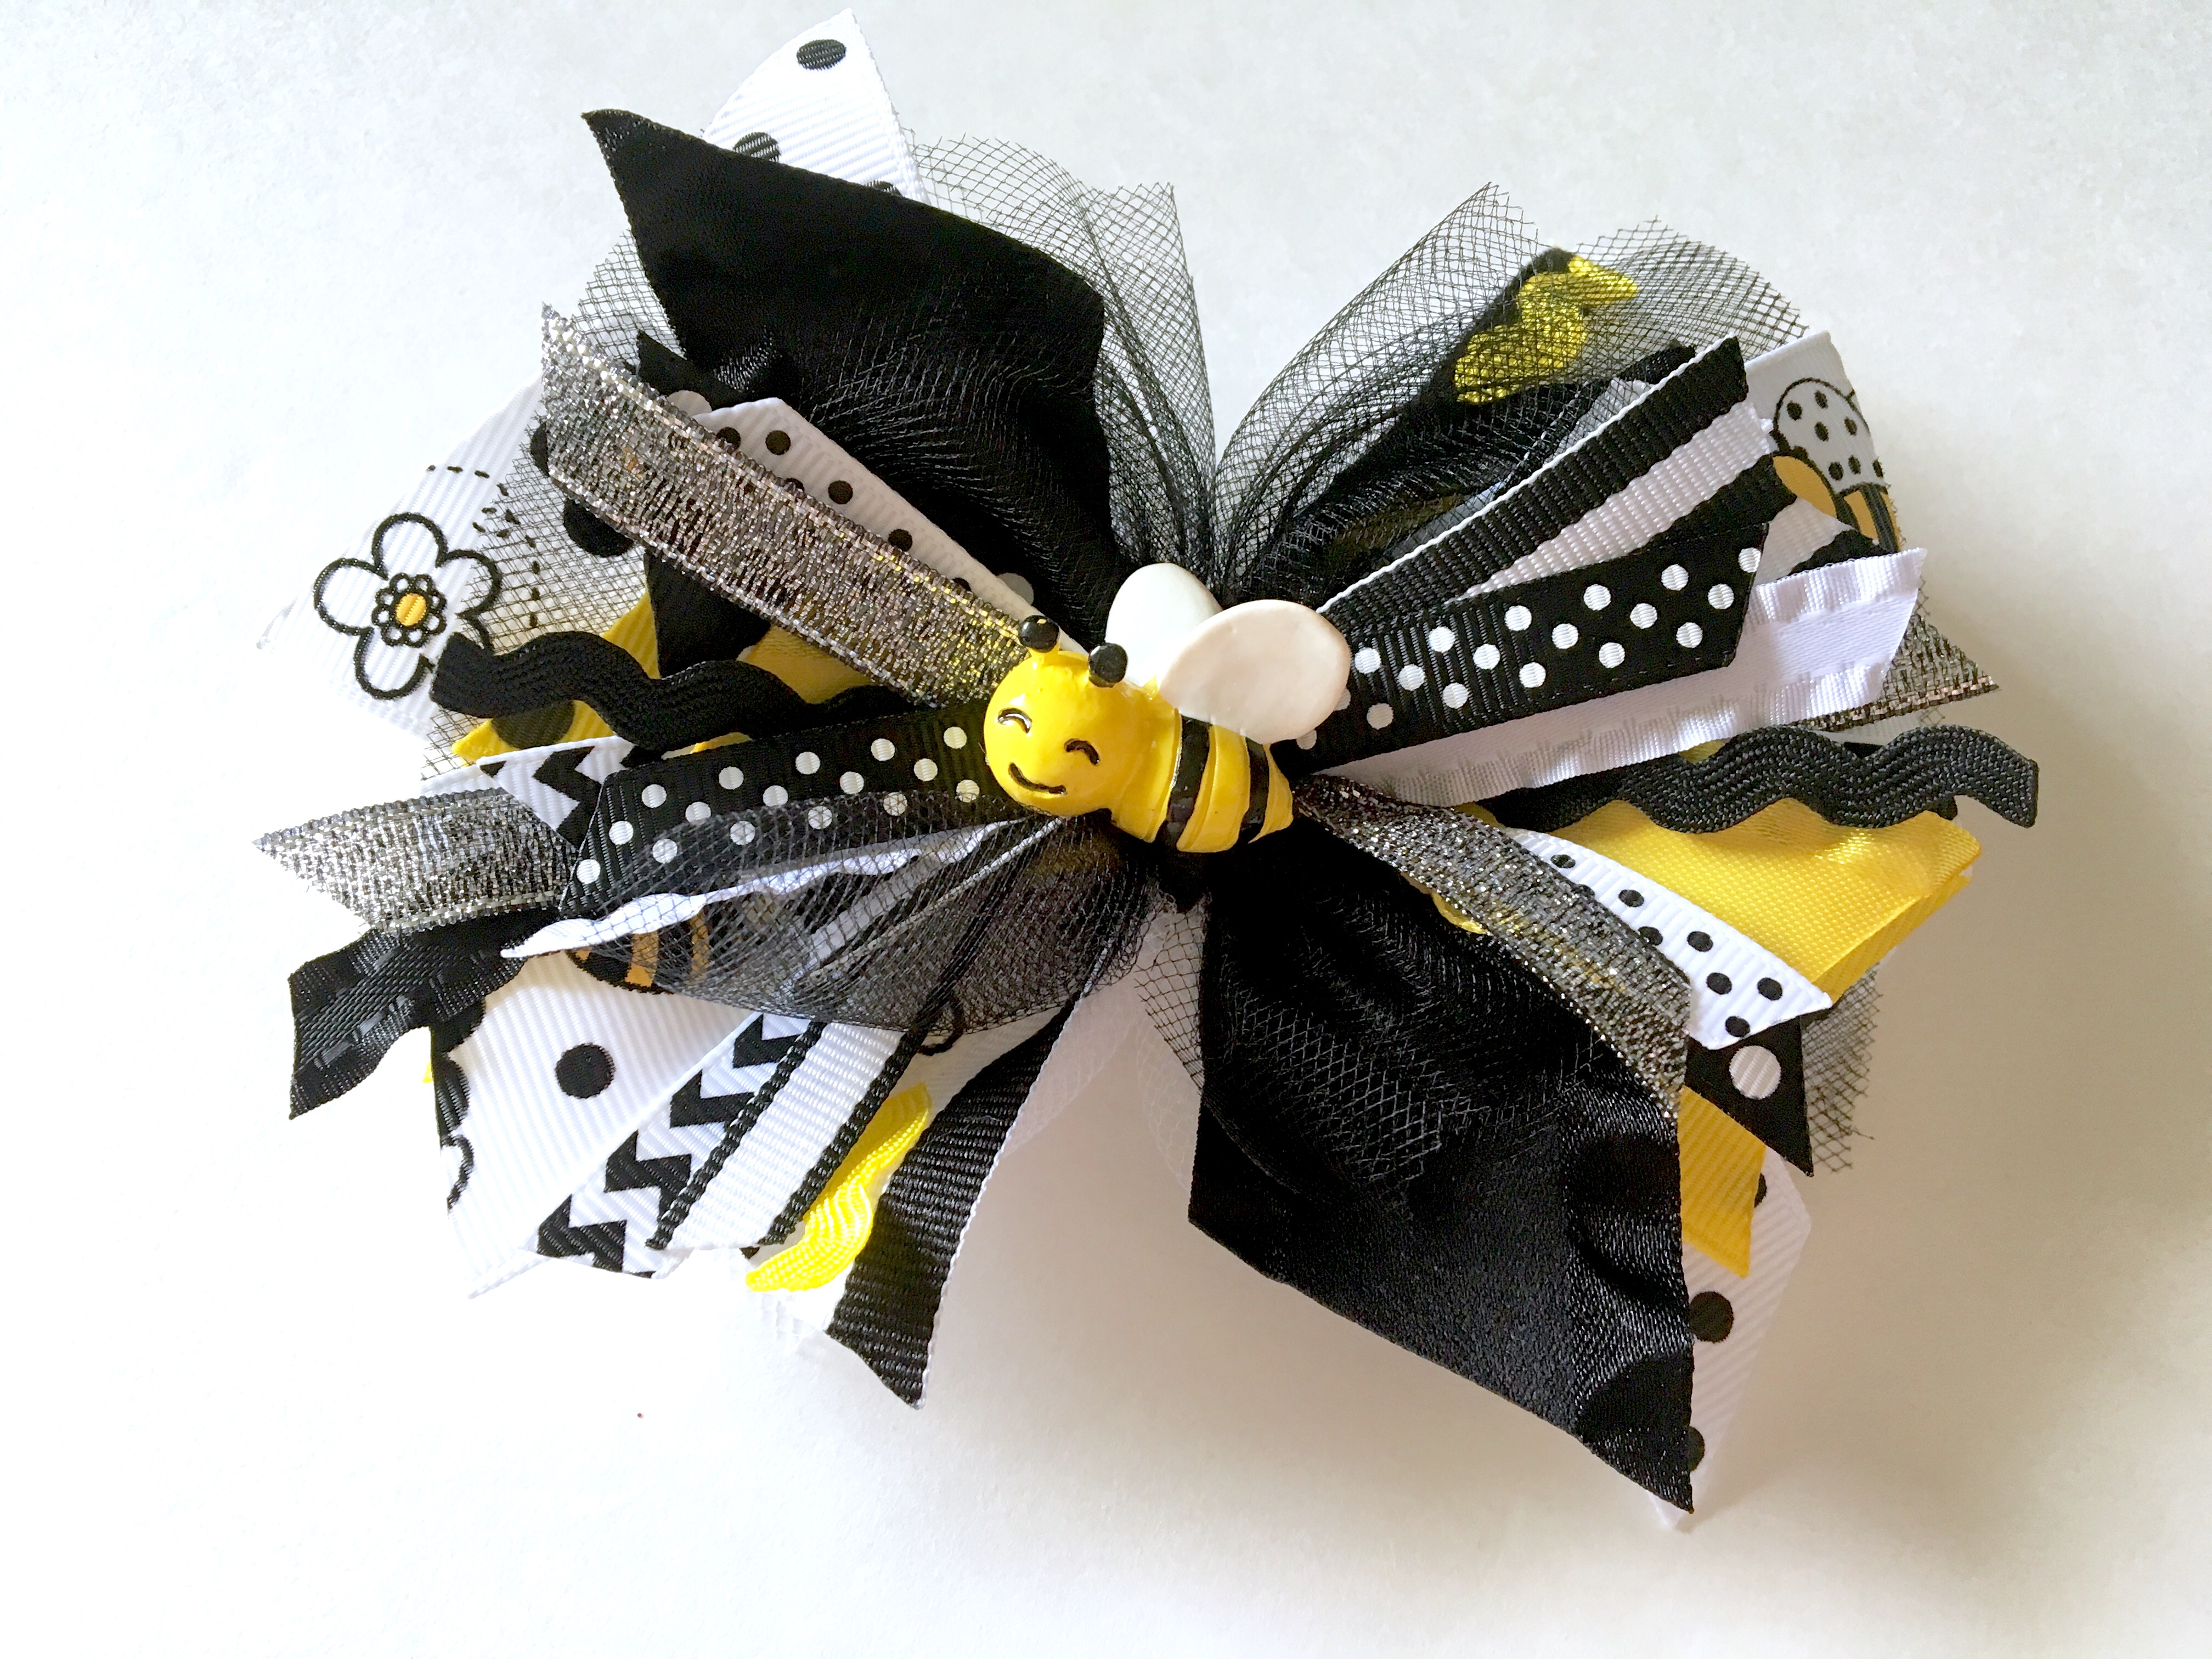
Sometimes you just need an adorable hair bow without spending hours making it! I love bows with tons of different prints and random materials that make my bows one of a kind. The problem with that is sometimes I will study each material and piece of ribbon, rearranging them over & over for HOURS until I have the perfect vision of how I want my bow to look. (Yes, I can be a bit of a perfectionist when it comes to bows!) But today I'm changing my ways and applying almost no effort to create this totally cute "Messy Masterpiece" Bumblebee hair bow!
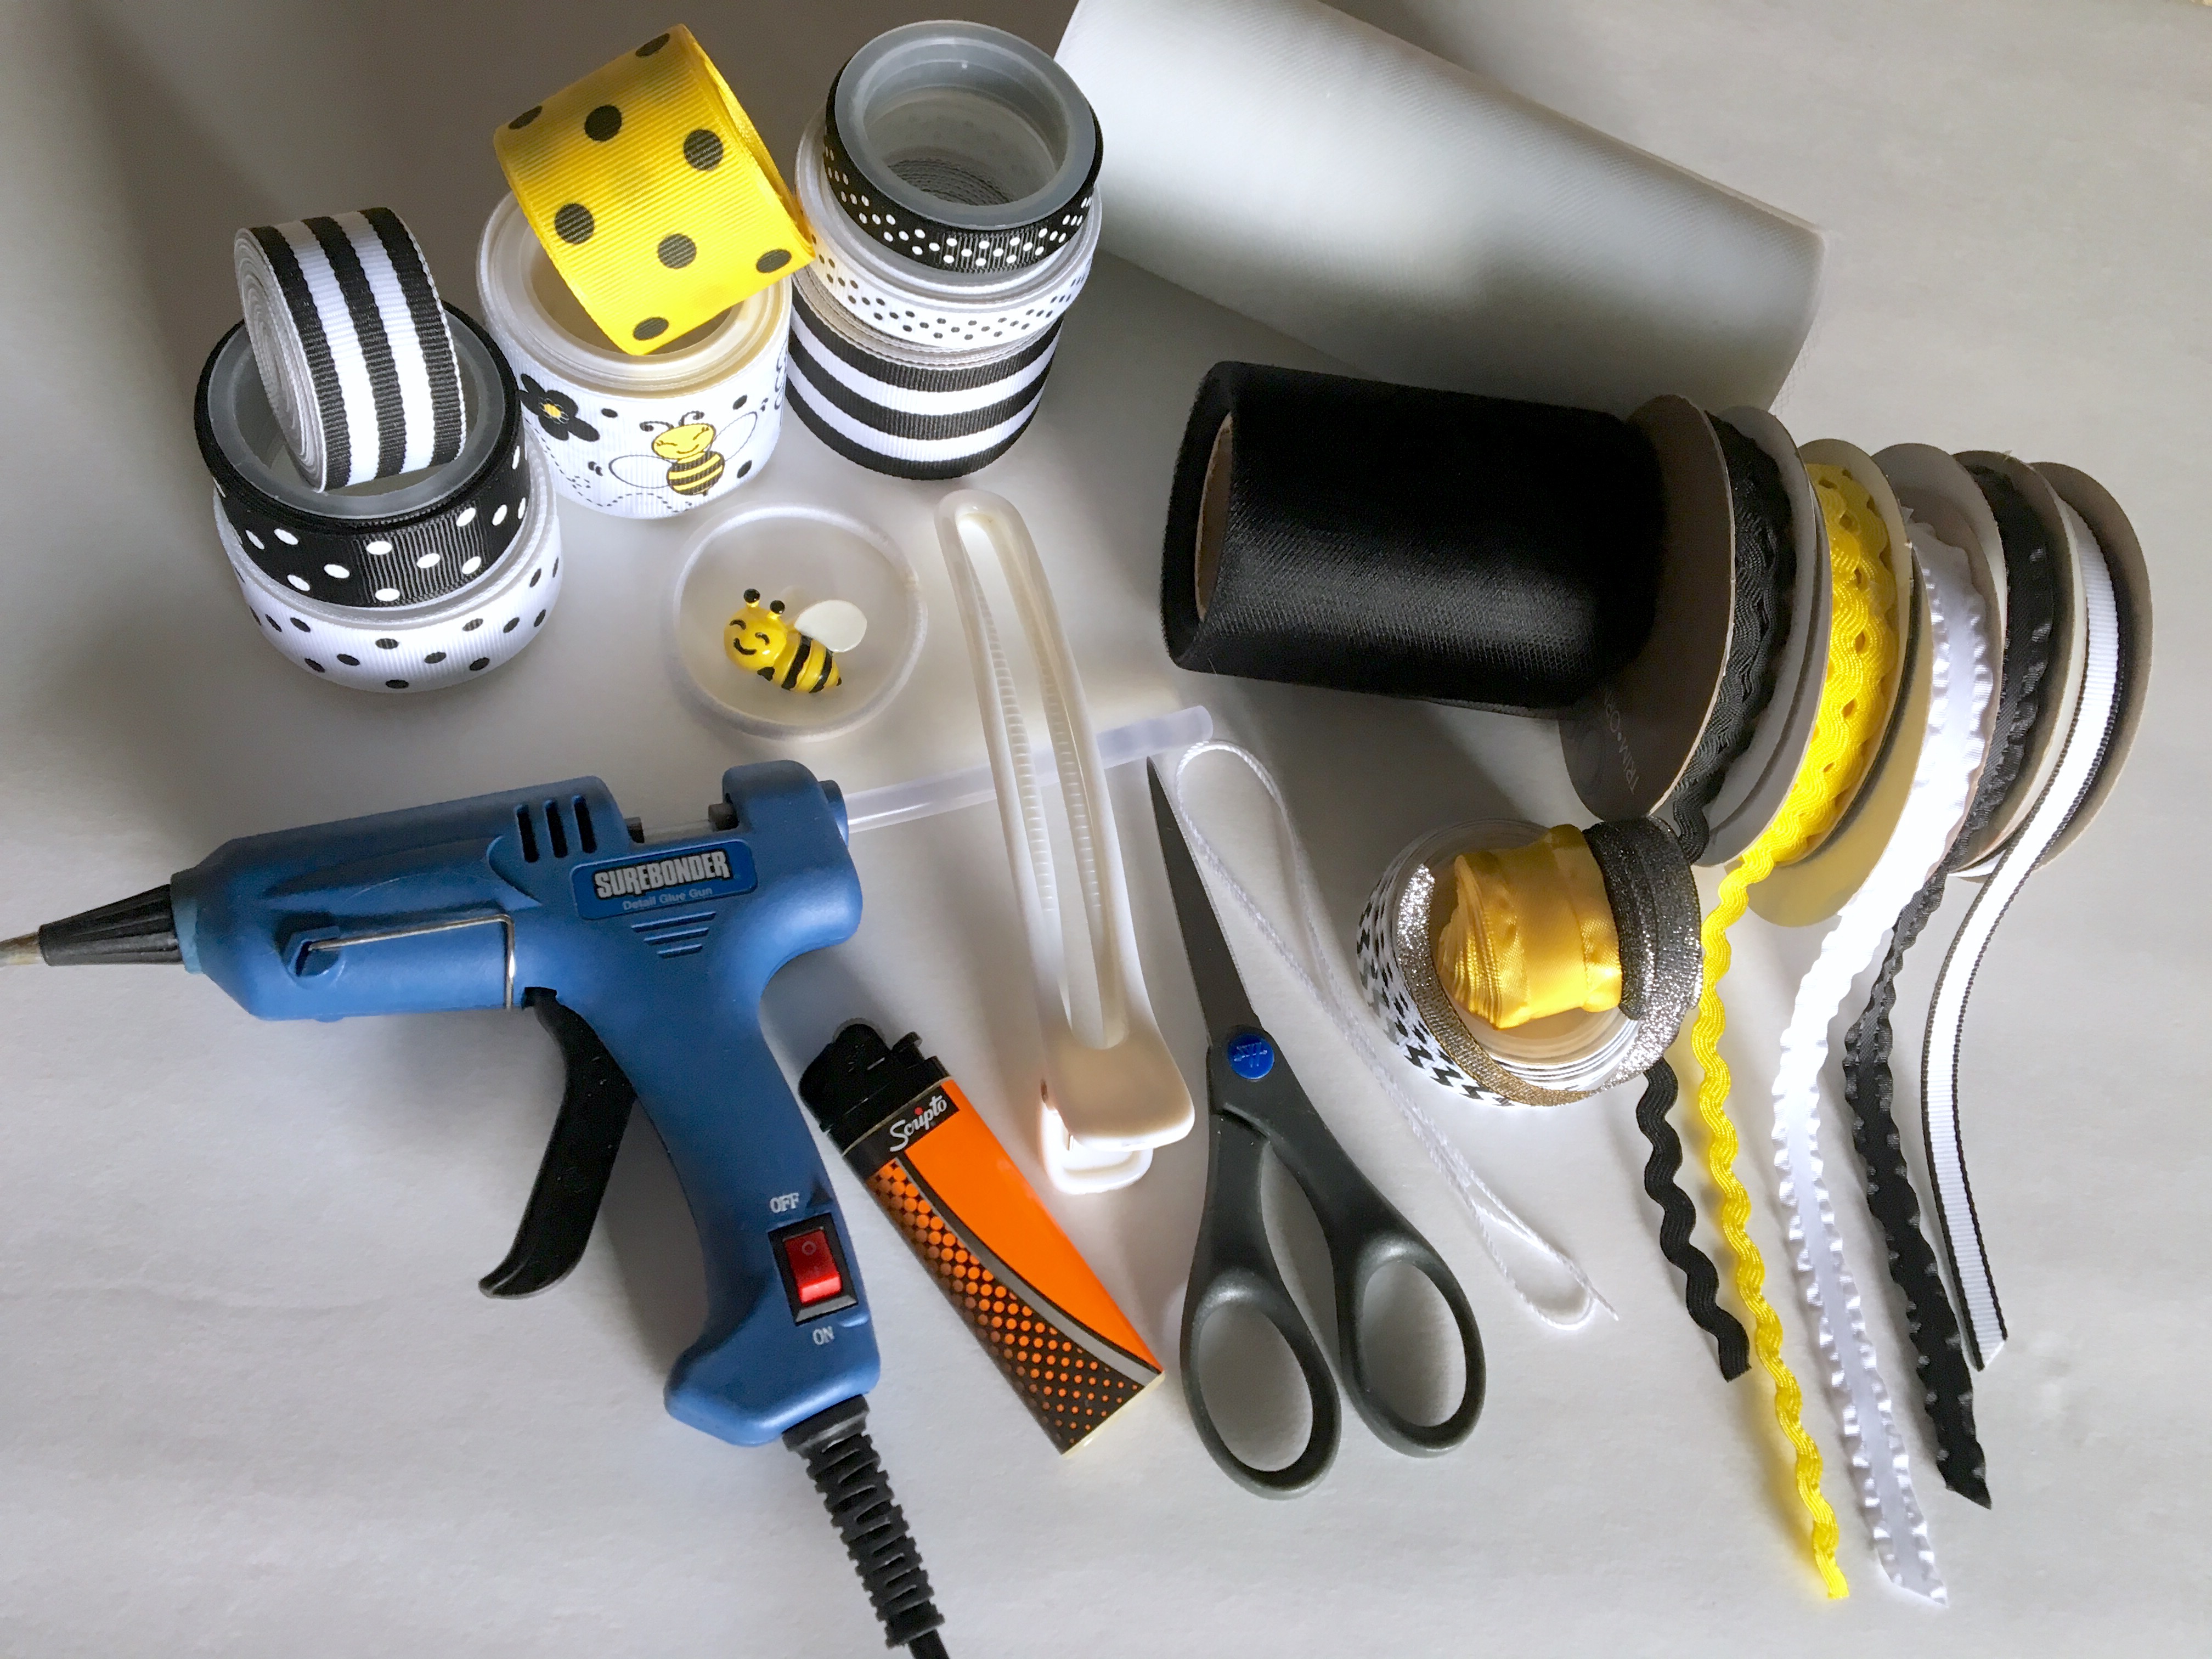
Shown above are the materials I am using:
•
6" white tulle
•
3" black tulle
•
7/8" & 3/8" black w/white dots grosgrain ribbon
•
1.5" bumblebee grosgrain ribbon
•1.5" yellow w/black dots ribbon
•1.5" & 7/8" black & white striped ribbon
•
3/8" black & white chevron ribbon
•
7/8" yellow ruffle ribbon
•Black & yellow Ric Rac
•other decorative trim in various colors
•
Bumblebee flatback resin
•
large elastic ponytail hair band (or alligator clip)
•
hot glue gun
•thick string/thread for tying
•
large salon clip
•scissors
•lighter
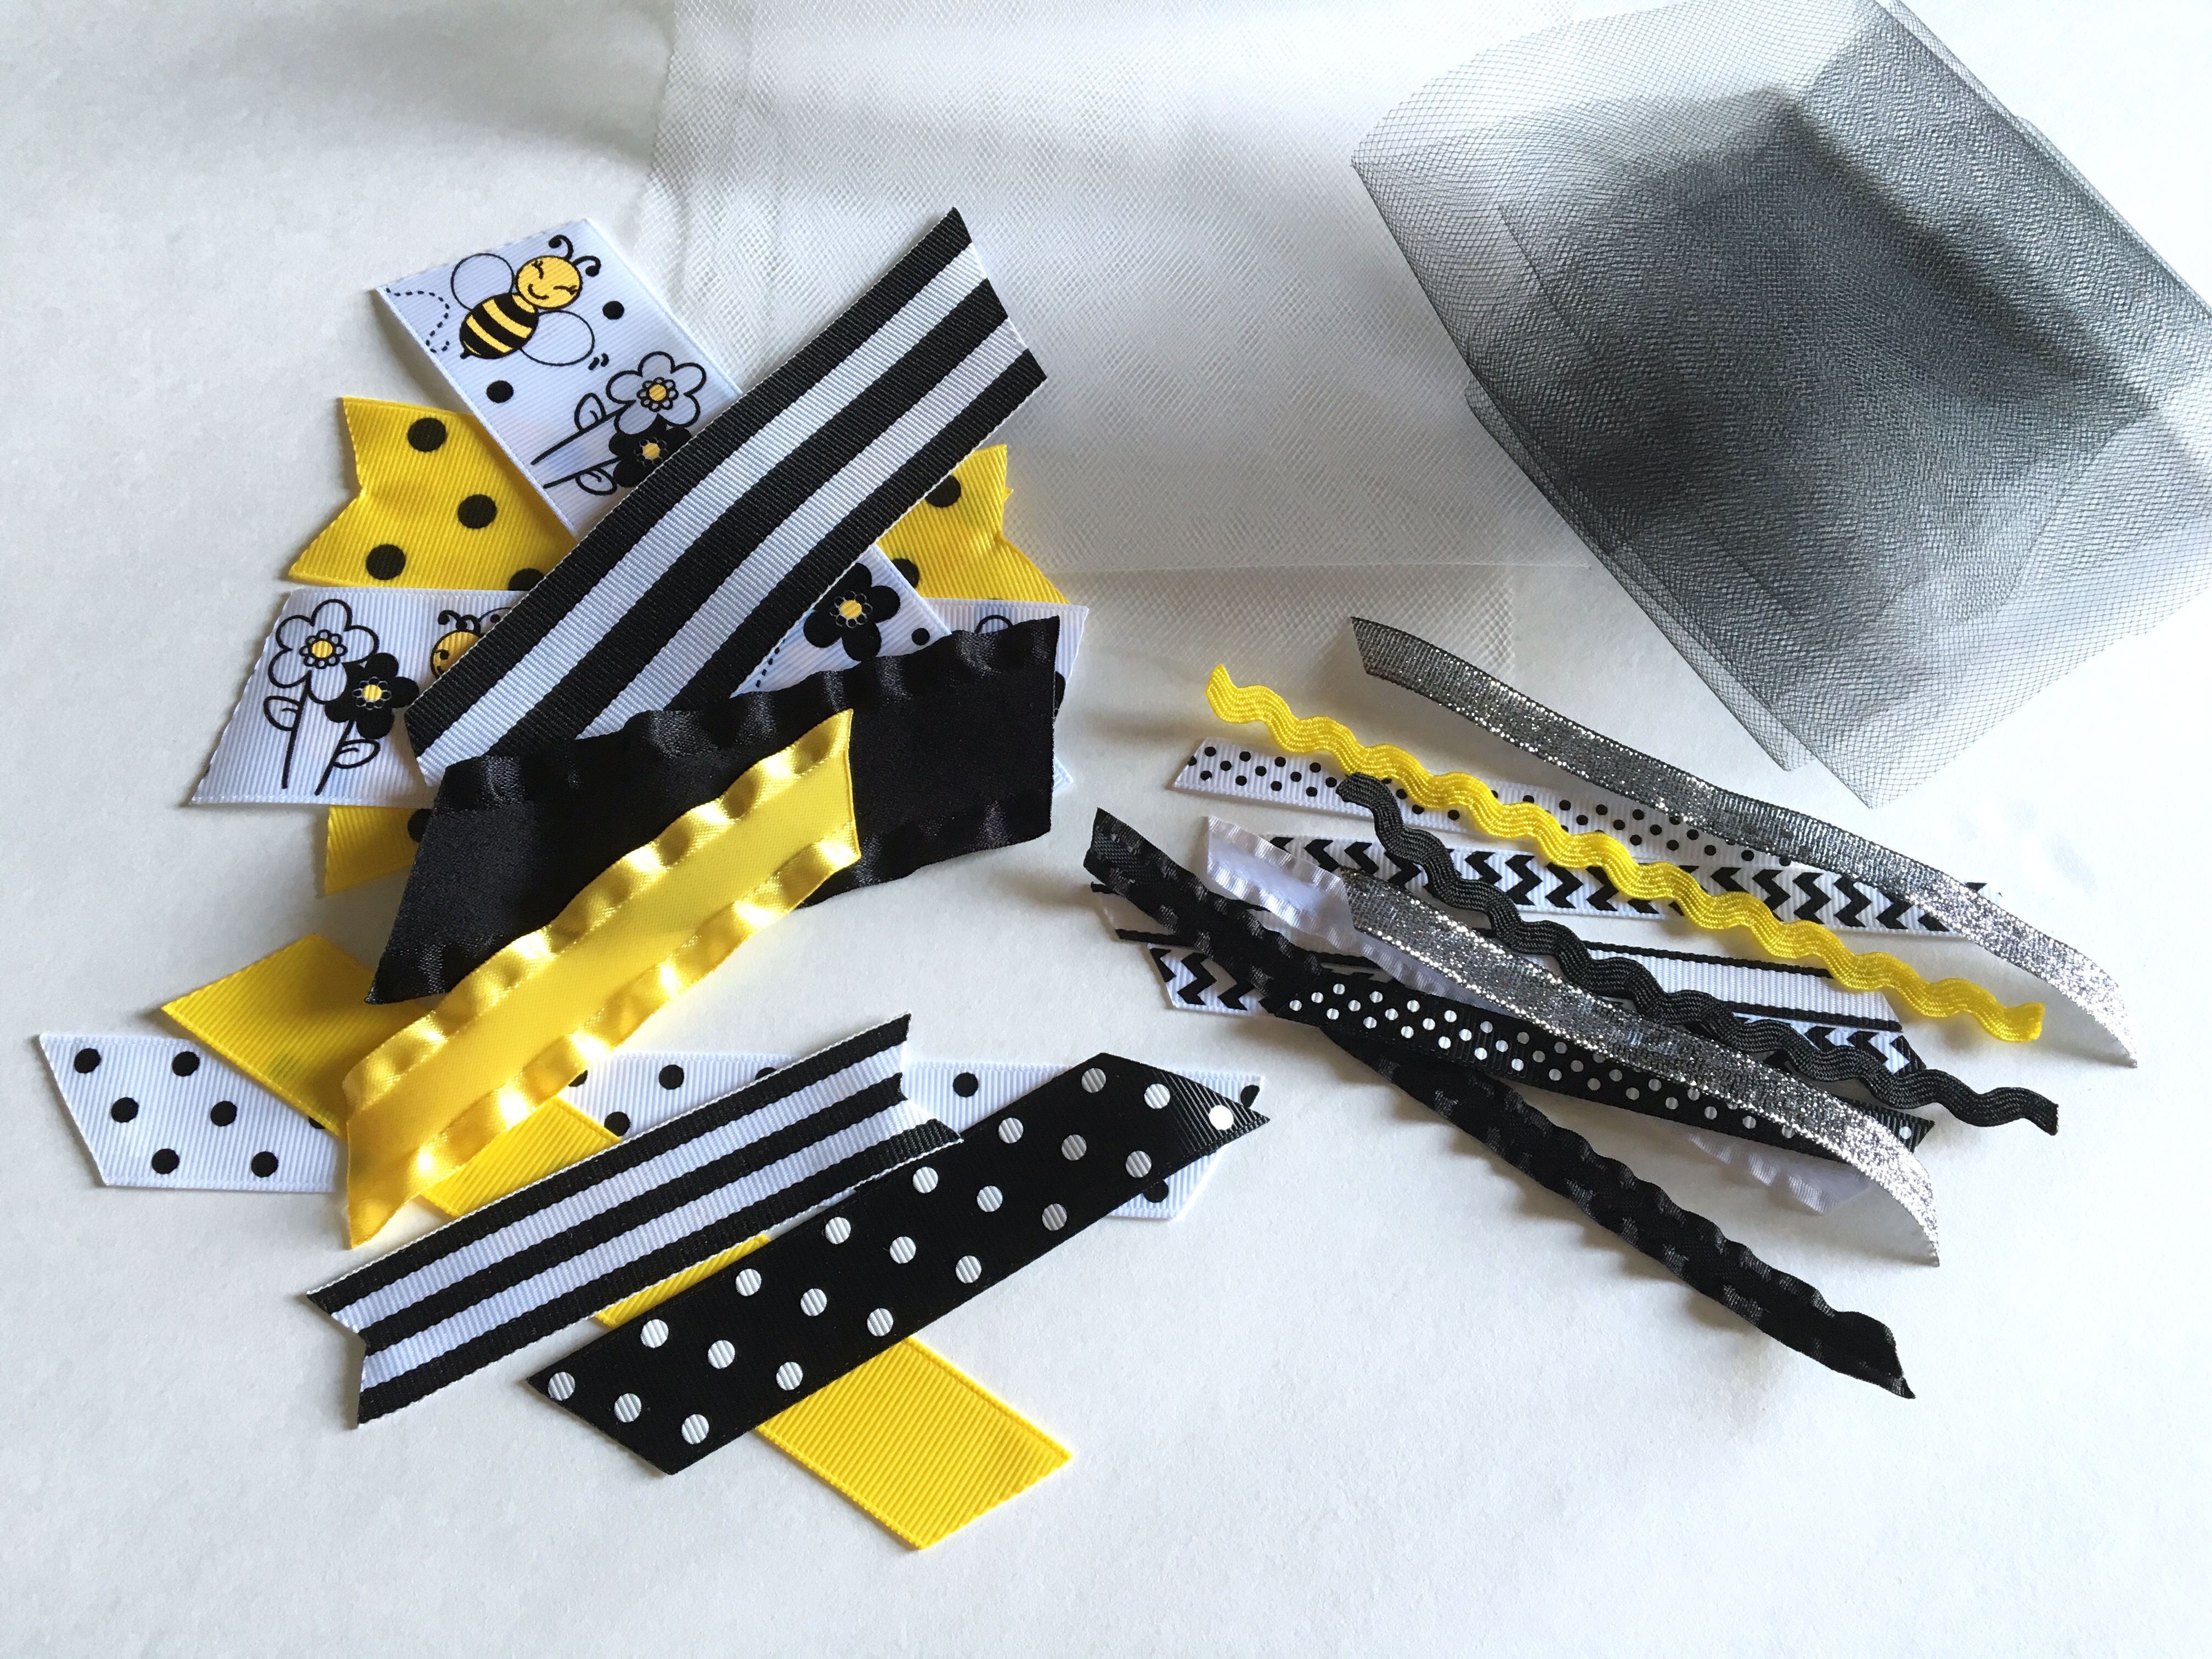
From the millions of supplies shown in the first picture, don't fret! The pic above is all the ribbon I will be using to create our bow. Of course it looks like a massive pile of craziness at the moment, but you'll begin to see the method to this madness shortly! Each piece of ribbon shown above are various lengths with their ends cut & heat sealed different ways. I have my piles separated by ribbon size to make throwing this bow together a breeze.
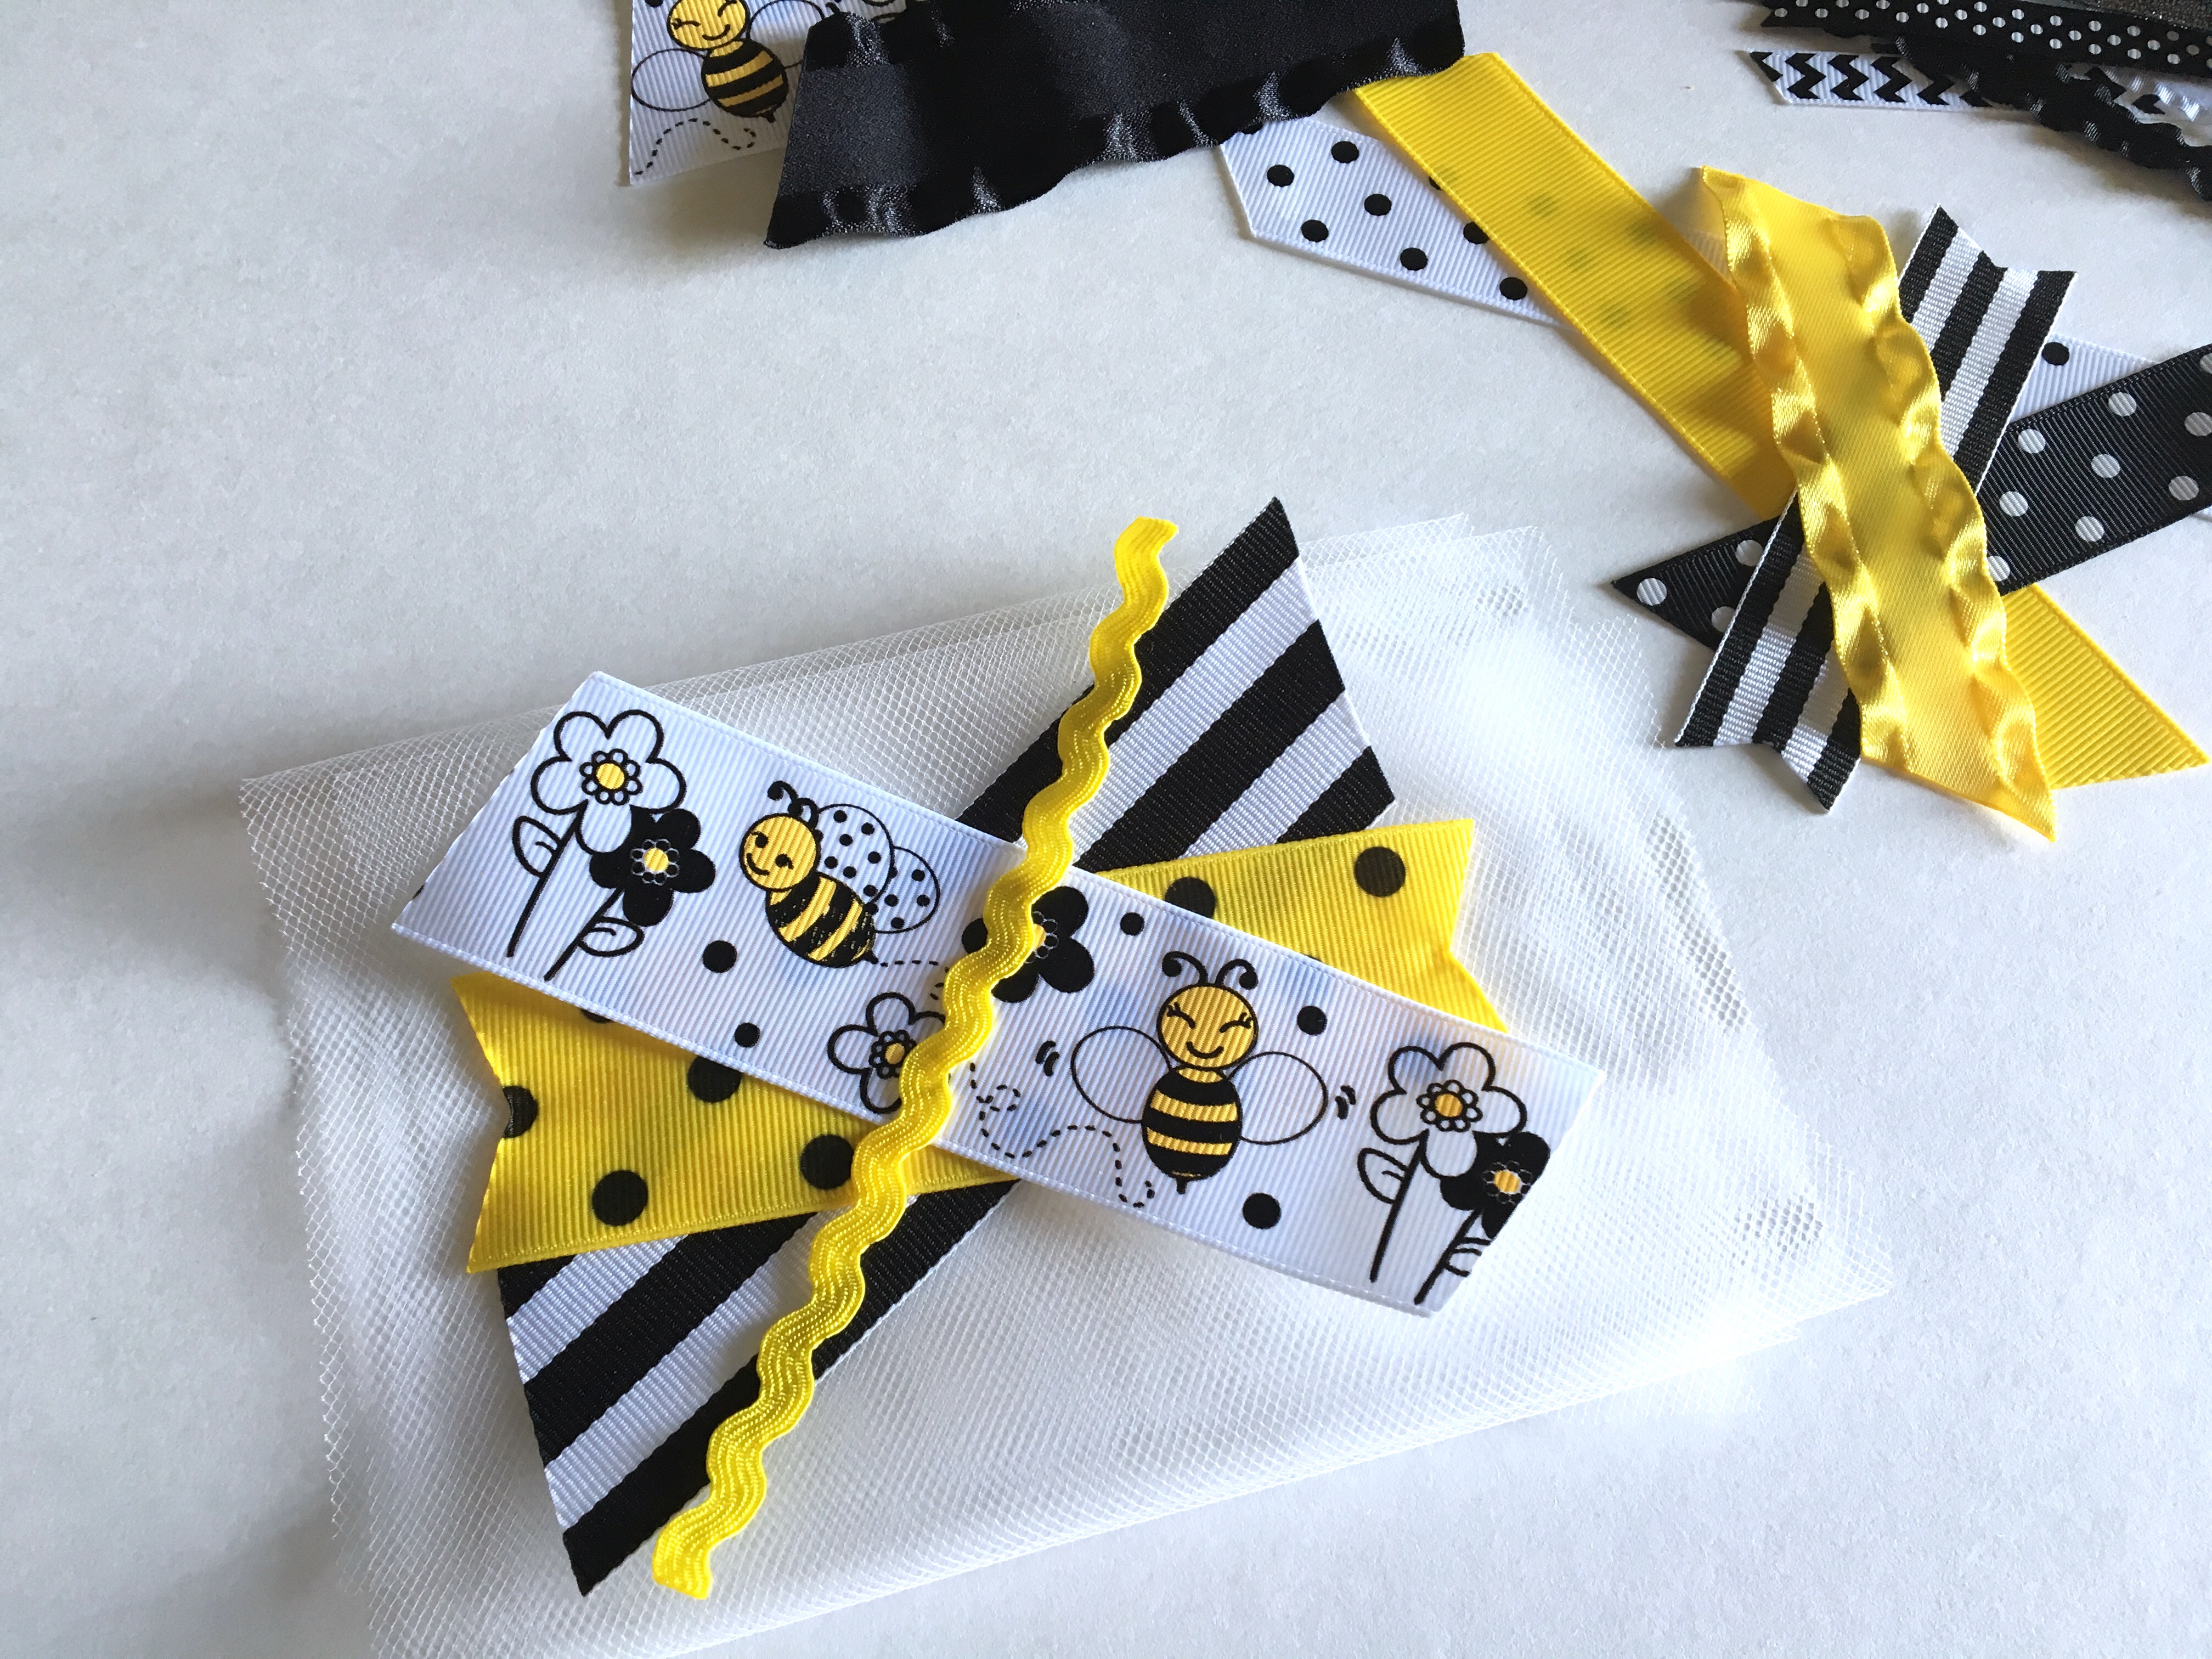
Above you will see how I have started stacking my ribbon. So far I have tulle on the bottom, then ribbon stacked on top in the shape of an "X".
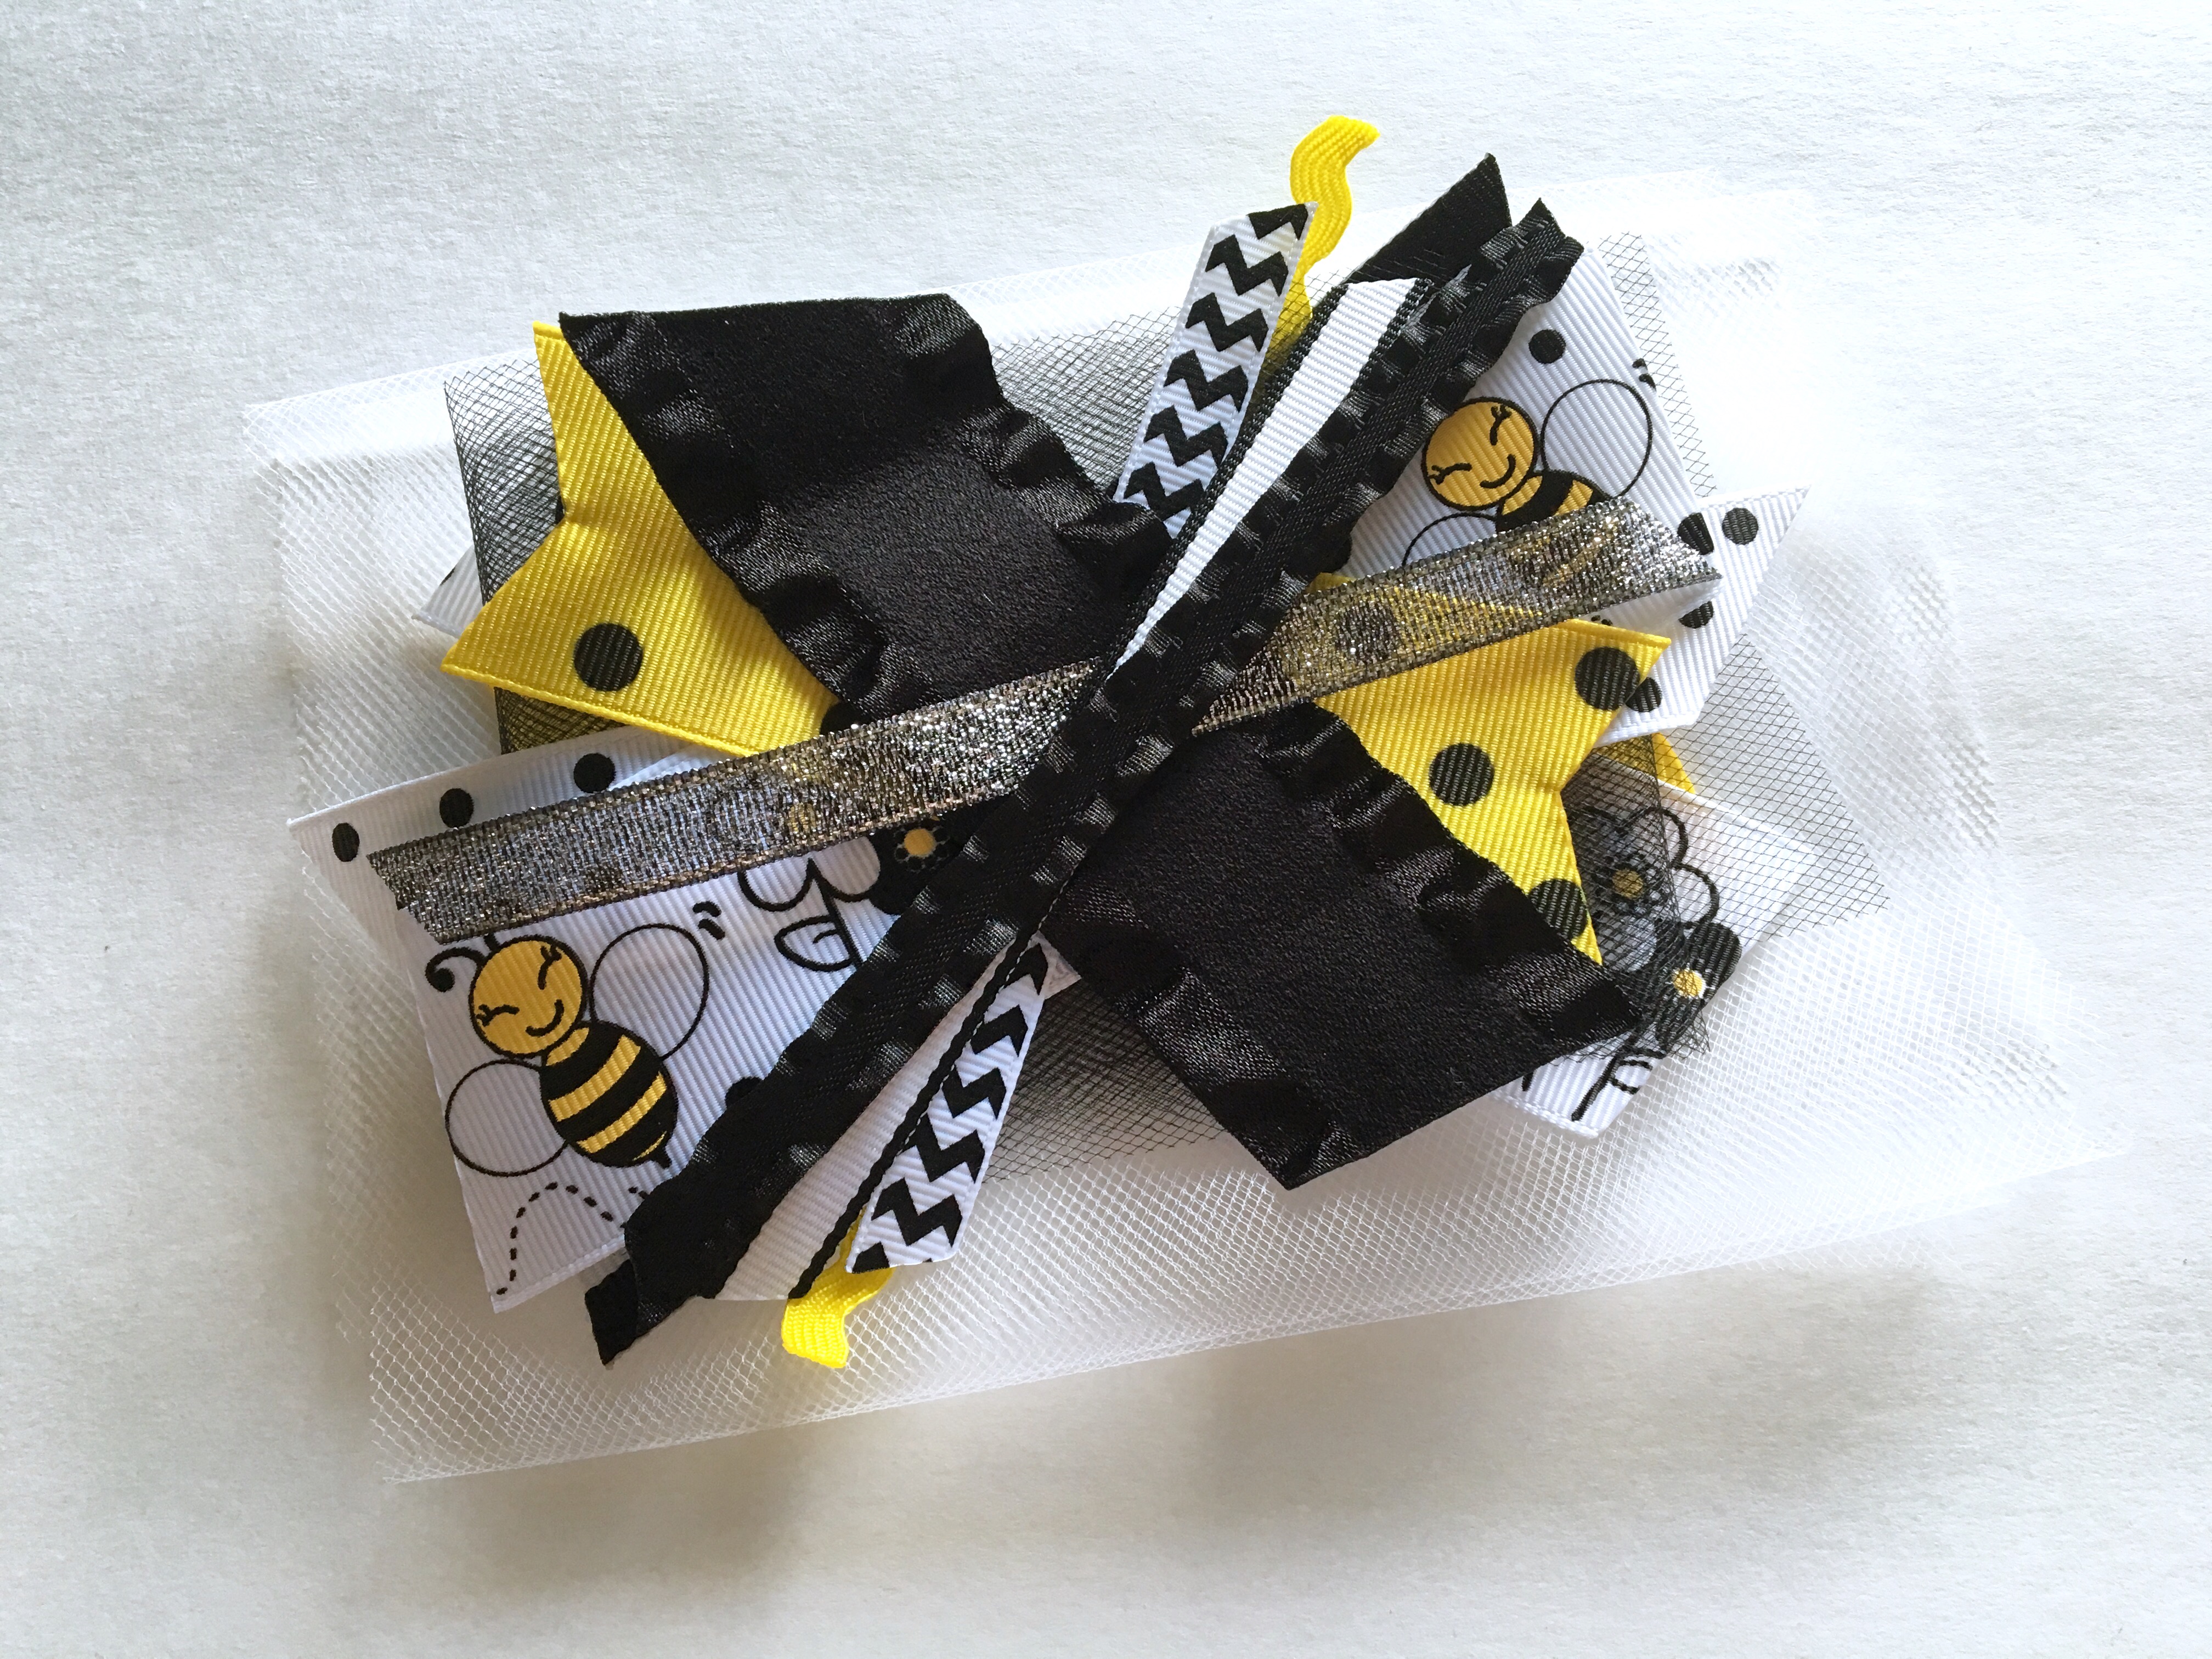
Continue stacking layers of ribbon, tulle, and any other materials you'd like till you're satisfied with the look and fullness of your bow.
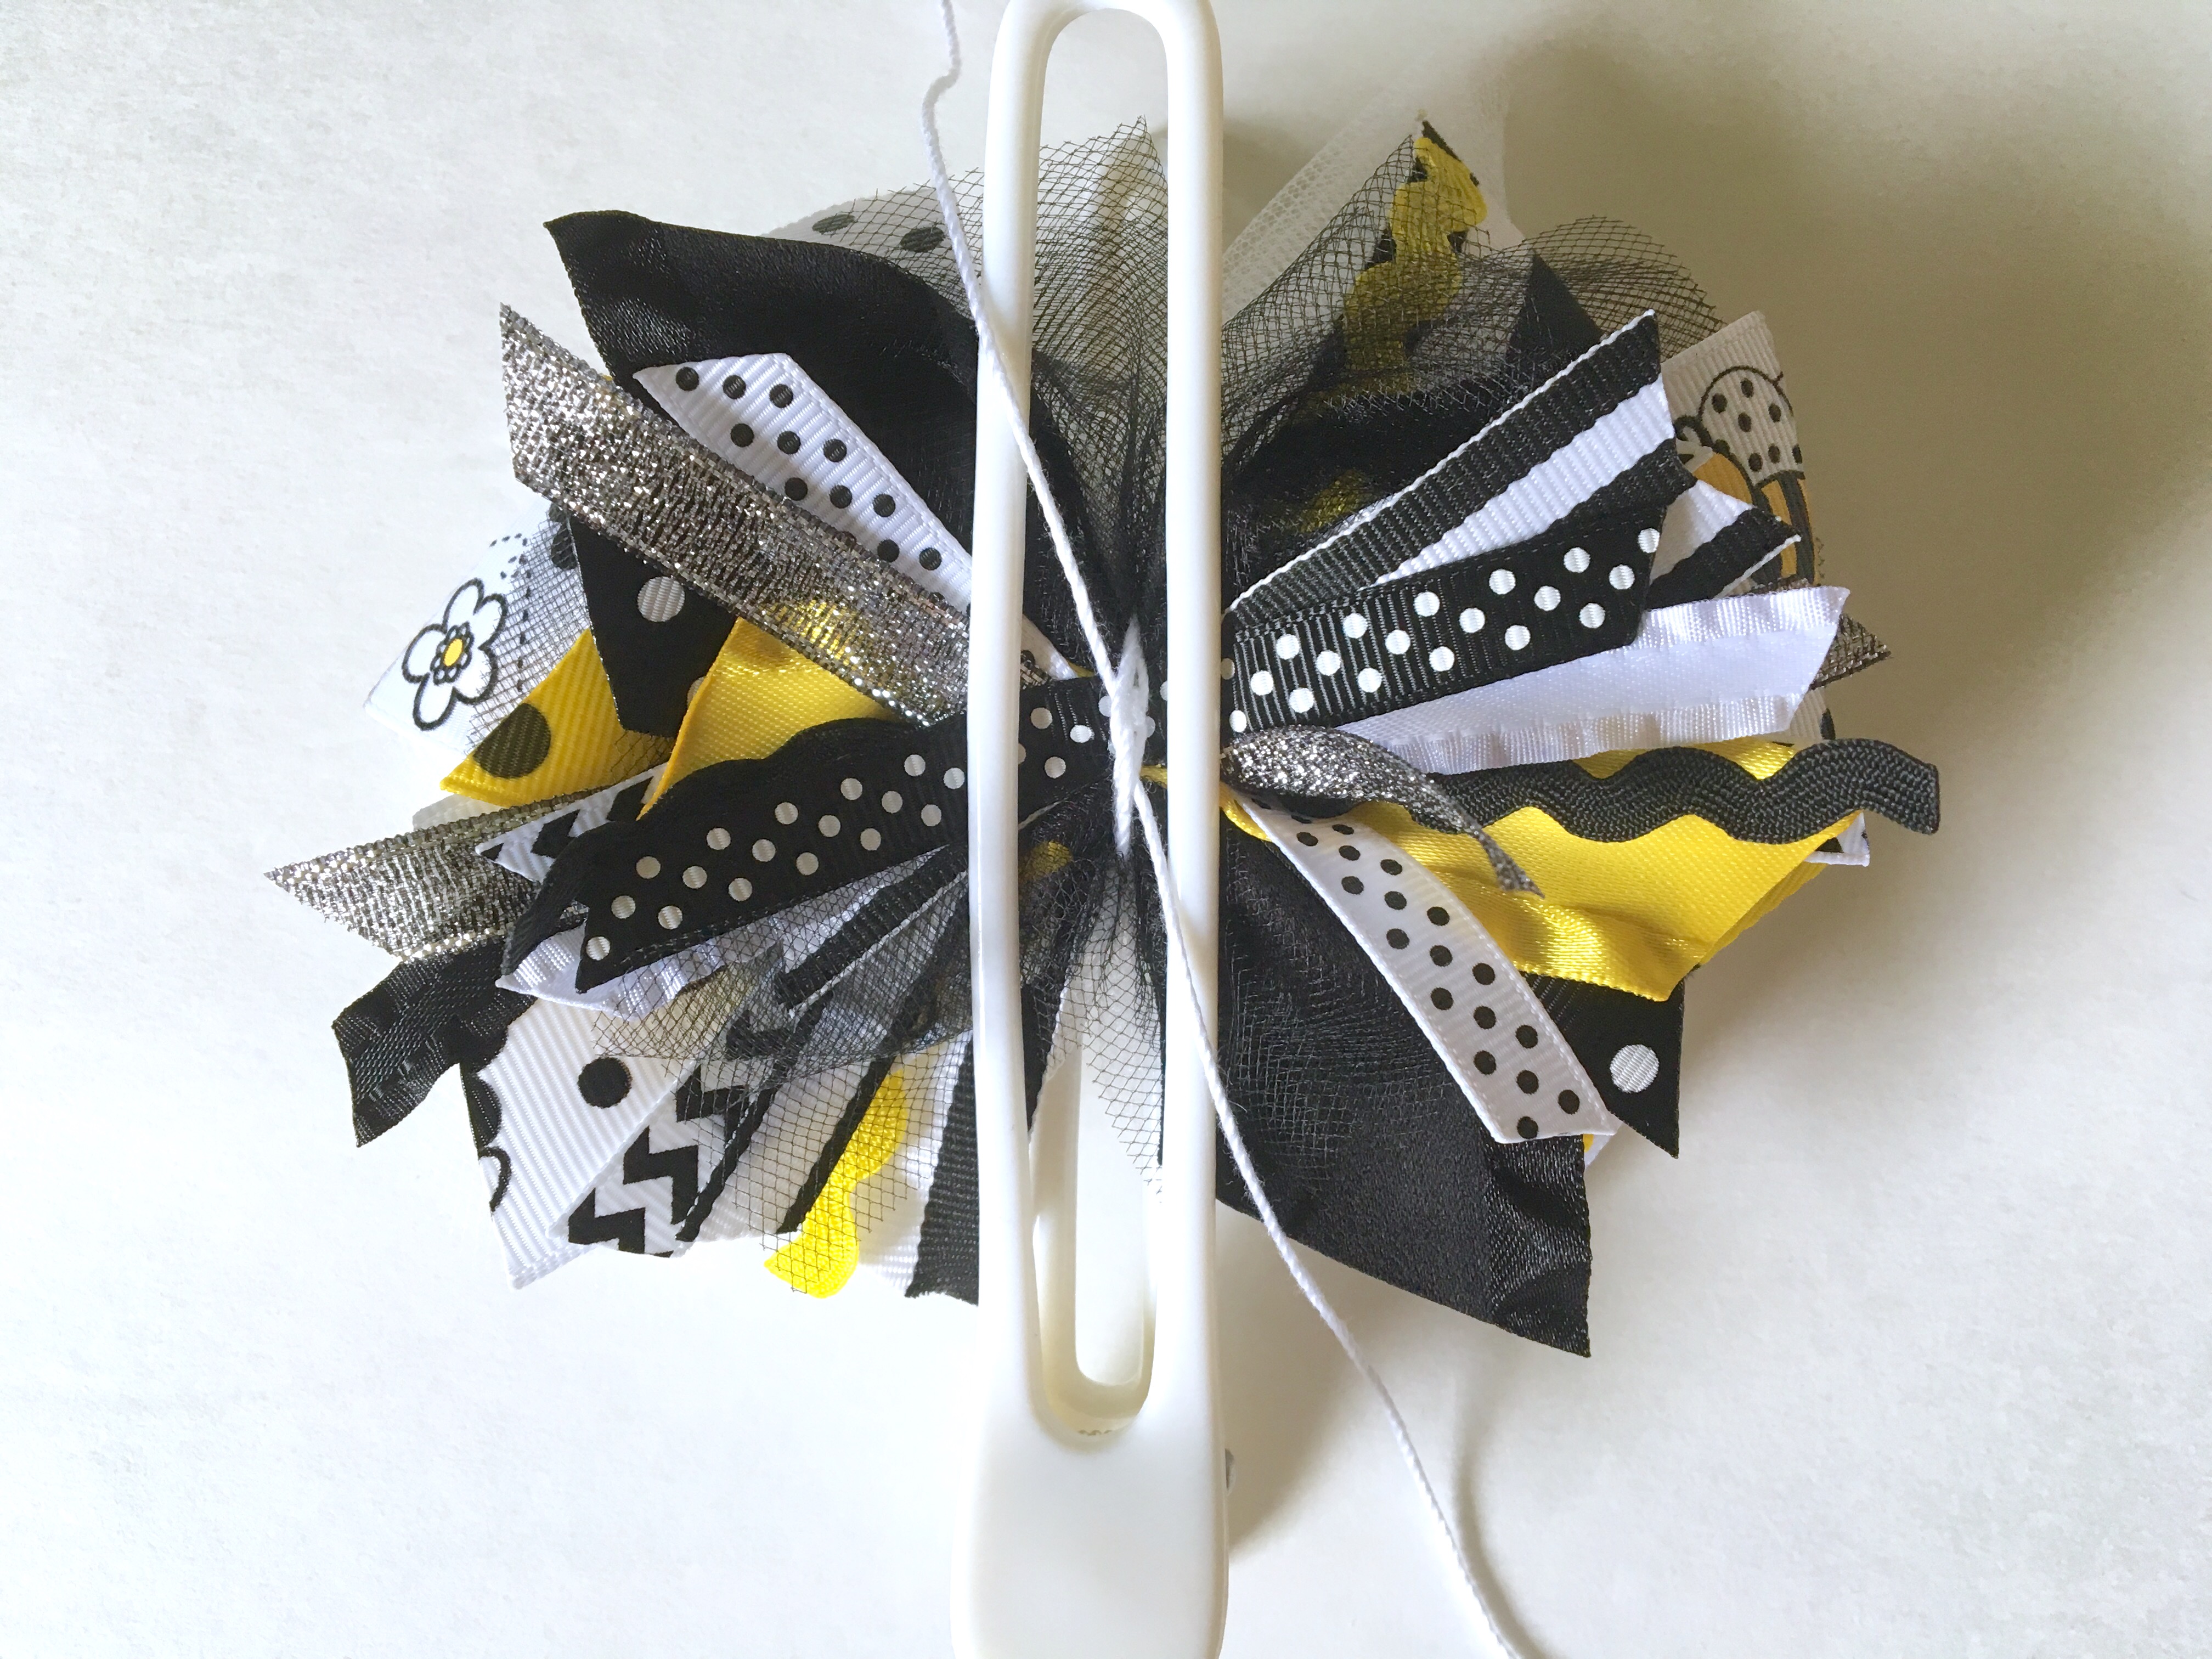
When all pieces are in place, attach a large salon clip in the center of your bow. Thread your string through the hollow openings of the clip and wrap around the center twice. Pull the center tight and secure it in place by tying into a double knot. Remove clip and tie off in the back as well.
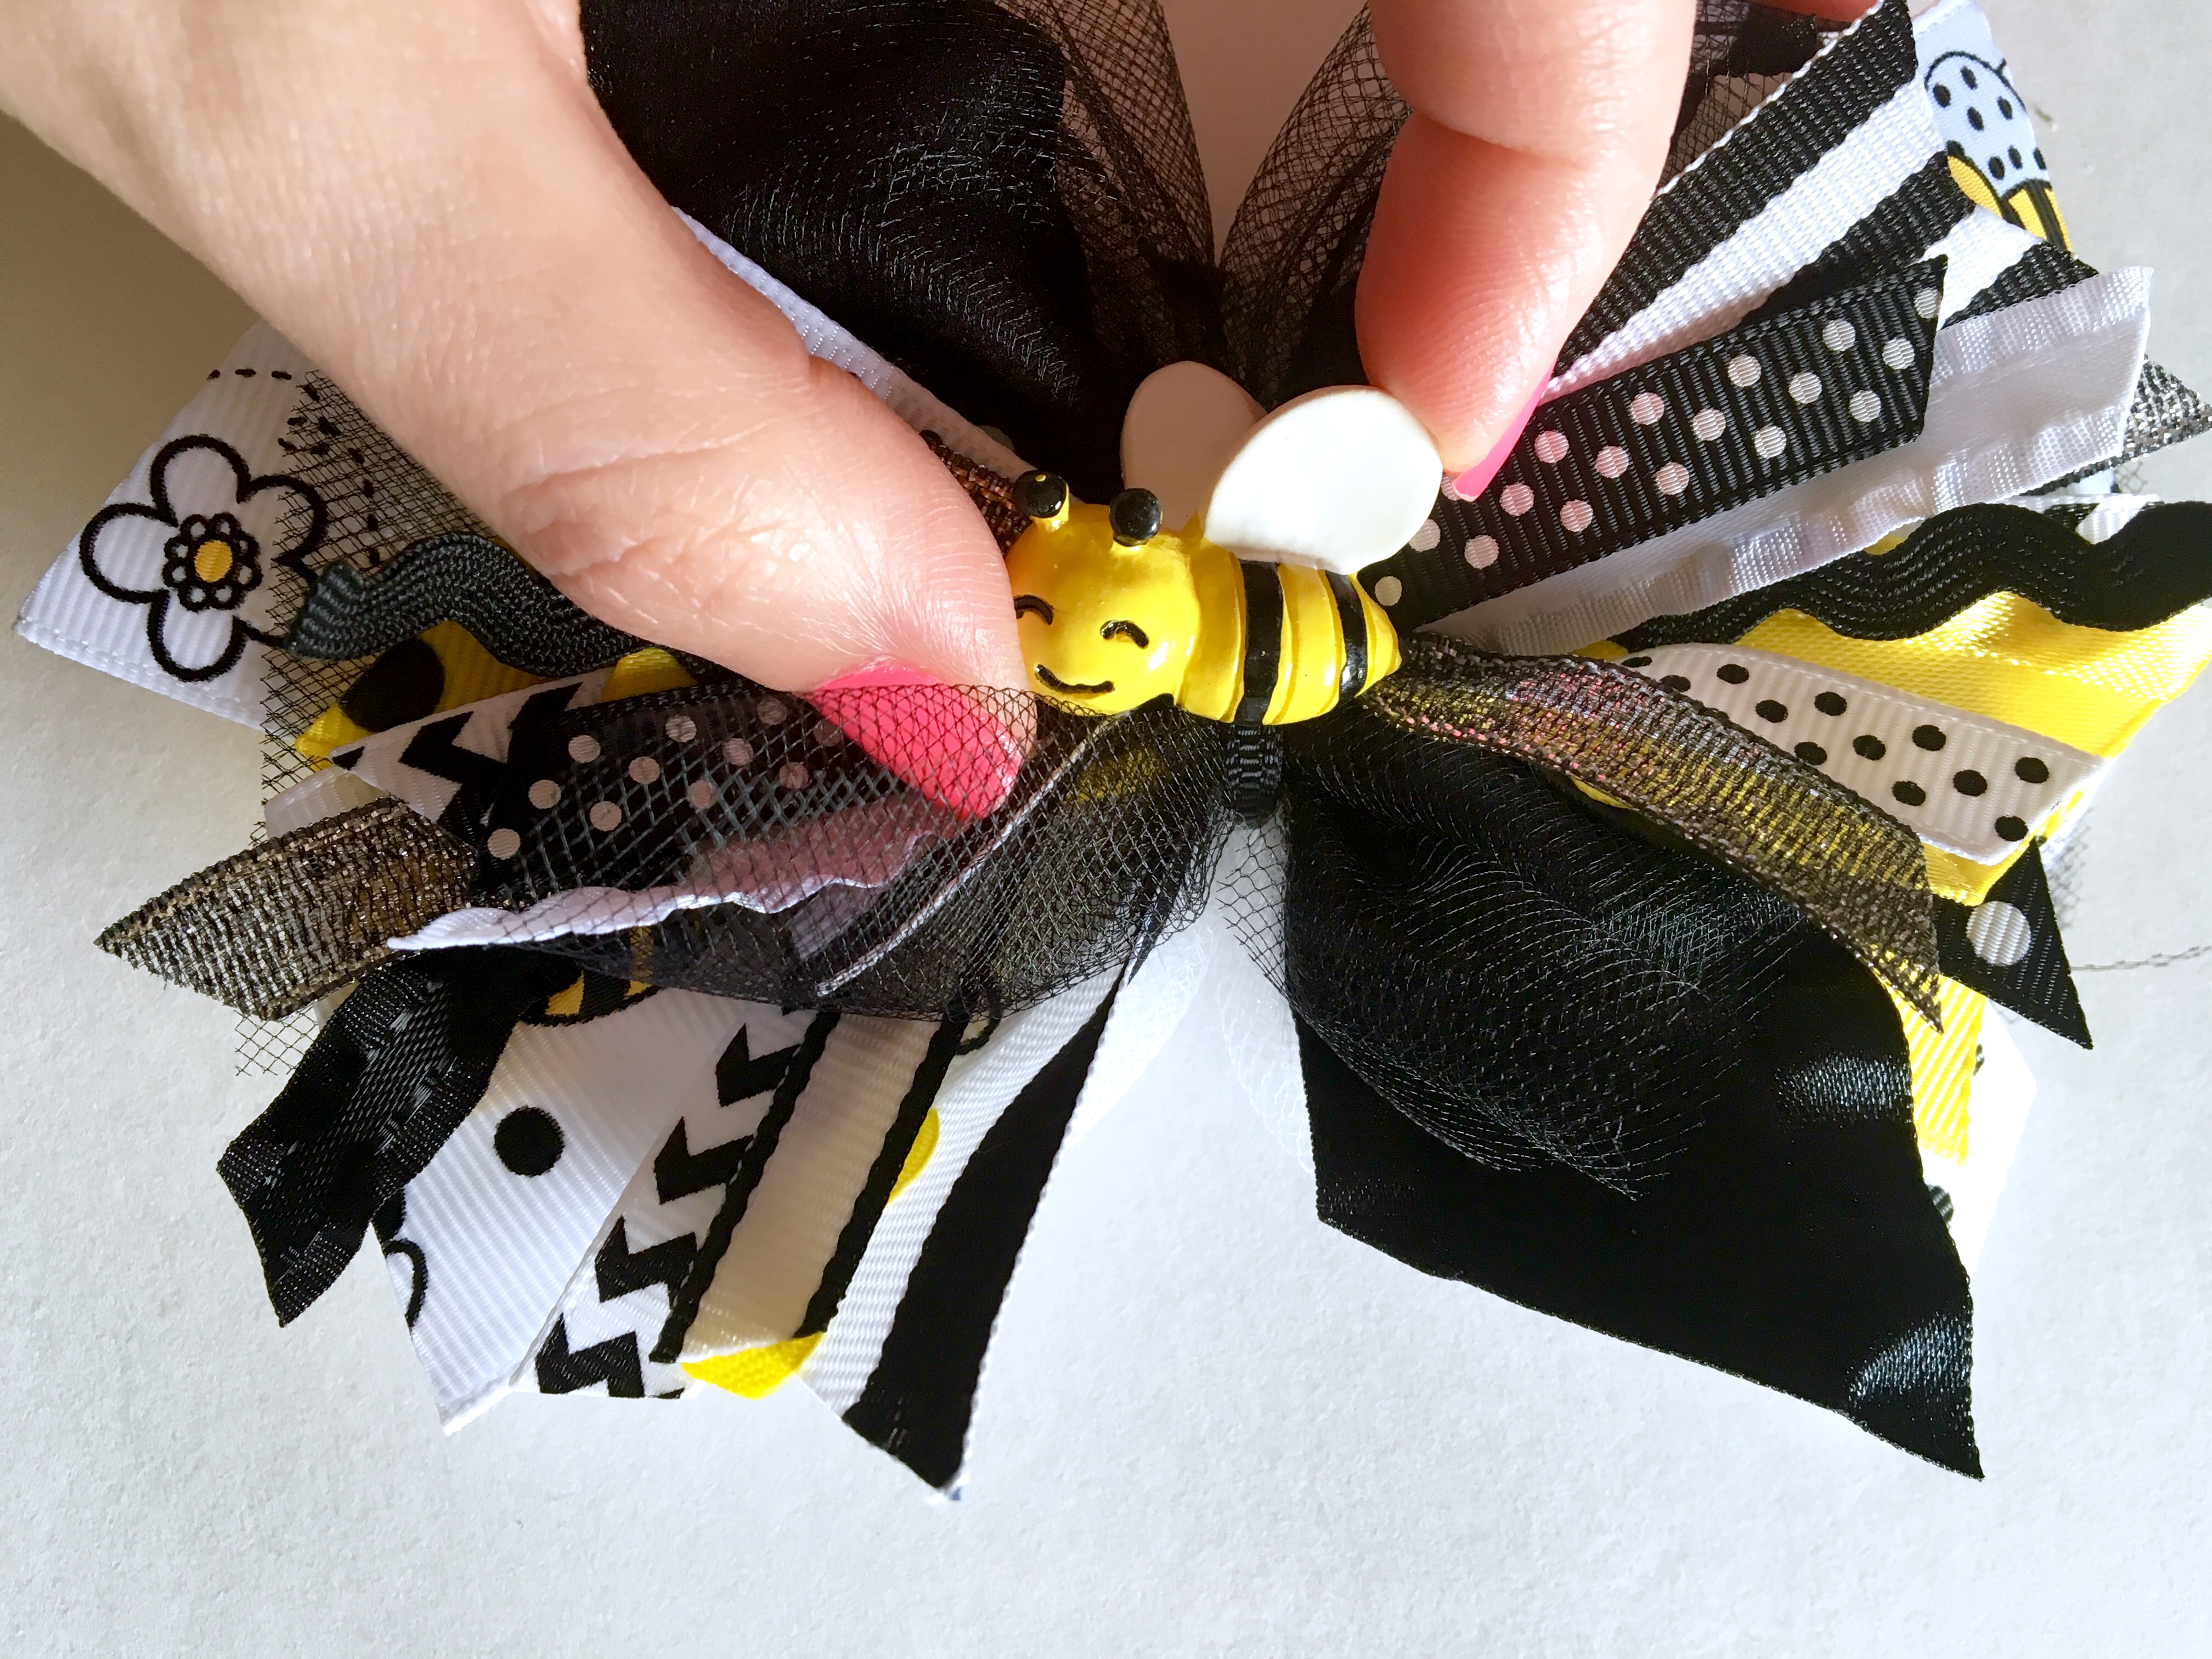
To complete your bow, hot glue coordinating 3/8" or 1/4" ribbon around the center, covering the string and adding security to hold your bow together. Don't forget to add your clip or elastic hair band to the back of your bow. Finish off your bow with a matching flatback resin or other eye-catching embellishment added to the center. Of course I am using this super cute little bumblebee! It looks like this little "Messy Masterpiece" is complete! Fluff up your layers and call this baby DONE! I've gotta say, it sure does beat the heck out of spending hours overthinking a design, because I adore this messy look! :) Enjoy!
Visit the rest of our blog for more Crafting Tutorials and DIY Instructions like this layered stacked hair-bow!
 Contributor post by Brittany
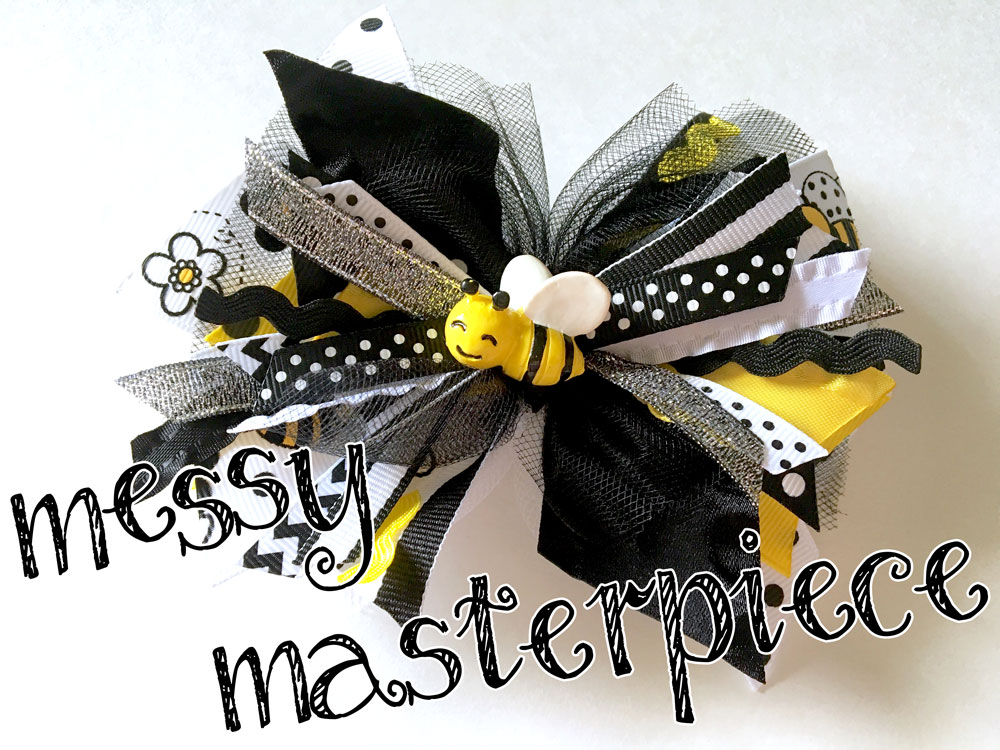
Sometimes you just need an adorable hair bow without spending hours making it! I love bows with tons of different prints and random materials that make my bows one of a kind. The problem with that is sometimes I will study each material and piece of ribbon, rearranging them over & over for HOURS until I have the perfect vision of how I want my bow to look. (Yes, I can be a bit of a perfectionist when it comes to bows!) But today I'm changing my ways and applying almost no effort to create this totally cute "Messy Masterpiece" Bumblebee hair bow!
 Shown above are the materials I am using:
•6" white tulle
•3" black tulle
•7/8" & 3/8" black w/white dots grosgrain ribbon
•1.5" bumblebee grosgrain ribbon
•1.5" yellow w/black dots ribbon
•1.5" & 7/8" black & white striped ribbon
•3/8" black & white chevron ribbon
•7/8" yellow ruffle ribbon
•Black & yellow Ric Rac
•other decorative trim in various colors
•Bumblebee flatback resin
•large elastic ponytail hair band (or alligator clip)
•hot glue gun
•thick string/thread for tying
•large salon clip
•scissors
•lighter
 From the millions of supplies shown in the first picture, don't fret! The pic above is all the ribbon I will be using to create our bow. Of course it looks like a massive pile of craziness at the moment, but you'll begin to see the method to this madness shortly! Each piece of ribbon shown above are various lengths with their ends cut & heat sealed different ways. I have my piles separated by ribbon size to make throwing this bow together a breeze.
 Above you will see how I have started stacking my ribbon. So far I have tulle on the bottom, then ribbon stacked on top in the shape of an "X".
 Continue stacking layers of ribbon, tulle, and any other materials you'd like till you're satisfied with the look and fullness of your bow.
 When all pieces are in place, attach a large salon clip in the center of your bow. Thread your string through the hollow openings of the clip and wrap around the center twice. Pull the center tight and secure it in place by tying into a double knot. Remove clip and tie off in the back as well.
 To complete your bow, hot glue coordinating 3/8" or 1/4" ribbon around the center, covering the string and adding security to hold your bow together. Don't forget to add your clip or elastic hair band to the back of your bow. Finish off your bow with a matching flatback resin or other eye-catching embellishment added to the center. Of course I am using this super cute little bumblebee! It looks like this little "Messy Masterpiece" is complete! Fluff up your layers and call this baby DONE! I've gotta say, it sure does beat the heck out of spending hours overthinking a design, because I adore this messy look! :) Enjoy!


 TOOLS
TOOLS
 NEW
NEW


