 Contributor post by Cassie
Good Morning!
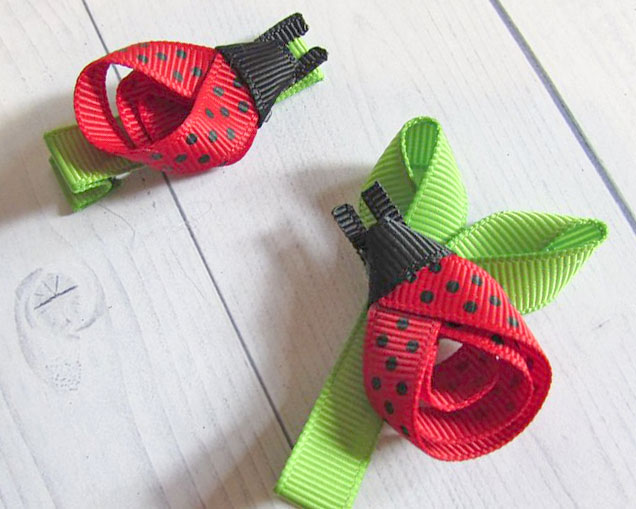
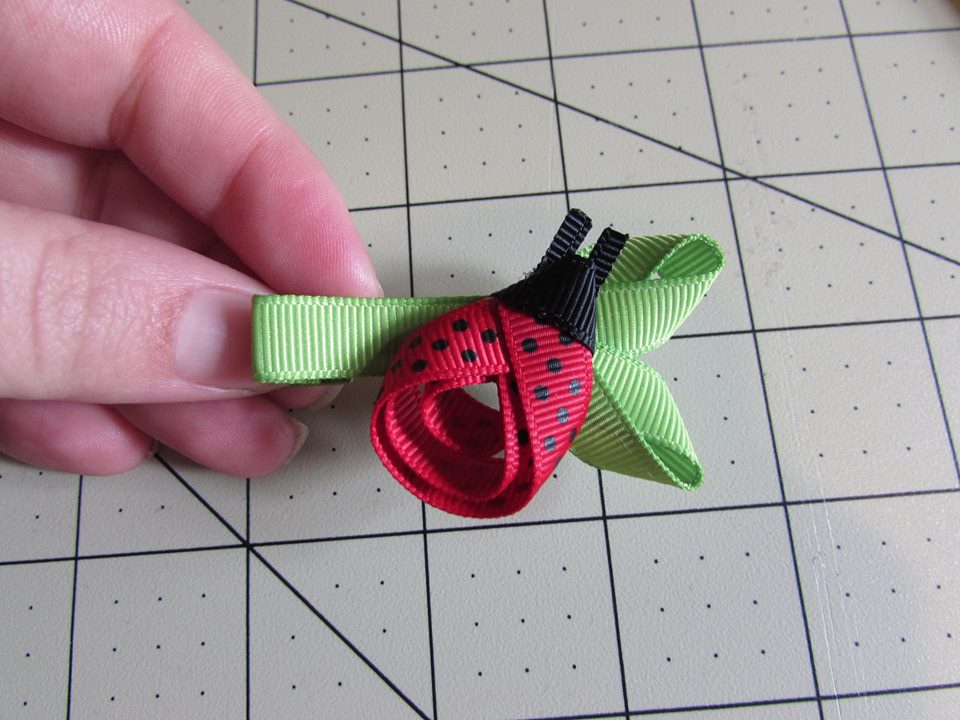
Cassie here... Hope everyone is enjoying the weather. It has been decent here in Kentucky so we are enjoying it finally. :) Today's tutorial is something sweet, simple and adorable all rolled into one. With the change of weather we are seeing more and more lady bugs. It gave me the inspiration for today's tutorial. My girls love lady bugs, seeing them and playing with them. So with that said, let's get started.
First of all we need to gather our supplies.
- 1 piece of
3/8" red with black dots grosgrain ribbon cut at 3" long
- 1 piece of 3/8" red with black dots grosgrain ribbon cut at 2 1/2" long
- 1 piece of 3/8" red with black dots grosgrain ribbon cut at 2" long
- 2 pieces of
3/8" black grosgrain ribbon cut at 1" long
- 2 pieces of
3/8" green grosgrain ribbon cut at 2 1/2" long {{ optional }}
- Lighter
- Scissors
- Hotglue gun and hotglue
- Measuring tool
- Tweezers or unfinished clip
-
Lined clips
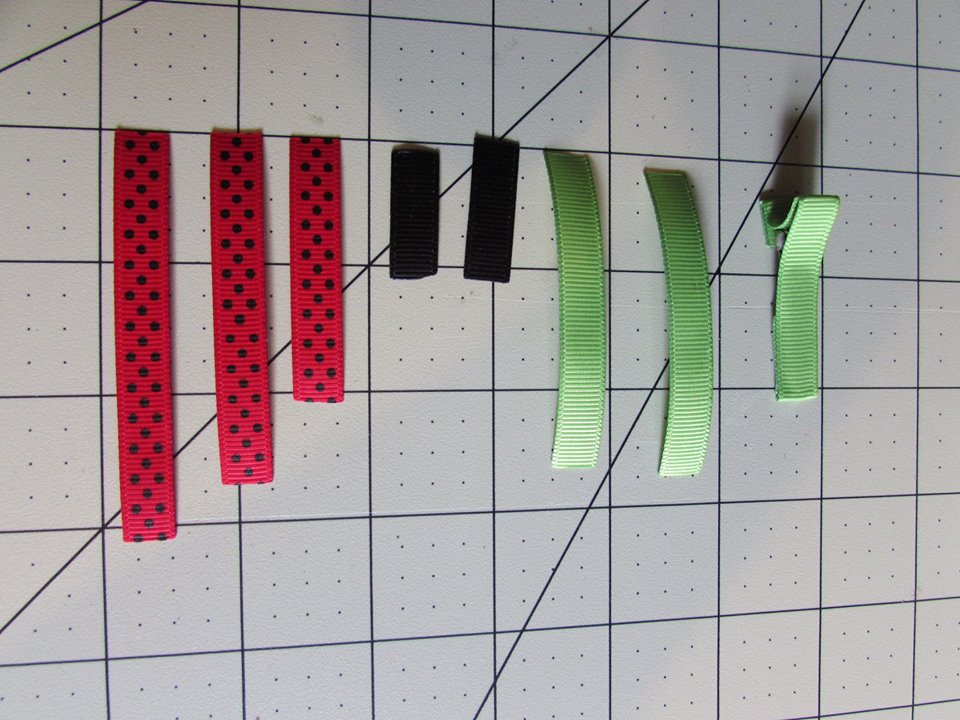
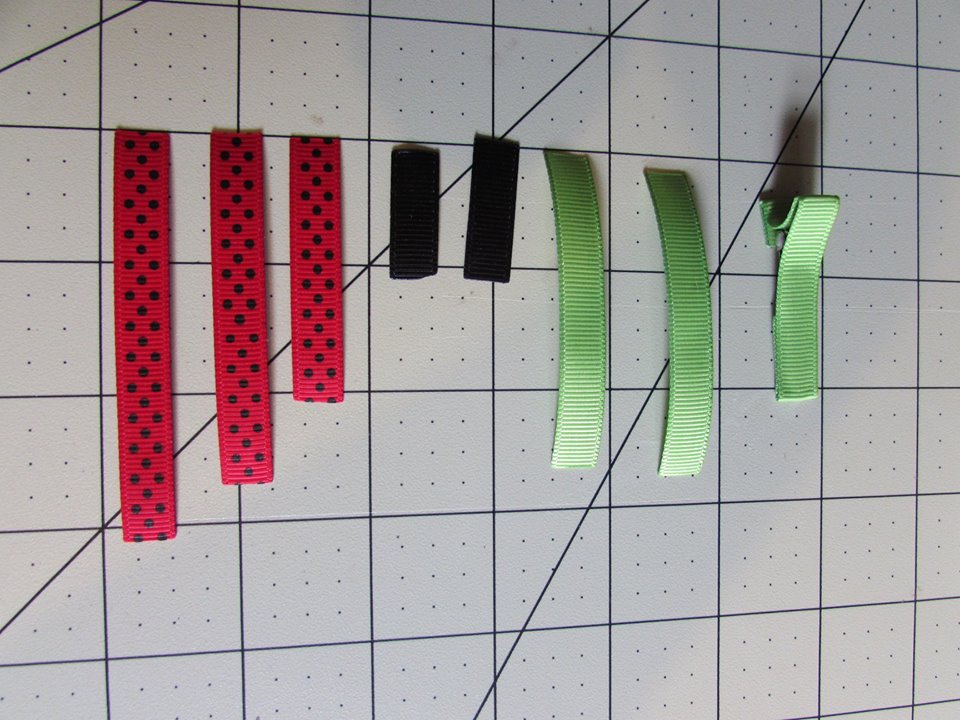
* Gather those supplies and let's get ready to start making our adorable lady bugs :)
Step 1: You need to cut your ribbon and make sure to heat seal each and every piece. Measurements again are:
- 1 piece of 3/8" red with black dots grosgrain ribbon cut at 3" long
- 1 piece of 3/8" red with black dots grosgrain ribbon cut at 2 1/2" long
- 1 piece of 3/8" red with black dots grosgrain ribbon cut at 2" long
- 2 pieces of 3/8" black grosgrain ribbon cut at 1" long
- 2 pieces of 3/8" green grosgrain ribbon cut at 2 1/2" long {{ optional }}
Step 2: Fold the ends of the ribbon where they will create an "egg" shape...
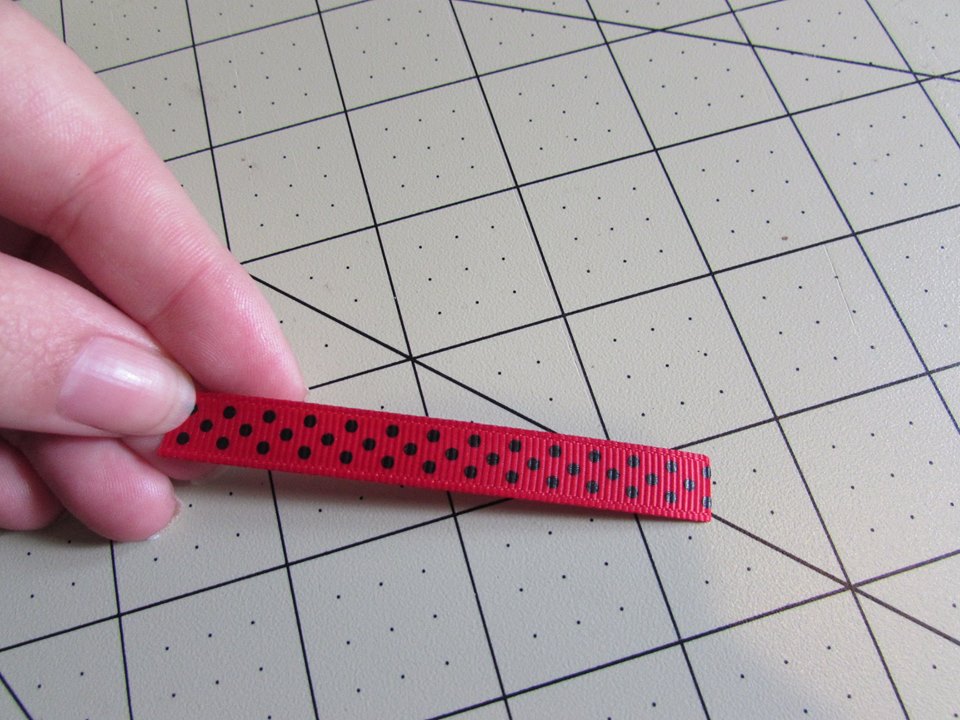
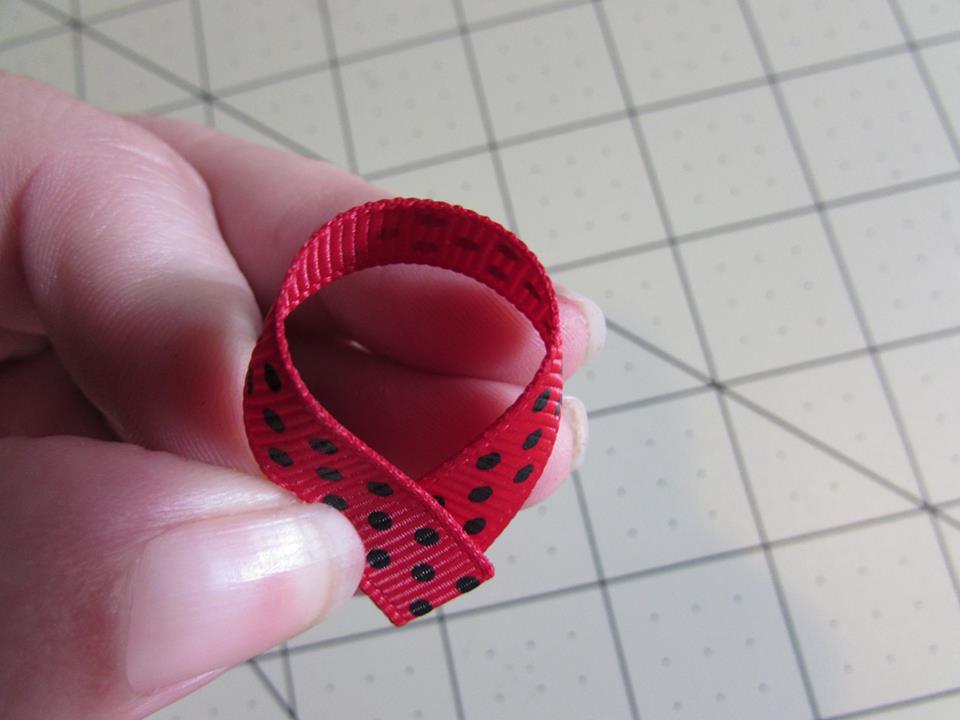
Step 3: Apply a dab of hotglue in between the ribbon ends to connect them...
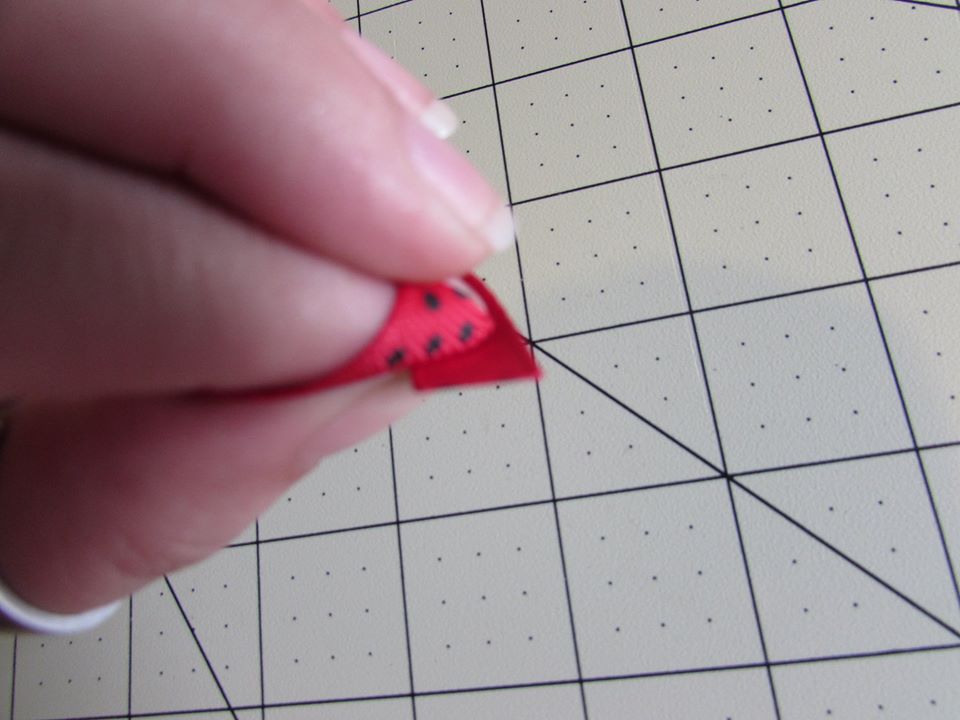
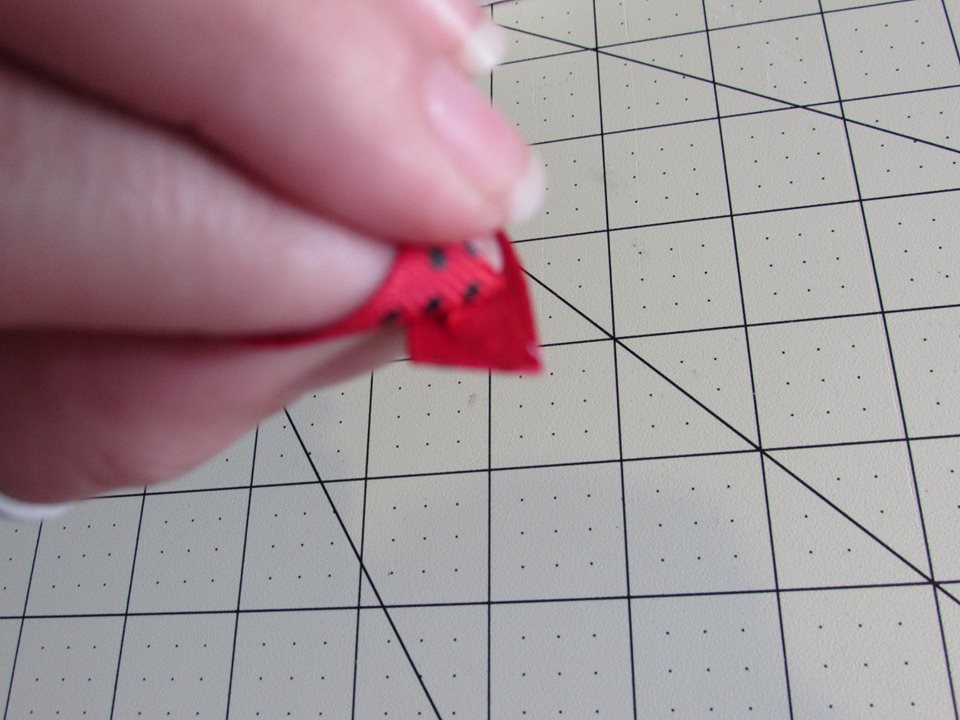
Step 4: Repeat those steps for the 2 other pieces of red with black dots ribbon
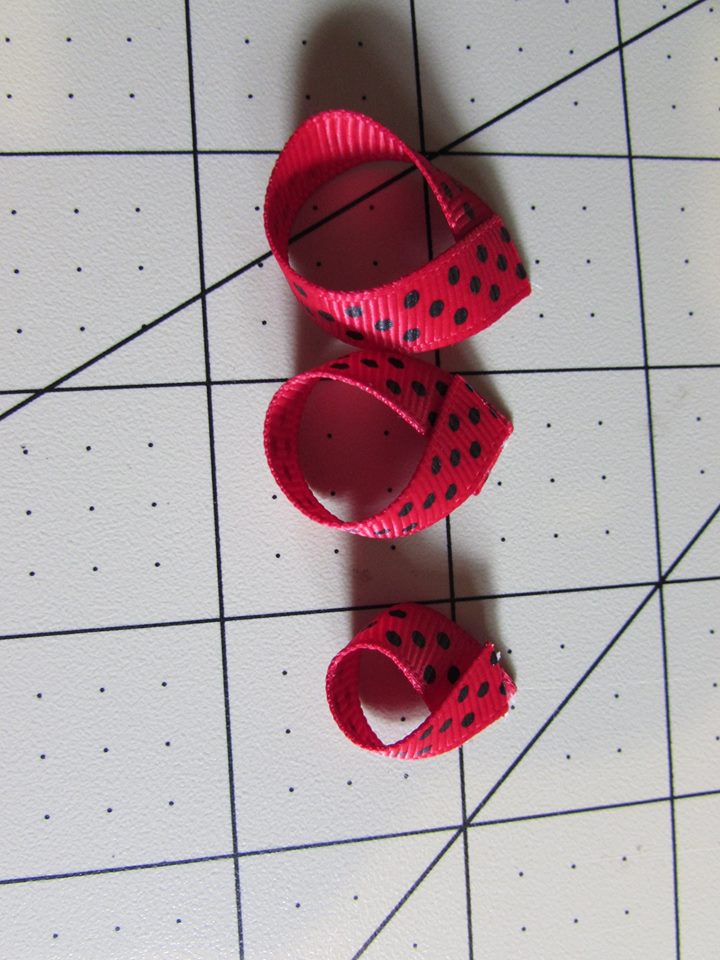
Step 5: Flip the body over
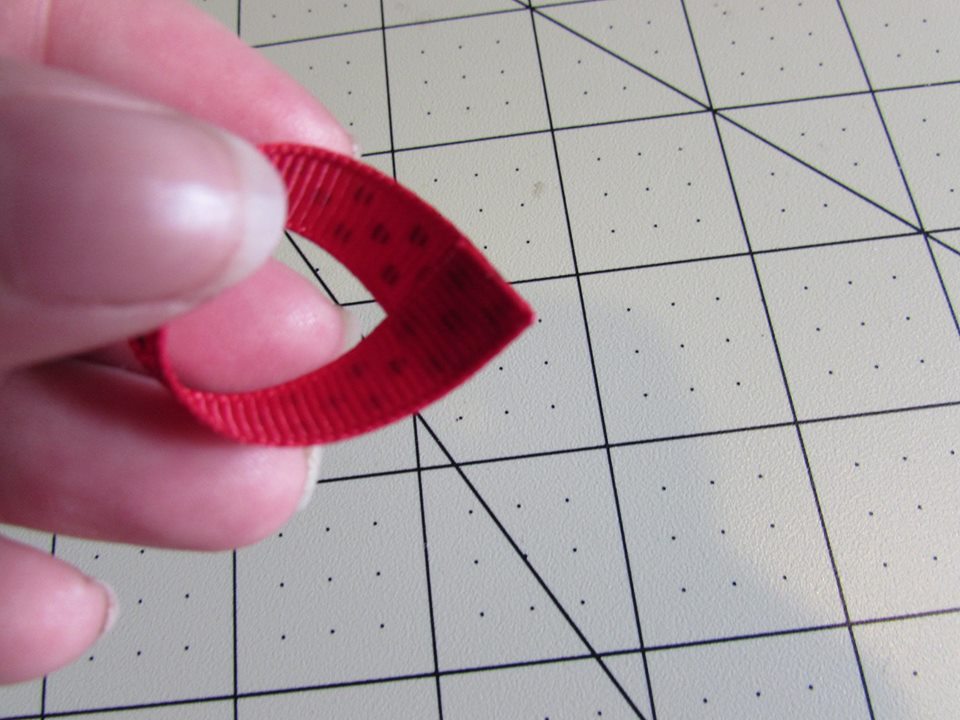
Step 6: Add hotglue to the bottom
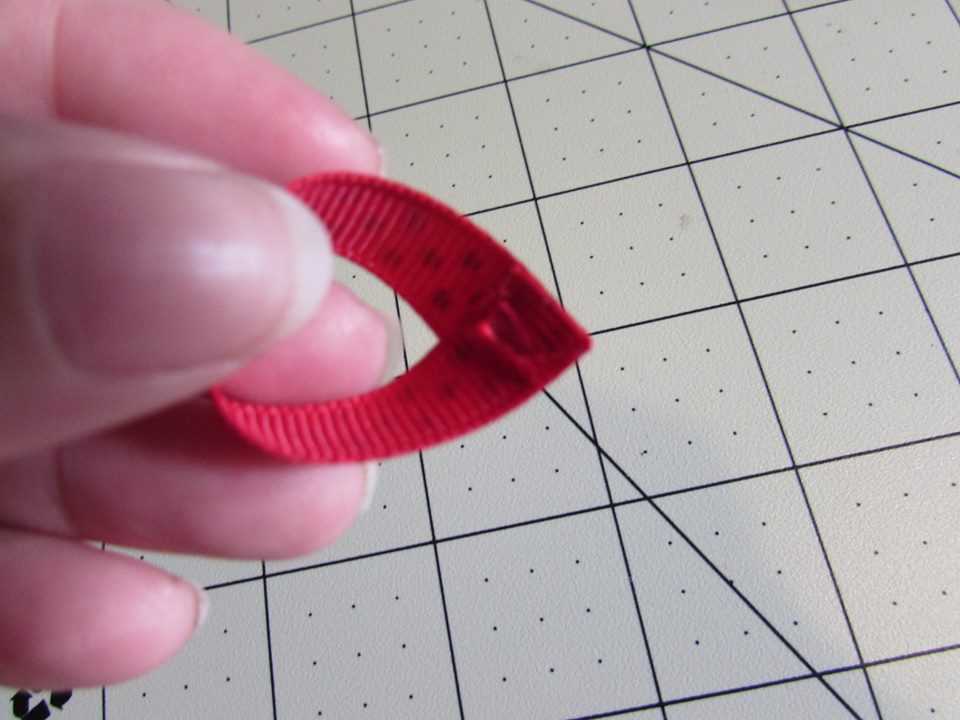
Step 7: Lay the 2 1/2" piece on top of the hot glue
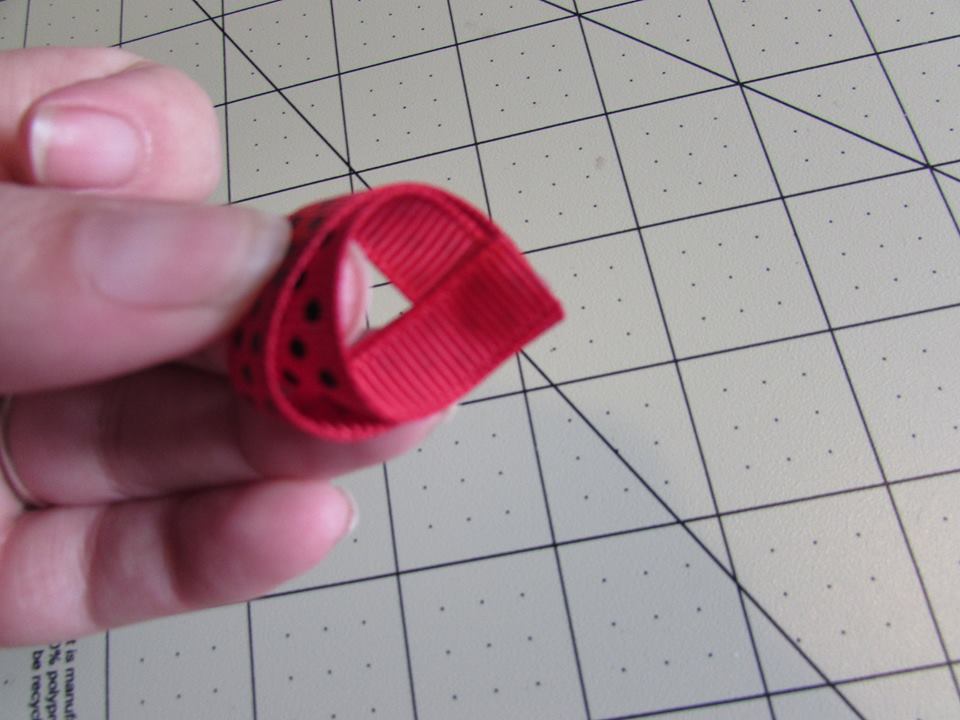
Step 8: Add hotglue to the bottom of that piece
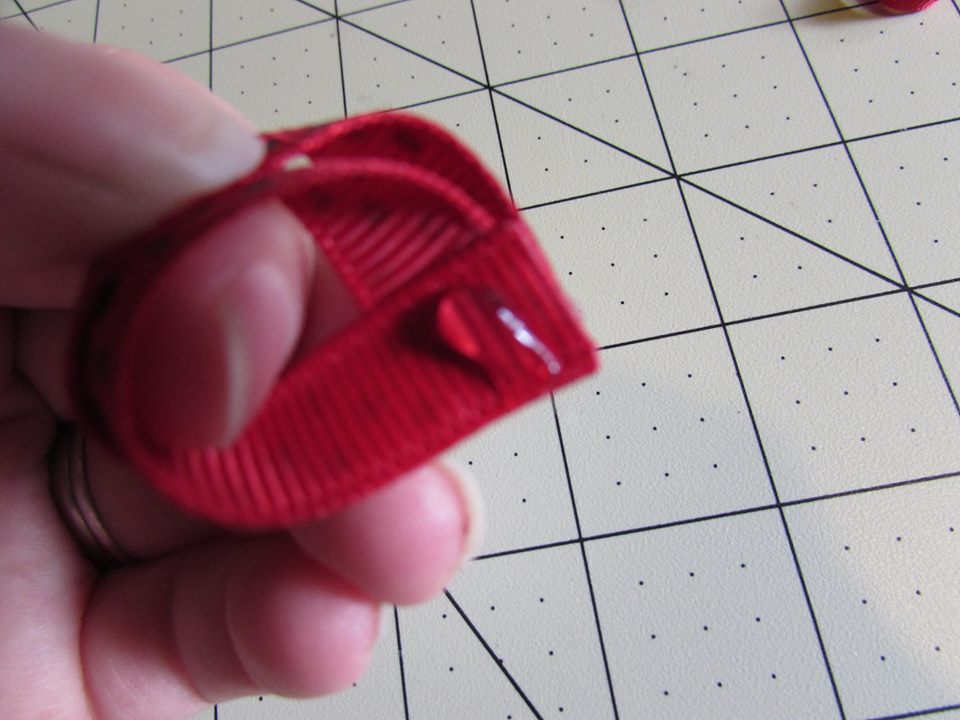
Step 9: Lay the 2" piece on top of the hot glue
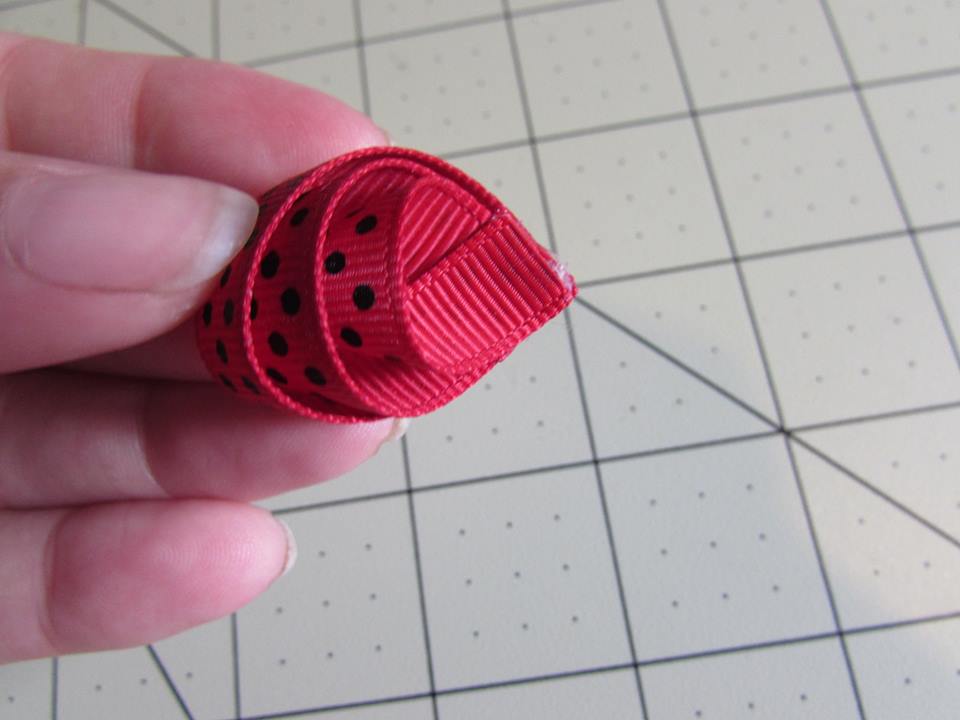
Step 9: Get your 1" black grosgrain ribbon out and lay it on the center of the top of the lady bugs body.
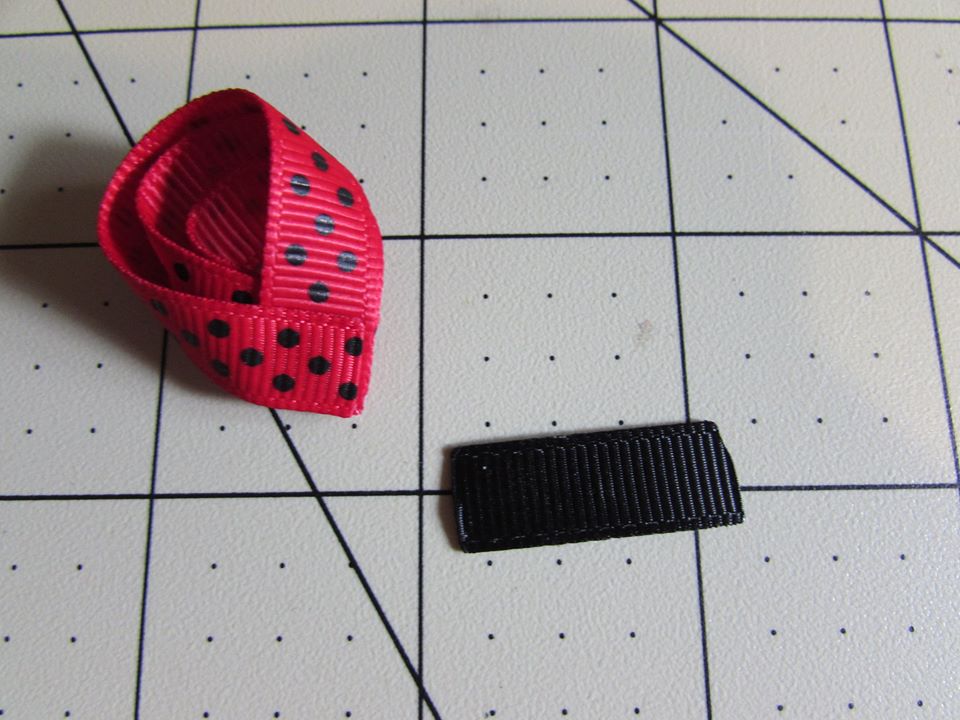
Step 10: Apply hot glue to one end of the ribbon, wrap to the center
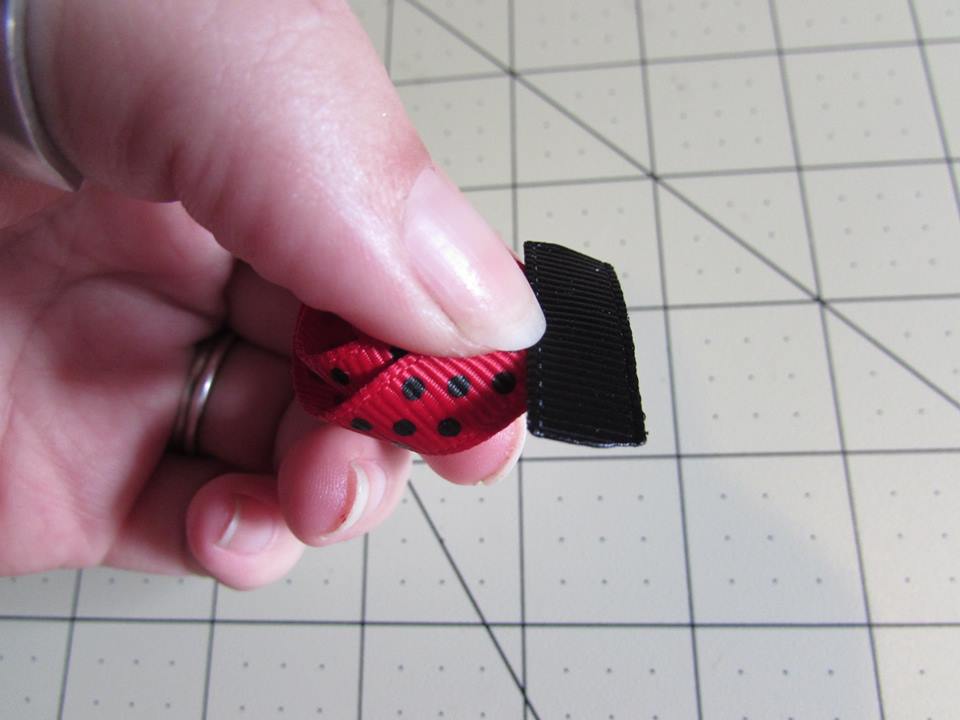
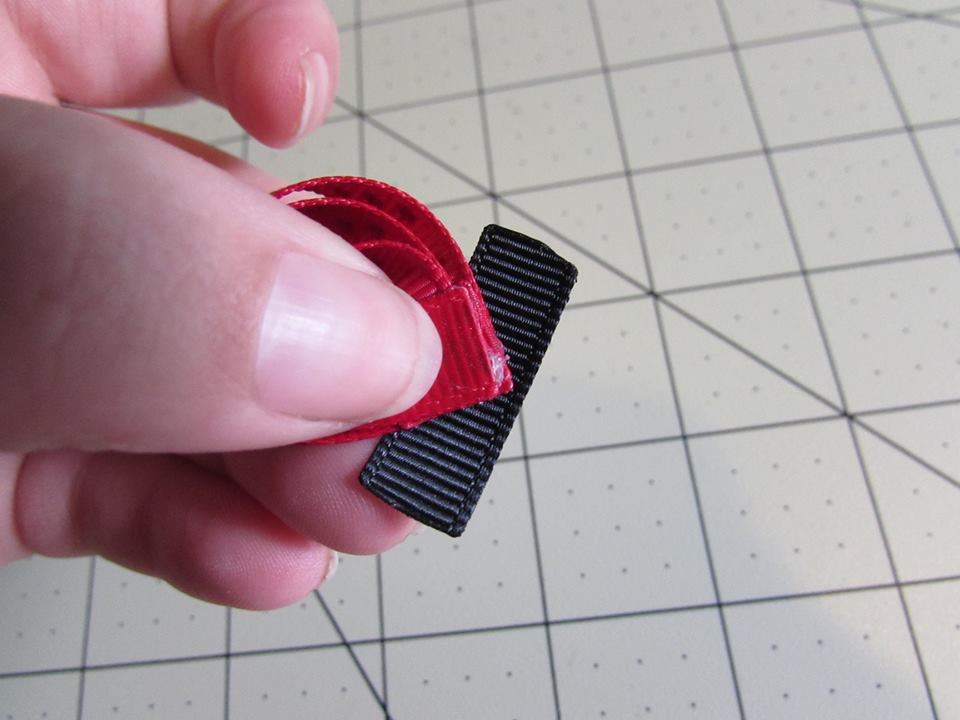
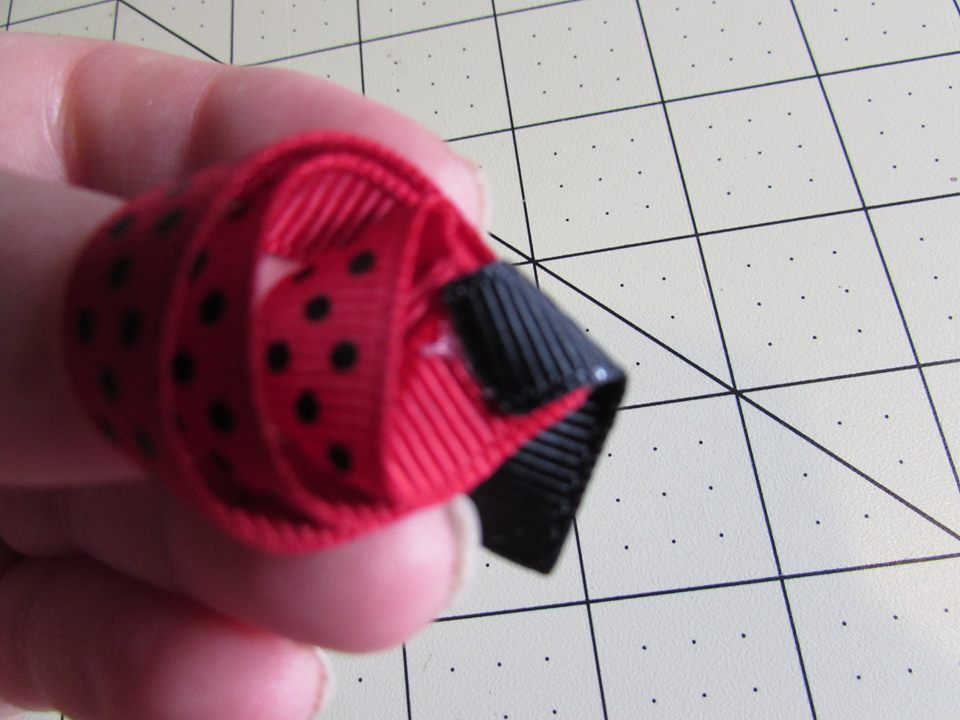
Step 11: Apply hot glue to the other end of the ribbon, wrap to the center meeting the piece you just glued down
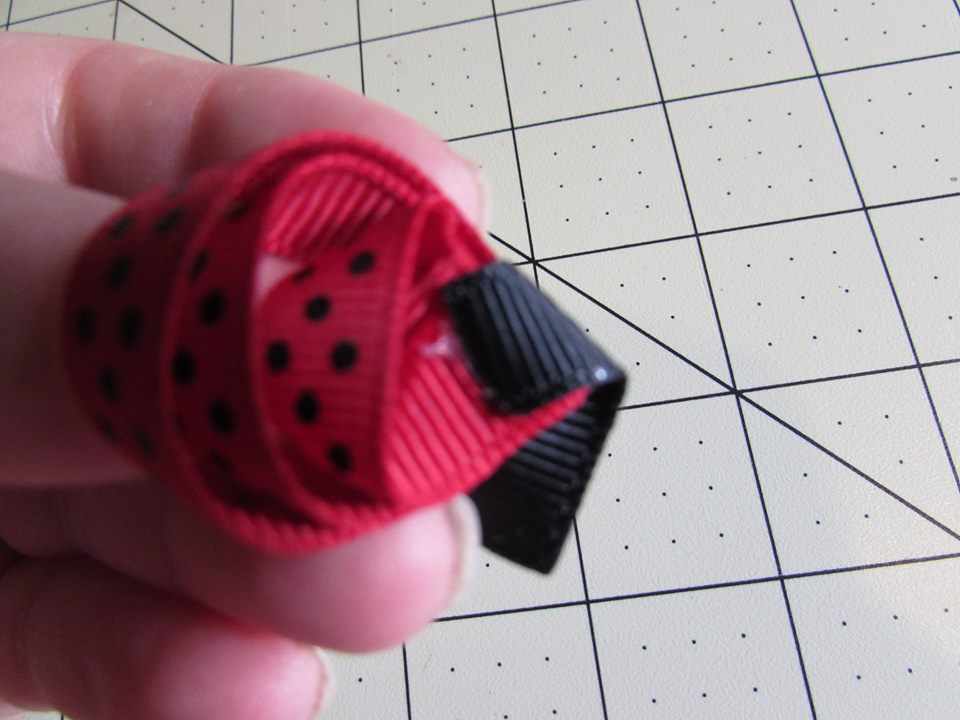
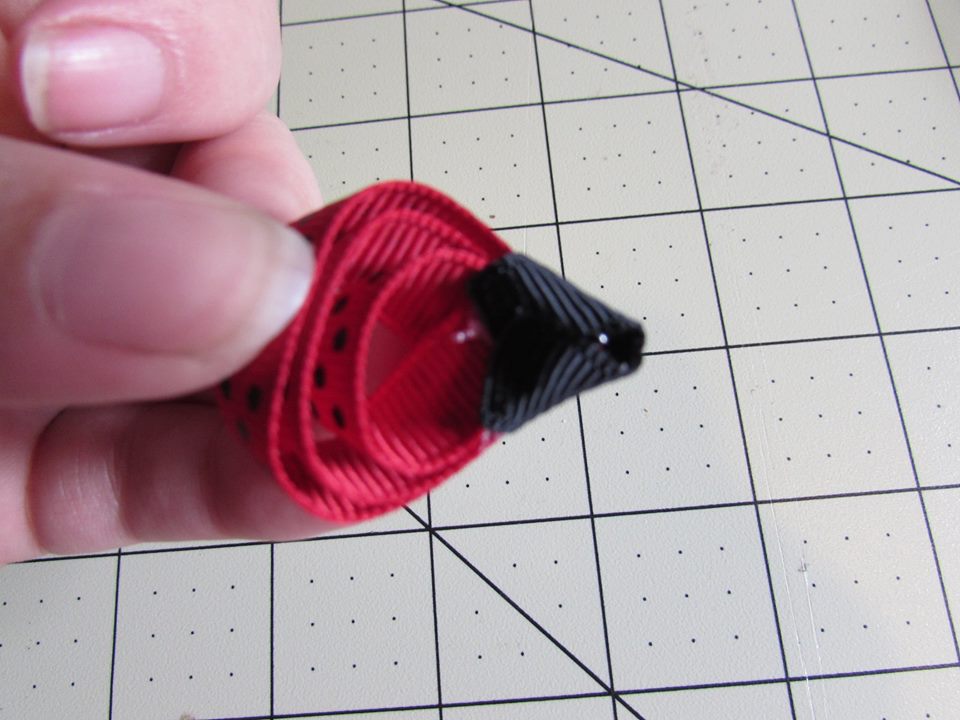
Step 12: Take the second piece of 1" black and cut straight down the center {{ long ways }} 2 additional pieces about 1/4" wide.
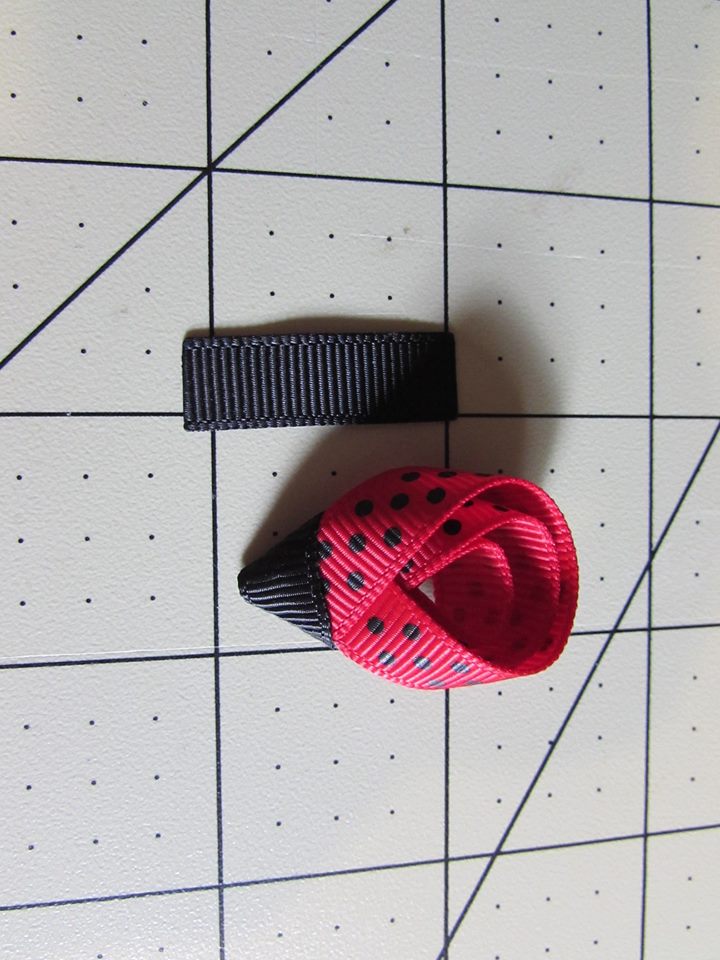
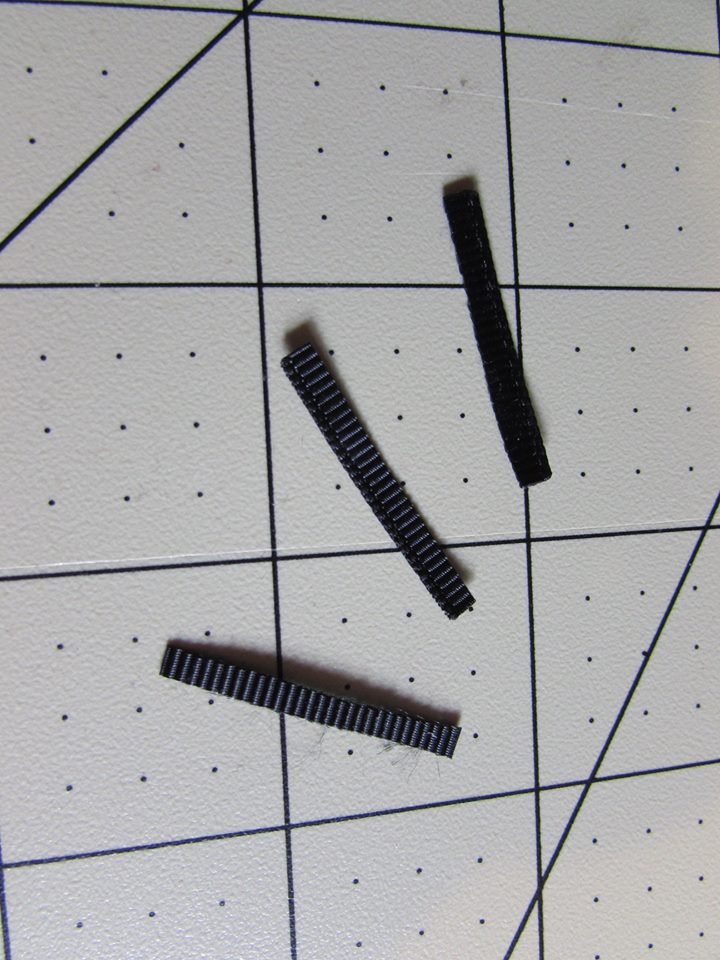
Step 13: Take your tweezers or clip and hold the ribbon you just cut from the 3/8" black piece and heat seal the end where you cut so it doesn't fray
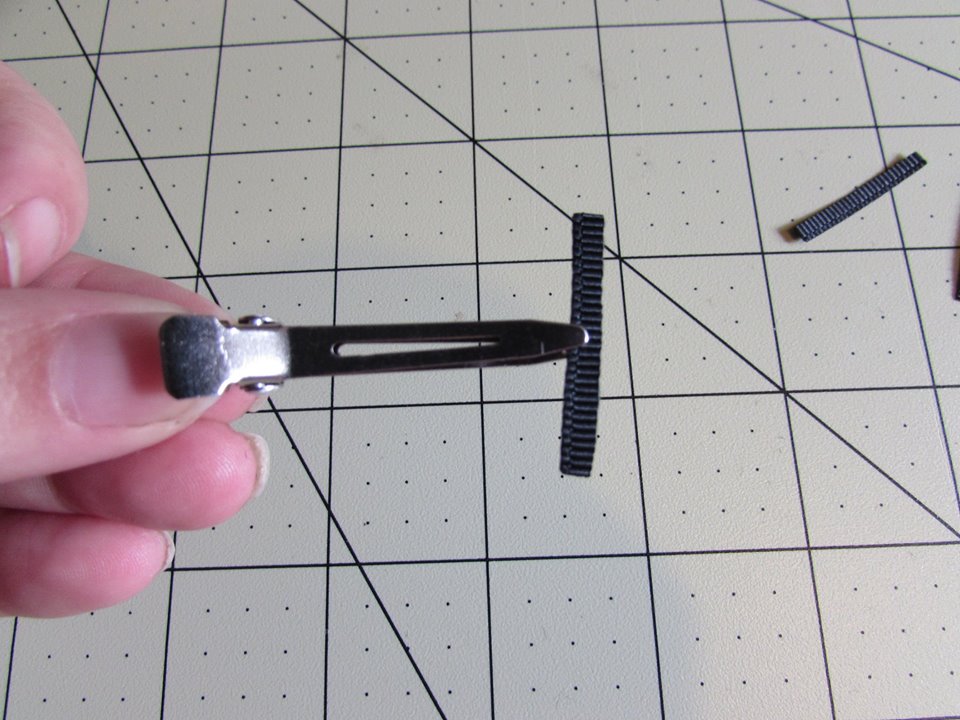
Step 14: Do the same for the second piece
* Please be careful when doing this I don't want you burning your self on such small pieces of ribbon that is why I am advising you to use tweezers or a clip to hold that ribbon!
Step 15: Flip your lady bug over where the bottom is facing you.

Step 16: Apply a dab of hotglue to one of the ends you just heatsealed.
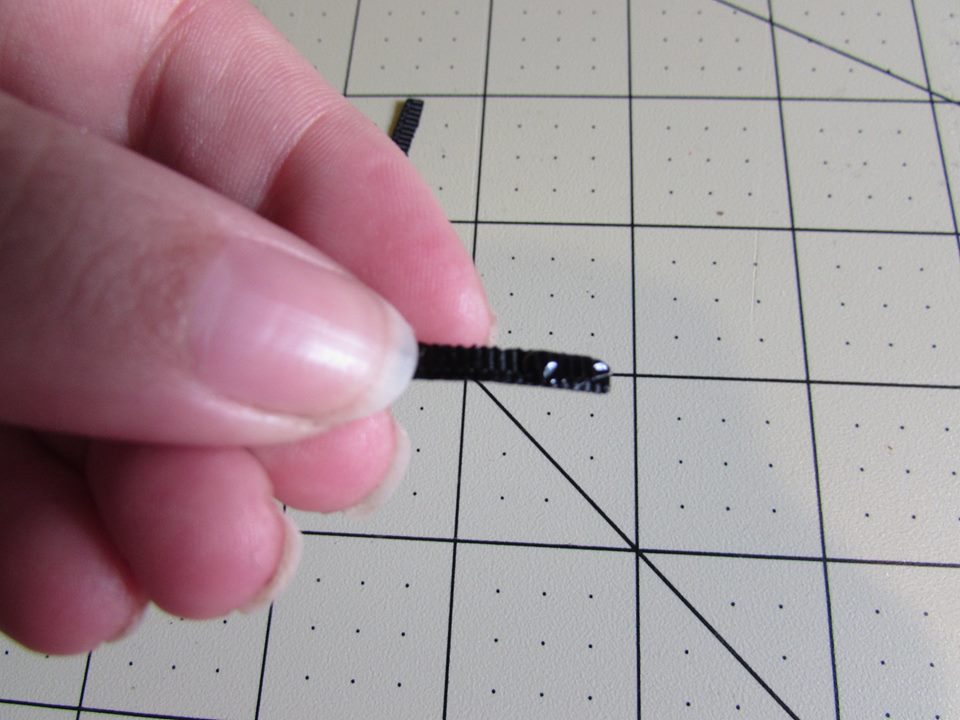
Step 17: Lay that on the top of the black 3/8" ribbon you glued to the center of the body.
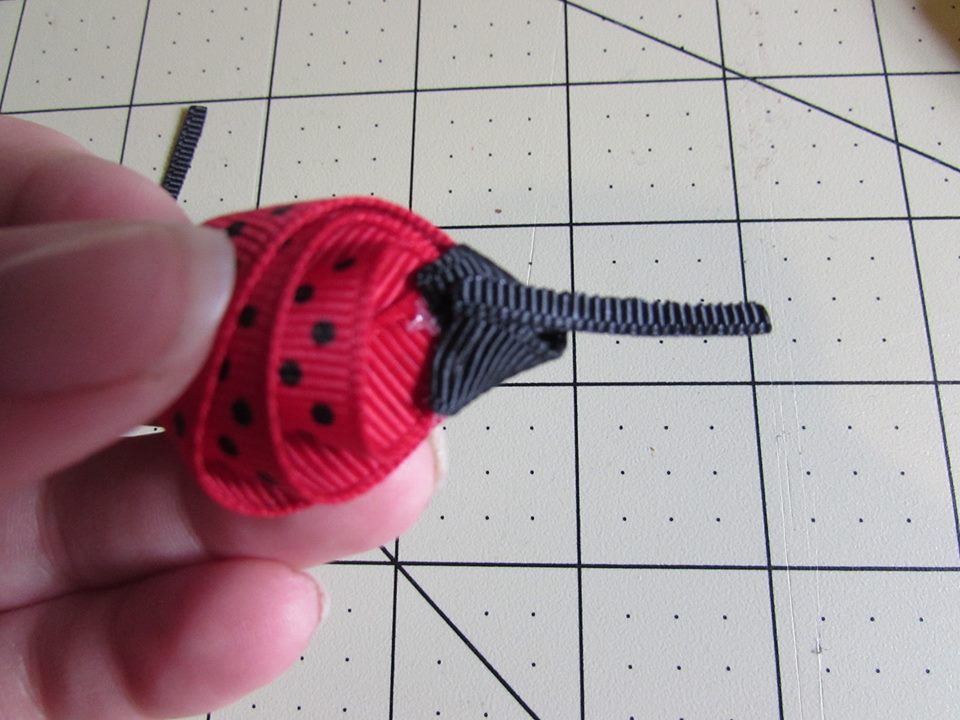
Step 18: Repeat for the second piece of ribbon
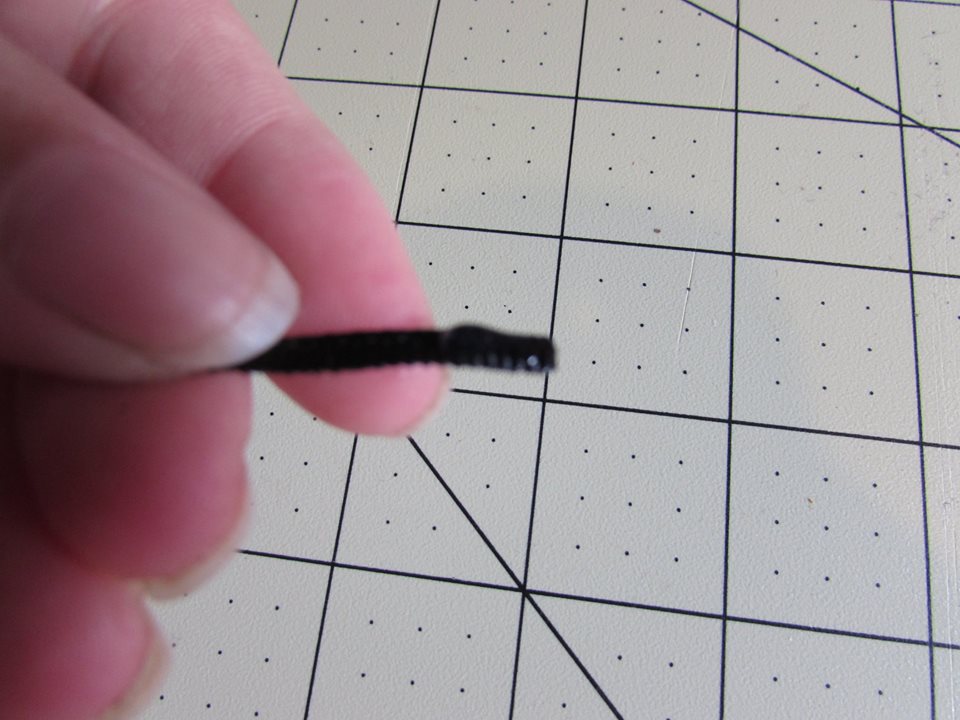
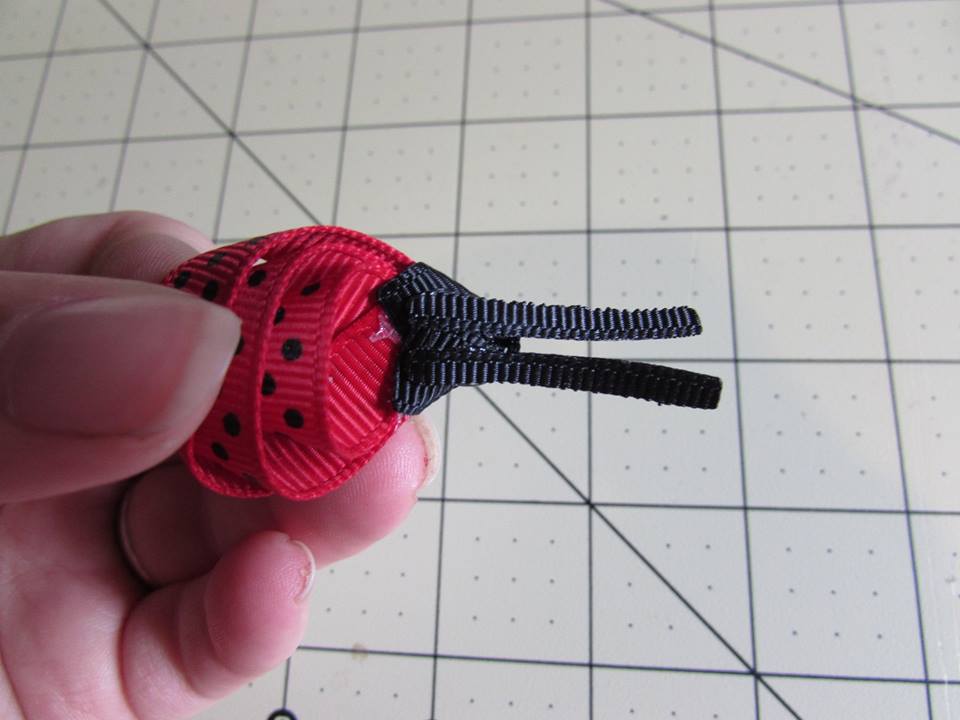
Step 19: It will appear to be long to you, at this point you can cut the ribbon down to your liking. When you cut be sure you heat seal.
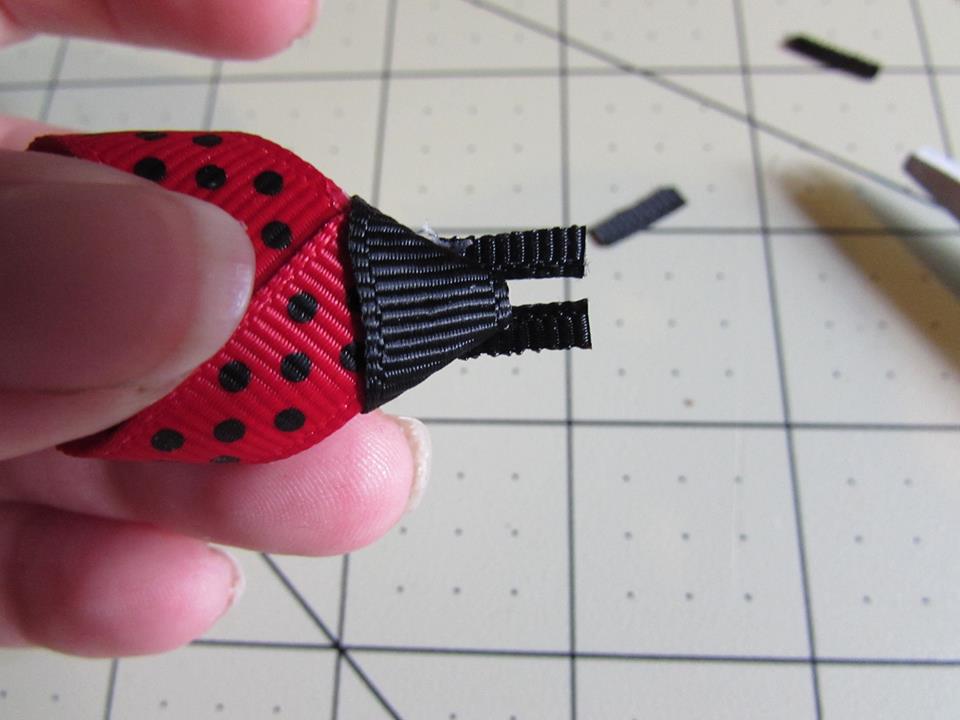
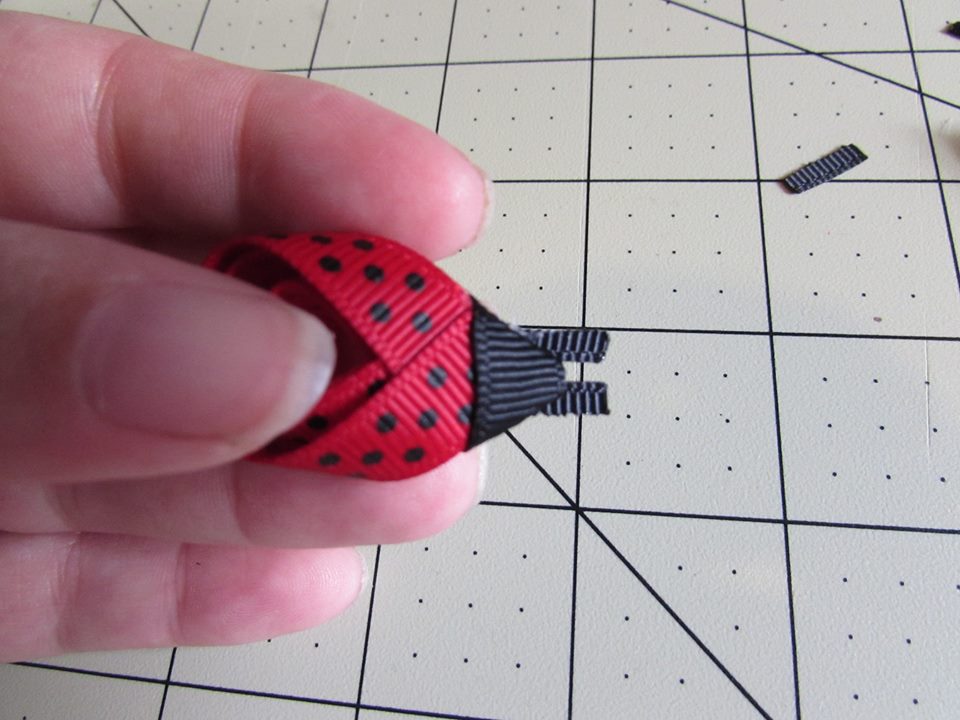
* At this point you have several steps you can do. 1: Add it to a clip 2: Add it to a bow 3: Add some leaves before applying the lady bug to the clip.
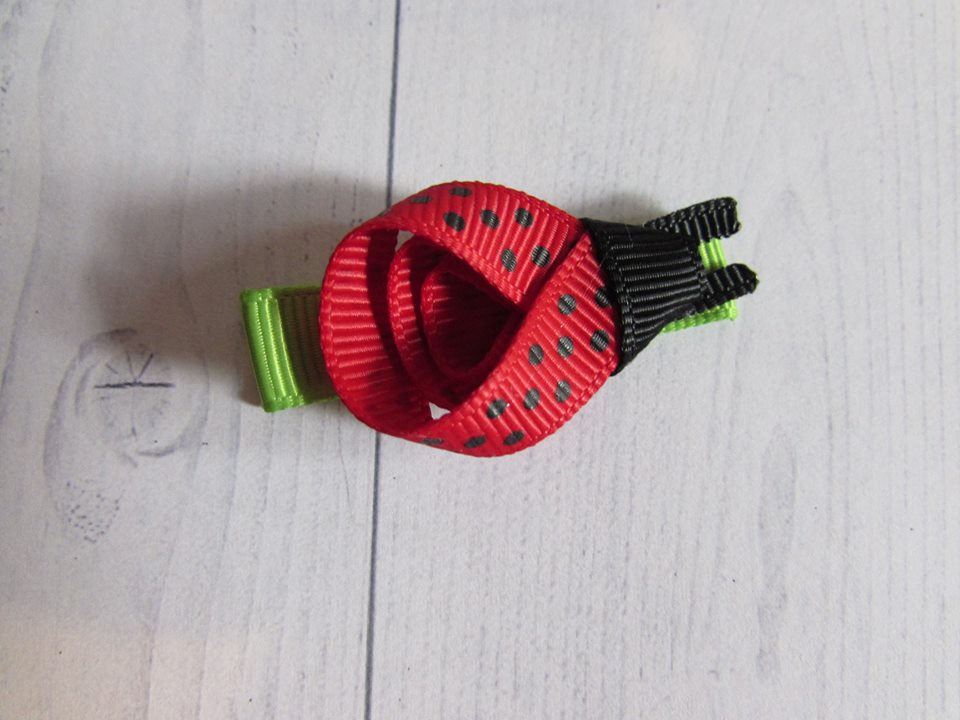
We will be doing a clippie with leaves too. Just follow all the steps above and then we will tell and show you how to do the leaves.
You want your 2 21/2" pieces of 3/8" green grosgrain ribbon at this point.
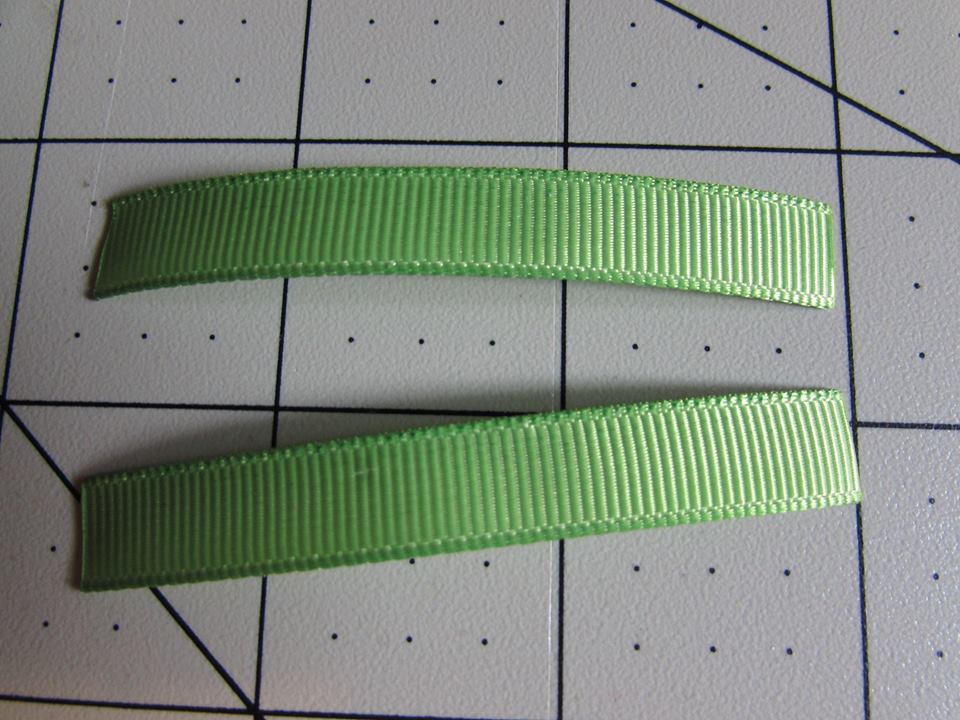
Step 1: Fold the ribbon like you did for the lady bug parts you just want to make them thinner so you will need to overlap the ribbon on the bottom.
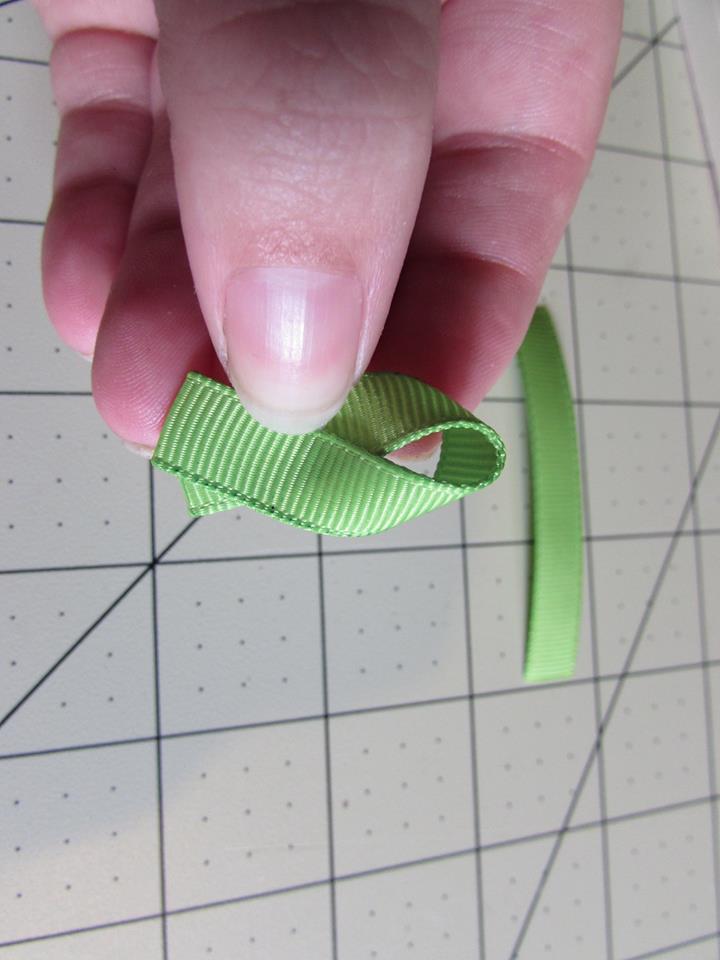
Step 2: Glue into place
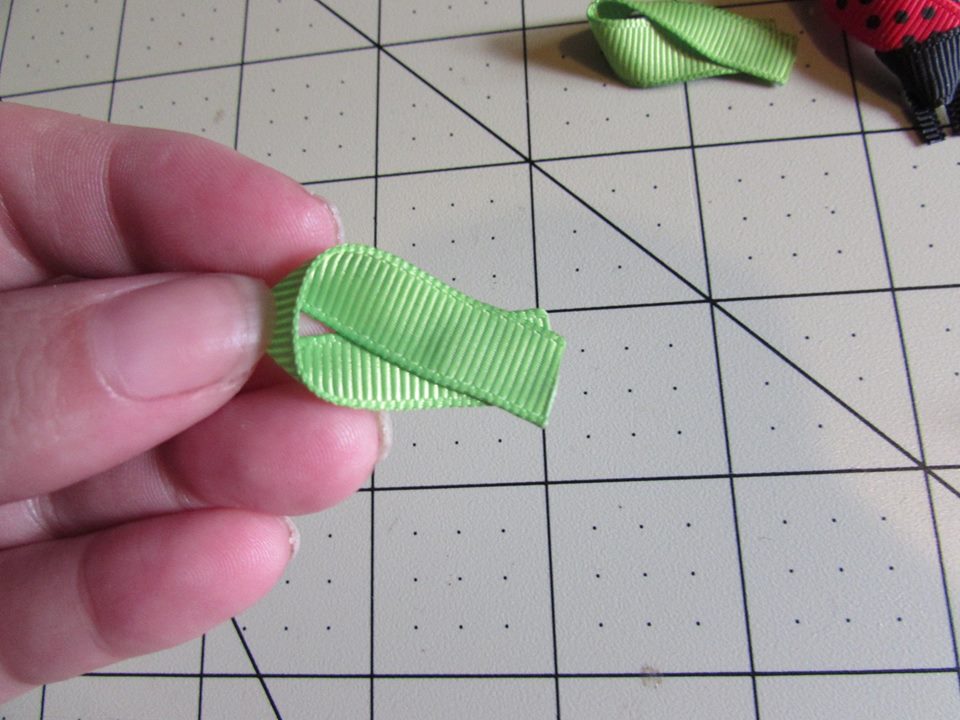
Step 3: Repeat for the second leaf
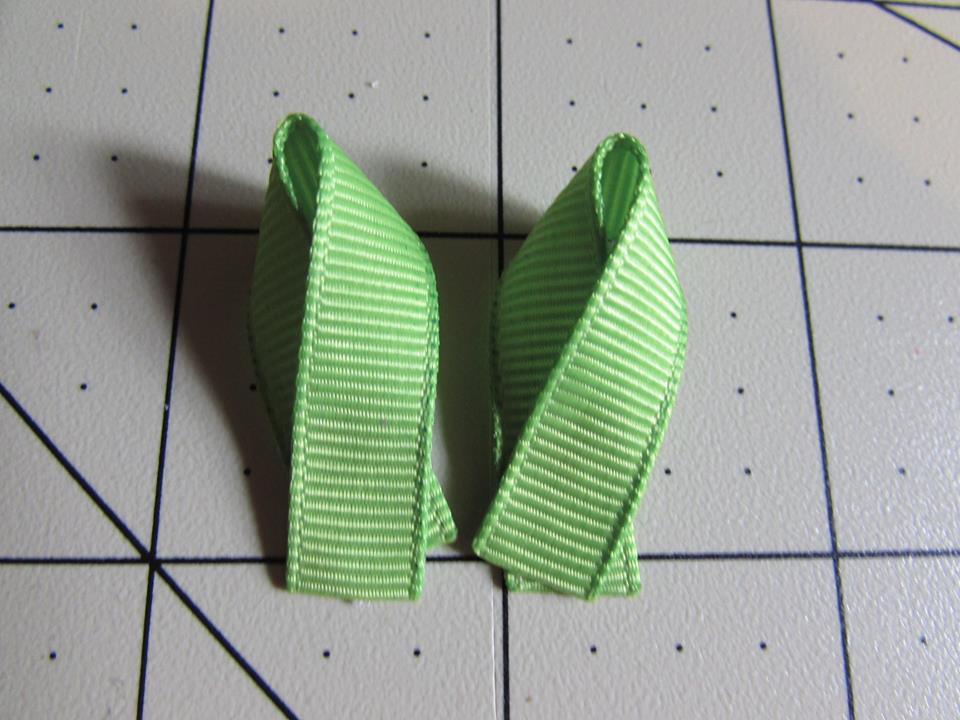
Step 4: Apply hotglue to the back of the leave, place the leaf on the clip.
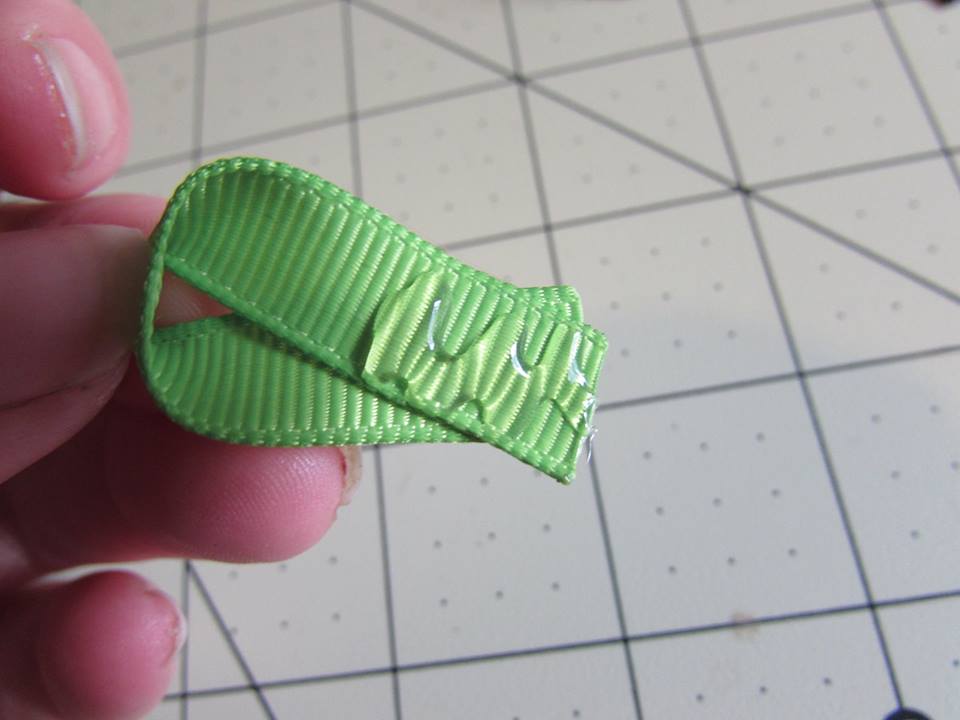
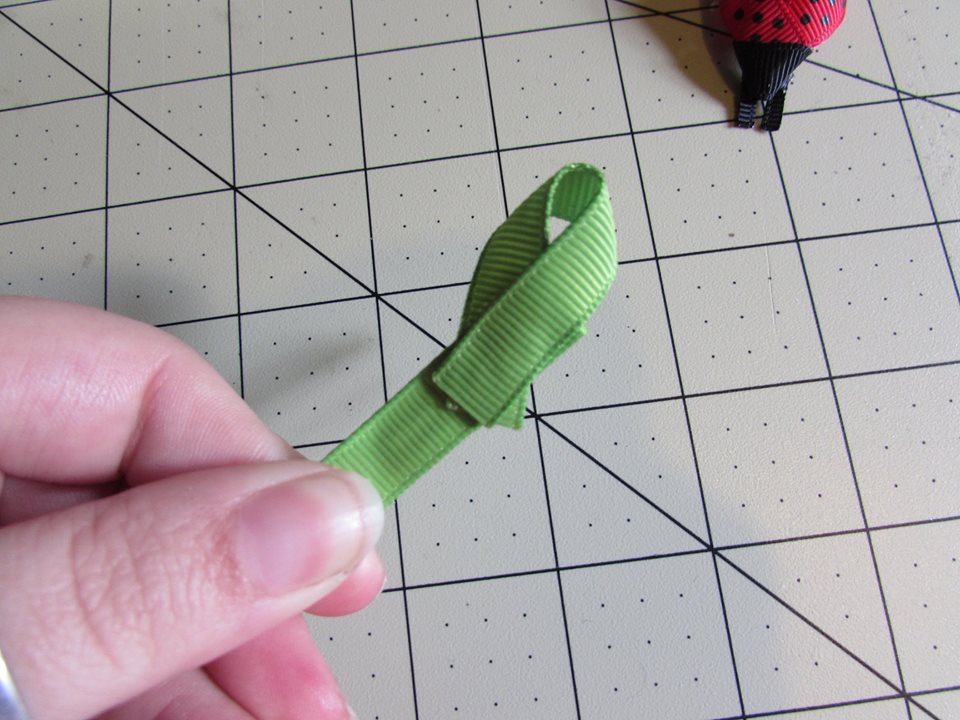
Step 5: Repeat for the second leaf
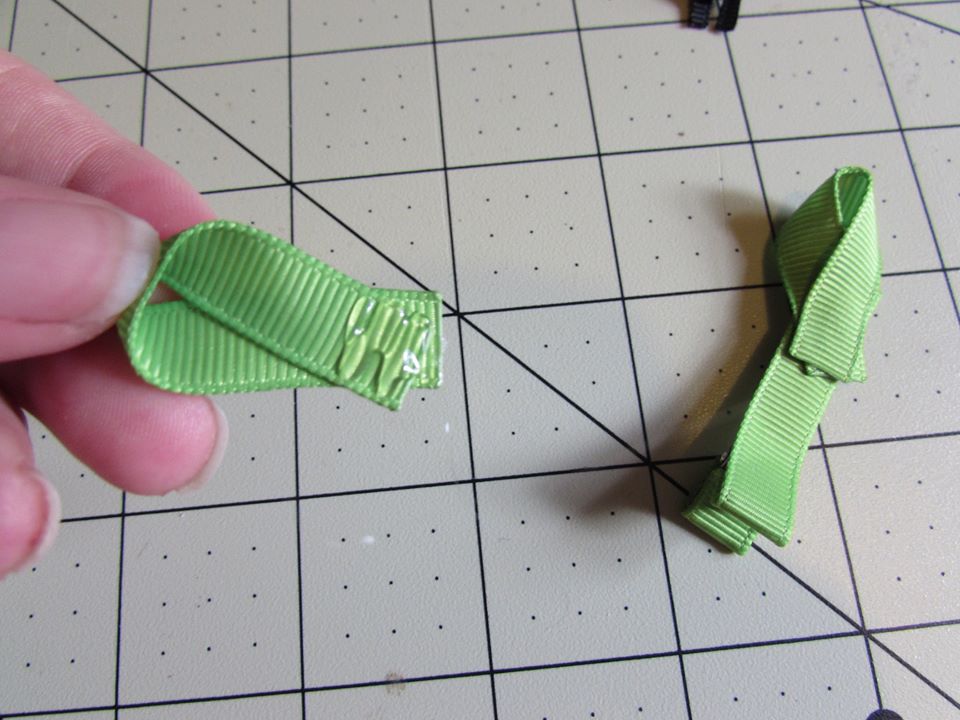
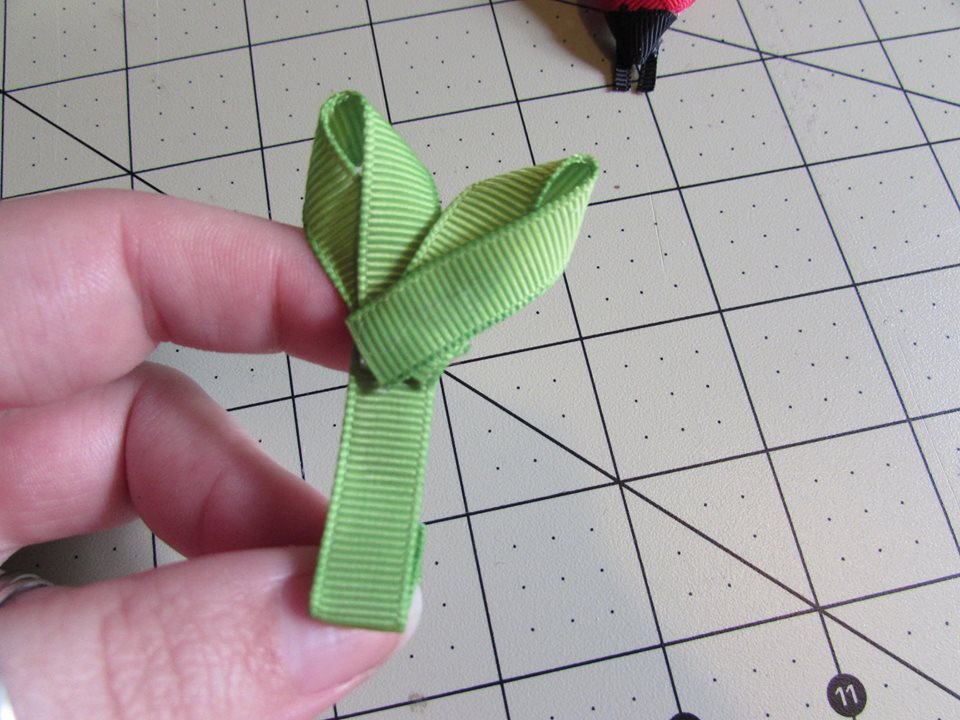
Step 6: Add hotglue to the back of the lady bug
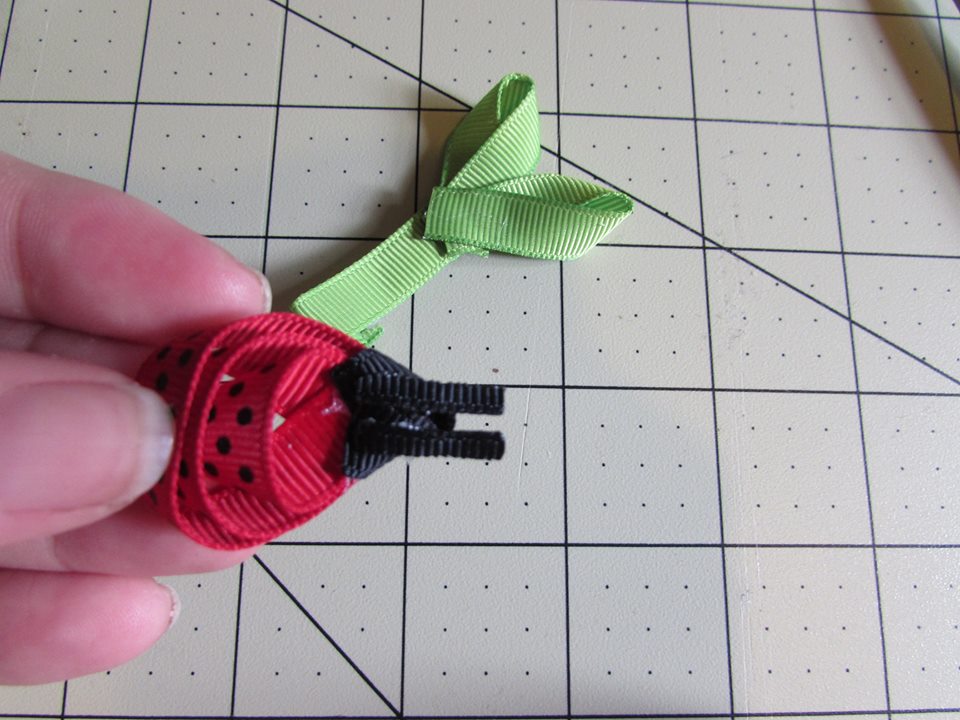
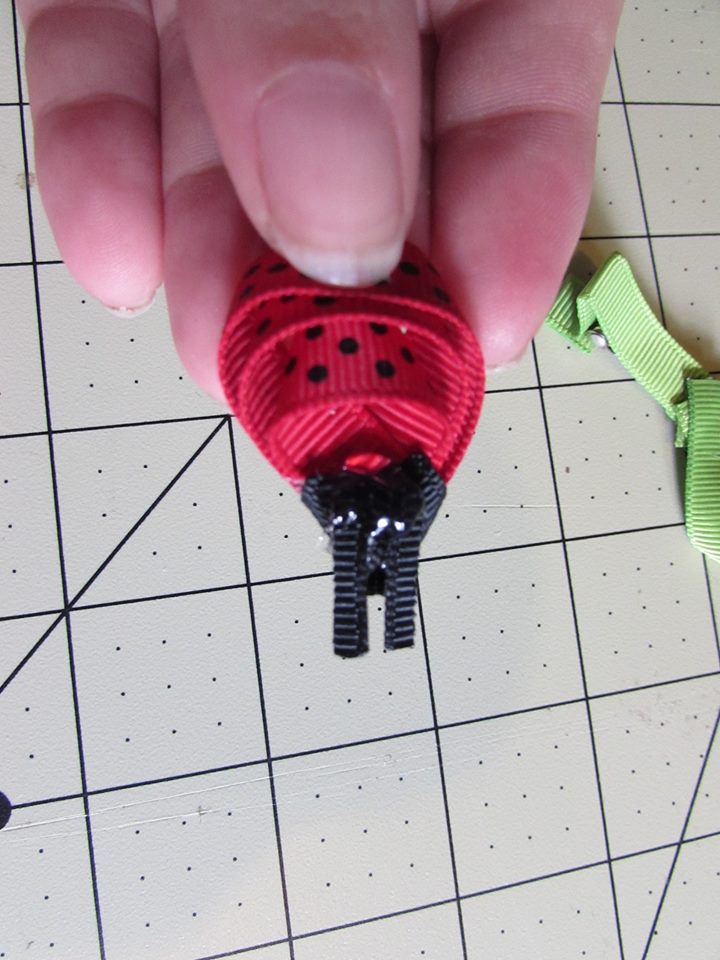
Step 7: Apply the lady bug to the top of the leaves on your clip.
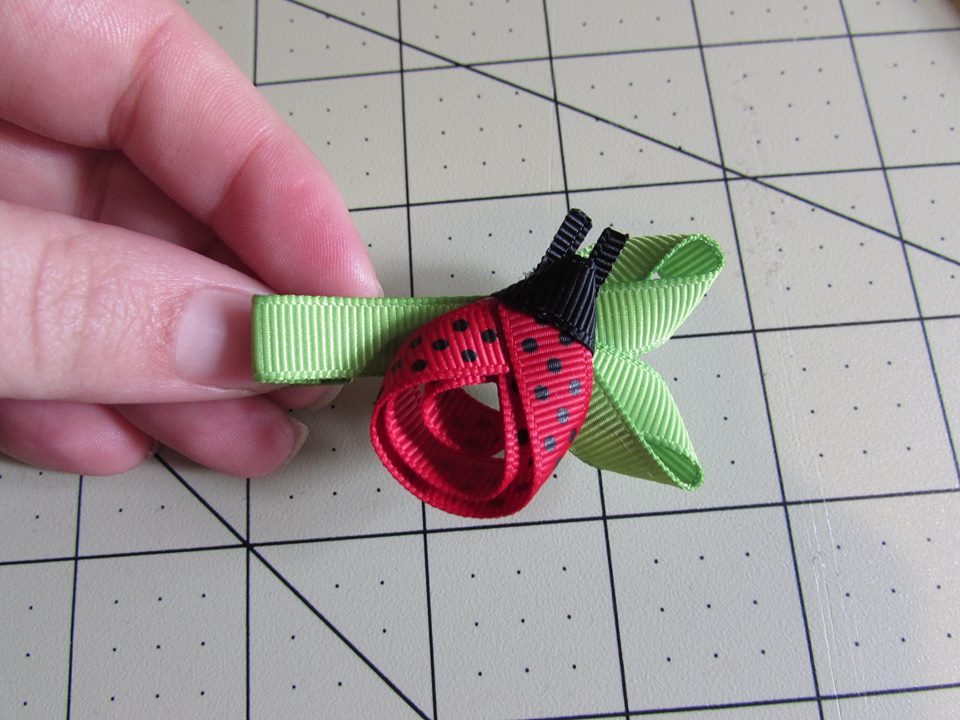
*** YOU'RE DONE! **** ENJOY!
Visit the rest of our blog for more Crafting Tutorials and DIY Instructions!
 * Gather those supplies and let's get ready to start making our adorable lady bugs :)
Step 1: You need to cut your ribbon and make sure to heat seal each and every piece. Measurements again are:
- 1 piece of 3/8" red with black dots grosgrain ribbon cut at 3" long
- 1 piece of 3/8" red with black dots grosgrain ribbon cut at 2 1/2" long
- 1 piece of 3/8" red with black dots grosgrain ribbon cut at 2" long
- 2 pieces of 3/8" black grosgrain ribbon cut at 1" long
- 2 pieces of 3/8" green grosgrain ribbon cut at 2 1/2" long {{ optional }}
Step 2: Fold the ends of the ribbon where they will create an "egg" shape...

 Step 3: Apply a dab of hotglue in between the ribbon ends to connect them...

 Step 4: Repeat those steps for the 2 other pieces of red with black dots ribbon
 Step 5: Flip the body over
 Step 6: Add hotglue to the bottom
 Step 7: Lay the 2 1/2" piece on top of the hot glue
 Step 8: Add hotglue to the bottom of that piece
 Step 9: Lay the 2" piece on top of the hot glue
 Step 9: Get your 1" black grosgrain ribbon out and lay it on the center of the top of the lady bugs body.
 Step 10: Apply hot glue to one end of the ribbon, wrap to the center


 Step 11: Apply hot glue to the other end of the ribbon, wrap to the center meeting the piece you just glued down

 Step 12: Take the second piece of 1" black and cut straight down the center {{ long ways }} 2 additional pieces about 1/4" wide.

 Step 13: Take your tweezers or clip and hold the ribbon you just cut from the 3/8" black piece and heat seal the end where you cut so it doesn't fray
 Step 14: Do the same for the second piece
* Please be careful when doing this I don't want you burning your self on such small pieces of ribbon that is why I am advising you to use tweezers or a clip to hold that ribbon!
Step 15: Flip your lady bug over where the bottom is facing you.
 Step 16: Apply a dab of hotglue to one of the ends you just heatsealed.
 Step 17: Lay that on the top of the black 3/8" ribbon you glued to the center of the body.
 Step 18: Repeat for the second piece of ribbon

 Step 19: It will appear to be long to you, at this point you can cut the ribbon down to your liking. When you cut be sure you heat seal.

 * At this point you have several steps you can do. 1: Add it to a clip 2: Add it to a bow 3: Add some leaves before applying the lady bug to the clip.
 We will be doing a clippie with leaves too. Just follow all the steps above and then we will tell and show you how to do the leaves.
You want your 2 21/2" pieces of 3/8" green grosgrain ribbon at this point.
 Step 1: Fold the ribbon like you did for the lady bug parts you just want to make them thinner so you will need to overlap the ribbon on the bottom.
 Step 2: Glue into place
 Step 3: Repeat for the second leaf
 Step 4: Apply hotglue to the back of the leave, place the leaf on the clip.

 Step 5: Repeat for the second leaf

 Step 6: Add hotglue to the back of the lady bug

 Step 7: Apply the lady bug to the top of the leaves on your clip.
 *** YOU'RE DONE! **** ENJOY!


 TOOLS
TOOLS
 NEW
NEW


