 Contributor post by Cassie
Hey ya'll, It is Cassie here, from CuppyCake GumDrop Boutique & More. Hope you guys are enjoying the tutorials that everyone and myself are bringing to you. Today I will be sharing with you one of my summer favorites. With the warmer weather coming up, it means VACATION time.
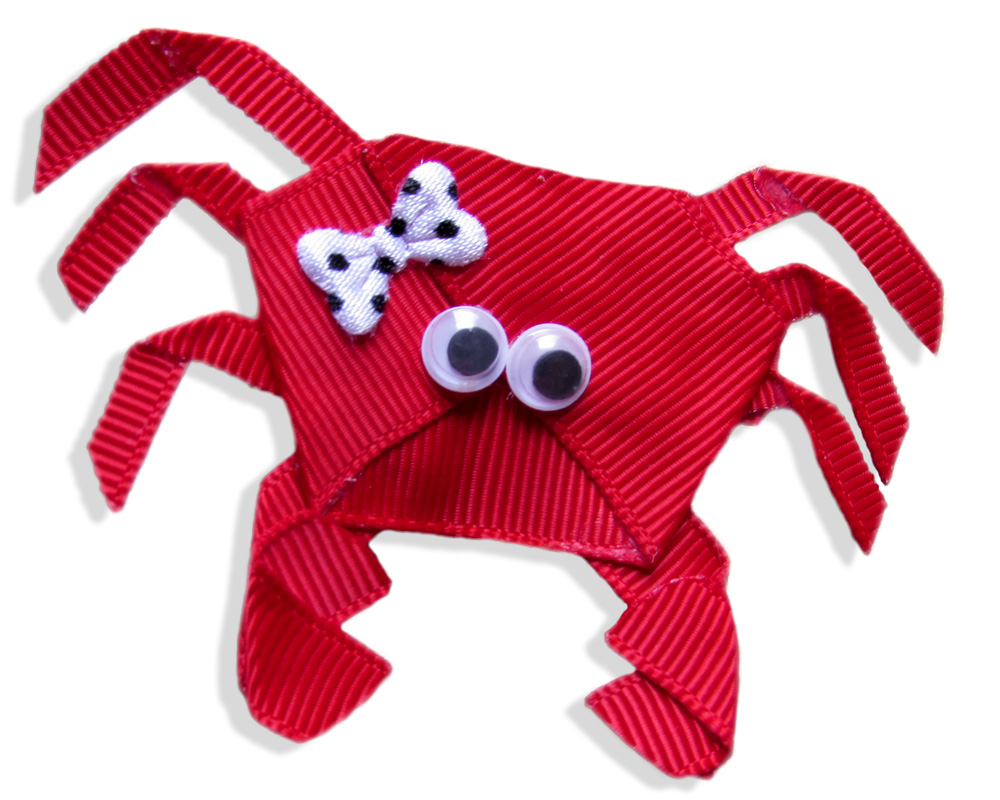
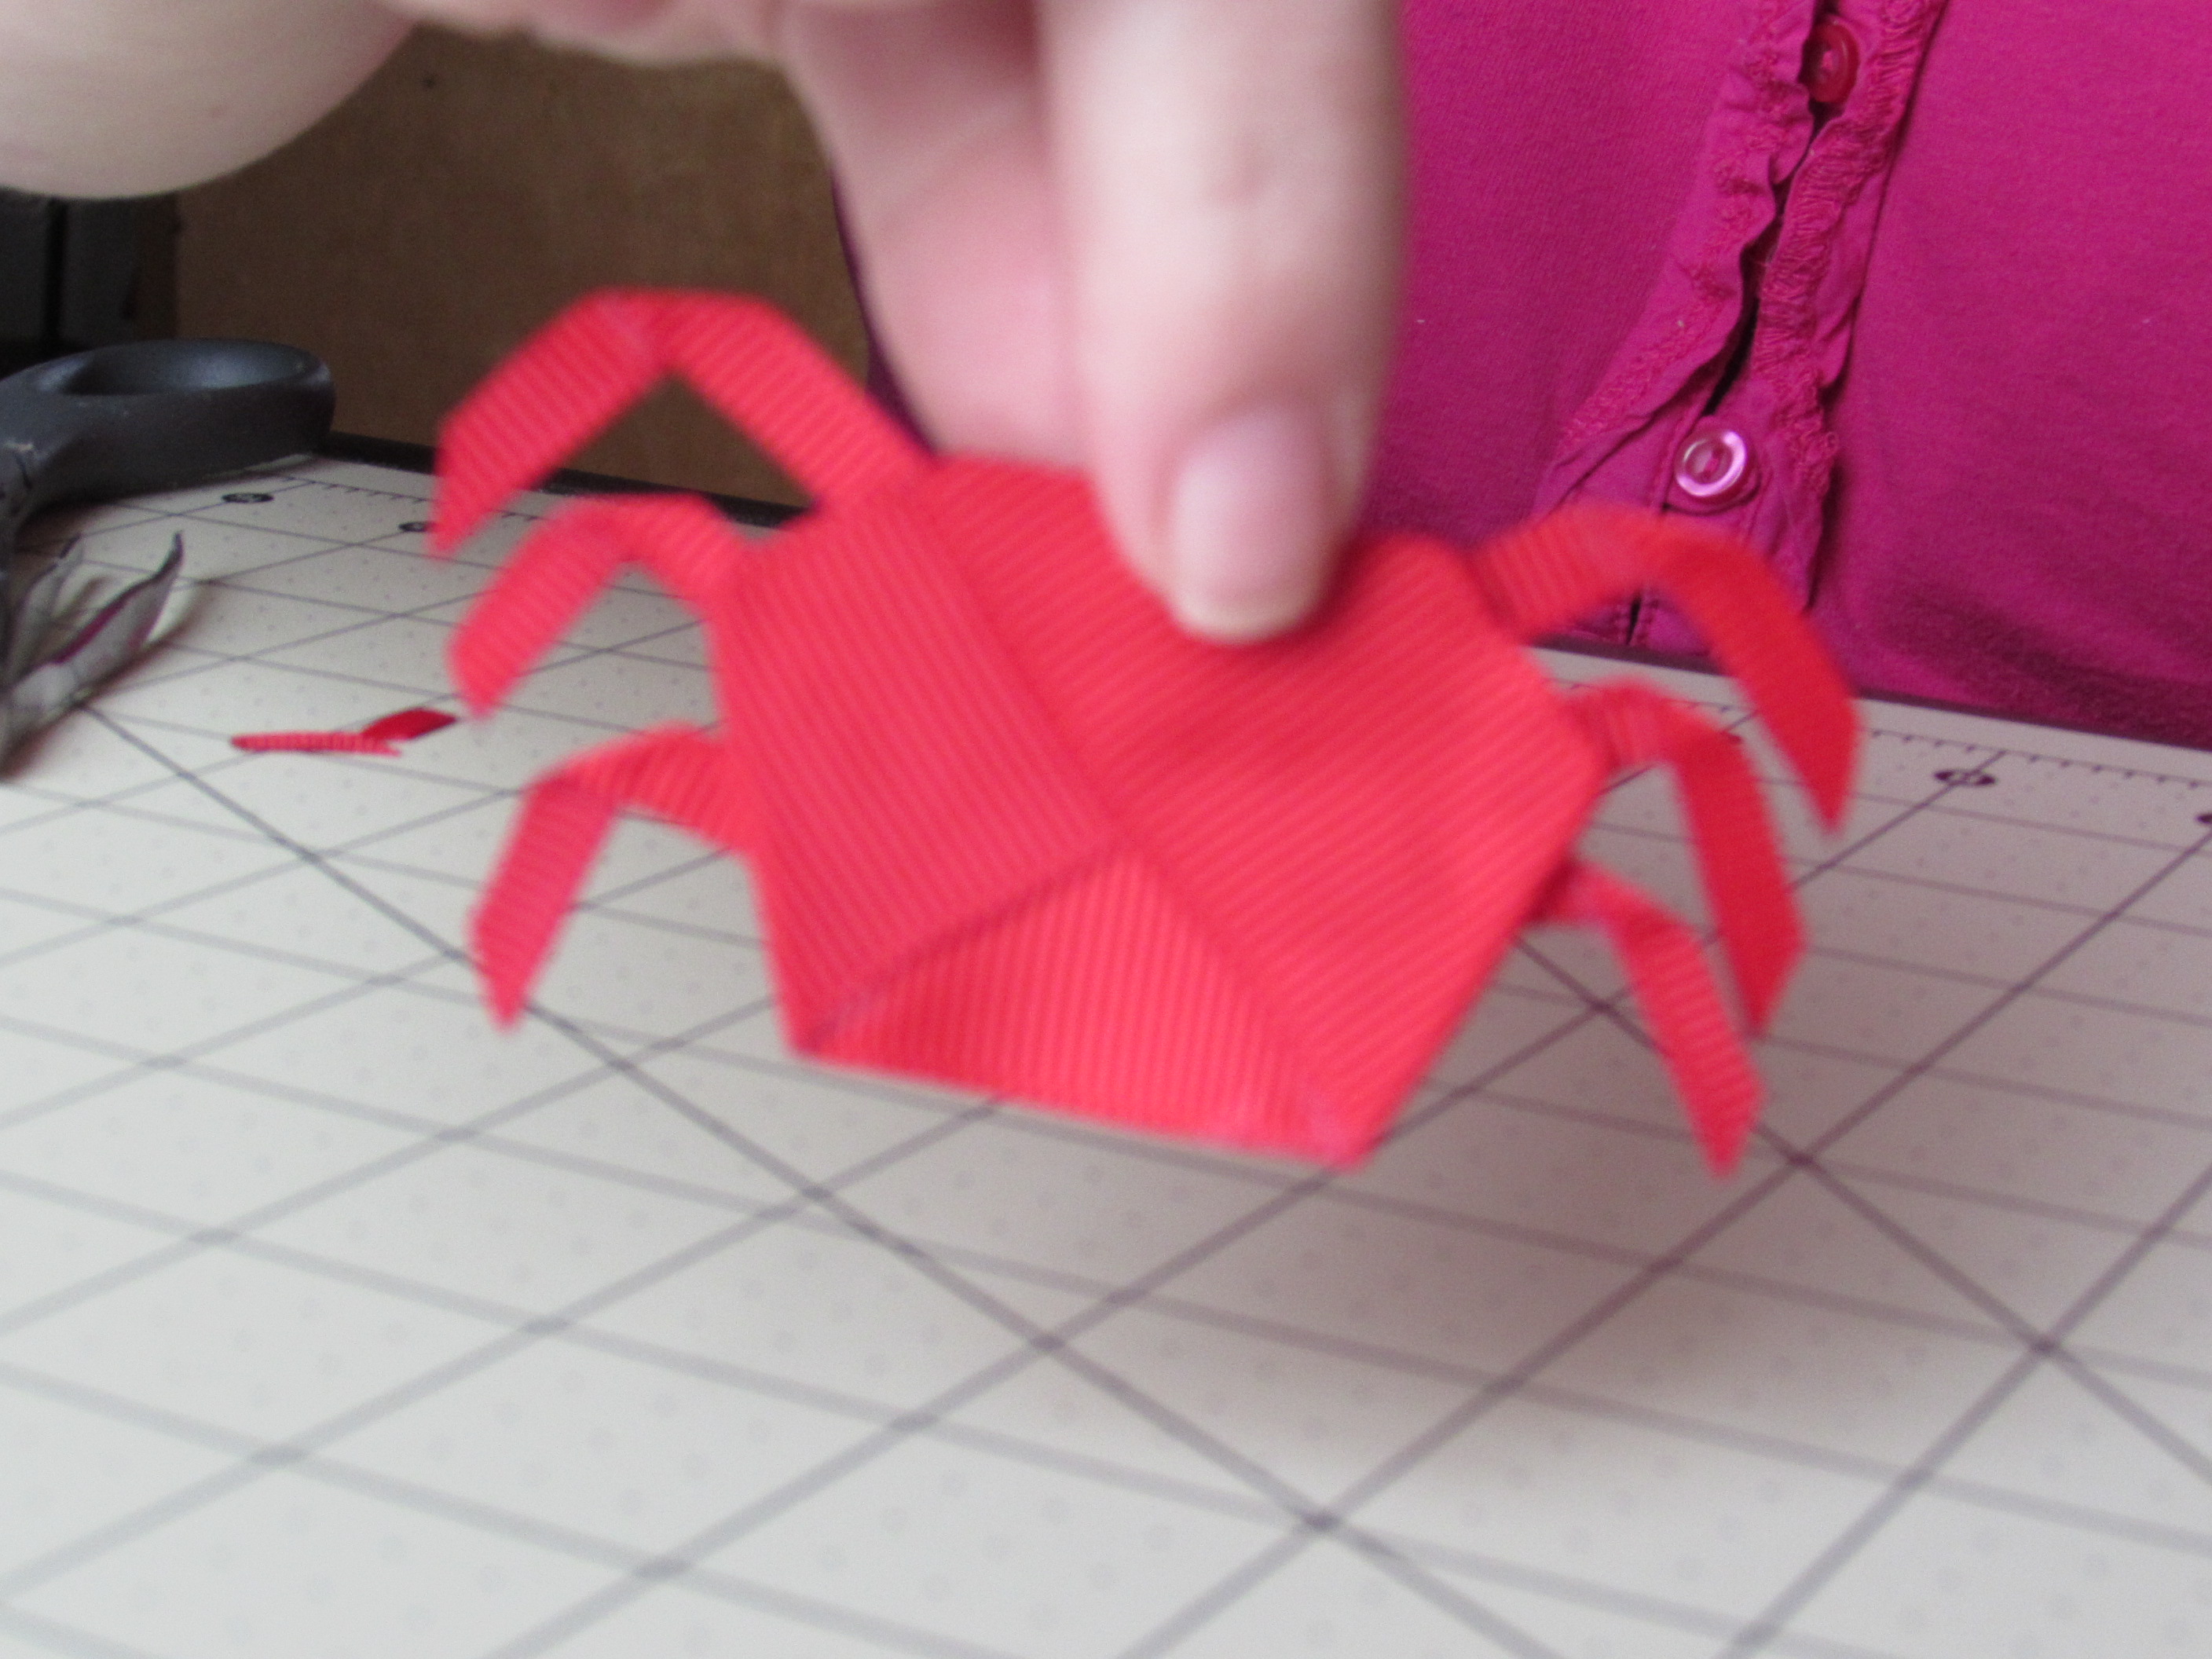
Today, we will be working to create a beautiful crab ribbon sculpture that can be added to a clip or in the center of a bow.
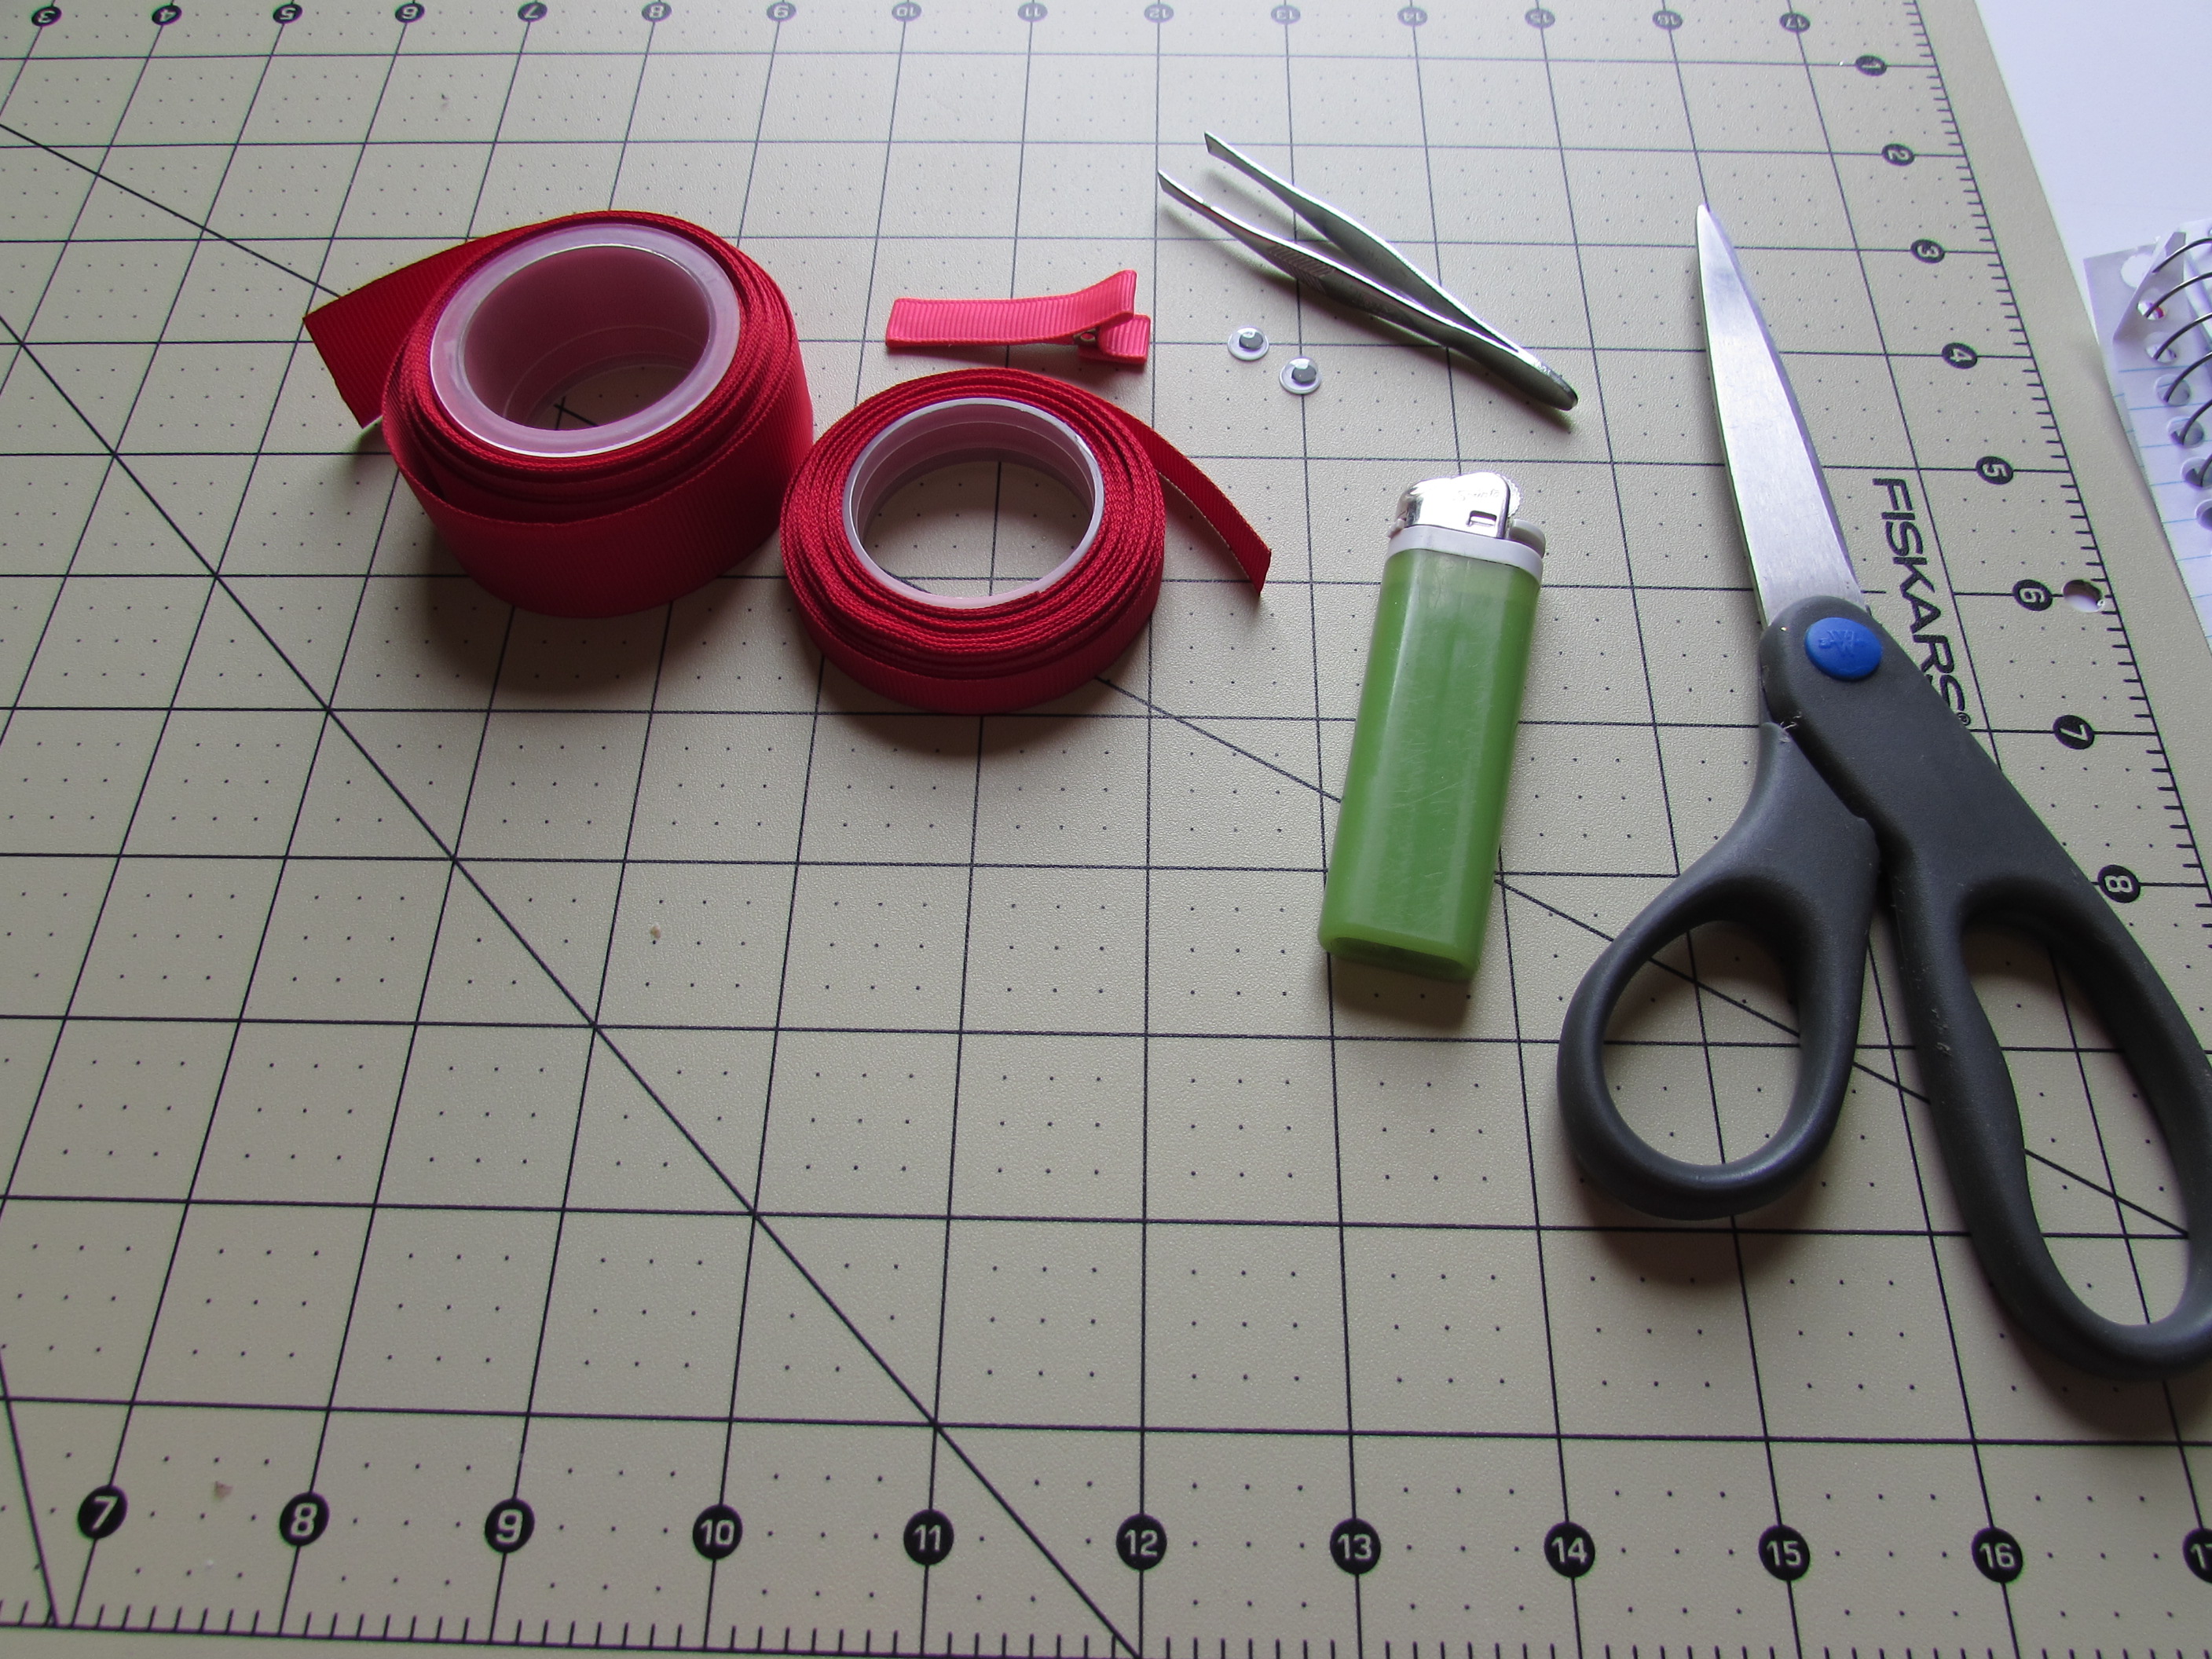
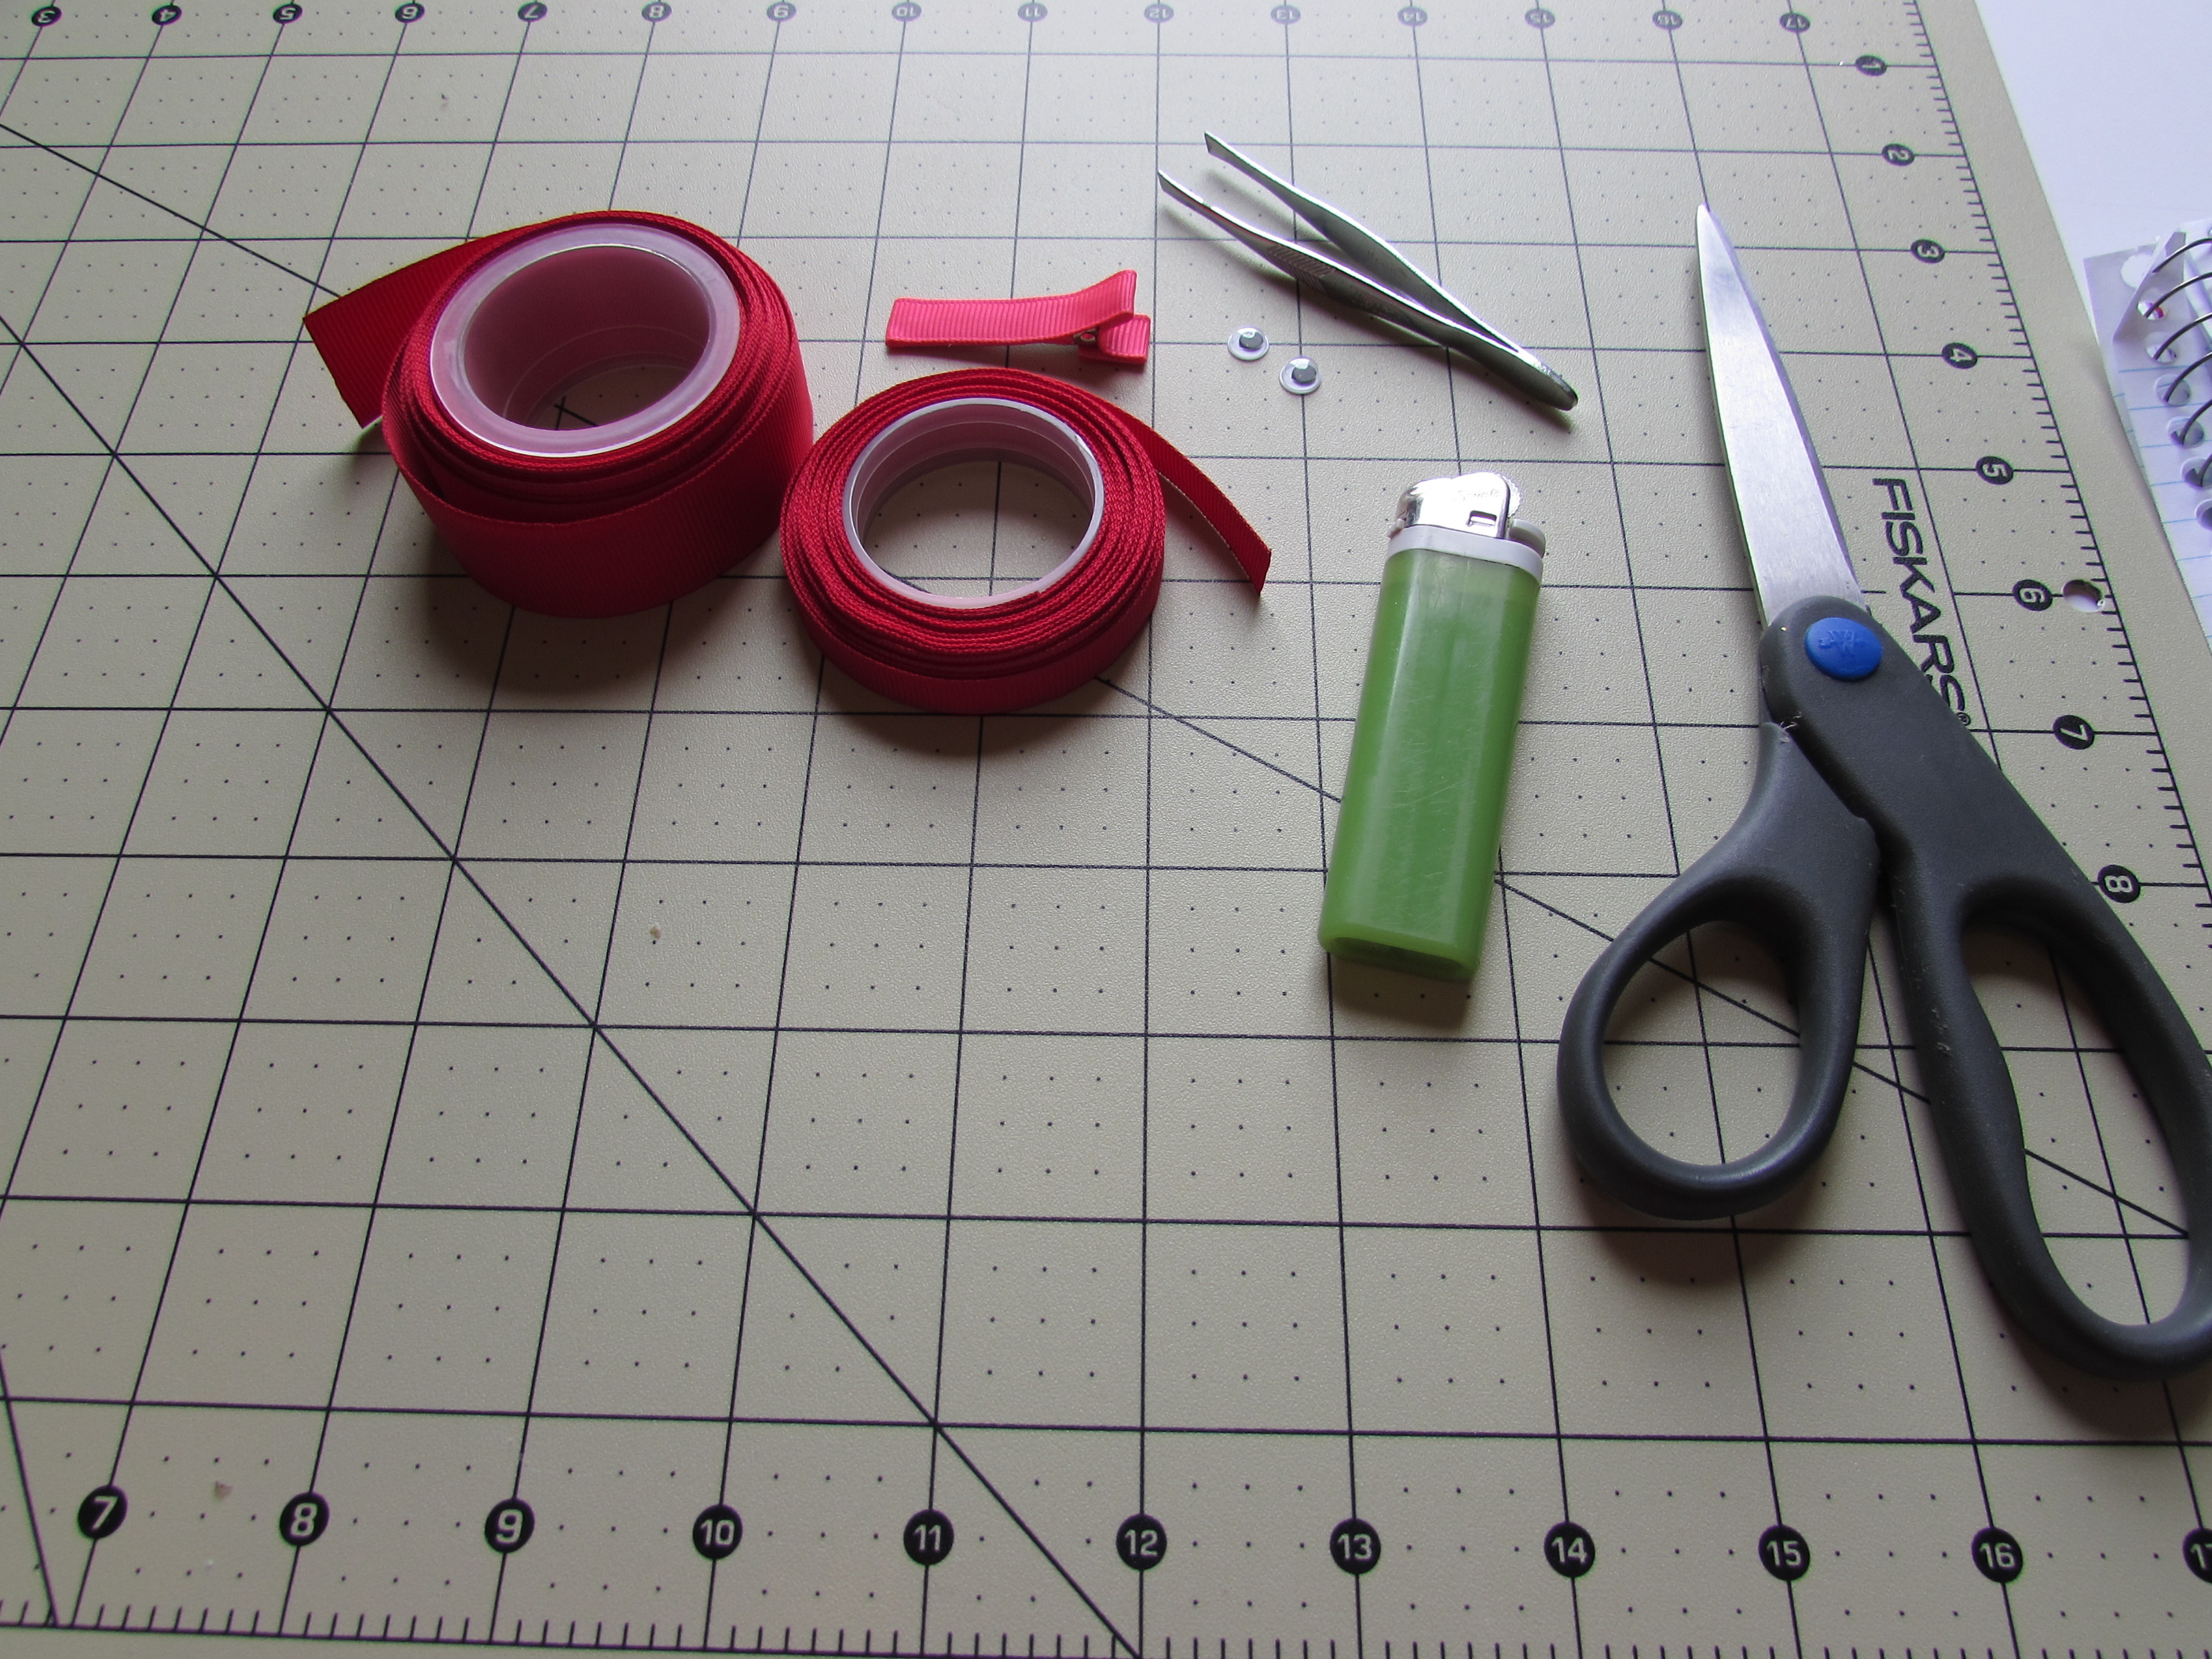
Supplies needed:
7/8" red grosgrain ribbon
3/8" red grosgrain ribbon
lined alligator clip
Googly Wiggle Eyes {2}
lighter
scissors
glue gun
tweezers
ruler
optional { Mini Bow }
So go grab your supplies and lets get started.
 Step 1
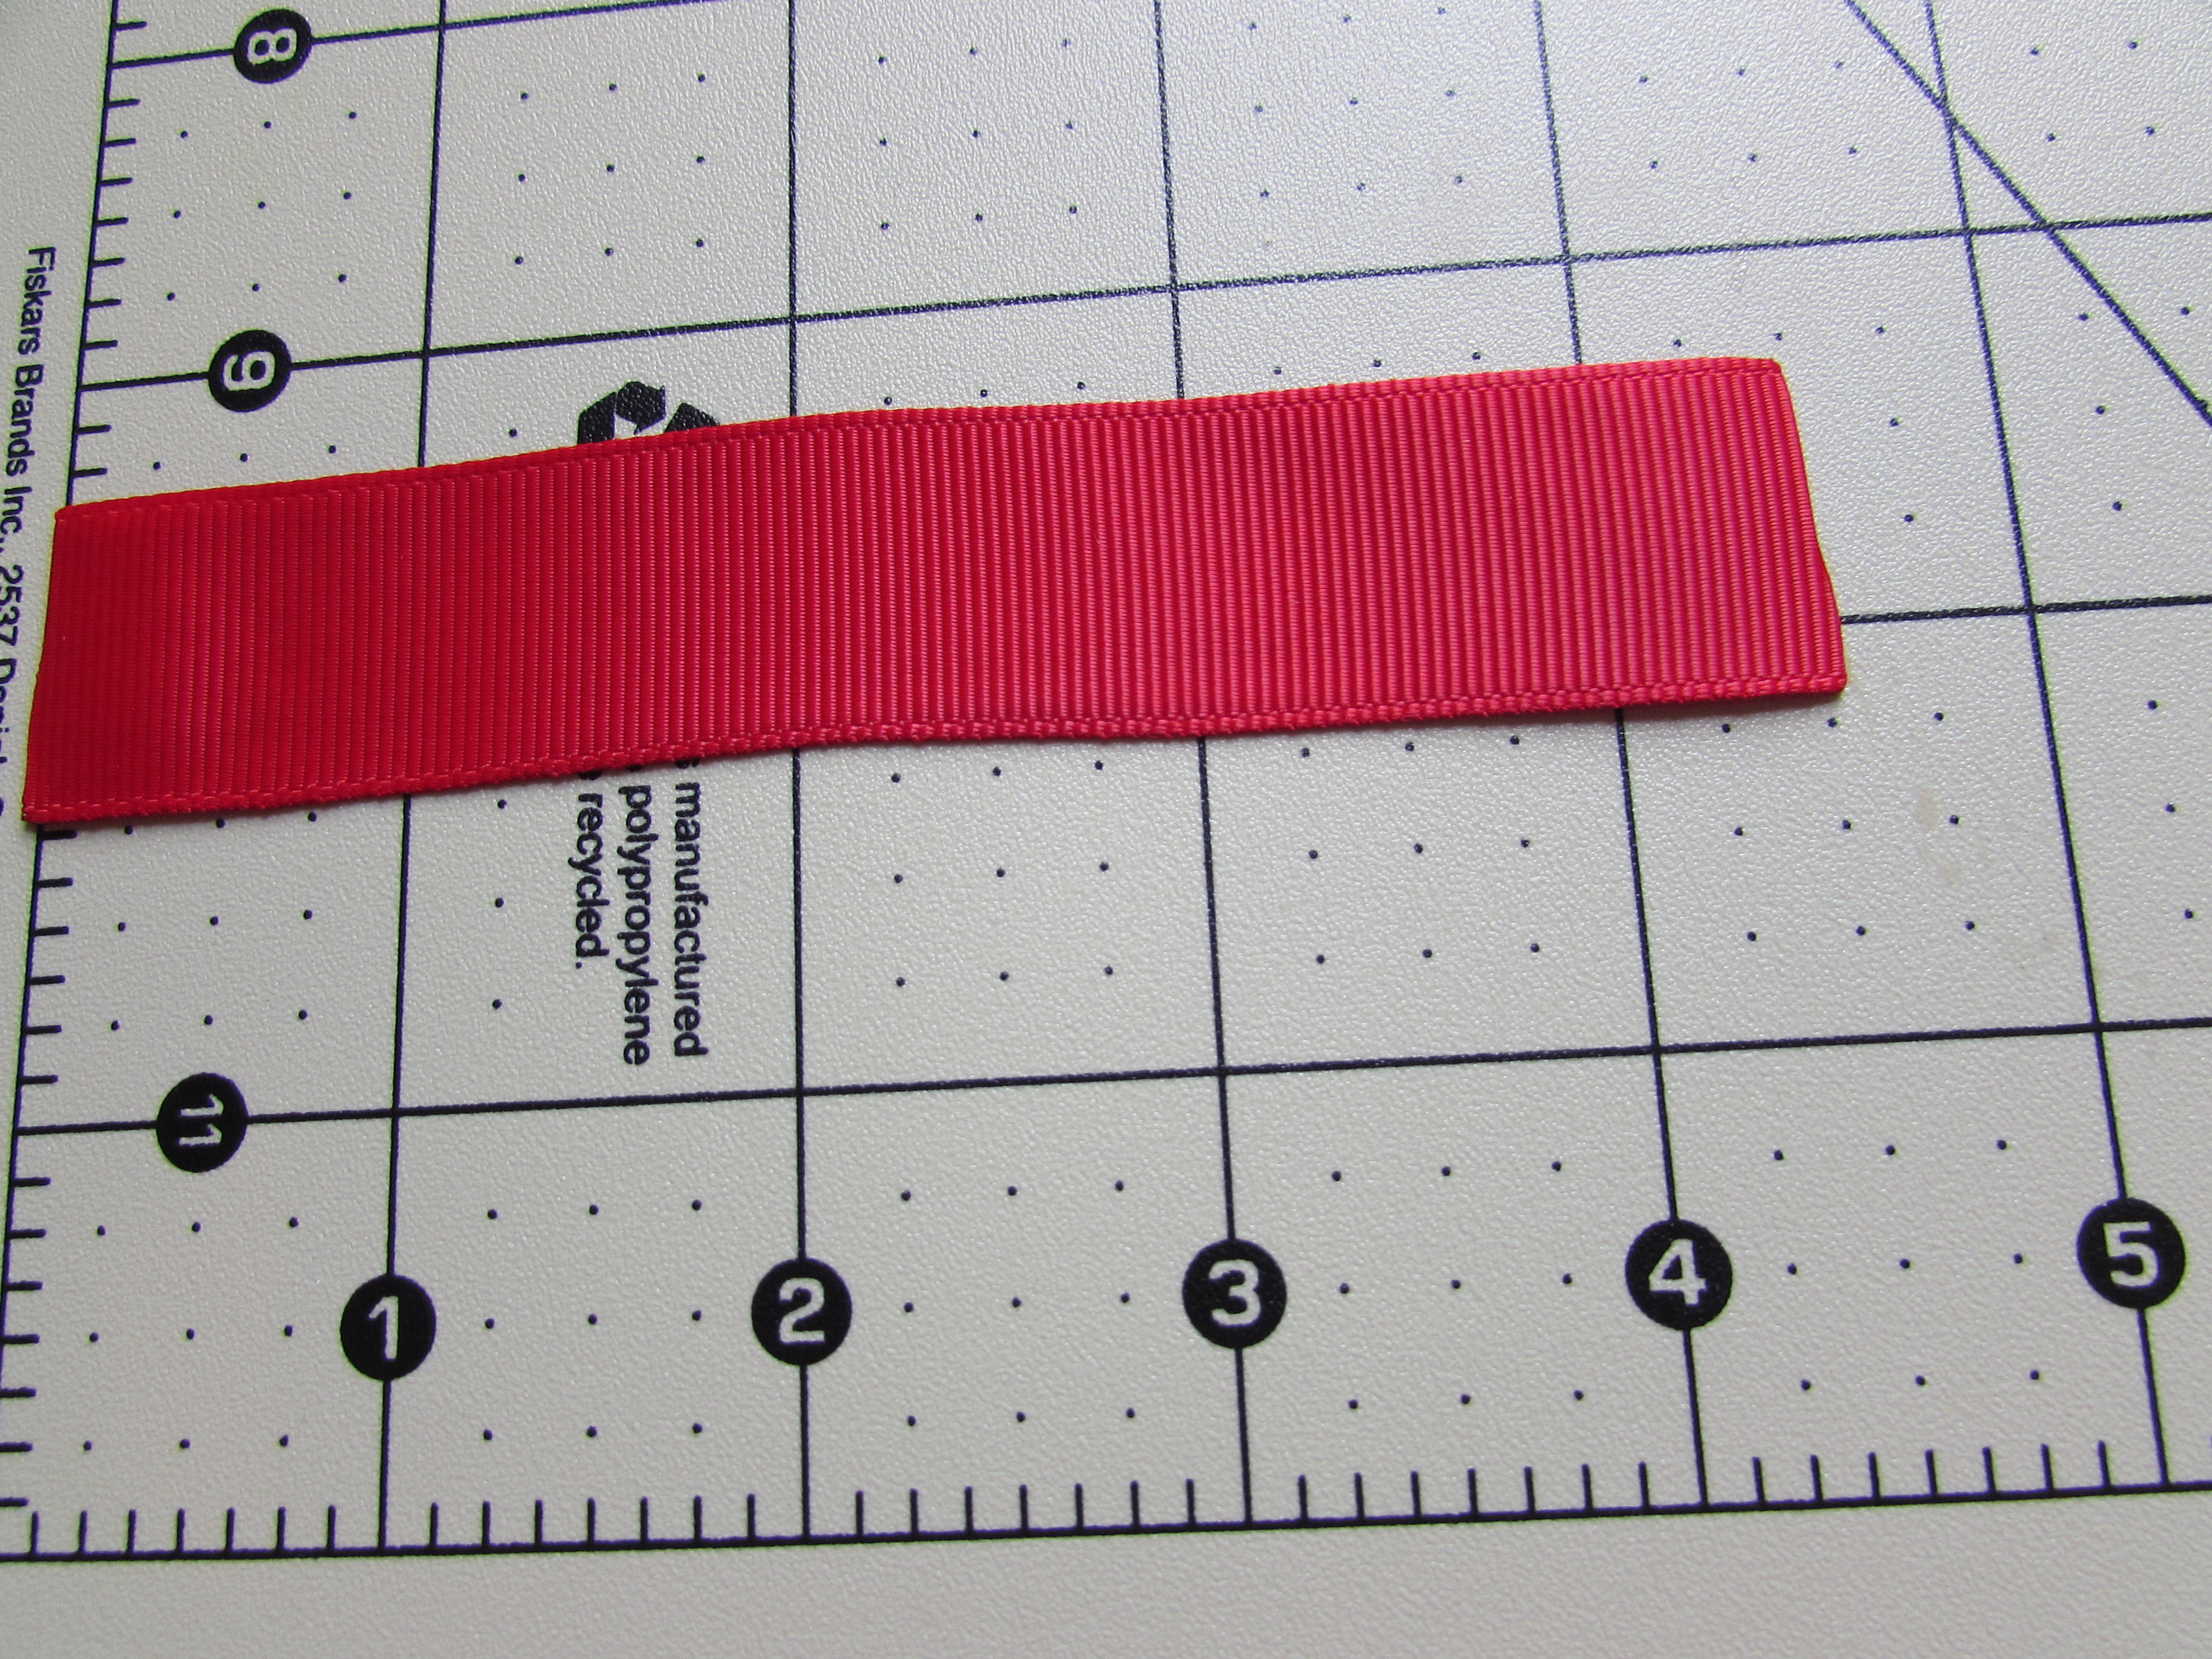
* Cut 1 { 4.5" piece } of 7/8" red grosgrain ribbon. * HEAT SEAL! *
 Step 2:
* Fold into an awareness ribbon. Hot-glue ends together.
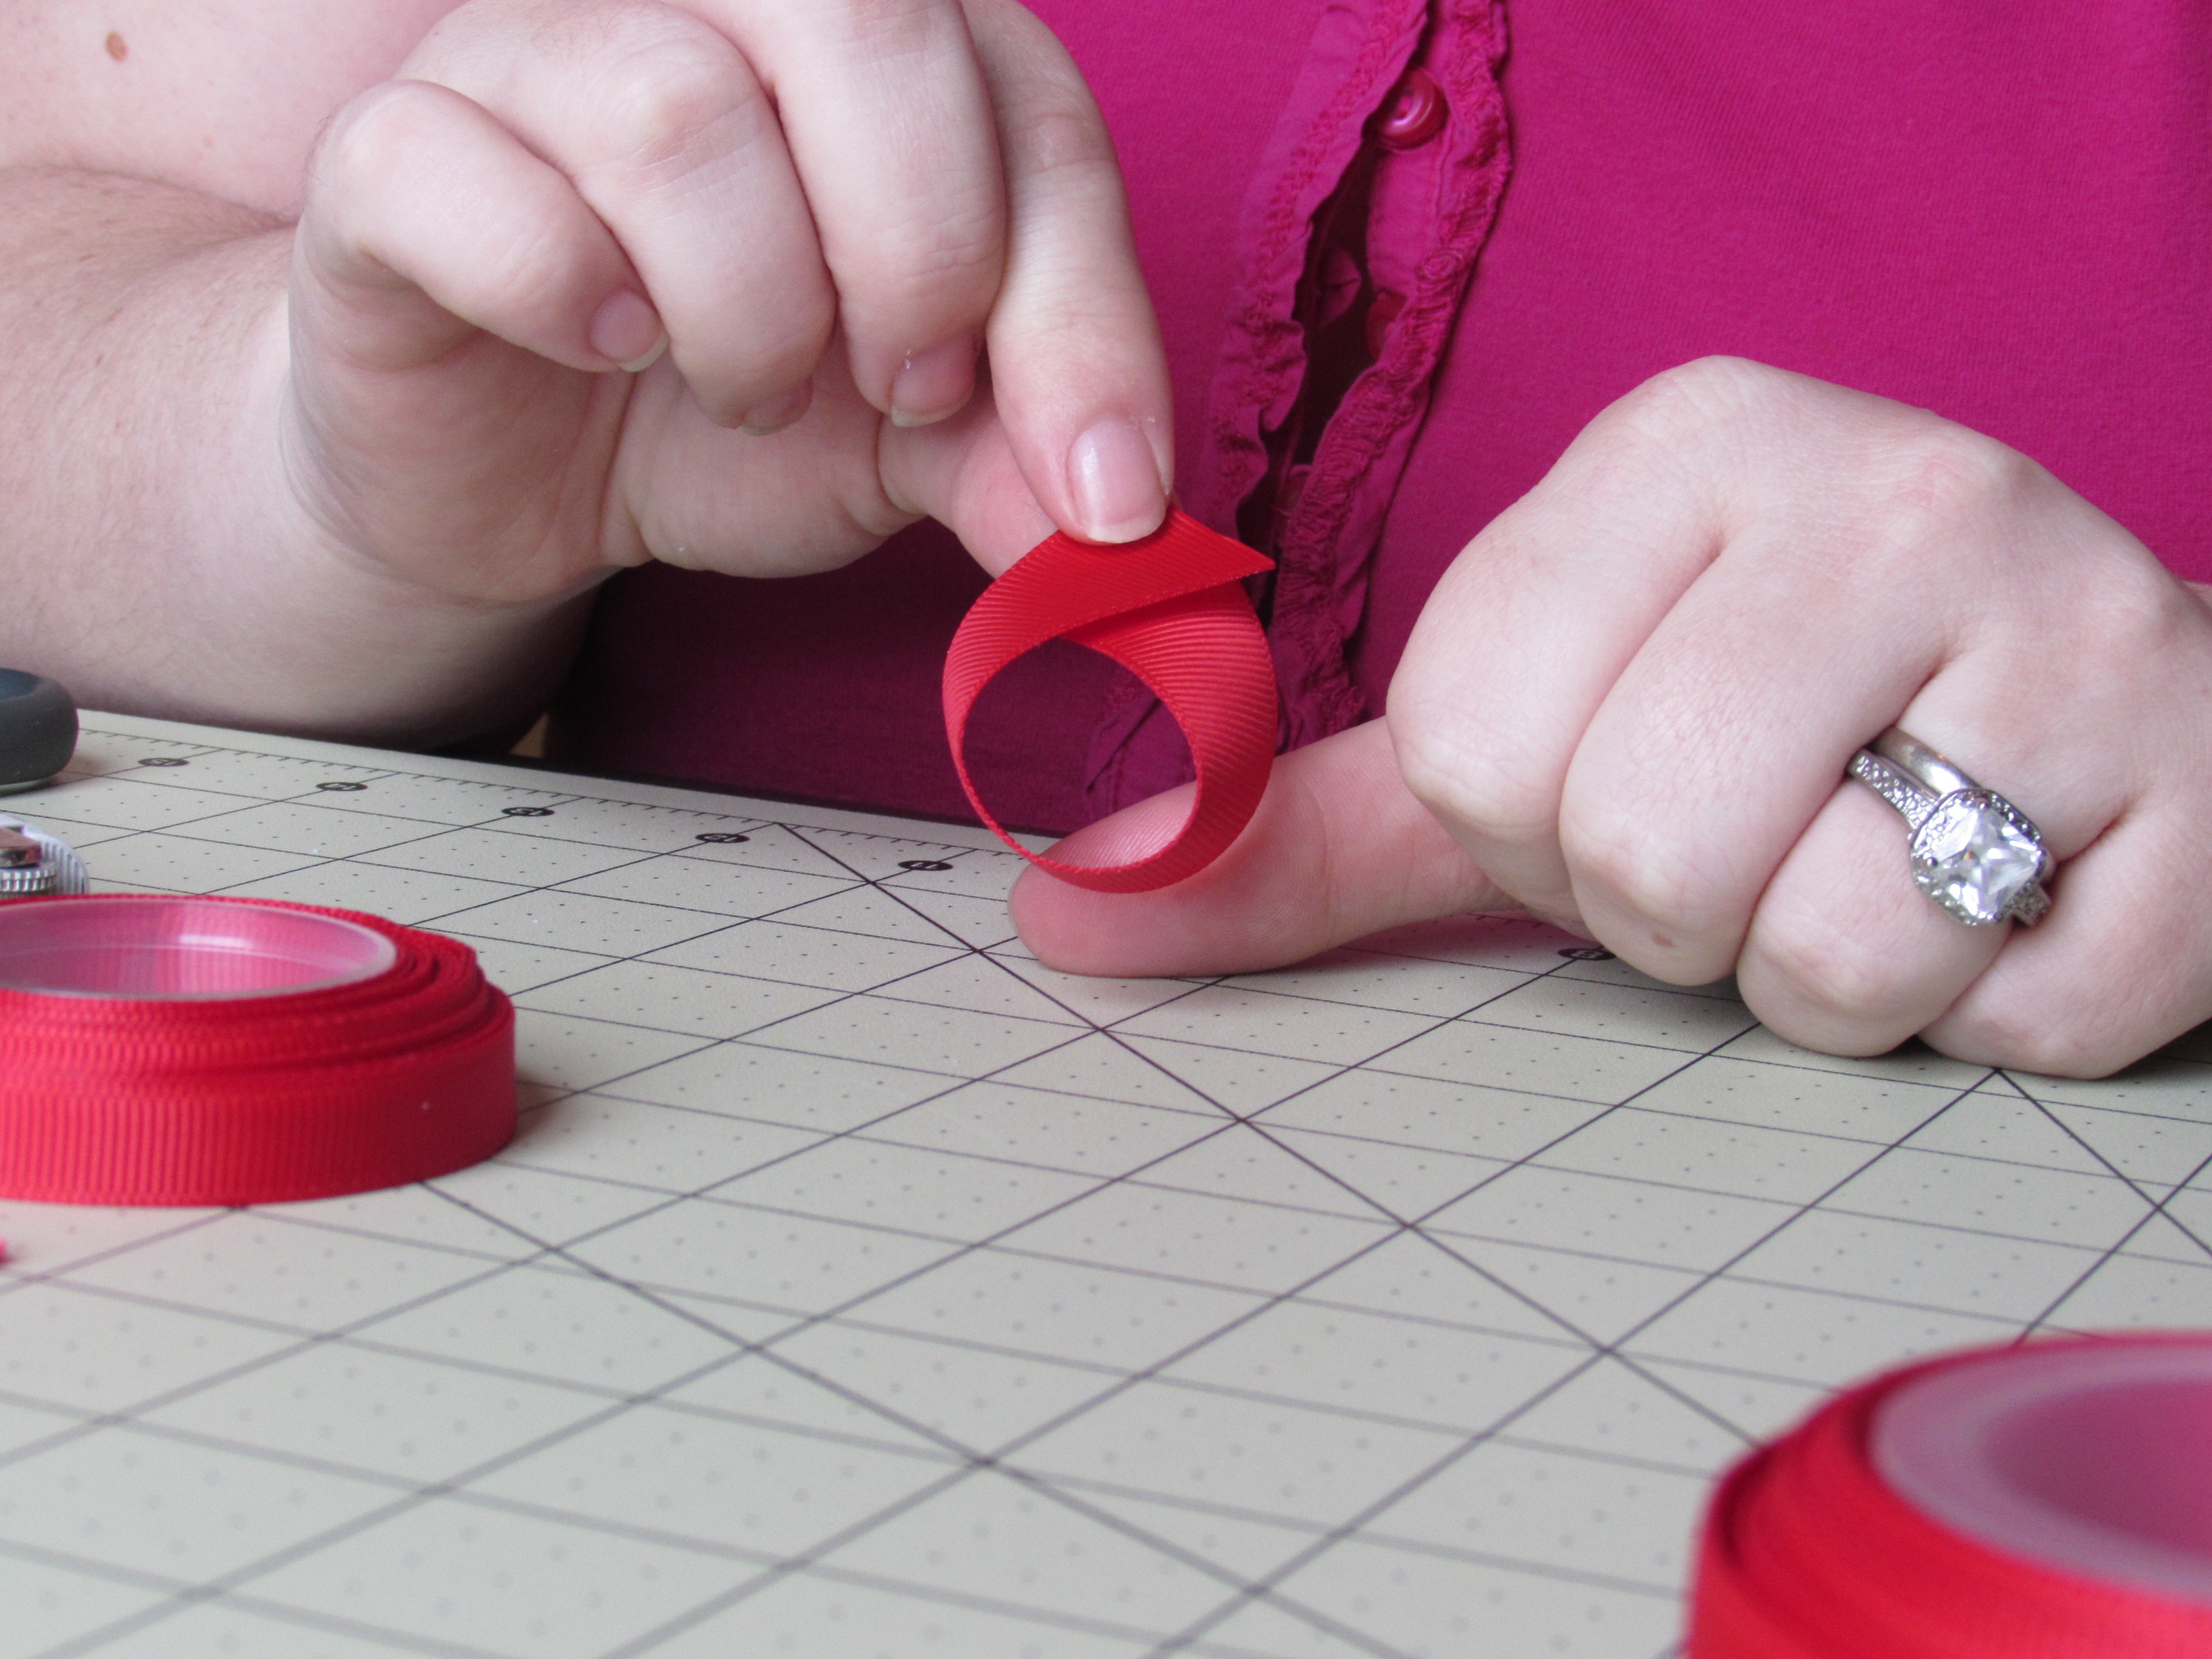
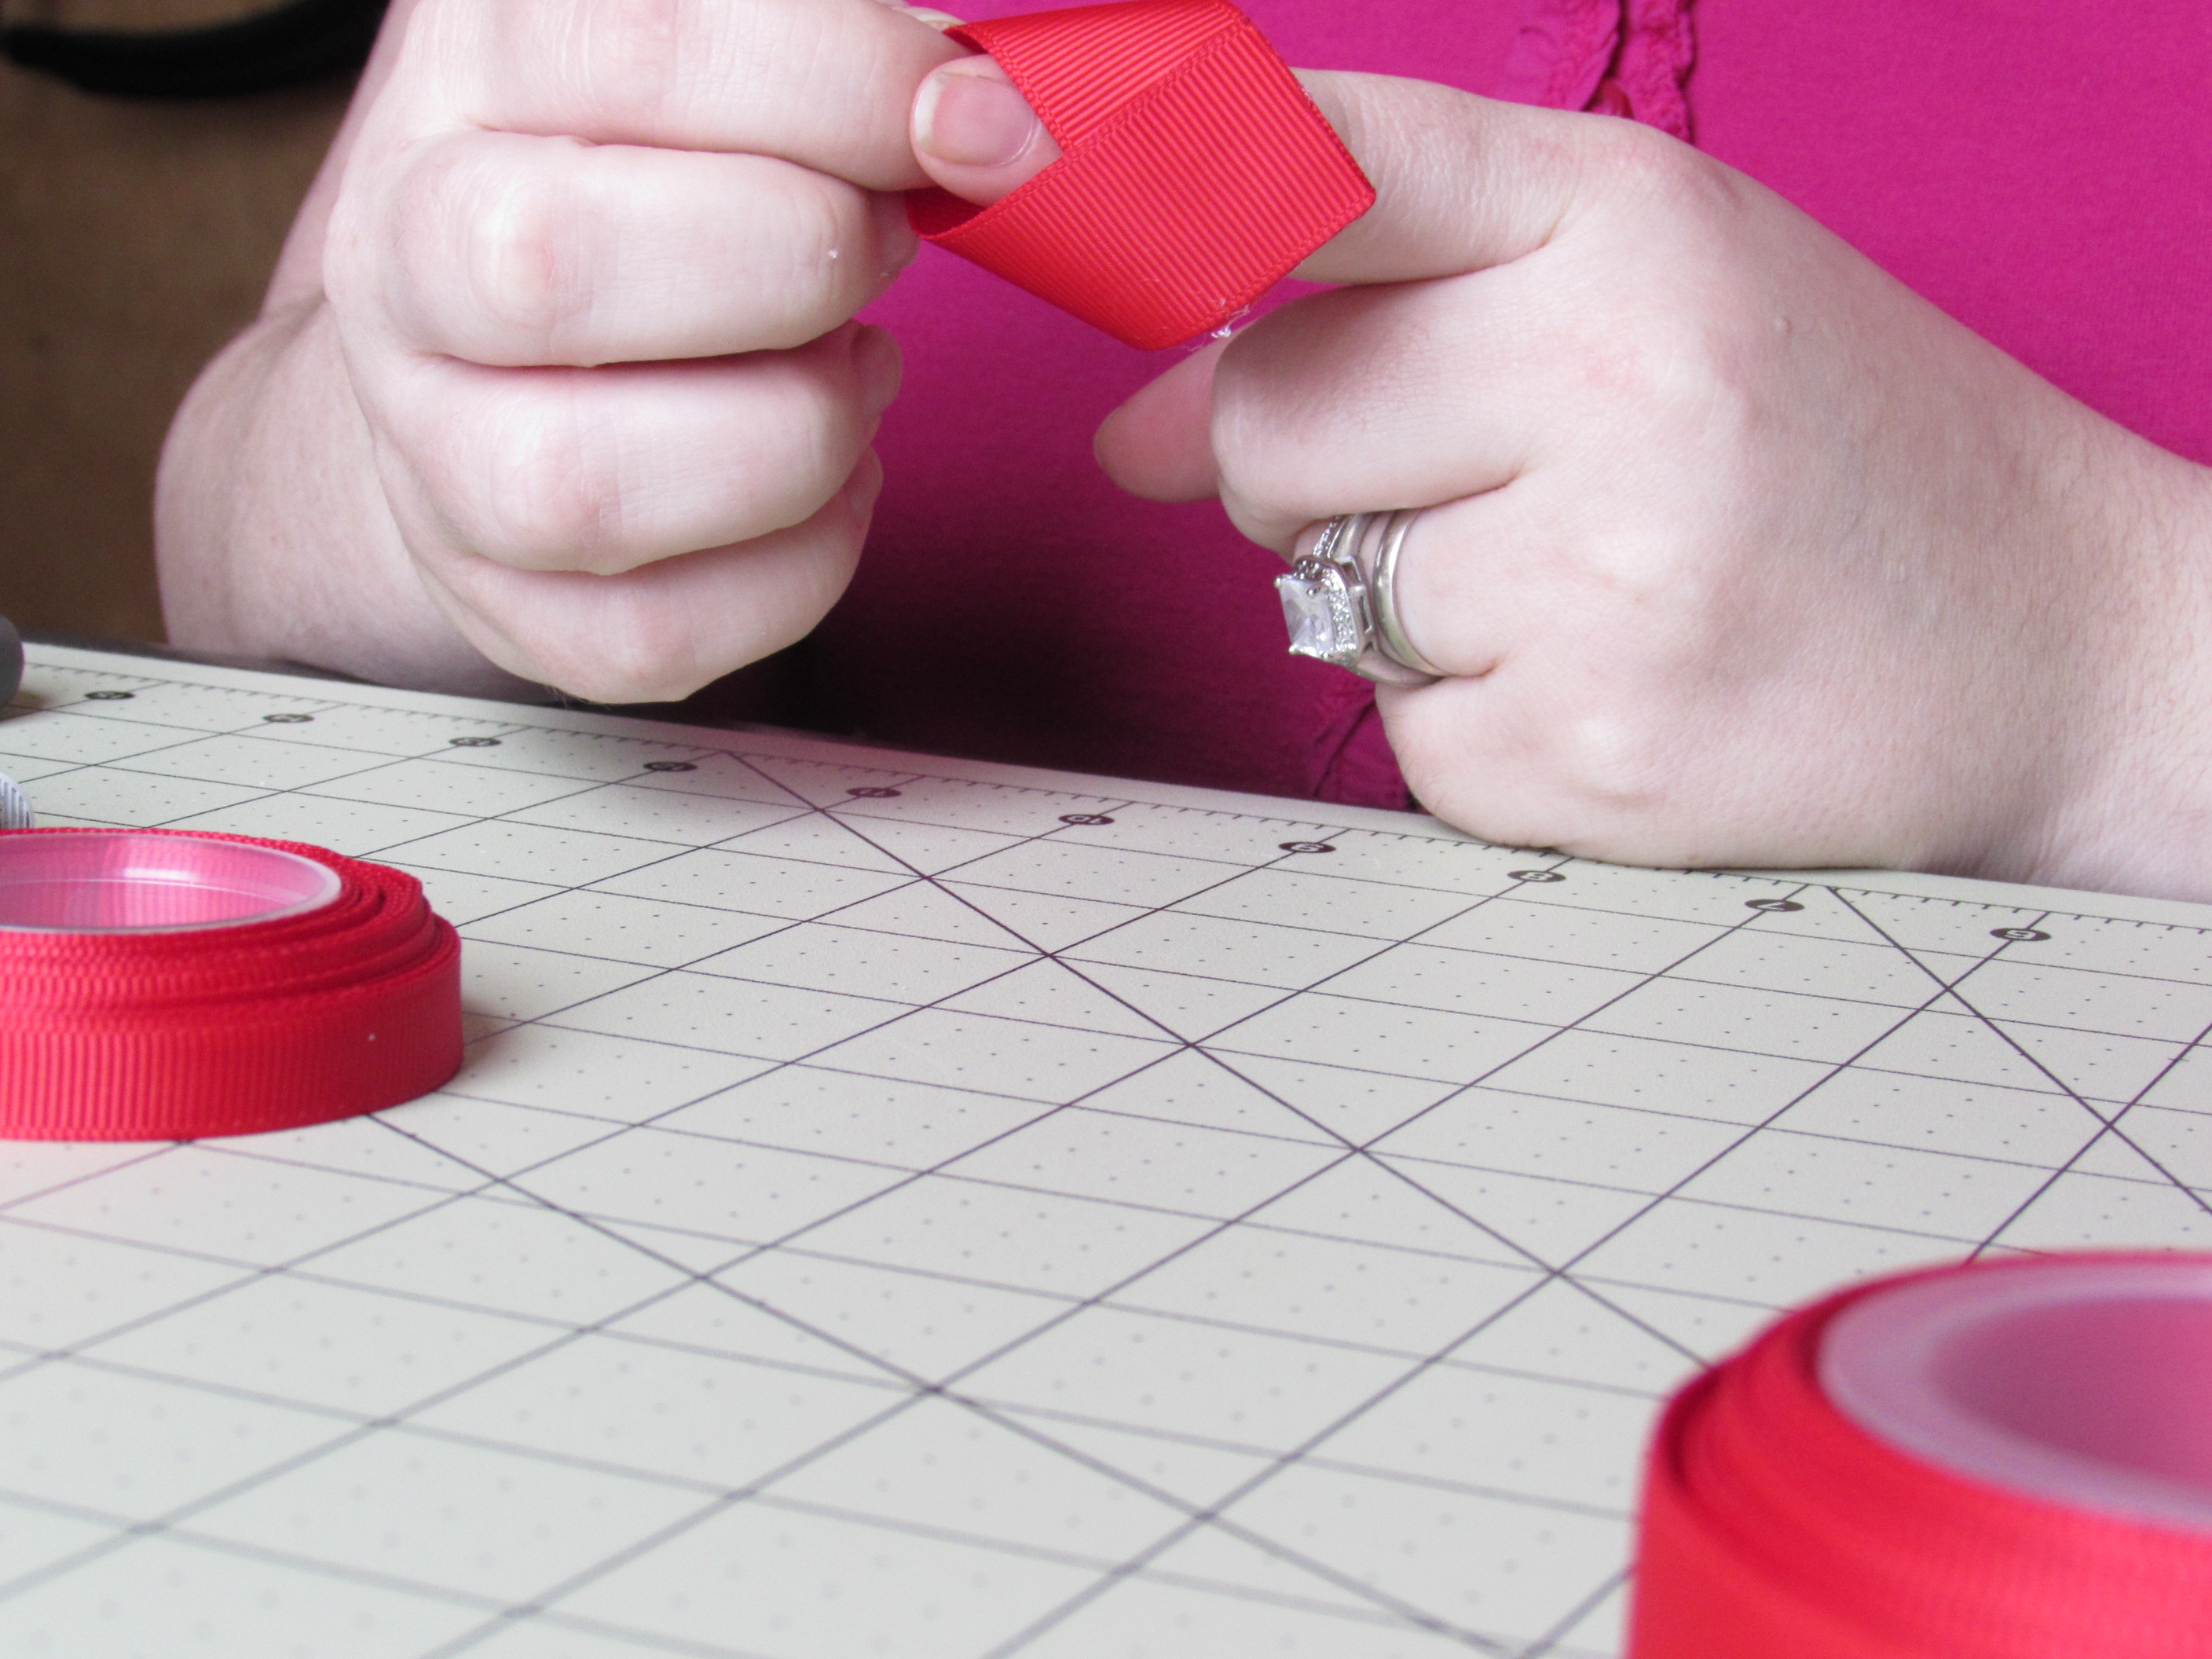 Step 3:
* Push flat down on the "loop". Glue into place.
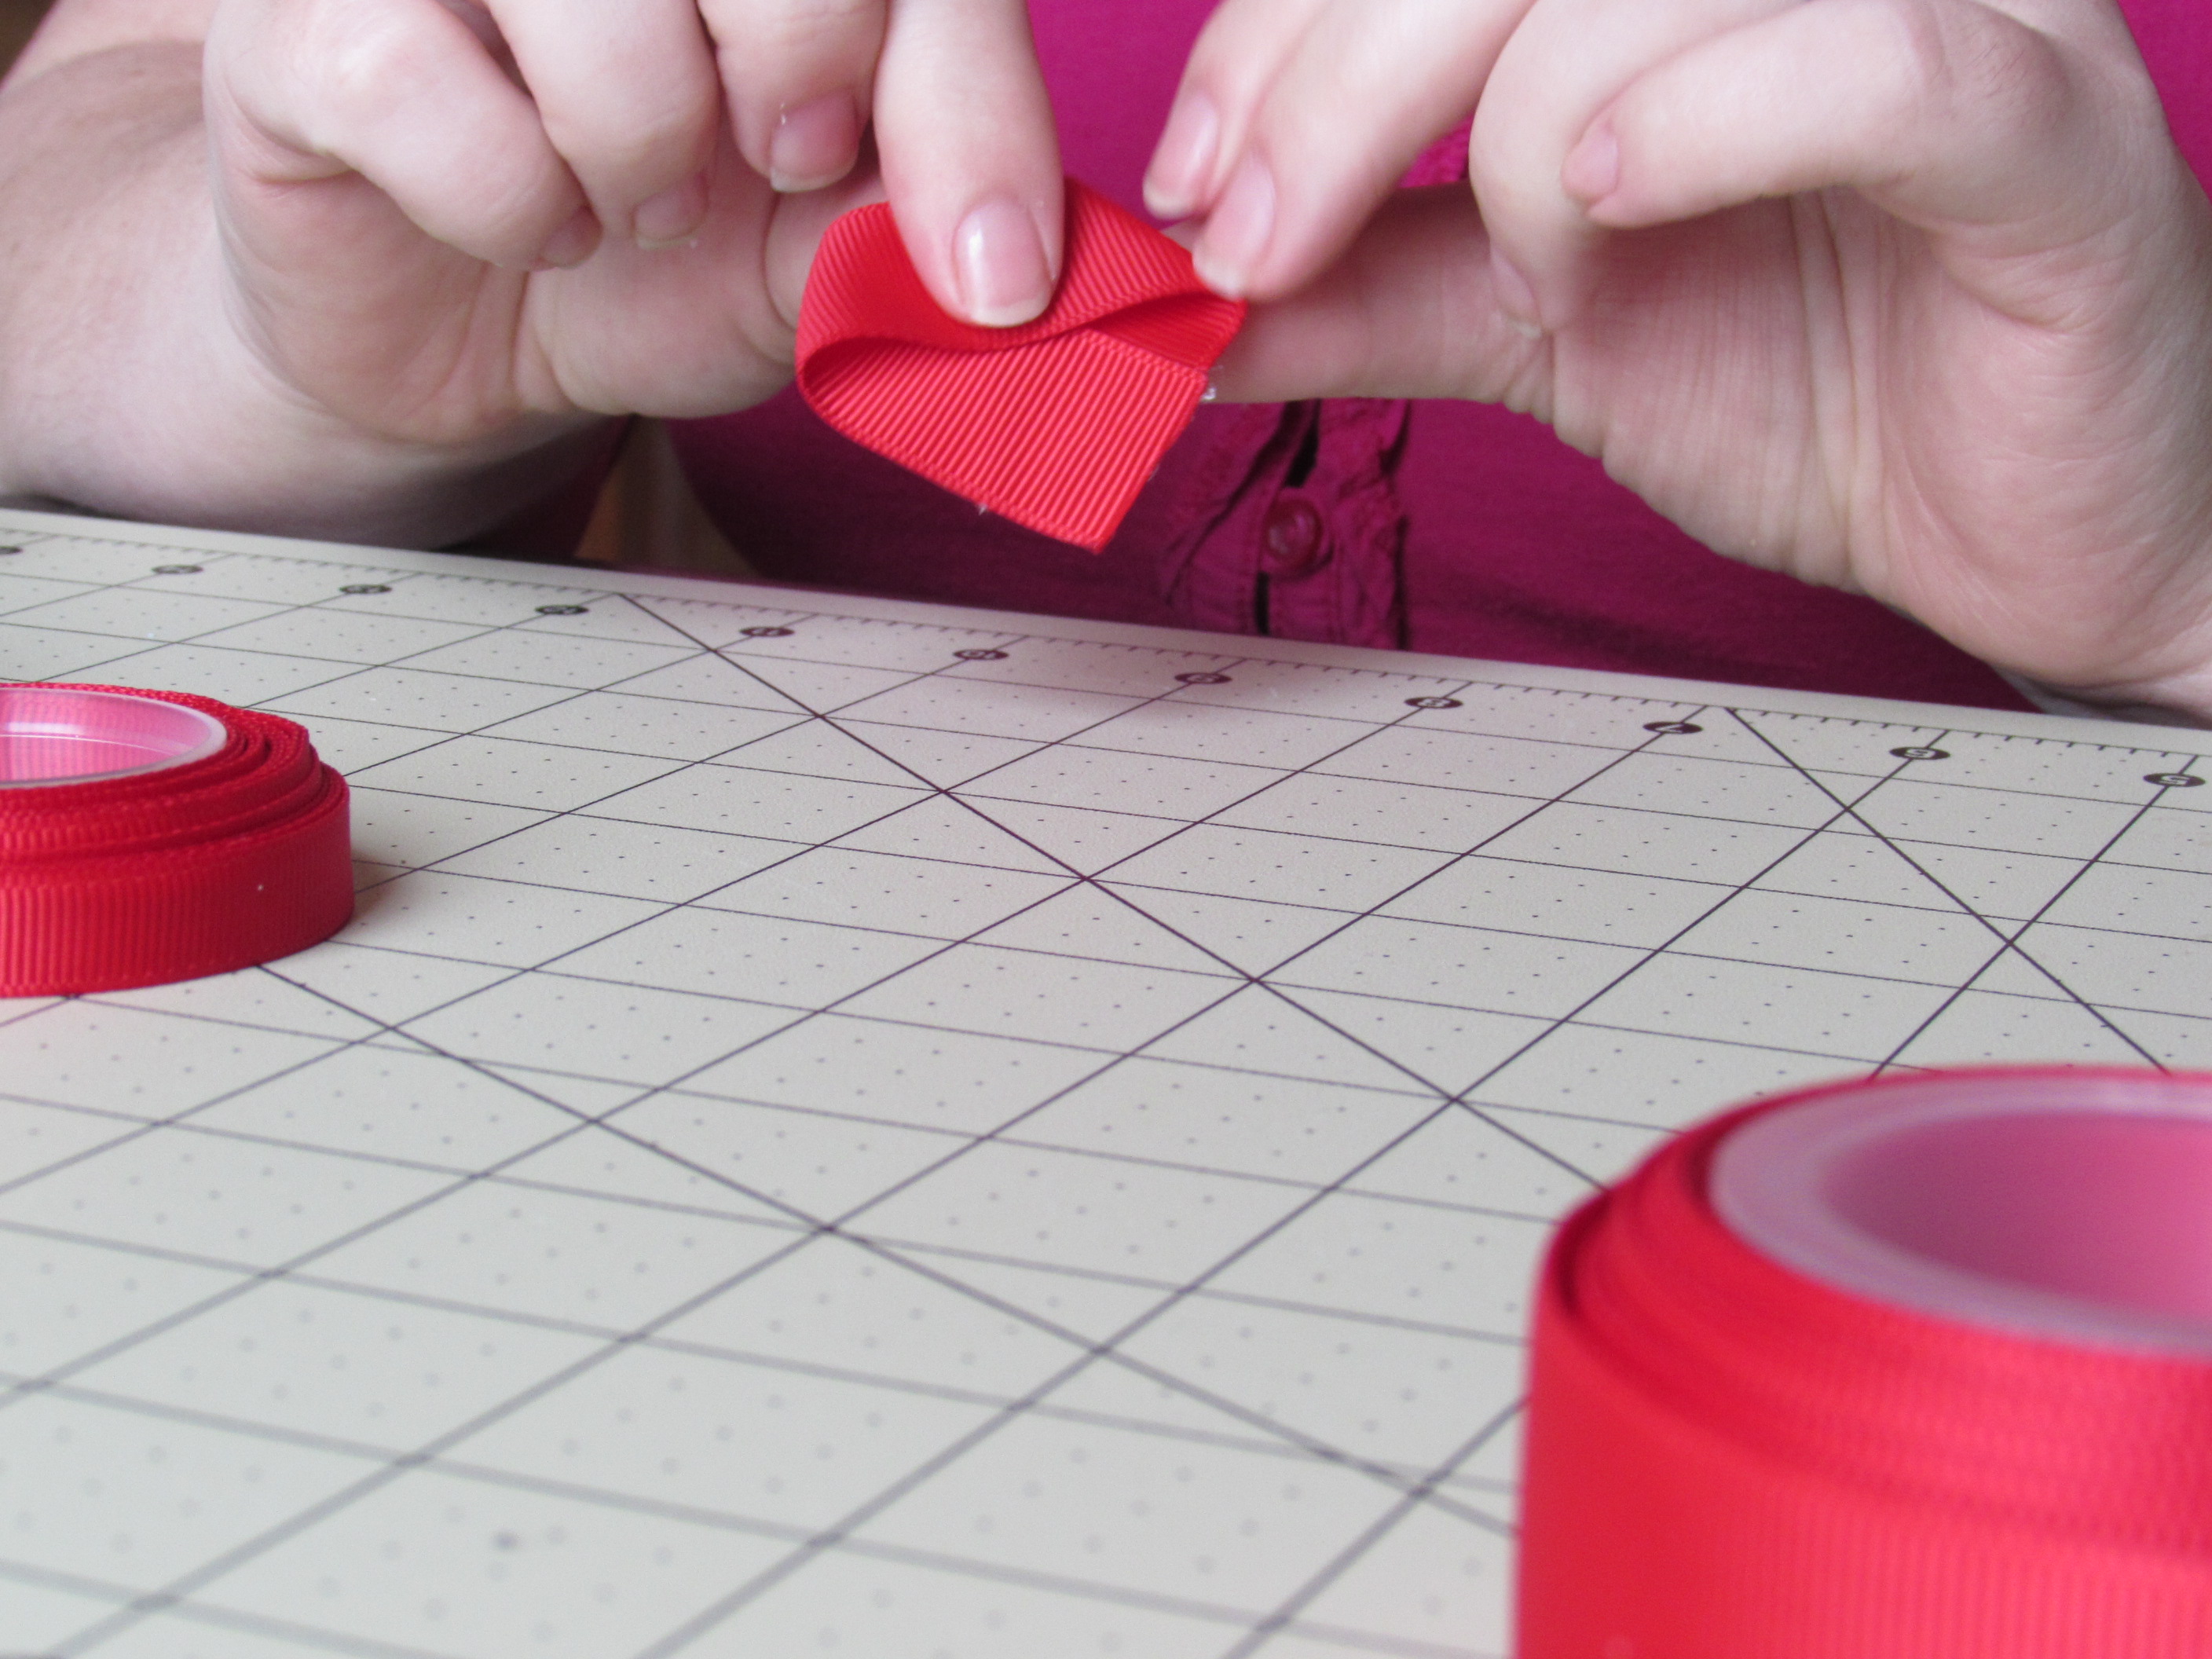
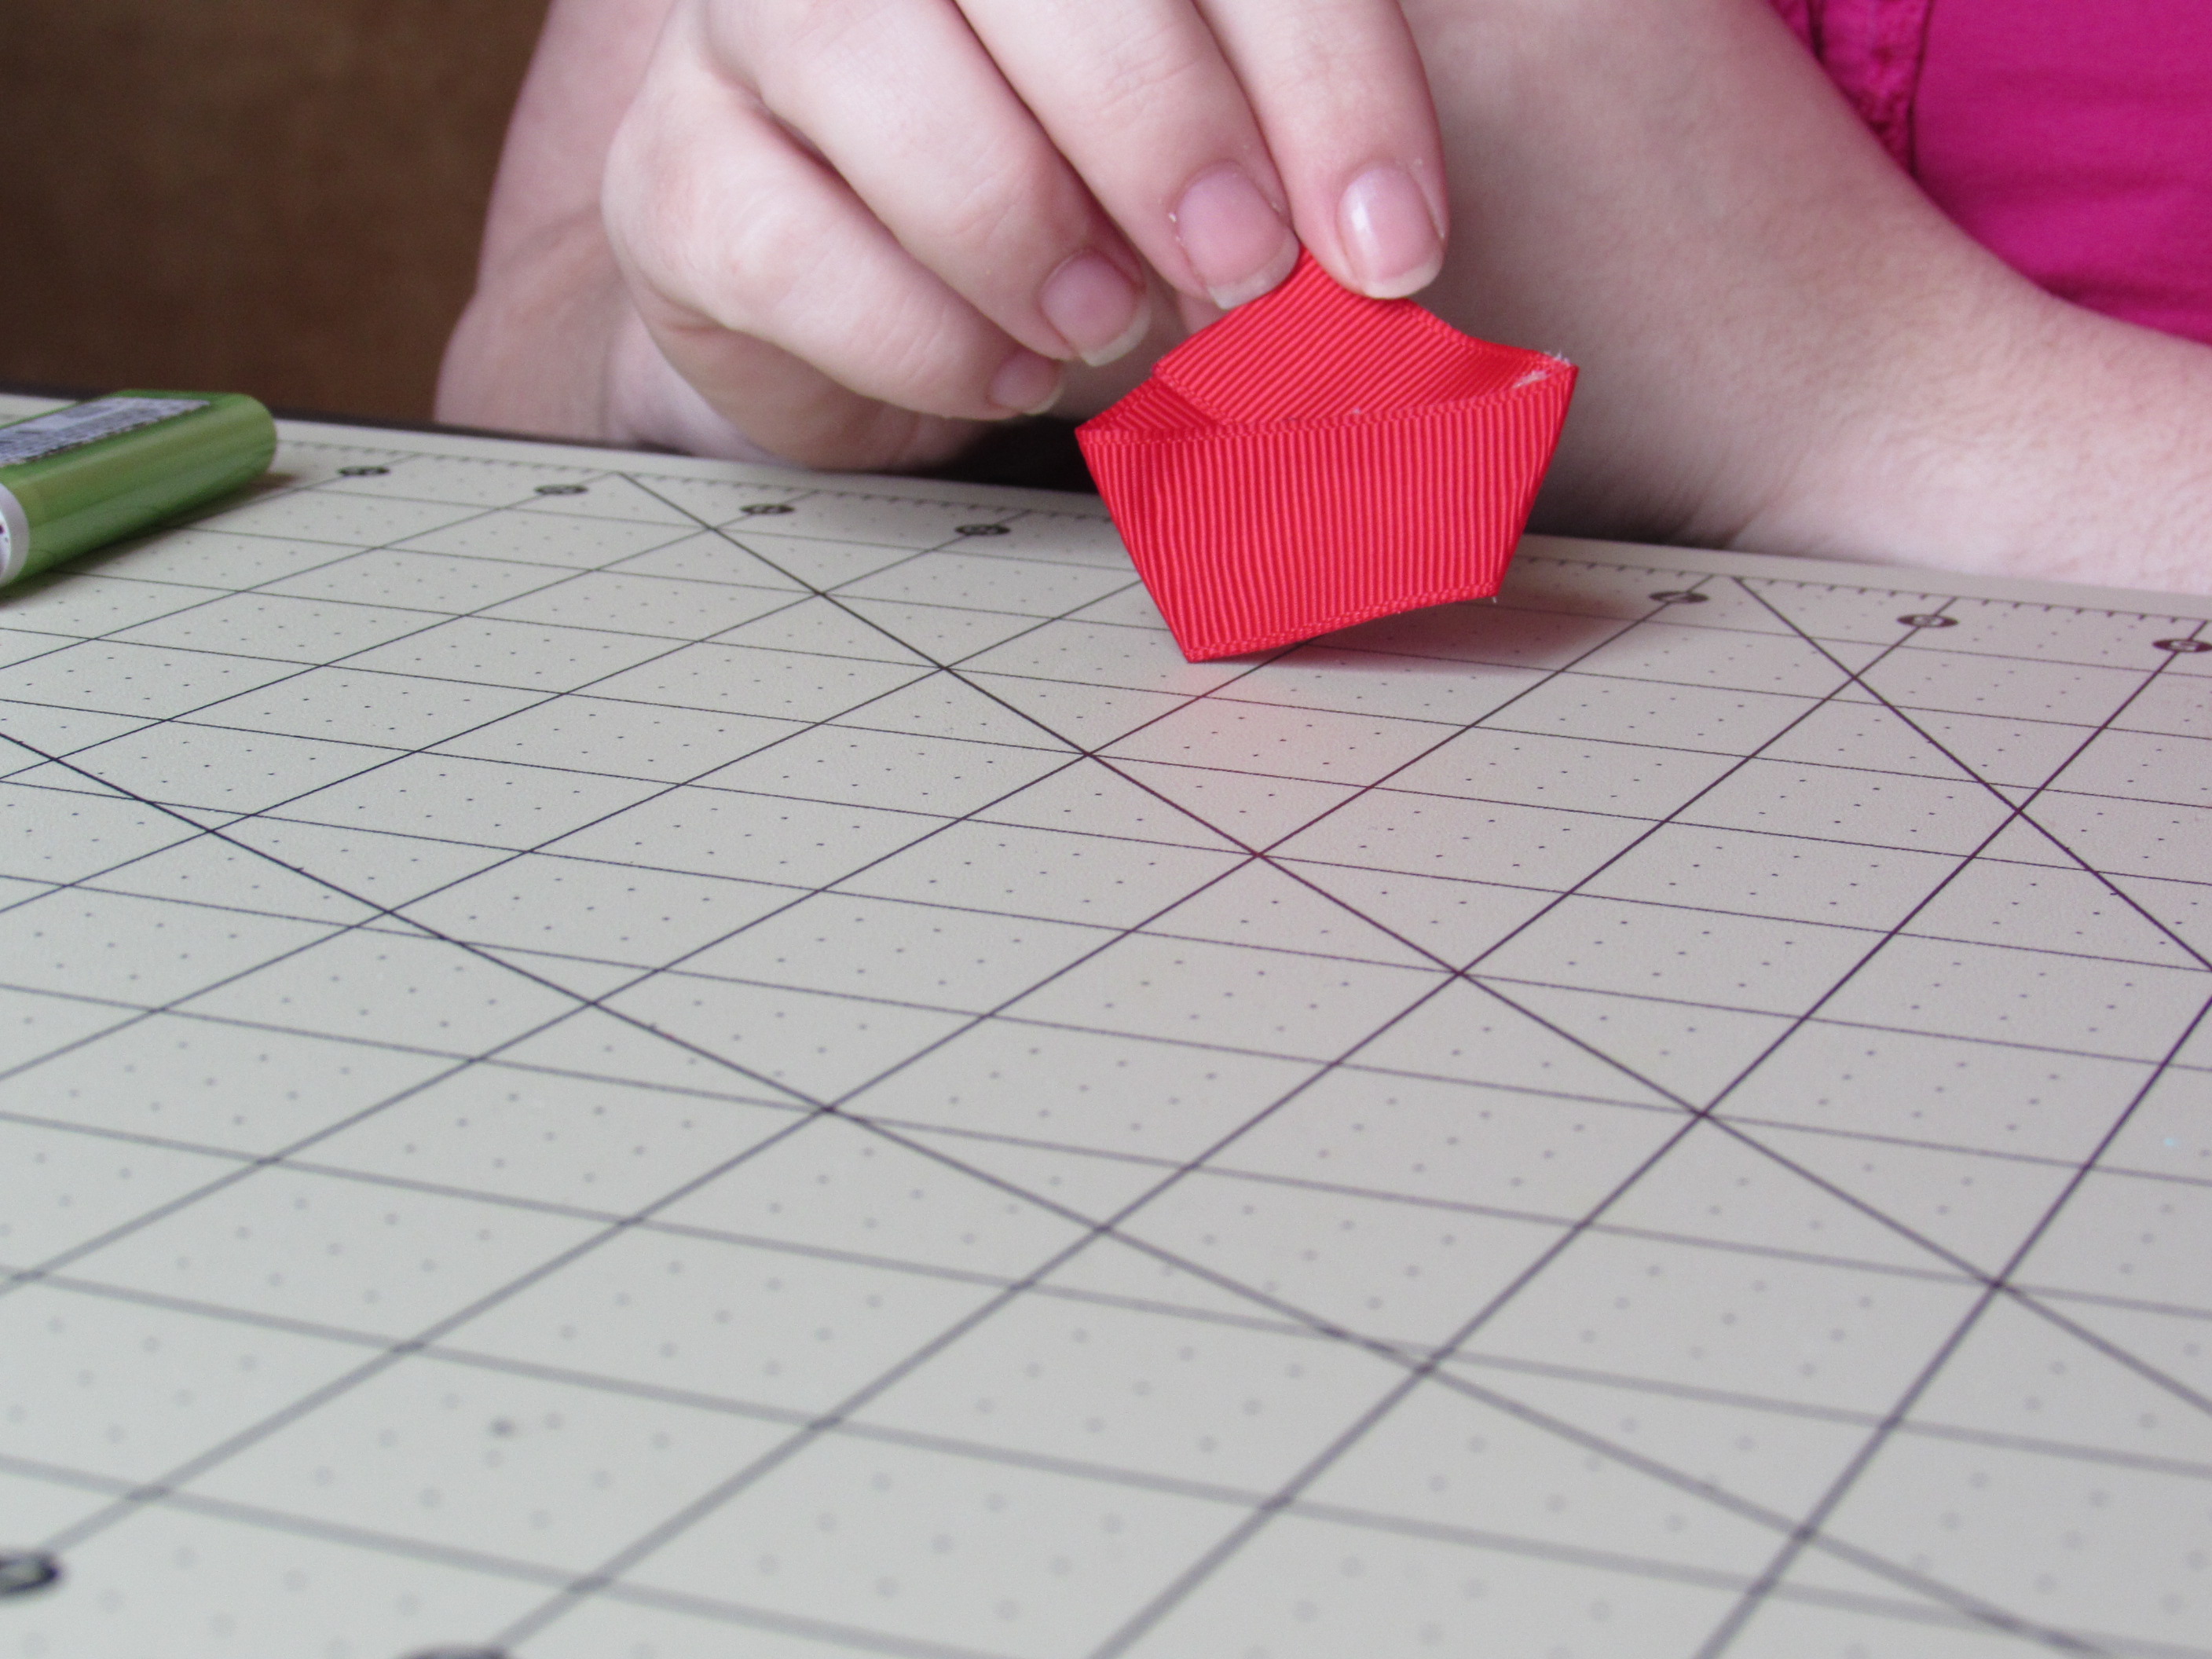 Step 4:
* Cut along the triangle at the bottom. Straight line, straight across. * HEAT SEAL *
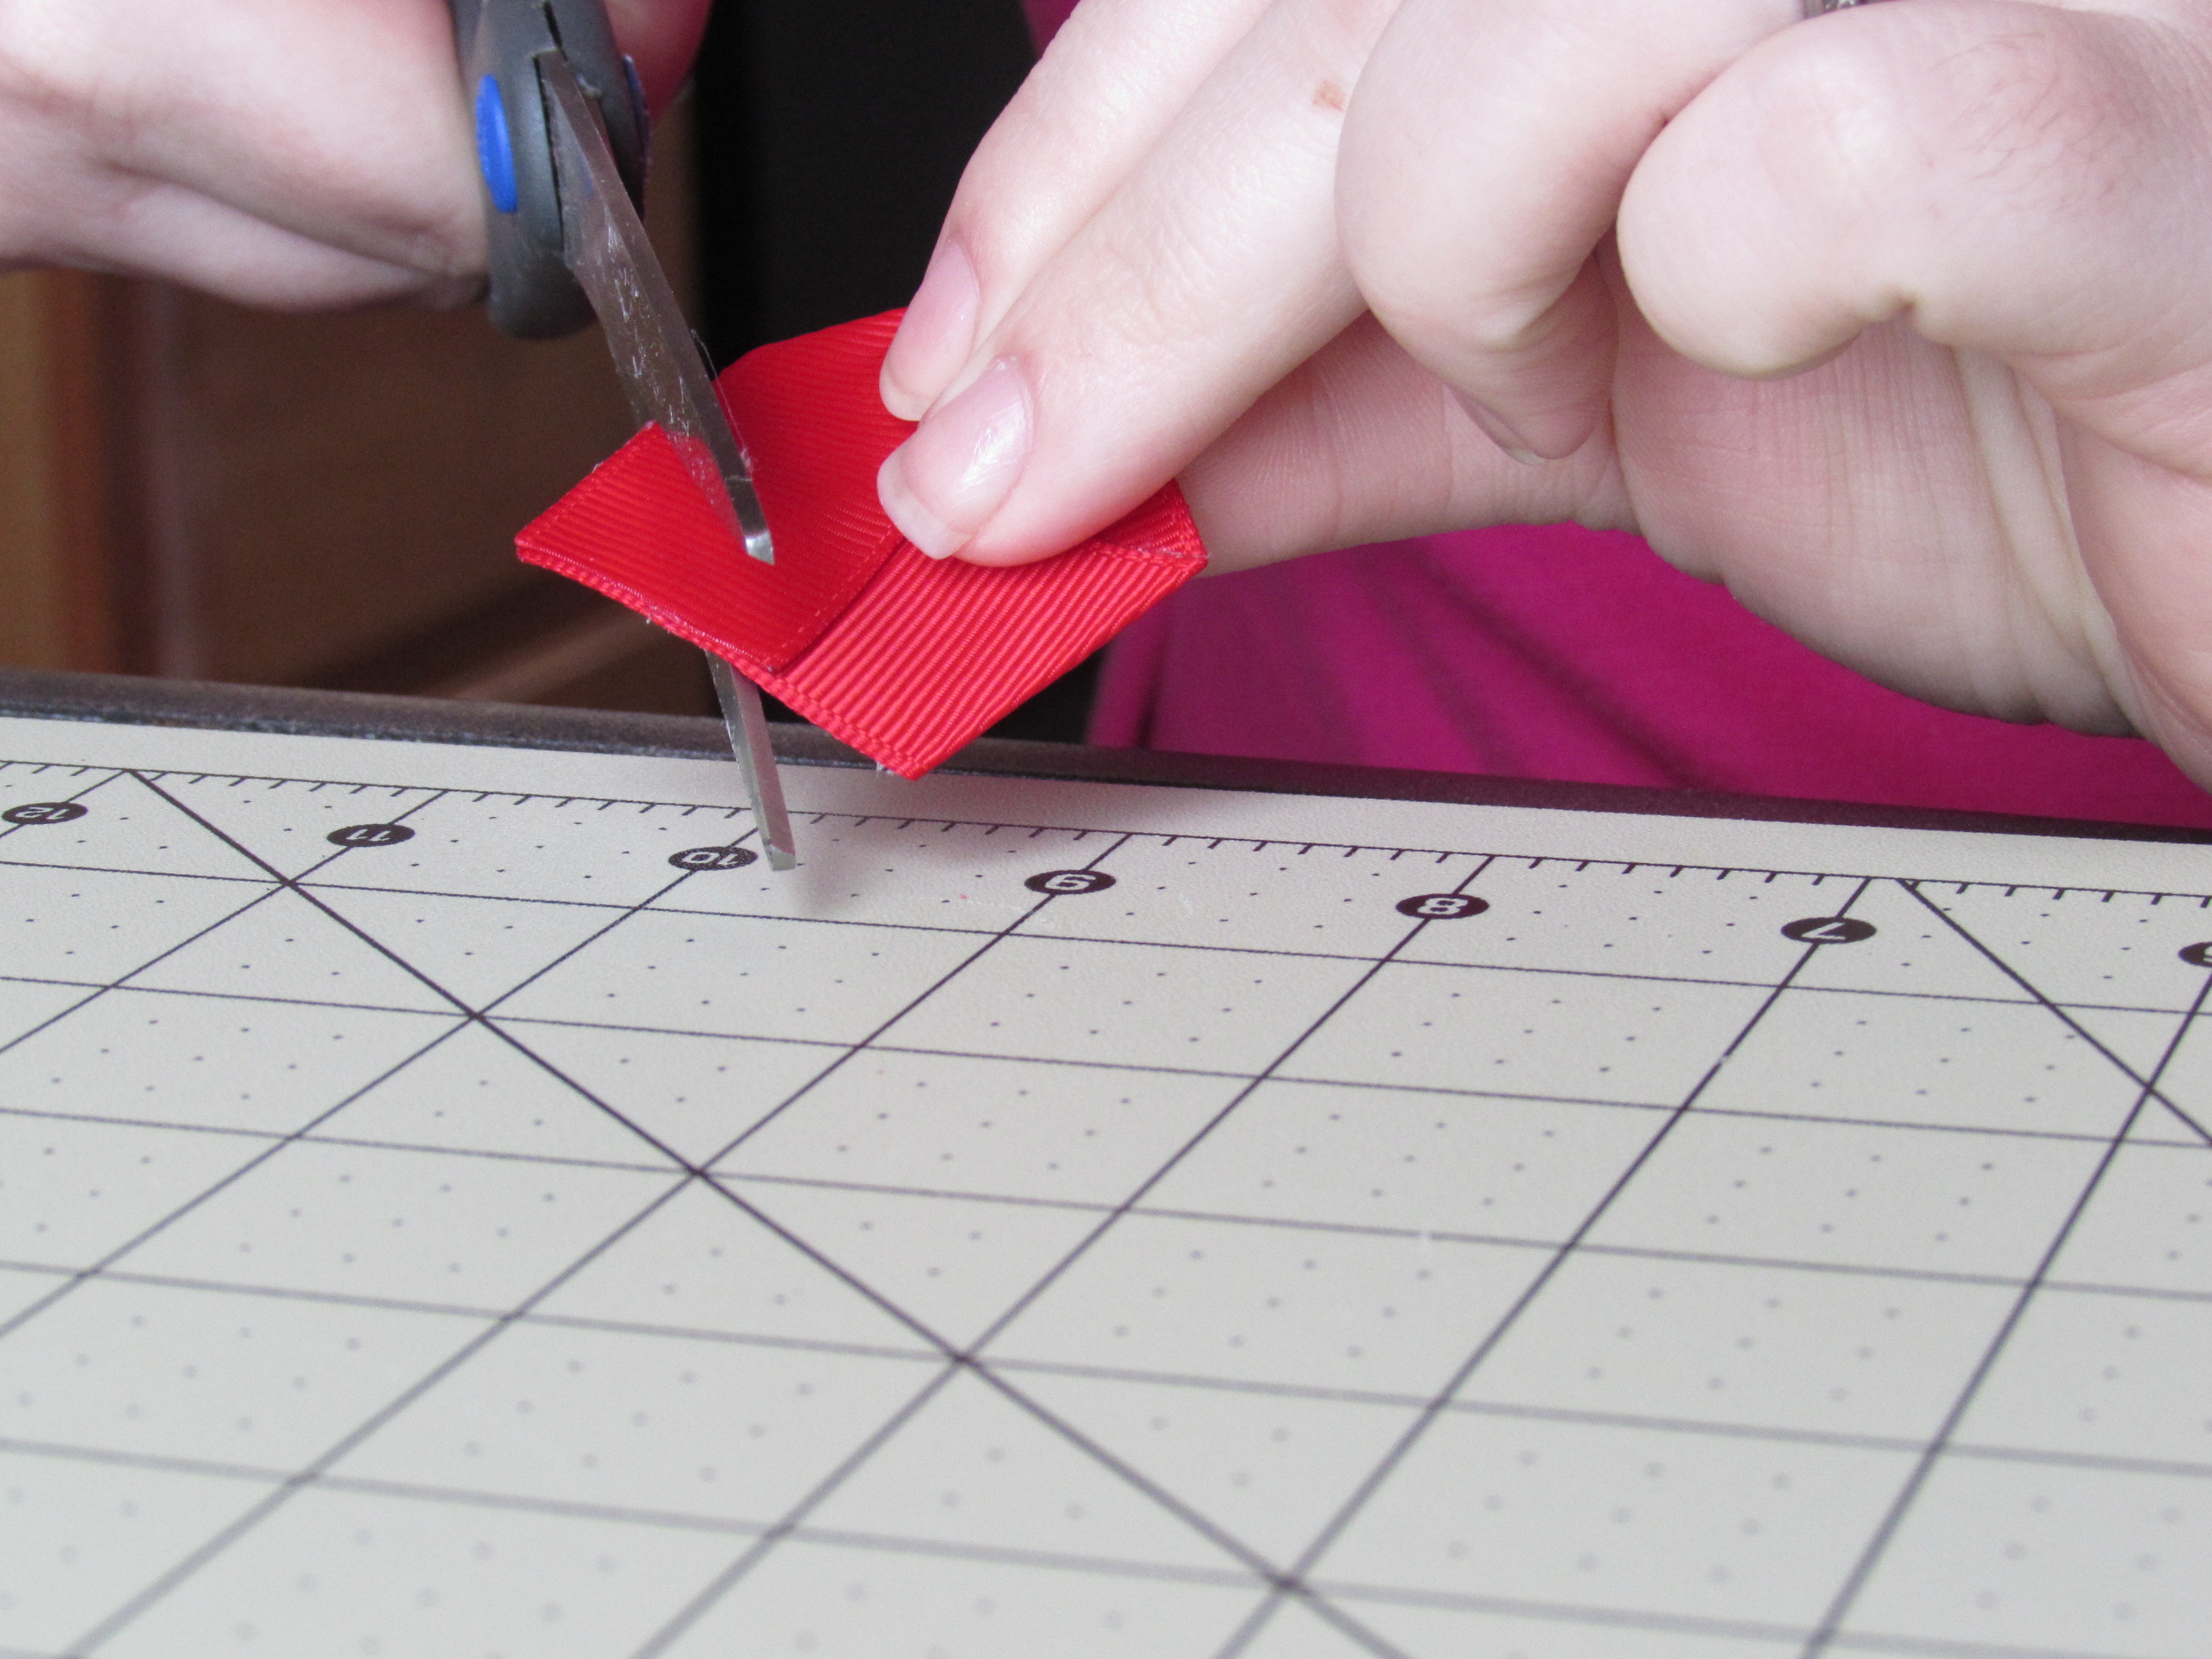
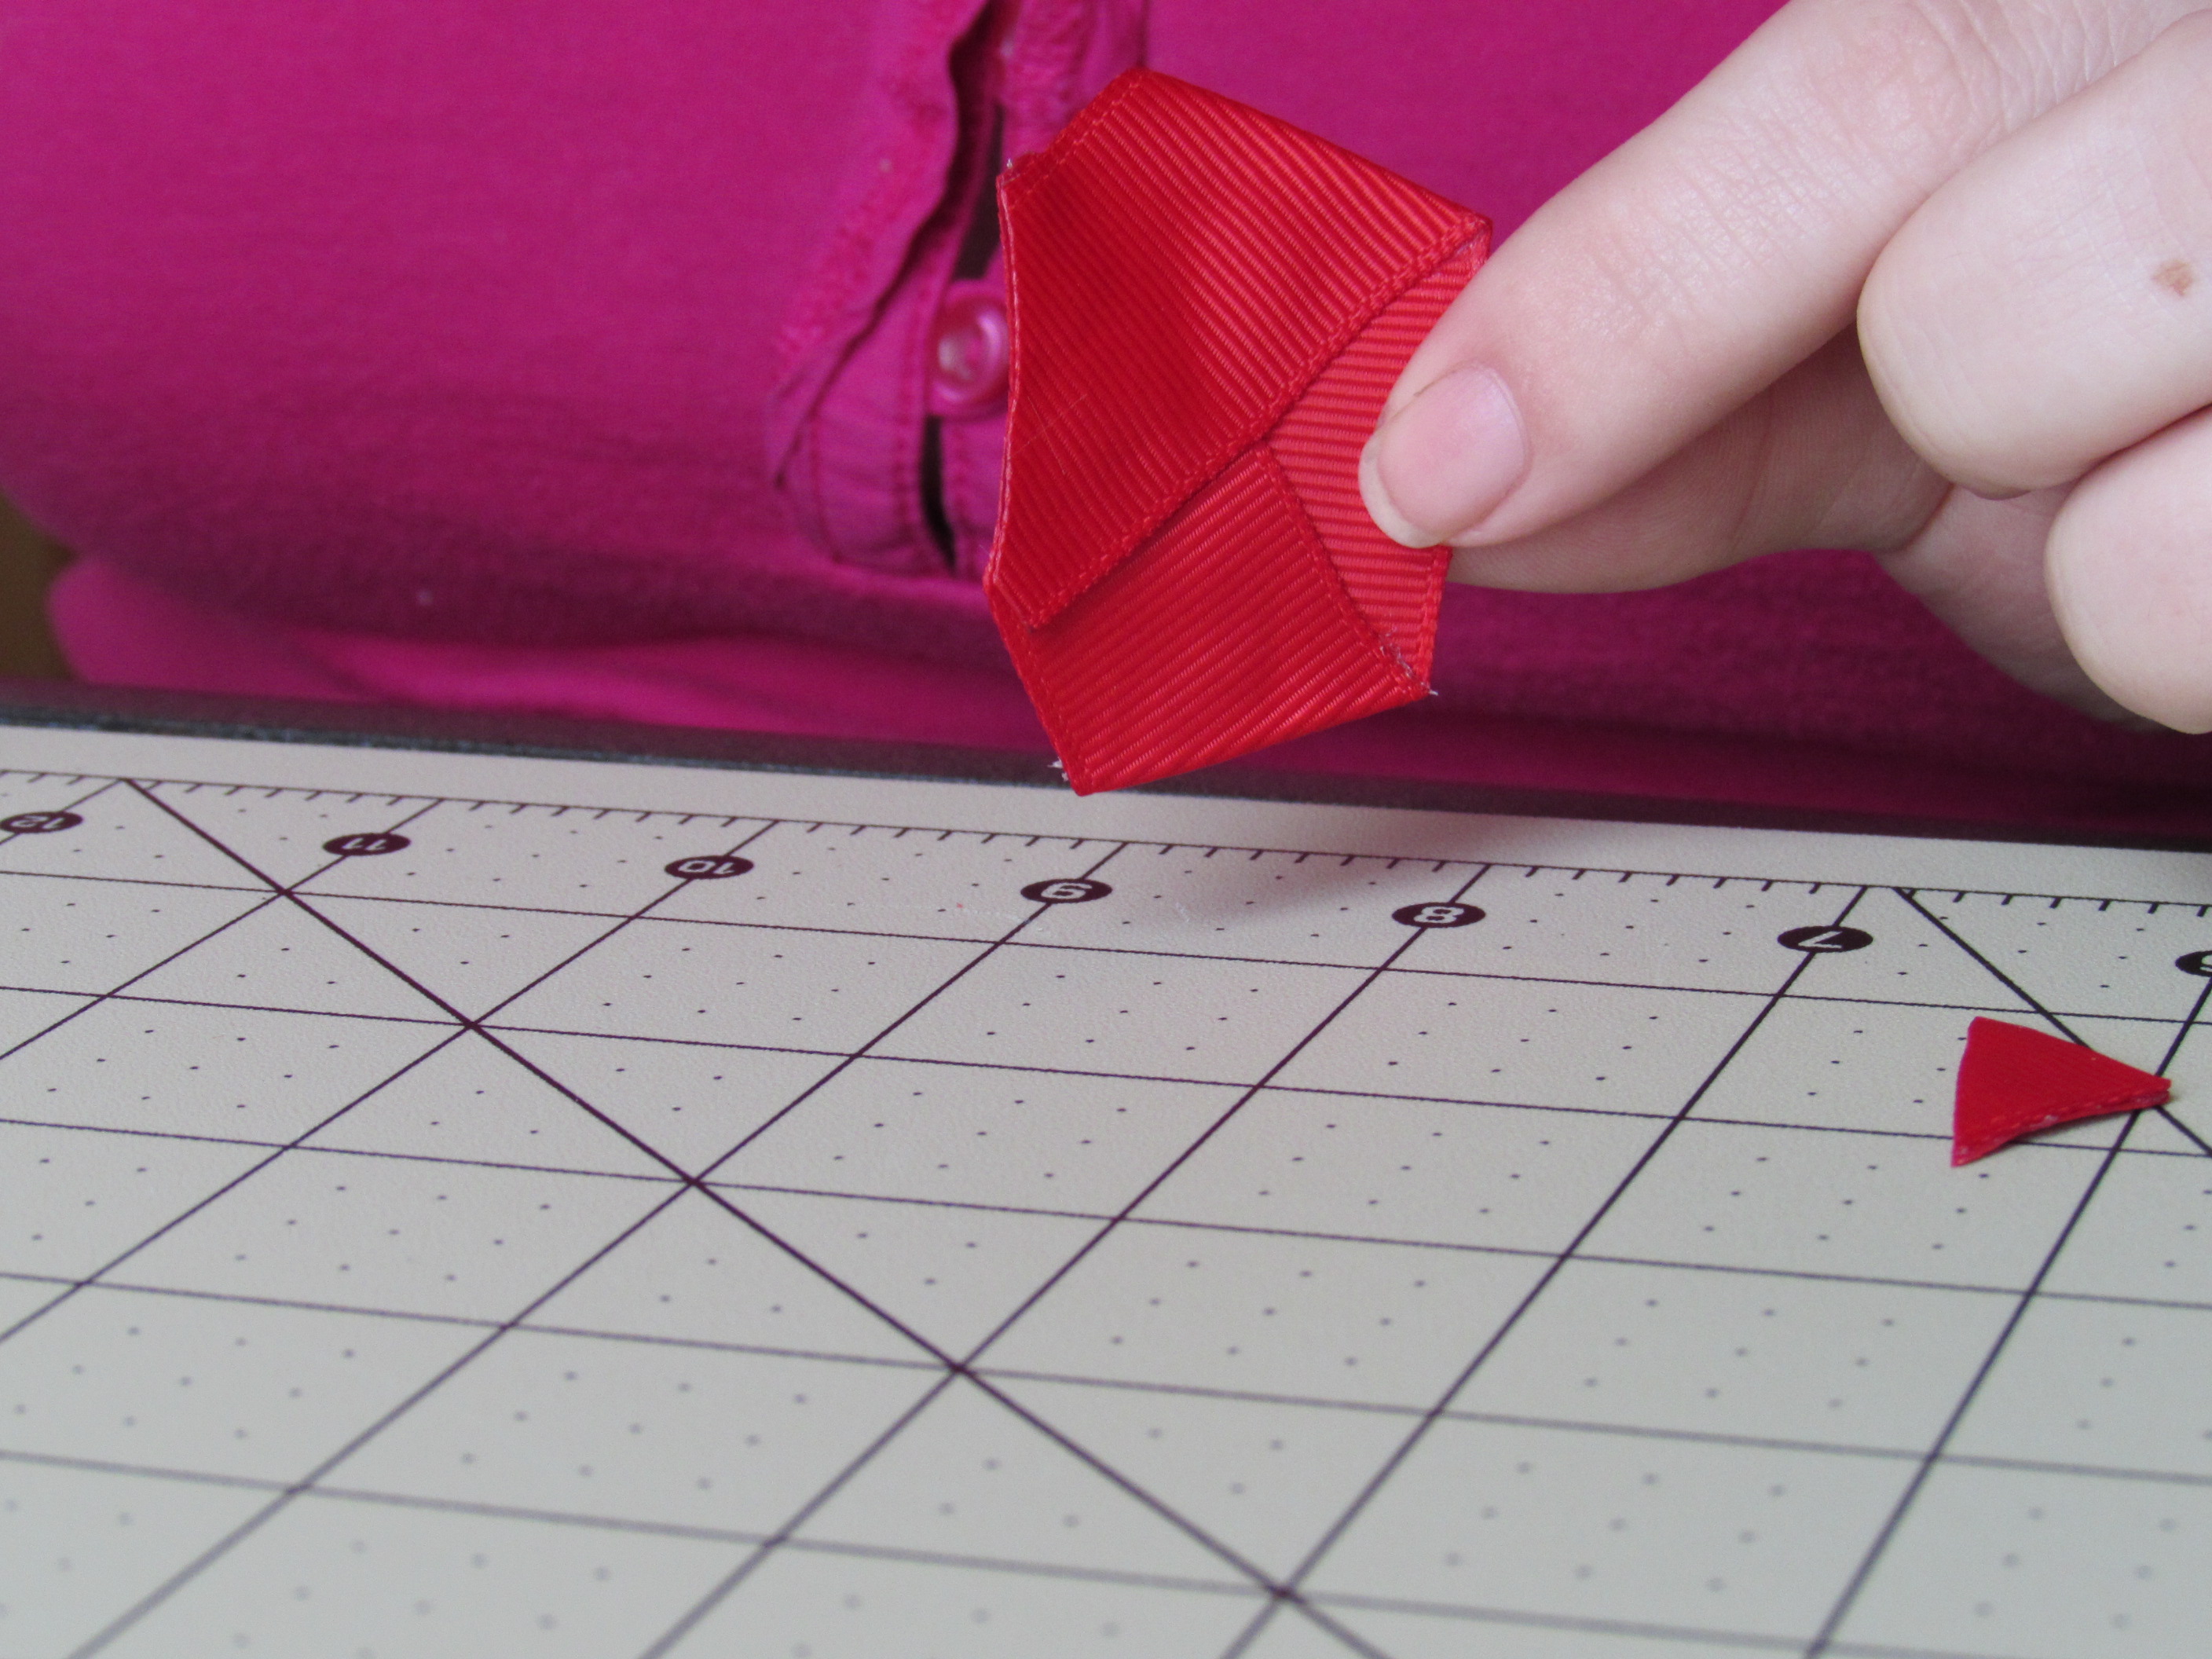
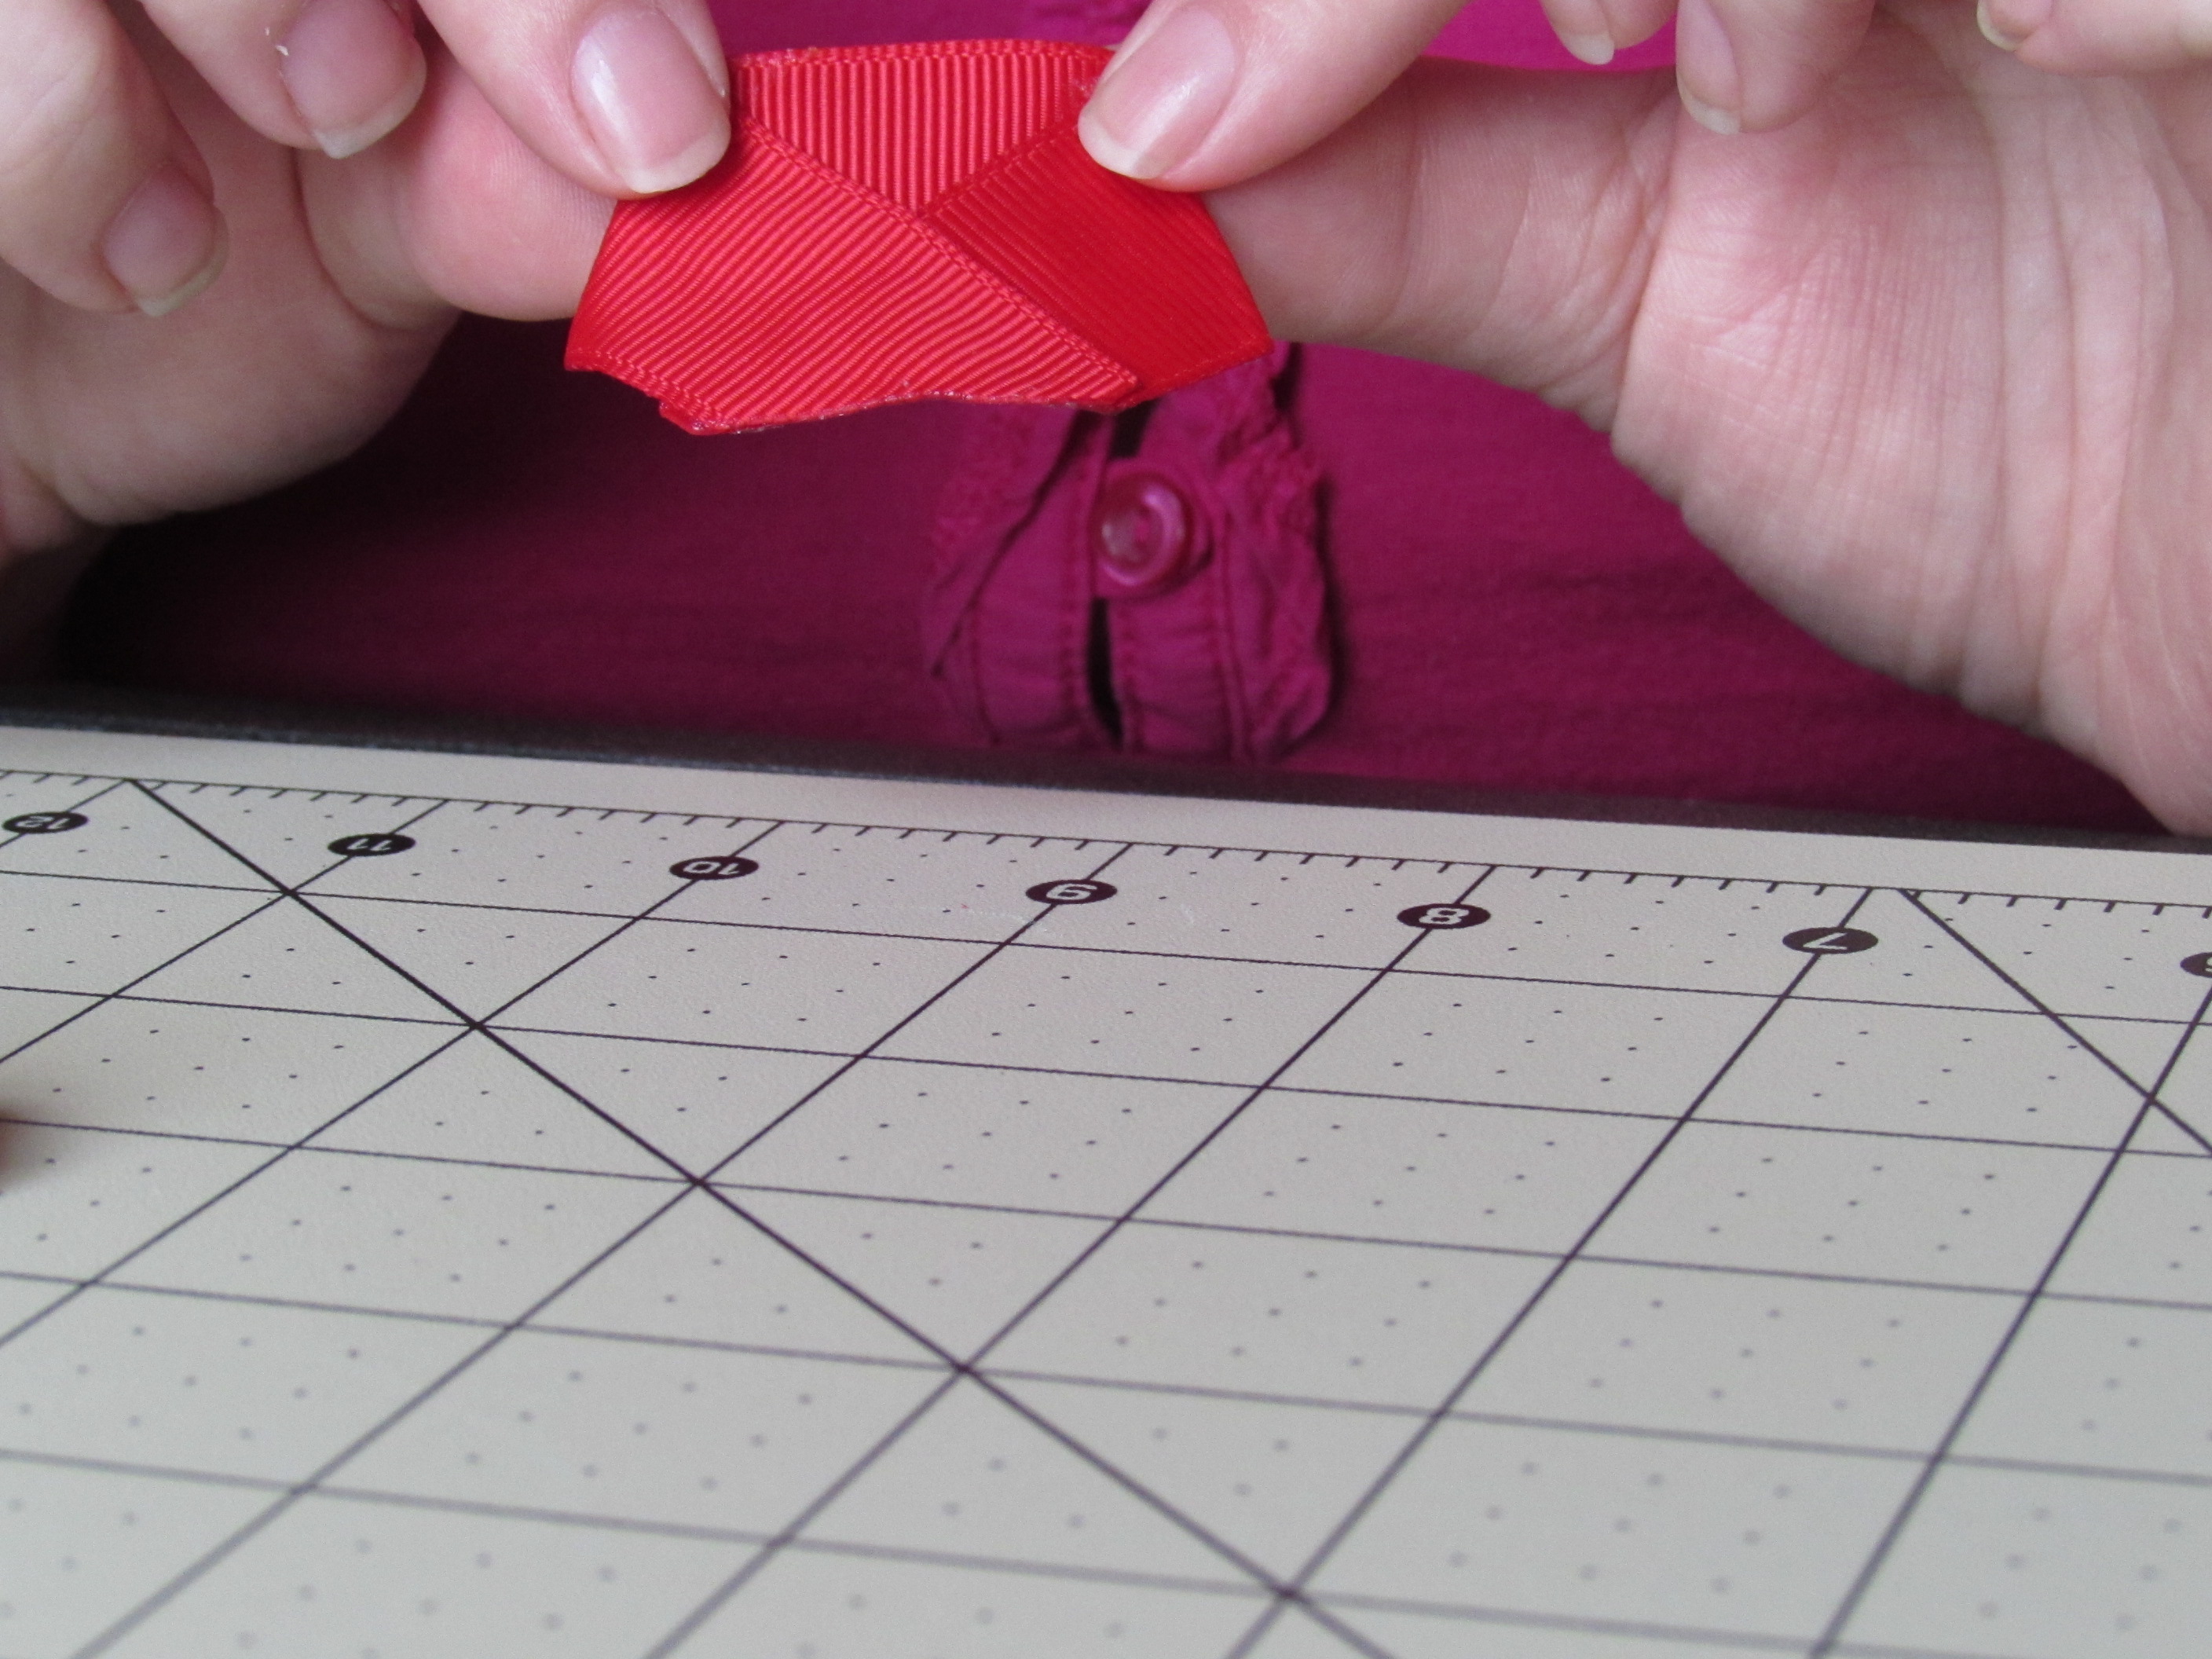 Step 5:
* Cut 3 { 2" pieces } of 3/8" ribbon. * HEAT SEAL! *
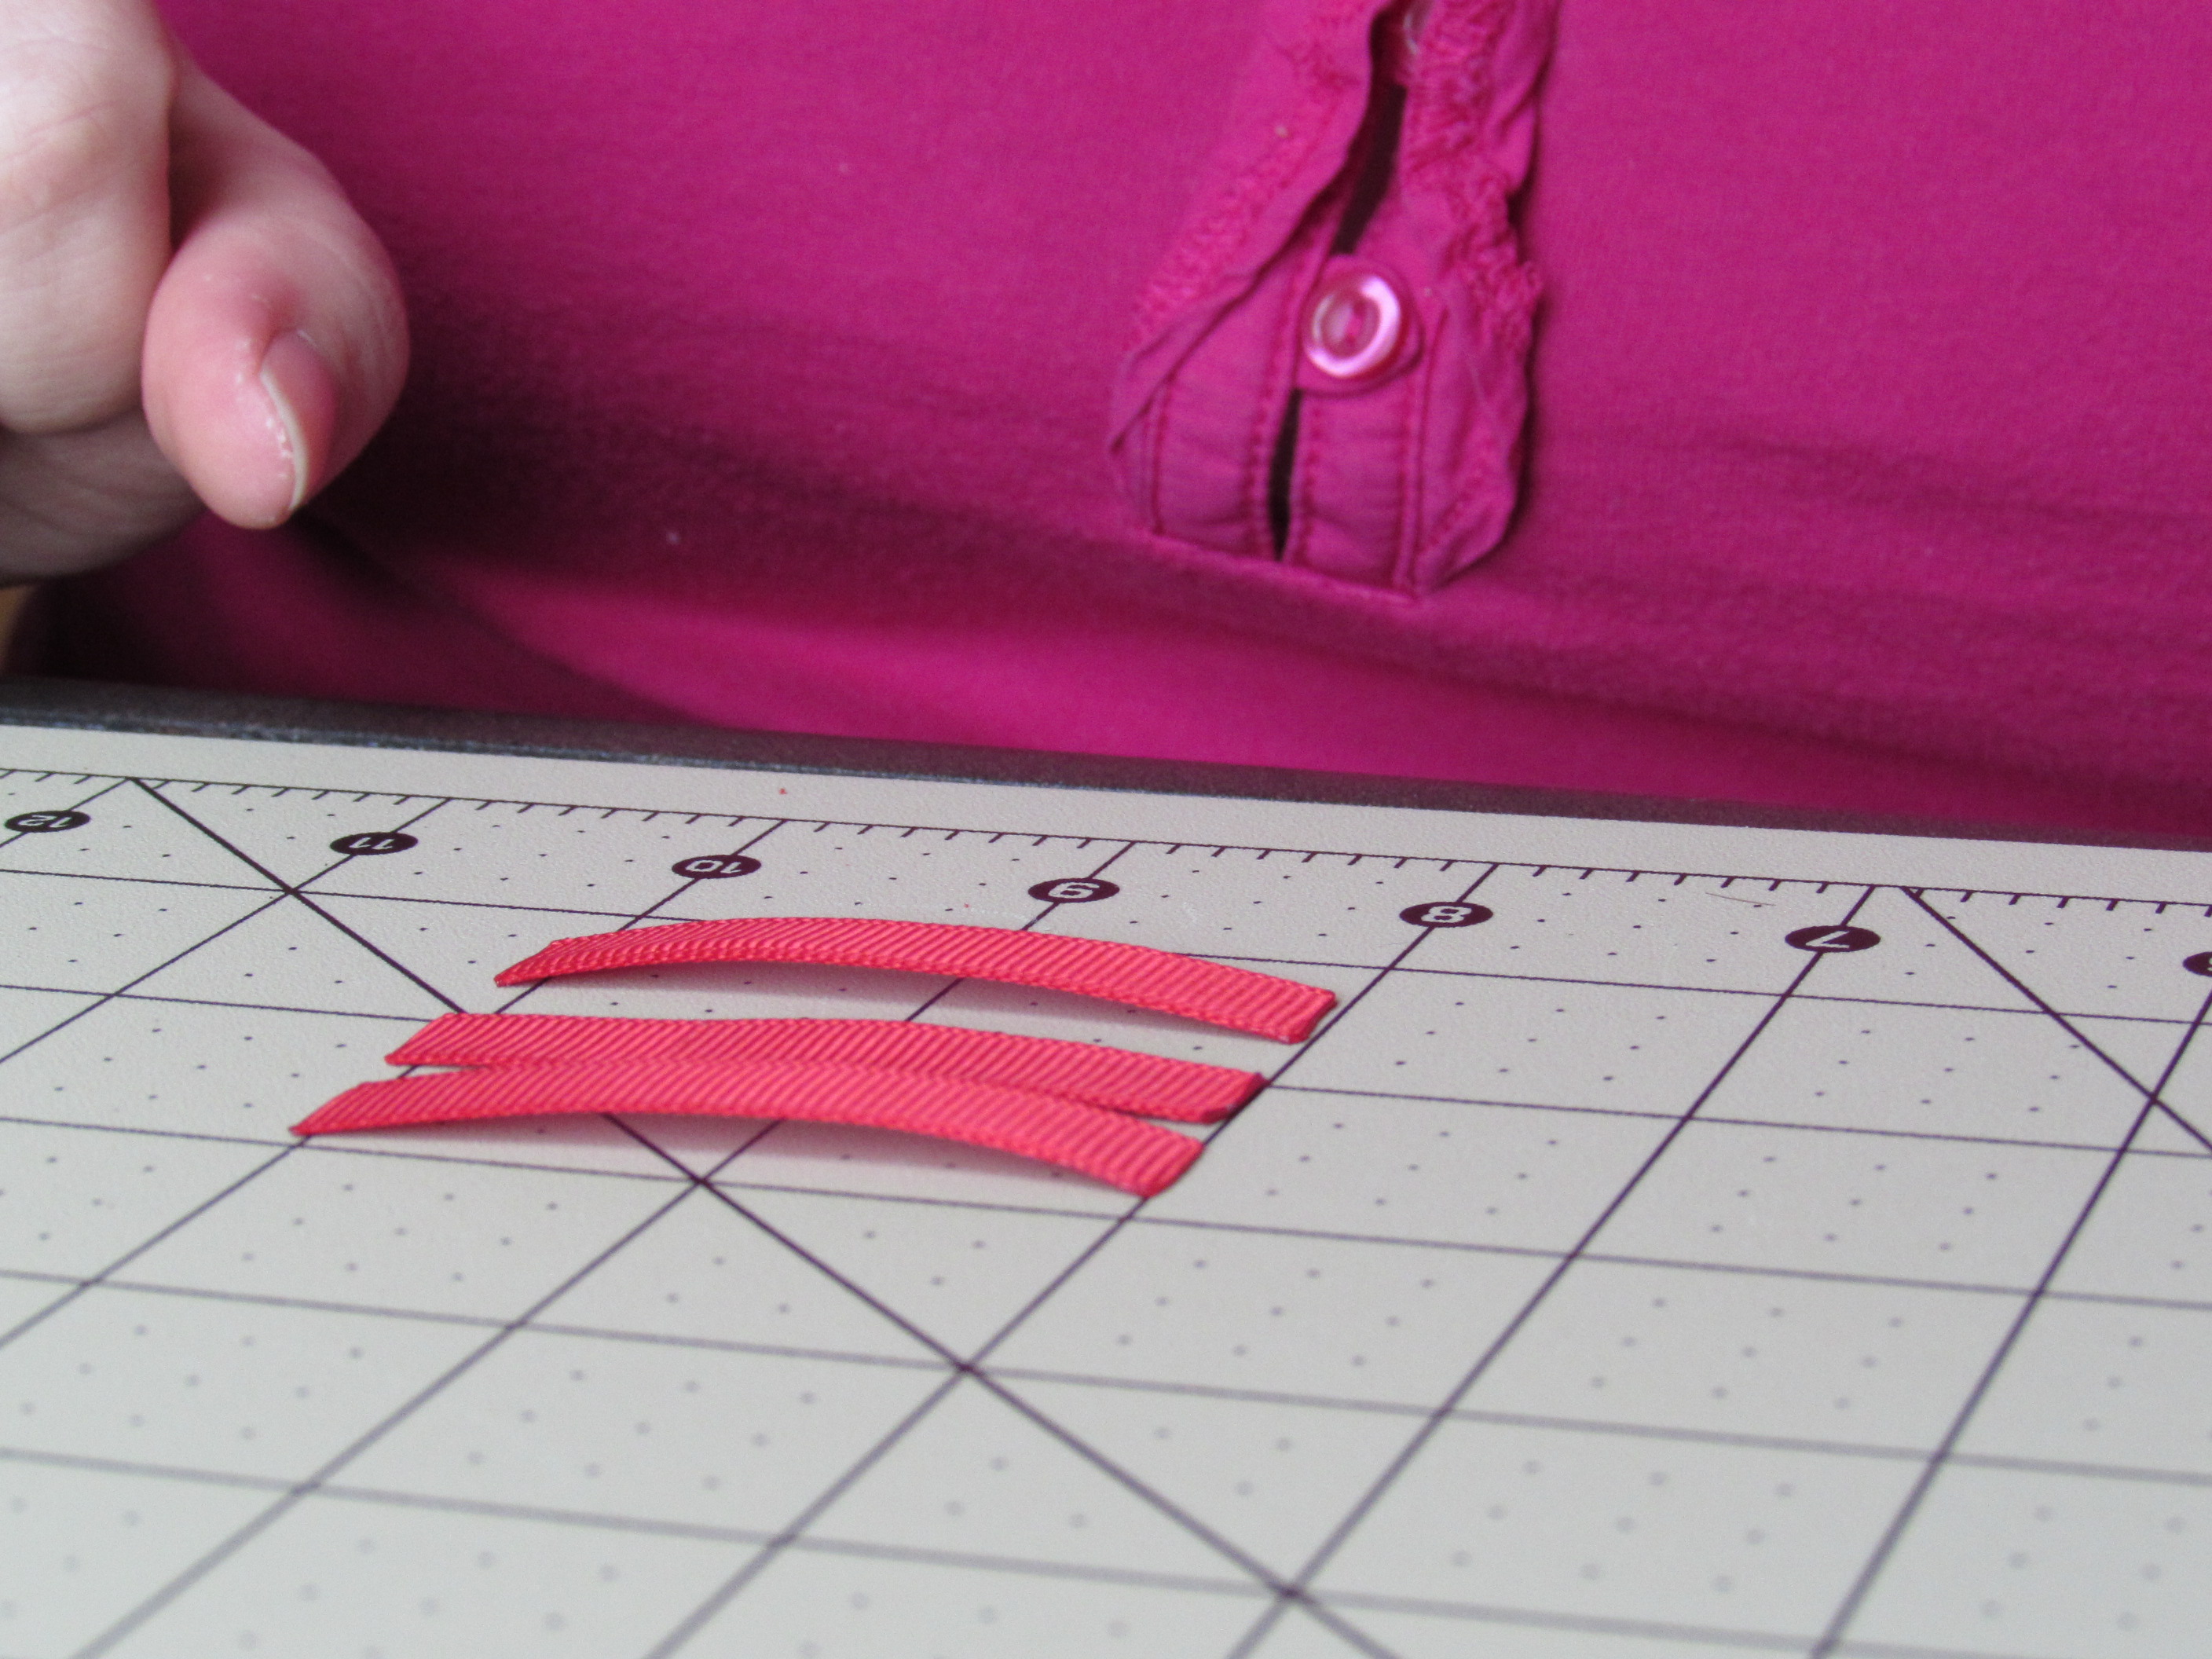 Step 6:
* Cut them in half down the center long ways. Do this for all 3 pieces. Creating 6 pieces when all cut.
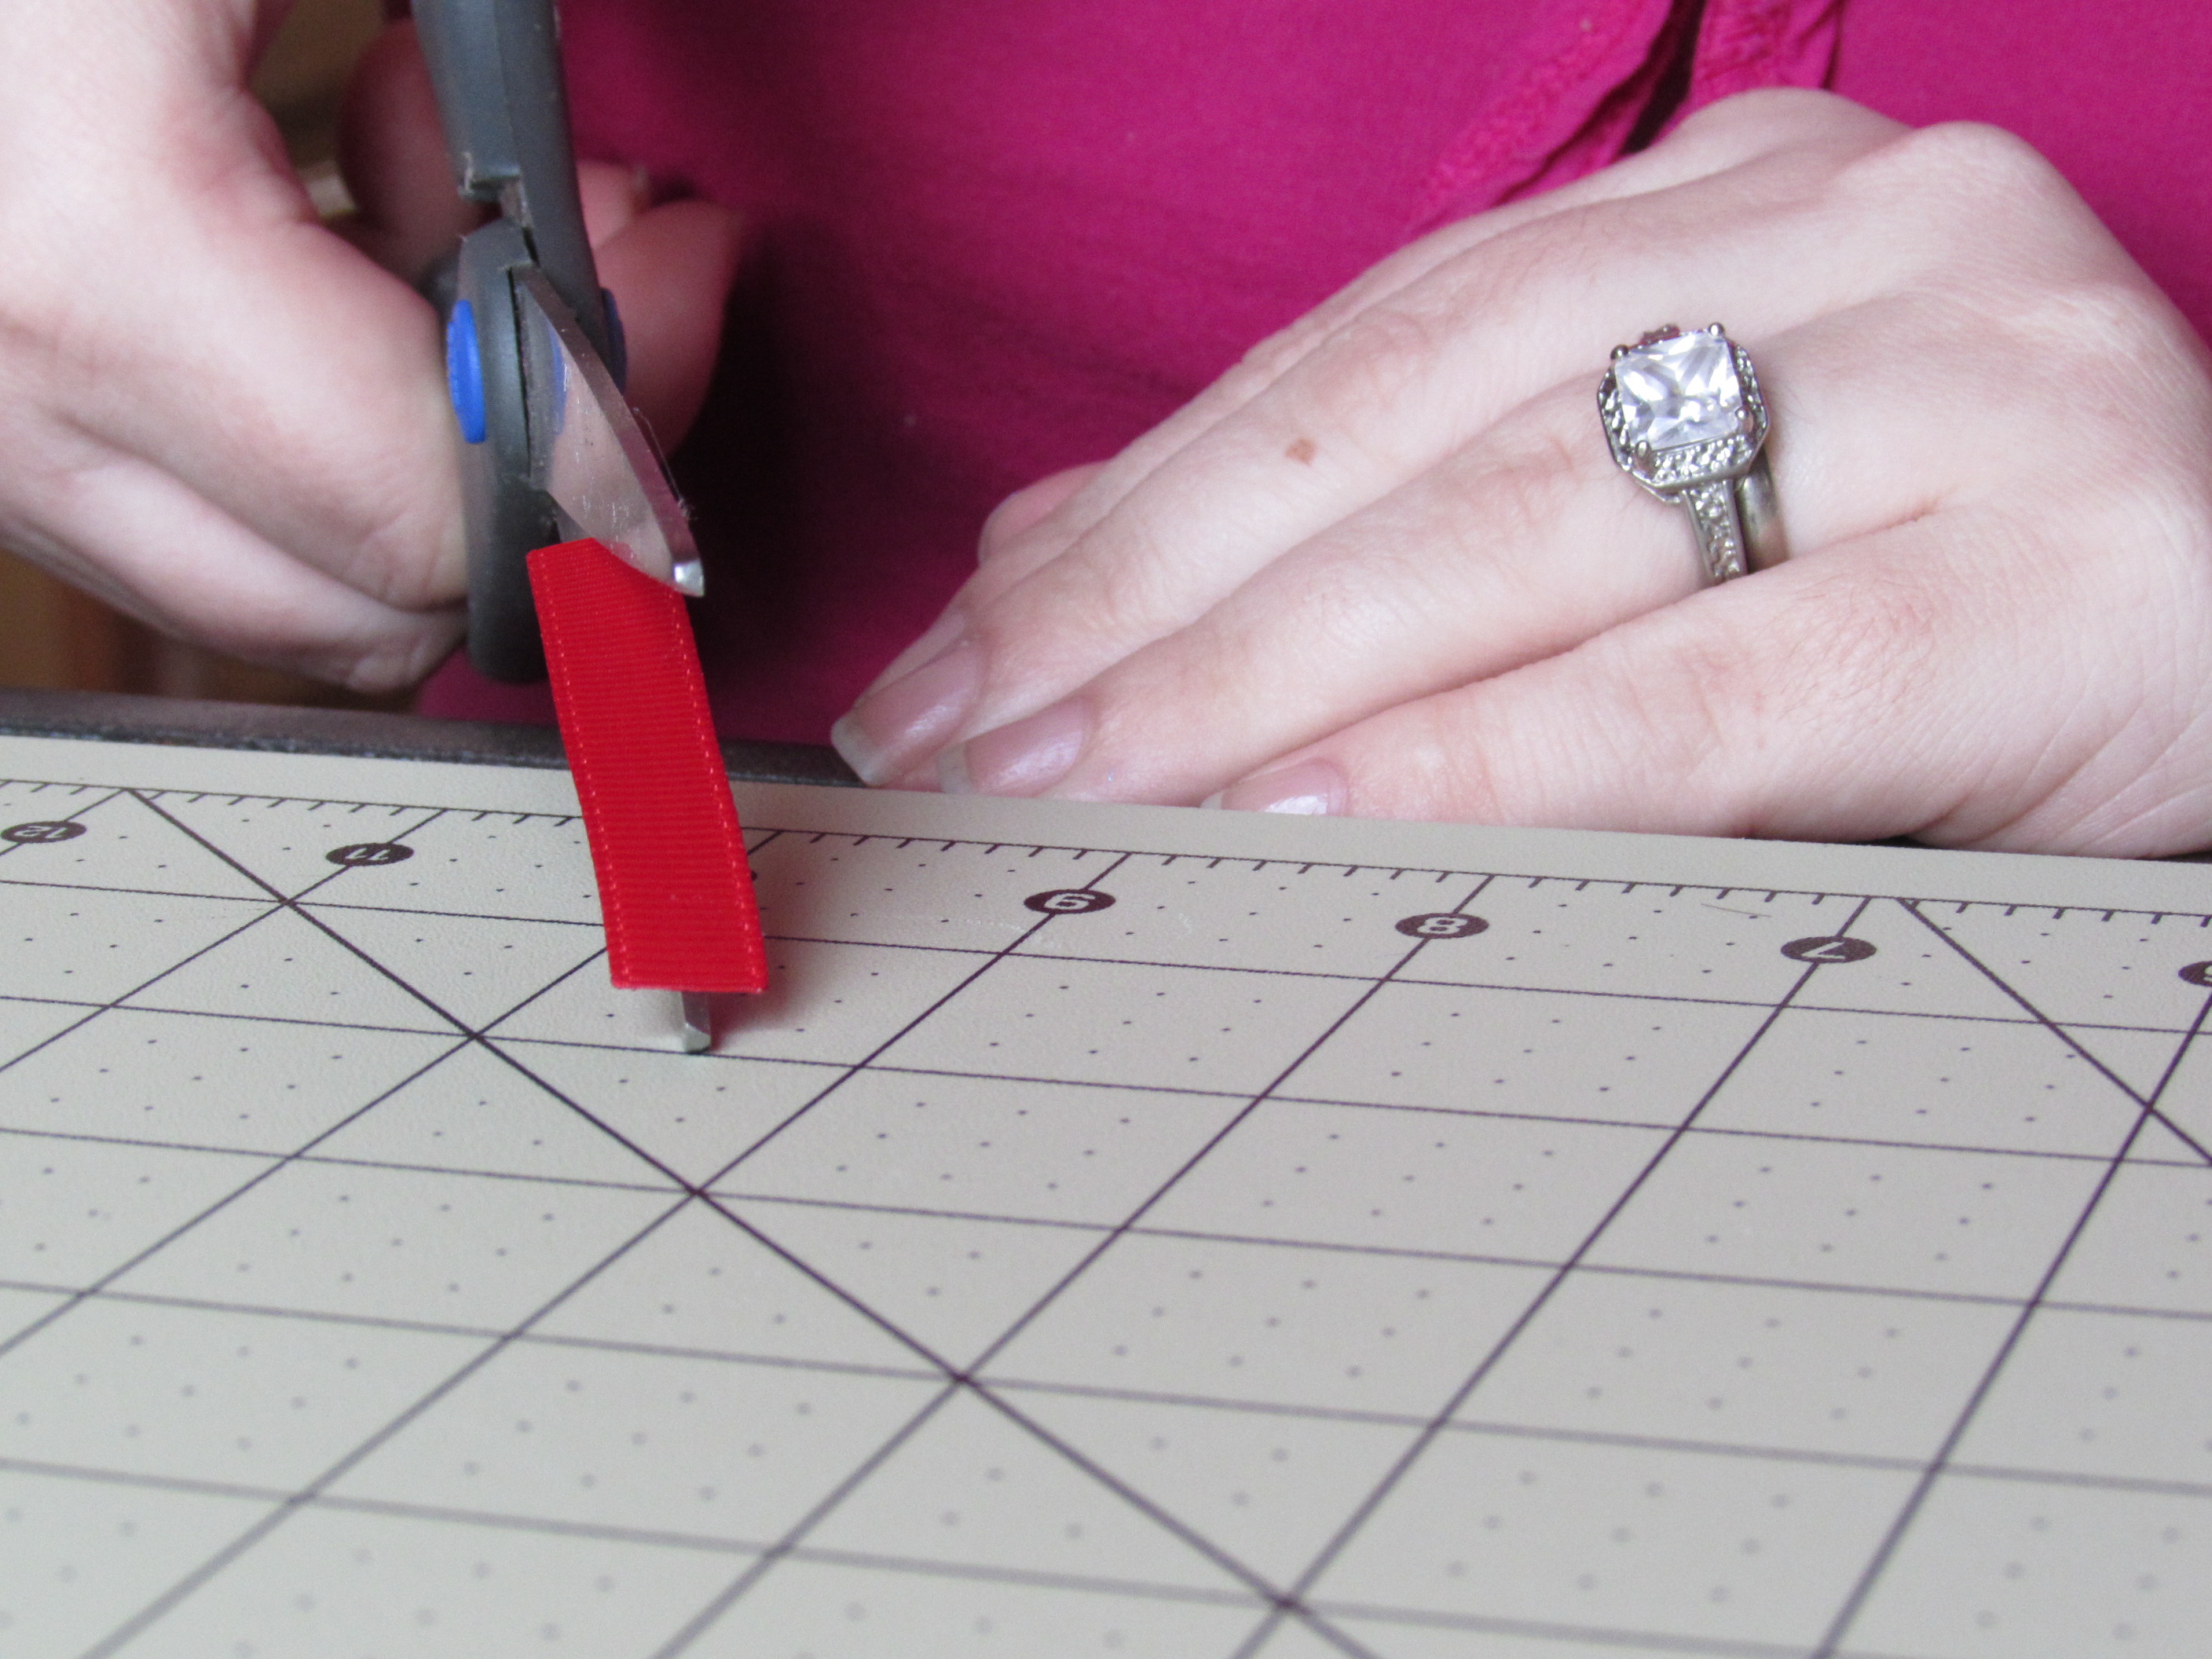
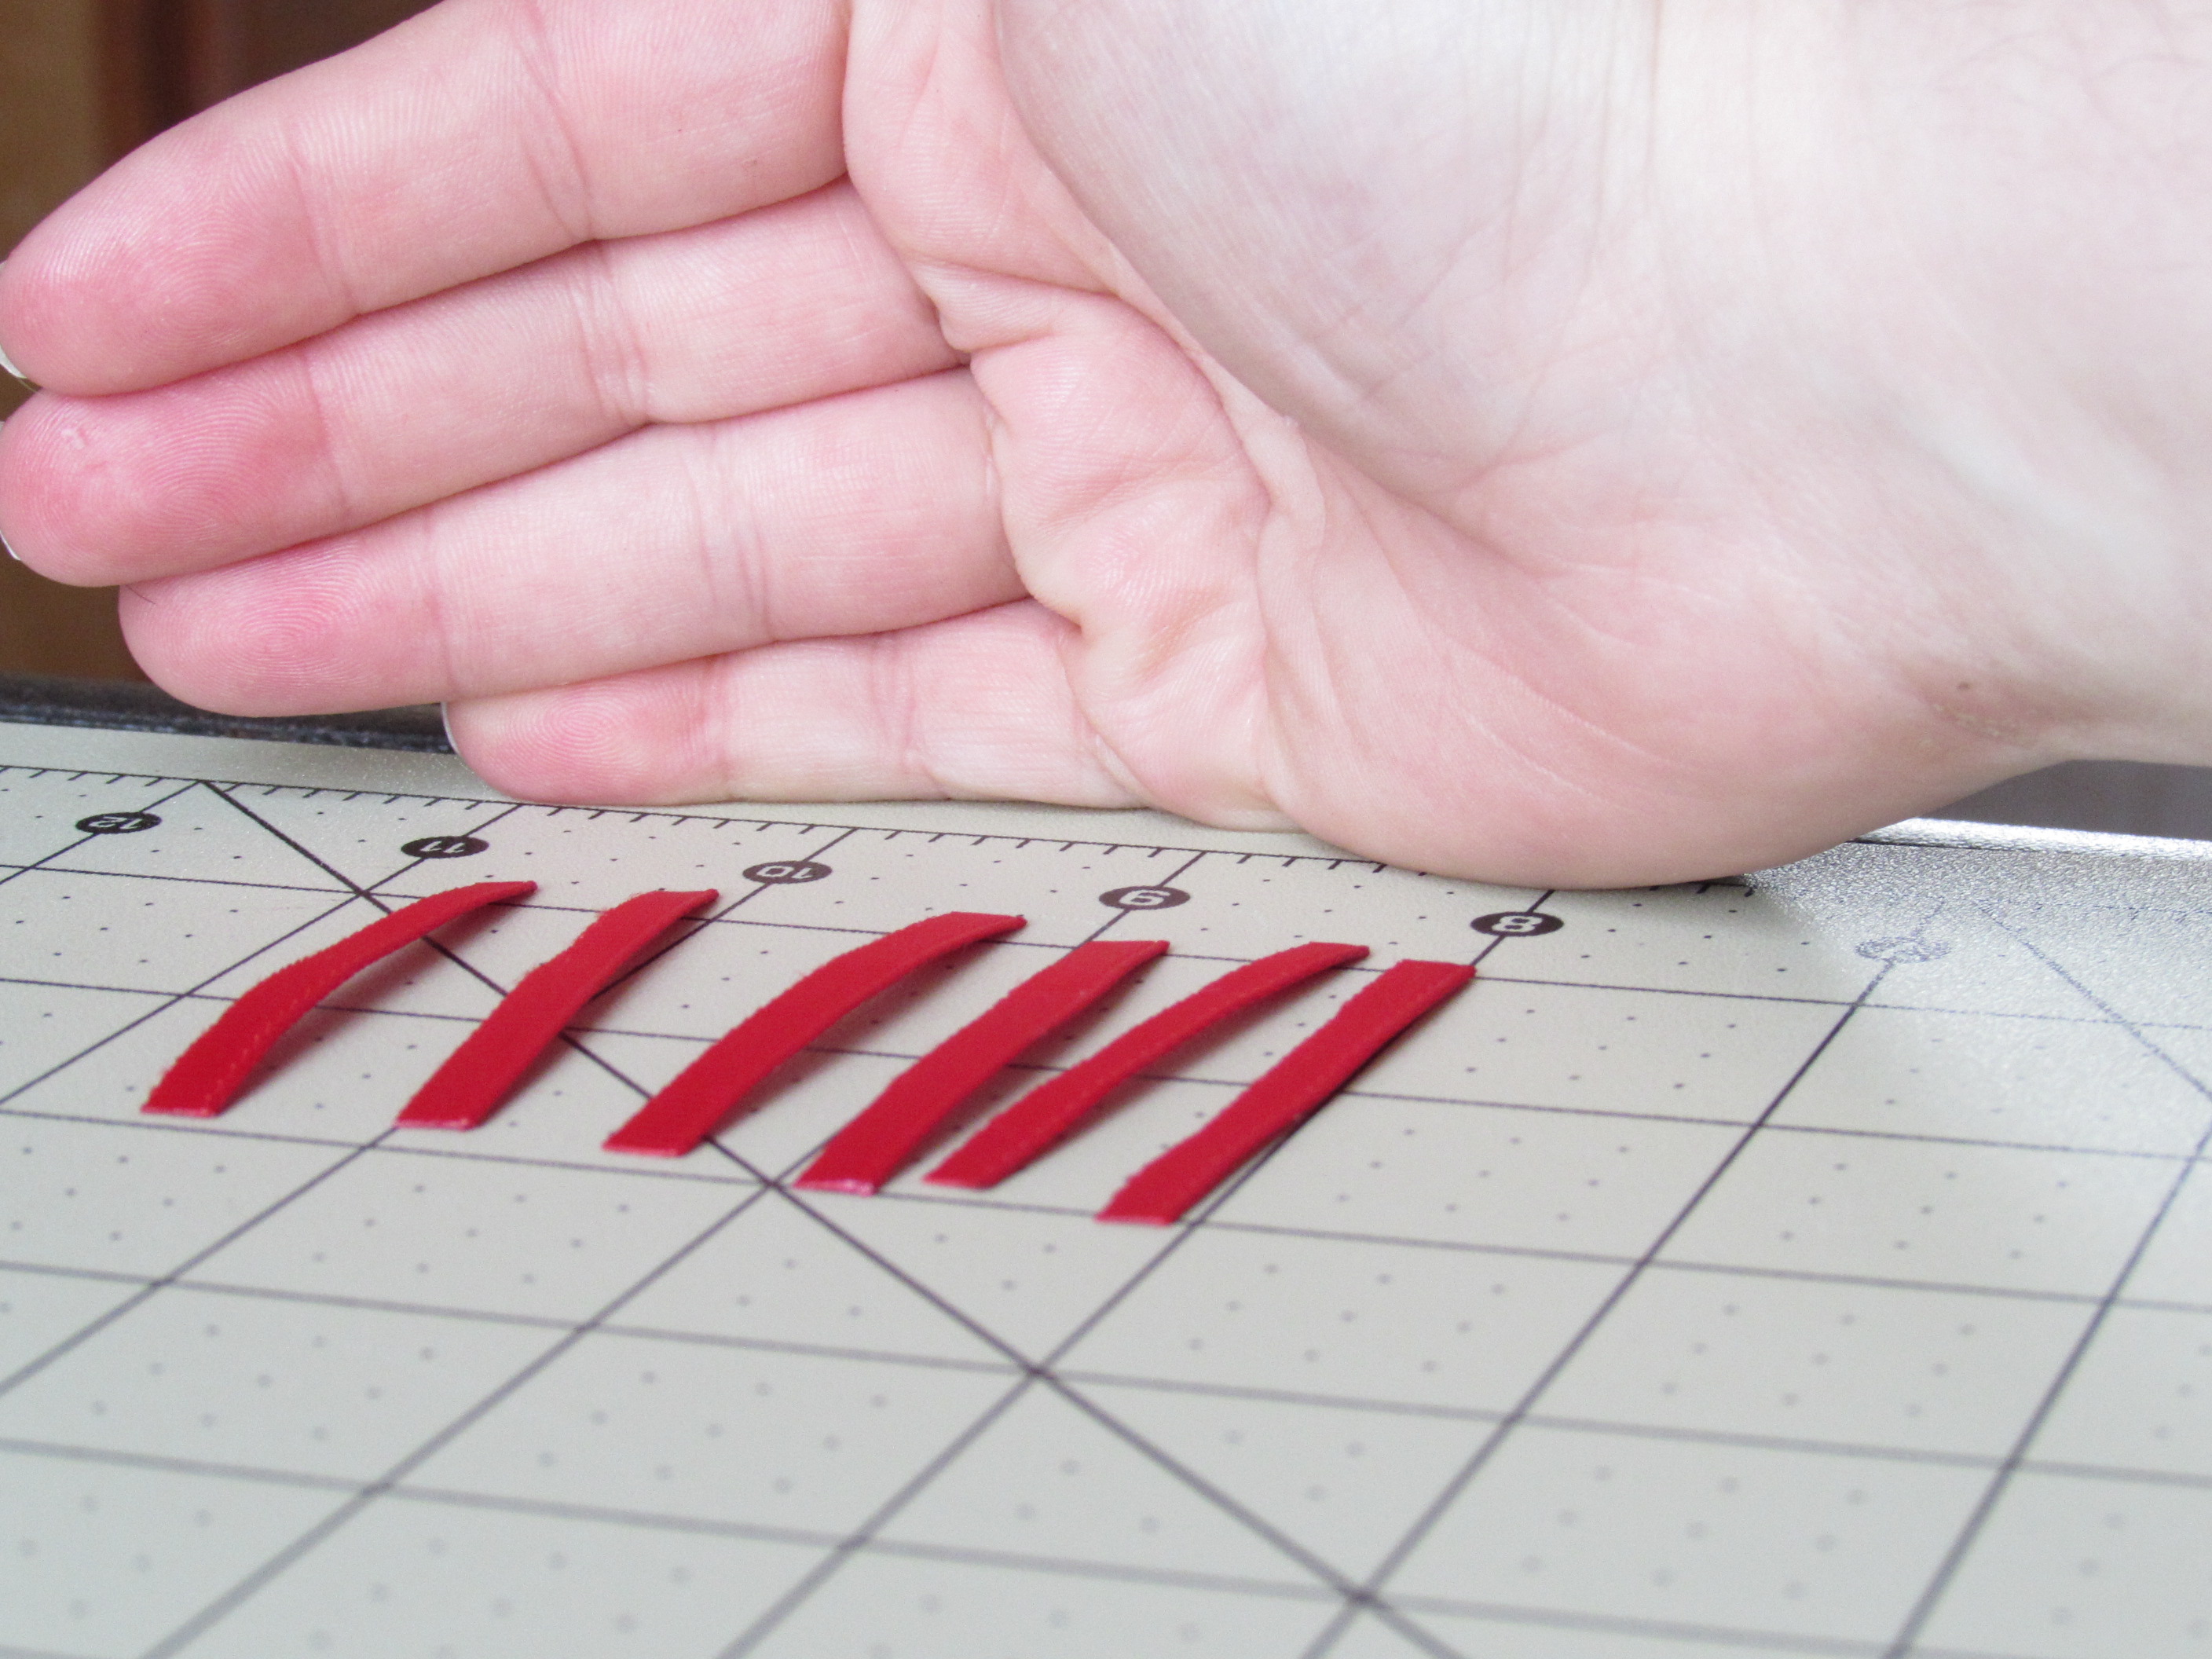 Step 7:
* HEAT SEAL!* all ends of the ribbon. ALL 6 pieces * Hint* Use tweezers to hold the ribbon and be CAREFUL with the flame being so close to your fingers.
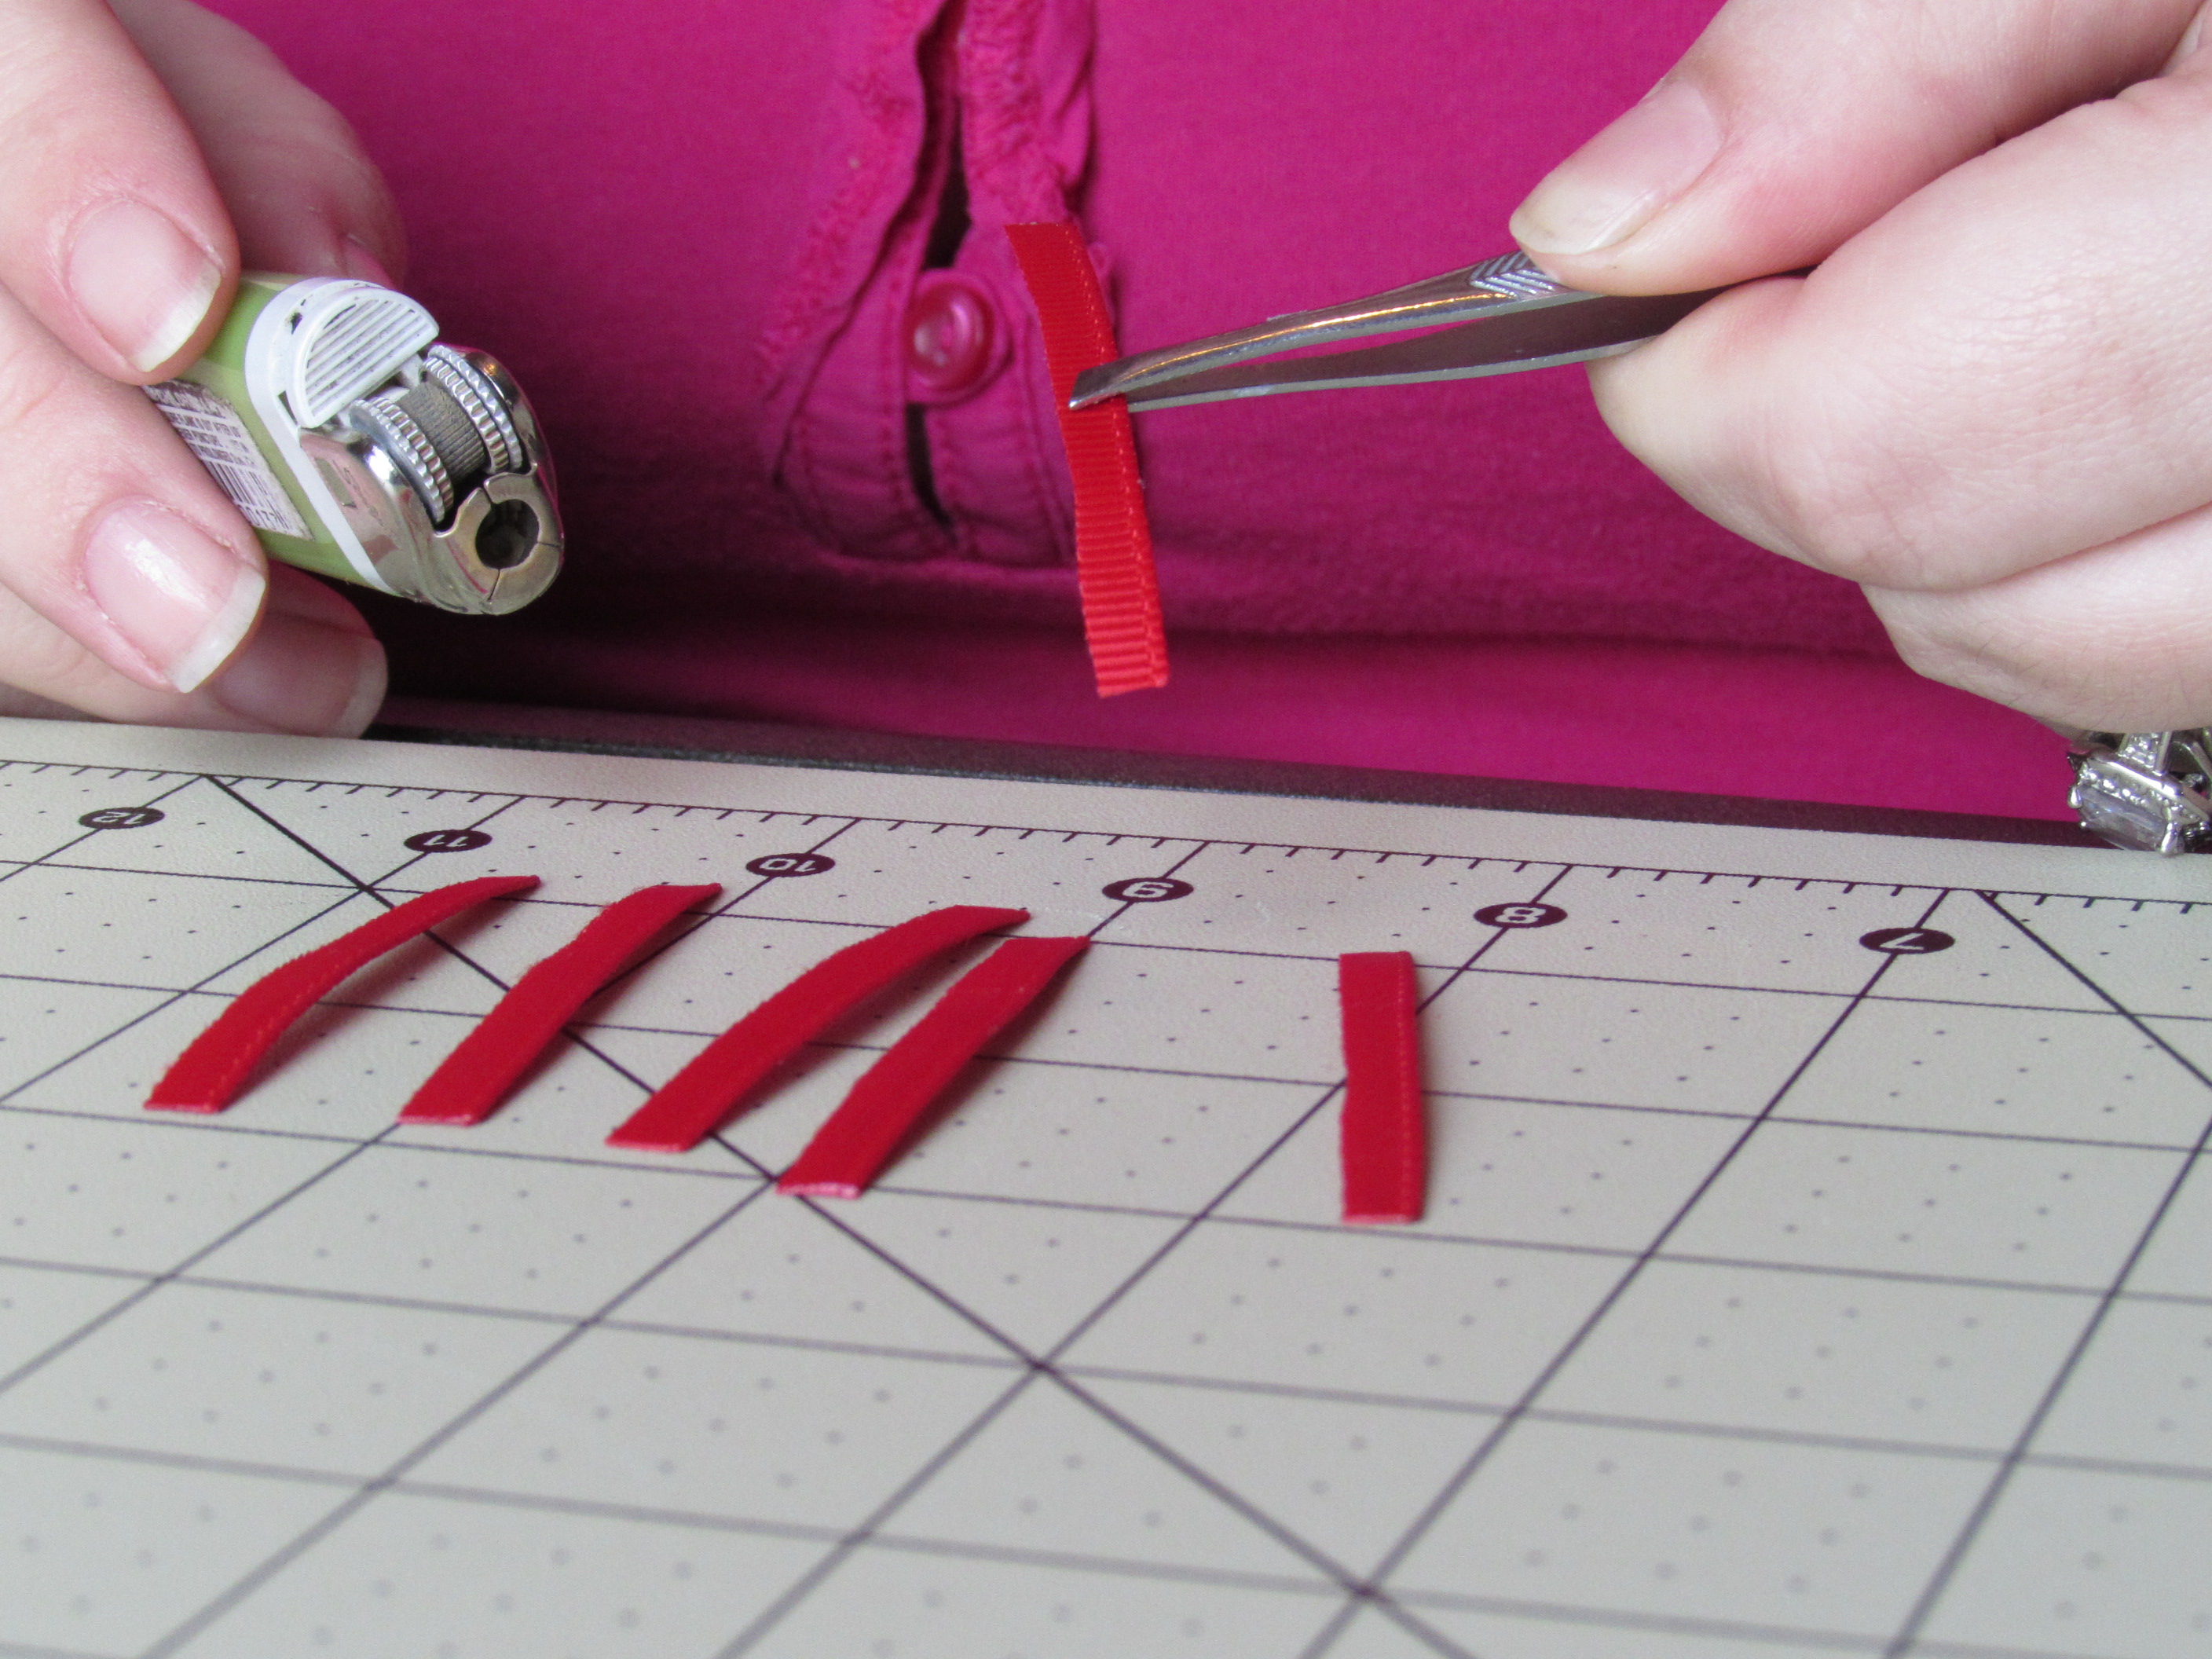 Step 8:
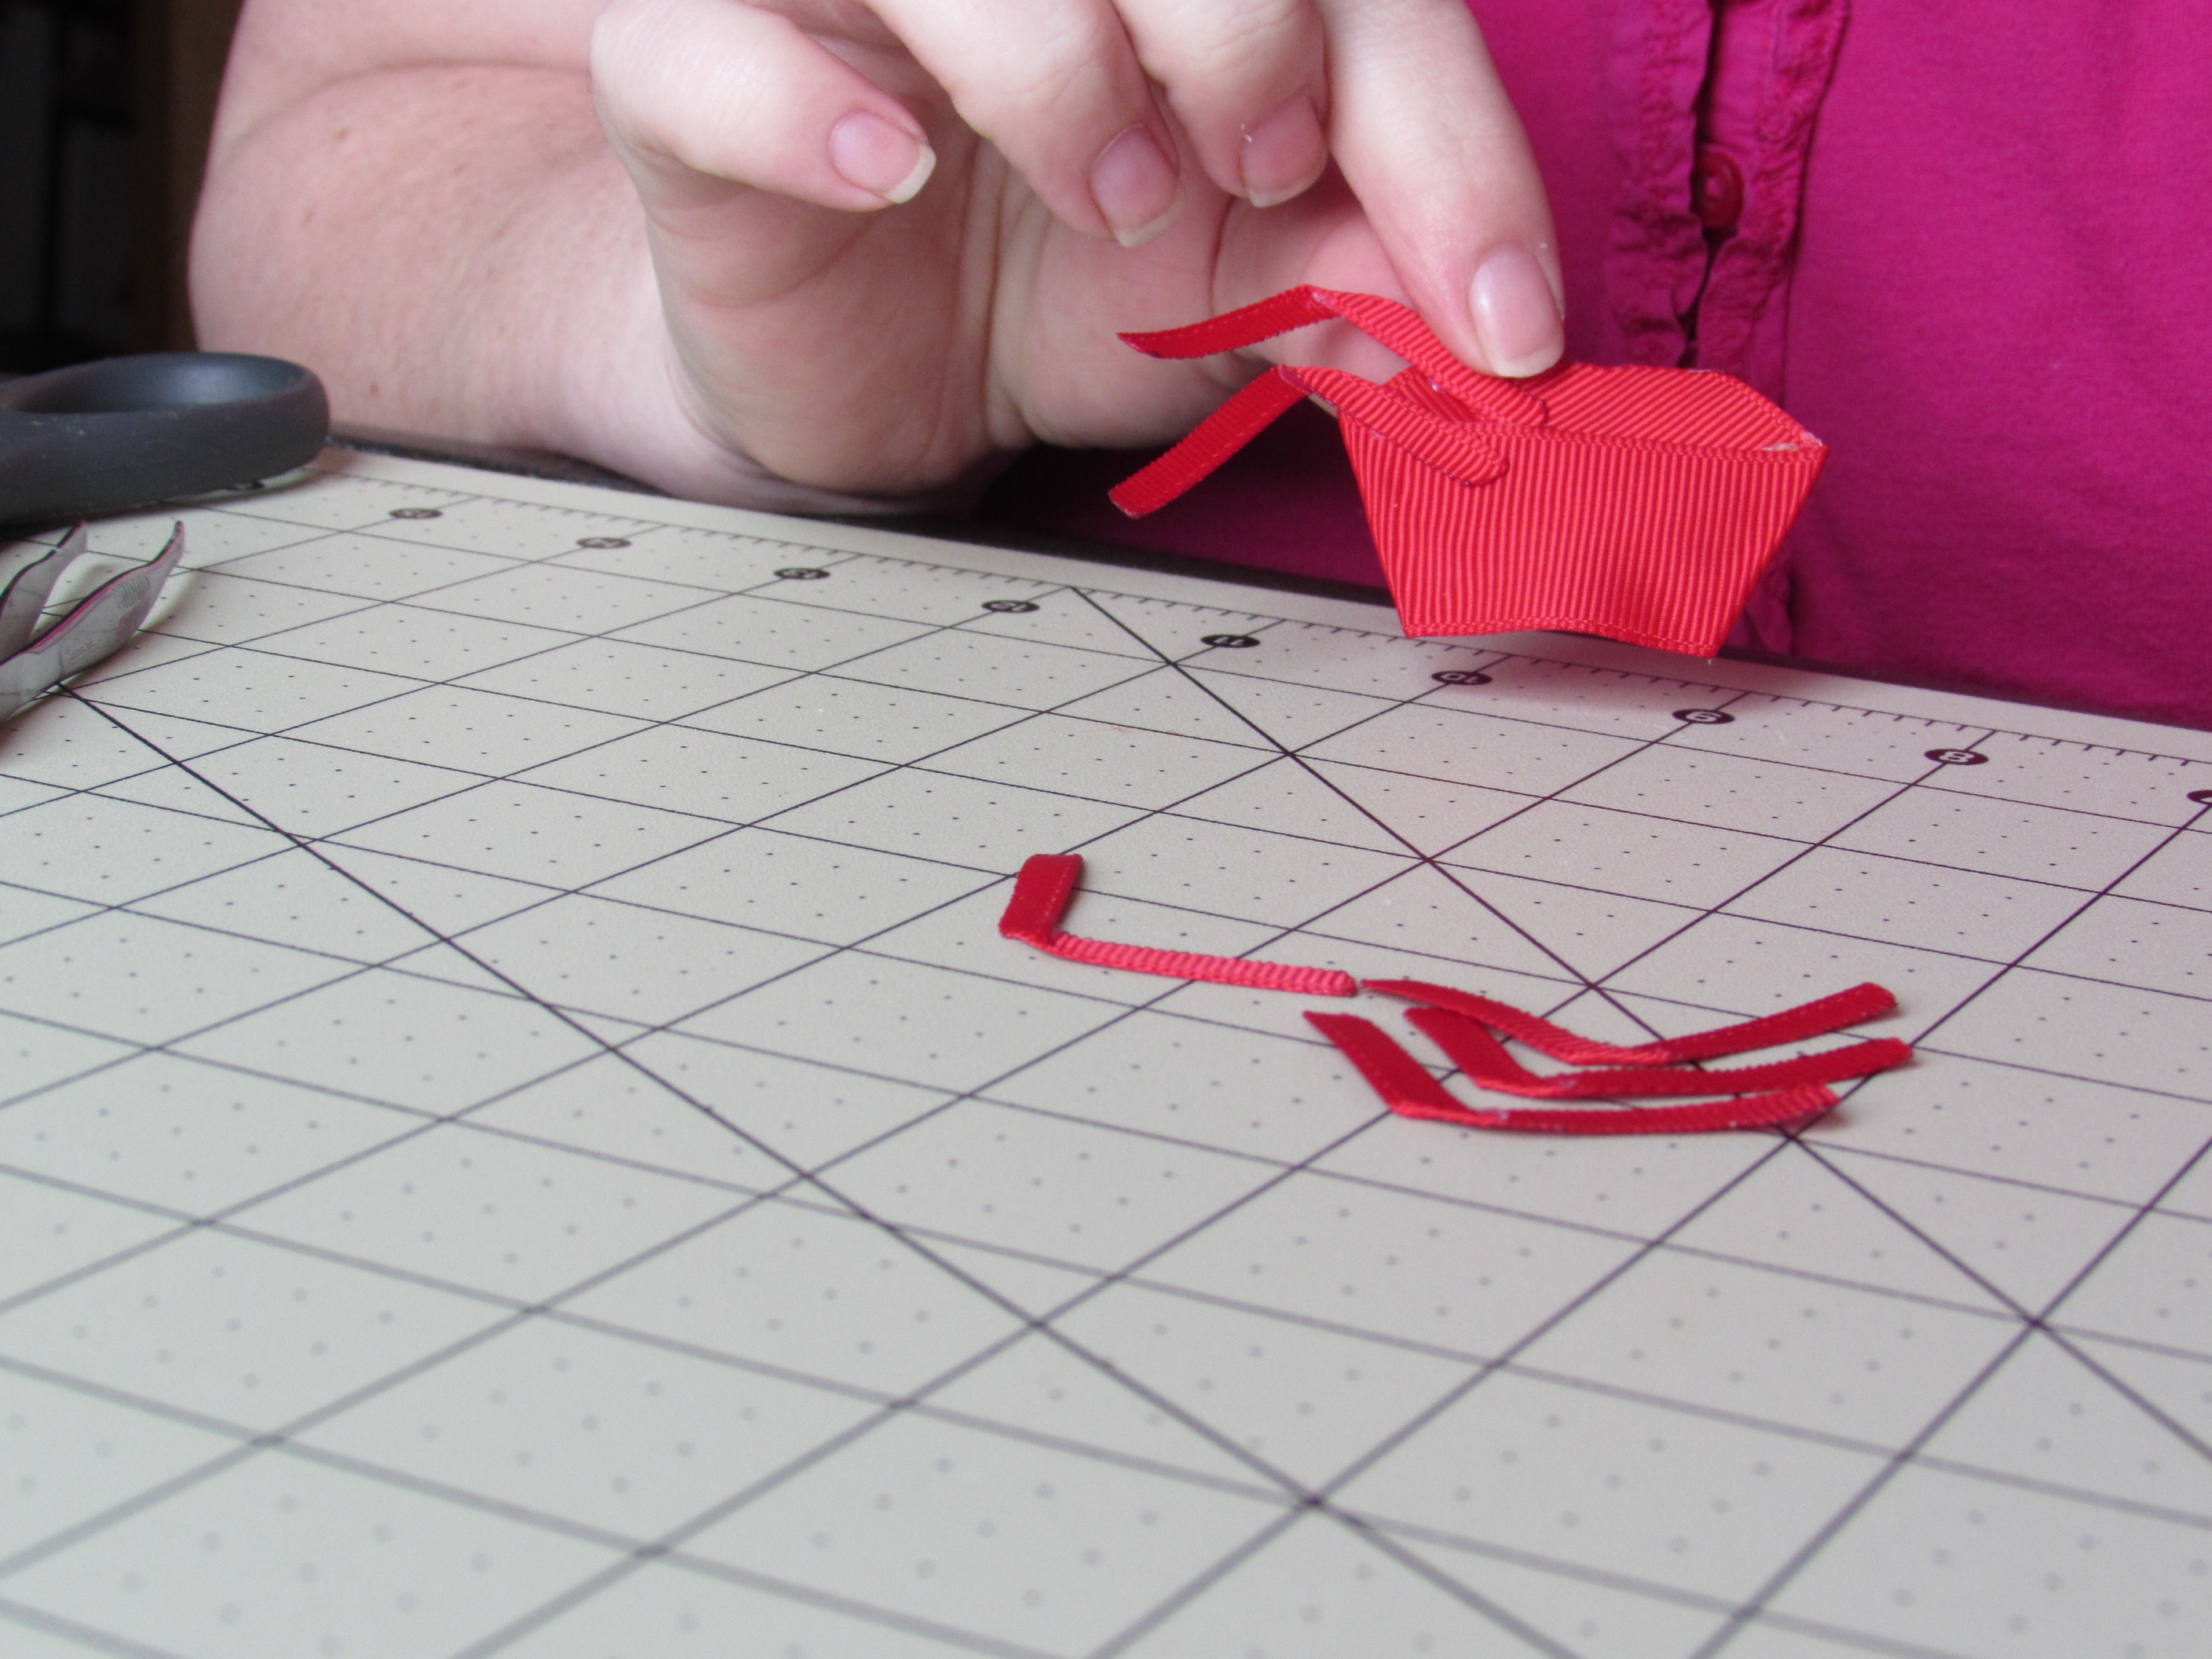
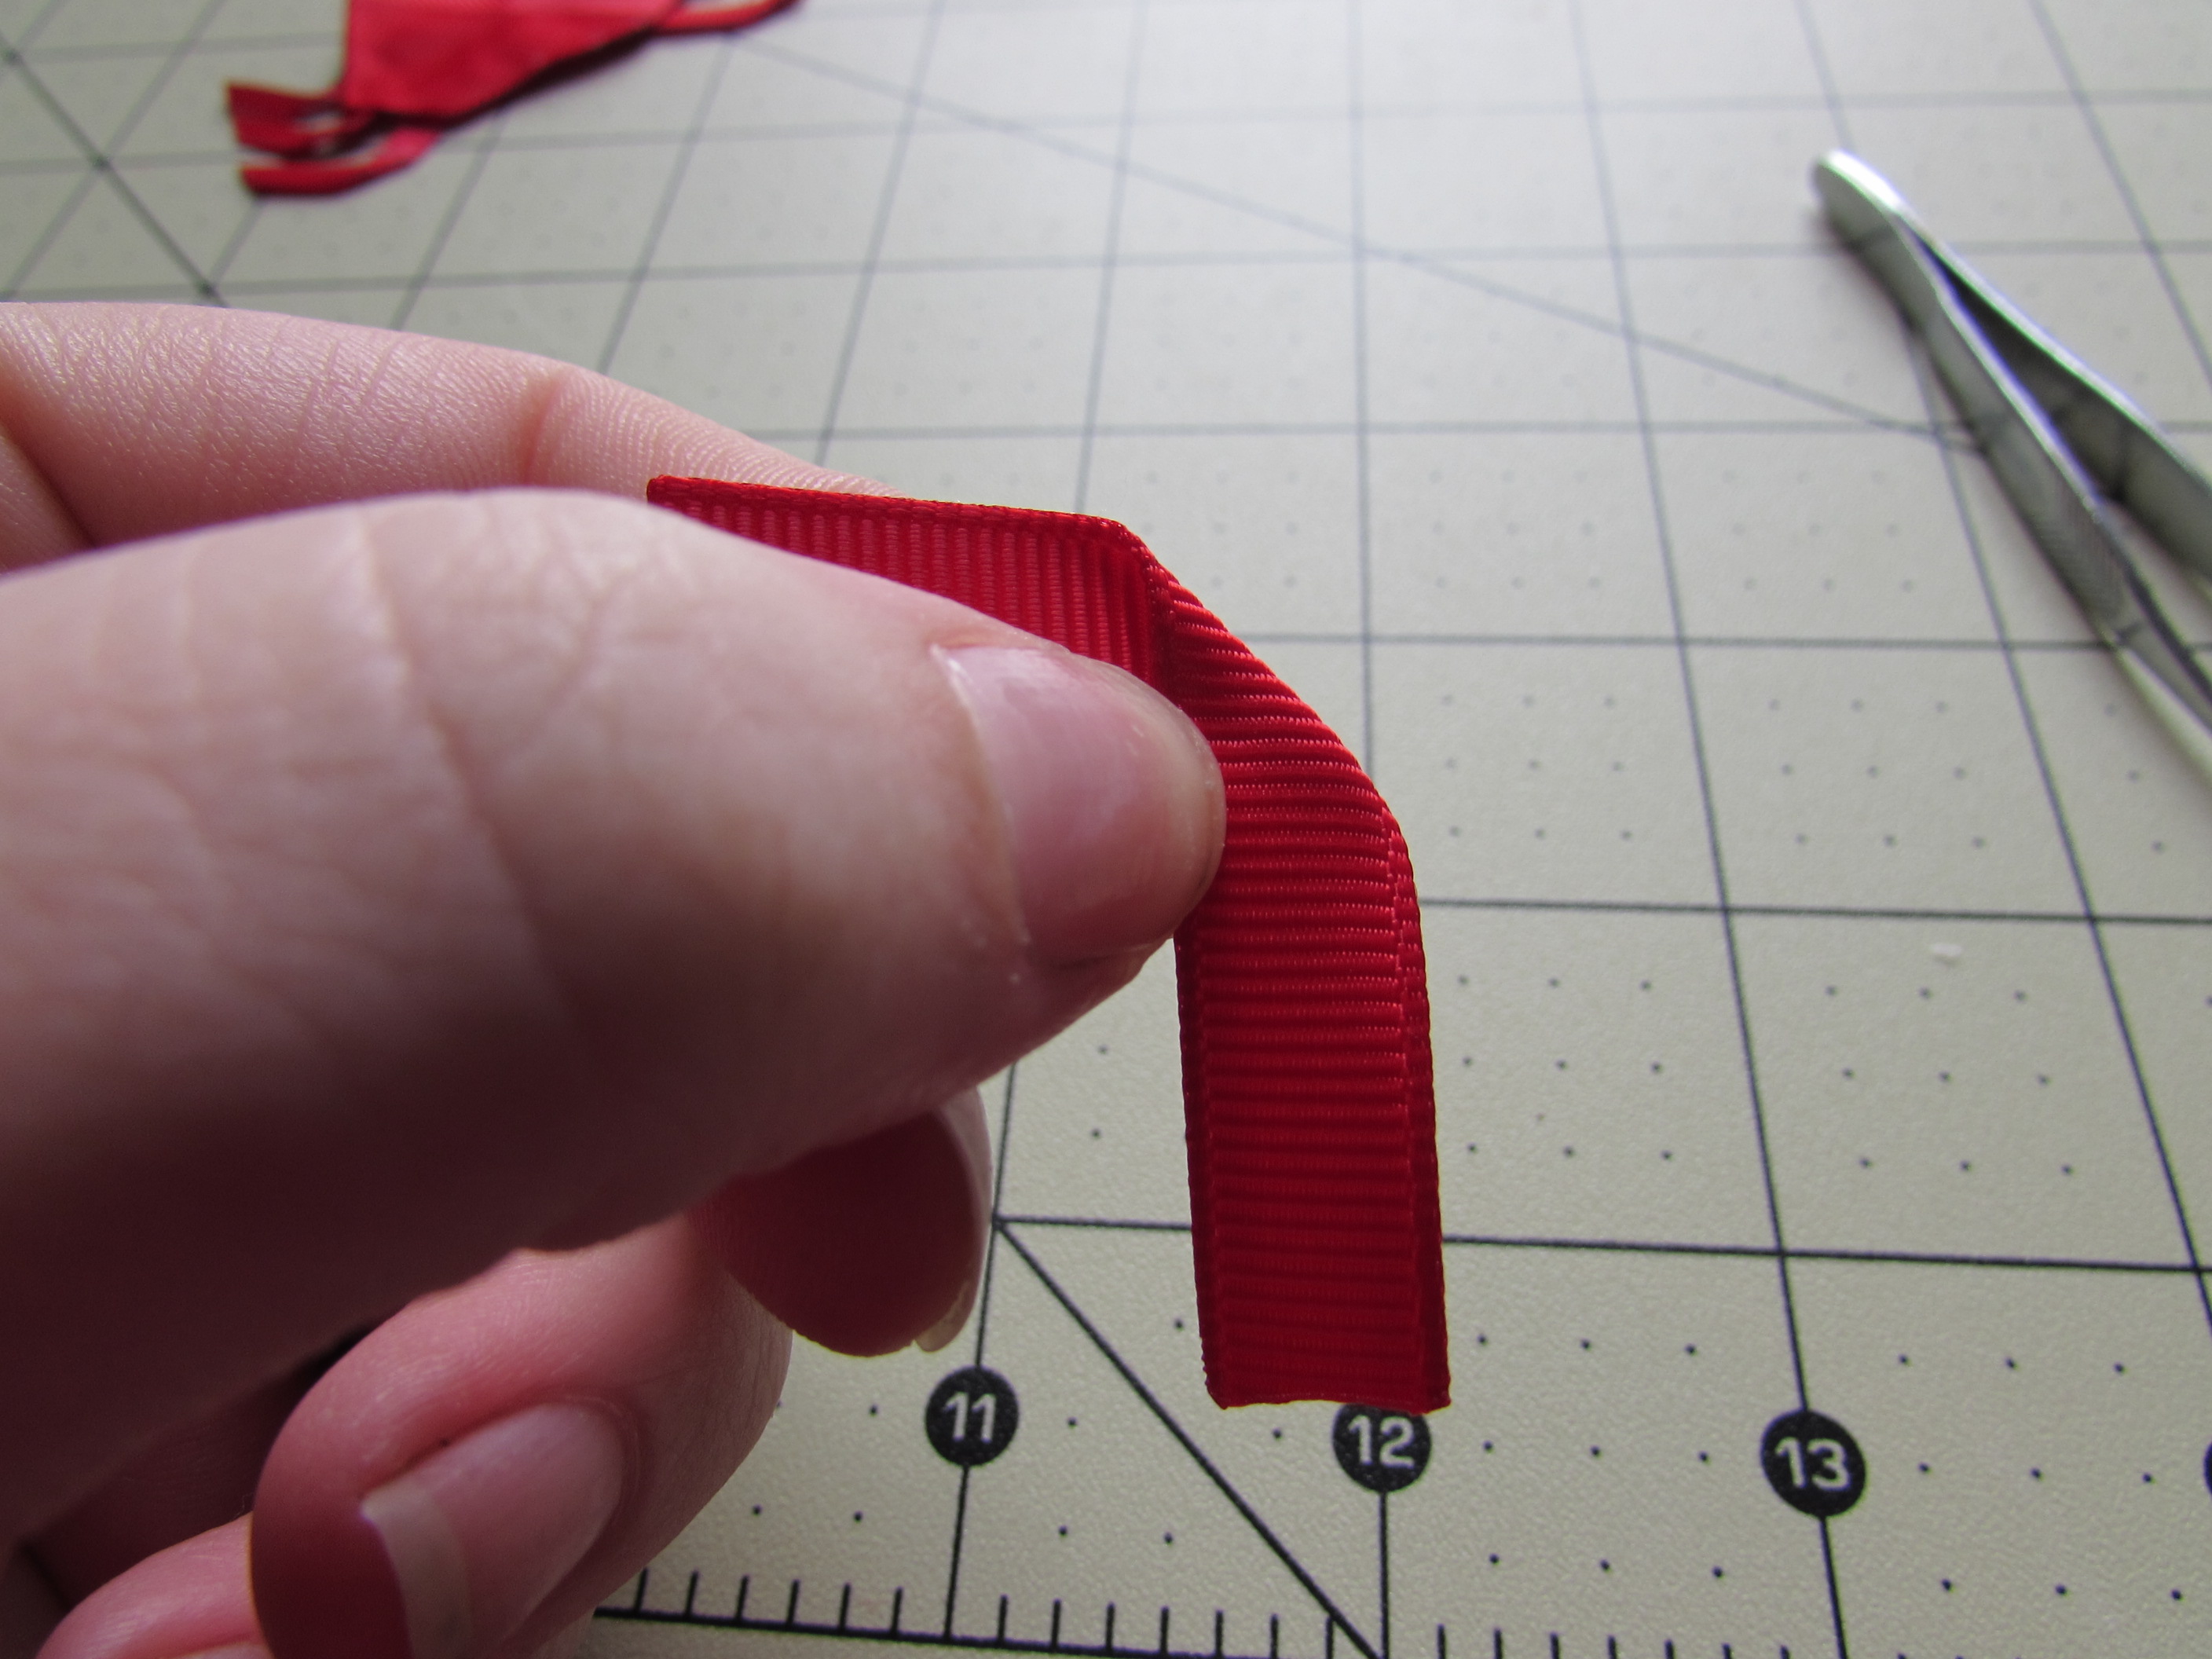
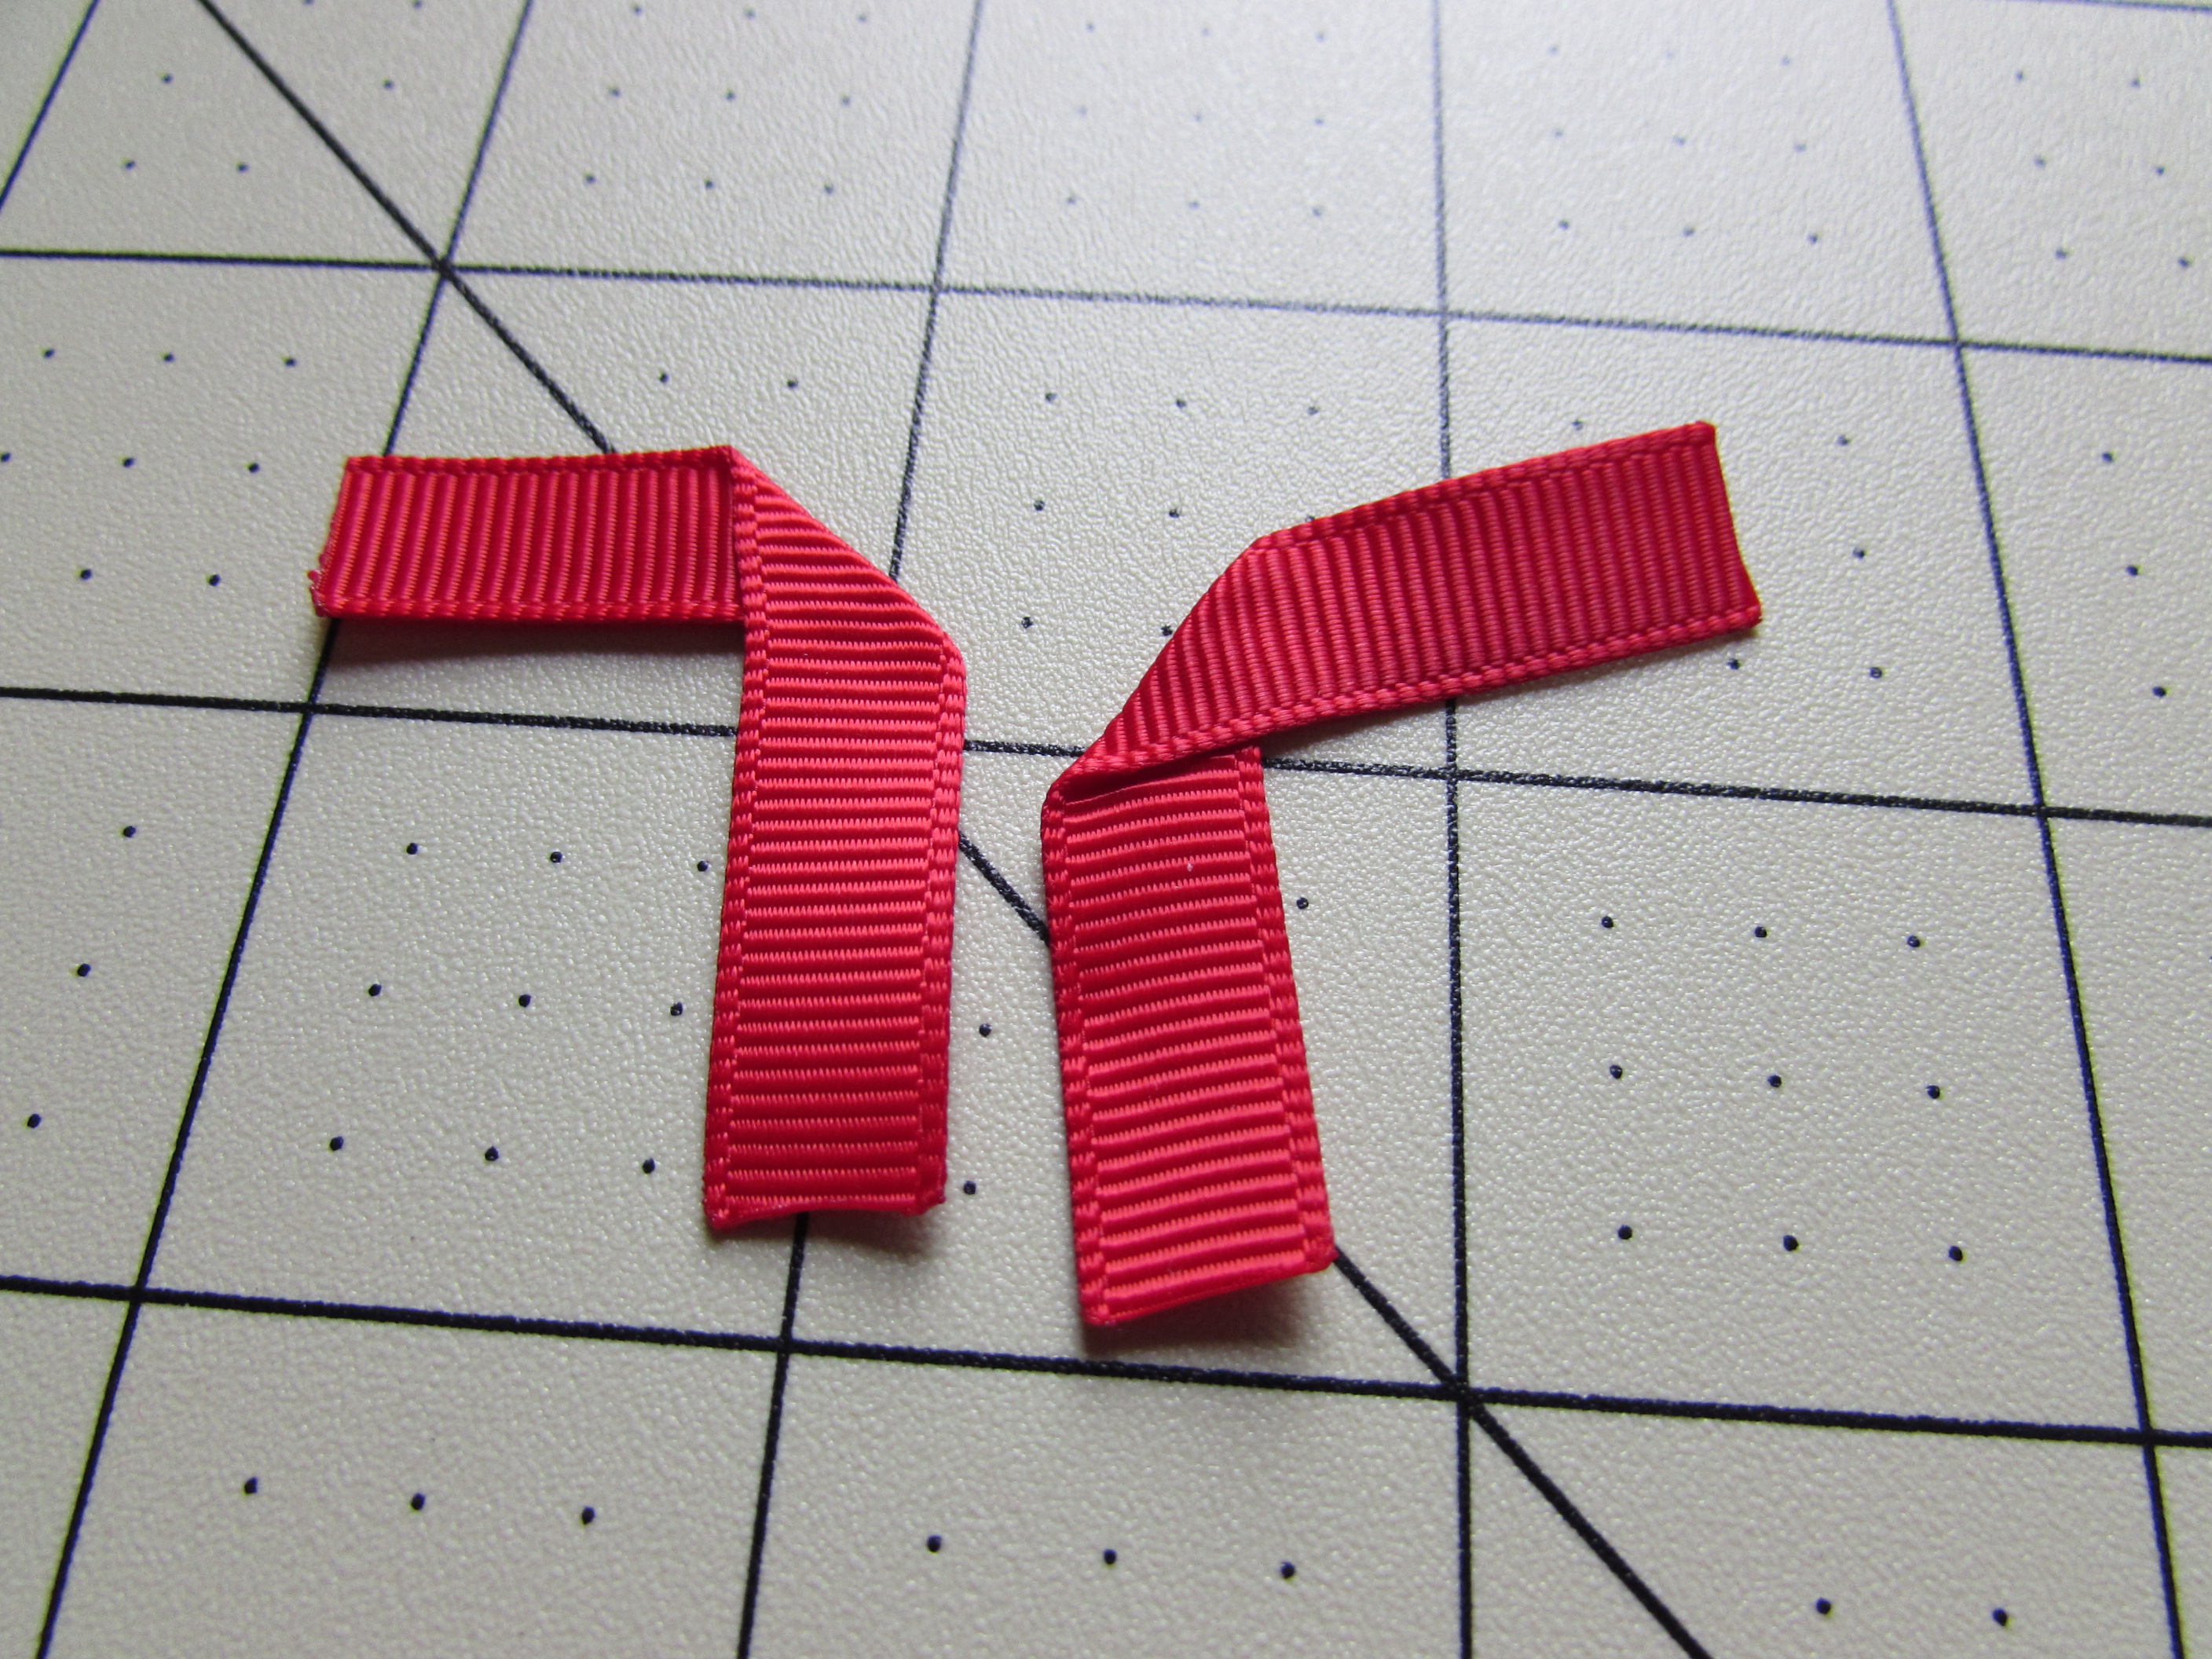
* Create the legs. Fold the ribbon at an angle half way down the ribbon. * Don't worry if they look long you can always trim them later. * Hot glue into place.
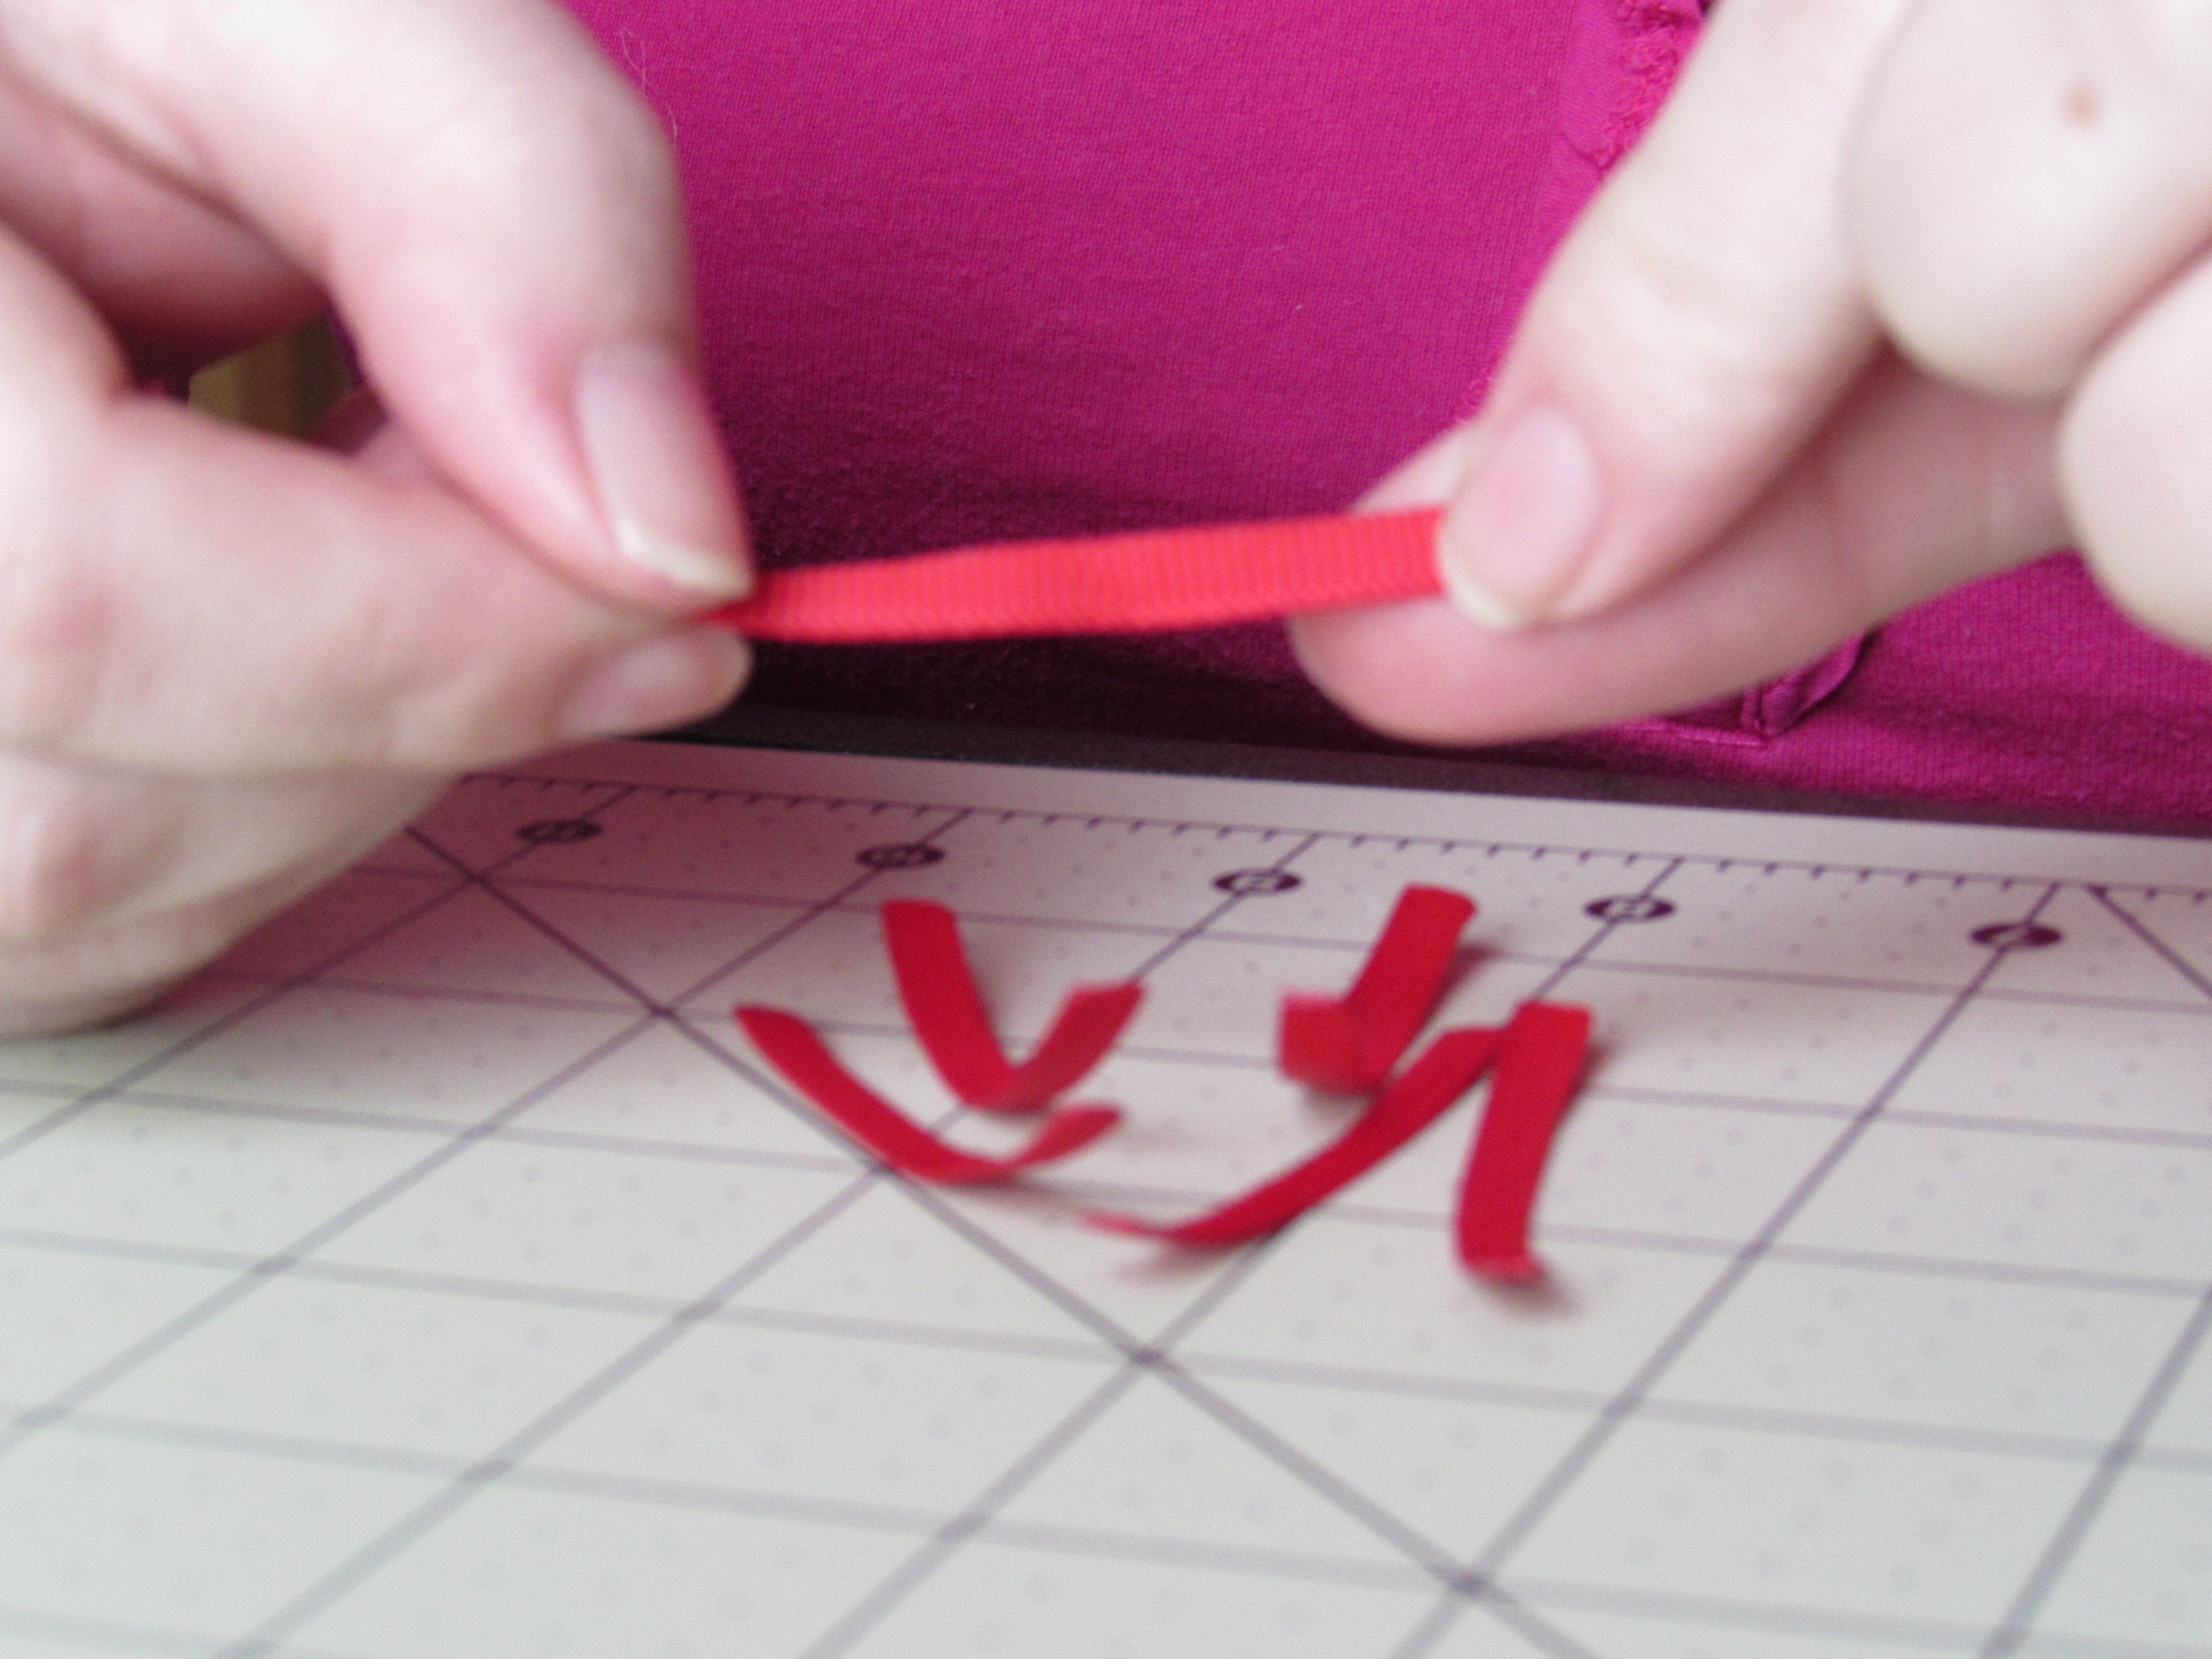
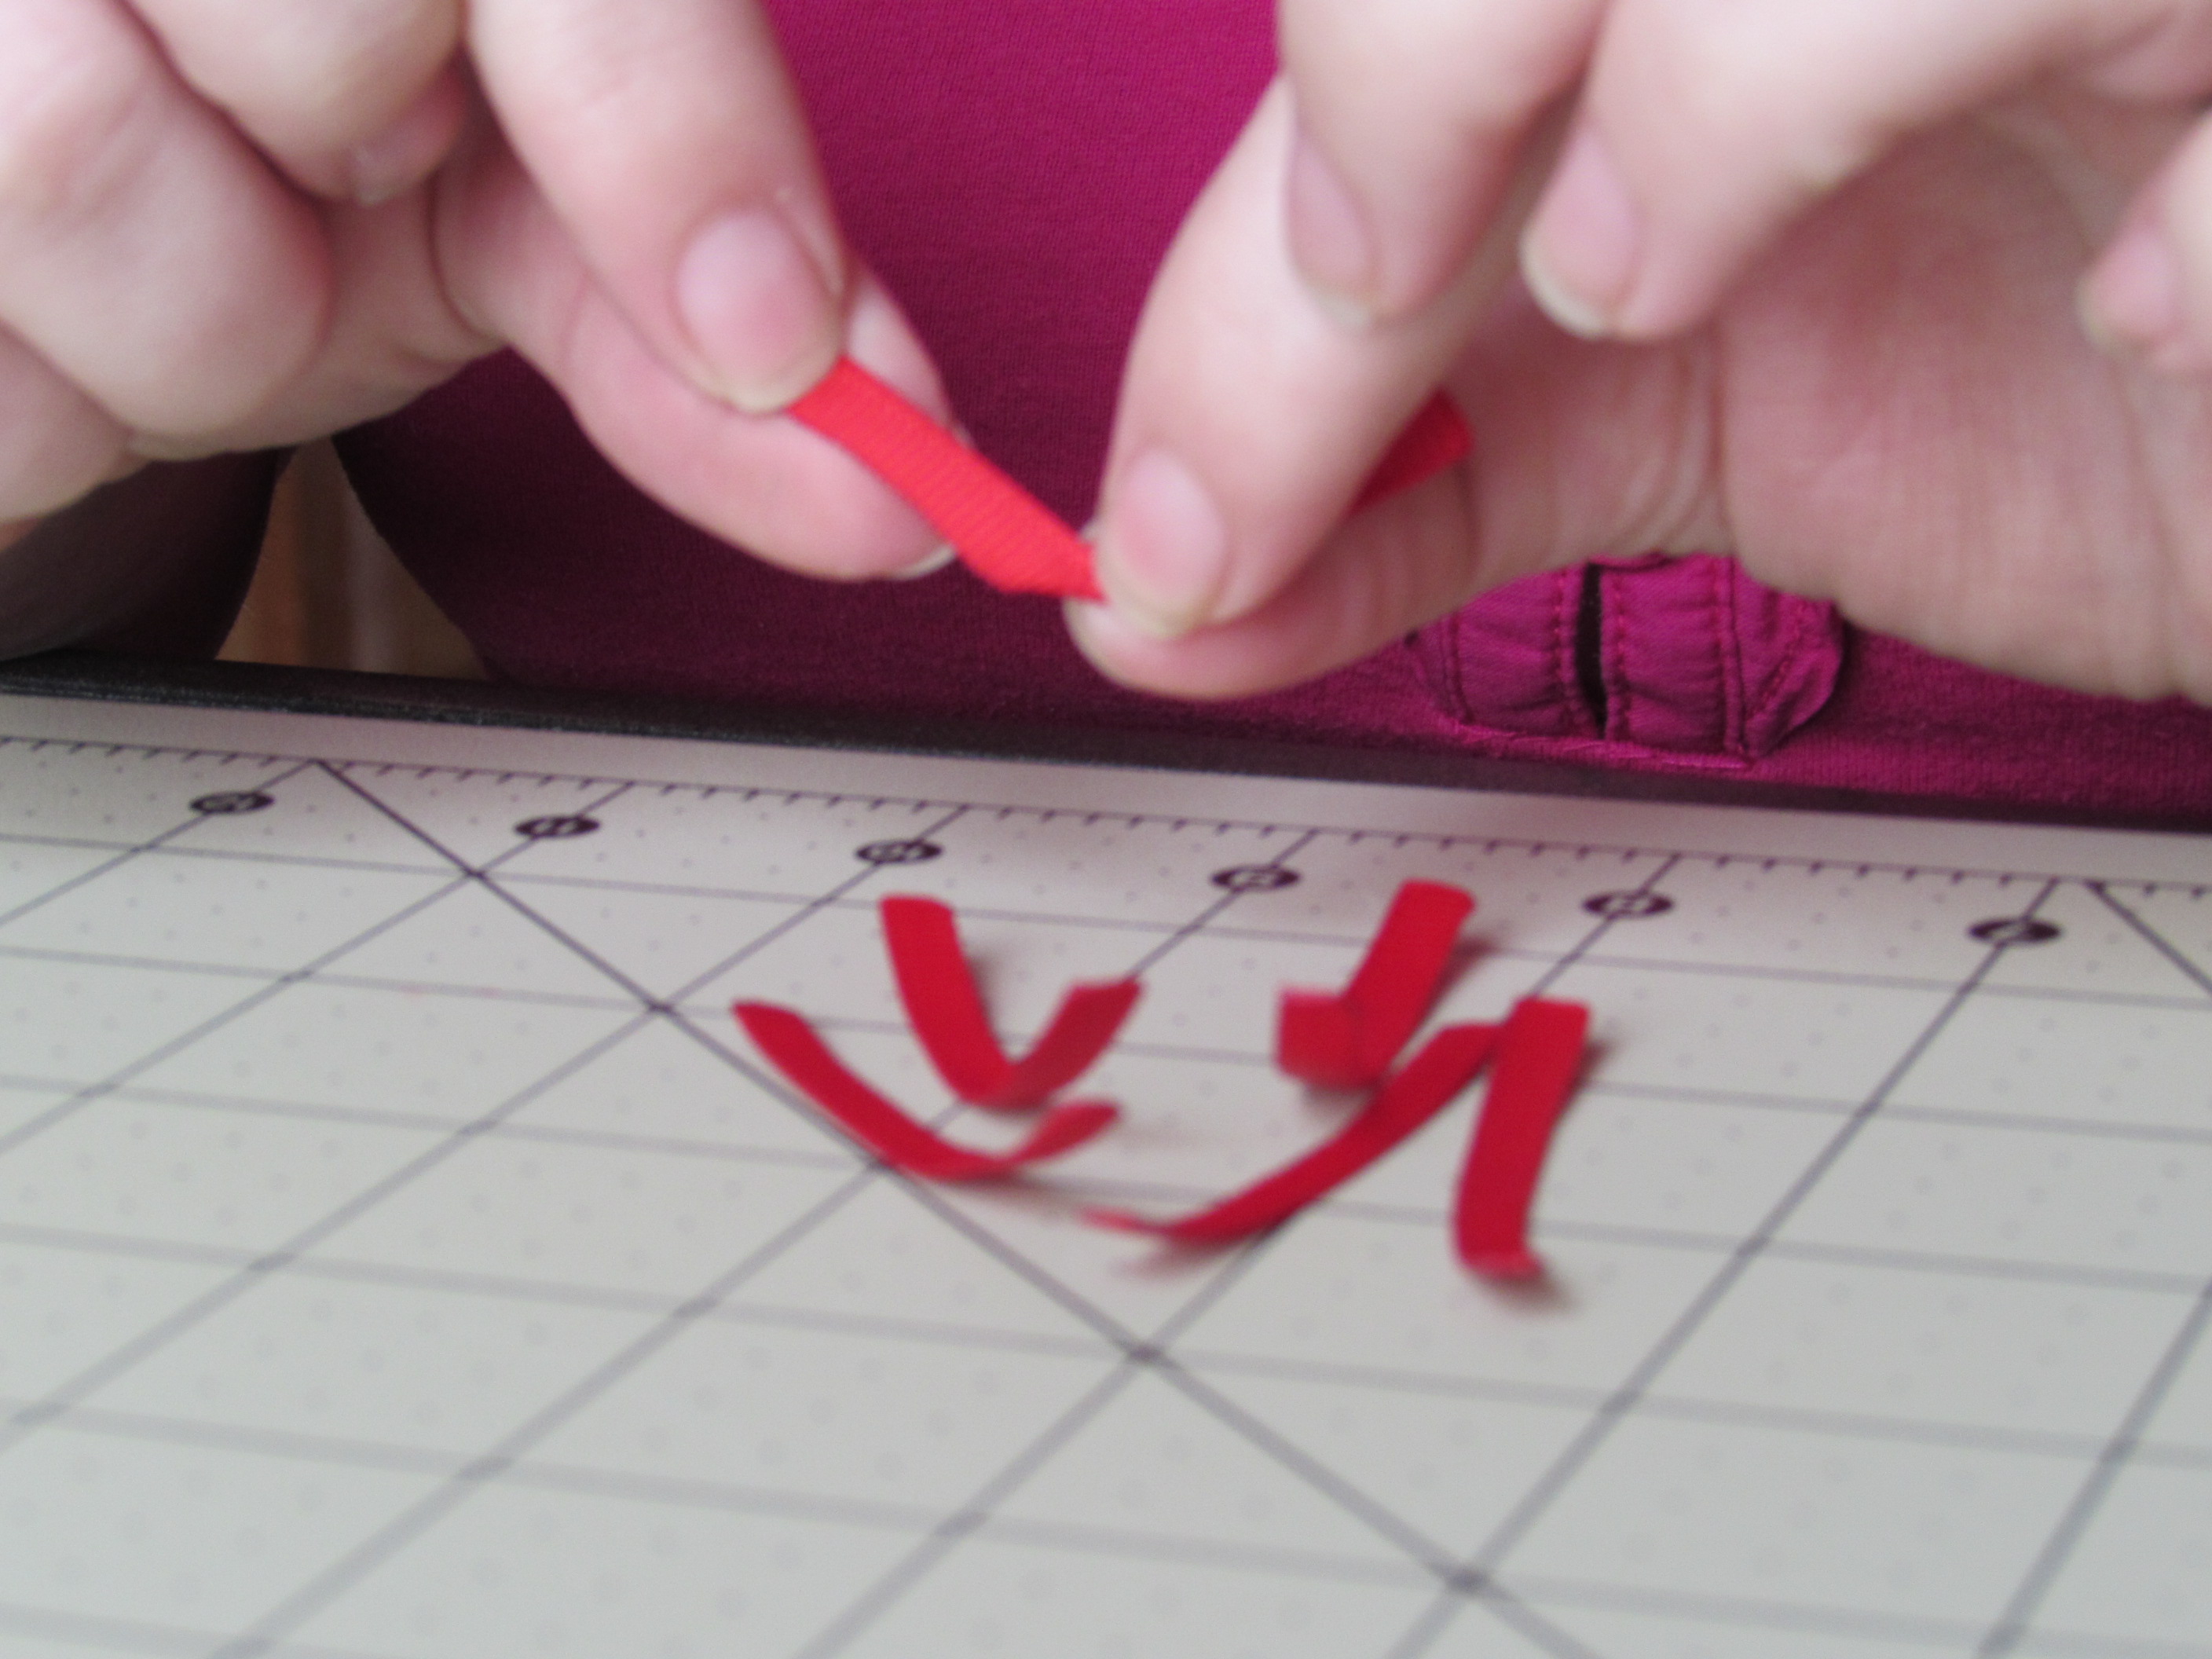
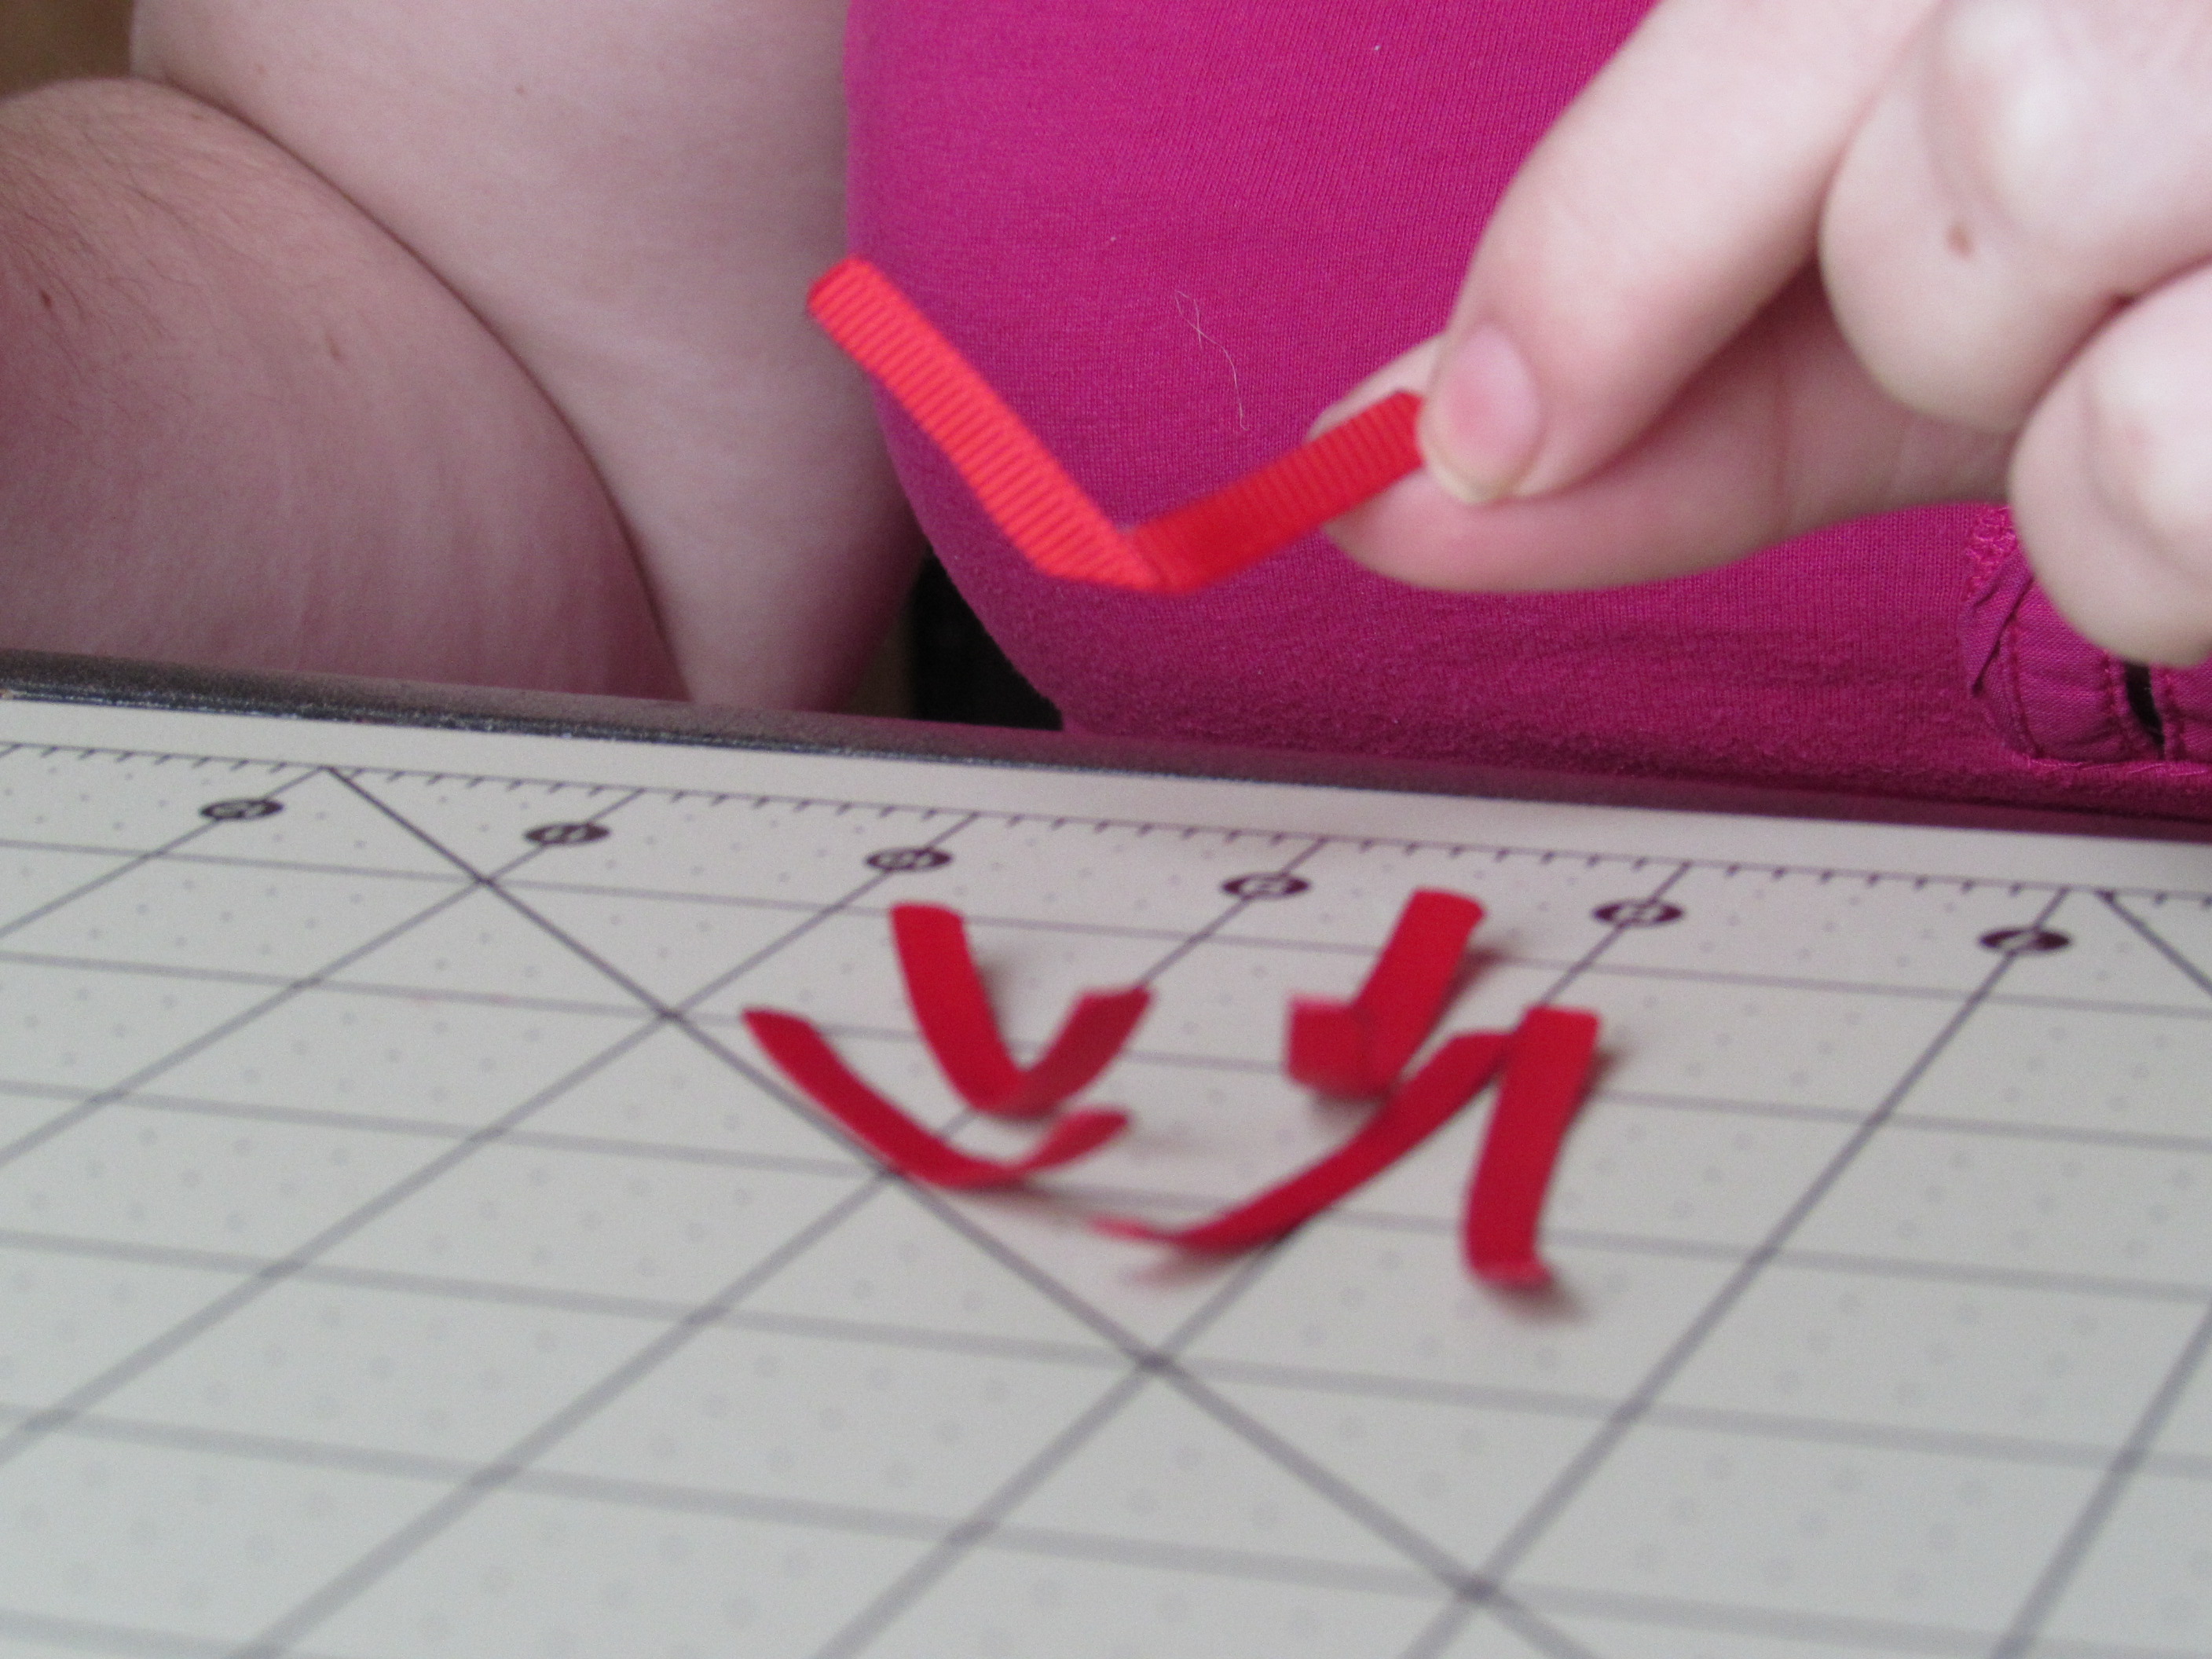 Step 9:
* Repeat for the rest of the leg pieces.
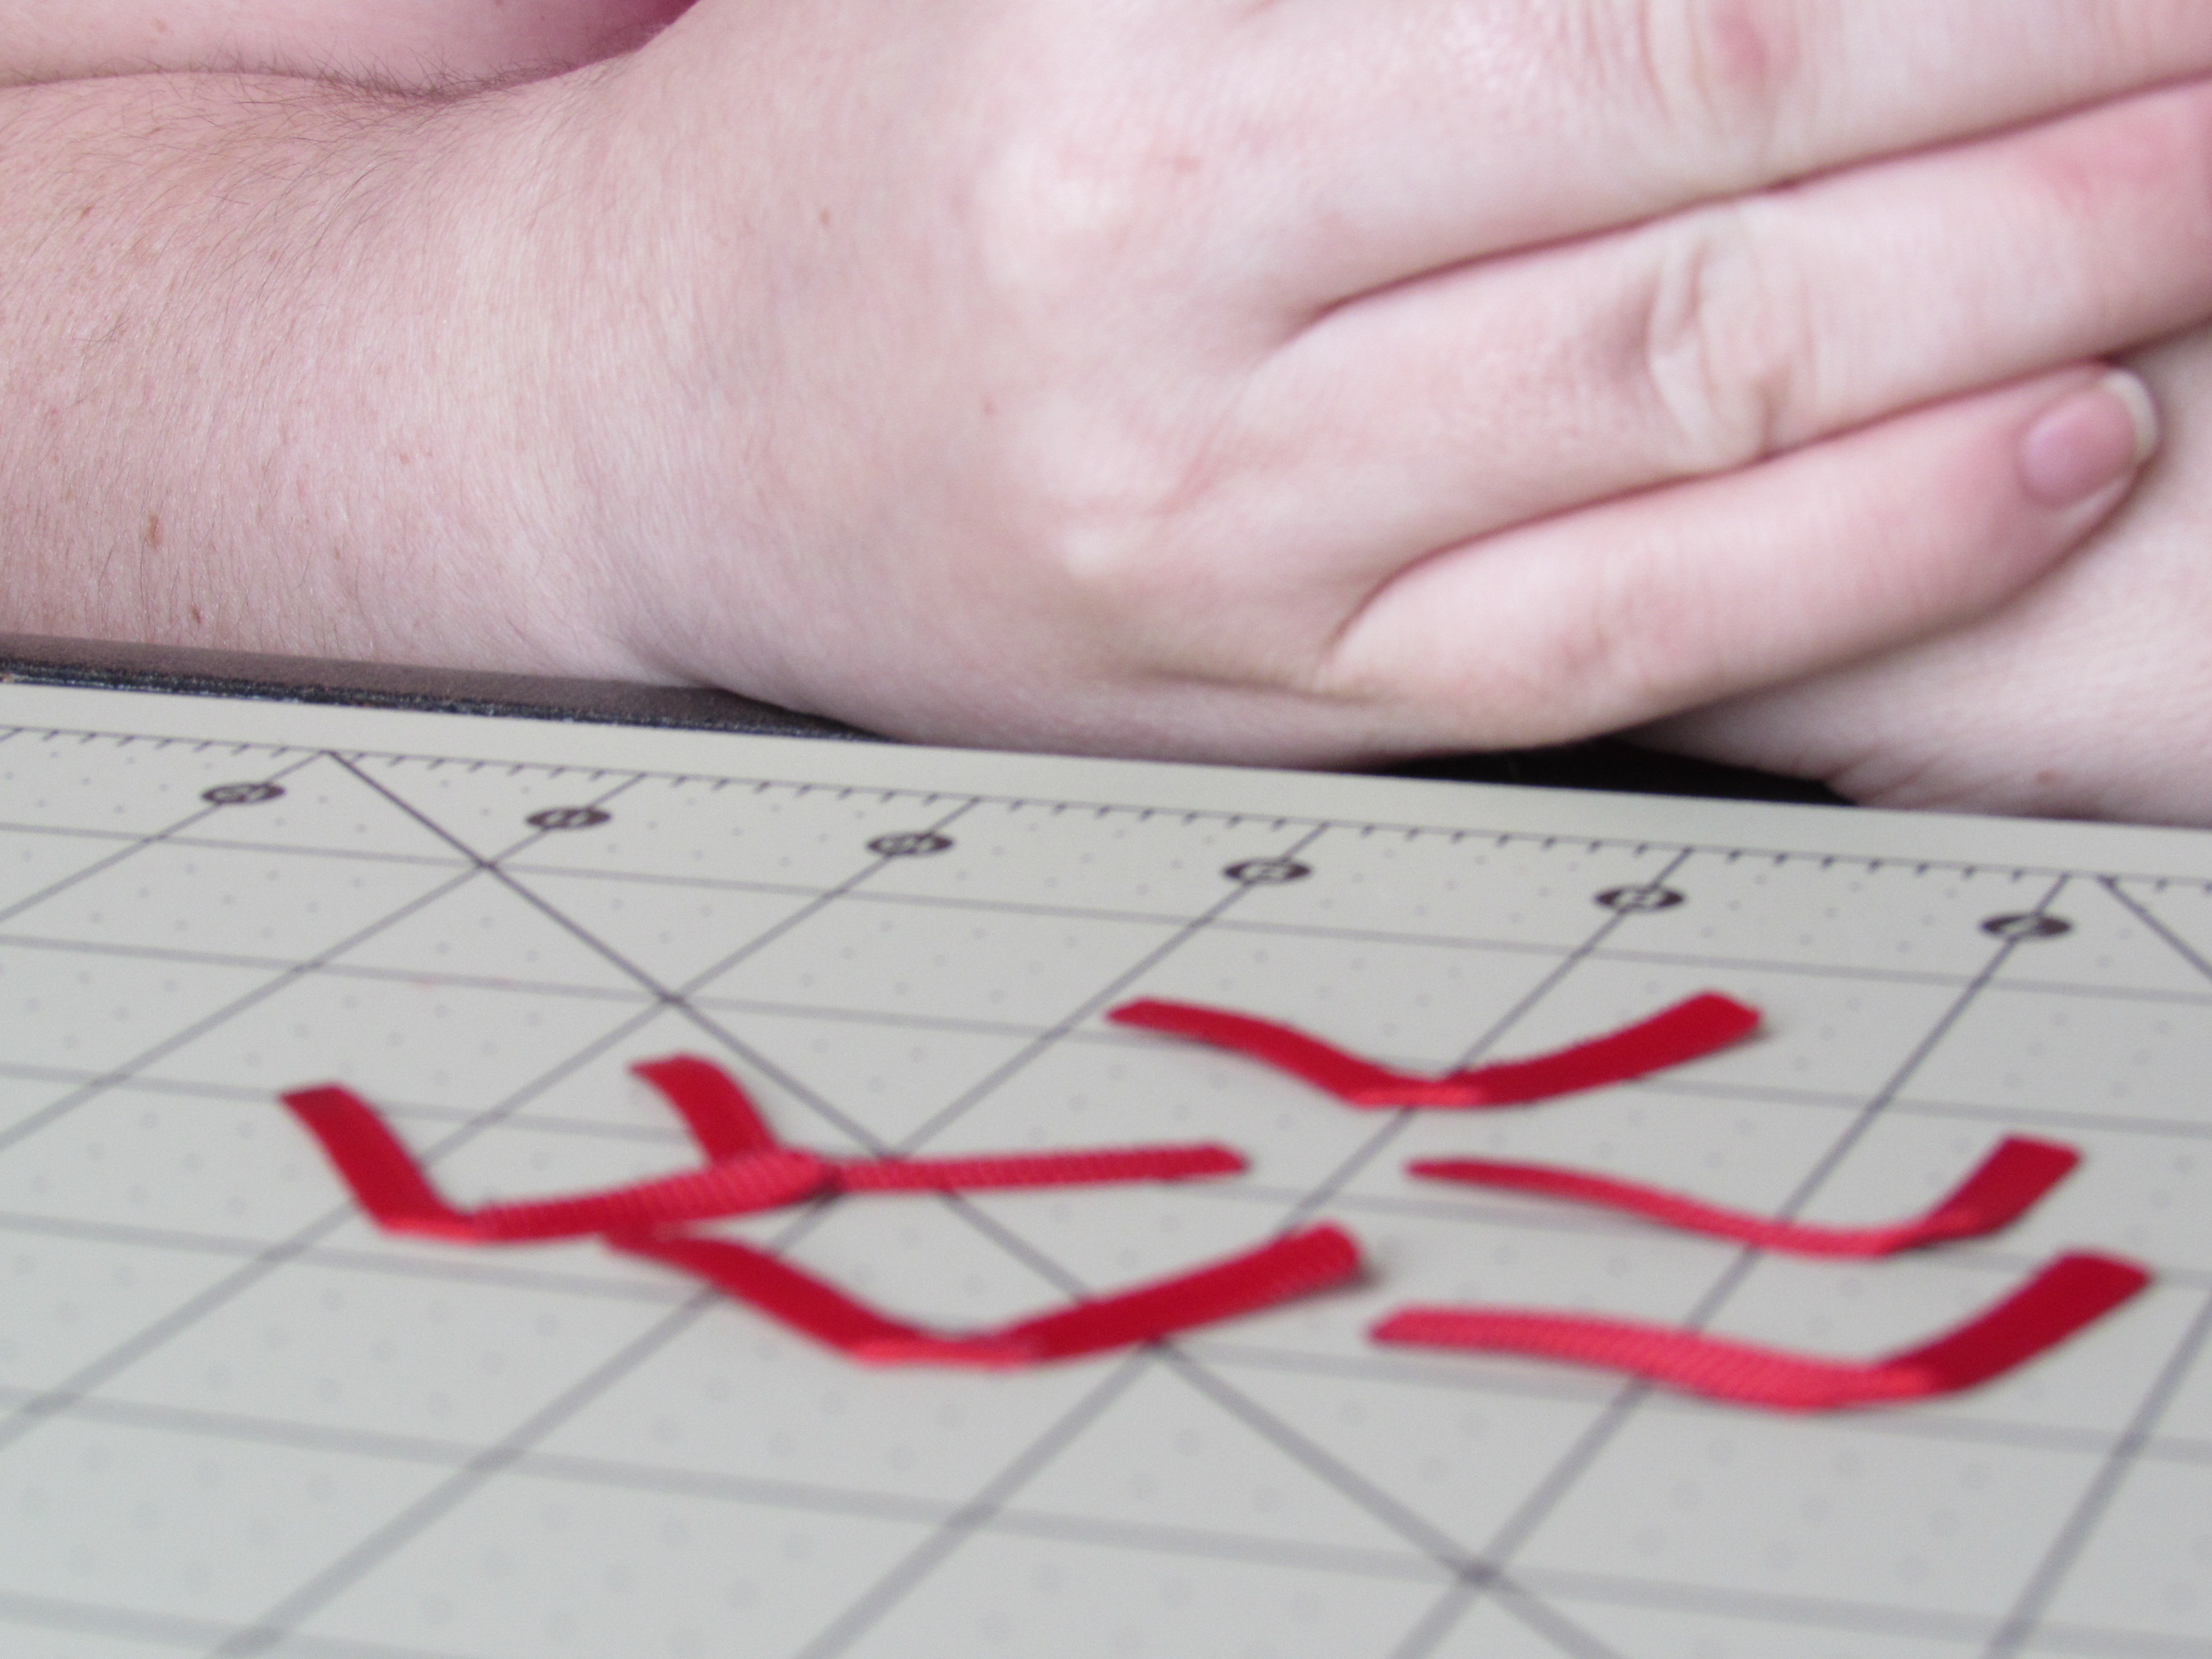 Step 10: Place the legs around the crab body how you want it. {{ 3 on each side }} * Leave a part at the bottom of the crab for the pinchers.
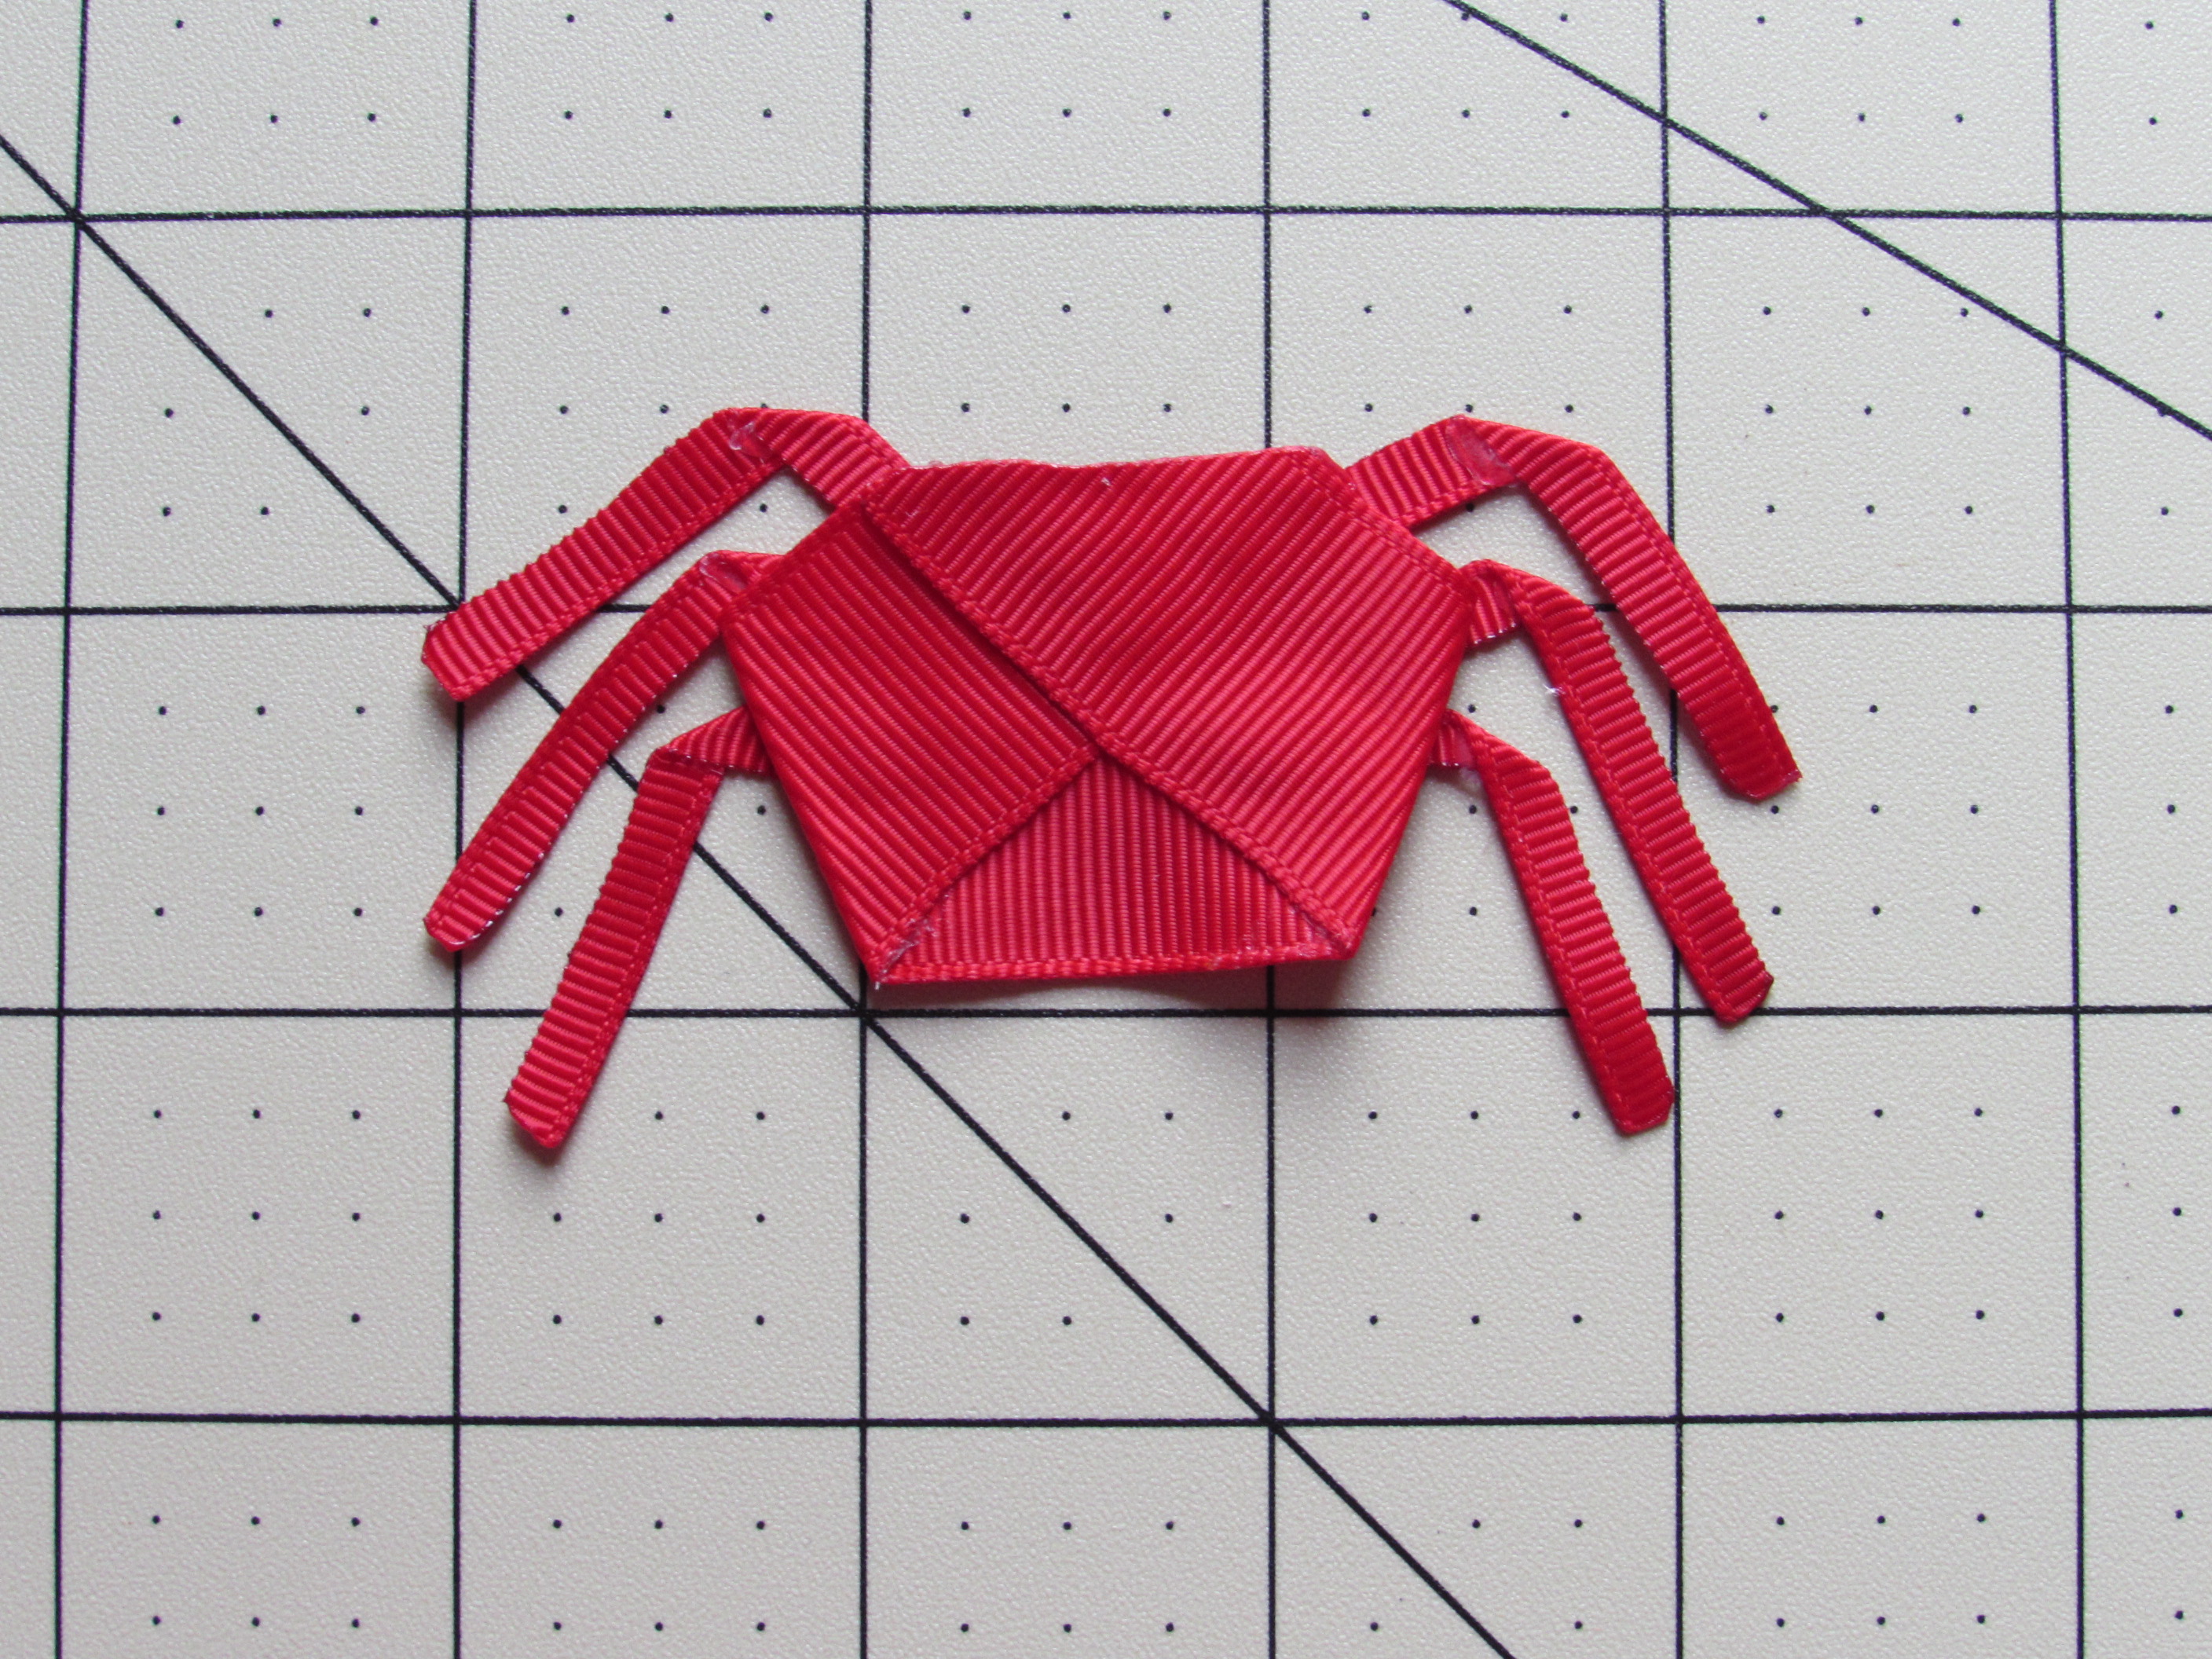 Step 11:
* Once you have them where you want them, glue them to the back of the crab.
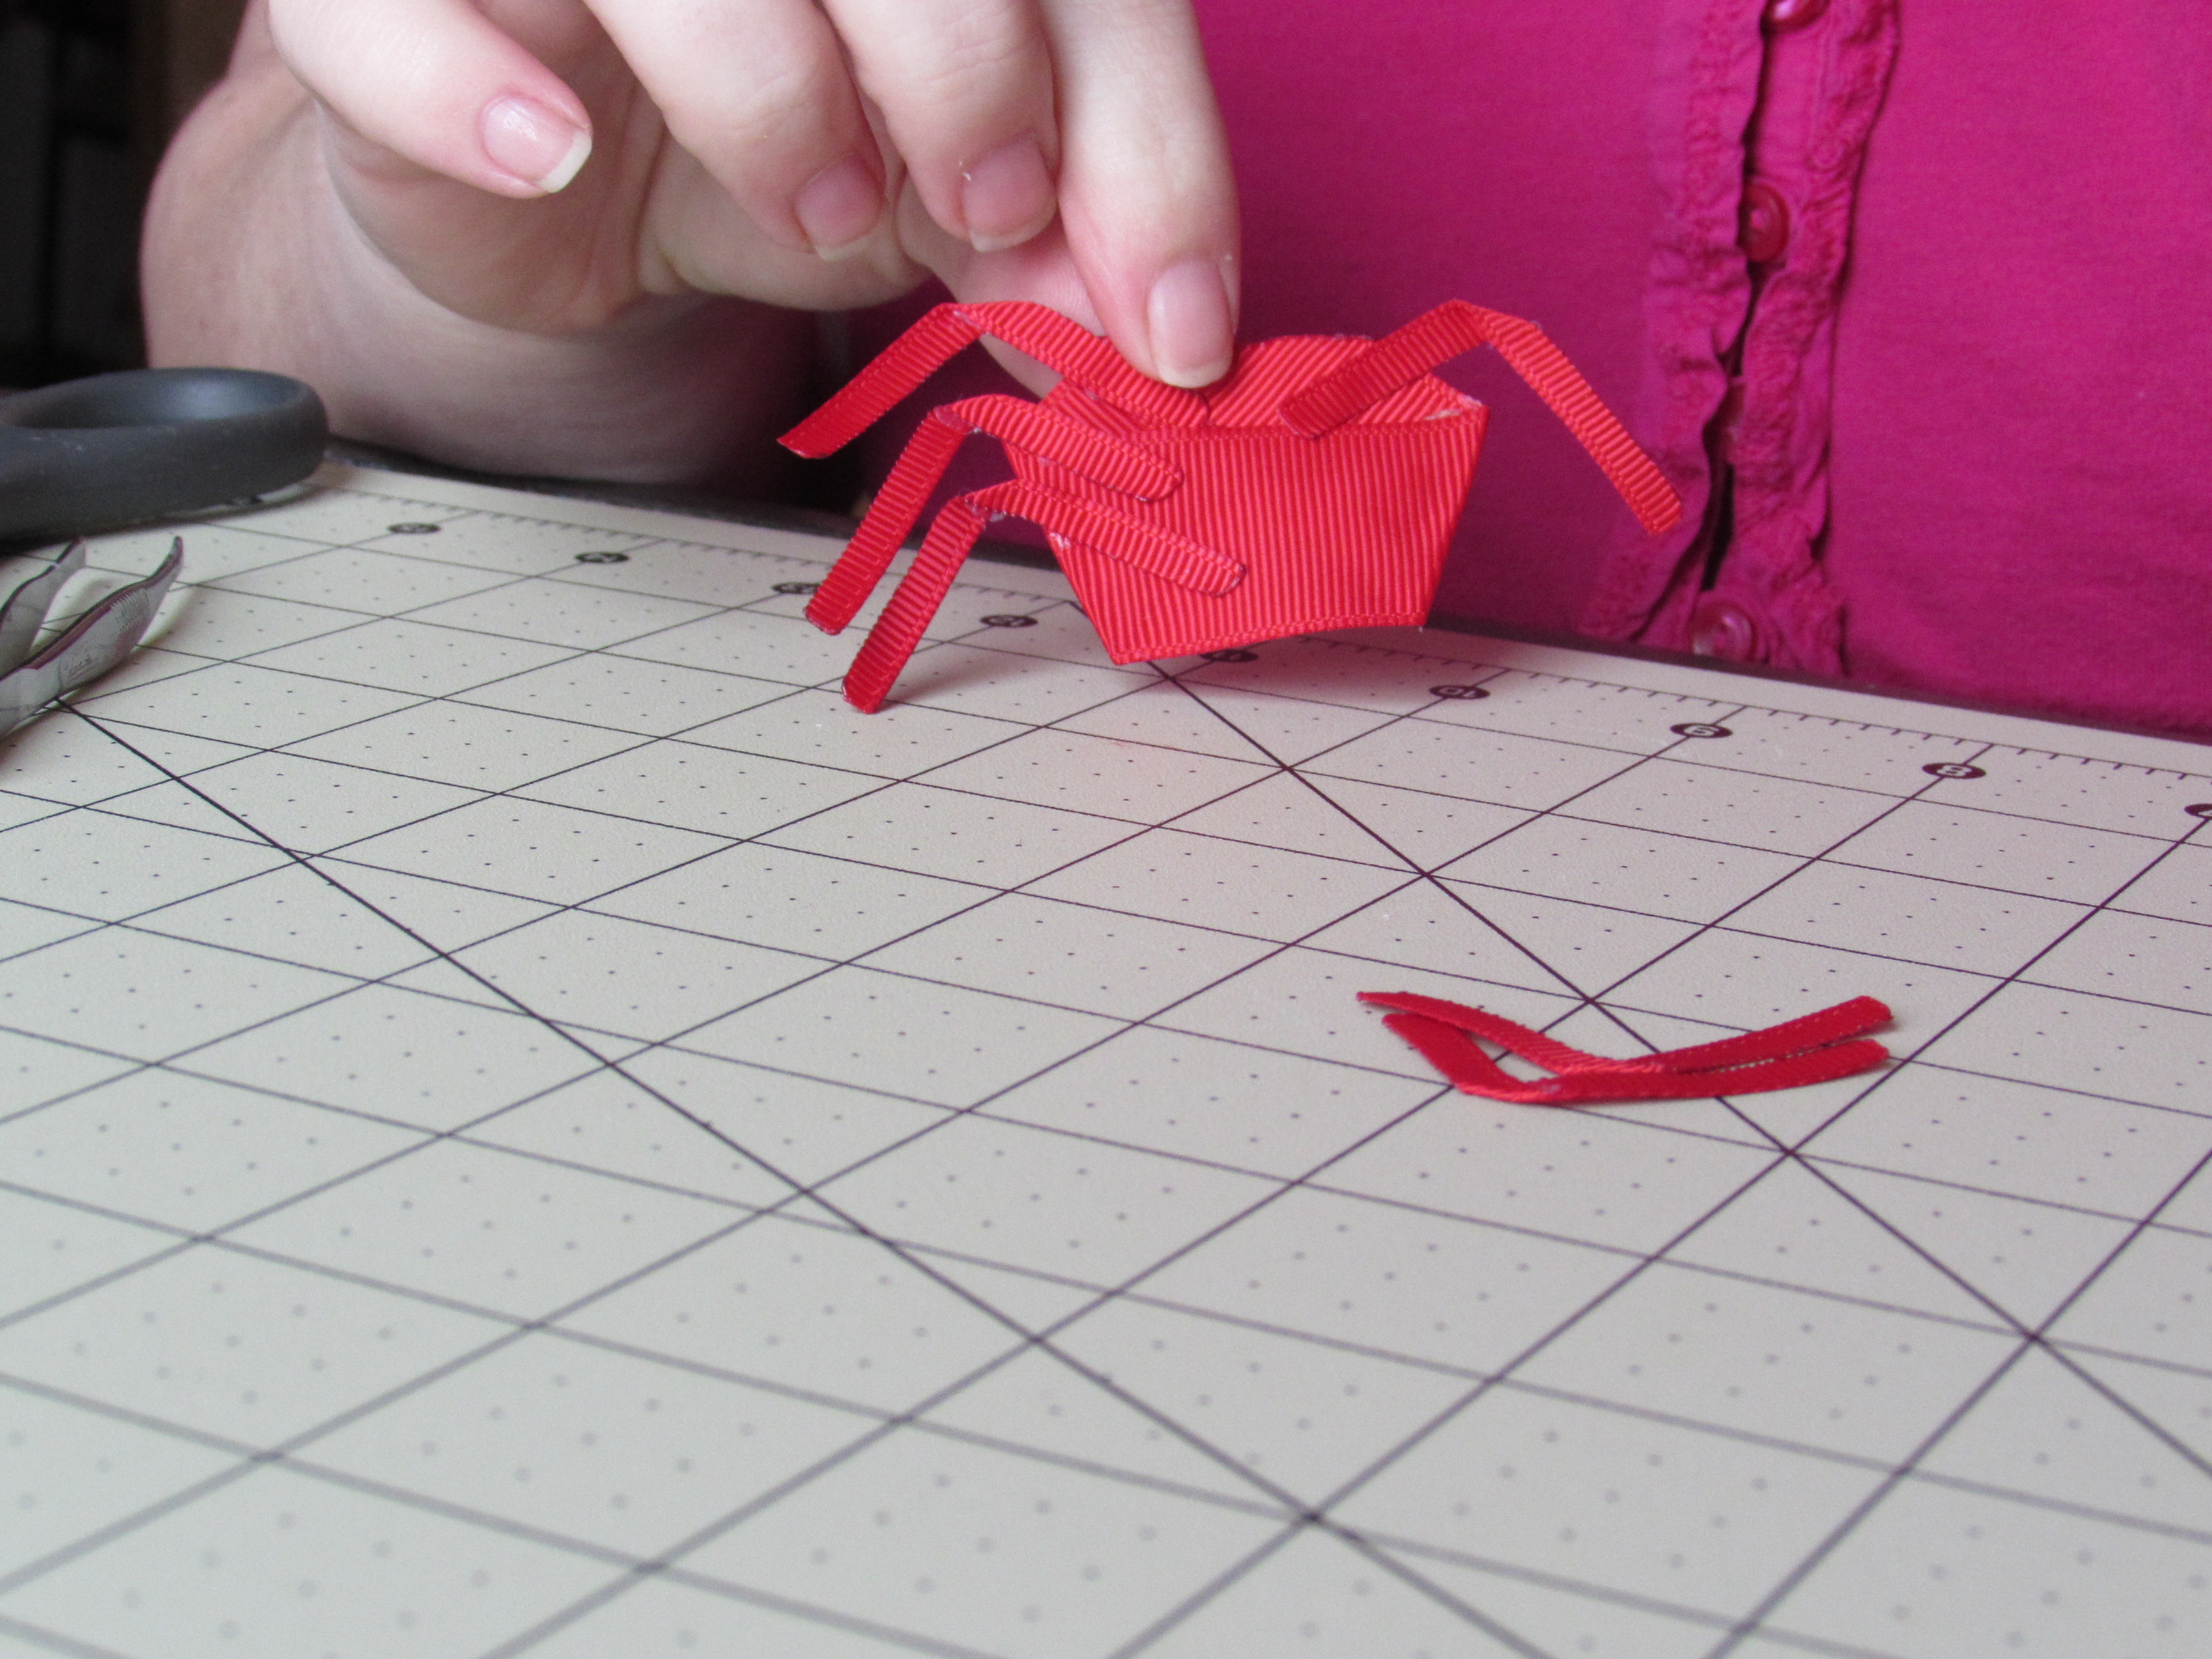
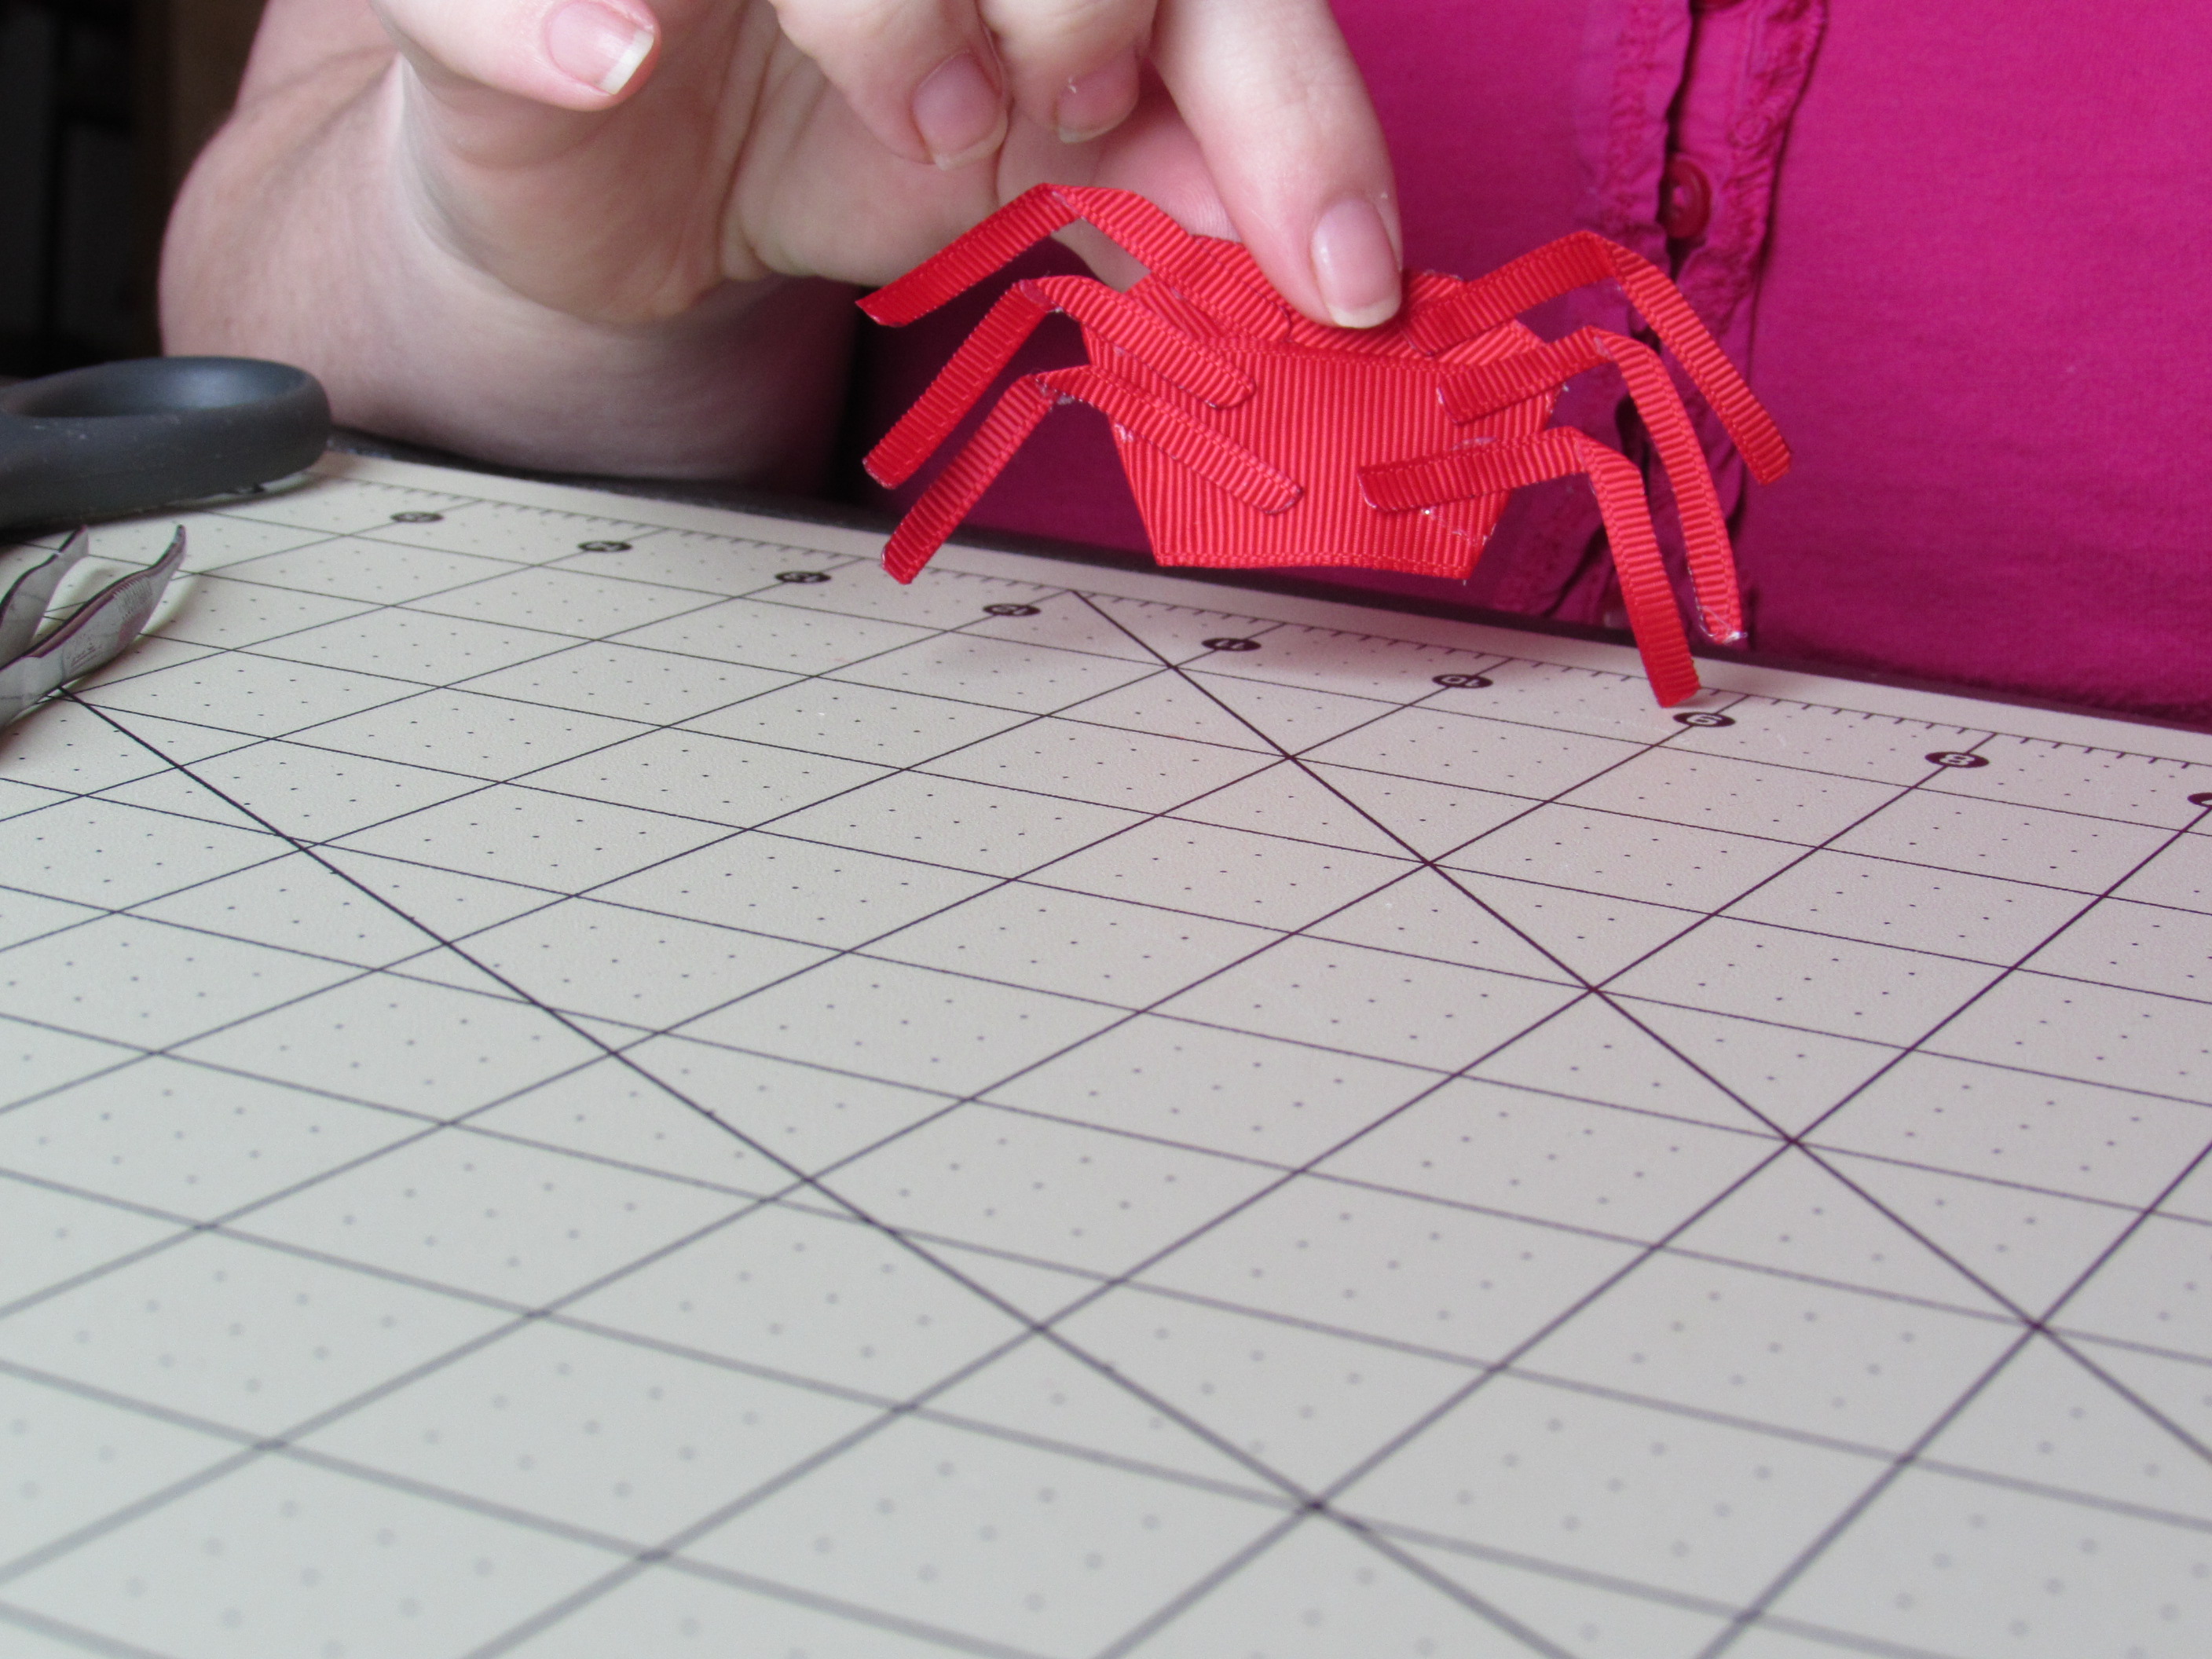 Step 12:
* Flip the crab over, trim the claws at an angle. * HEAT SEAL!*
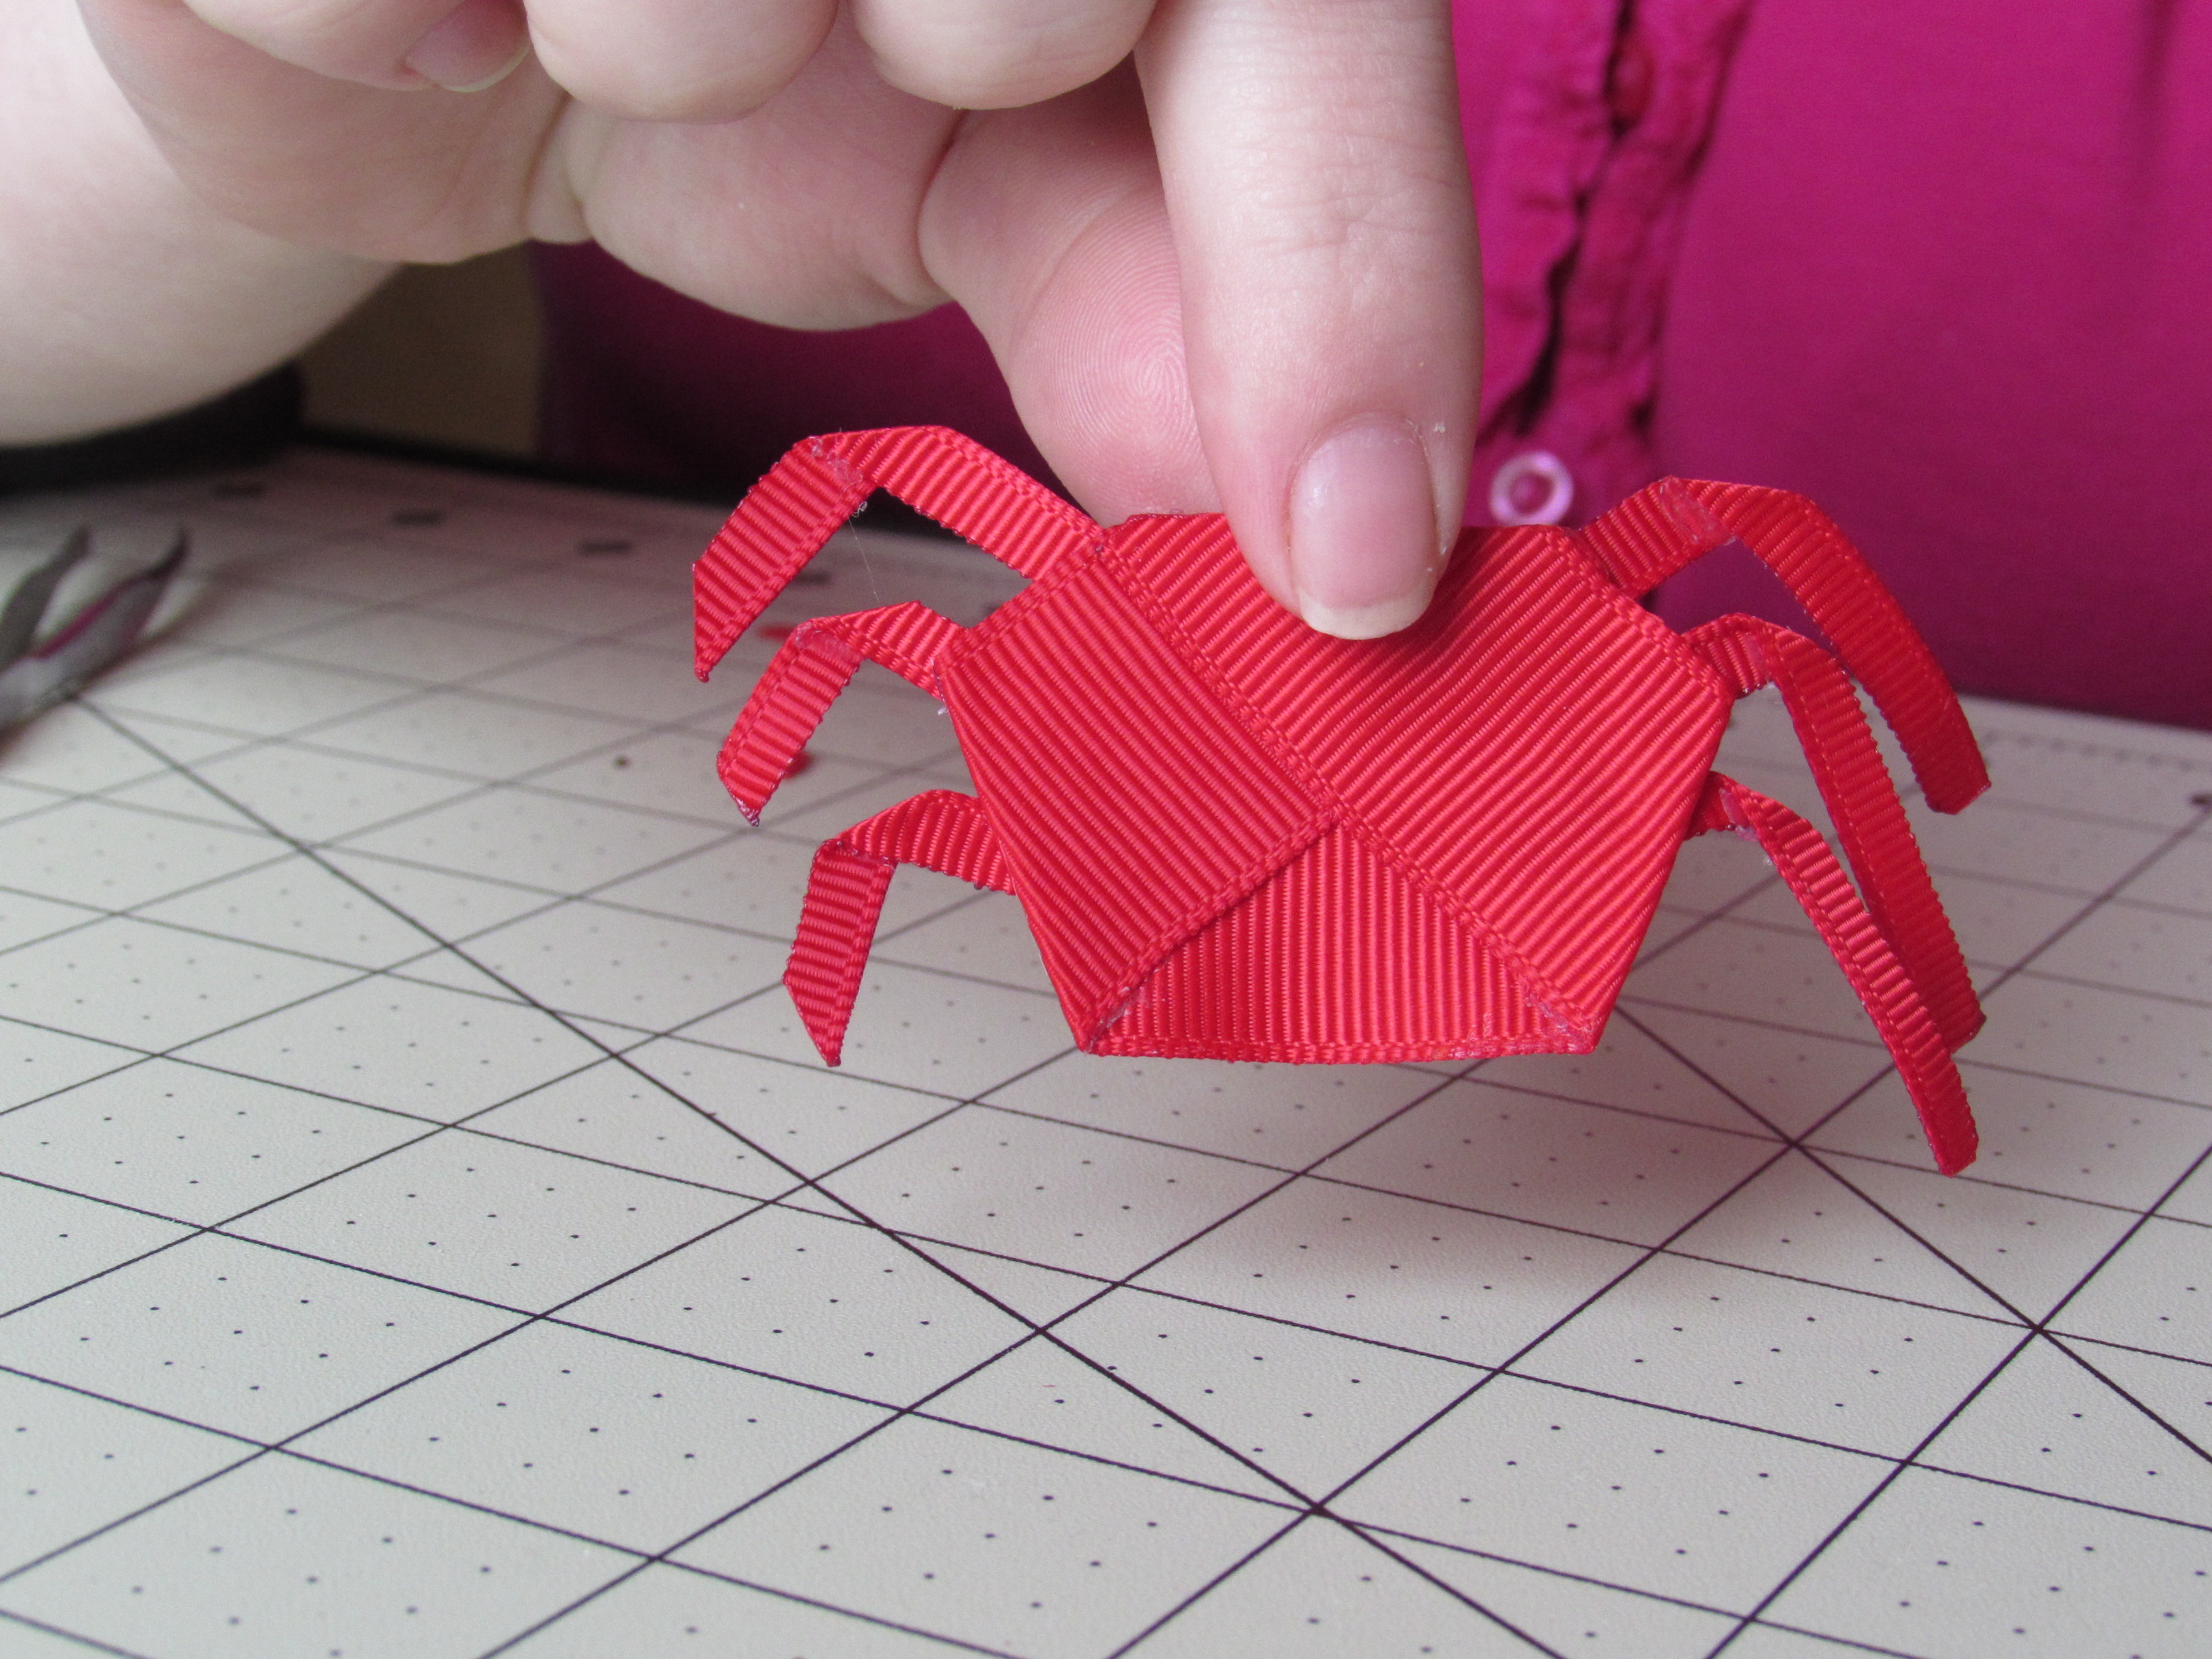
 Step 13:
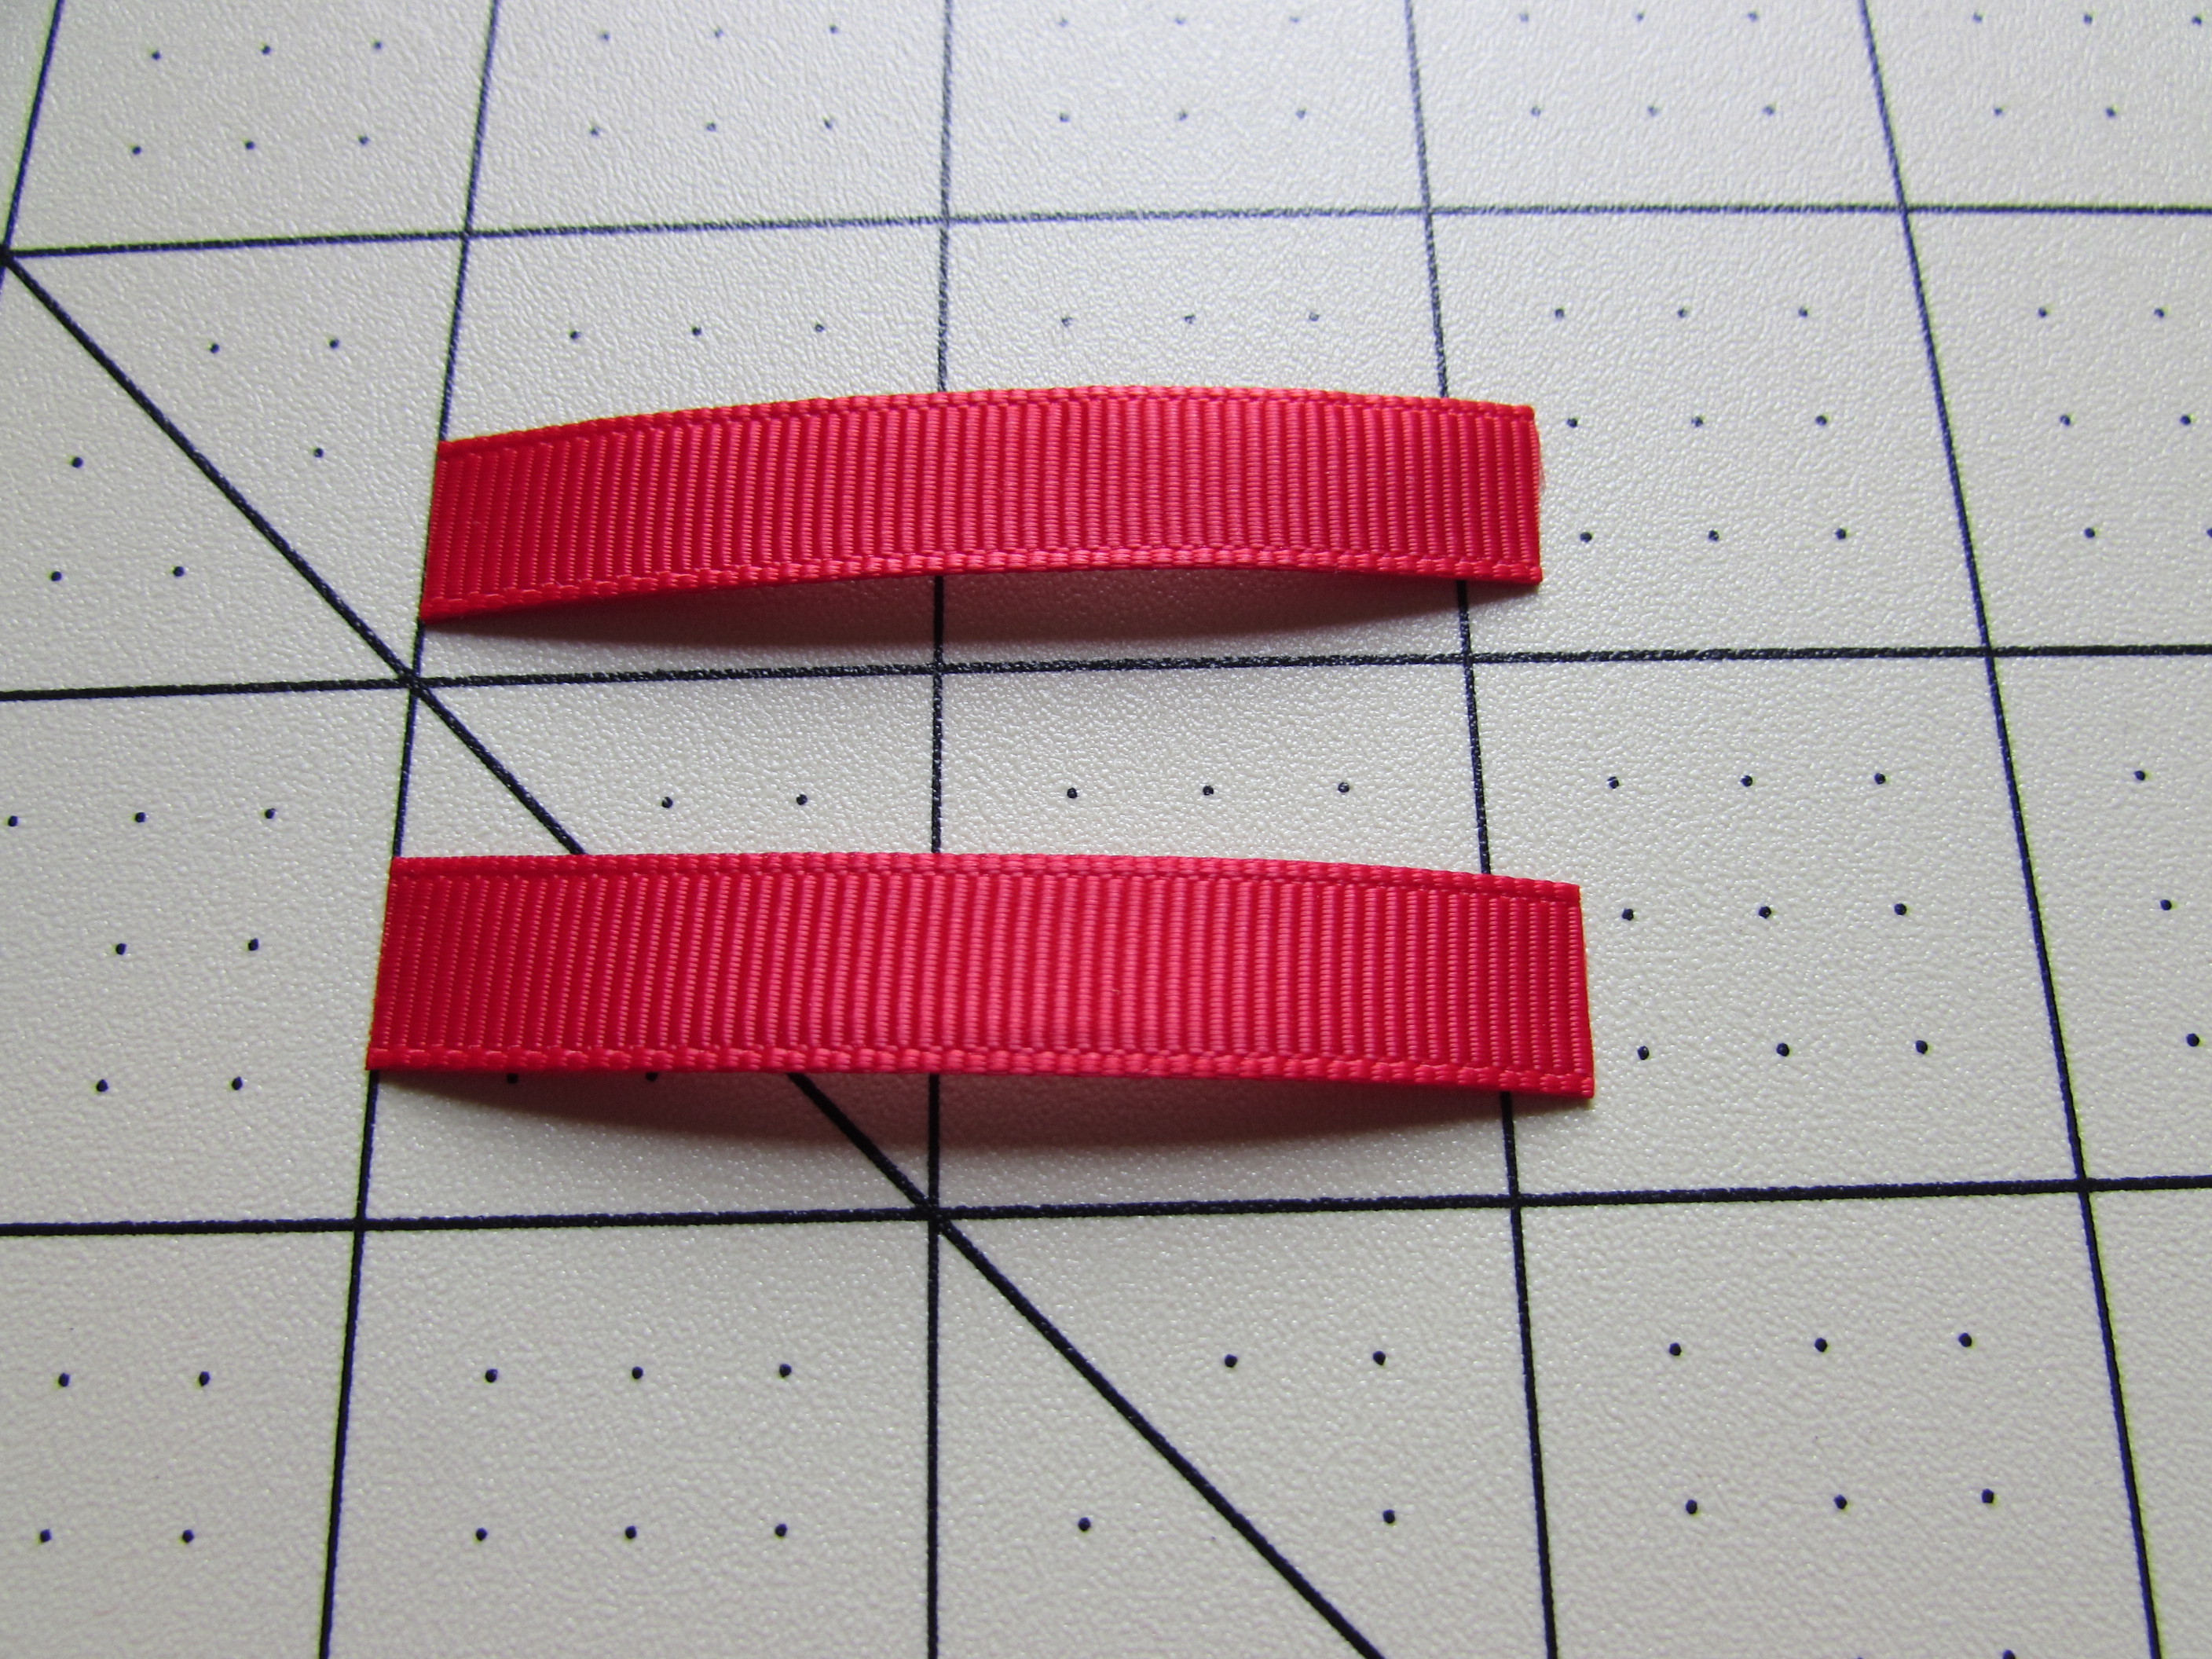
* Cut 2 {2" pieces }} of 3/8" red grosgrain ribbon. * HEAT SEAL! *
 Step 14:
* Fold those 2 pieces like you did for the legs.
 Step 15:
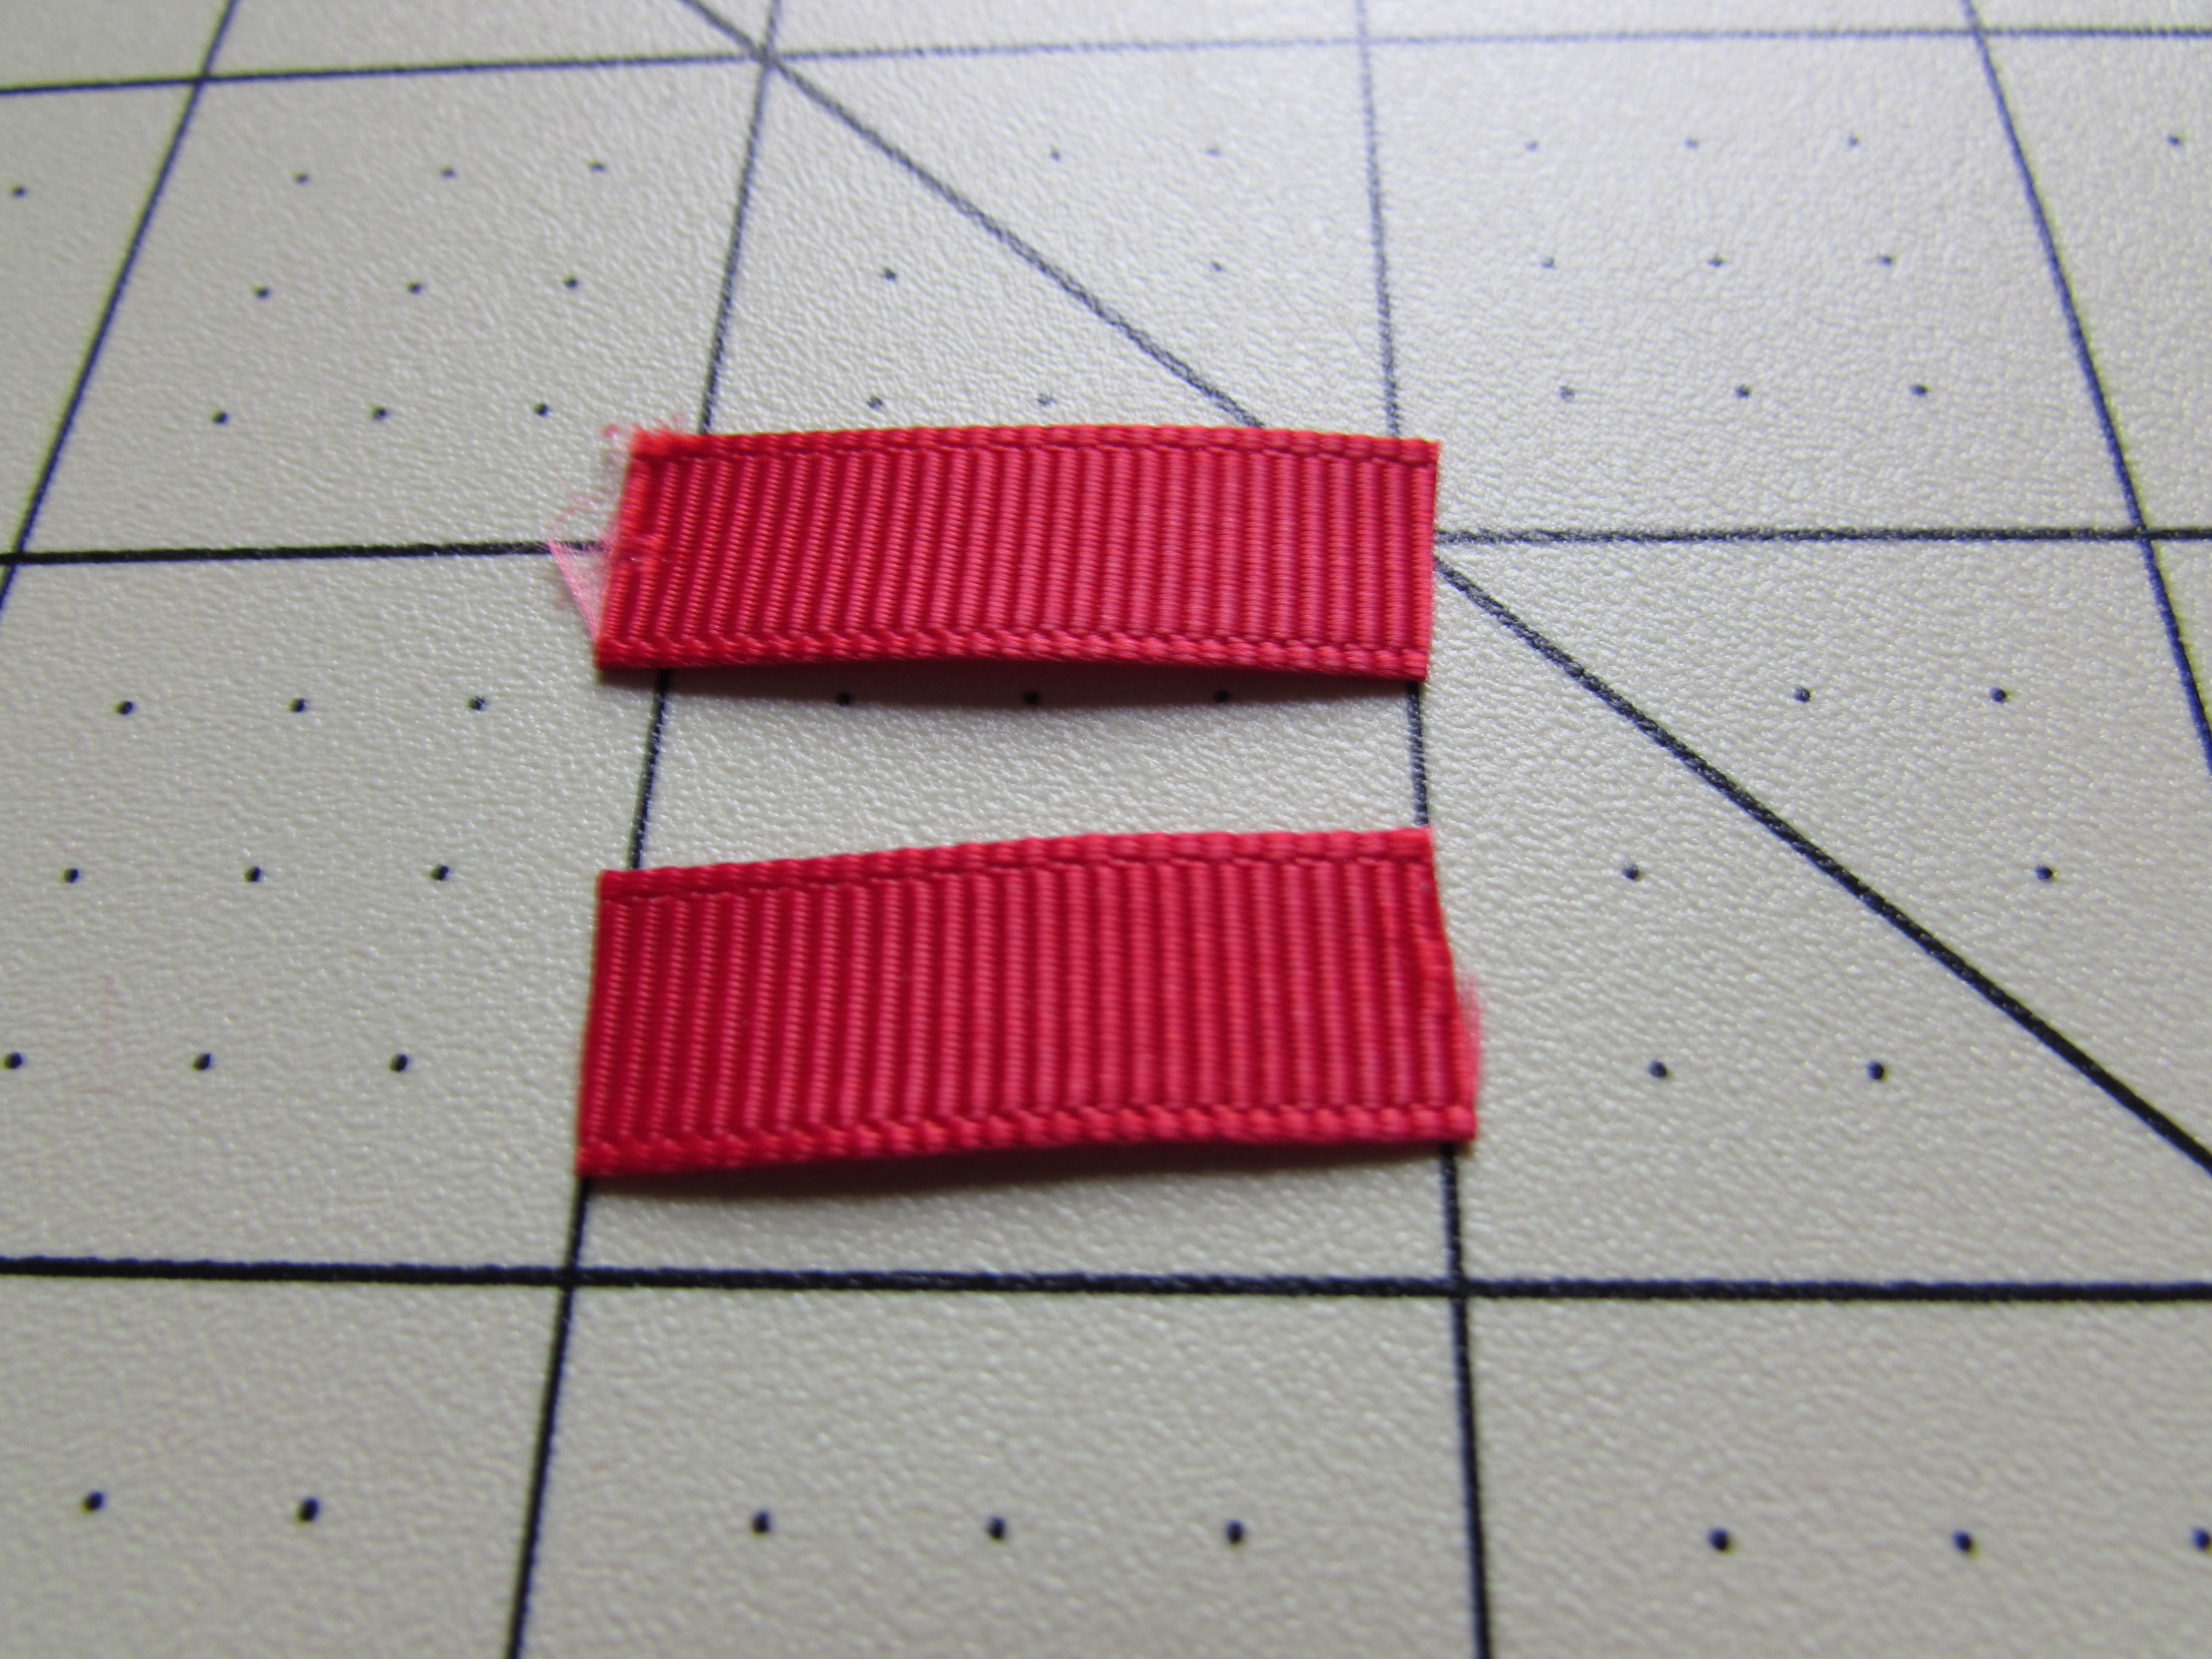
* Cut 2 {1" pieces } of red 3/8" grosgrain ribbon. * HEAT SEAL!*
 Step 16:
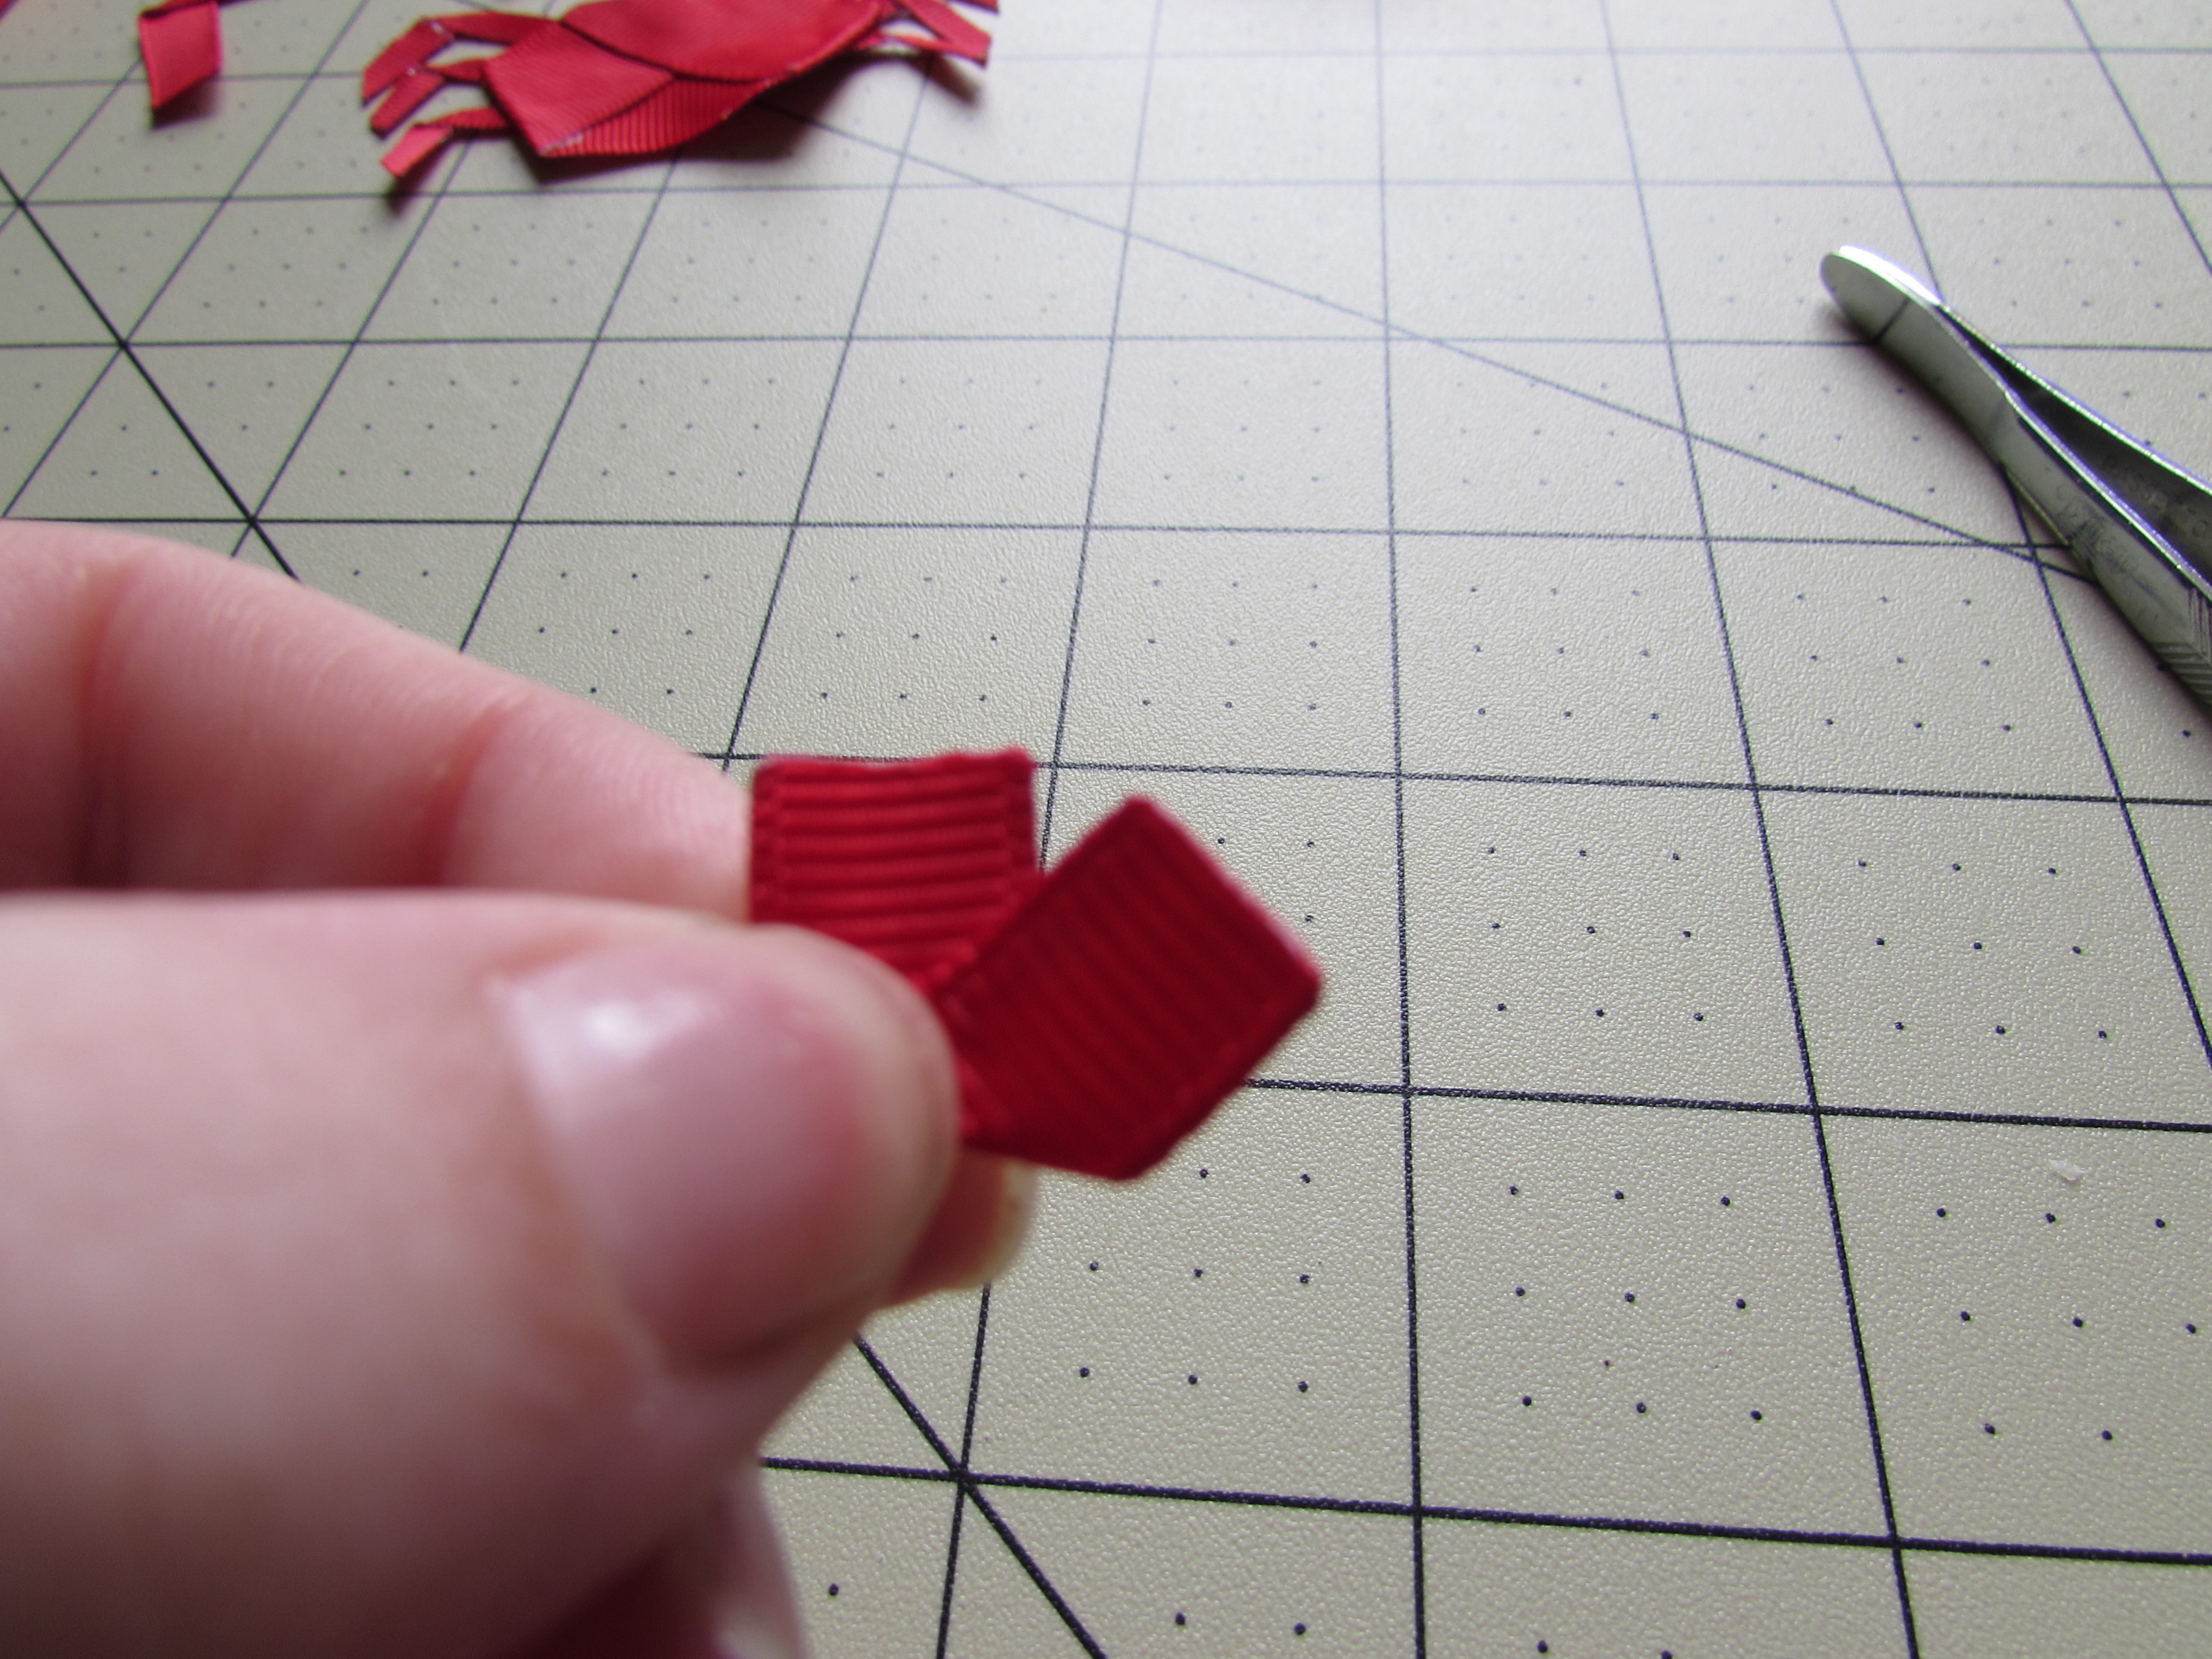
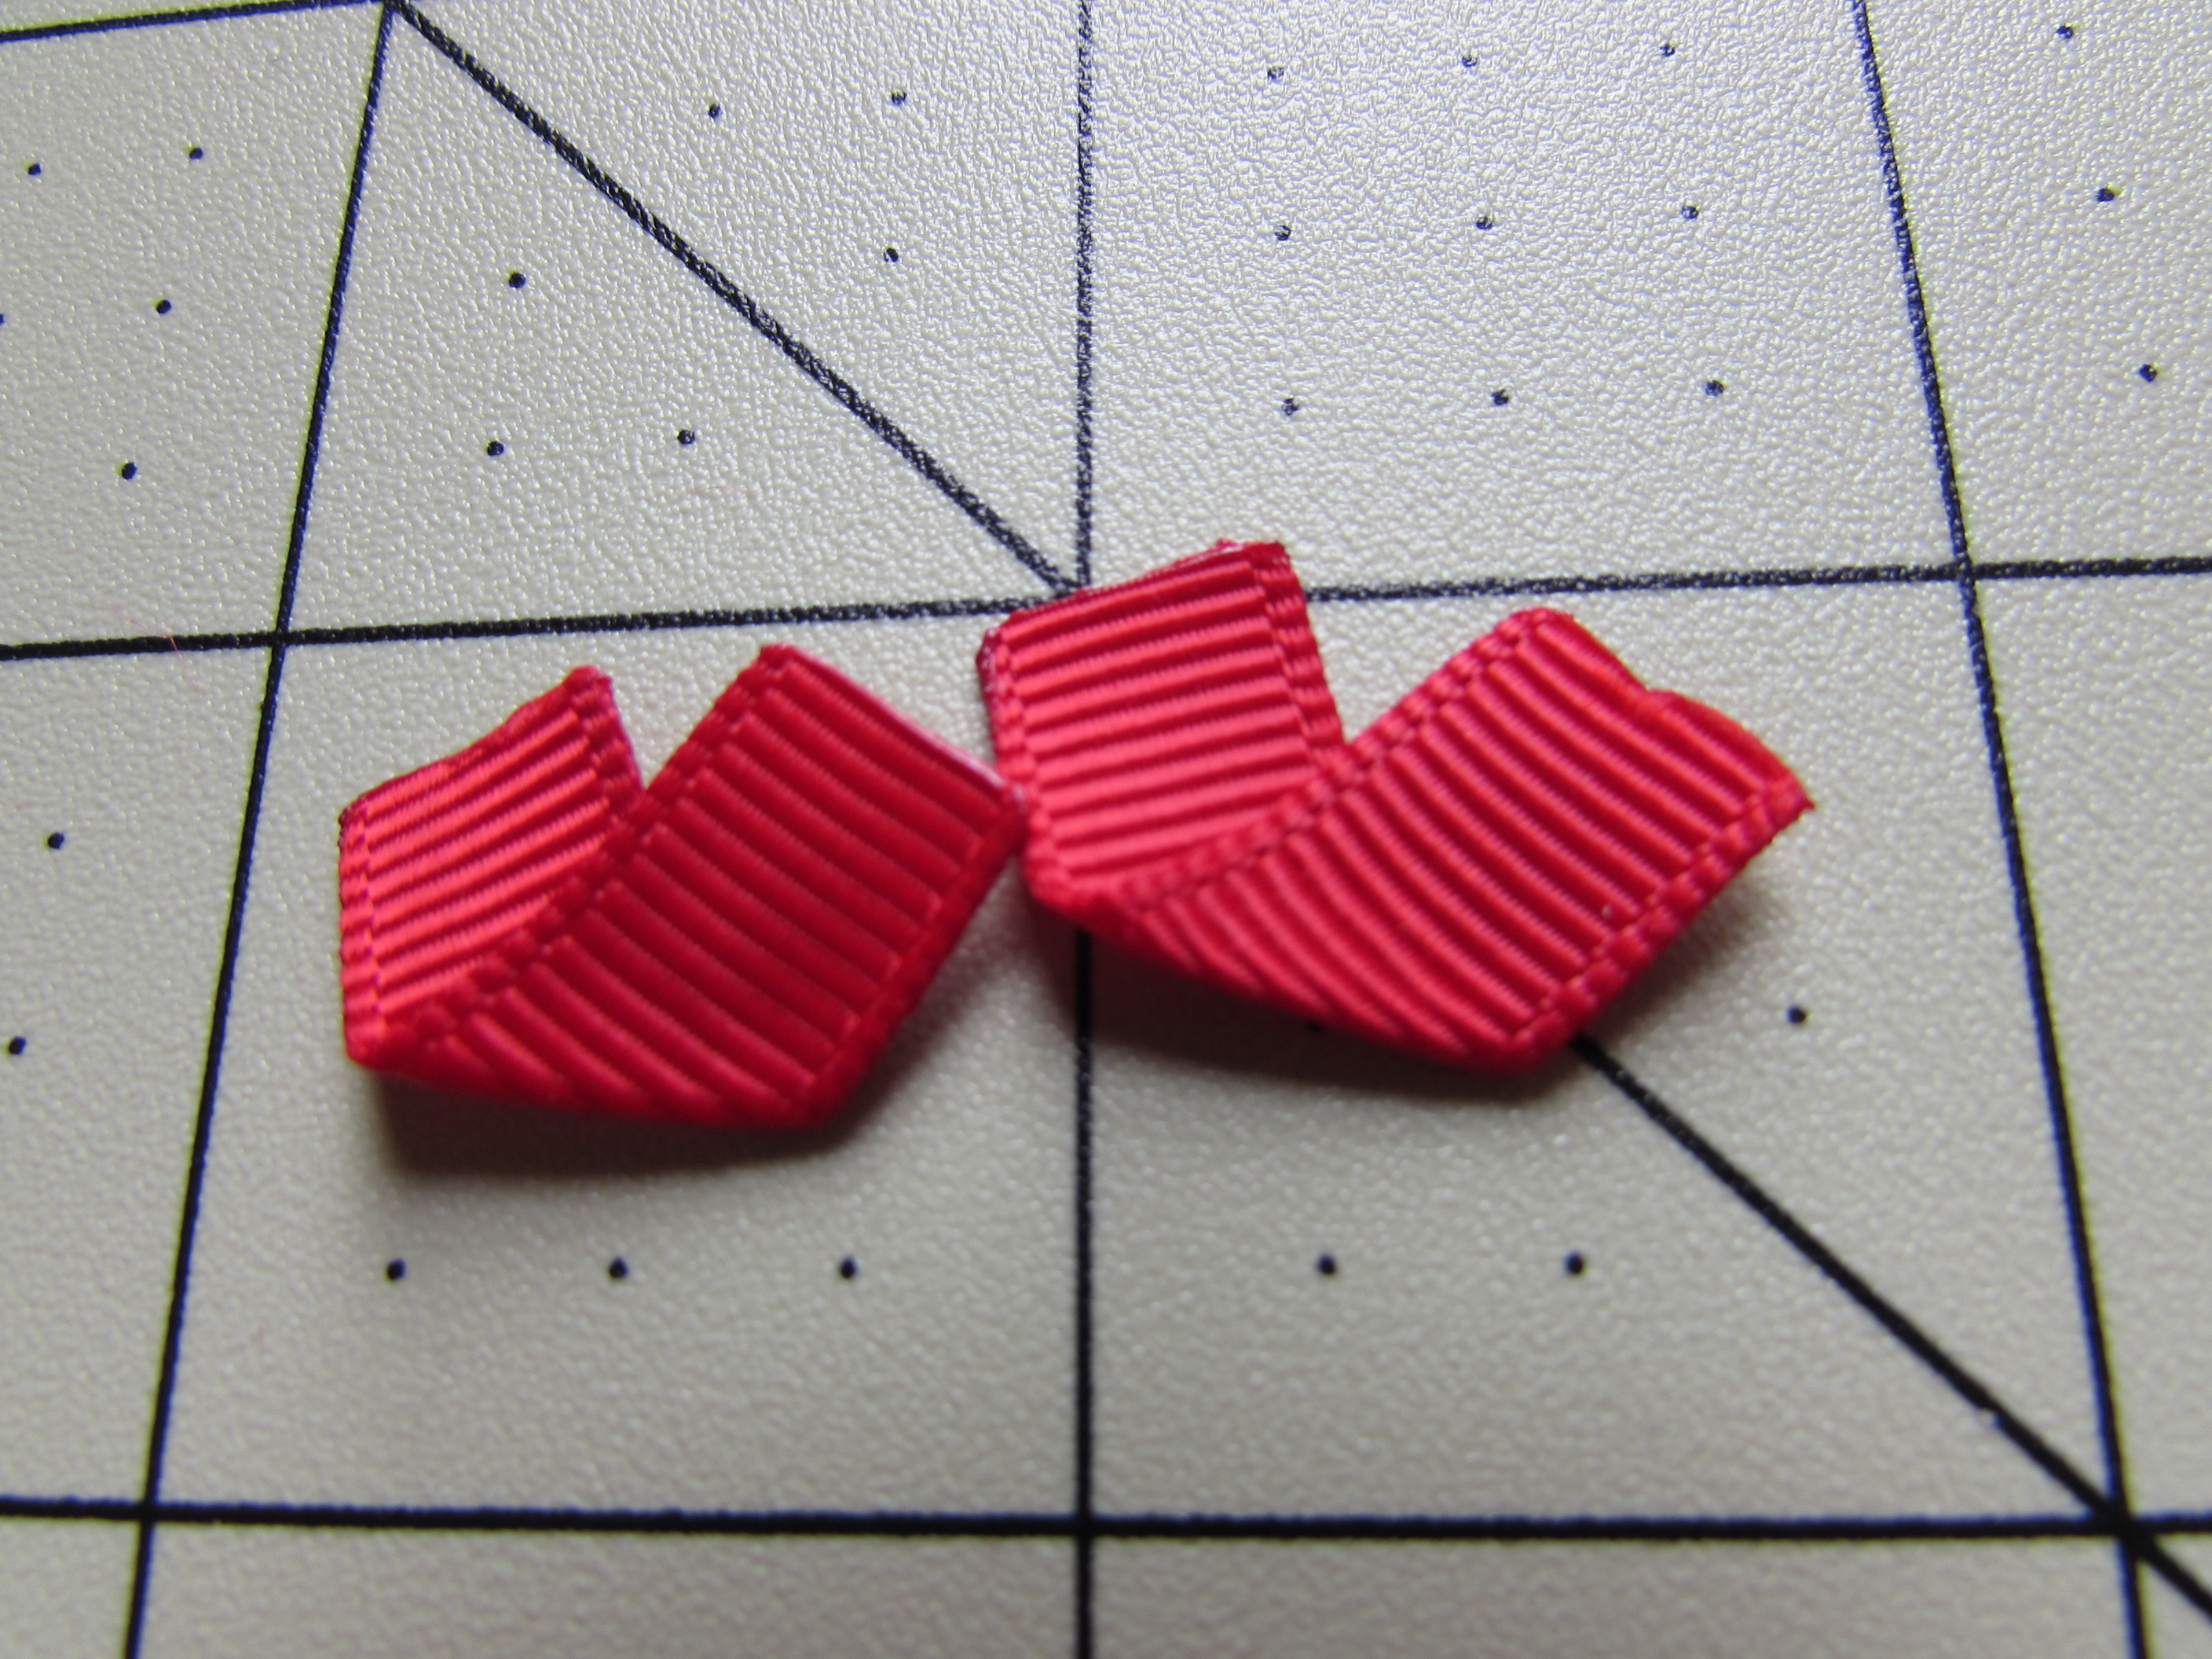
* Fold the ribbon at a "V" angle. Glue.
 Step 17:
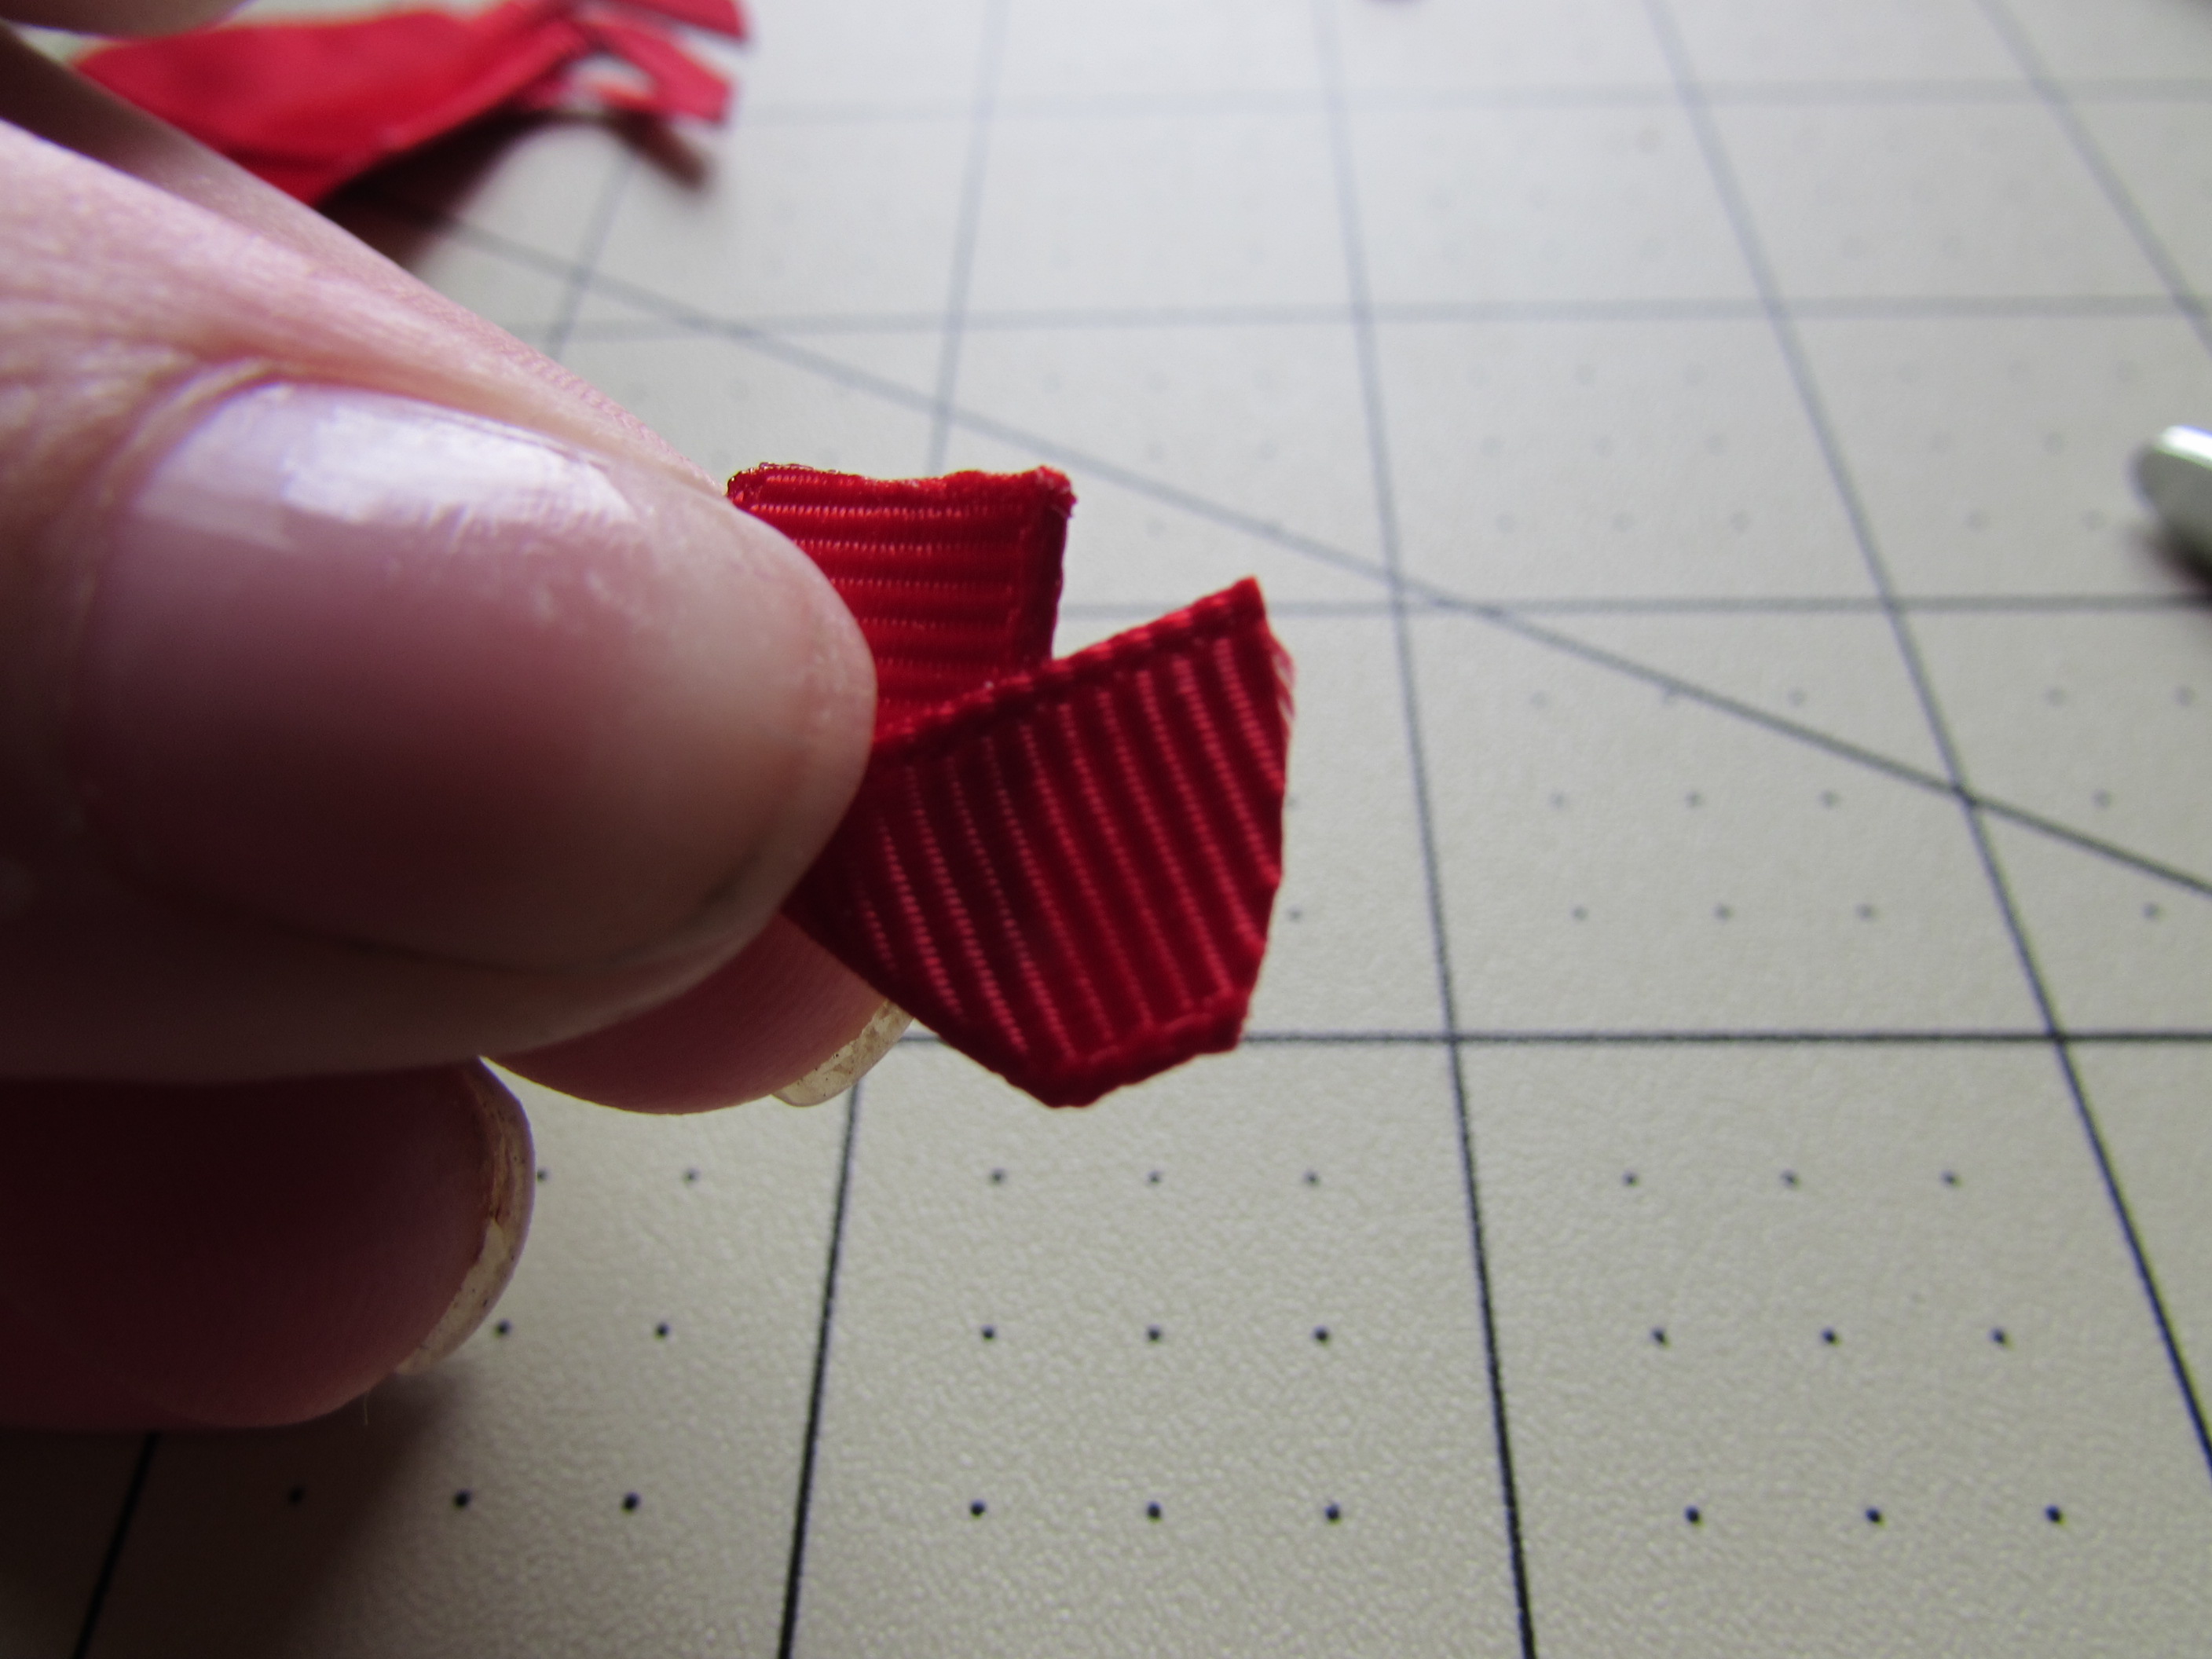
* Cut those pieces at a curved motion. * HEAT SEAL!*
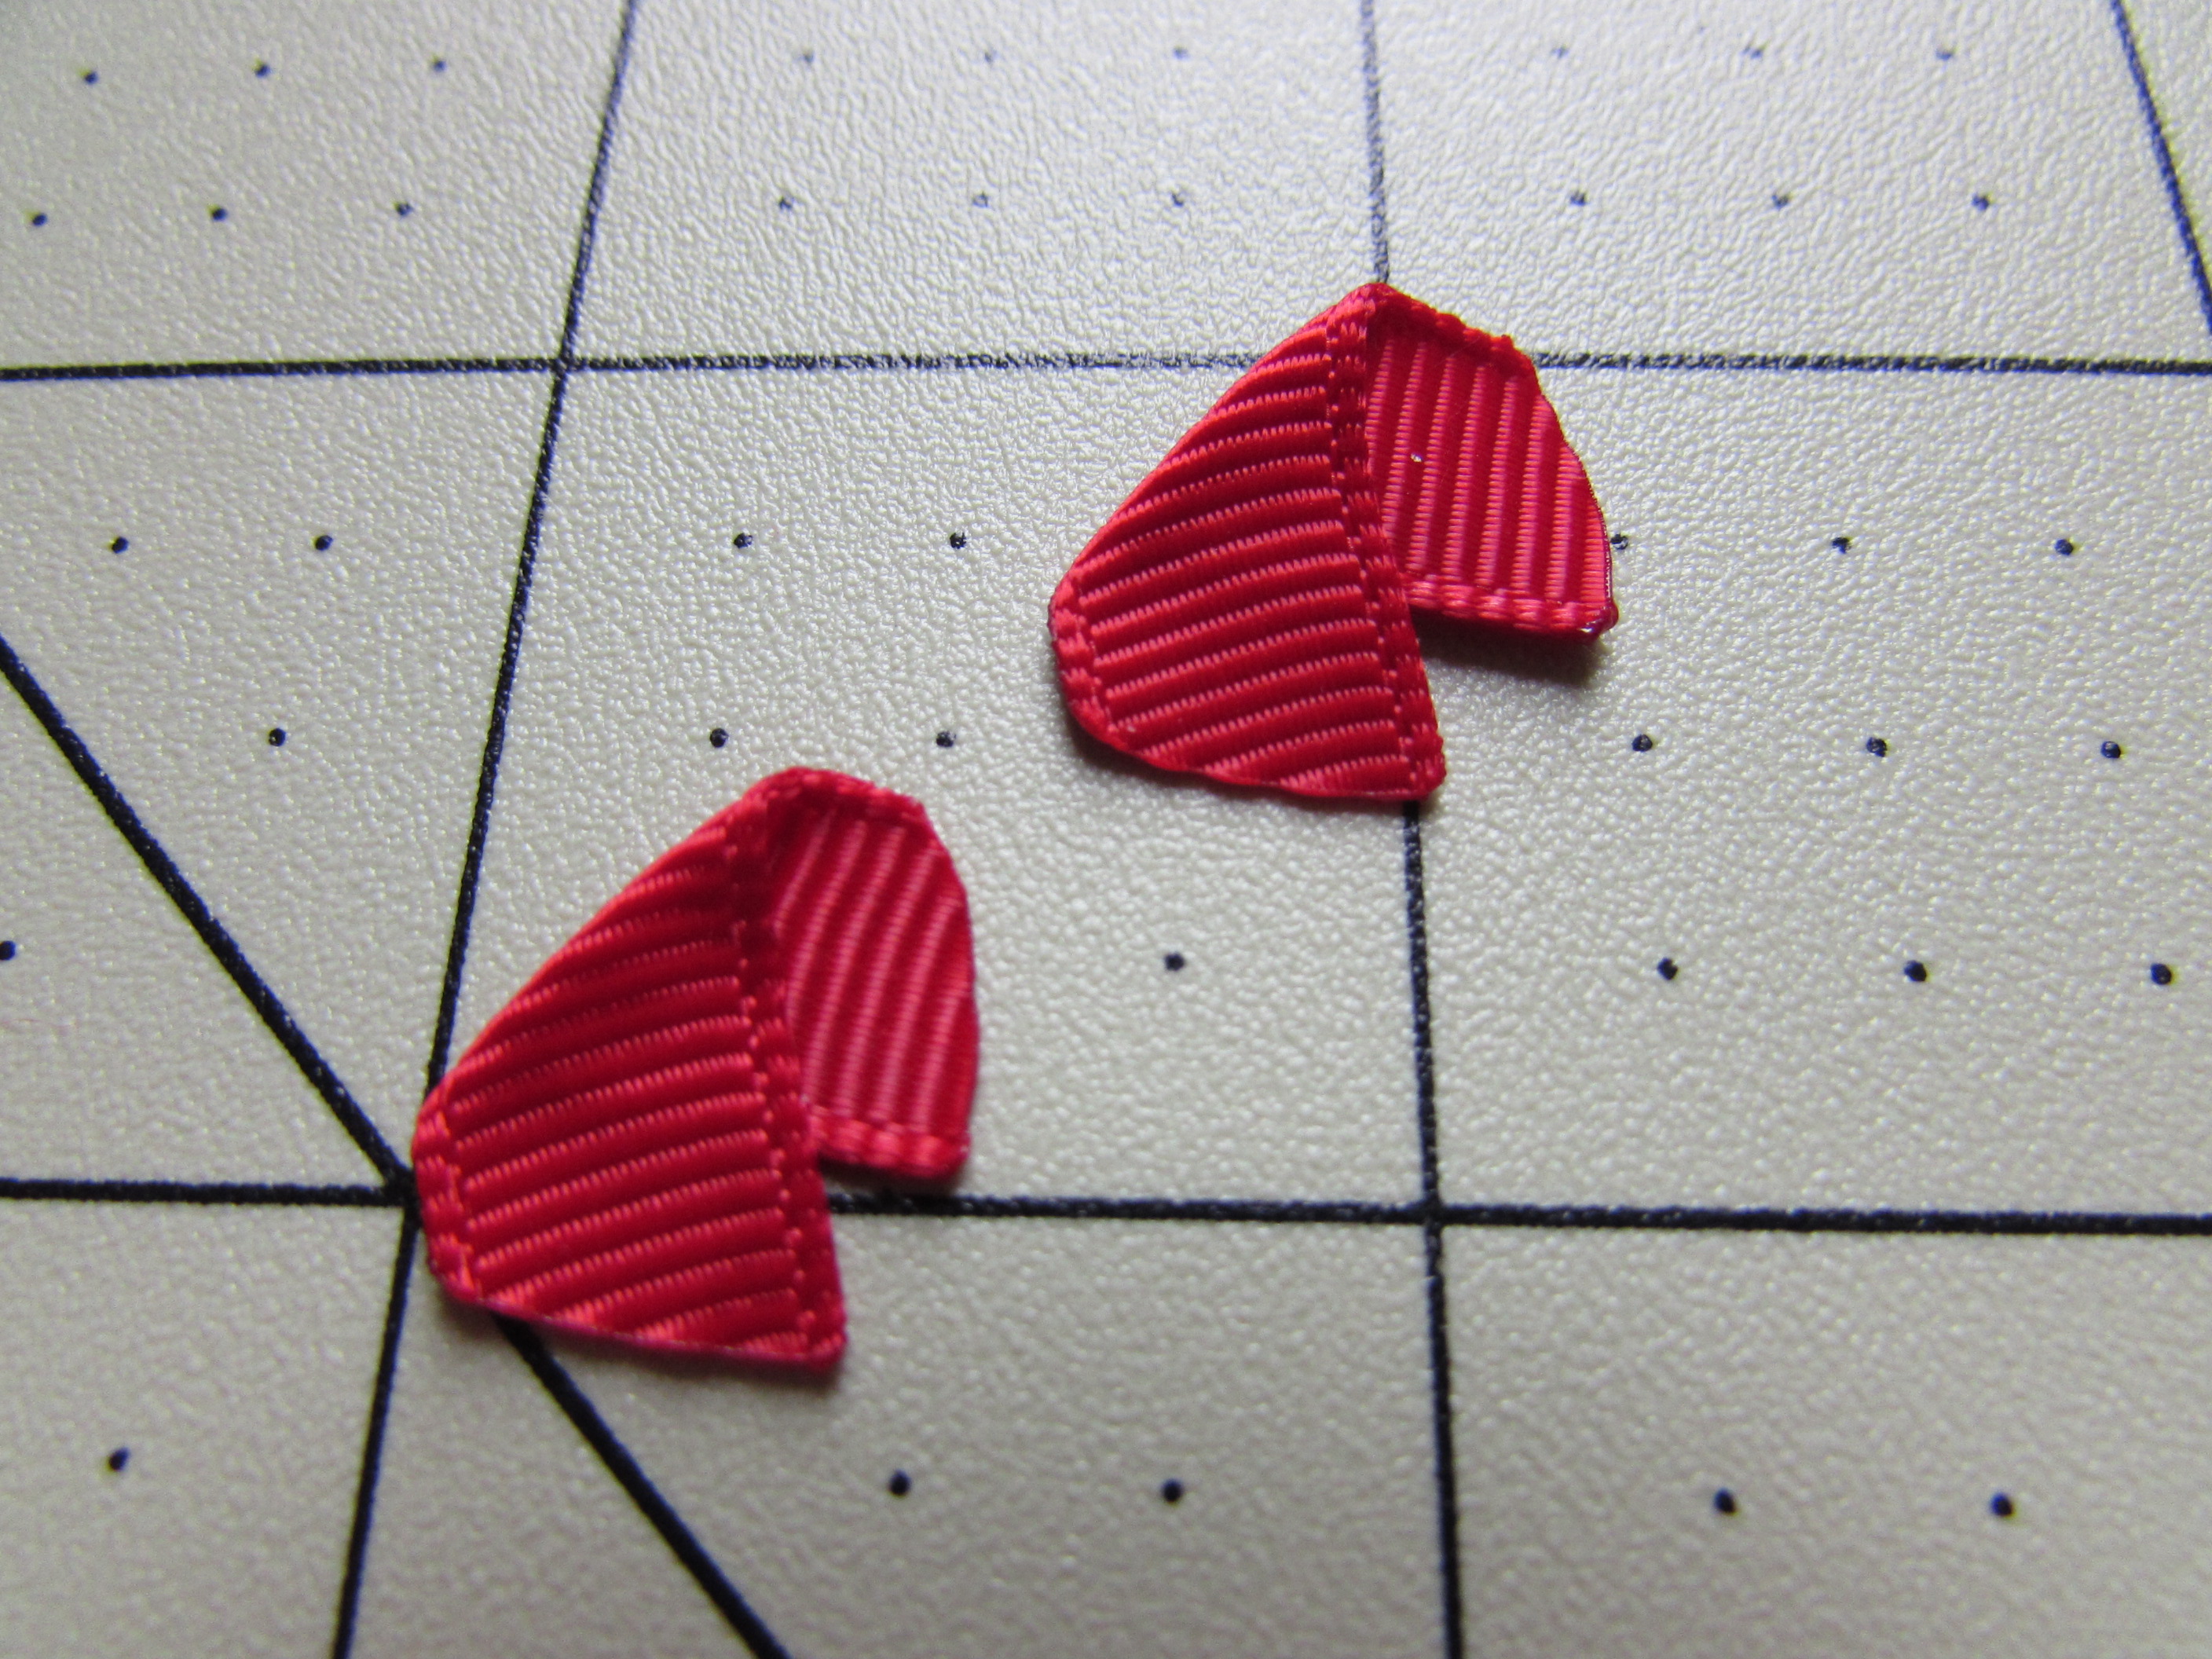 Step 19:
* Glue the 2 {2" pieces } to the back of the crab like you did for the legs. * Do them downwards *
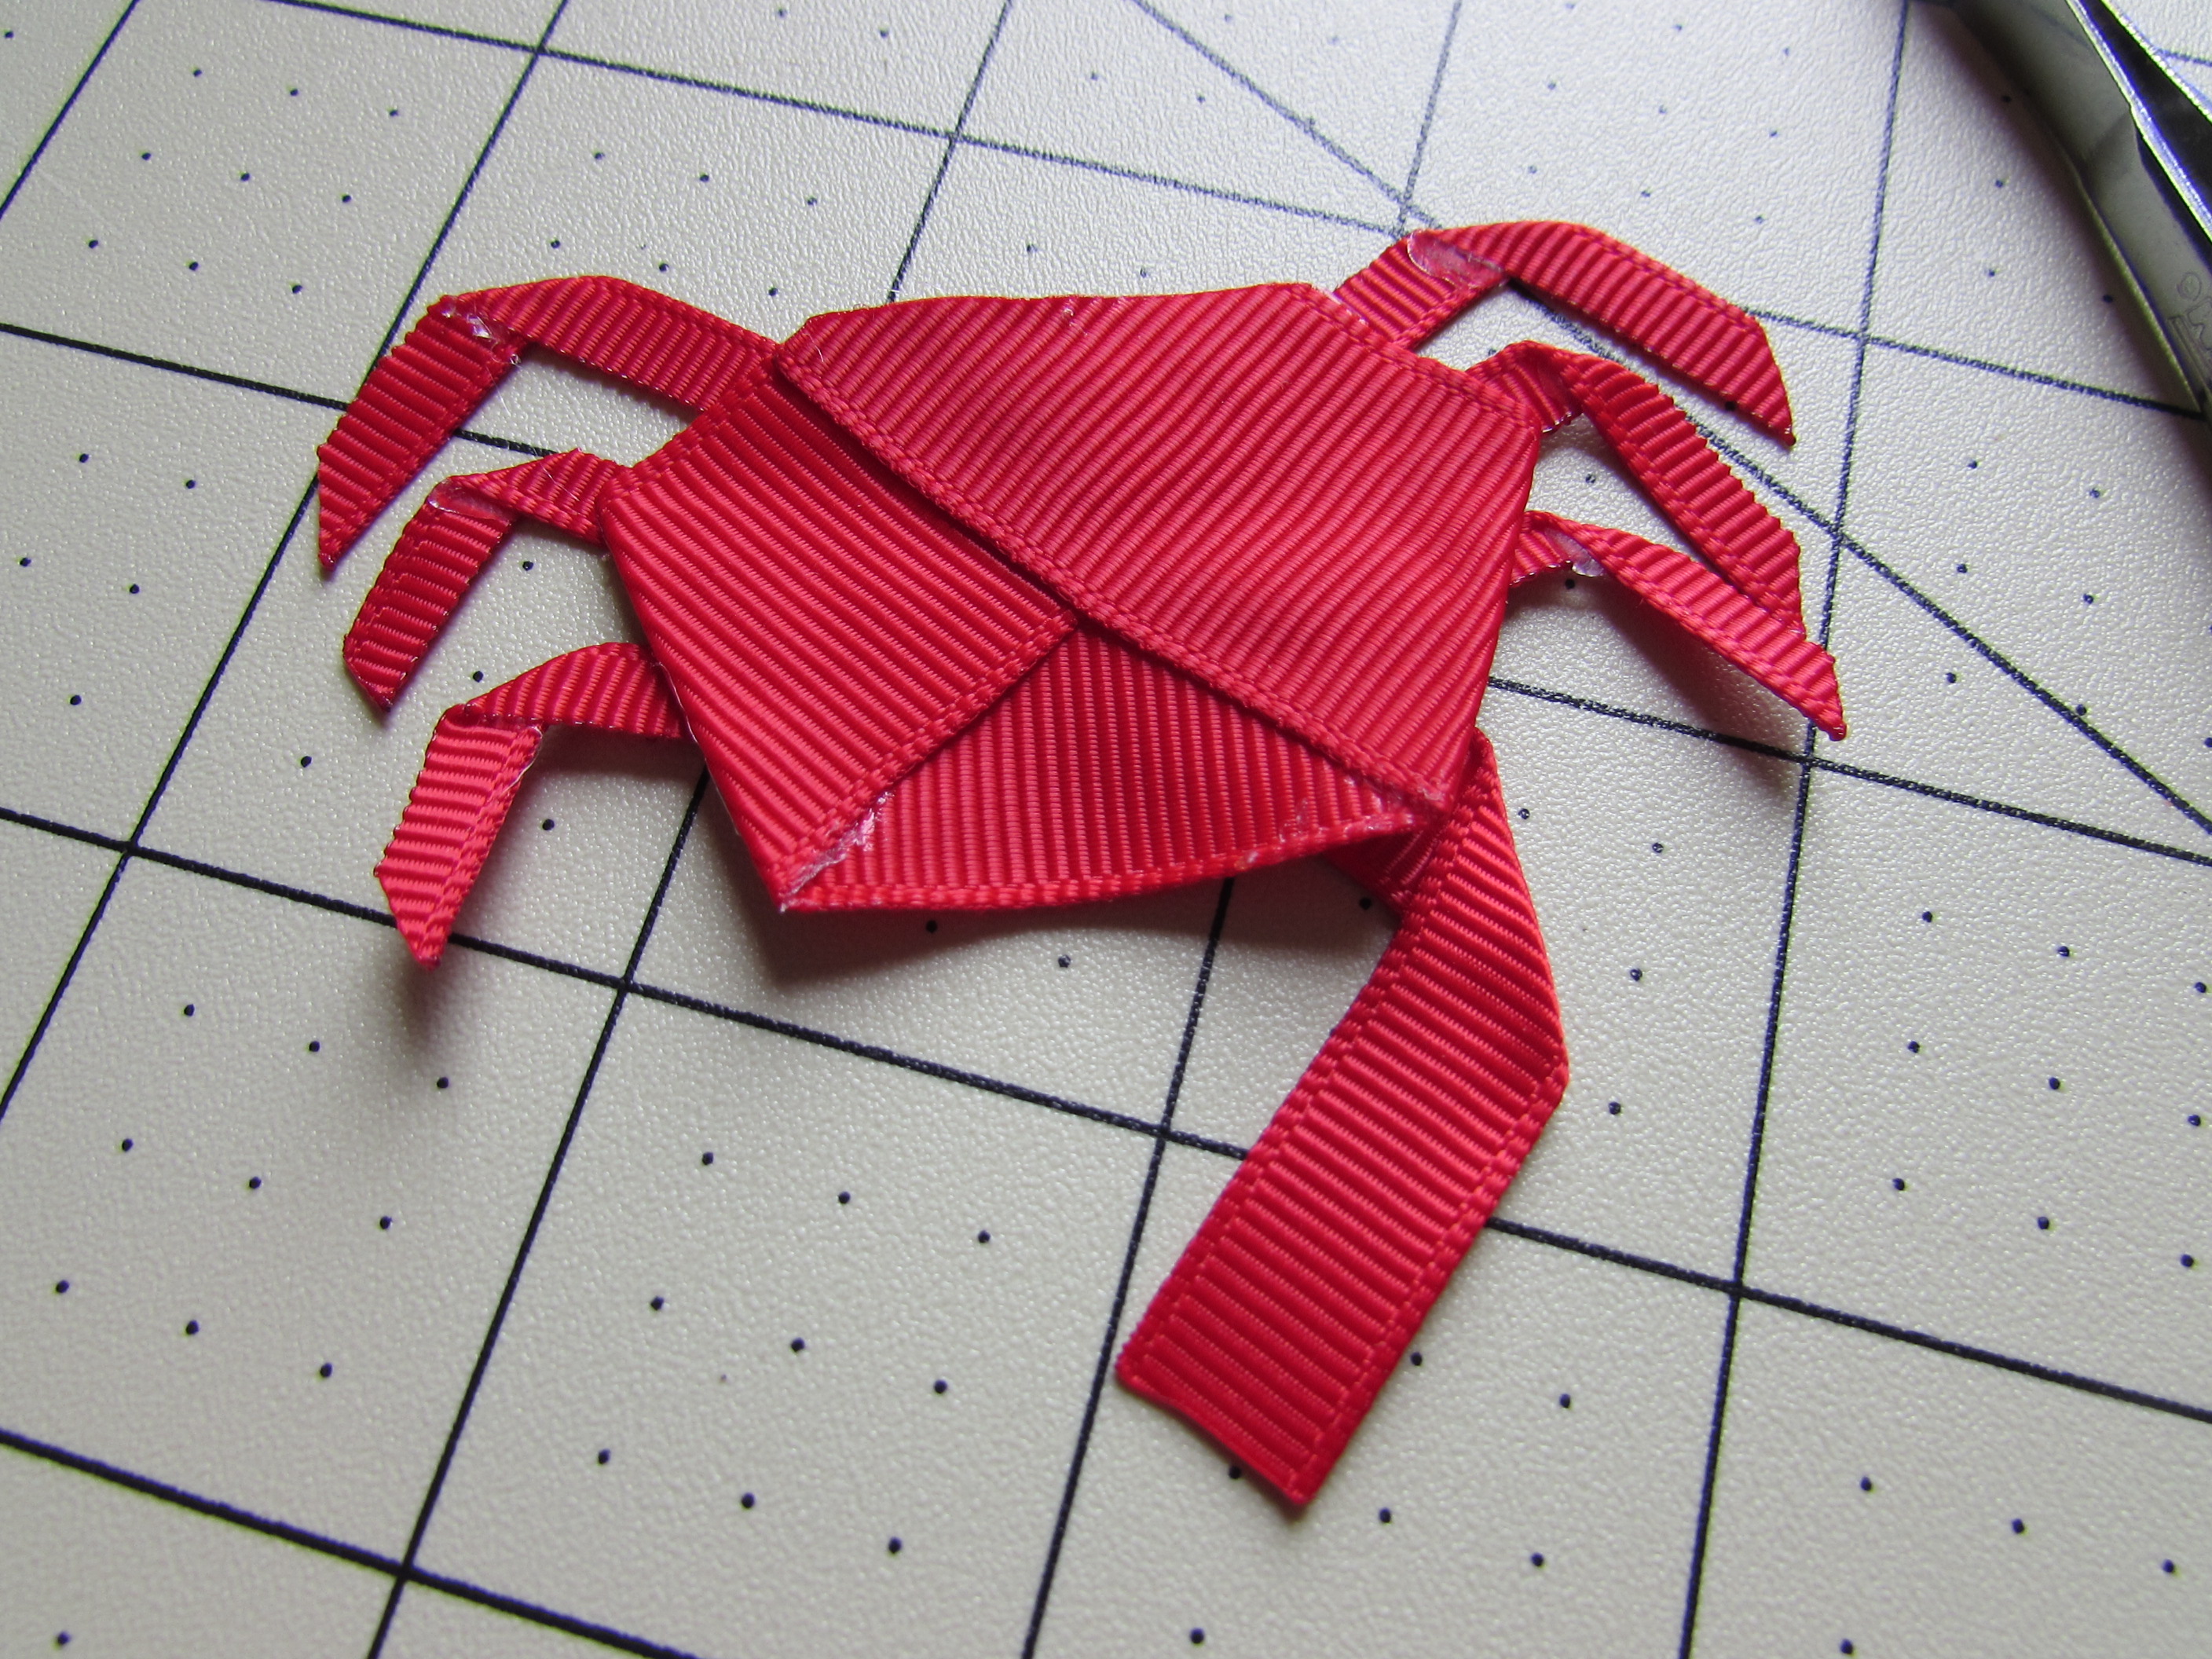 Step 19:
* Trim the ends. * HEAT SEAL! * TIP* Lay a pincher on top to where you want it then cut.
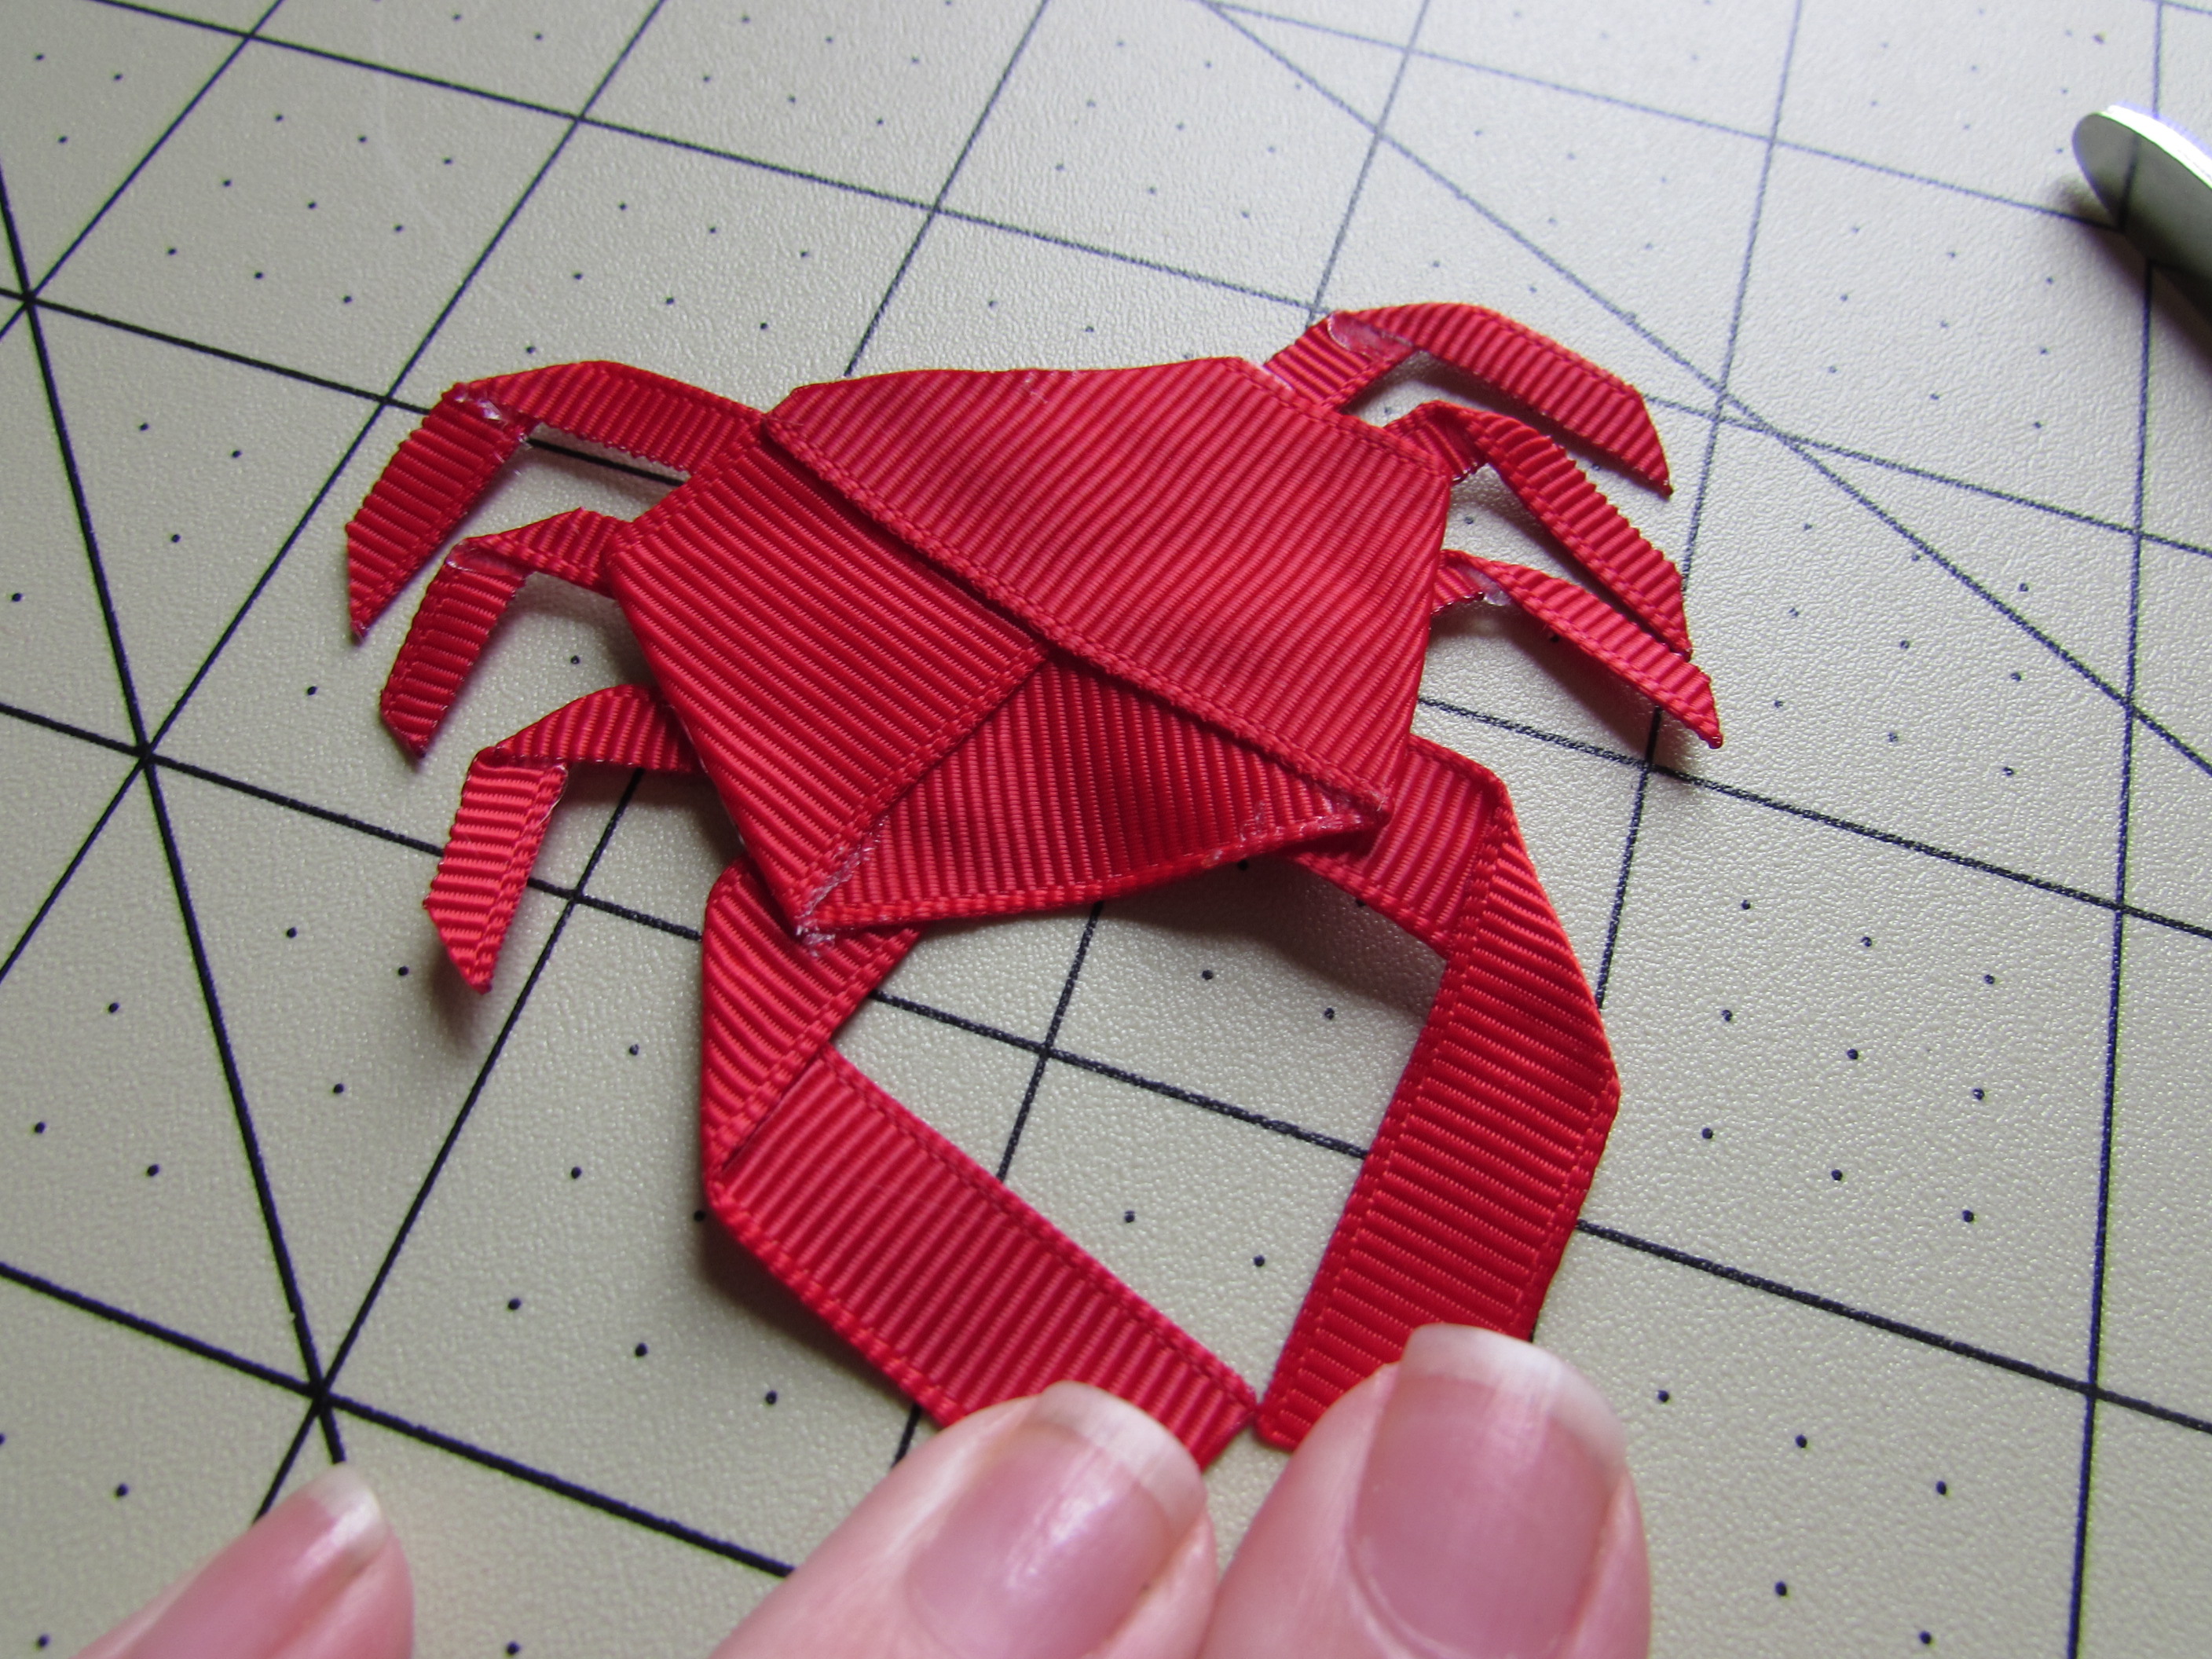
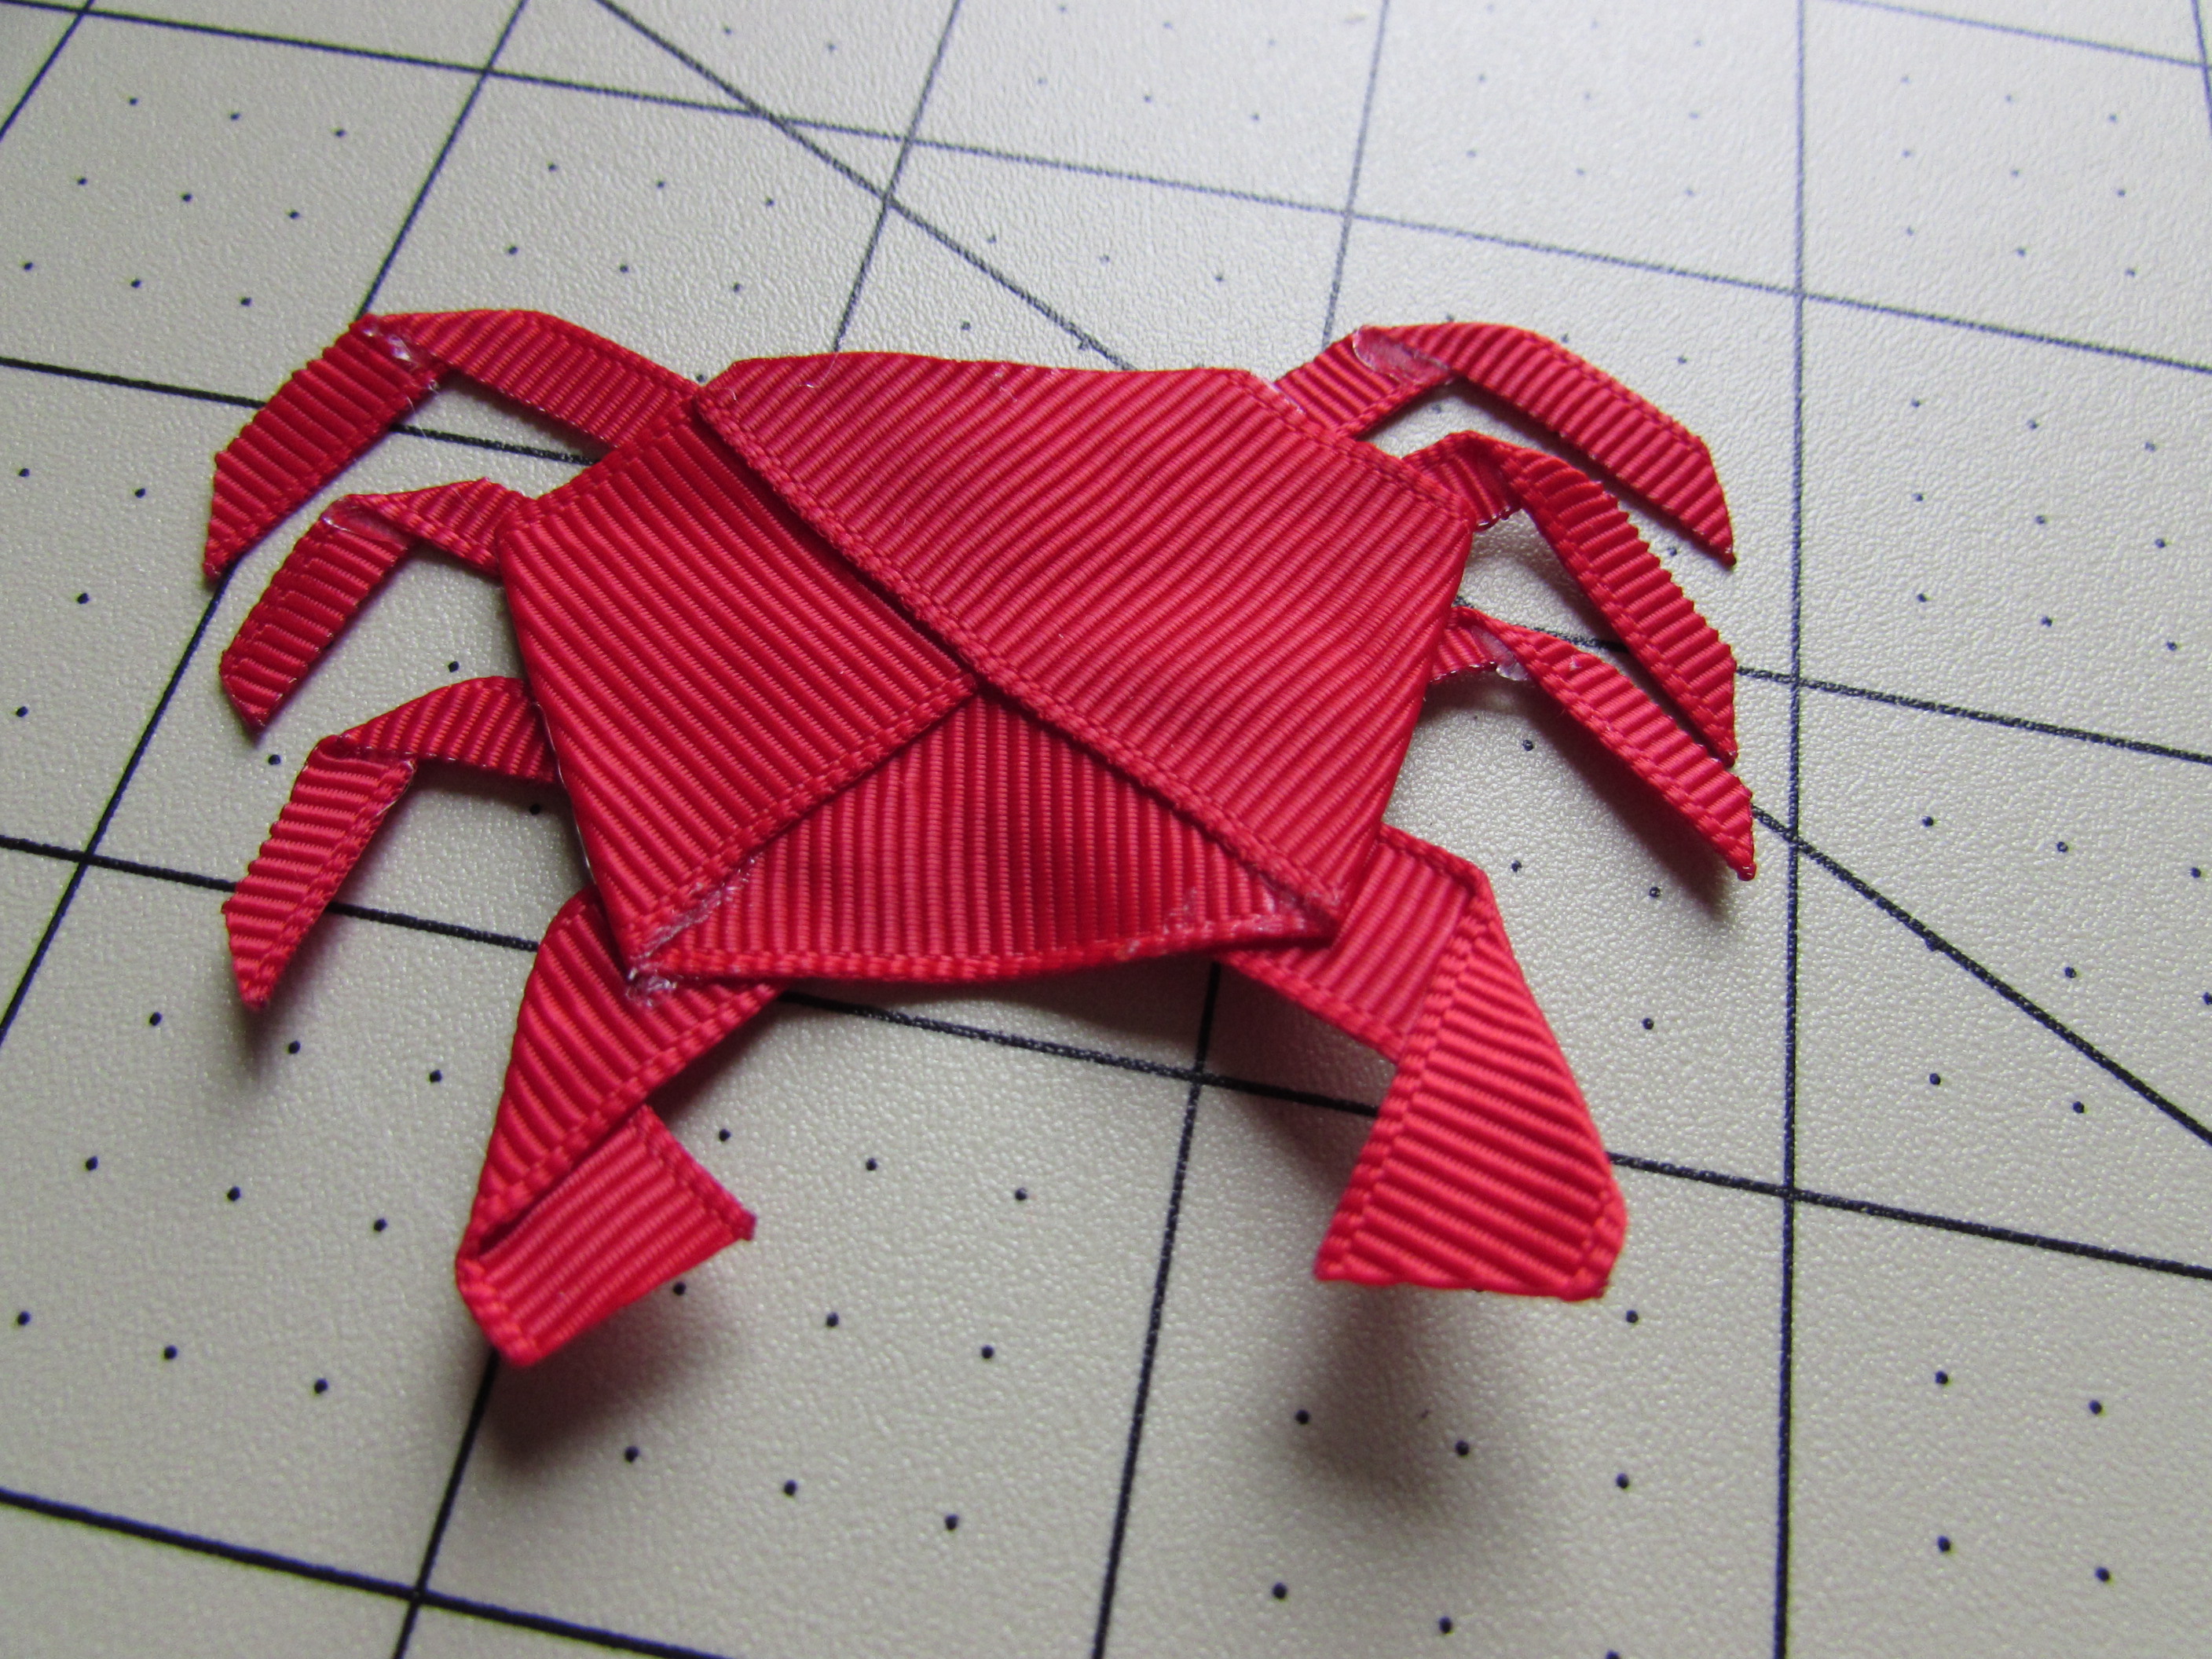
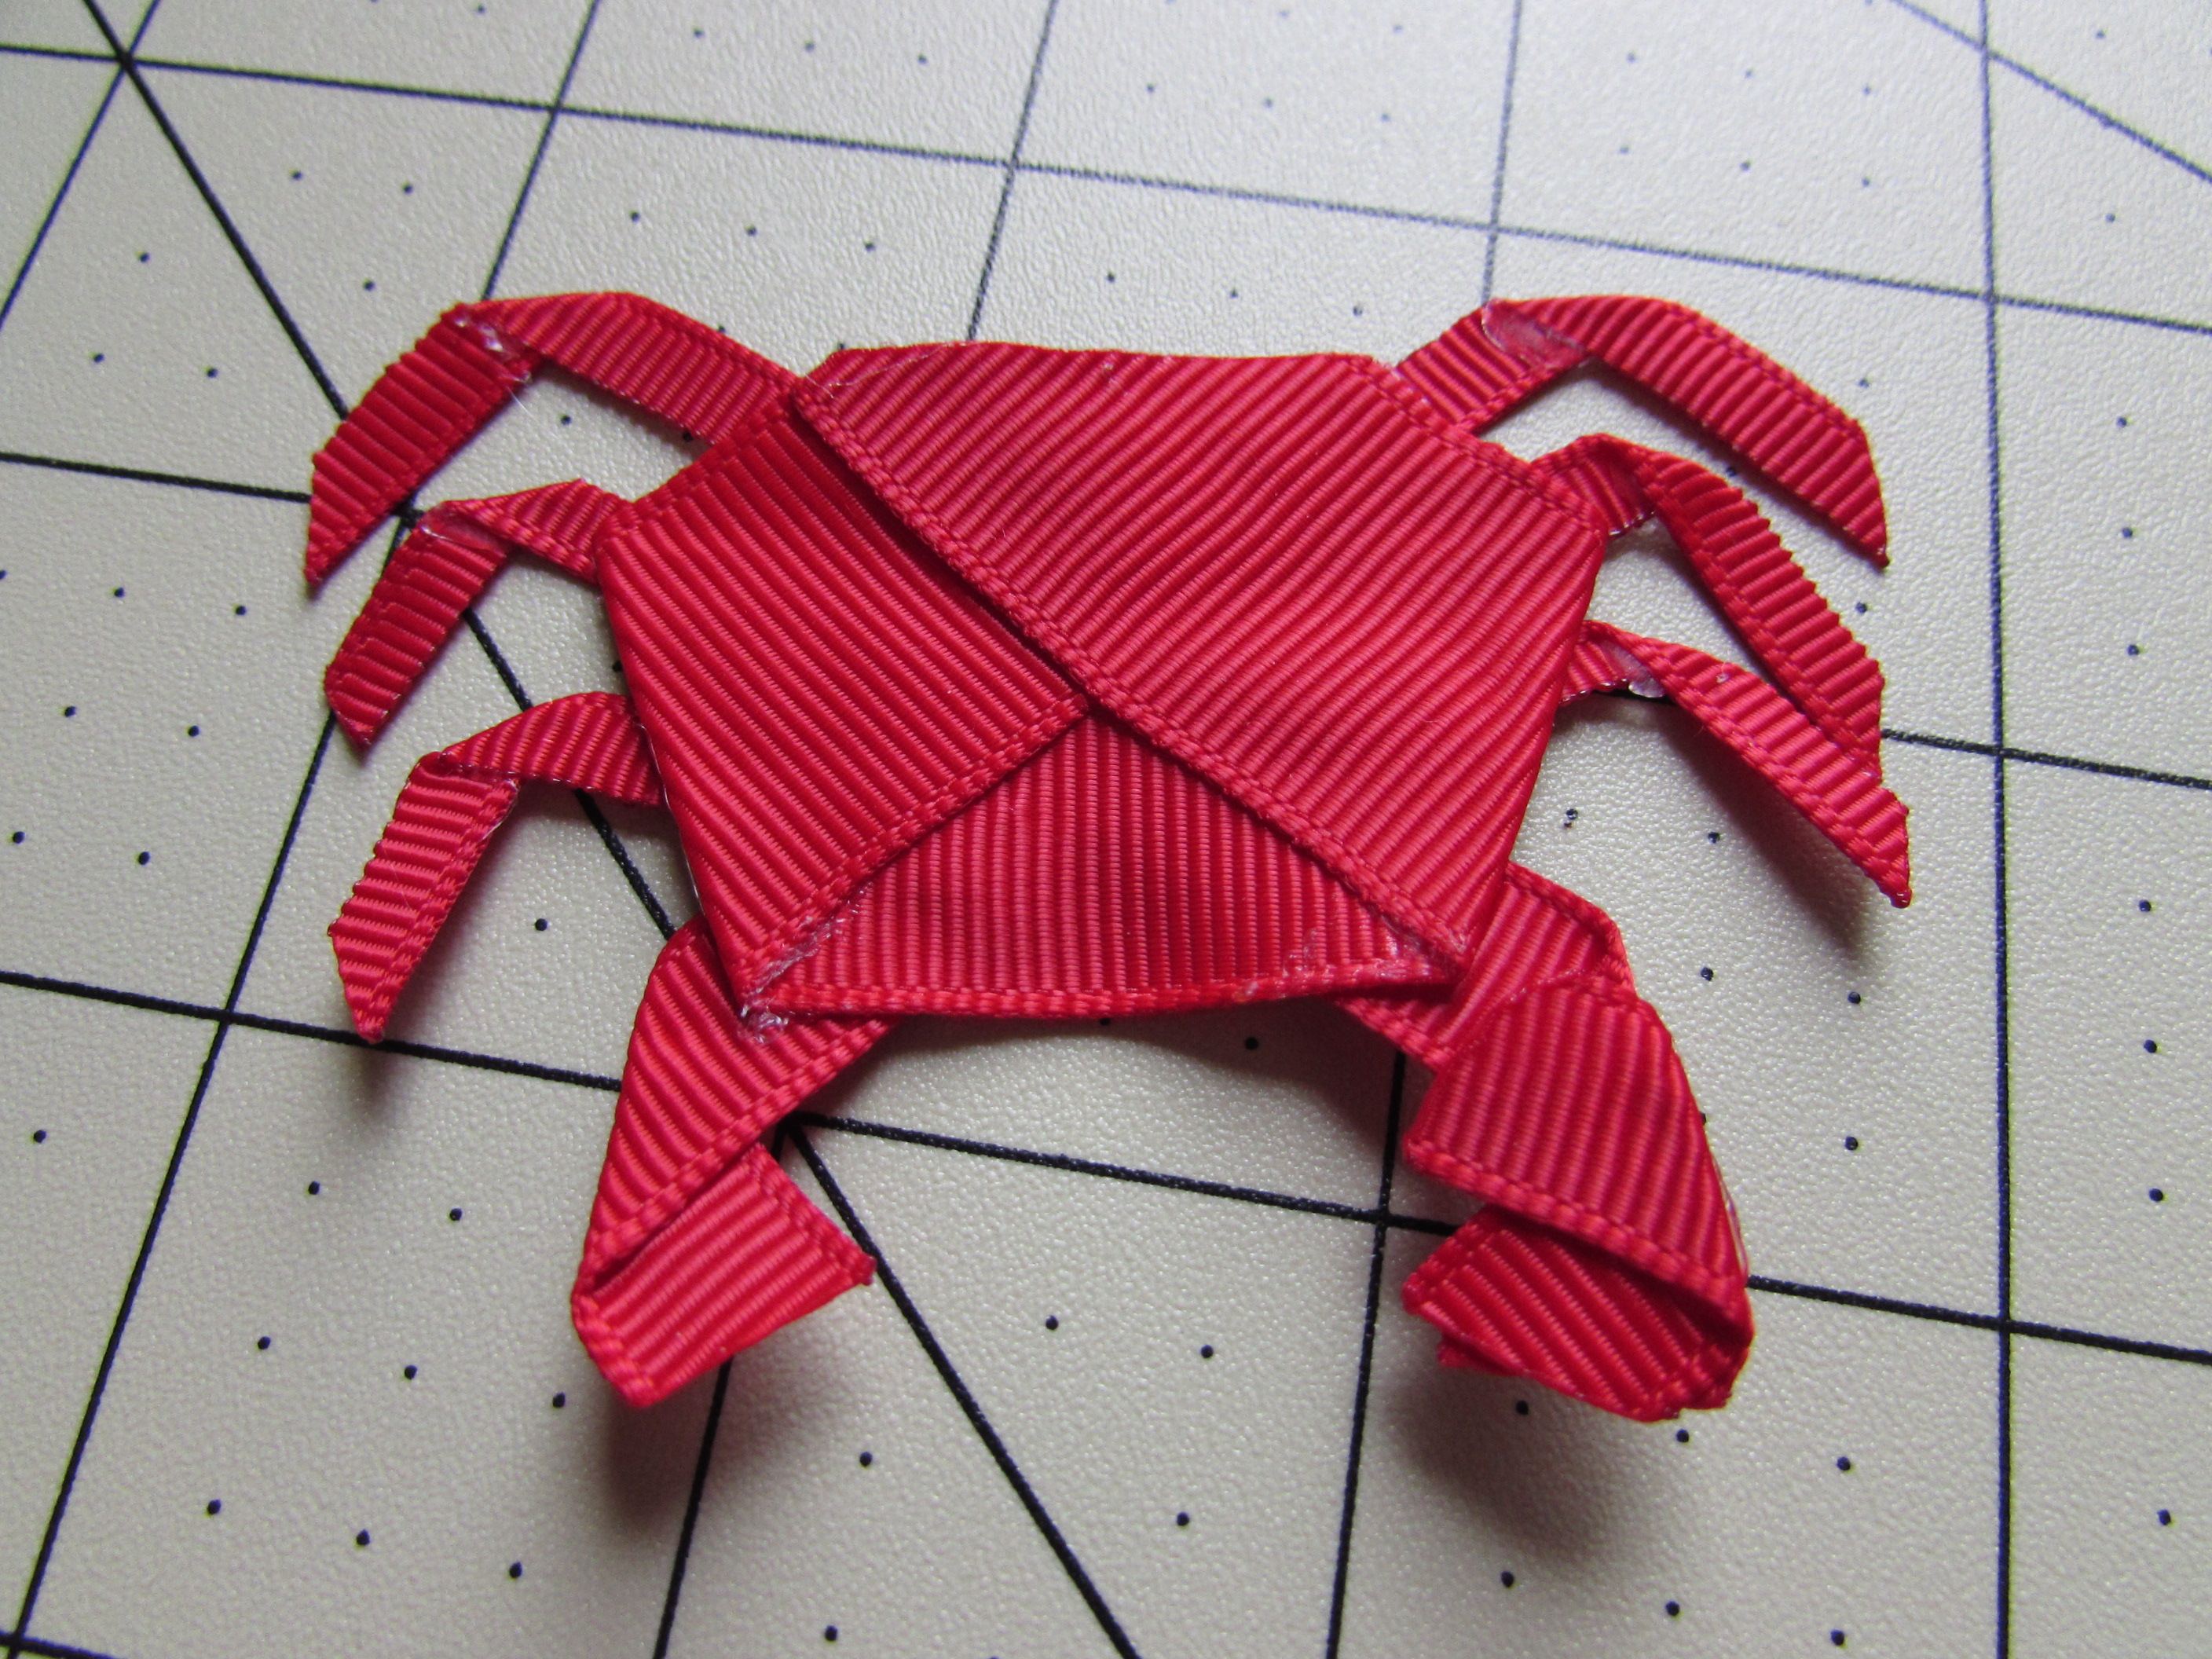 Step 20:
* Add your pinchers and glue
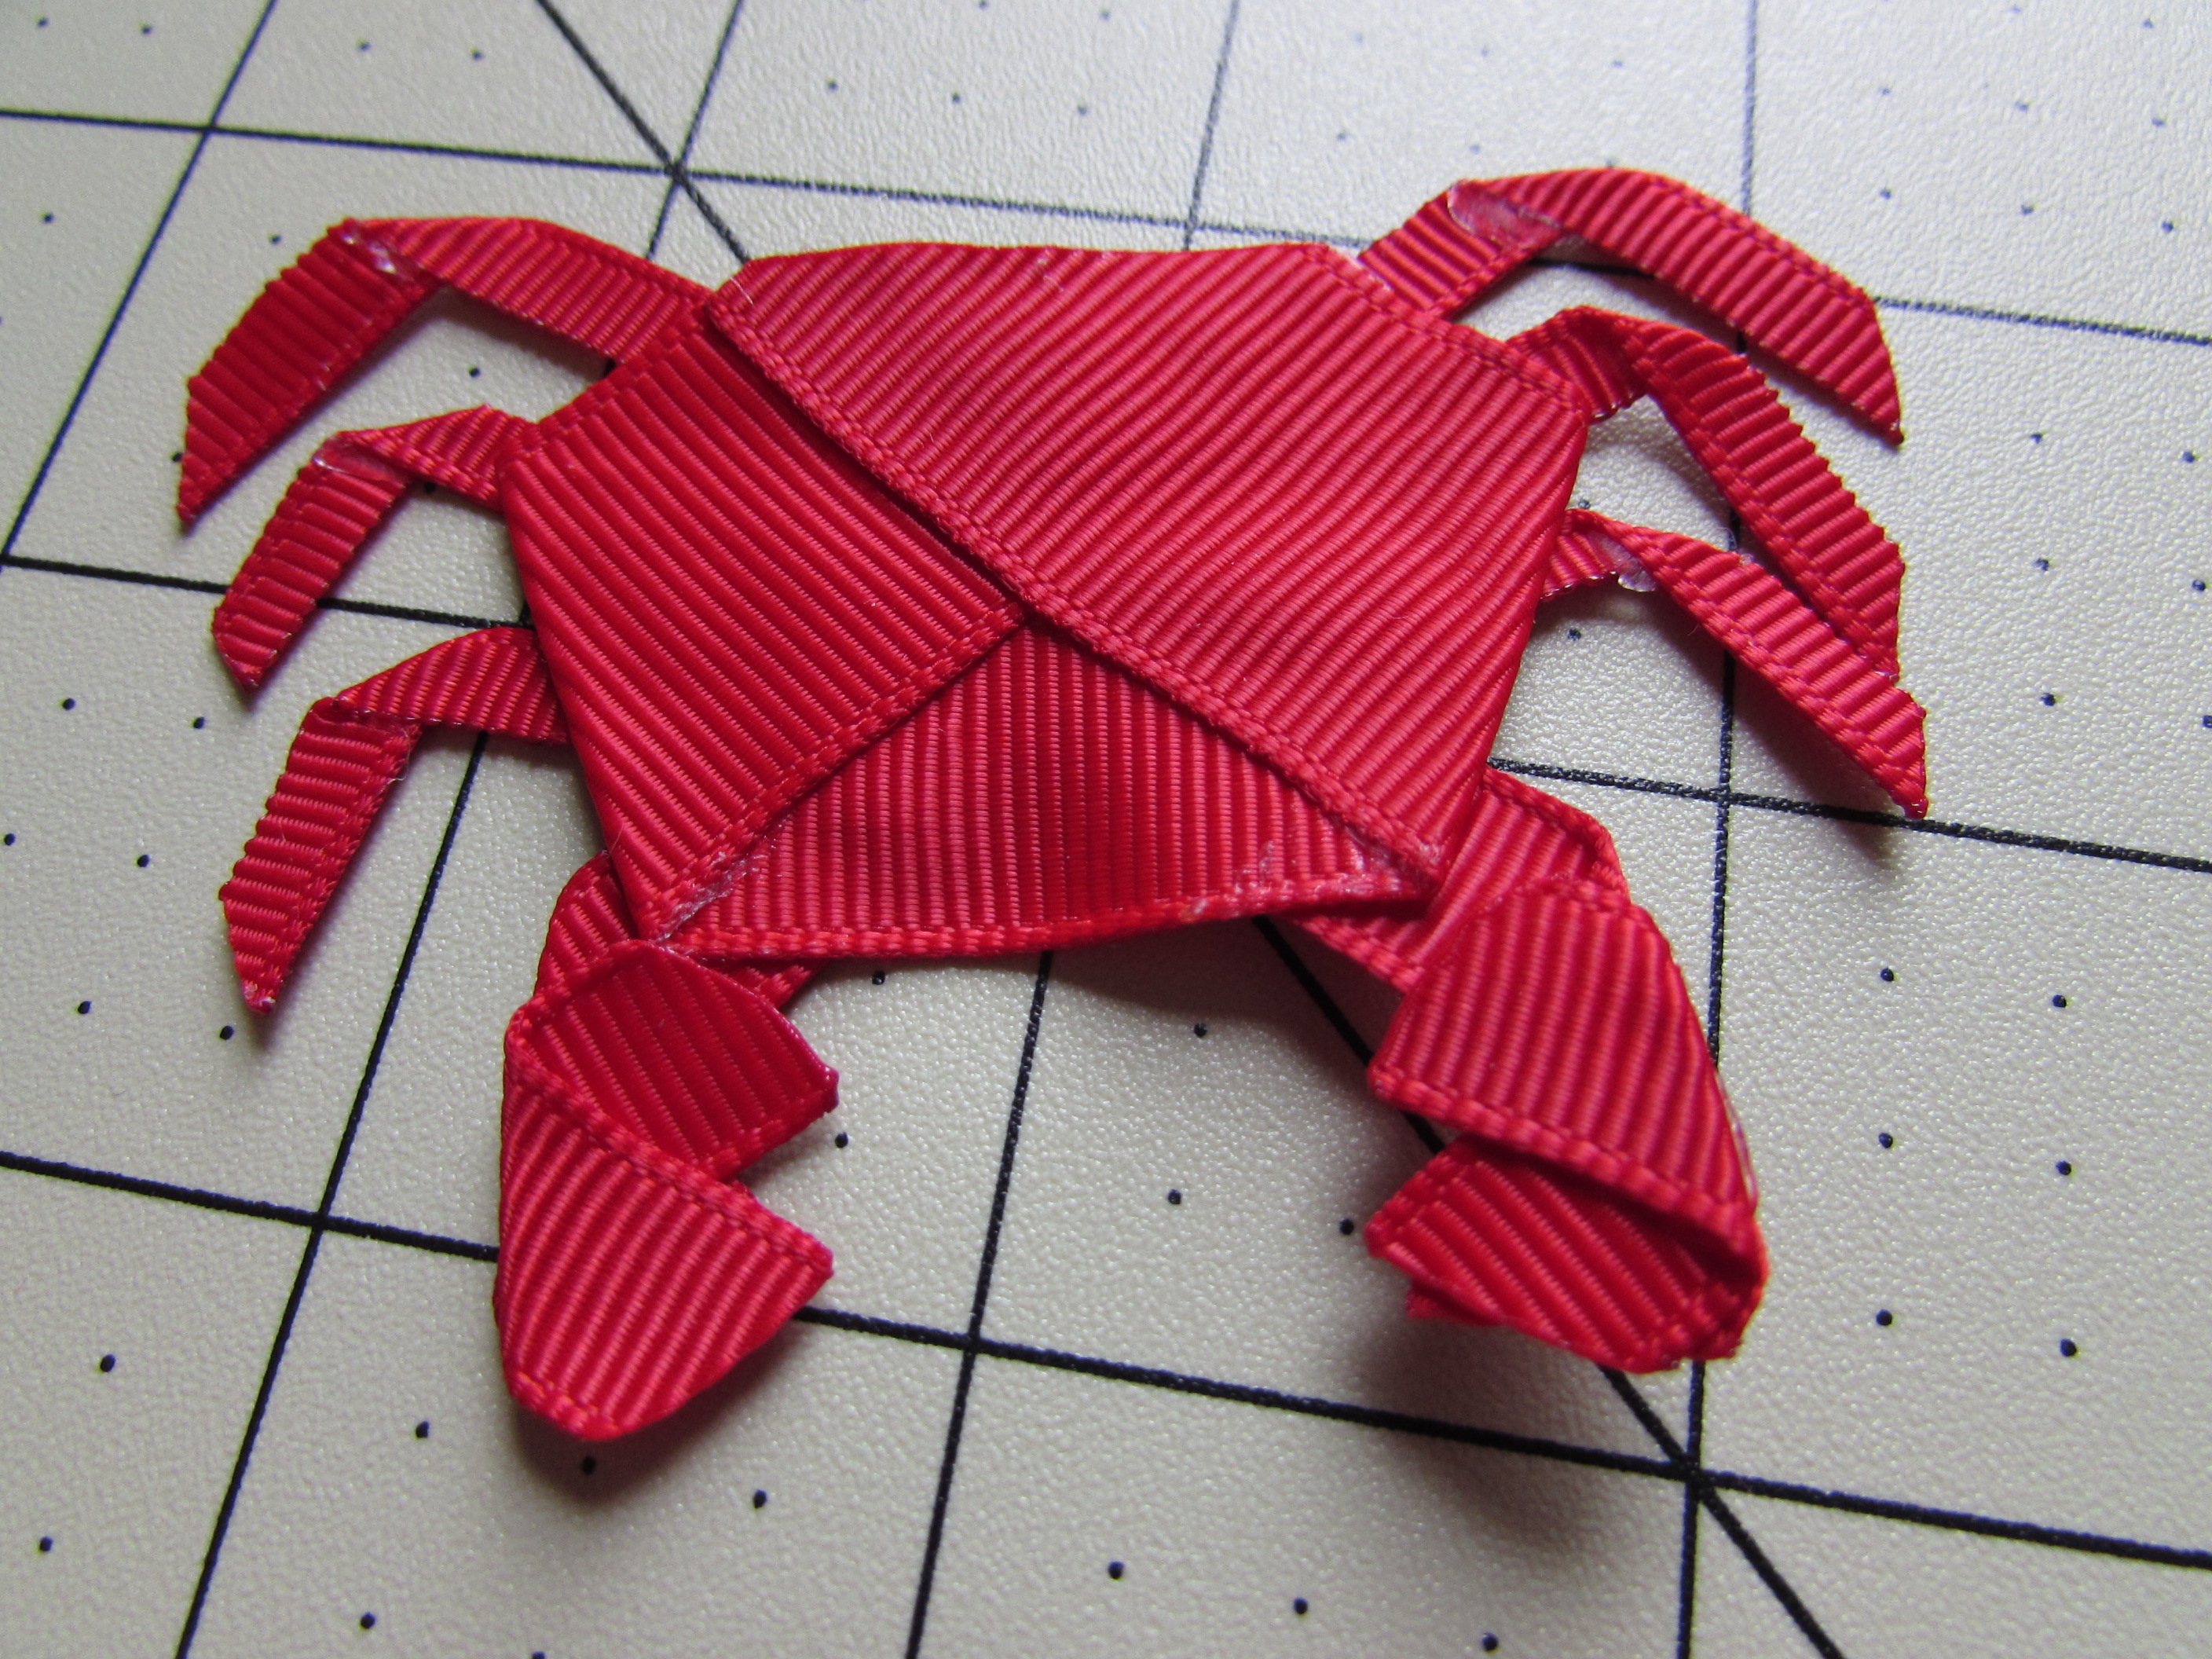 Step 21:
* Add your eyes
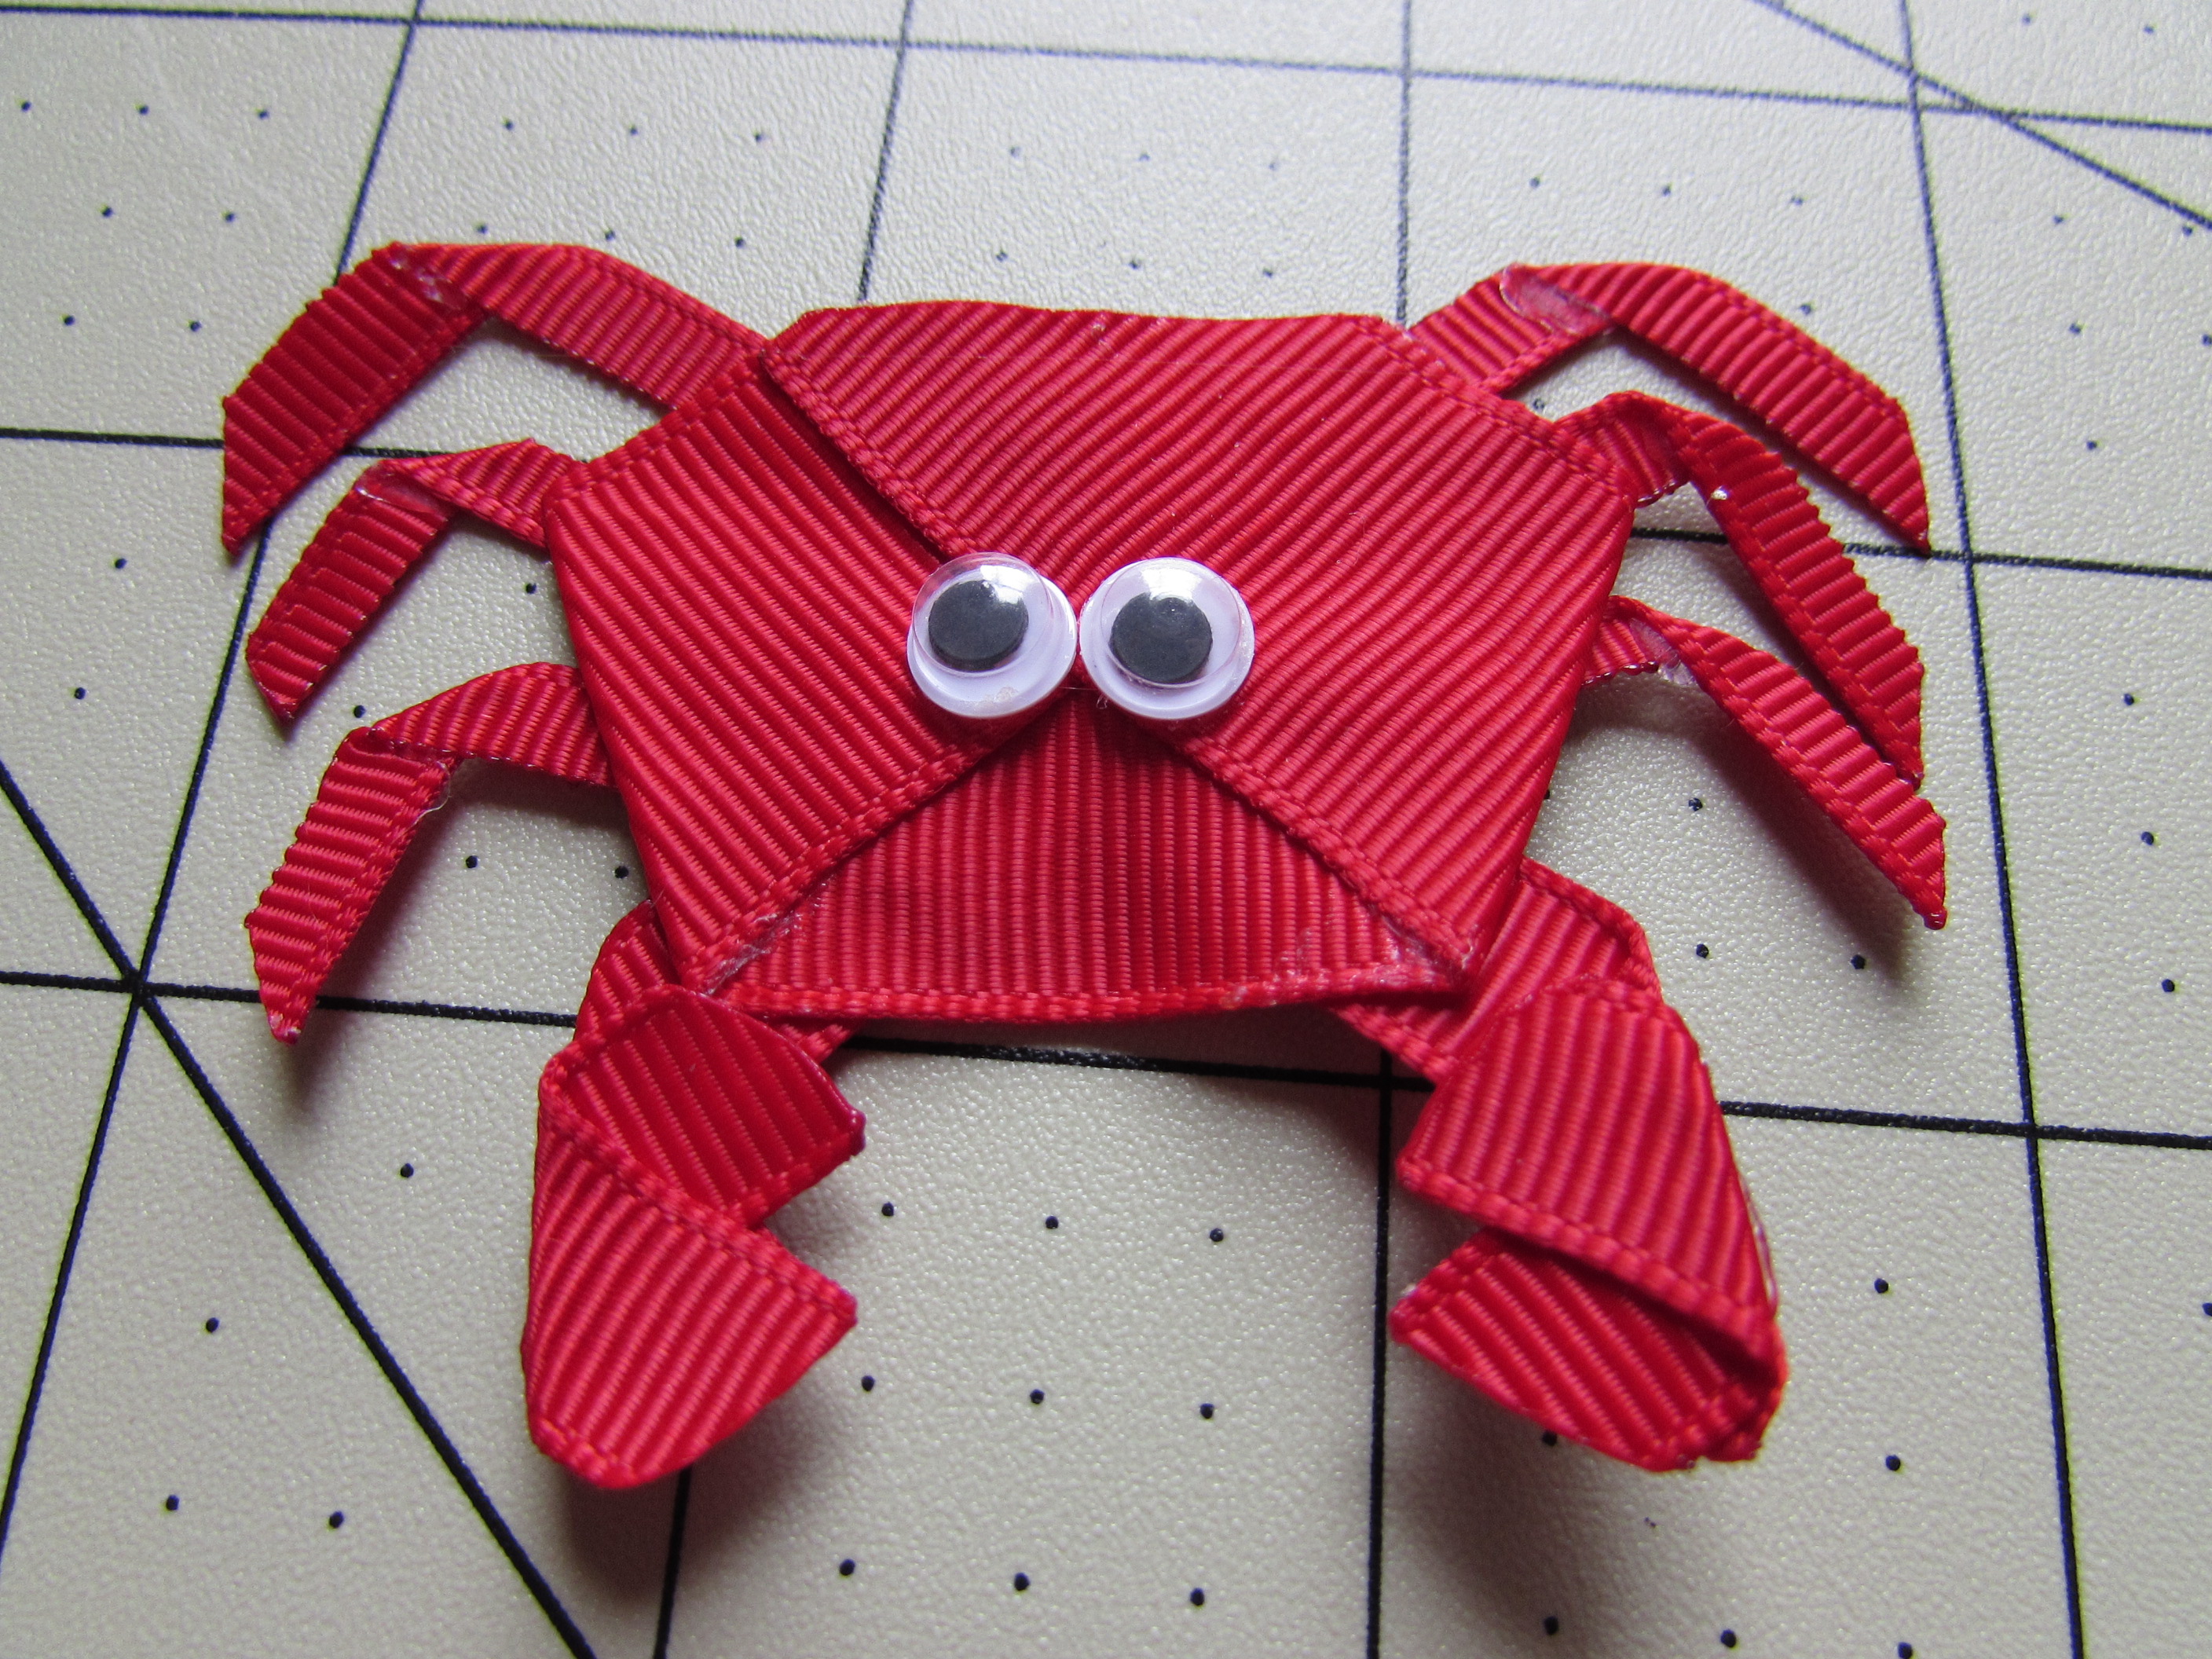 Step 22:
* Add a bow {{ Optional }}
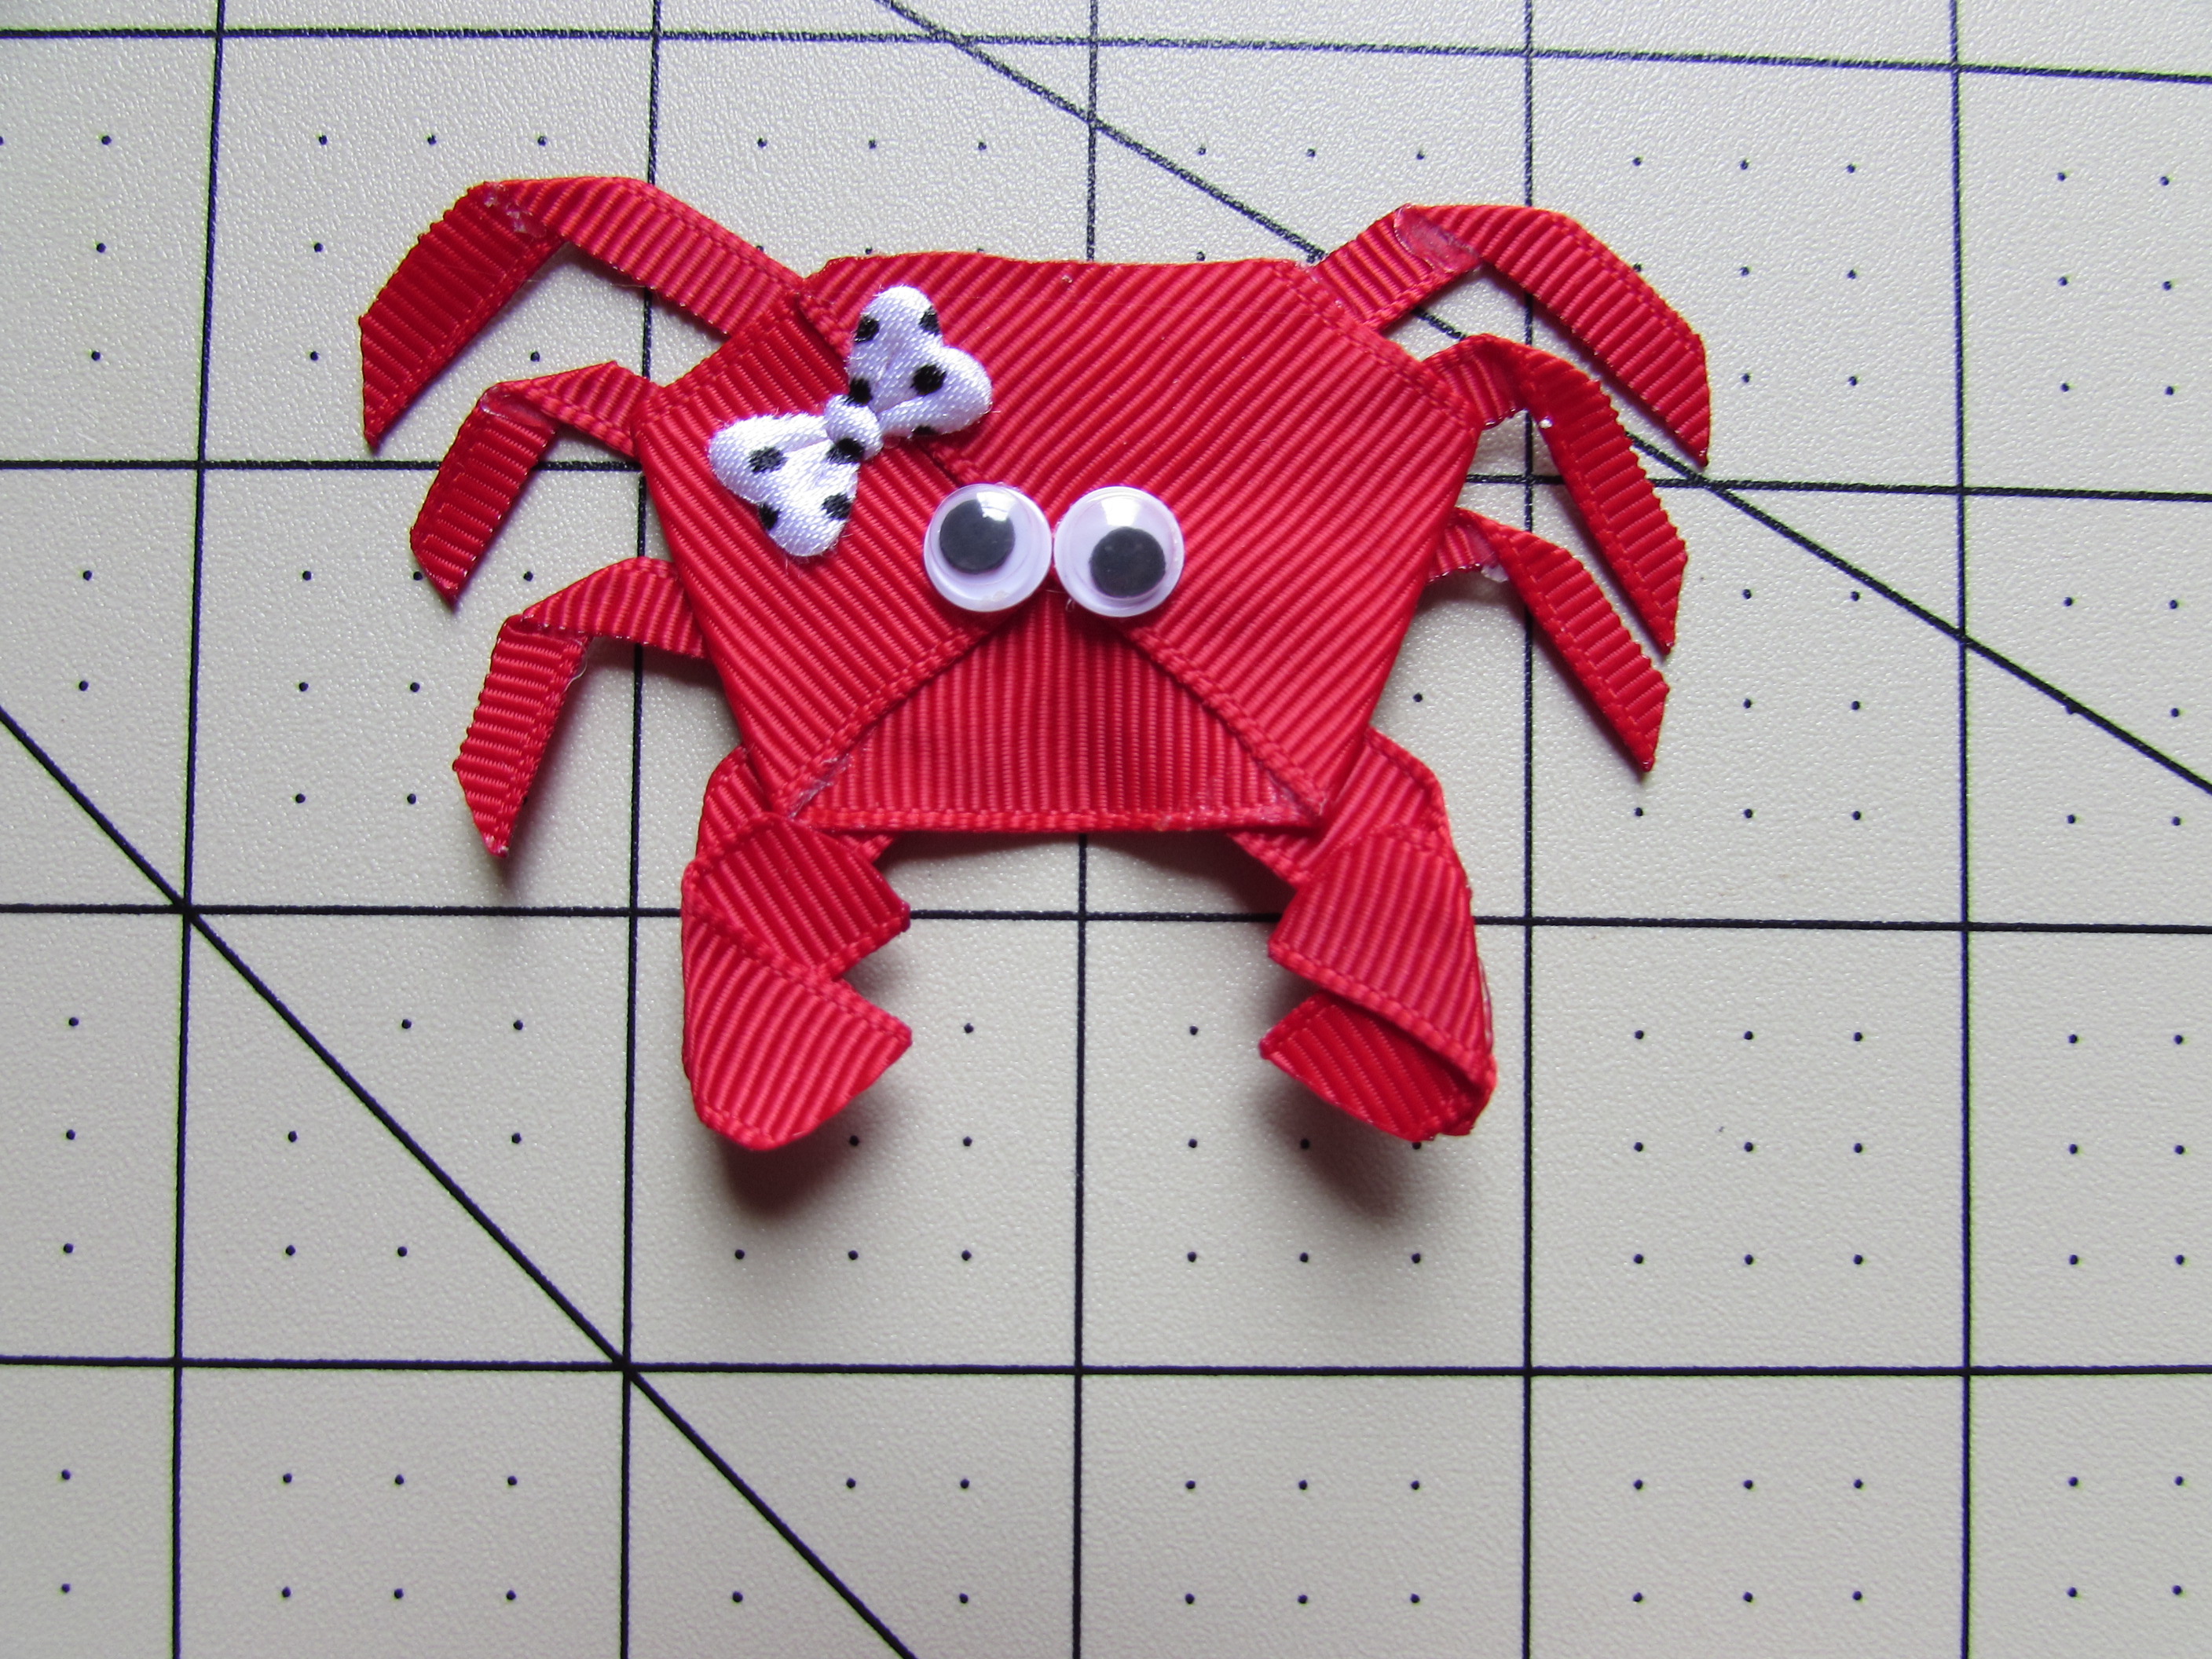 Step 23:
* Add to your clip.
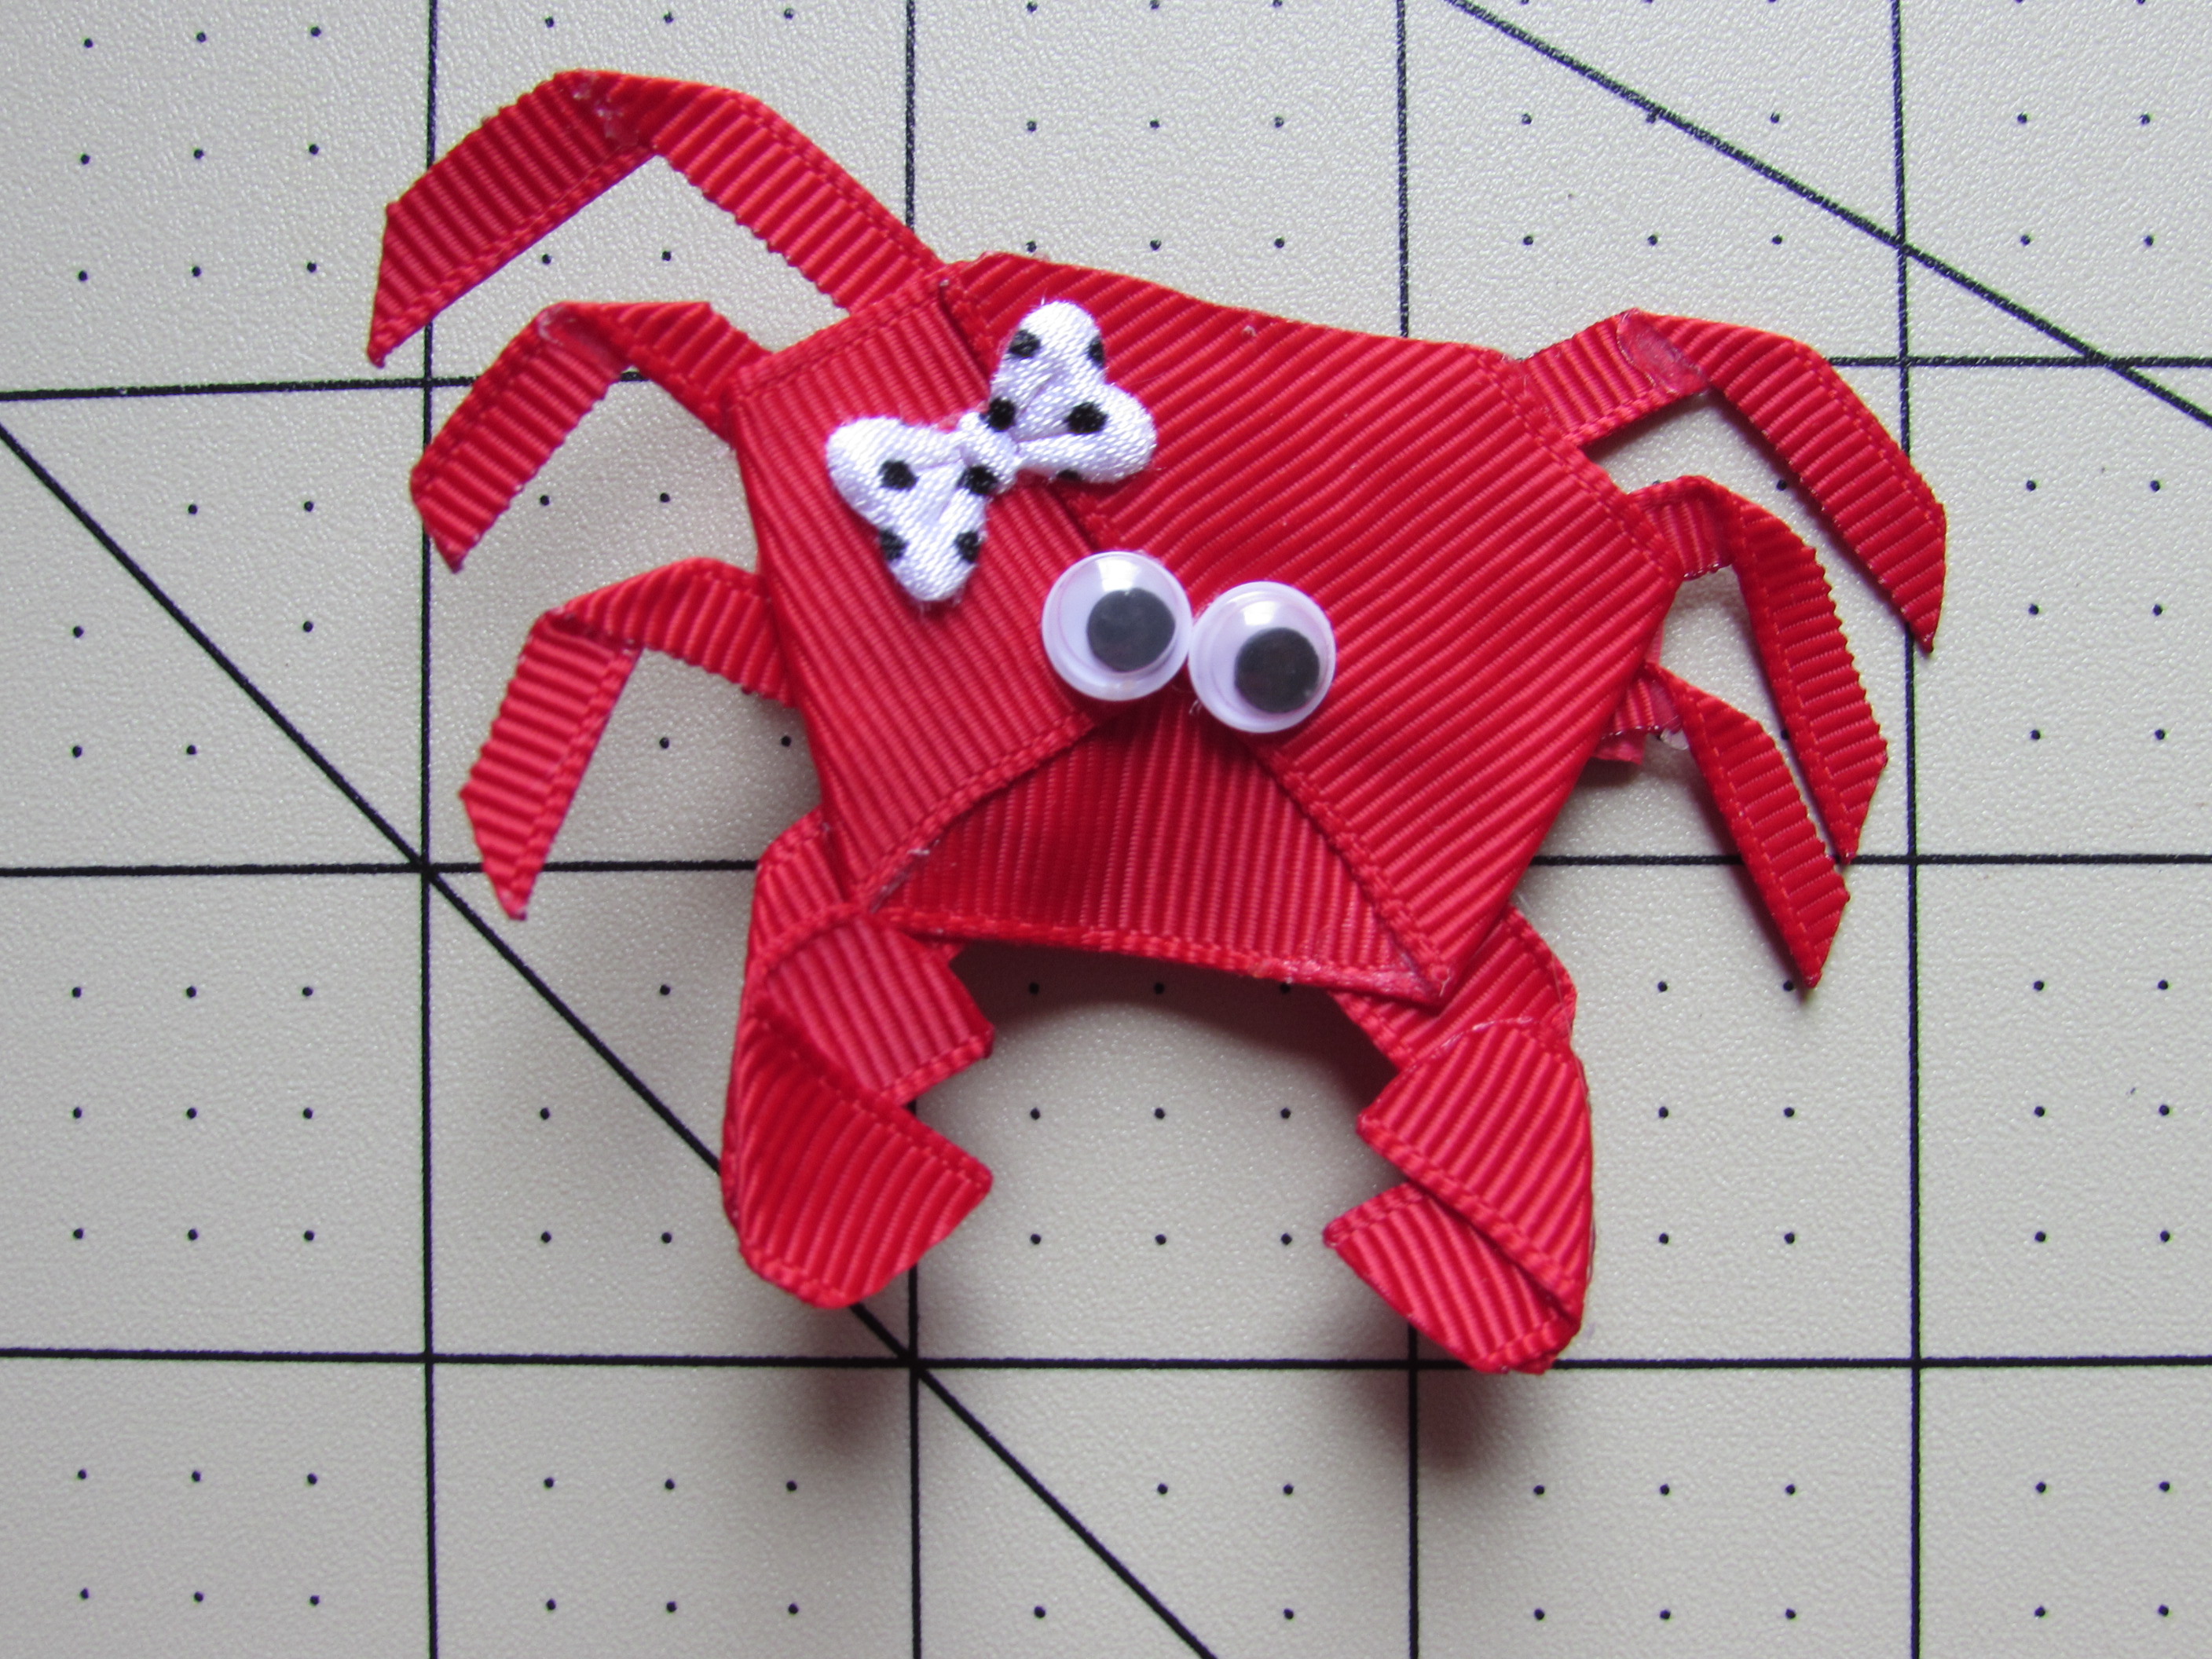 Now you have finished your adorable Crab Ribbon Sculpture. If you want to add it to a bow not a problem. You have a couple options you can do it. You can skip adding the clip to the back and add hot glue to the center on the back and simply stick it in the center of your bow. If you want it removable, leave the clip and clip it to the center of the bow. Hope you all have enjoyed this tutorial and enjoy making some adorable crabs! :)


 TOOLS
TOOLS
 NEW
NEW


