 Contributor post by Cassie
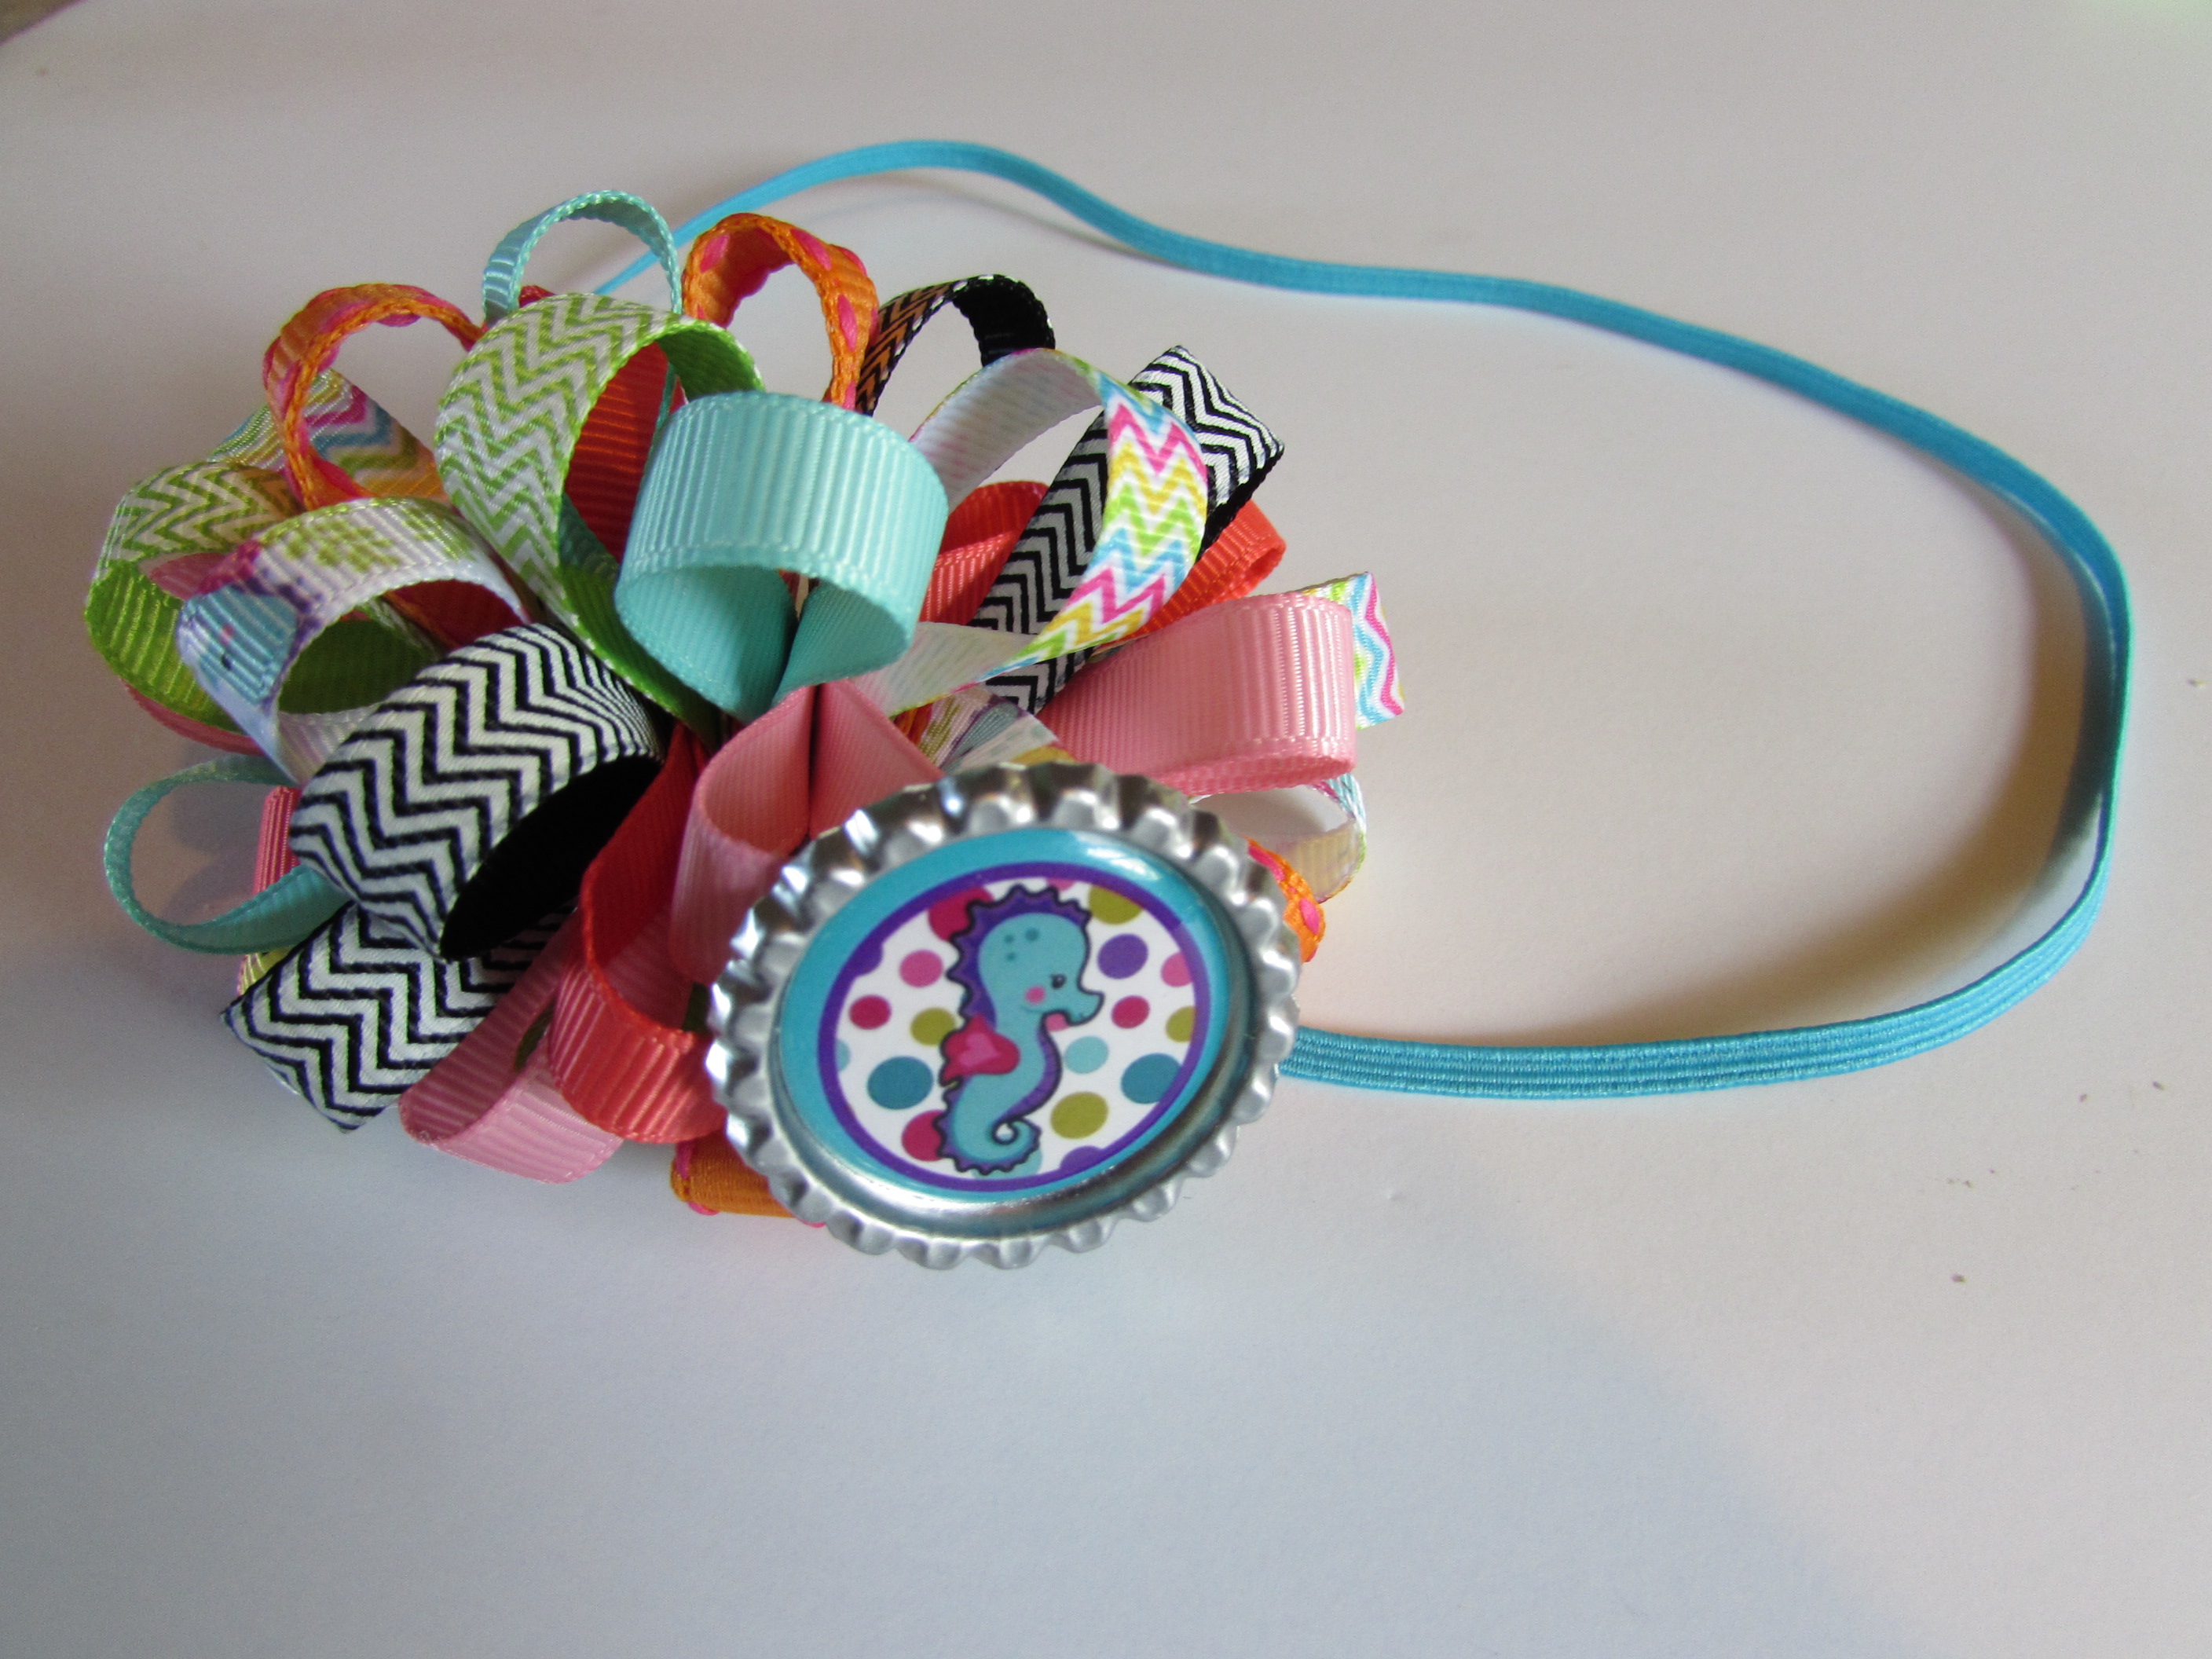
Hey guys, it is Cassie here from CuppyCake GumDrop Boutique & More! Today we have this really cute and simple bow coming to you. This bow is awesome for all ages, clips & headbands!
This style of a bow can be created with ANY size of ribbon, however I do recommend NOT to use anything bigger than 1" wide ribbon. I also highly recommend using grosgrain ribbon. Satin to me doesn't hold up very well unless you spray starch it before you use it.
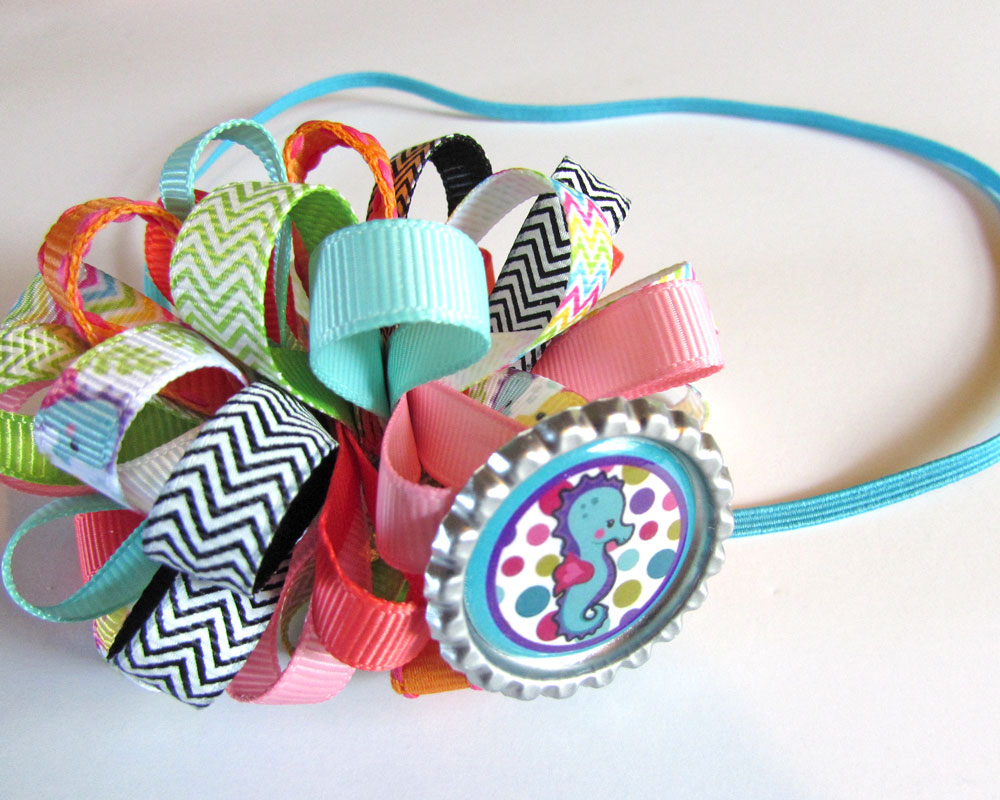
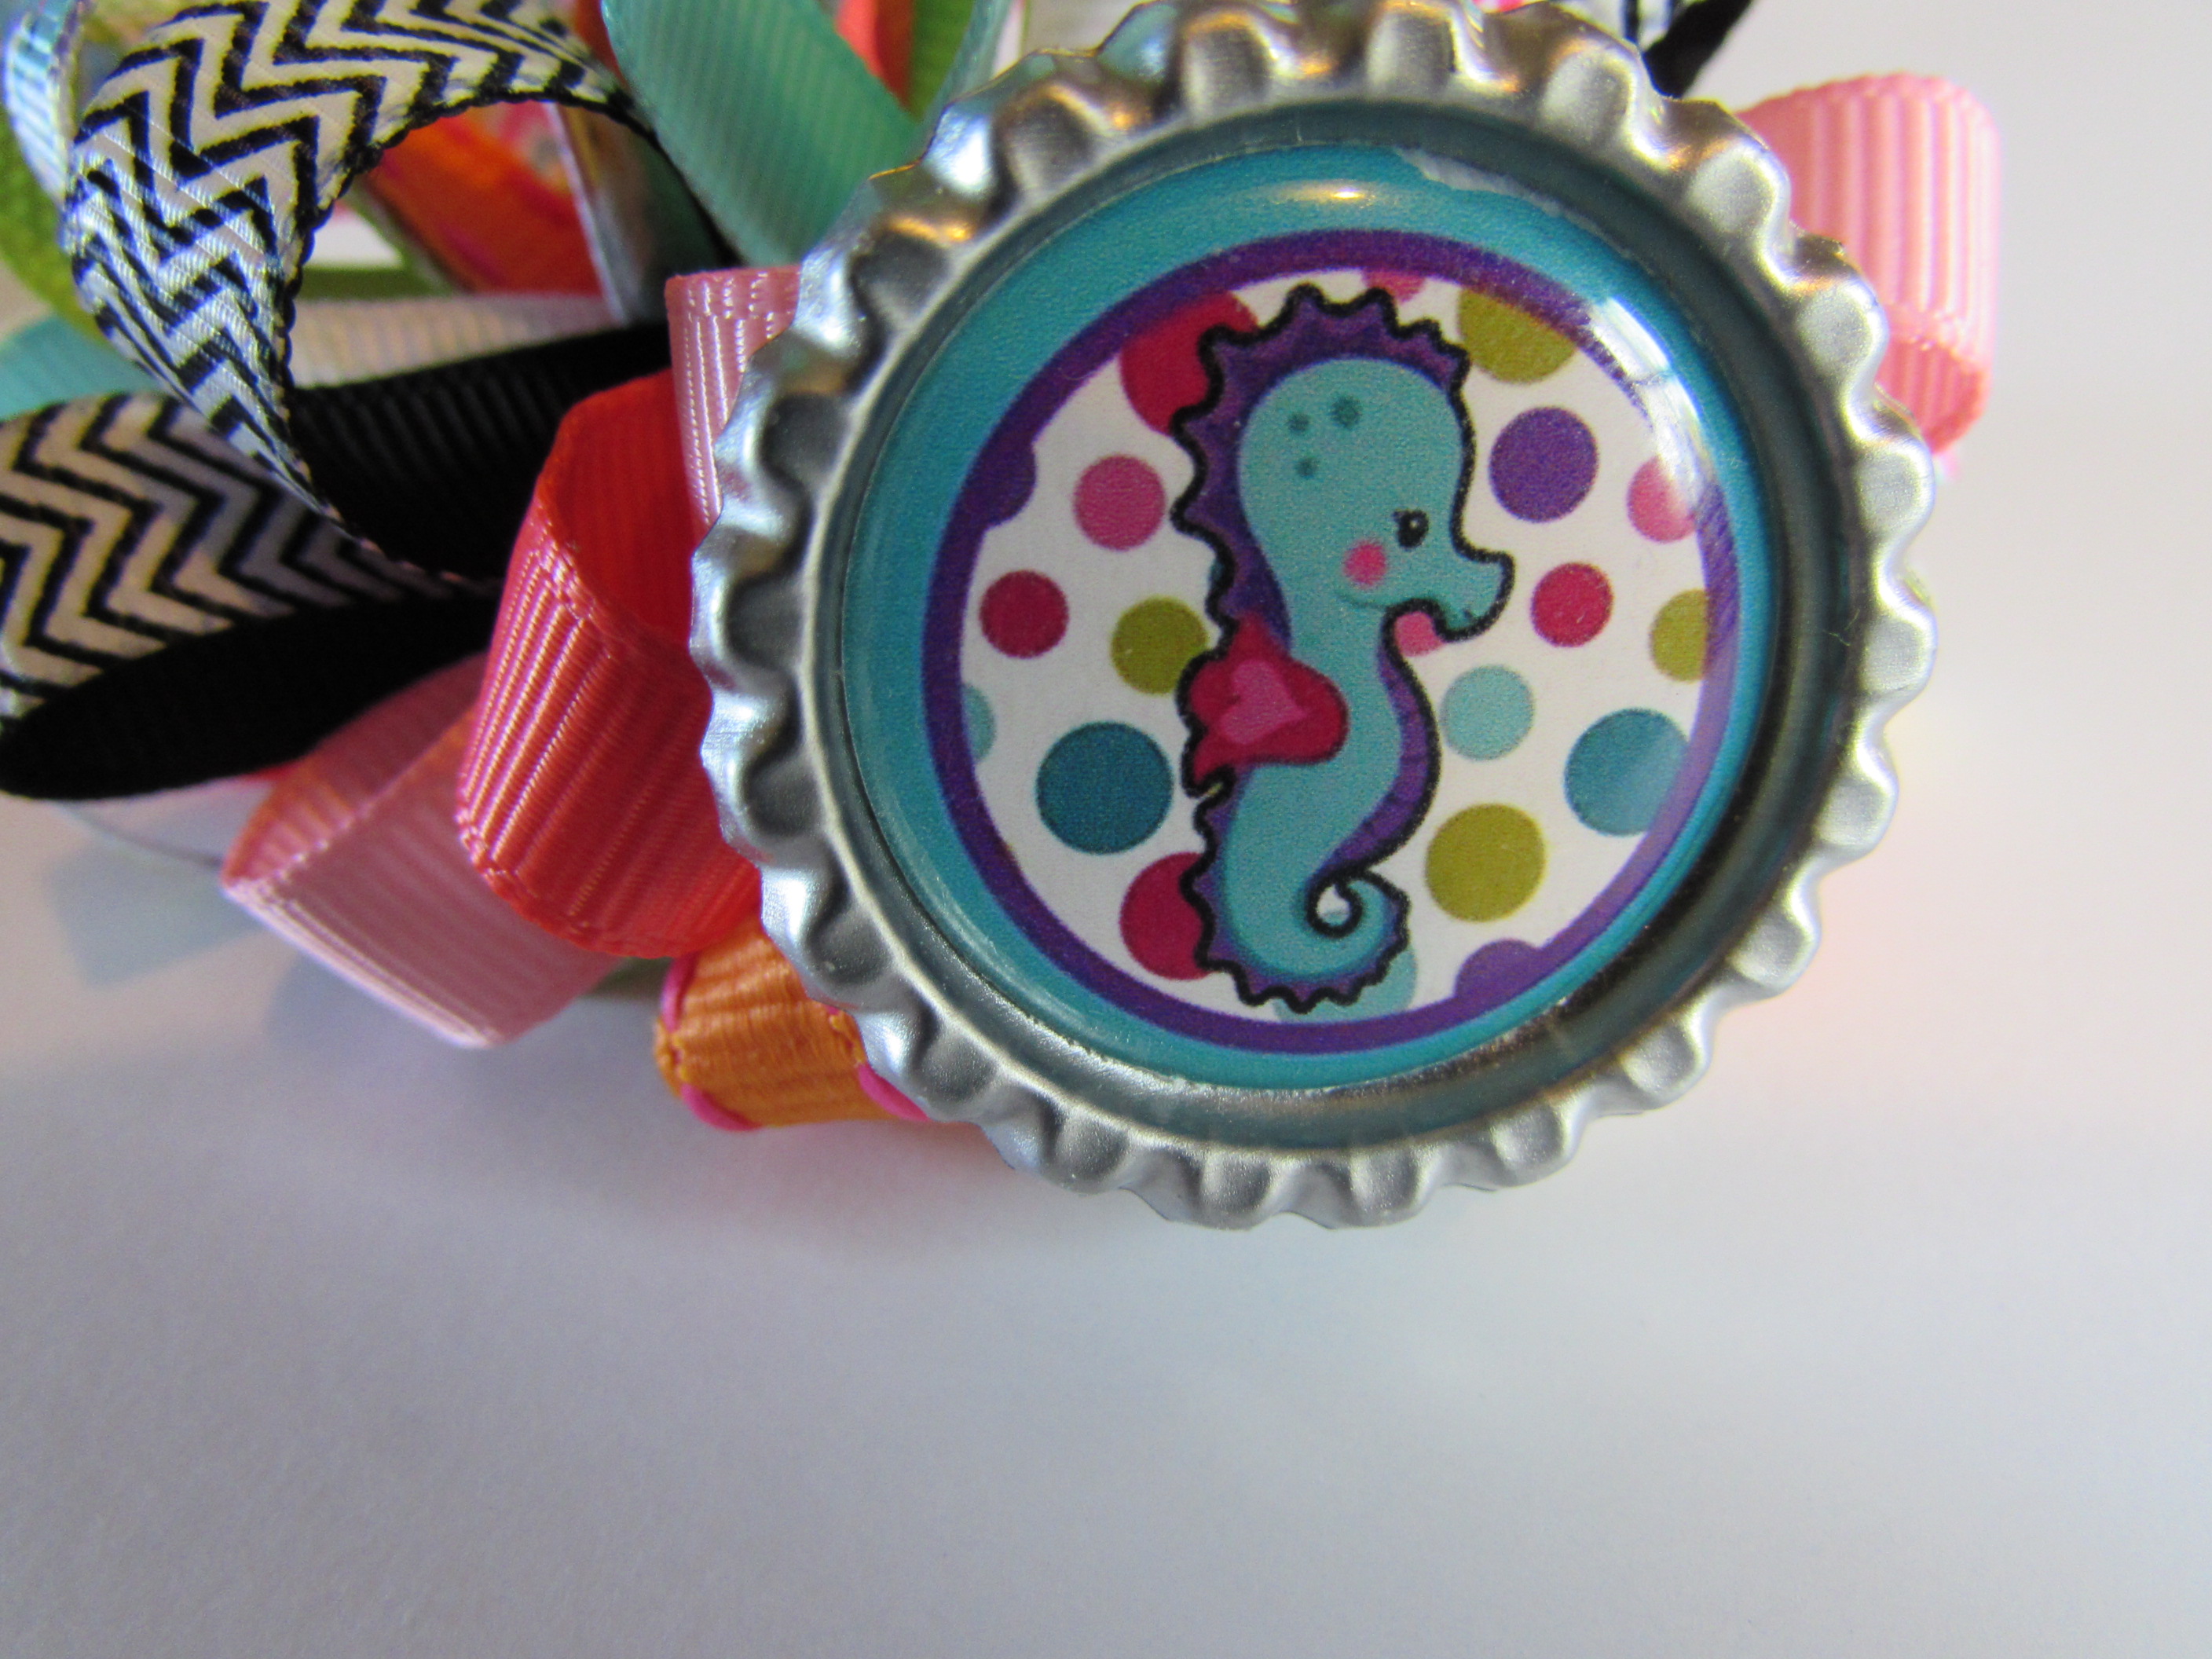
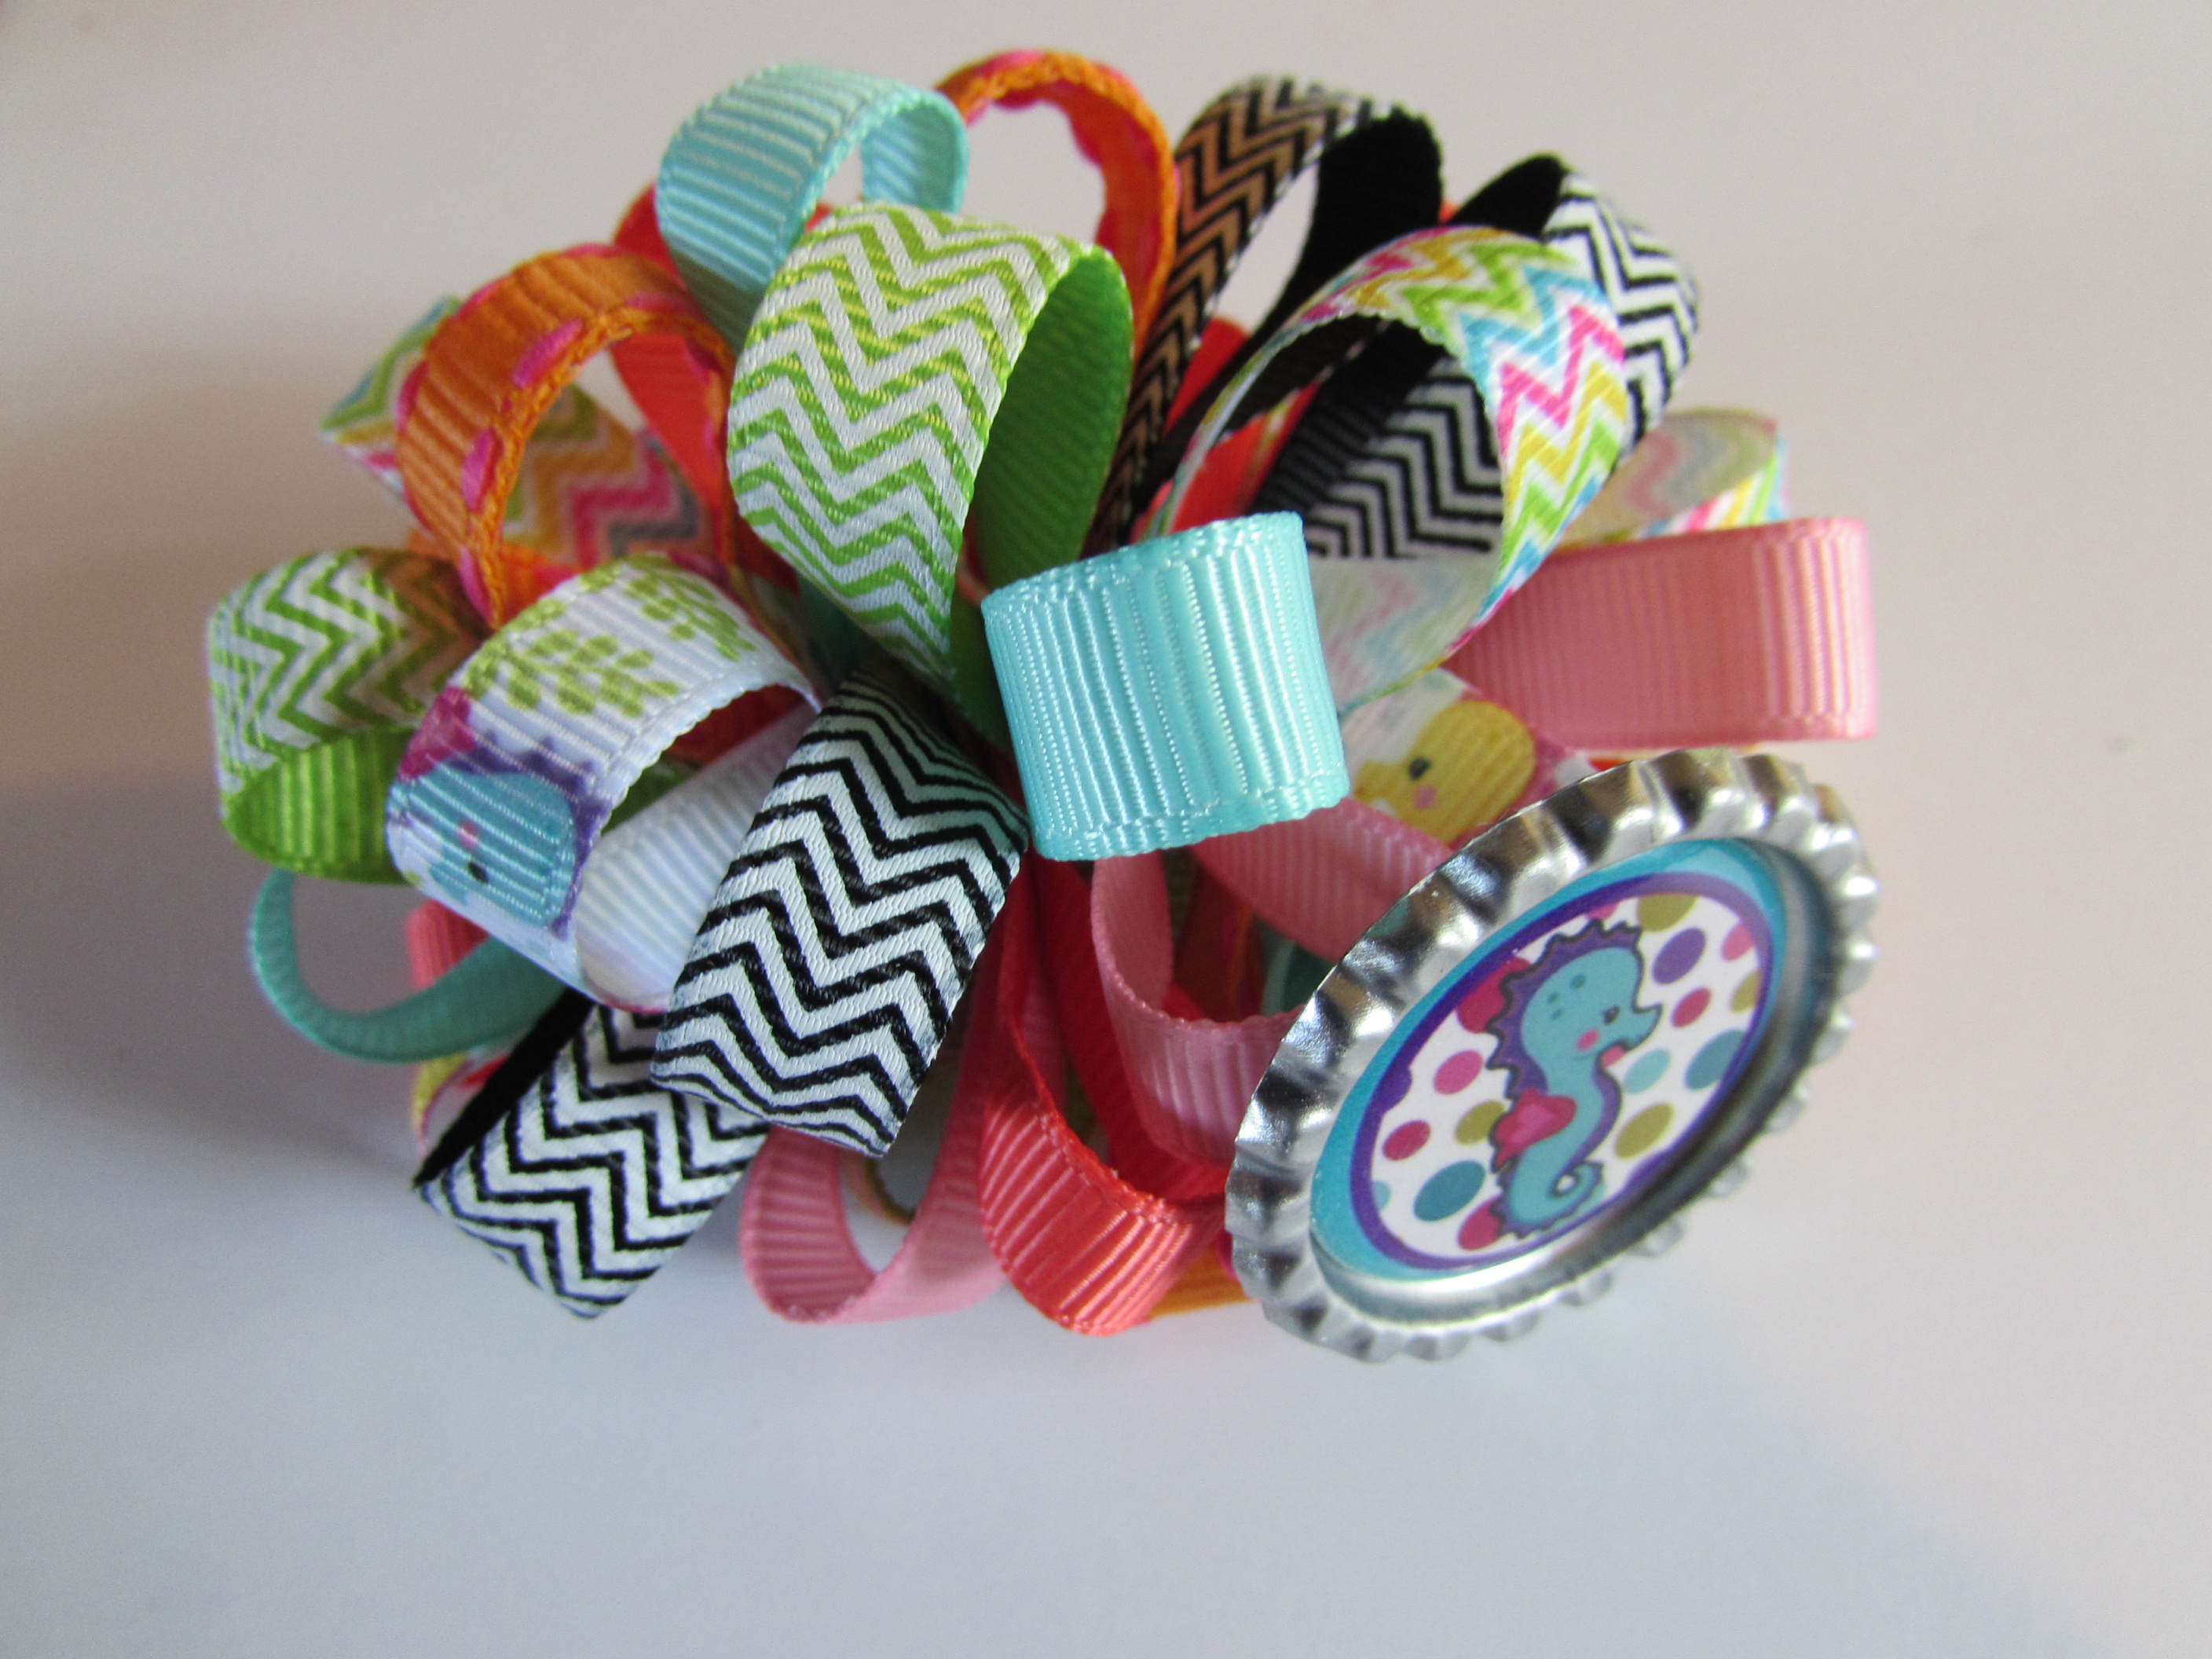
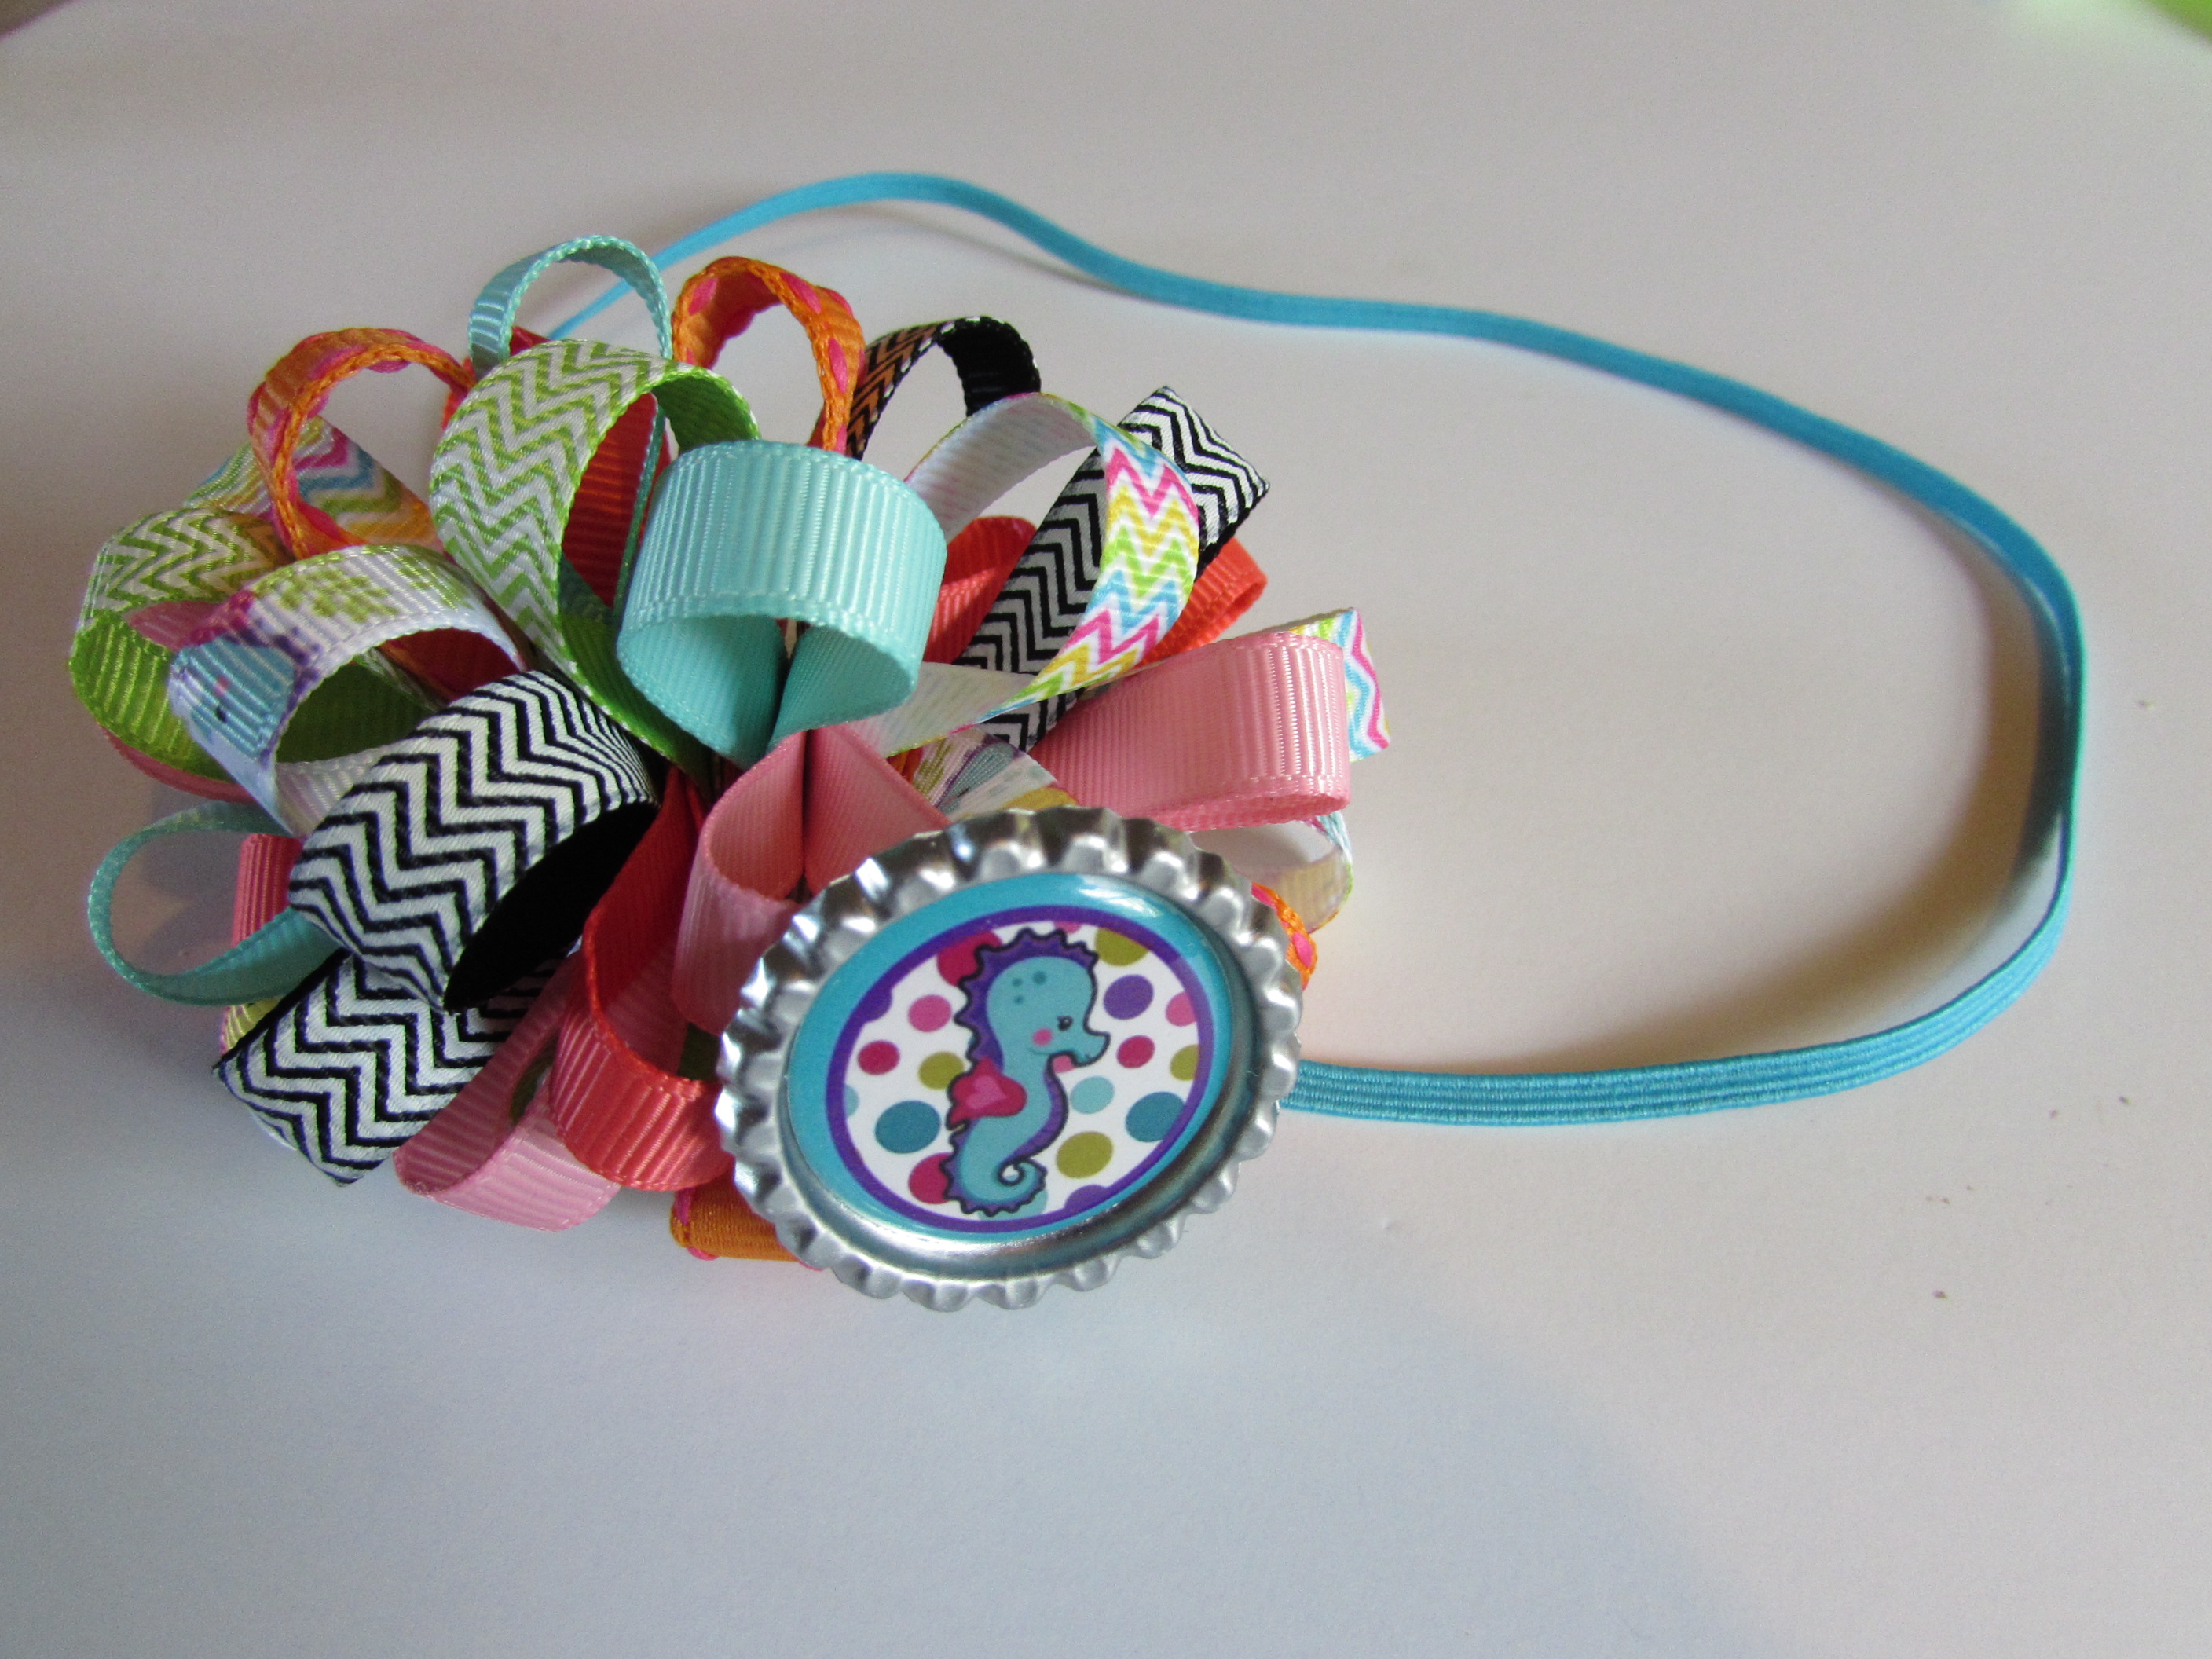
Look how adorably cute that sea horse loopy bow on a headband is!!!!!
* All items except for the sea horse 3/8" ribbon, blue ribbon and the bottle cap image can be found on the www.hairbowcenter.com website. :)
Now let's get started by gathering our supplies.
Supplies Needed:
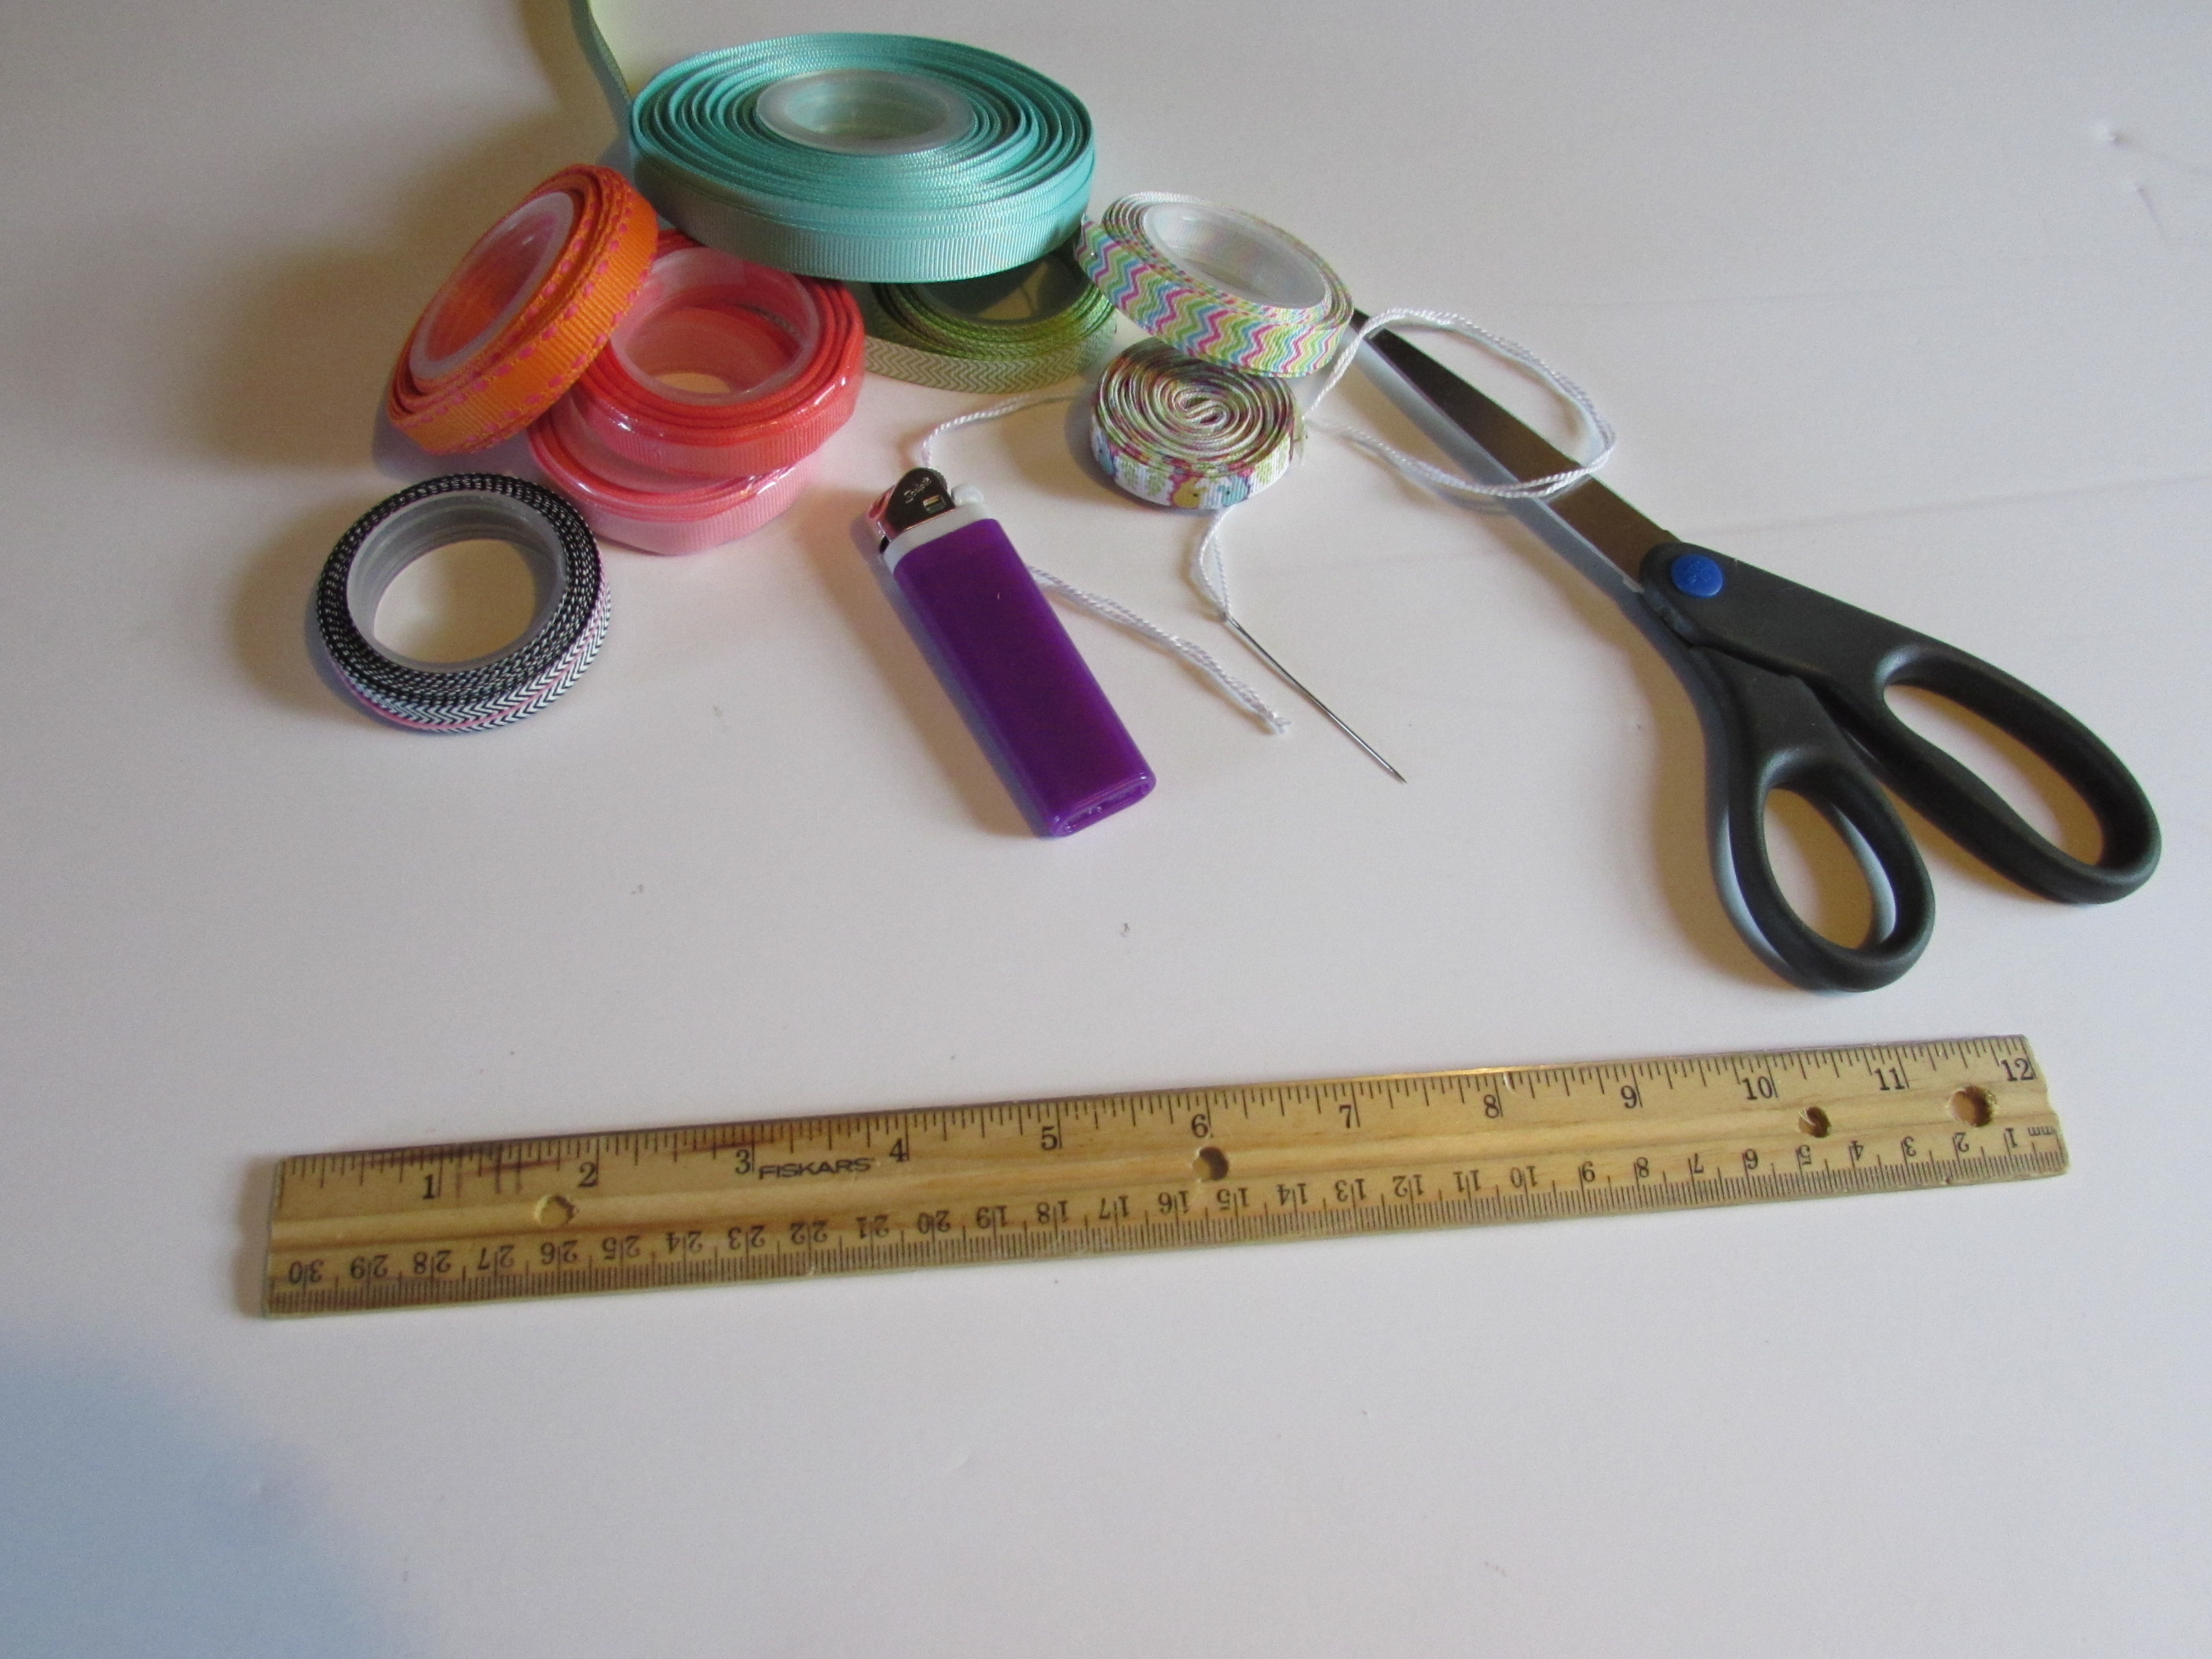 3/8" ribbon {{ again you can use ANY size ribbon you would like however, we will be using 3/8" for this tutorial }}
Needle and thread
Hotglue gun and hotglue
Scissors
Lighter
Ruler or any other measuring tool
Felt Circles {{ felt if you don't have circles but those can be purchased online at hairbowcenter.com as well }}
Skinny elastic
* Measure and cut about 40 pieces of your 3/8" ribbon
- Colors can be your choice
- Prints can be your choice
You need to measure and cut these pieces at 3" long
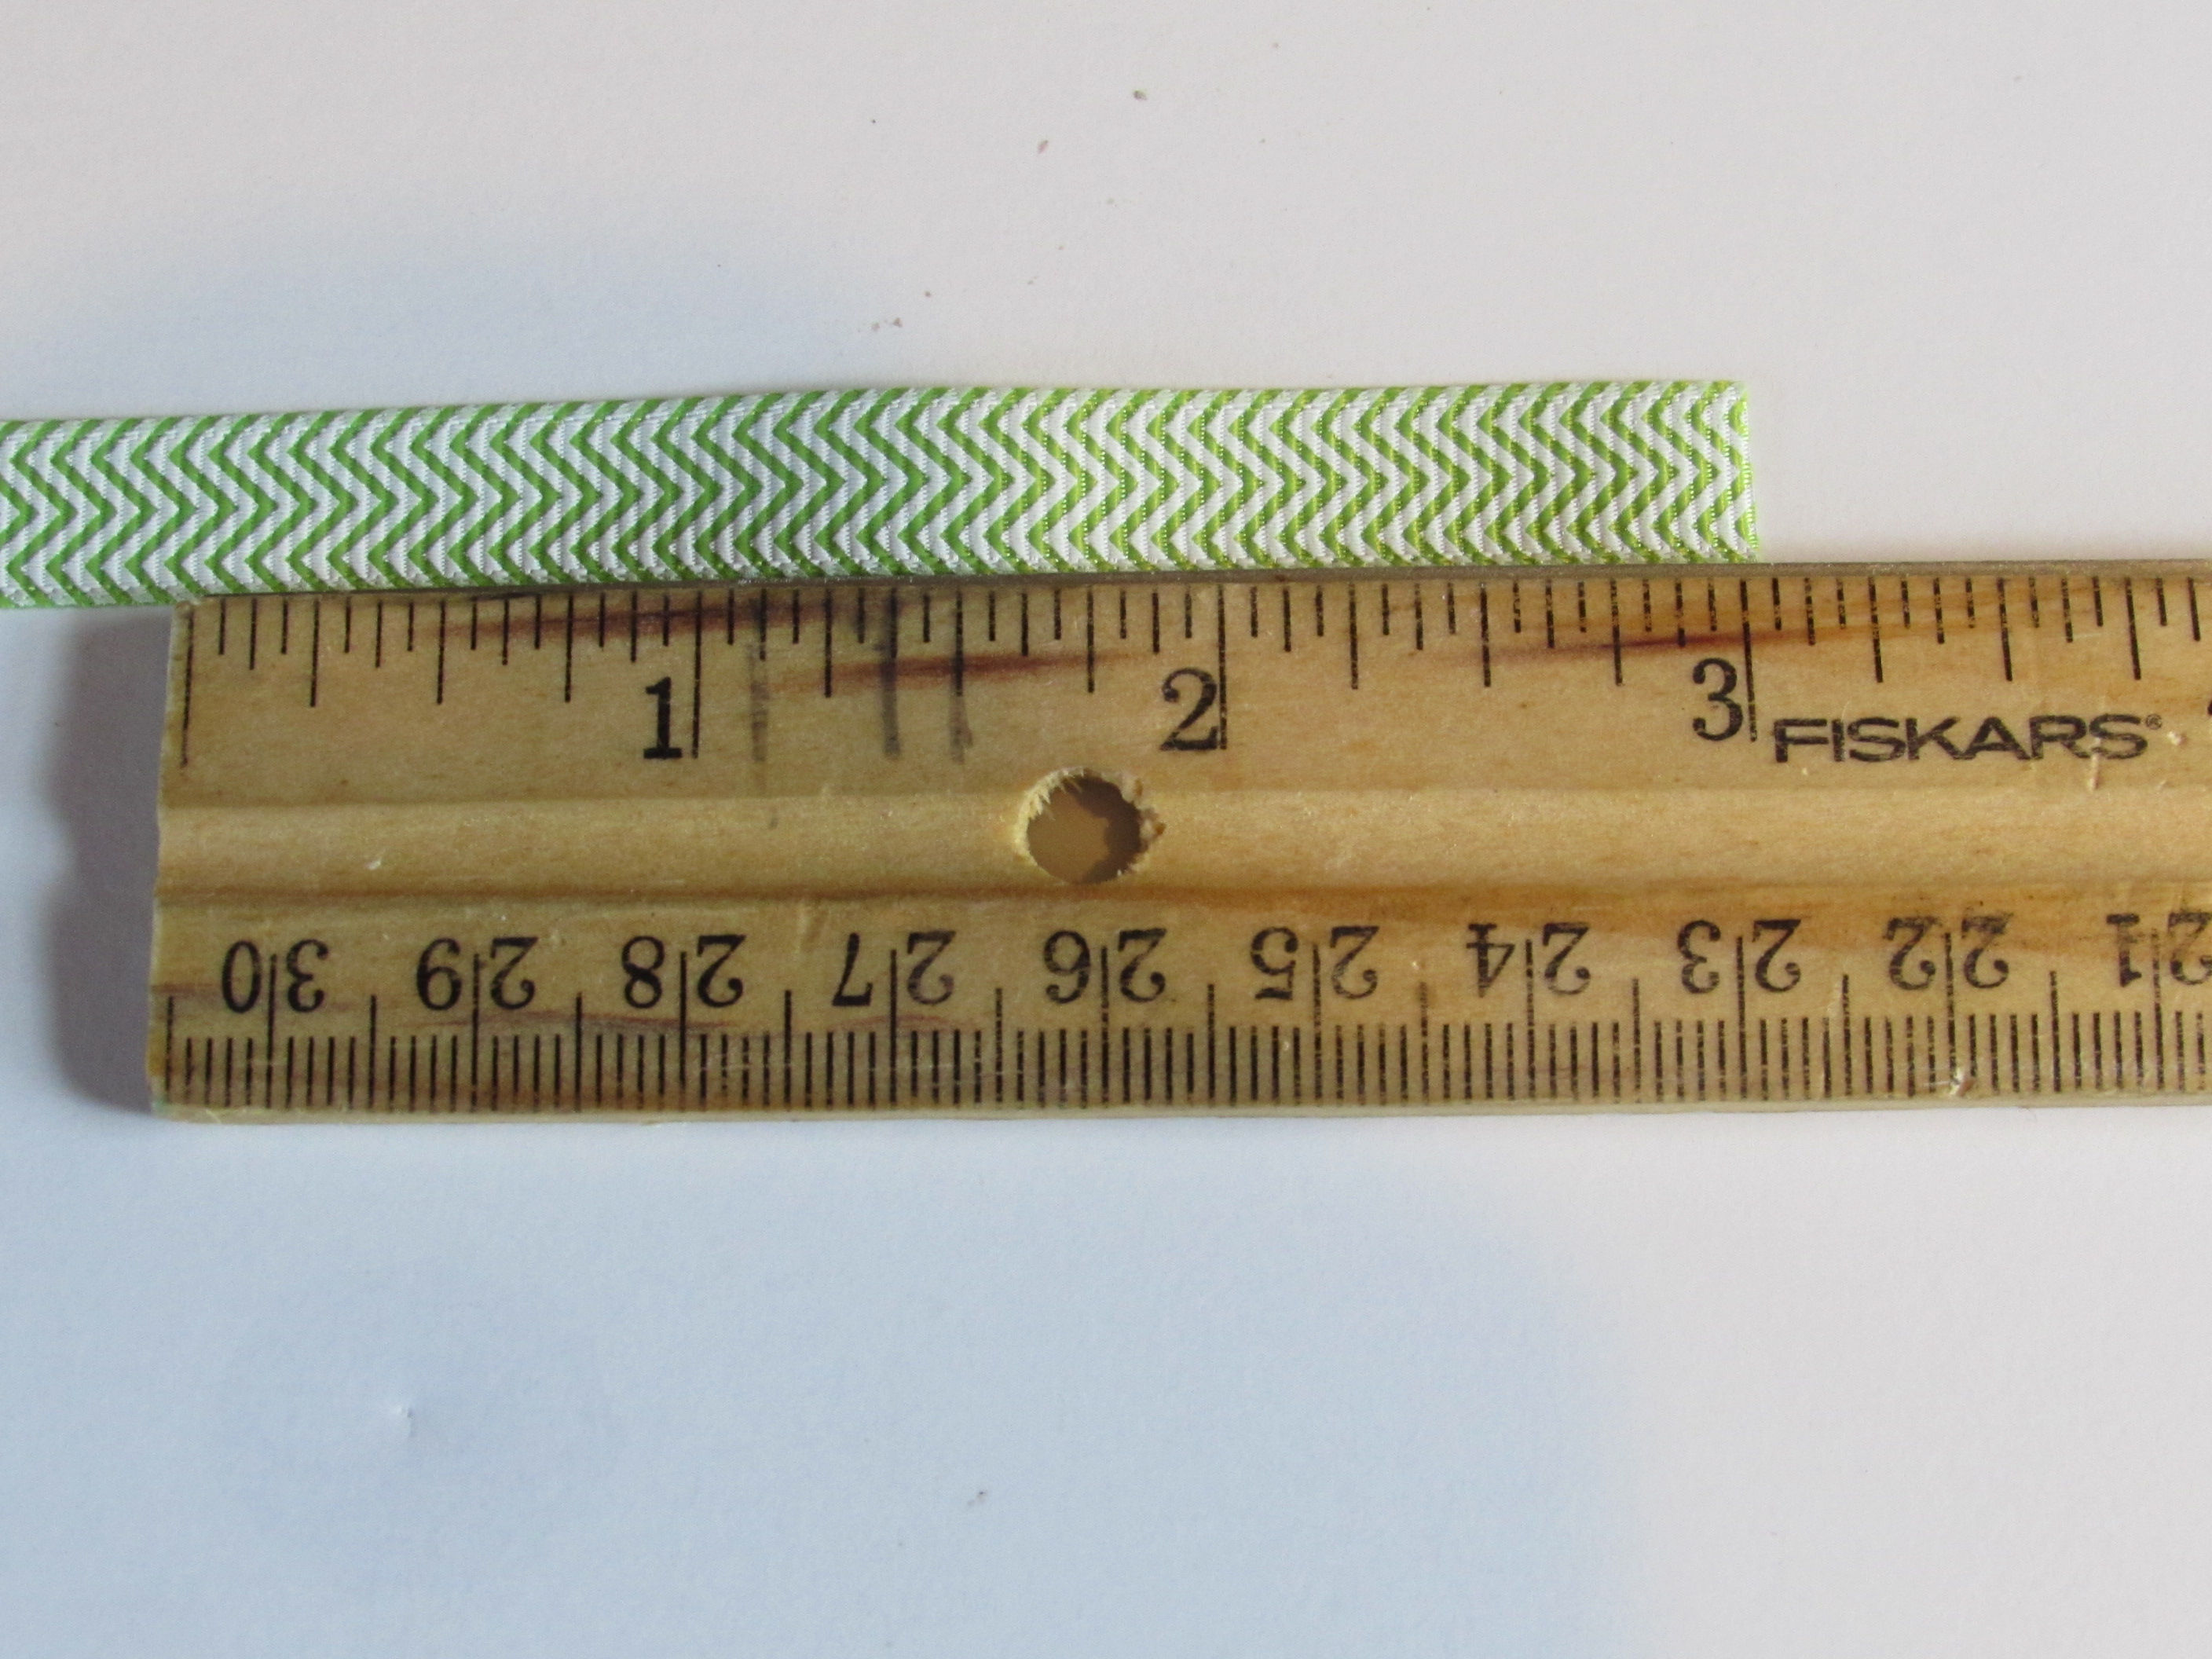
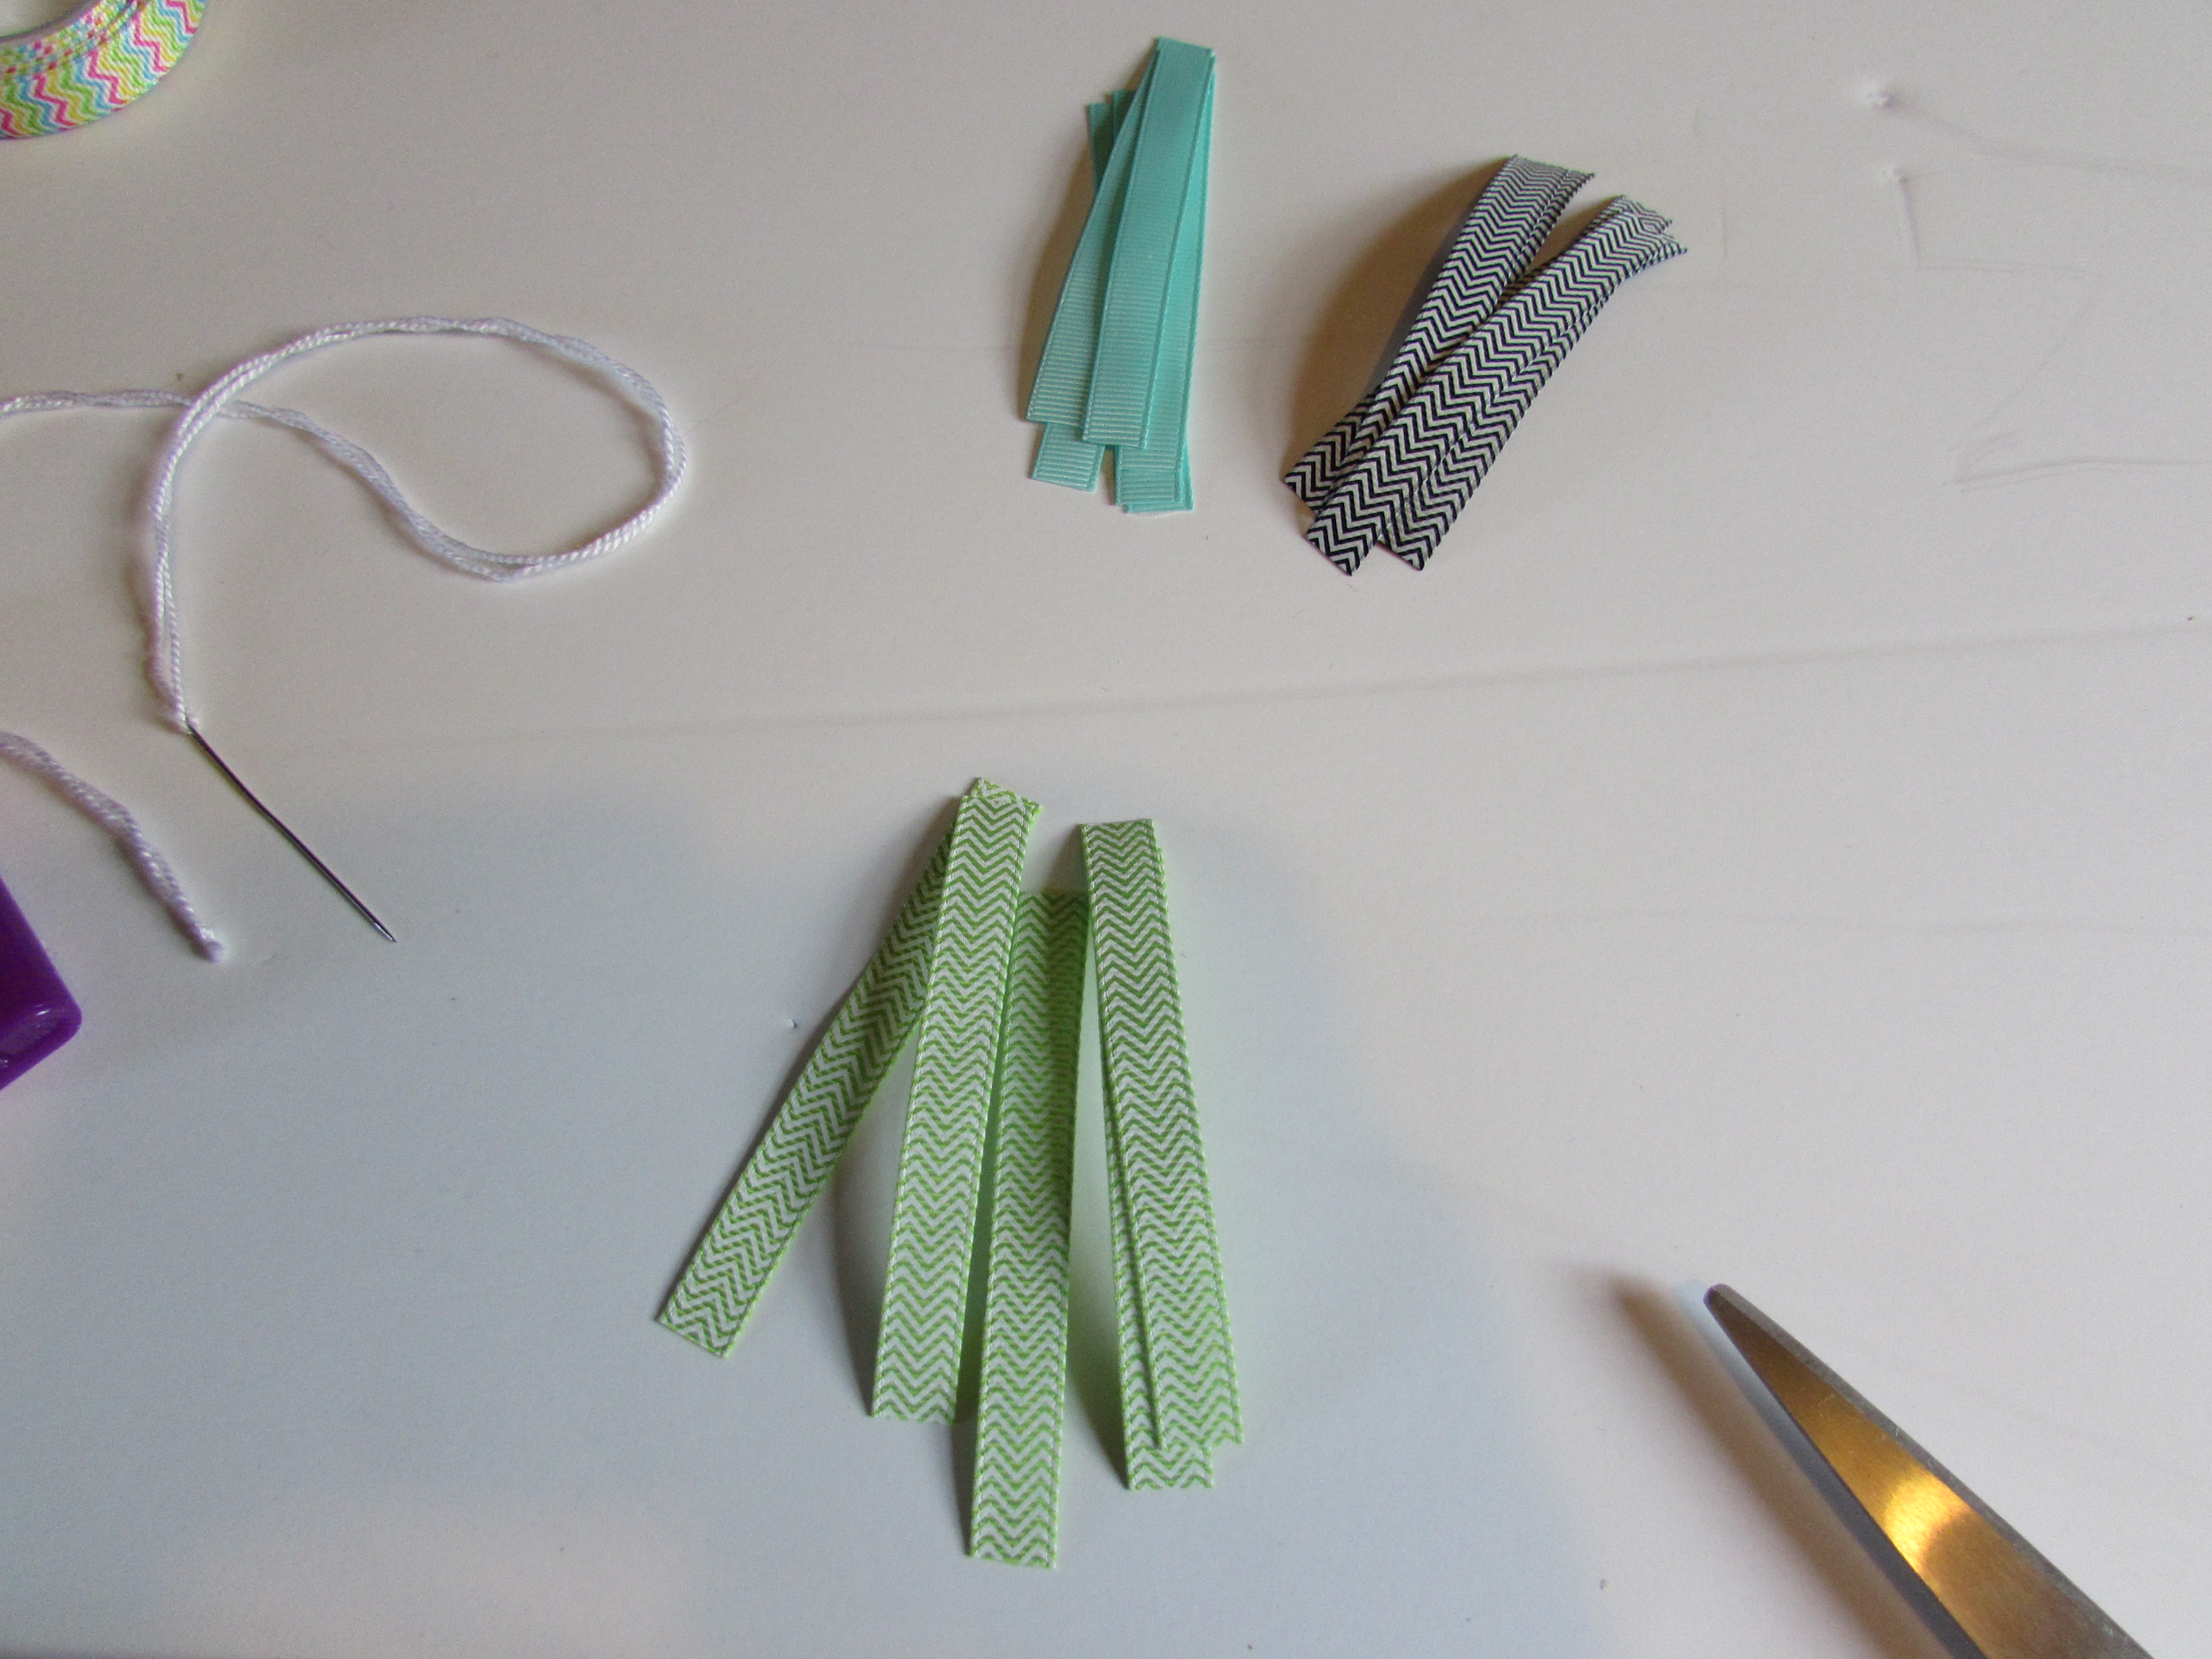
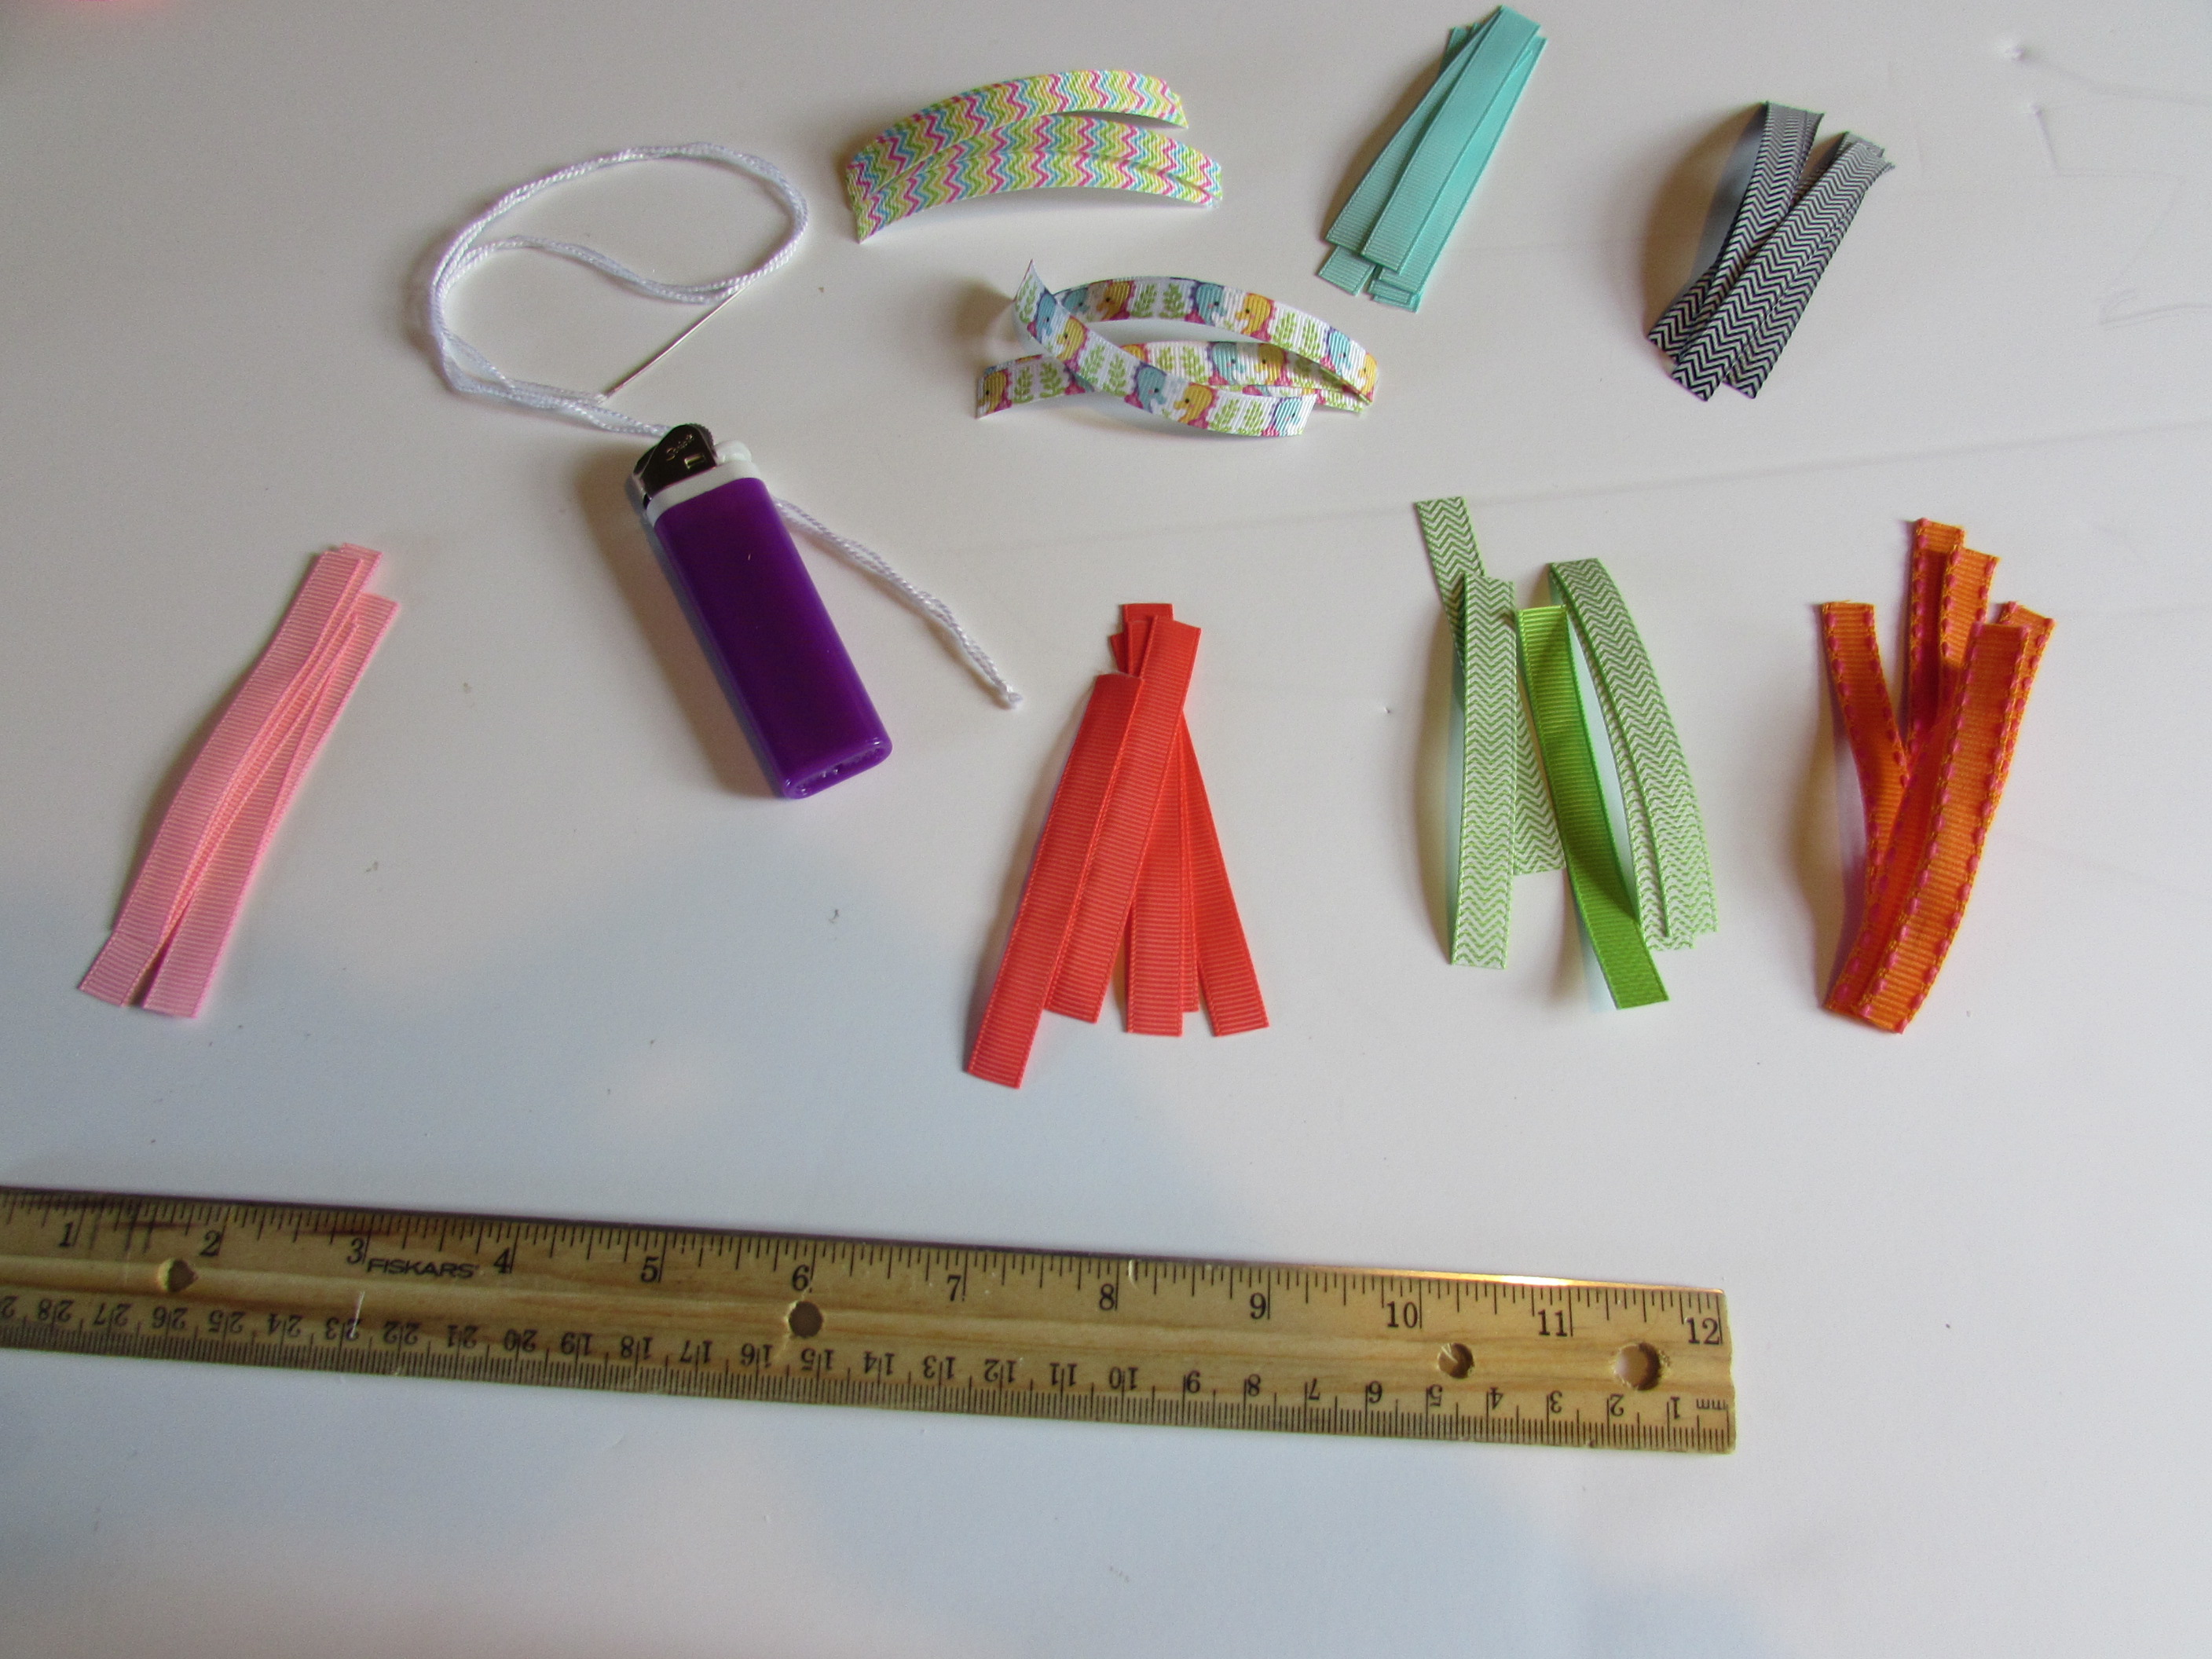 * Be sure to HEAT SEAL ALL ENDS!
- I cut 5 3" pieces from 8 different 3/8" ribbons. Mix of solids and prints.
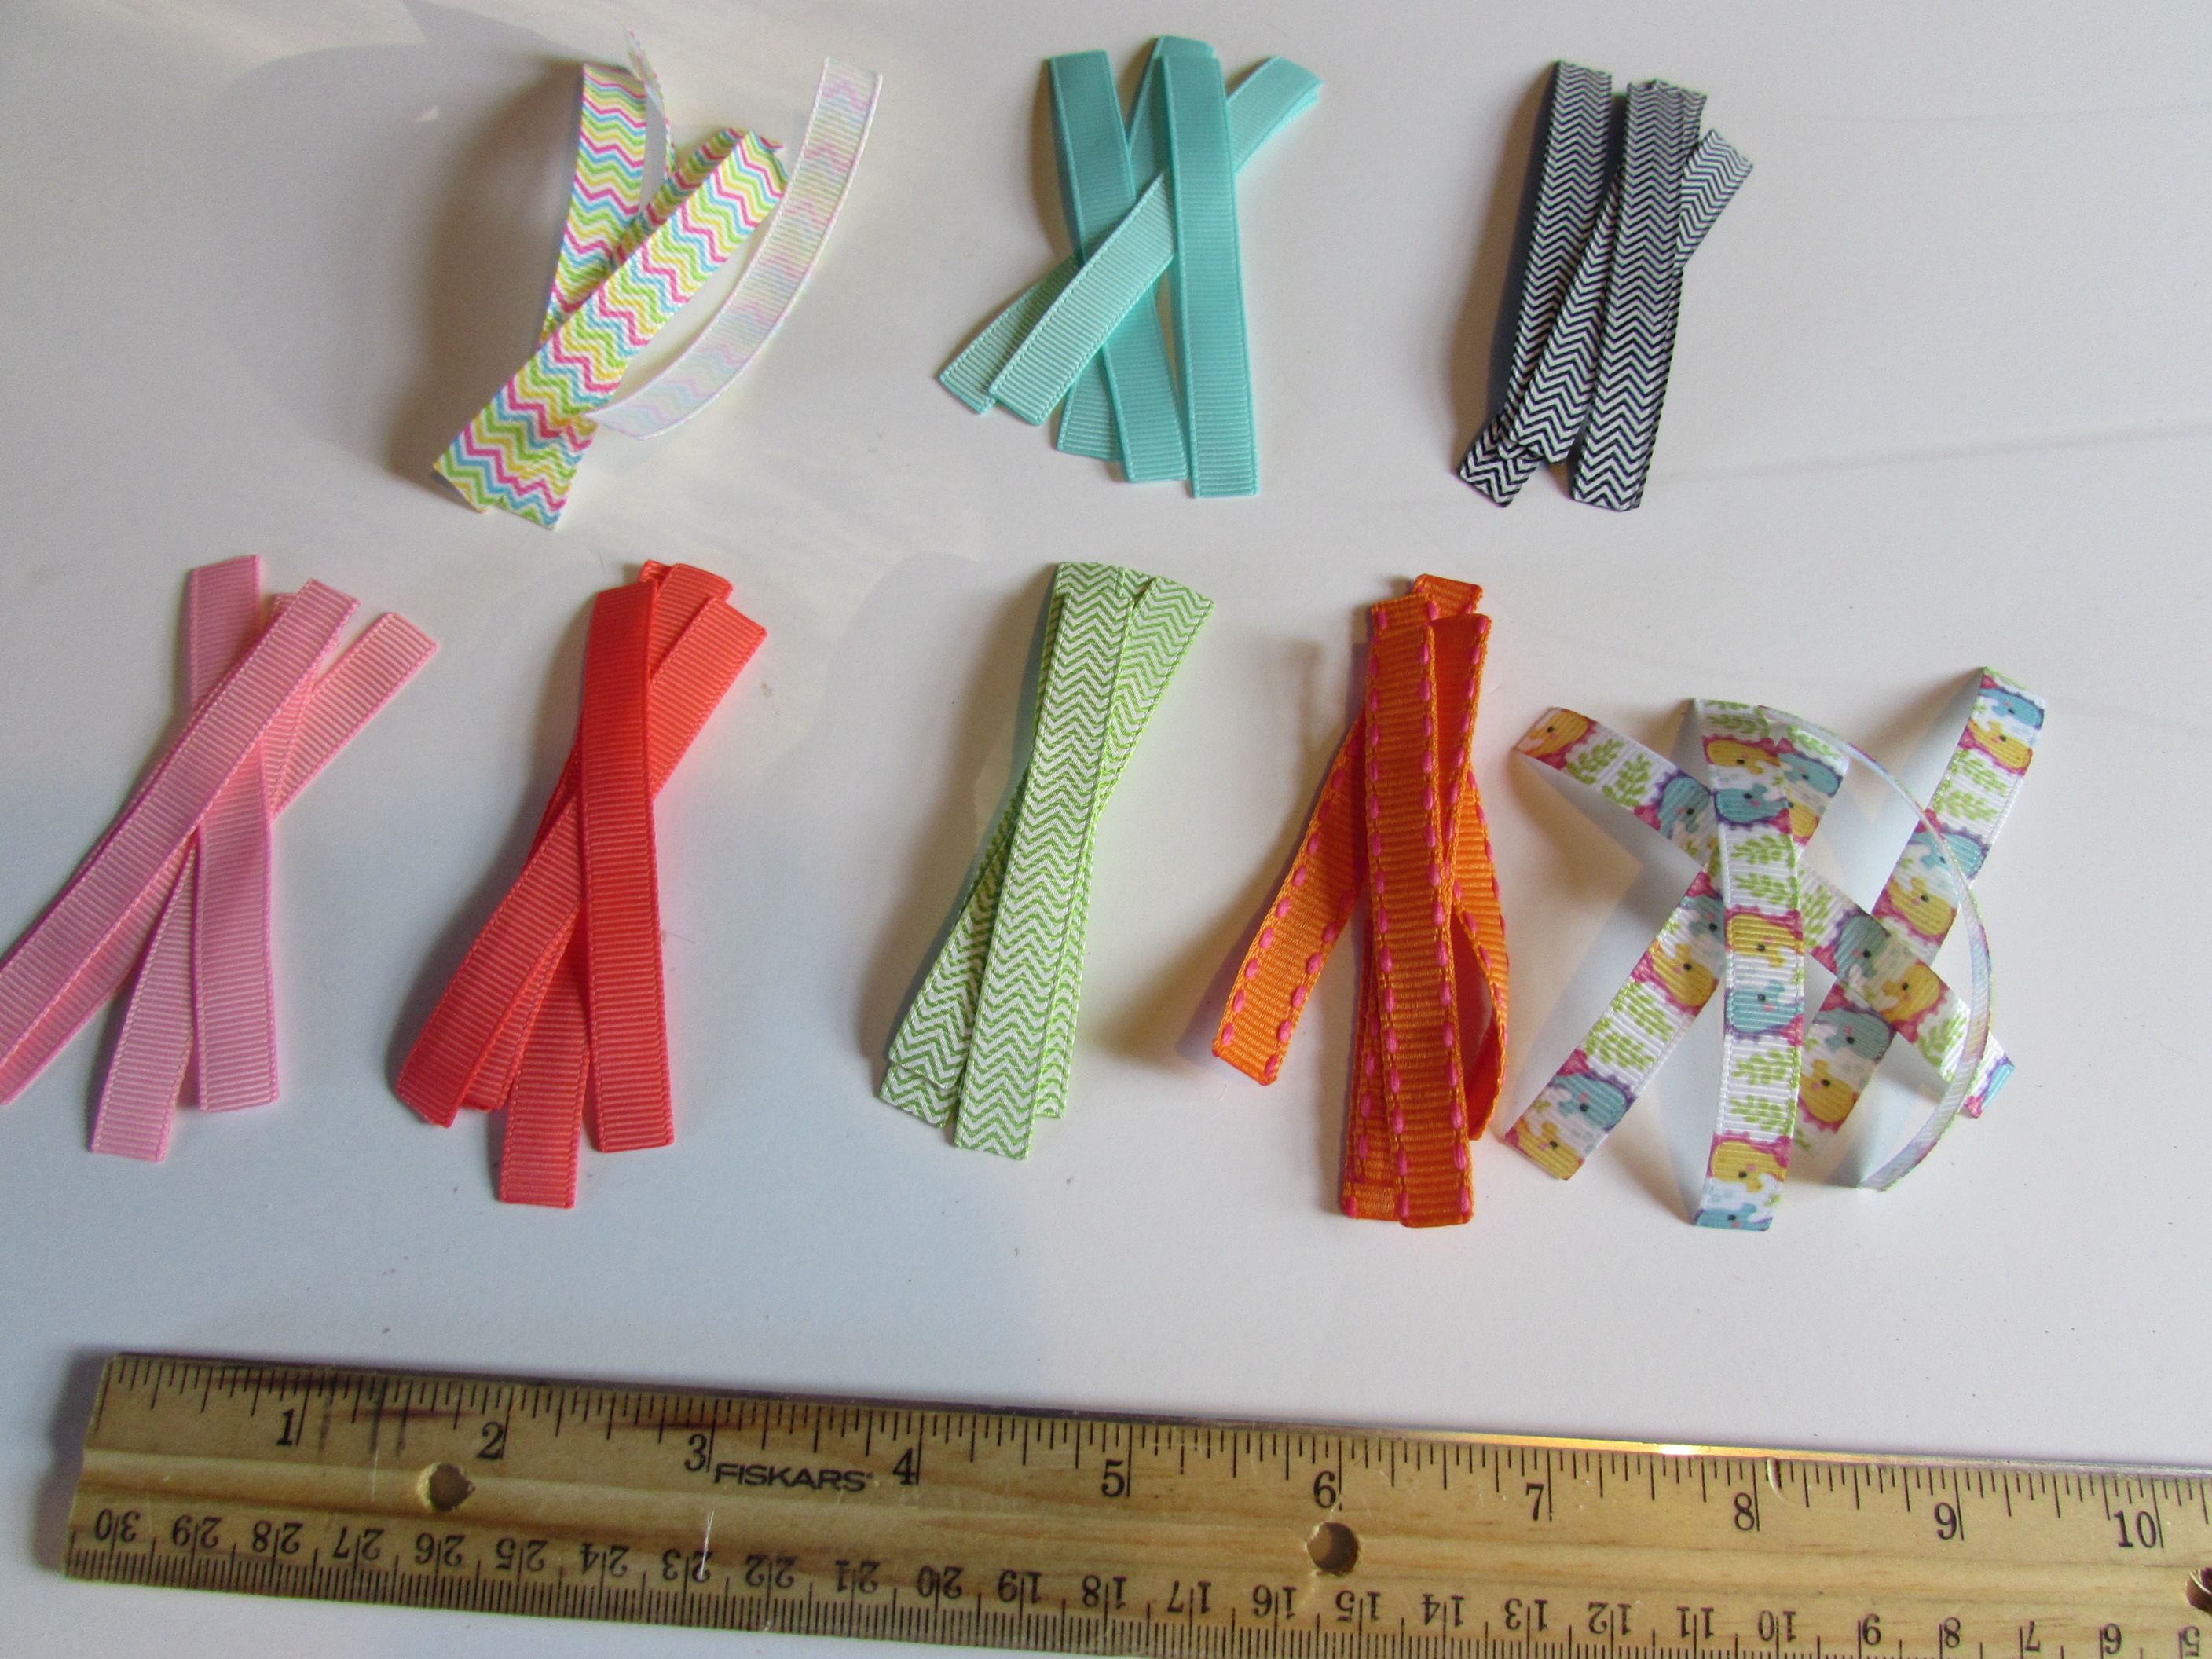 * Now this is your choice. You can either do a pattern from your ribbons or just mix it up. Me, I personally like to do patterns but honestly it does not really matter because once it is all finished you wont really tell a pattern unless you are really looking for it. :)
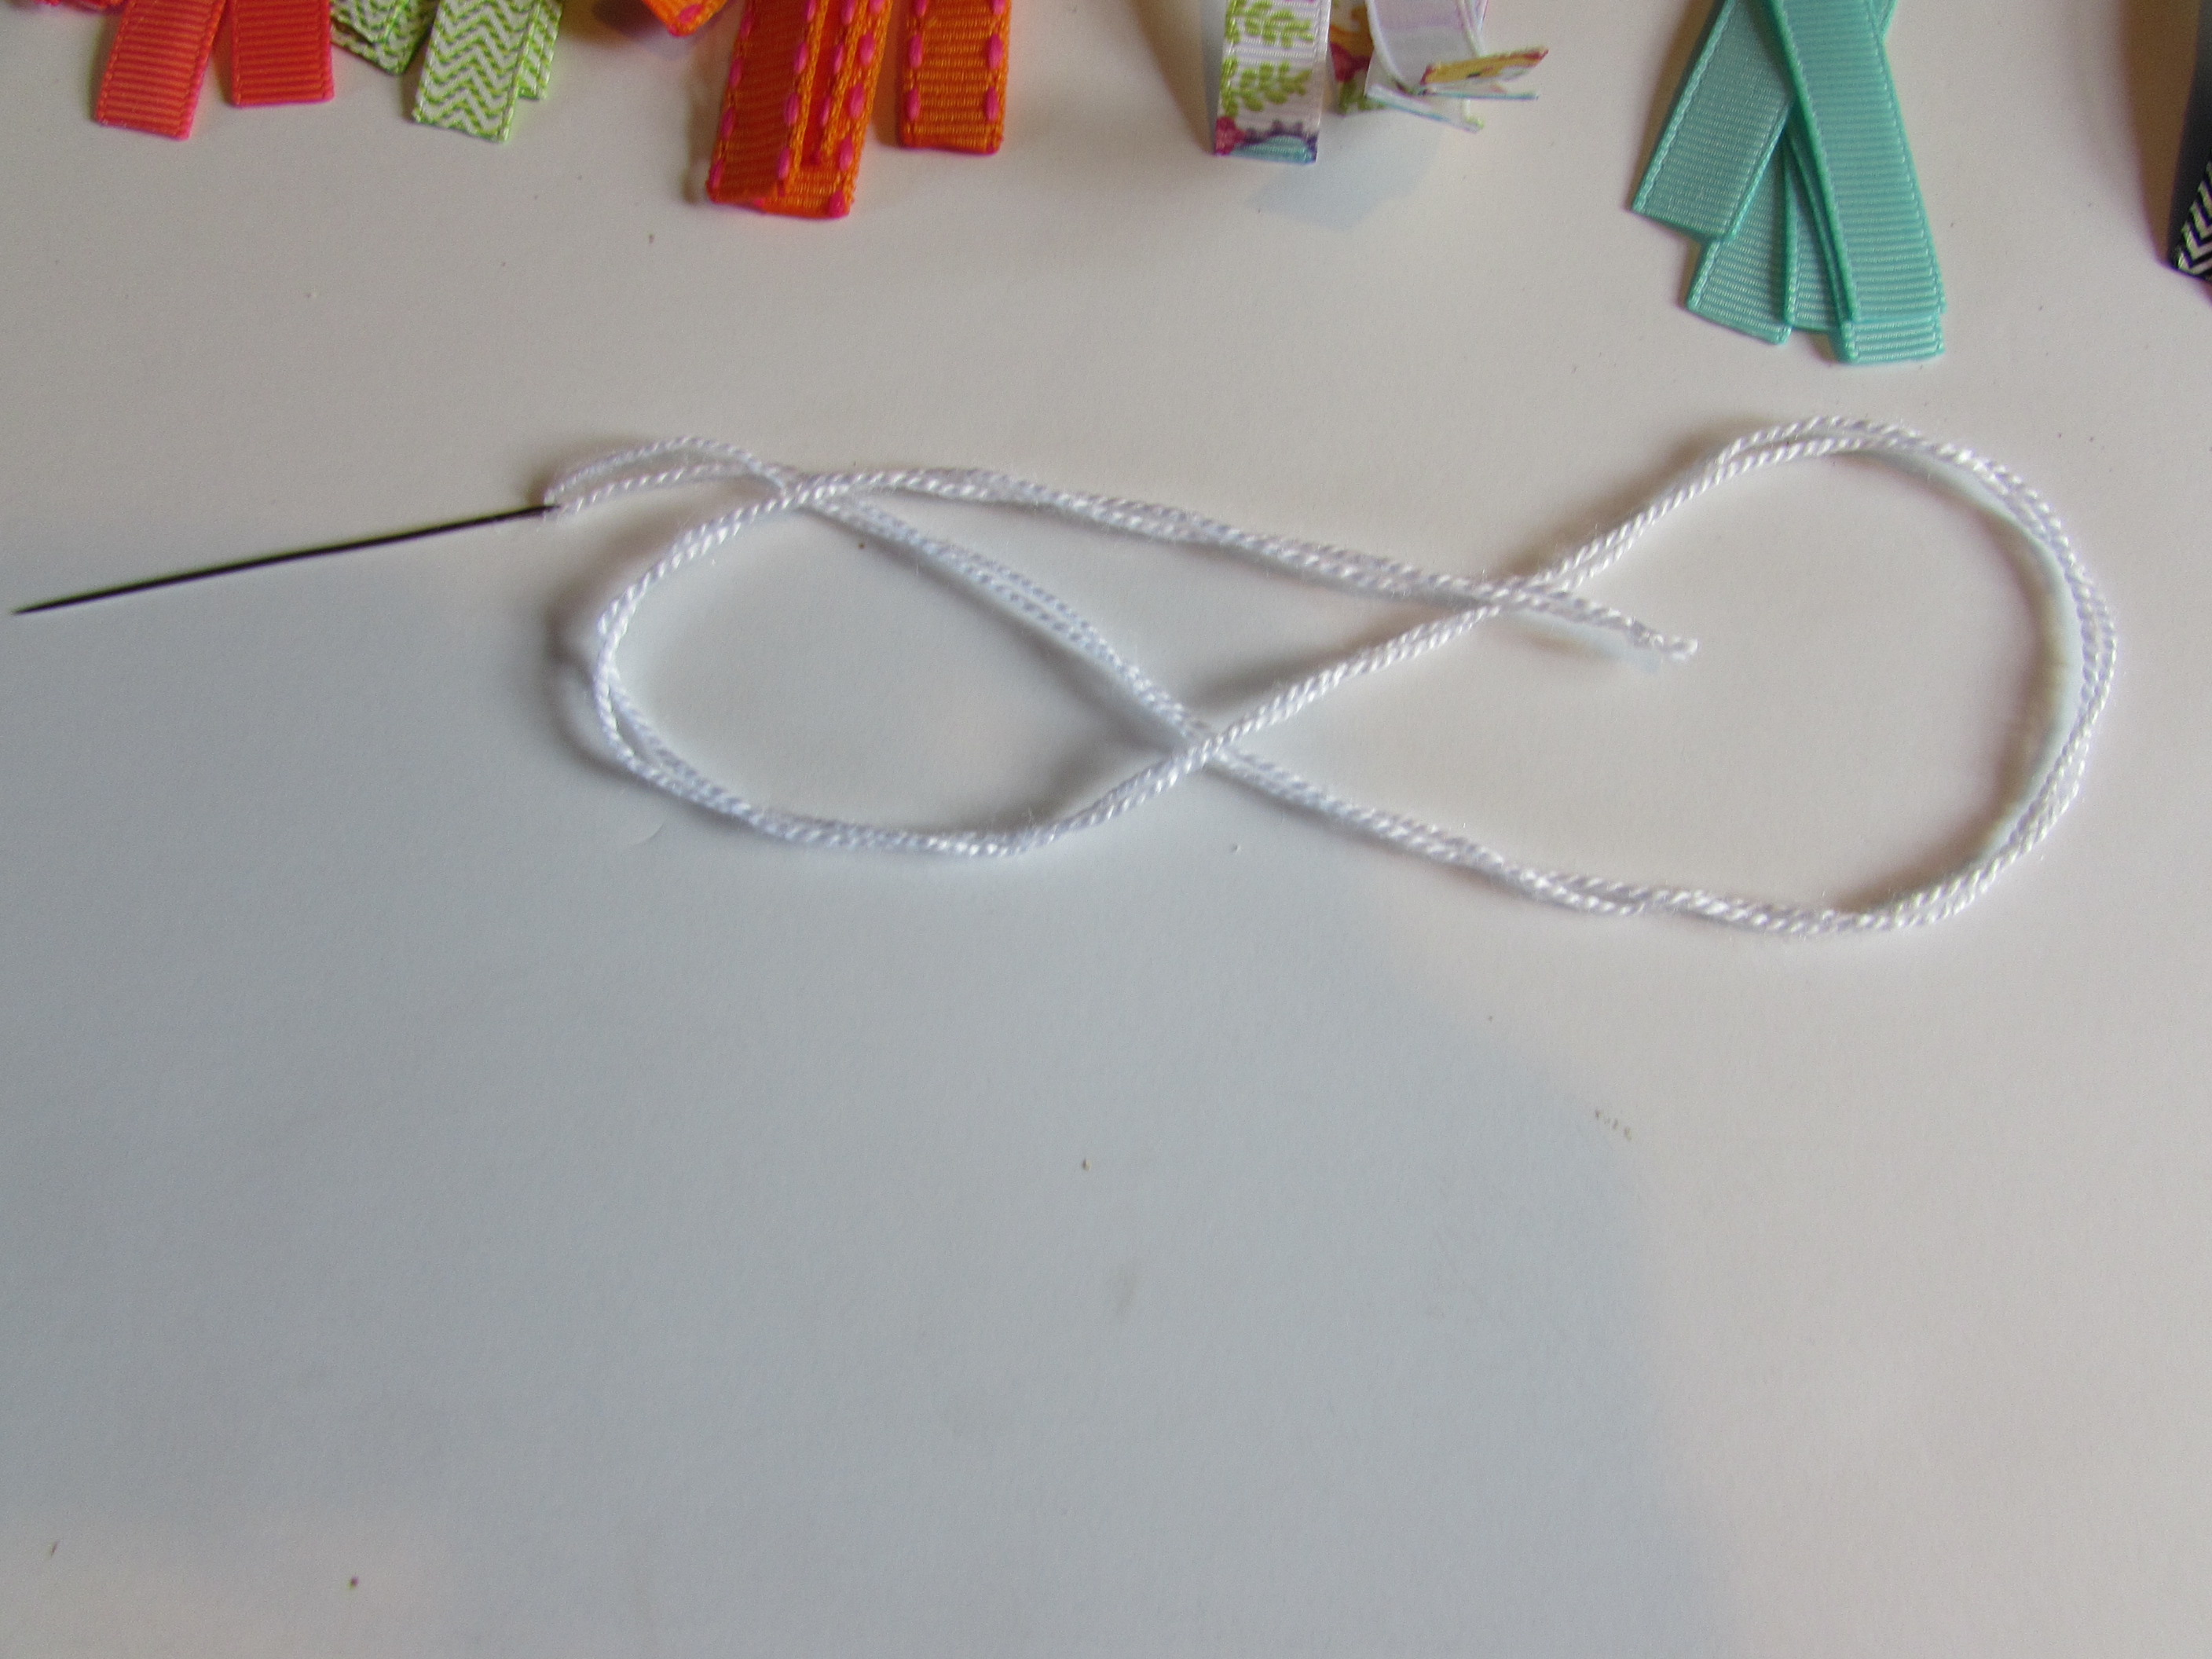
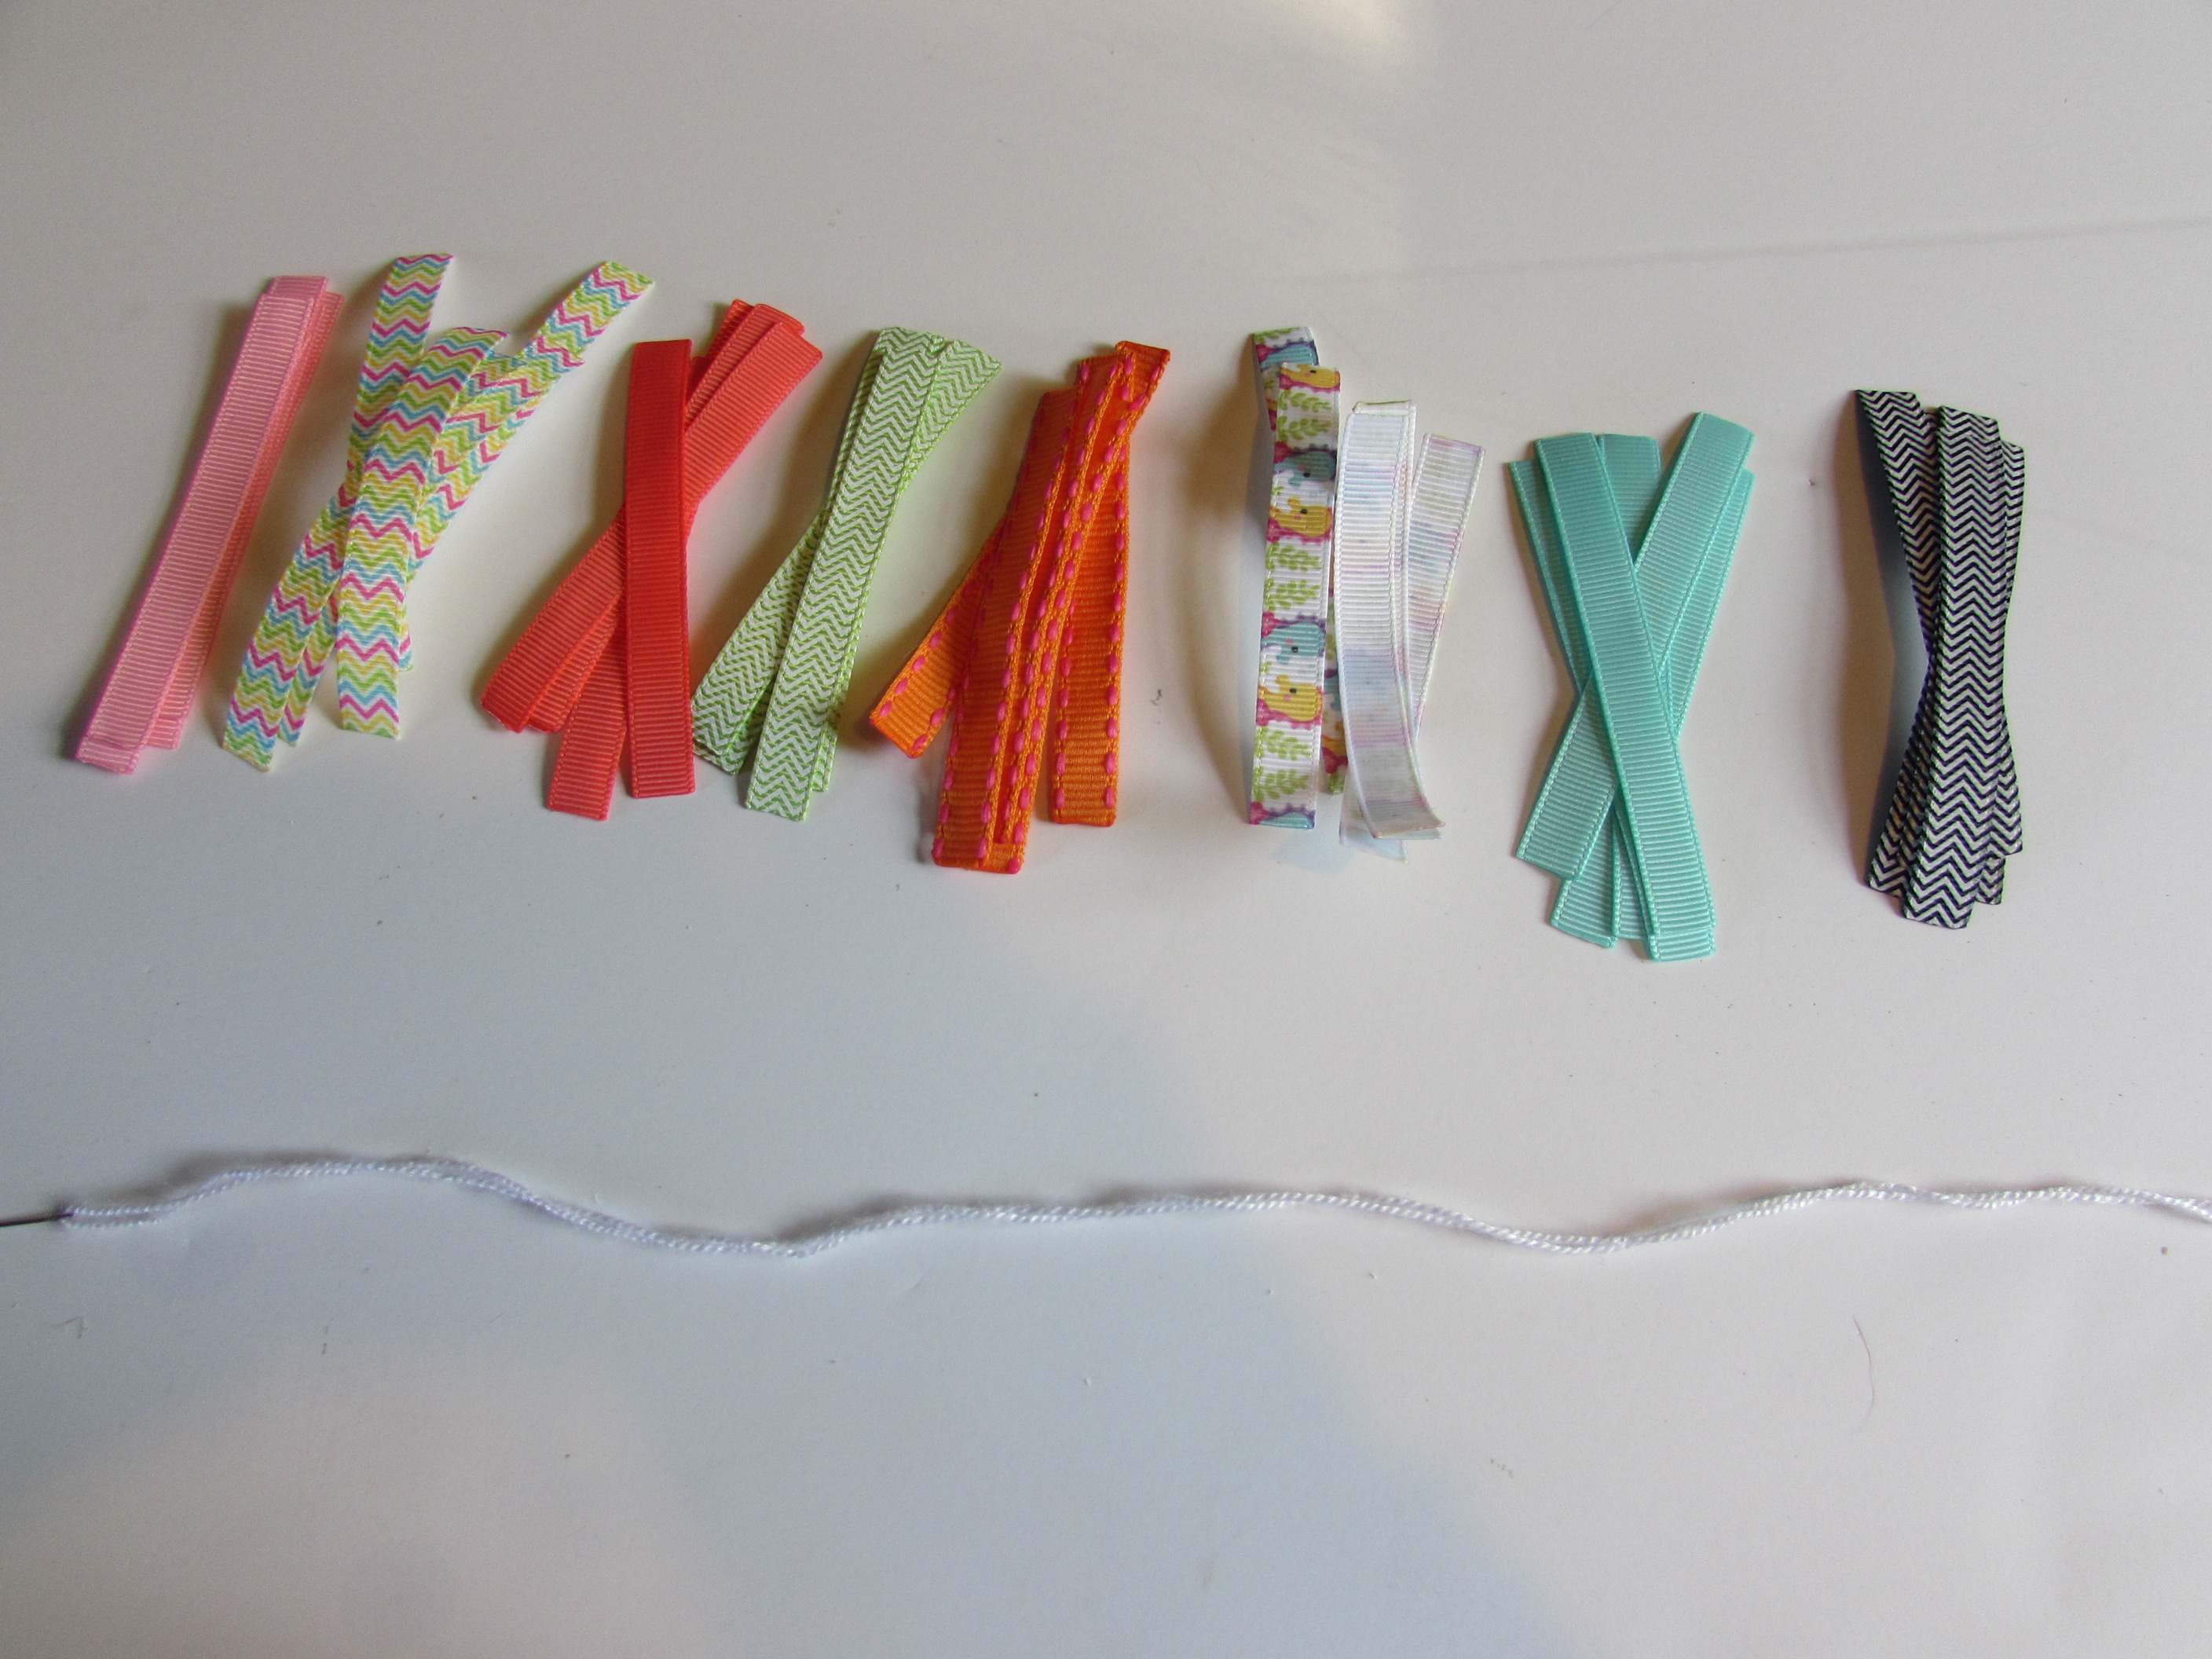 * Now you want to thread your needle but make sure you KNOT the end :)
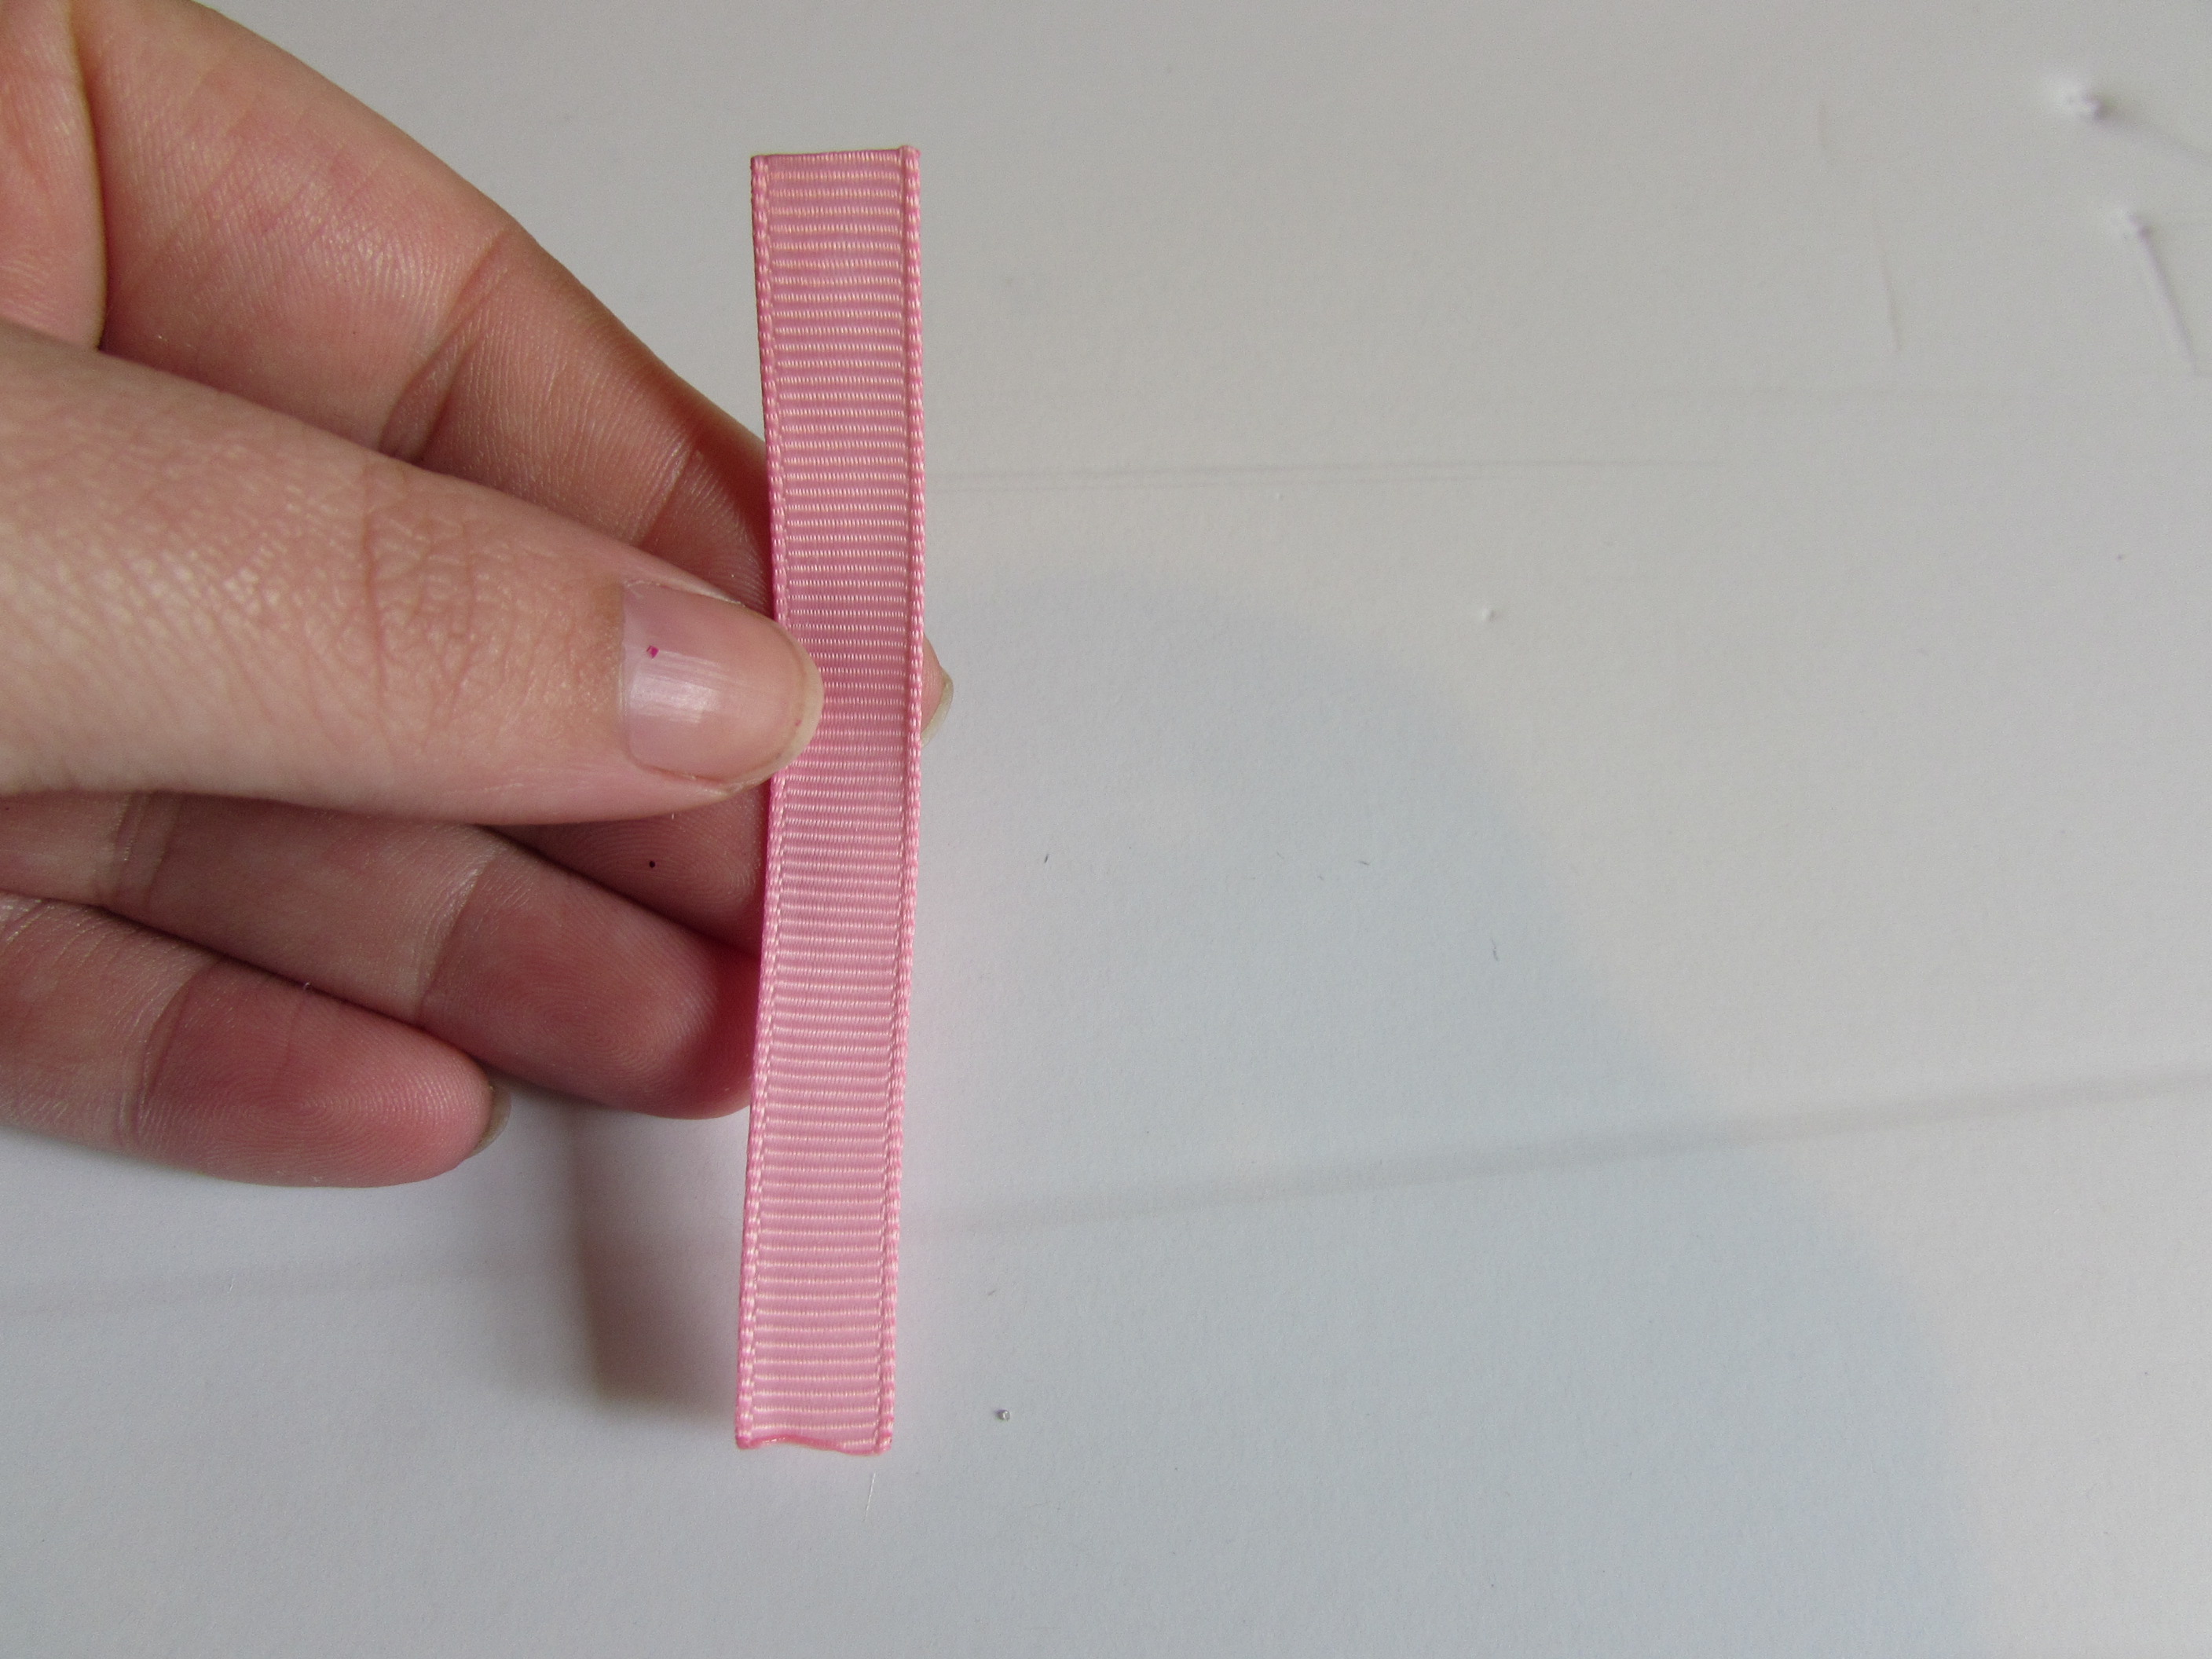
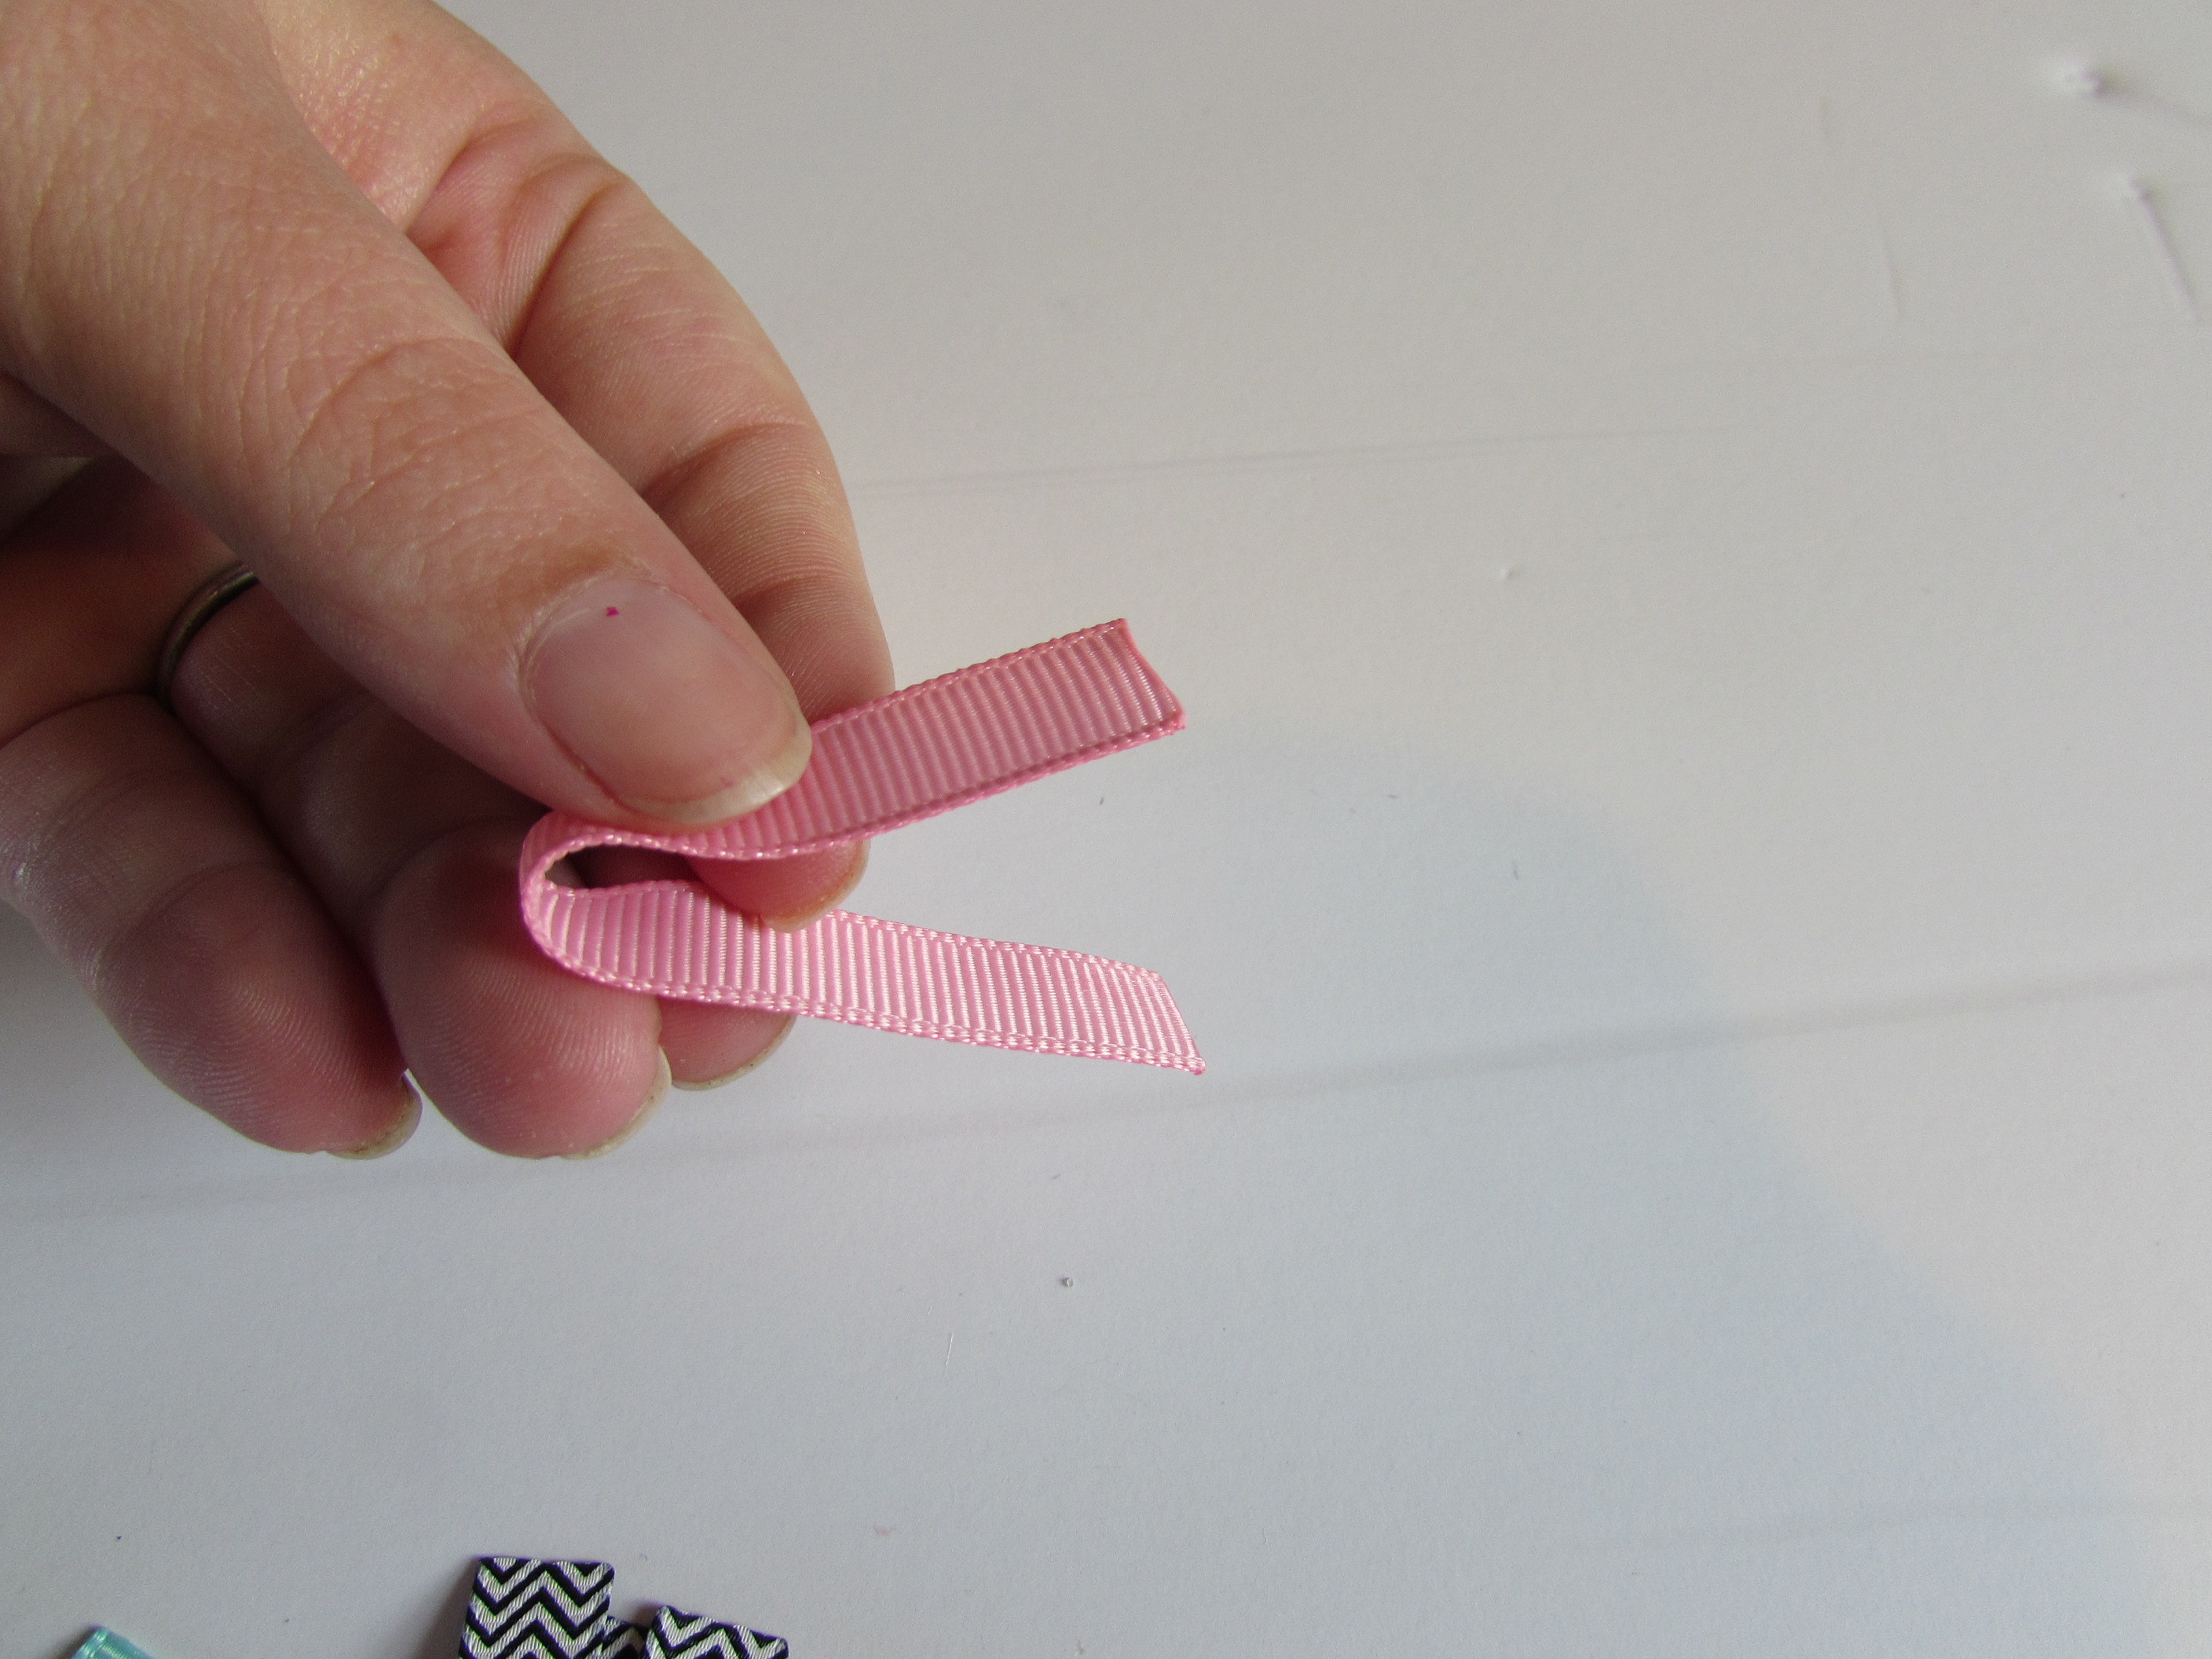
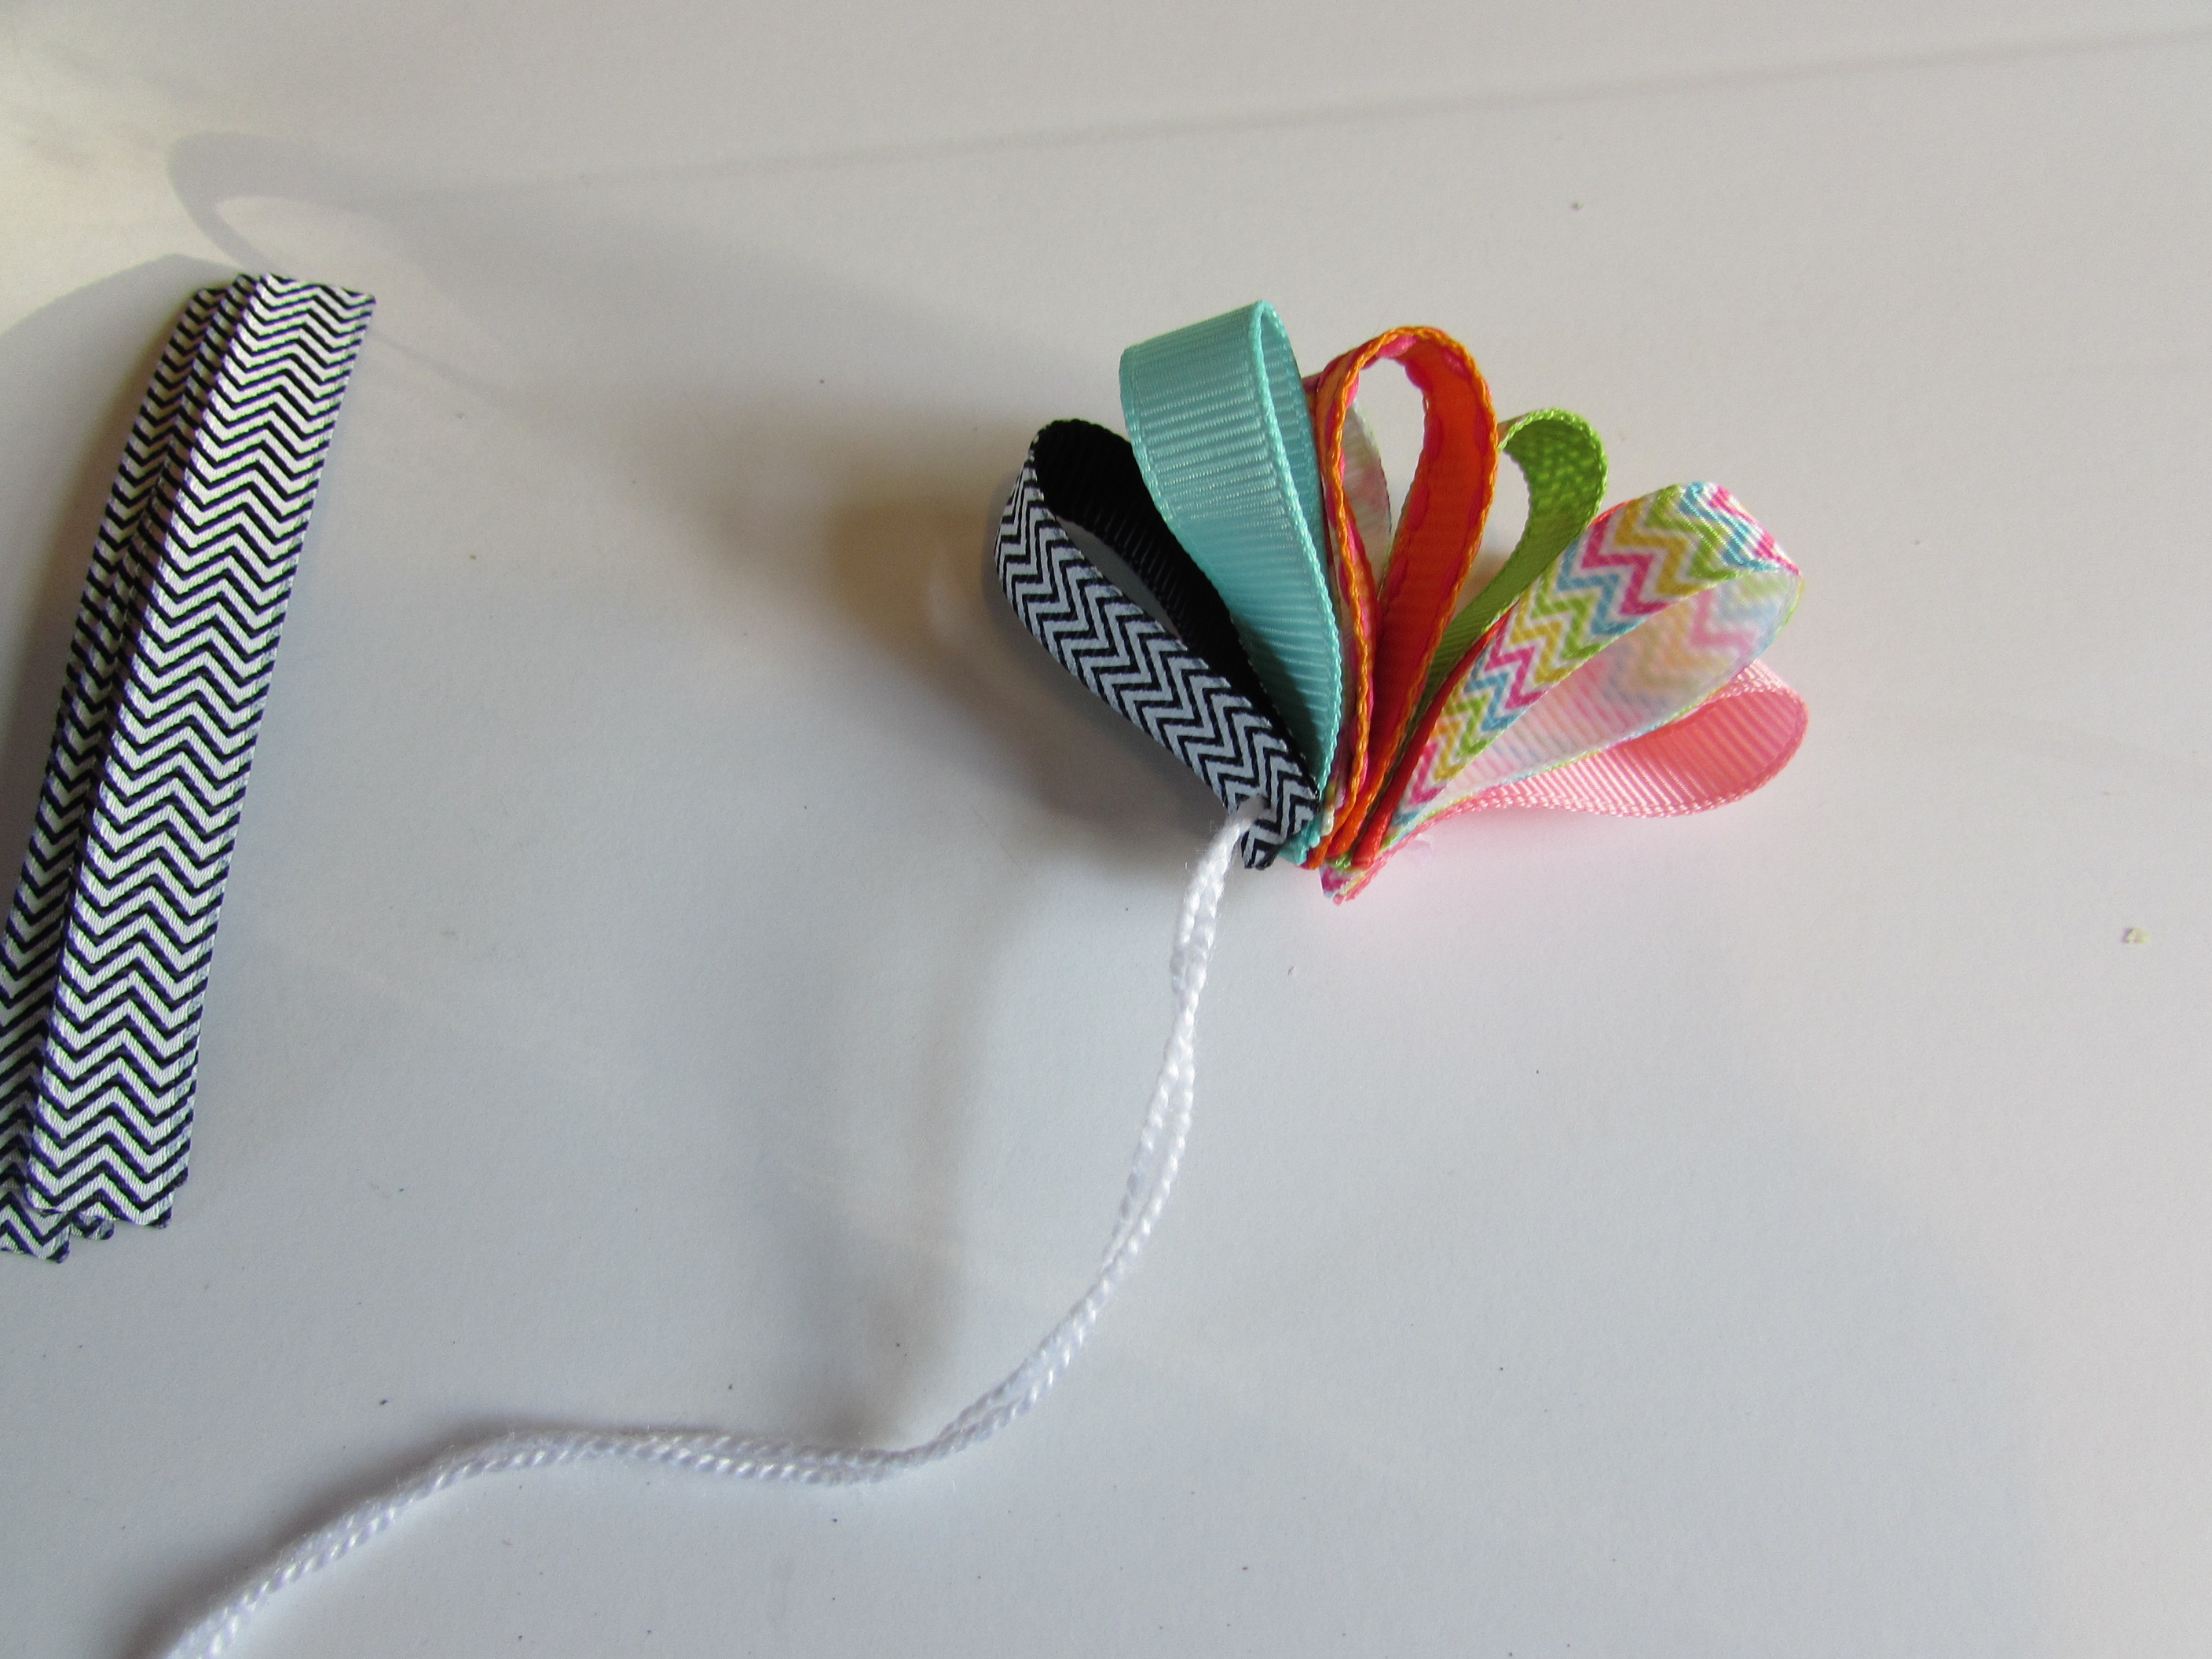
 * Now take your ribbon {{ 1 piece at a time }} fold it in half and run your needle into the bottom {{ where the ribbon ends meet }} about 1/4" from the bottom.
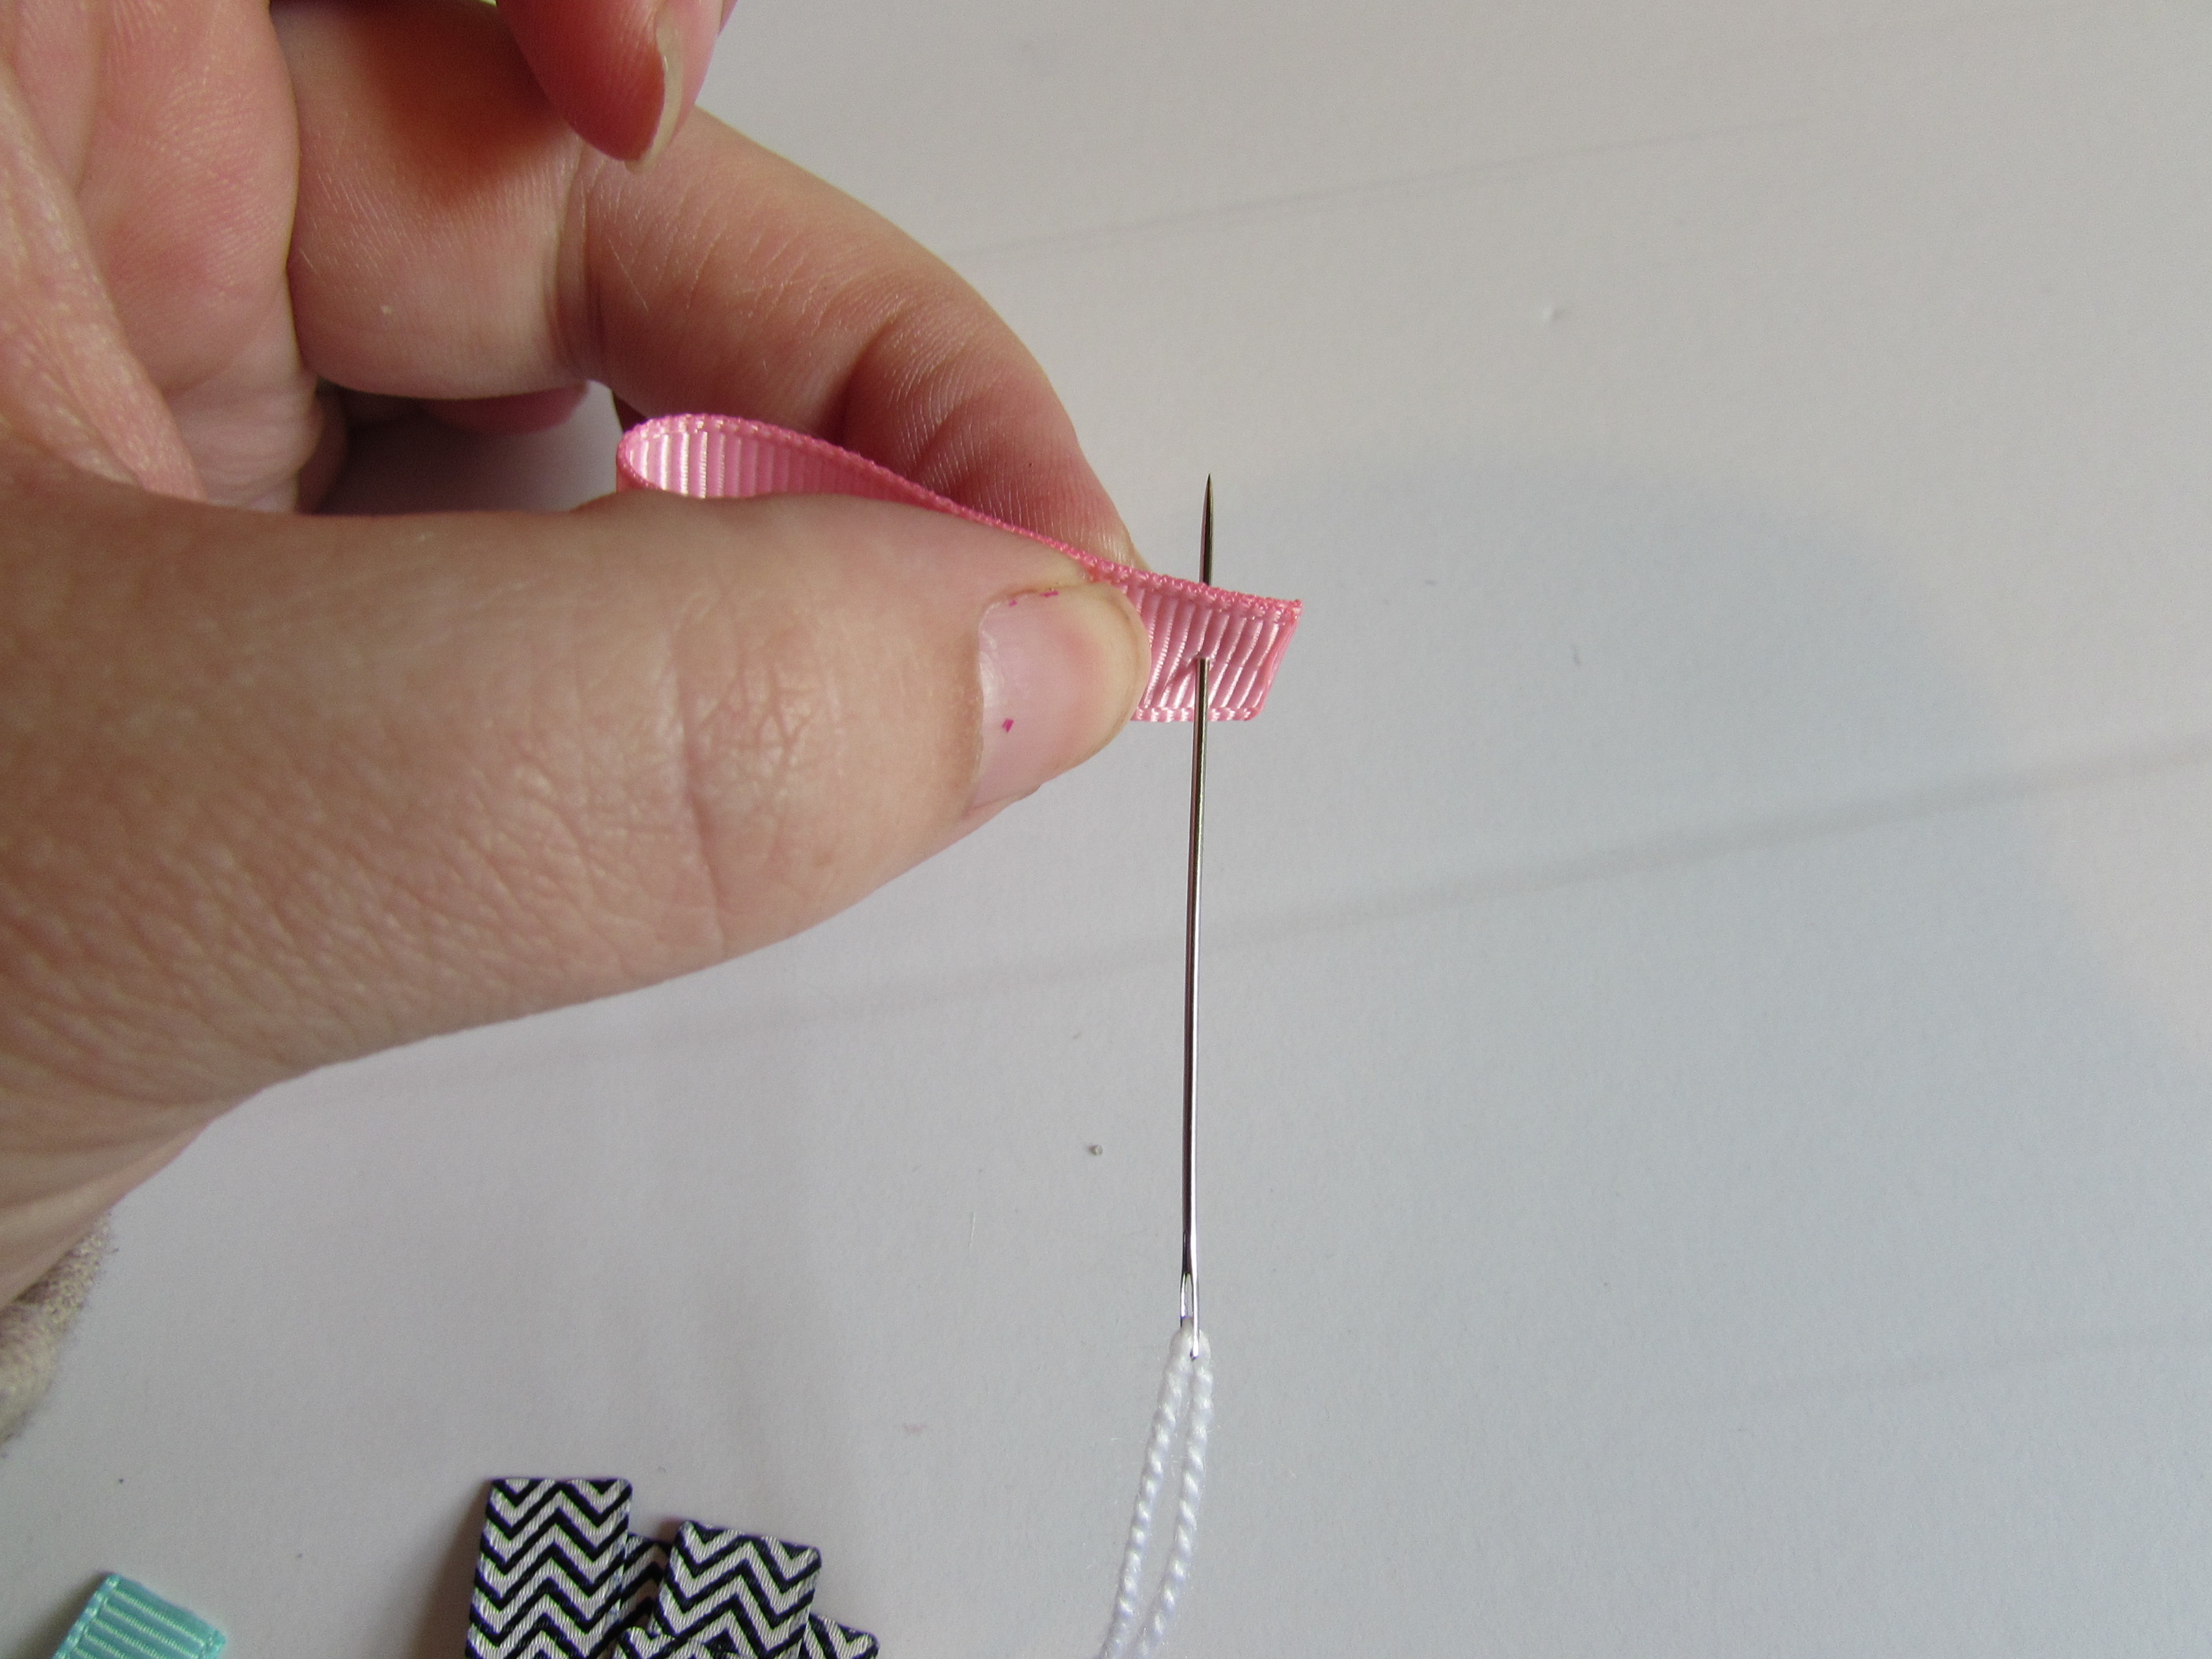 * Keep repeating that step for each and every piece of your ribbons.
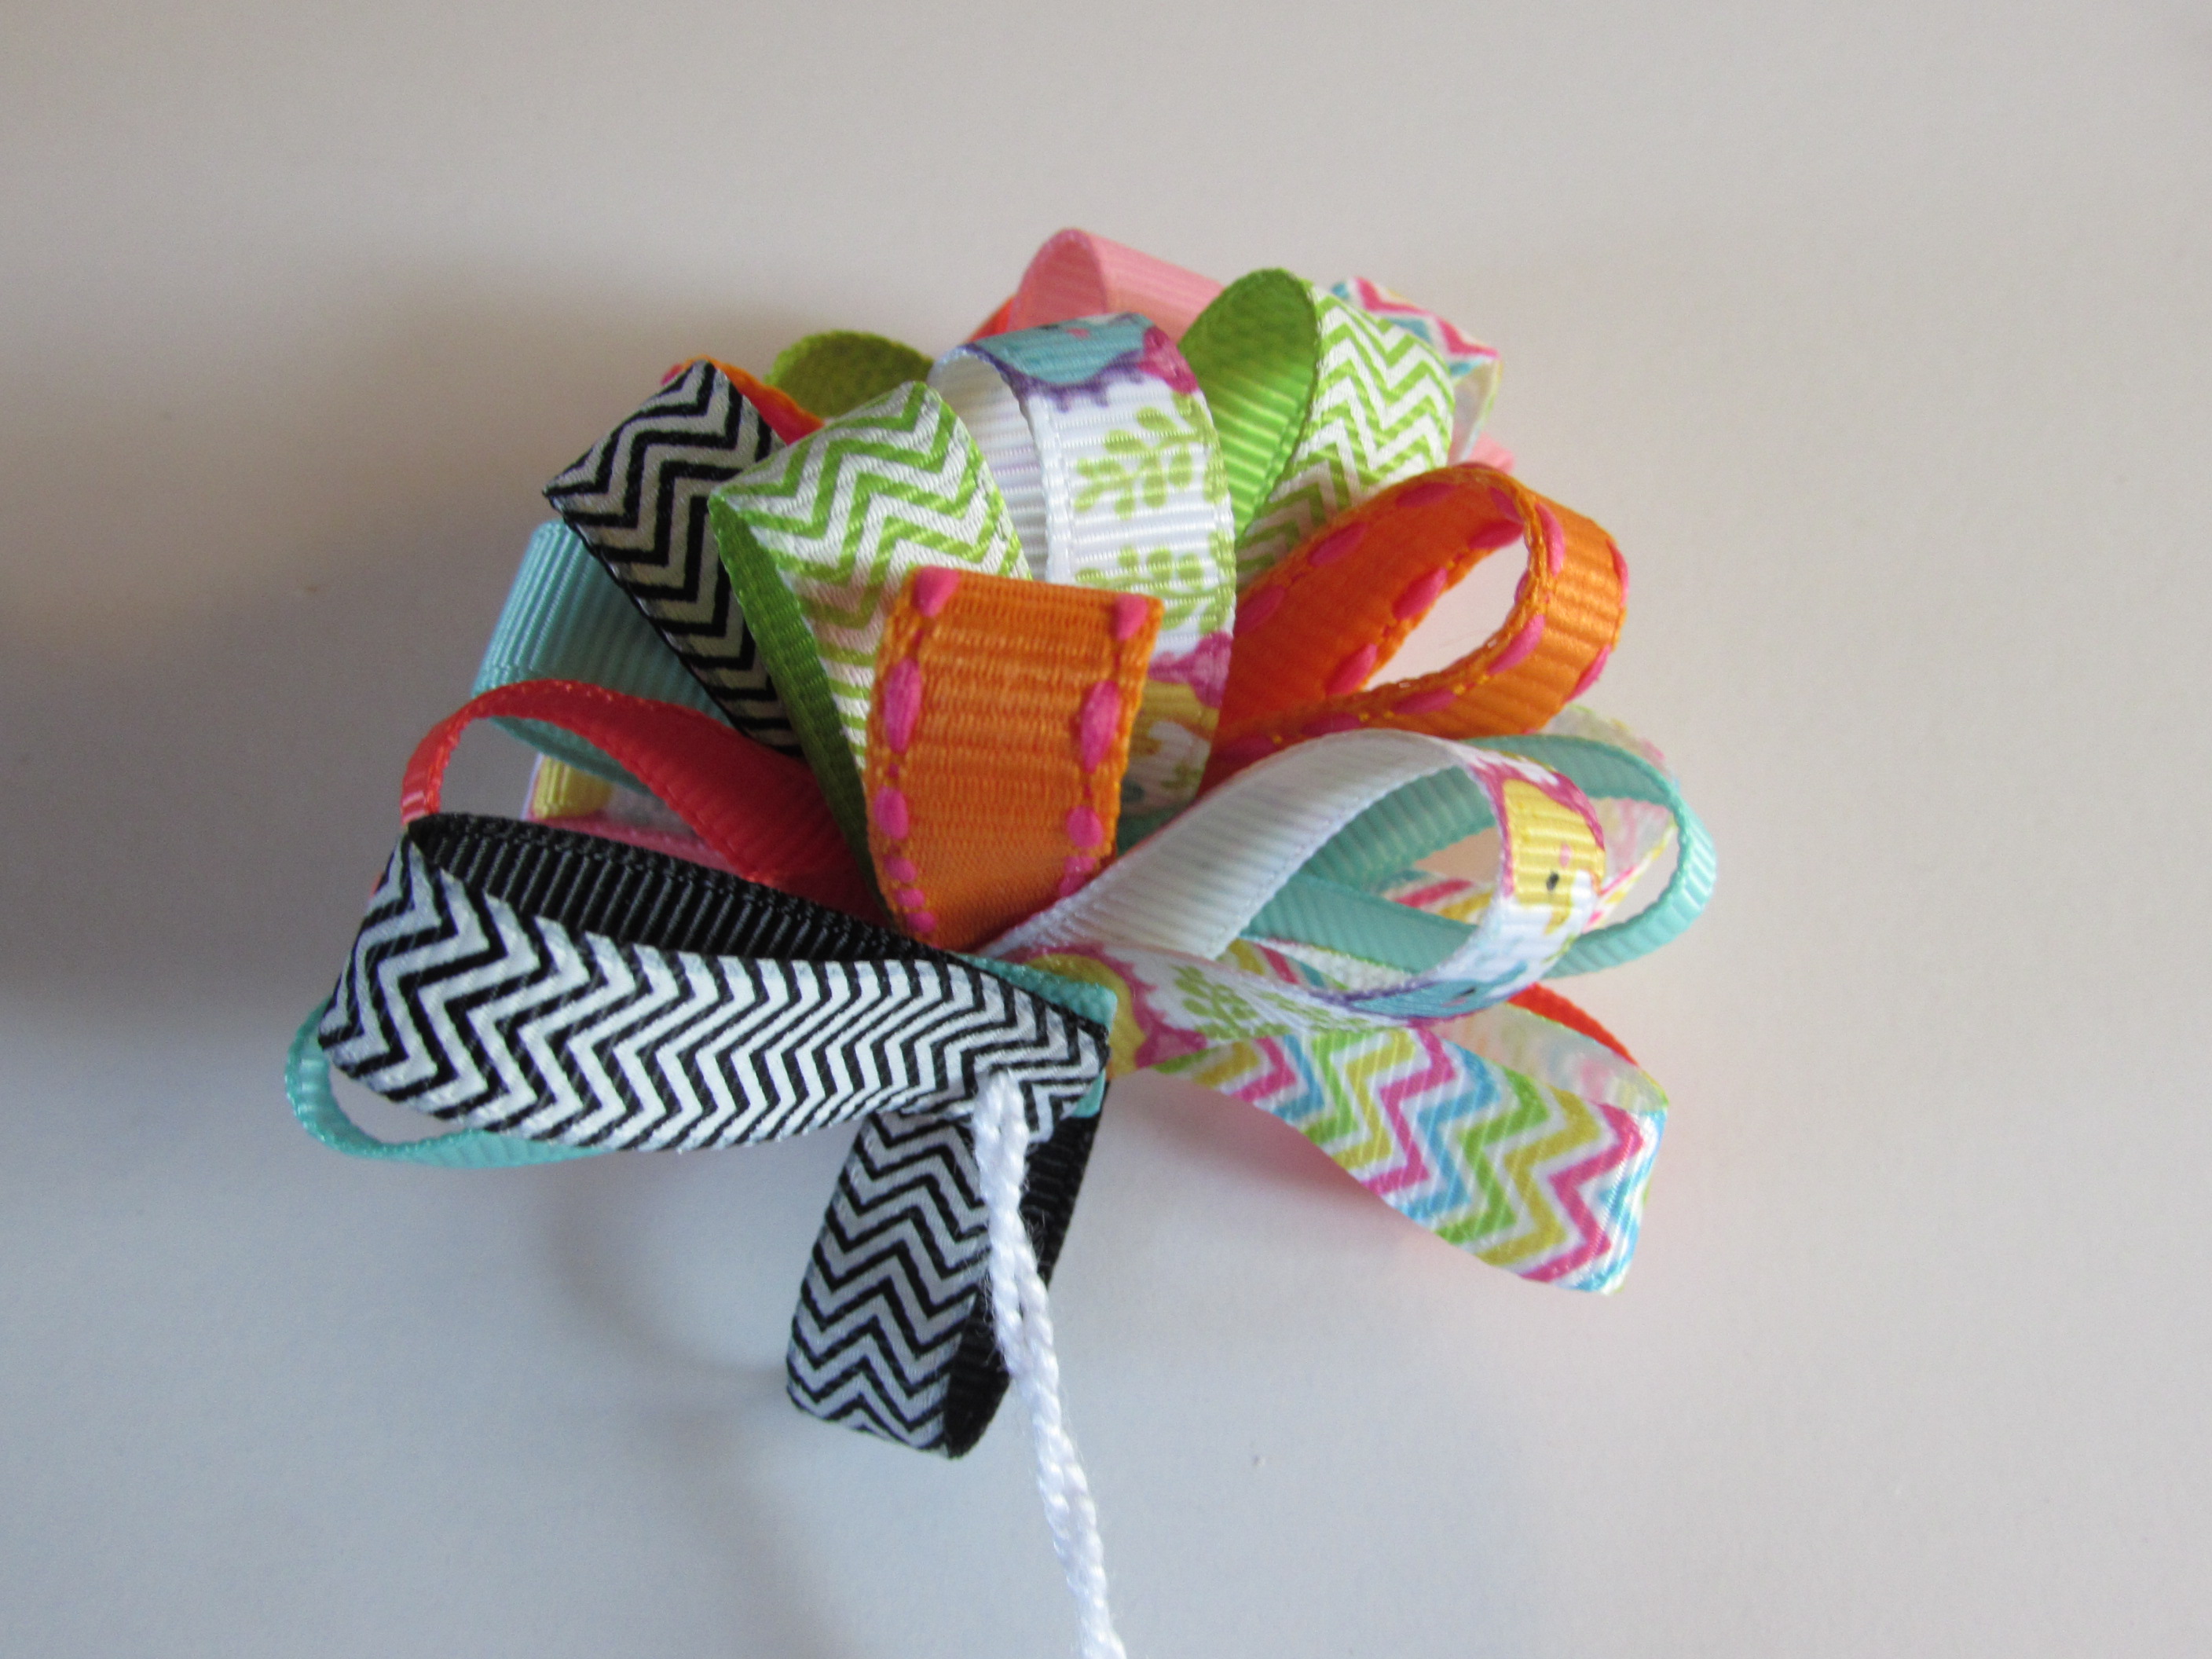
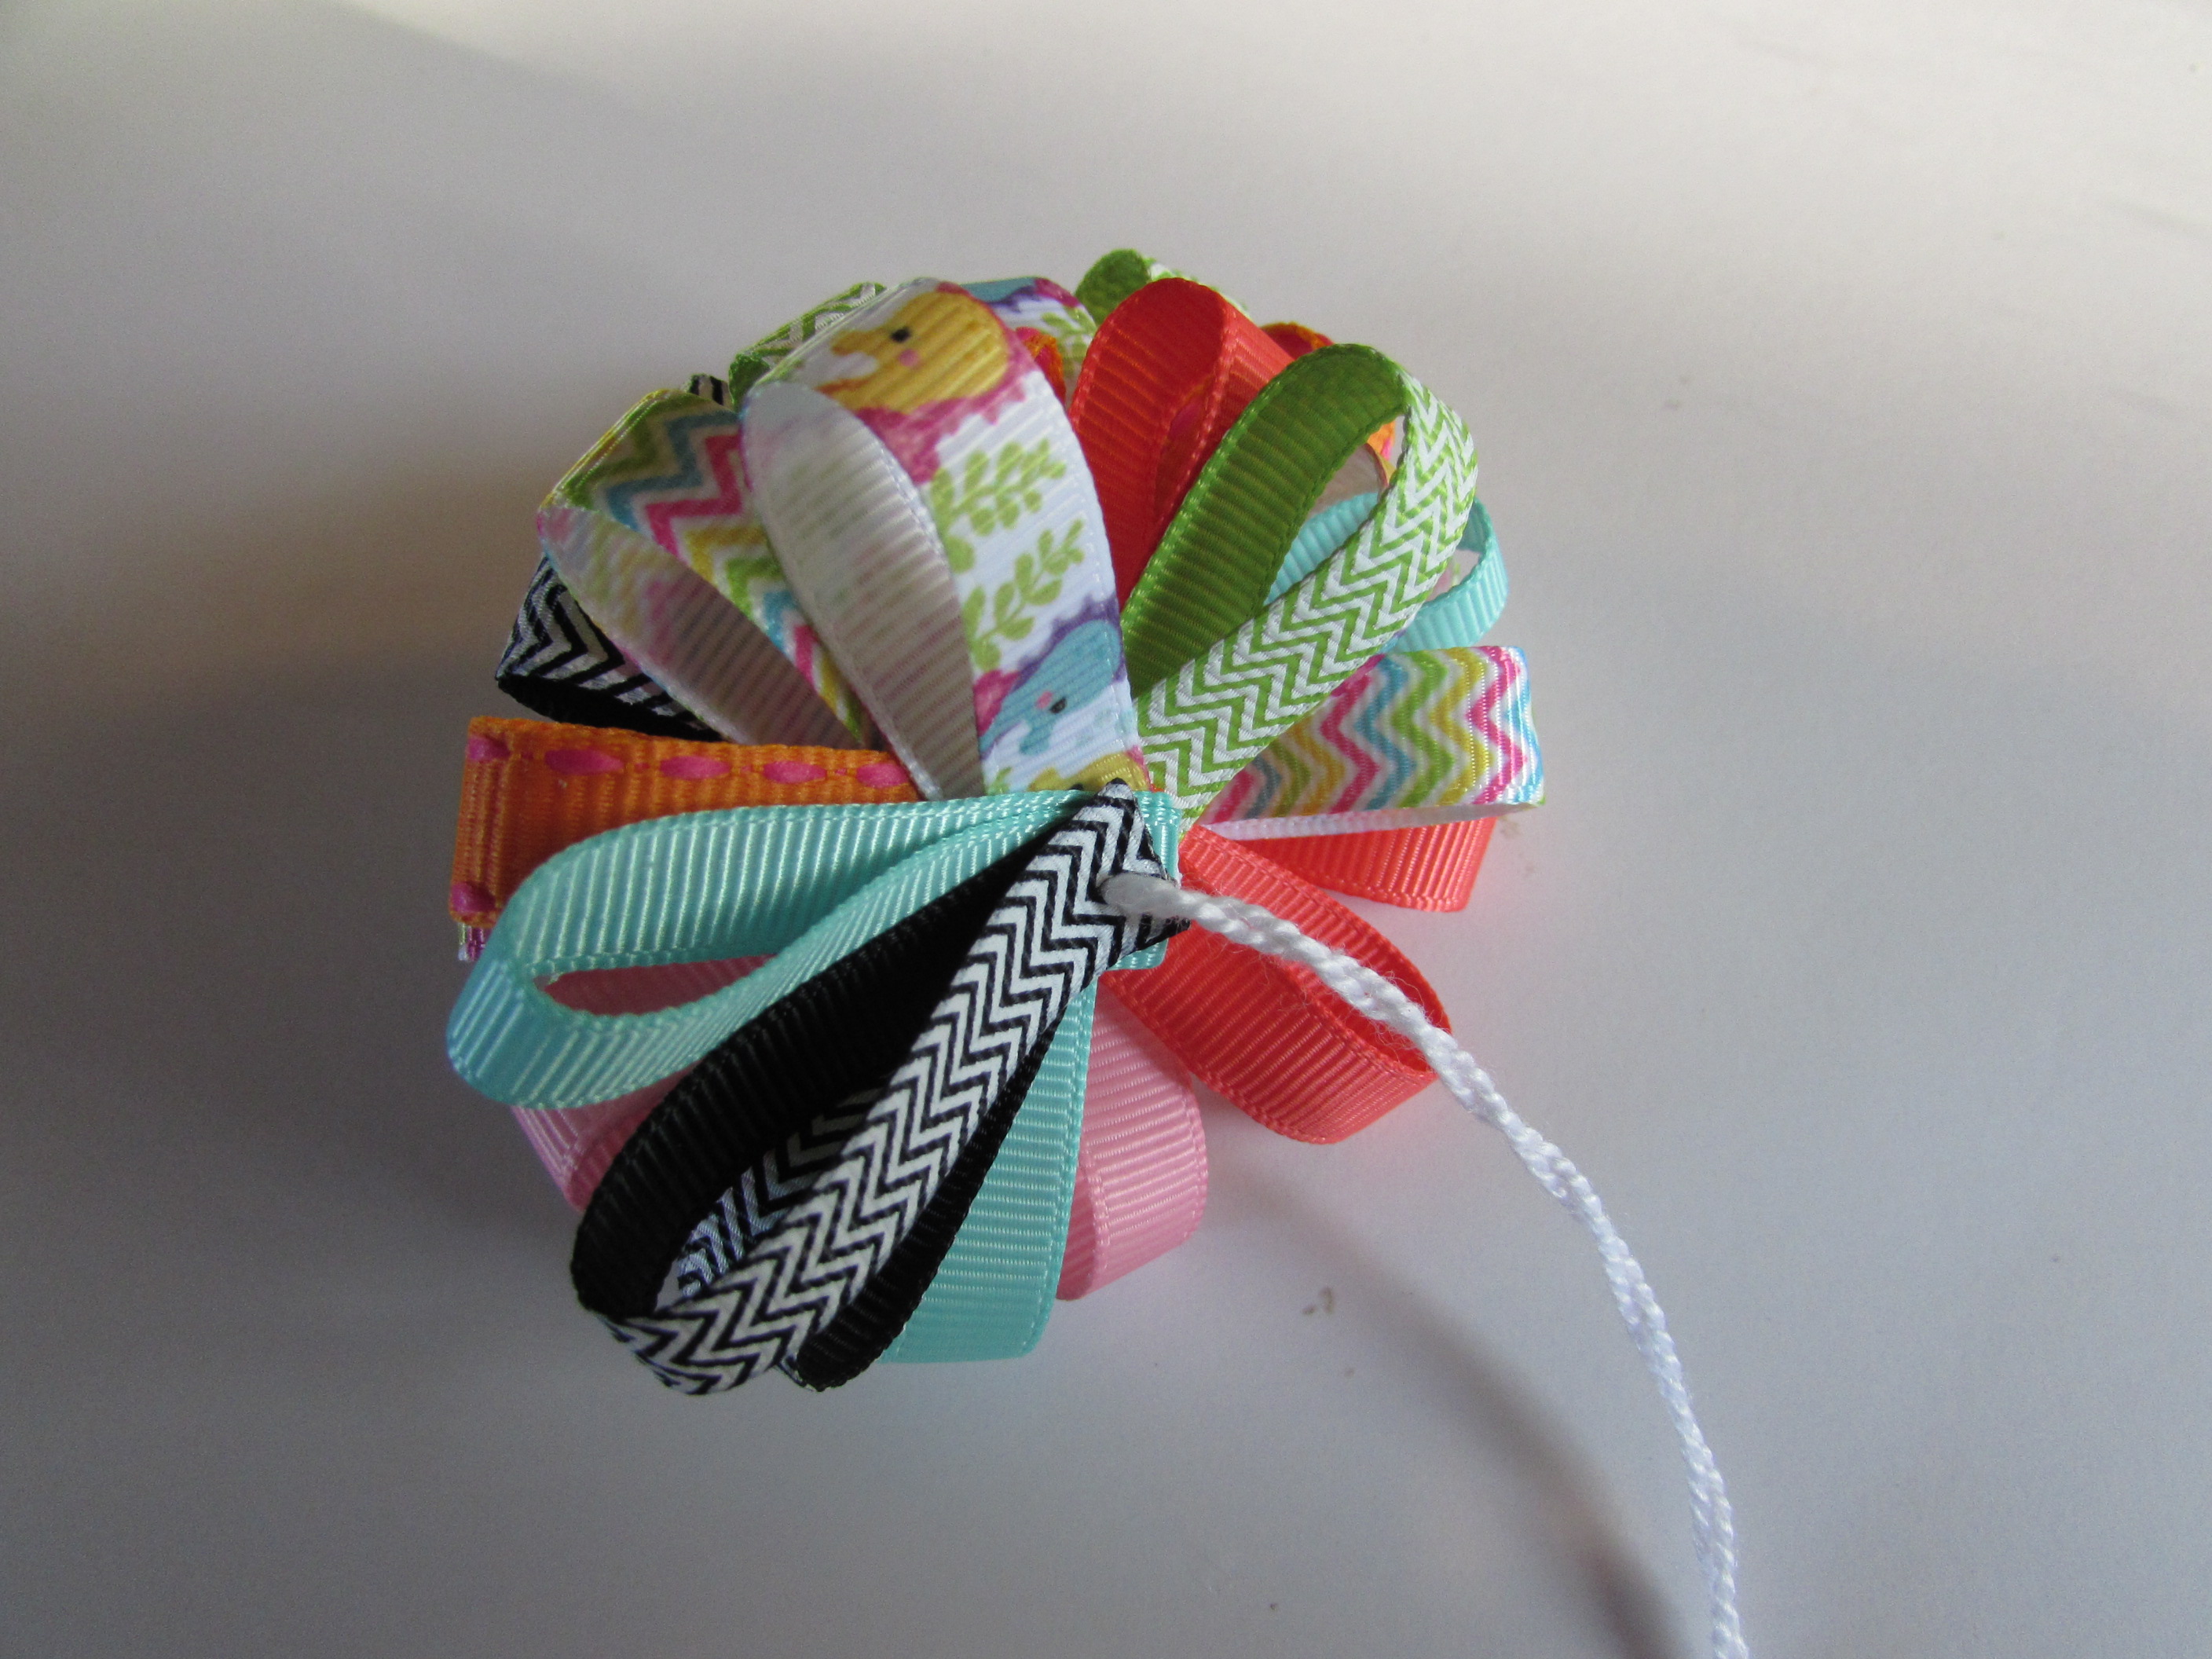 * Flip bow over so you can view all bottoms
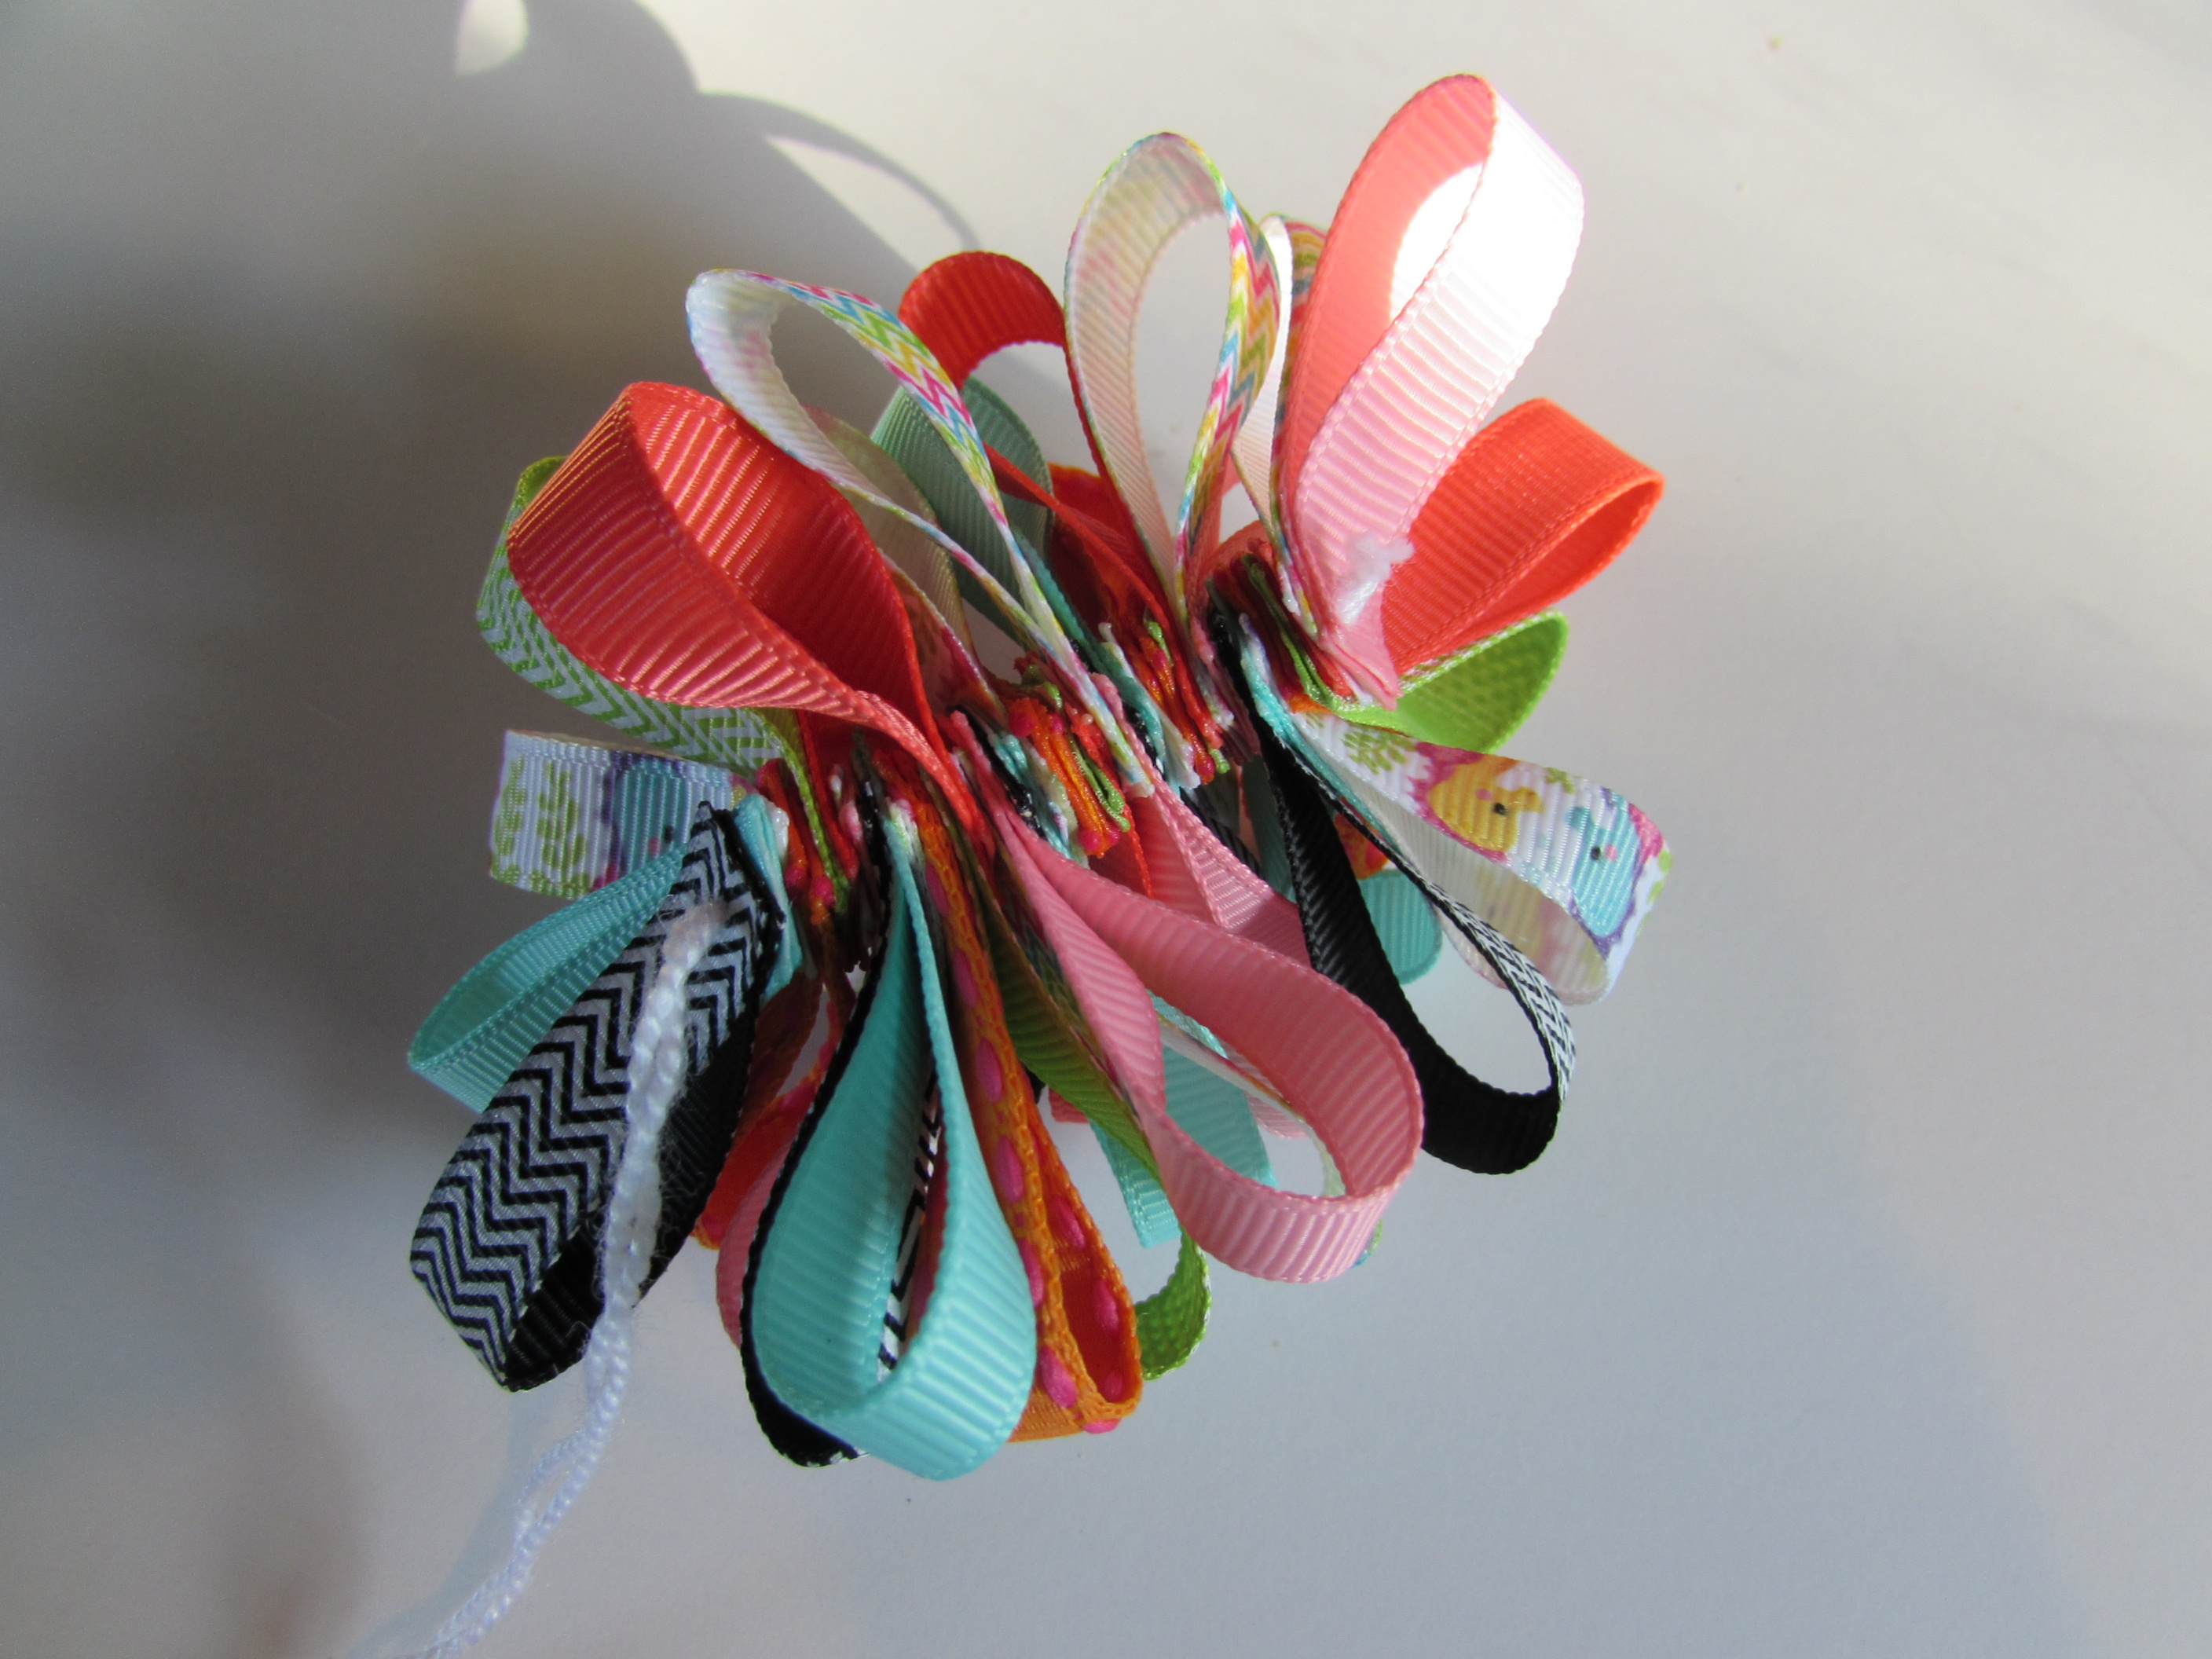 * Now you want to pull all loops under to show all bottom parts if they are not all available to view
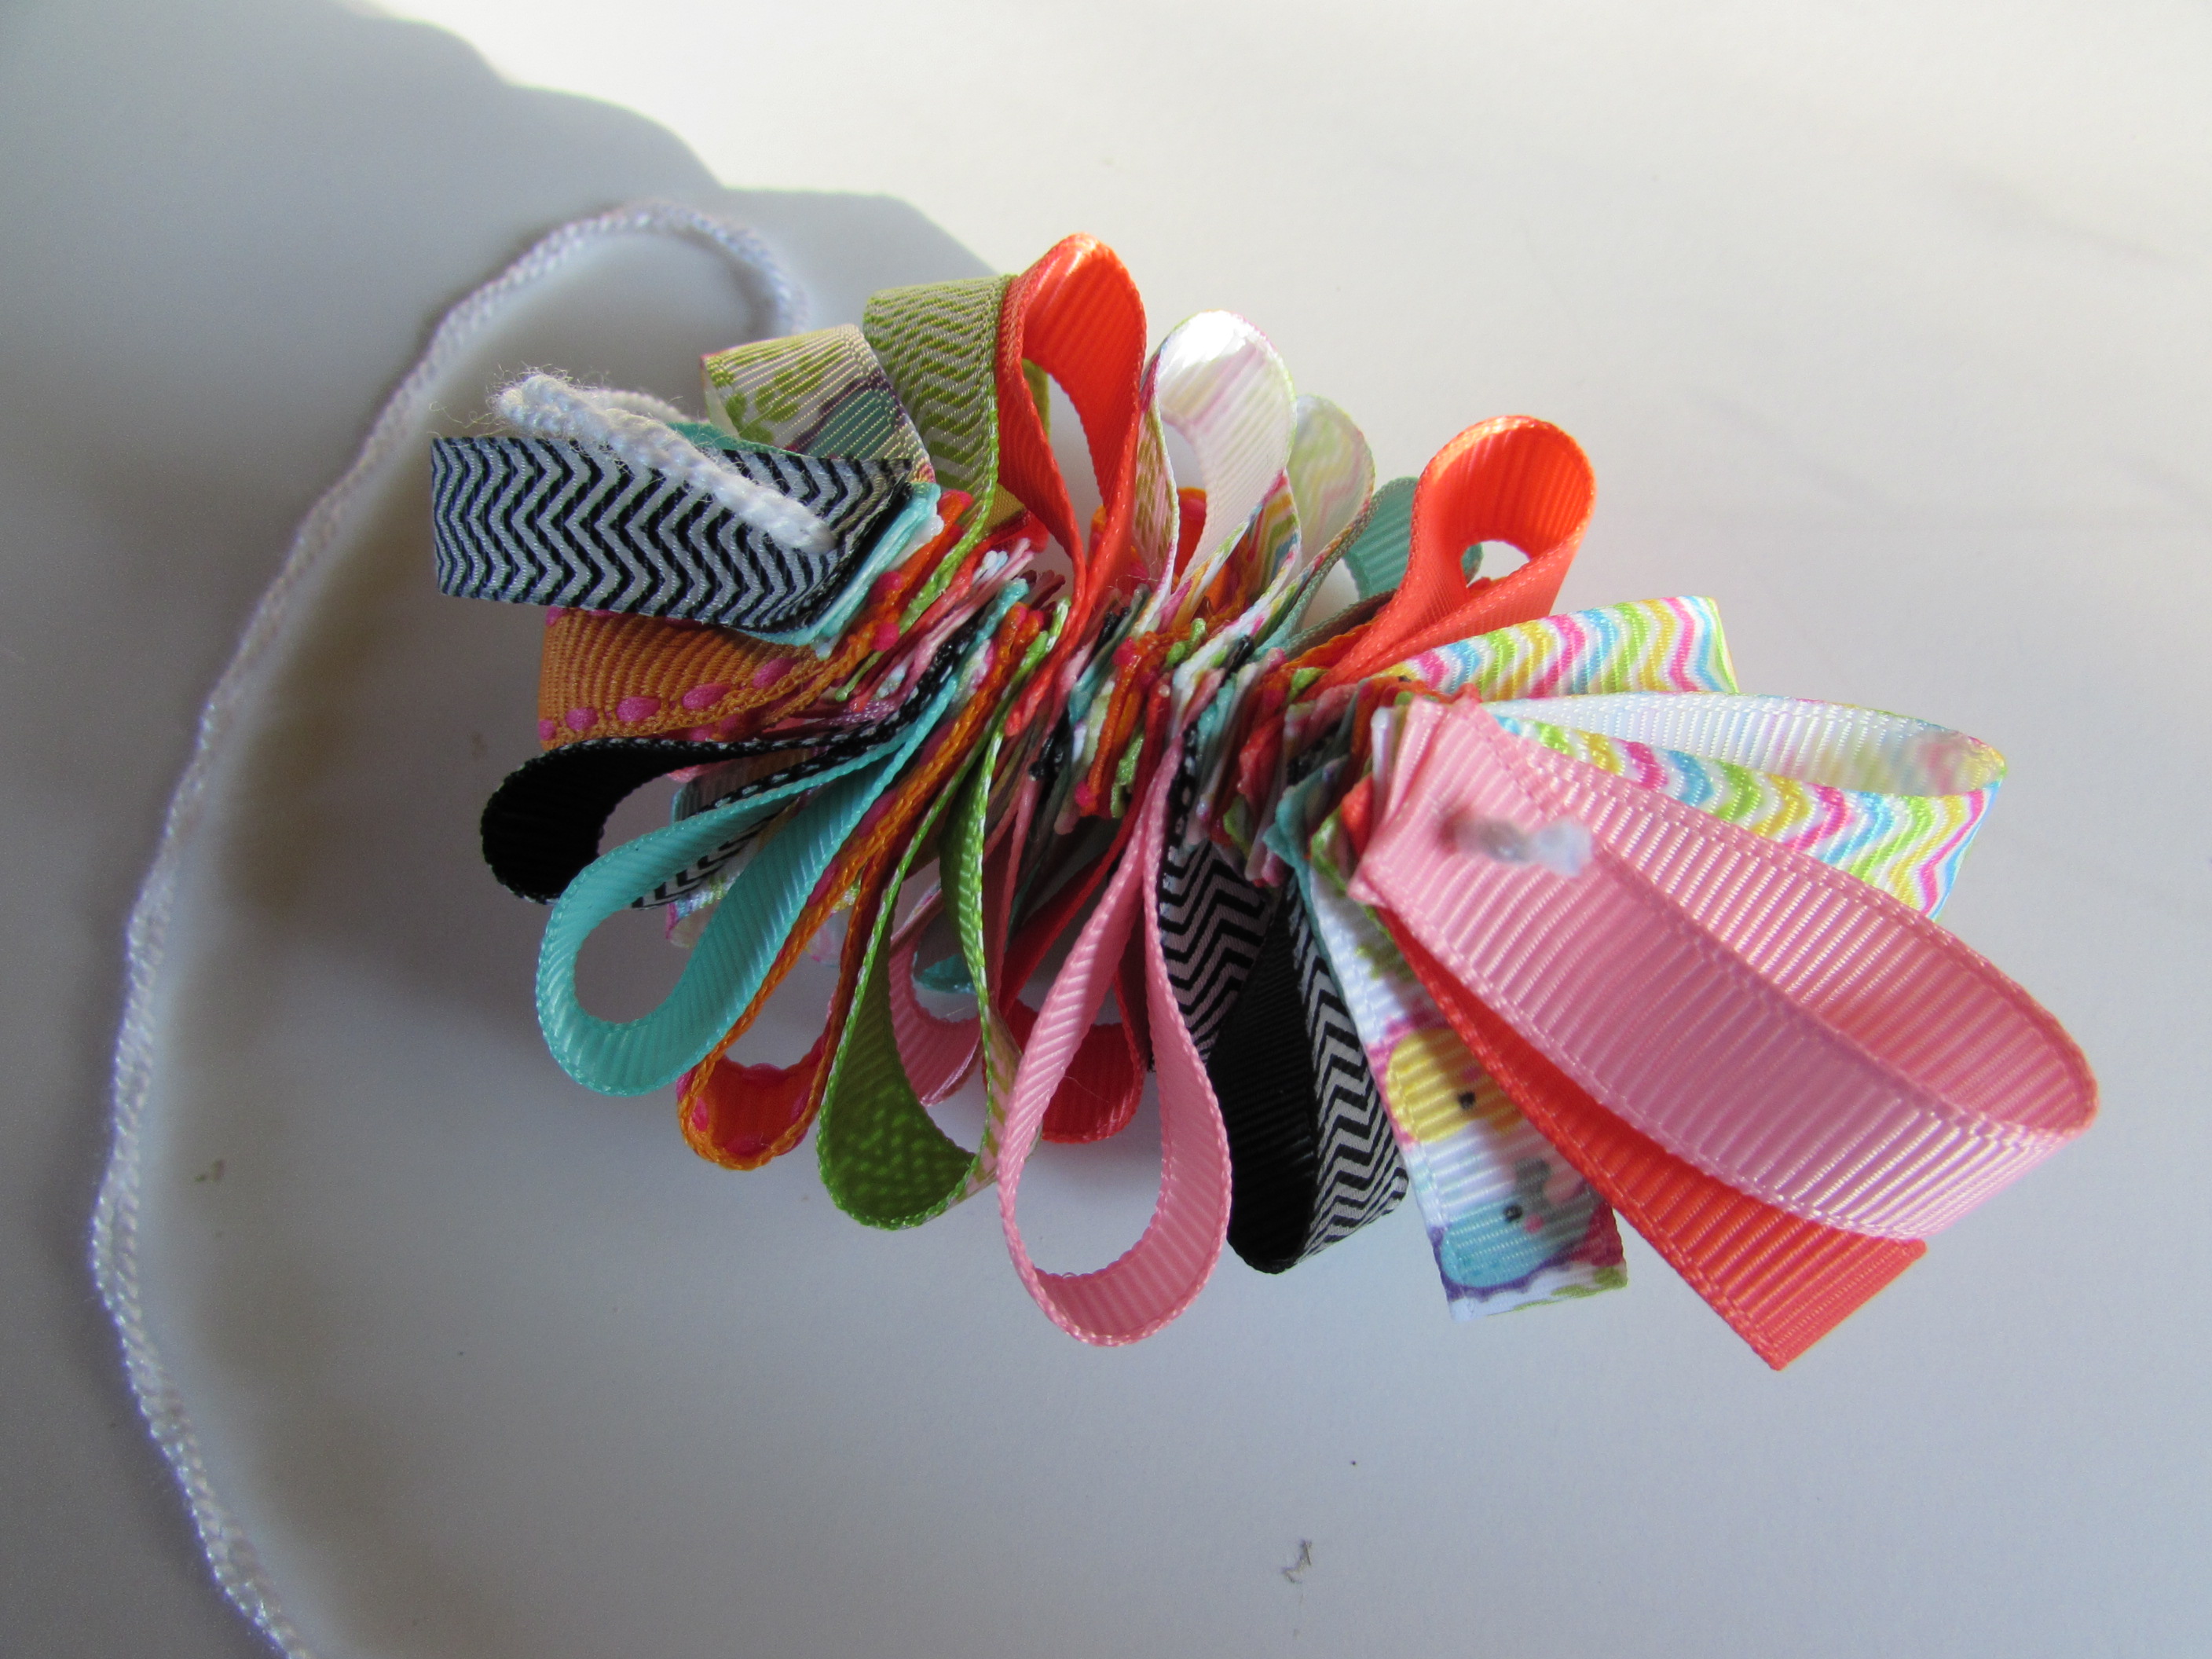 * Take the 2 end loops {{ first strung and last strung }} and sew them together
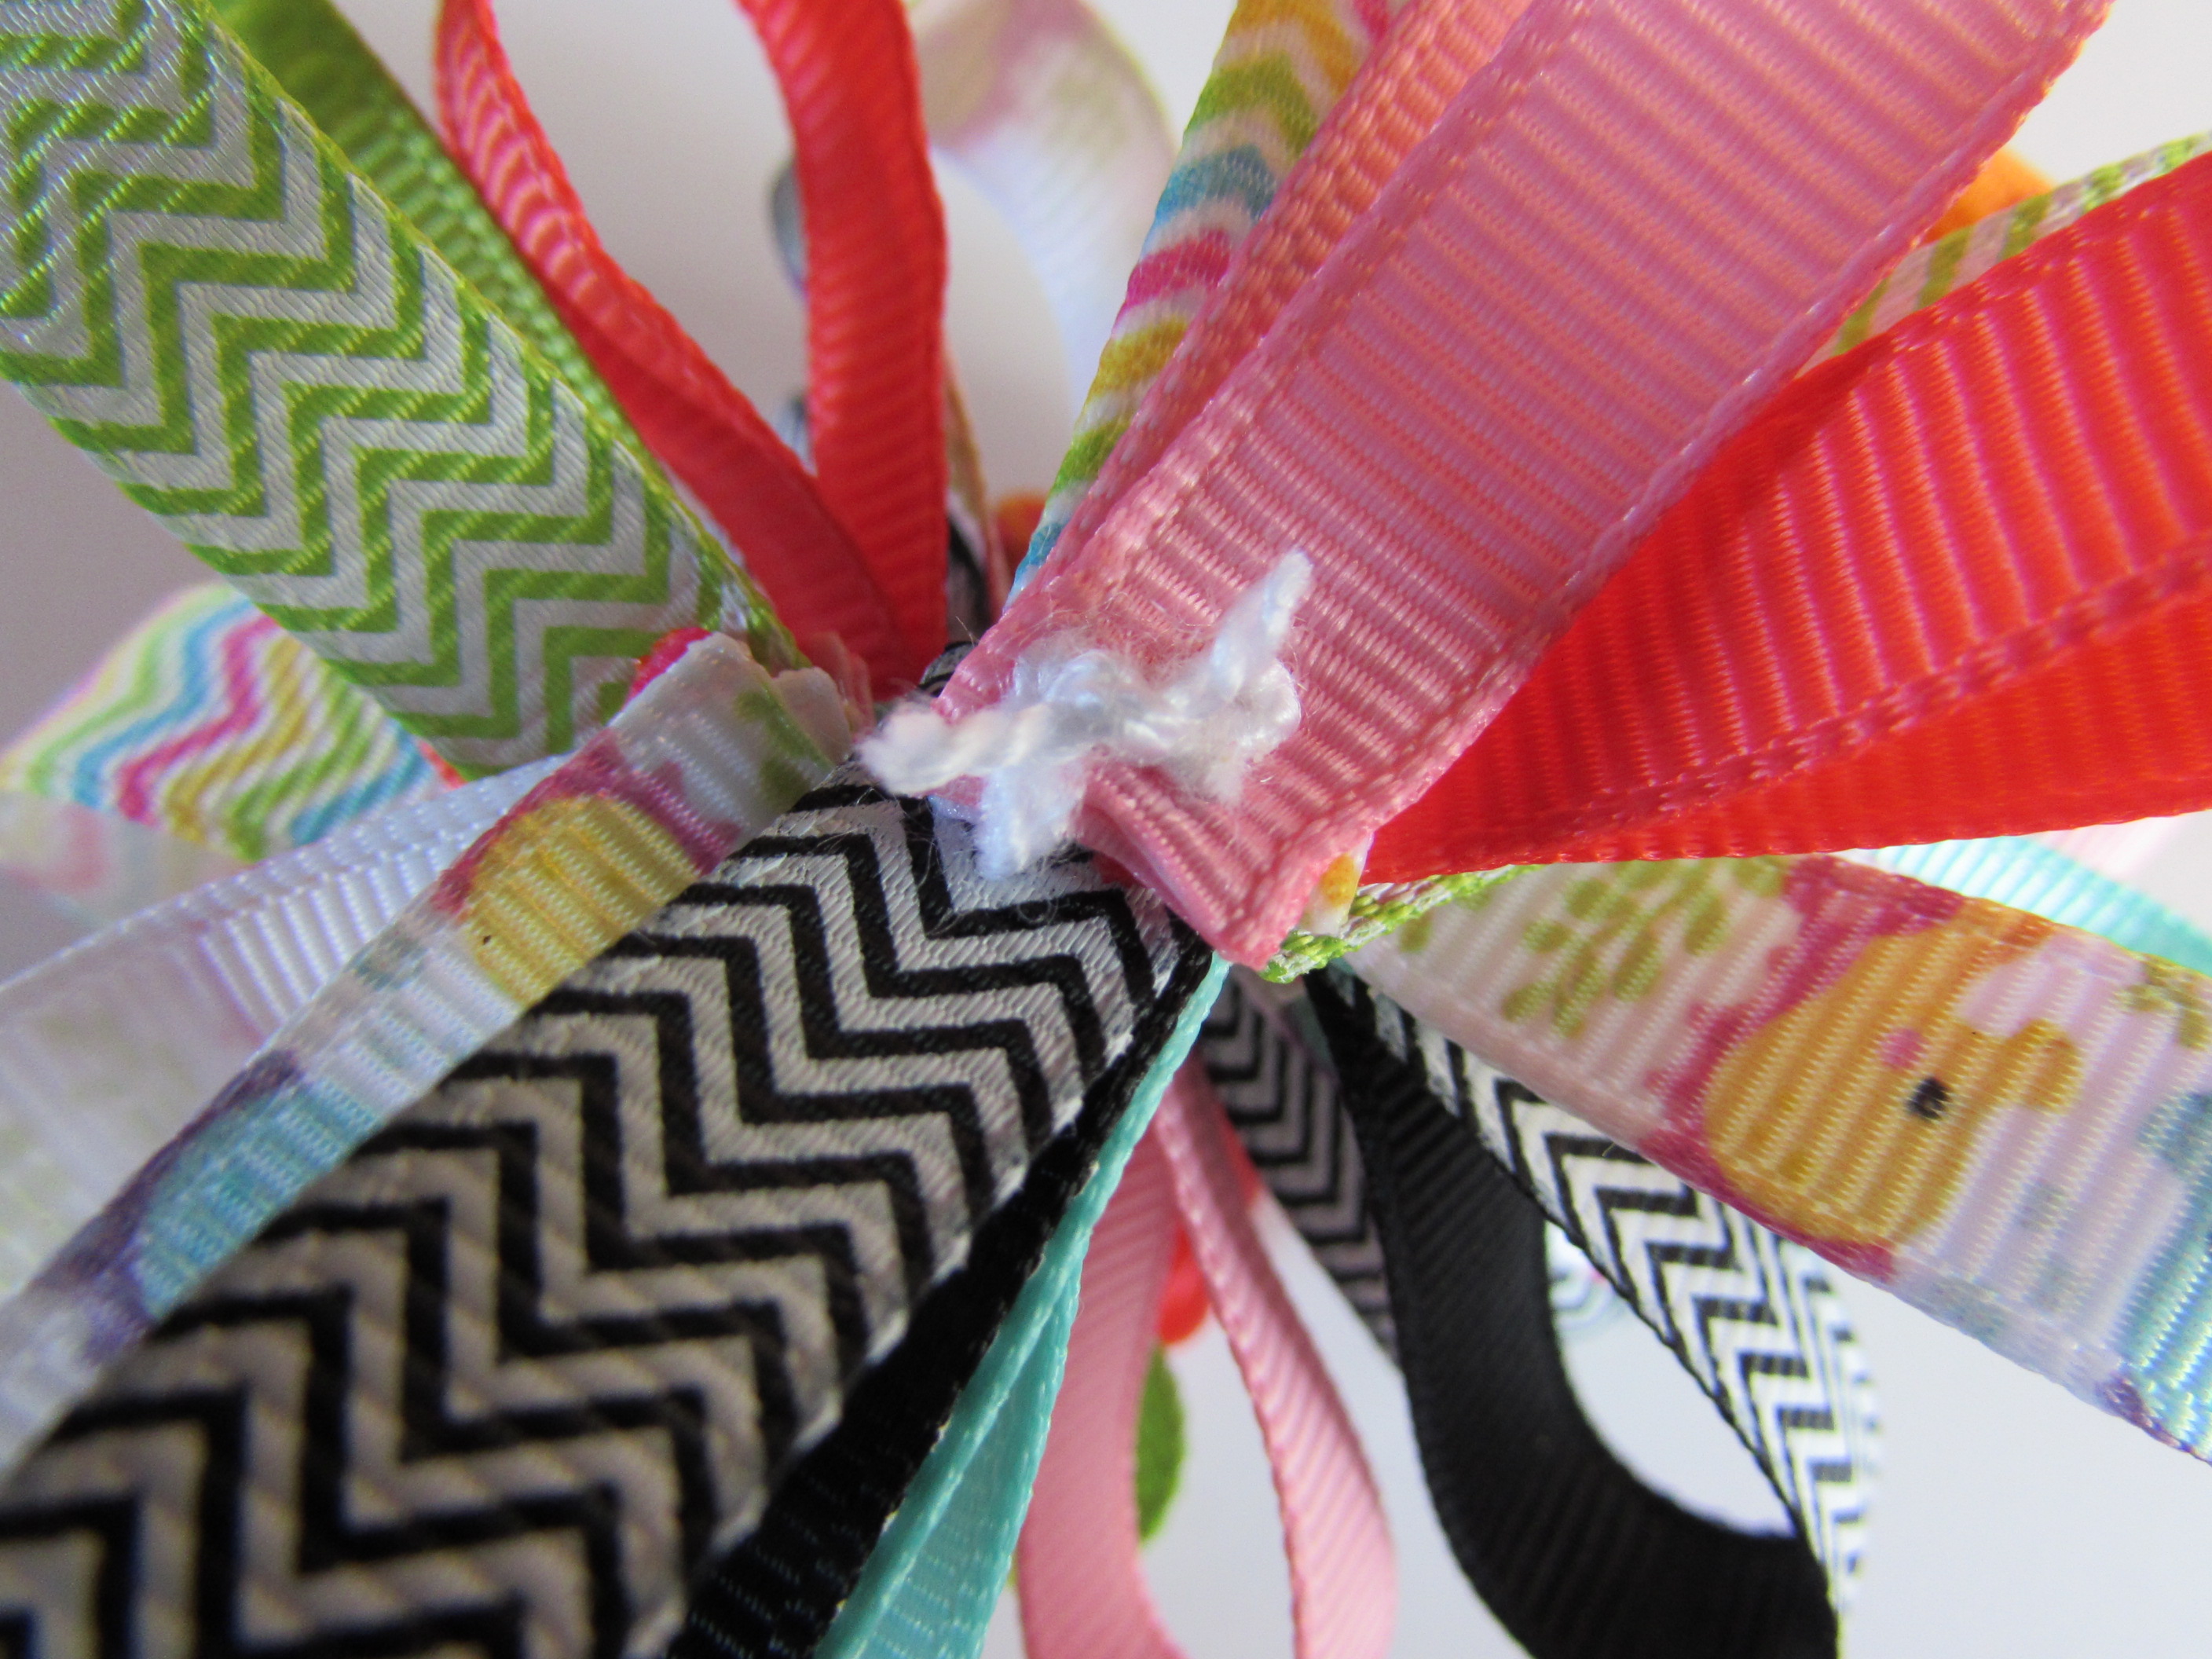
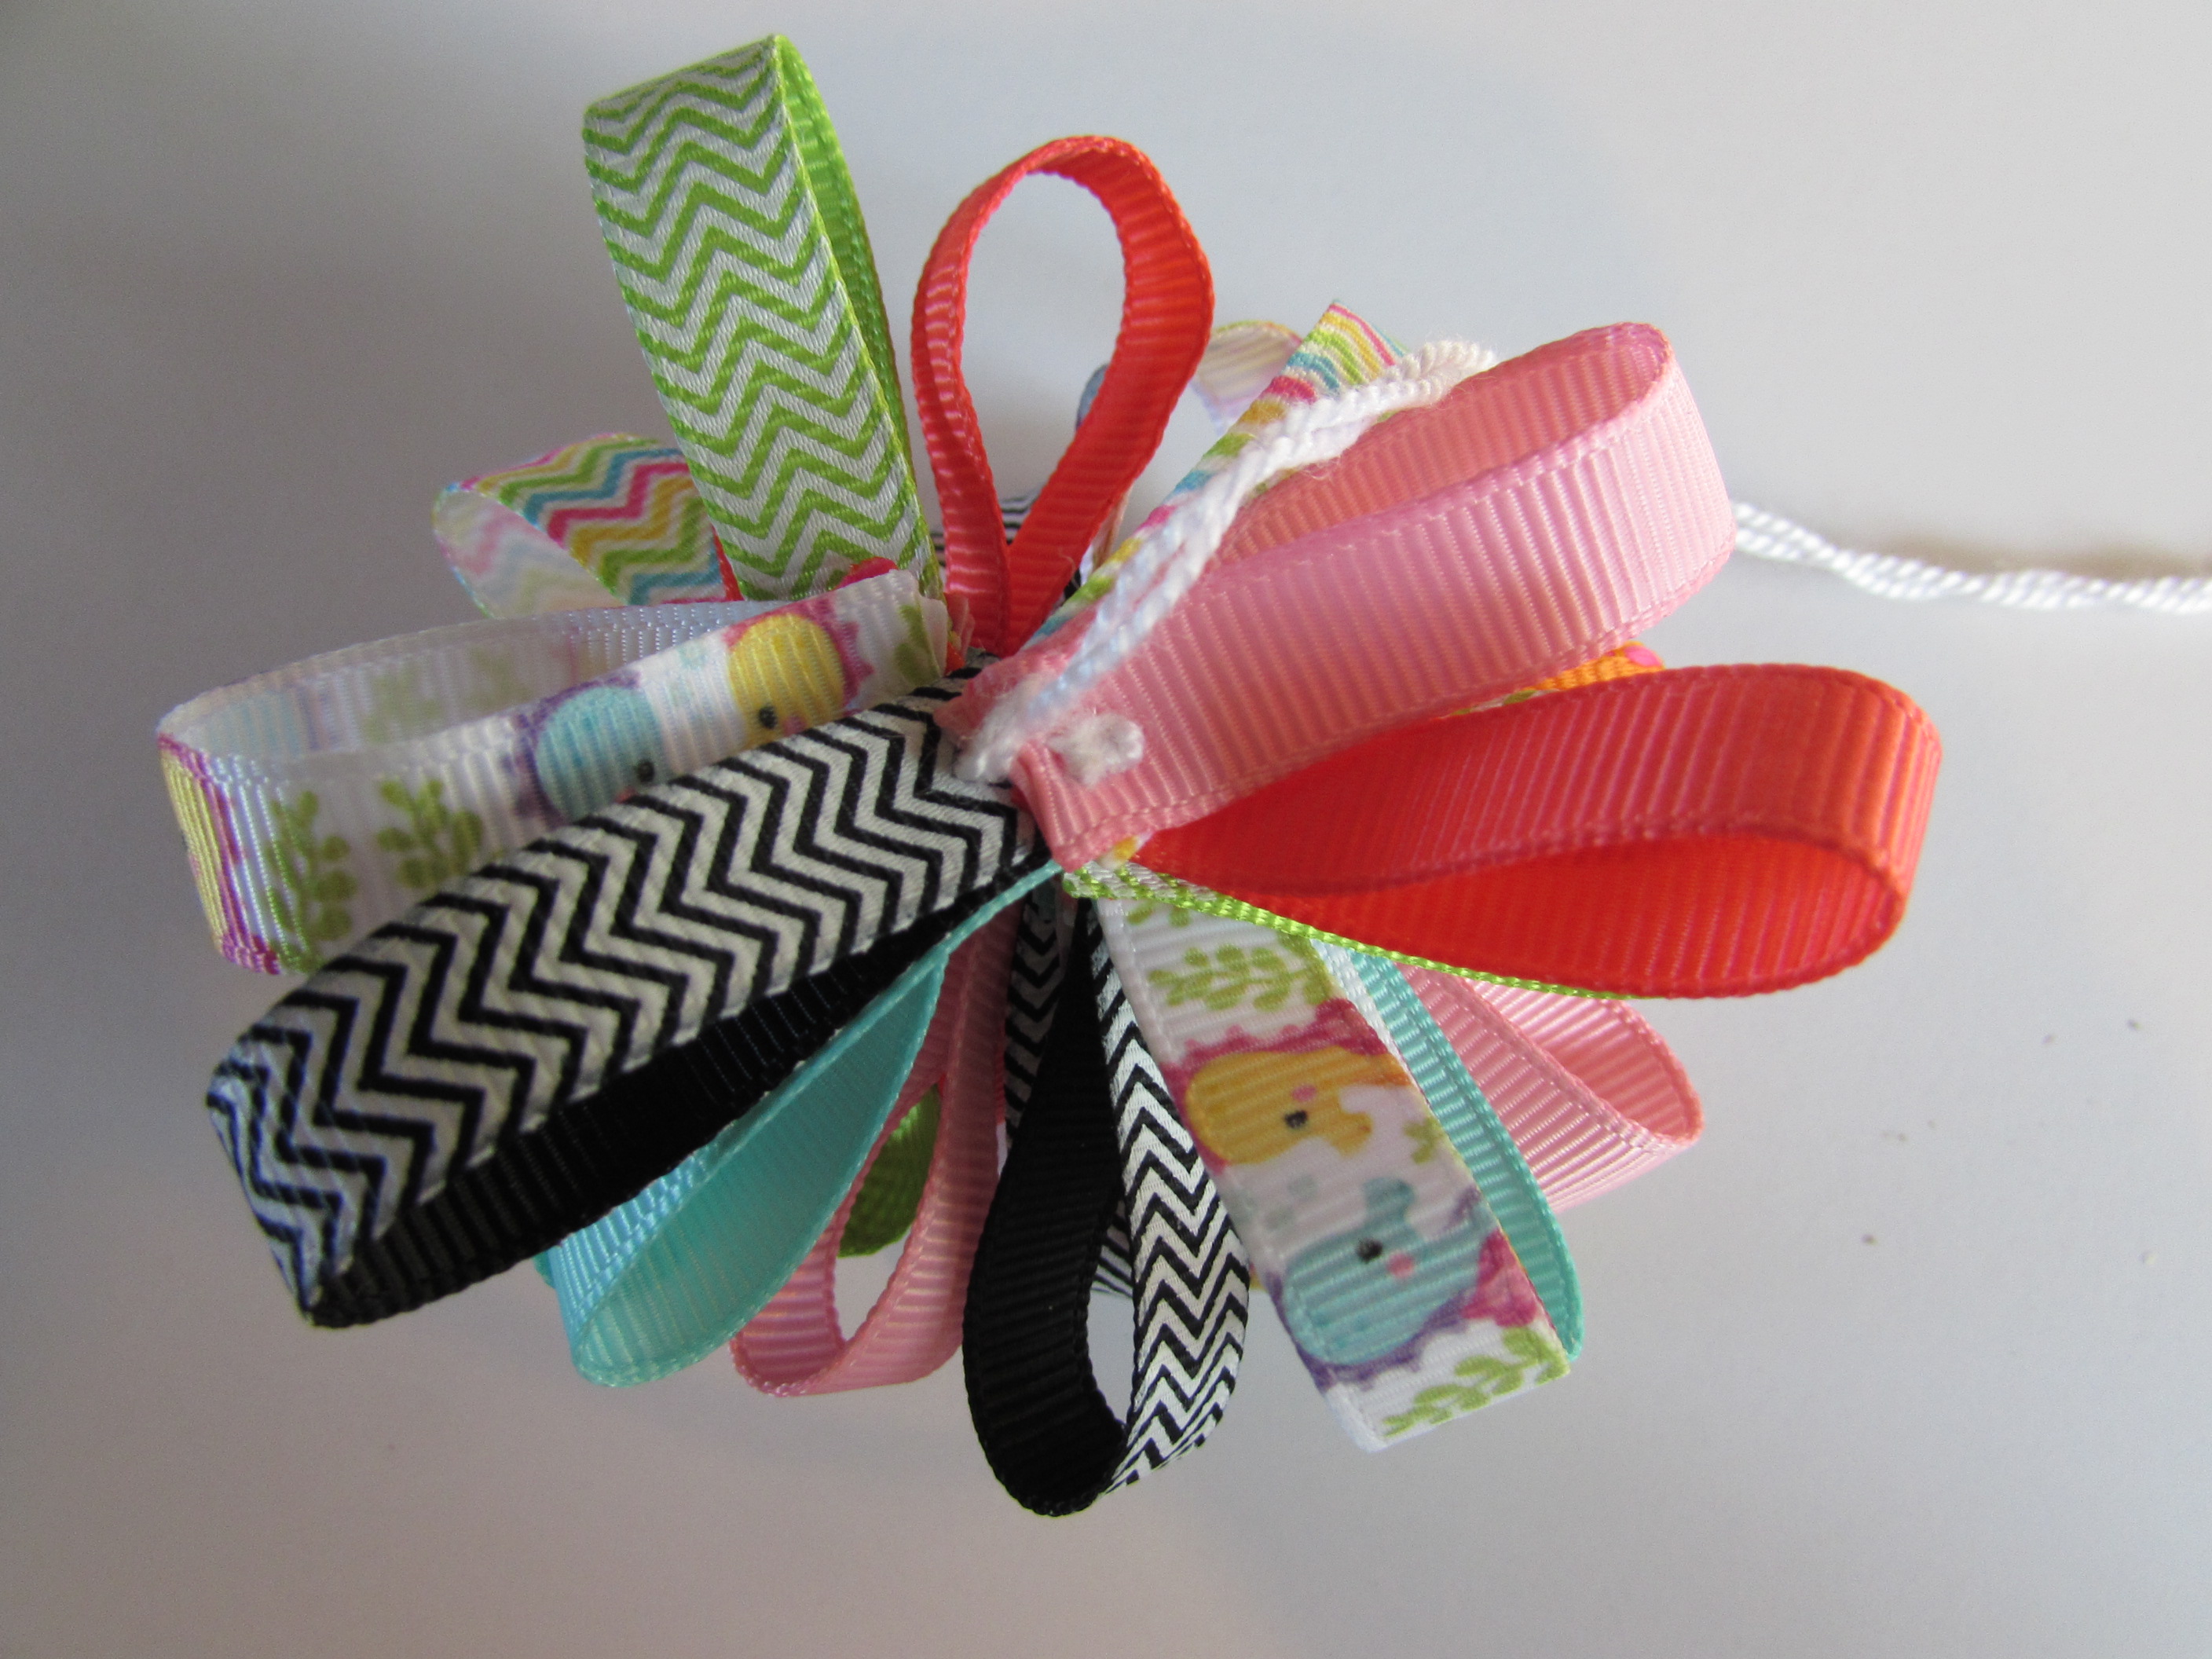 * Cut needle and thread off and tie a knot in the thread as close to the loops as possible
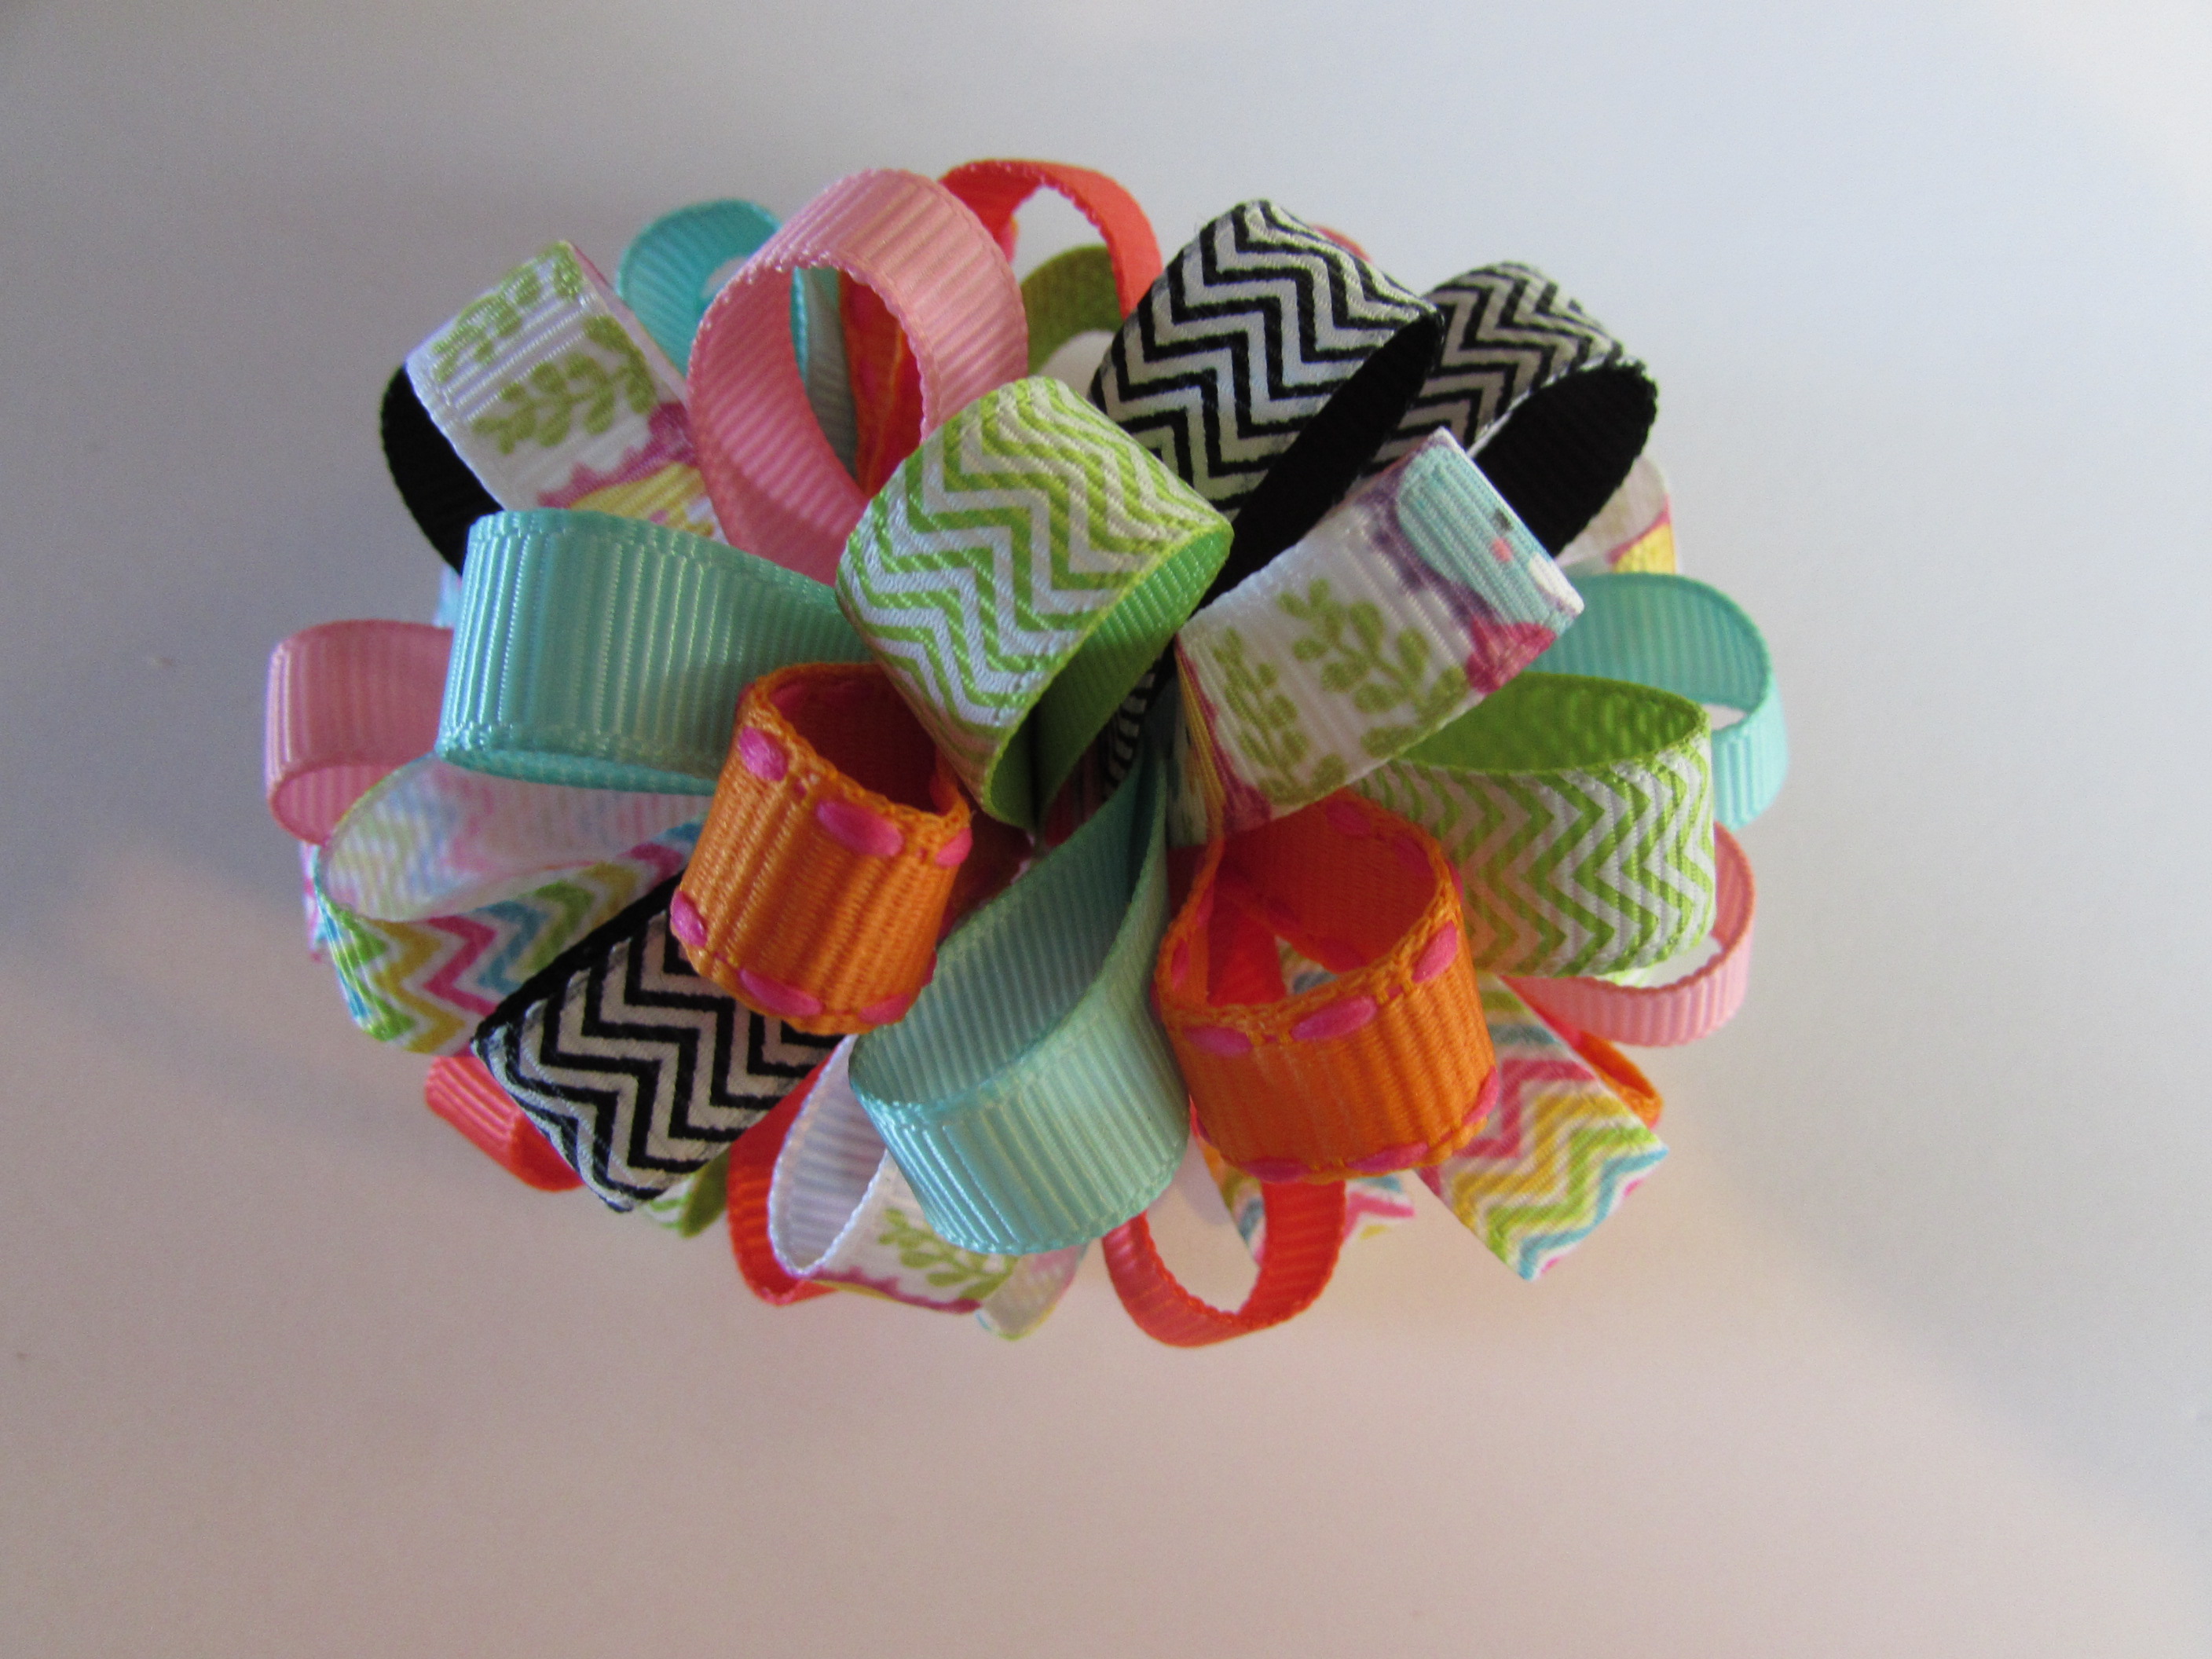
 * Now flip the bow over and fluff and move the loops if needed
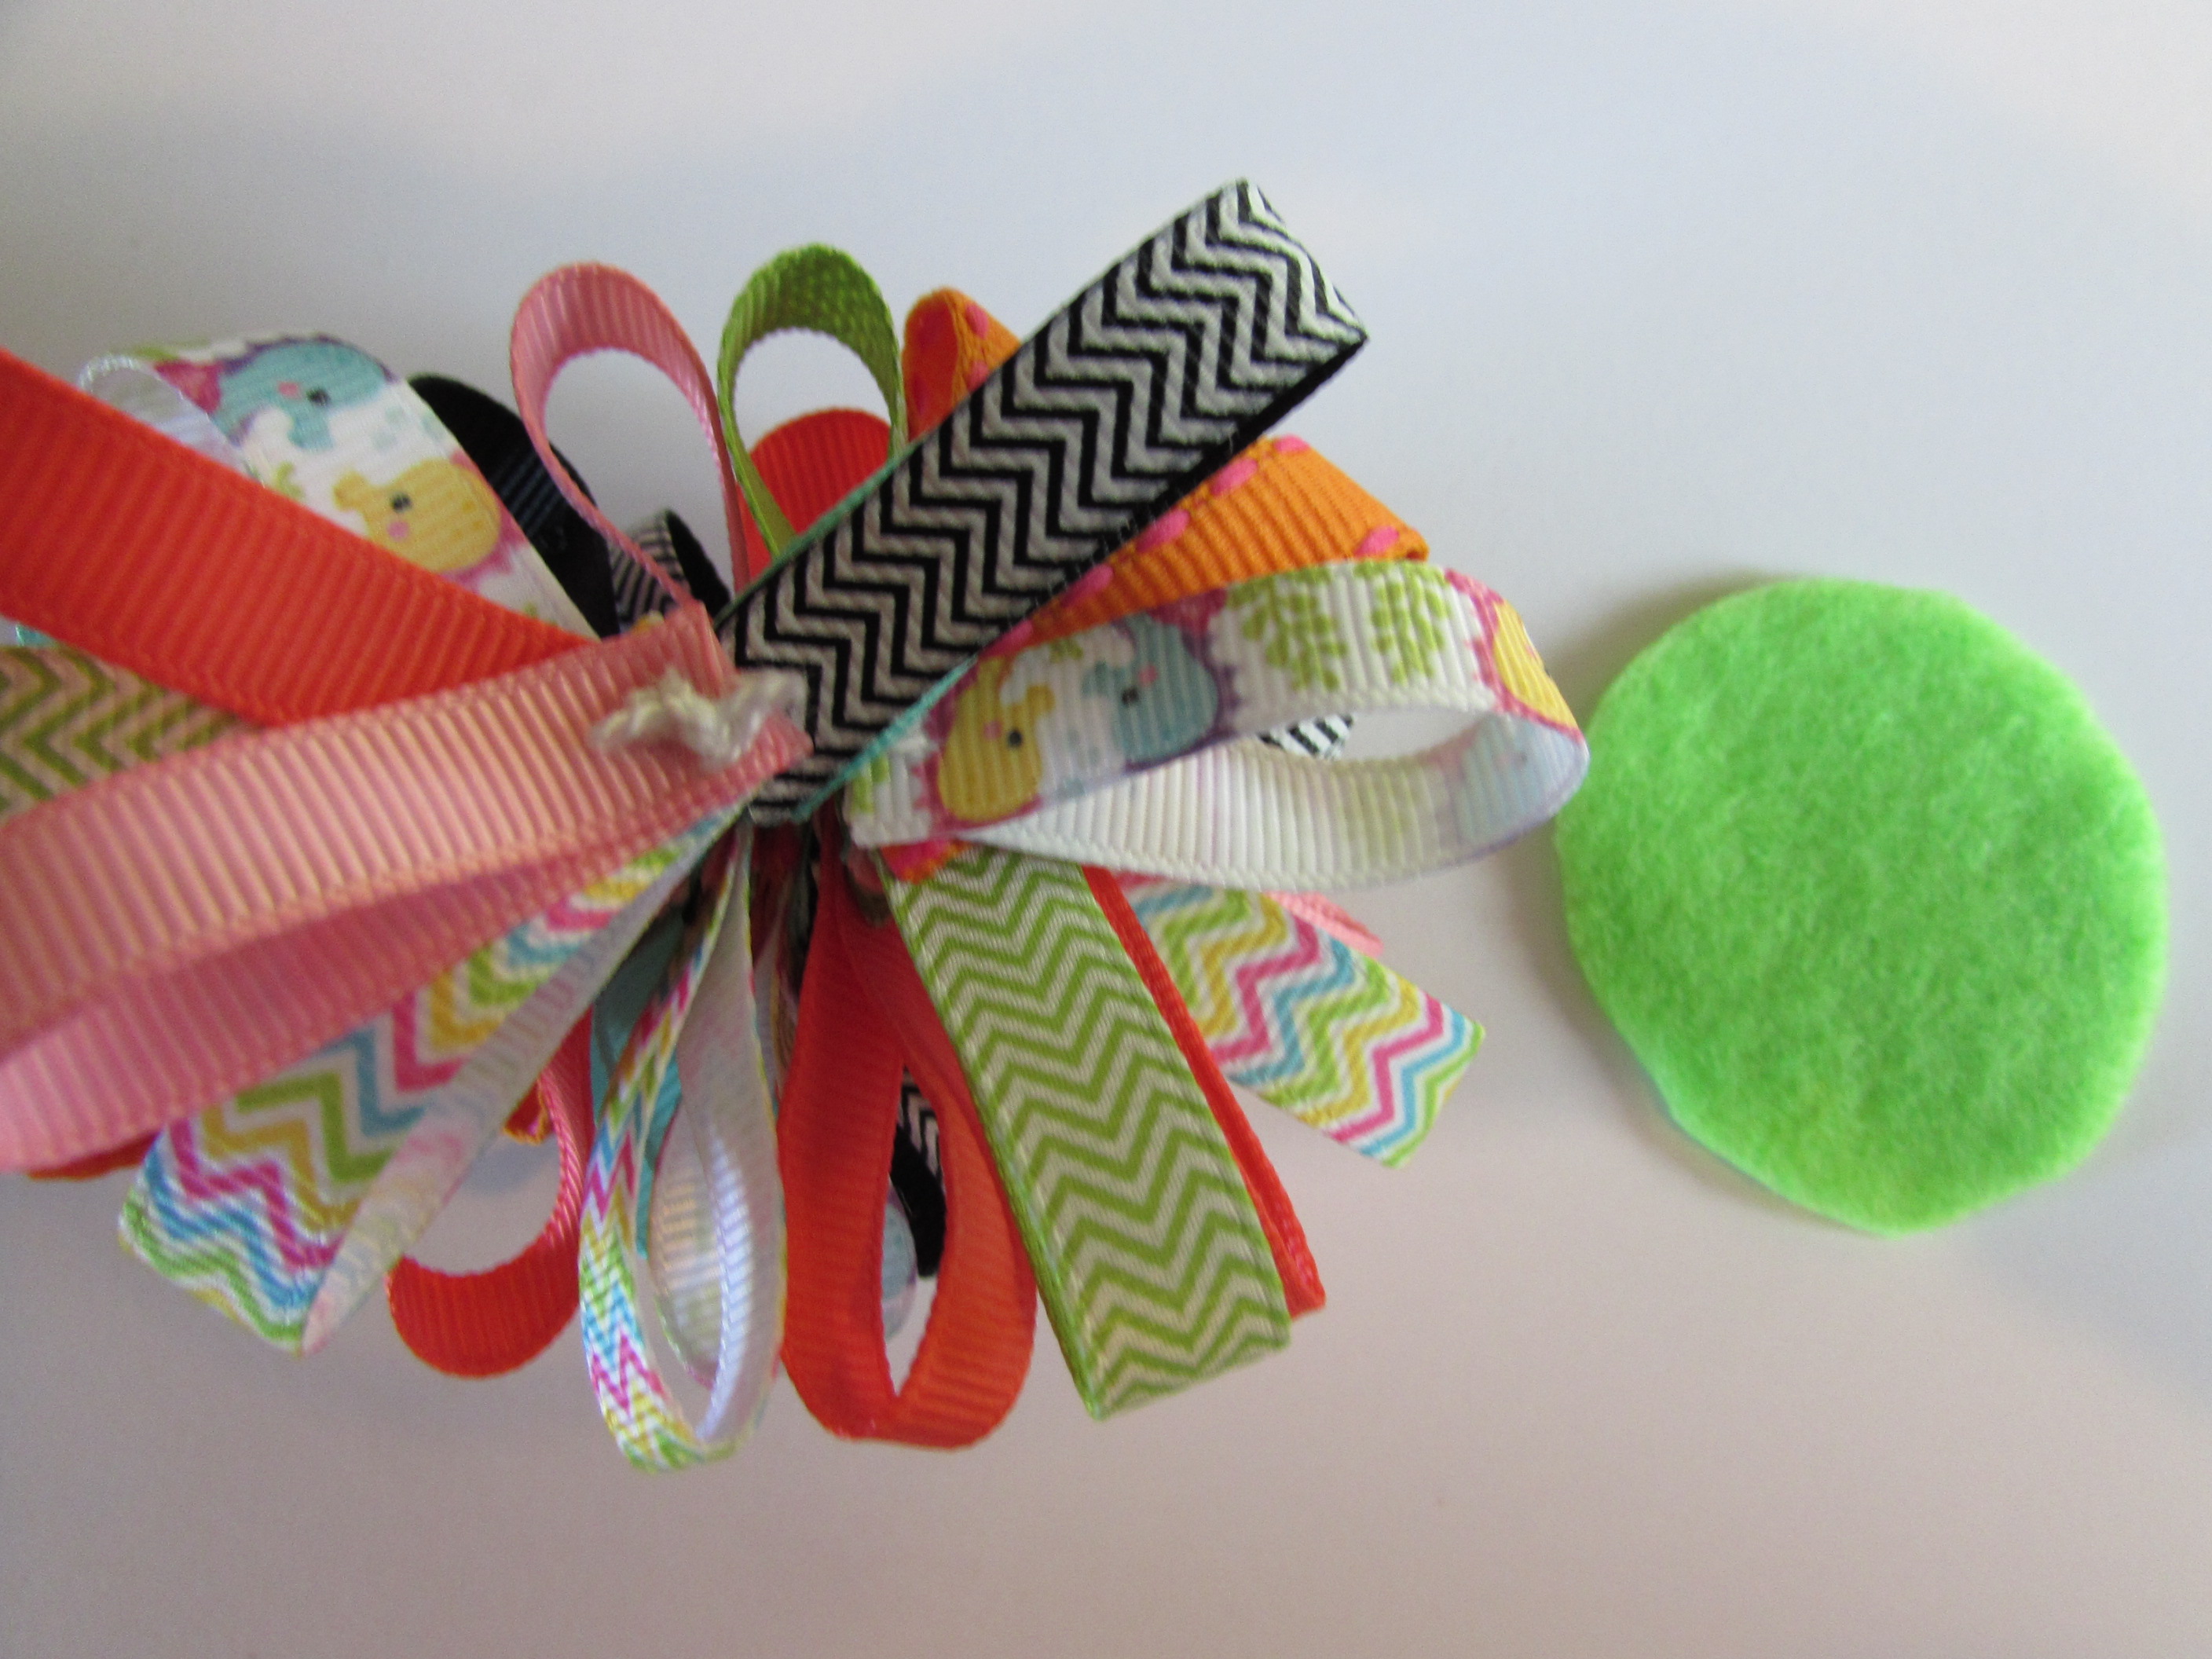
 * Get your felt and cut out 2 circles if you do not have pre cut felt circles
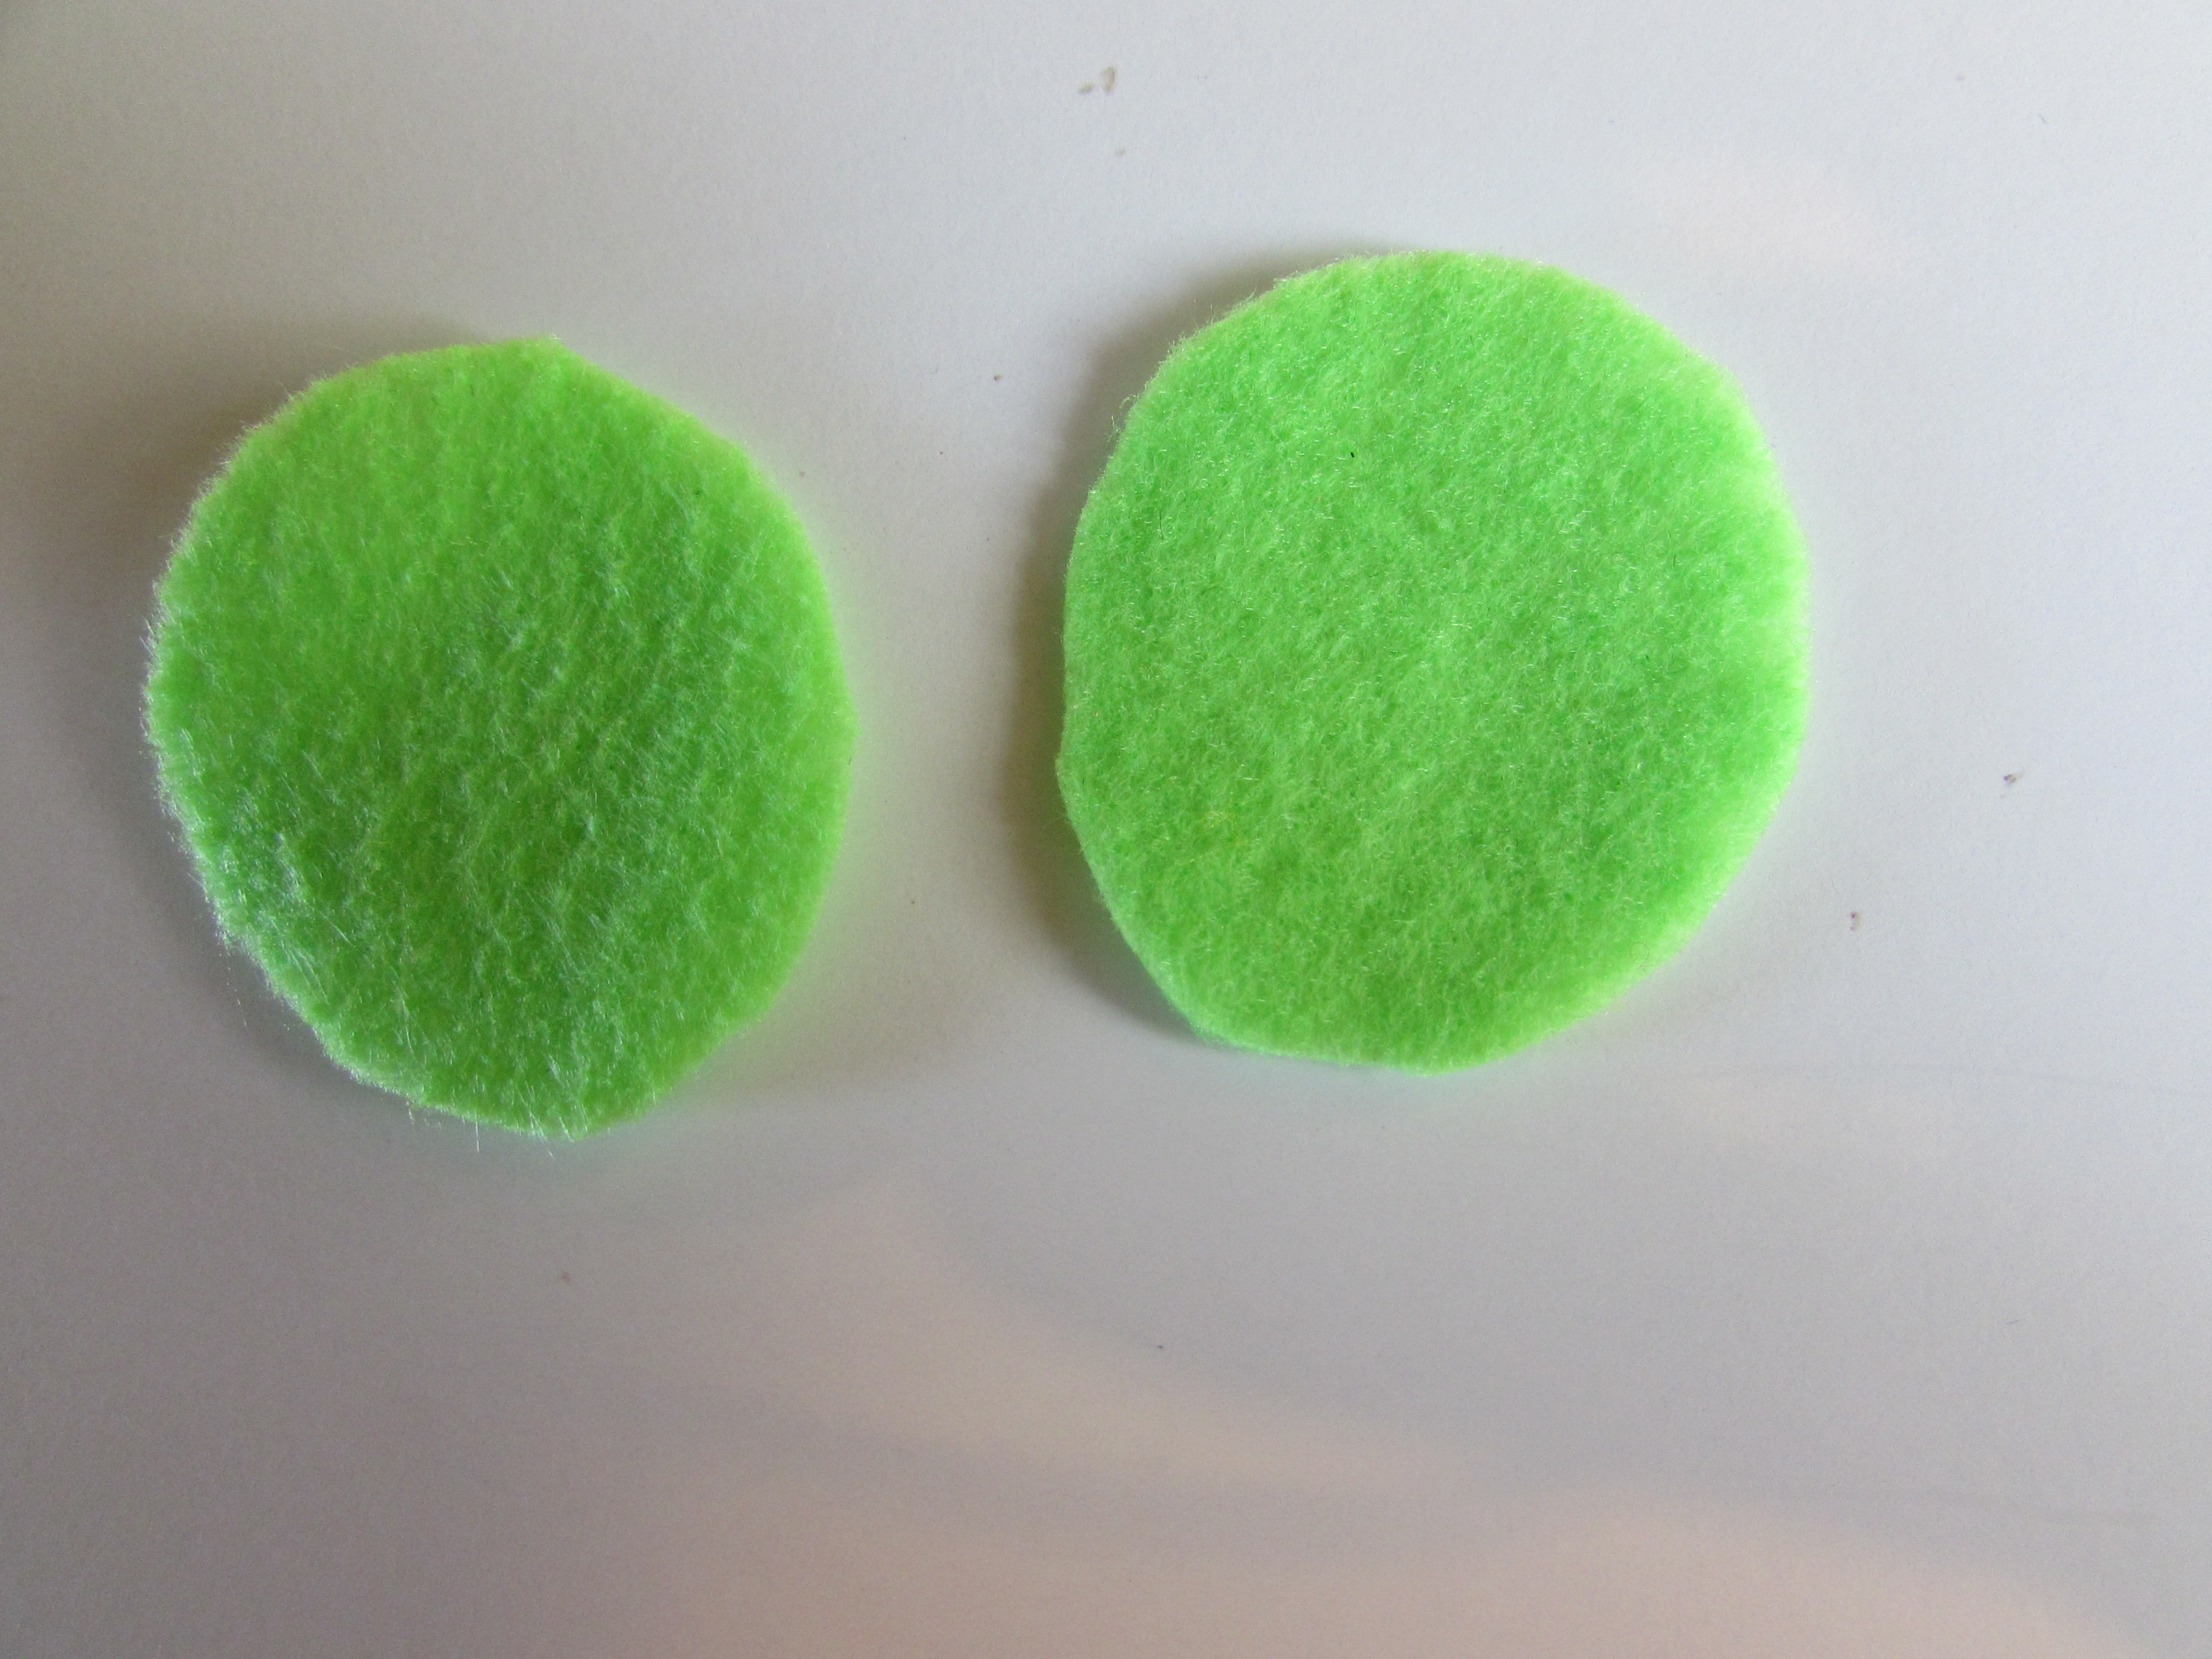 * Flip bow over
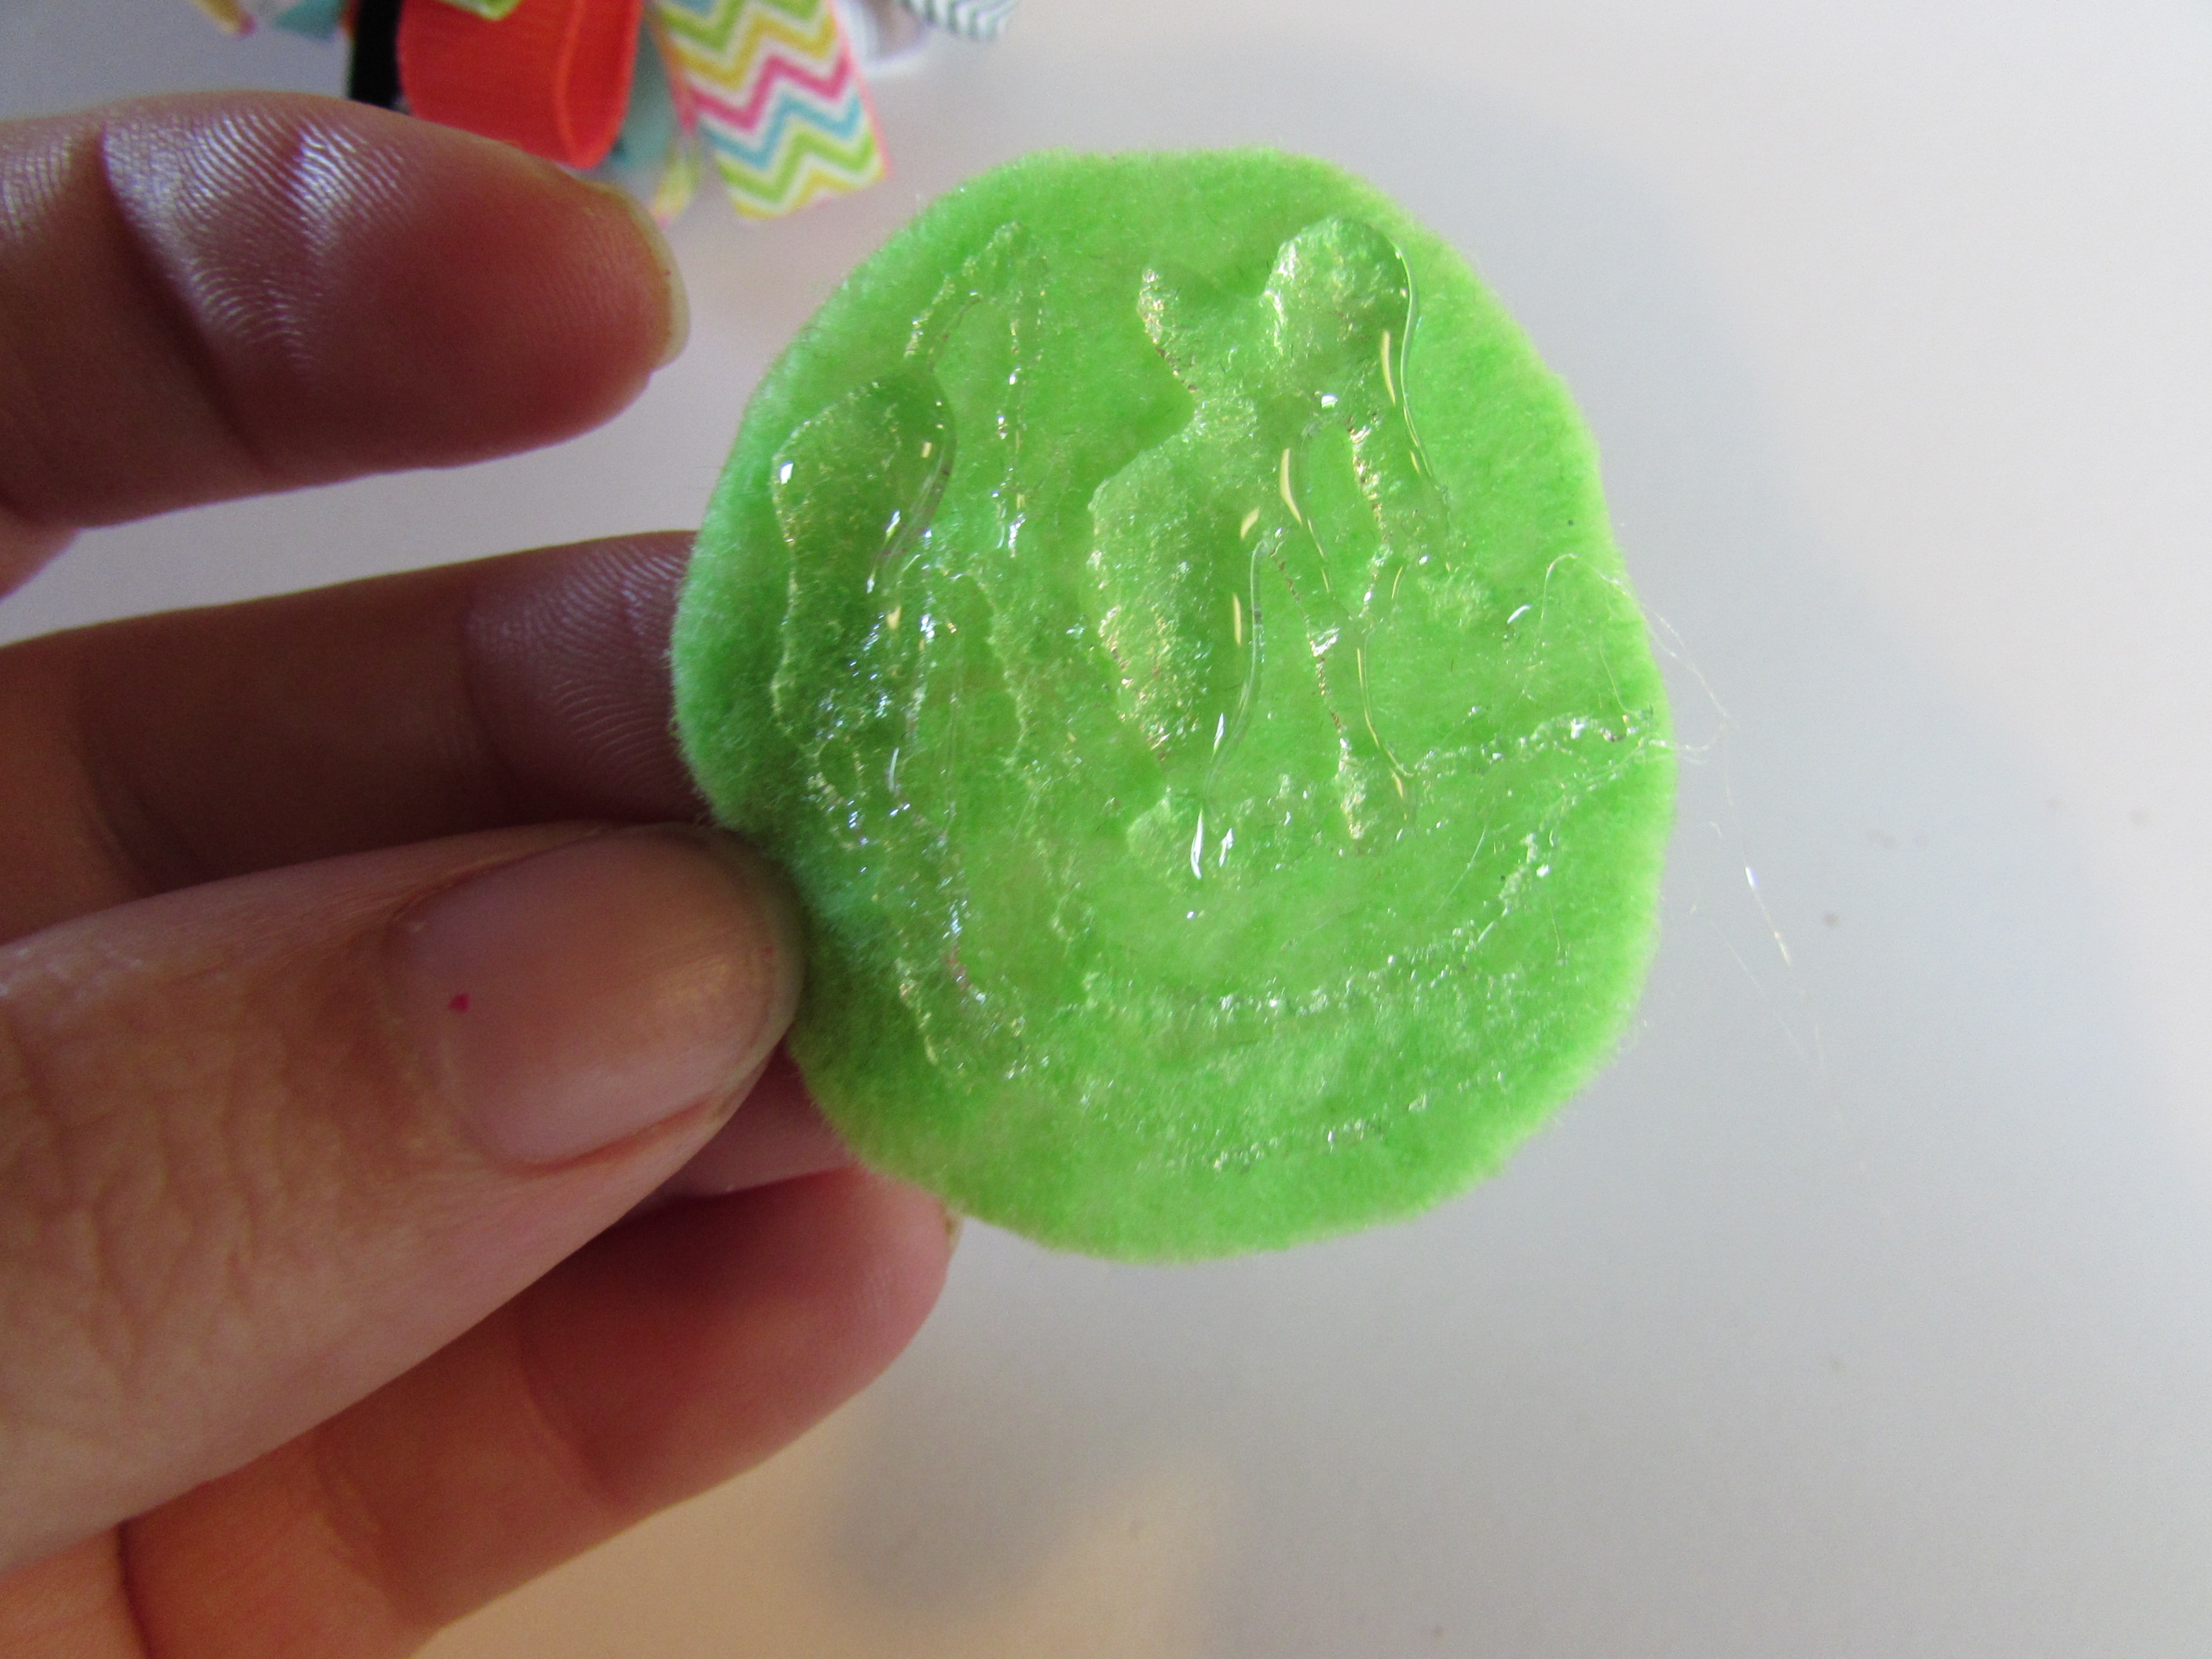
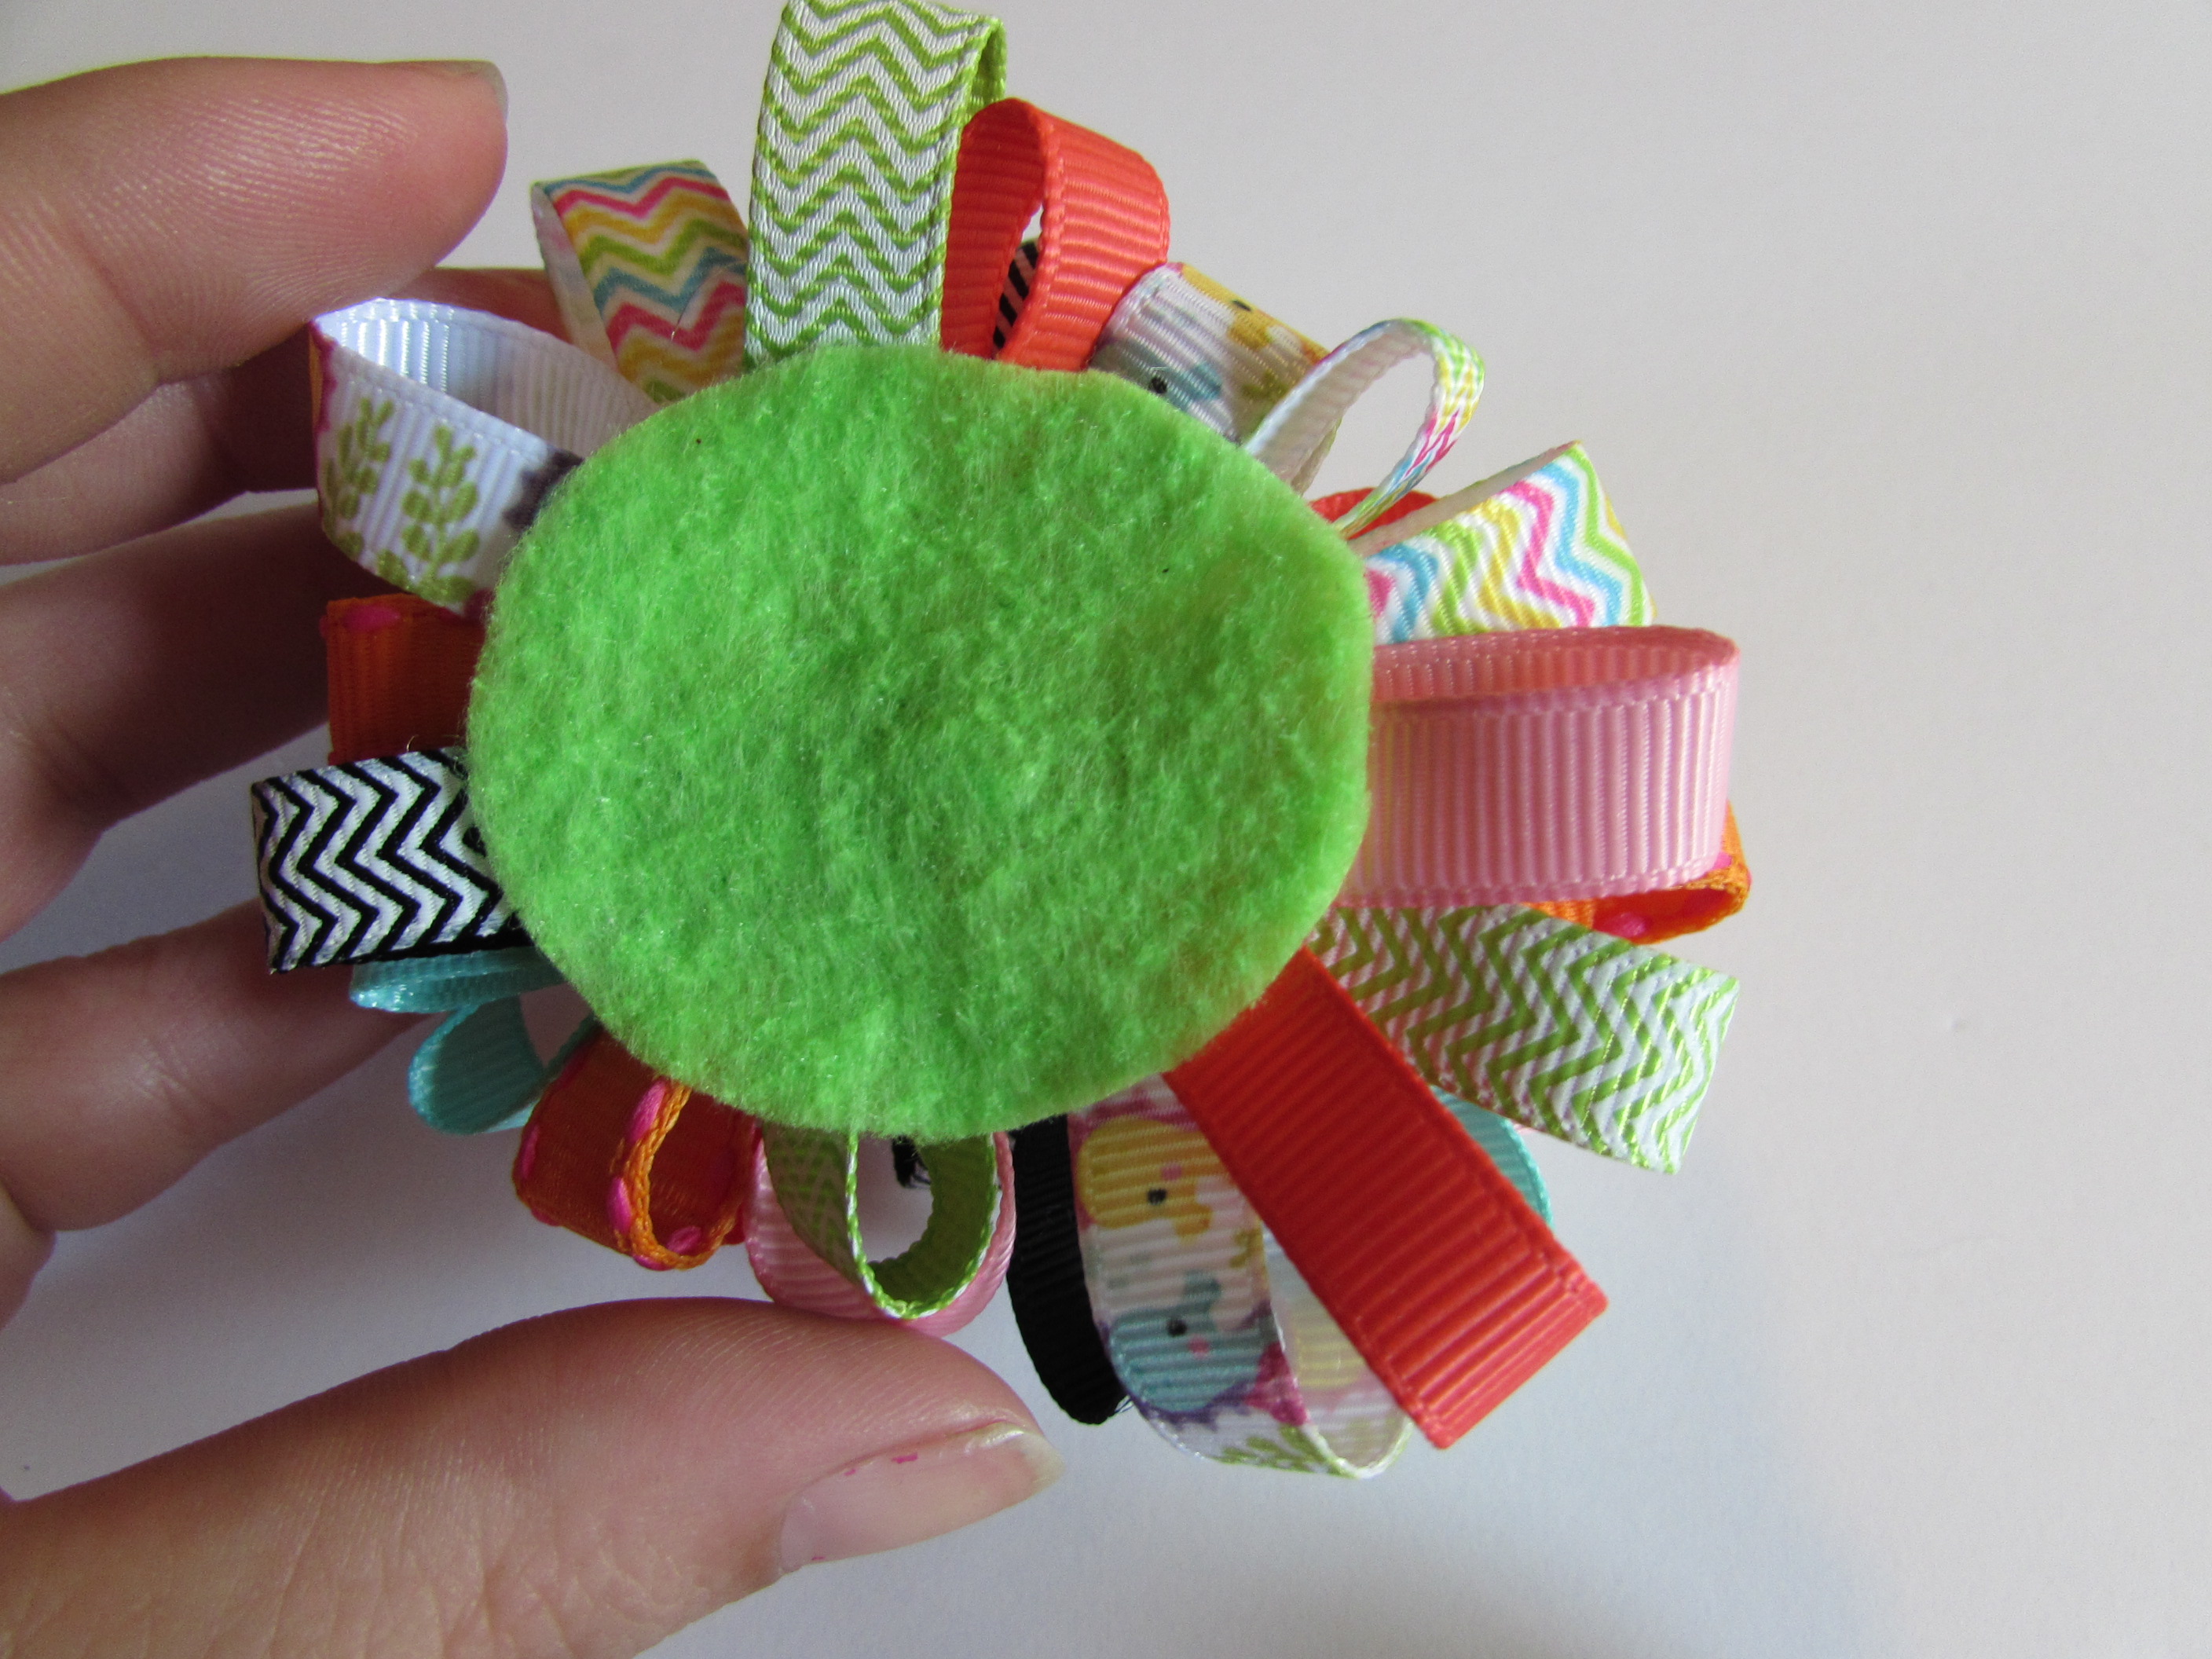
* Take 1 felt piece and apply hotglue and lay on the bottom of the bow
- Press until attached
 * Flip the bow back over and apply your embellishment{s} IF any!
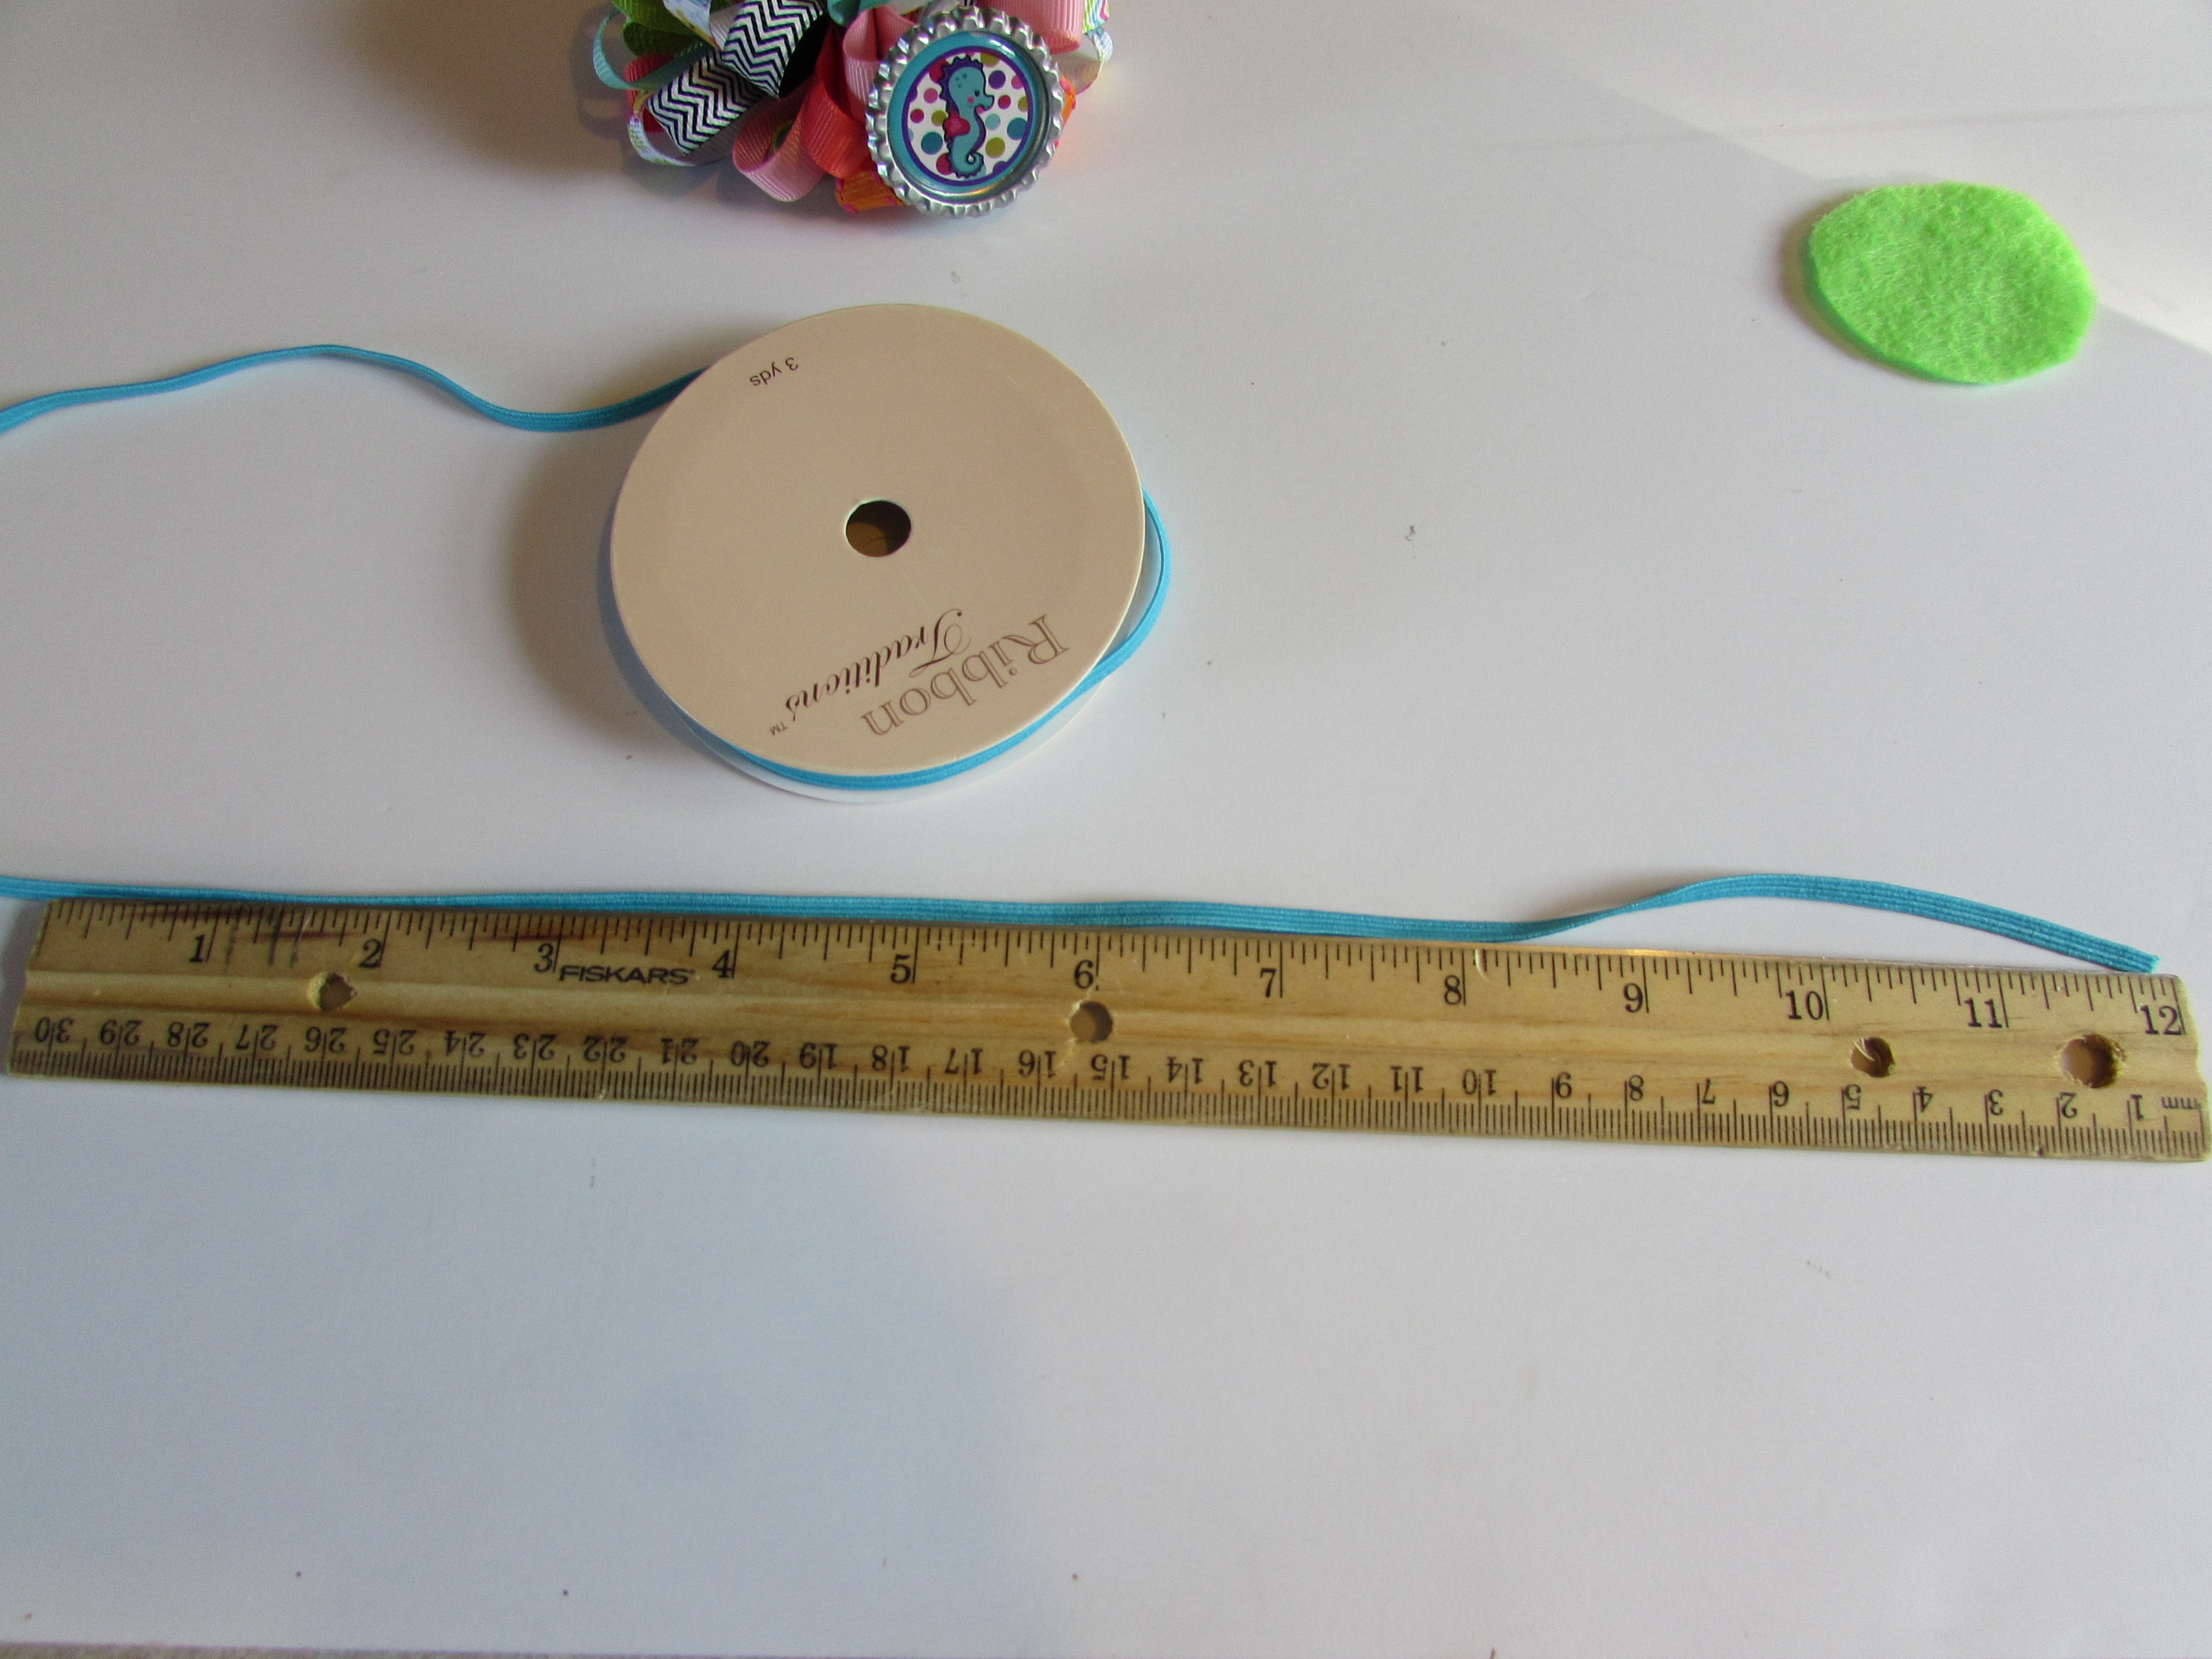
 * Cut your skinny elastic to size needed.
- Unless customer lets me know a size I always cut 16" long this will fit 6 months to adults. * Please Note: The picture will only show 12" {{ that is all my ruler goes too so I had to add on a few more inches :) }}
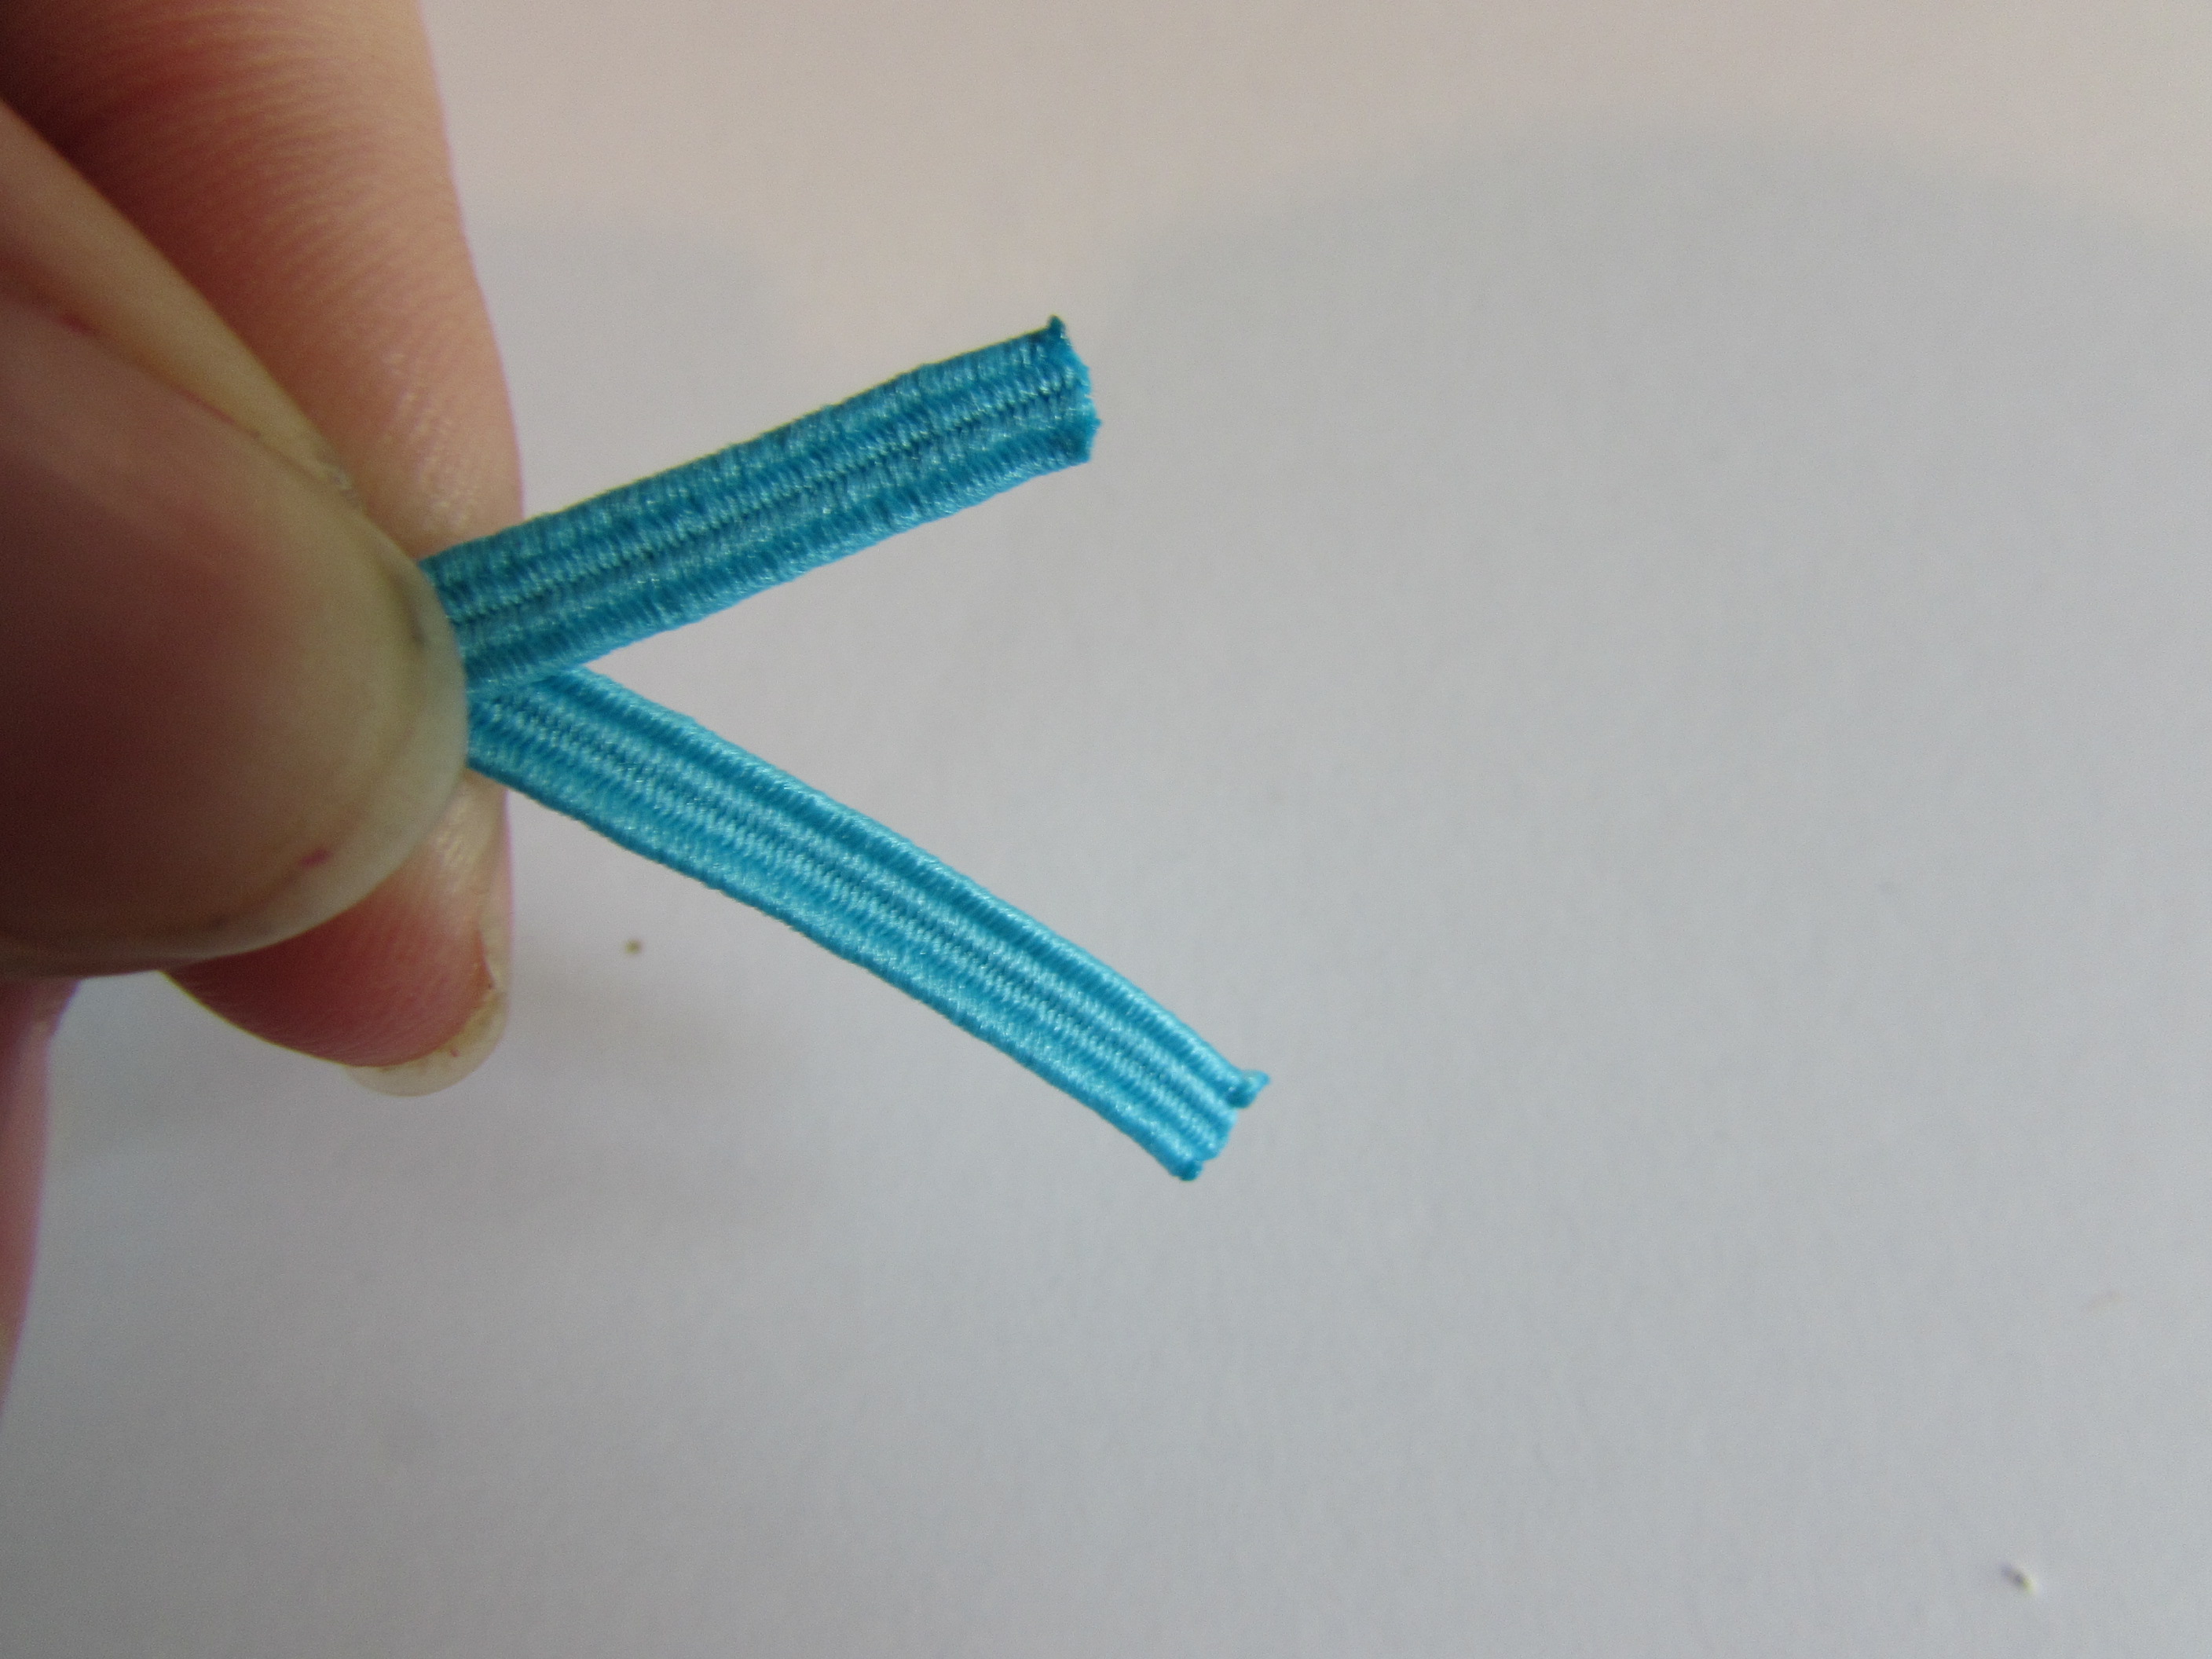
 * Heat seal the ends of the elastic and glue them together
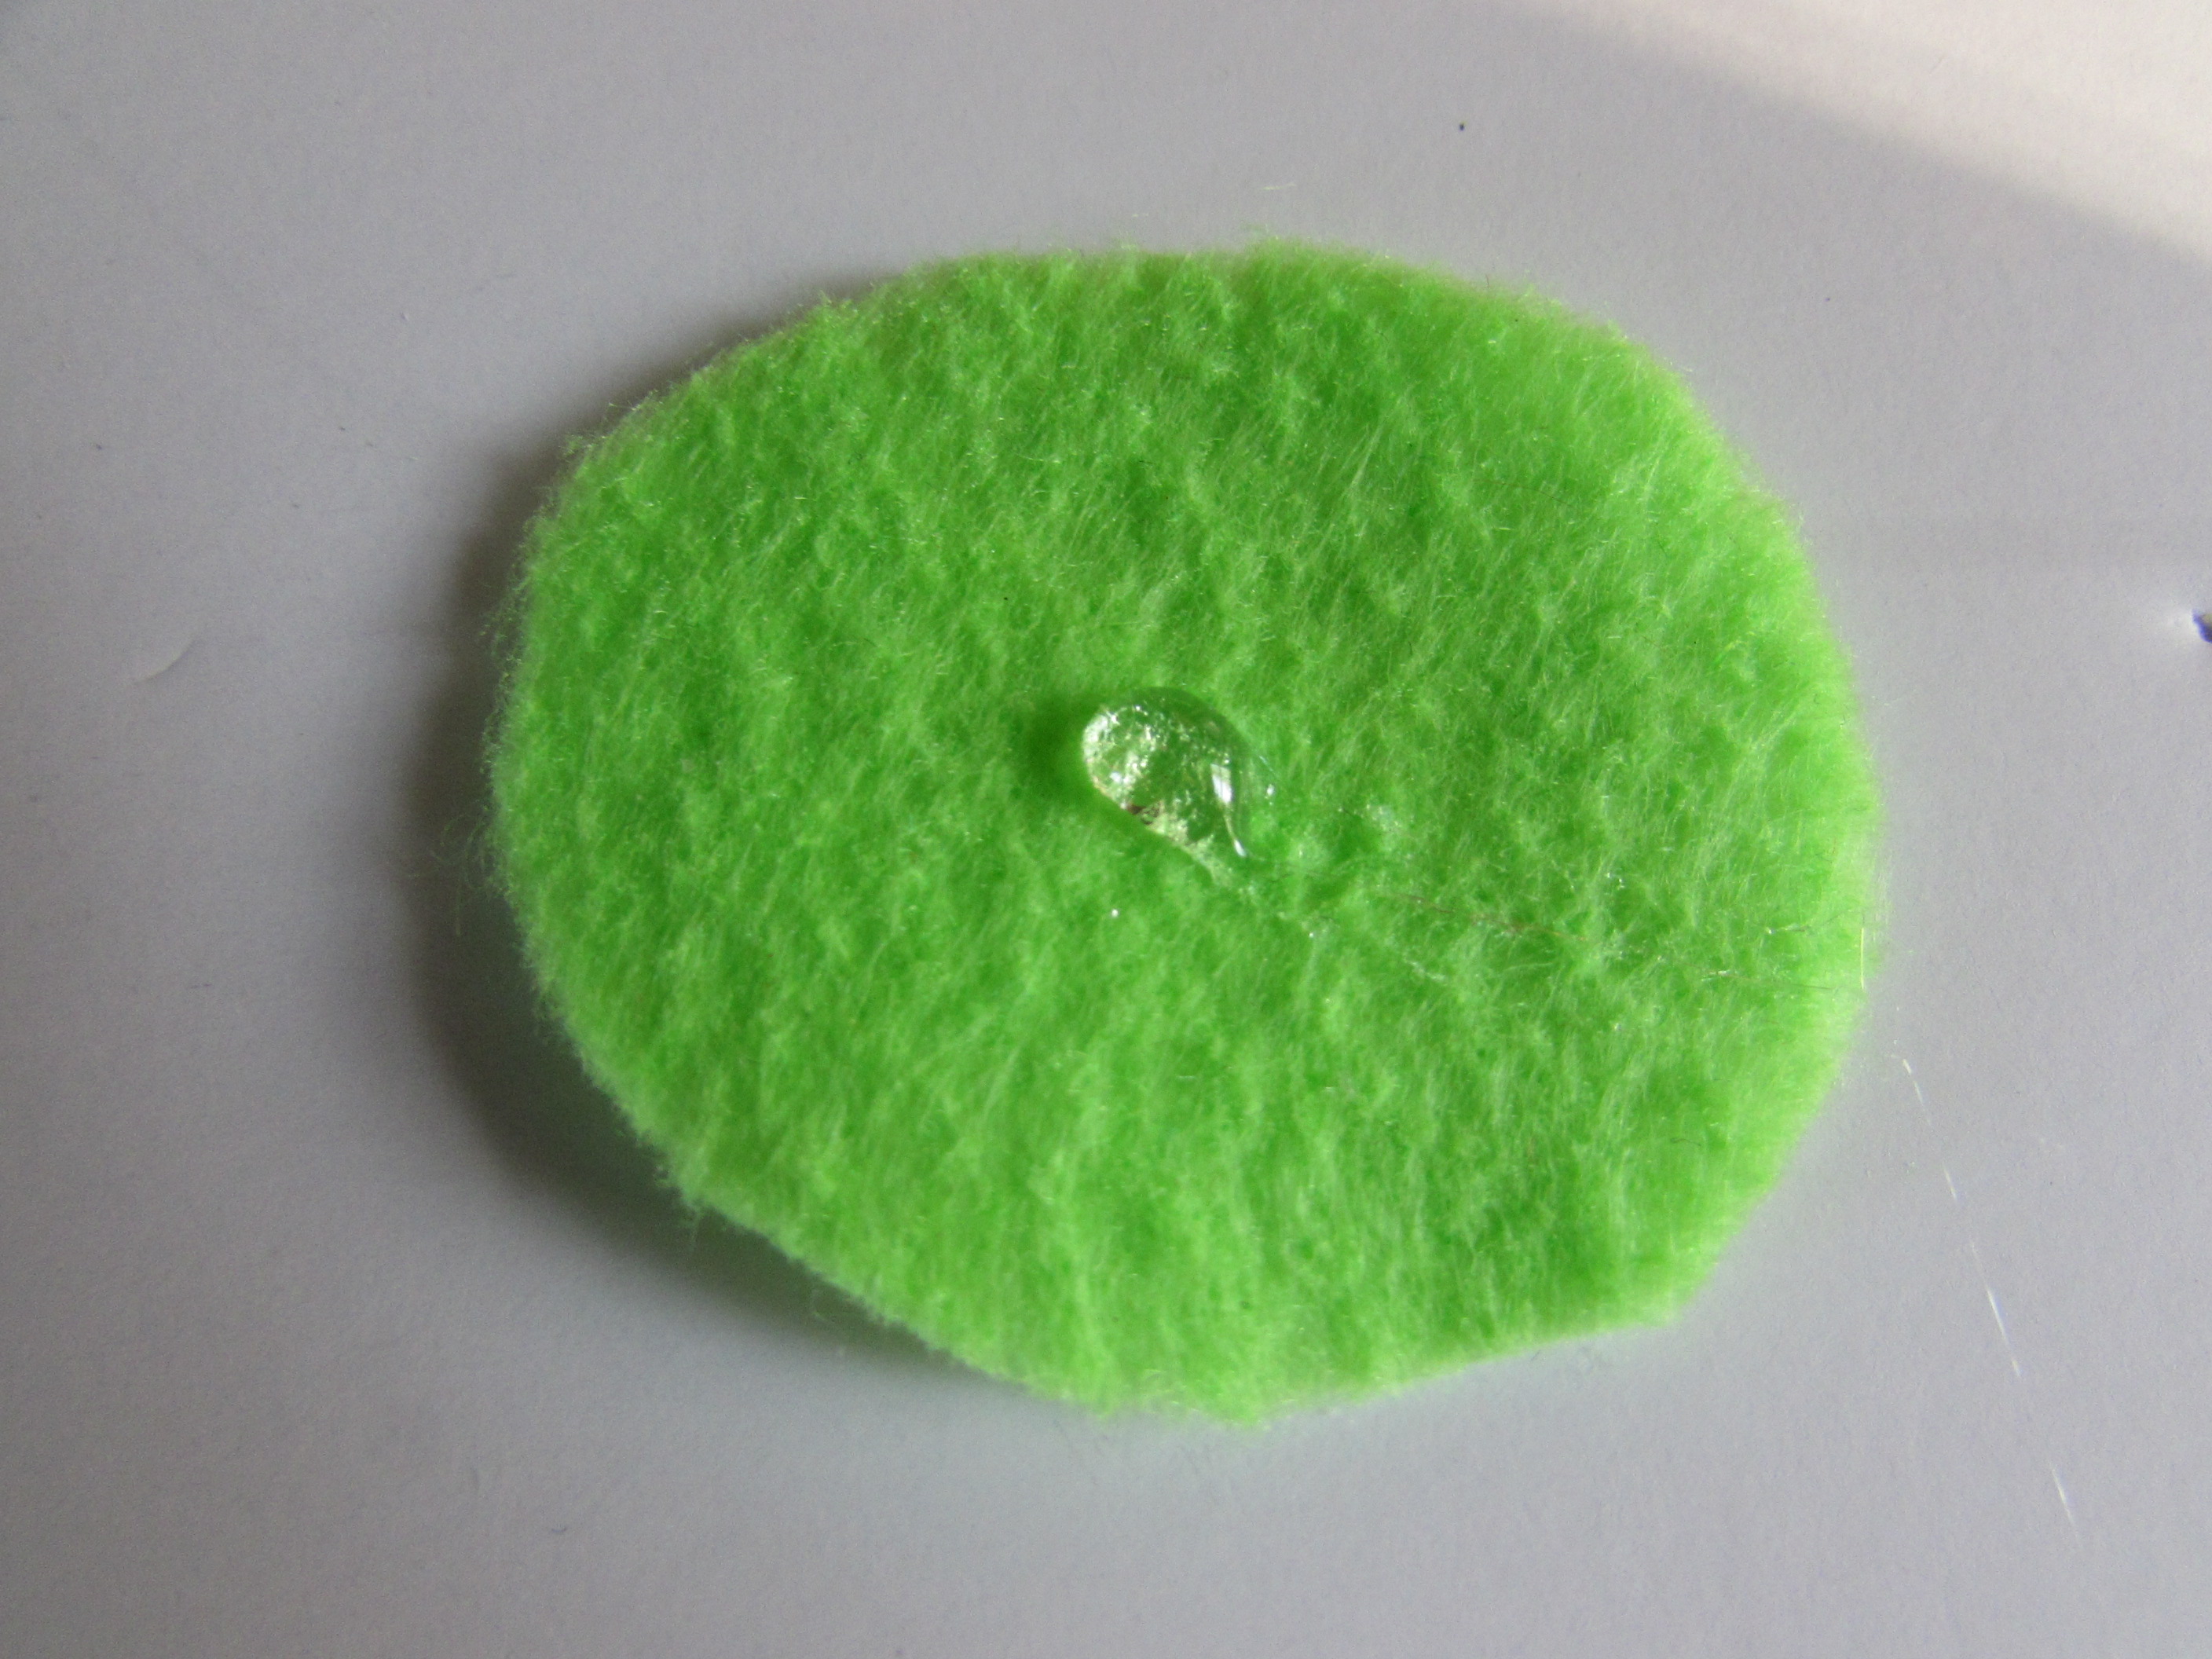
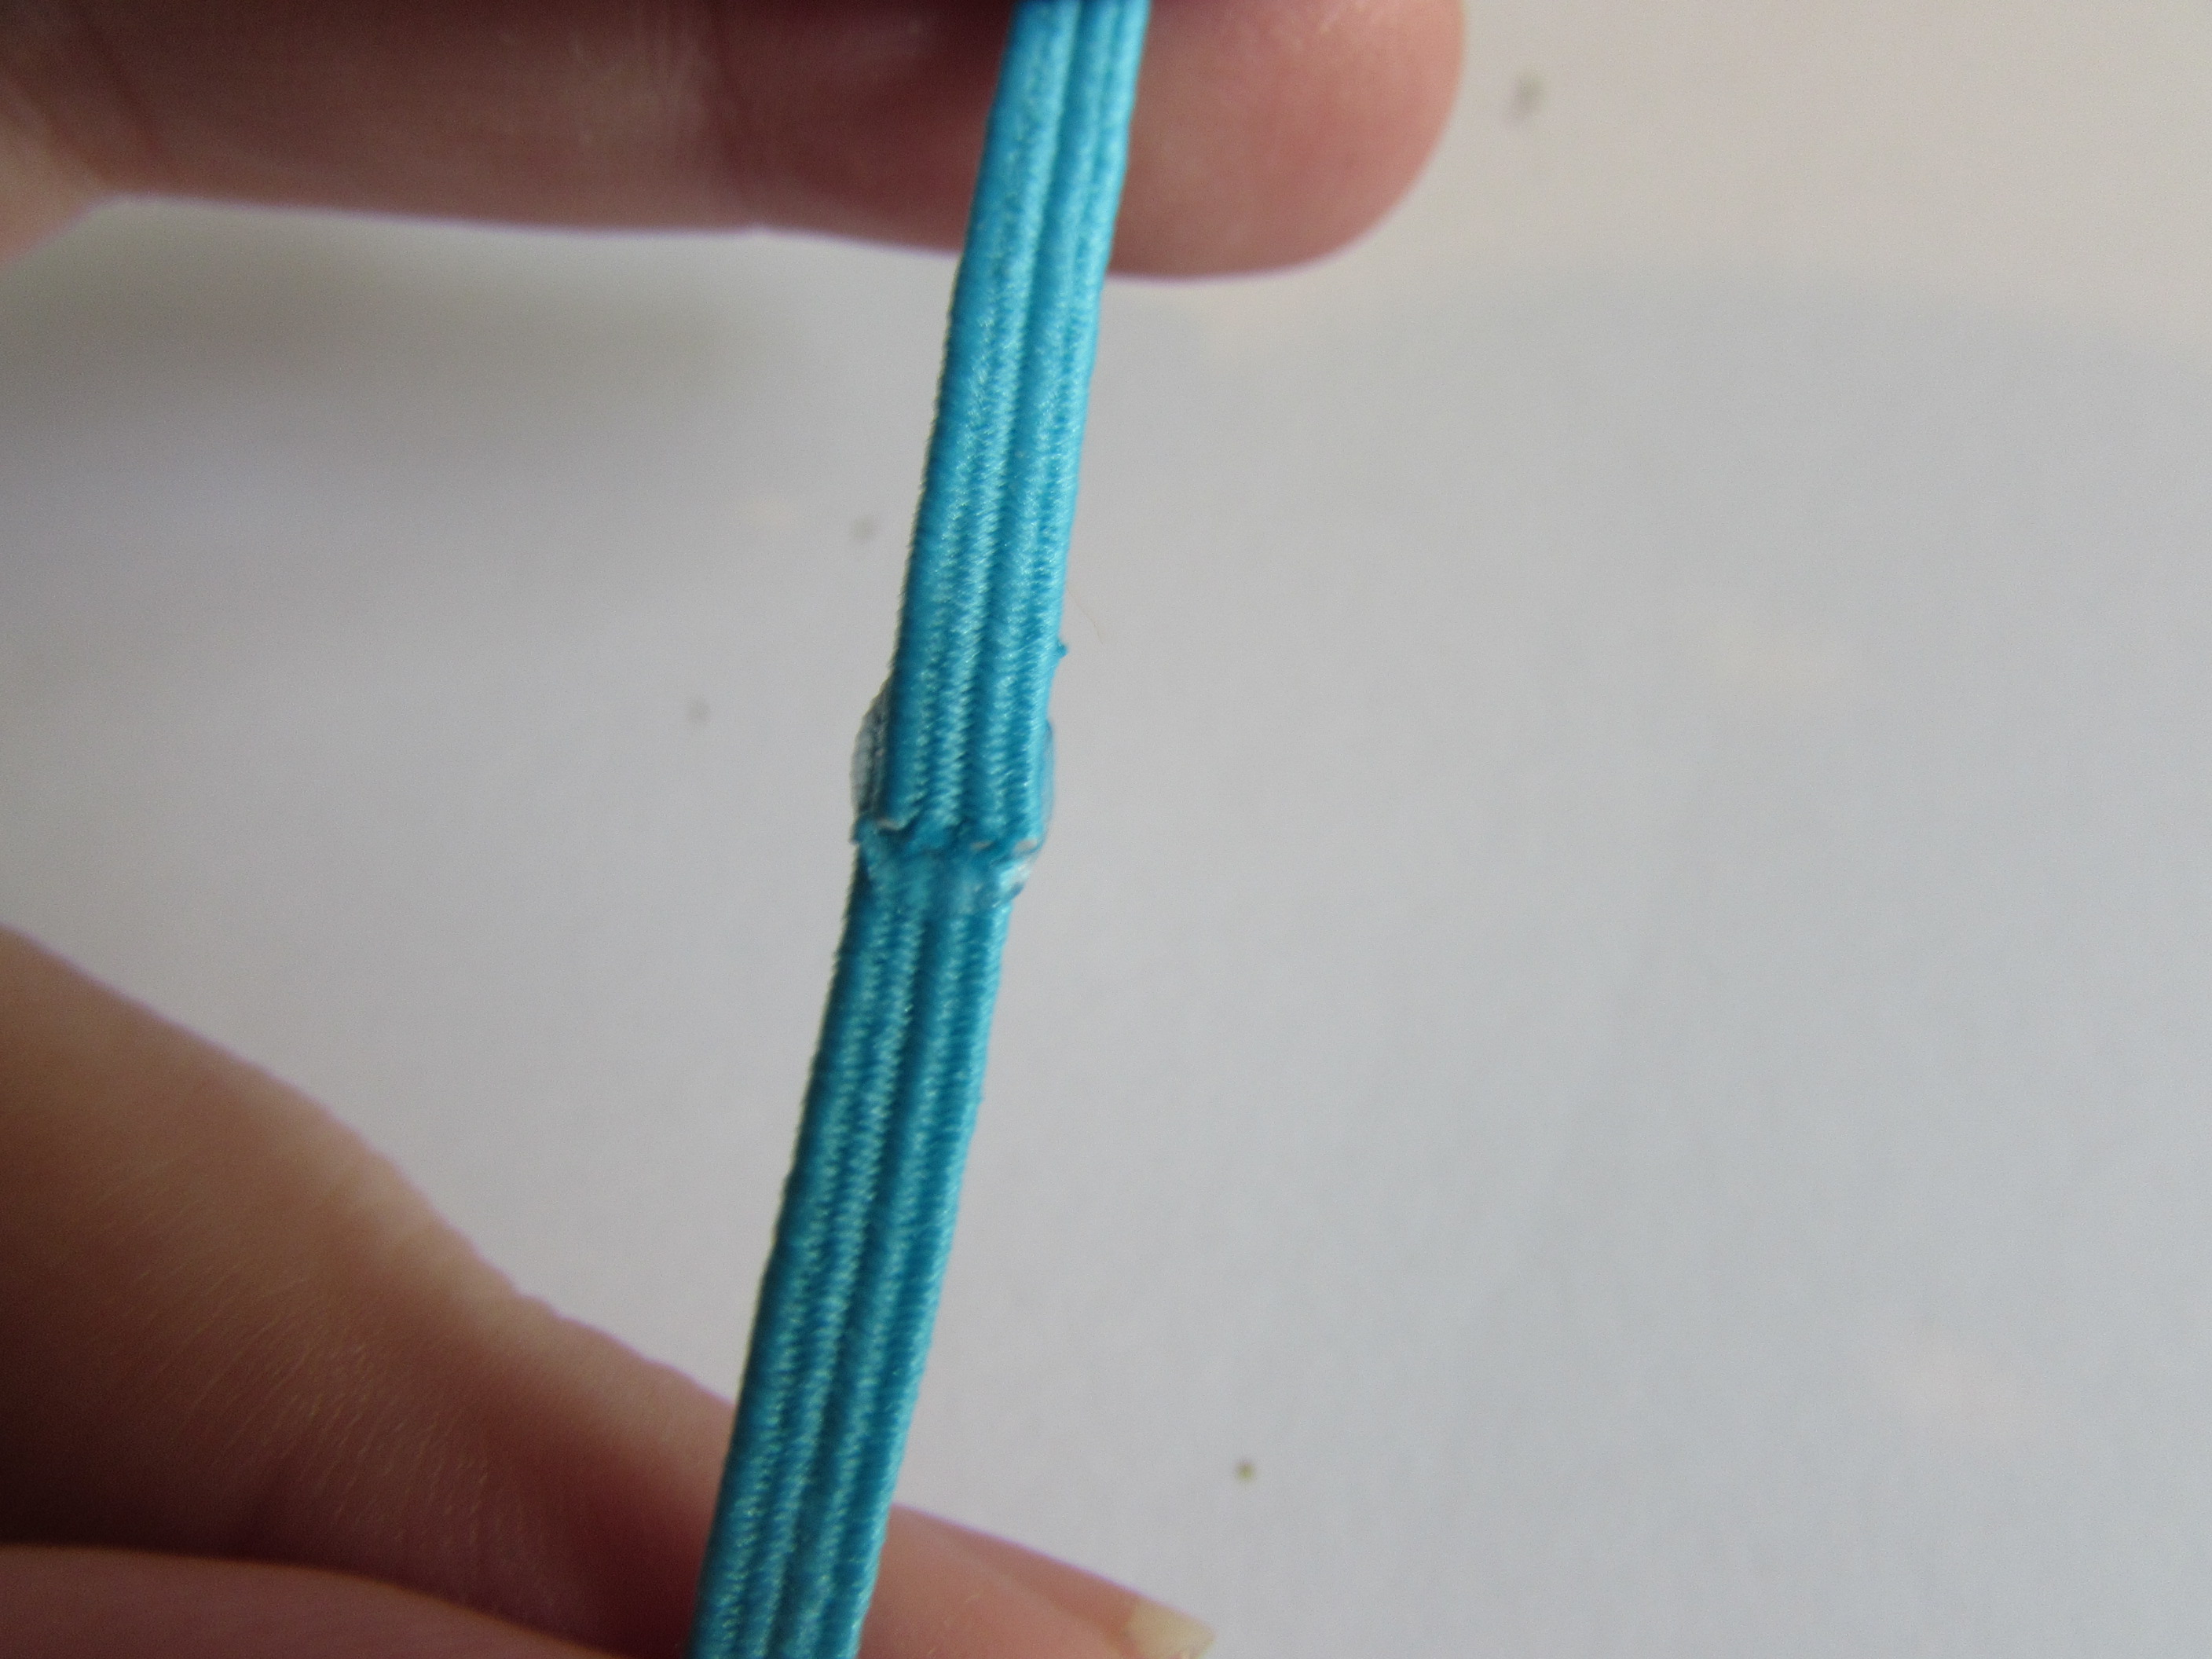 * Now take your second felt circle and apply a drop of hotglue in the center
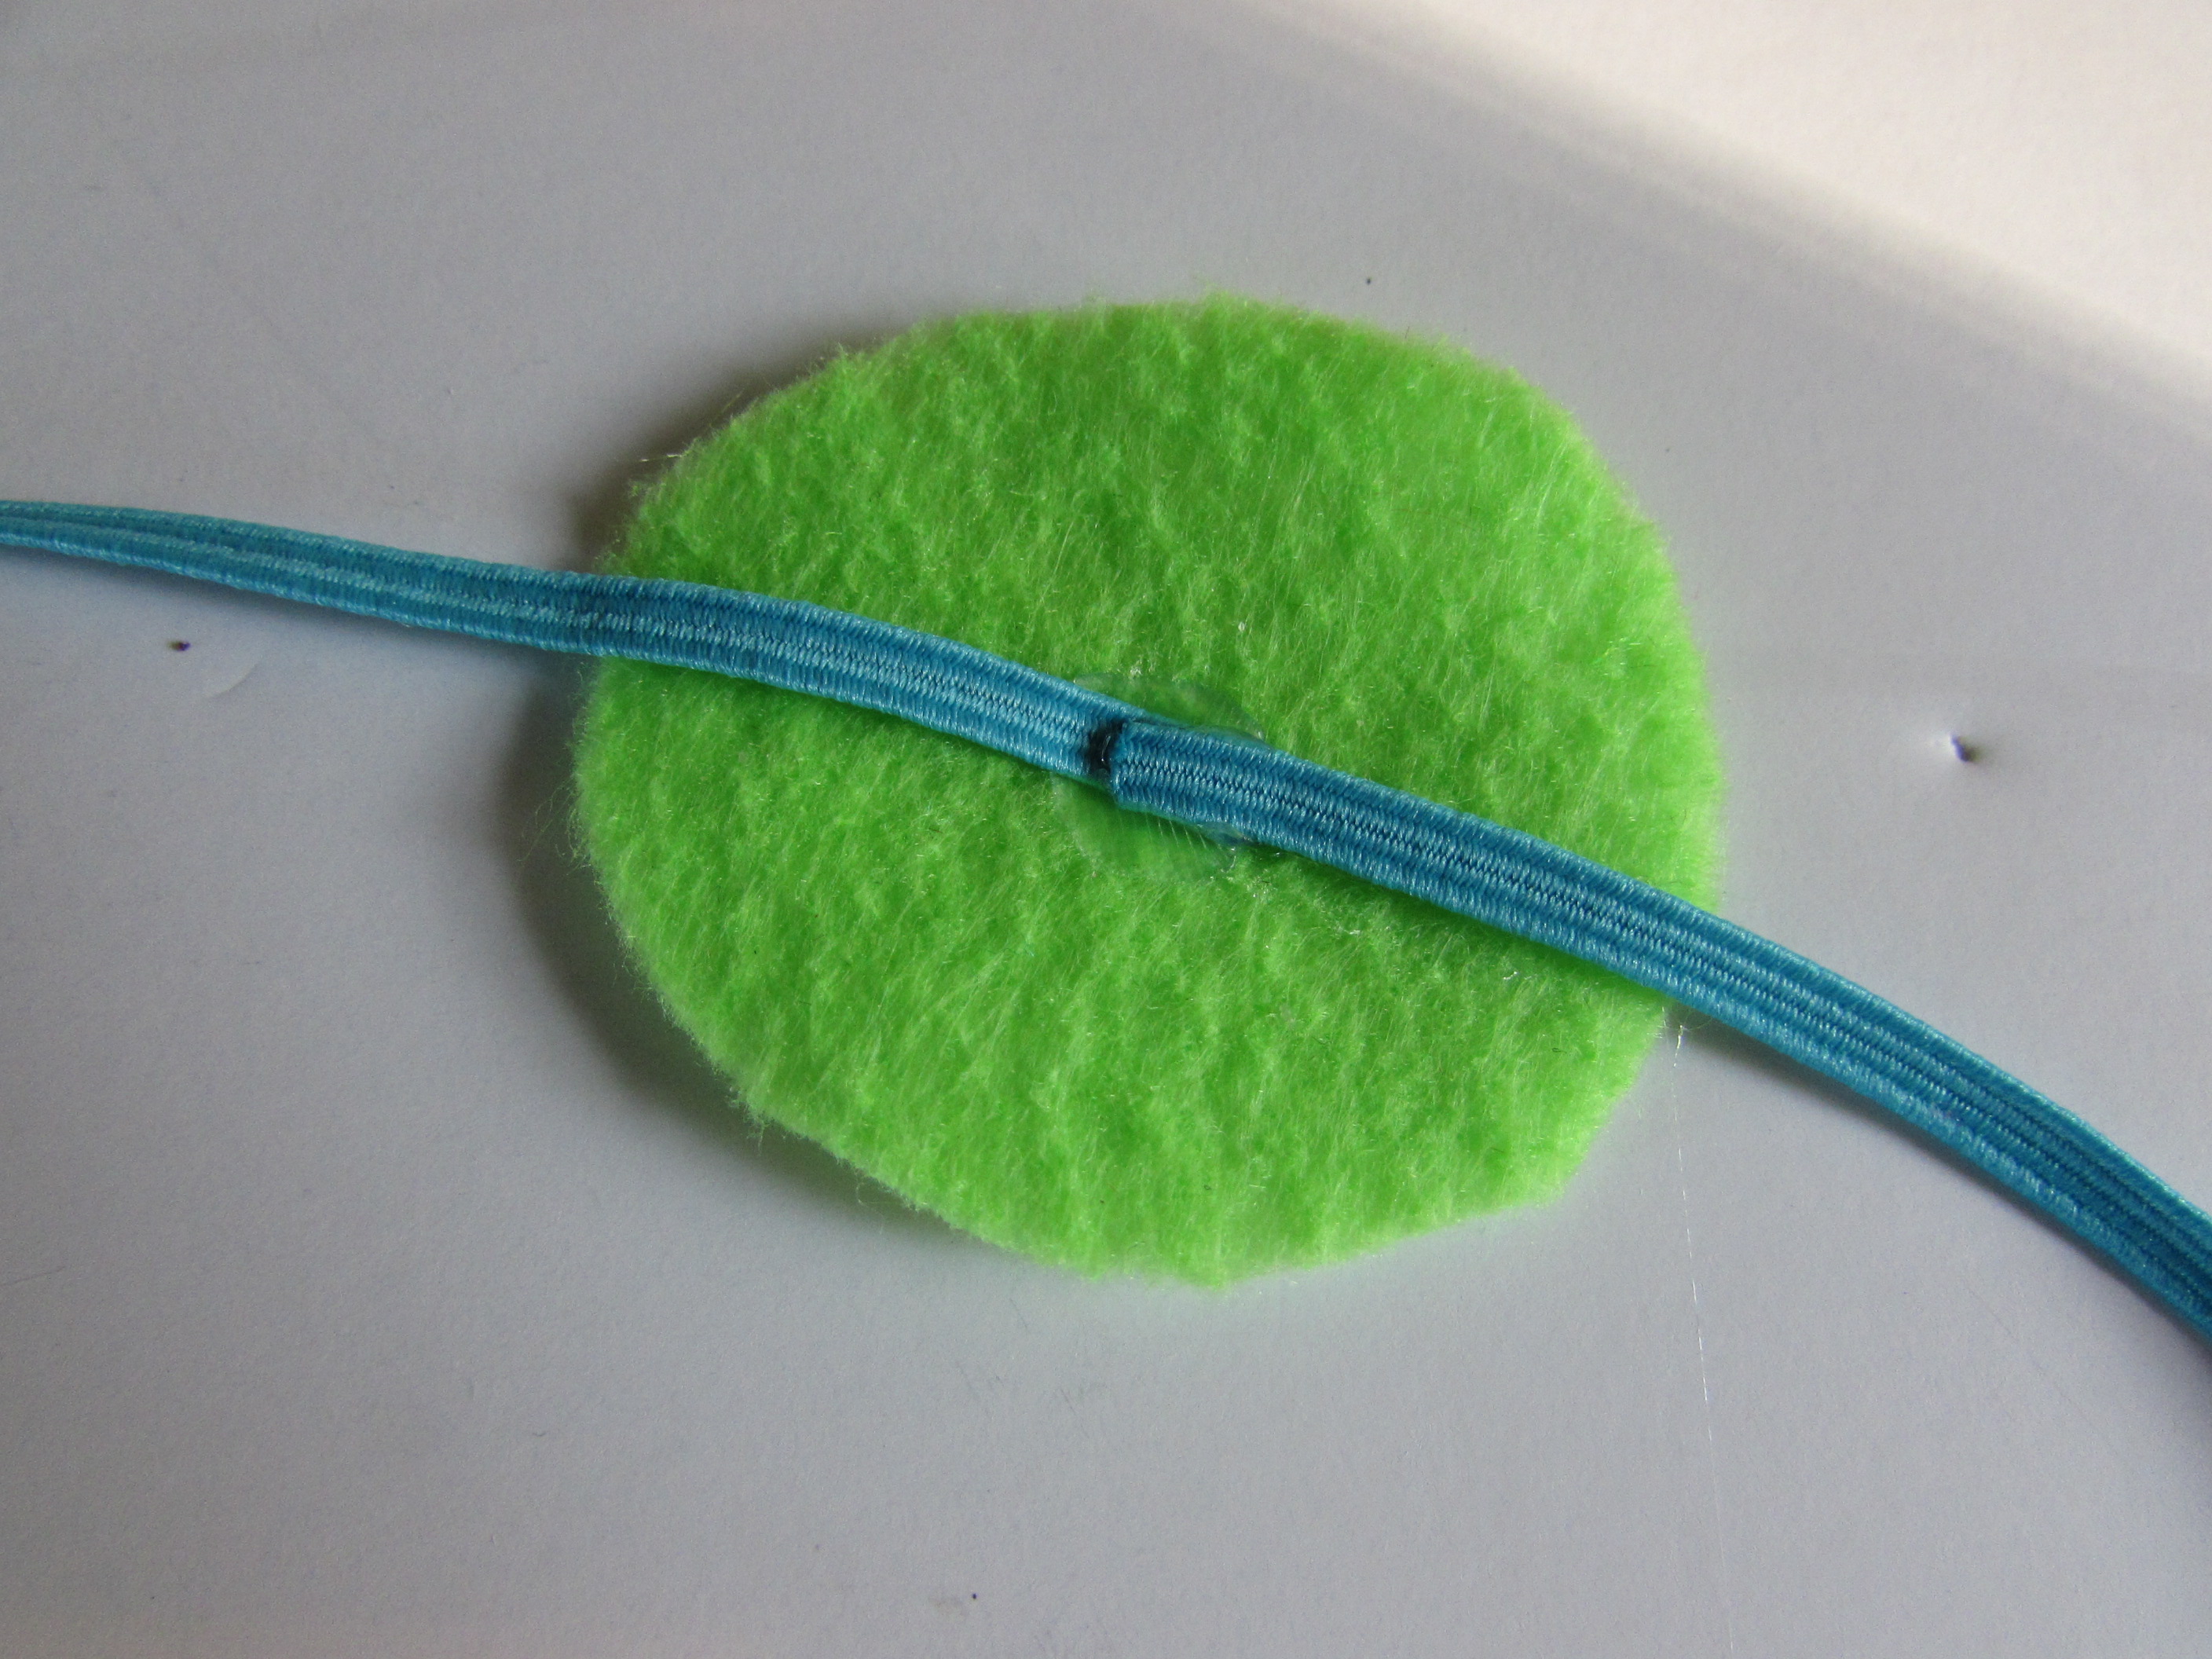
 * Press your elastic headband on the hotglue dot
 * Now apply hotglue all over the felt and lay it on top of the felt on the bottom of the bow
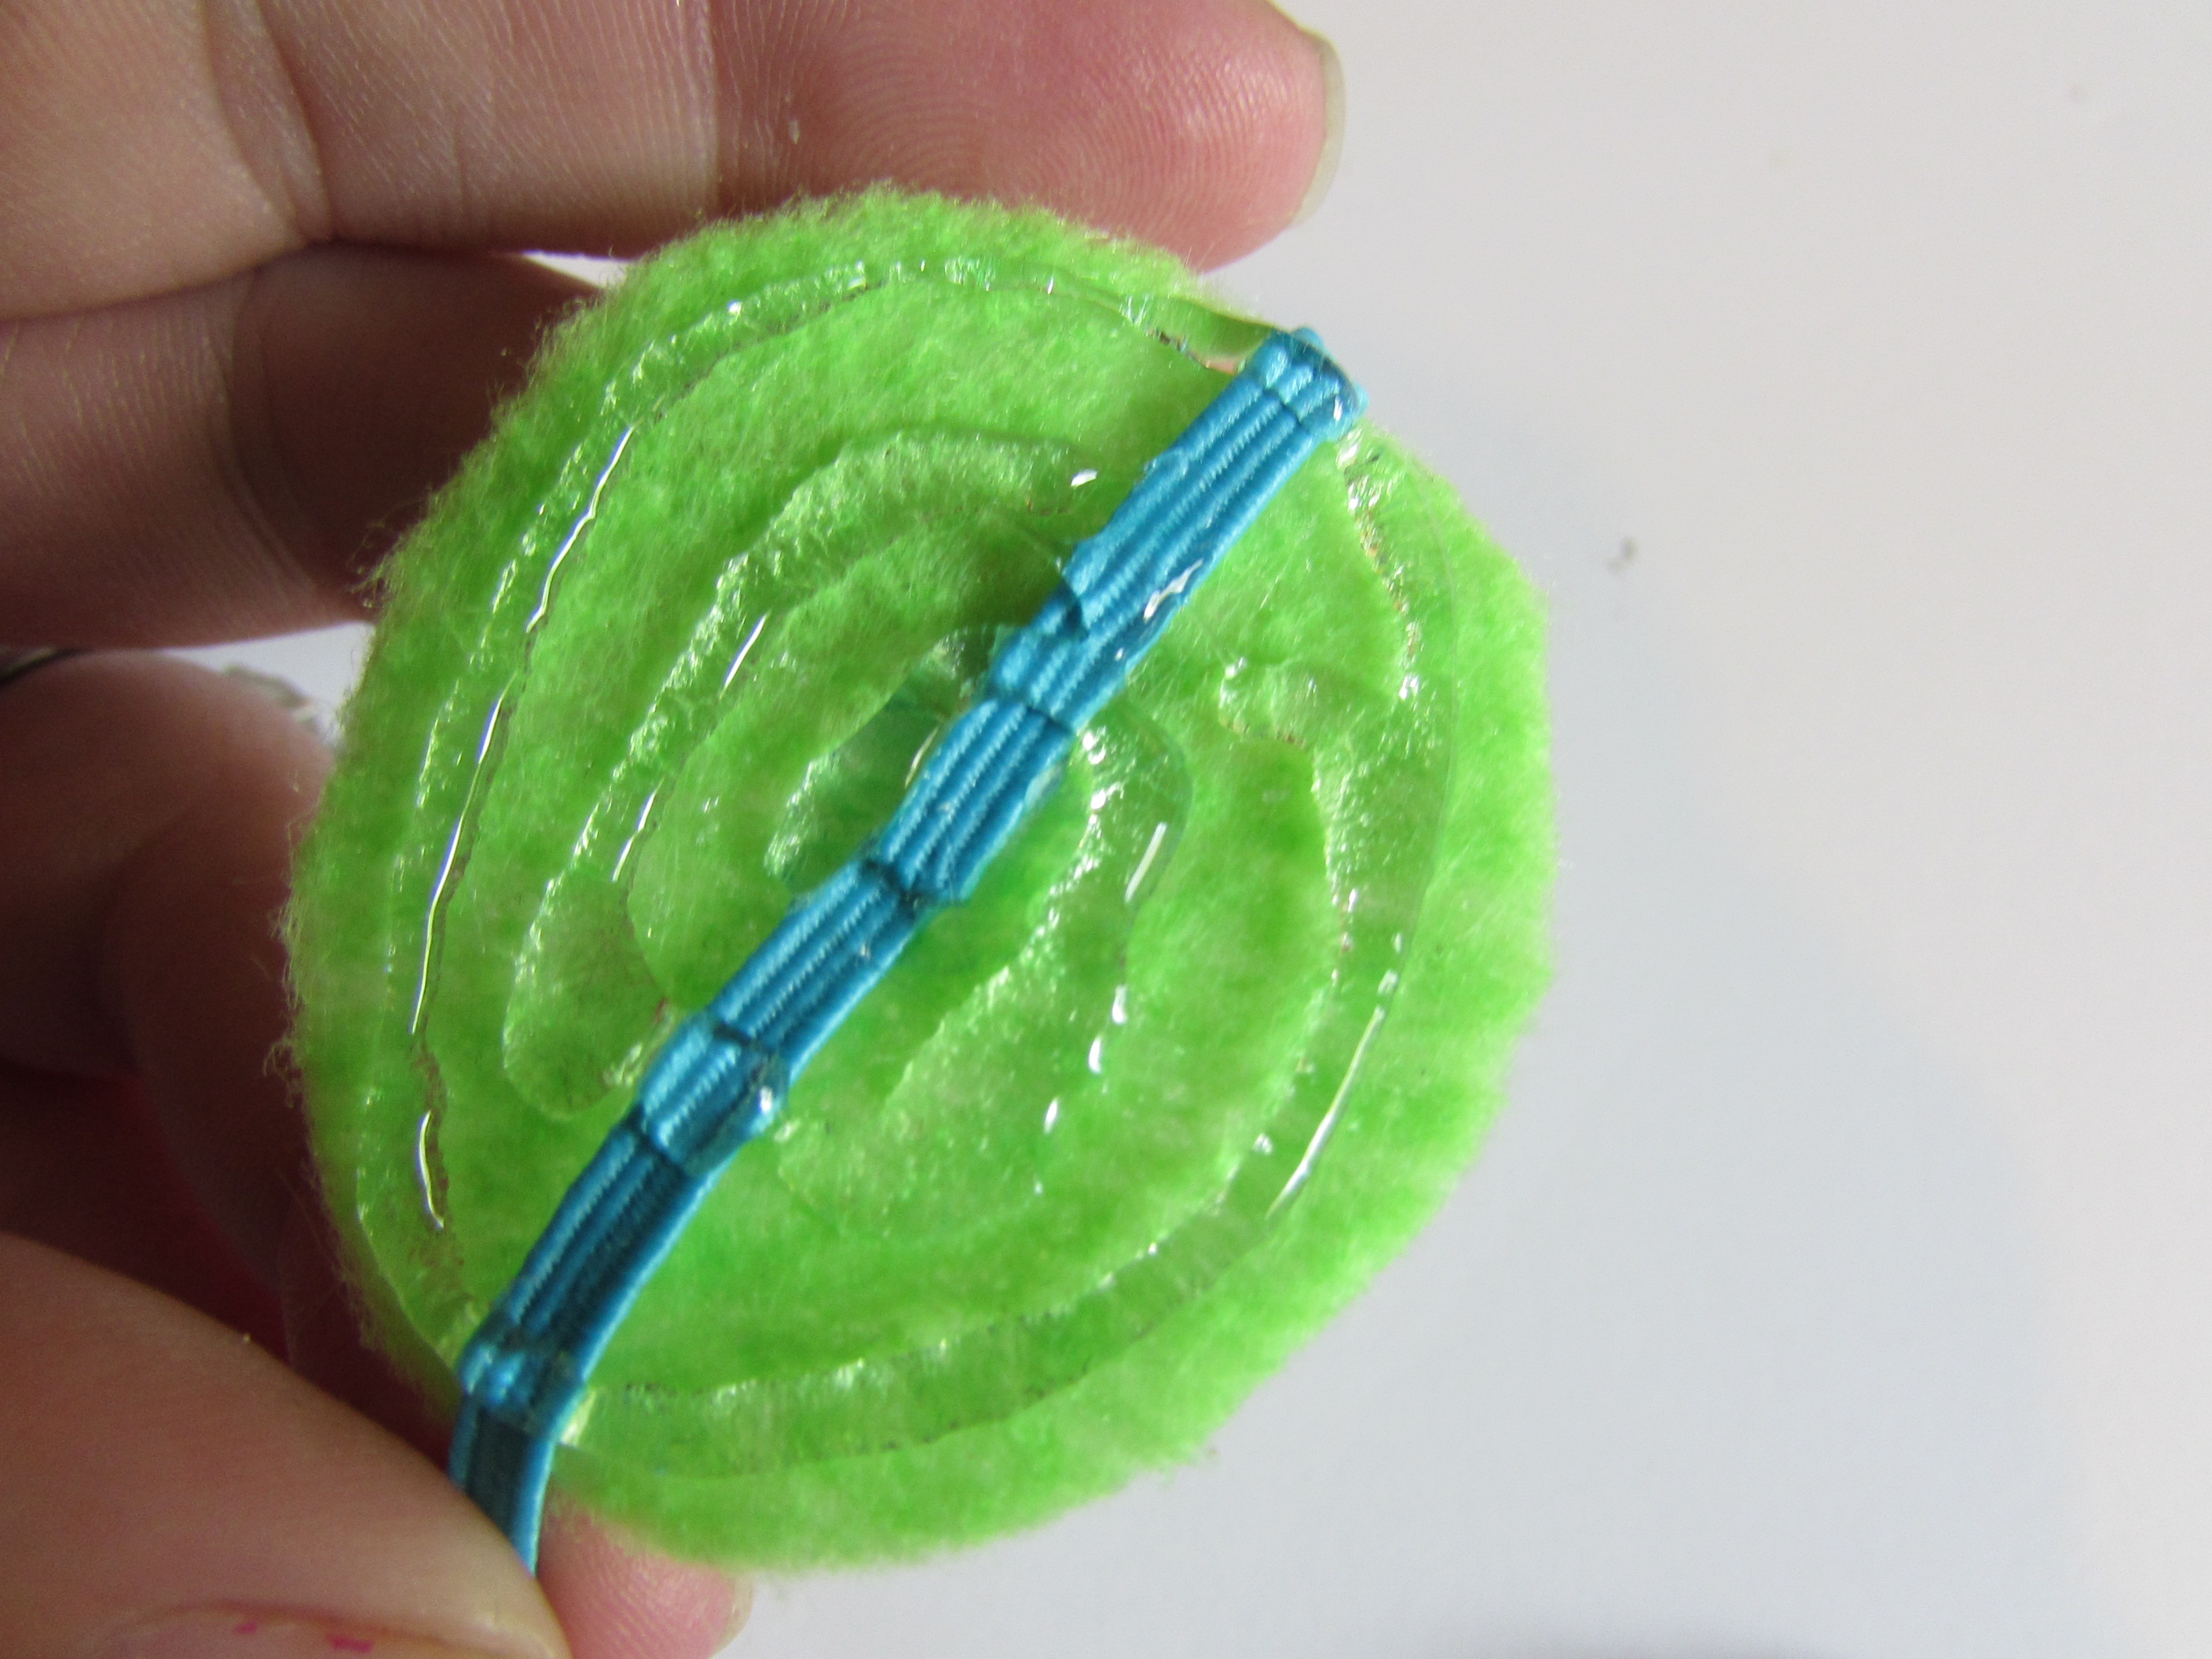
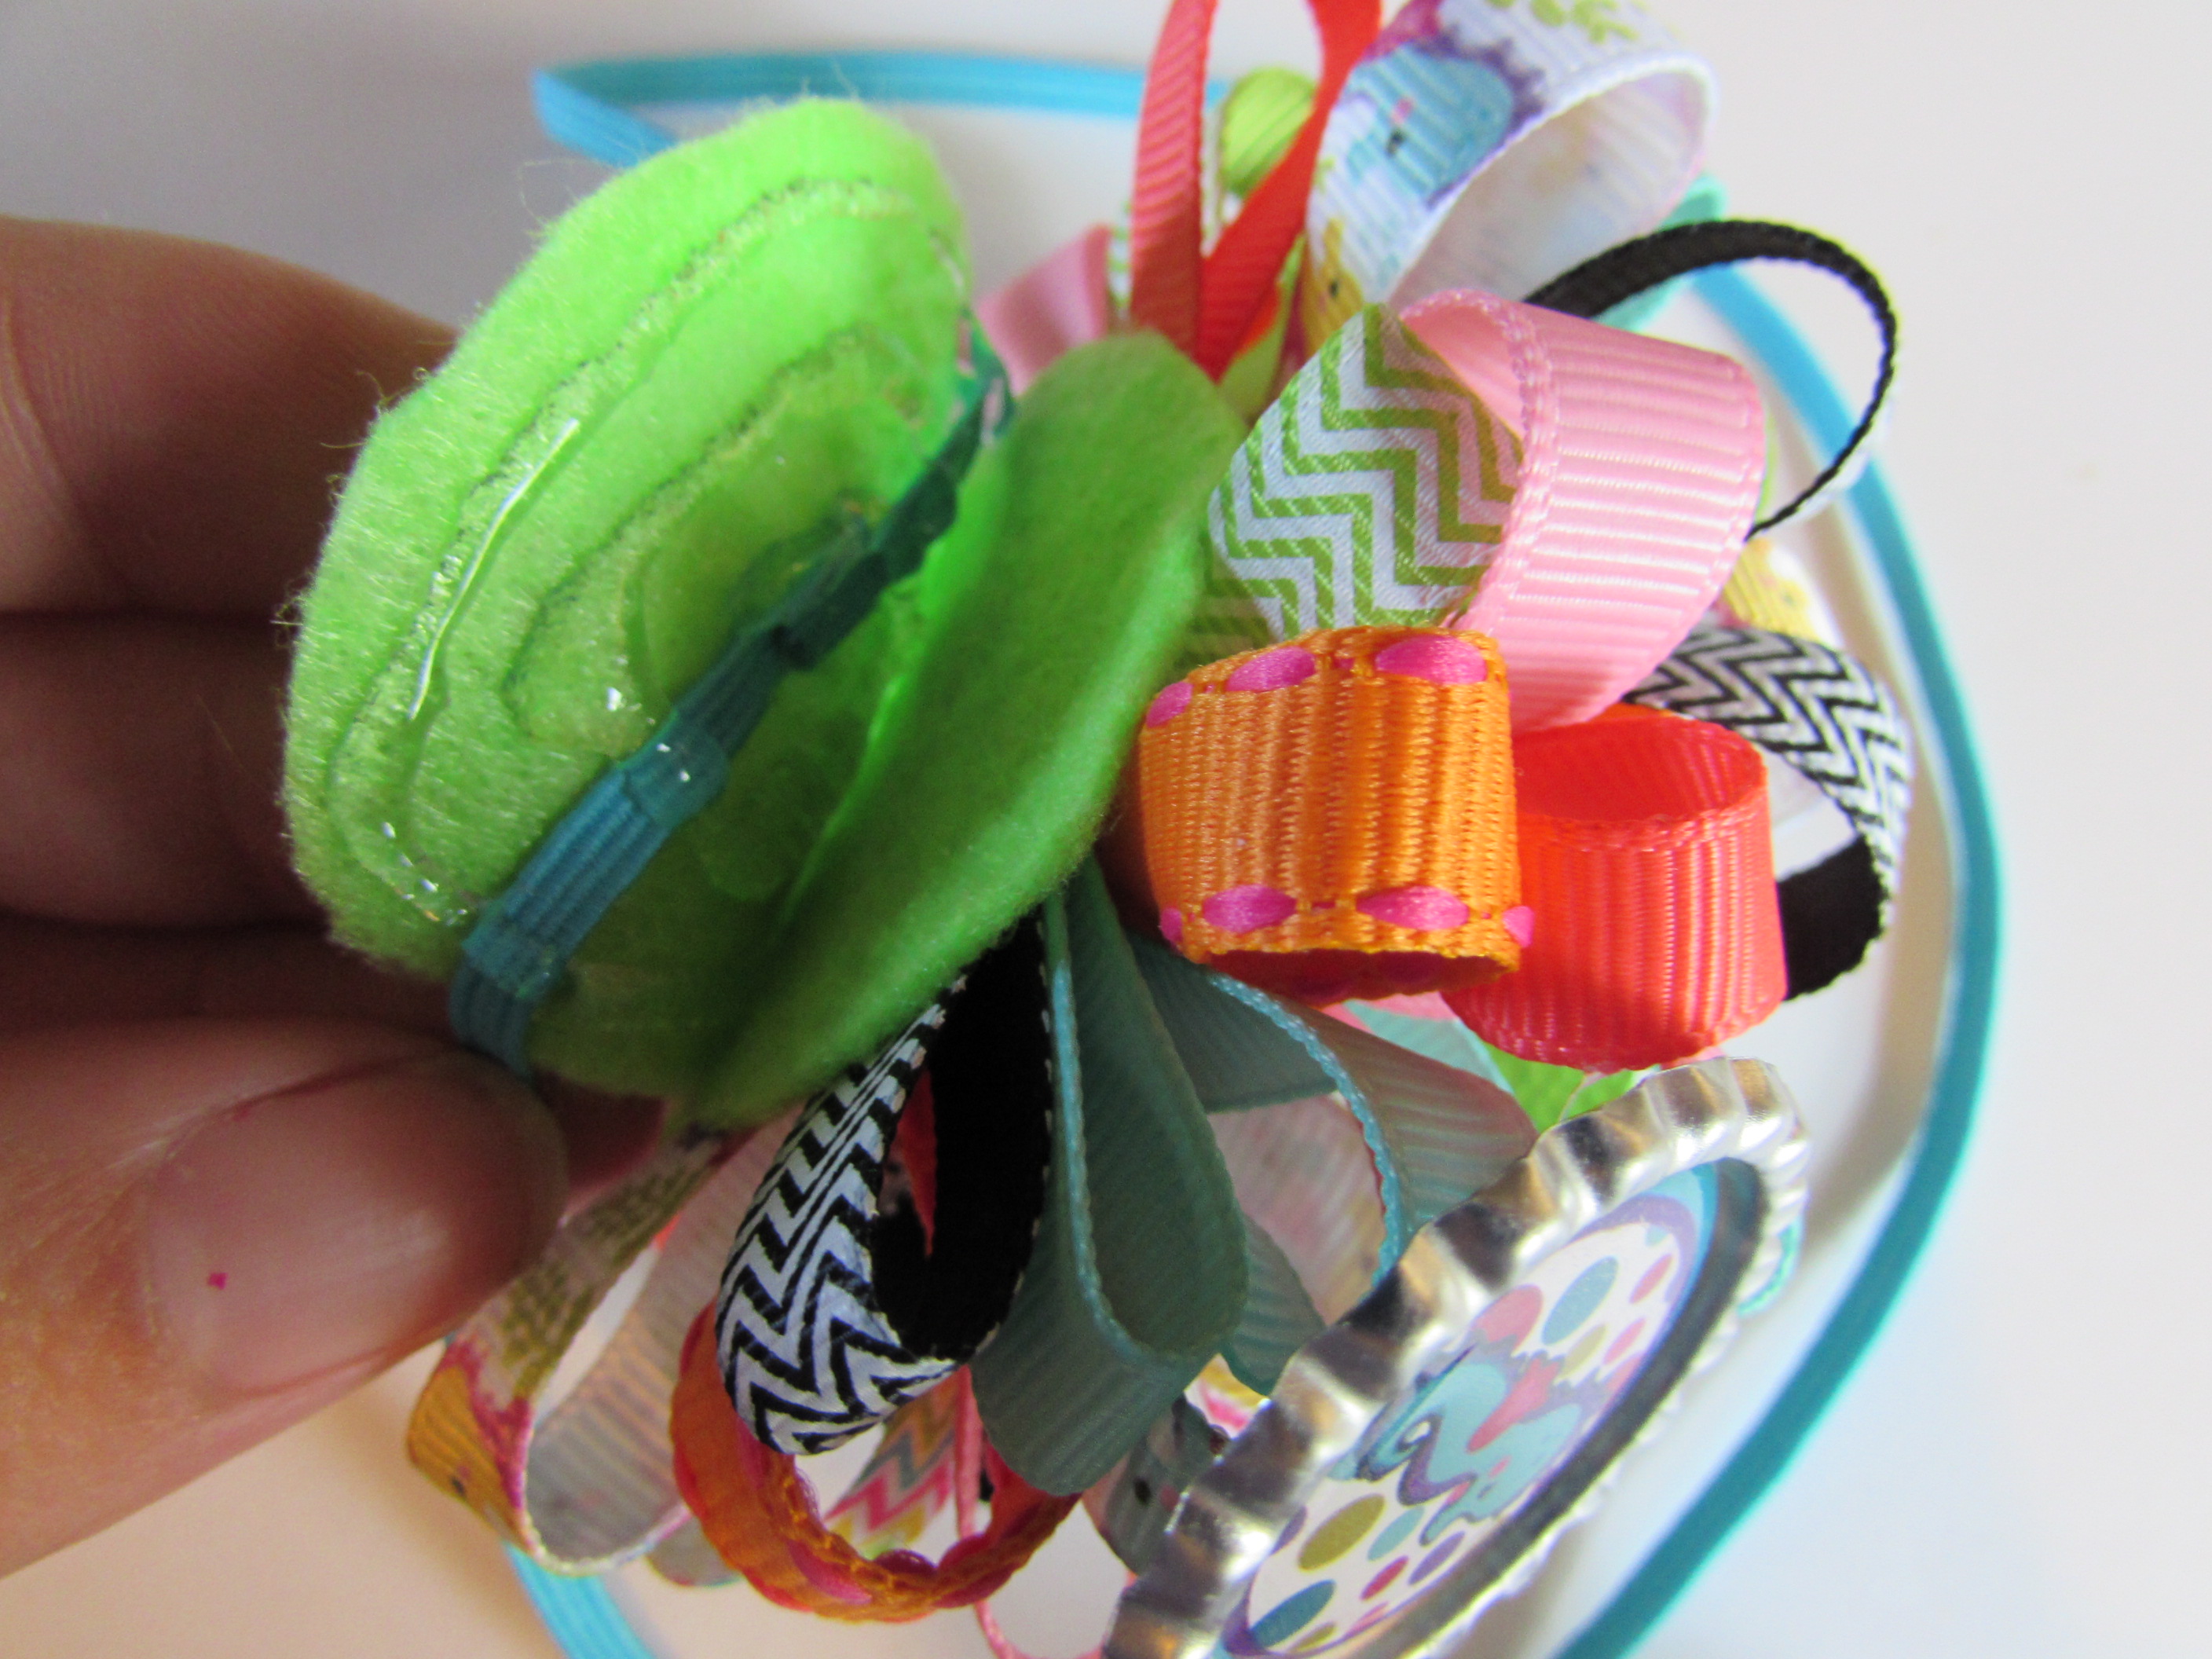
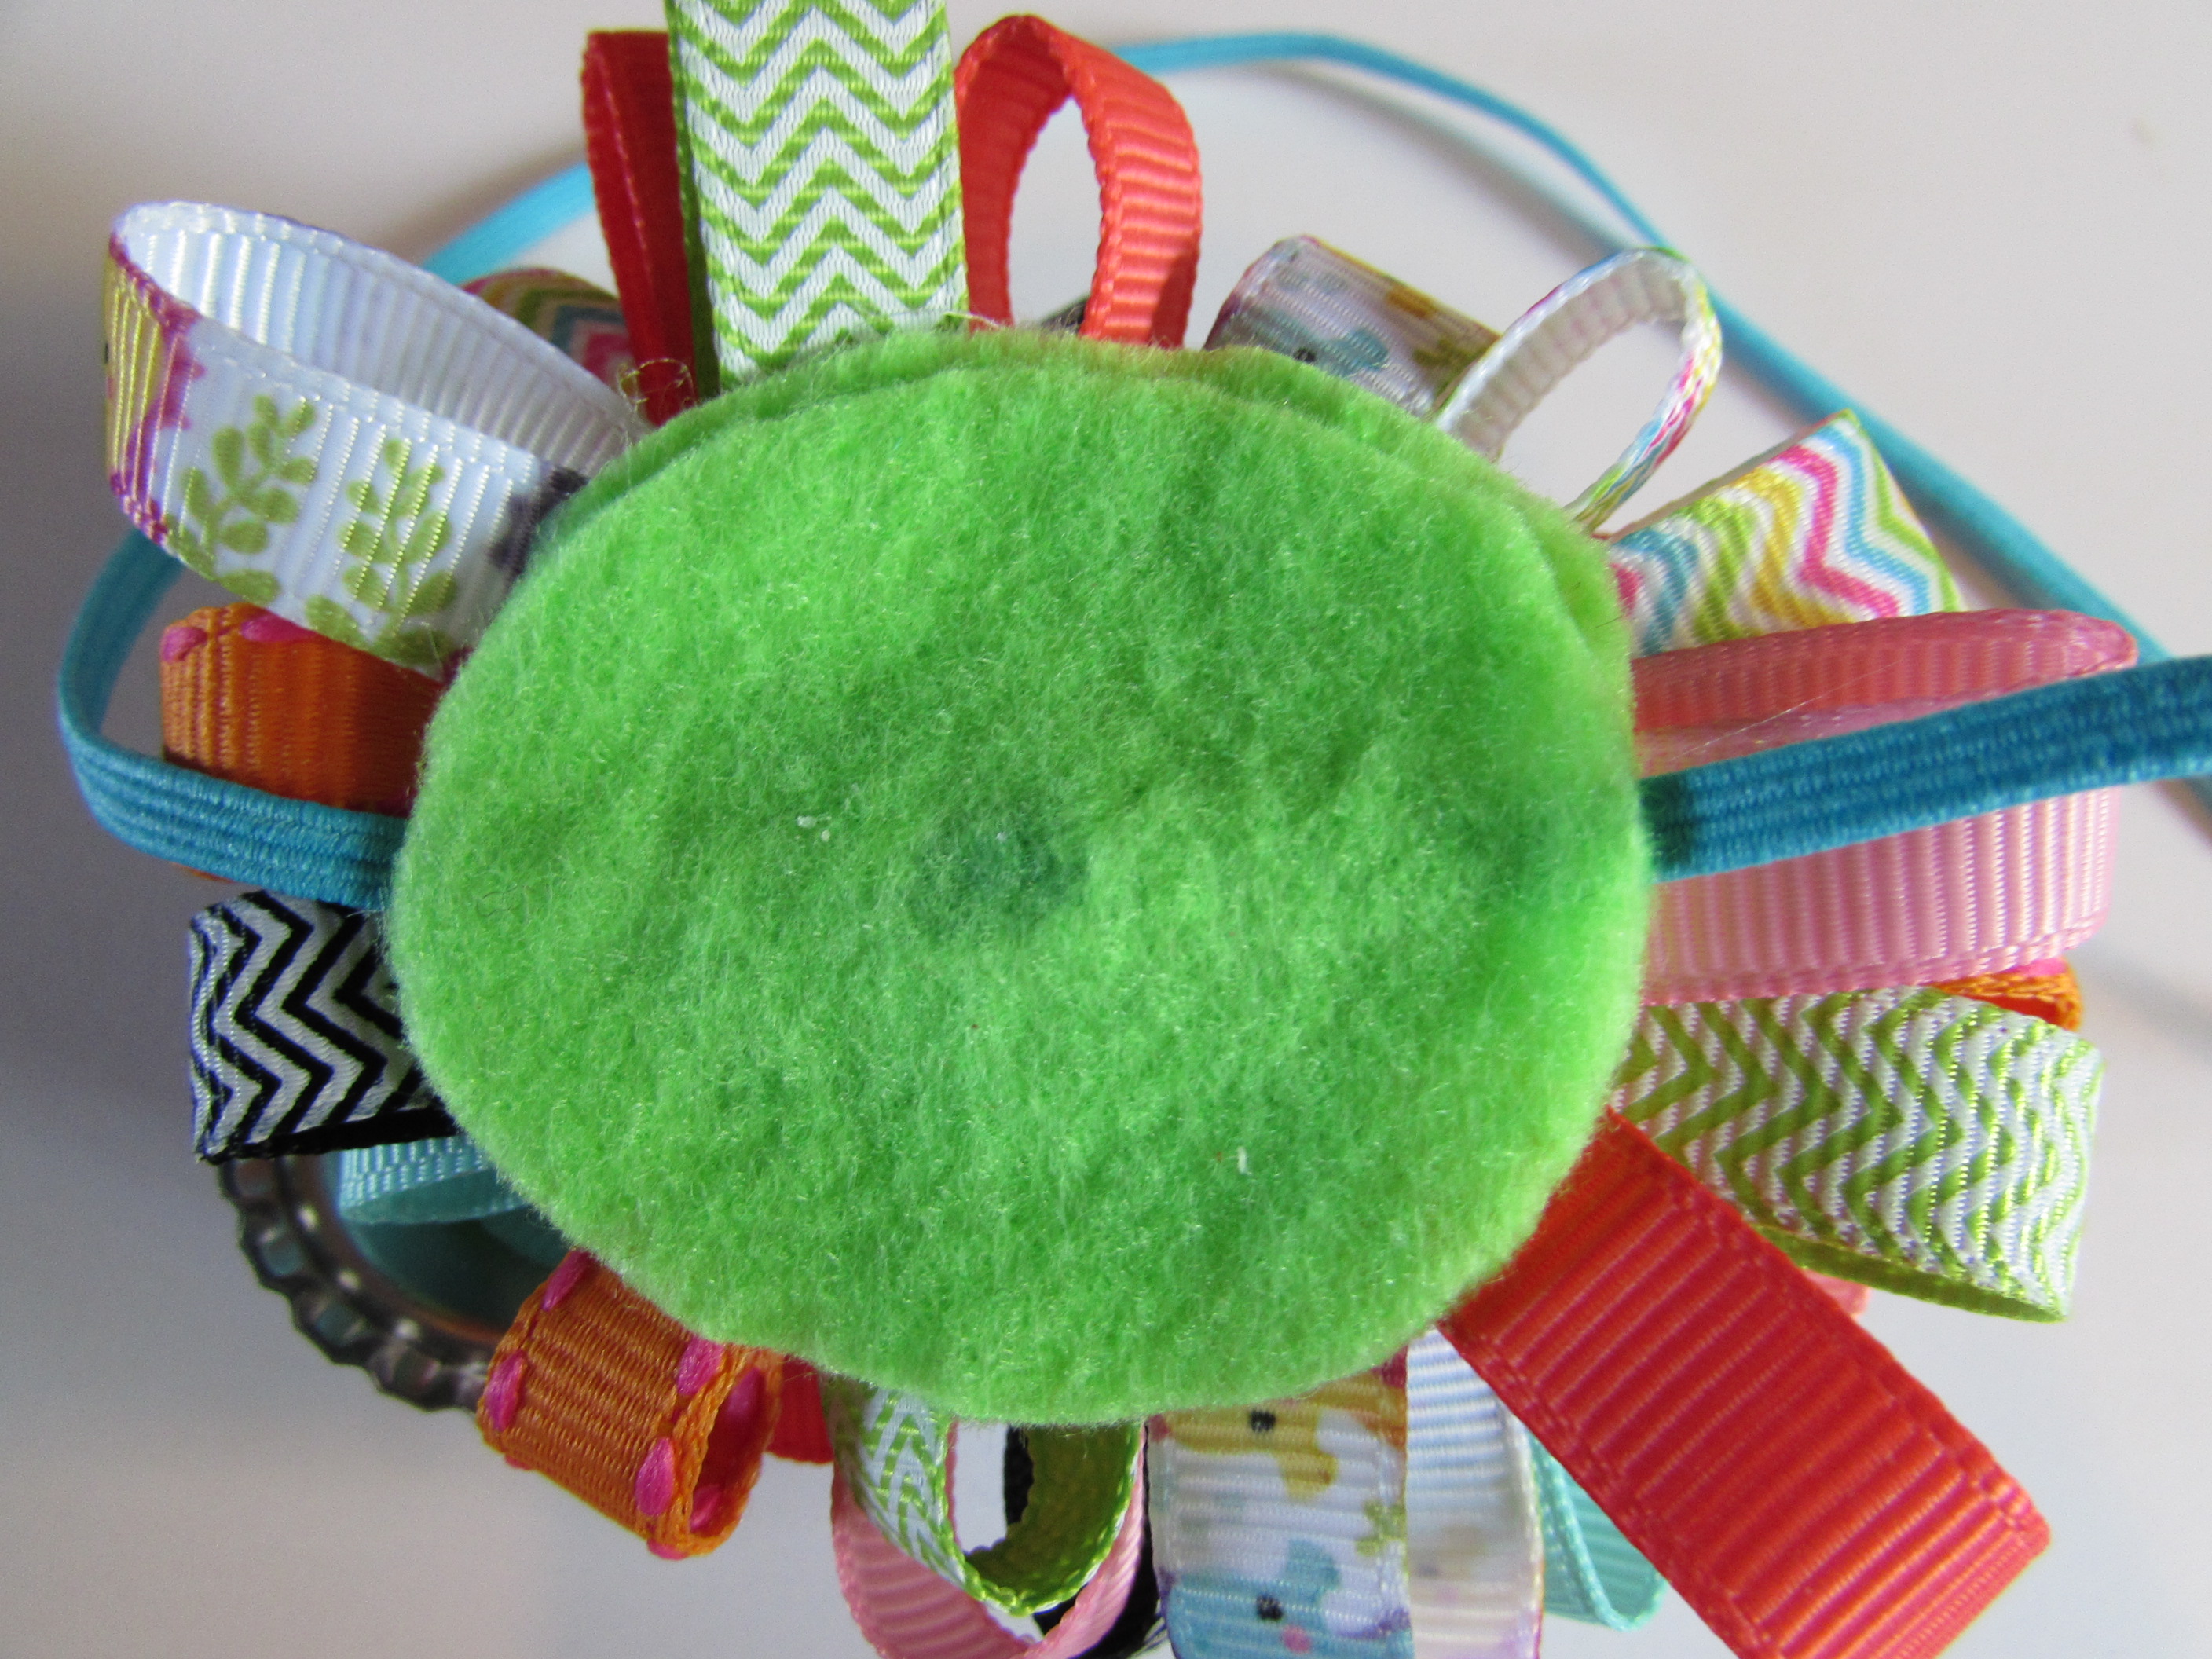 *** Now YOU'RE DONE!!!


 TOOLS
TOOLS
 NEW
NEW


