


 TOOLS
TOOLS
 NEW
NEW


While I (ahem) don't see the effective utilization of a day planner in my near future {{I would first have to pay attention to my sticky note telling me to purchase one}}, I am loving this idea to mark pages of articles I want to note for future reference in my magazine stash or group like content together of the pages I have torn out and are currently not-so-tidily shoved in folders. Embellishments can even make clutter look pretty, right?! Thanks for sharing your great idea Cassie!
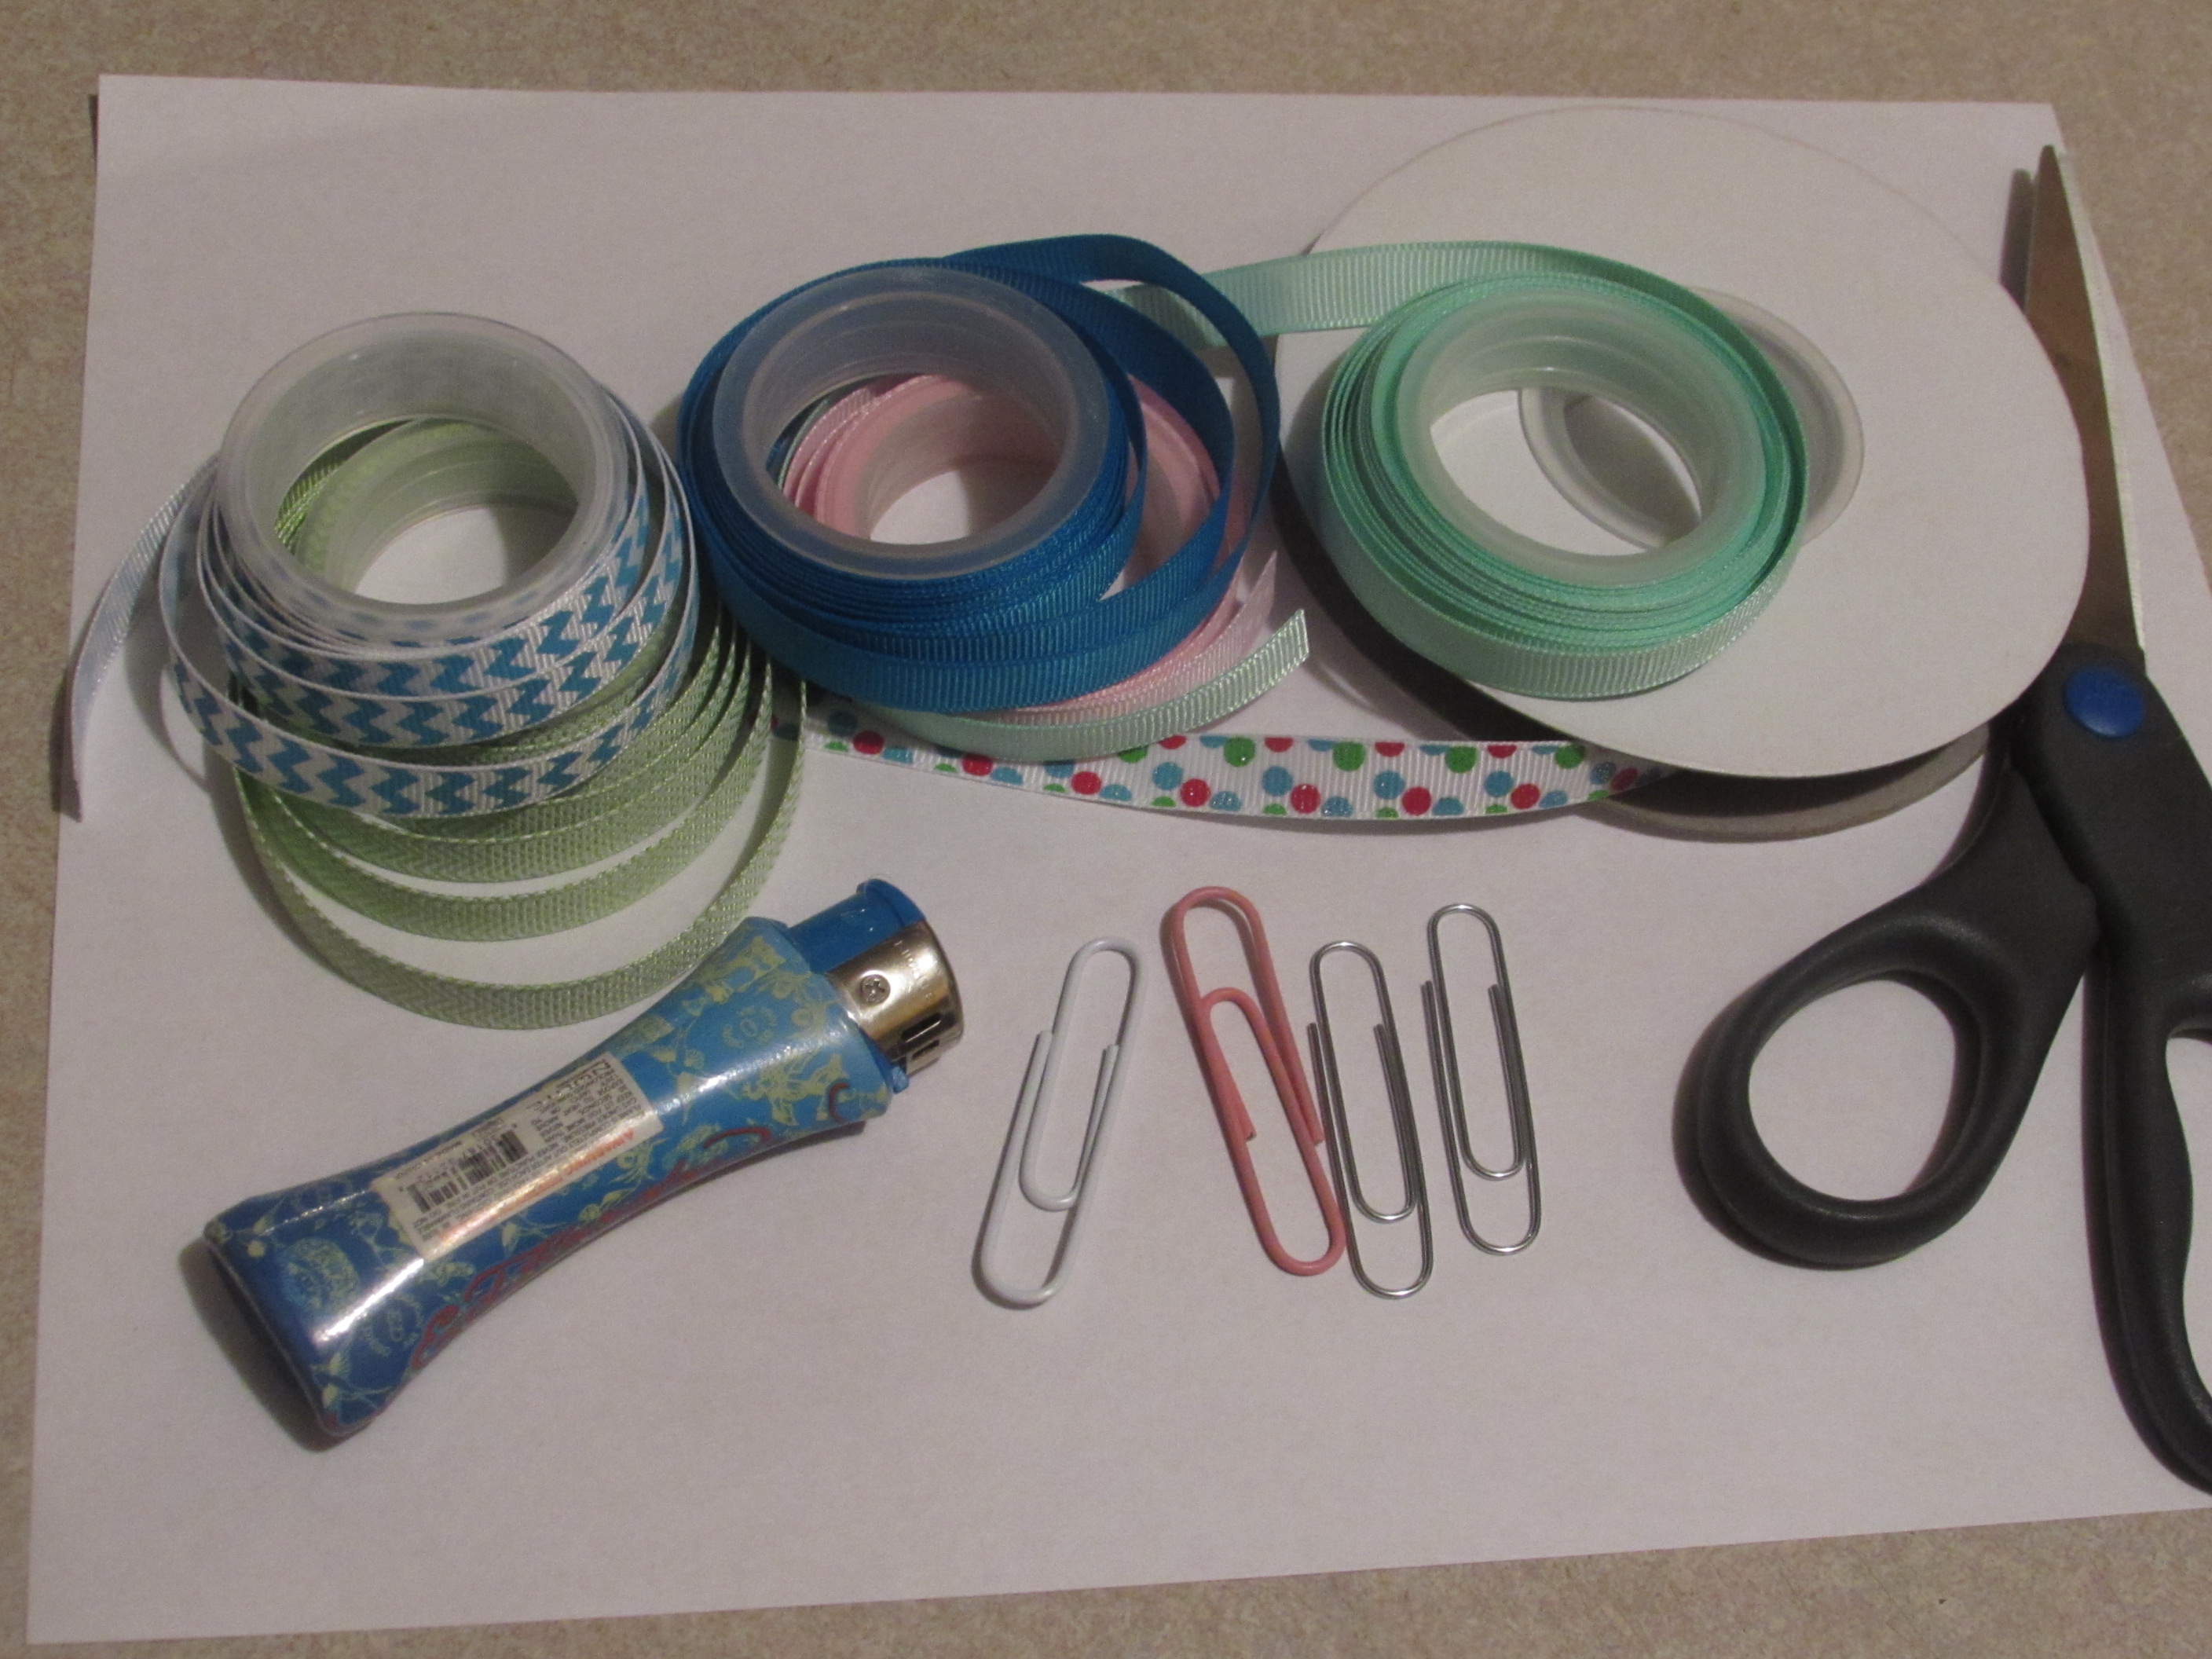 You will need any ribbon 3/8" wide or smaller.
Lighter
Scissors
Paperclips {{ Big Paper Clips }}
* Colored aforementioned paperclips purchased at the Dollar Tree and silver from Walmart
Hotglue gun {{ Optional }}
Yes, that is it. Pretty simple enough, huh?!?!
Let's get started.
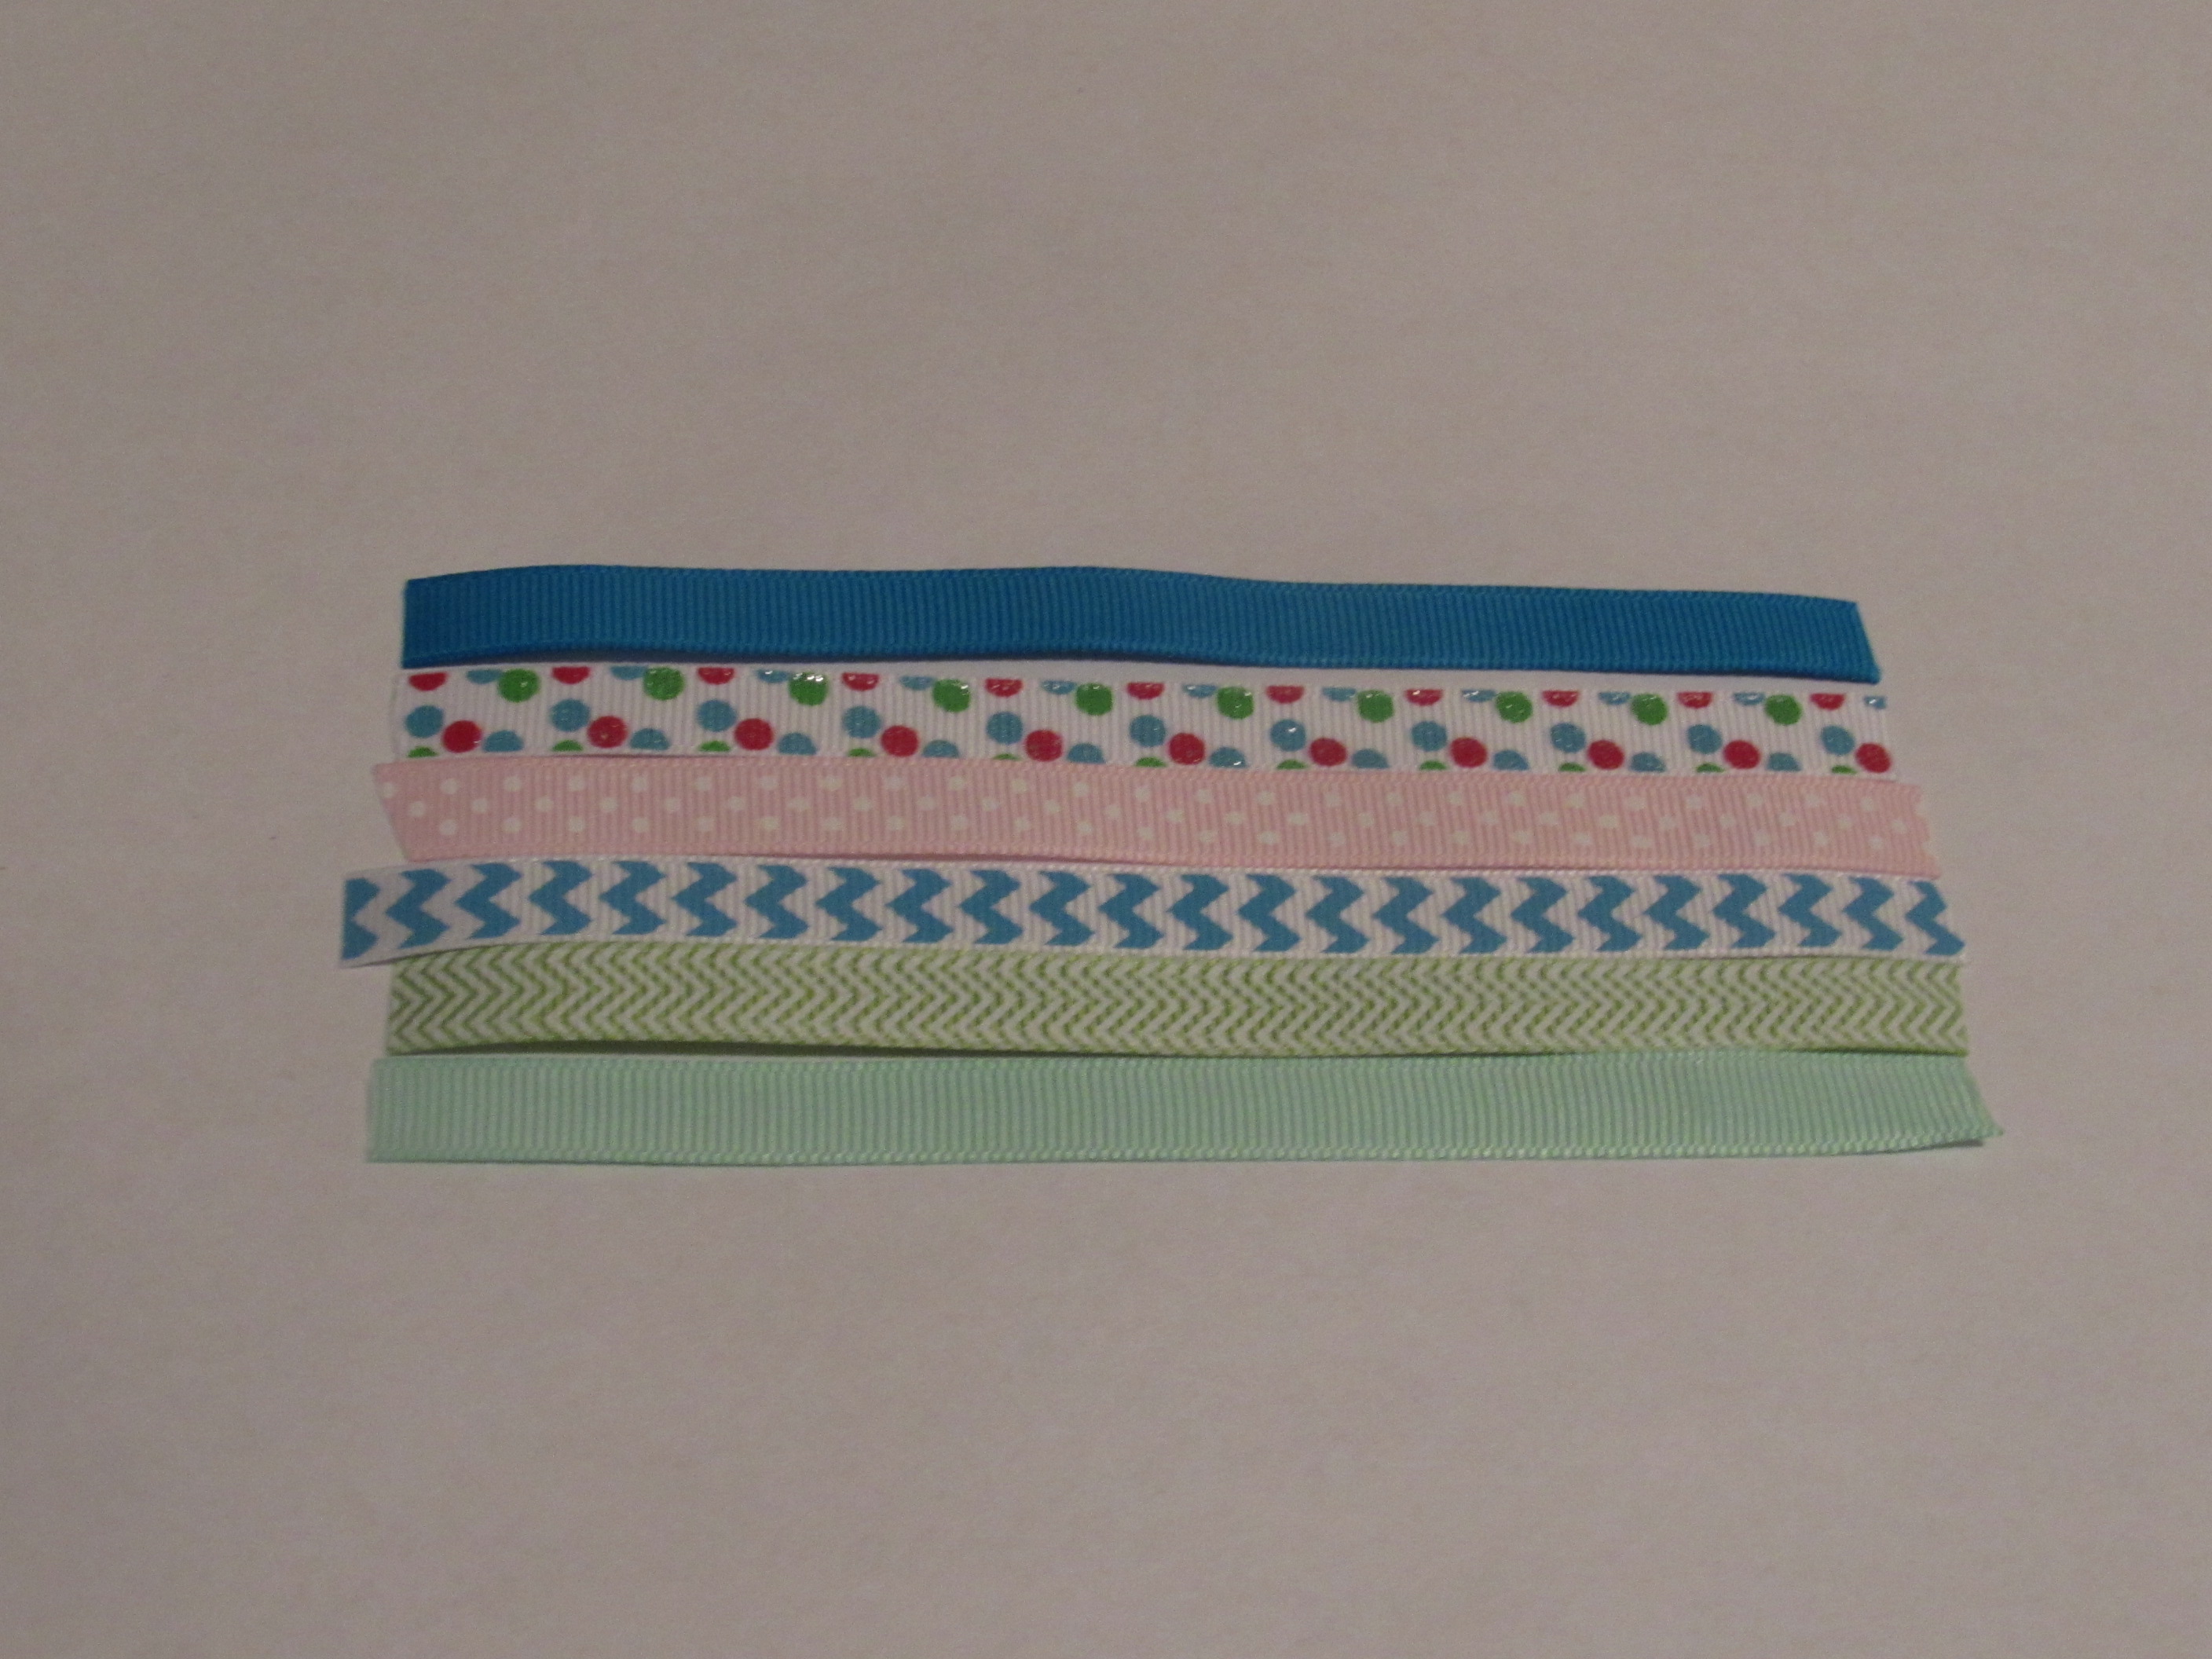
Step 1: You are going to want to cut your ribbons to a desired length. I did roughly 5" or so. I did not measure, I just went with it. Do NOT heat seal yet :))
You will need any ribbon 3/8" wide or smaller.
Lighter
Scissors
Paperclips {{ Big Paper Clips }}
* Colored aforementioned paperclips purchased at the Dollar Tree and silver from Walmart
Hotglue gun {{ Optional }}
Yes, that is it. Pretty simple enough, huh?!?!
Let's get started.
Step 1: You are going to want to cut your ribbons to a desired length. I did roughly 5" or so. I did not measure, I just went with it. Do NOT heat seal yet :))
 Before we start Step 2 we are going to show you how to make a paperclip bookmark using just 1 piece of ribbon.
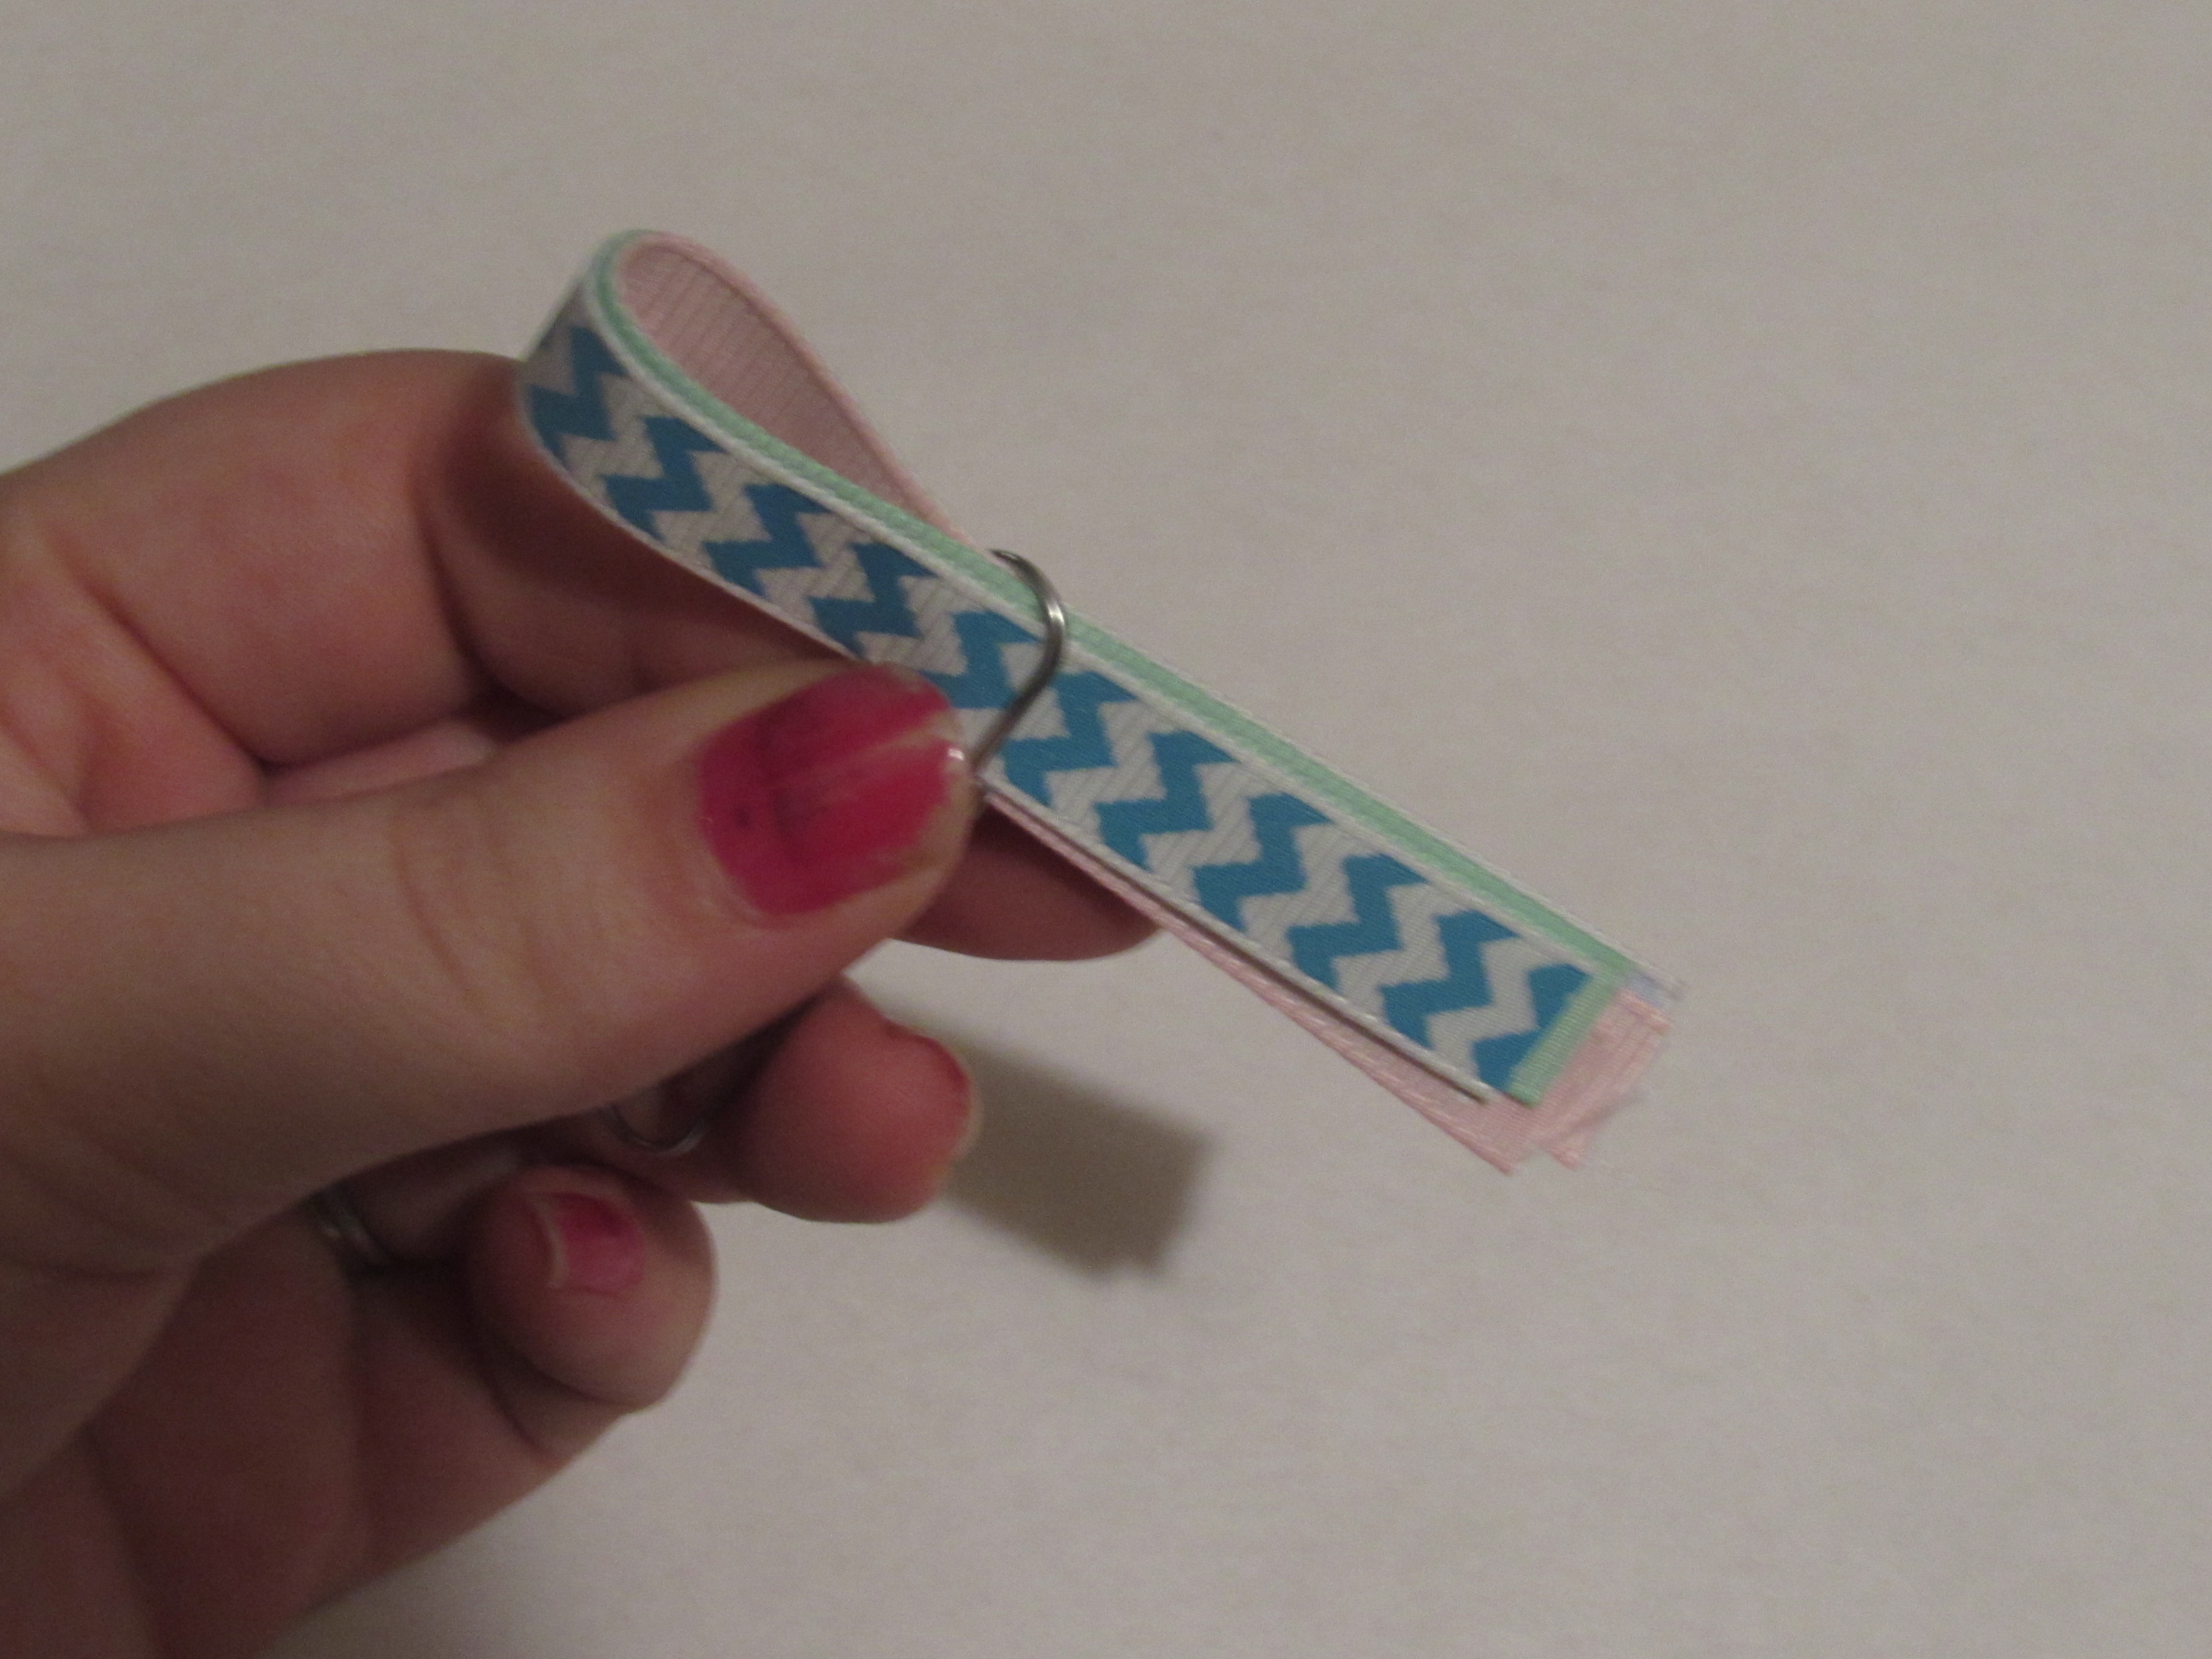
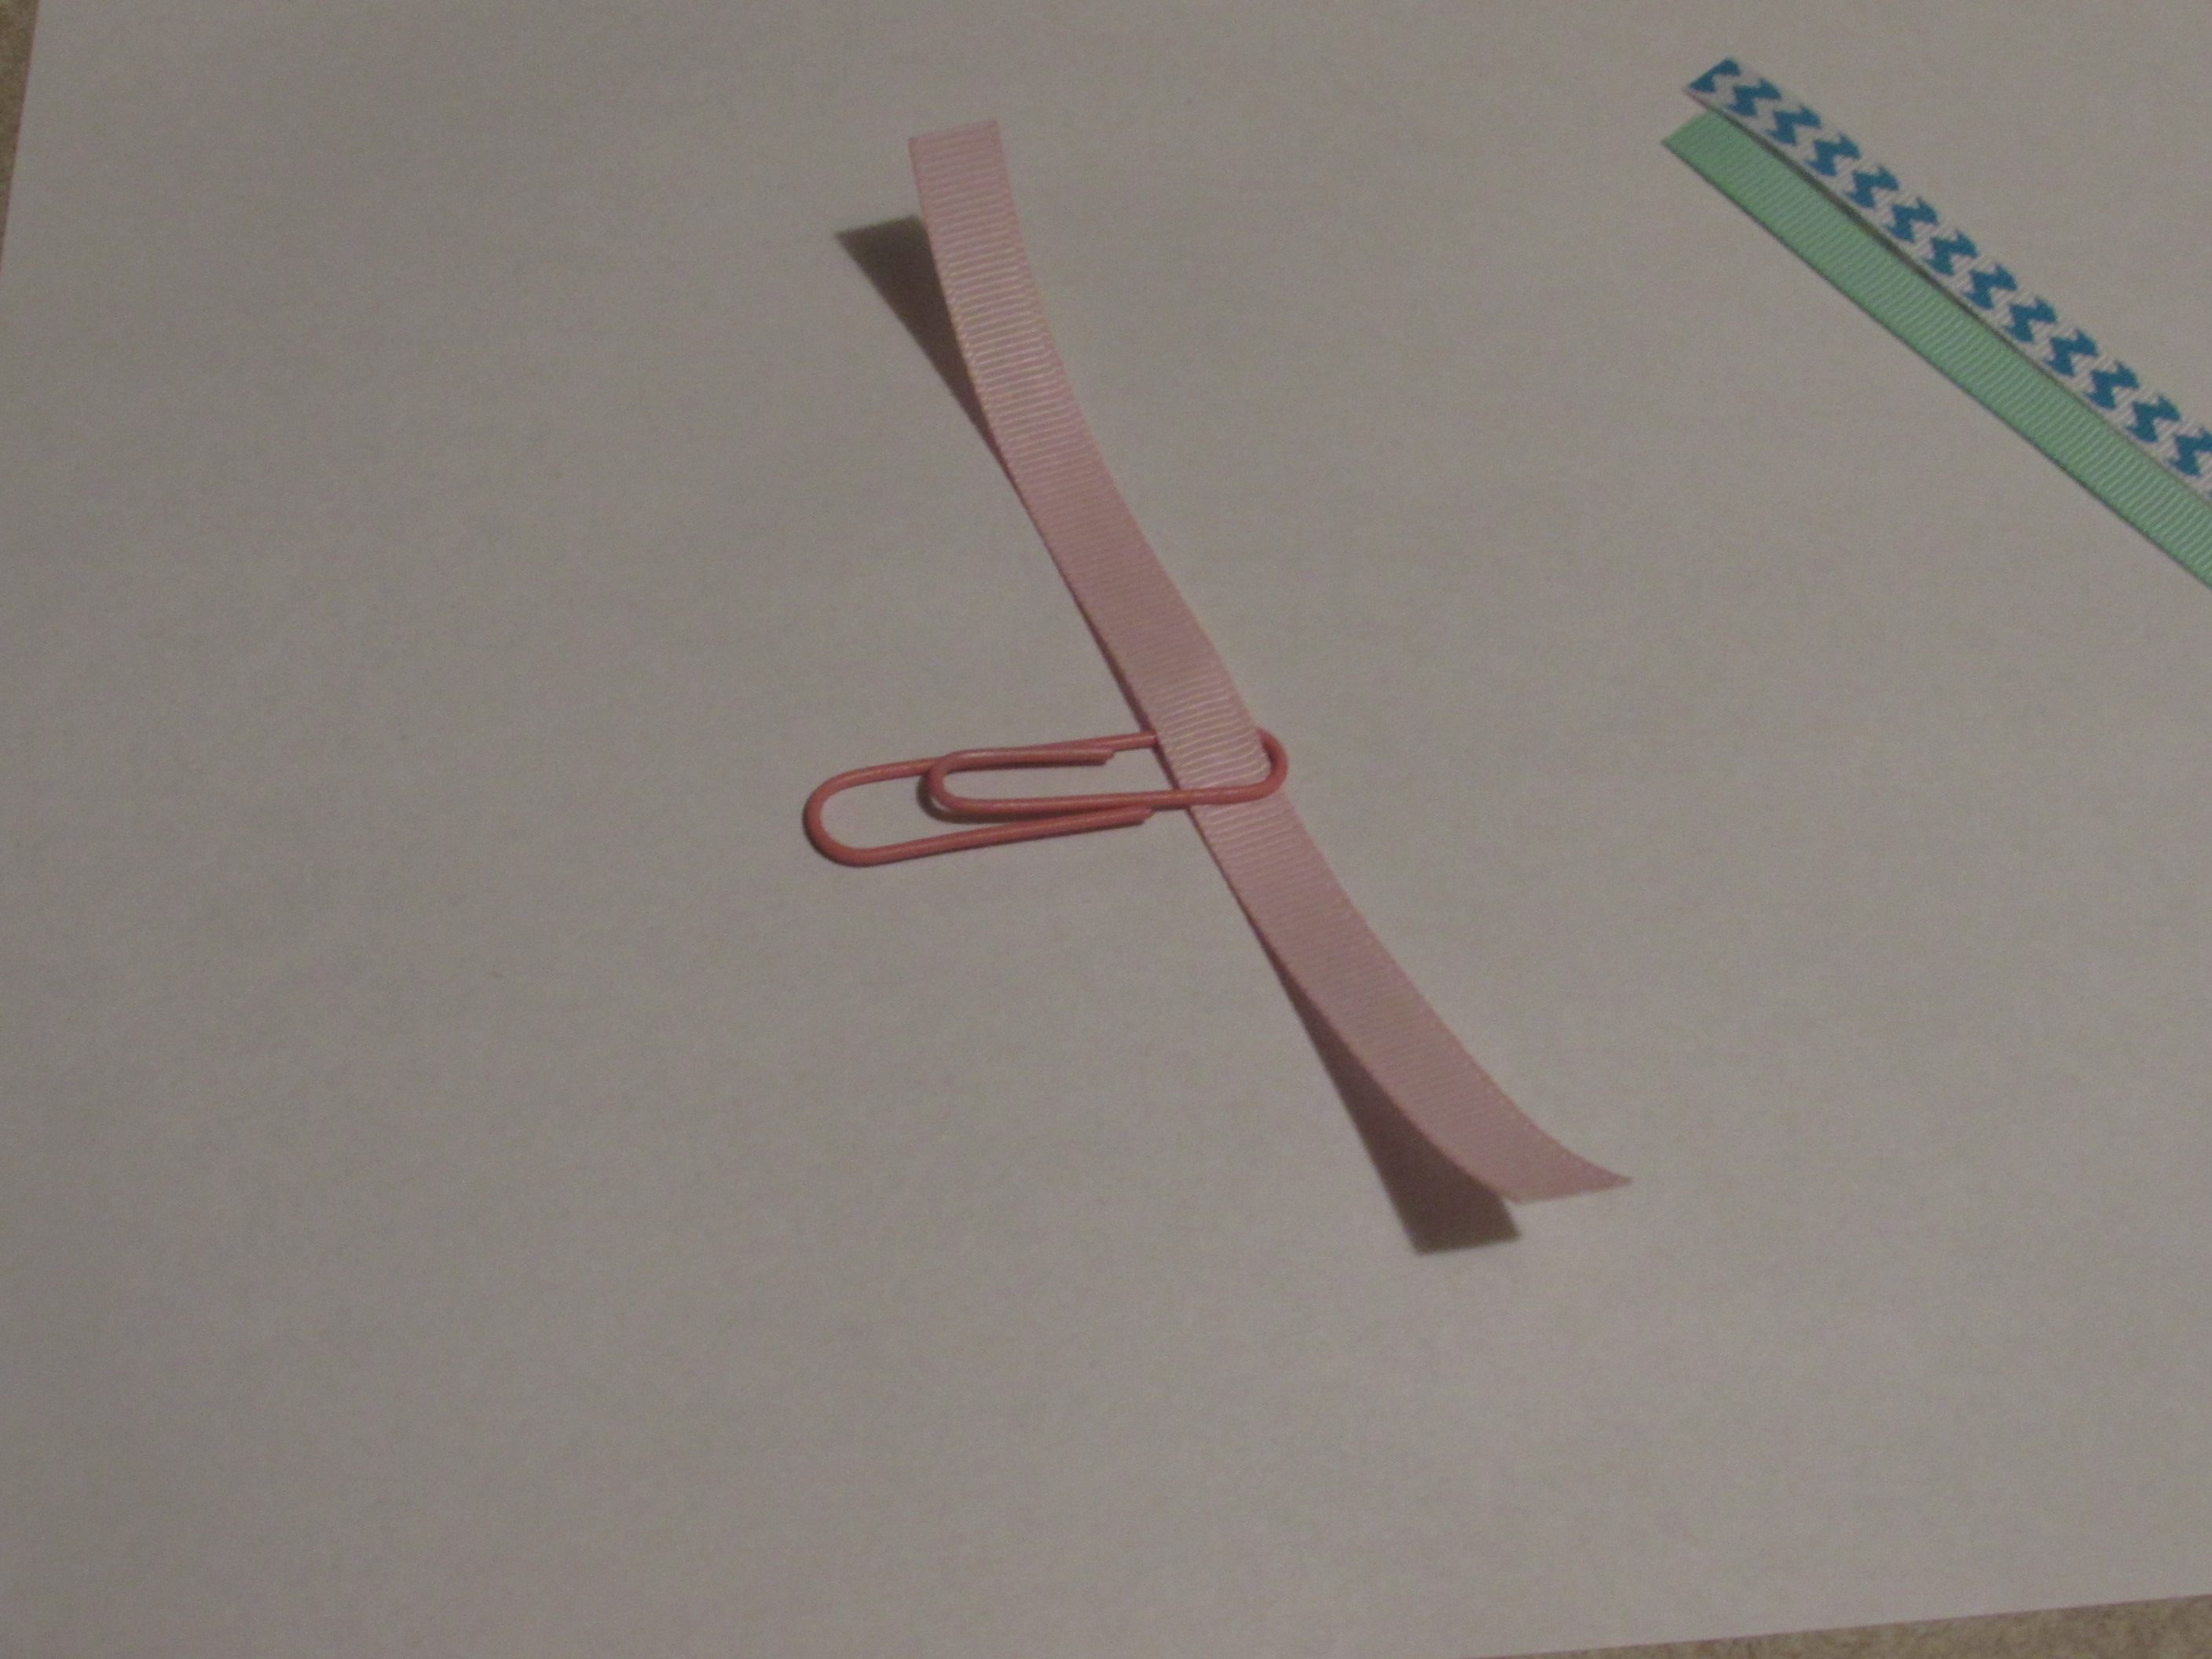 Step 2: Simply take one {{ 1 }} piece of ribbon and slide it through the upper half of the paperclip.
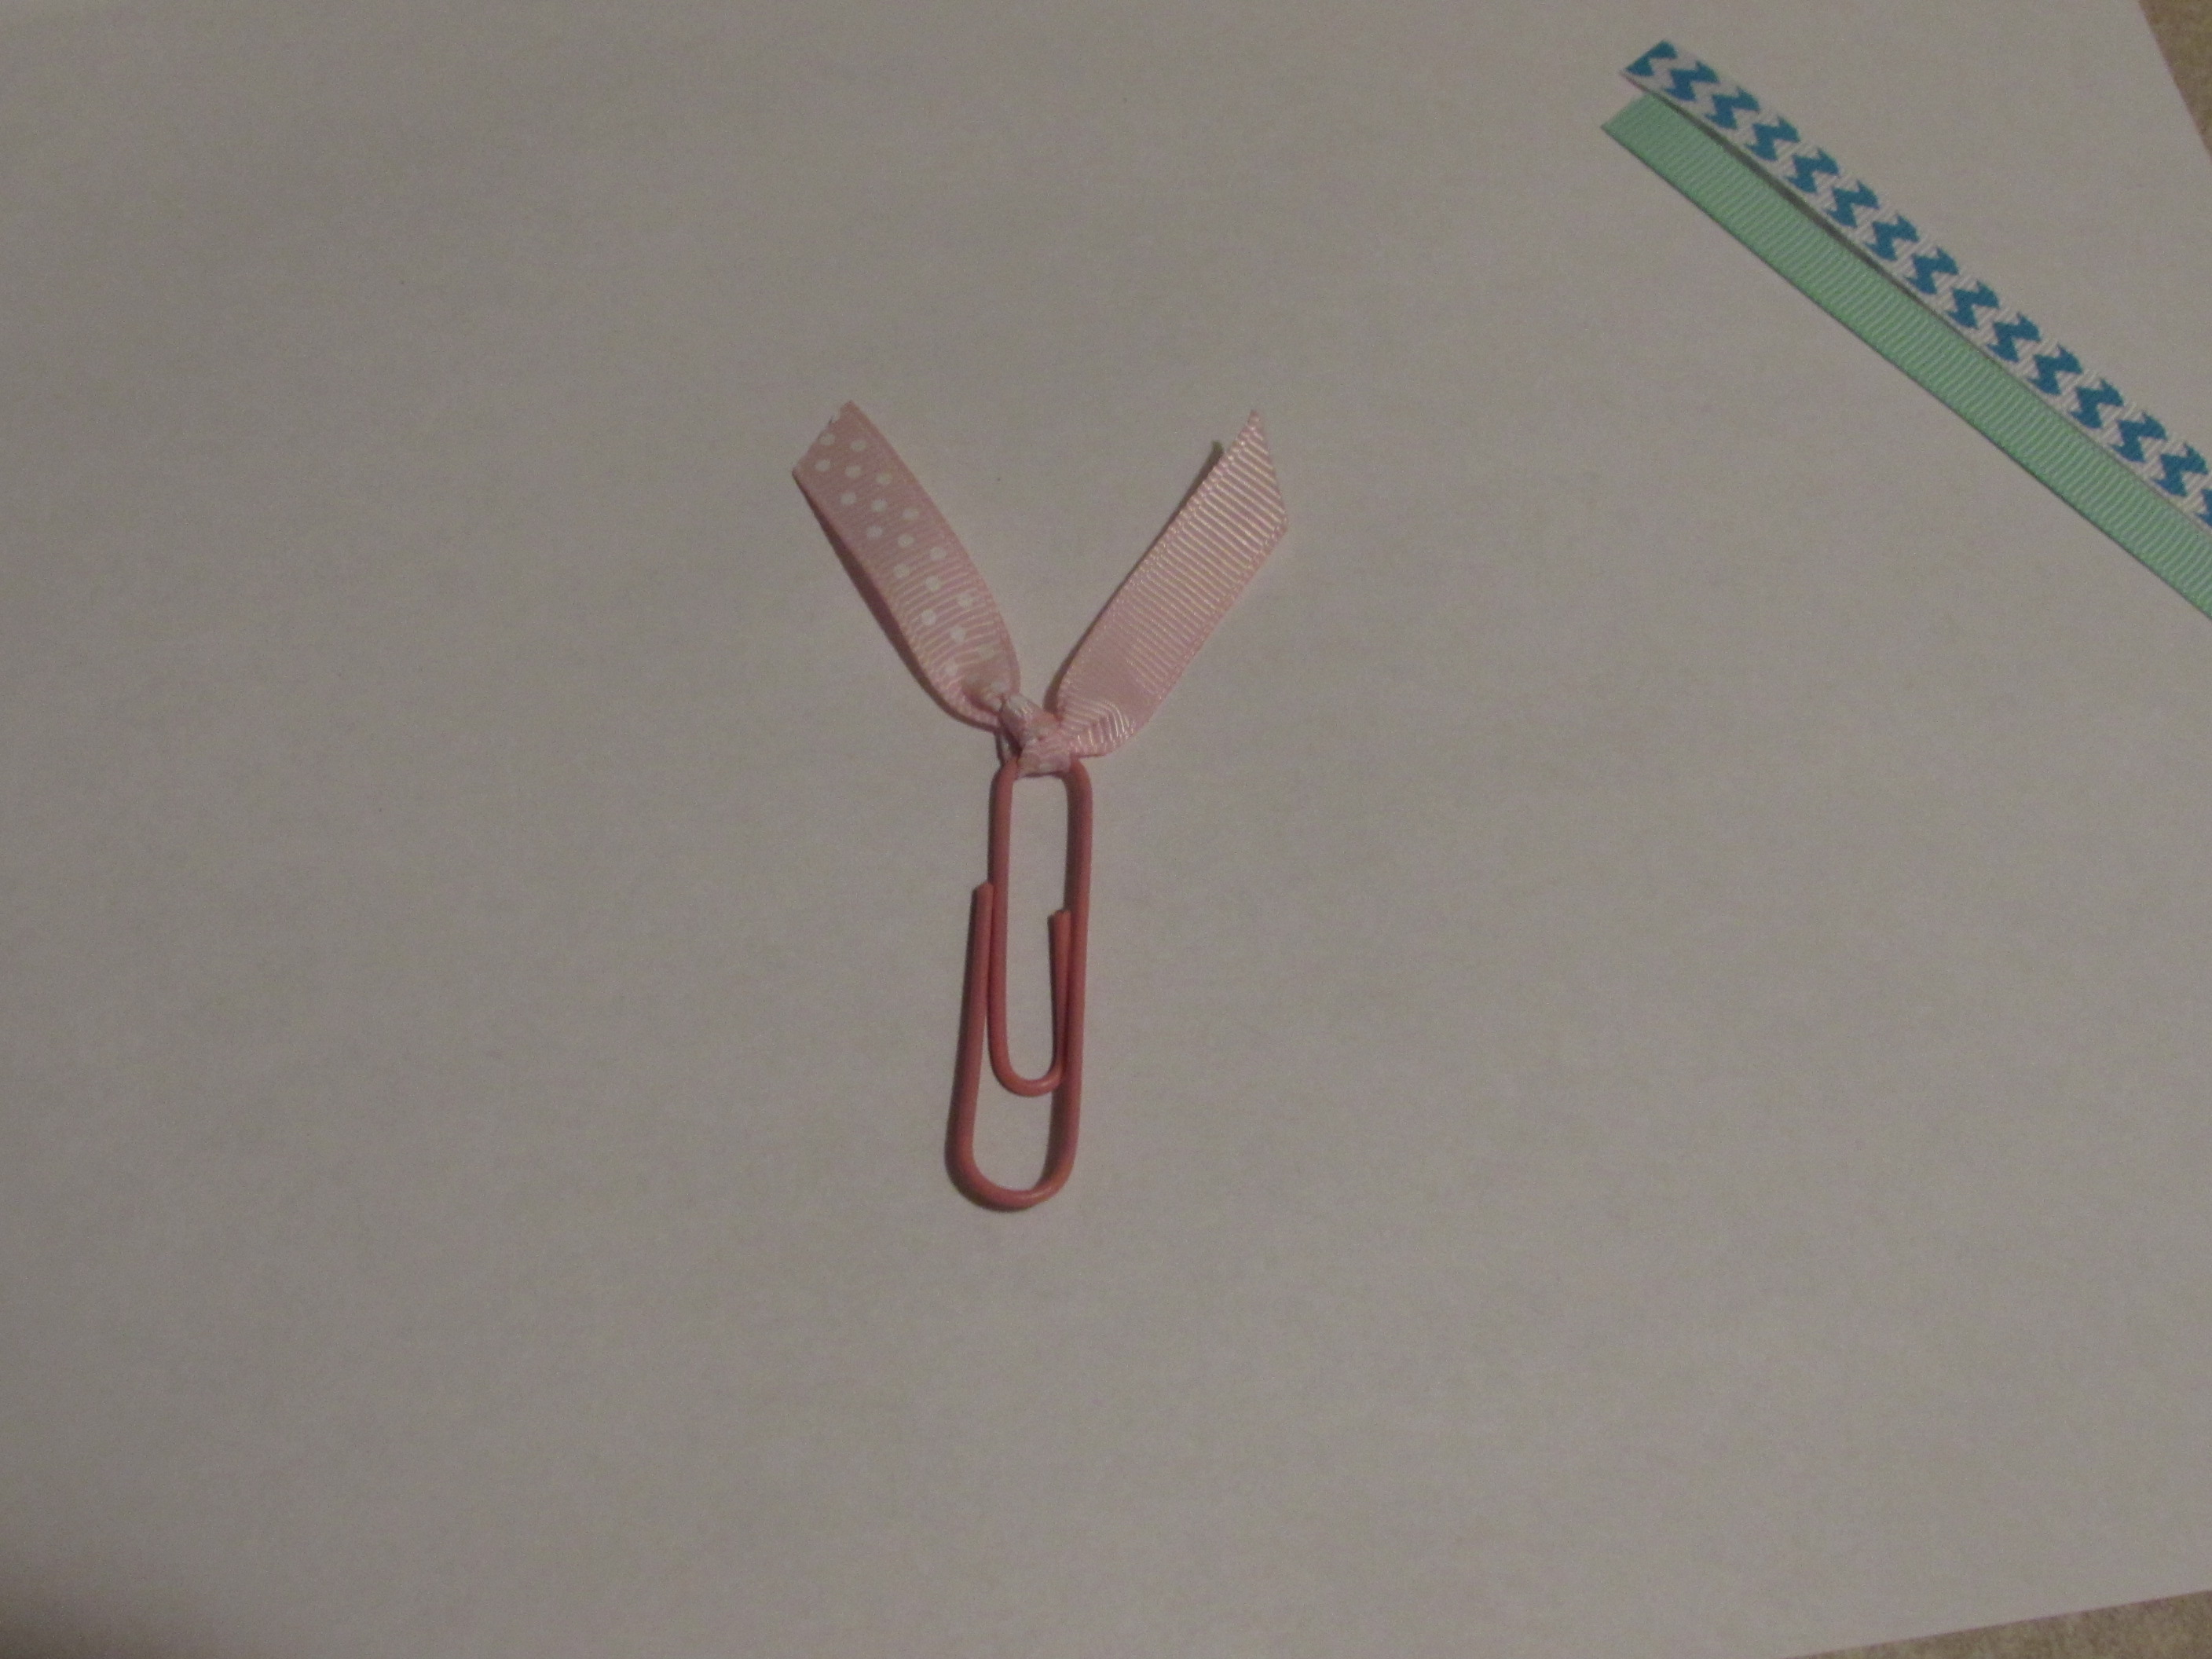
 Step 3: Just tie a knot with the ribbon like you would anything else.
 Step 4: Trim and heat seal.
* Trim to your desired length and shape. I did a downward slope cut and then simply heat sealed the ends of the ribbon.
- Why am I heat sealing the ends of the ribbon?
* When you cut ribbon it tends to fray. In order to stop the fraying and to keep a tidy bookmark, you will need to run your lighter flame close {{ NOT directly touching it }} to the end of the ribbon to create a seal. You can run your fingers over the ends to ensure that there is indeed a seal.
Step 5. You are DONE and you may begin to use your ribbon paperclip bookmark.
-------- NEXT STYLE IS BELOW ---------
Step 4: Trim and heat seal.
* Trim to your desired length and shape. I did a downward slope cut and then simply heat sealed the ends of the ribbon.
- Why am I heat sealing the ends of the ribbon?
* When you cut ribbon it tends to fray. In order to stop the fraying and to keep a tidy bookmark, you will need to run your lighter flame close {{ NOT directly touching it }} to the end of the ribbon to create a seal. You can run your fingers over the ends to ensure that there is indeed a seal.
Step 5. You are DONE and you may begin to use your ribbon paperclip bookmark.
-------- NEXT STYLE IS BELOW ---------
 For this ribbon paperclip bookmark you need 3 pieces of ribbon and your paperclip.
 Step 1: Stack your ribbons on top of each other
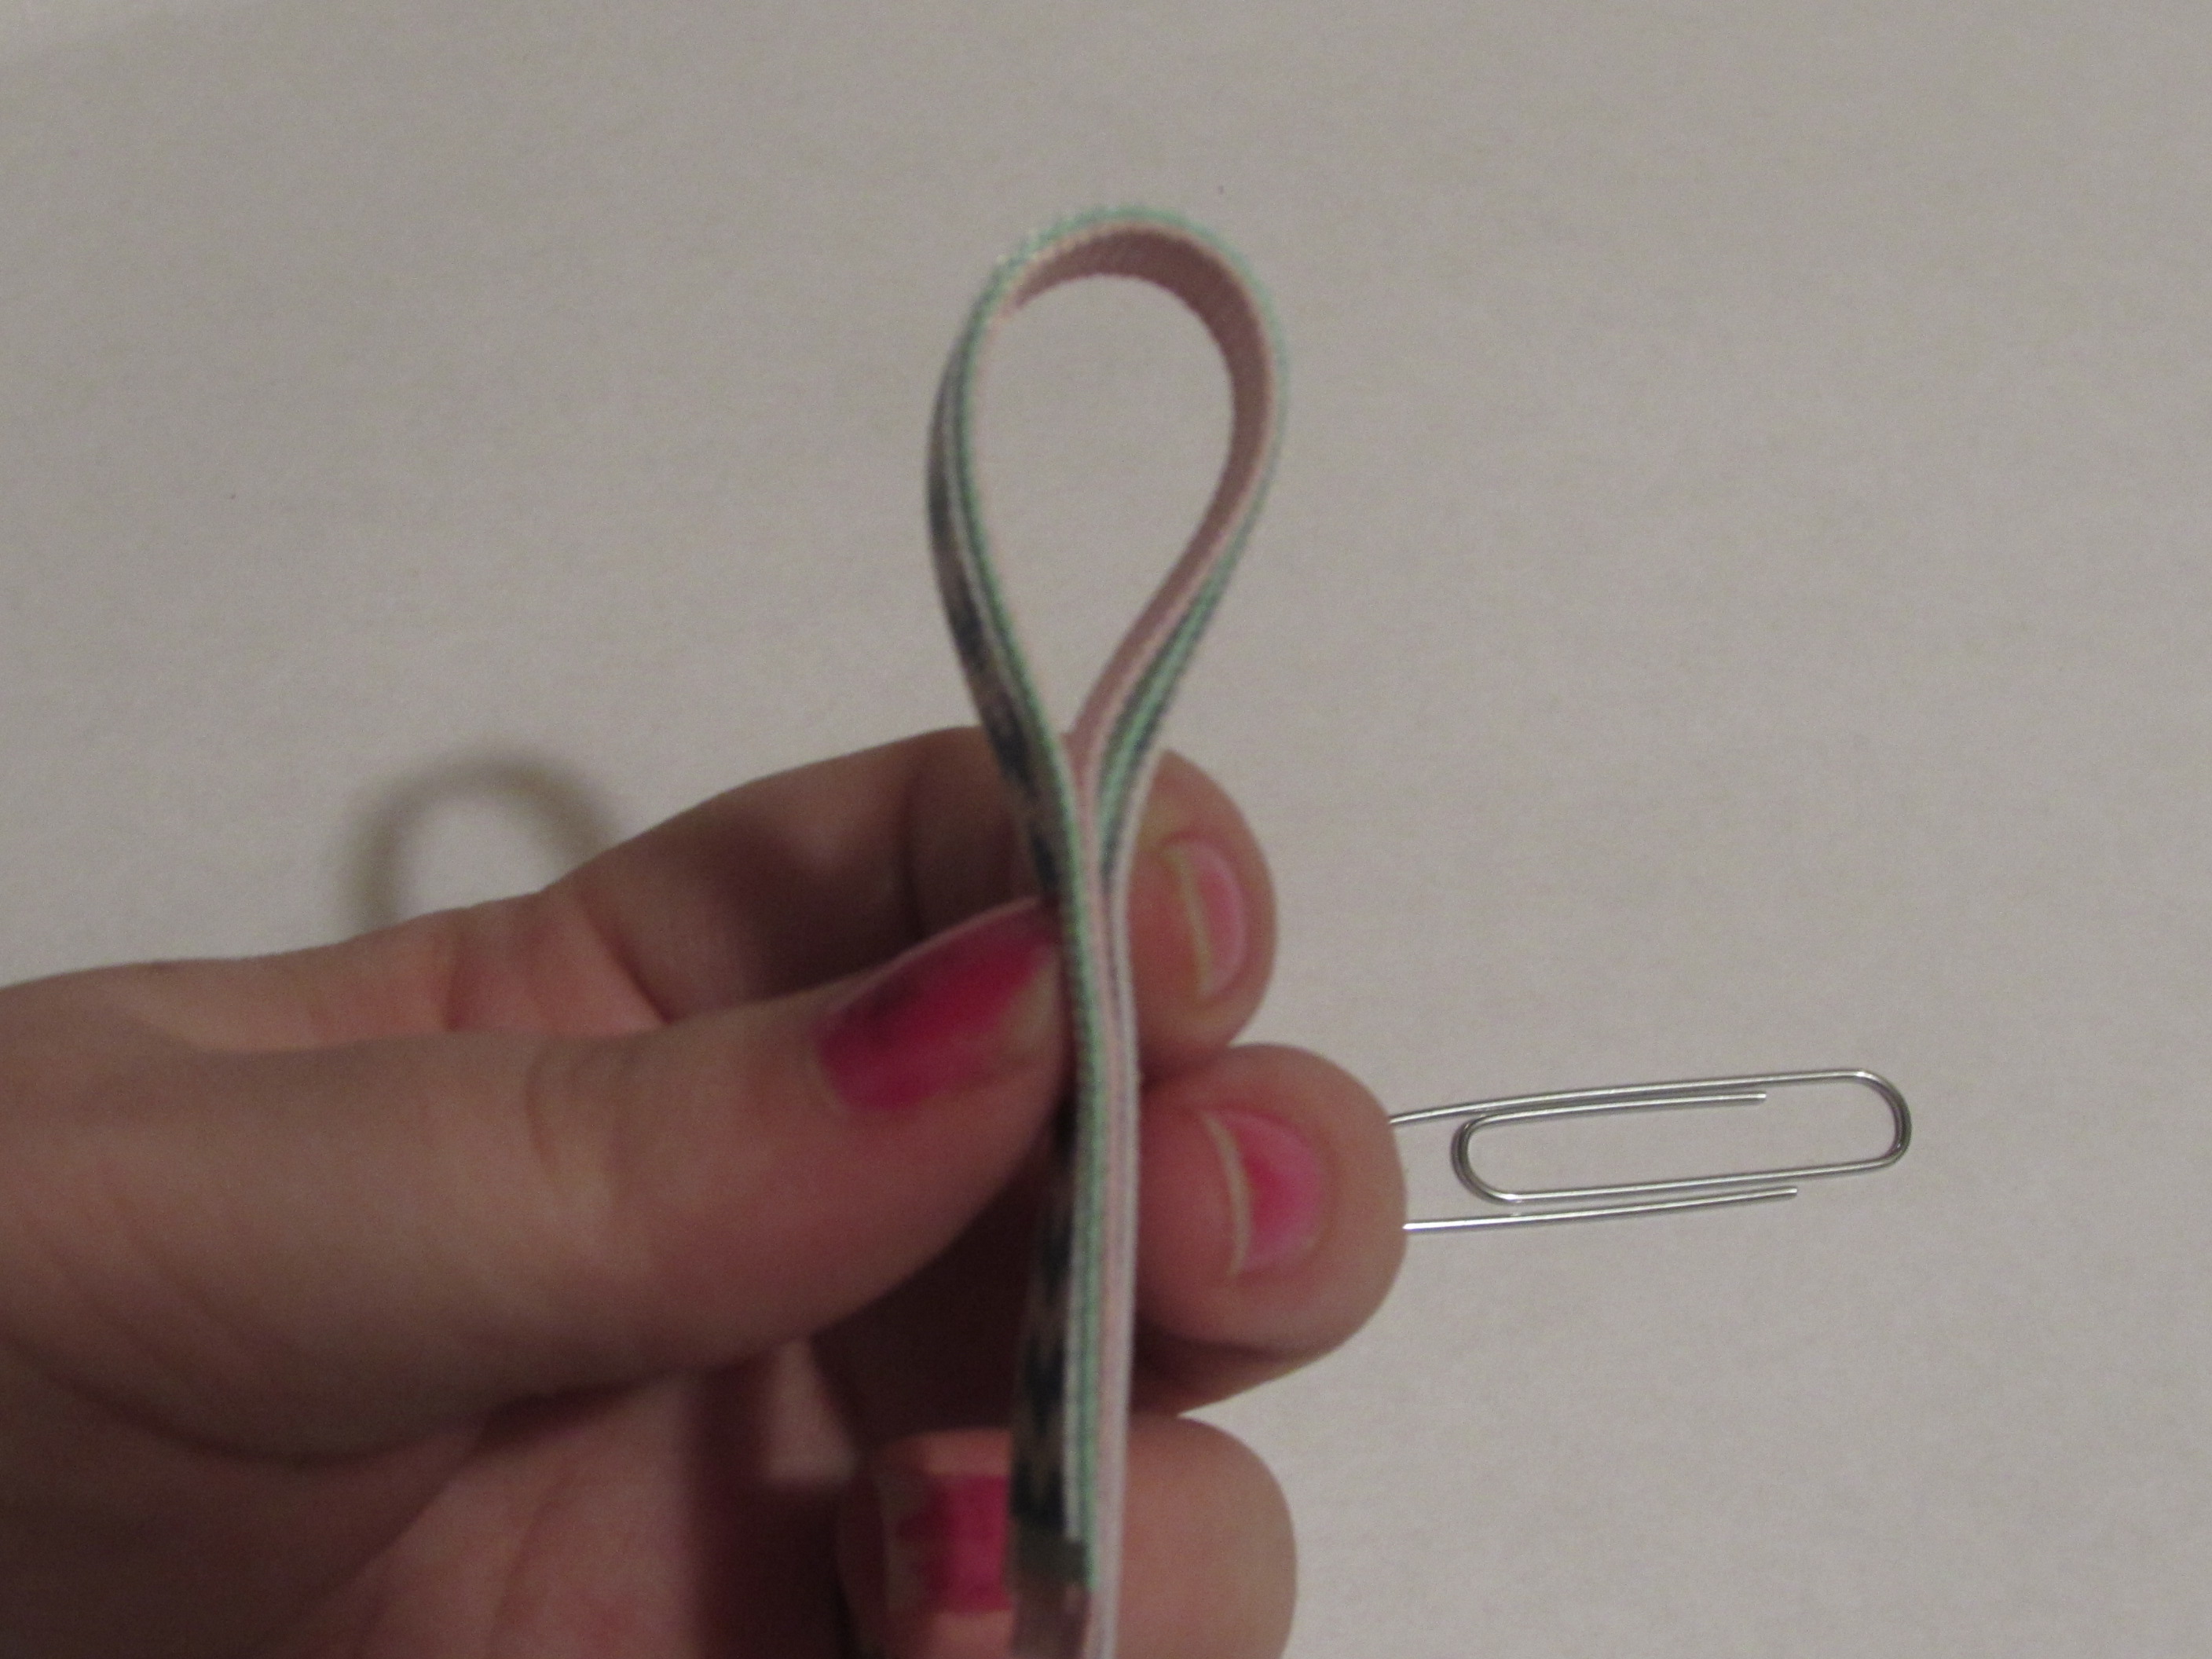 Step 2: Fold the ribbon bundle in half.
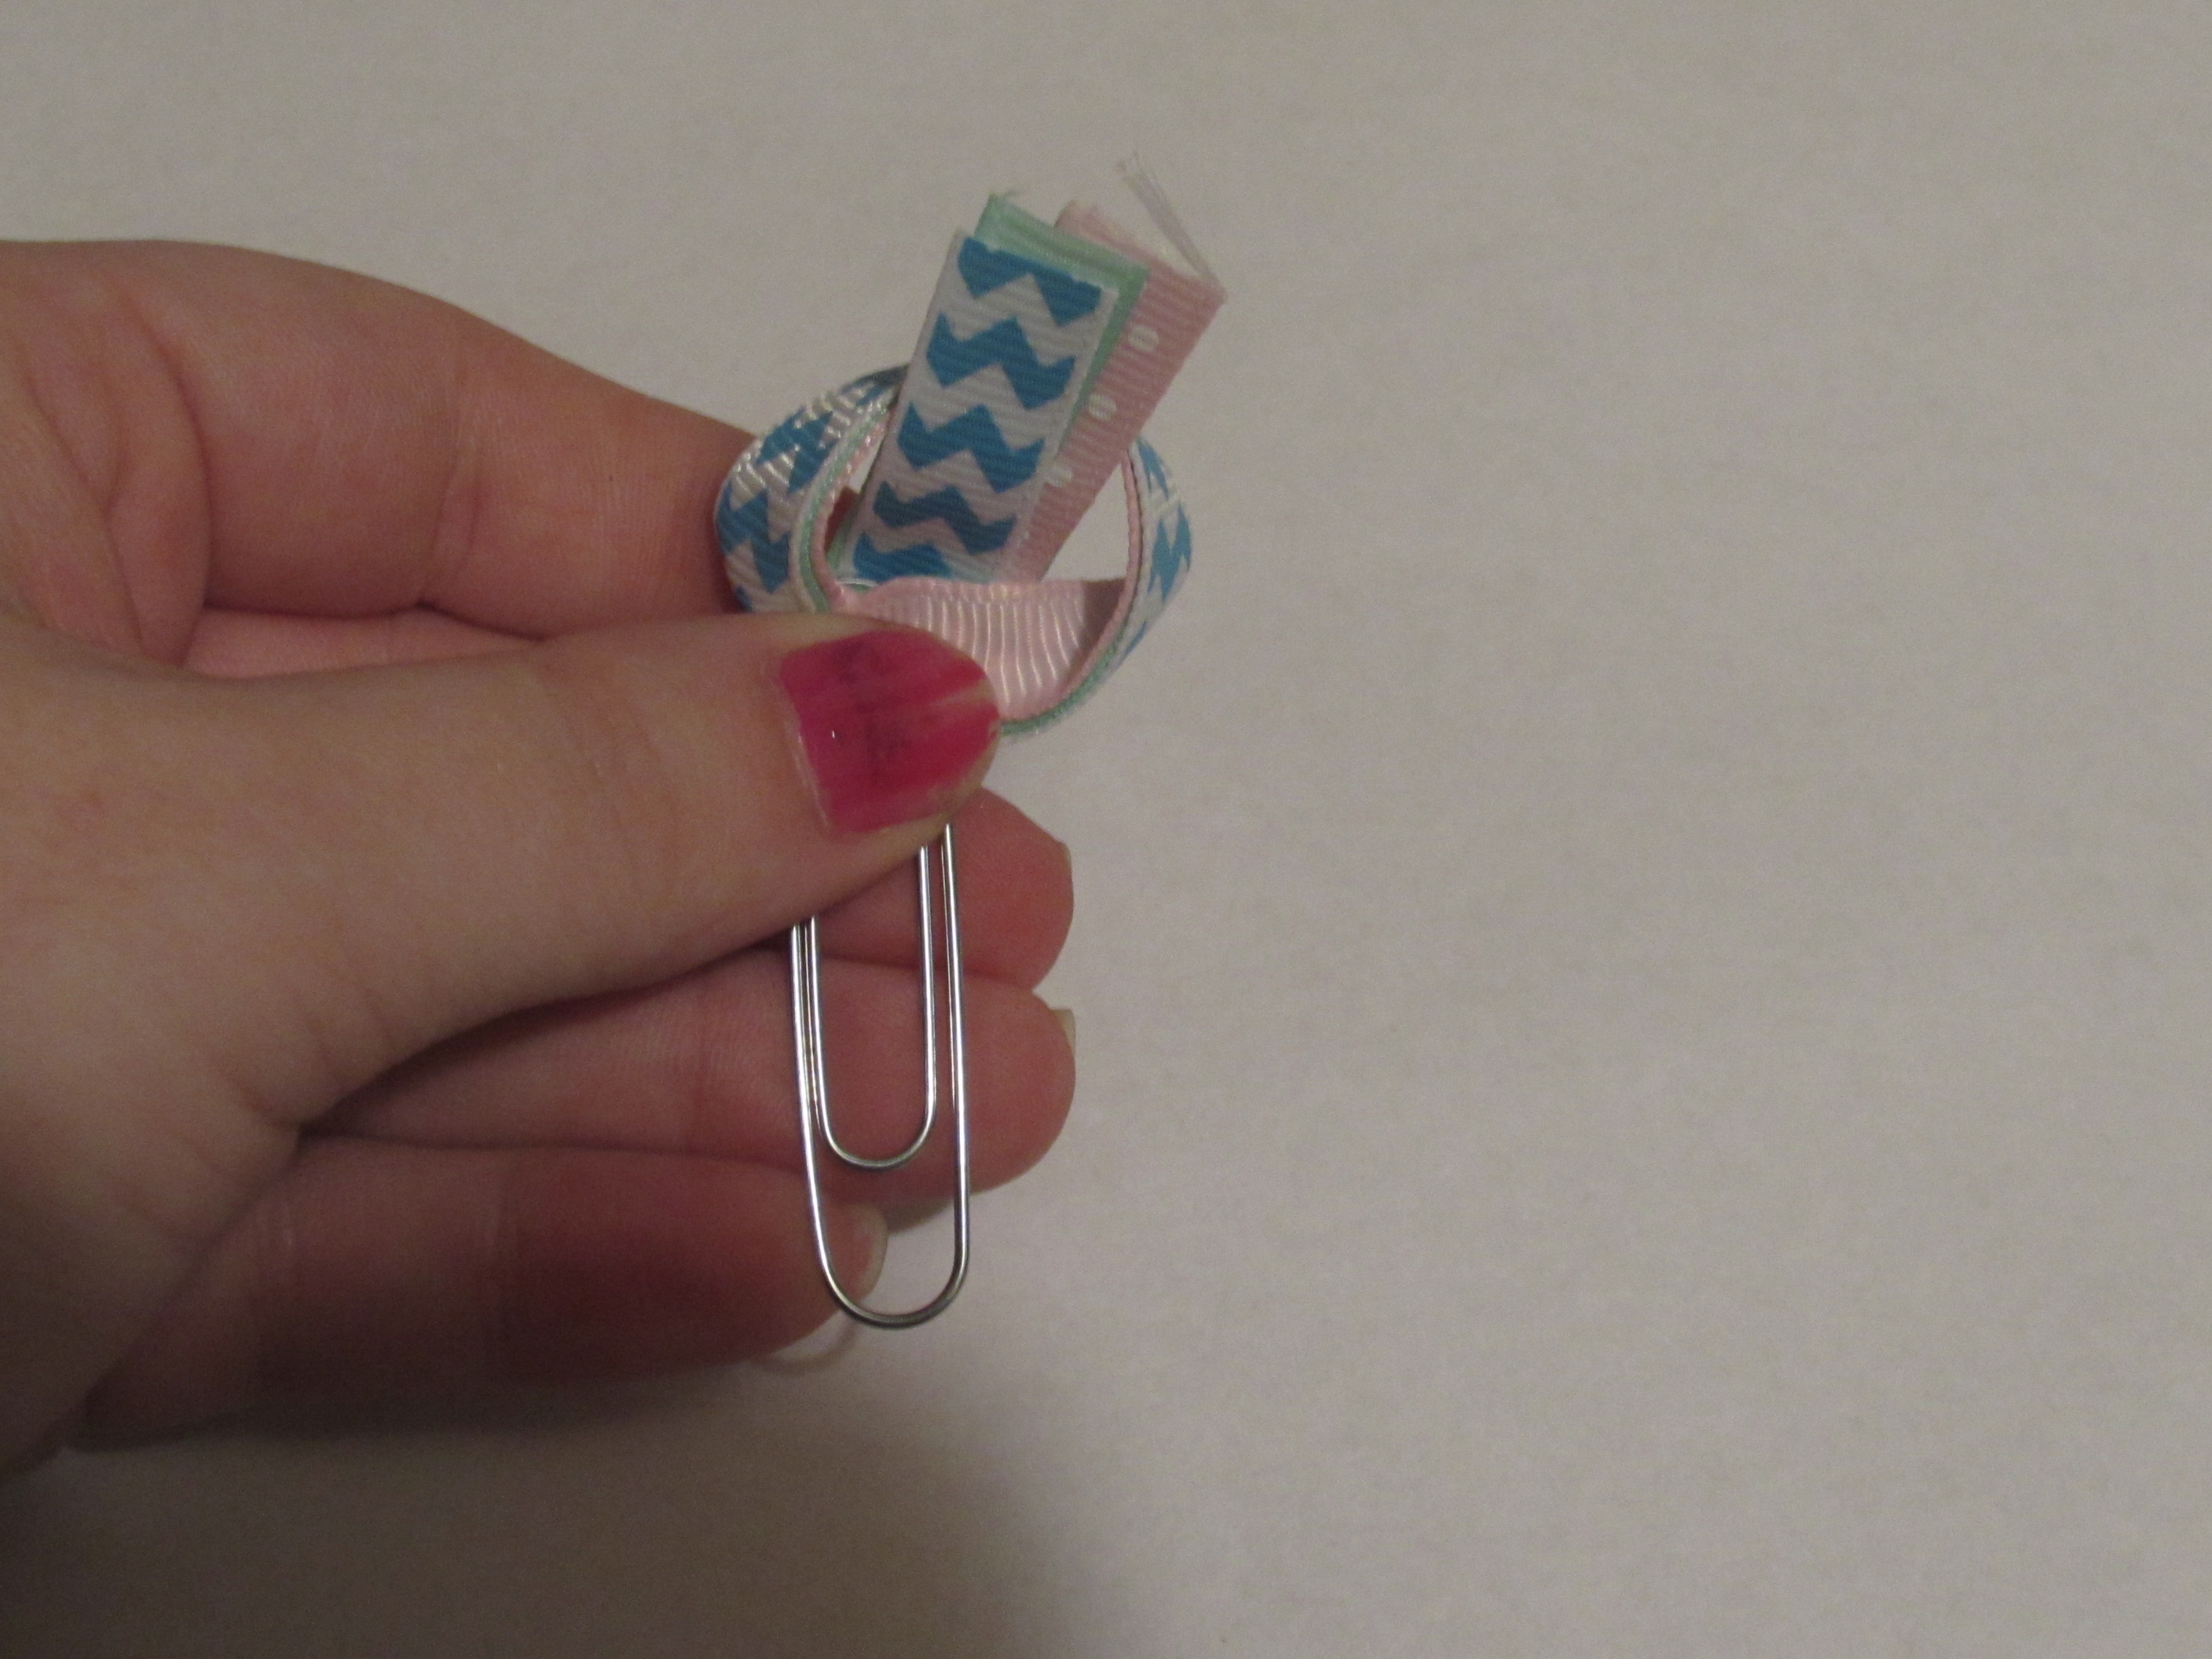
 Step 3: Slide the closed end of the ribbon {{ that creates the loop }} through the upper top of the paper clip.
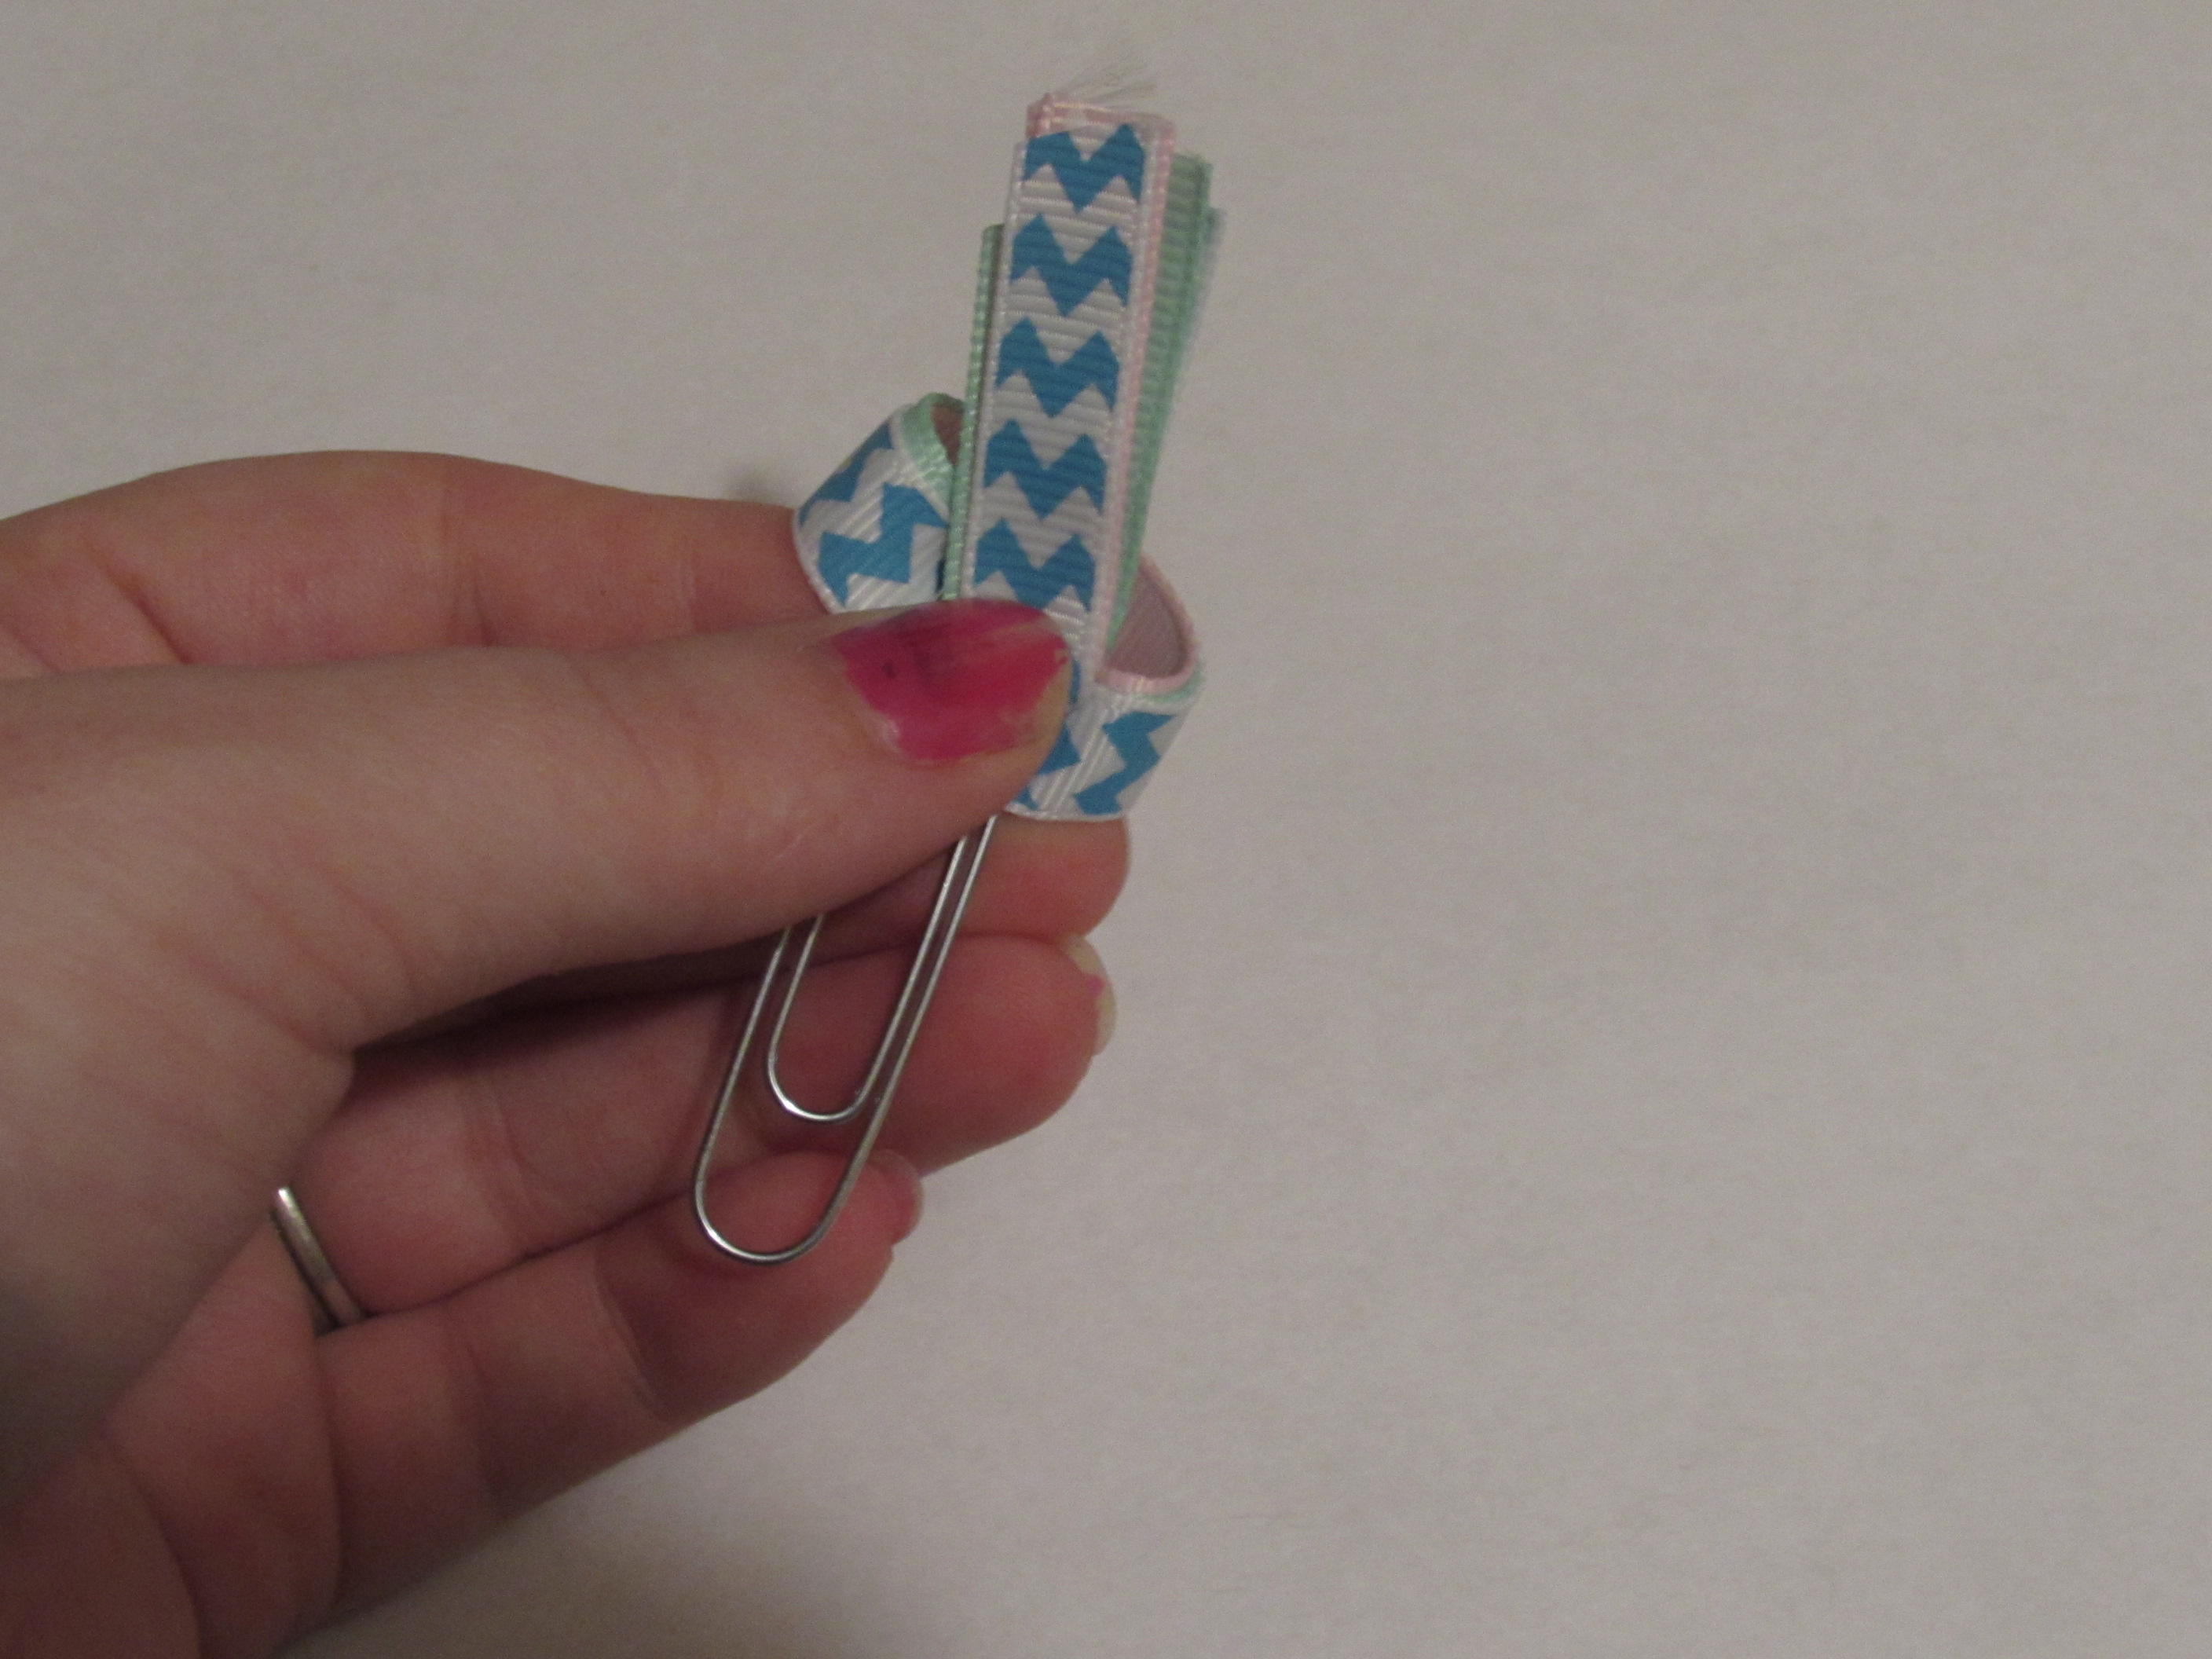
 Step 4: You are going to want to kind of tilt the ribbon over to its side, open the loop {{ holding all 3 pieces of ribbon together }} and then push the back side of the ribbons {{ ends }} upward.
 Step 5: You now want to tuck in the ends inside of the loop
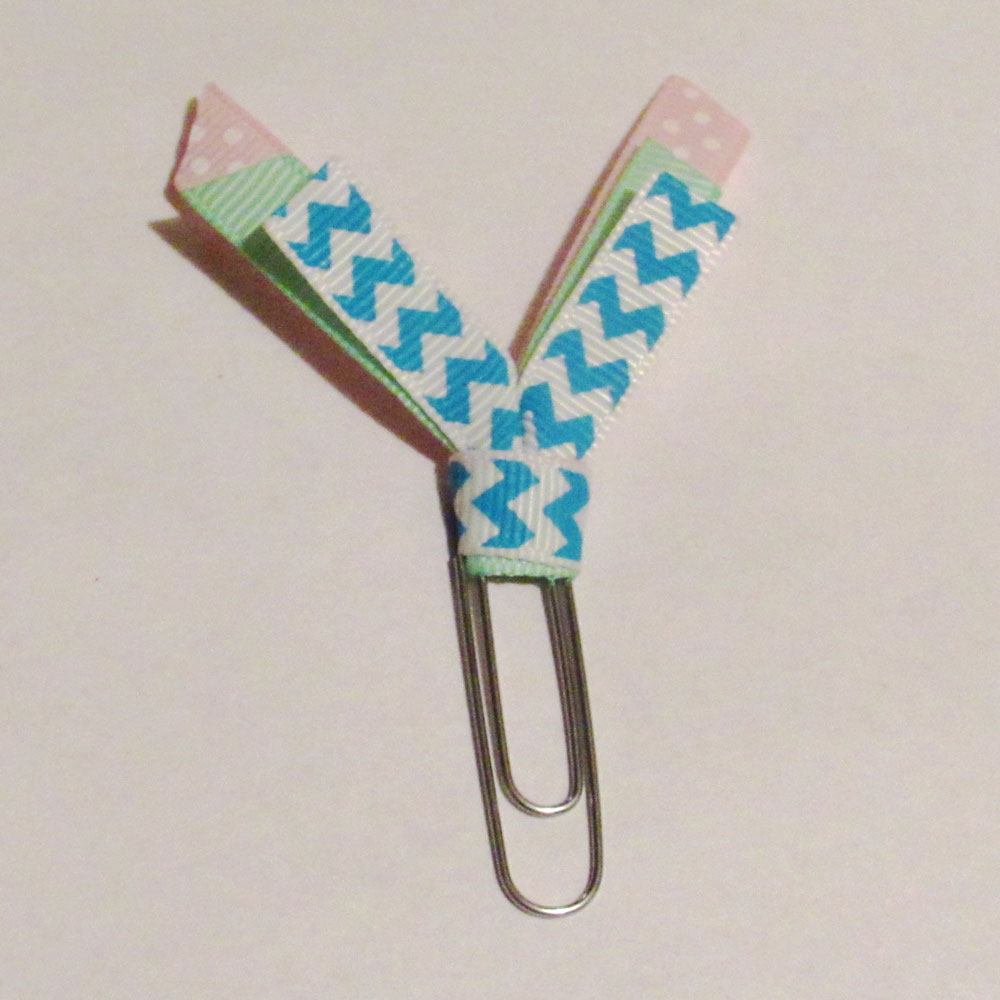
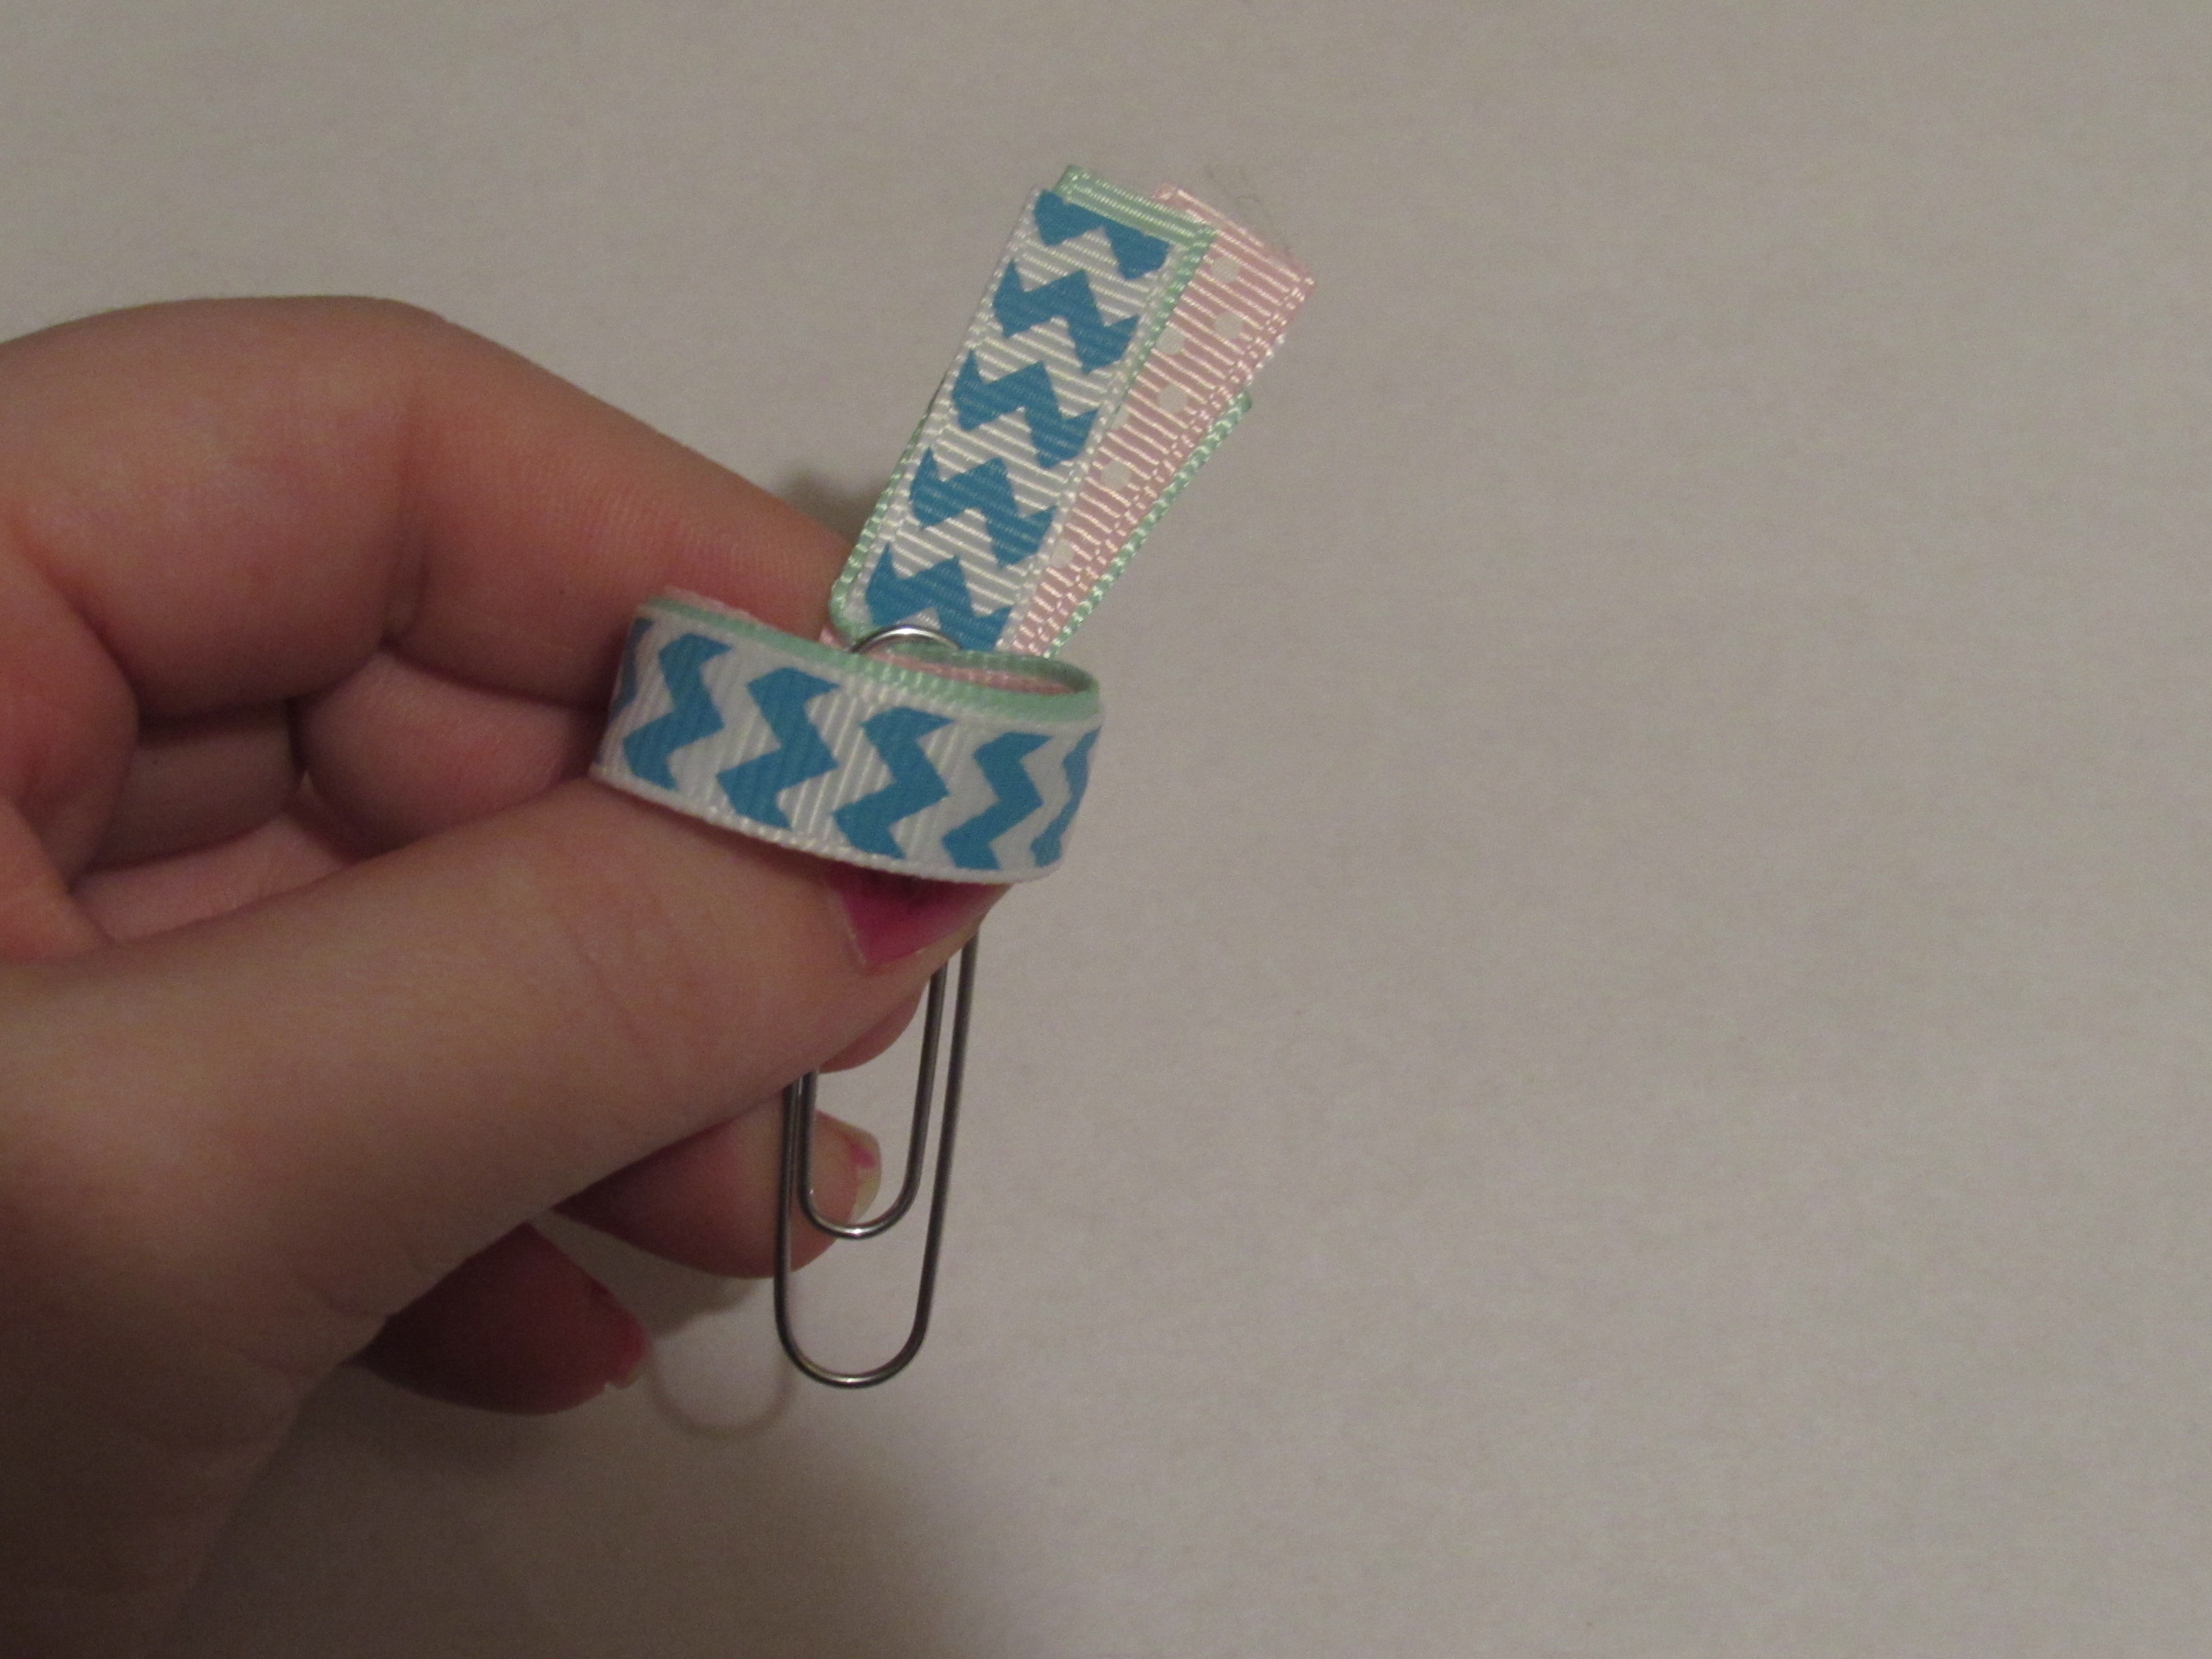
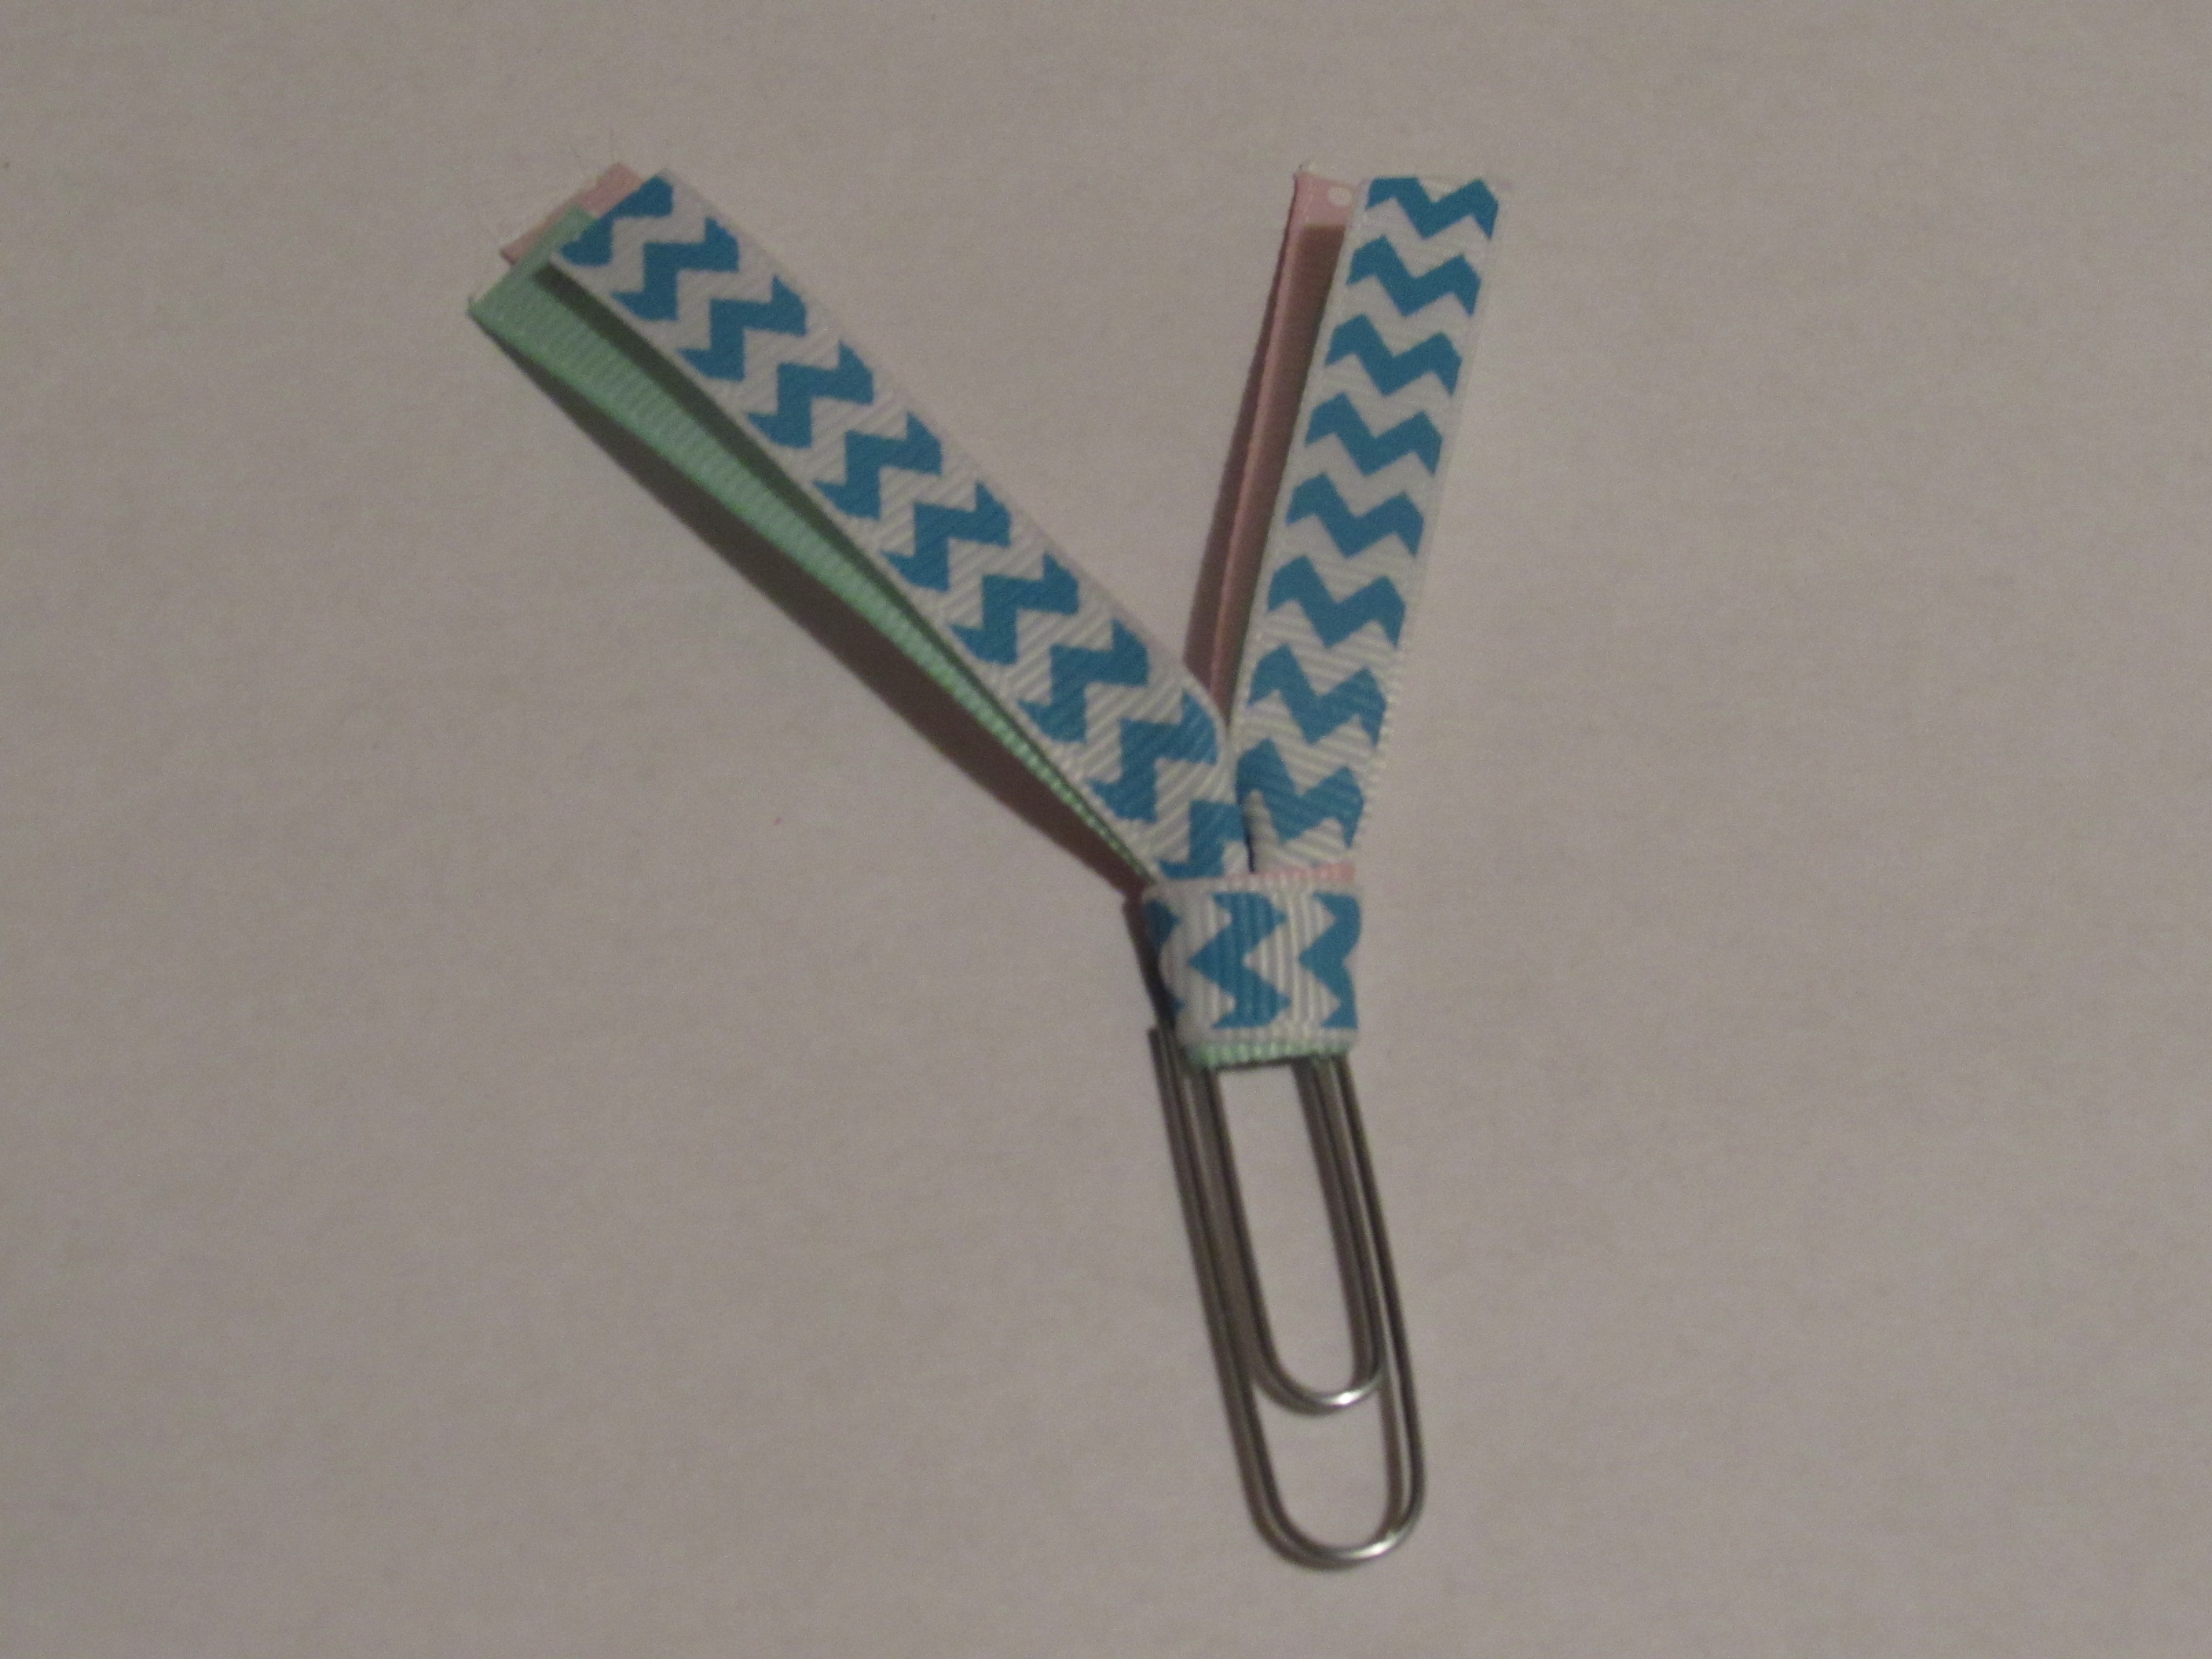 Step 6: Pull on the ends of your ribbon to create a tight loop at the top of the paperclip as shown above.
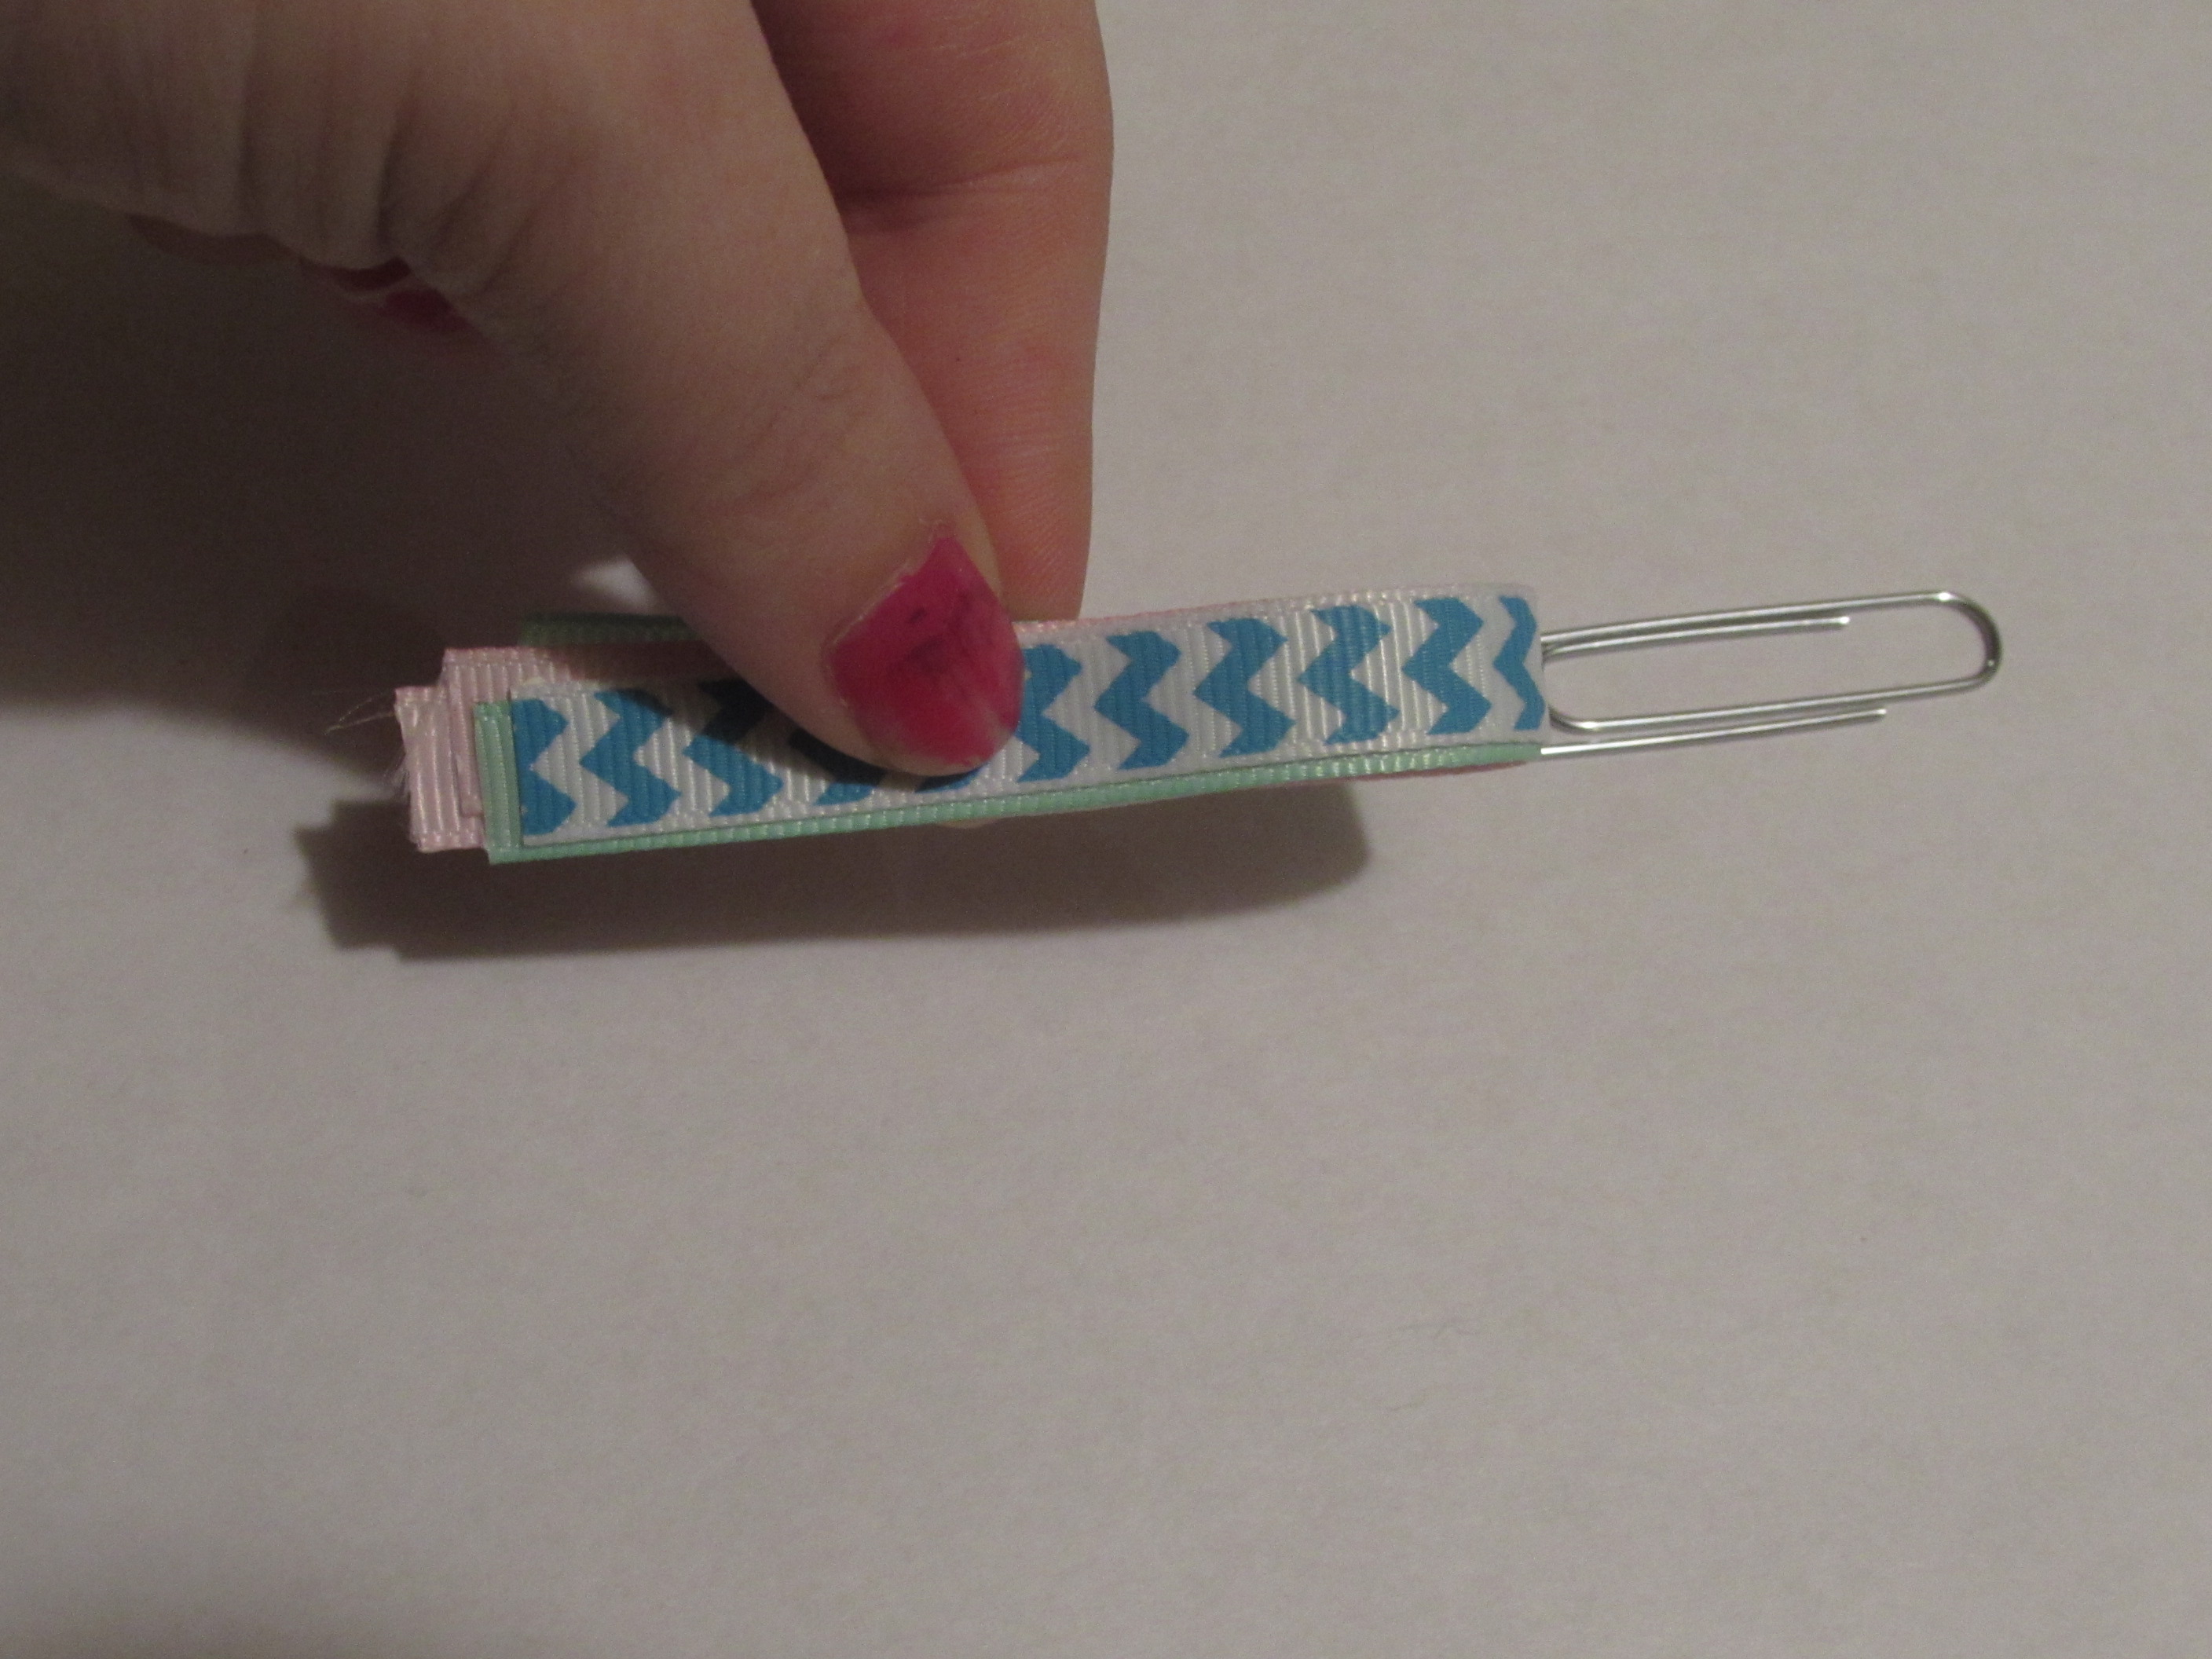
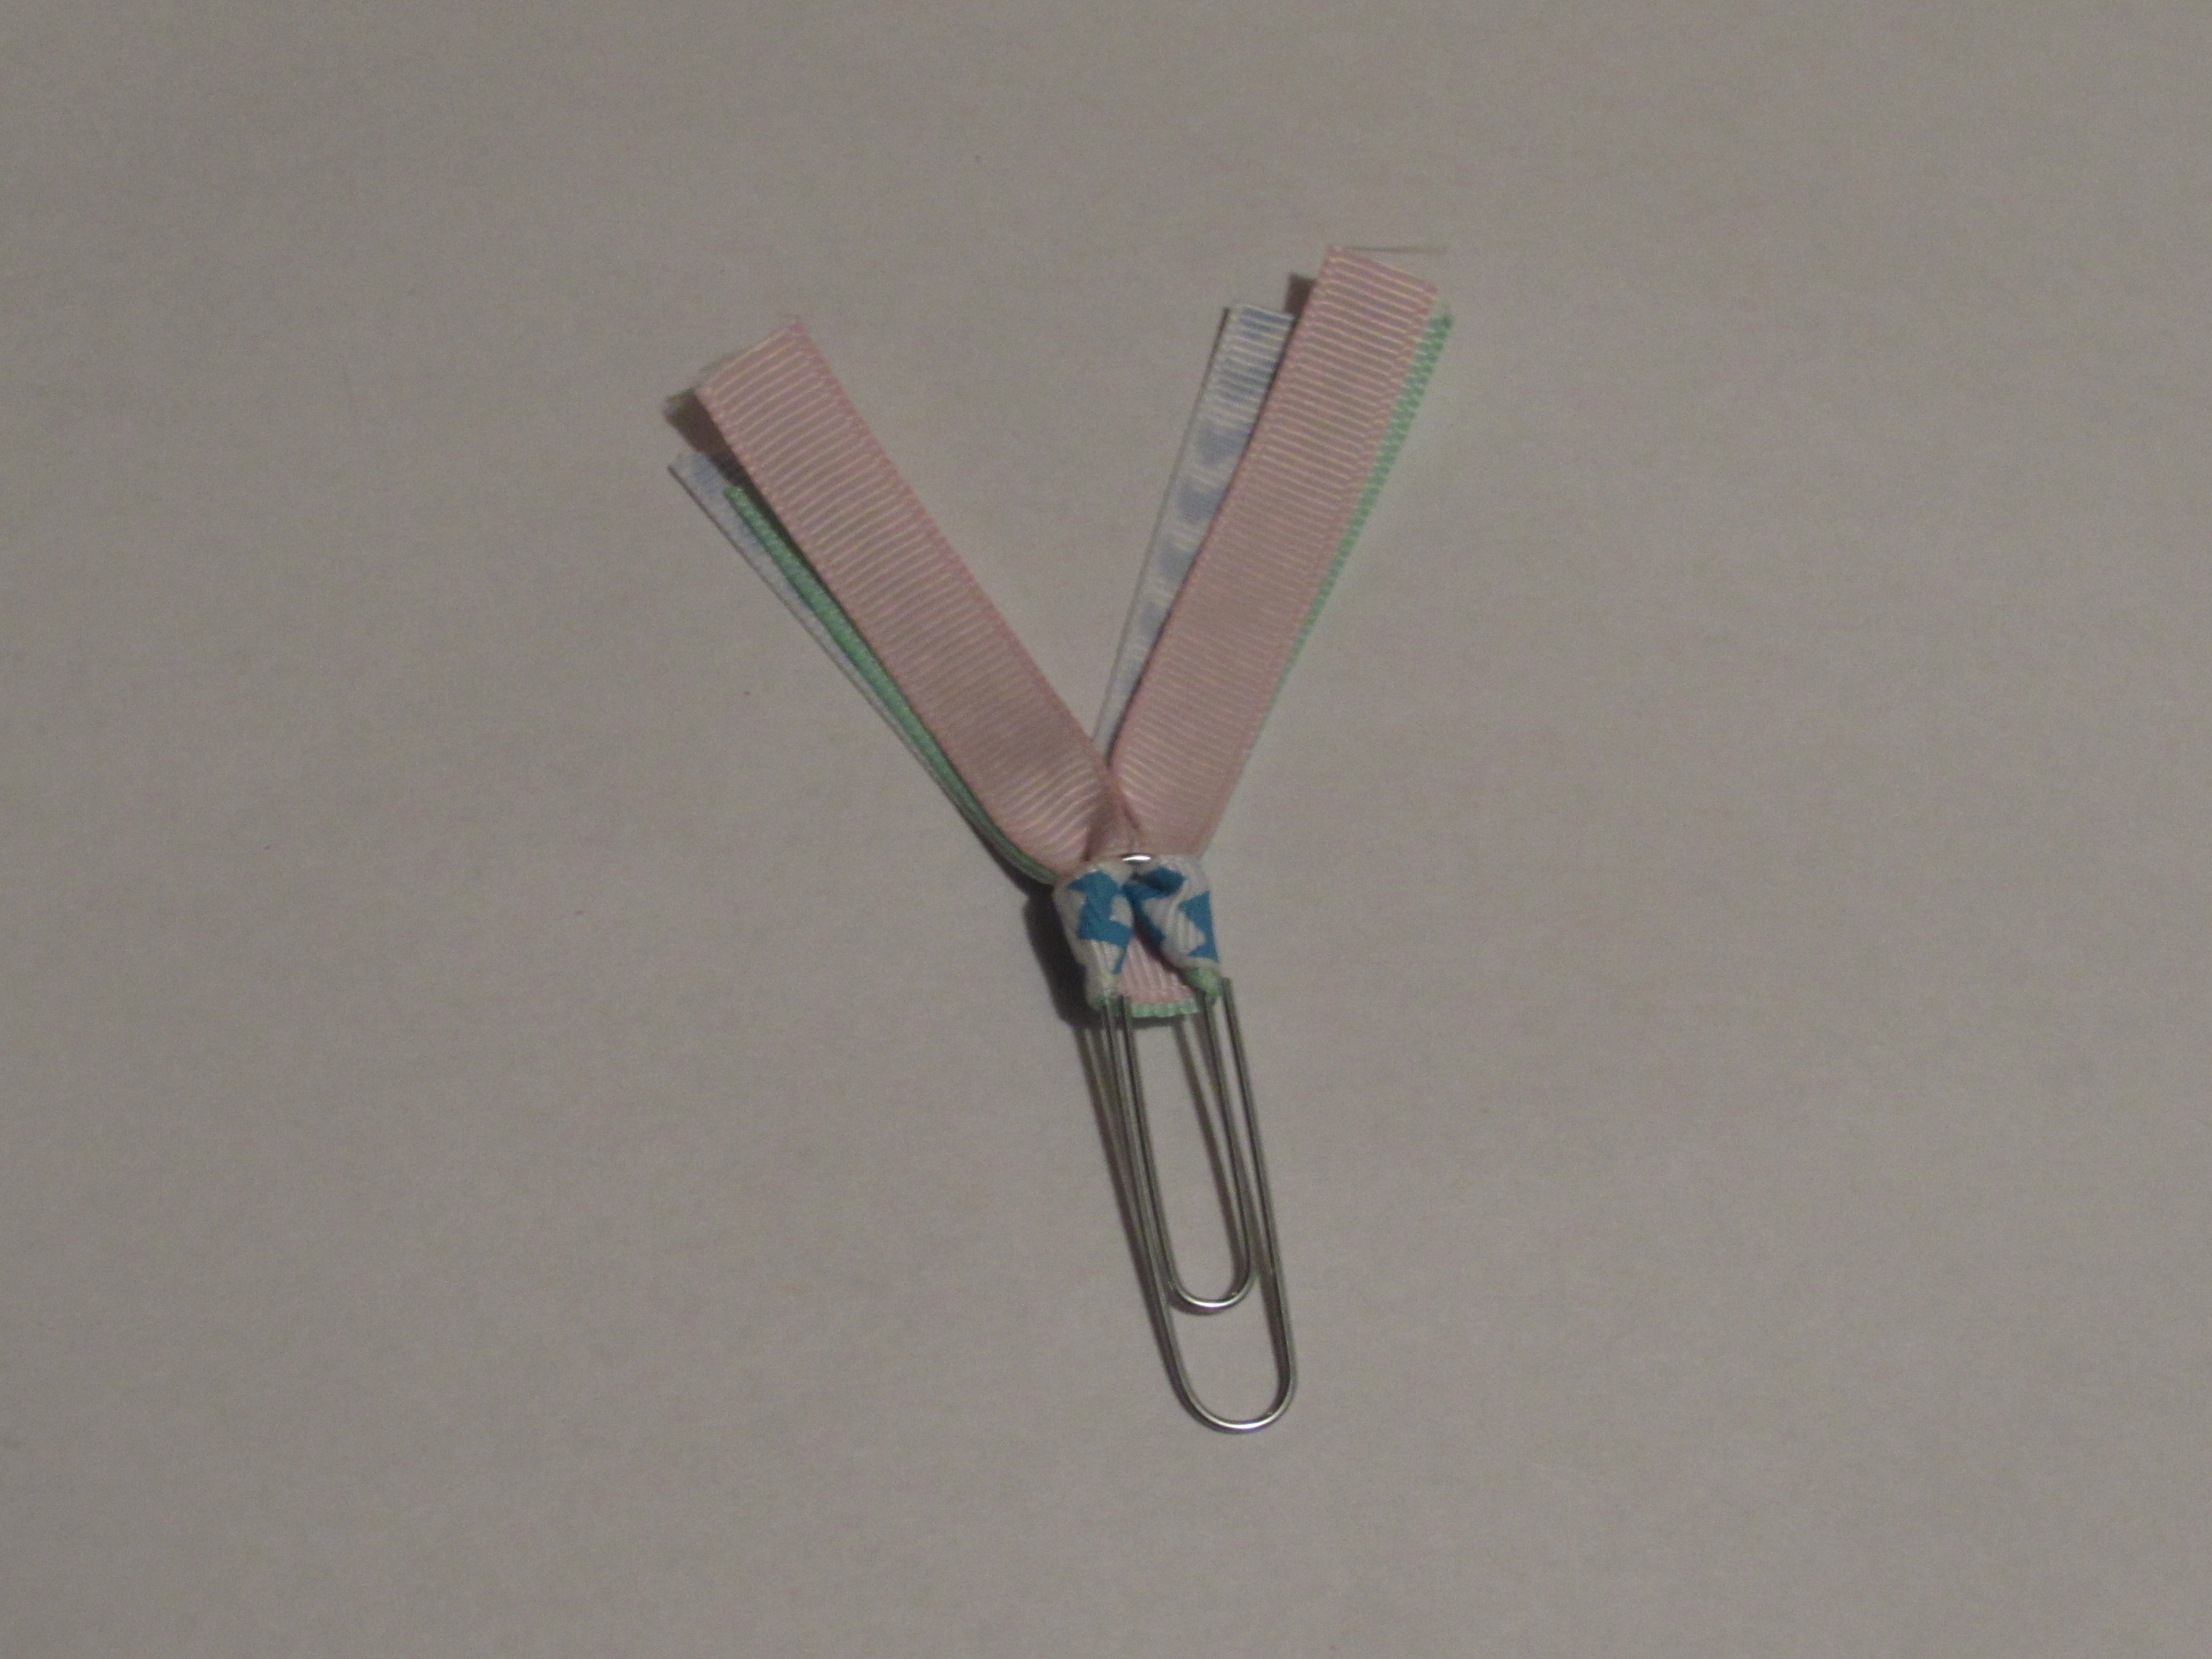 * Back side of step 6
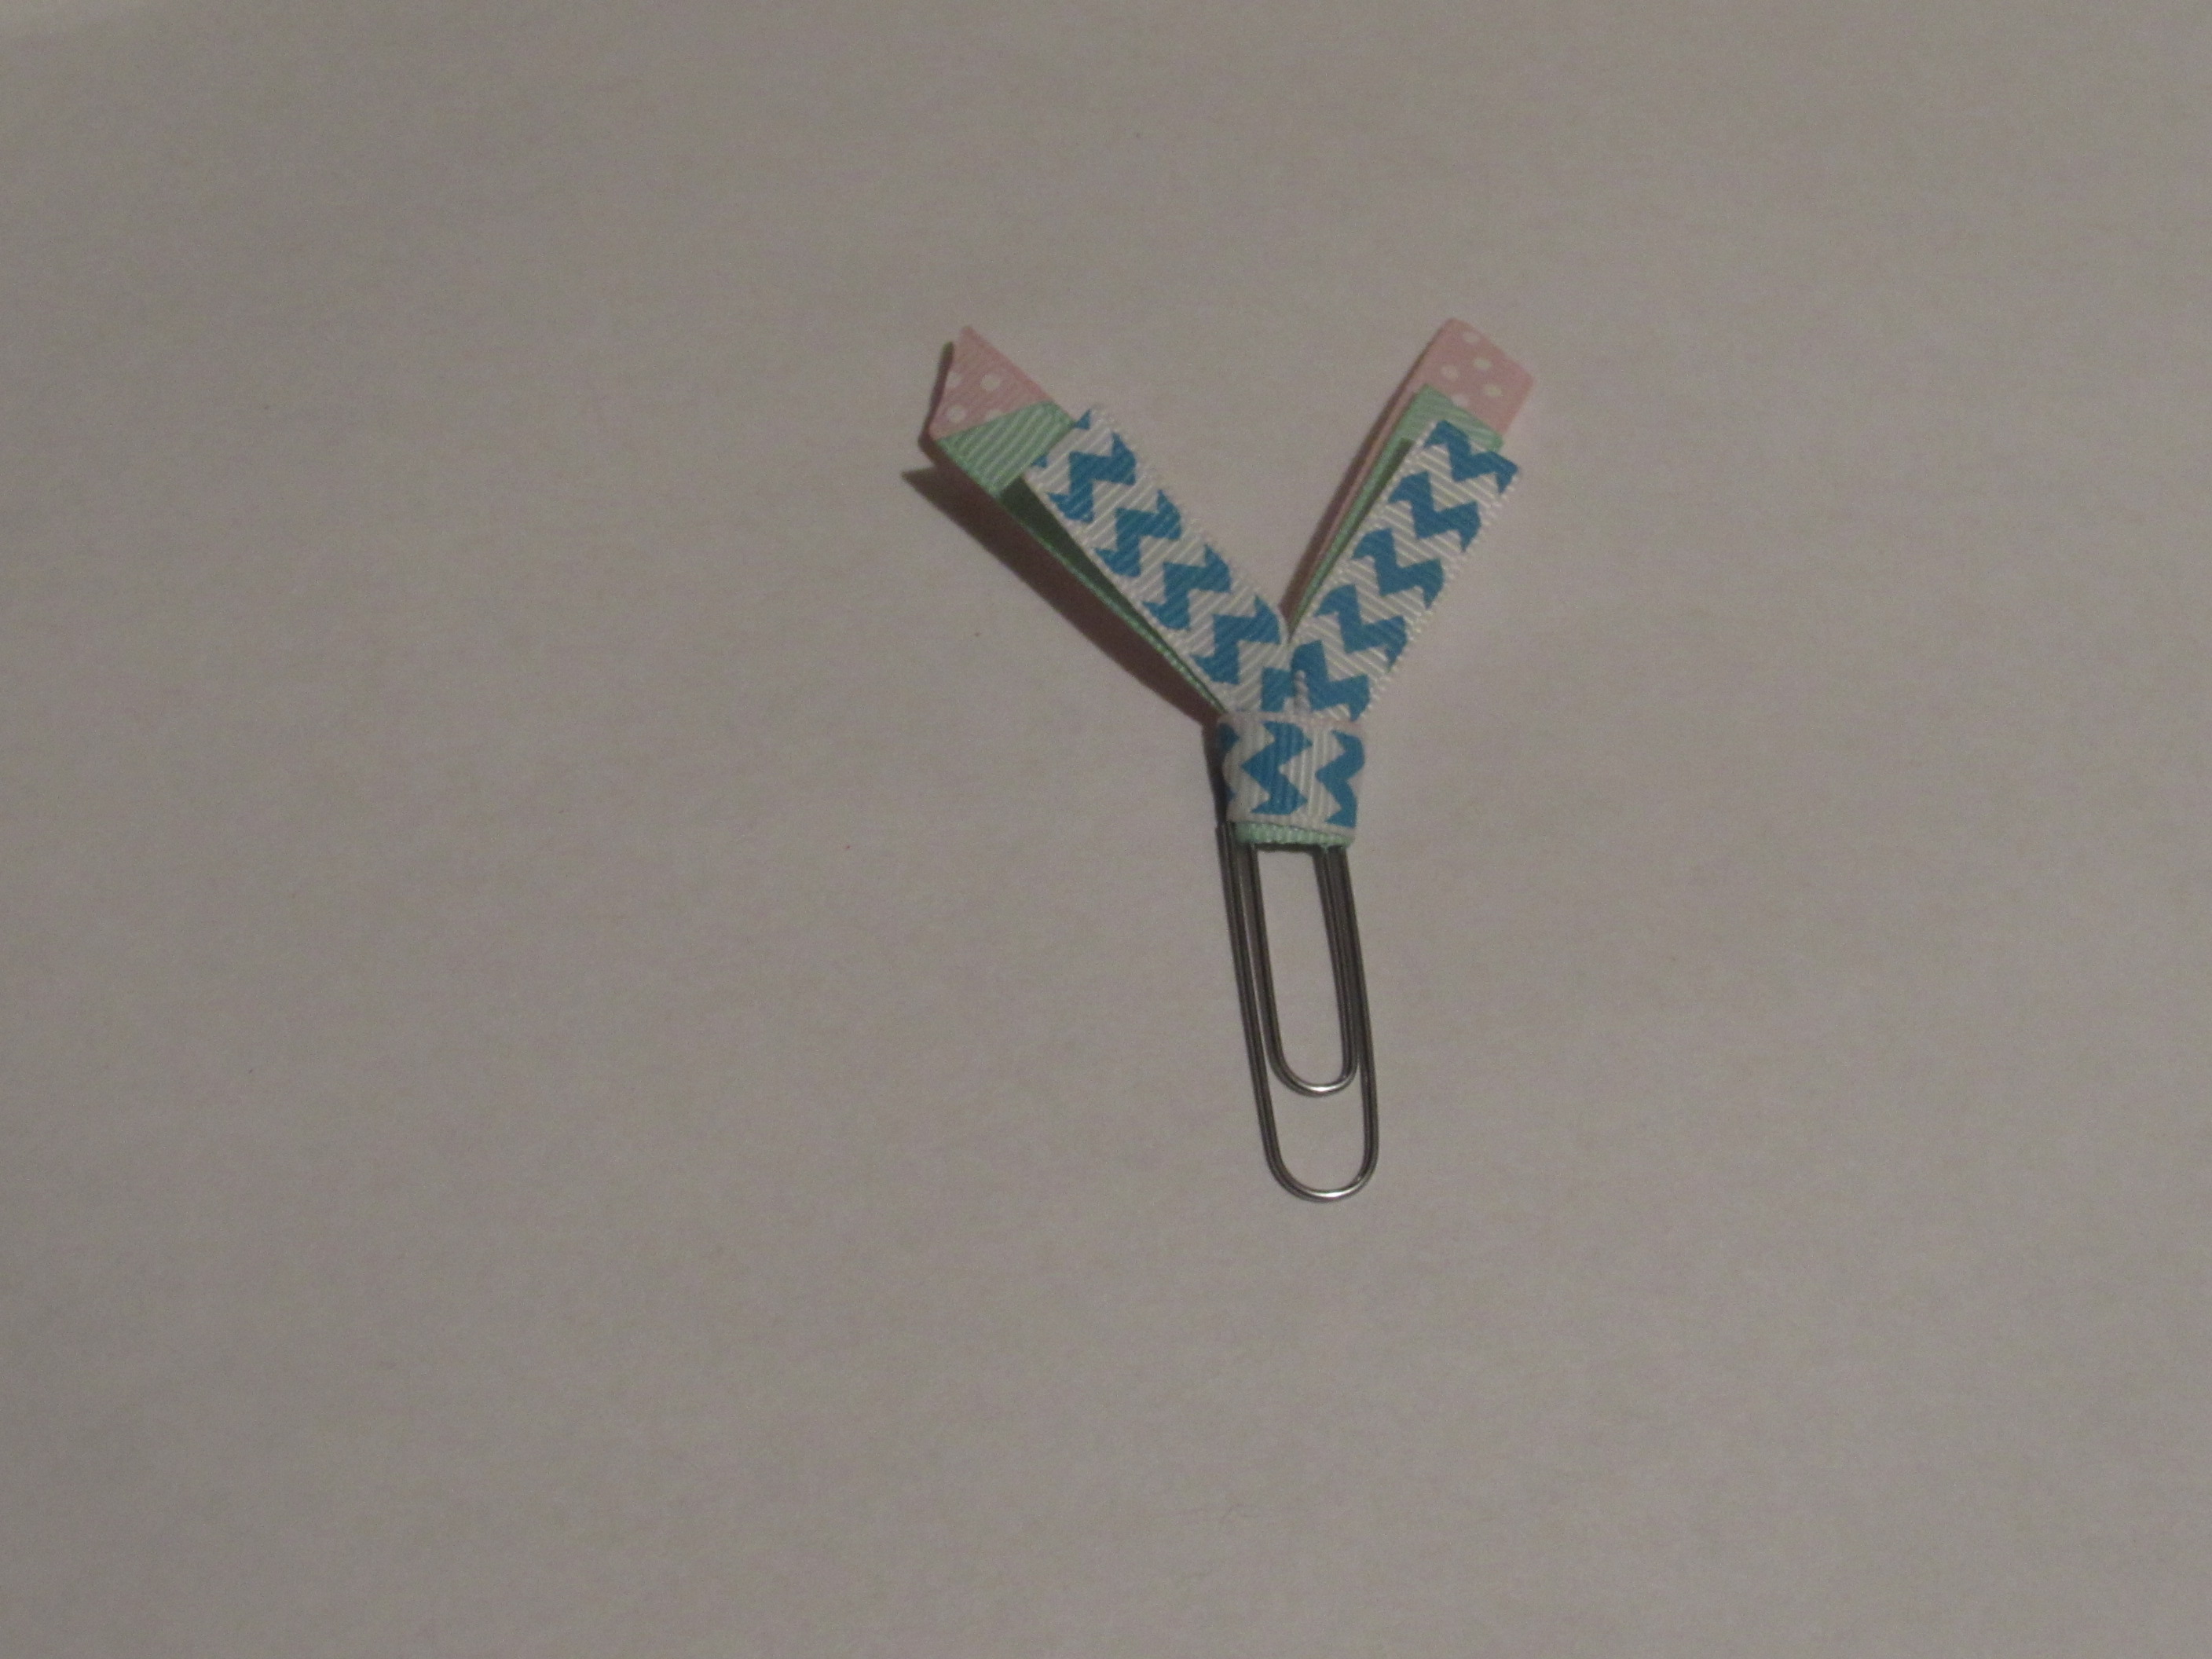 Step 7: Trim your ribbon off and again heat seal those ends so they don't fray.
 Step 8: Add to your planner and you're done
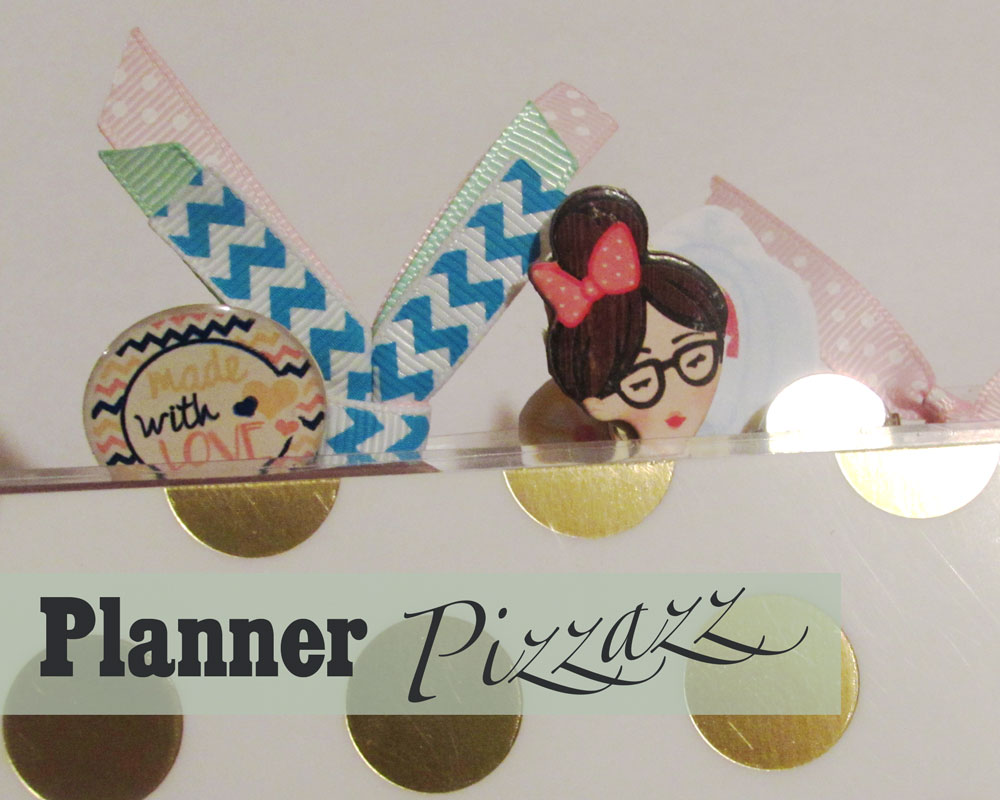
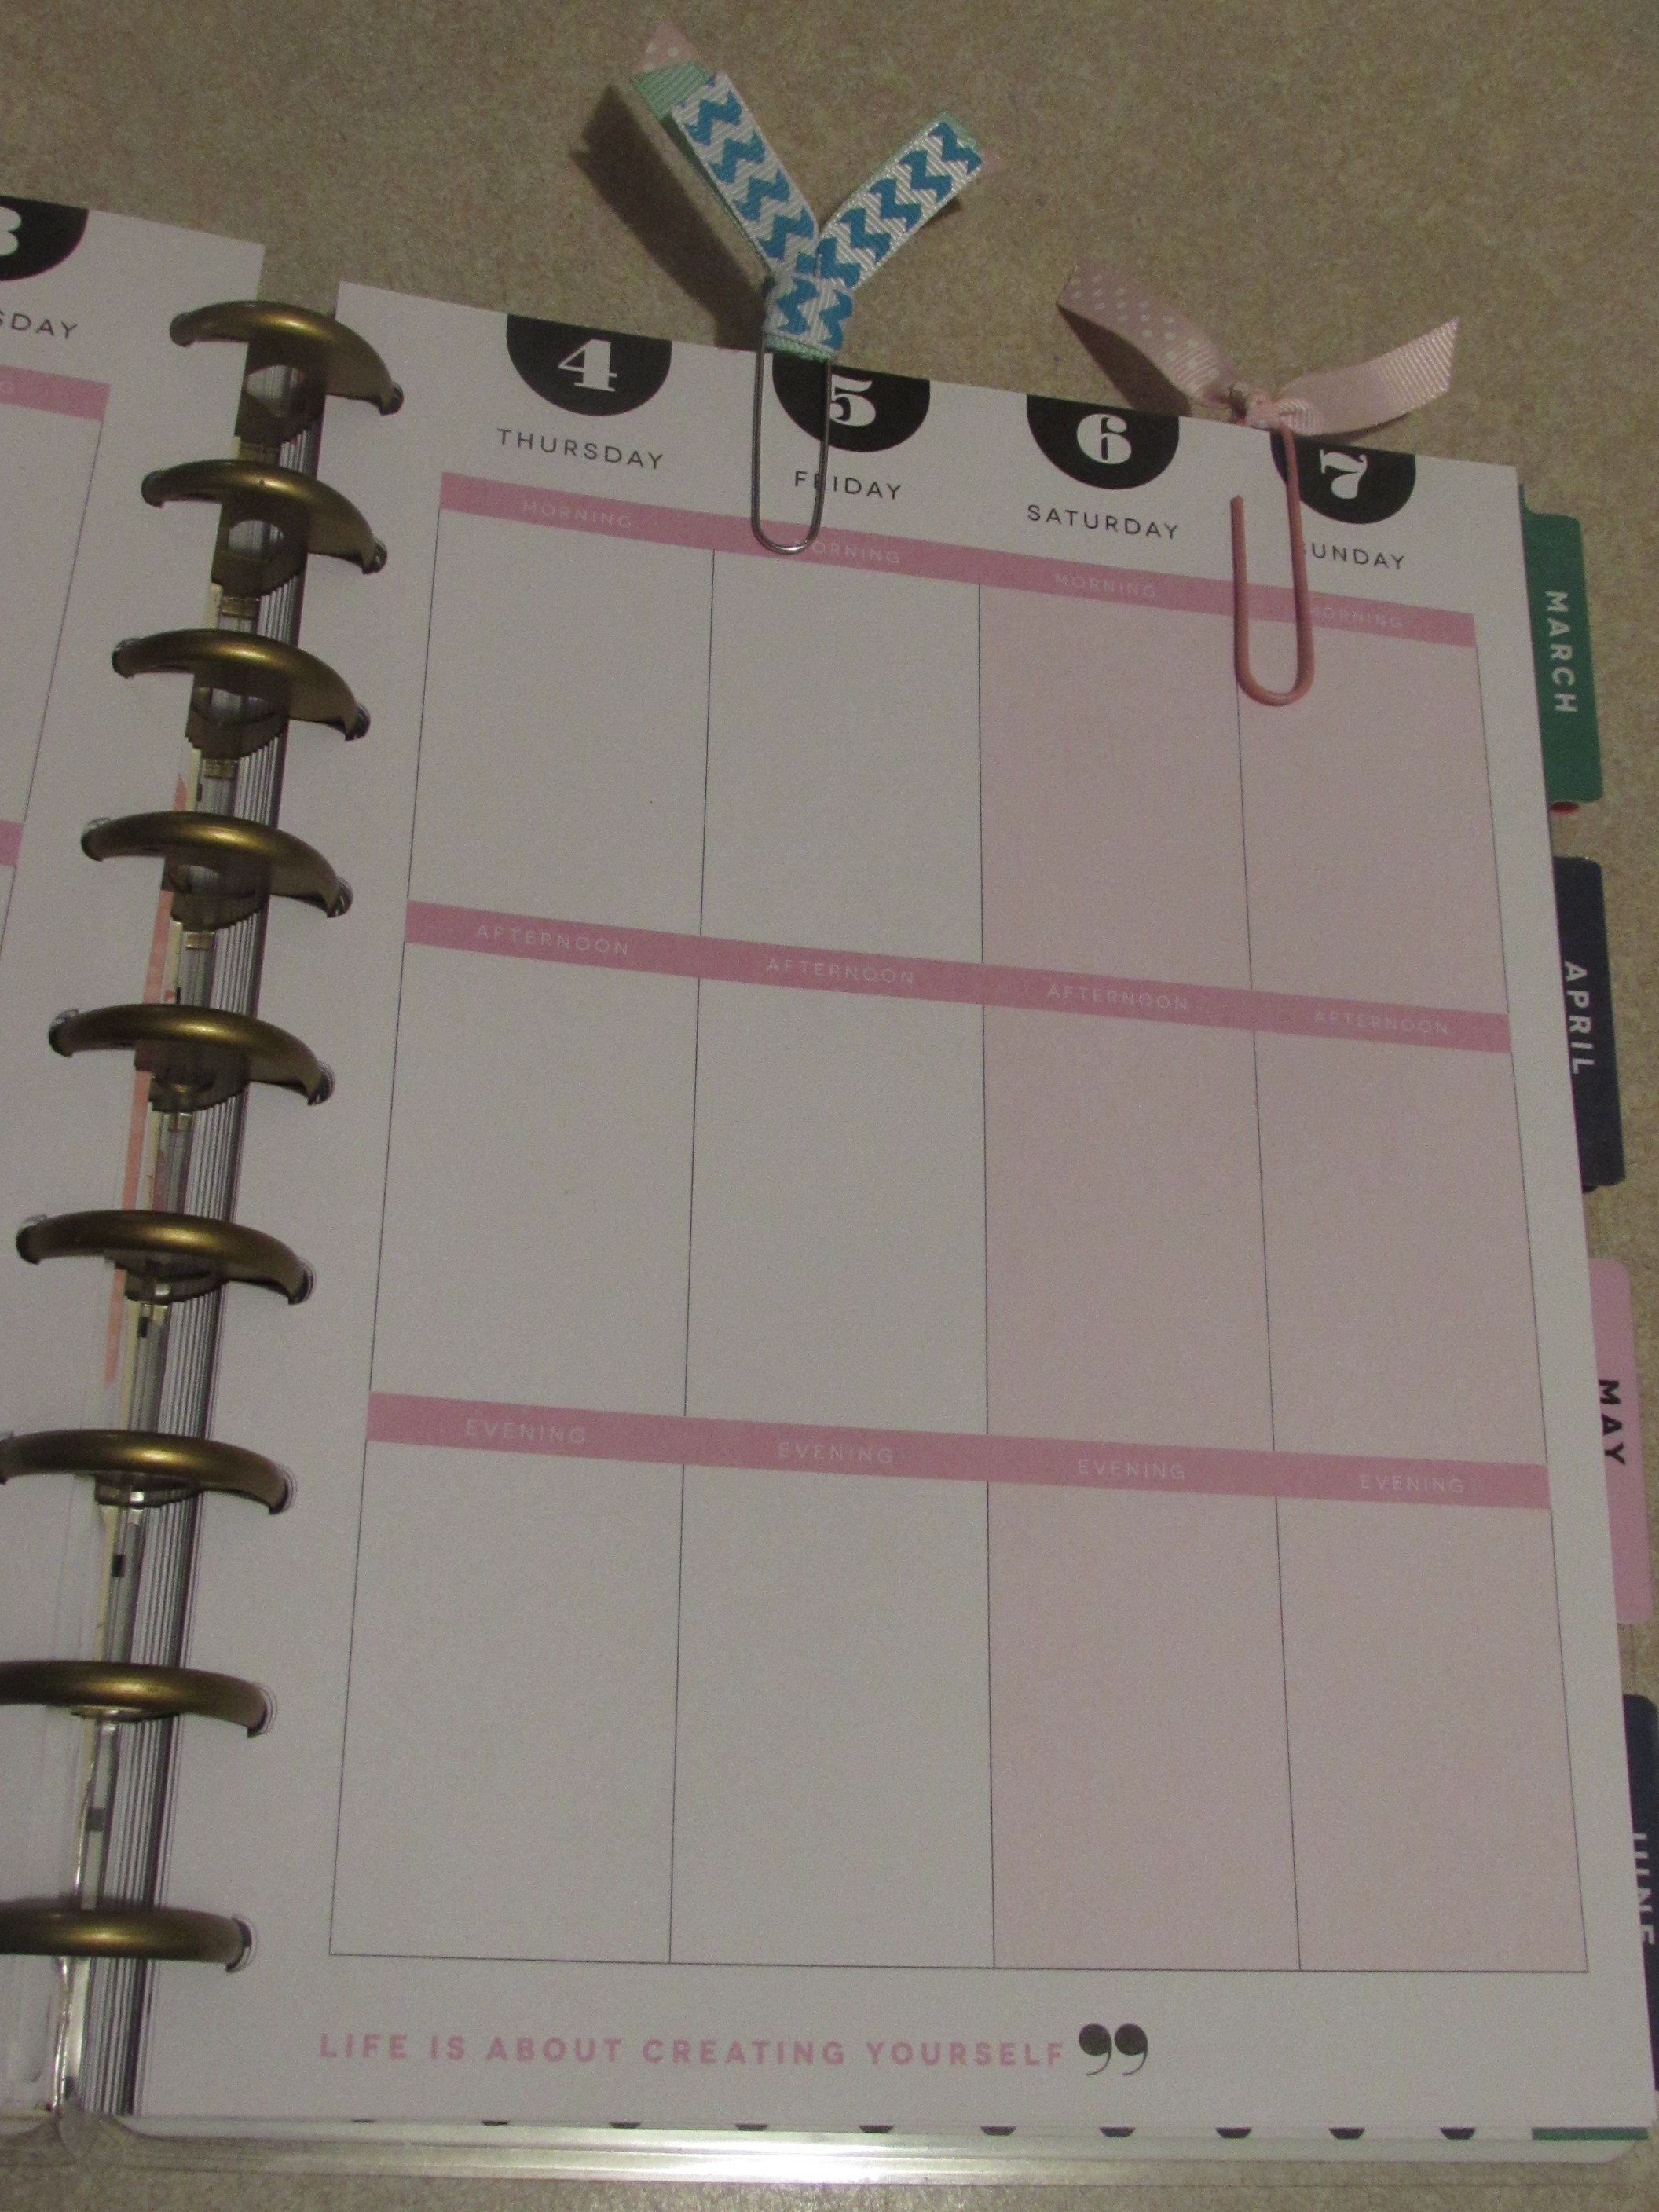
 * Top of my planner with all of my bookmarks :))
--------------- QUICK AND SIMPLE CLIP BOOKMARK IS BELOW -----------------
* Top of my planner with all of my bookmarks :))
--------------- QUICK AND SIMPLE CLIP BOOKMARK IS BELOW -----------------
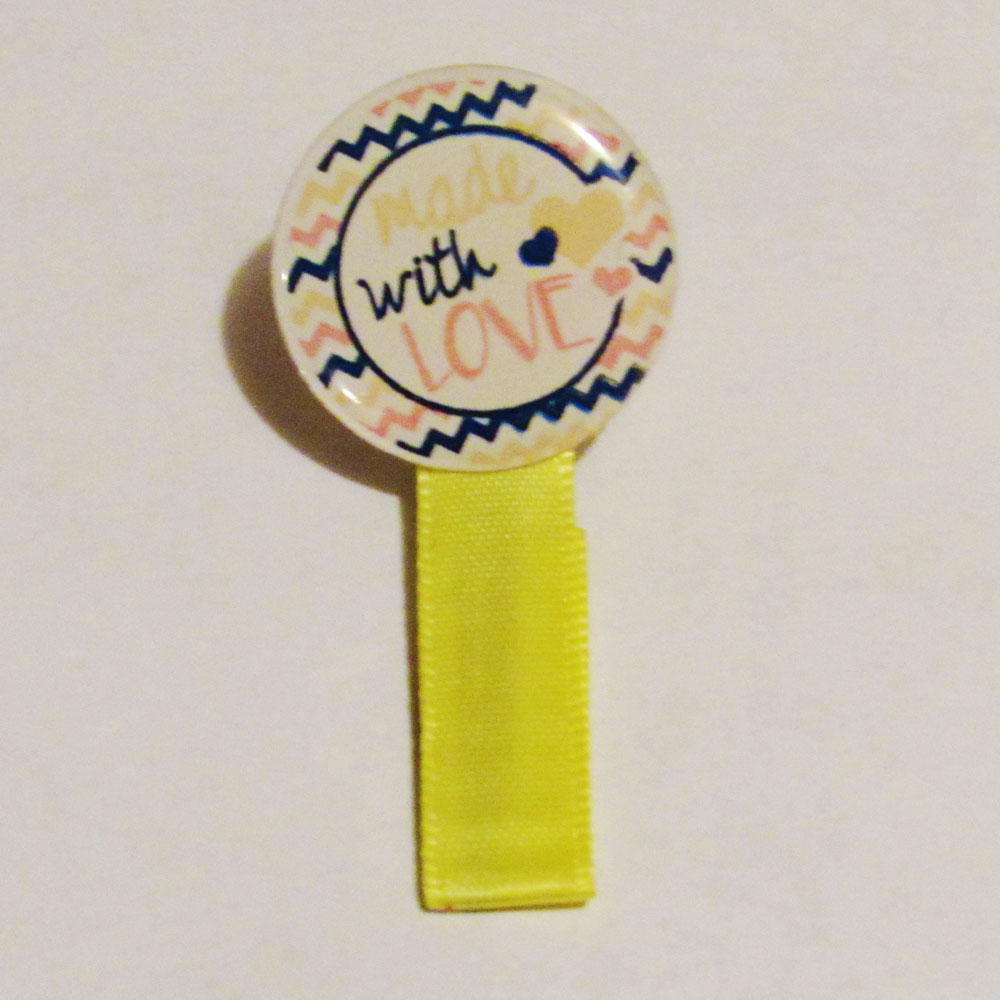
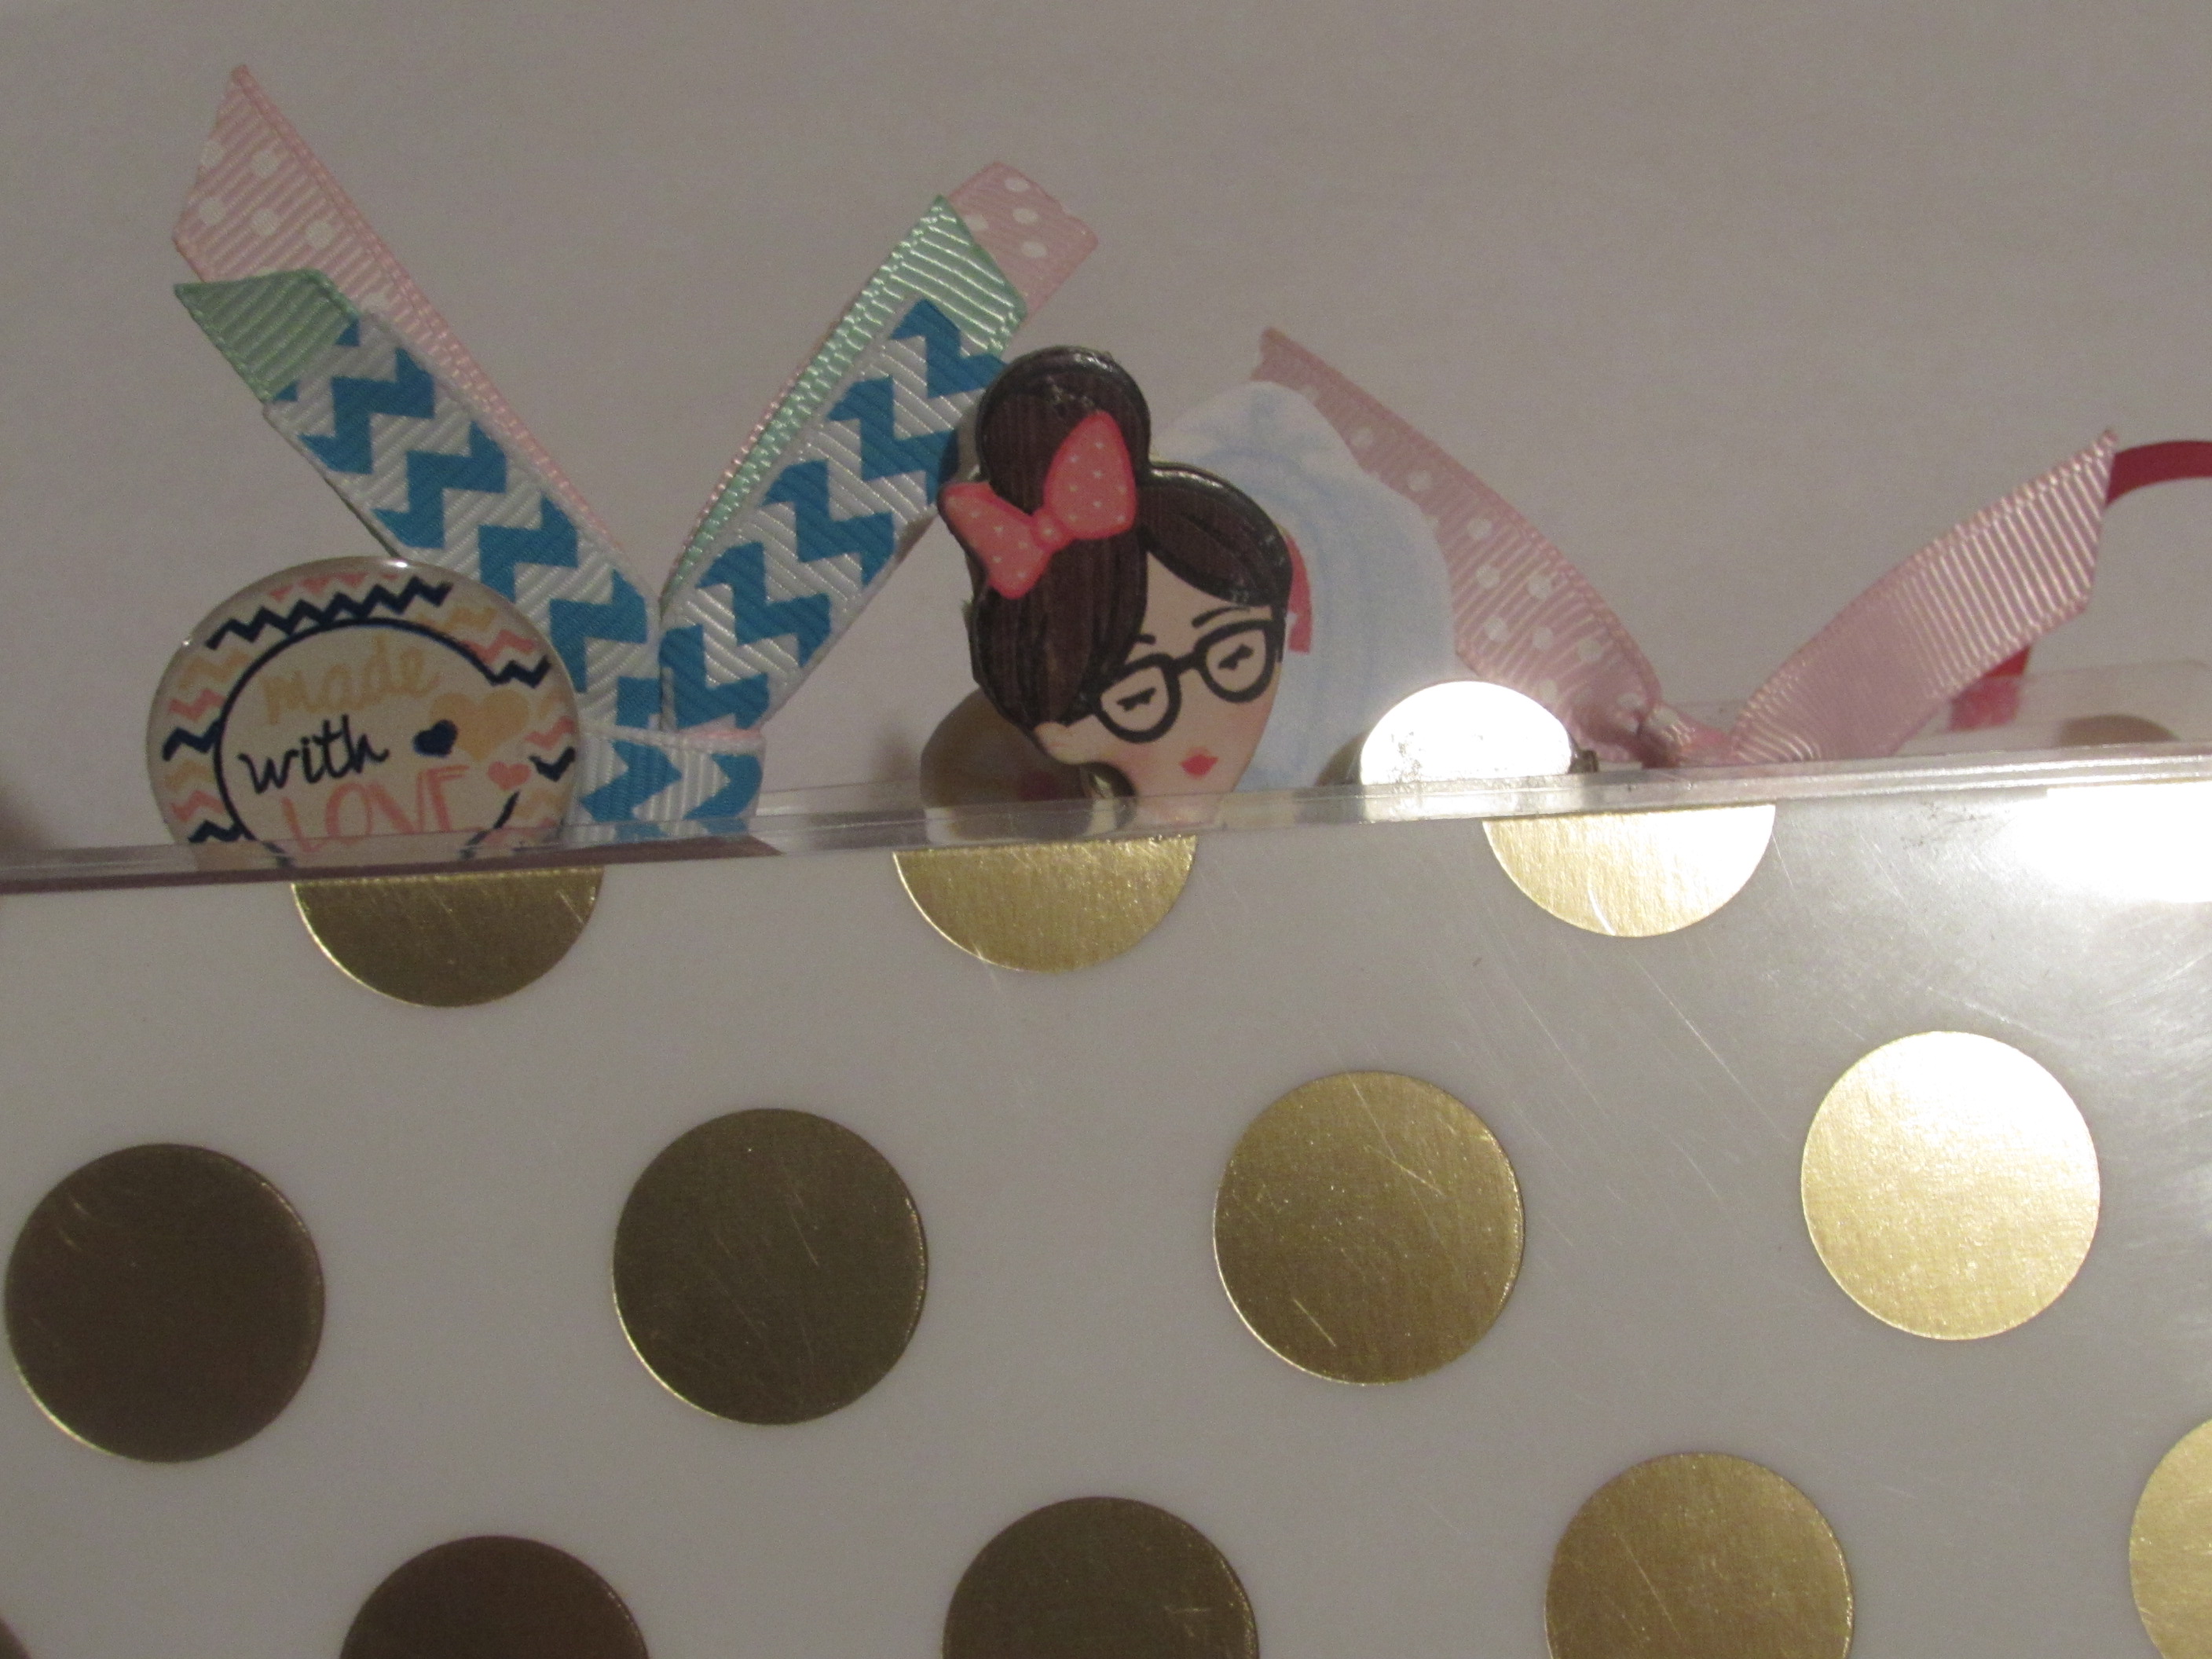
 * This simple clip bookmark is cute and adorable. All I did was take a lined alligator clip {{ this one is a single prong but a double prong will work just as good }} and added a 1" bottle cap image {{ image can be found from Jazzycaps.net }} with an epoxy seal and hotglued it to the top of the clip {{ where the prong to open the clip is }}
It was that simple!
* Hope you all enjoyed this non-hairbow tutorial :) Have a great day!
* This simple clip bookmark is cute and adorable. All I did was take a lined alligator clip {{ this one is a single prong but a double prong will work just as good }} and added a 1" bottle cap image {{ image can be found from Jazzycaps.net }} with an epoxy seal and hotglued it to the top of the clip {{ where the prong to open the clip is }}
It was that simple!
* Hope you all enjoyed this non-hairbow tutorial :) Have a great day!


