Contributor post by Cassie
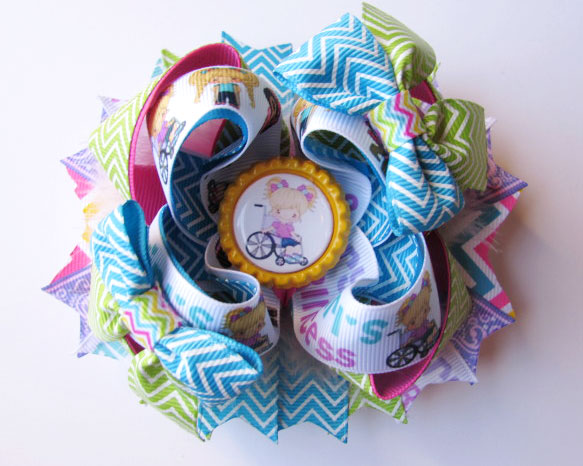
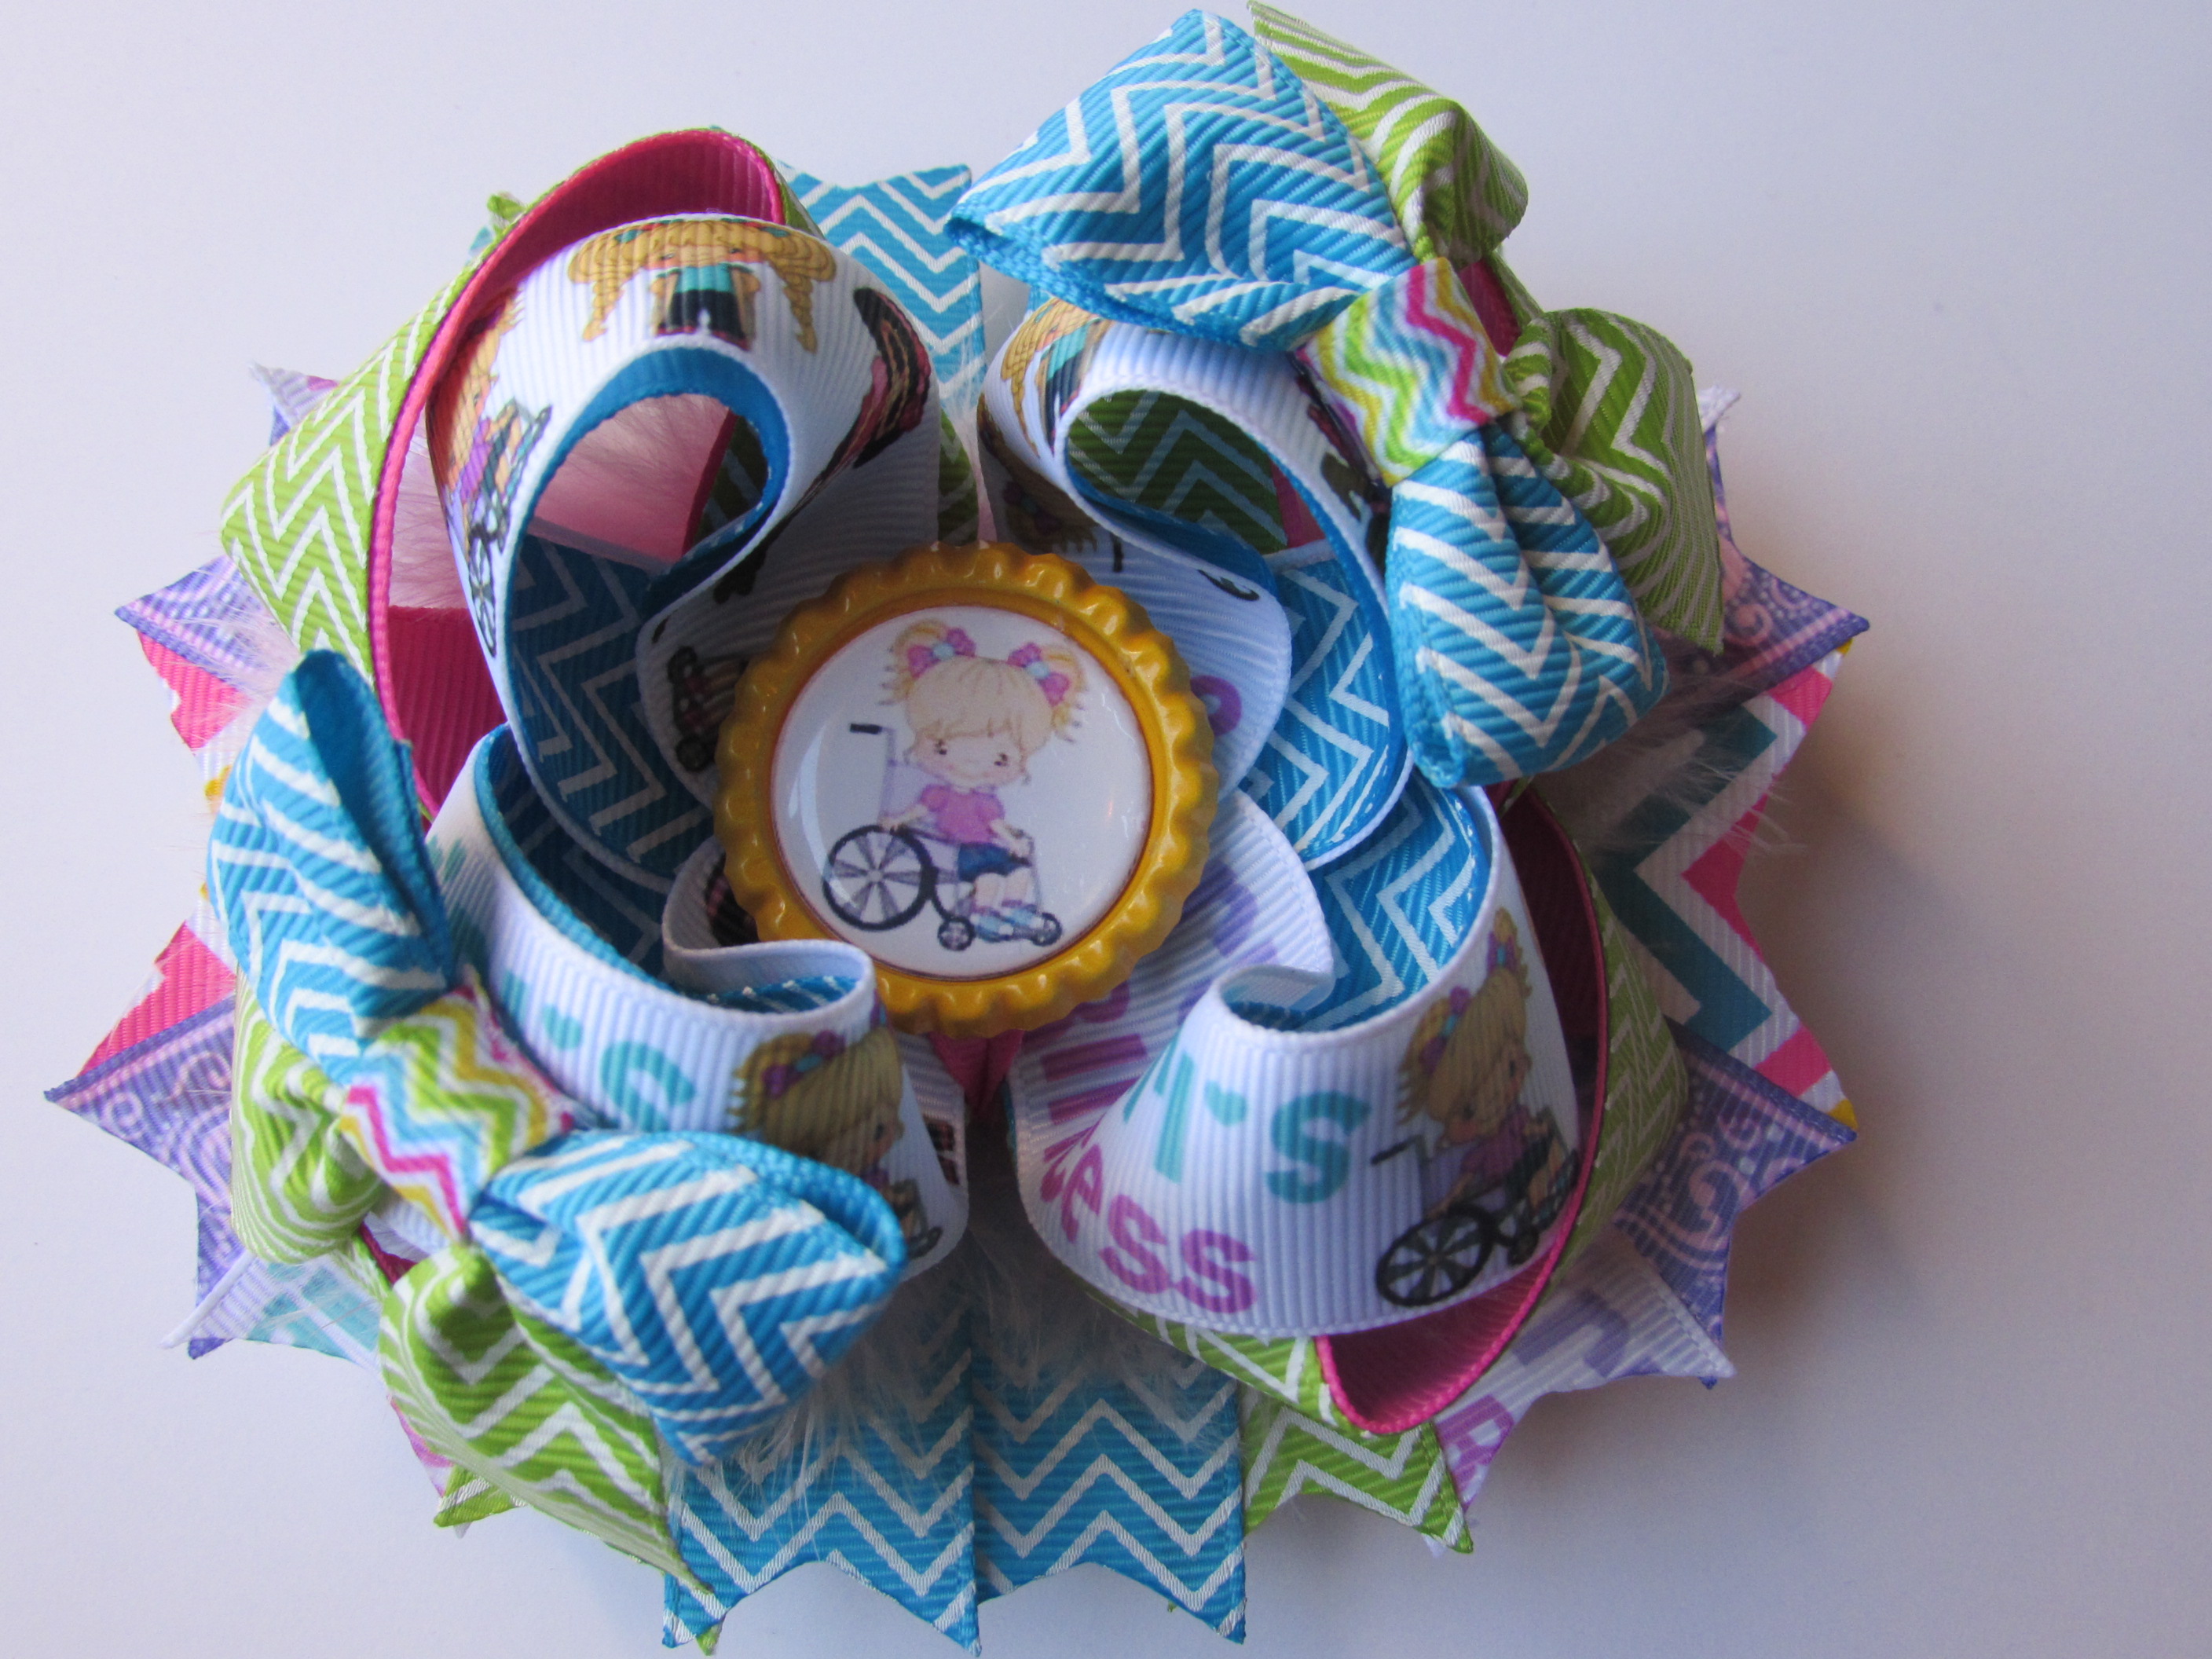
The sky is the limit to your creativity when making a stacked hairbow! There are SO MANY adorable ribbons in existence; Why settle for just one when you can mix them all up together into an eclectic thing of beauty?
How to make a stacked bow
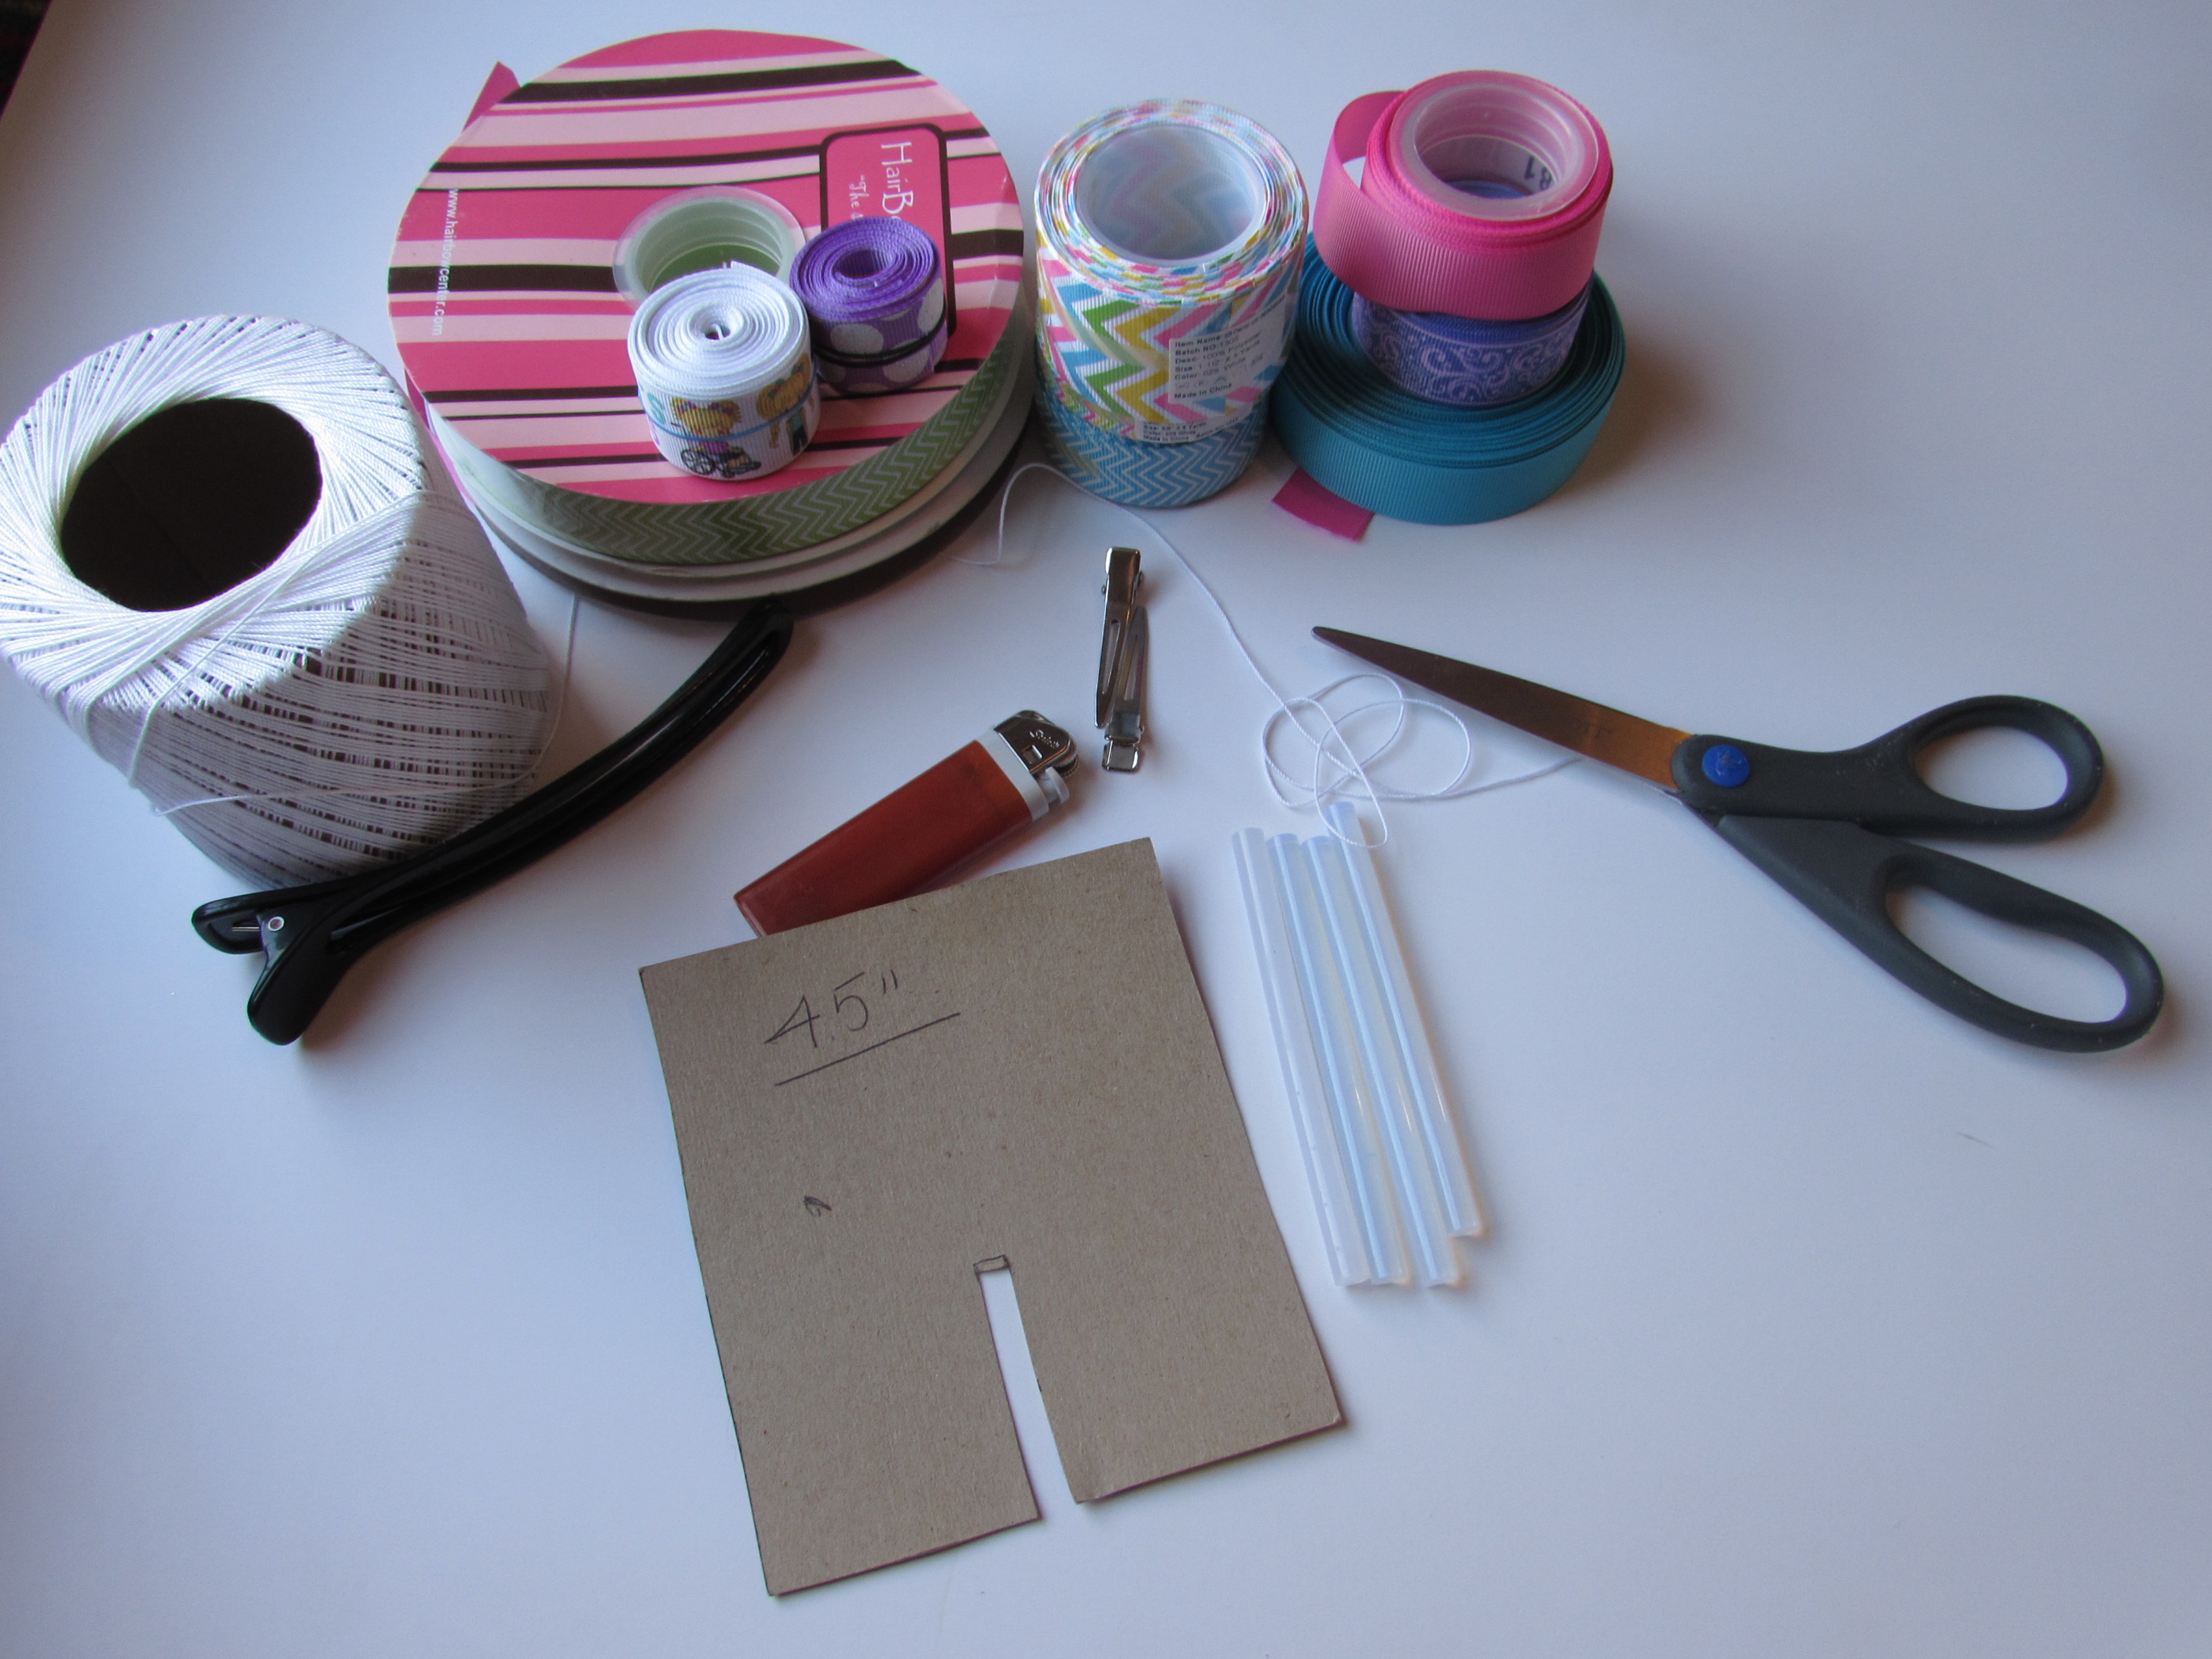
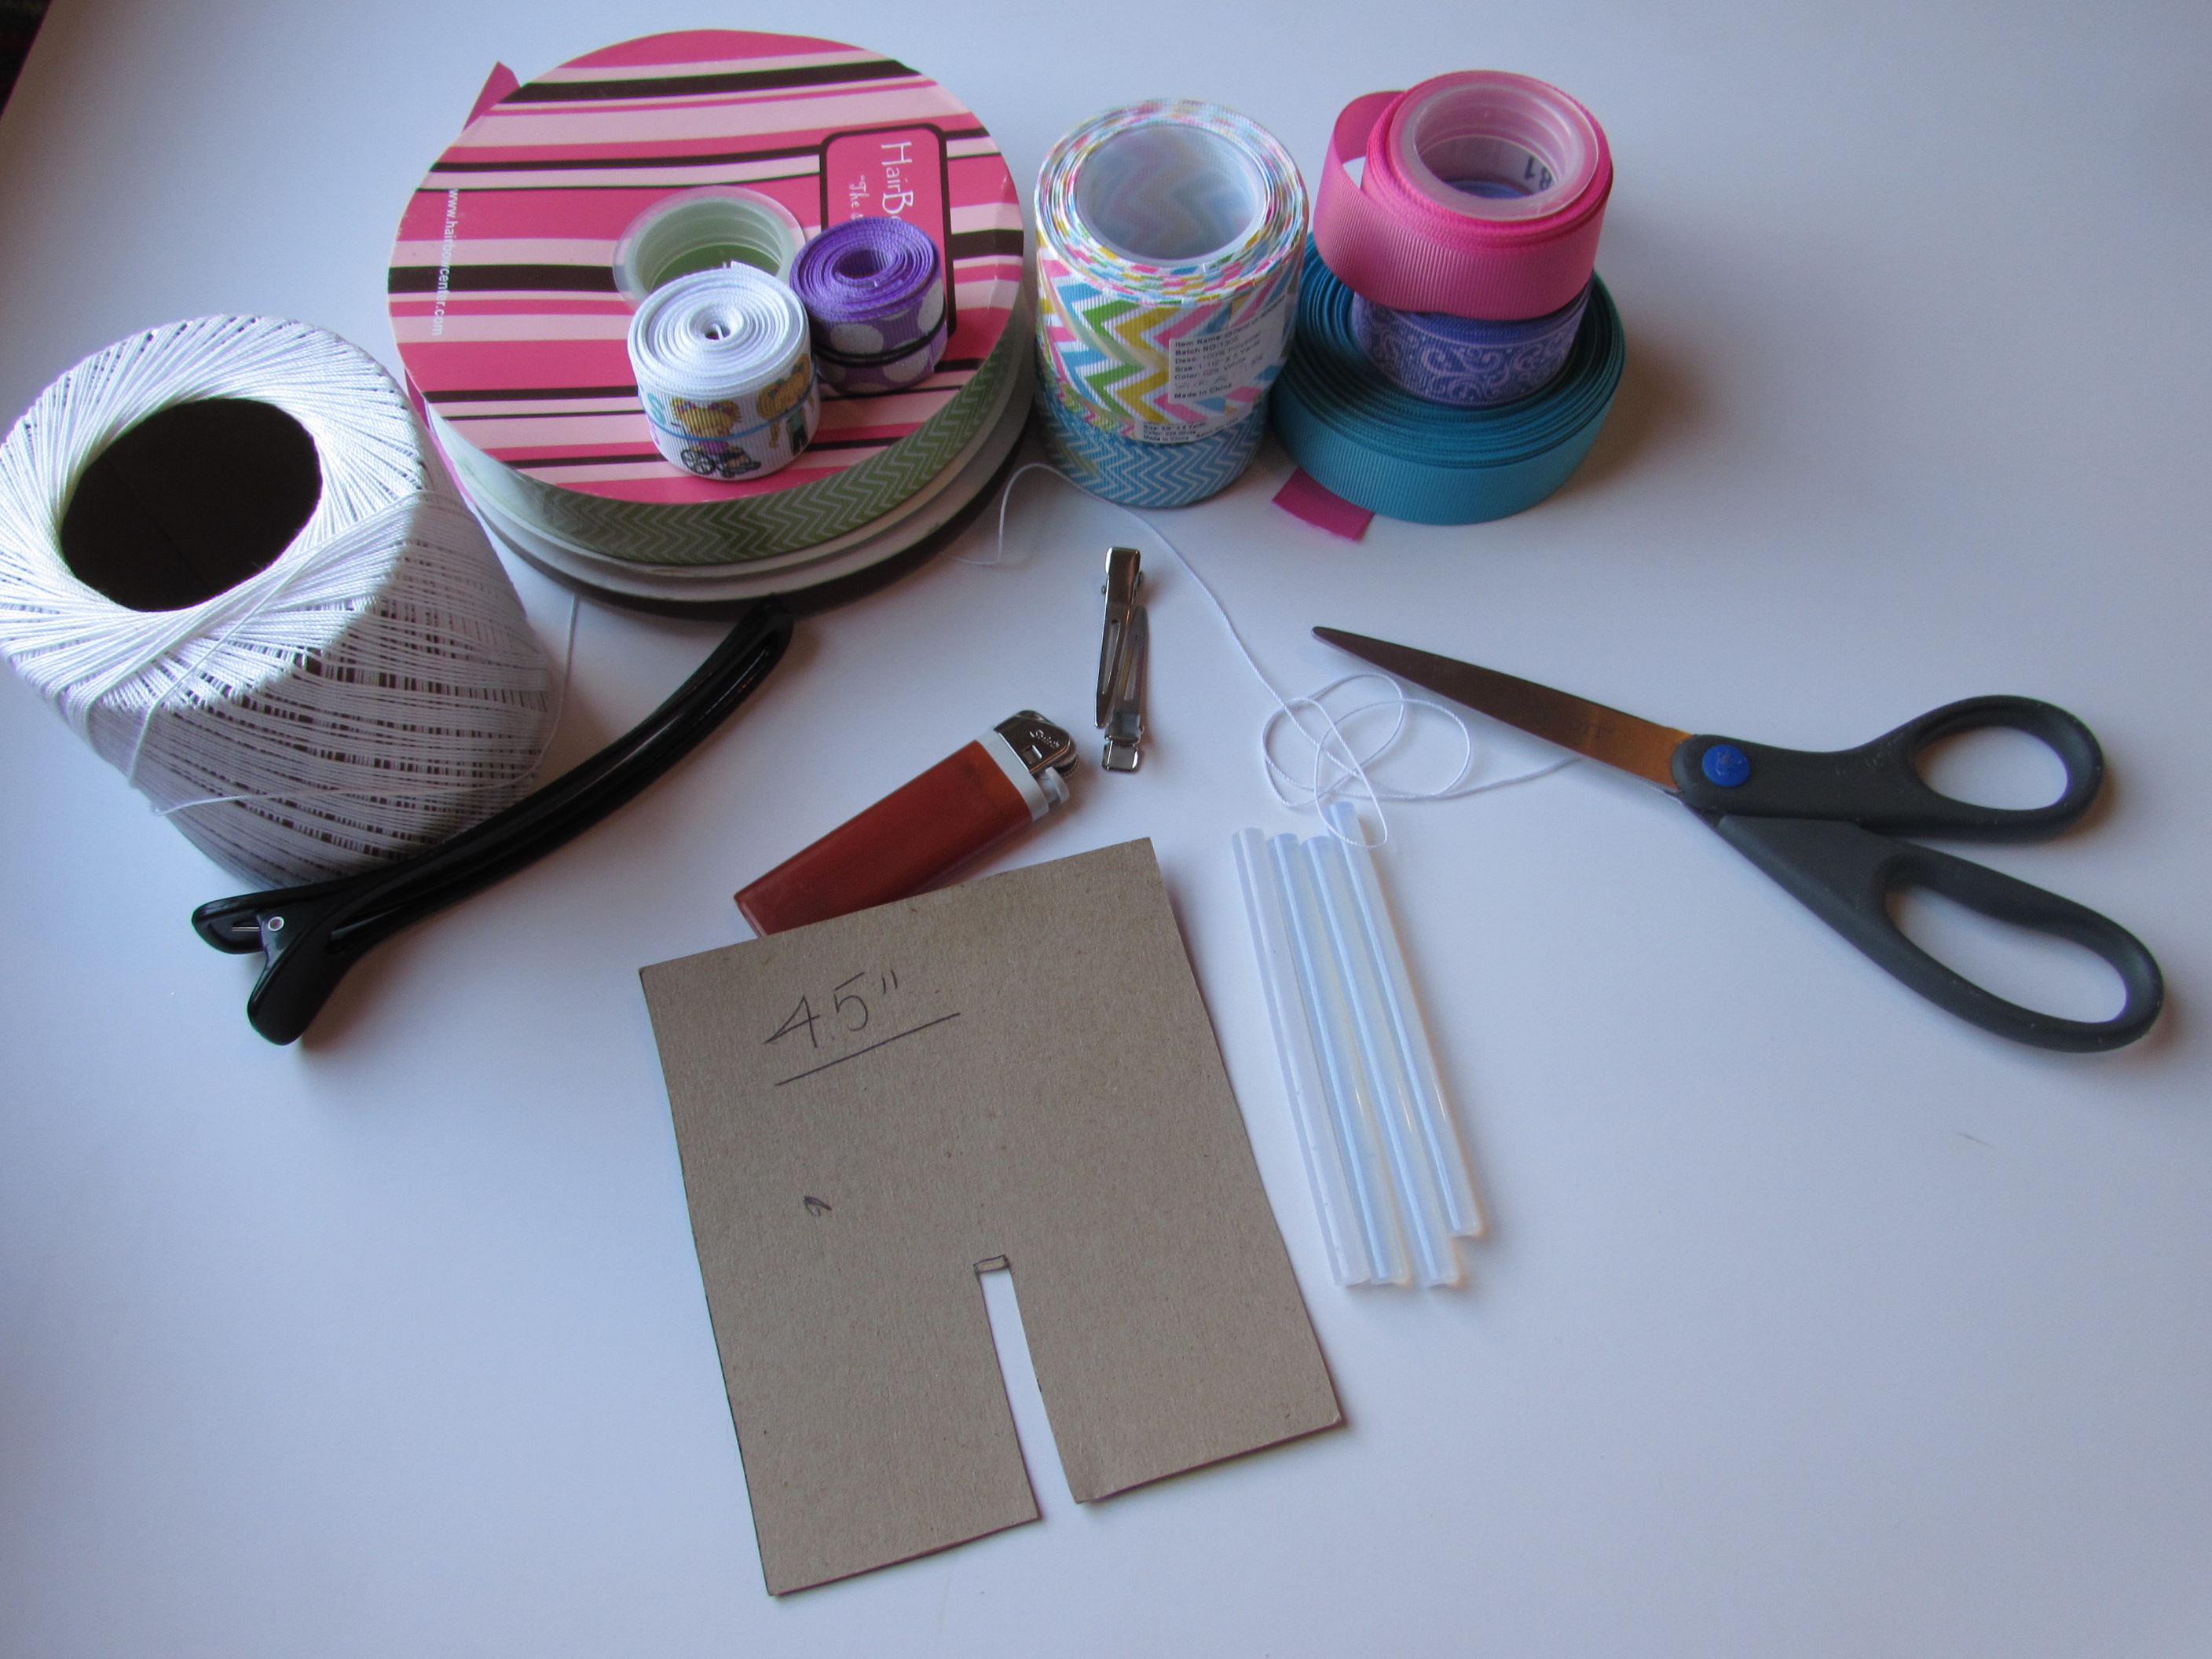
Supplies Needed:
Clips {{ Alligator }}
Scissors
Lighter
Salon Clip {{ Optional but I use it }}
Thread {{ Embroidery thread }}
Template {{ Optional but I use it and mine is homemade }}
Ribbon {{ Your choice, but I use grosgrain ribbon }}
Hairspray {{ for stiffing your bow, if you have another method use it }}
Ruler, measuring tape, board/mat
How to make a pinwheel bow?
Supplies needed:
24” of 1.5” grosgrain ribbon
- Cut your 1.5” ribbon to 24” long.
- Heat seal your ends with your lighter.
- Take your template and clip one end of ribbon to side of template.
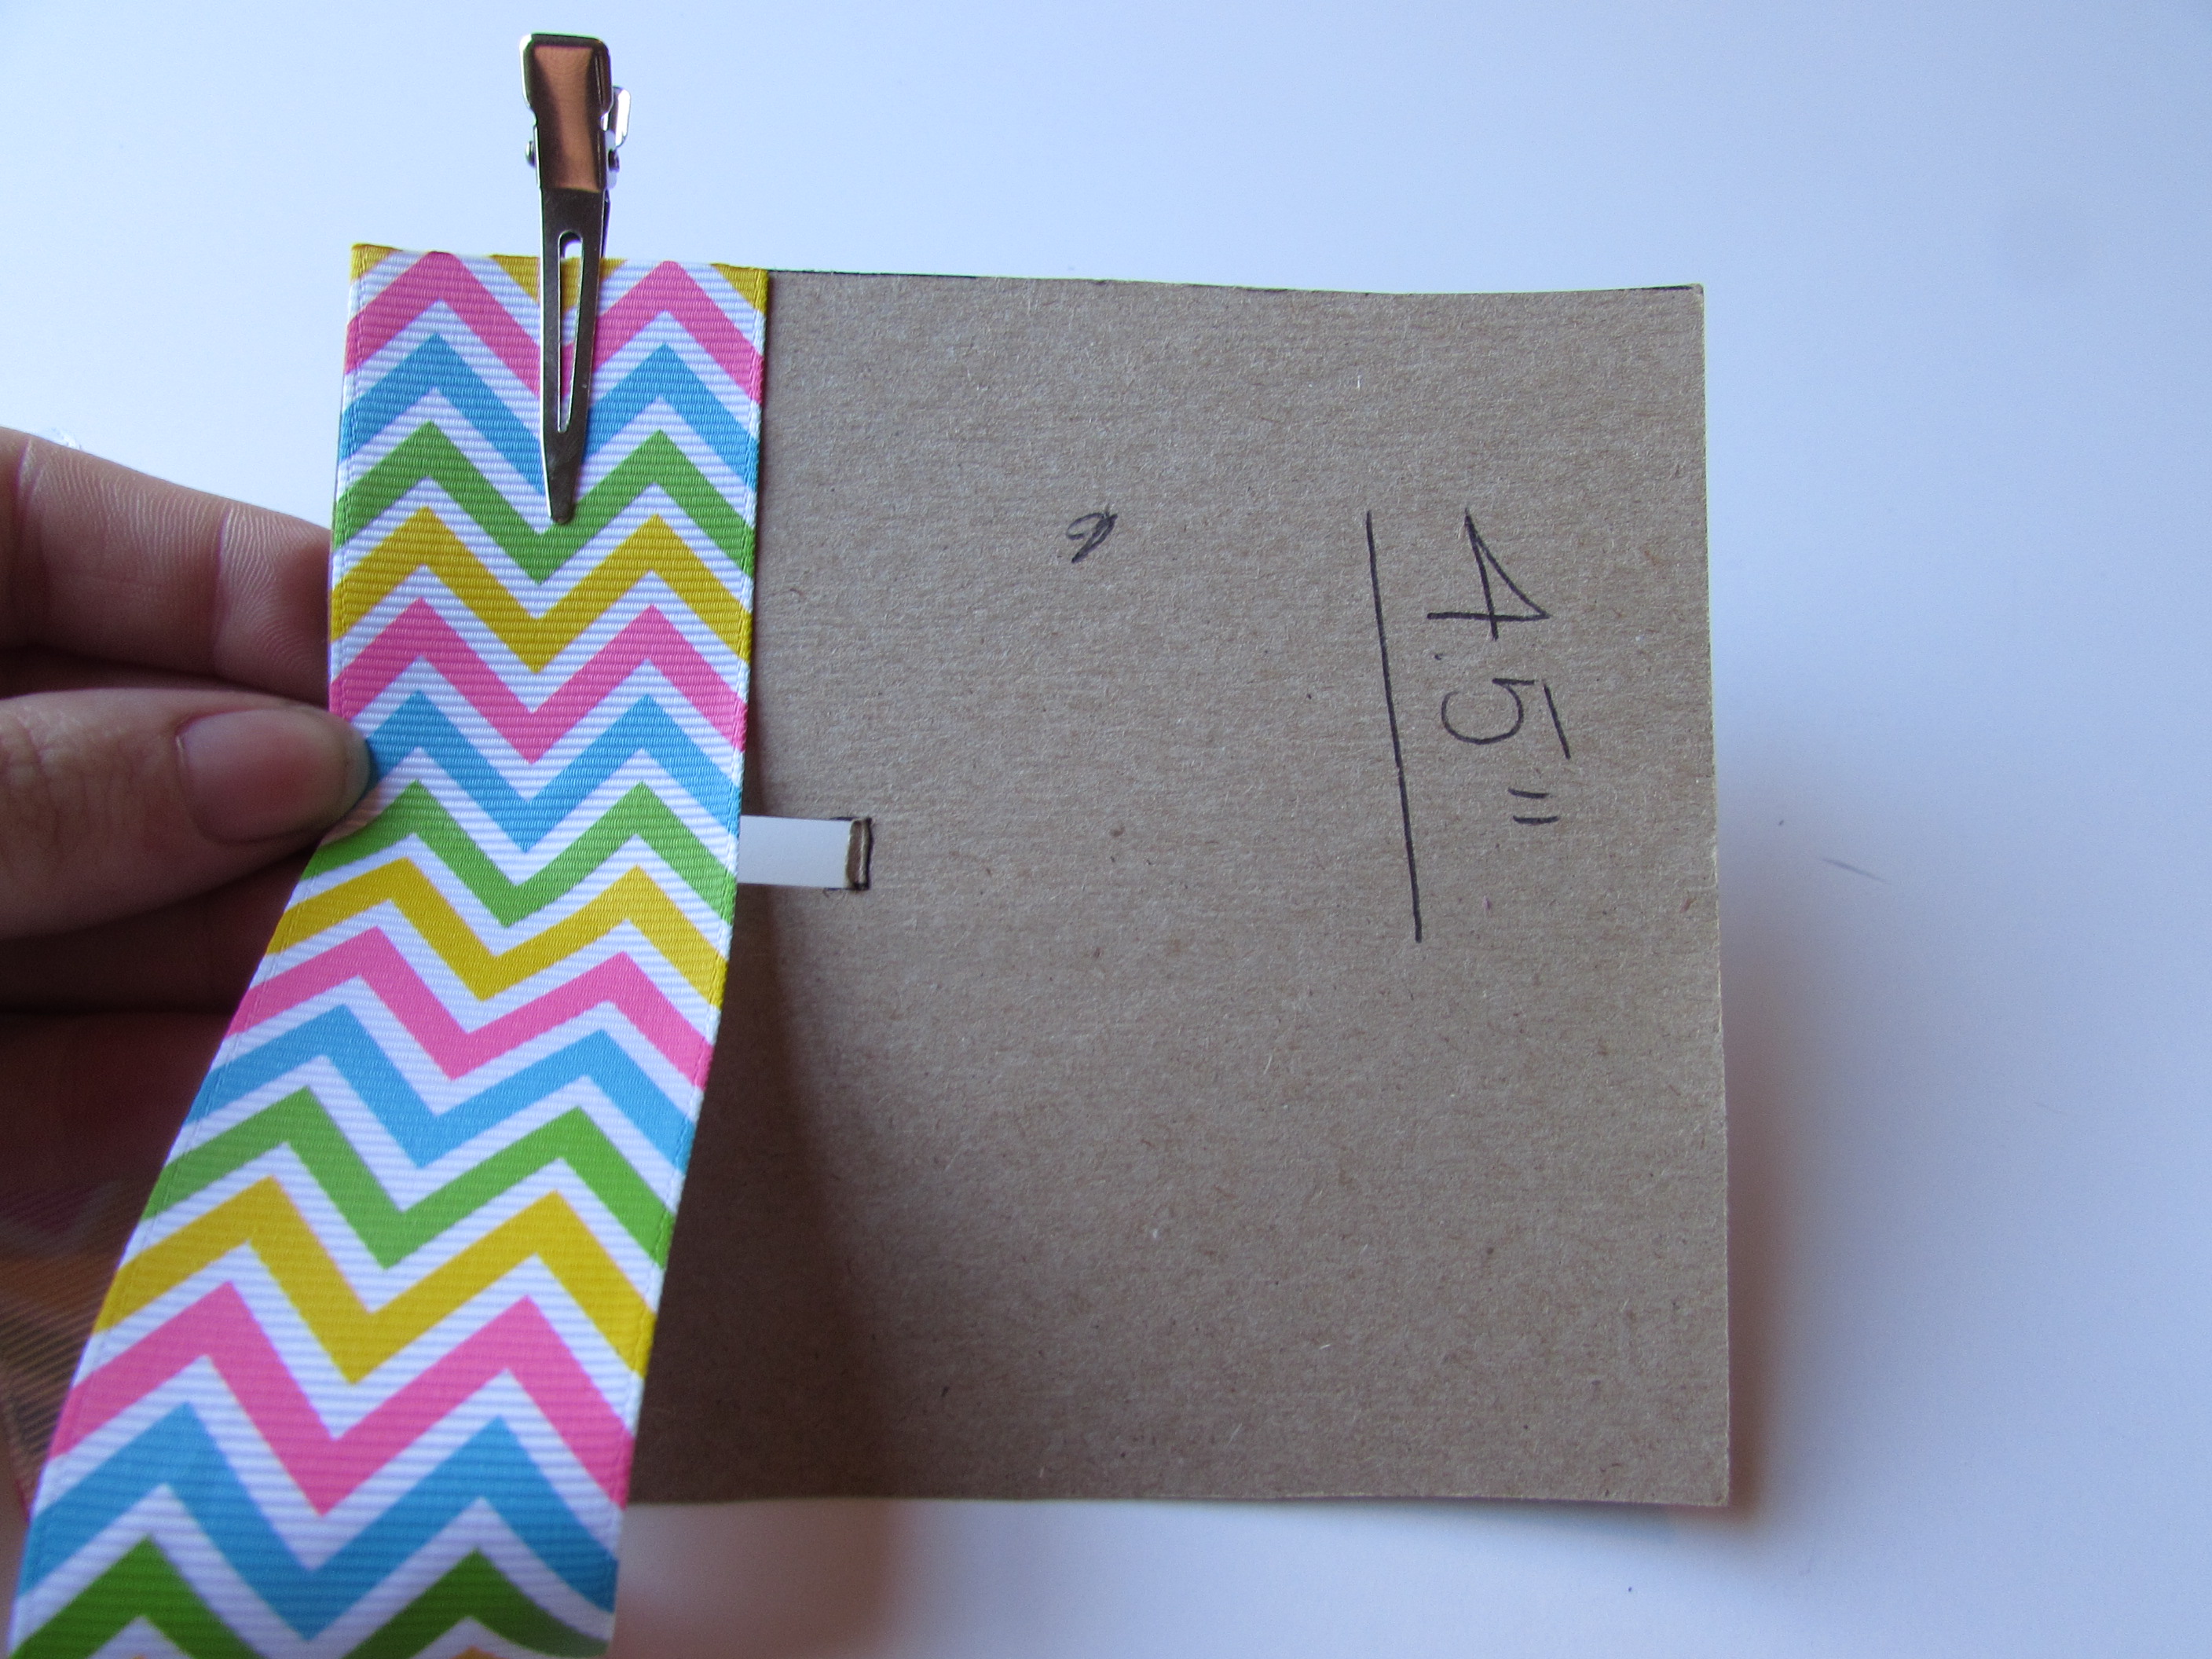
- Wrap ribbon around the template twice. With 3 pieces in the front and 2 in the back. Clip other end.
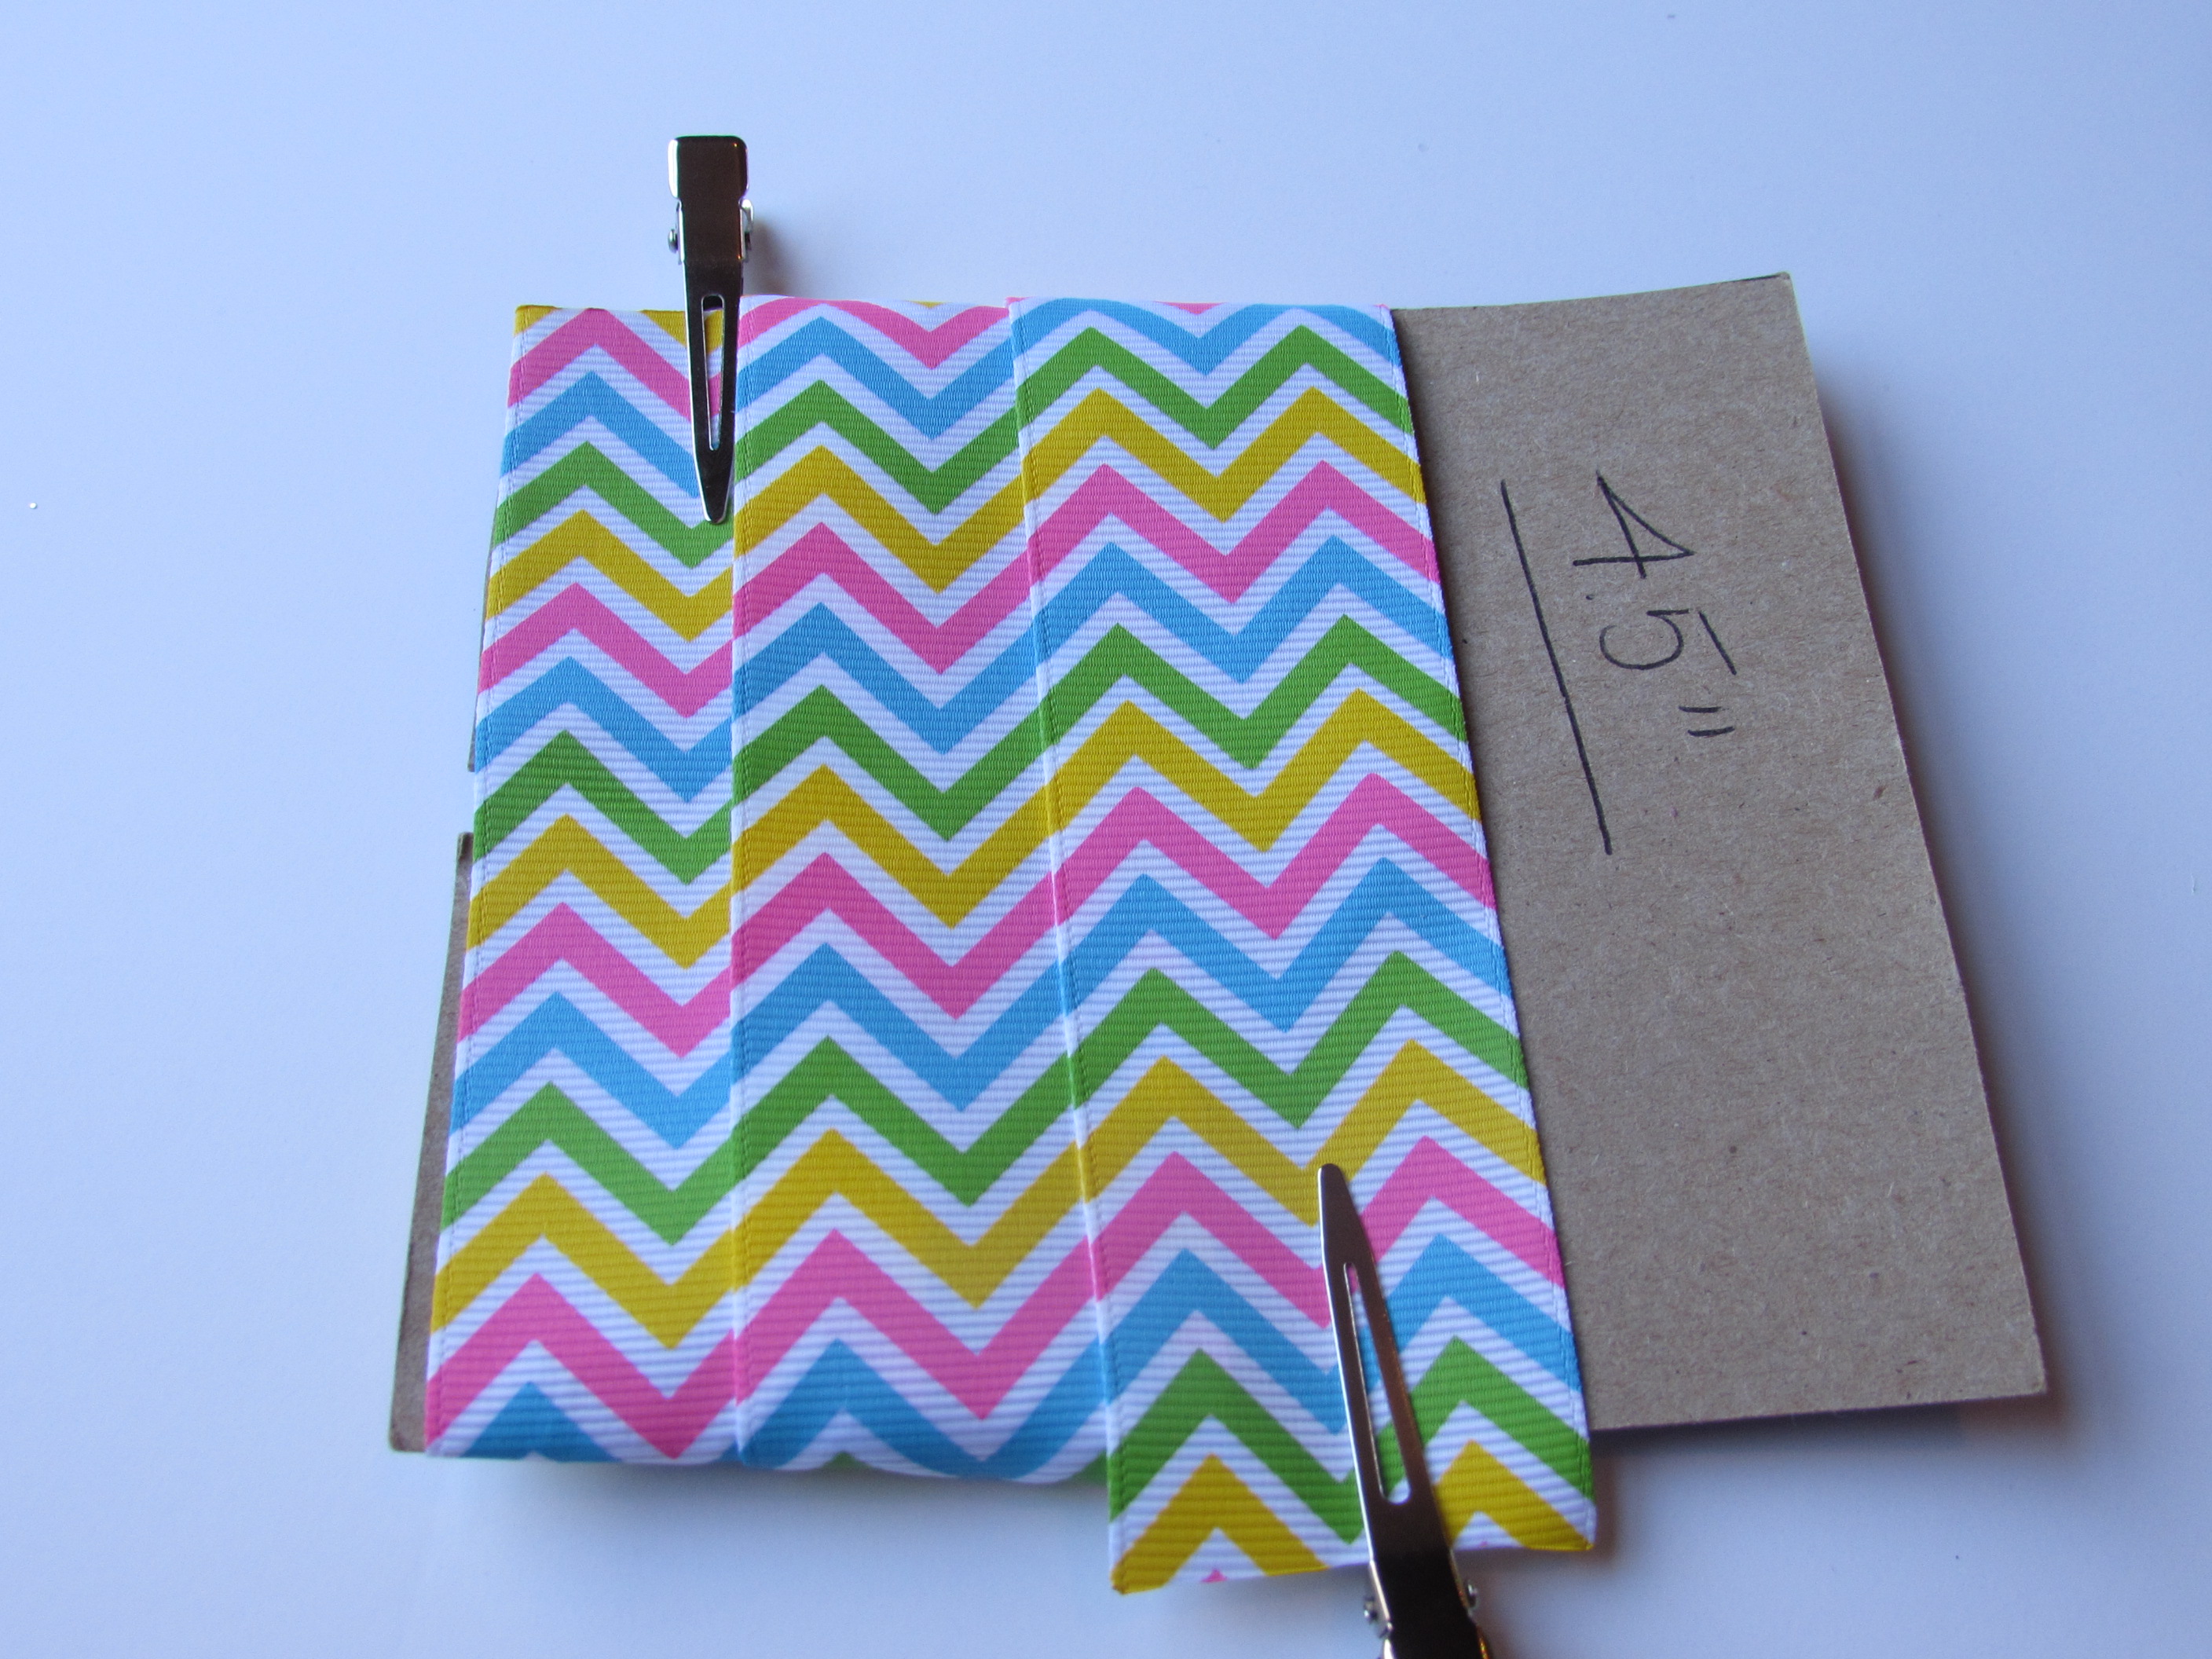
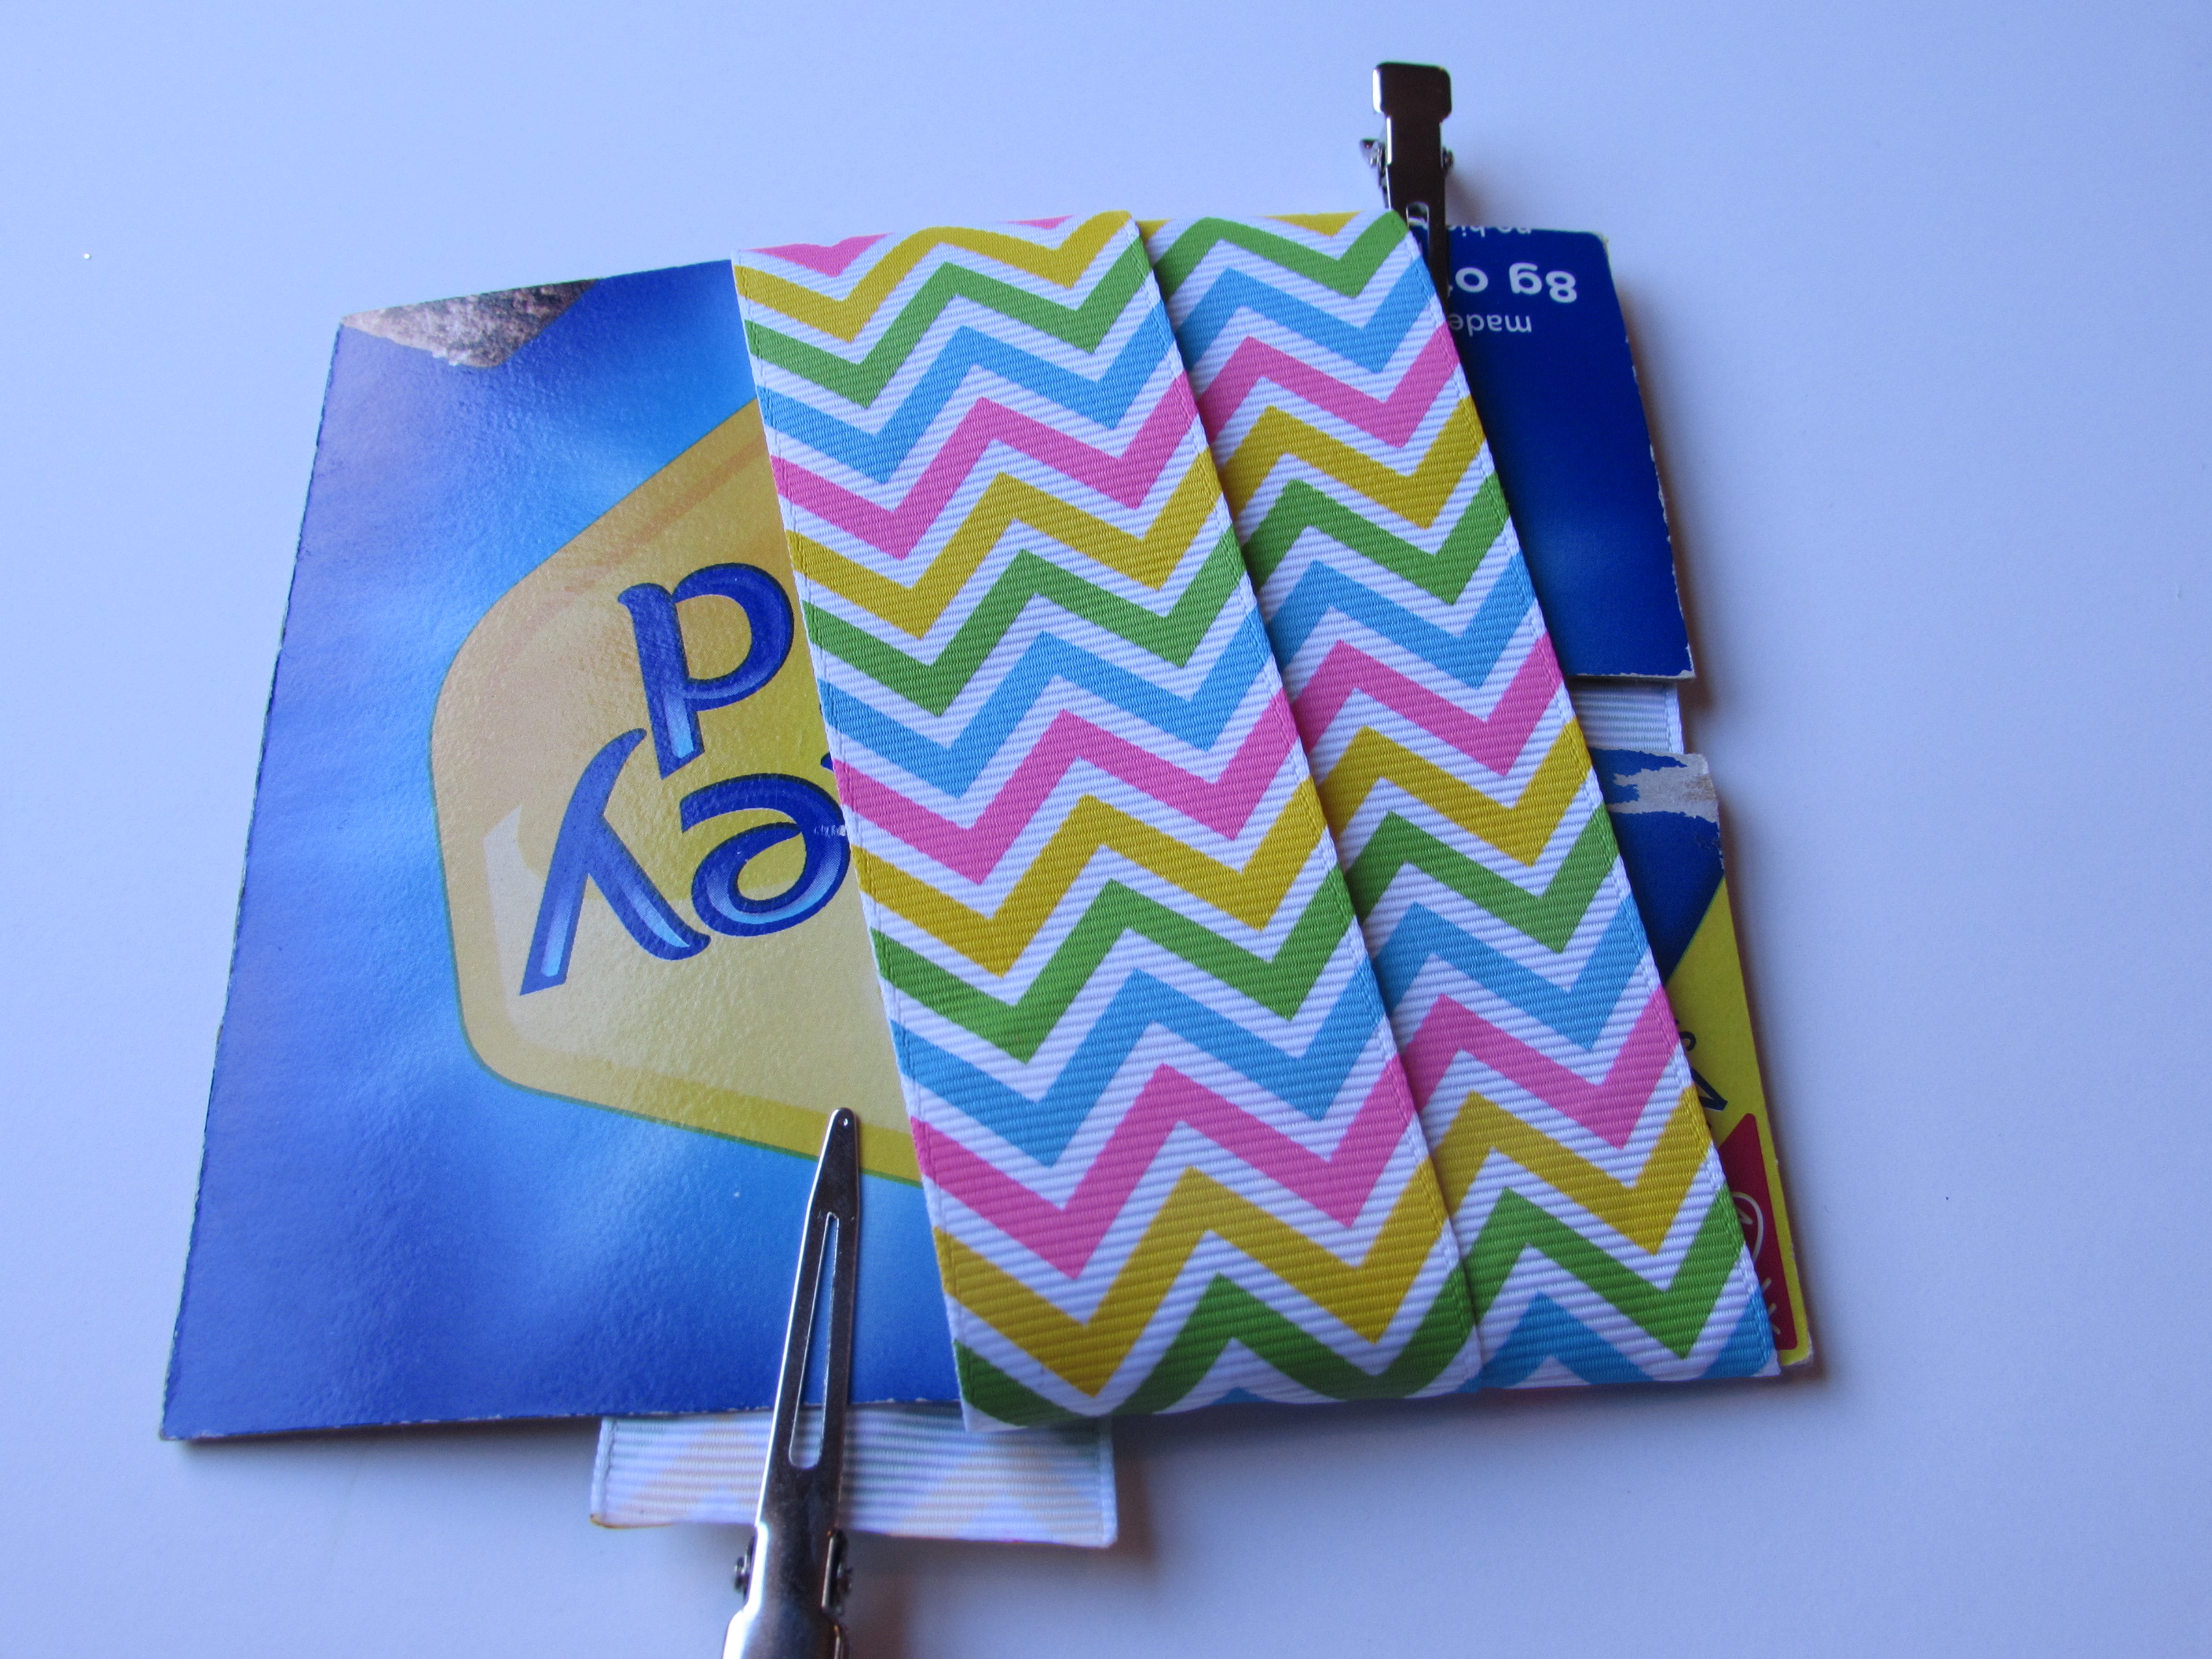 5. Take your salon clip and clip it in the center of the ribbon and the template.
 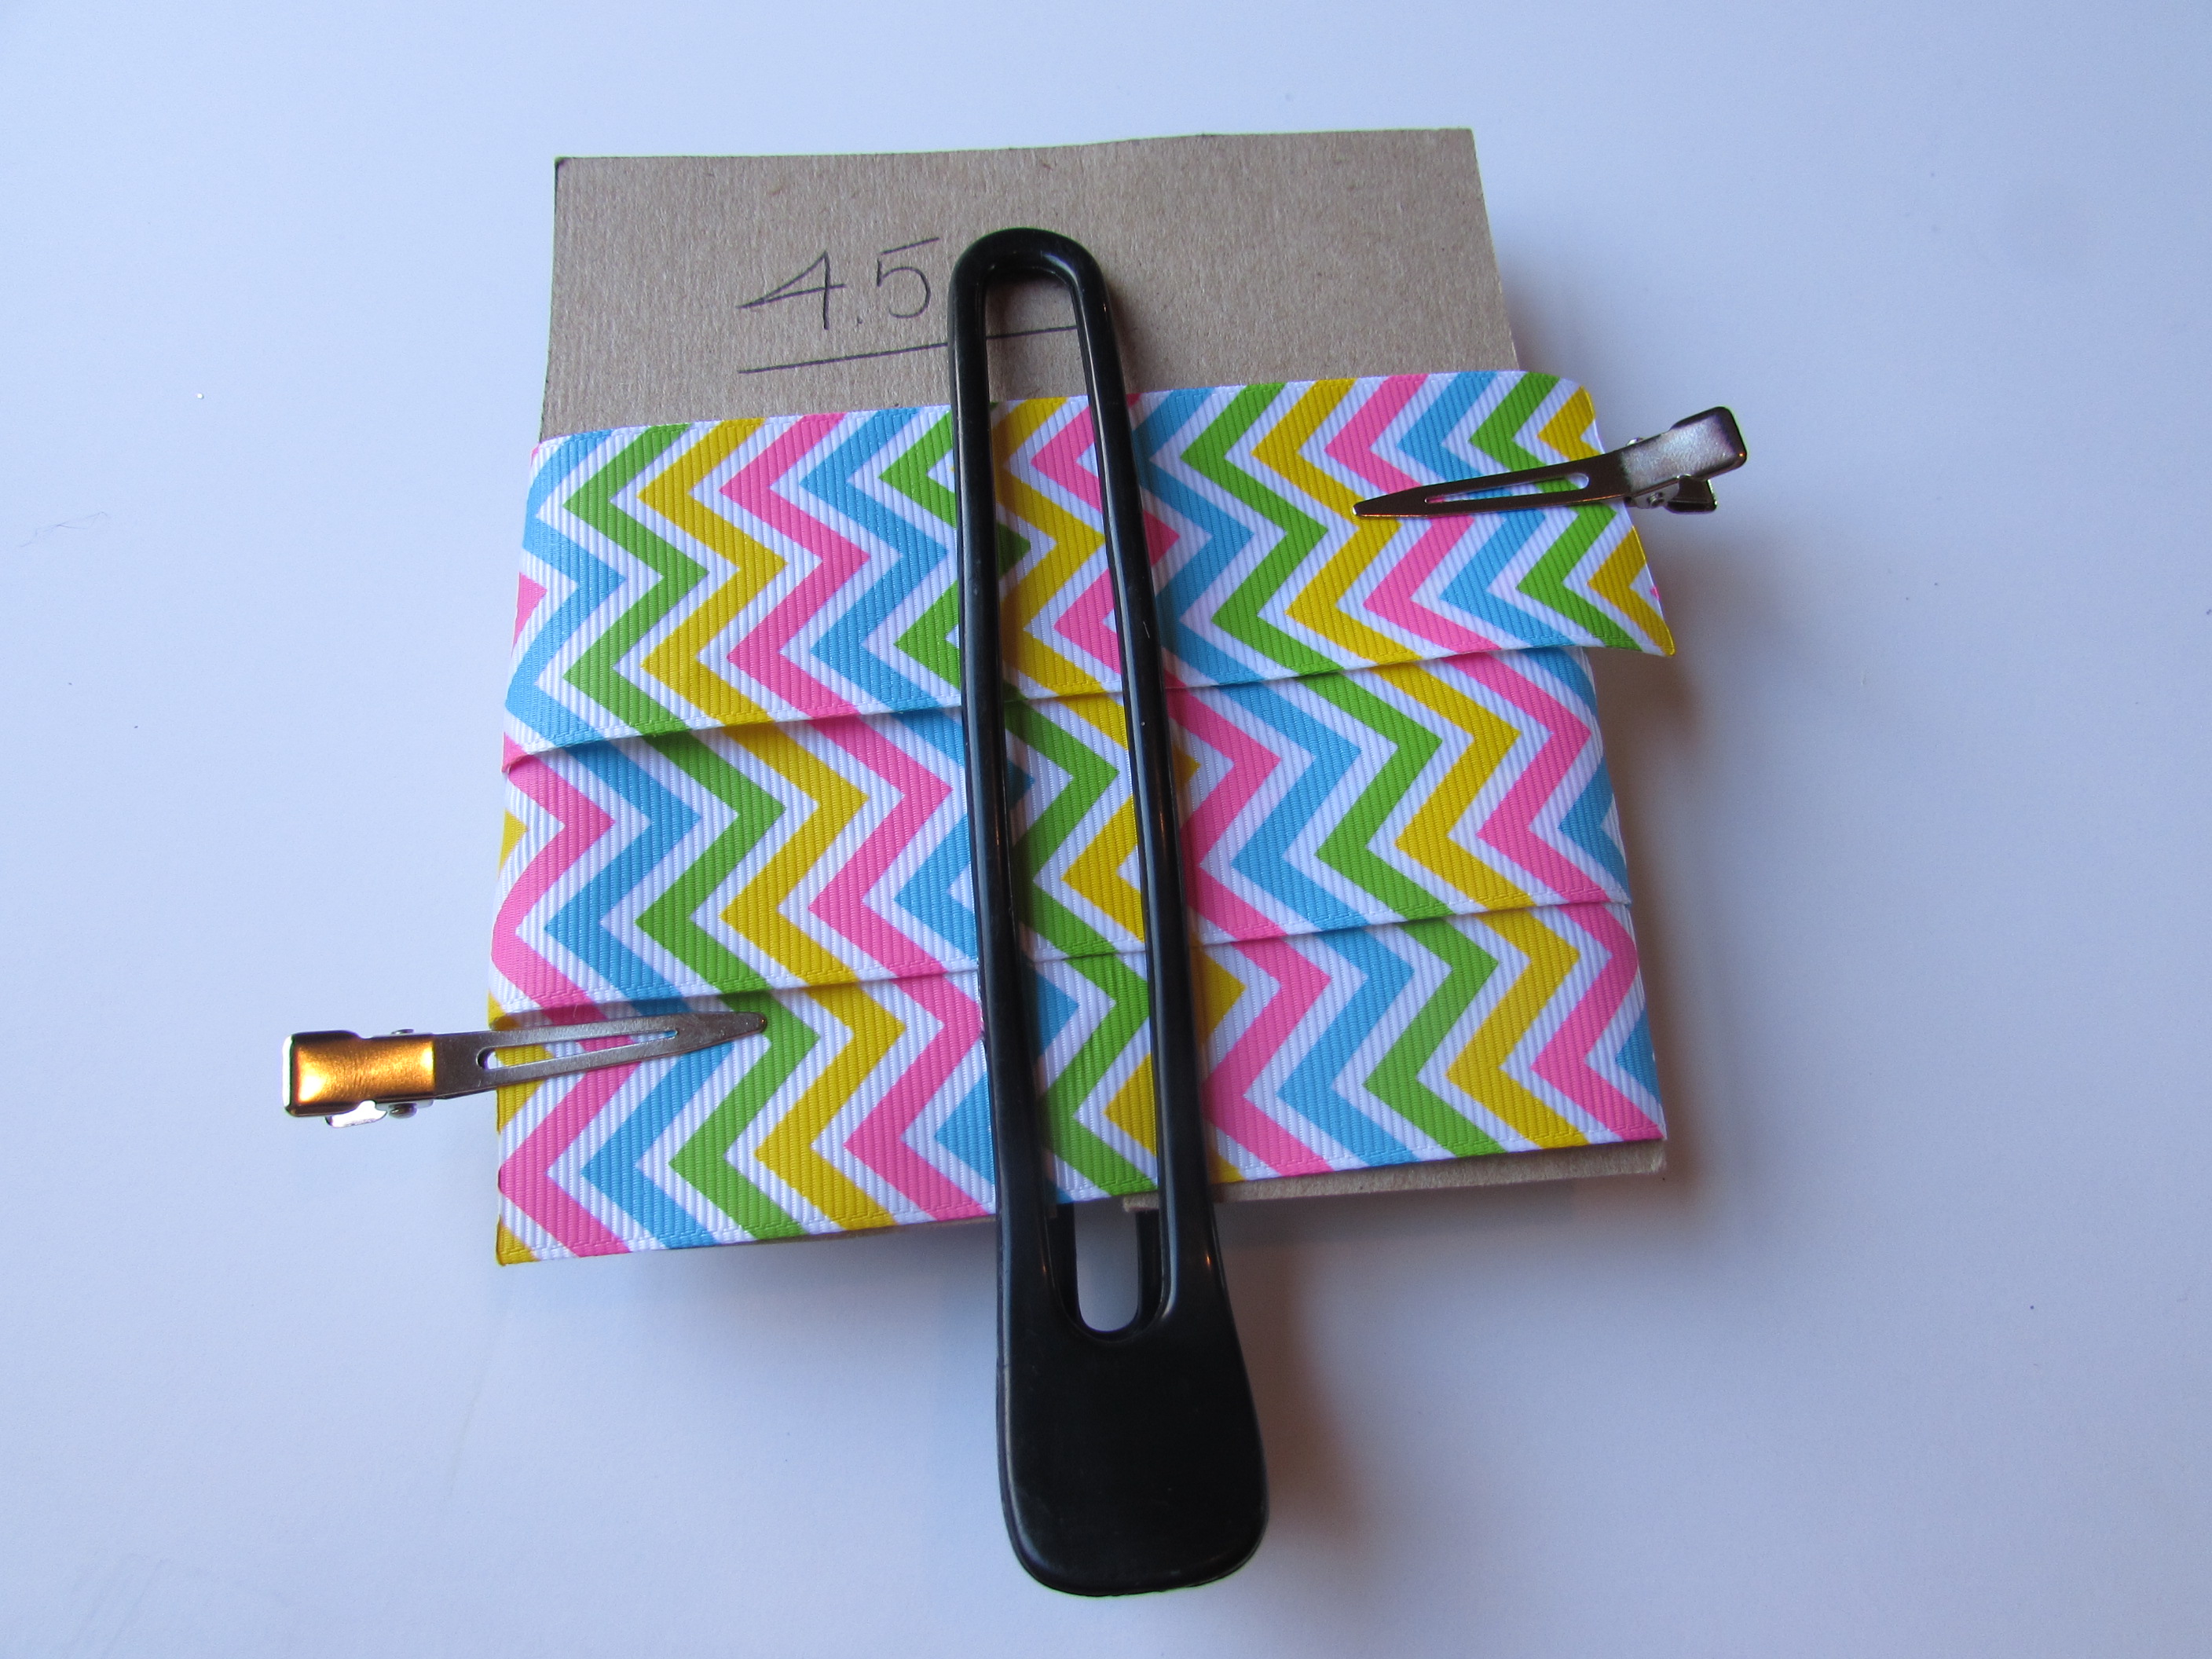 6. Take off clips, and pull out the template.
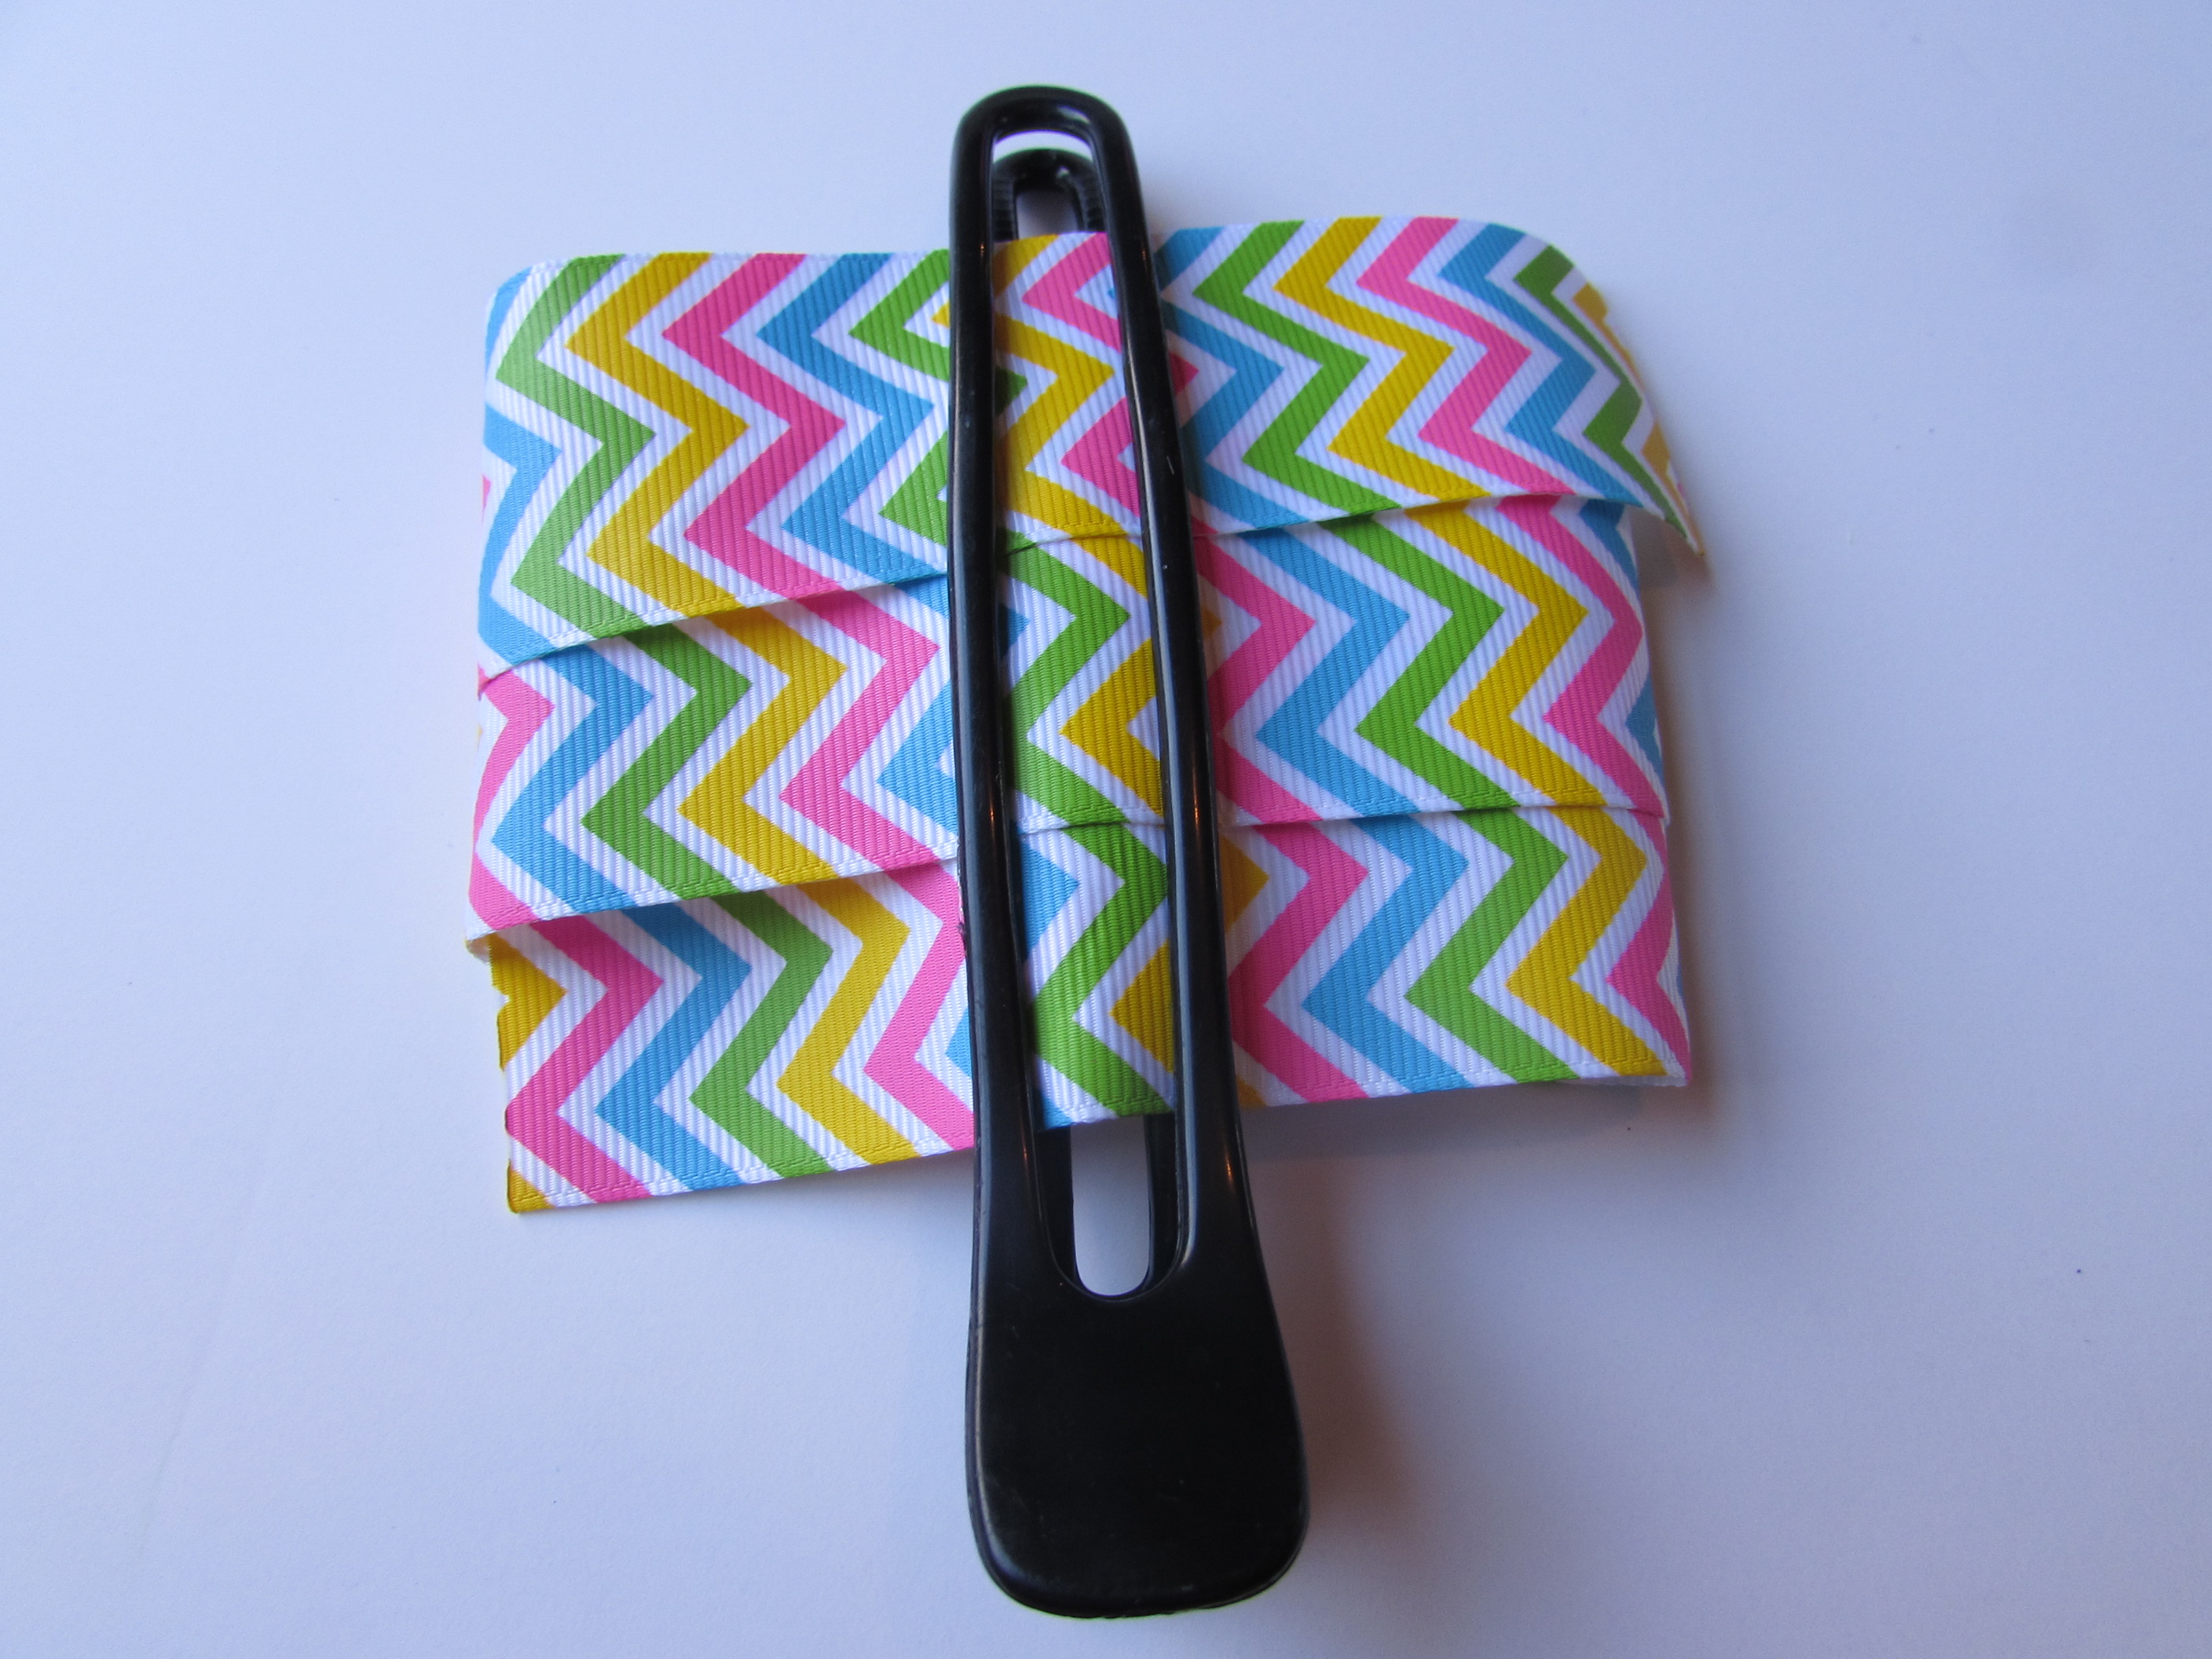 7. Take thread and string in the center of the salon clip, around the ribbon center.
 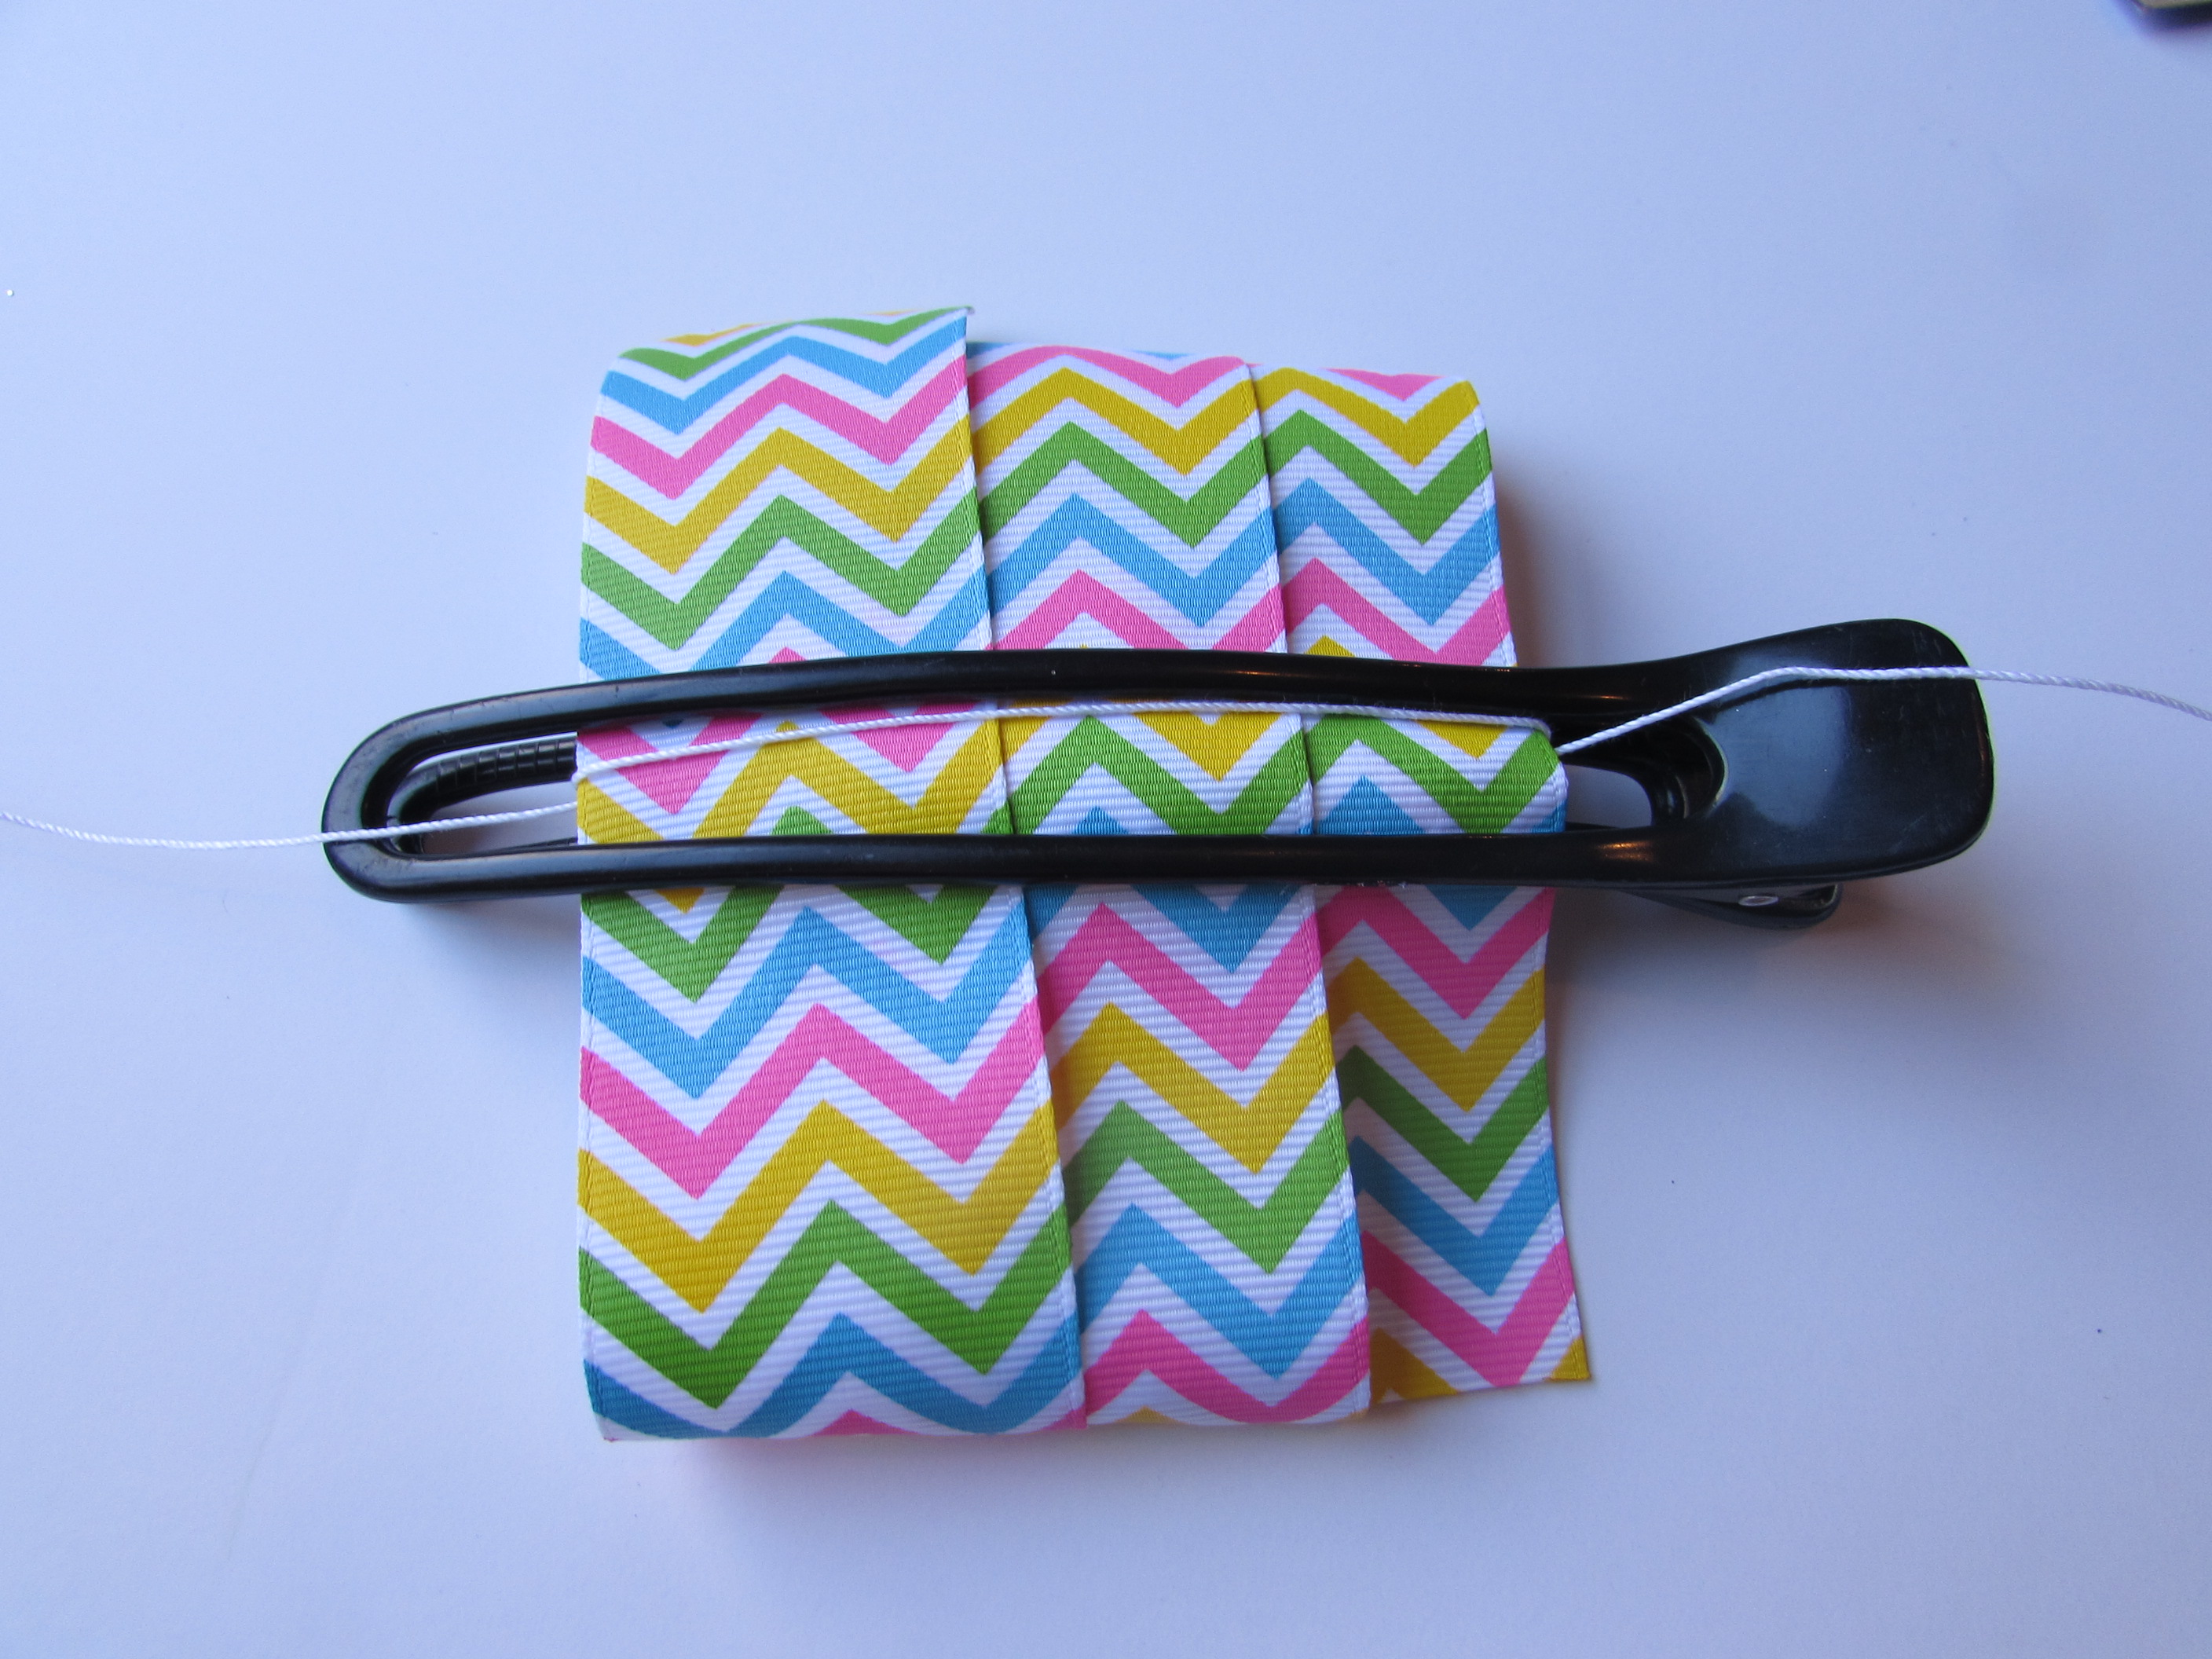 8. Pull ends together of the thread scrunching center of the bow. Pull tight and make several knots.
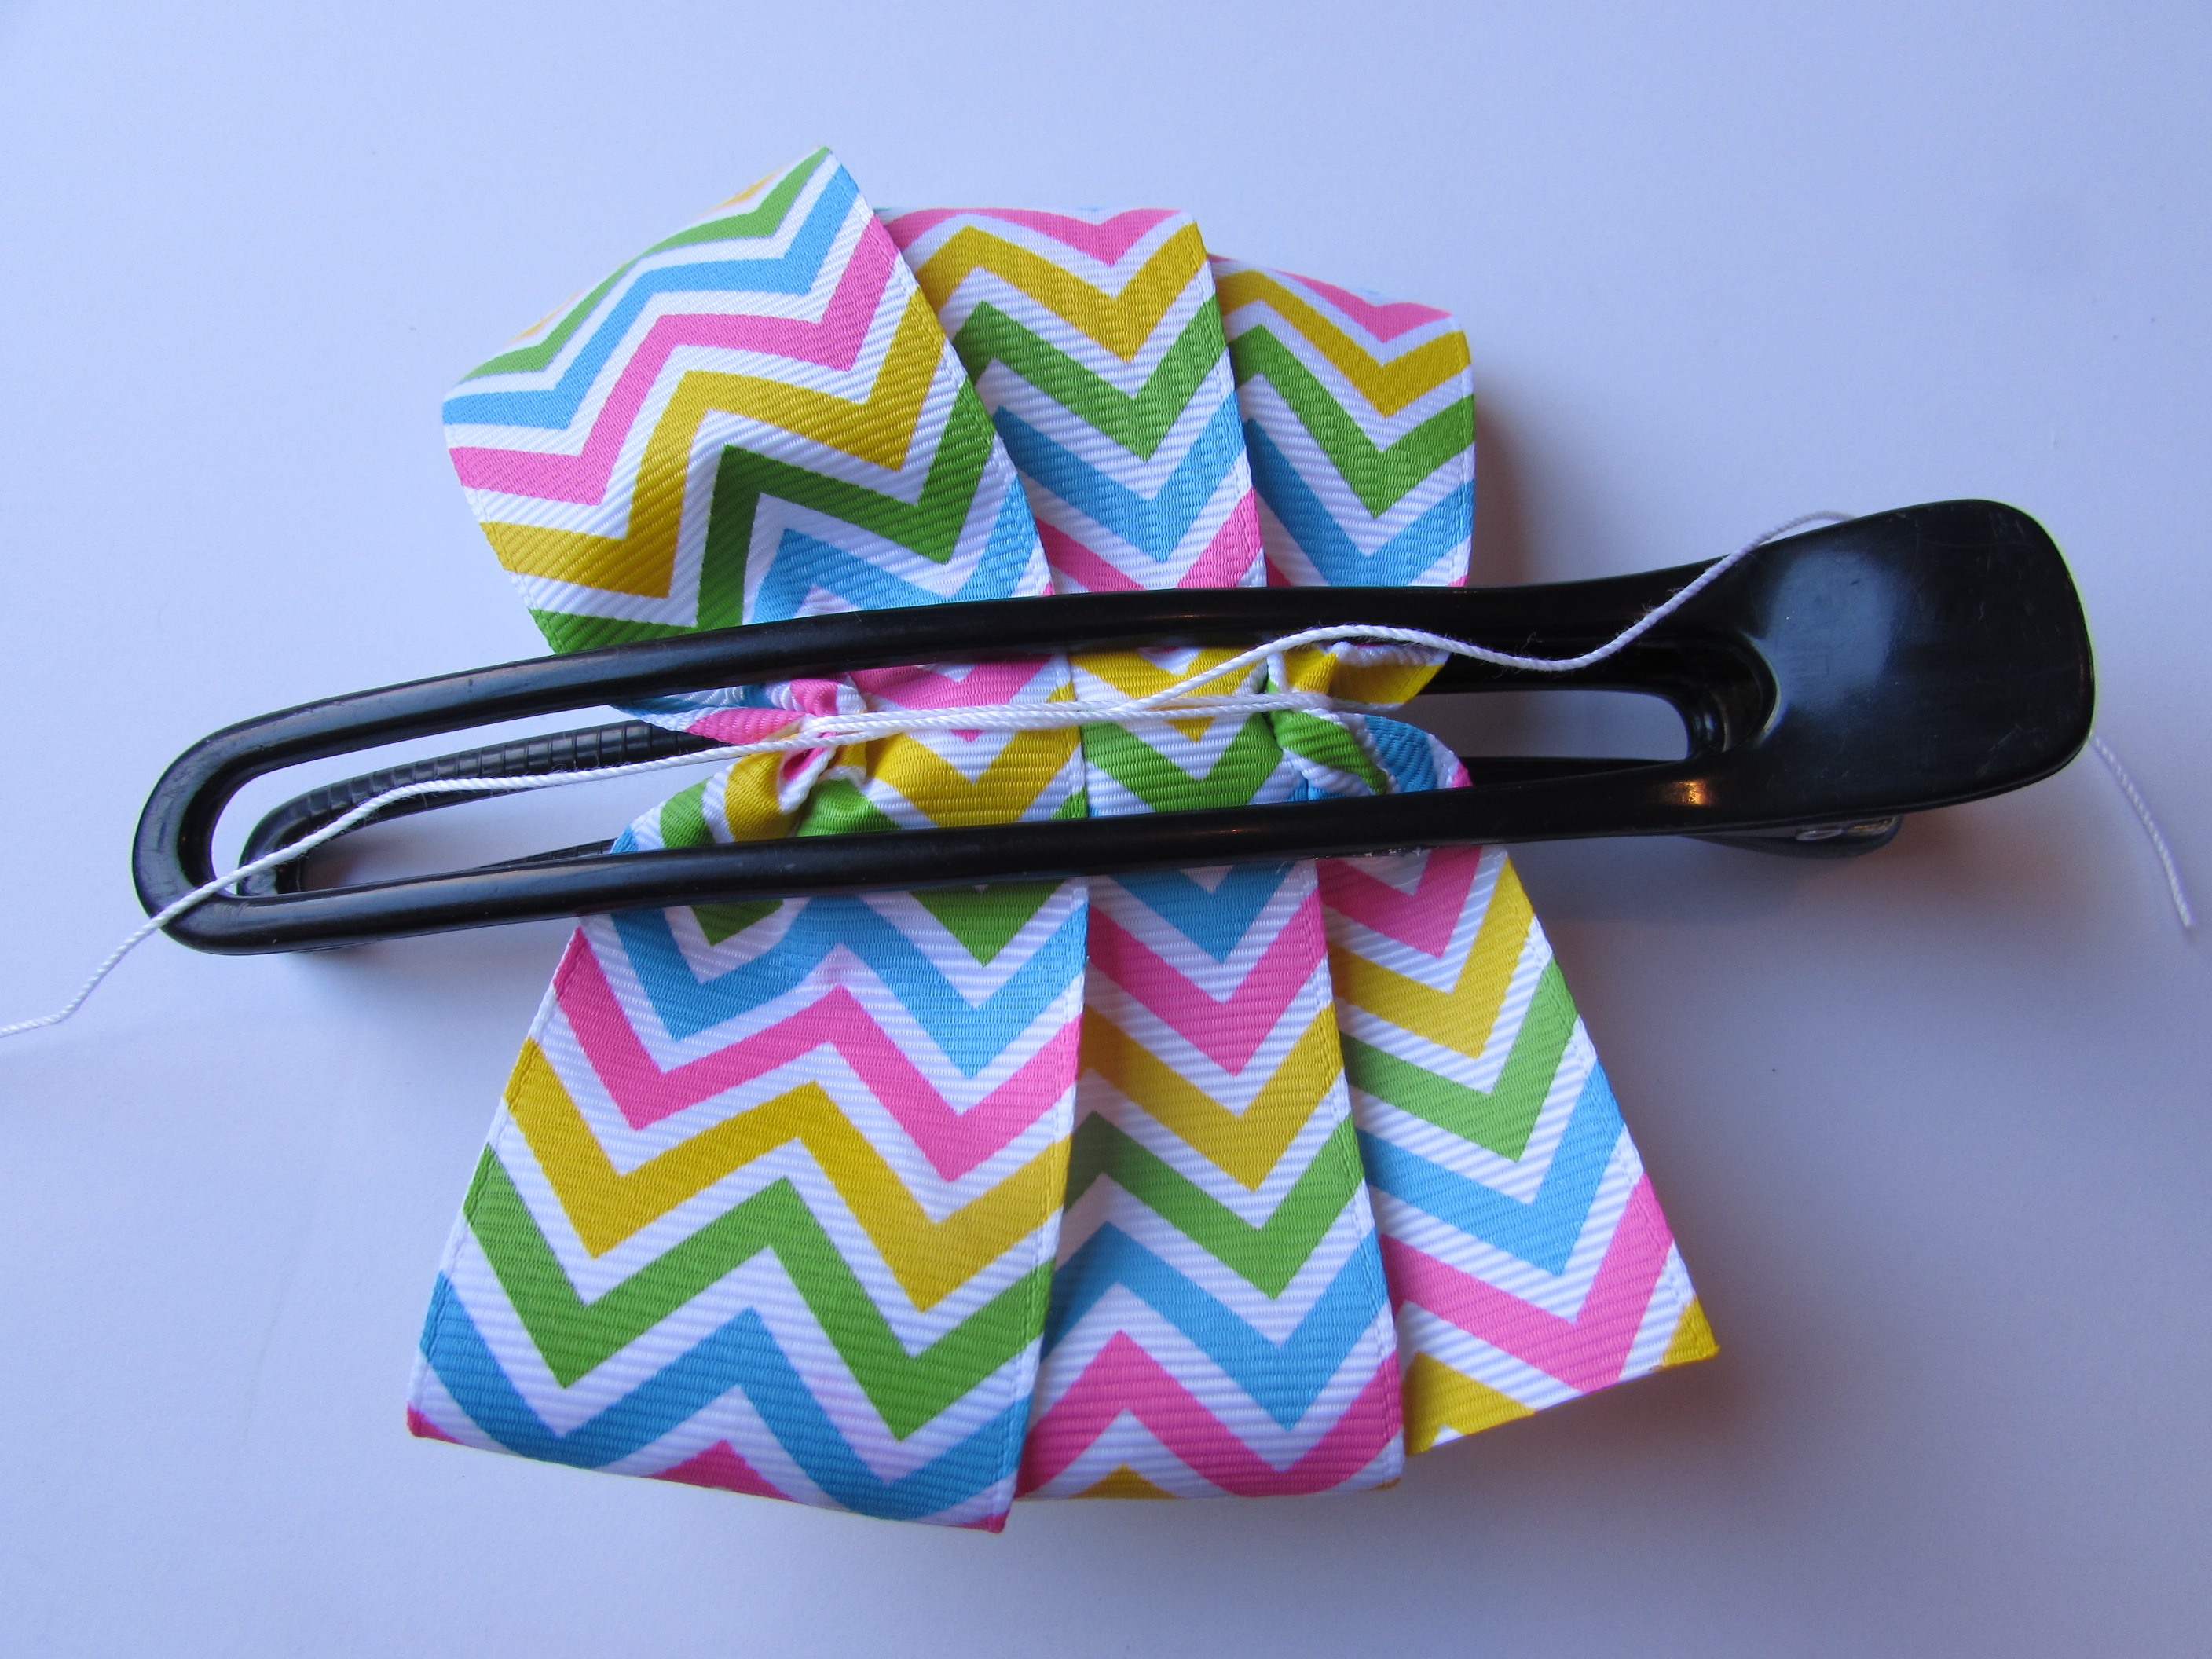
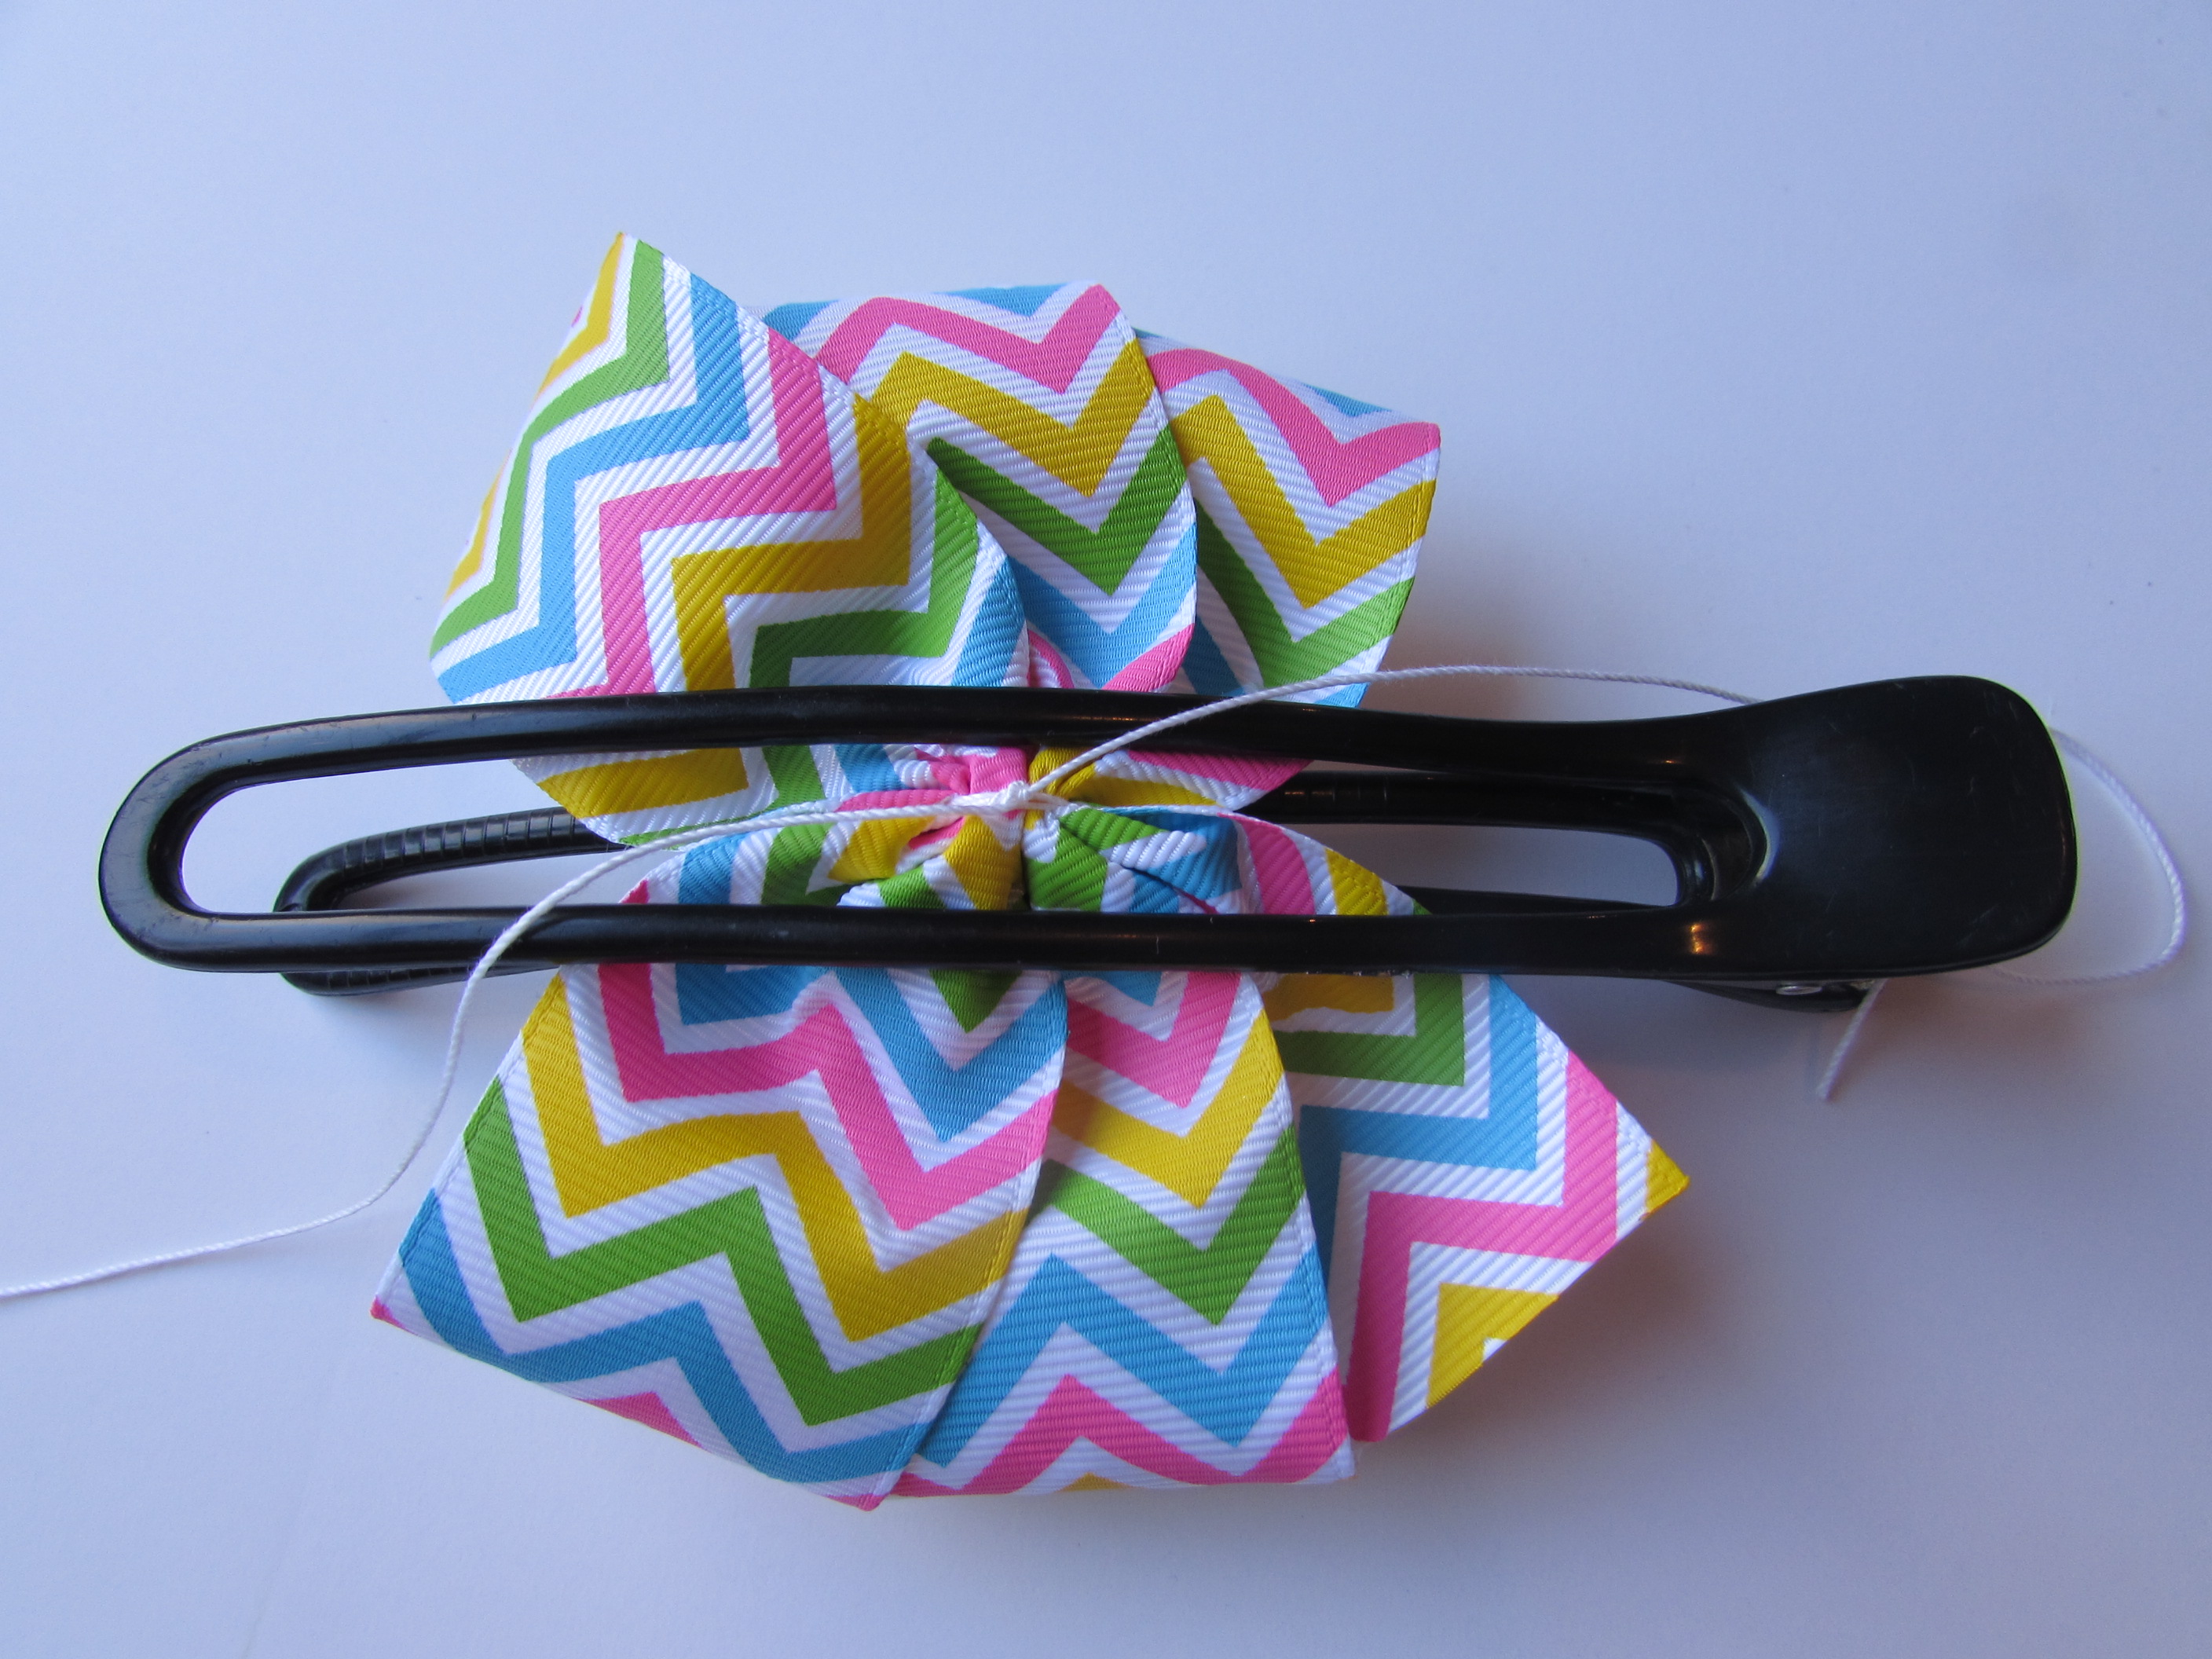 9. Remove salon clip and trim off the extra thread and fix your bow. Then set aside.
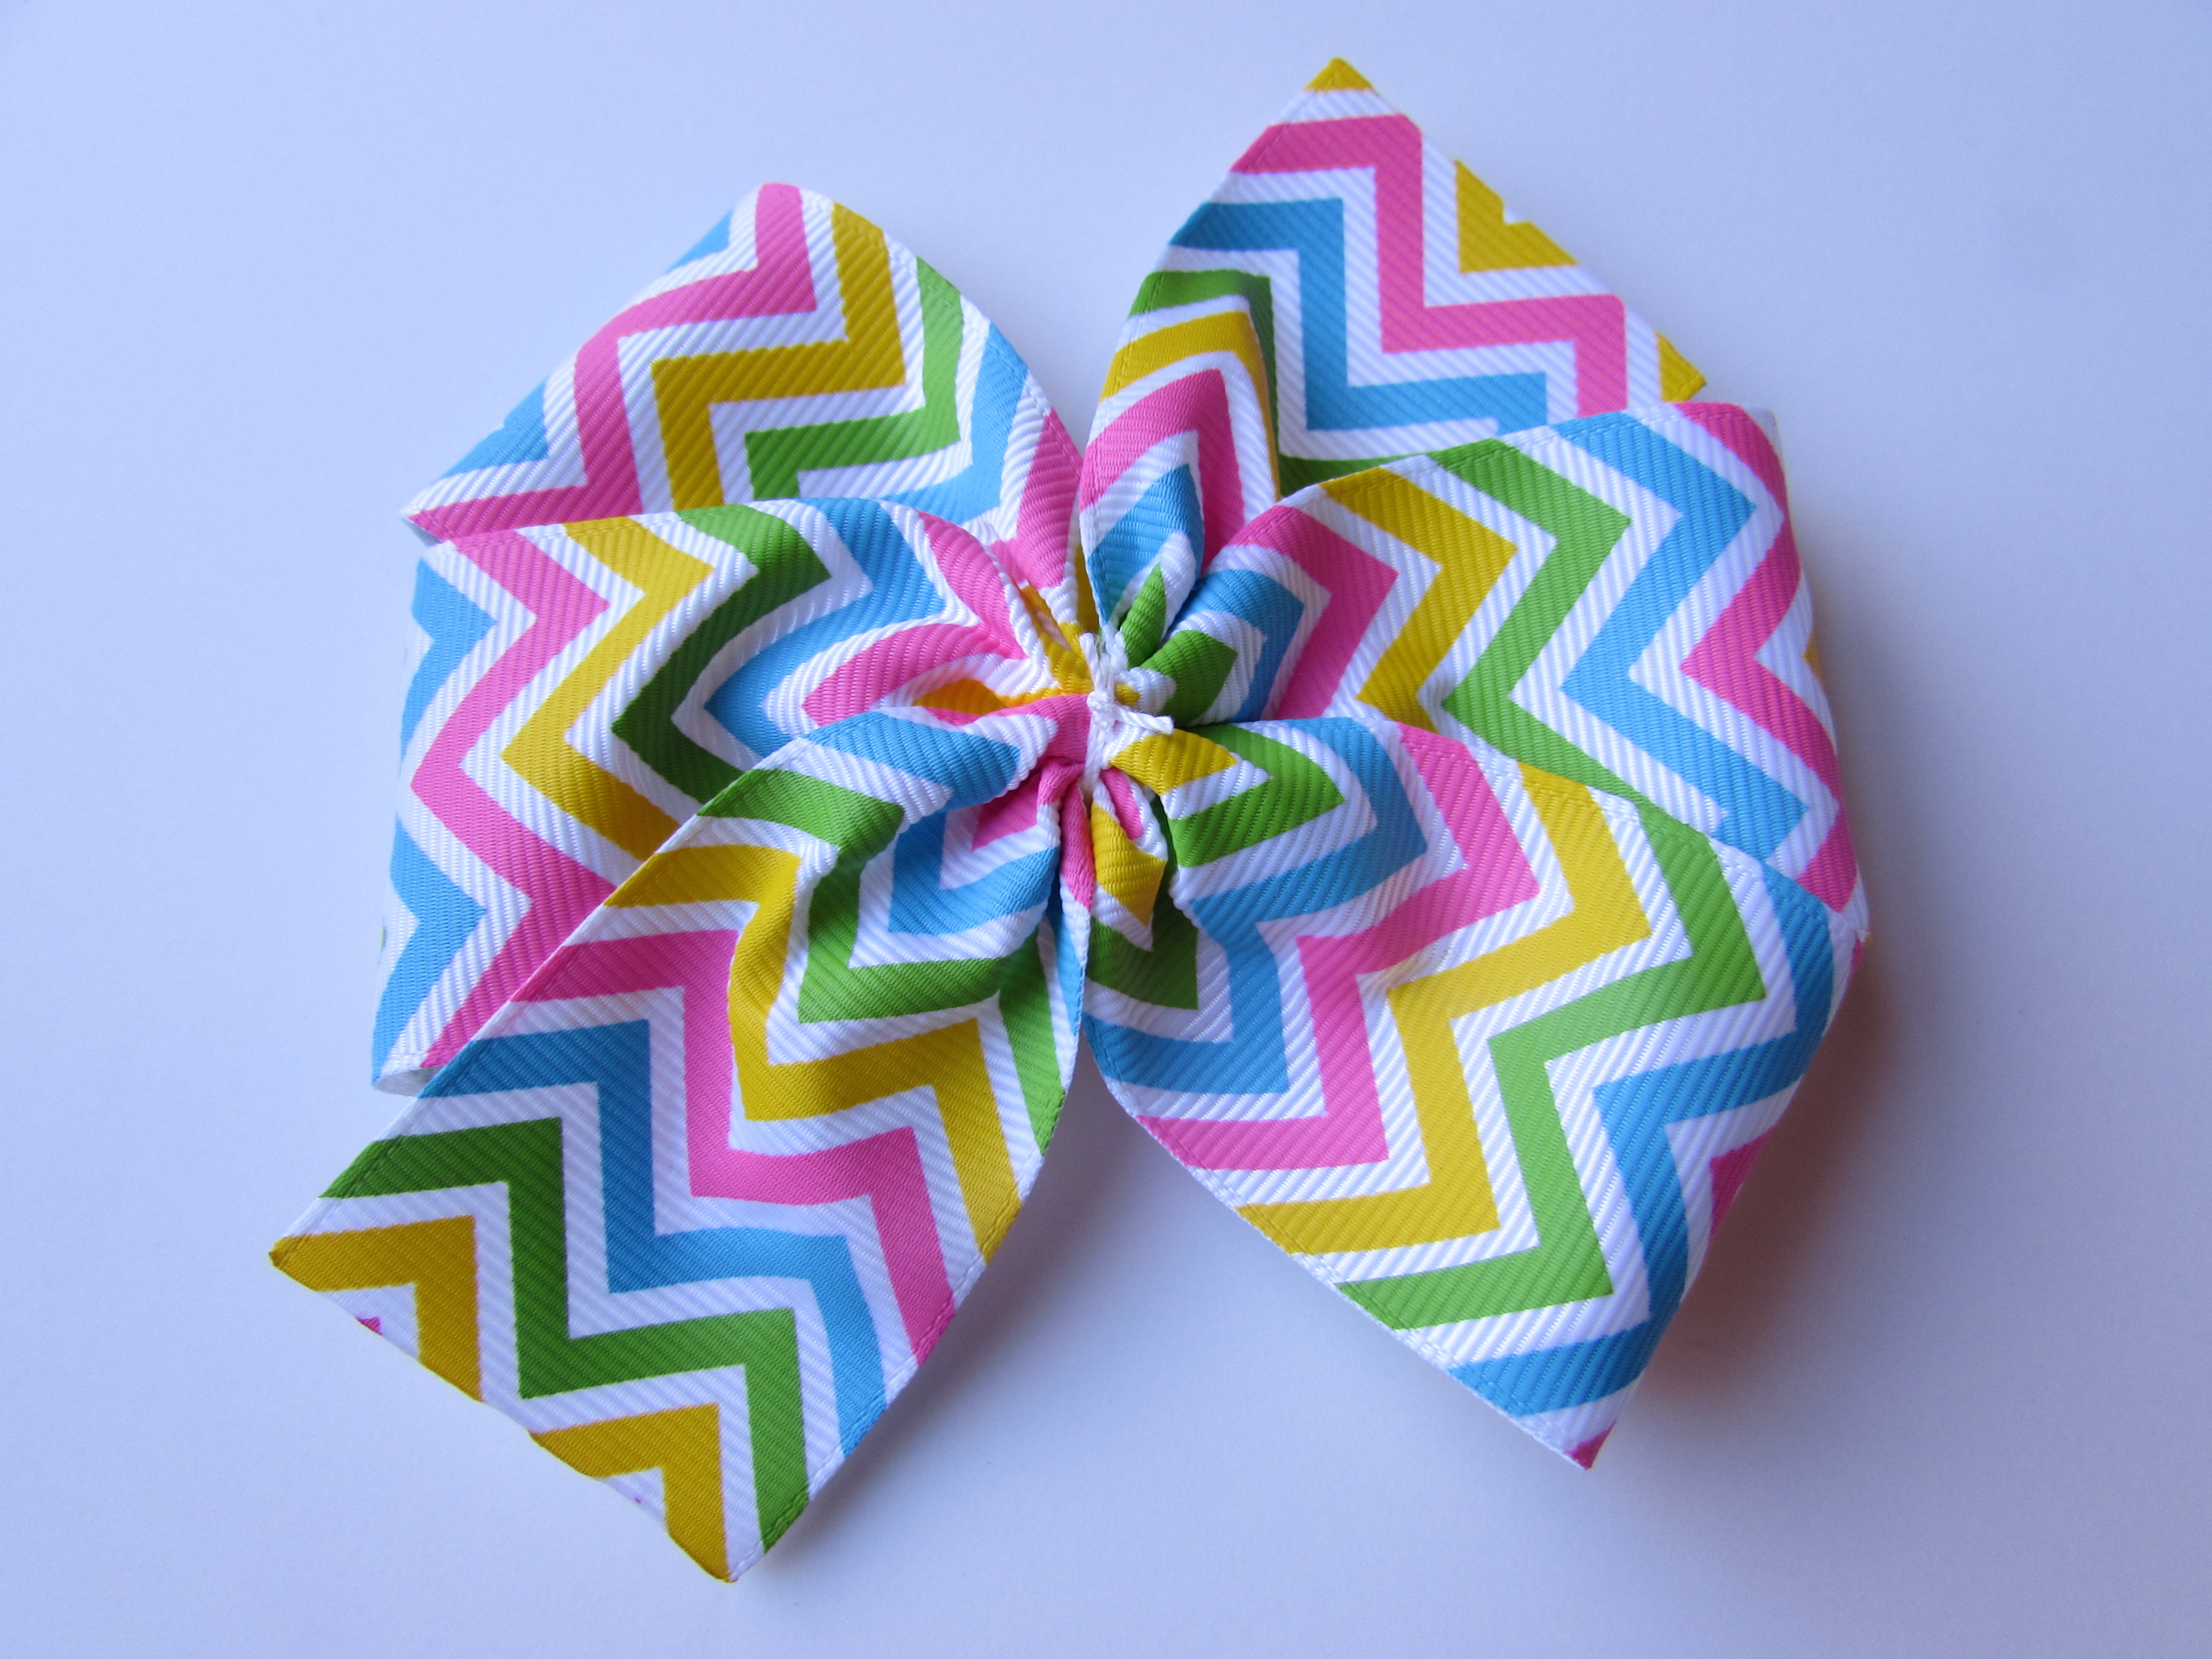
How to make your topper bow?
Supplies Needed:
2- 22” pieces of 7/8” ribbon
{{ Note: I am using 1 7/8” & 1 1” pieces of ribbon }}
- Cut and heat seal your ends.
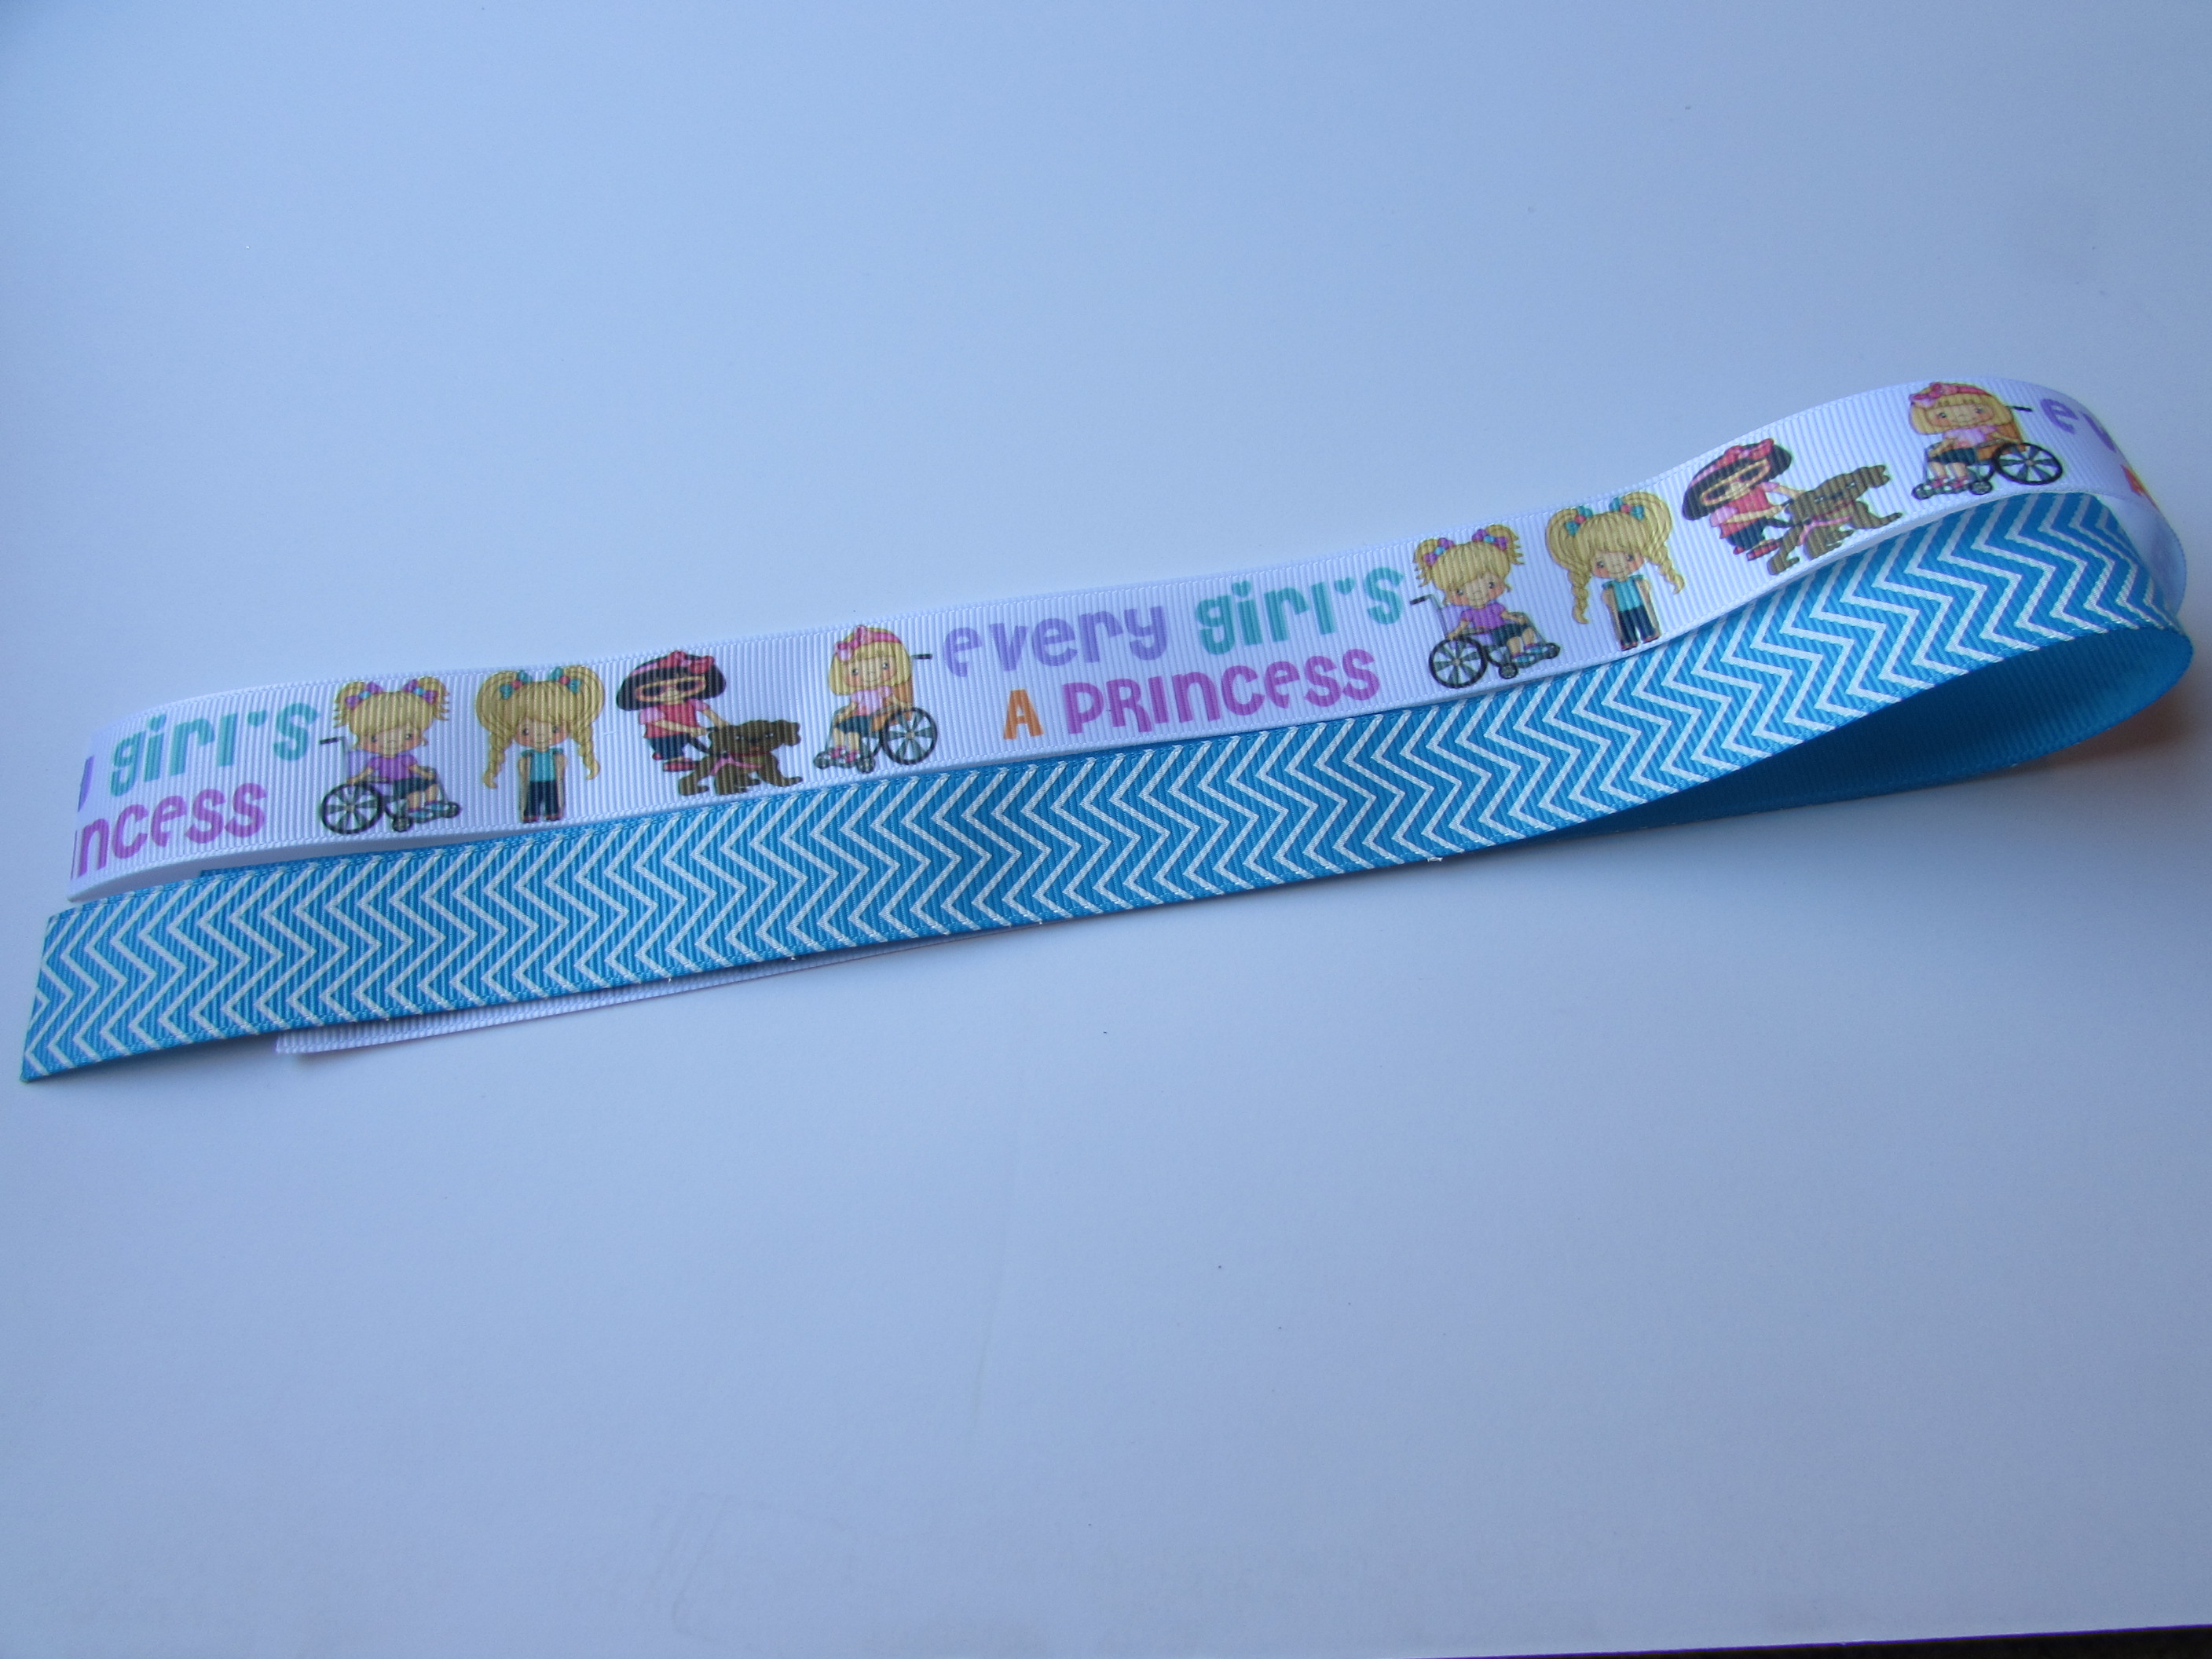 2. Line ribbon up with each other. If you are using 2 prints make sure bottoms are touching and prints are OUTWARD. If a solid is being used on the inside it doesn’t matter which side is touching the bottom of the top ribbon.
 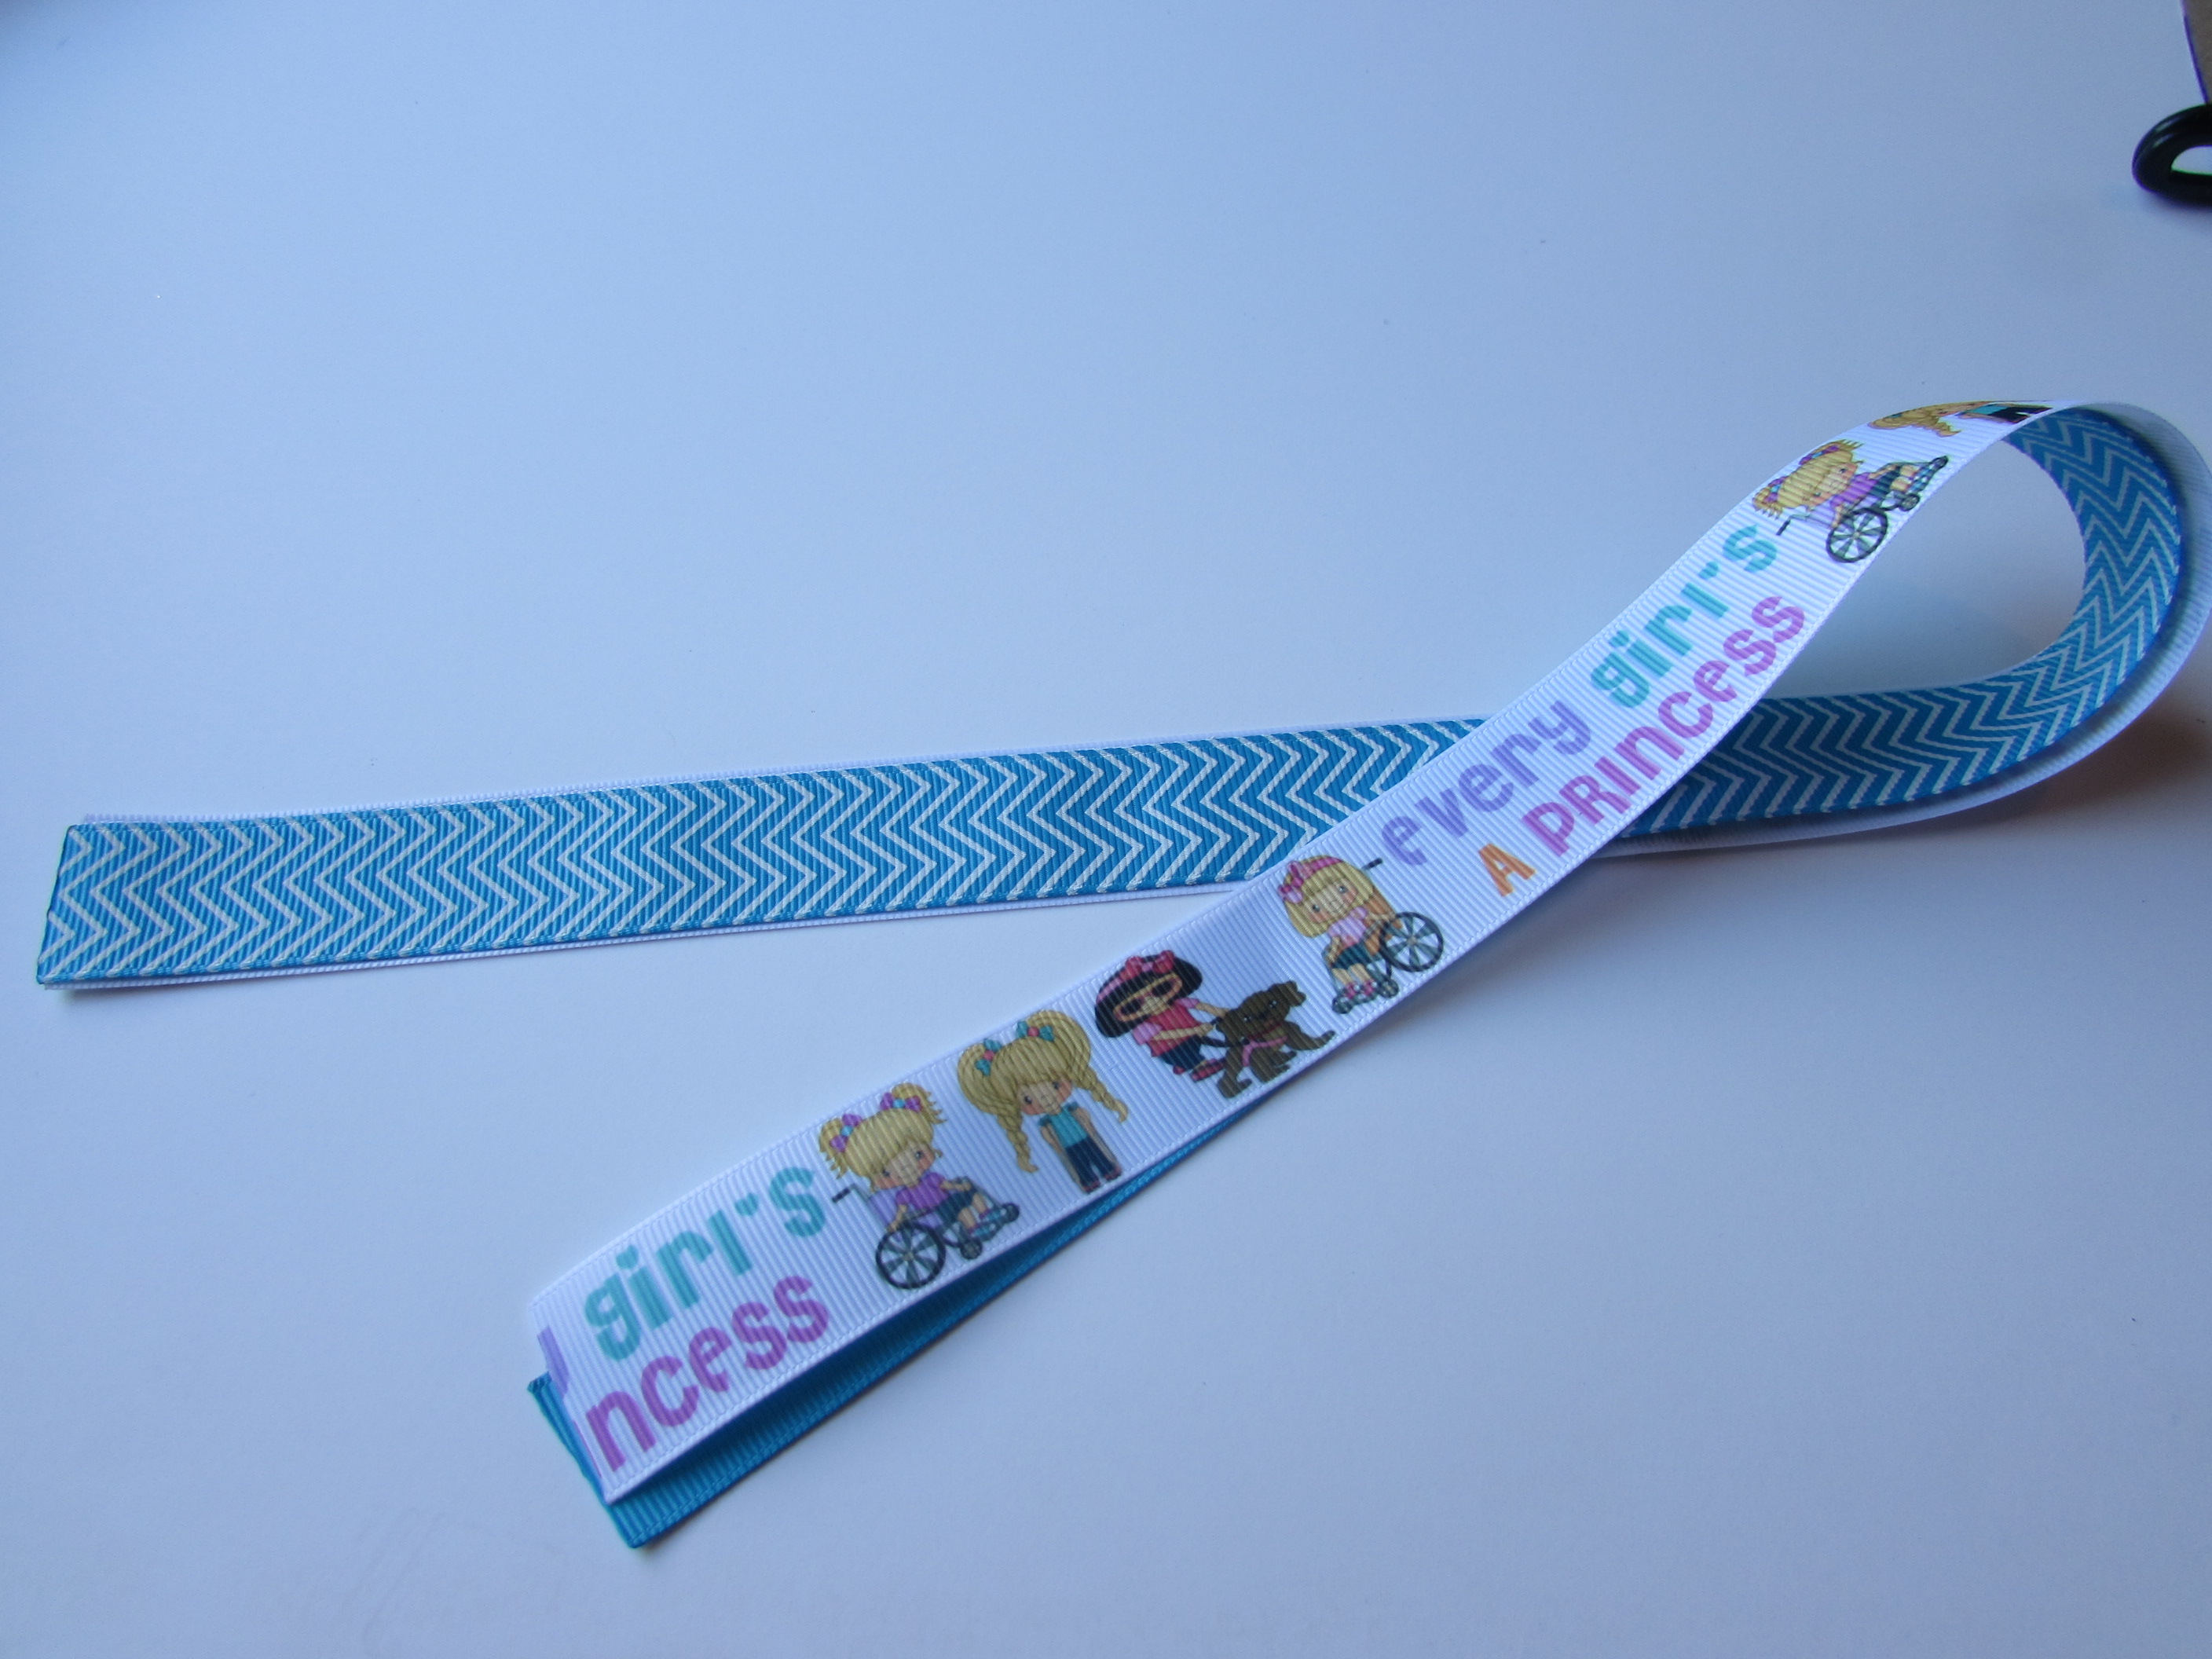 3. Fold your ribbon in half. Touch ends together. All 4 ends should be on one side. Crease the other end GOOD.
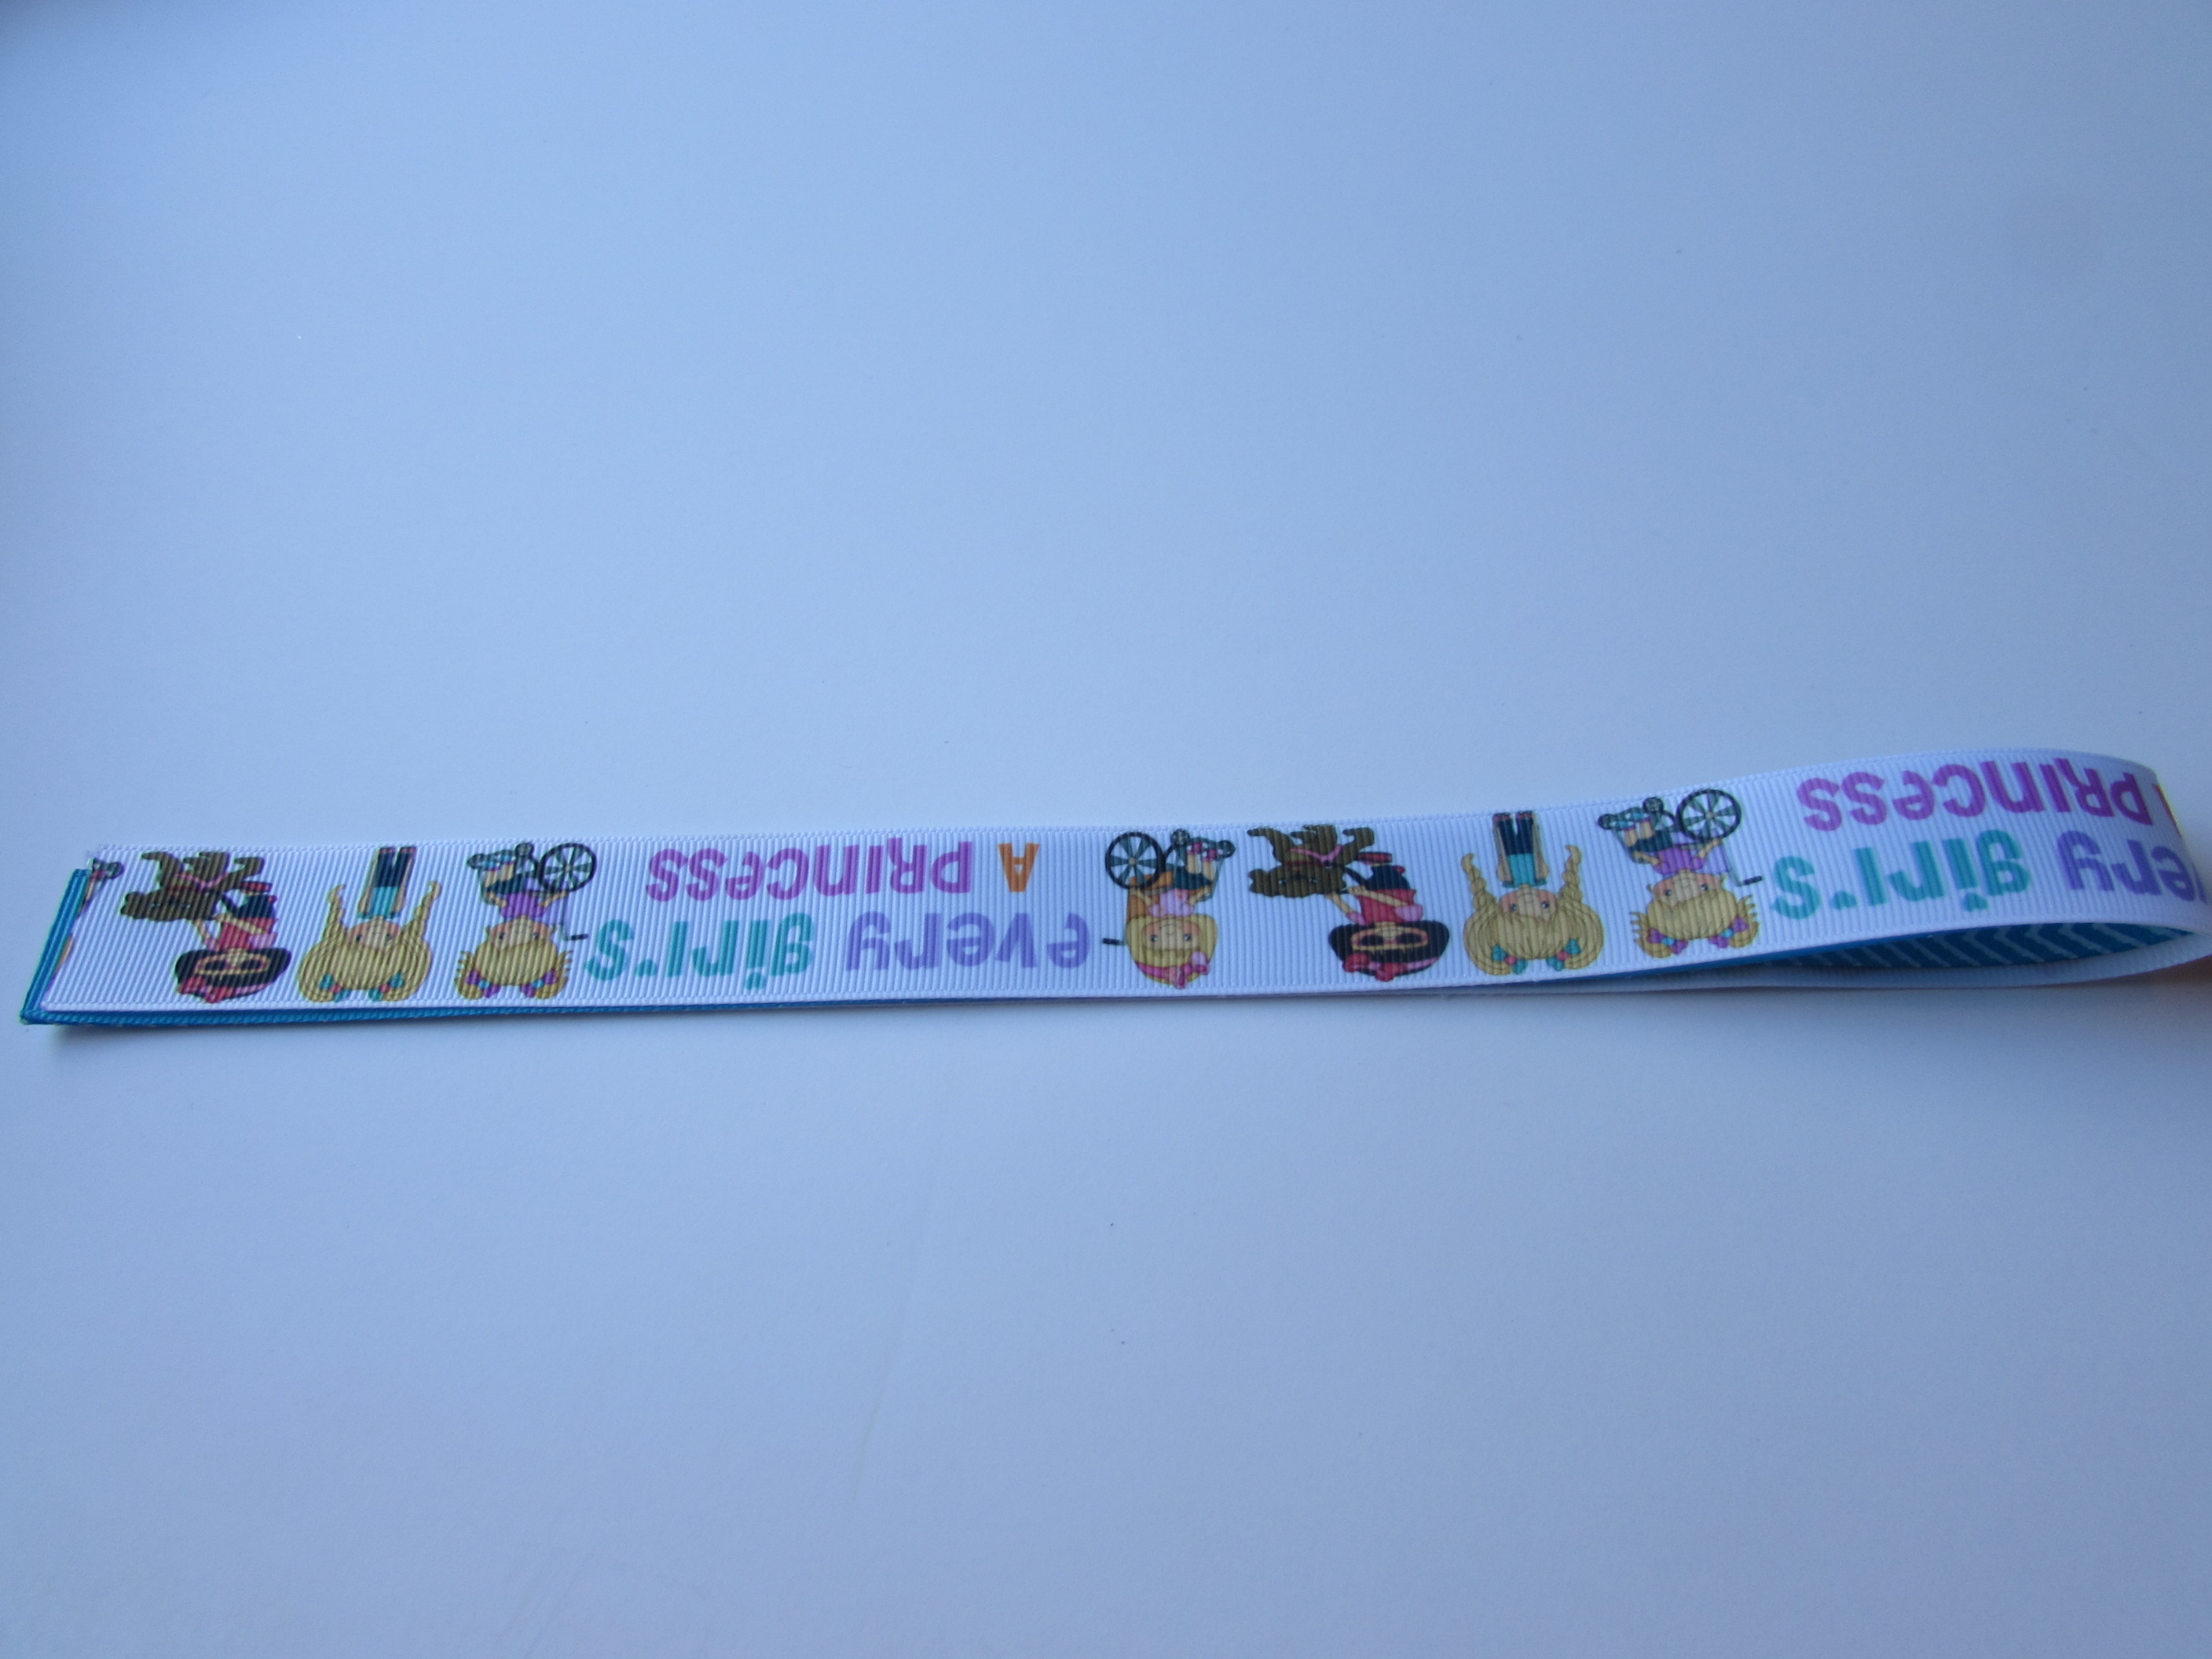 4. Take the end of that where the four ends meet and fold down about 1” – crease that end.
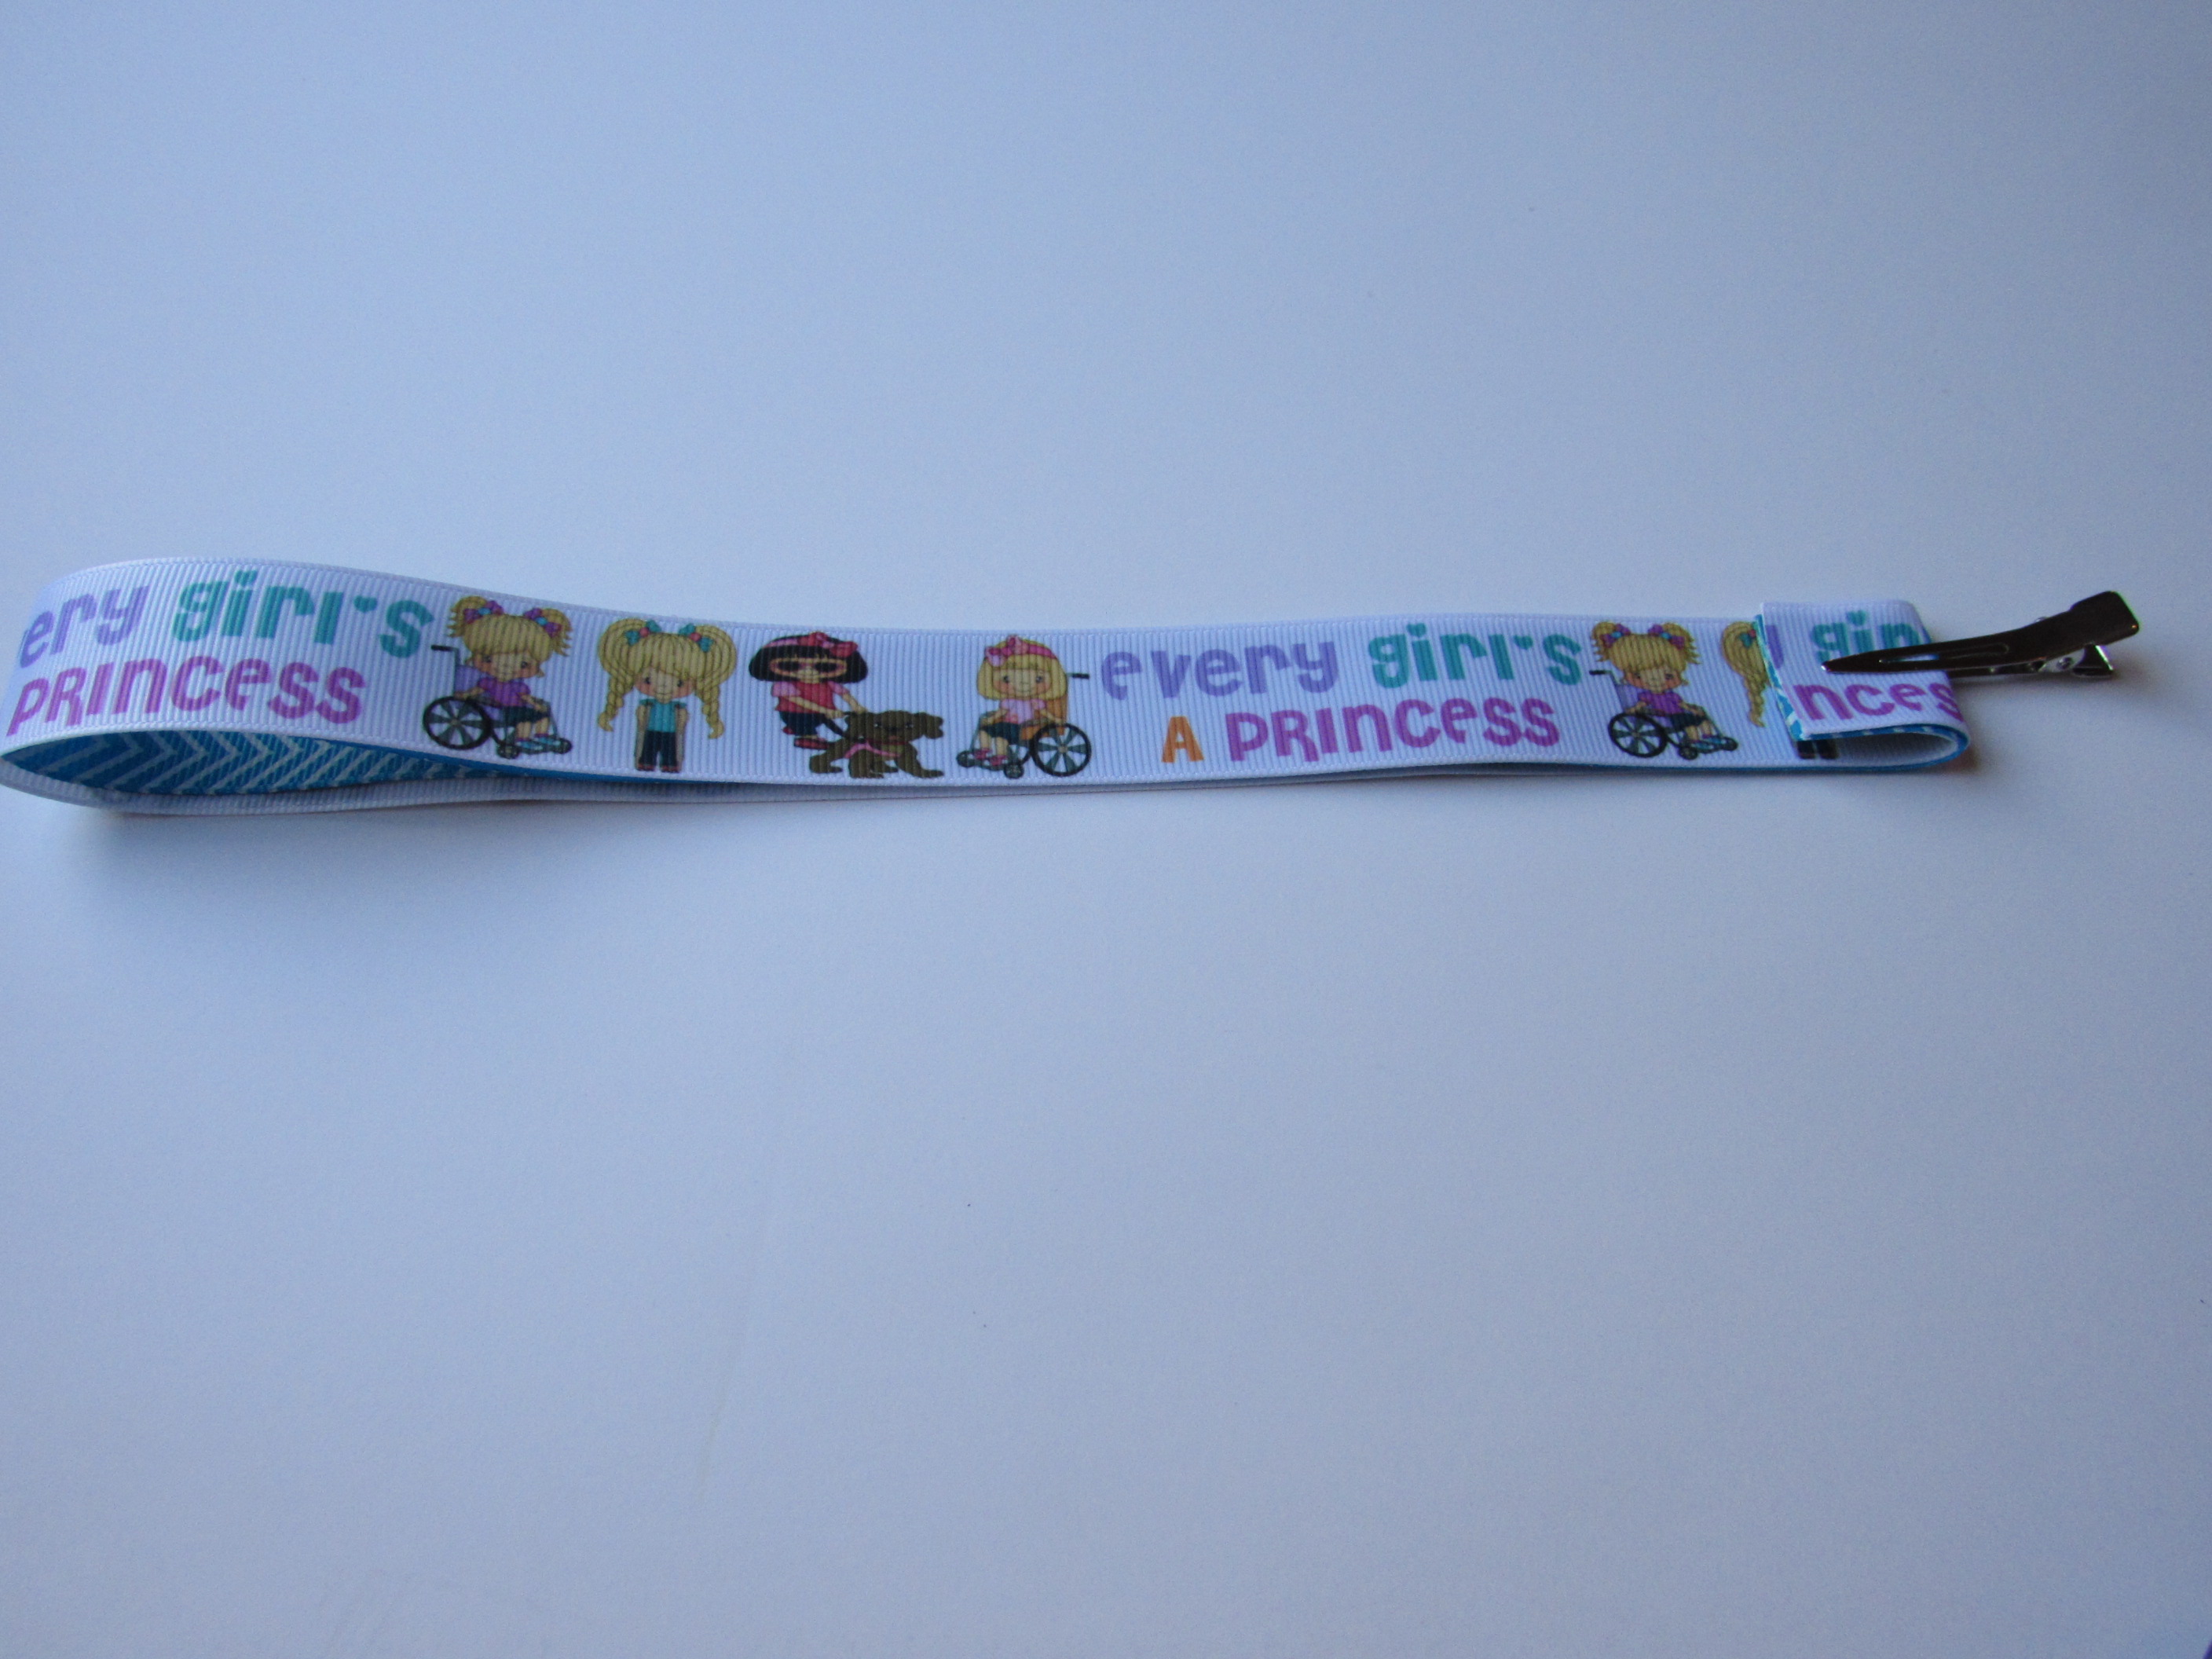 5. Now fold that in half meeting 1st crease with the ends. Crease that and crease the new end.
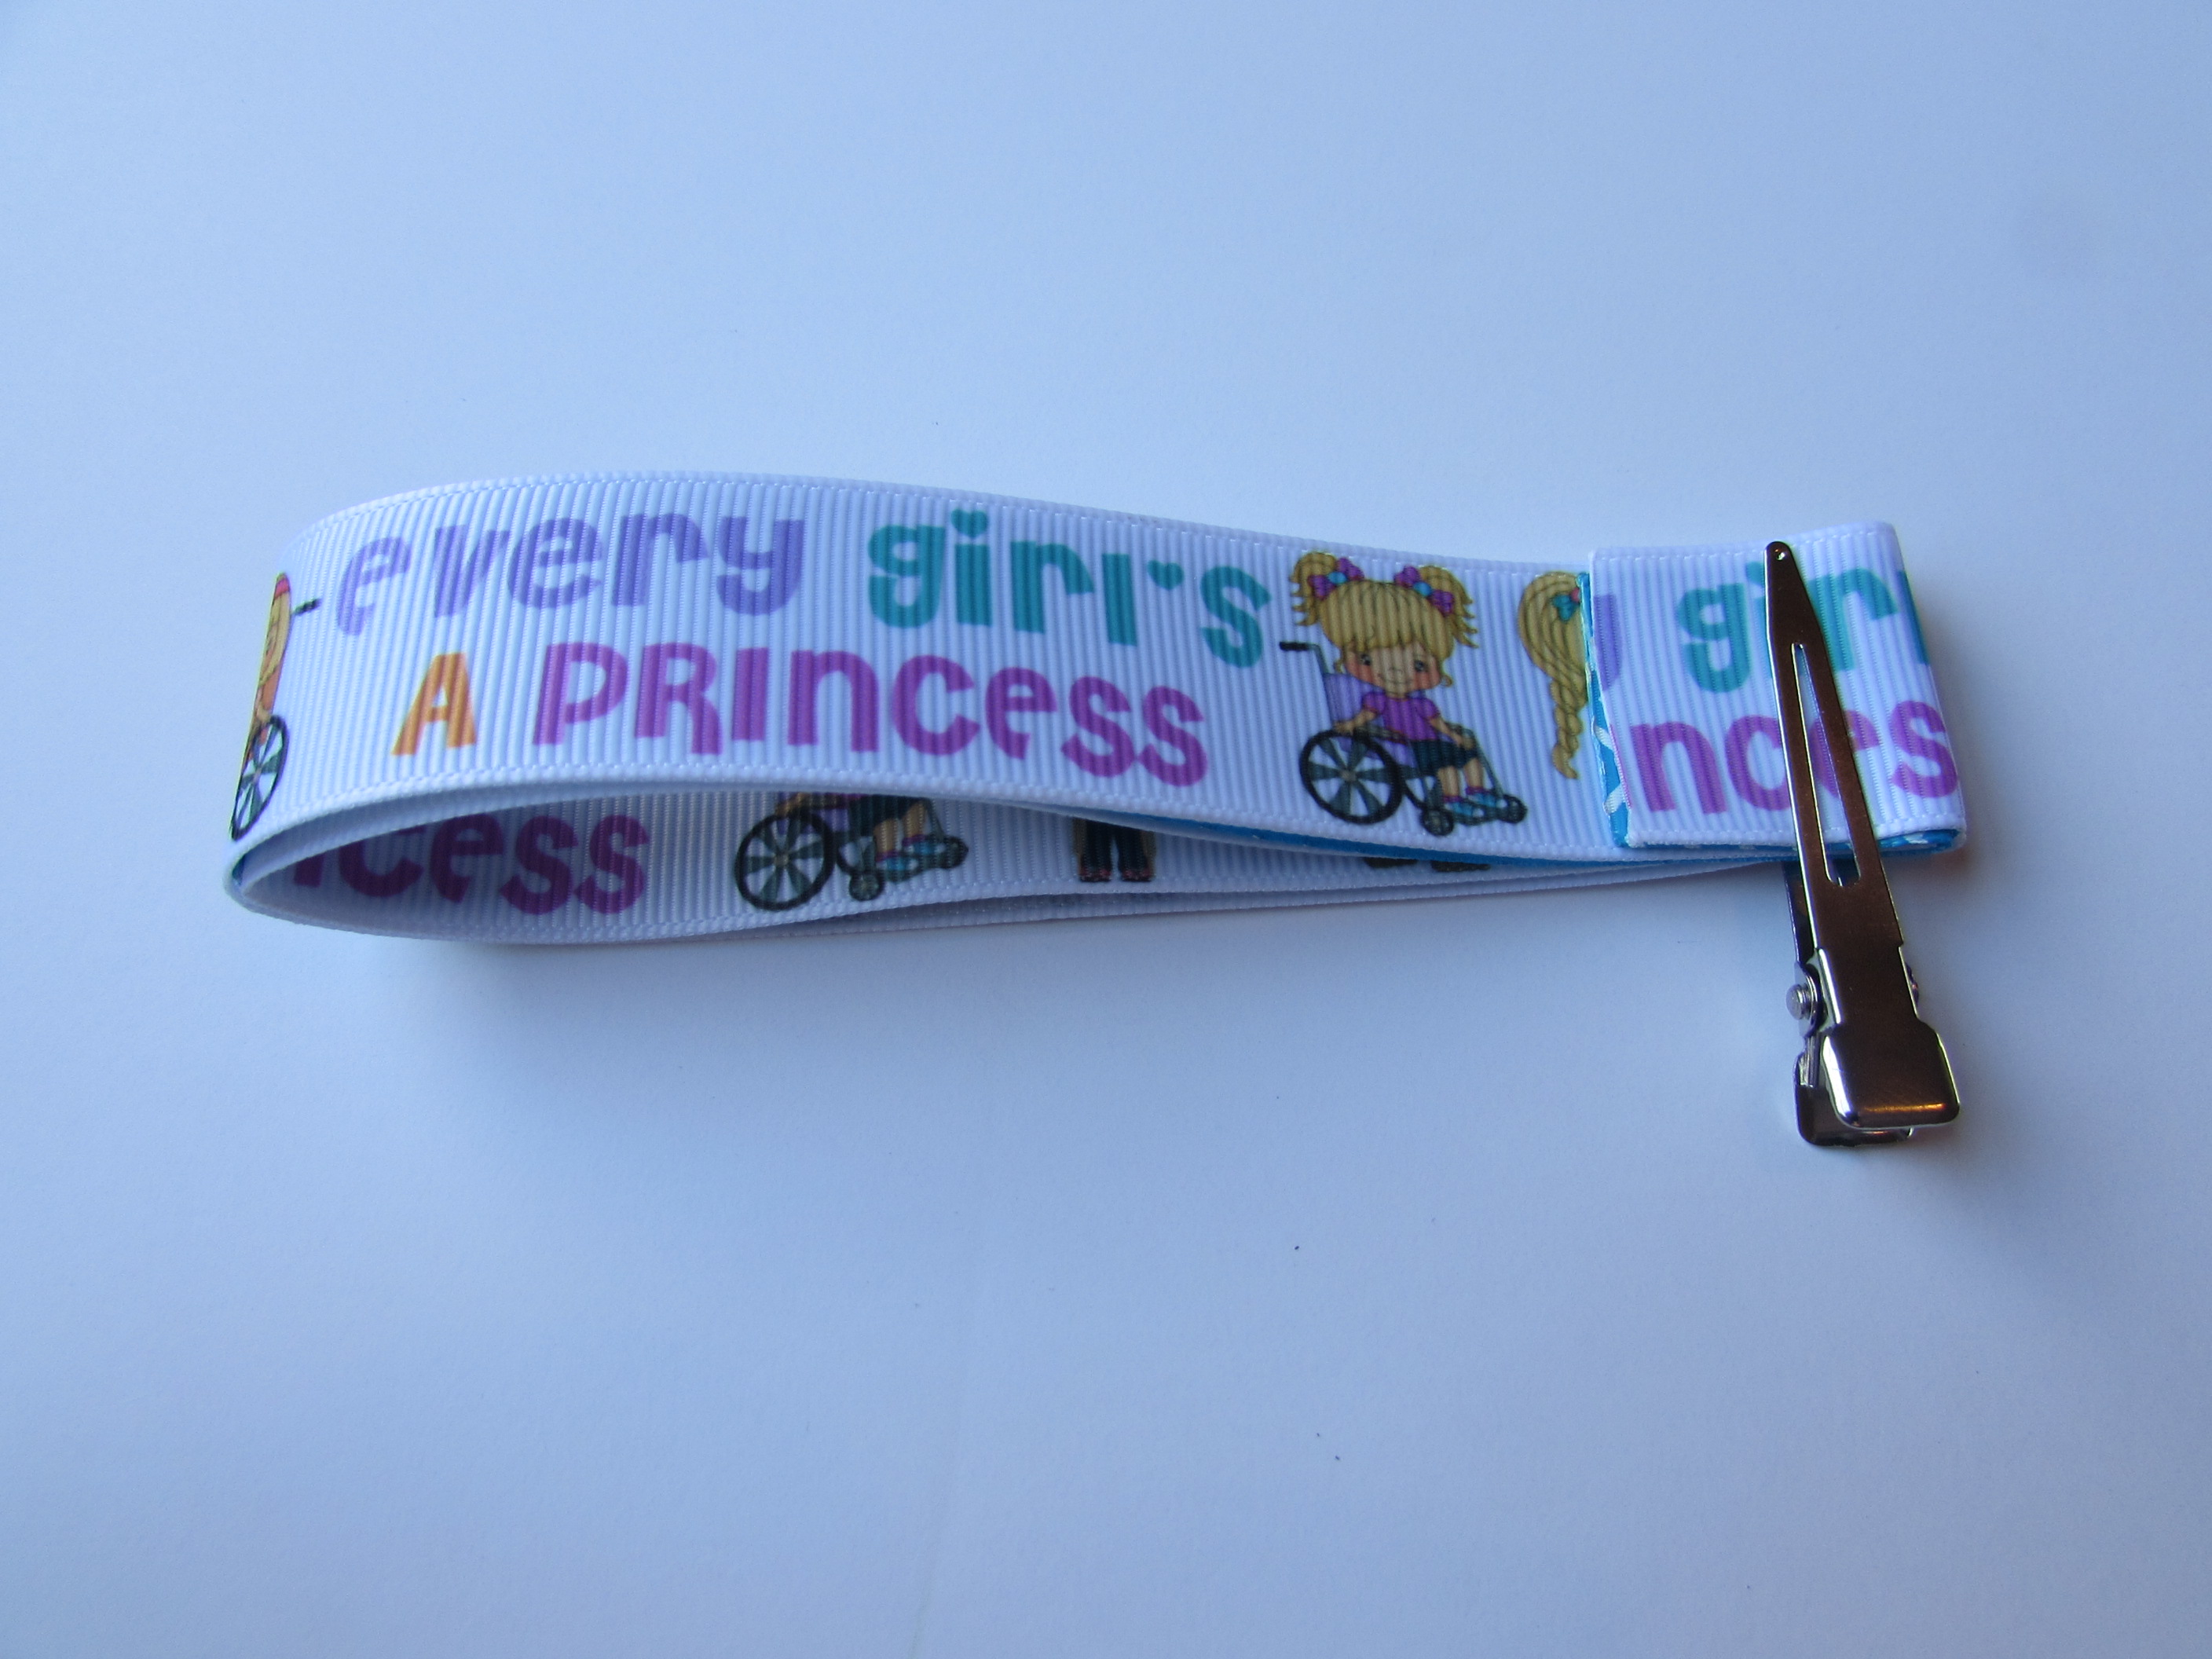
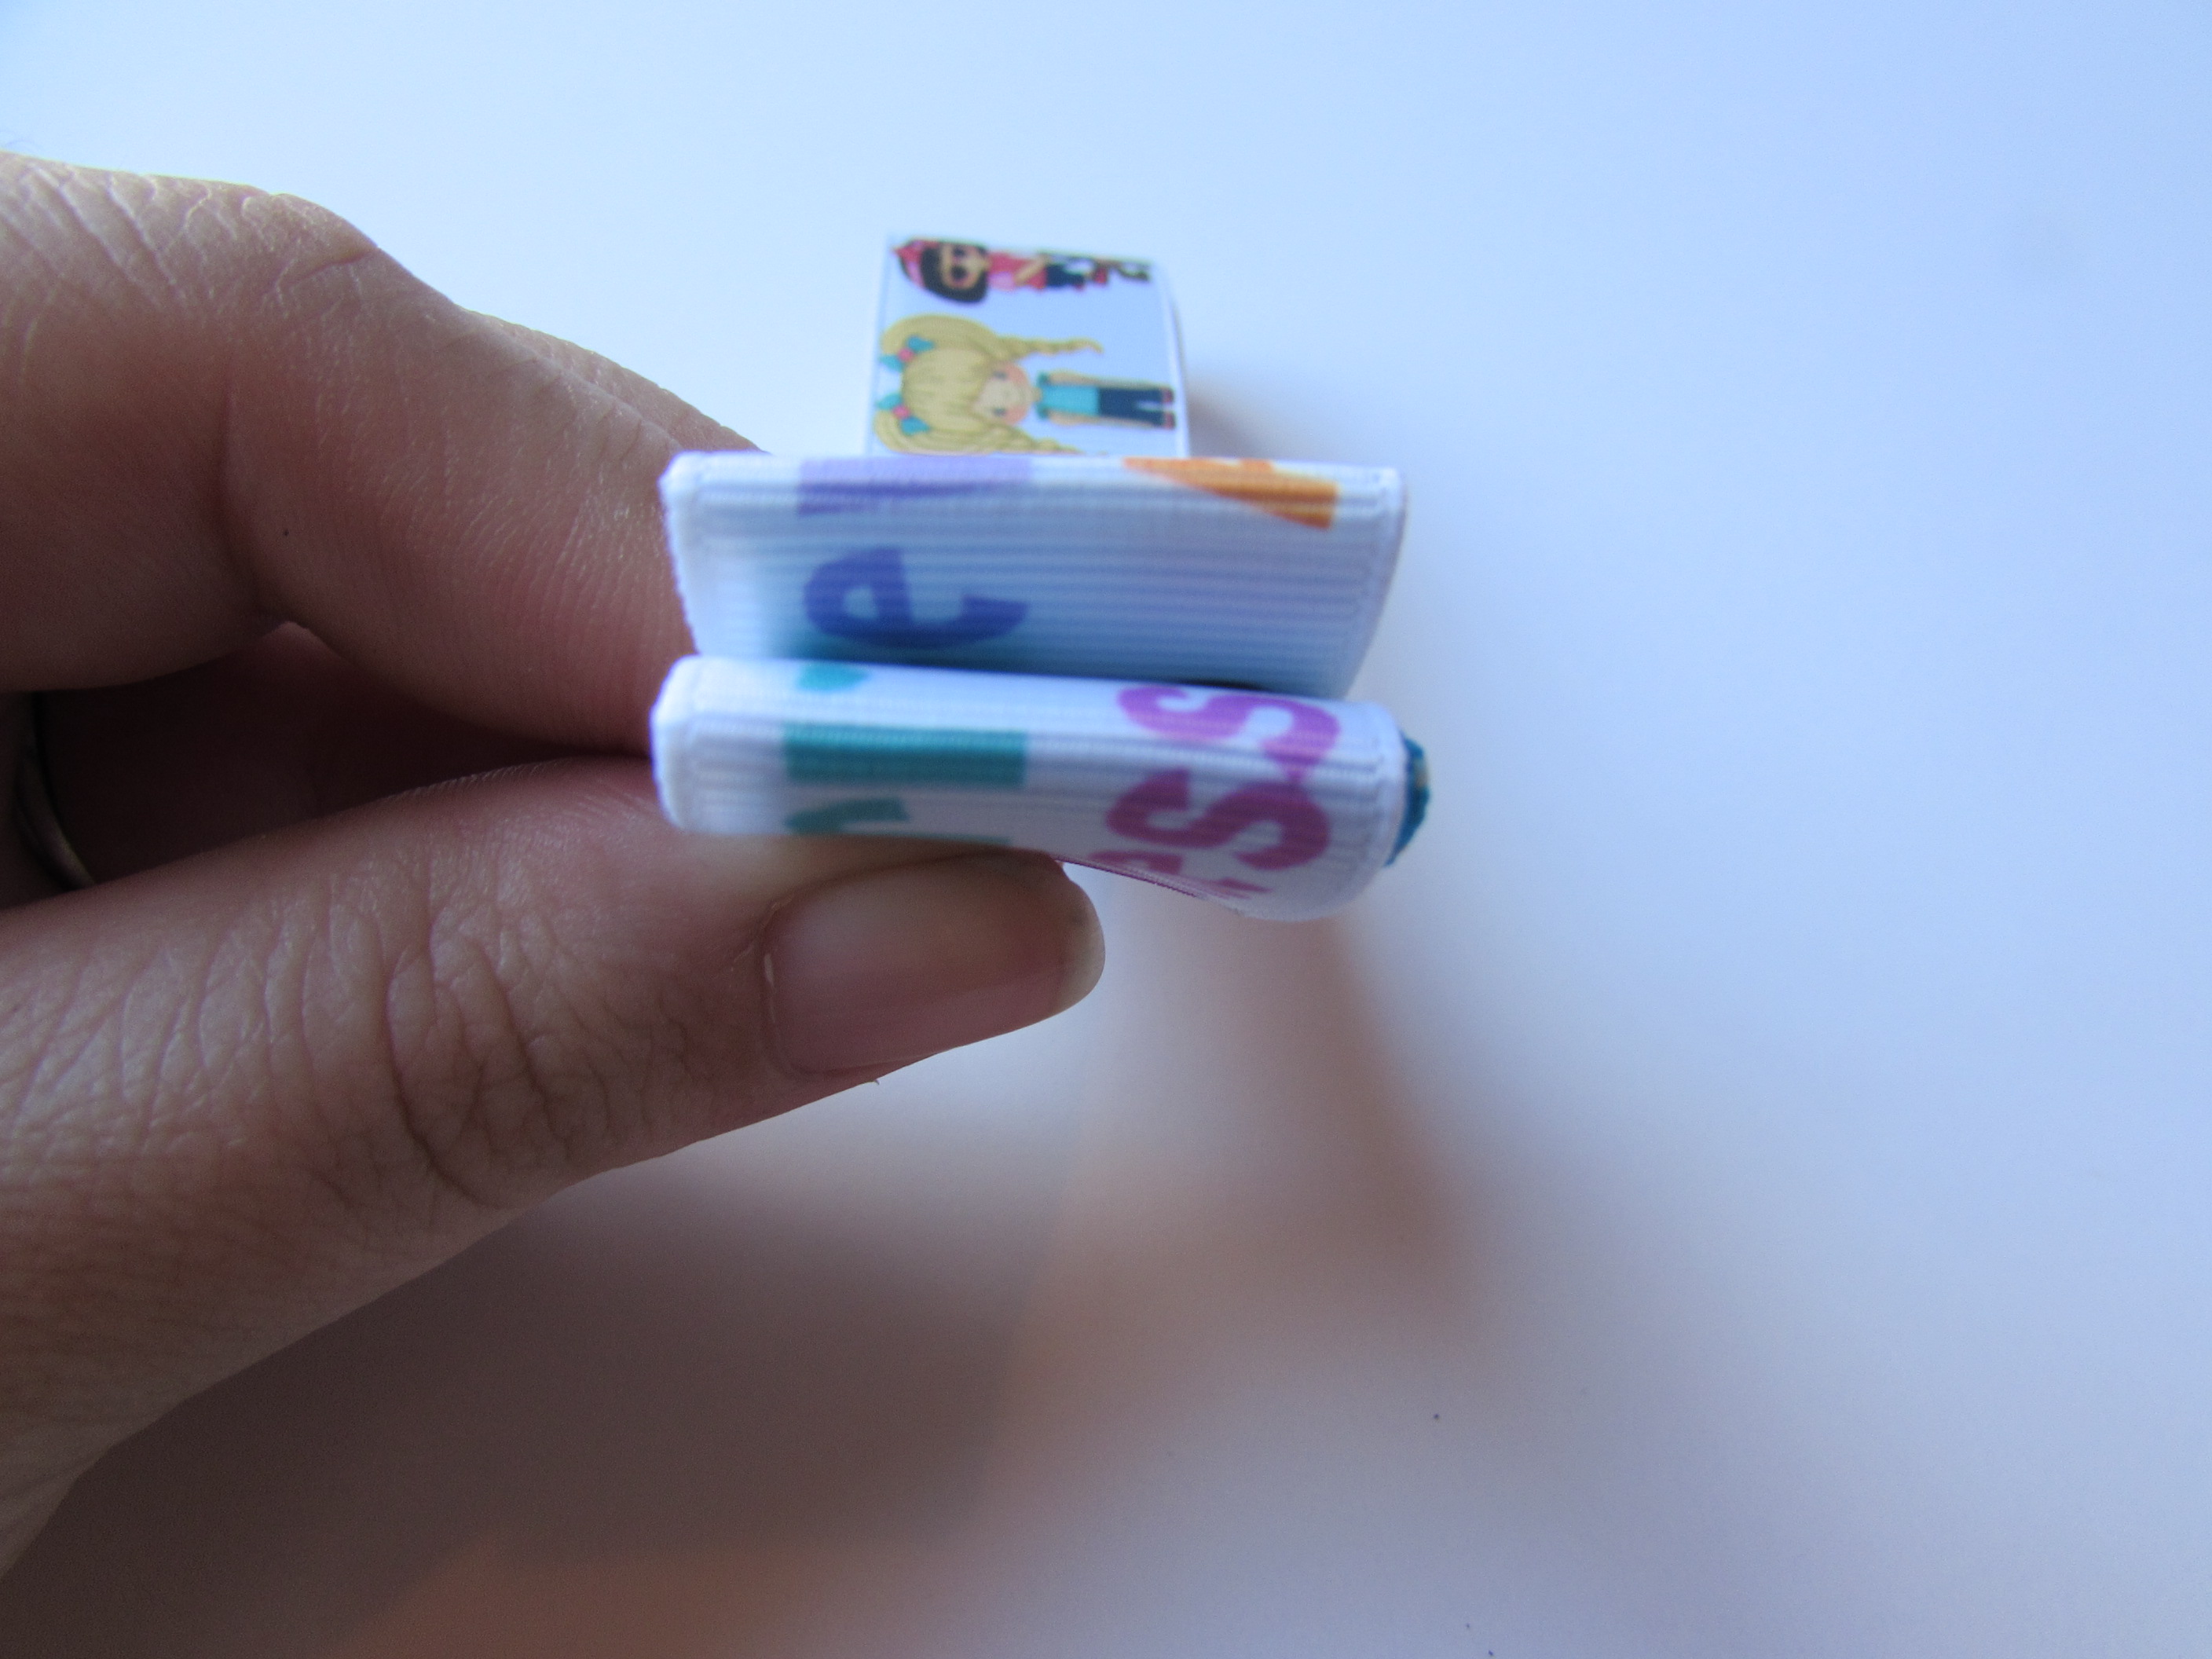 6. Unfold, now you're ready to start making your loops.
 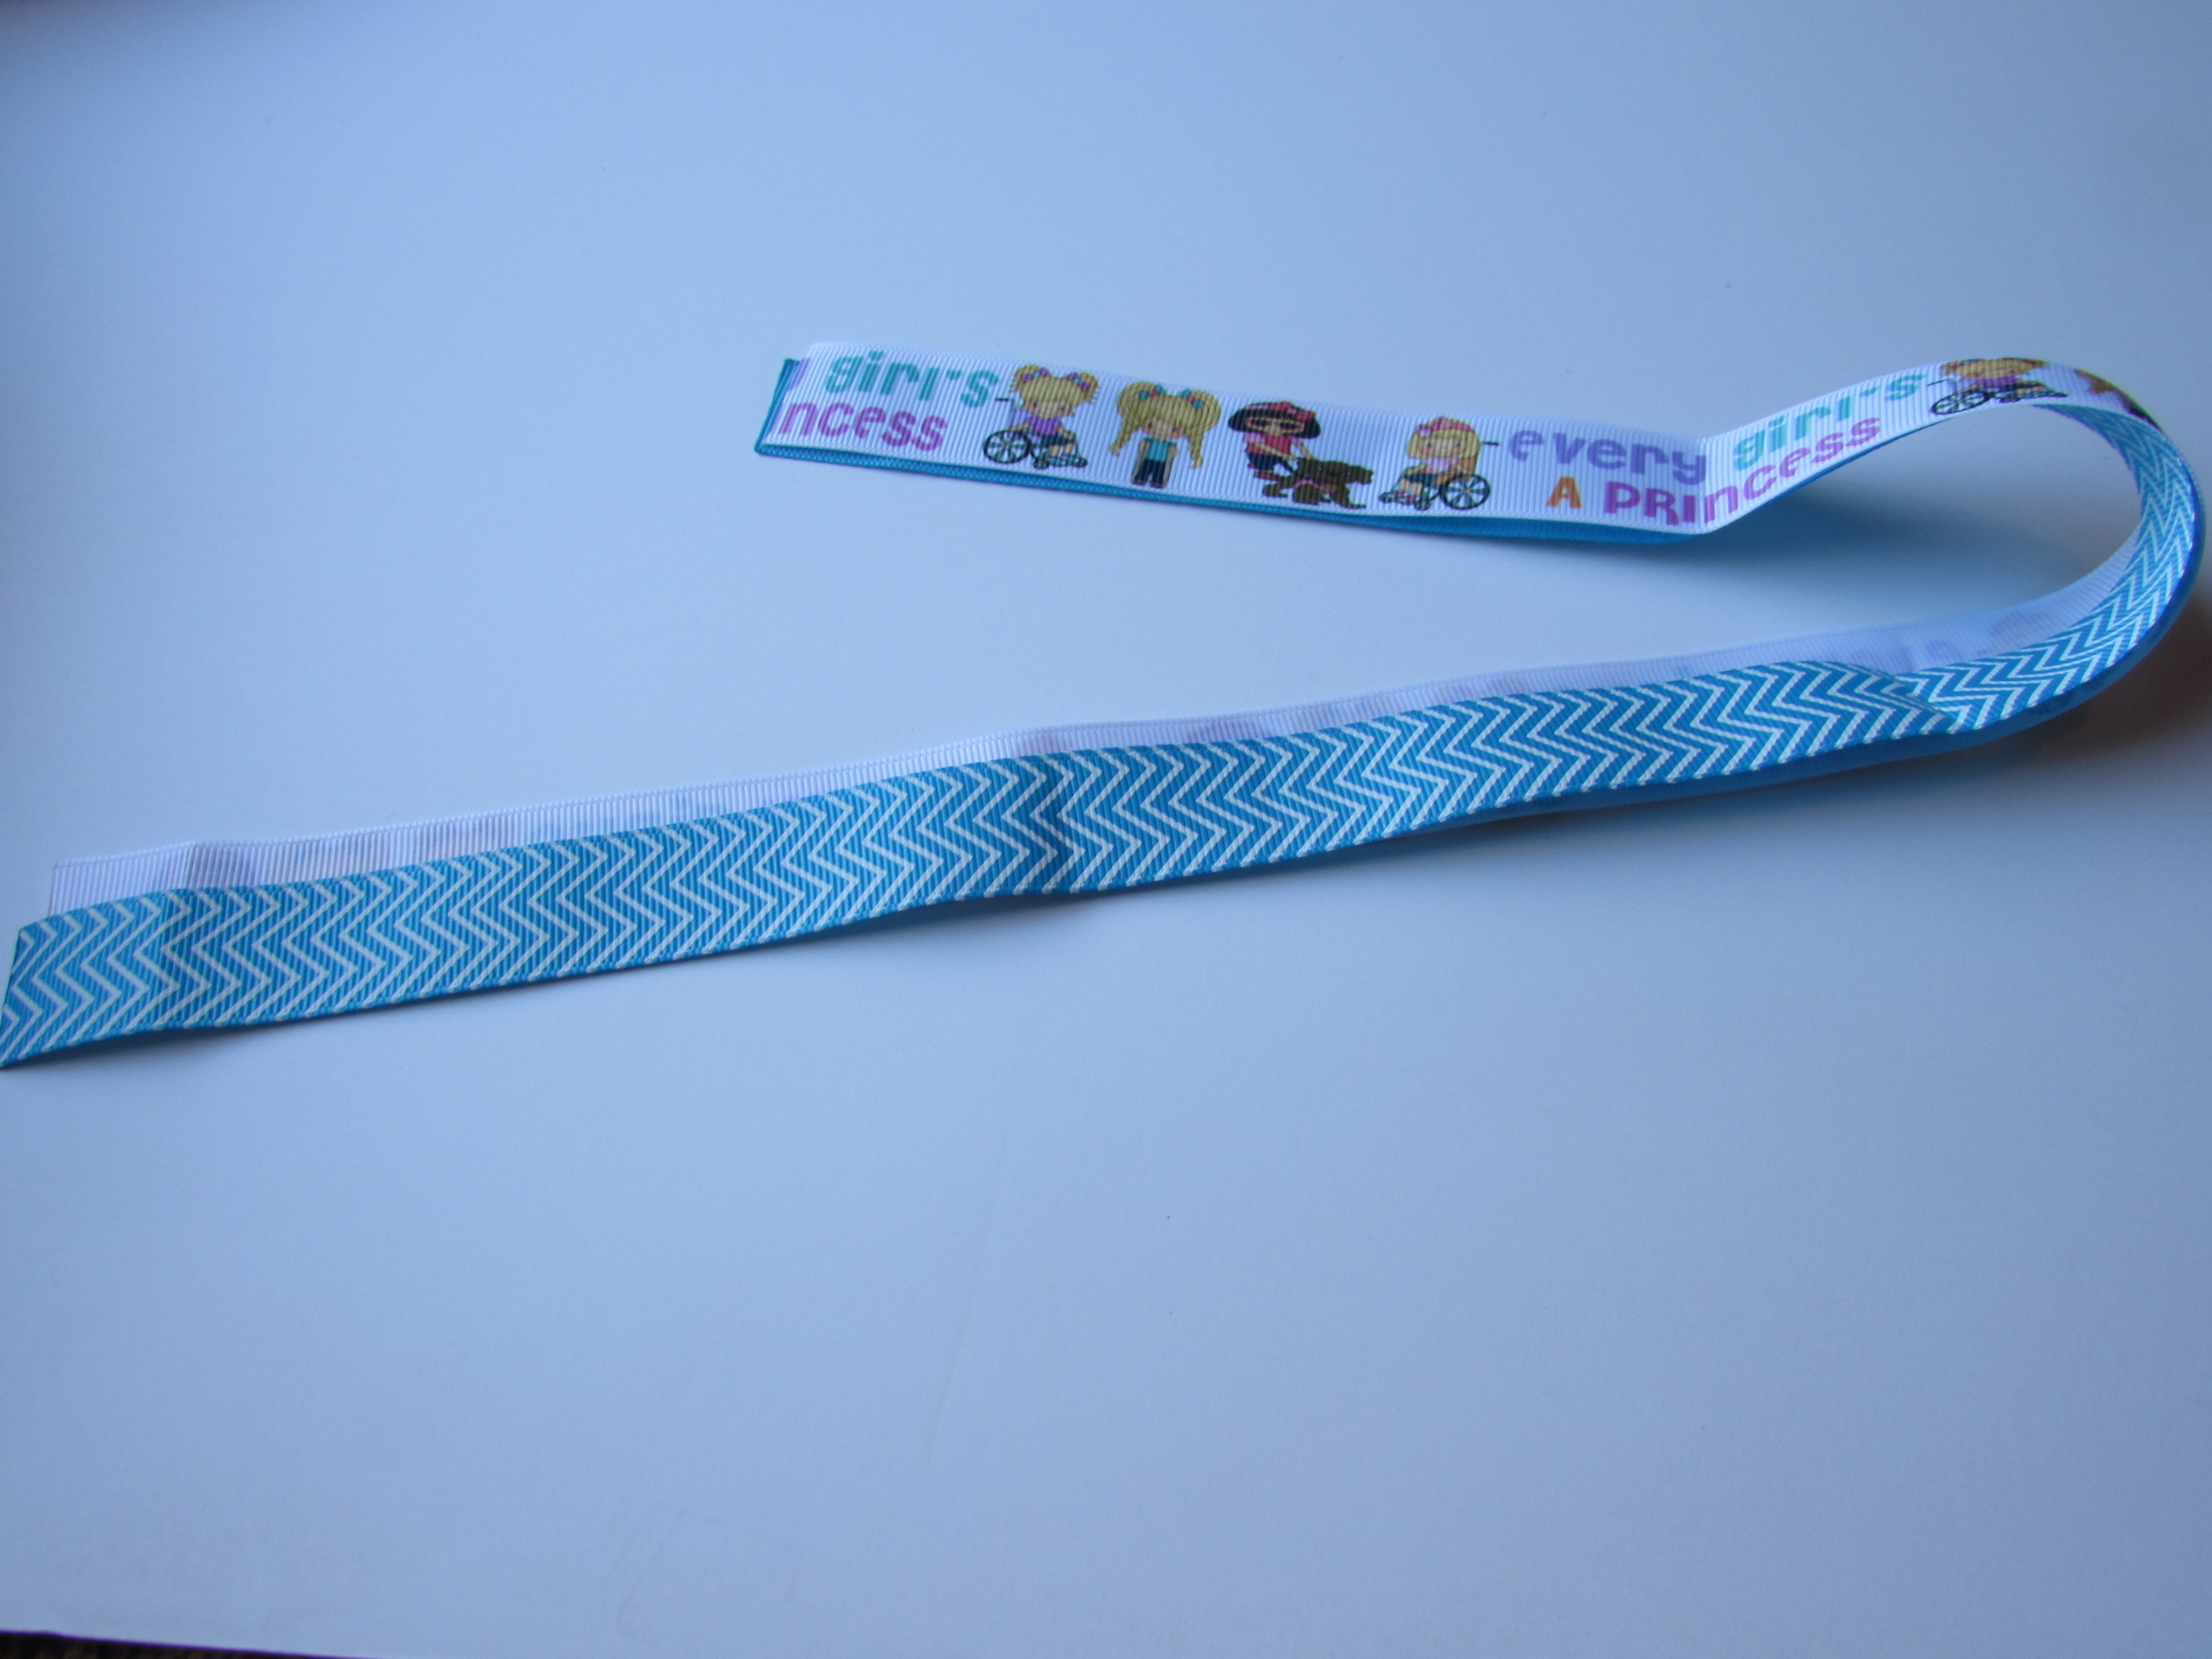 At this point you should see your creases. If you can’t, redo the steps above making harder creases!
- Take the end piece and take that to your first main crease.
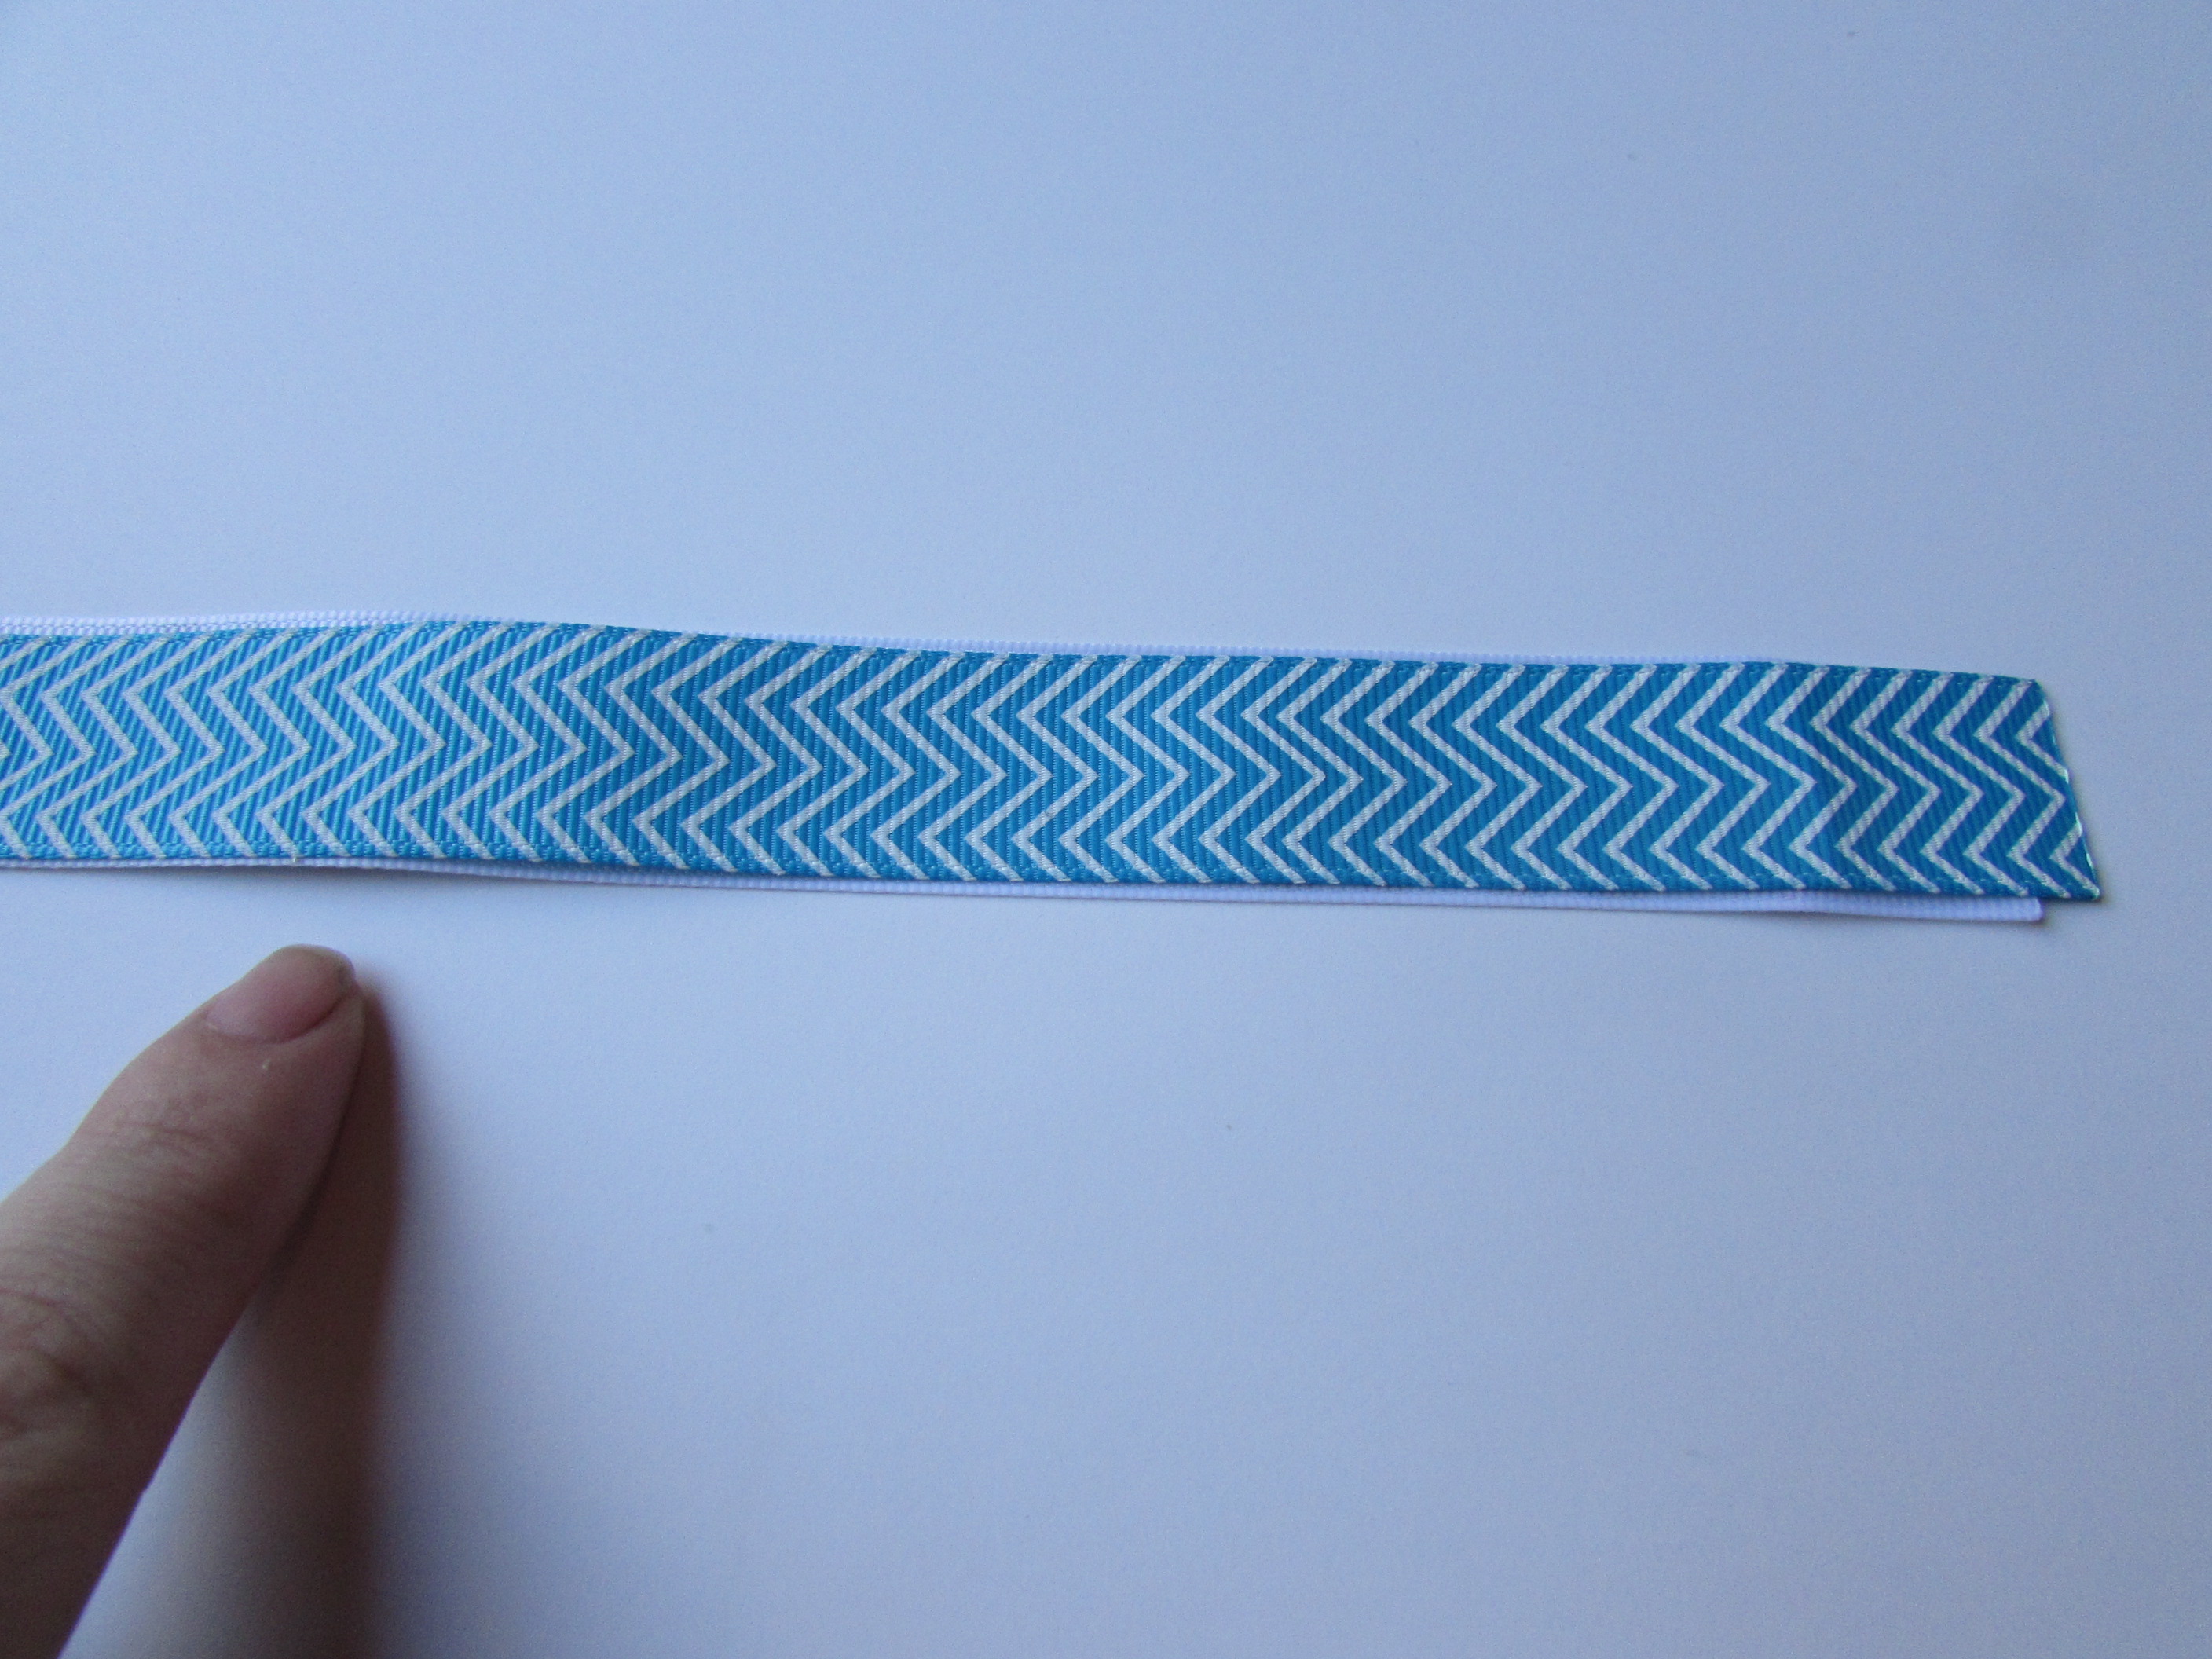
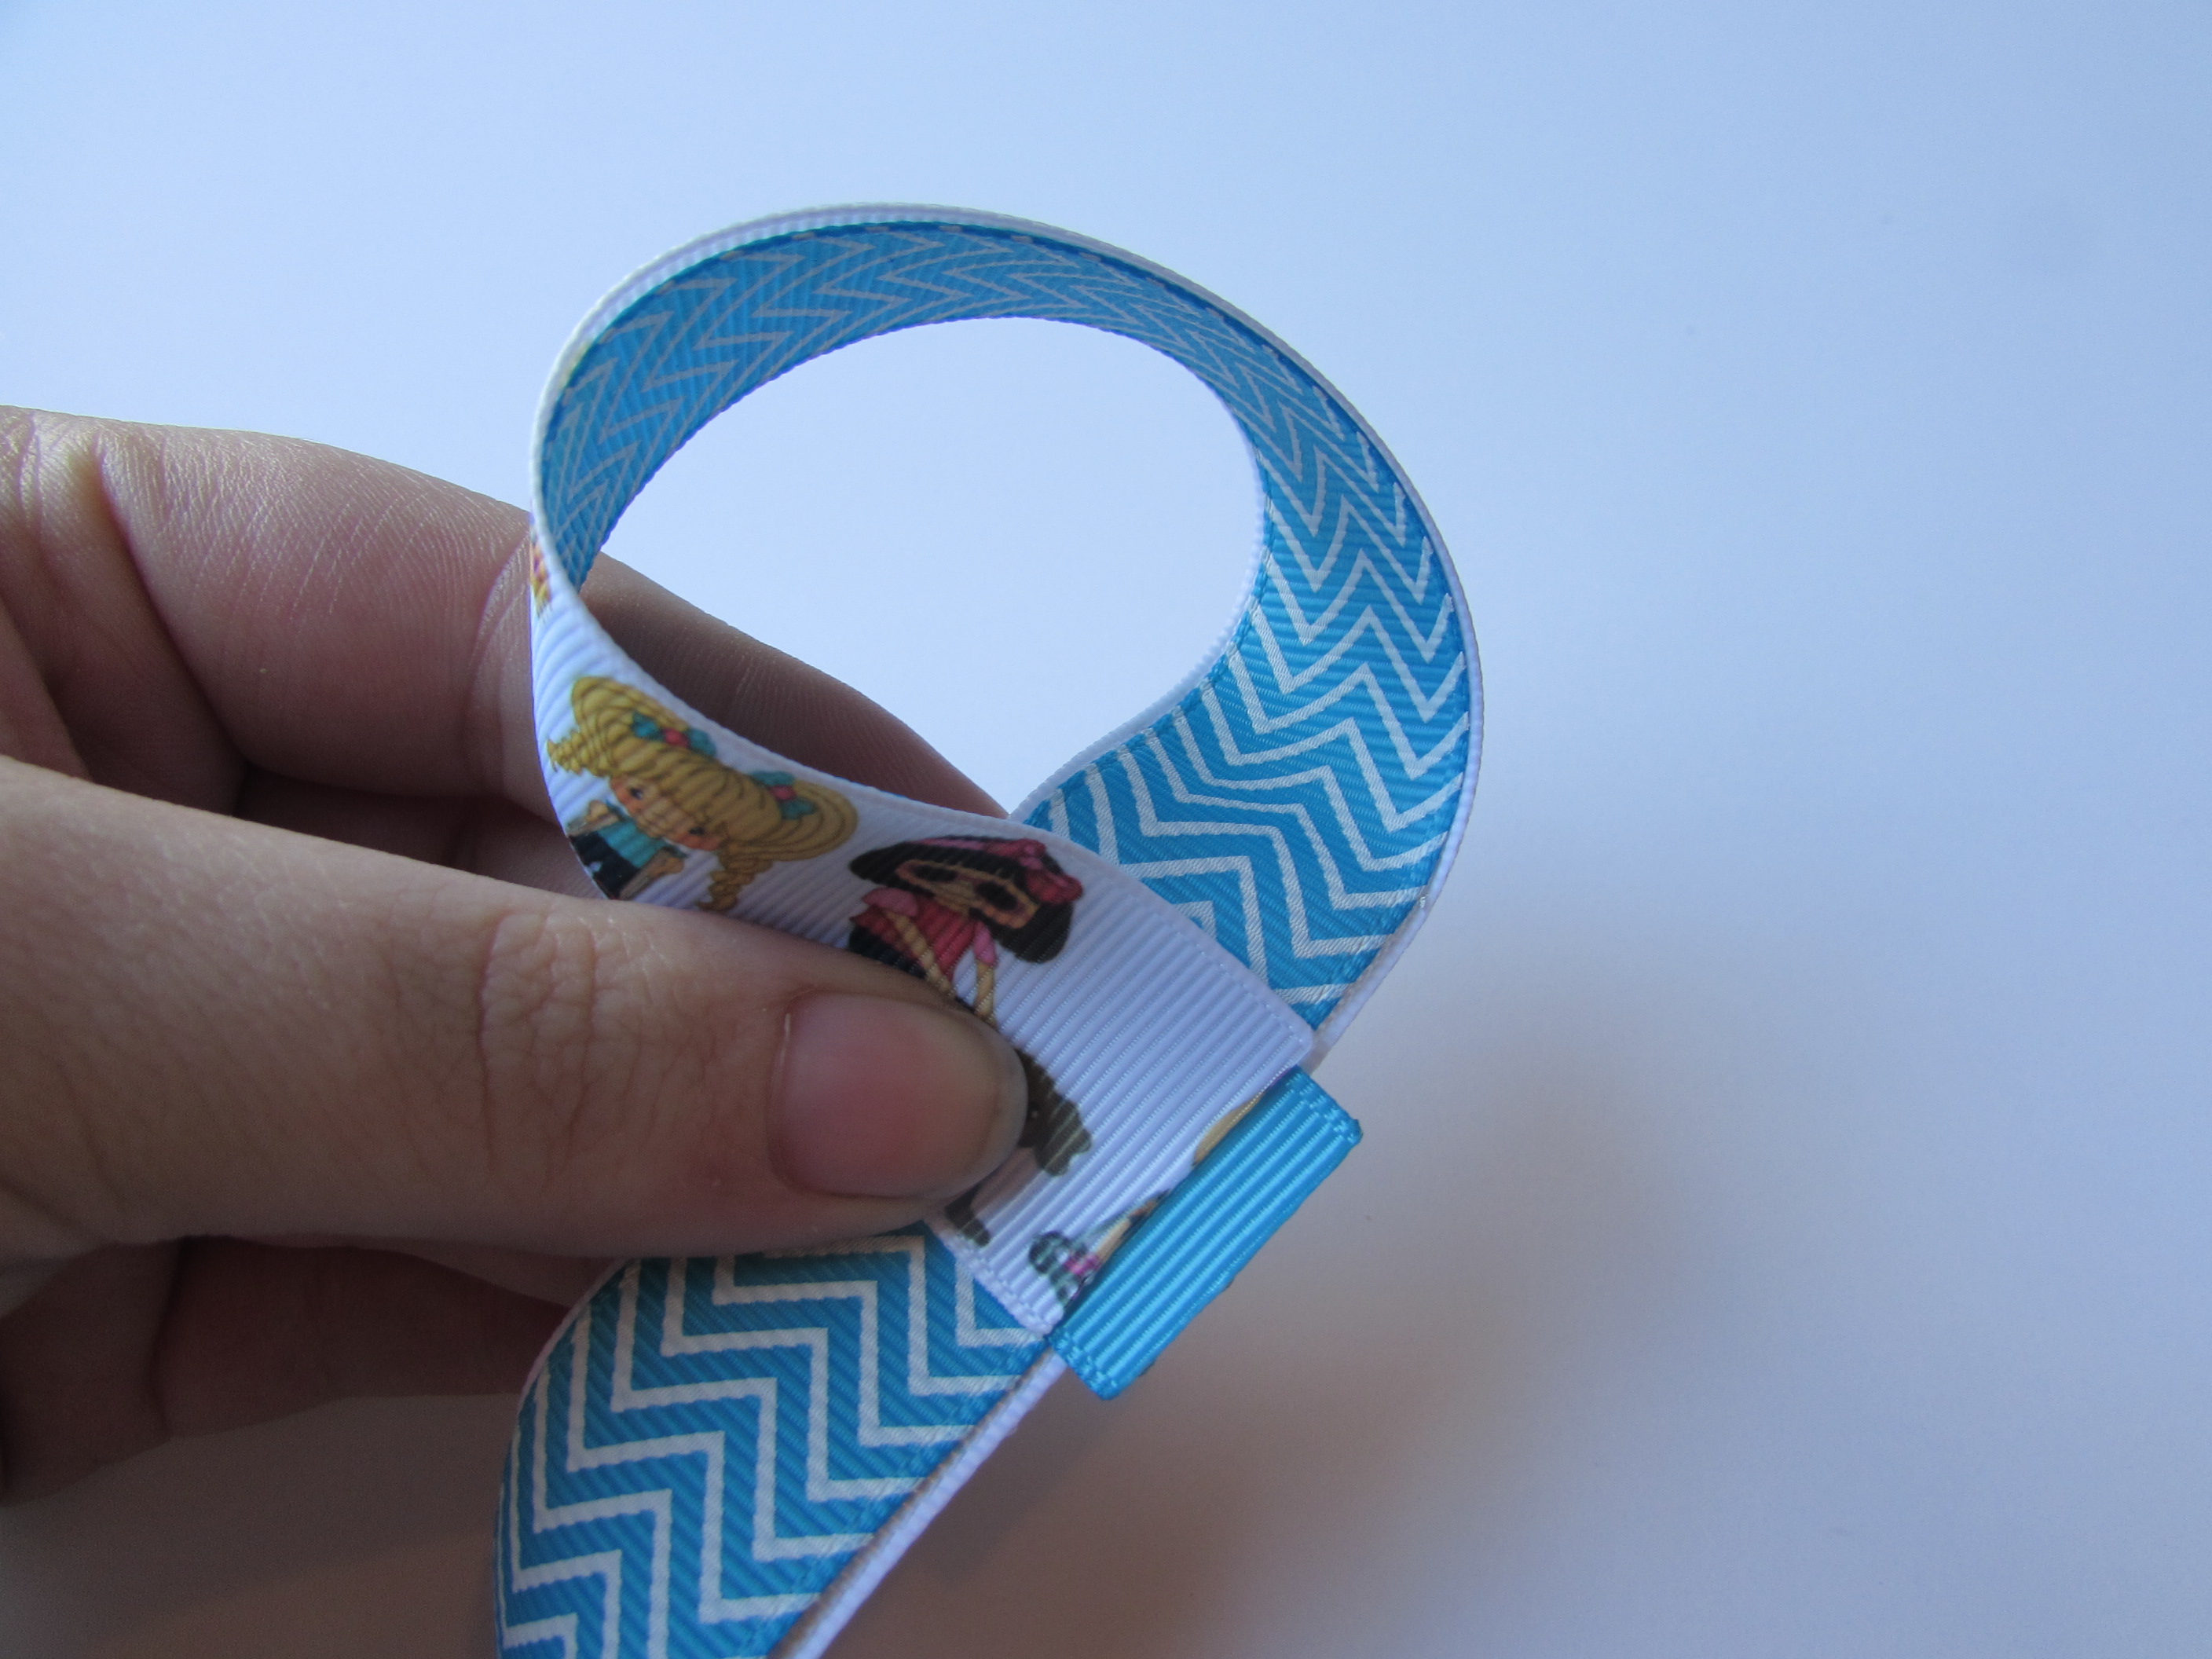
- Find your next crease and fold it to meet the first loop.
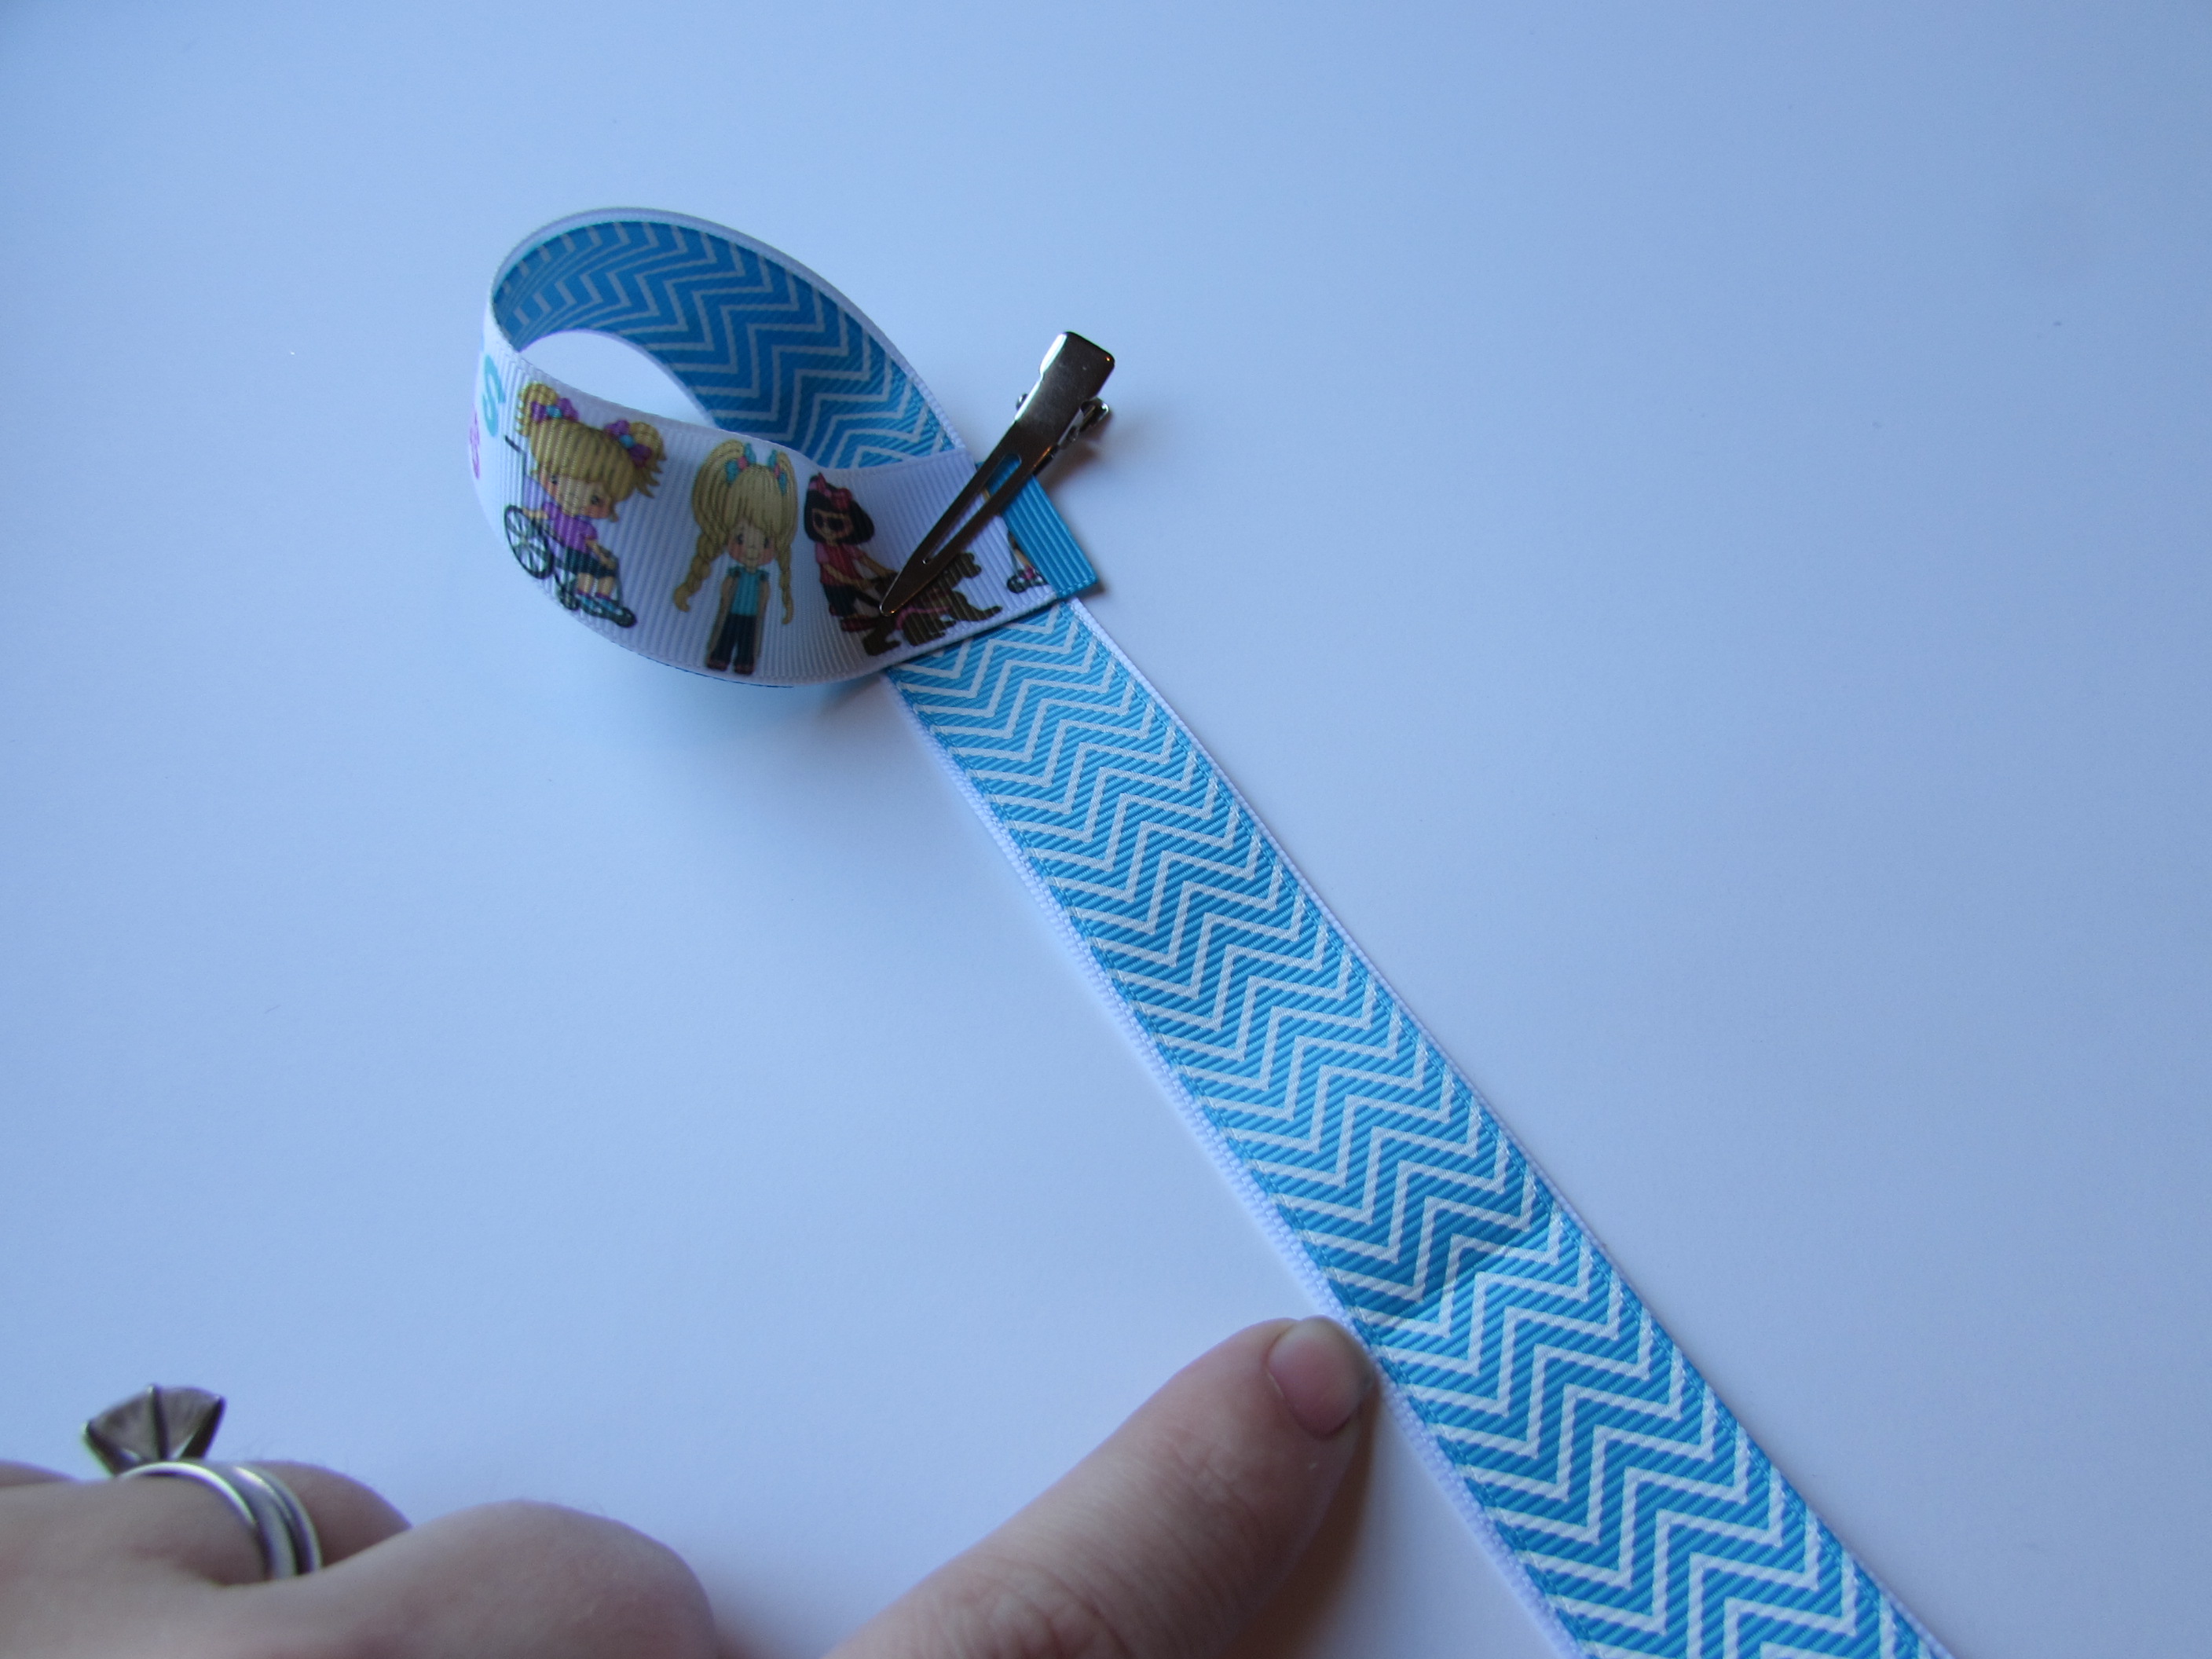
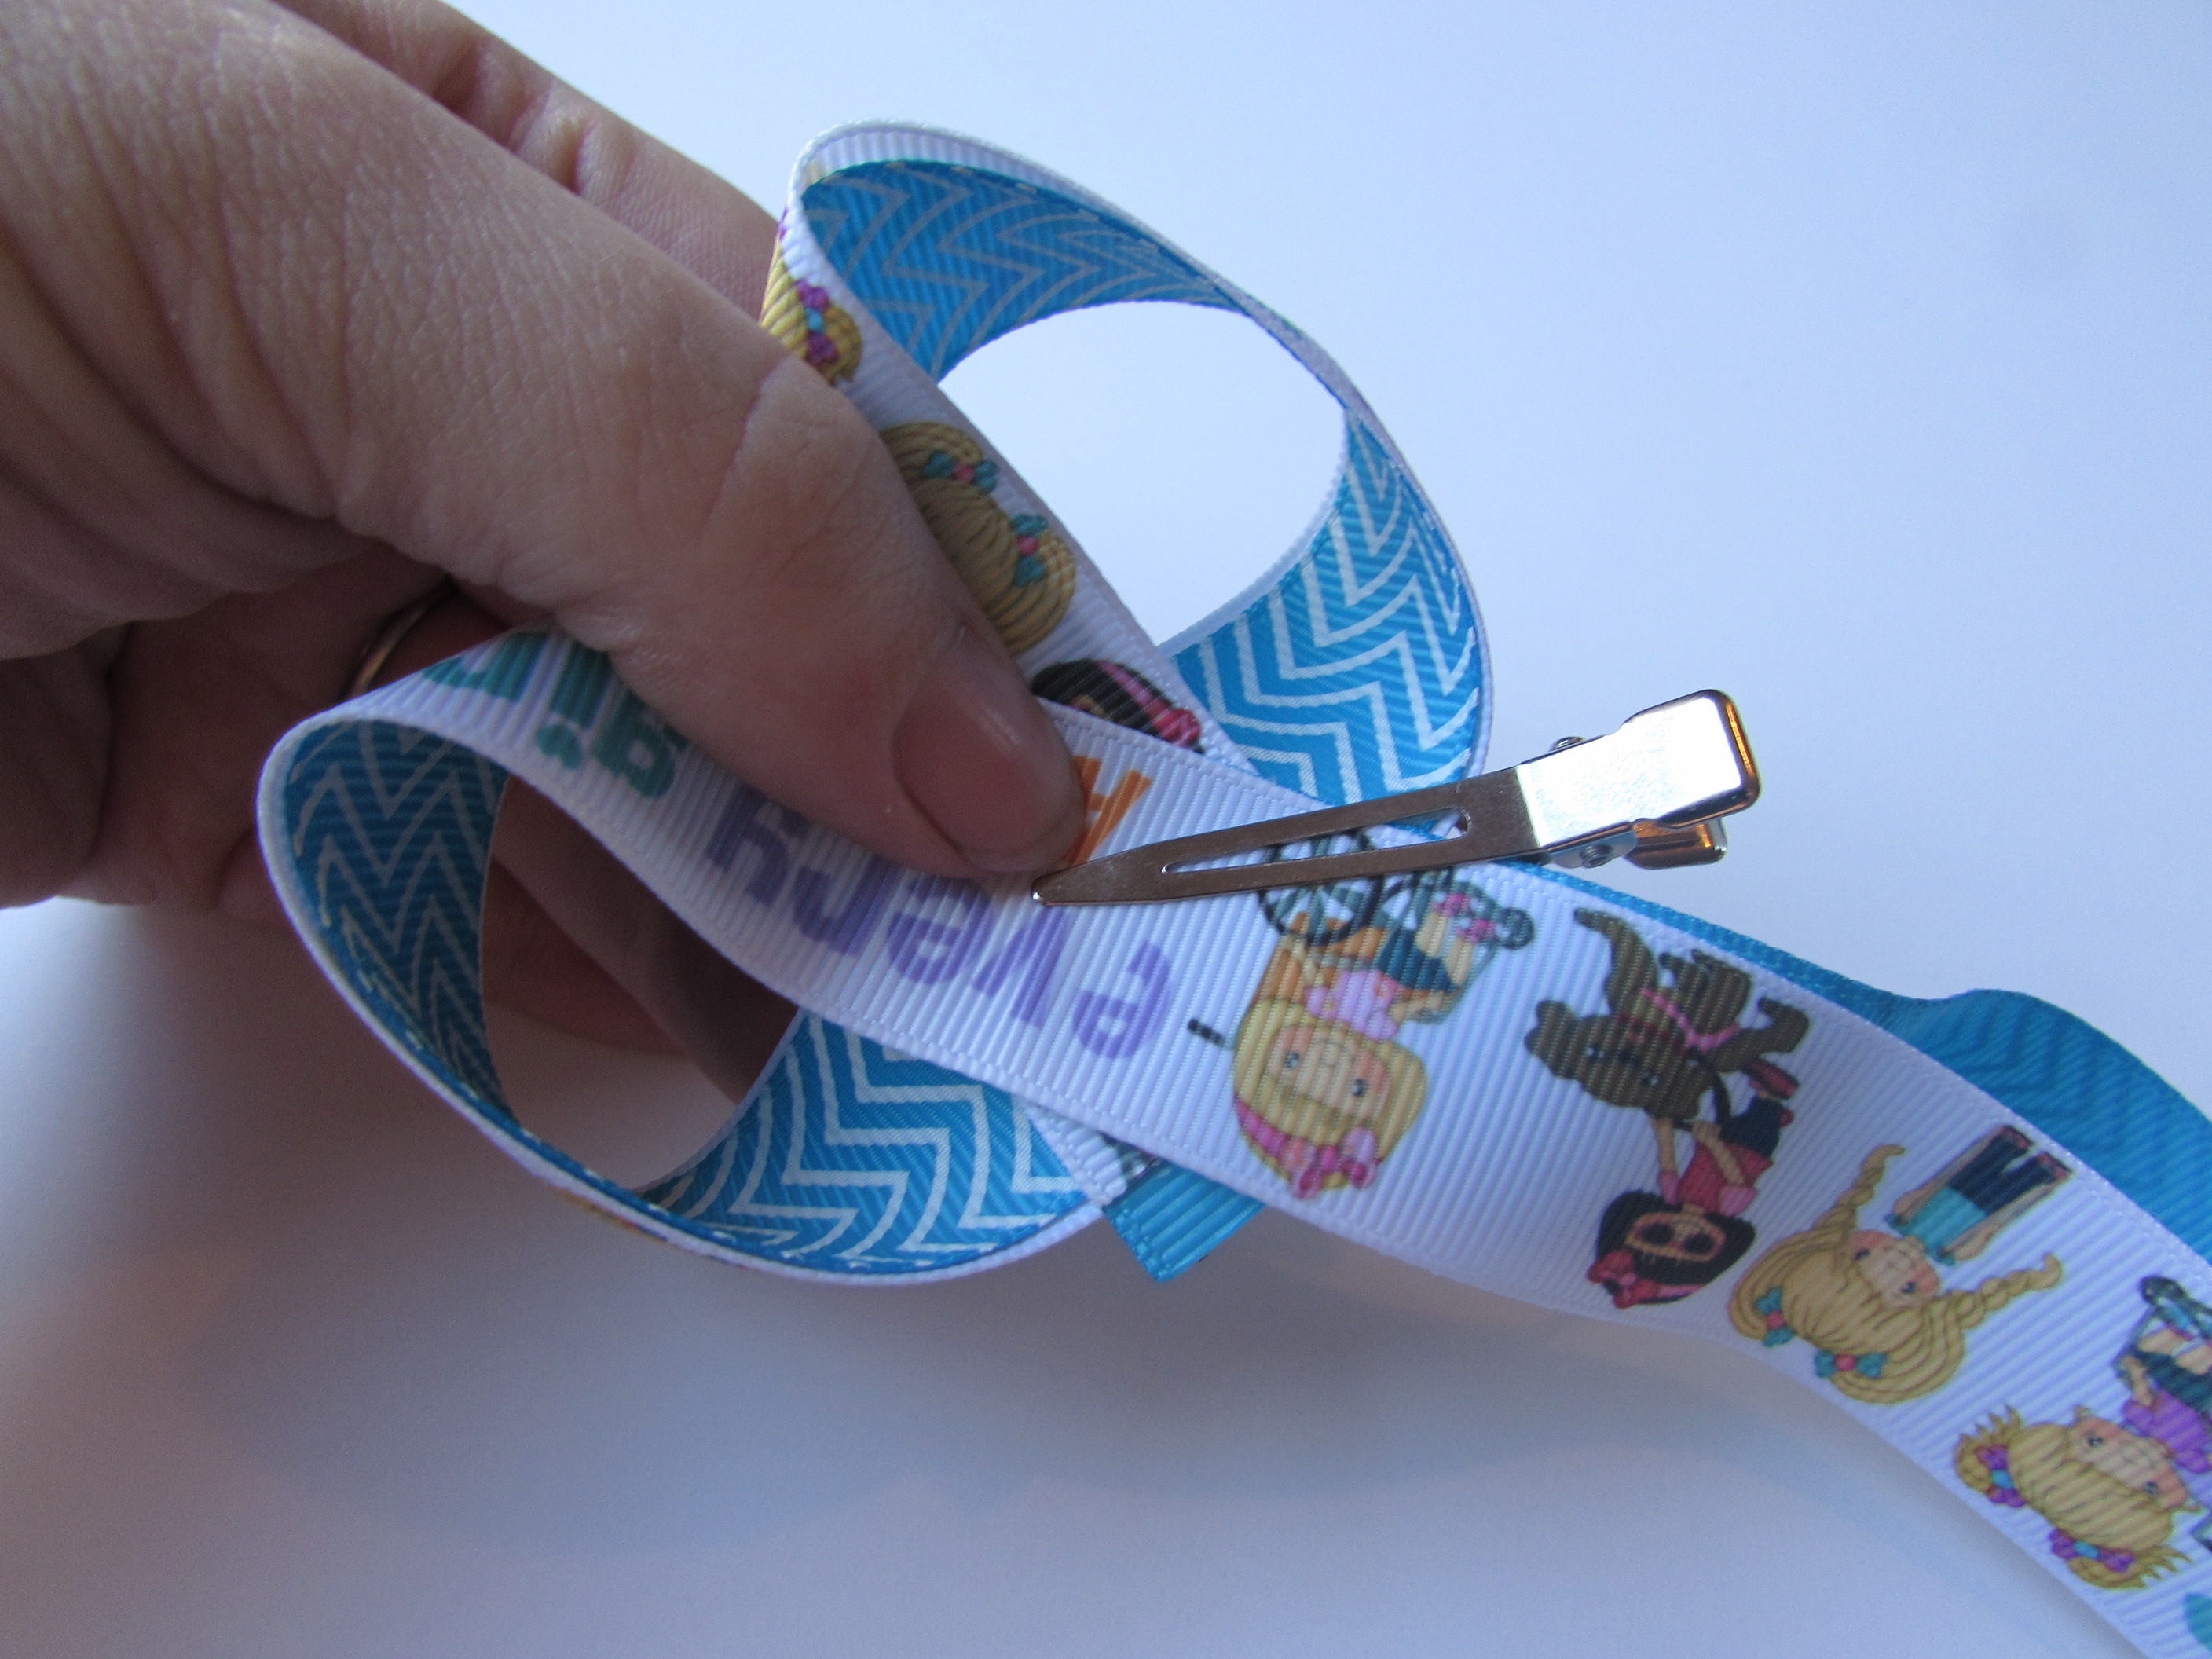
- Find your next crease and fold to meet the set of ribbon in the center of your loops. Taking that ribbon BEHIND the ribbon in the center.
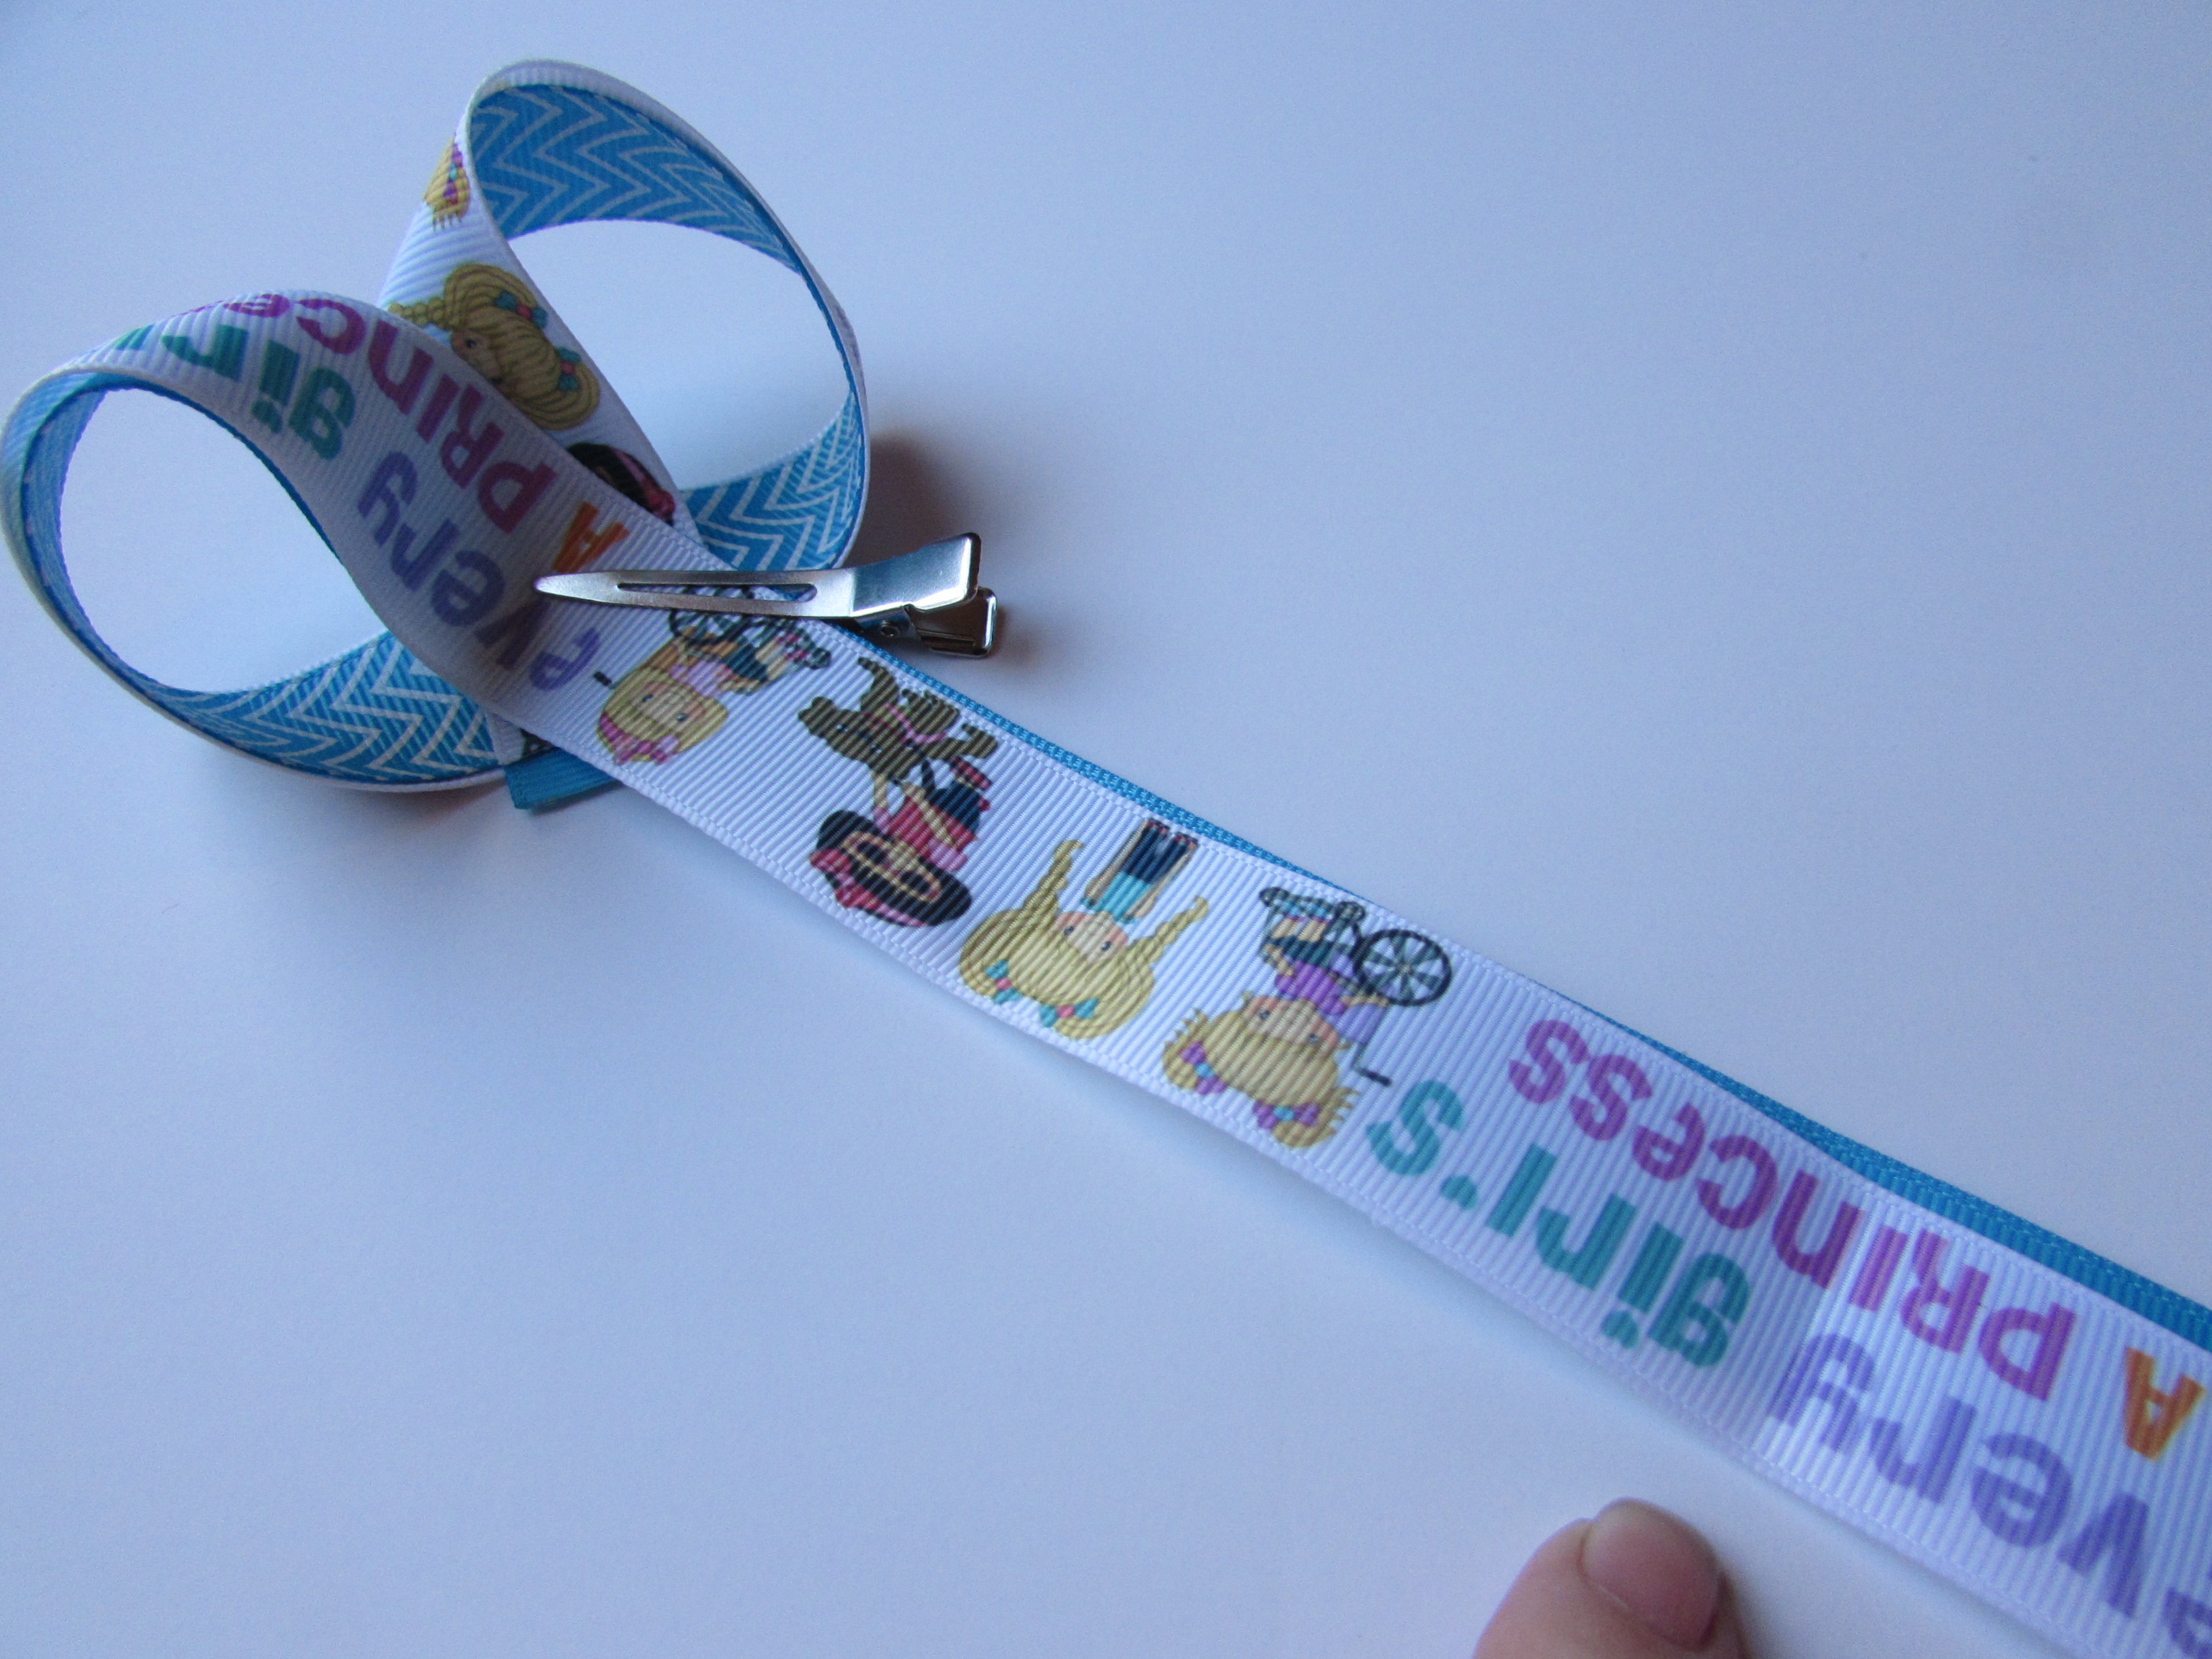
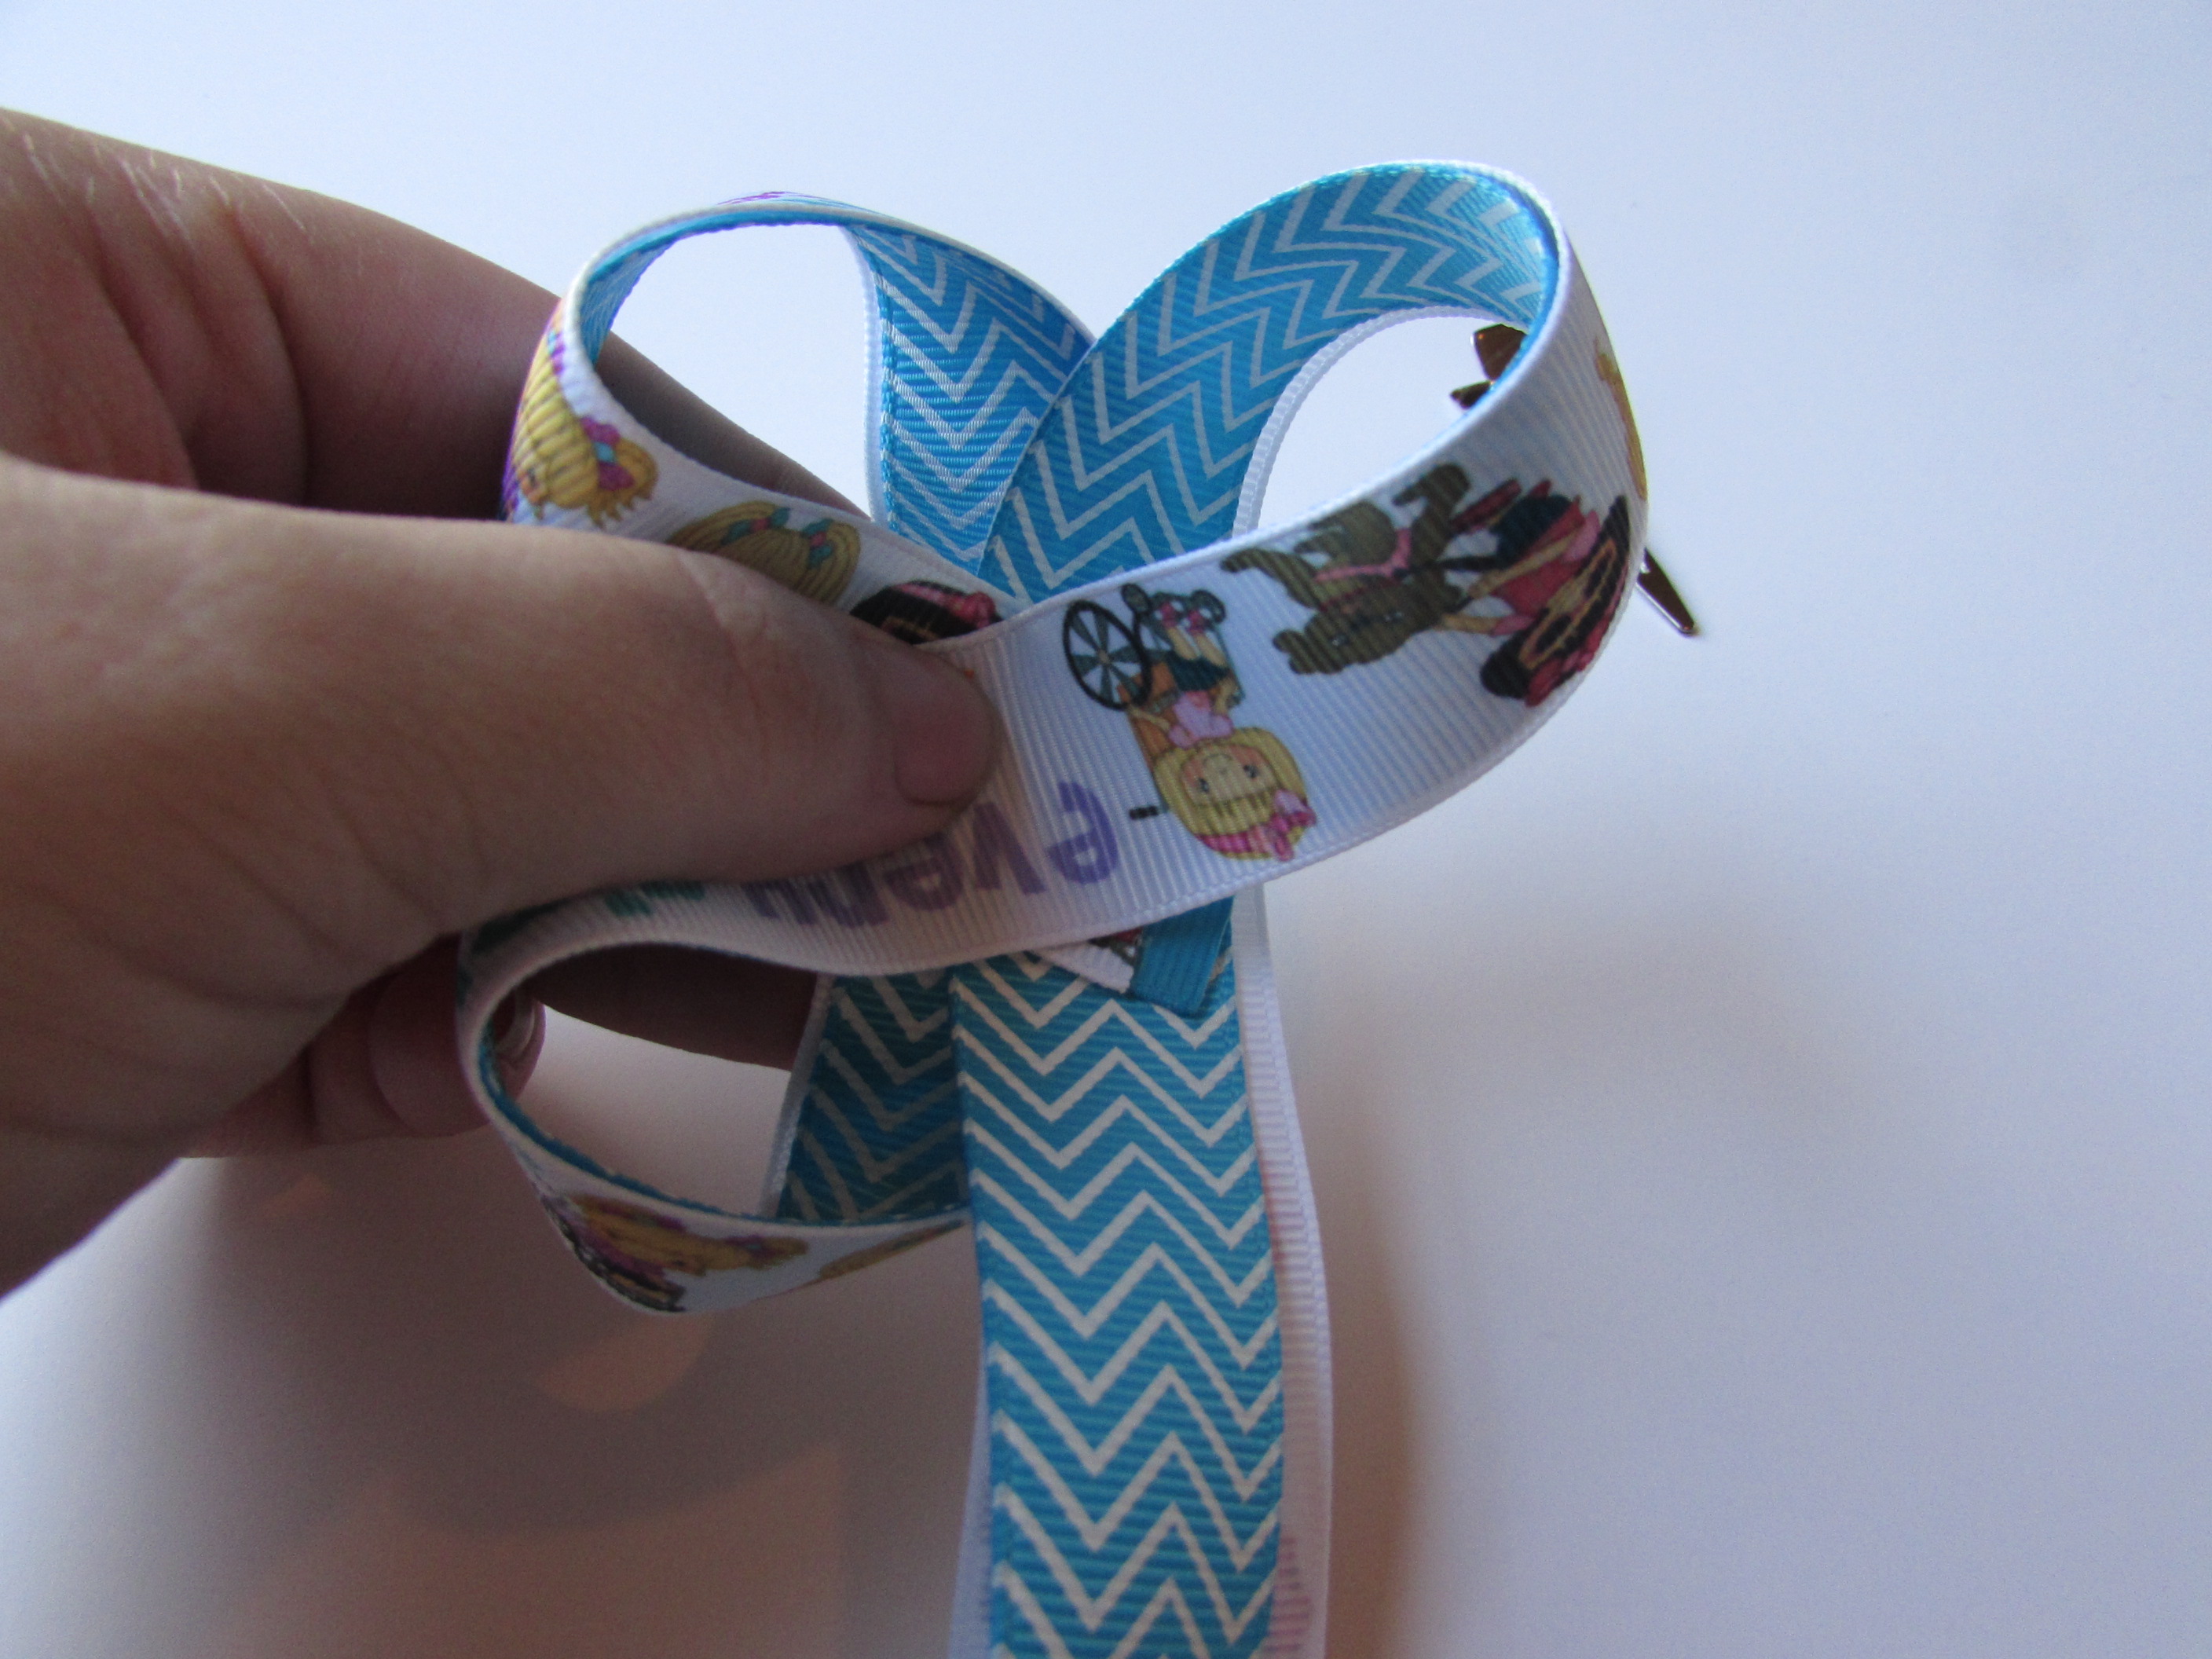
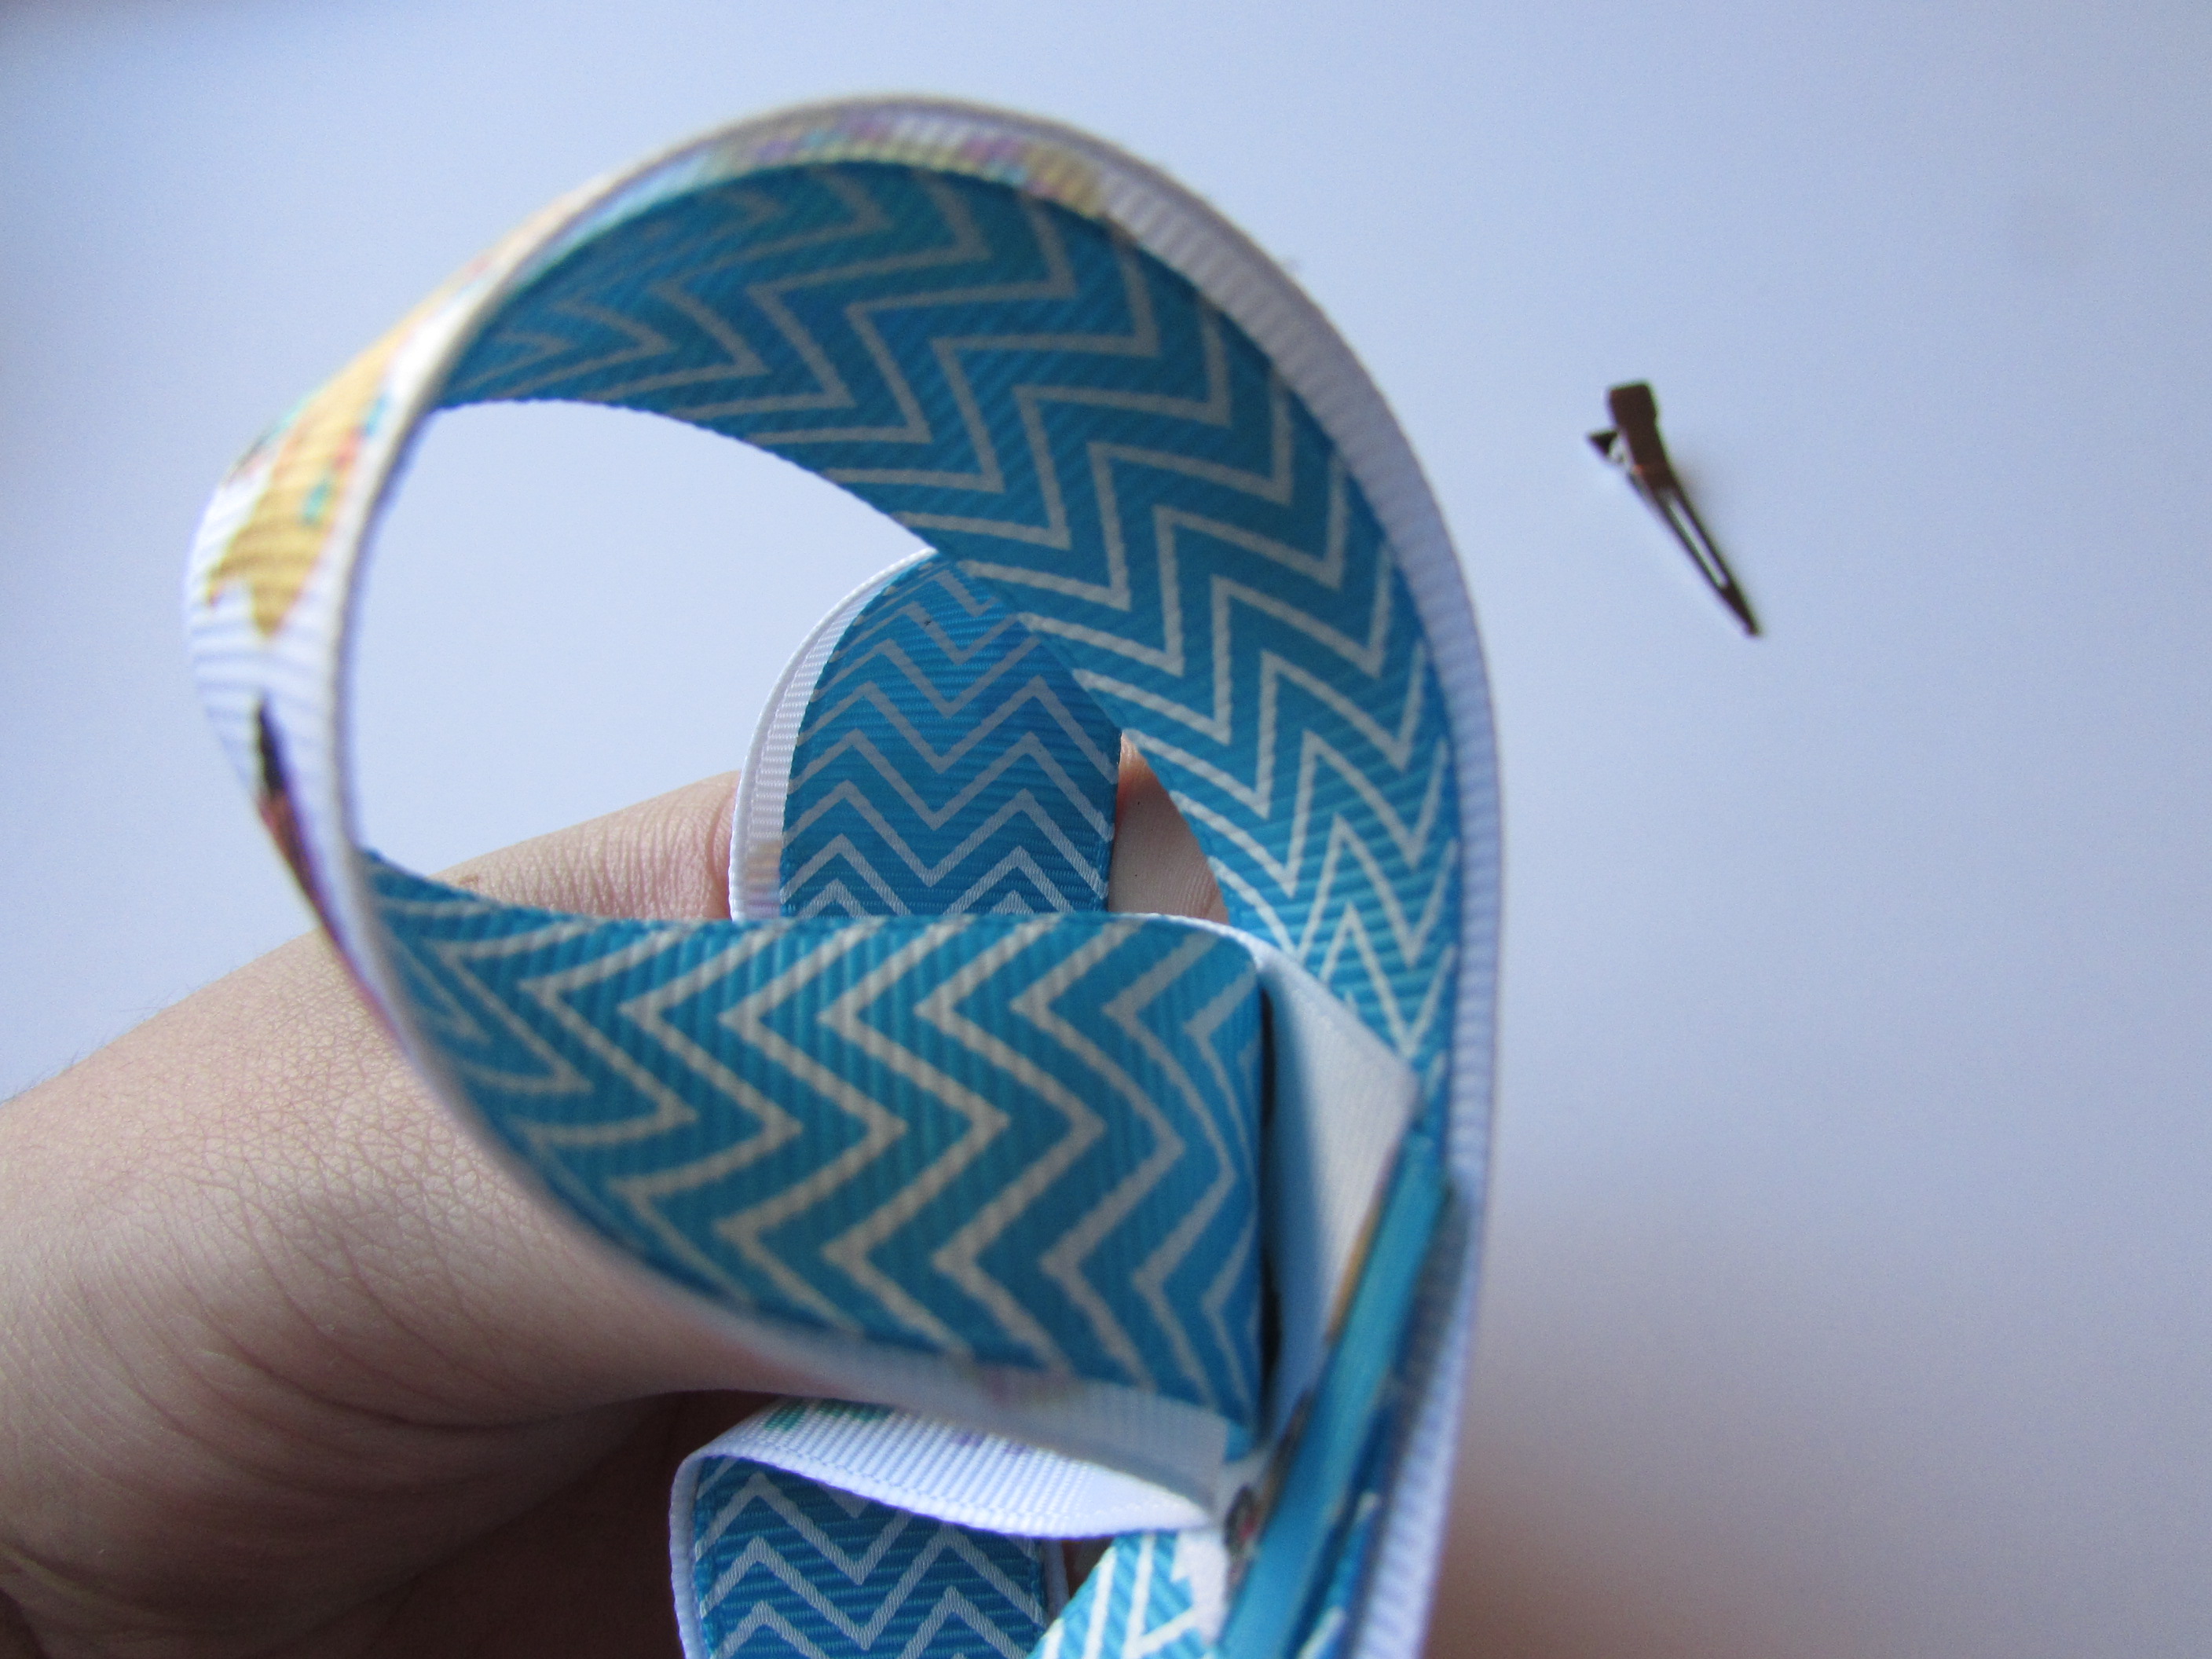
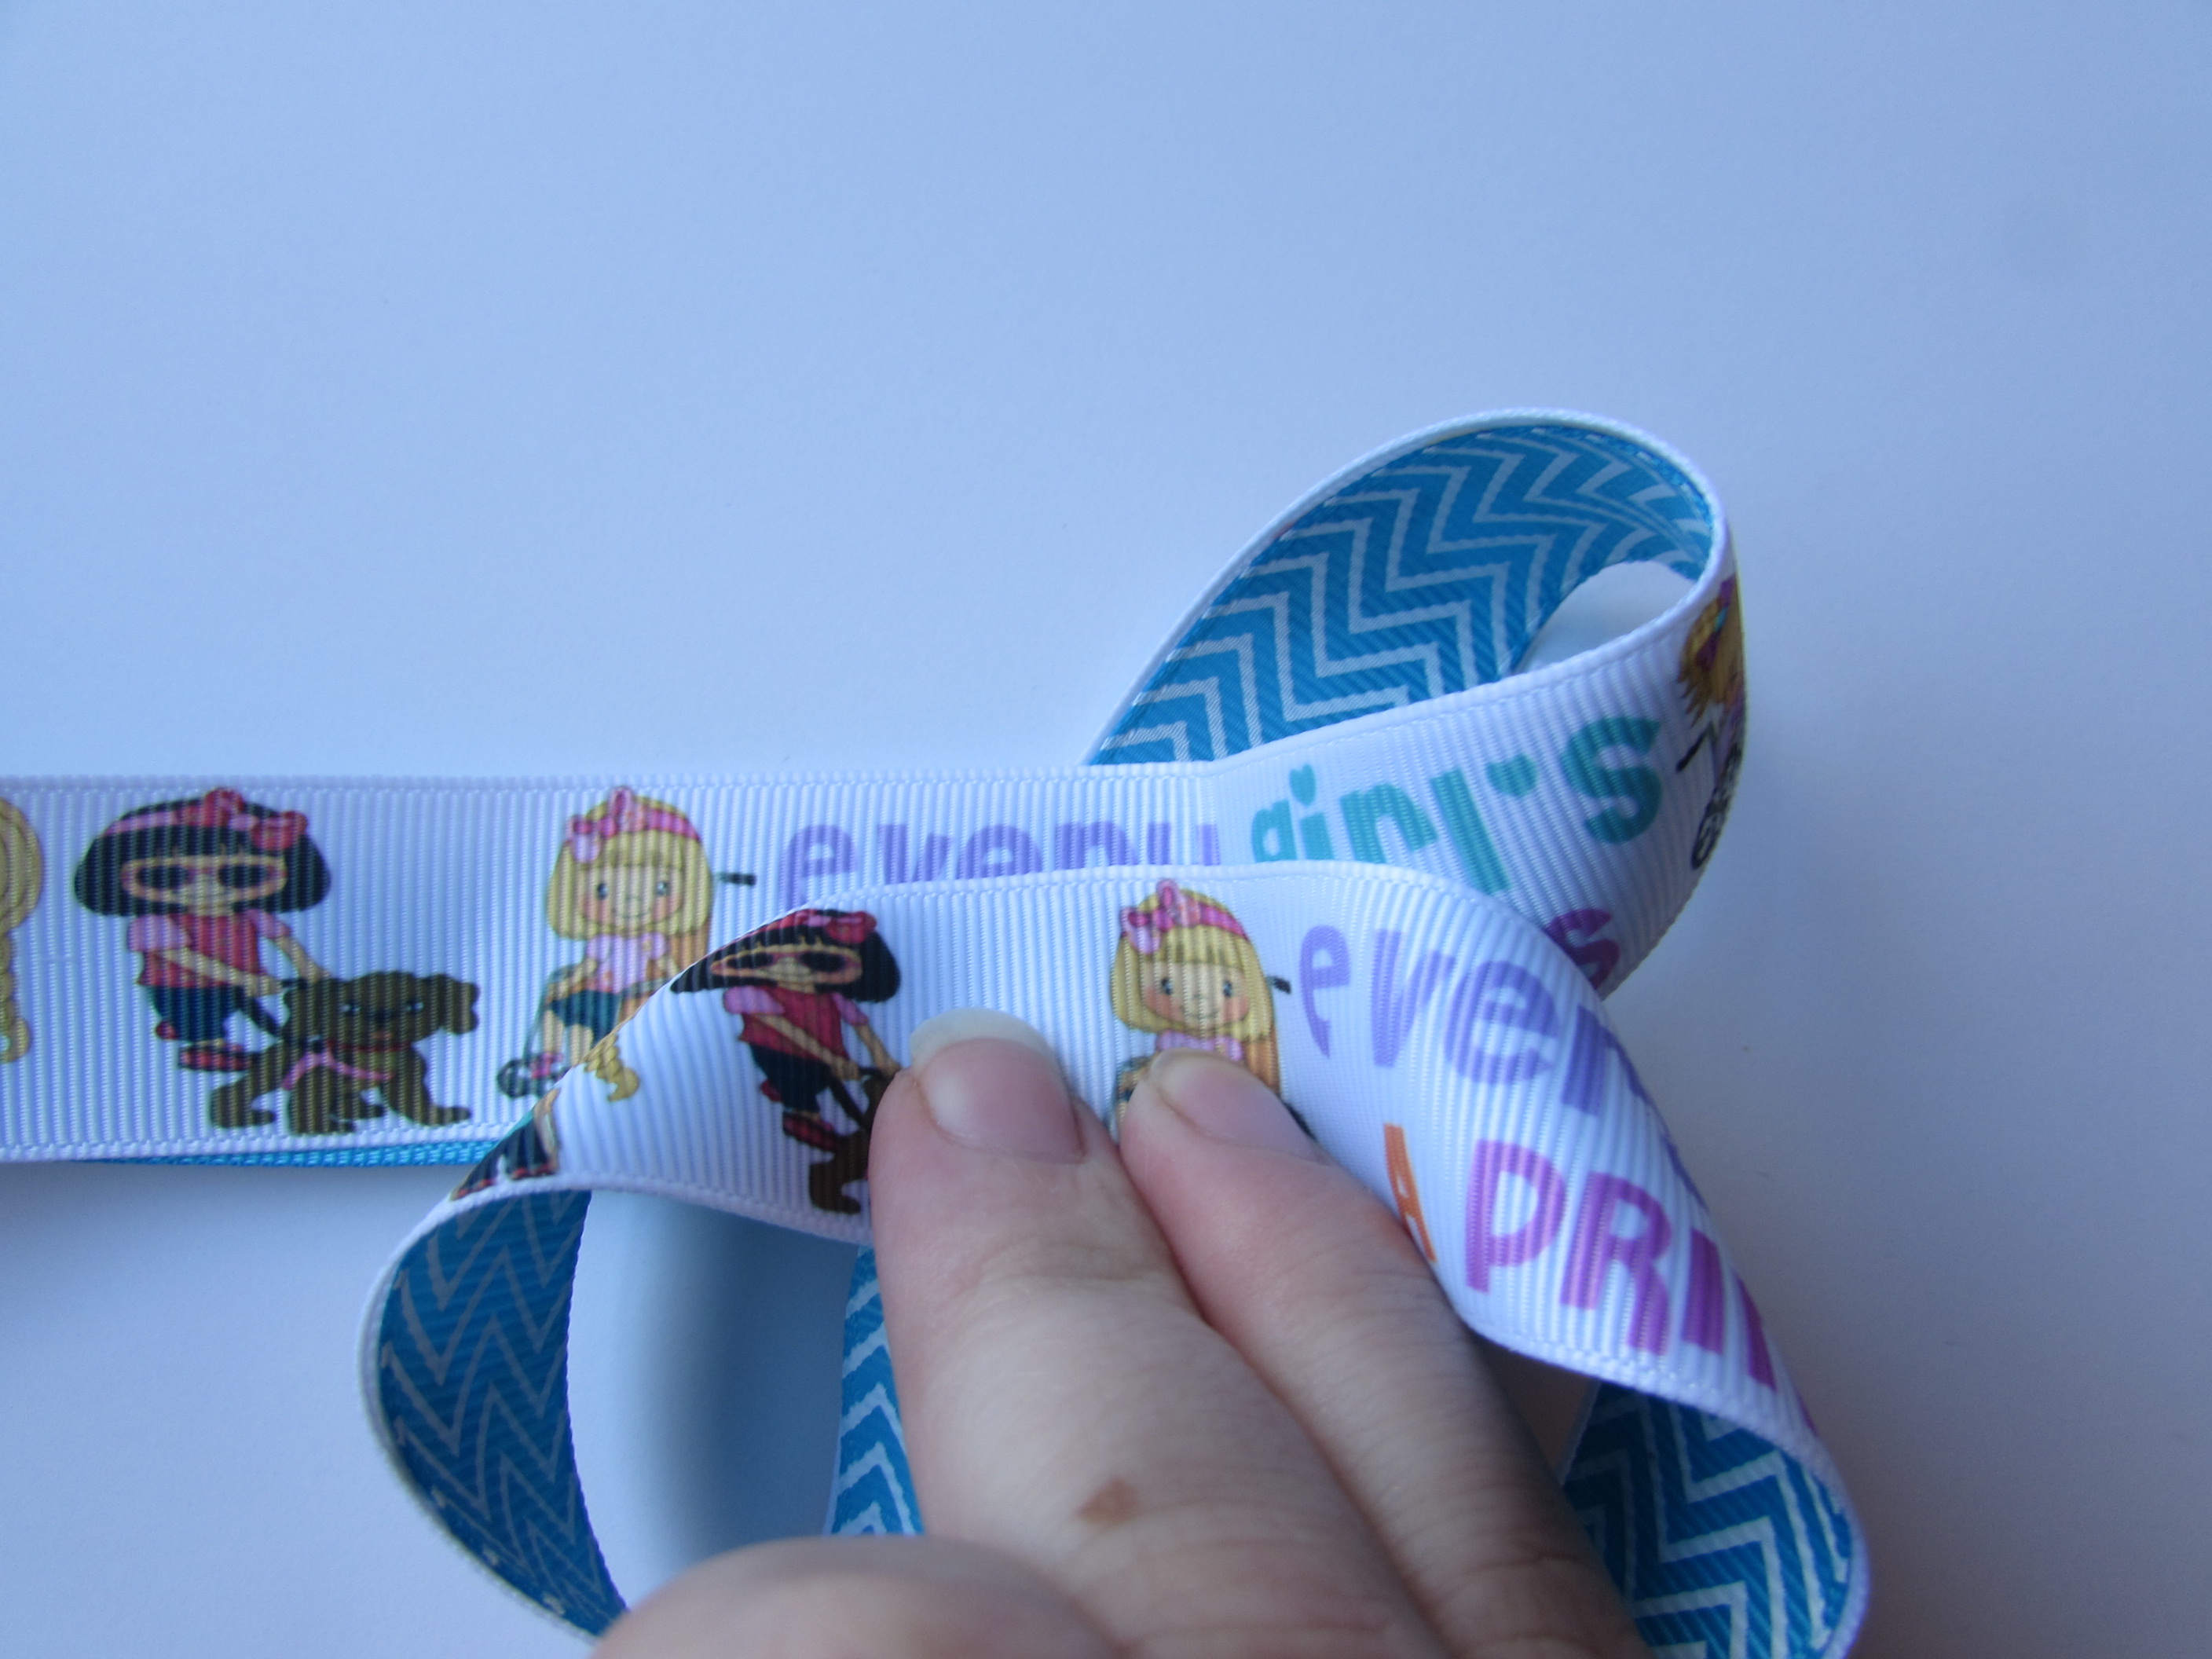
- Find your last crease and take to the center of the ribbon. Take that crease and put it in front on the top of all the loops.
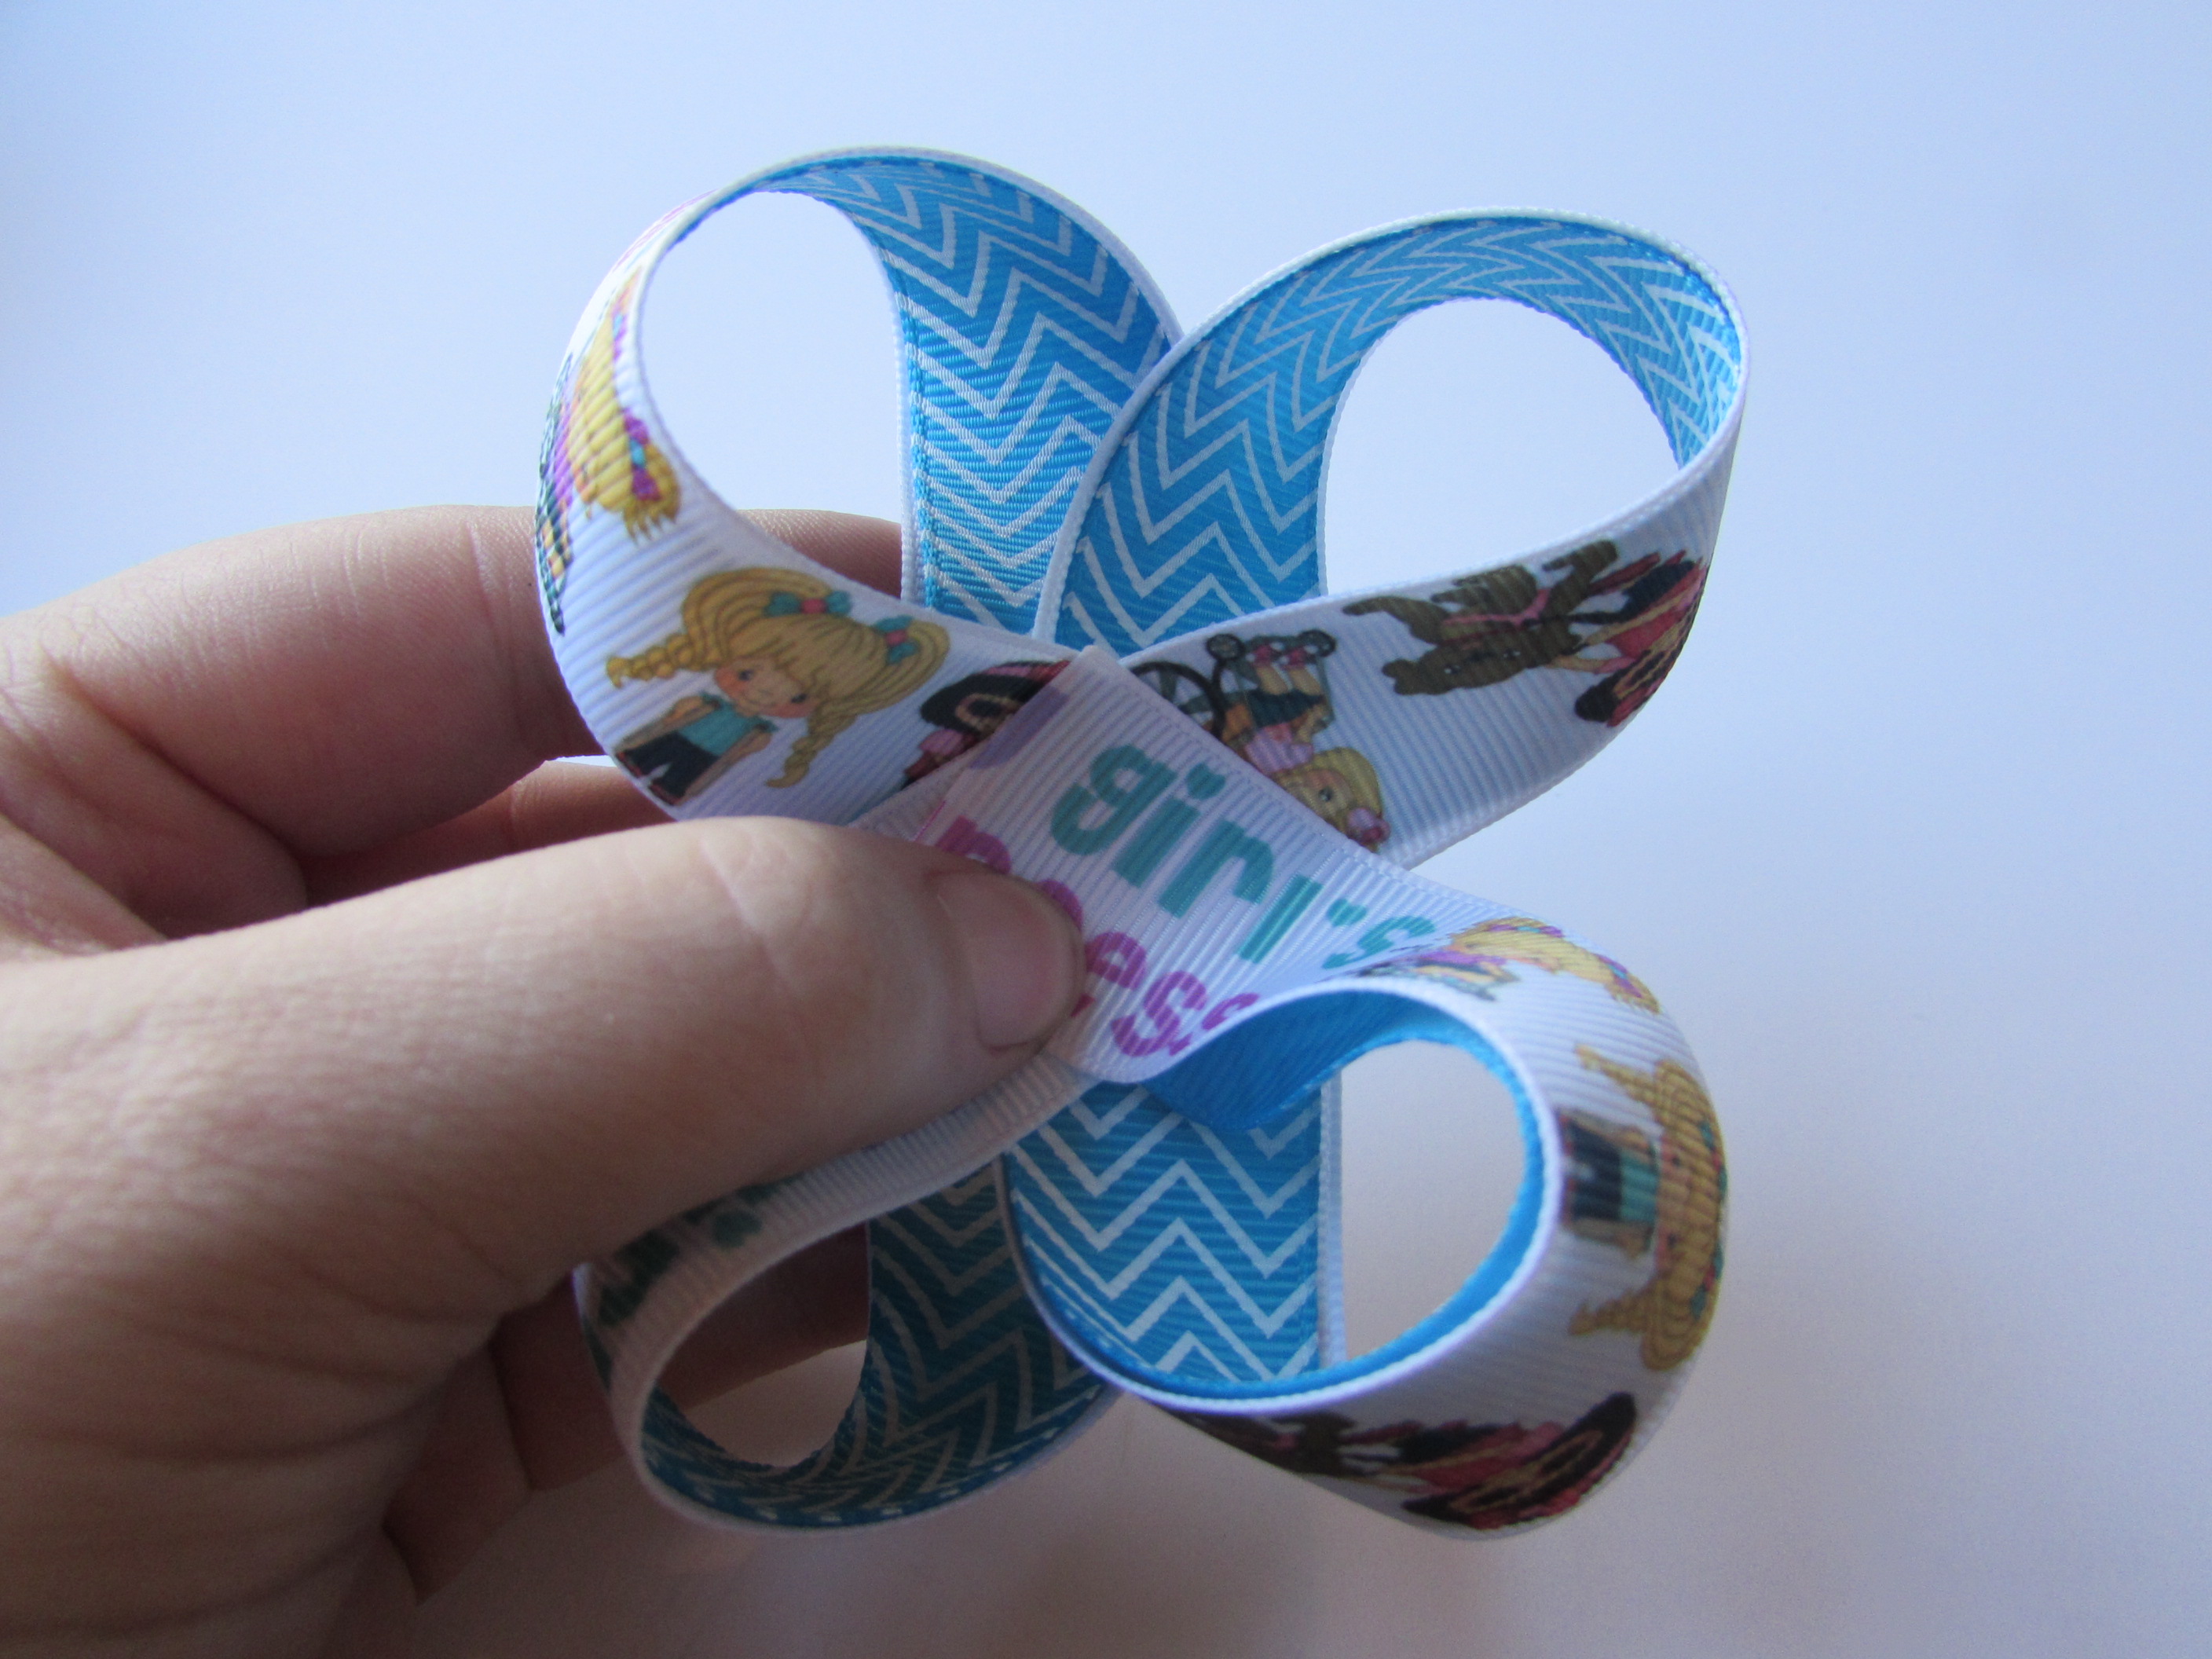
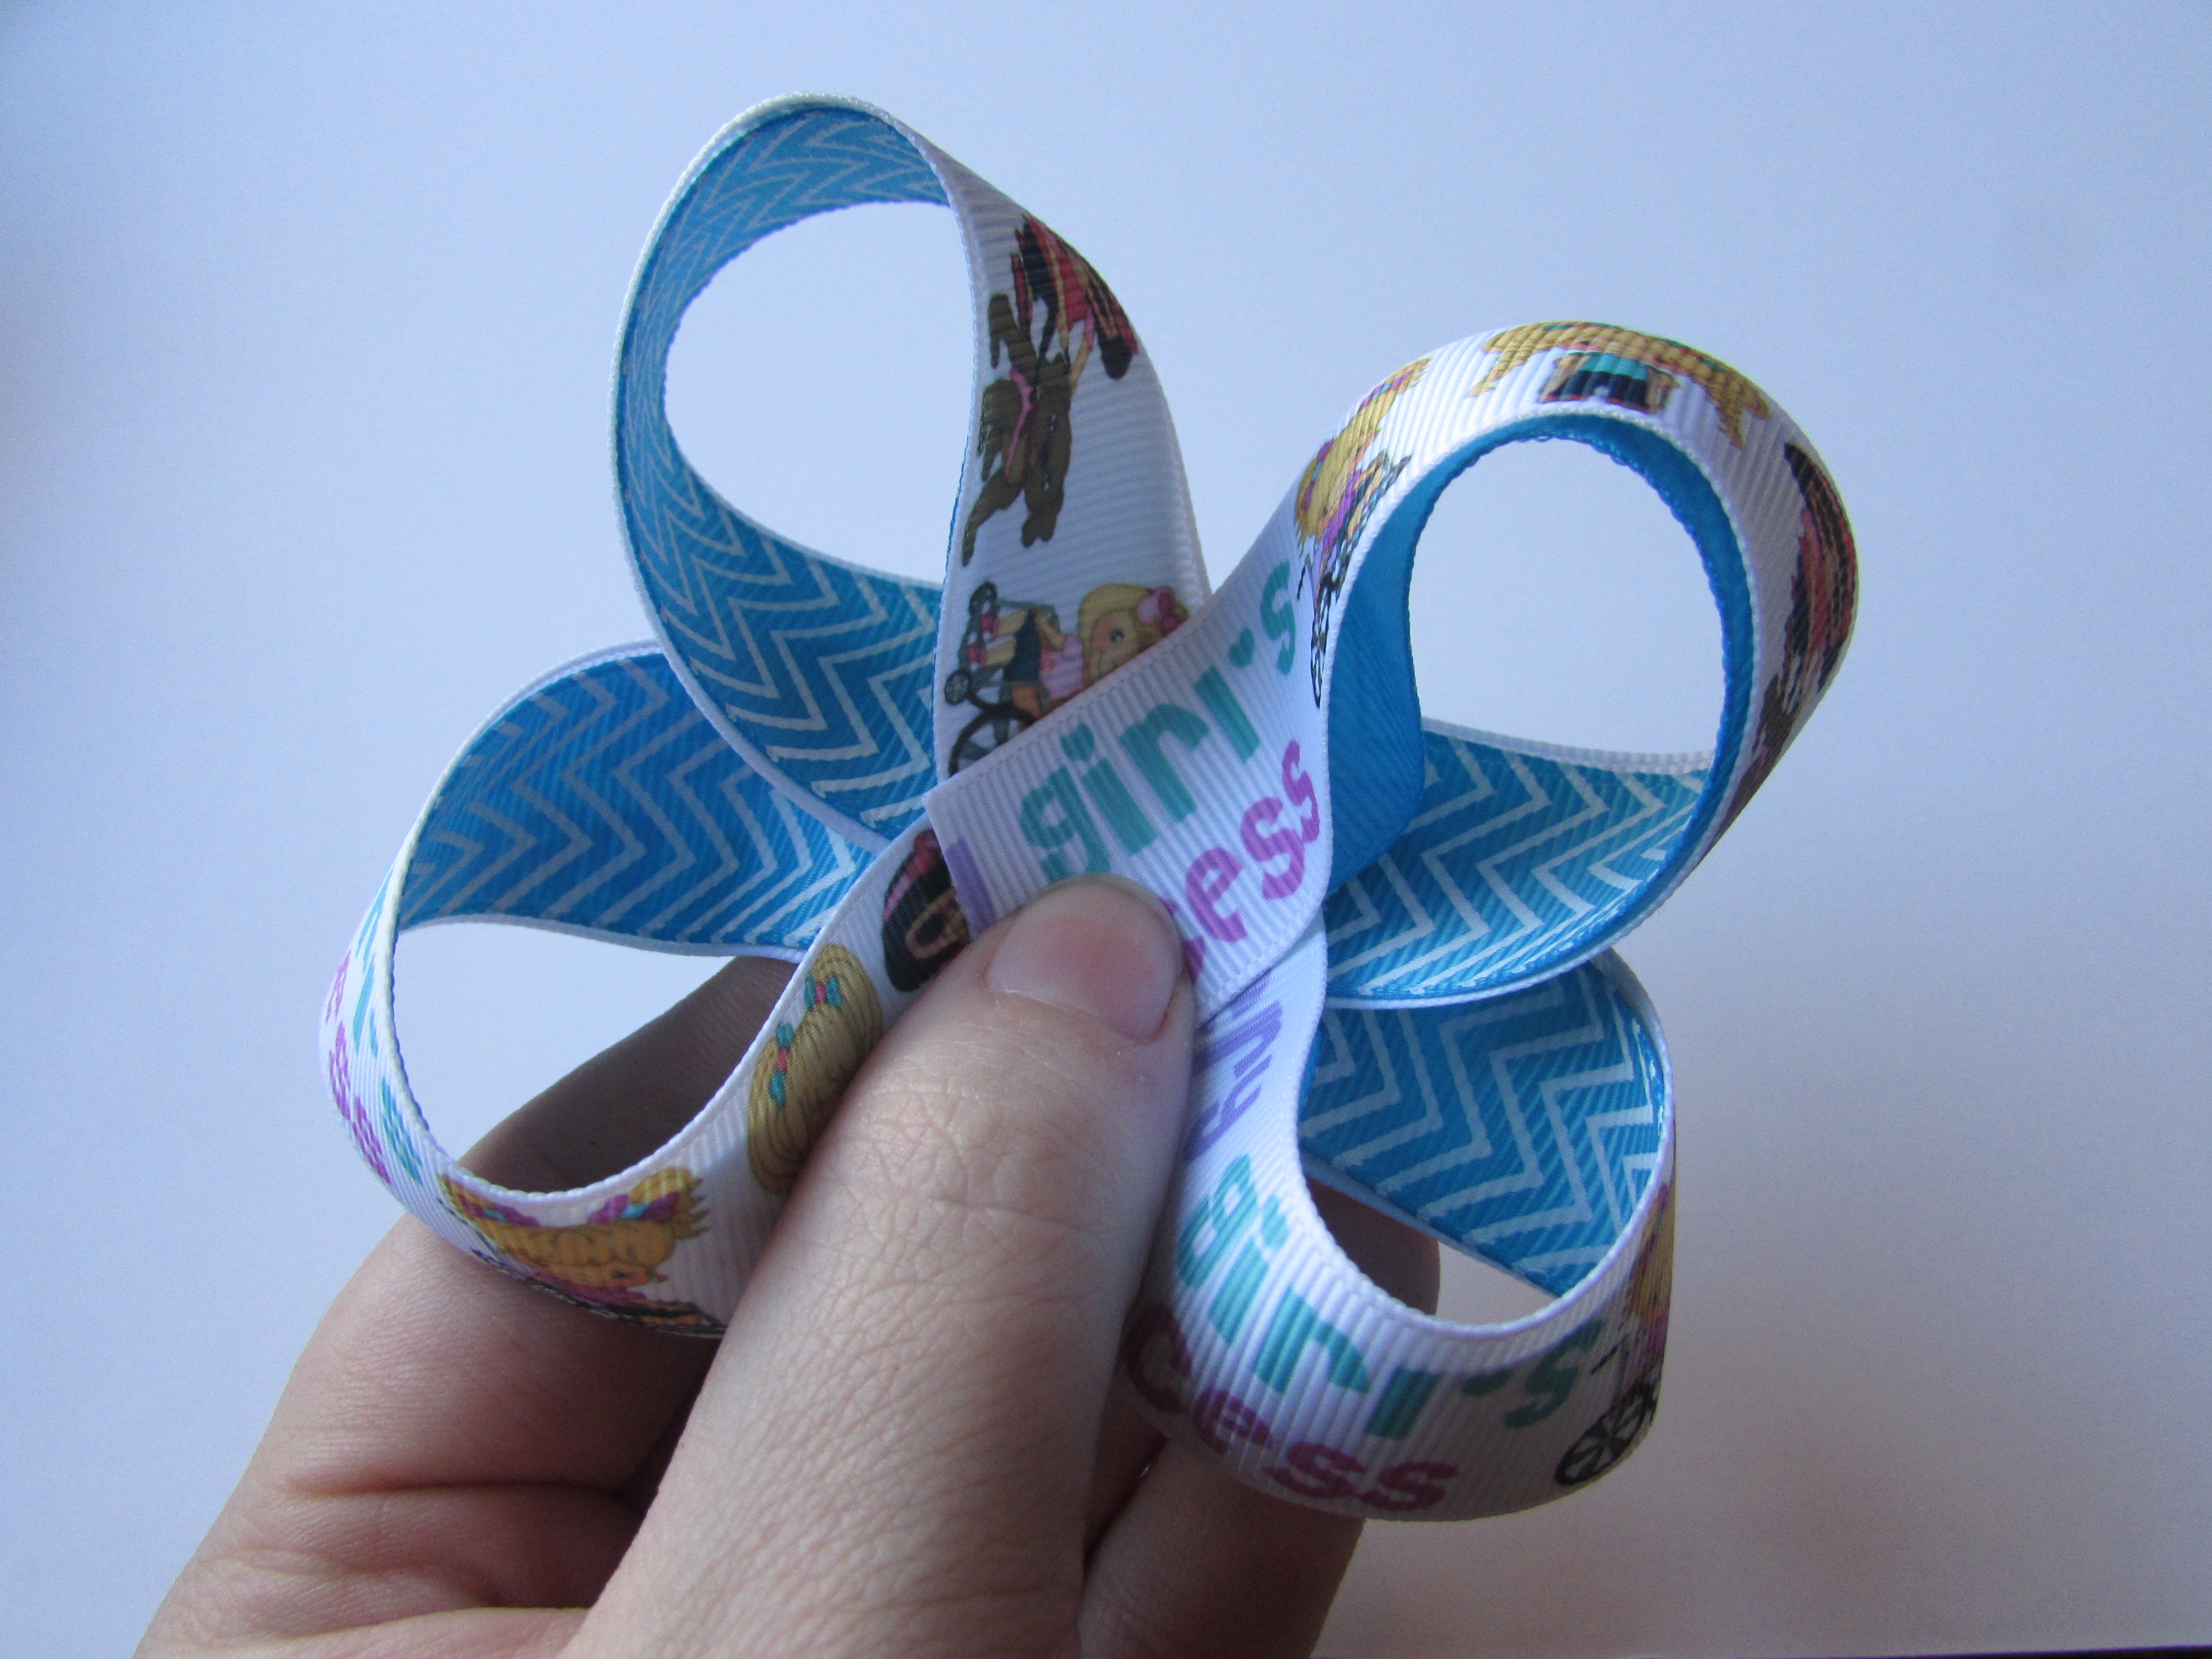
- Take your salon clip and slide down the center.
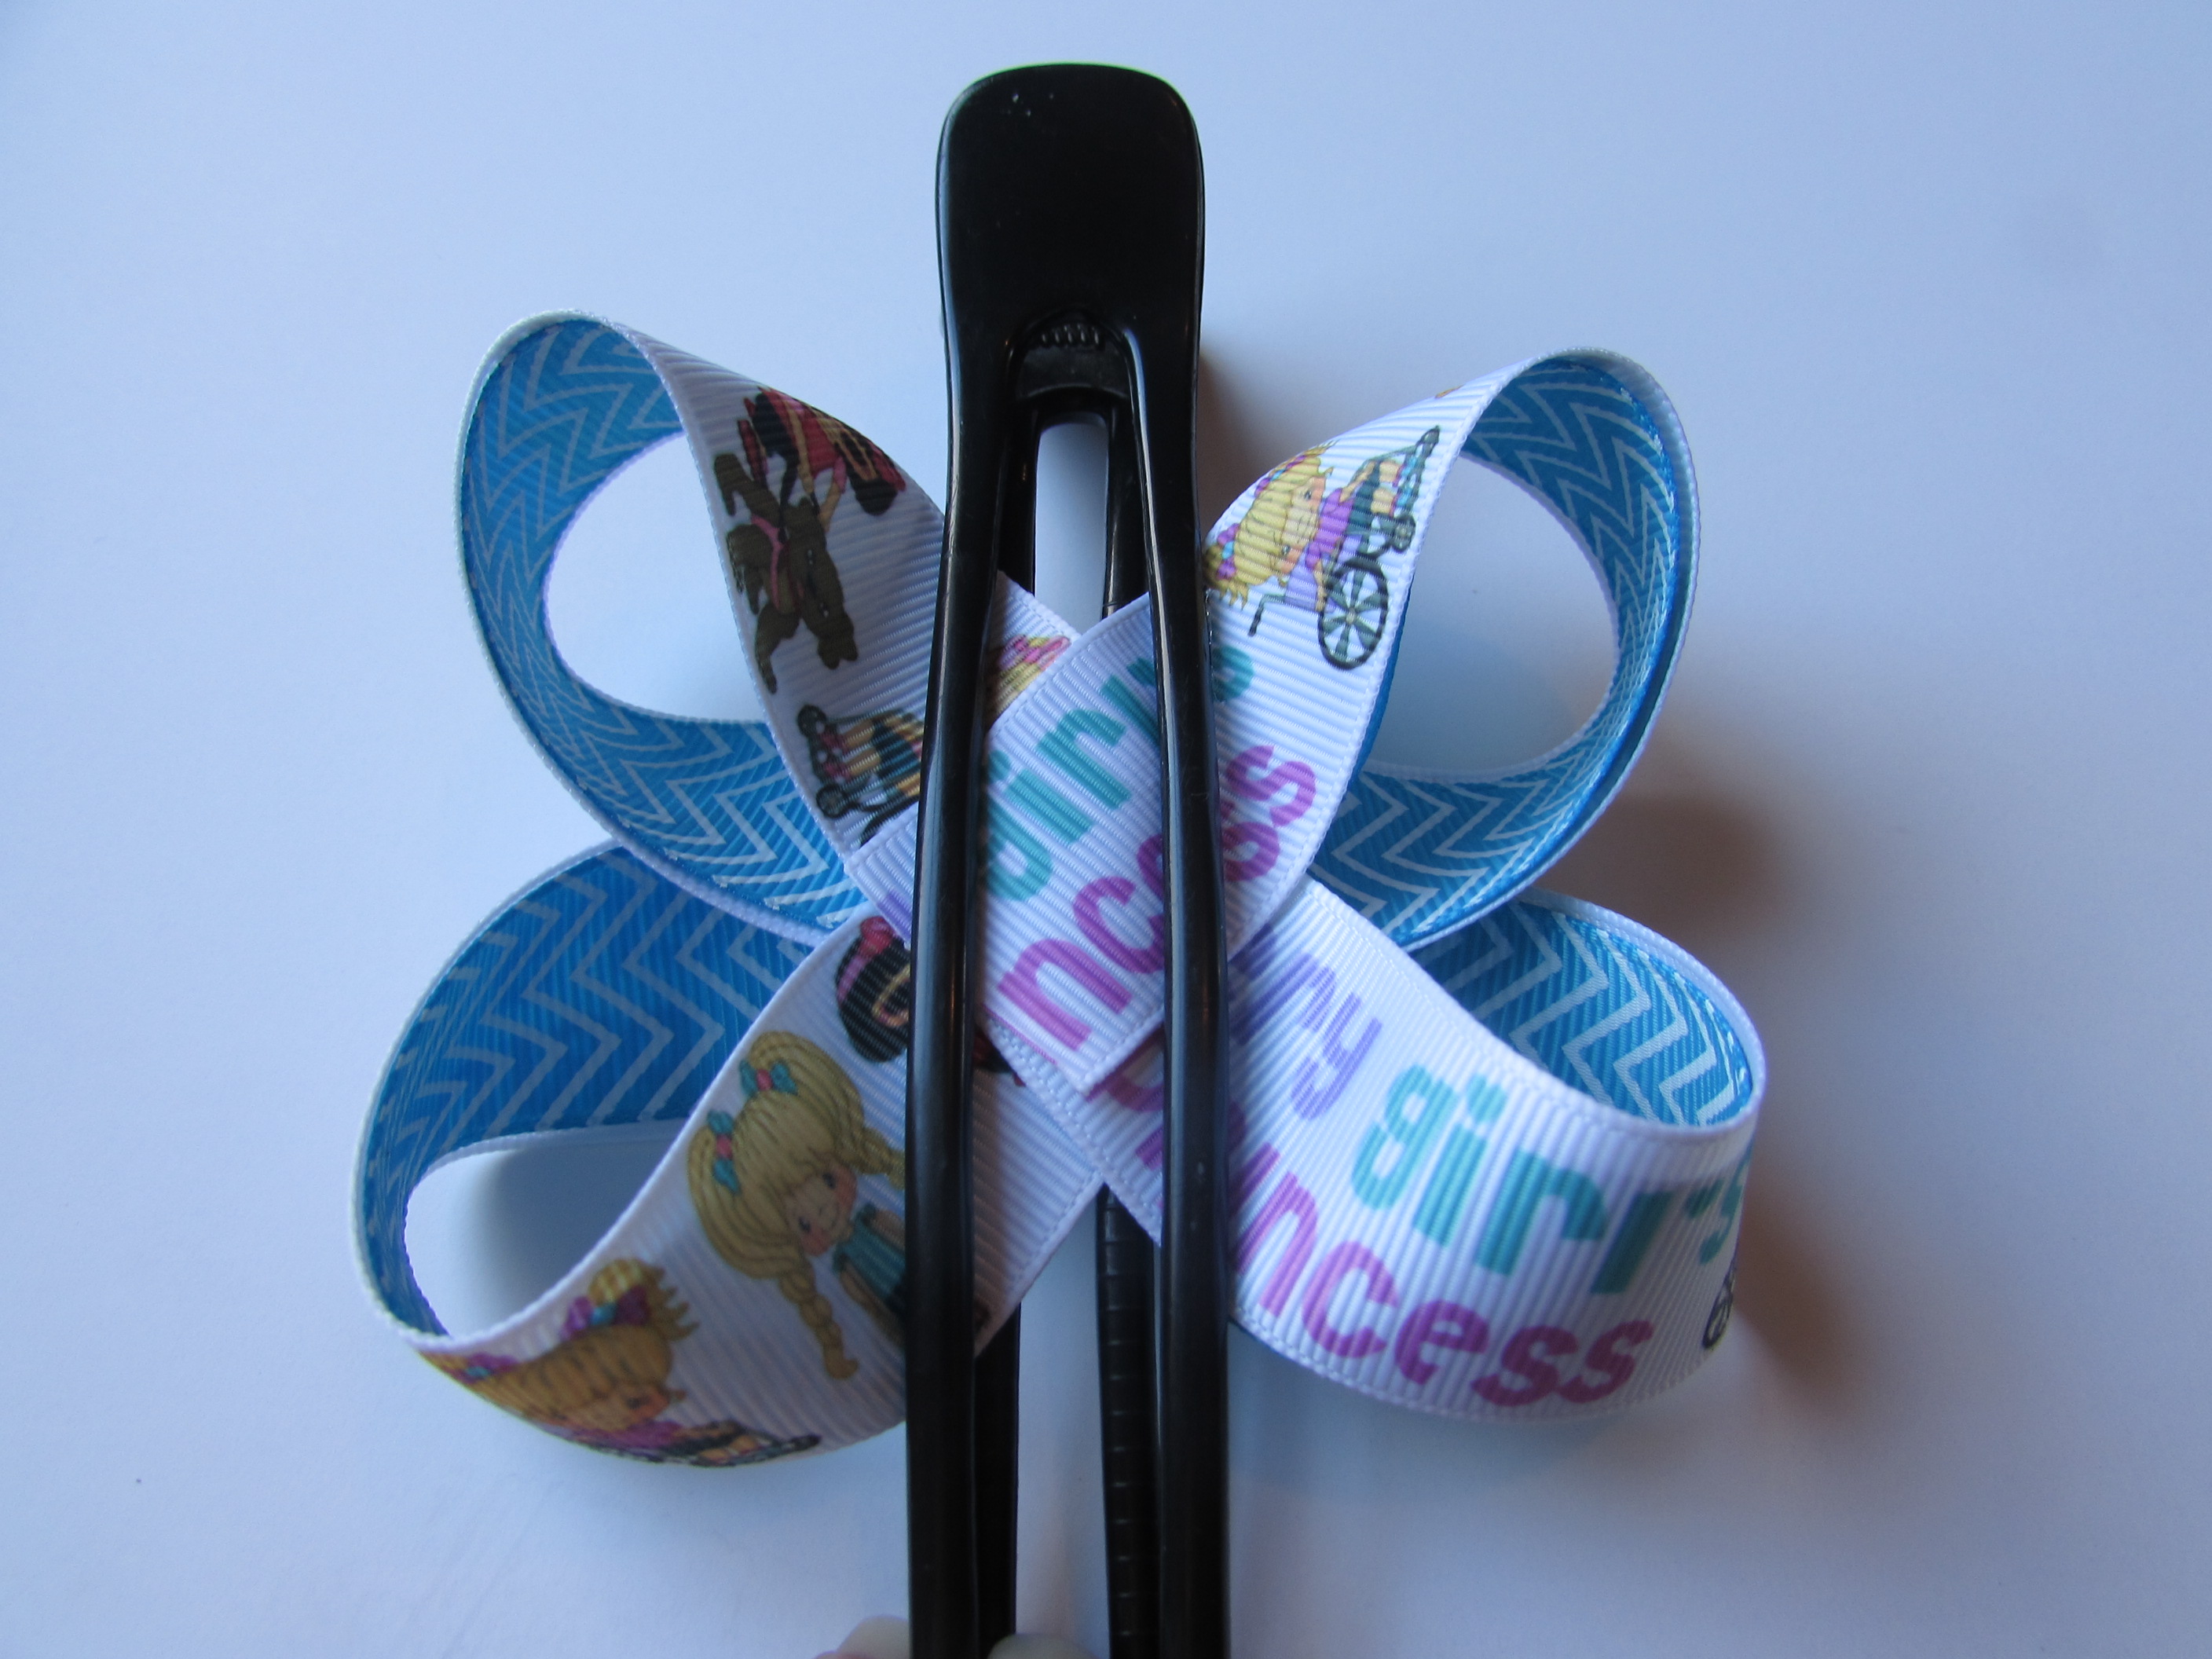
- Fix loops to where you want.
- Once you get it how you want, take your thread and tie it off just like we did in the pinwheel bow.
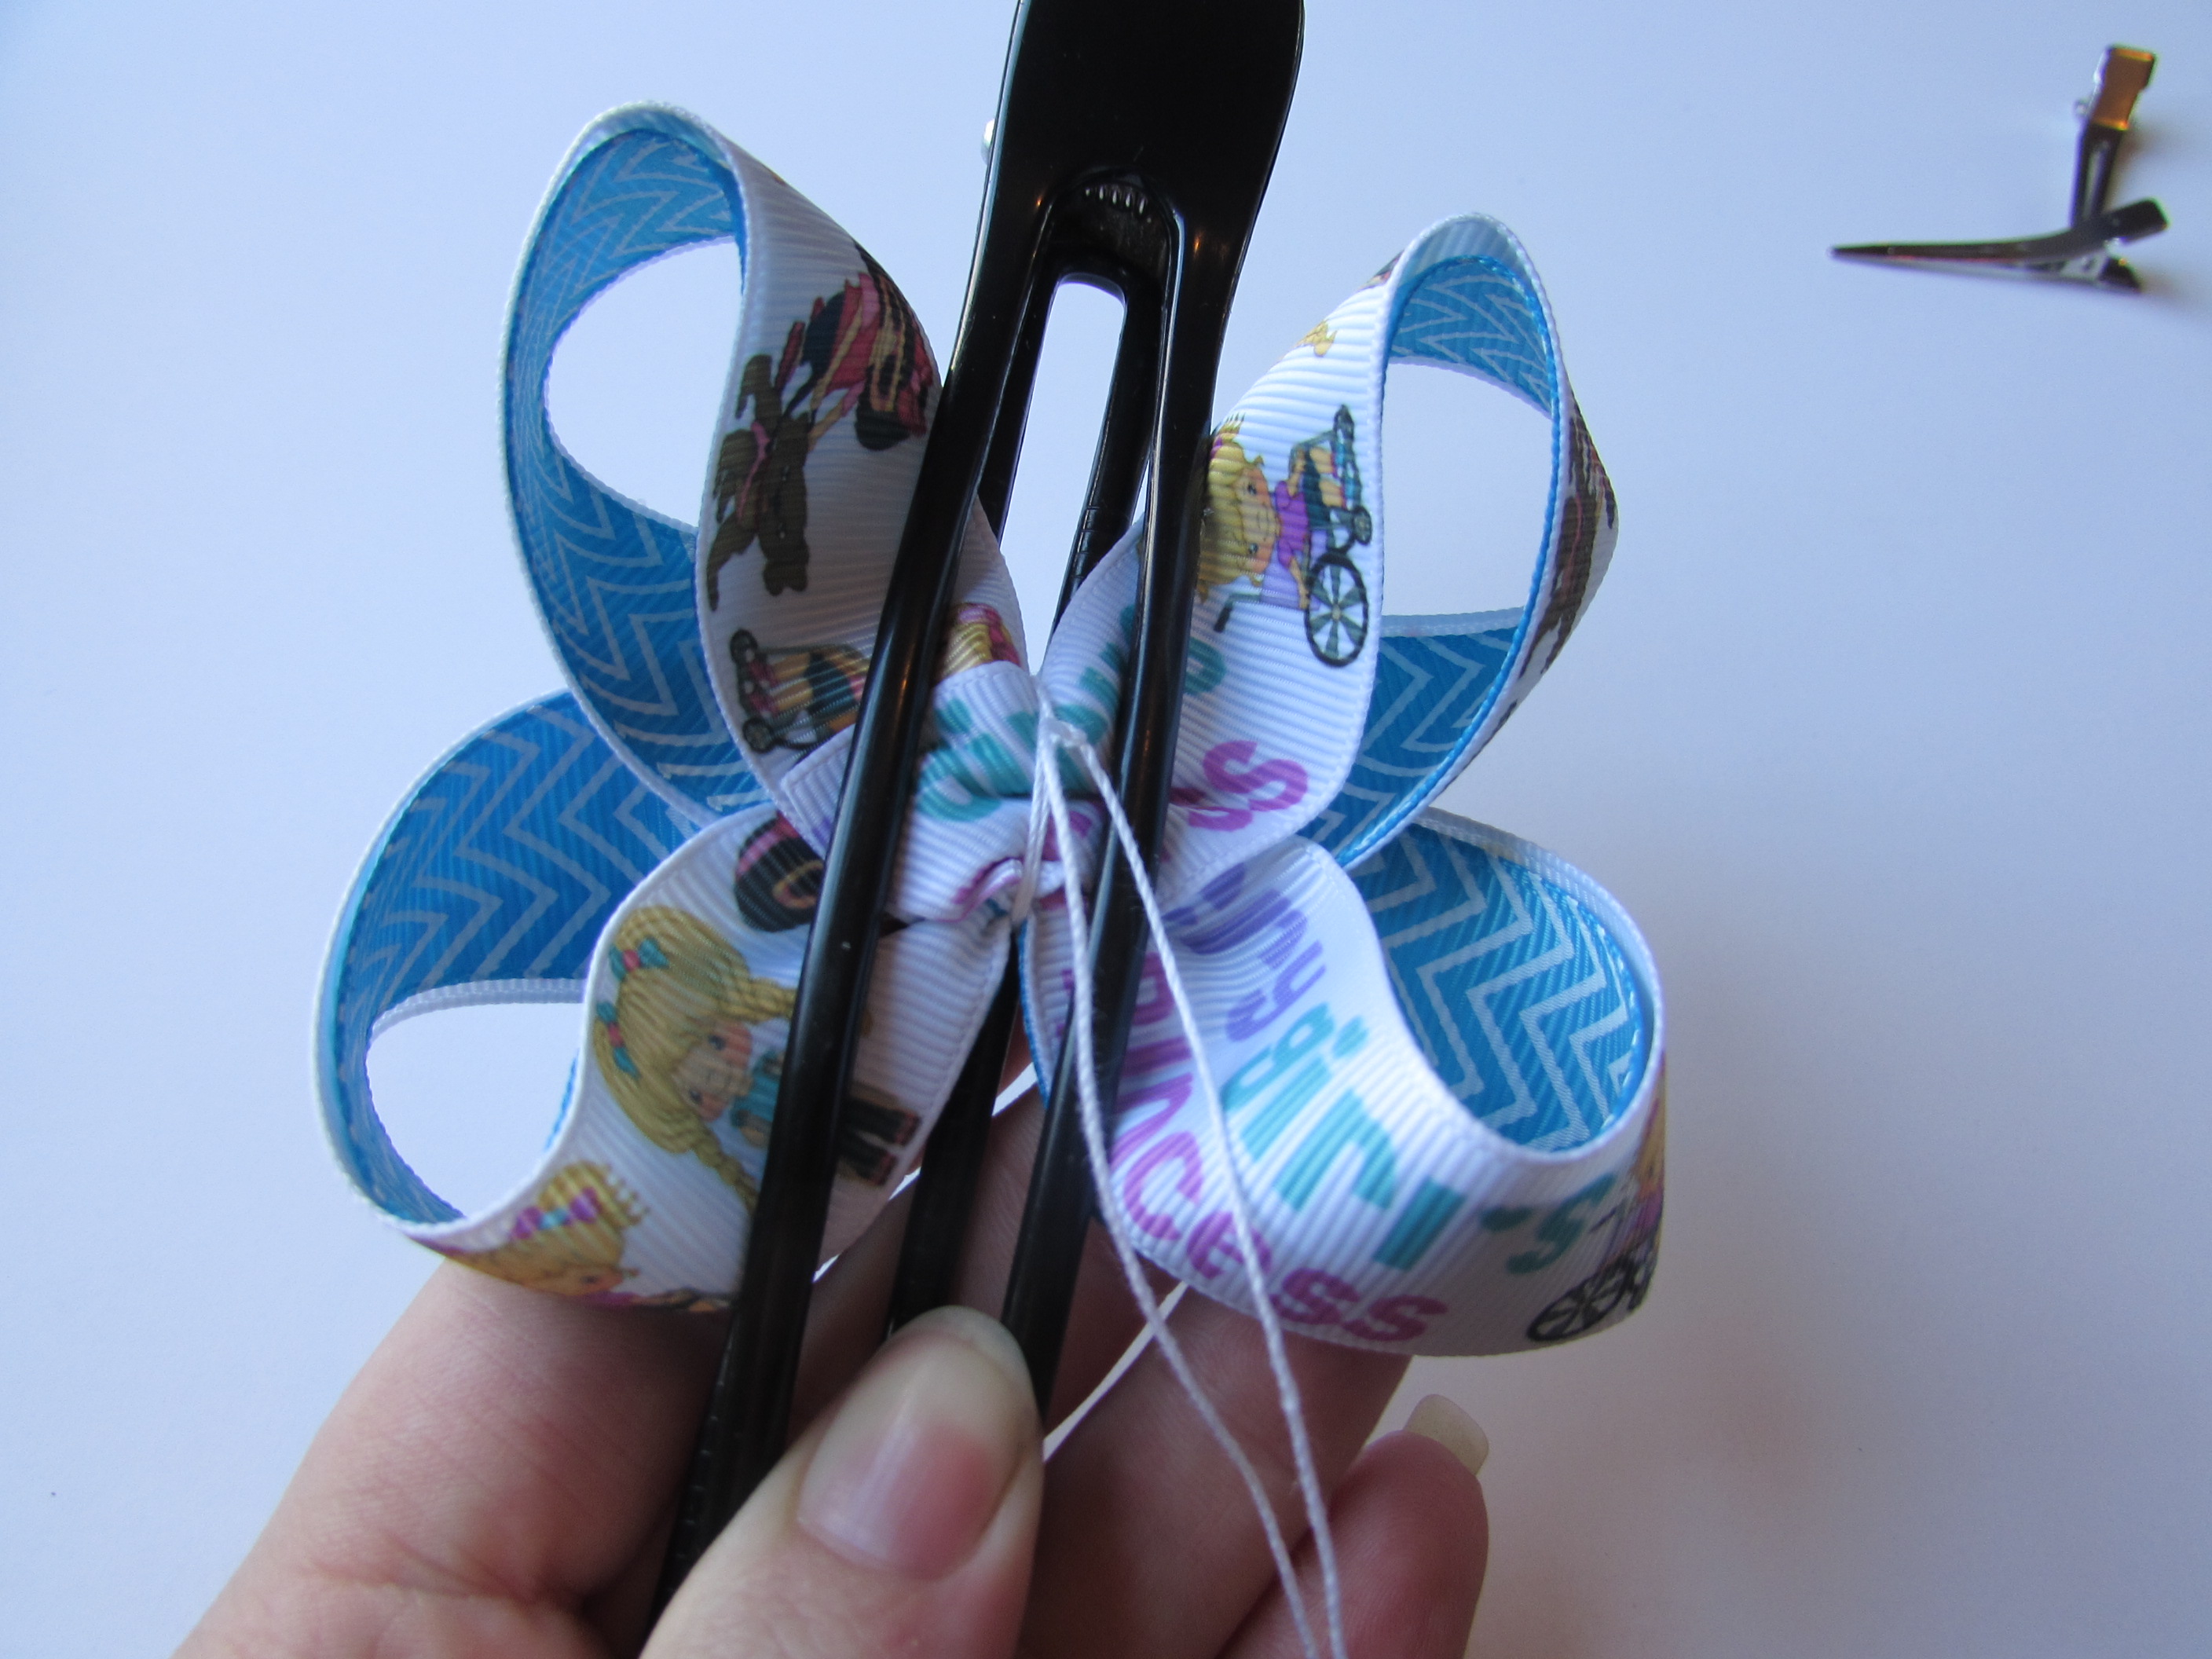
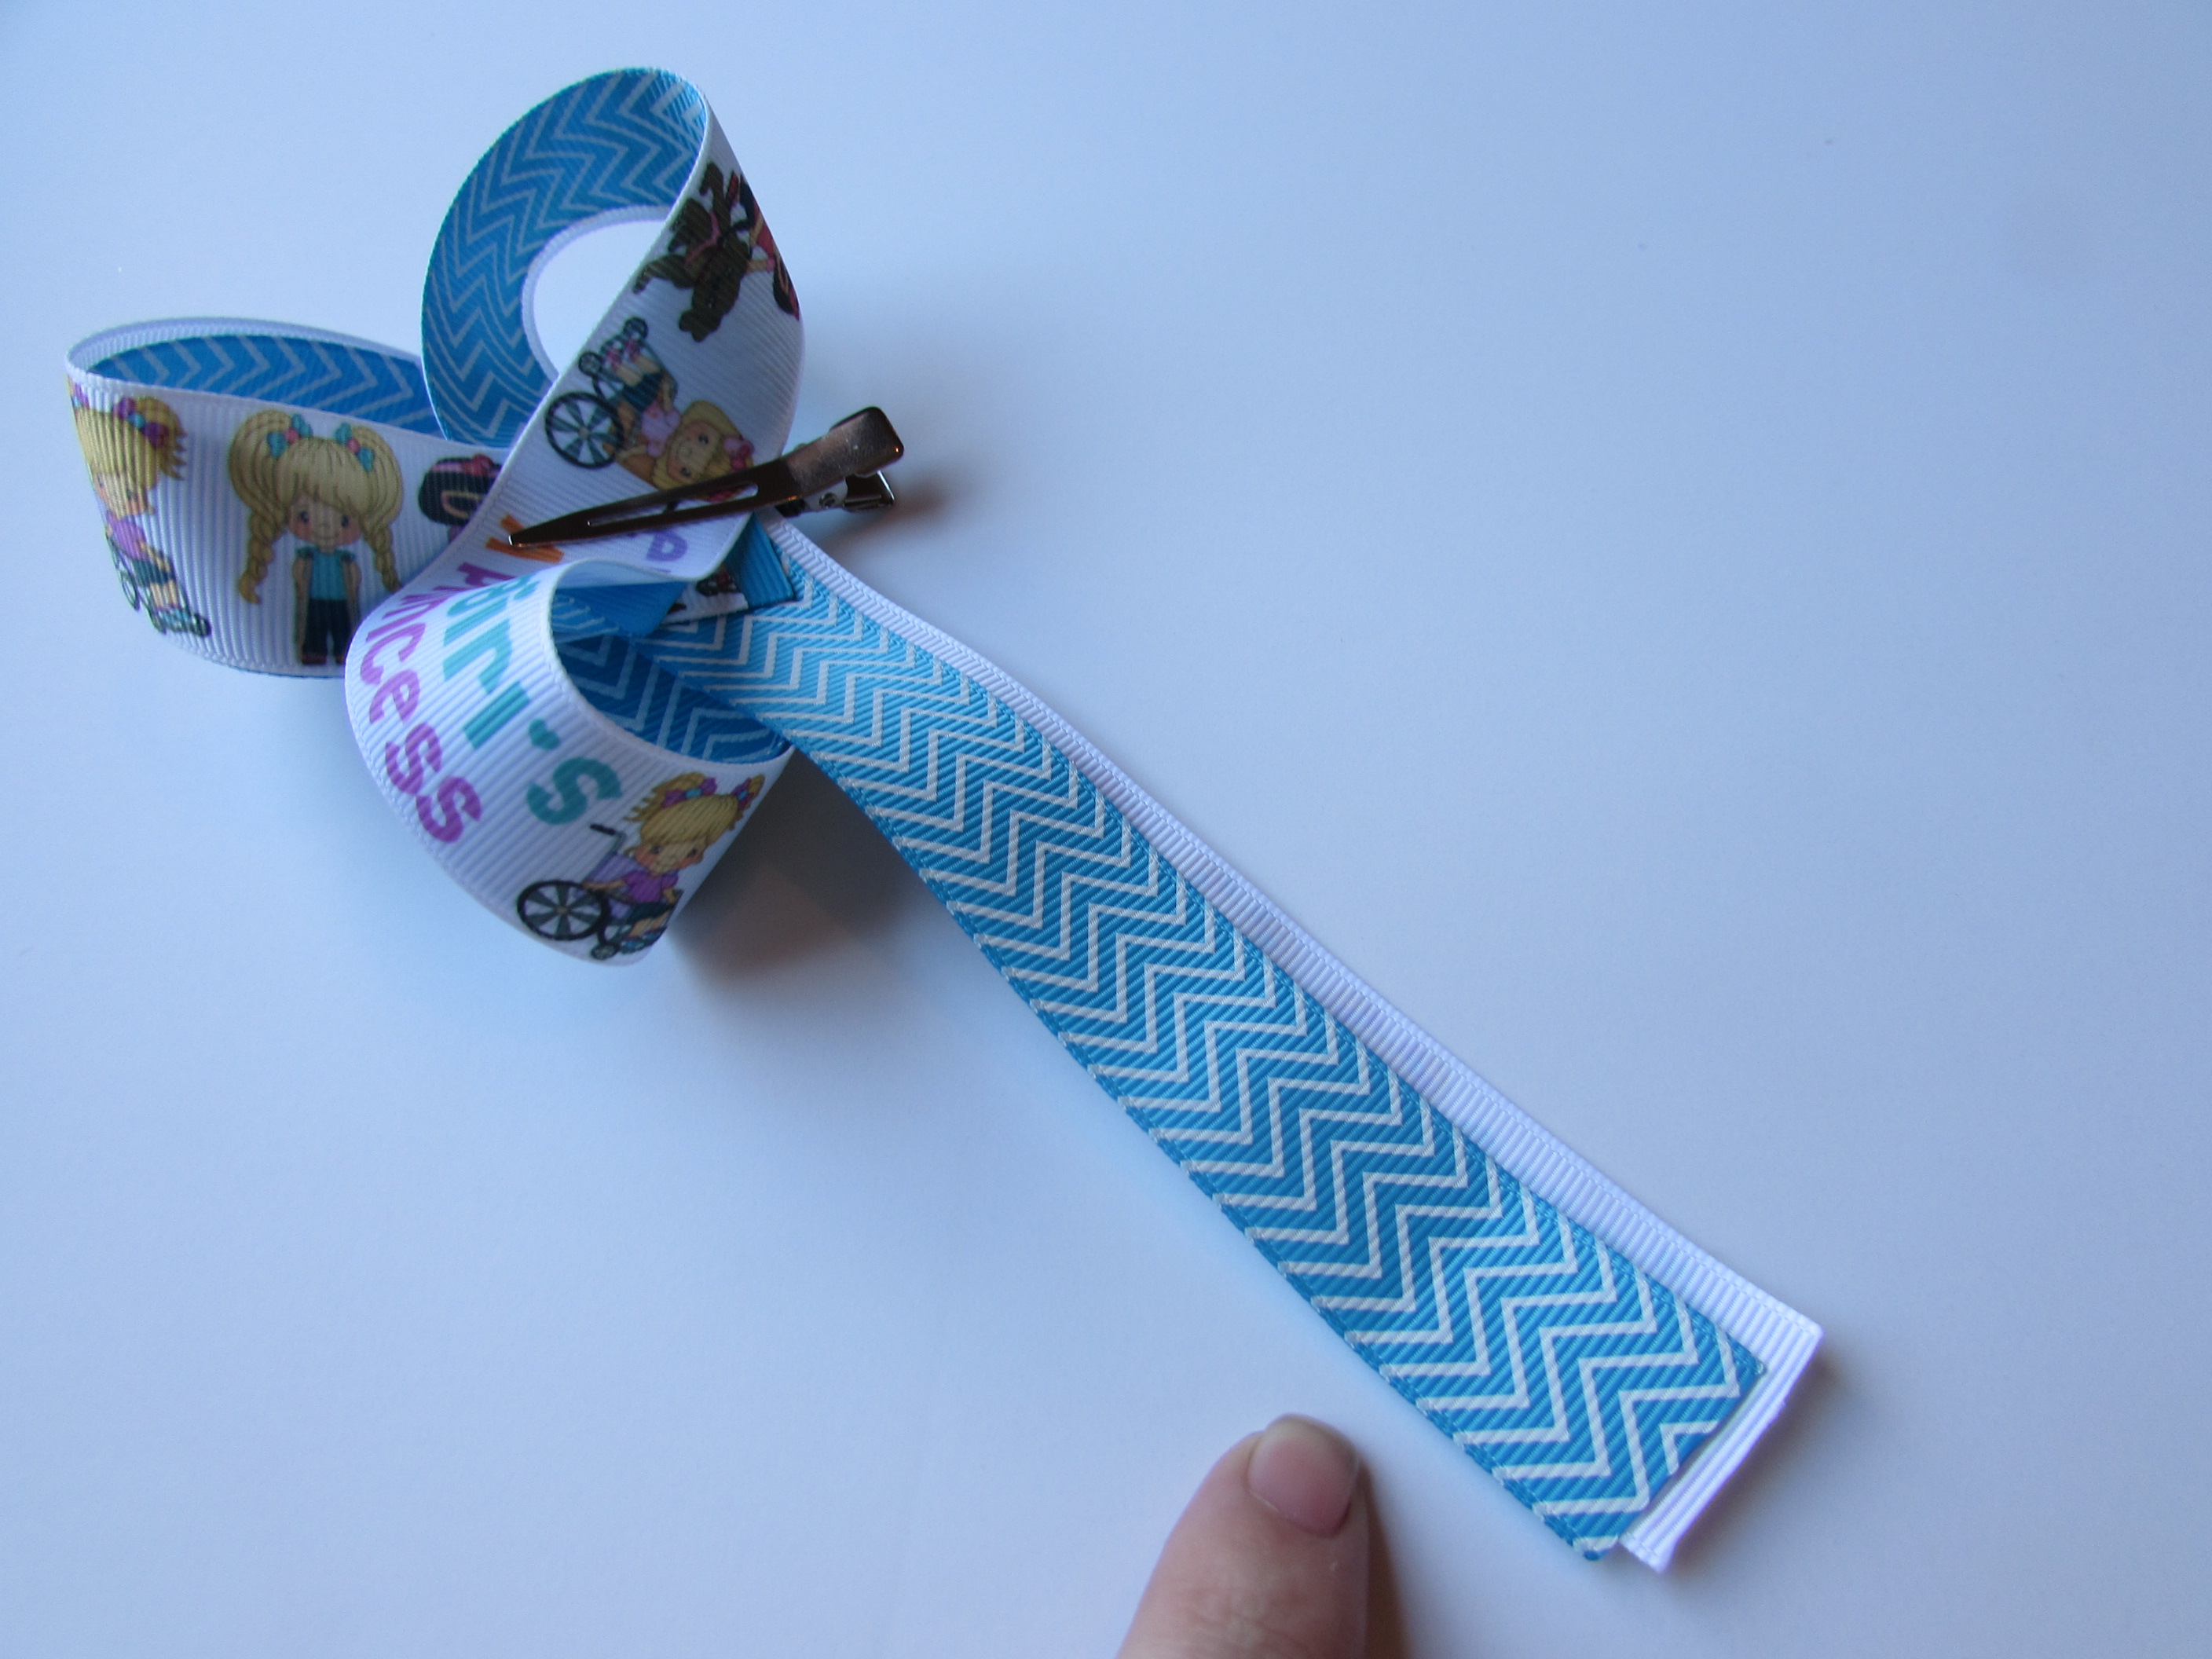
- Remove the clip, trim off the extra thread and fix the bow how you want it. Set it aside.
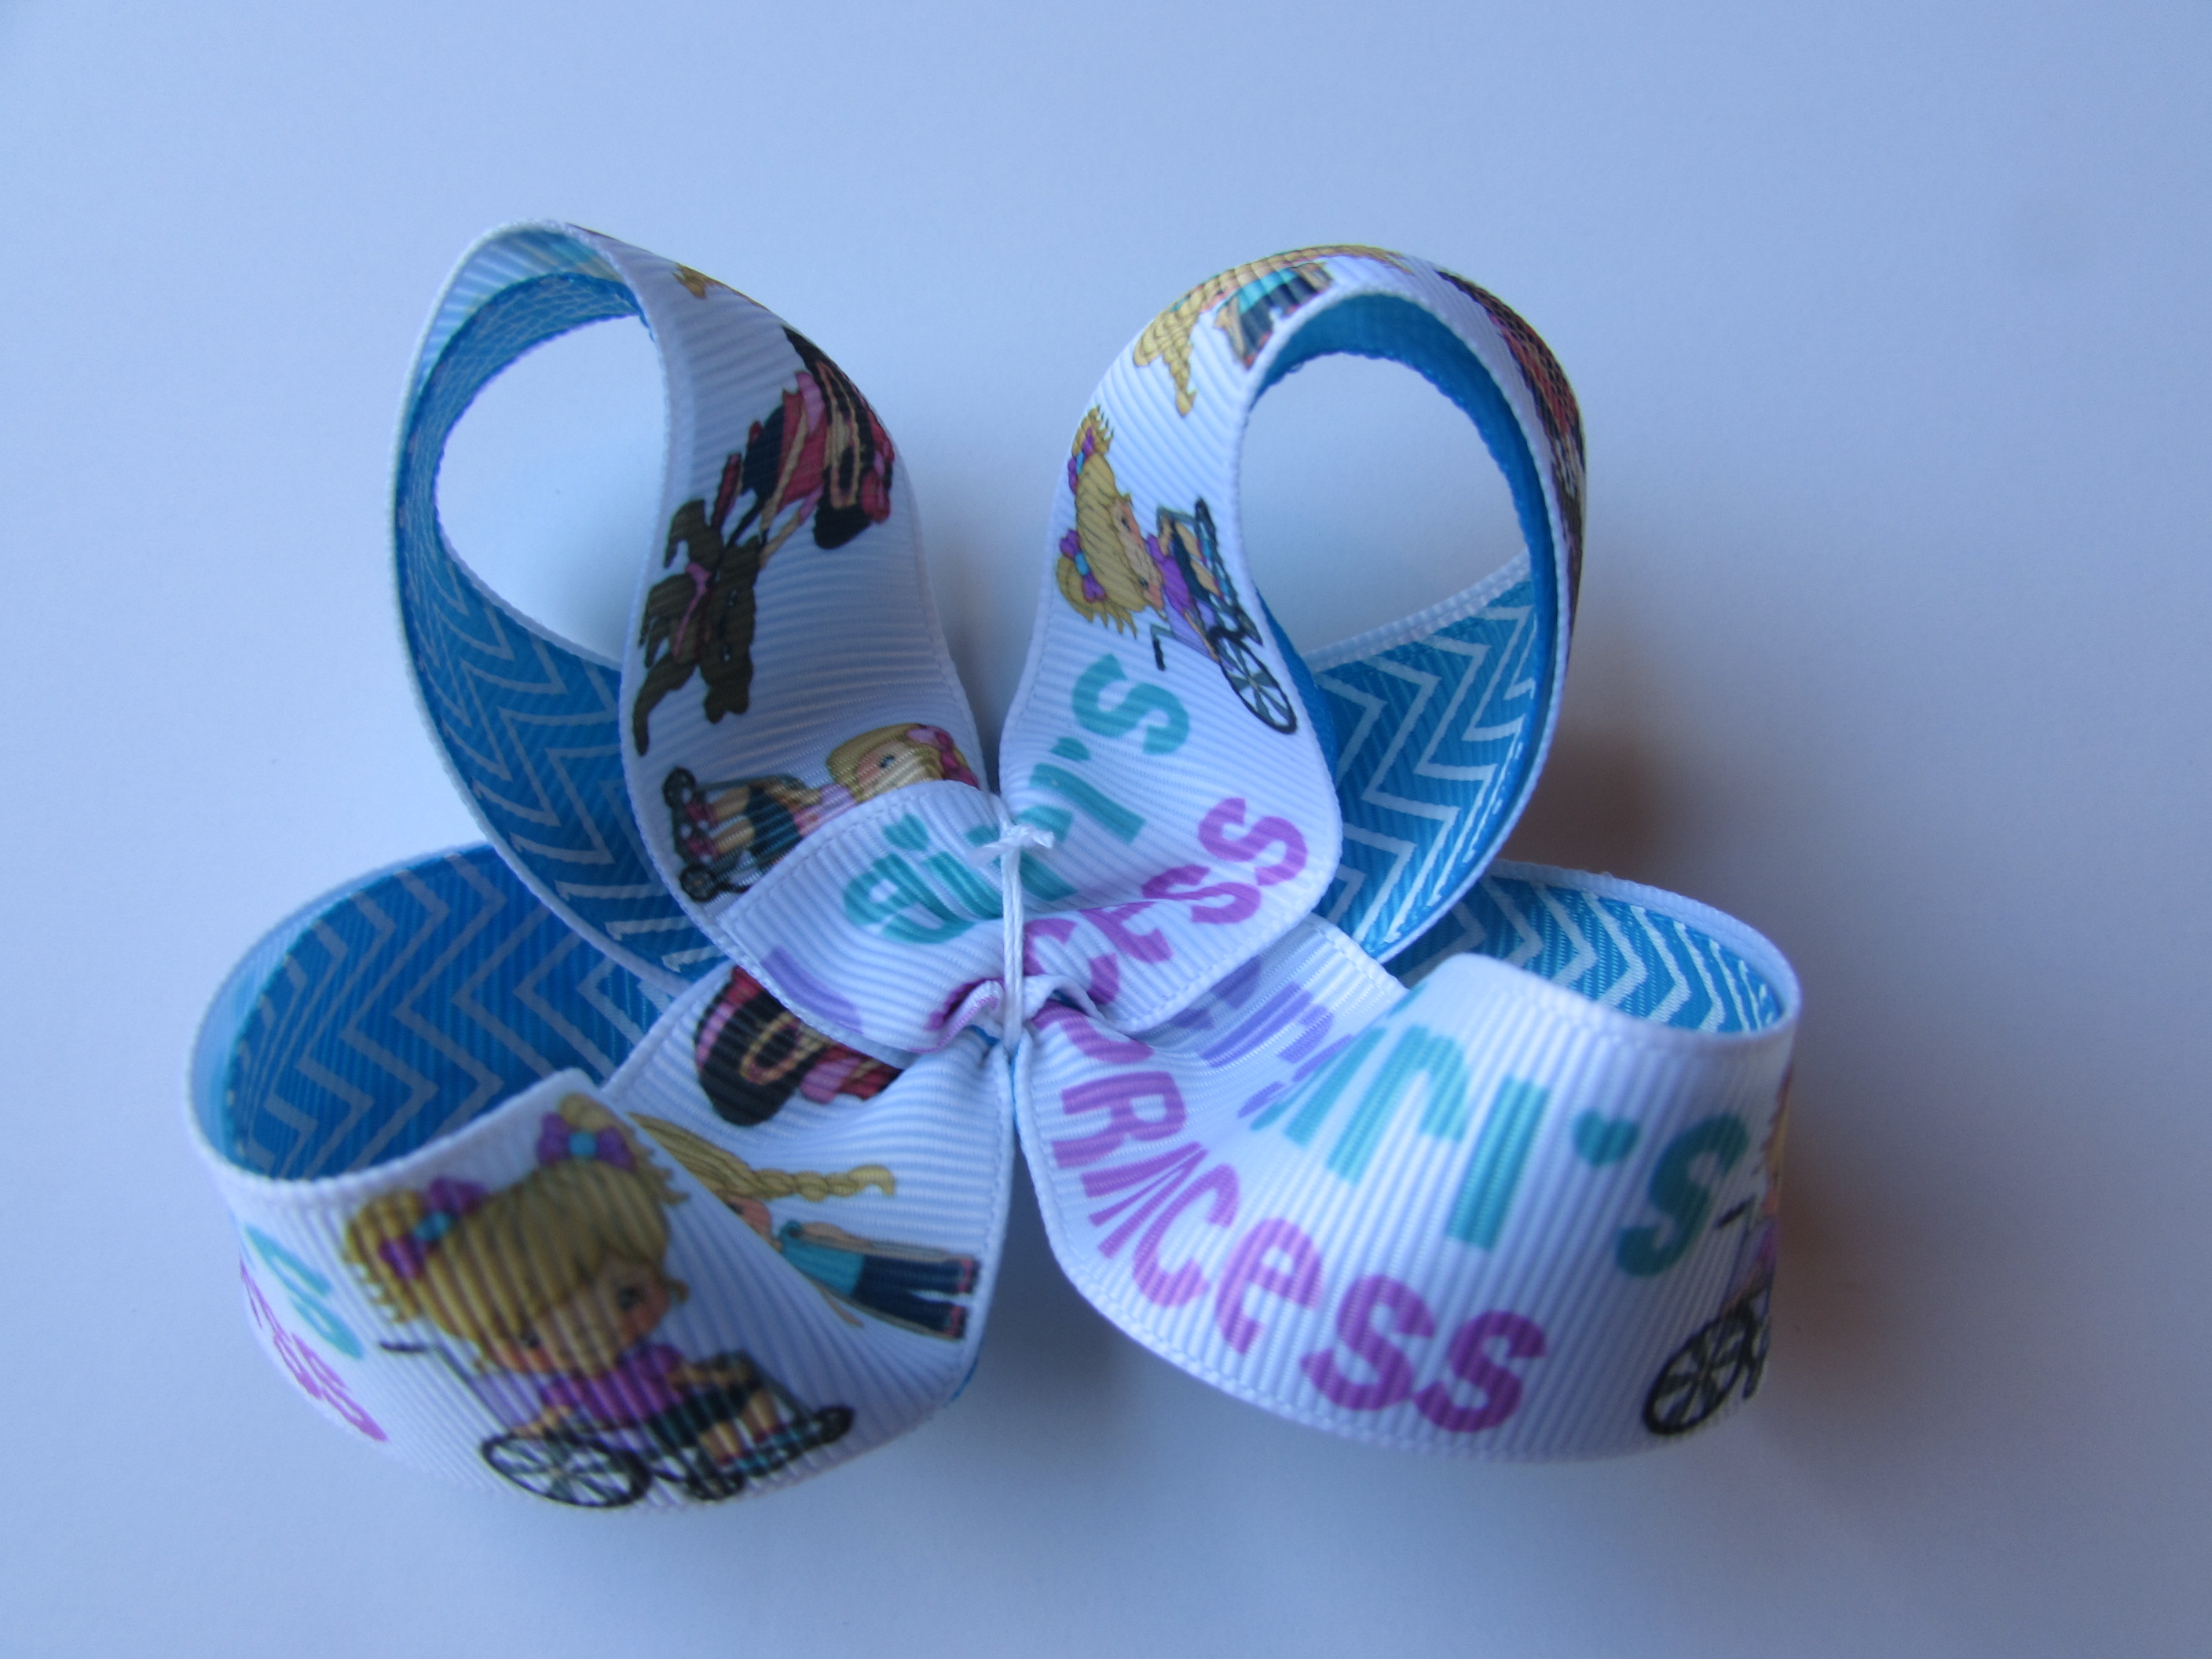
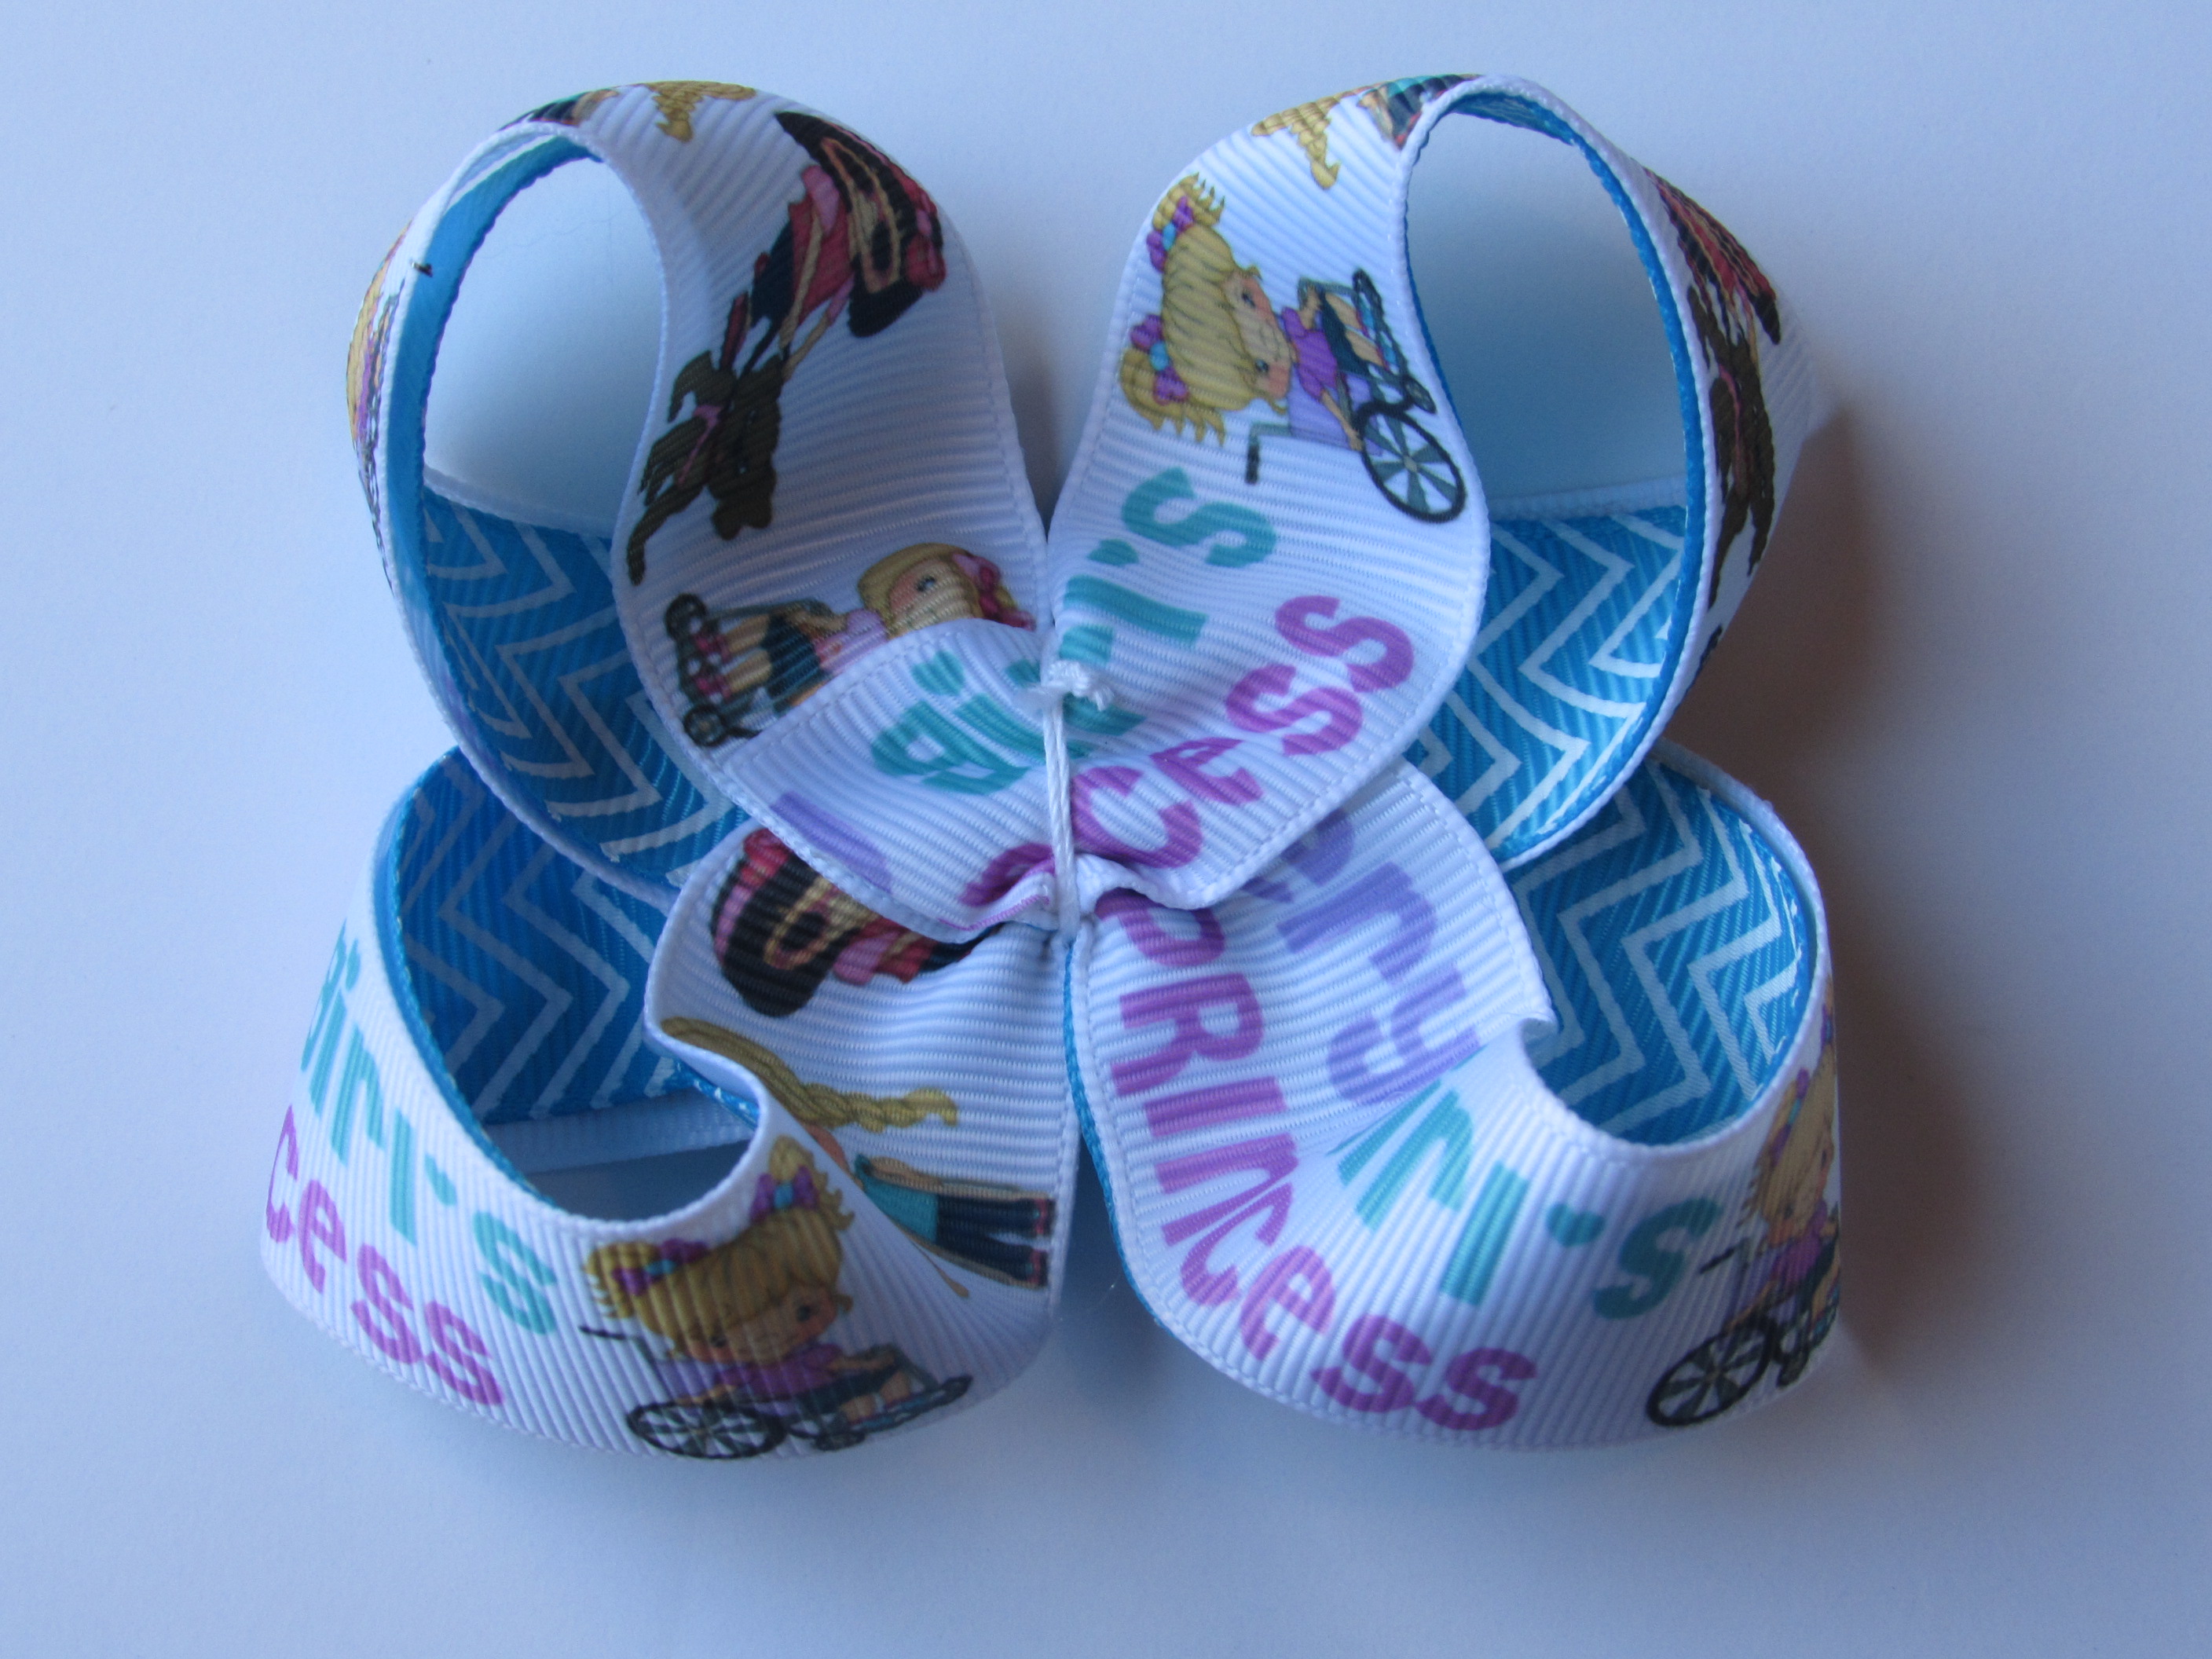
How to make surround a bows?
Supplies Needed:
2 or 4 pieces of 7/8” cut to 12” EACH
{{ I used 4 pieces }}
- Cut and heat seal the ends of all your ribbon.
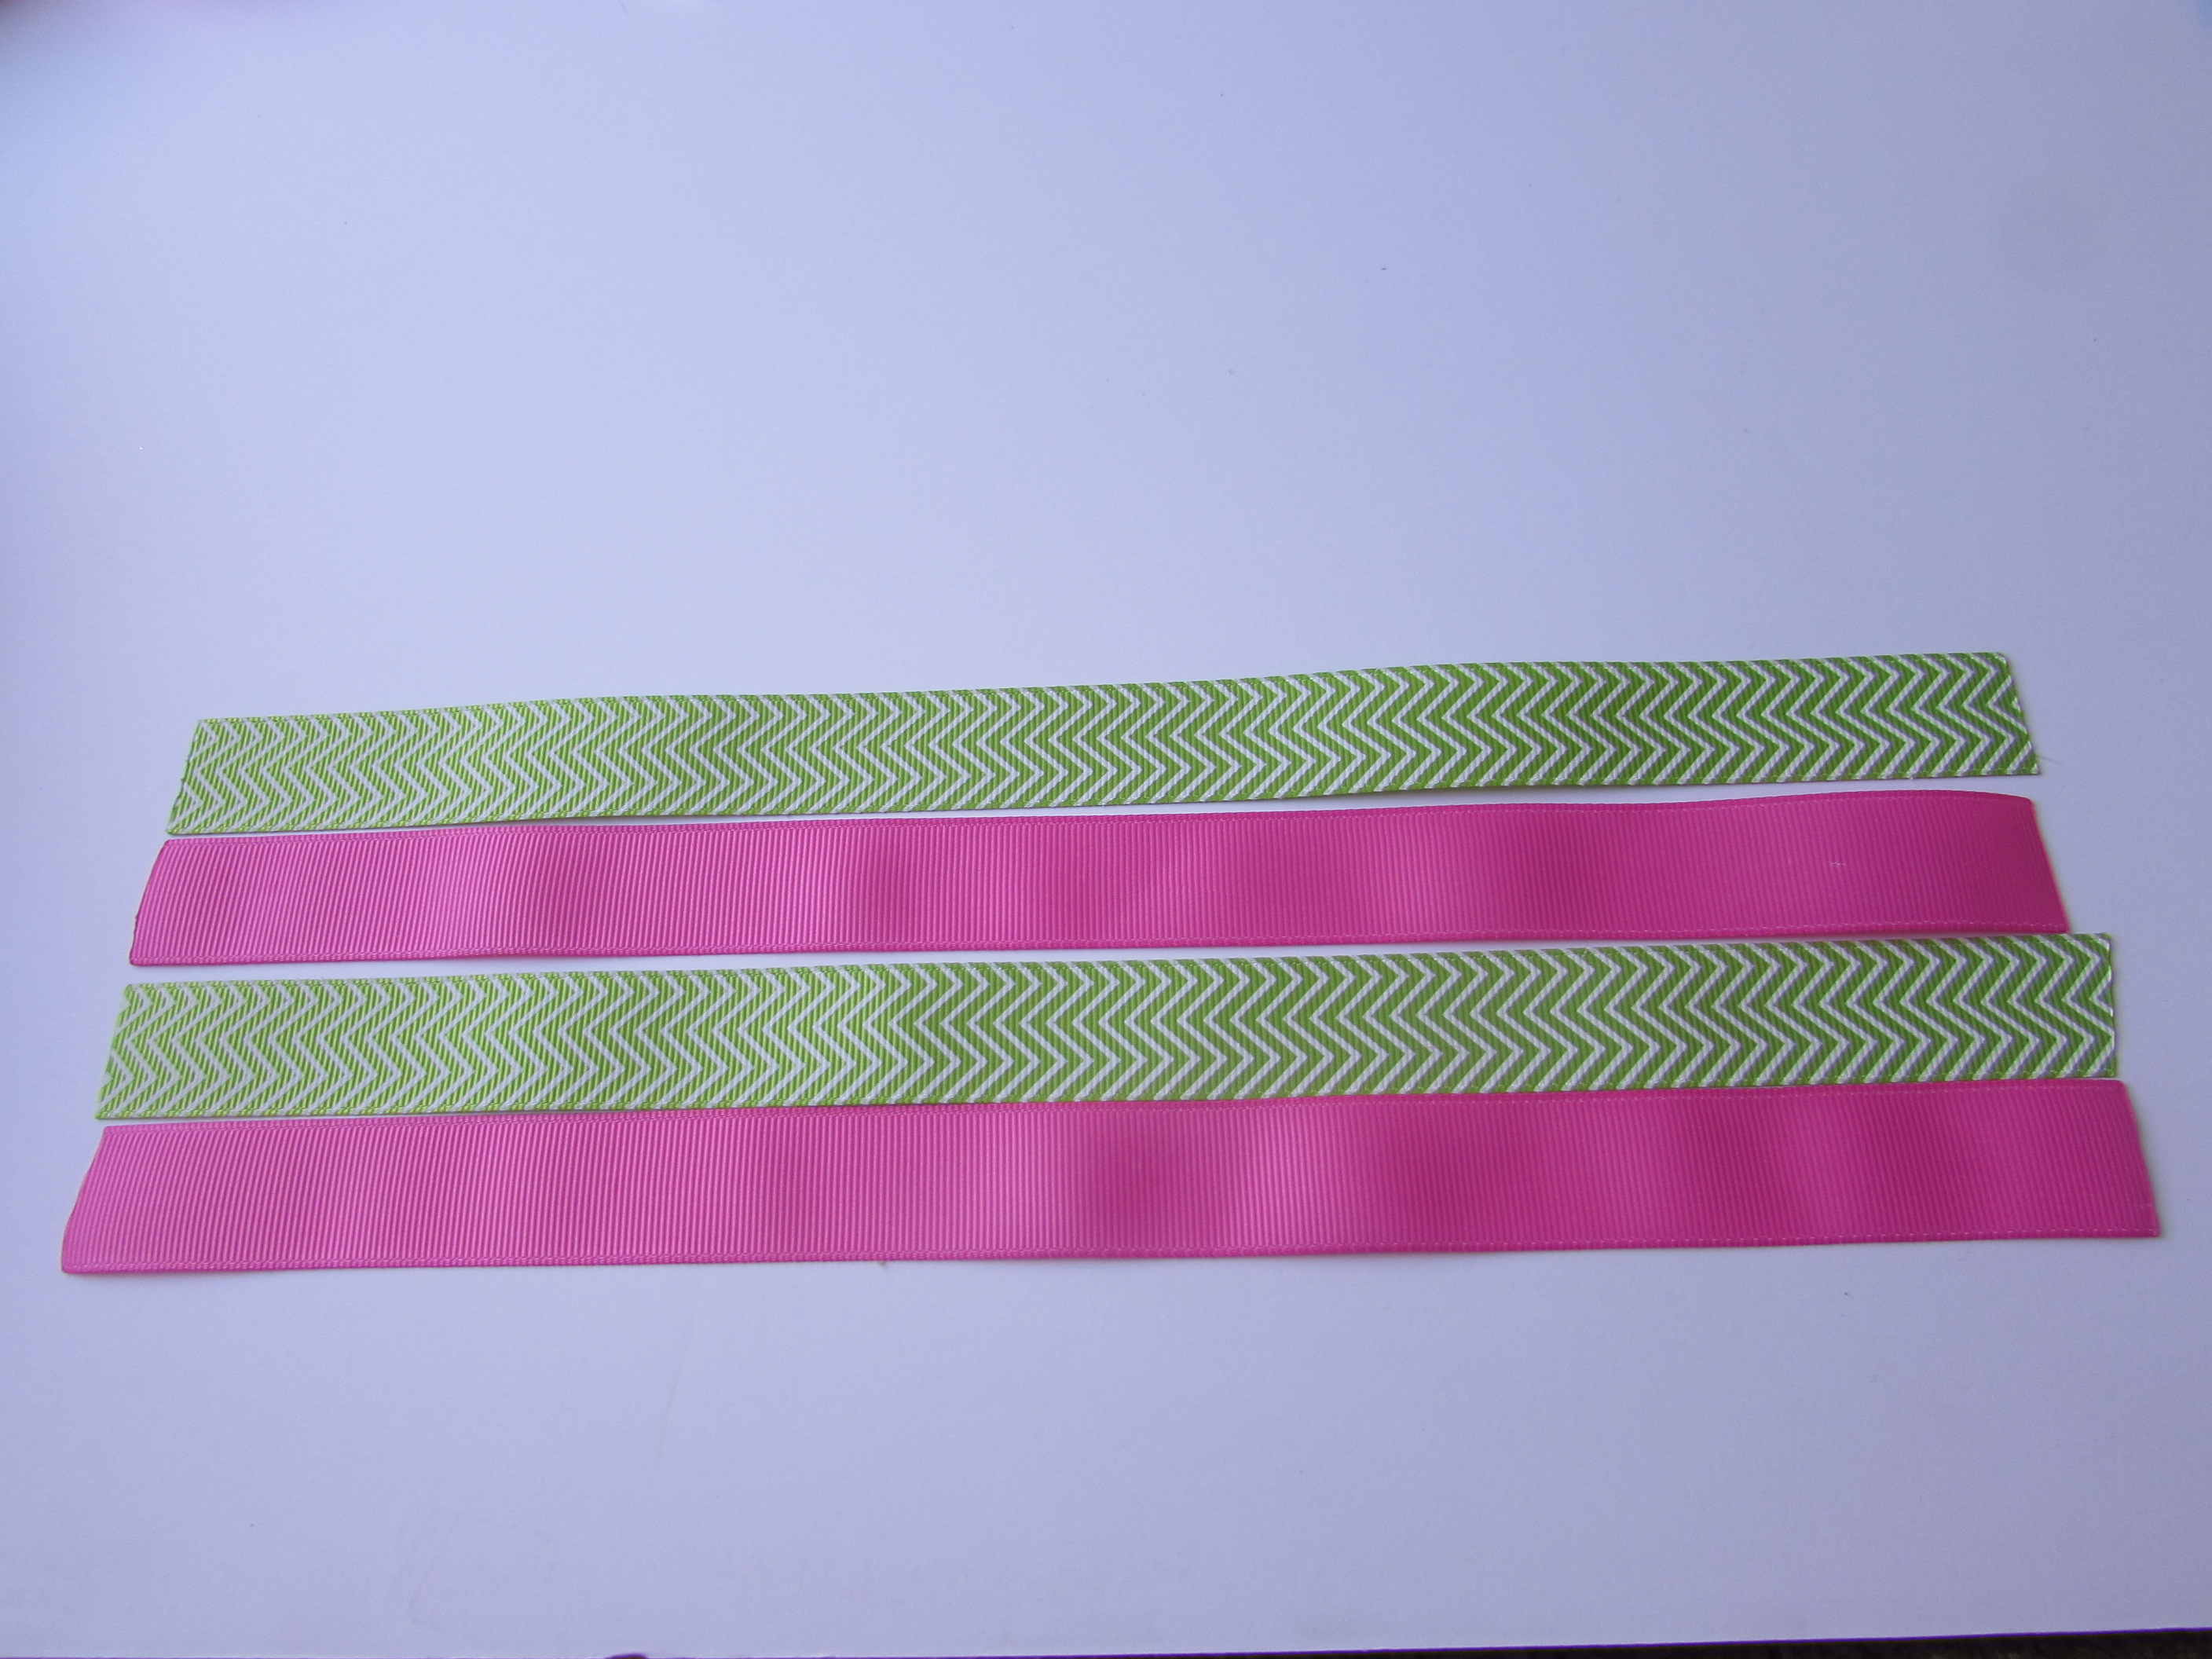
- Put 2 ribbons together, fold in half, and crease the center.
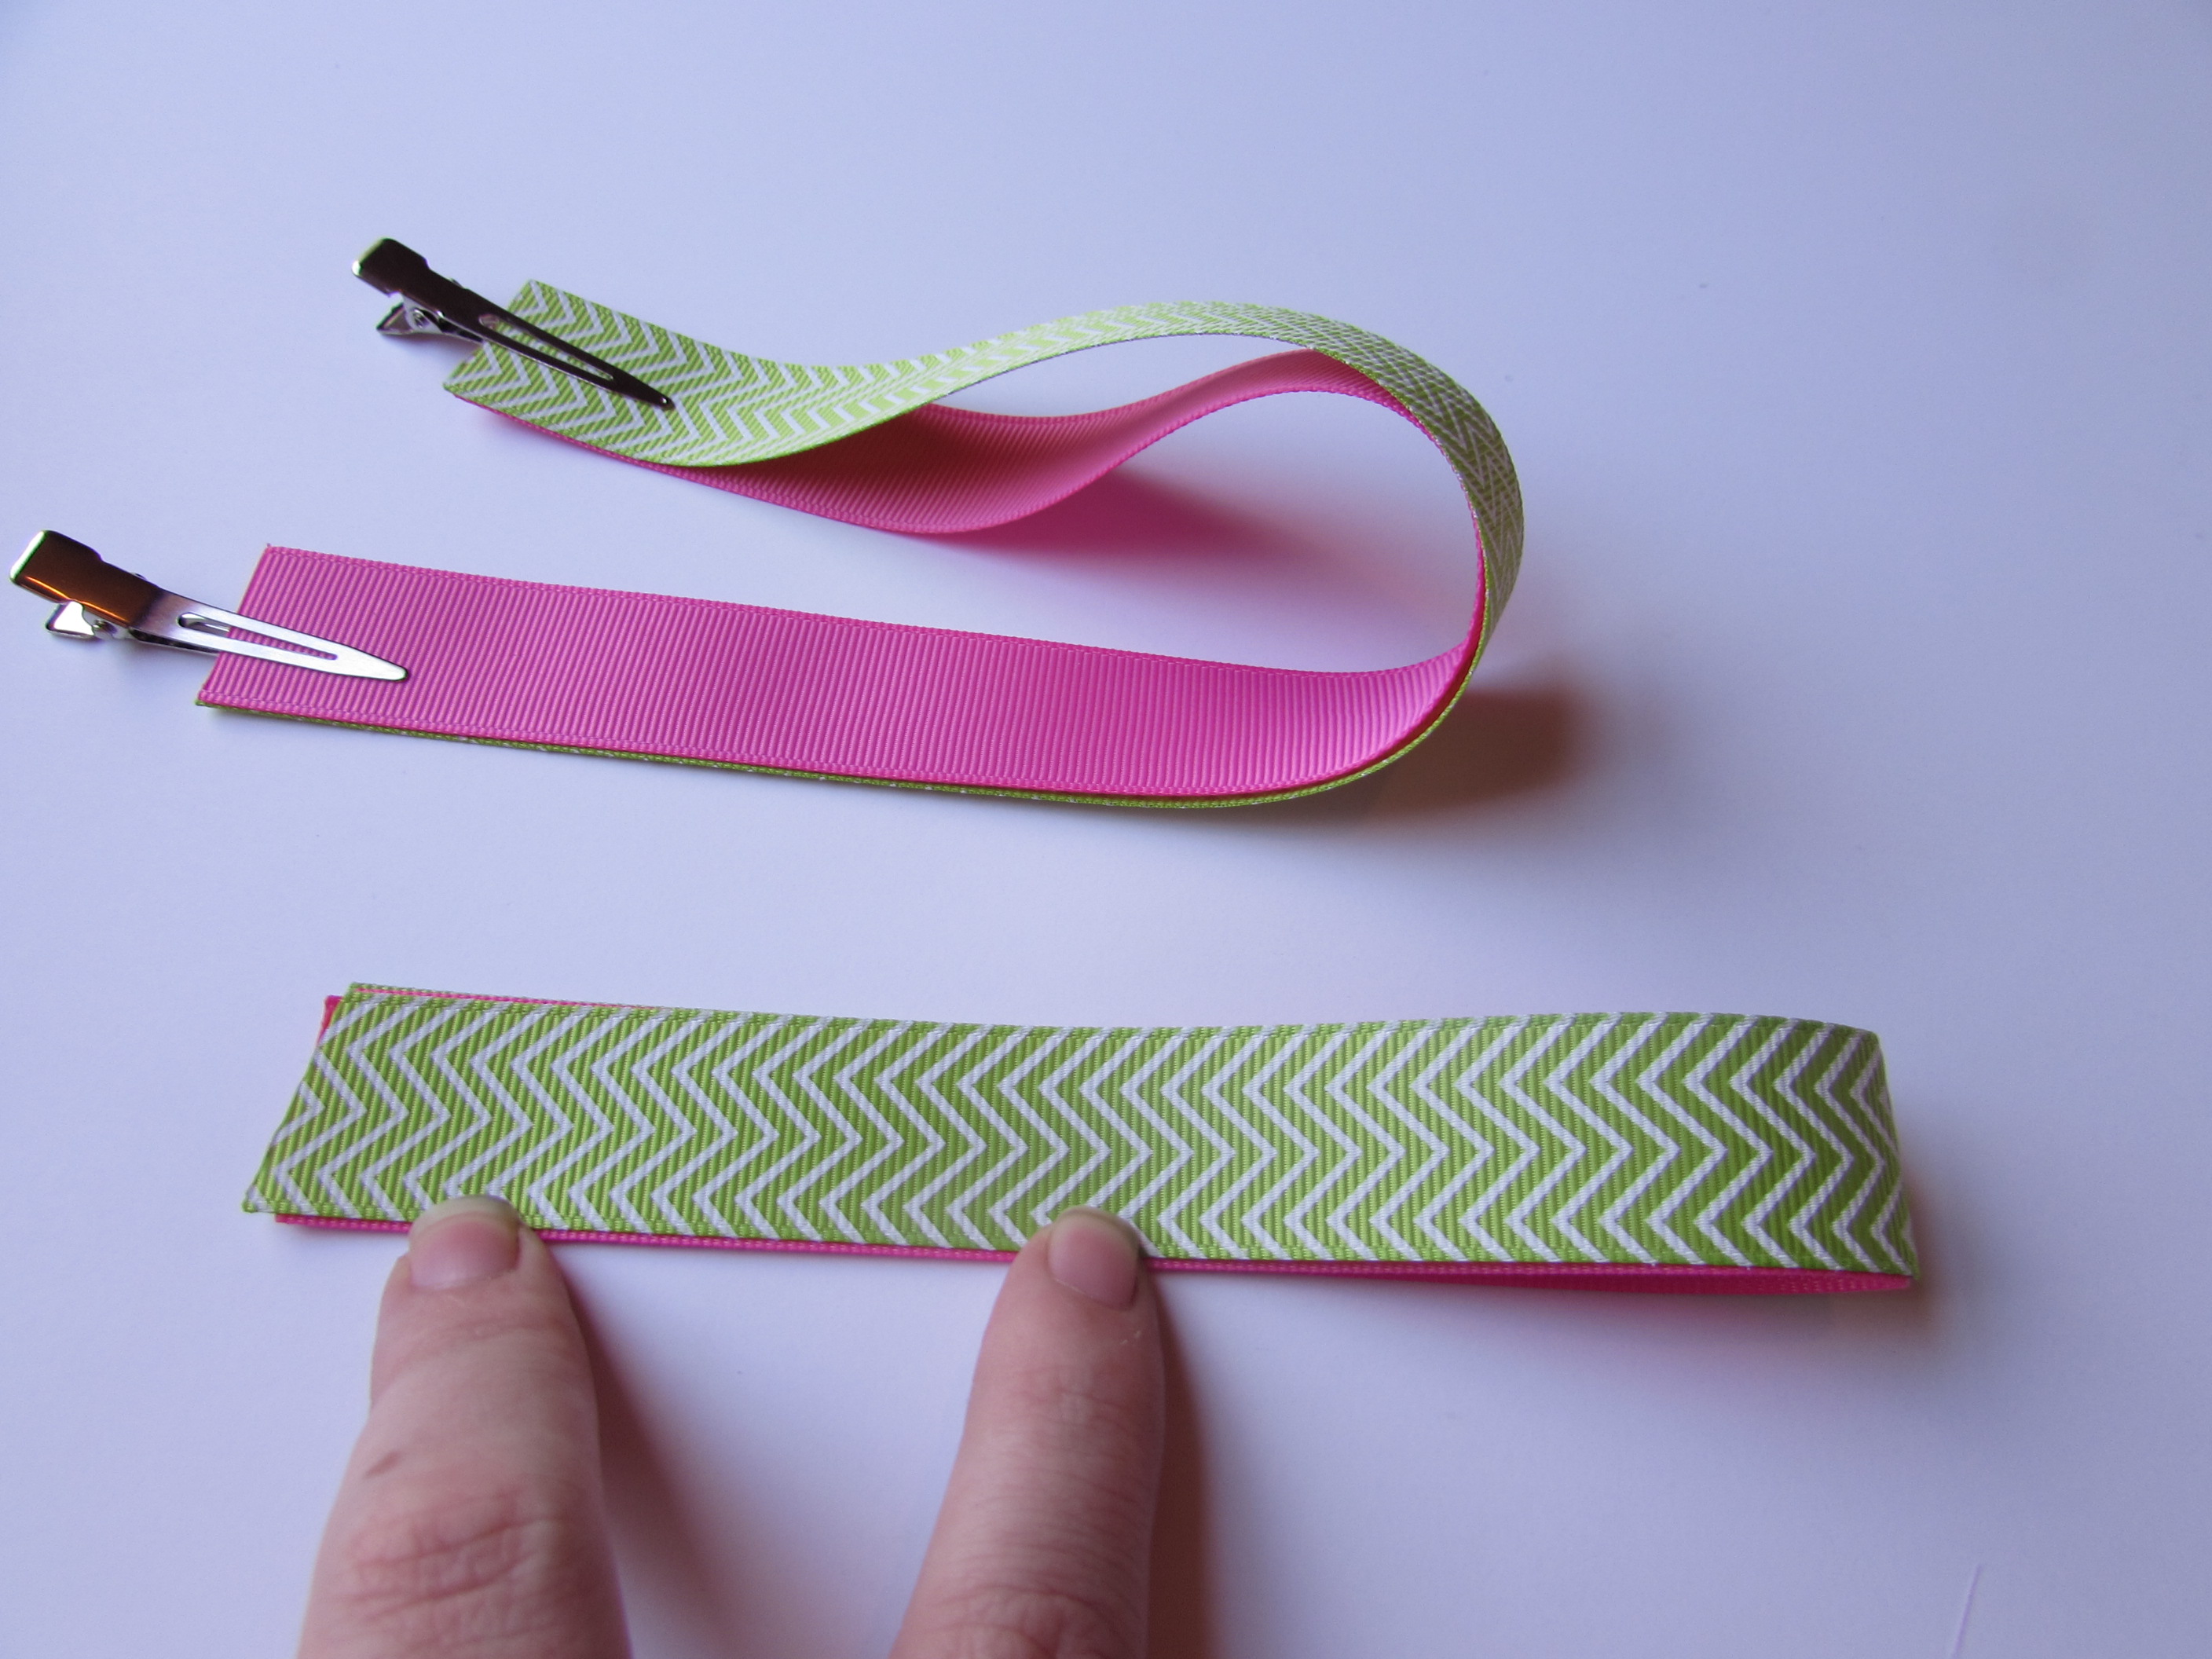
- Unfold one end and bring that end to the crease. Hotglue all pieces together.
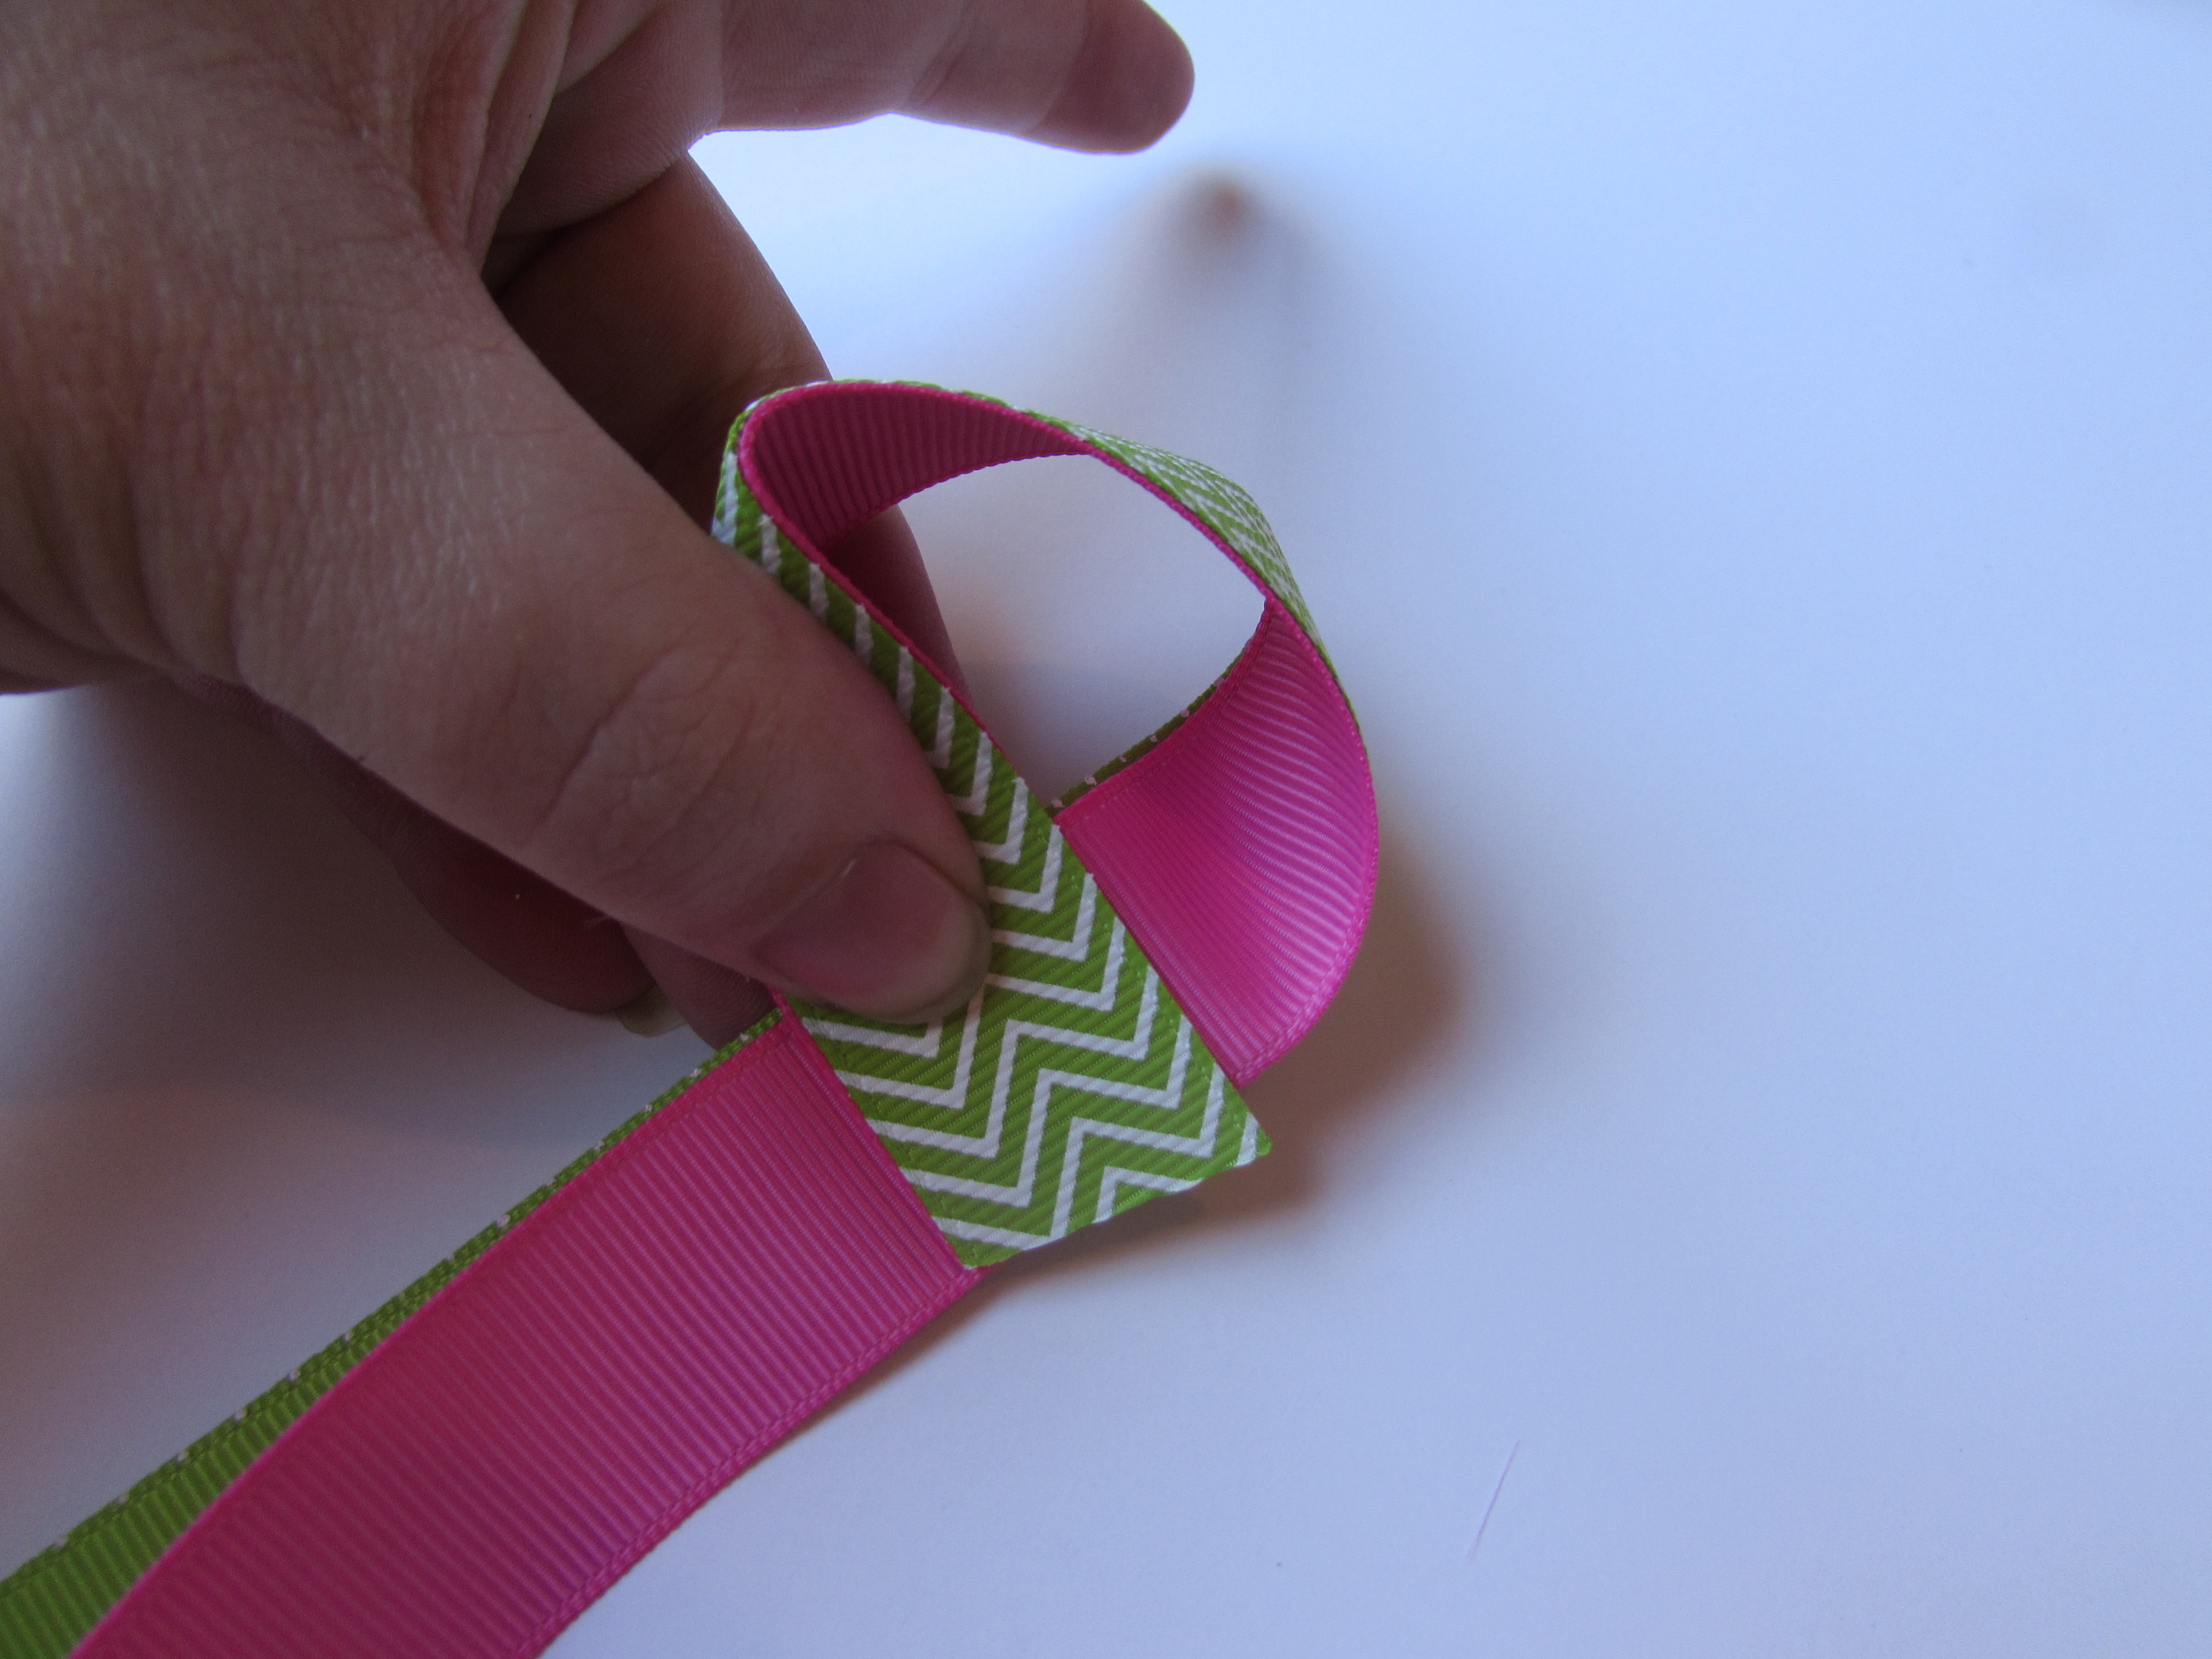
- Repeat for the other loop on that side.
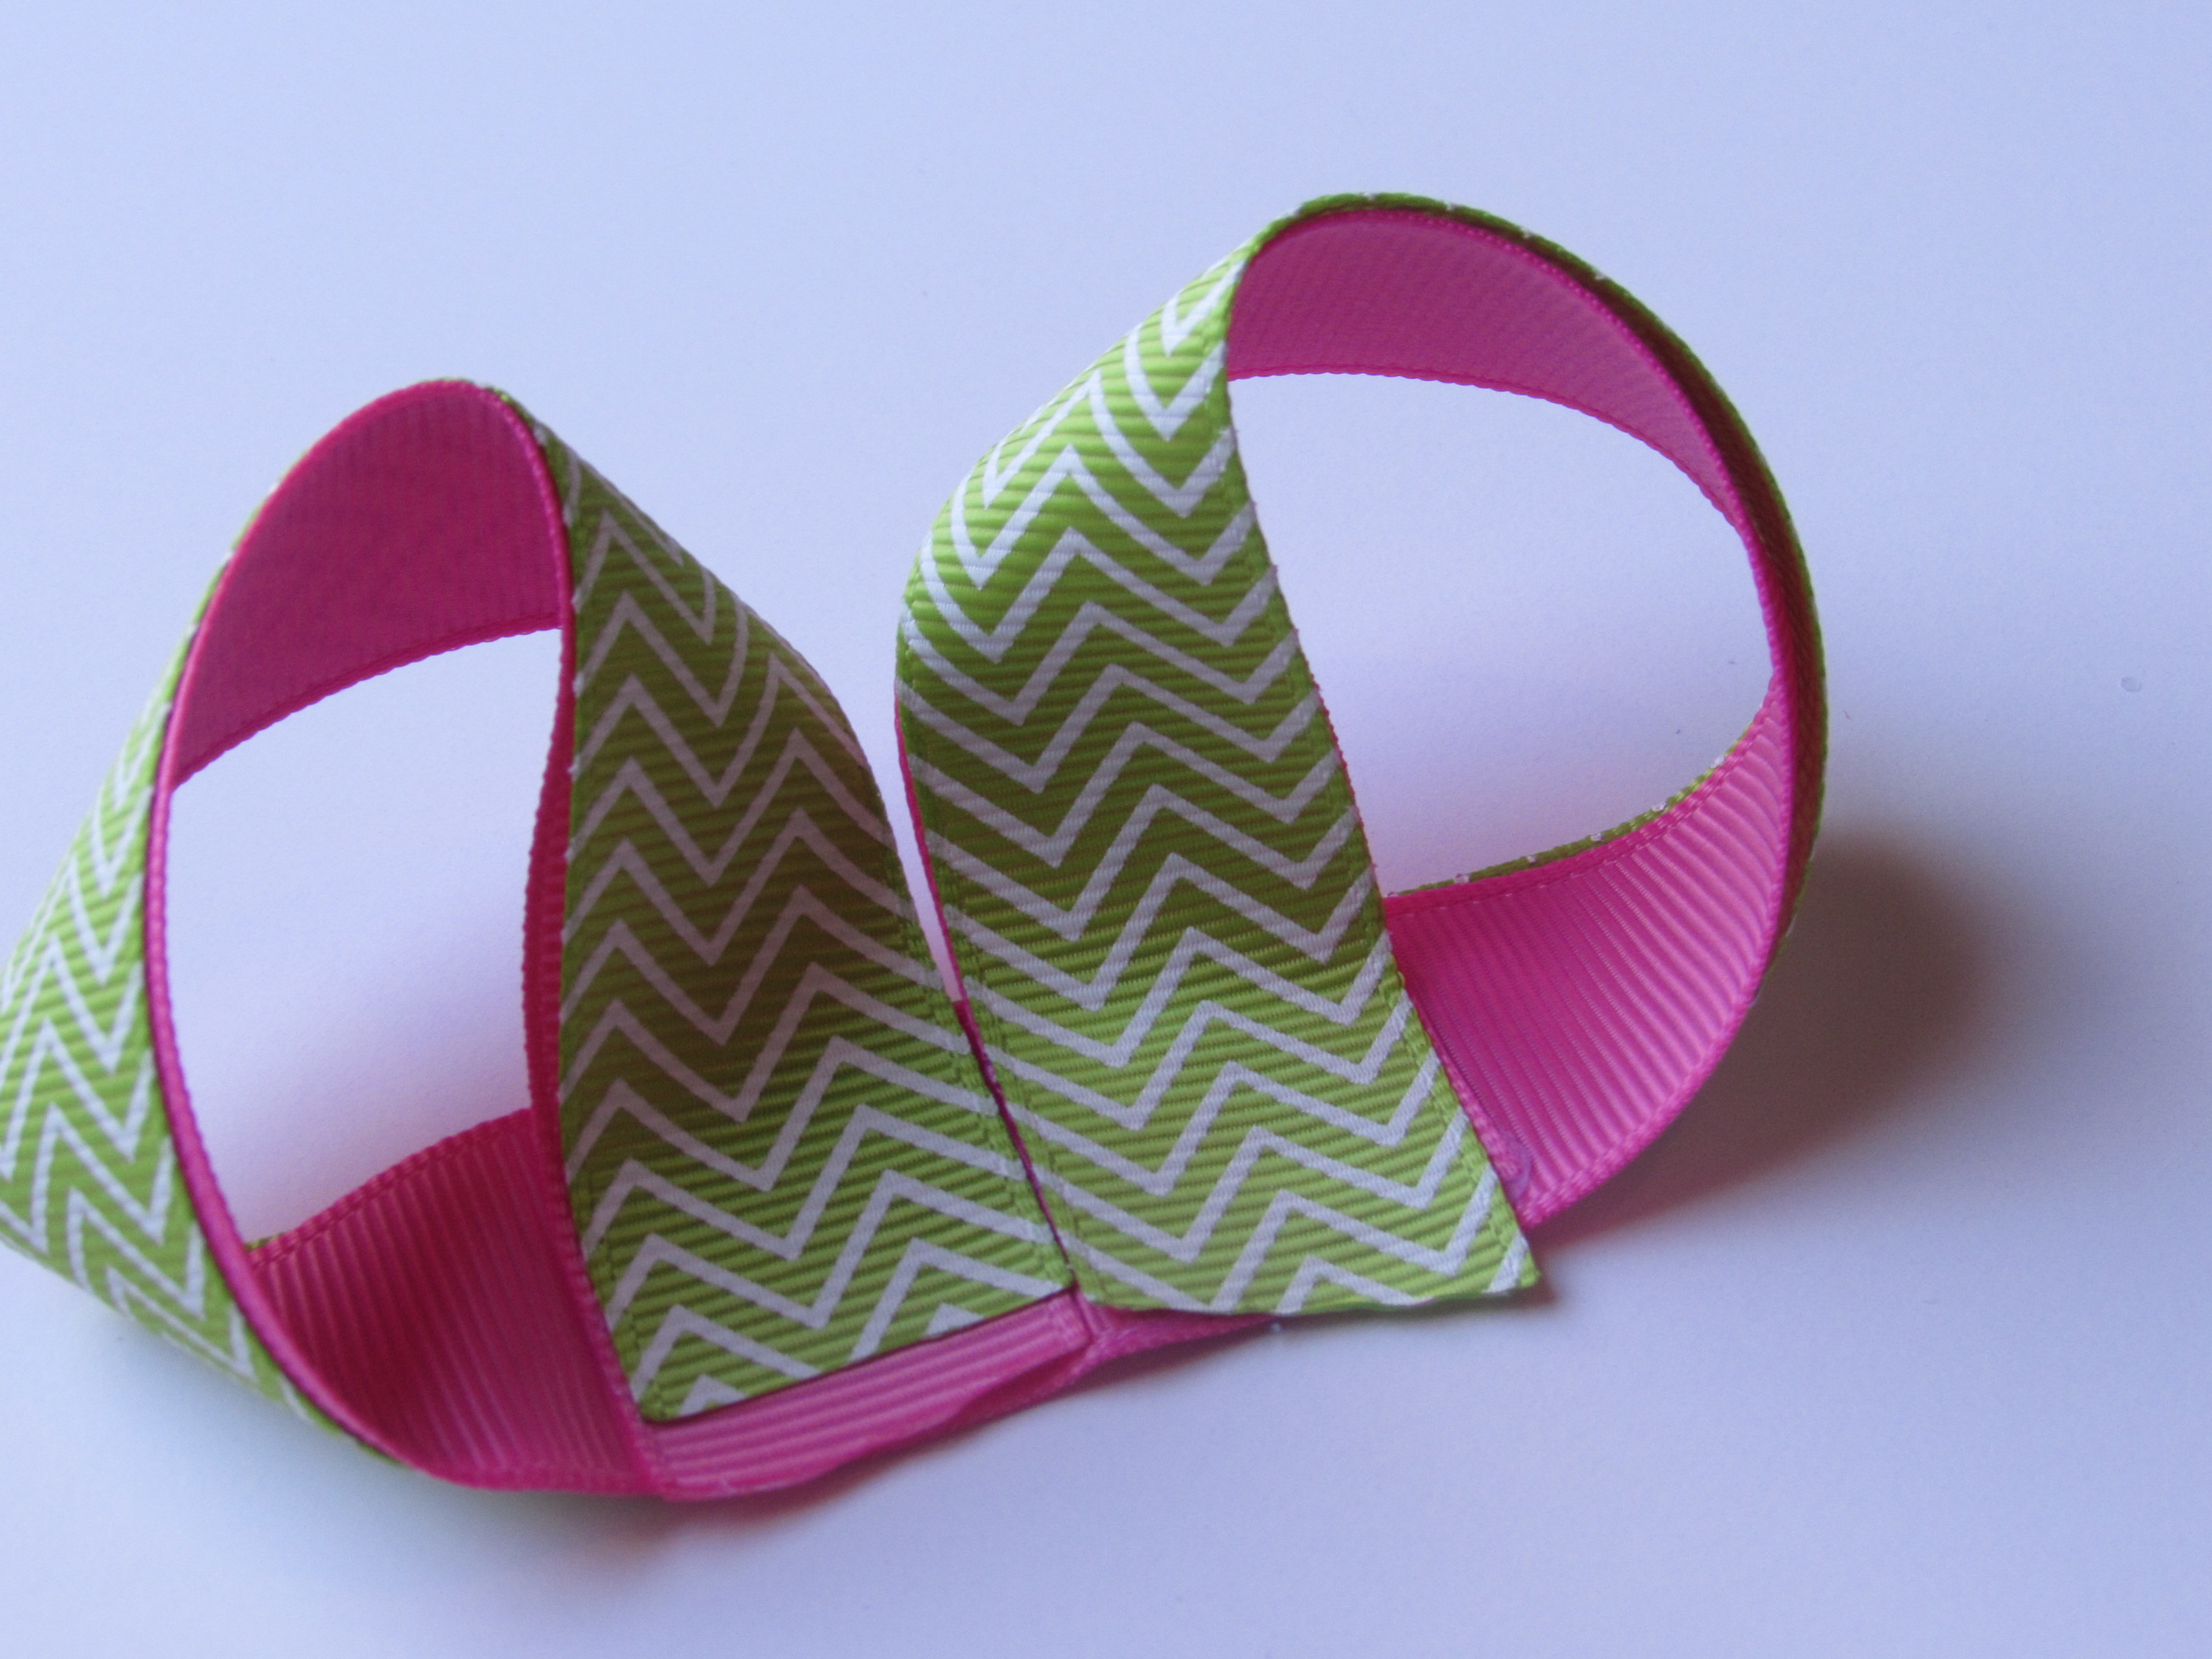
- Repeat steps 2 and 3 for your next set of ribbon.
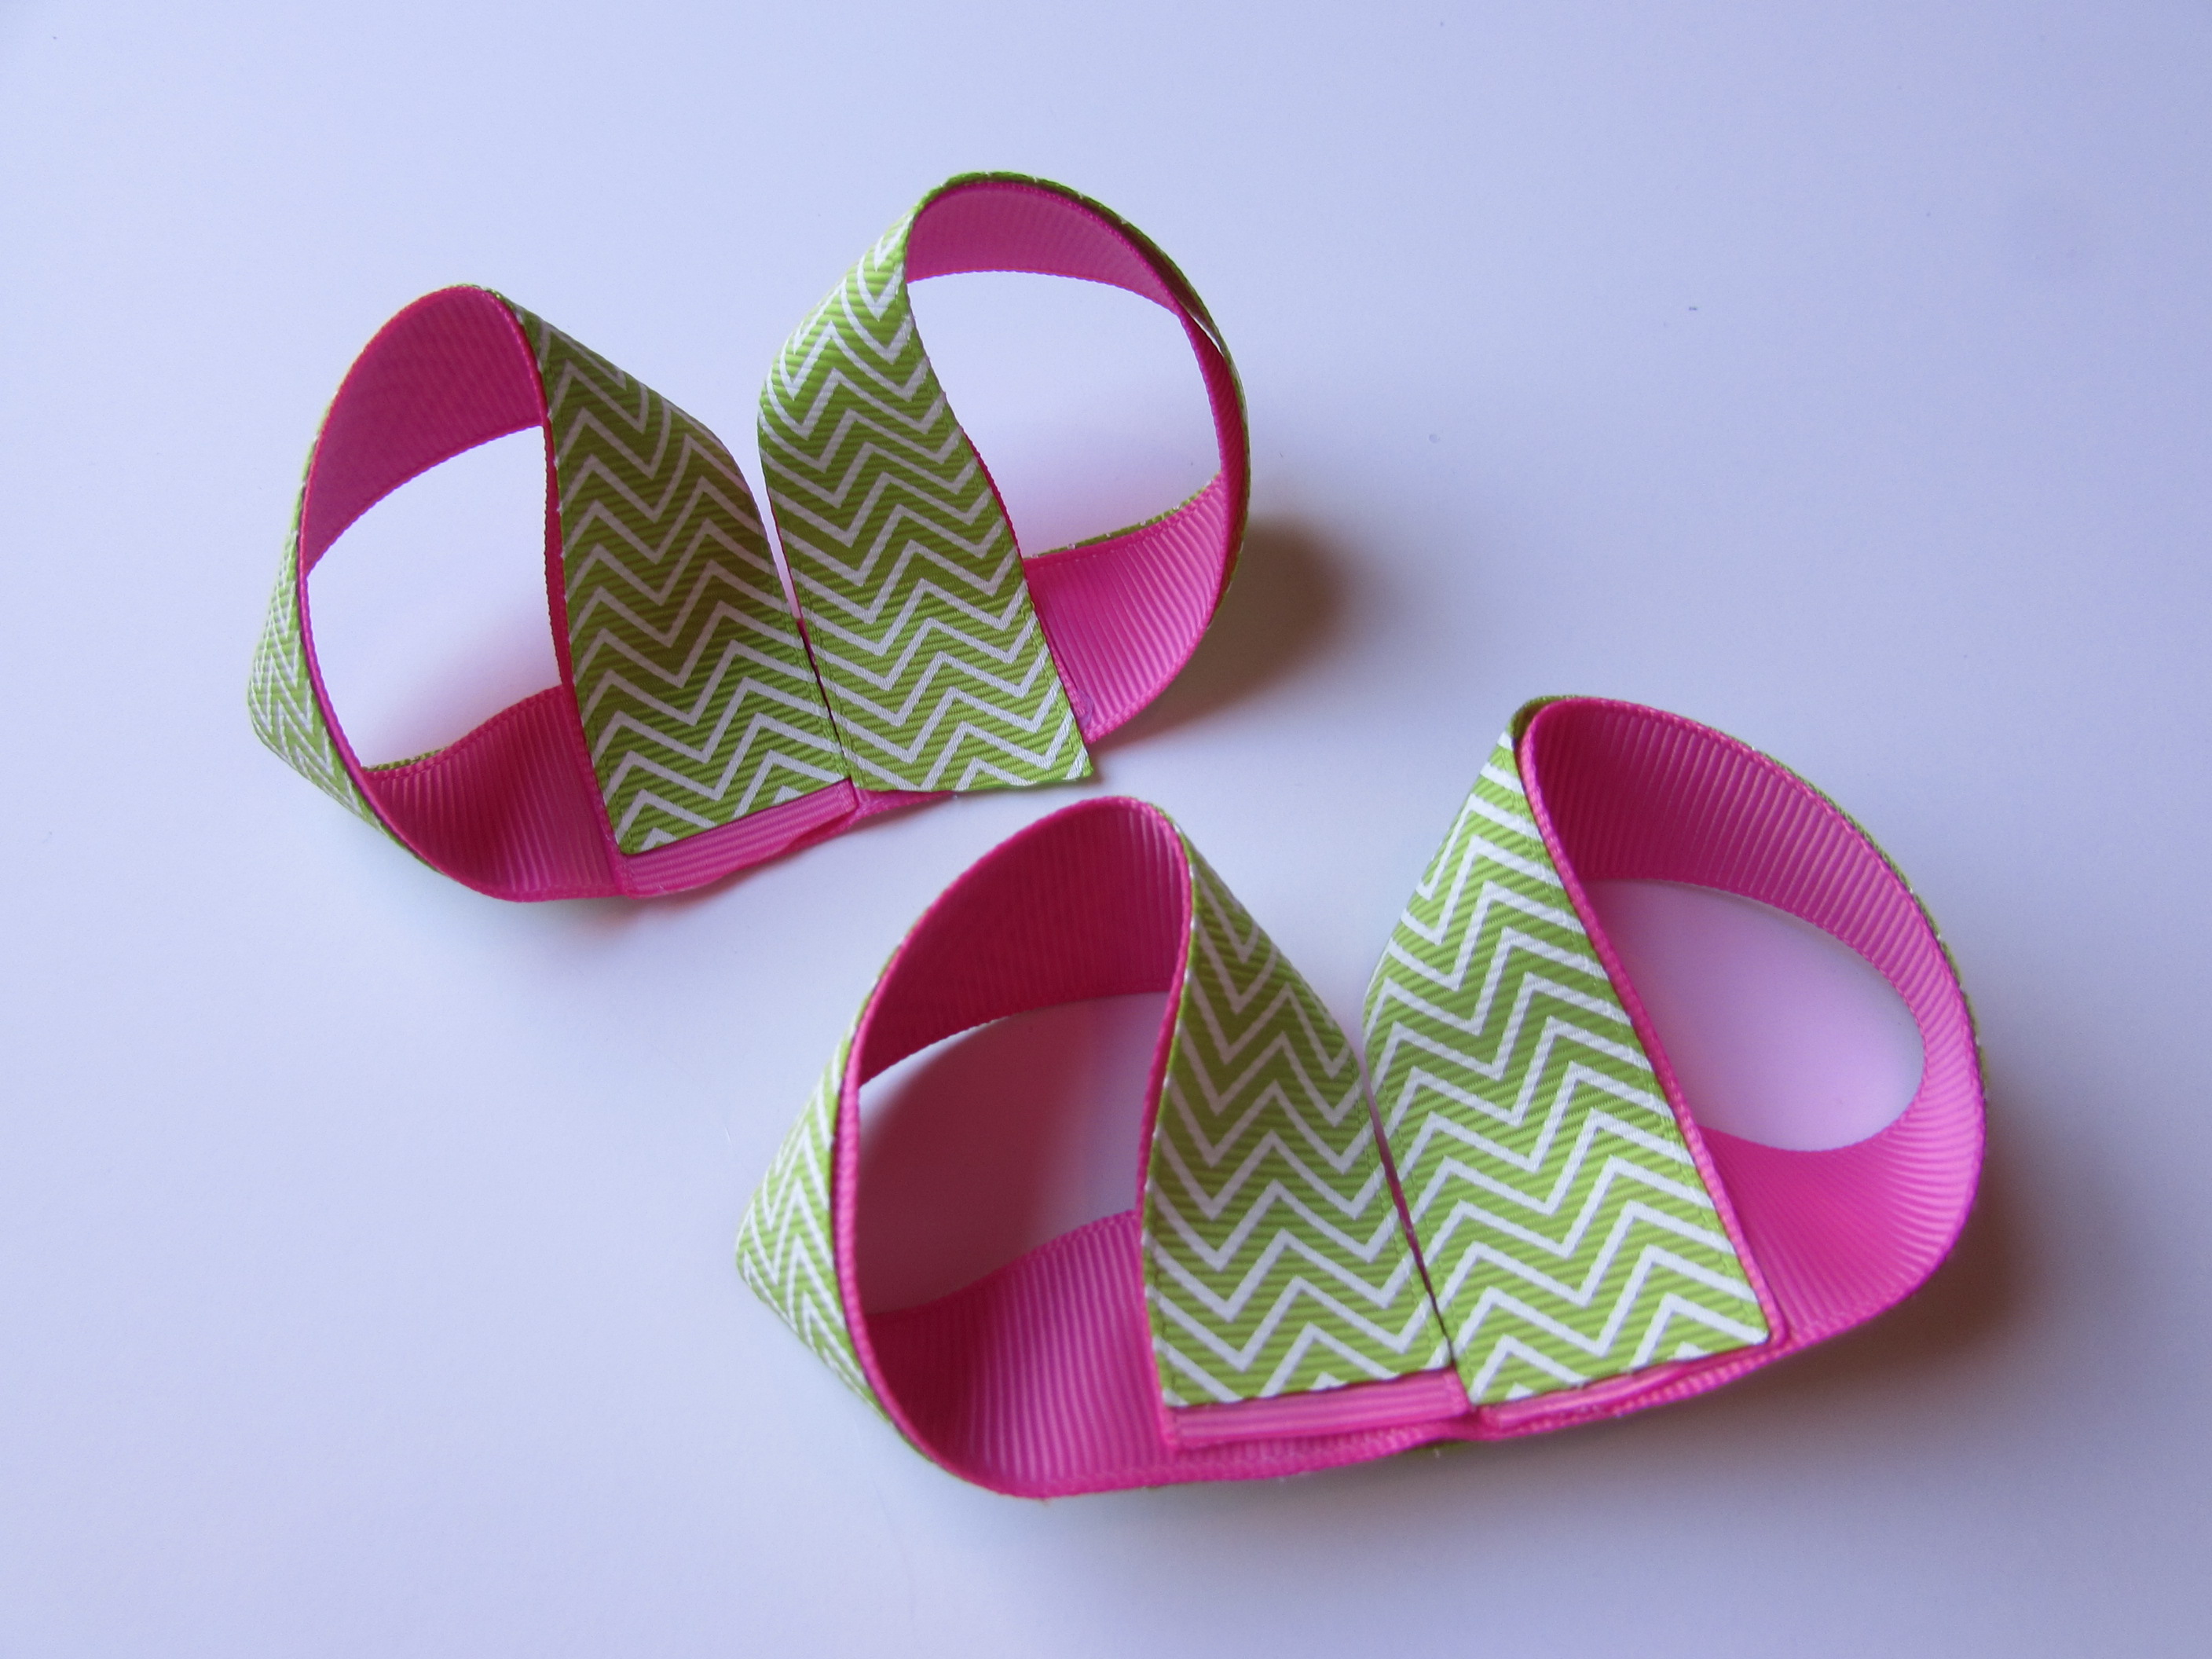
- Take the 2 finished pieces and place together.
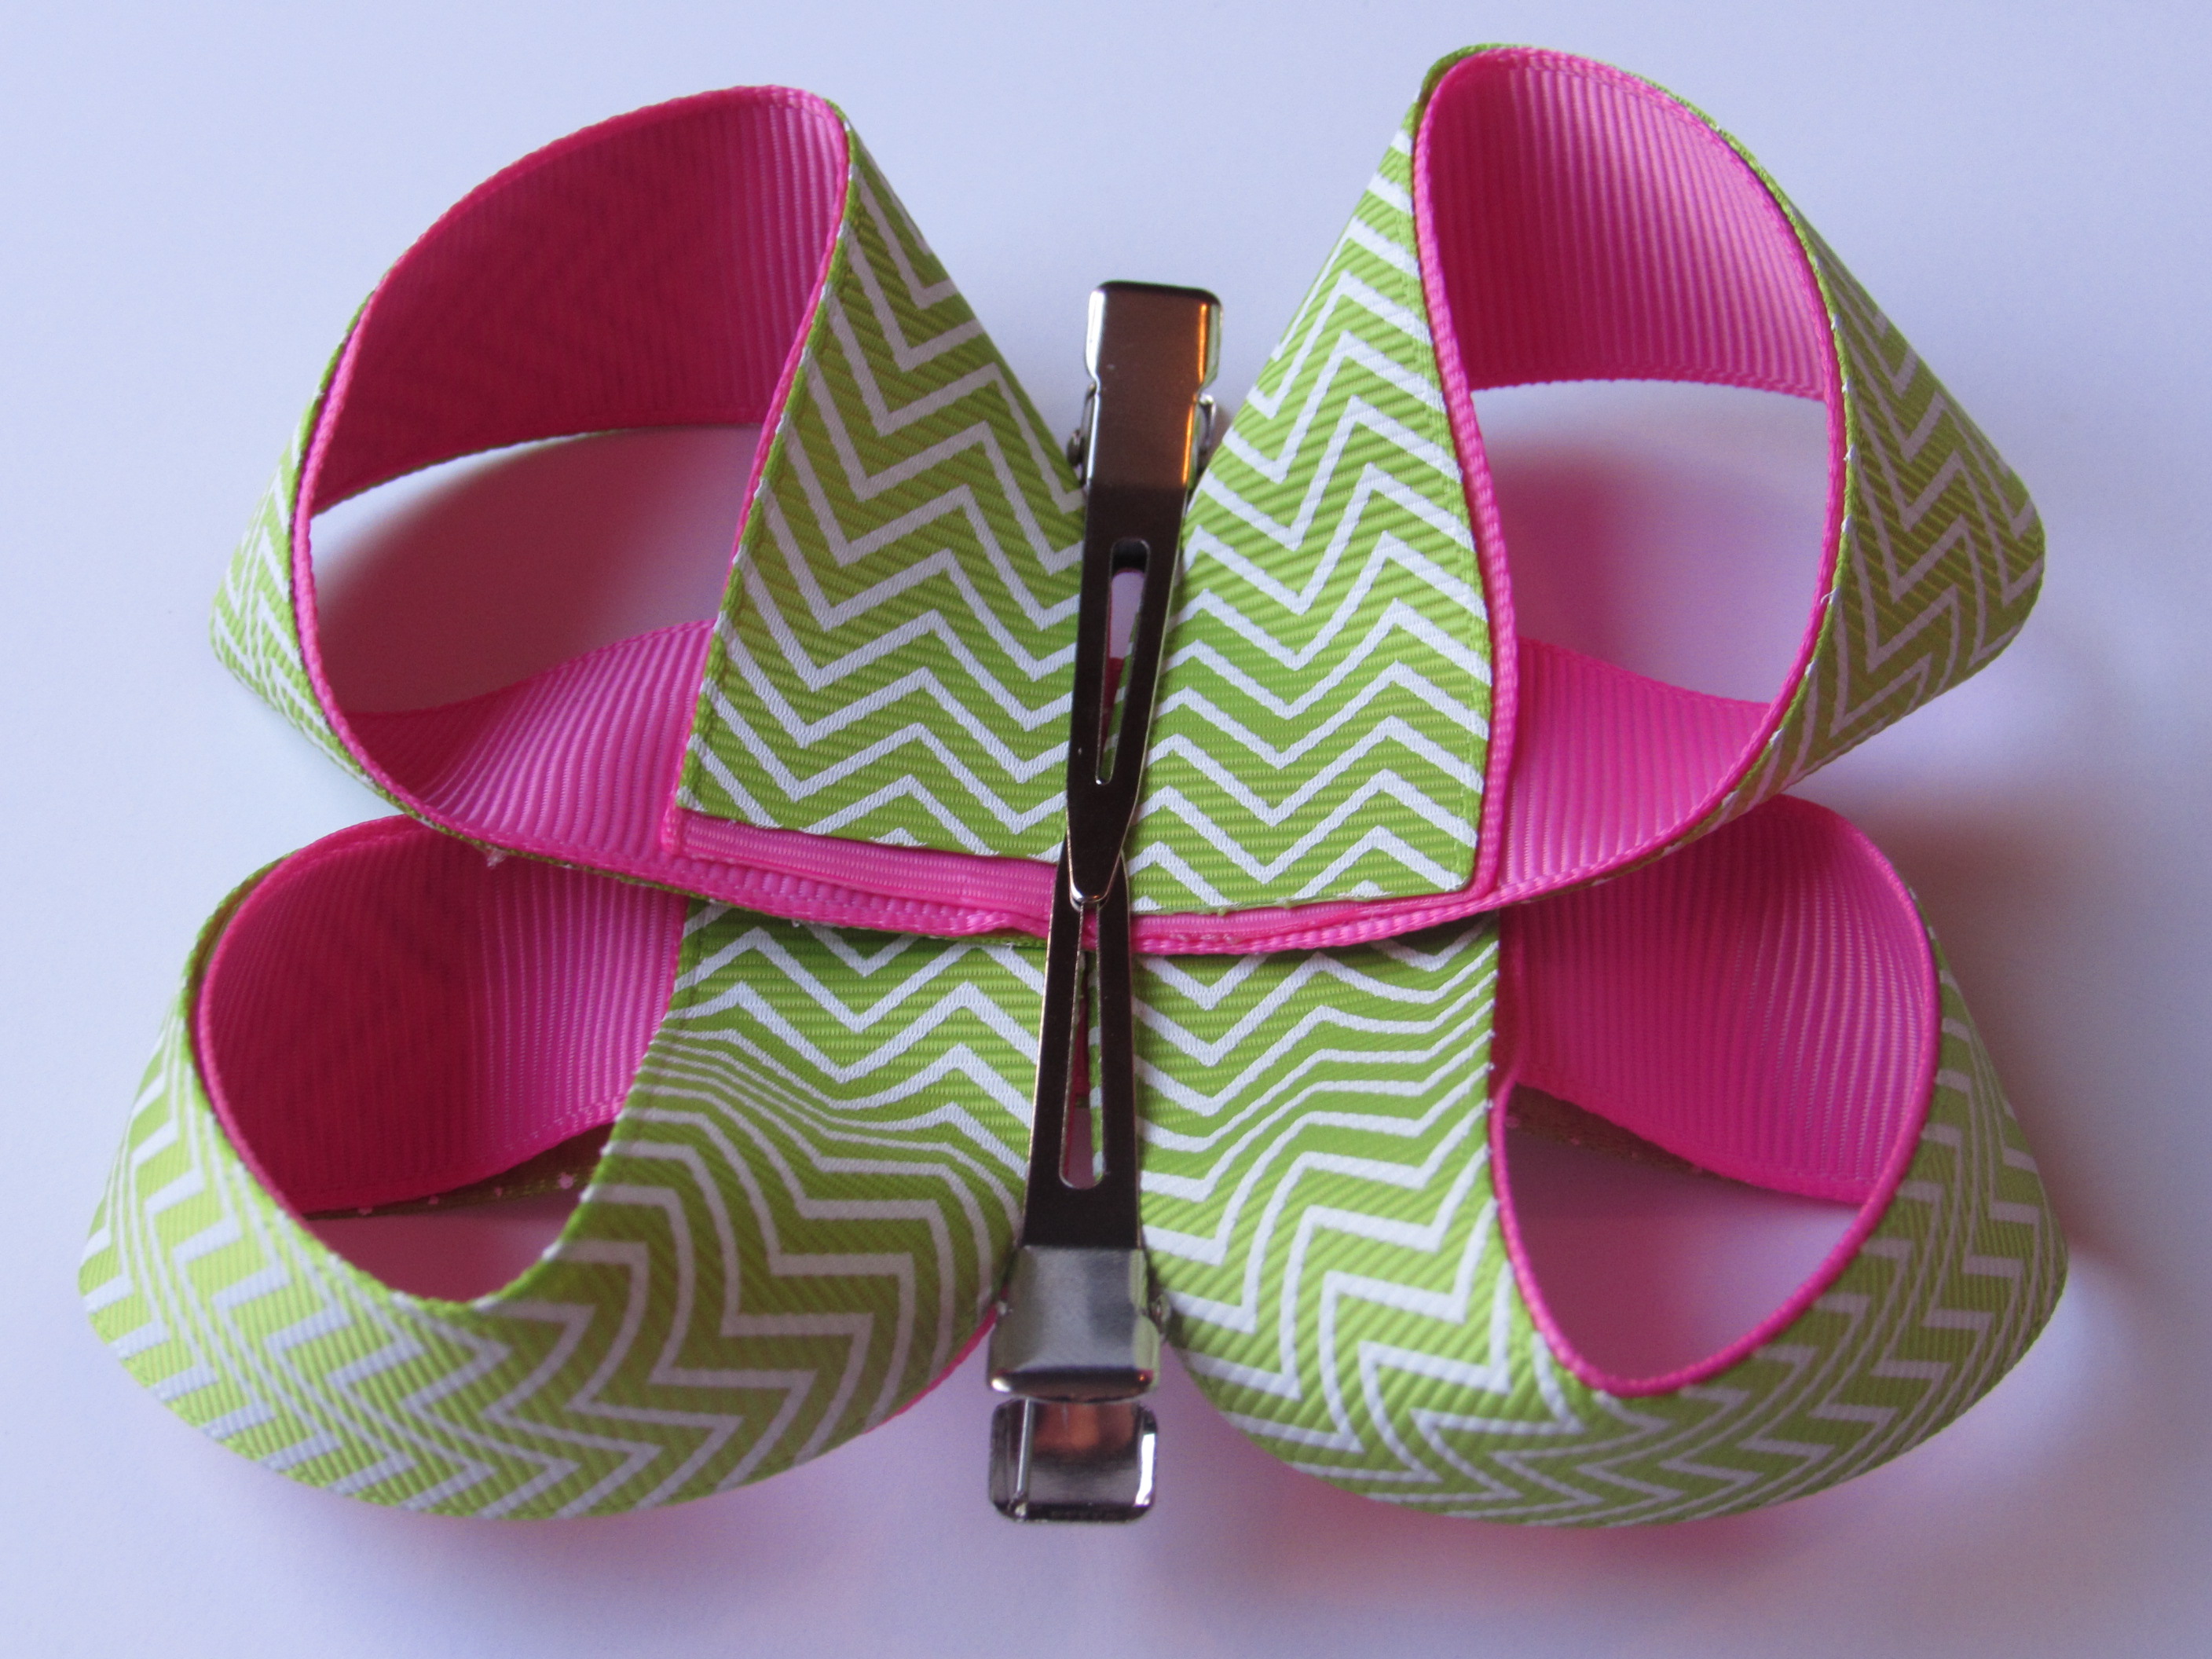
- Hotglue the center of those 2 pieces together and then set aside.
How to make spikes?
Supplies Needed:
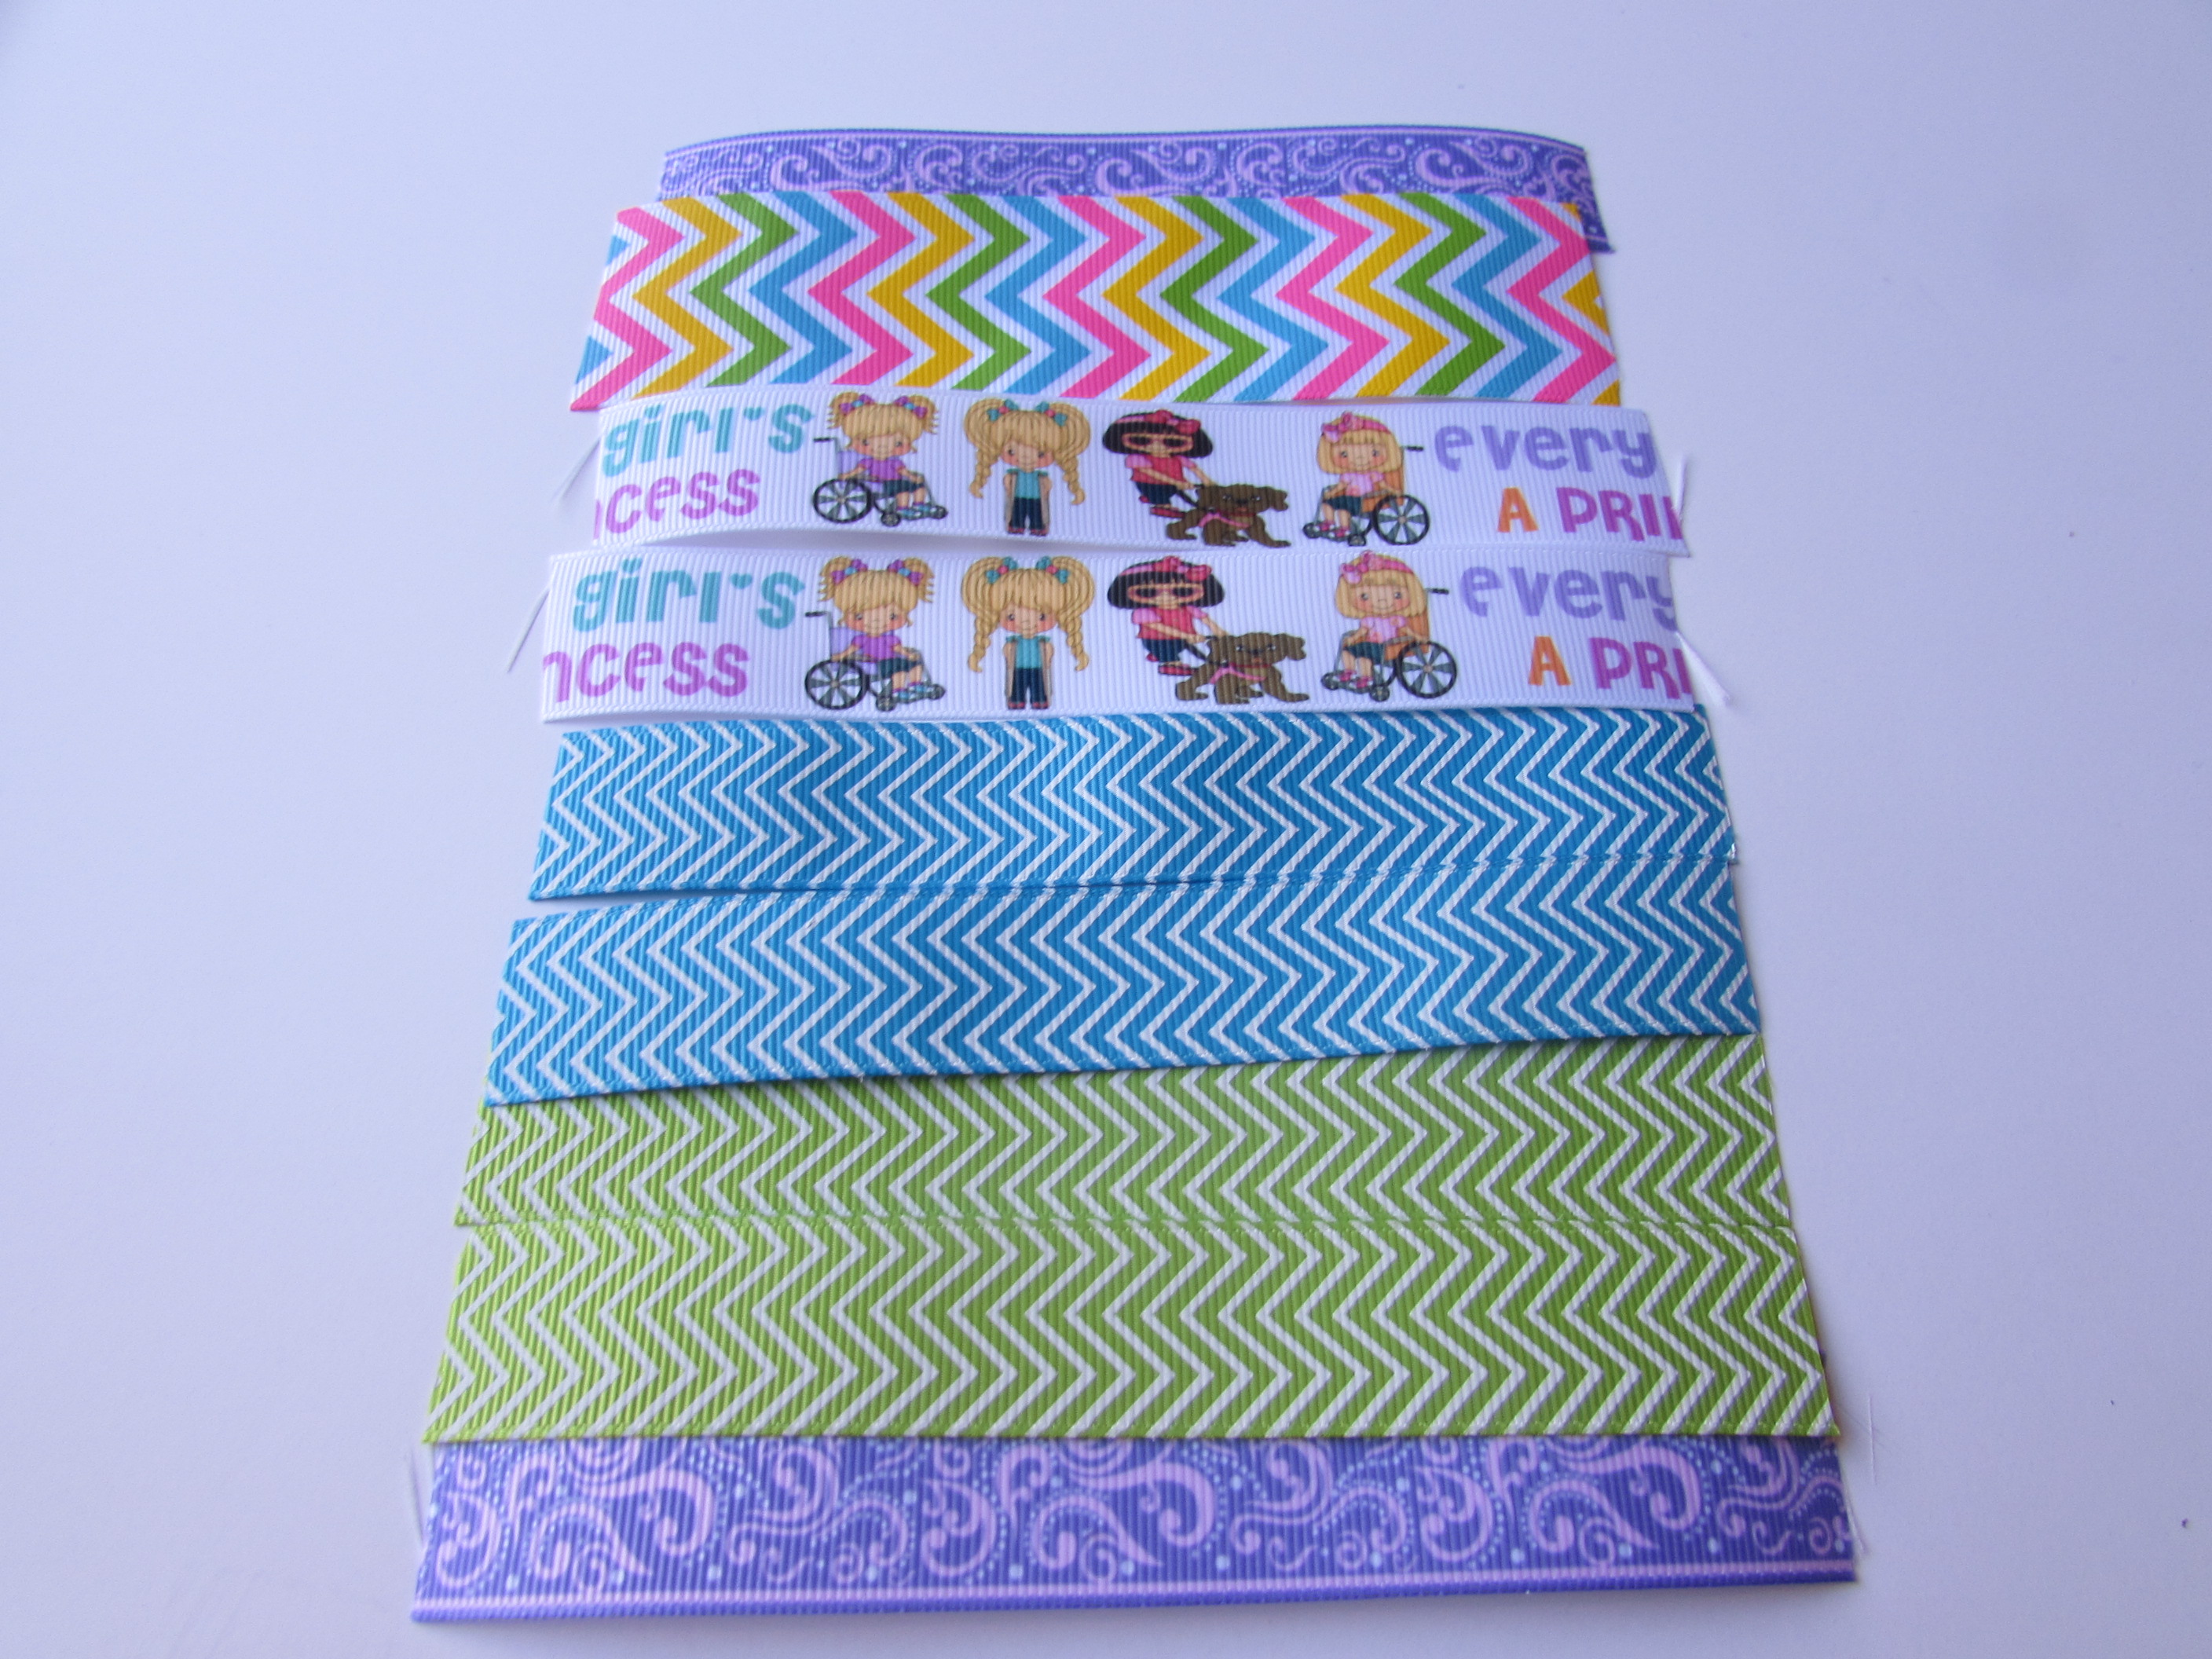
8-10 pieces of 7/8” ribbon cut to 5.5” long
{{ I am using 1 piece of 1.5” wide ribbon and 8 pieces of 7/8” ribbon. All measured to 5.5” long }}
- Cut all your pieces and heat seal all your ends.
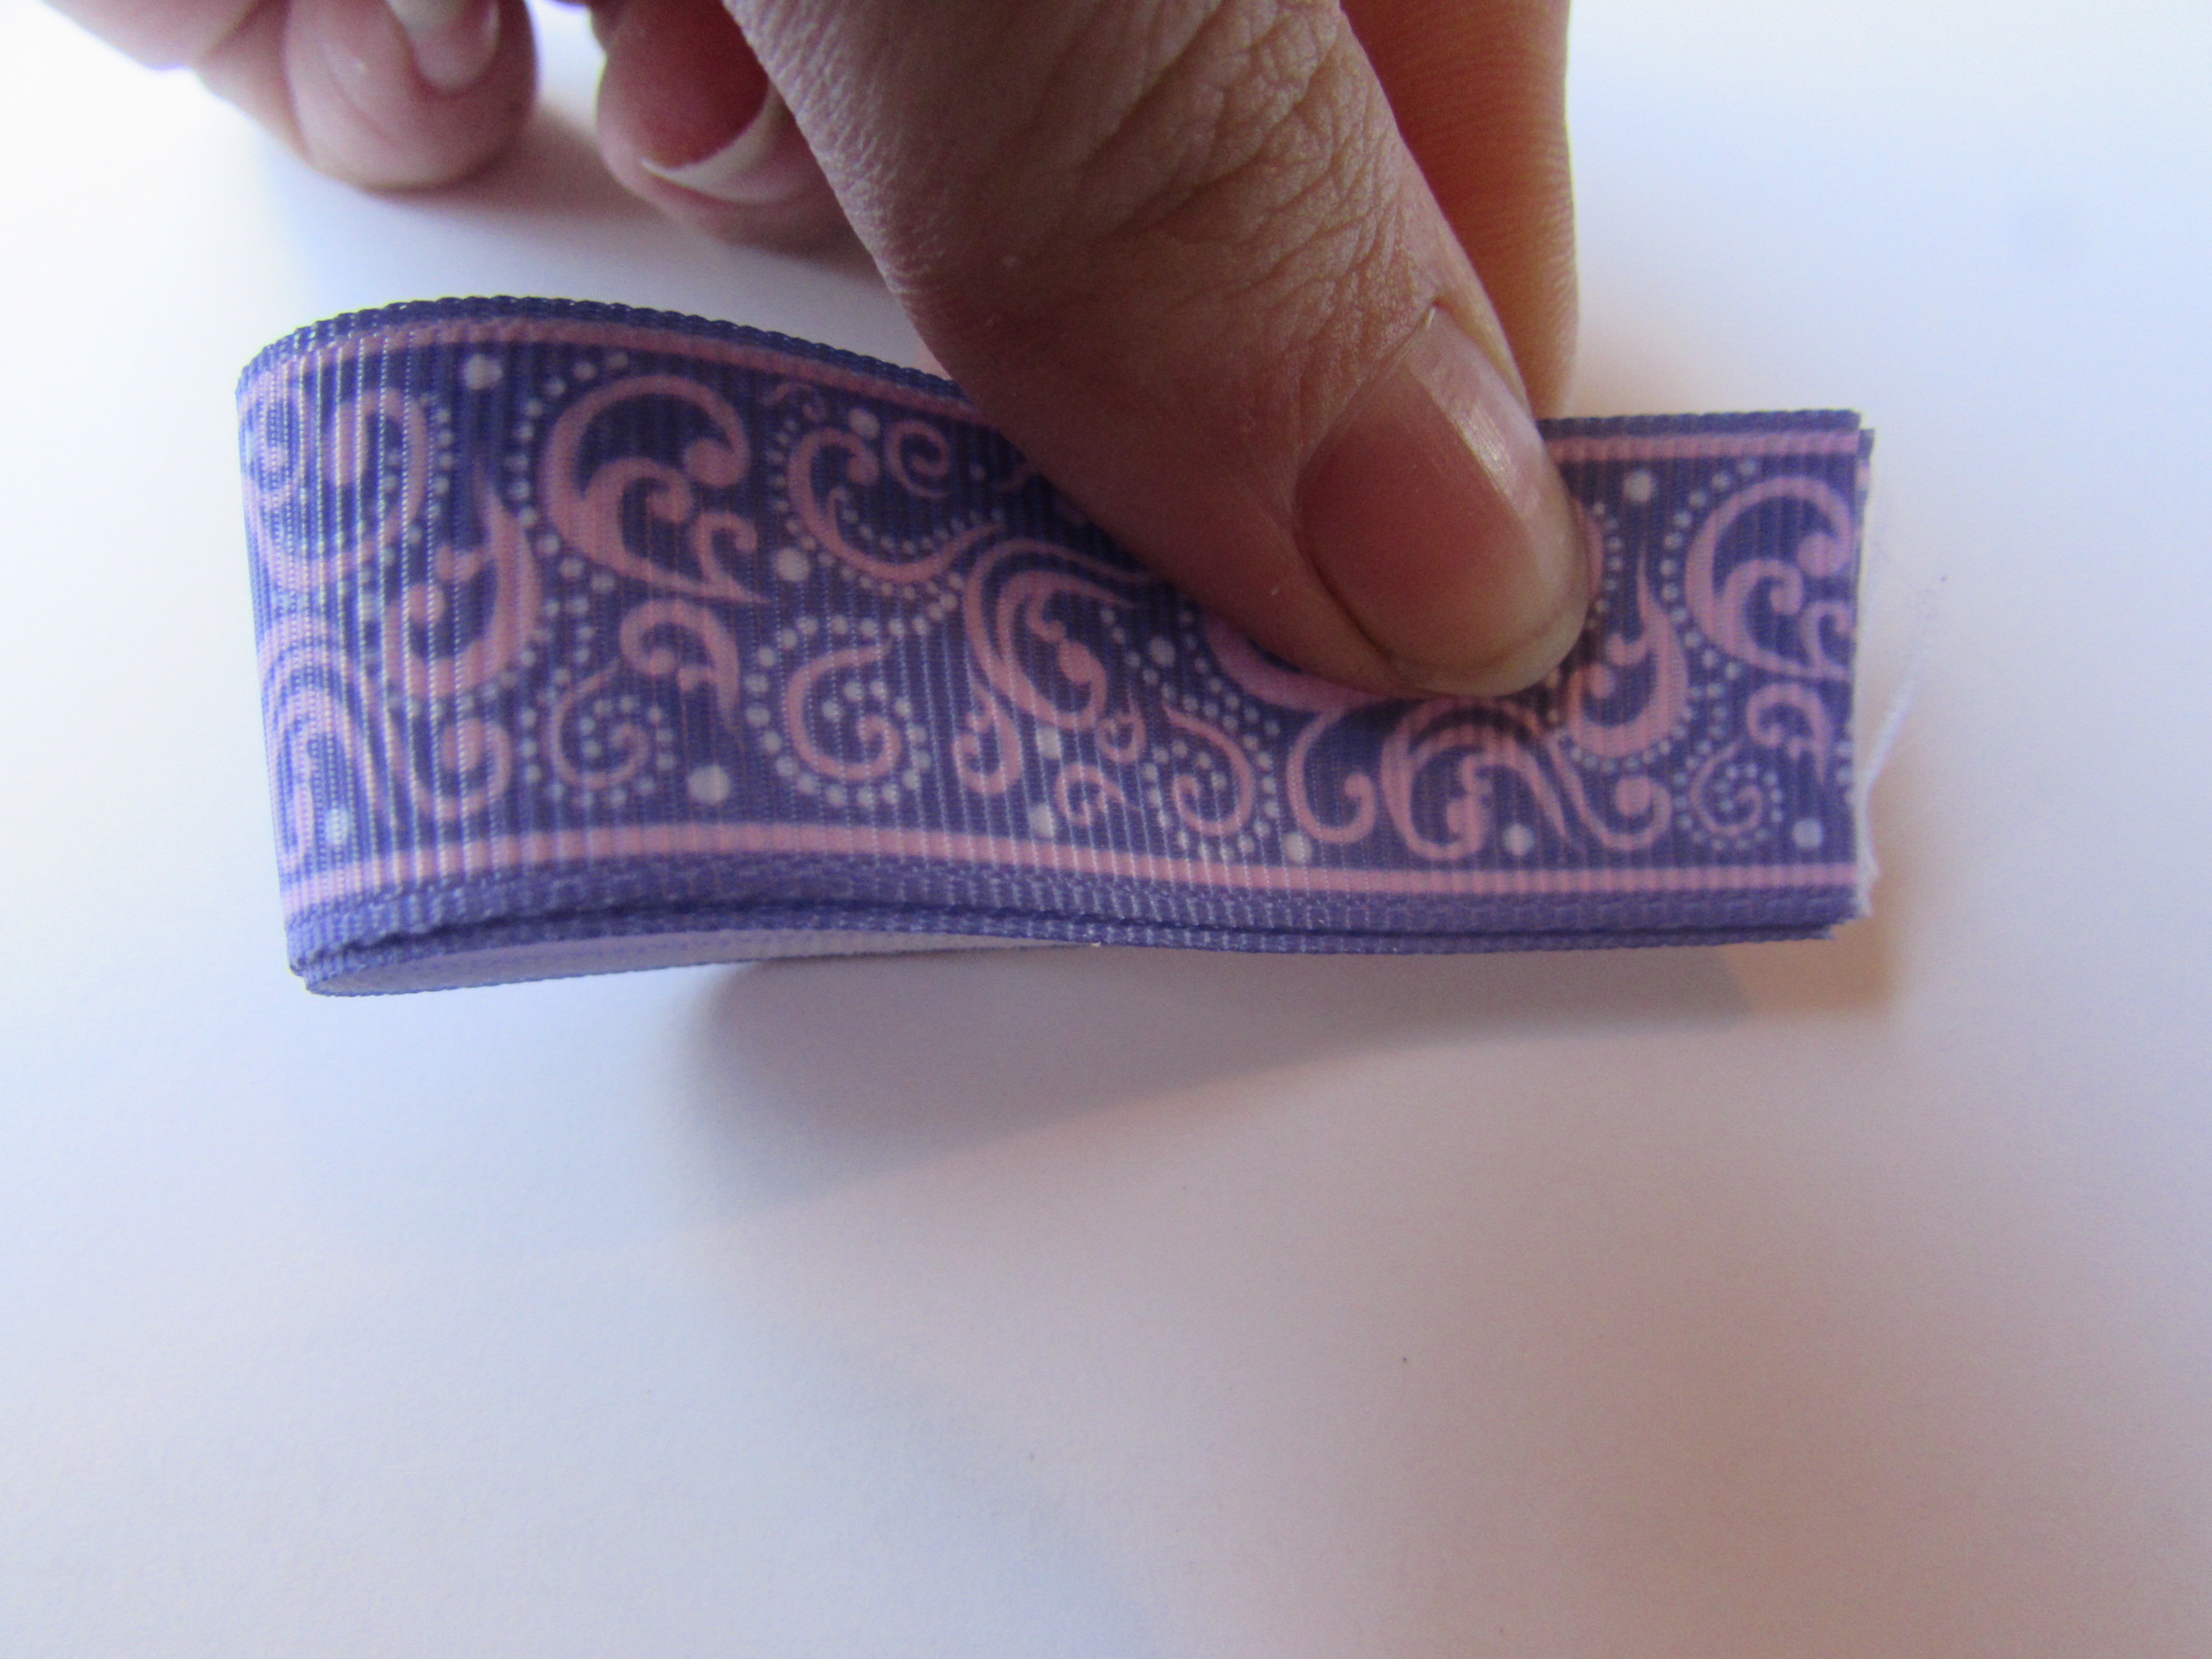
- Take your ribbon, I do 2 pieces at a time. Fold in half where the ends are touching one another. Fold the ends together, Cut diagonally on the end to create a “V” cut.
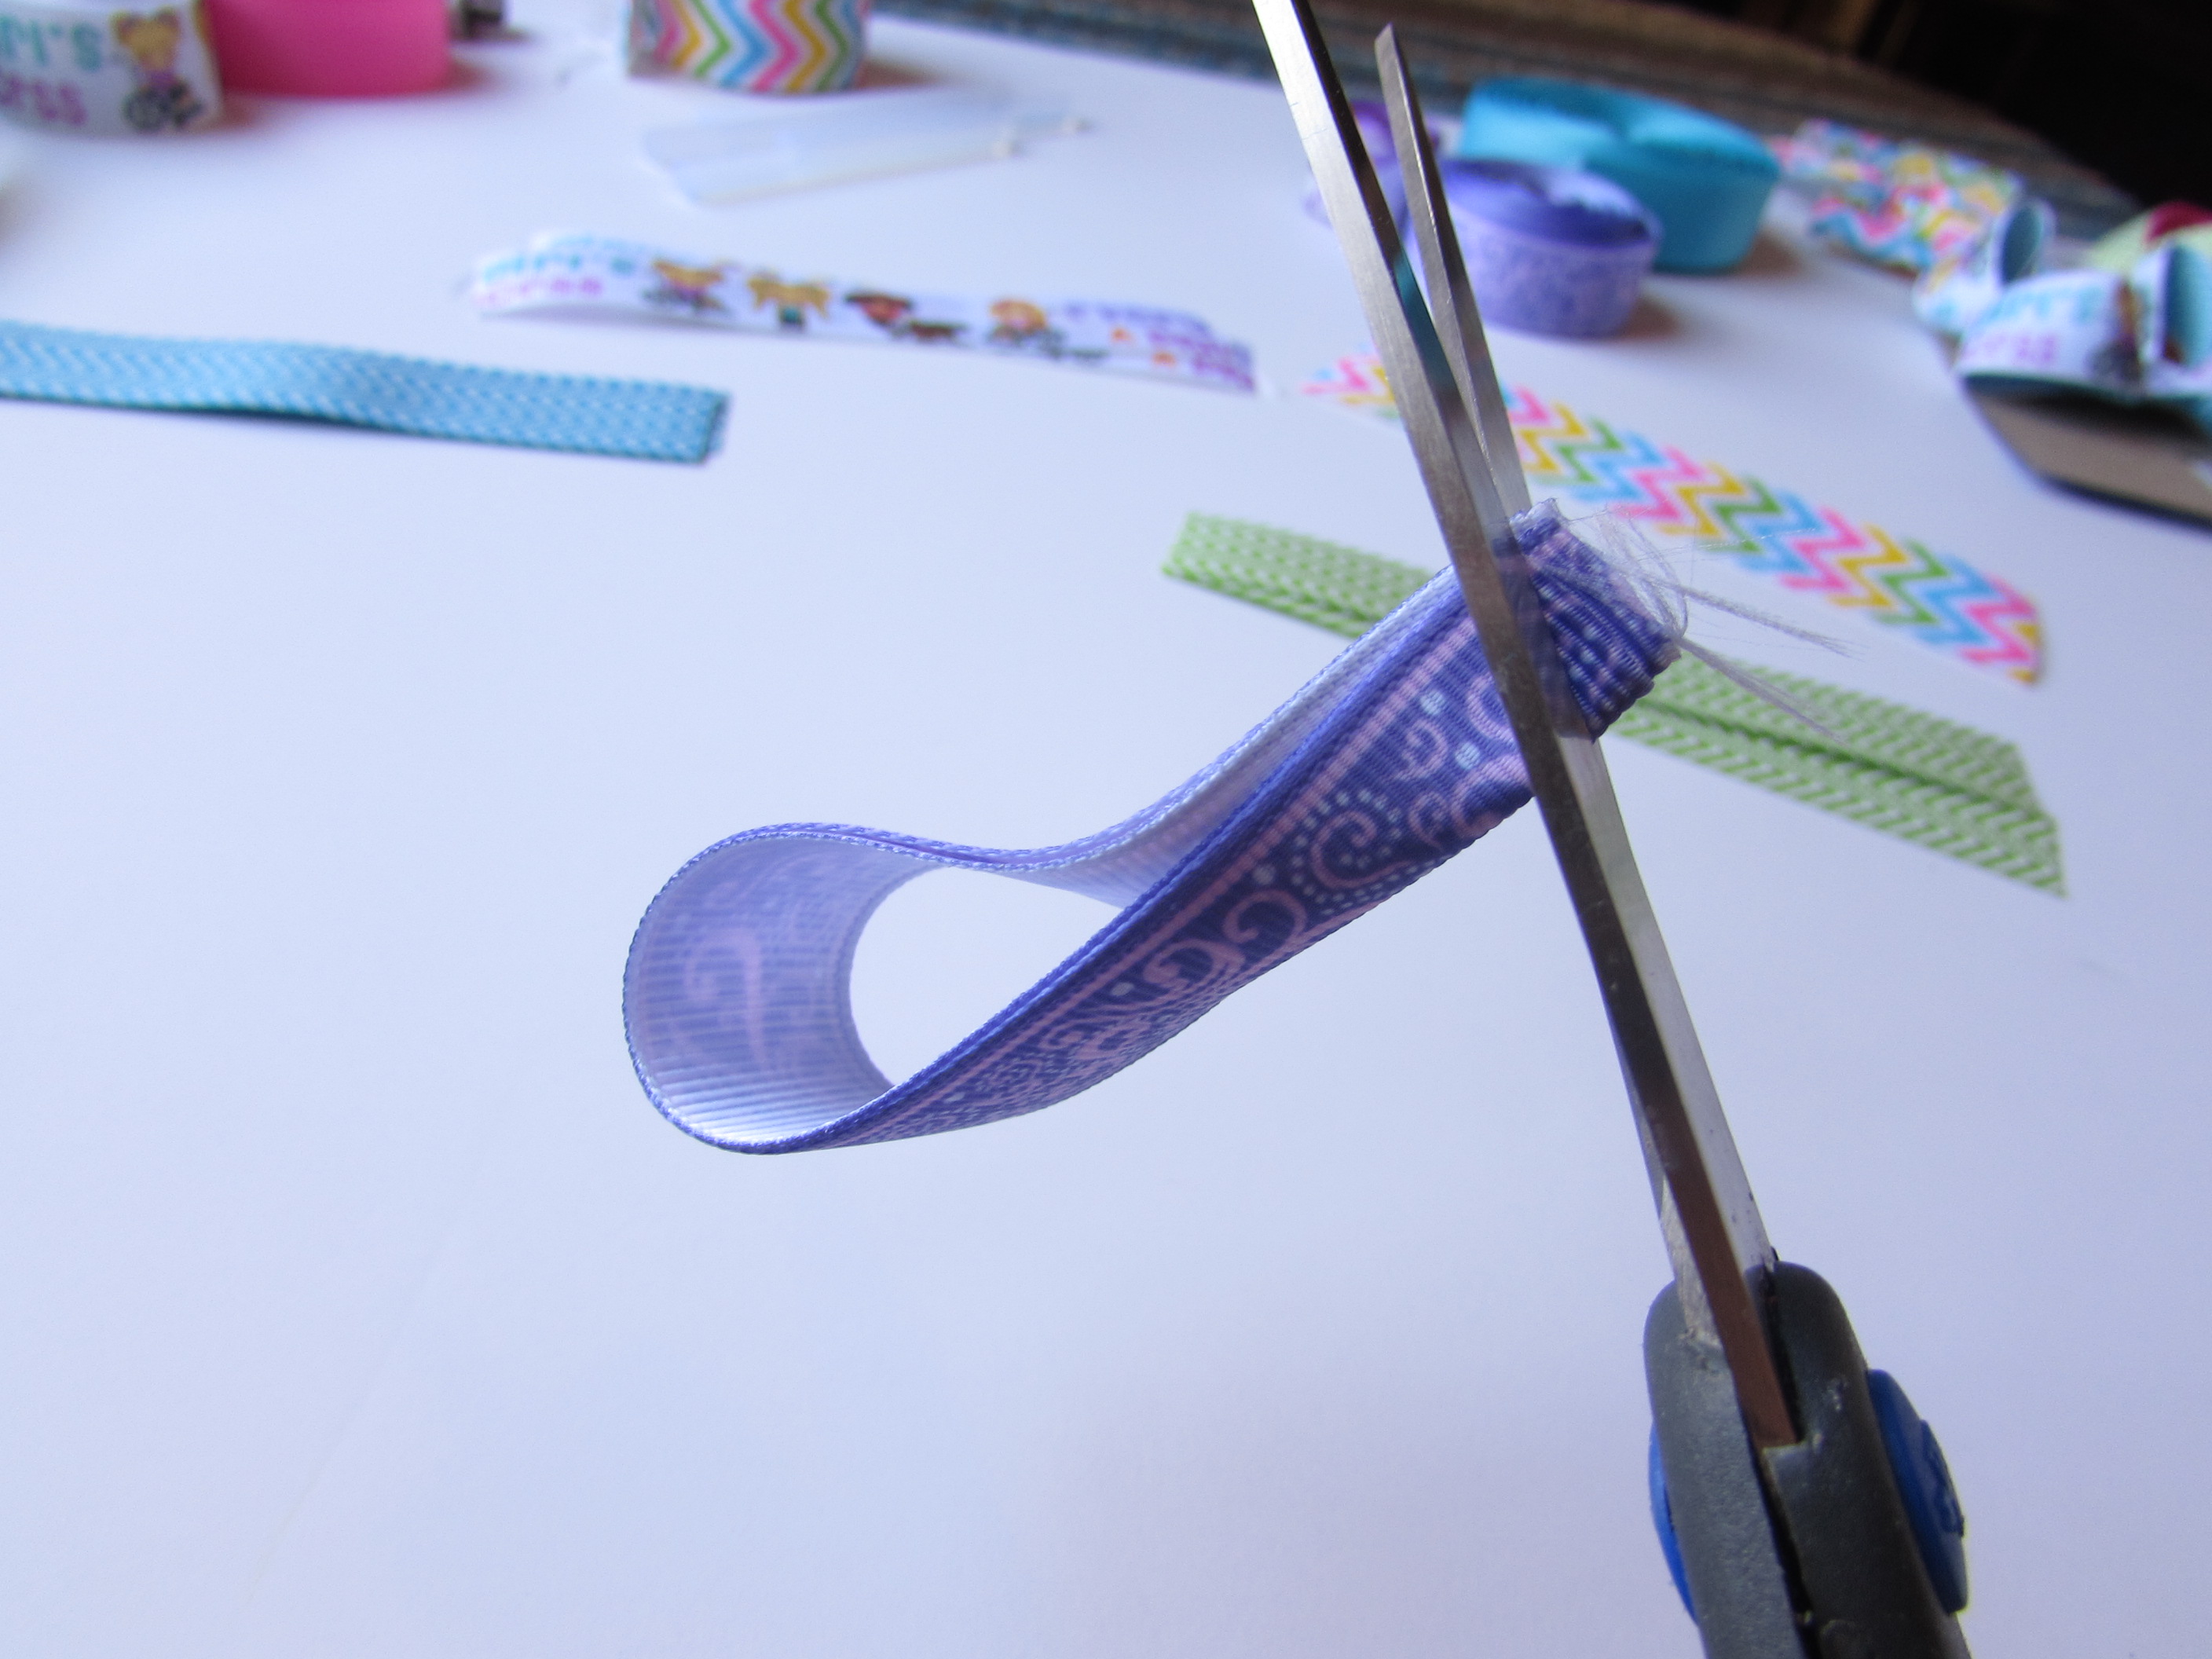
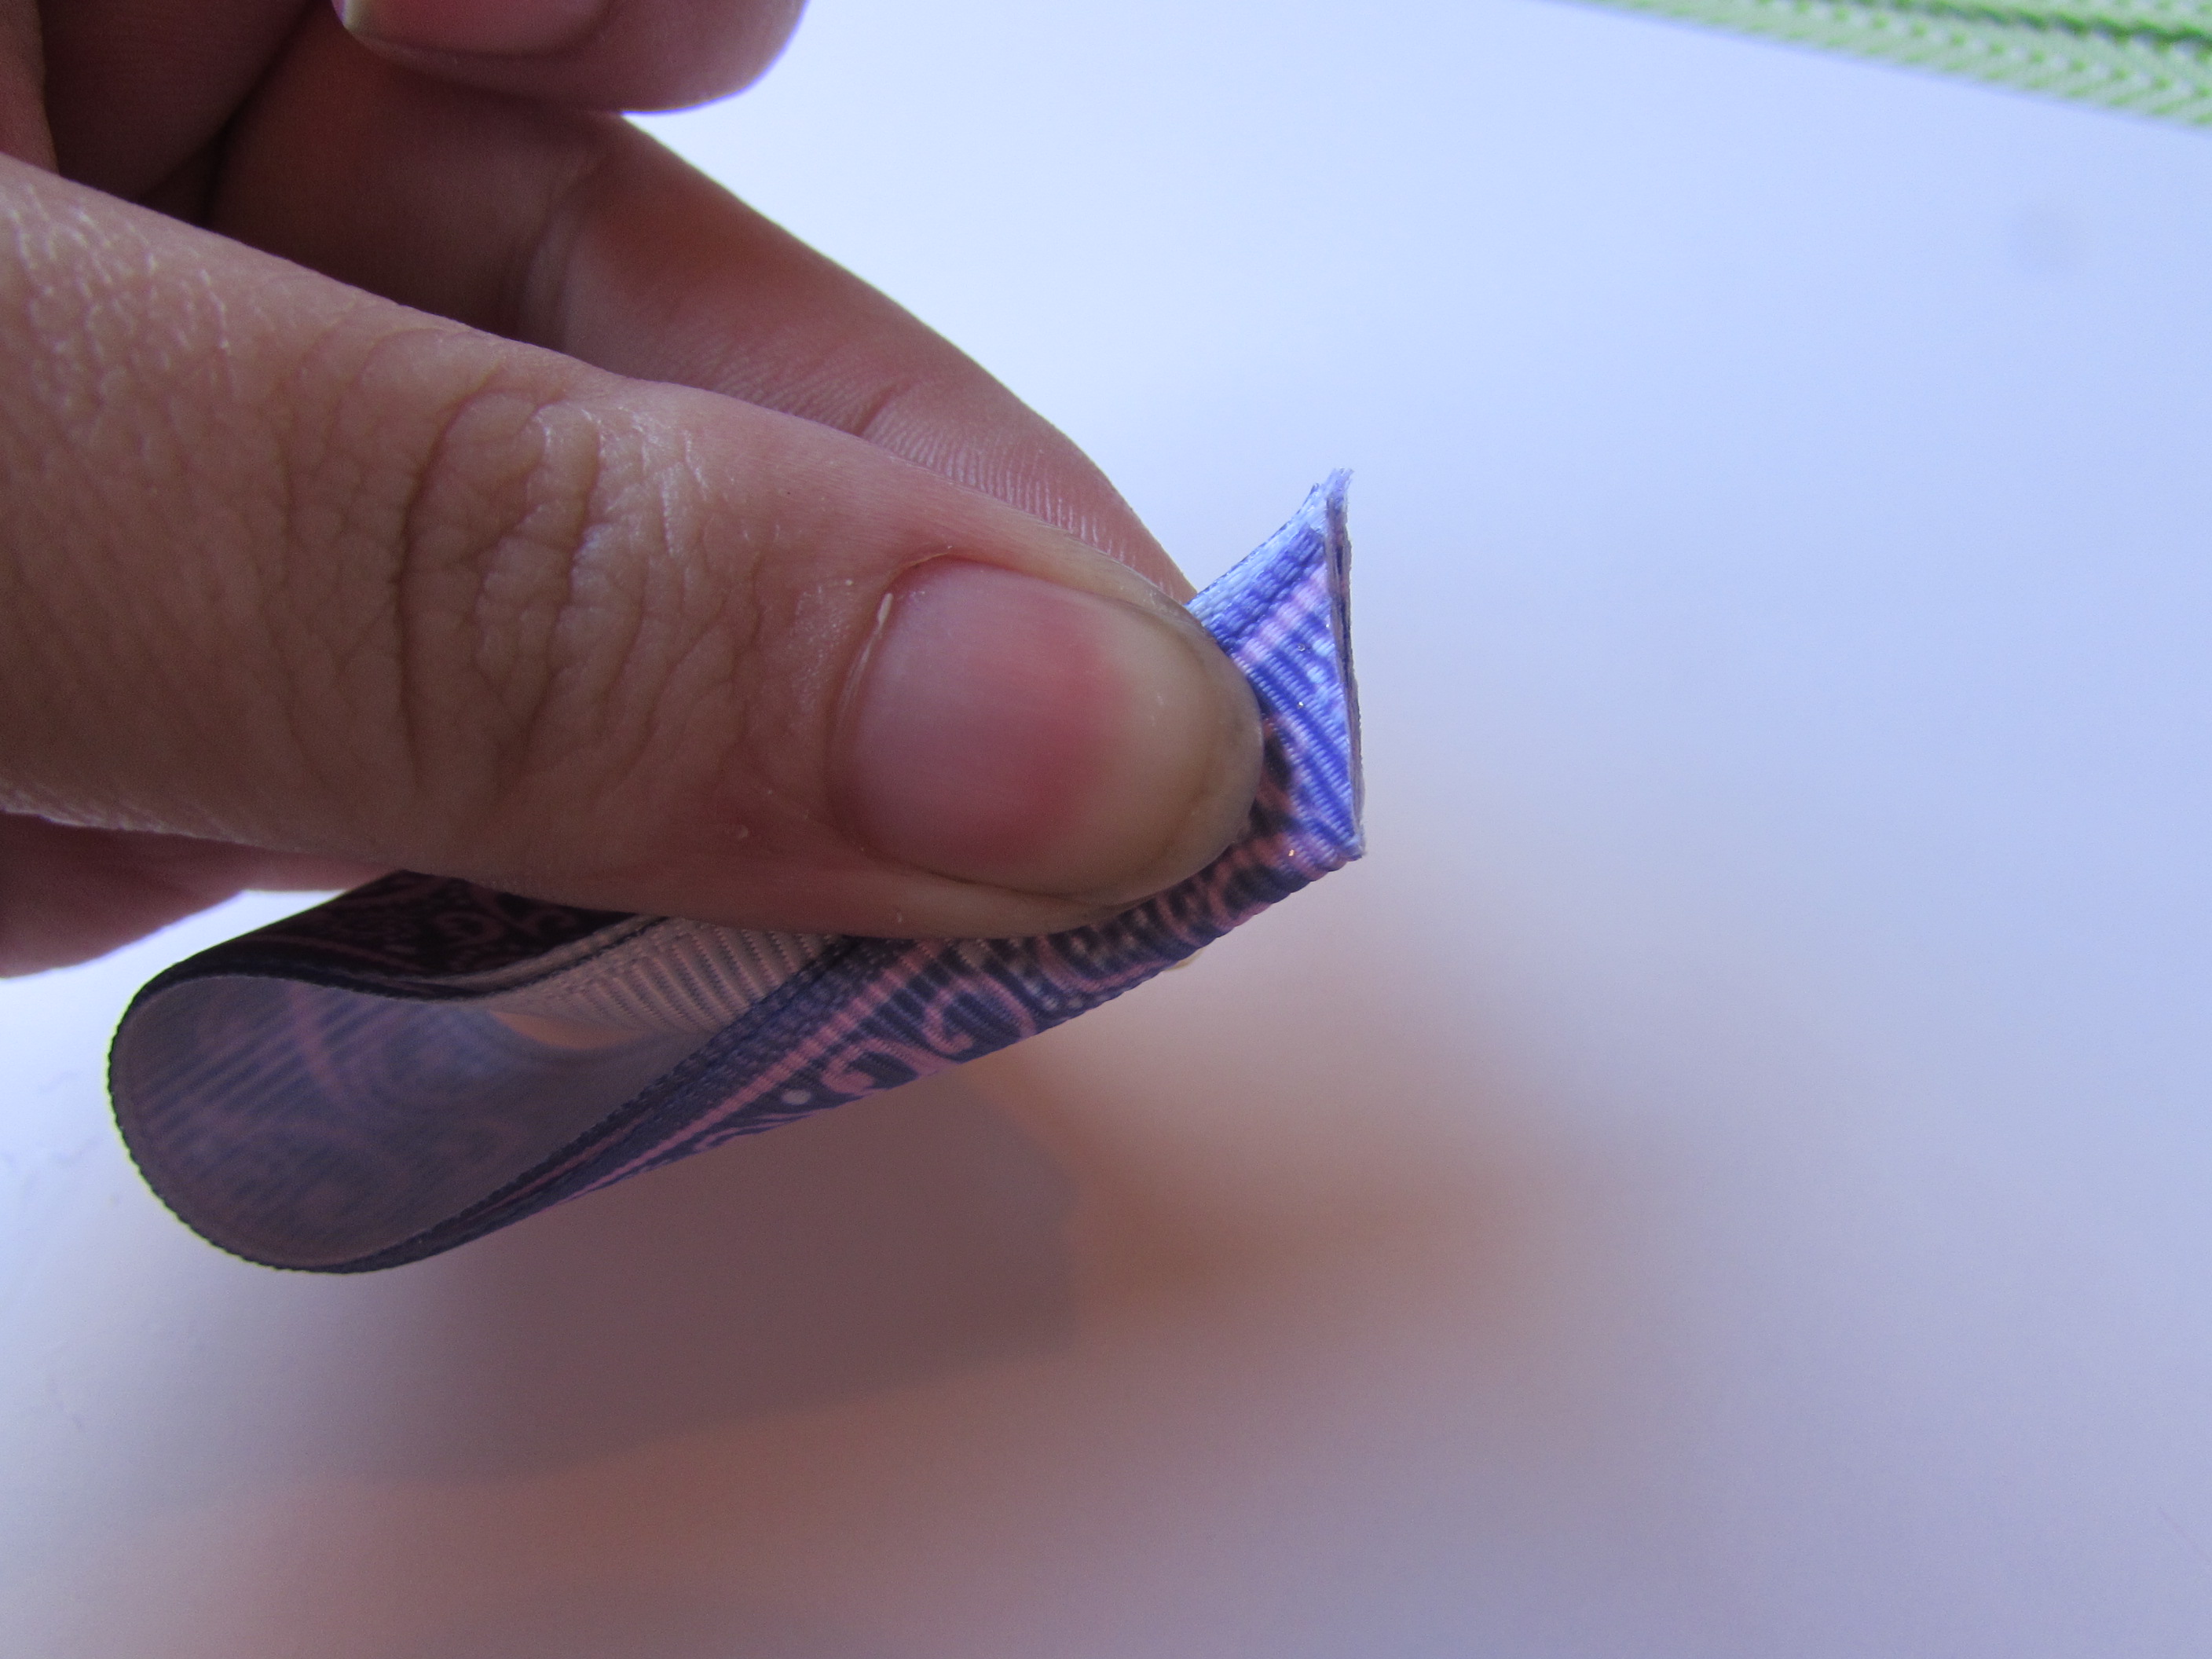
- Repeat step 2 for all your spike pieces! Heat seal ALL ENDS!
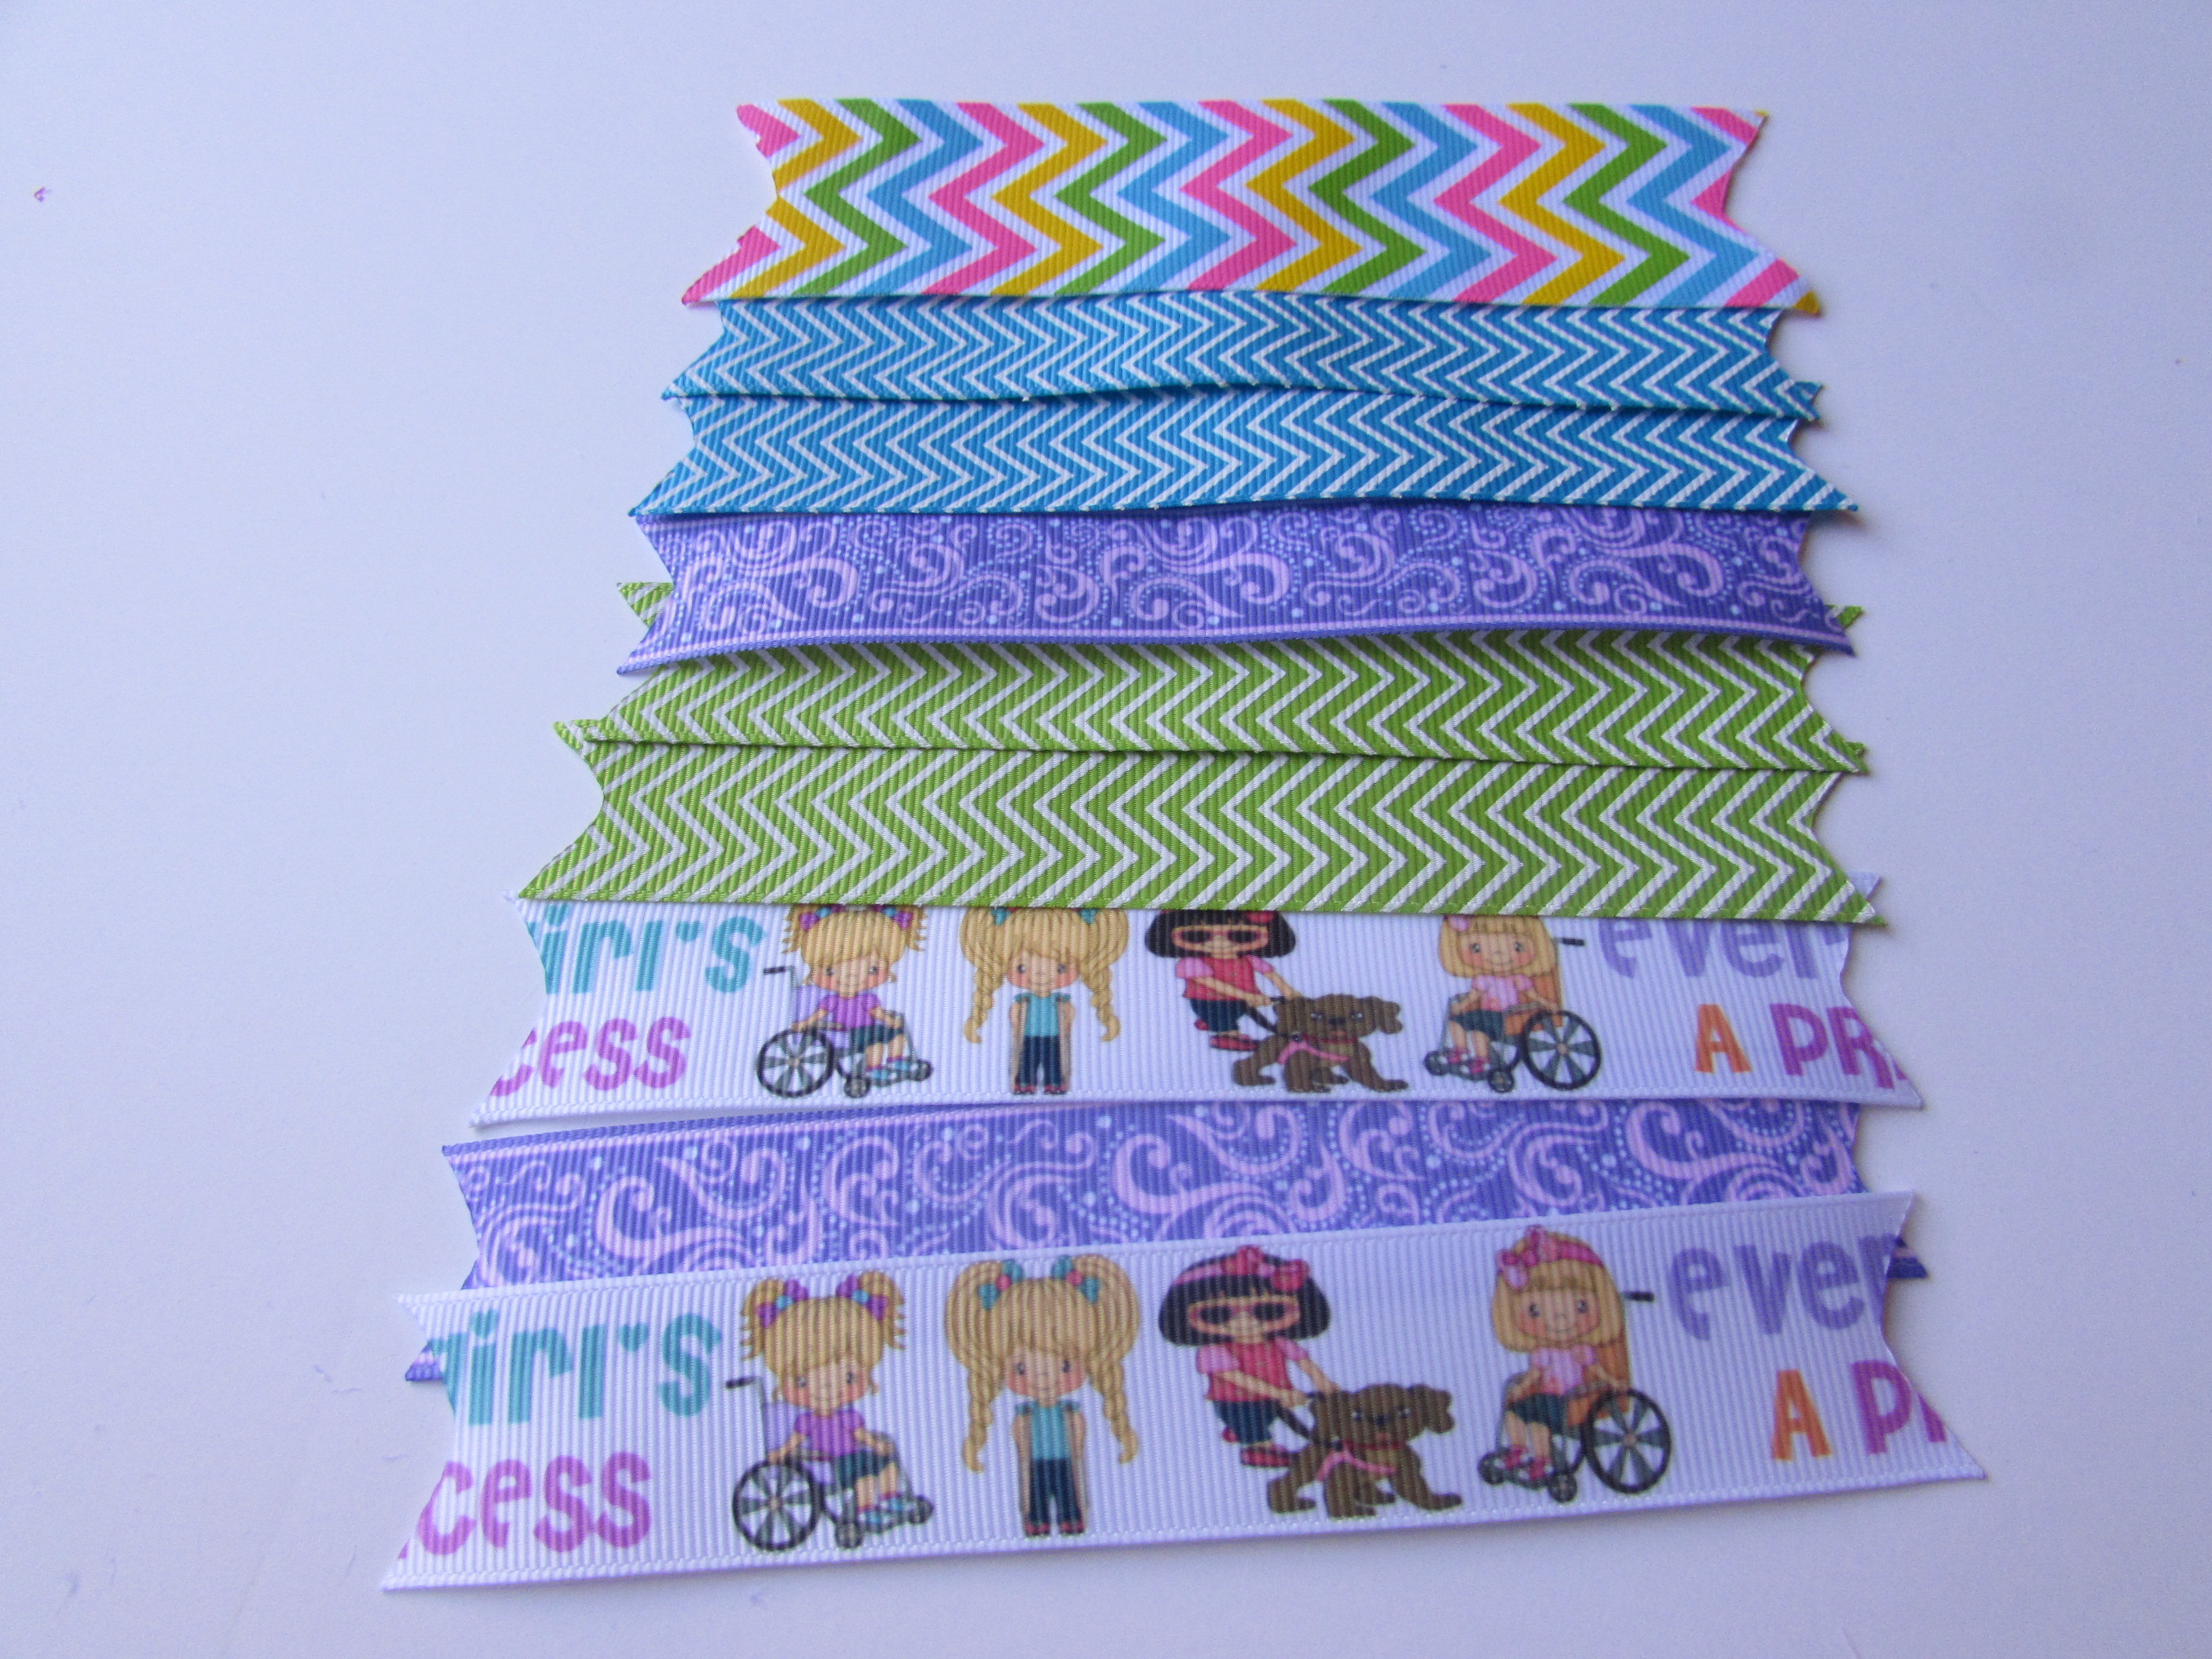
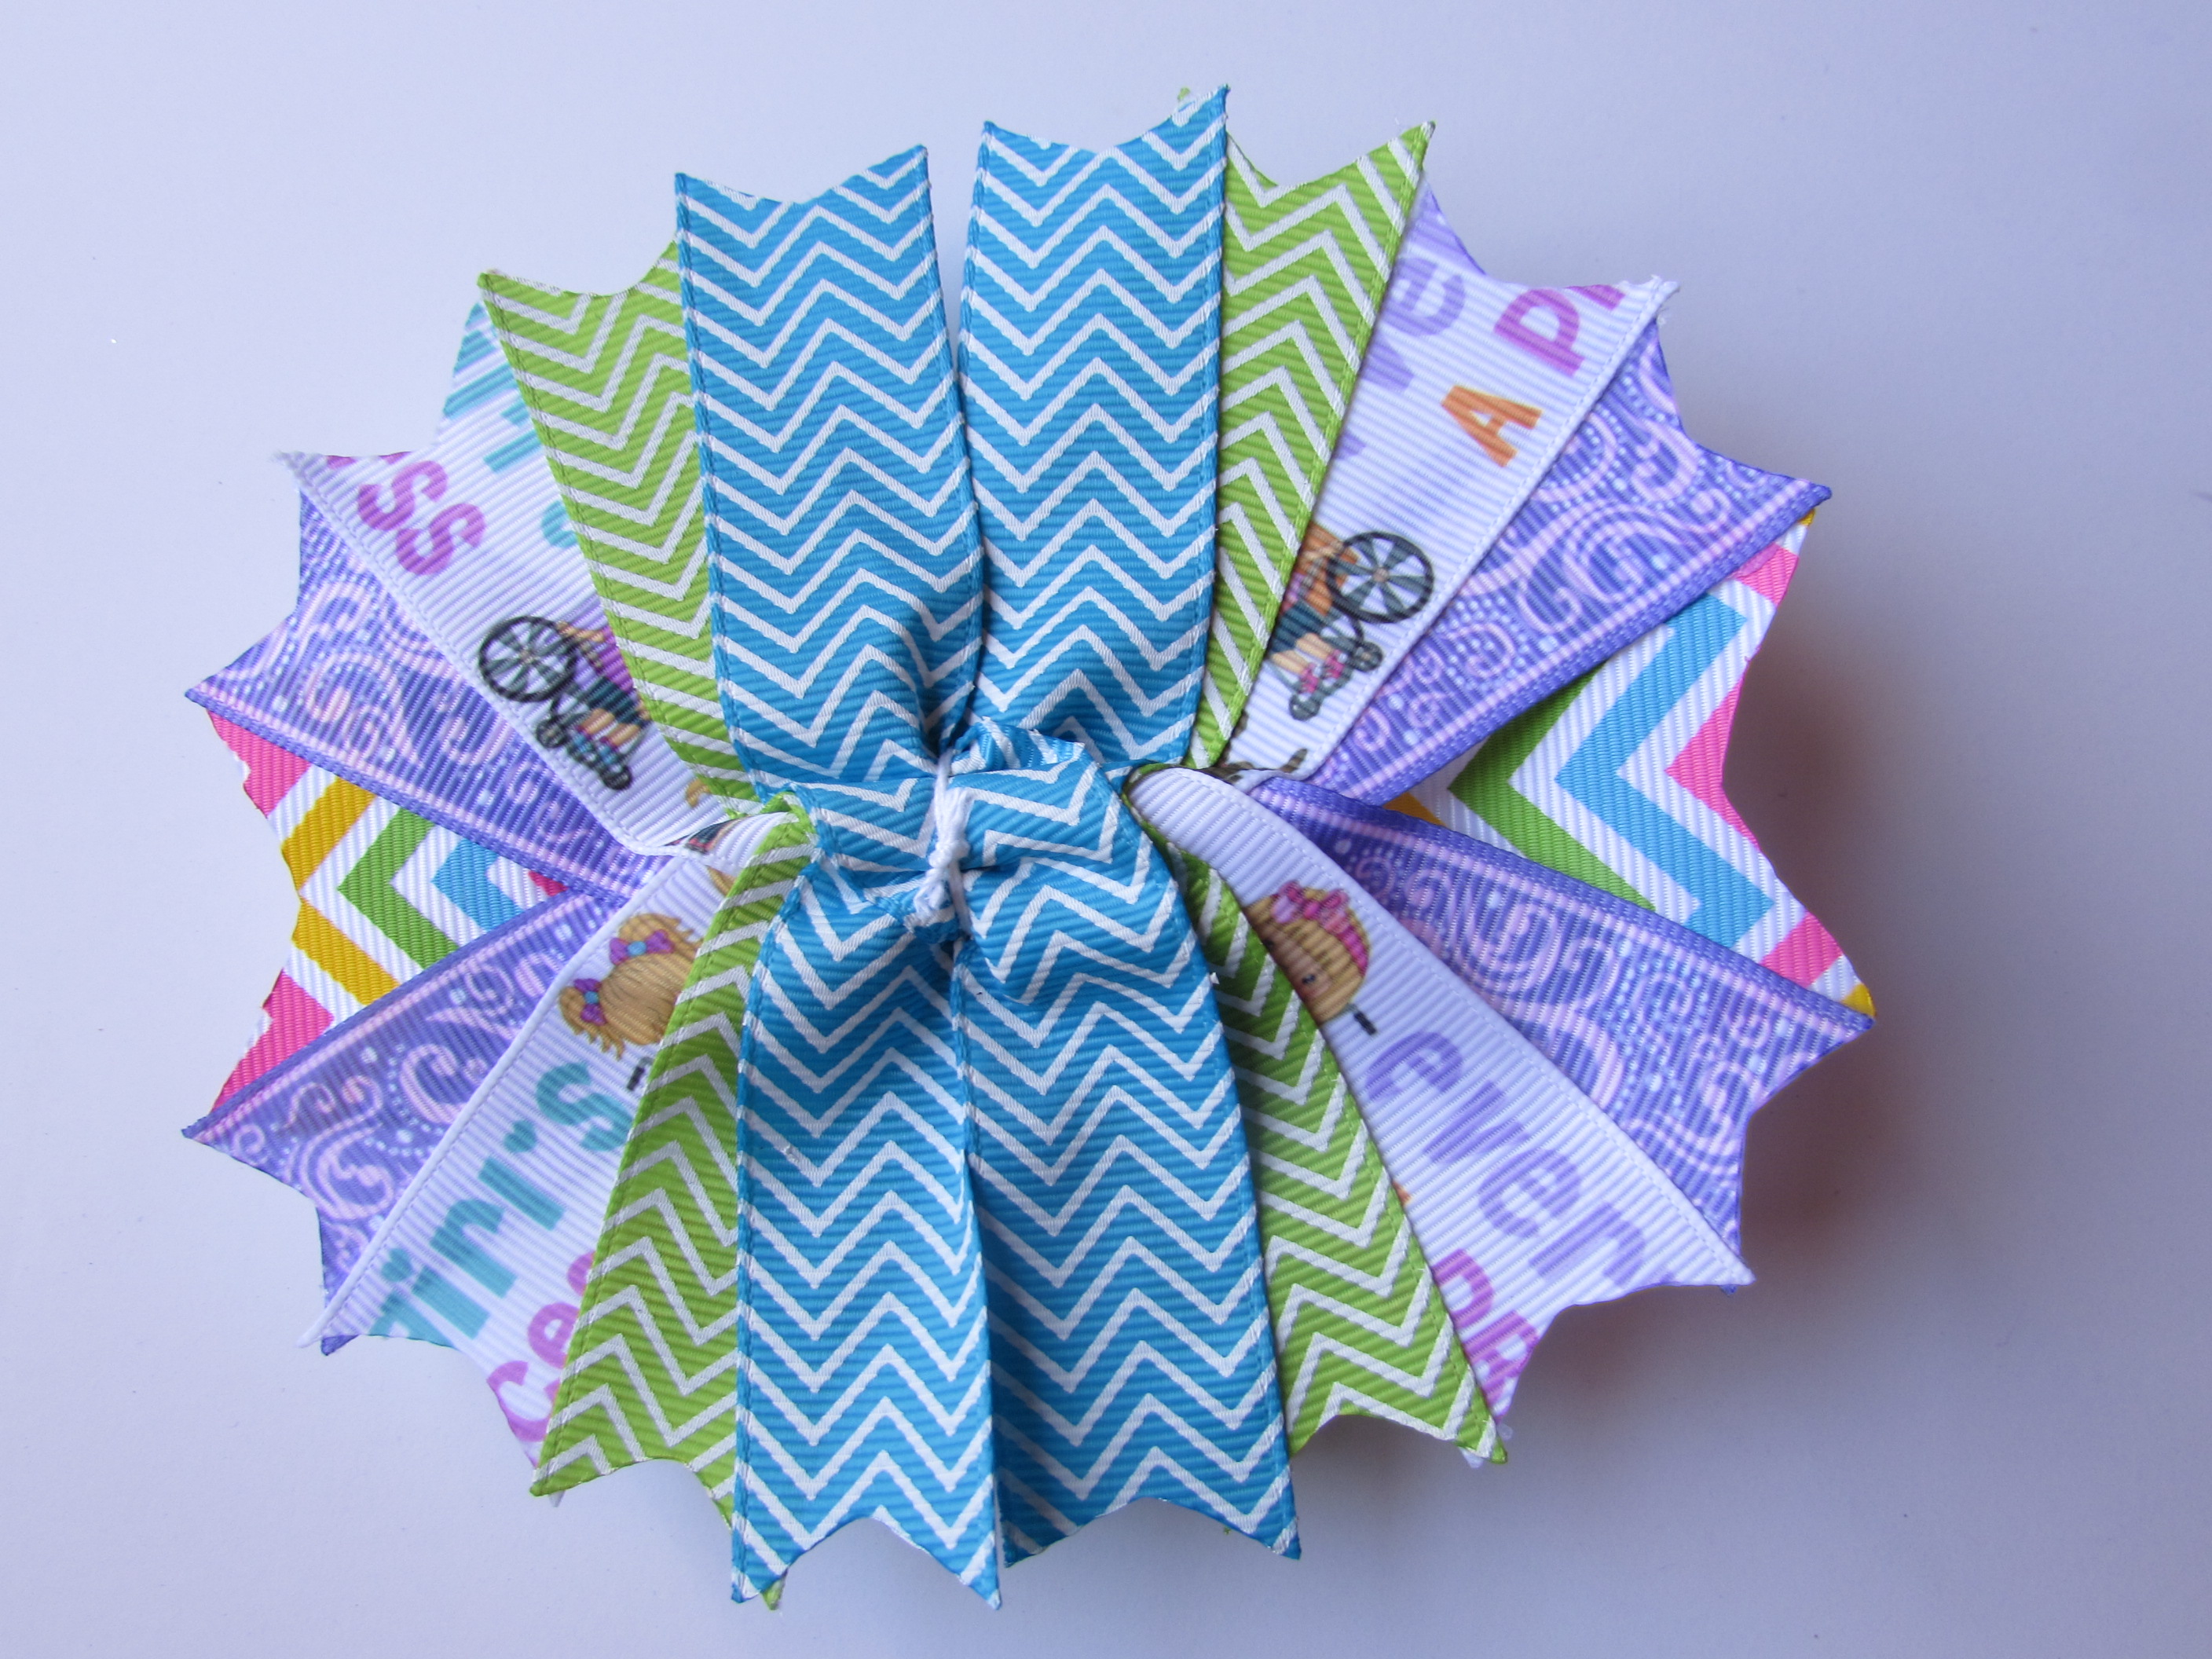
- Now start placing your ribbon in an “X” form.
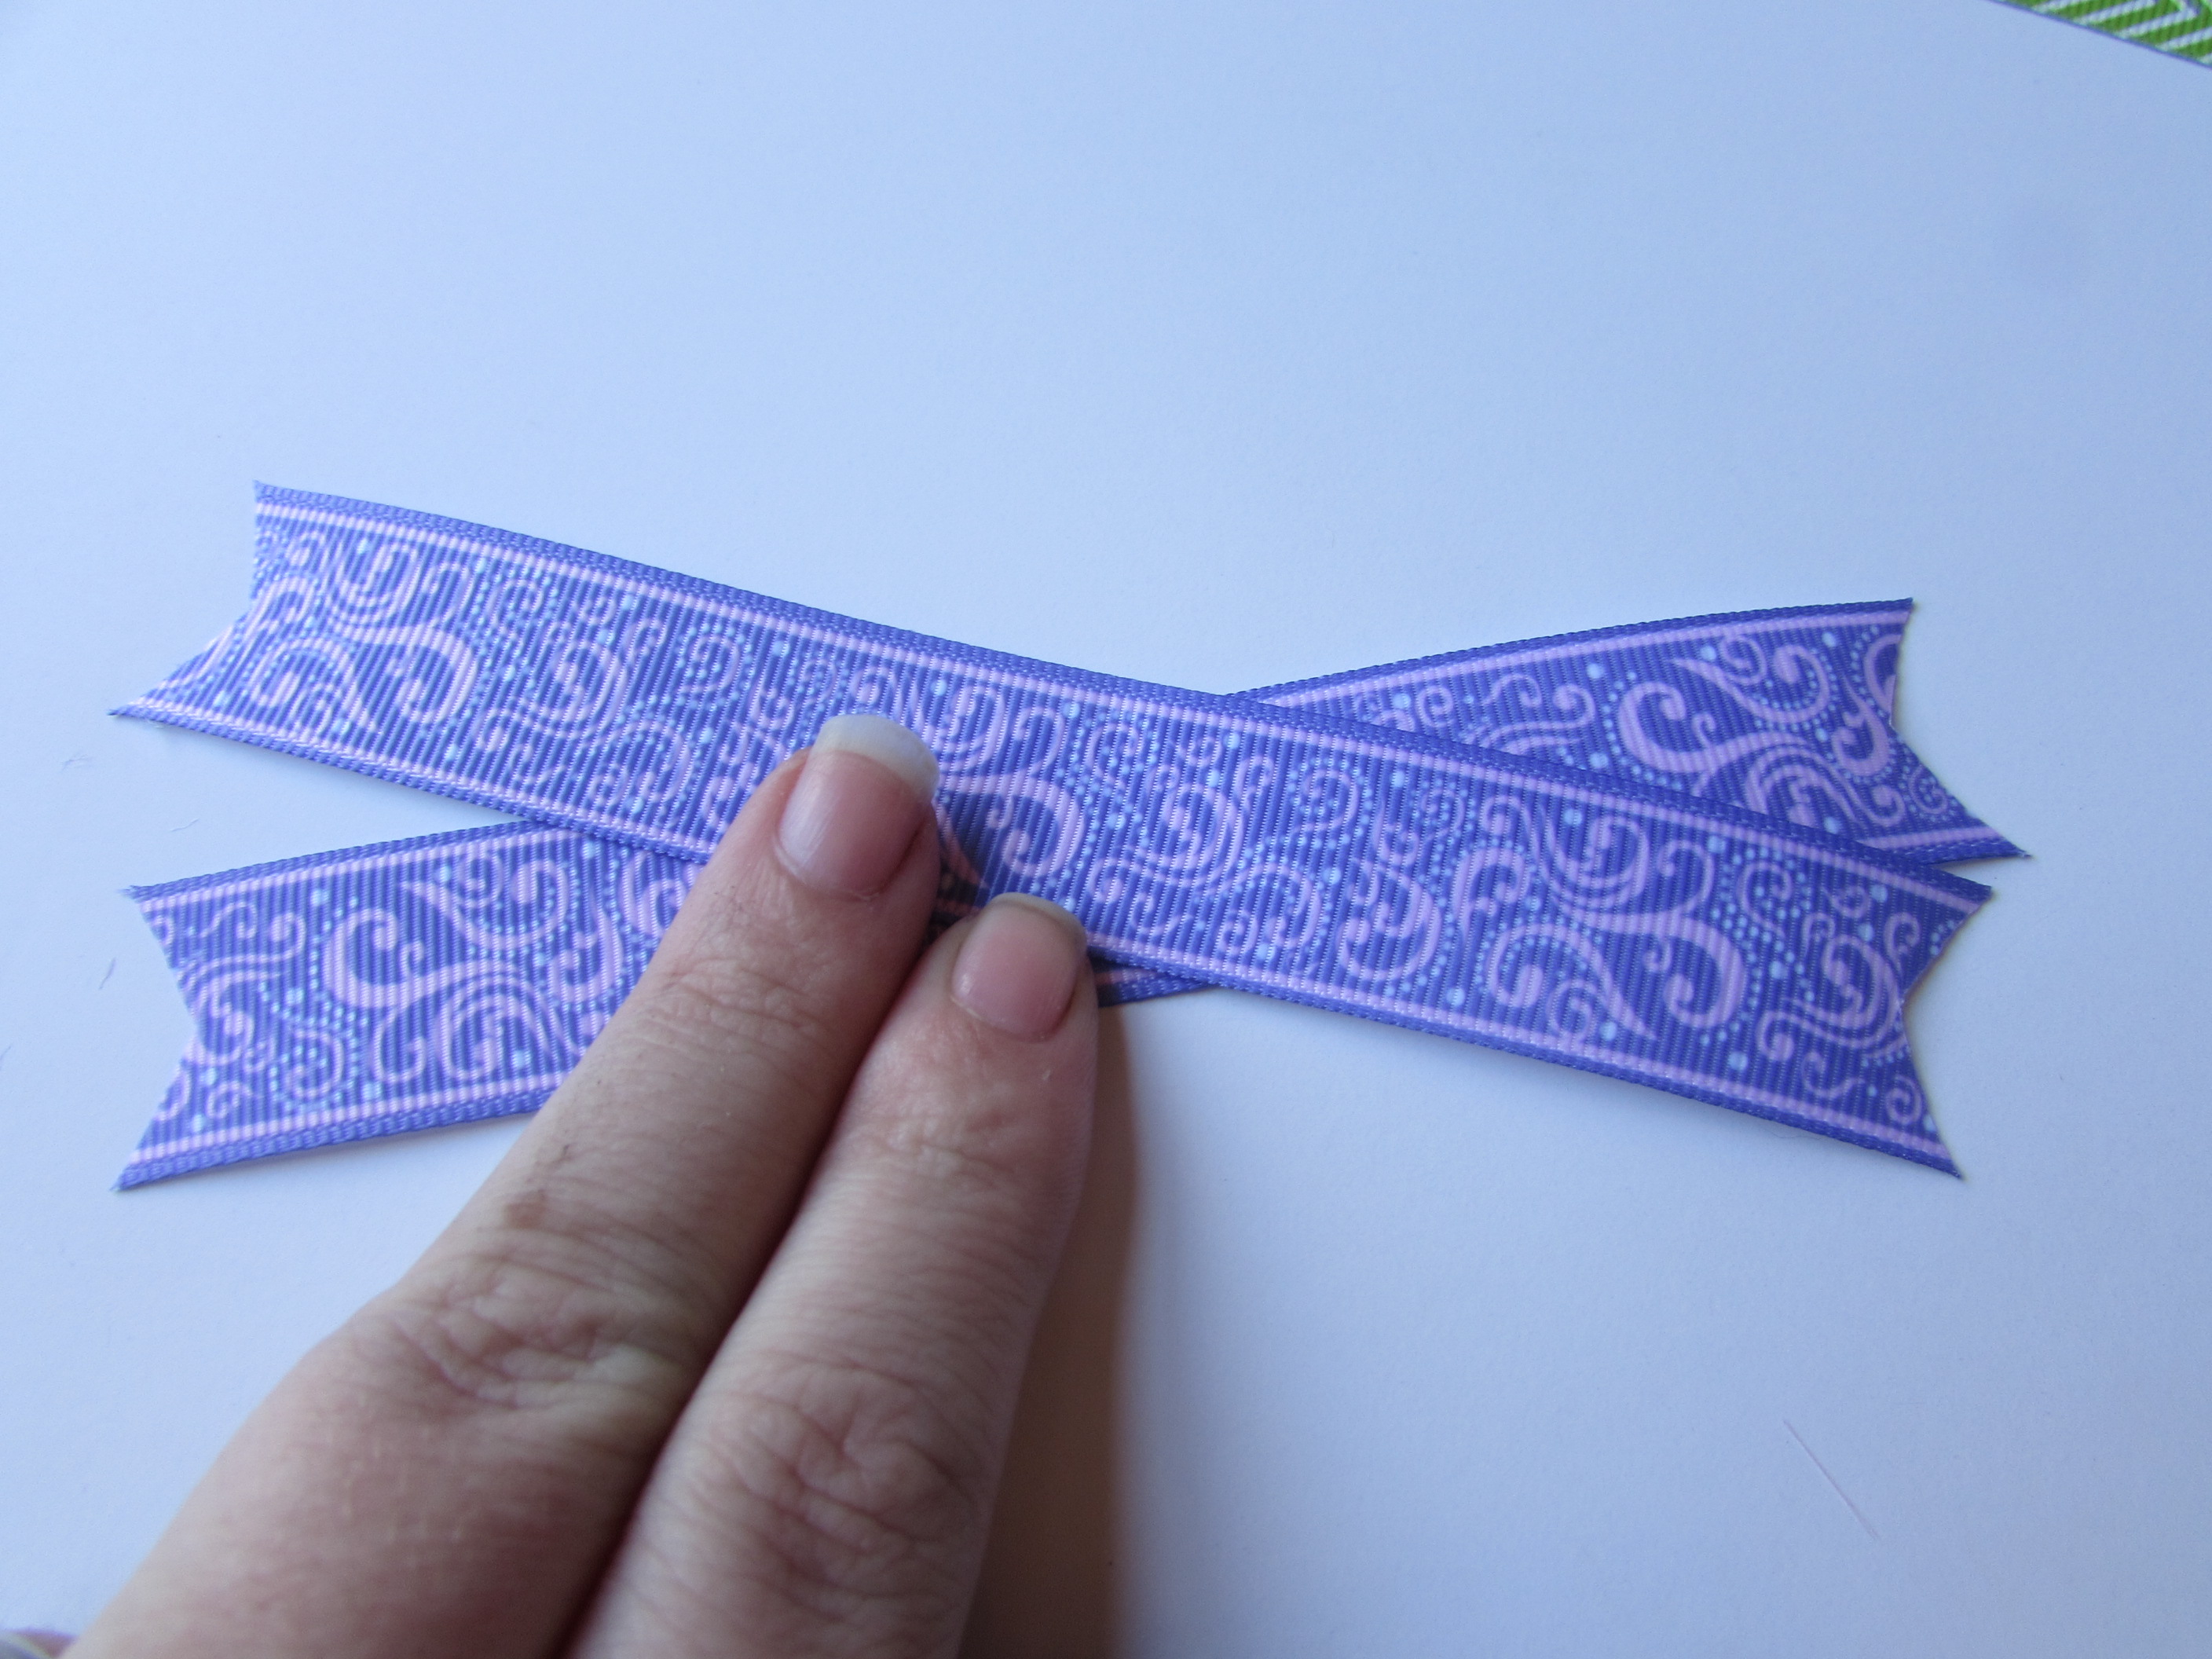
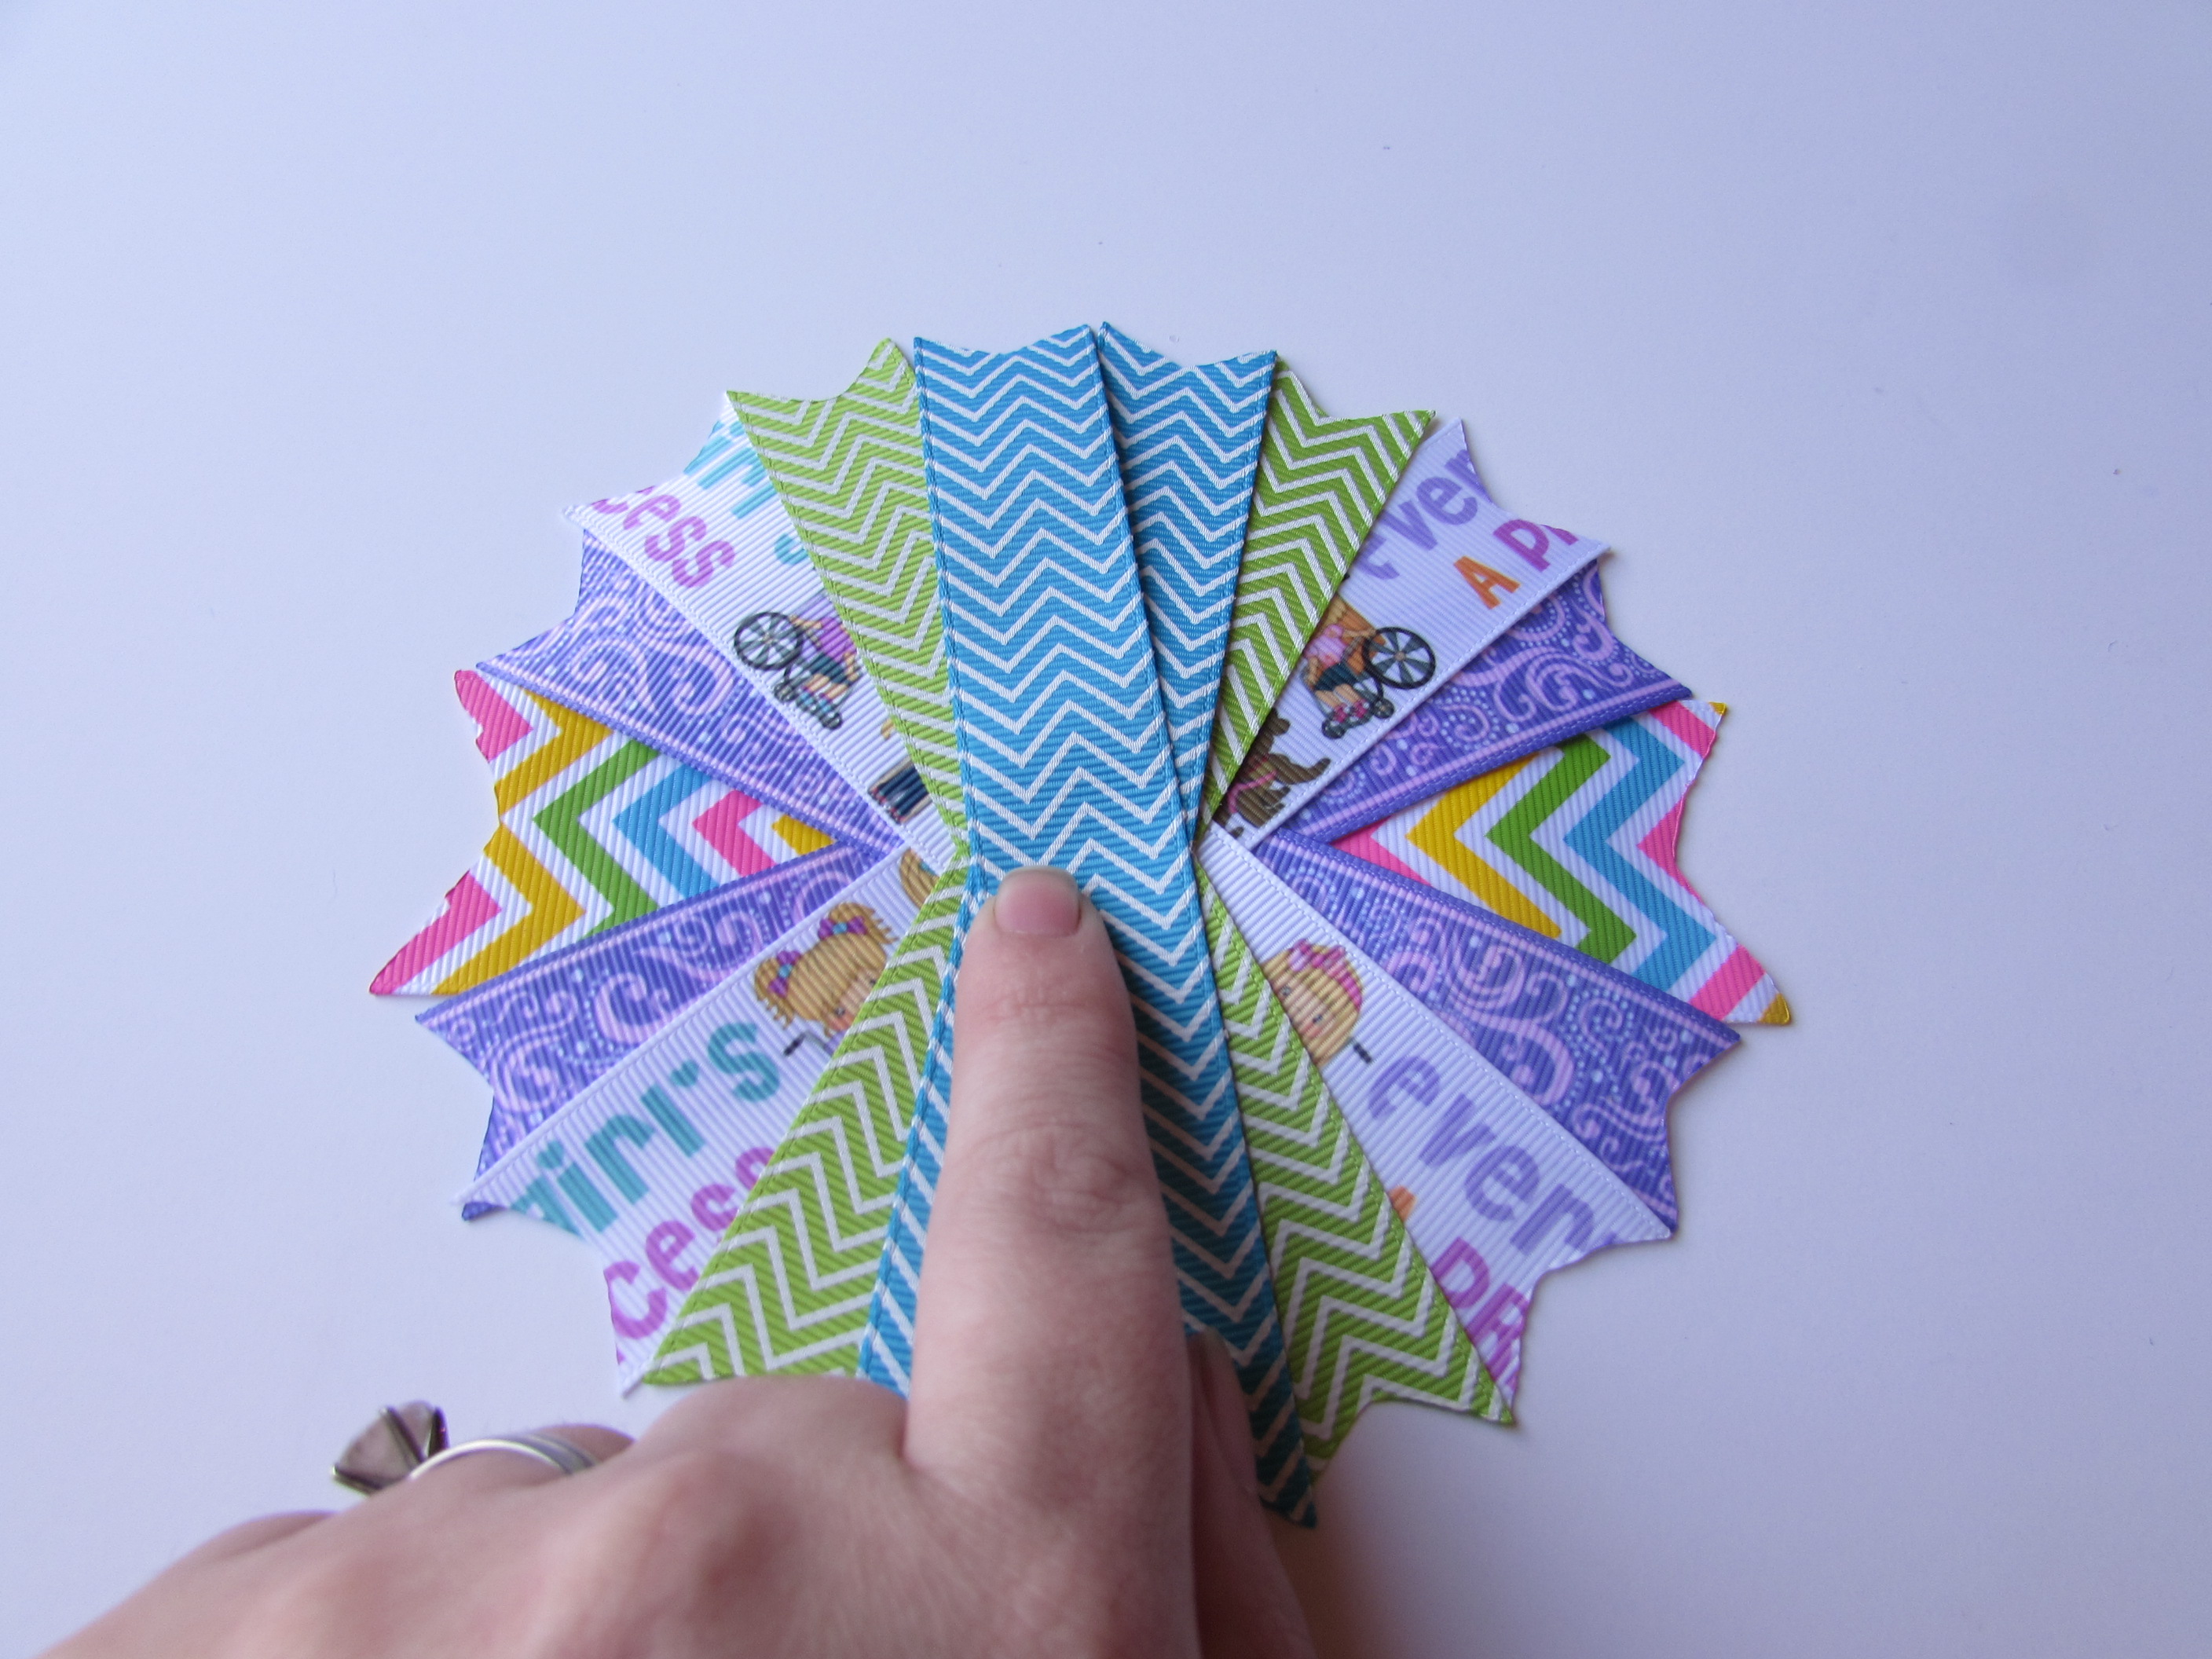
- Easily pick up your spikes, take your salon clip and slide it down the center of your spikes.
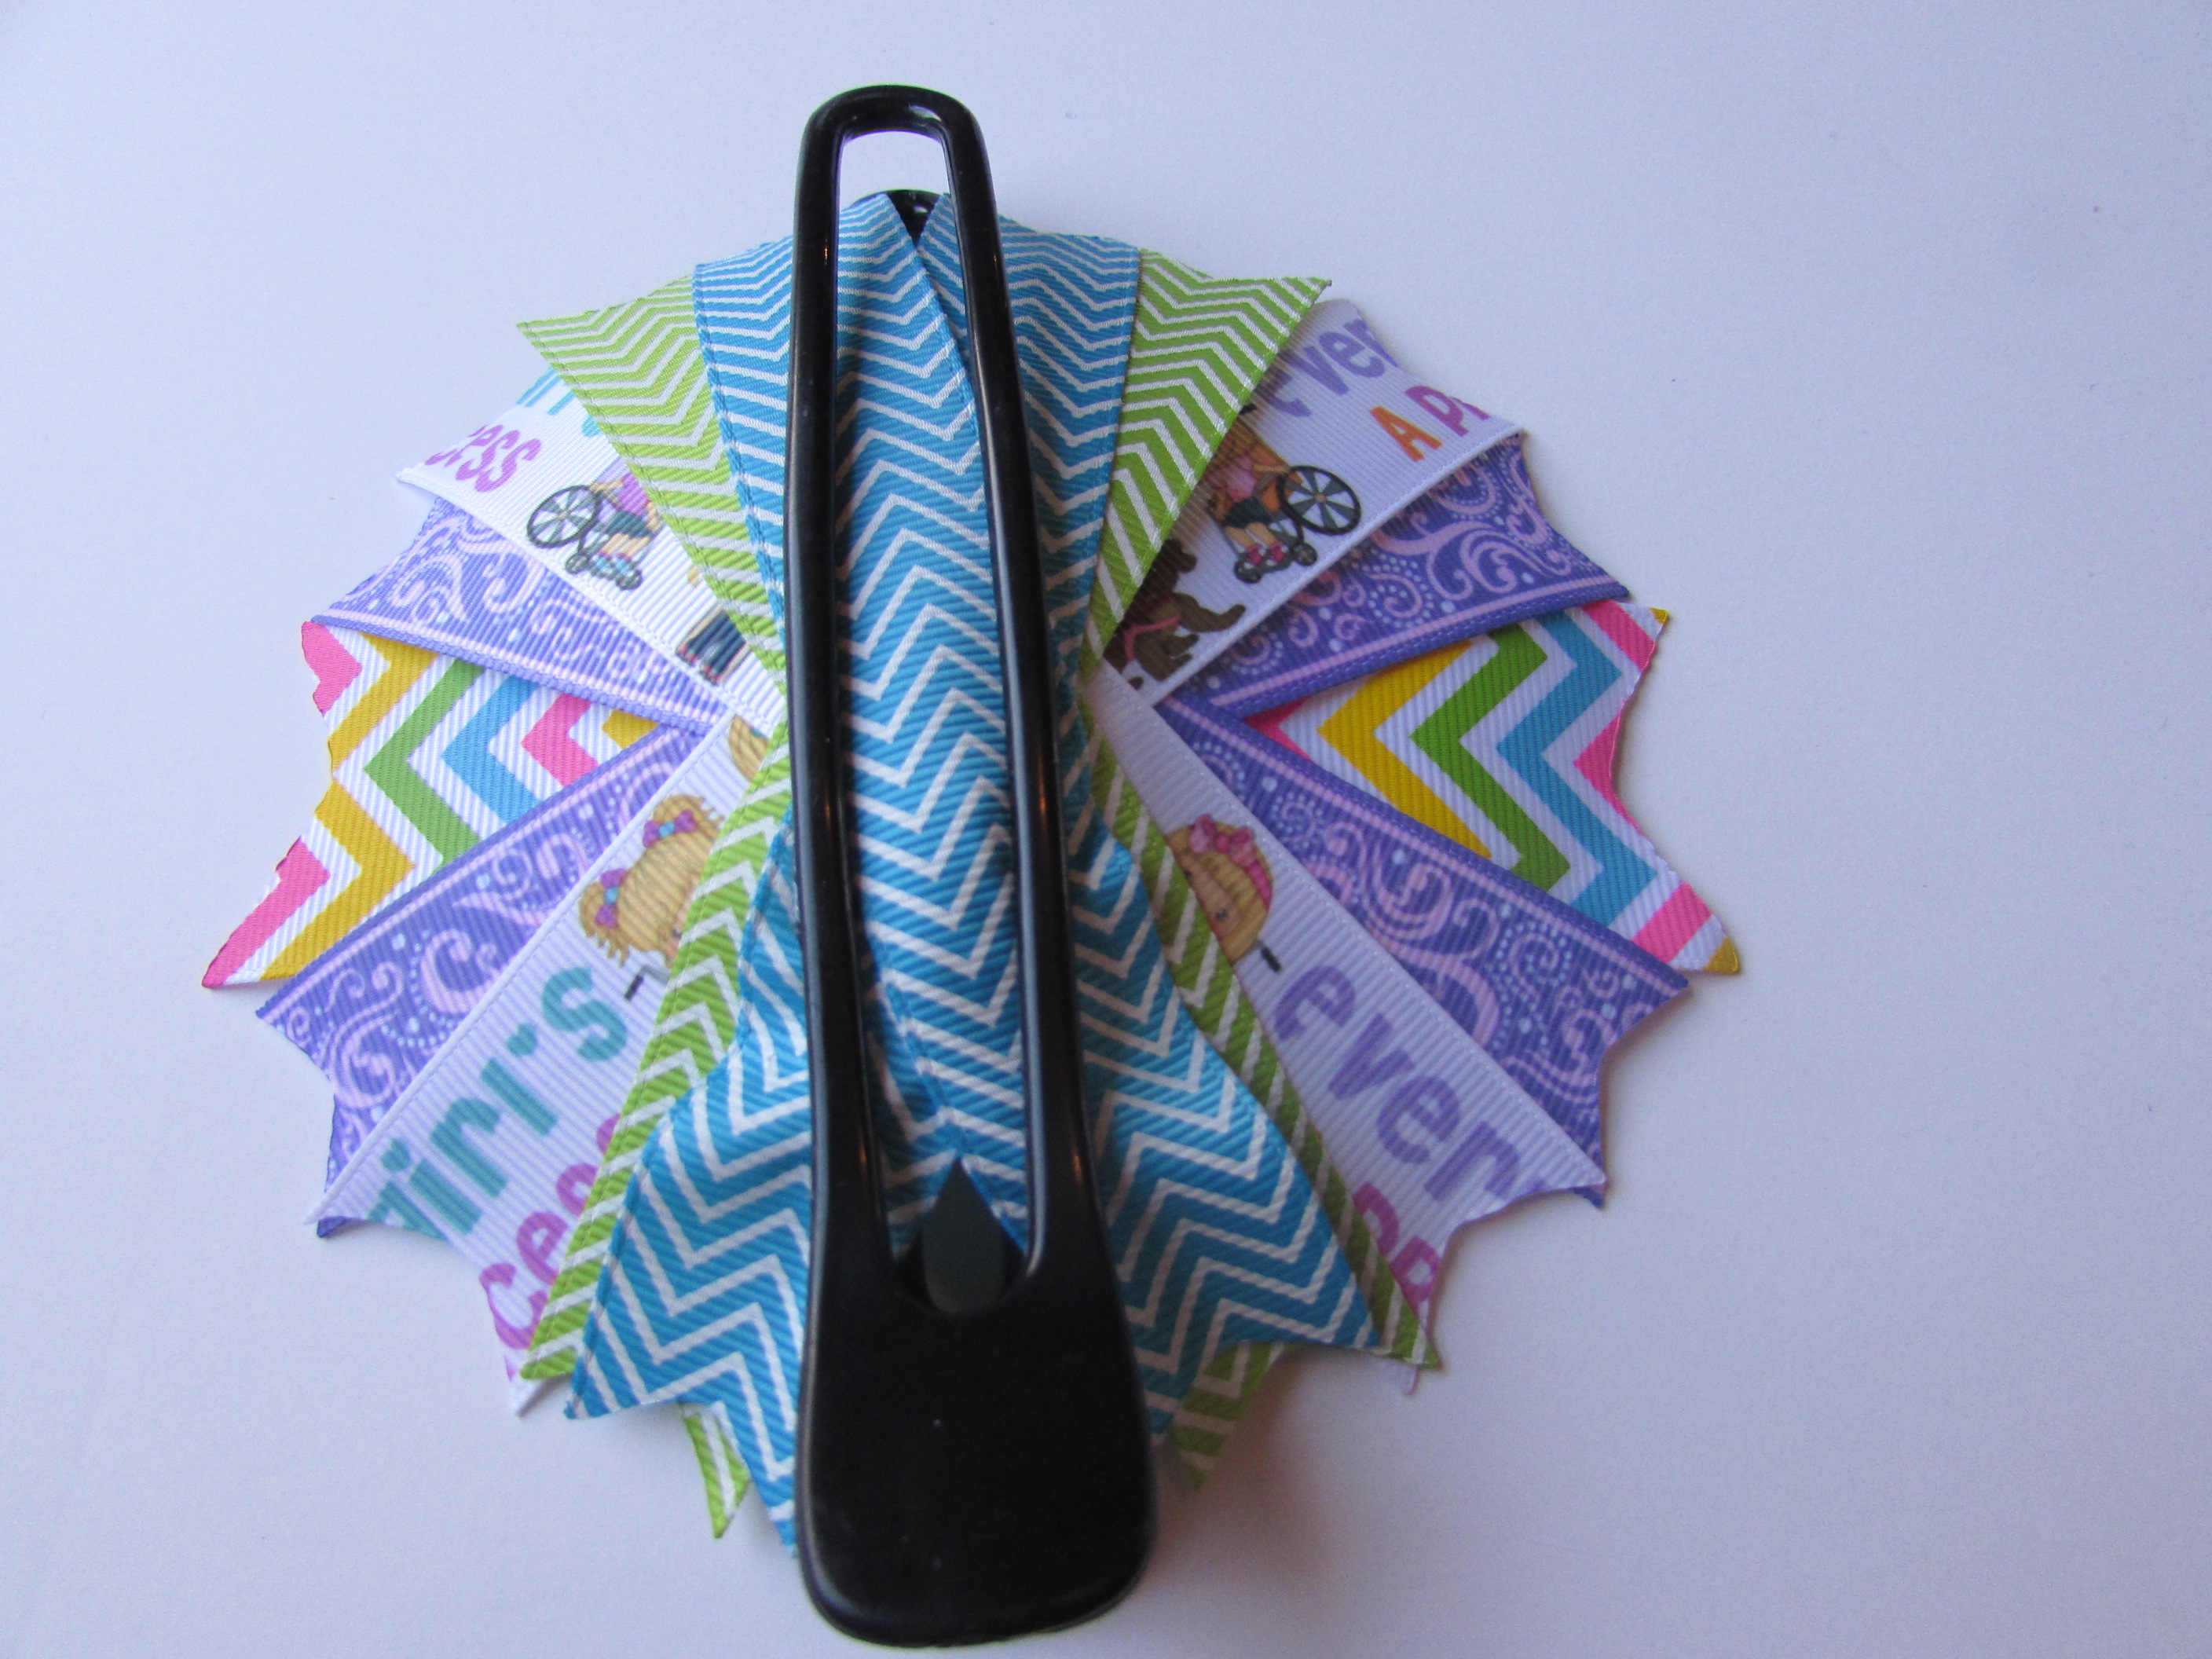
- Wrap thread around your spikes like for the pinwheel and topper bow.
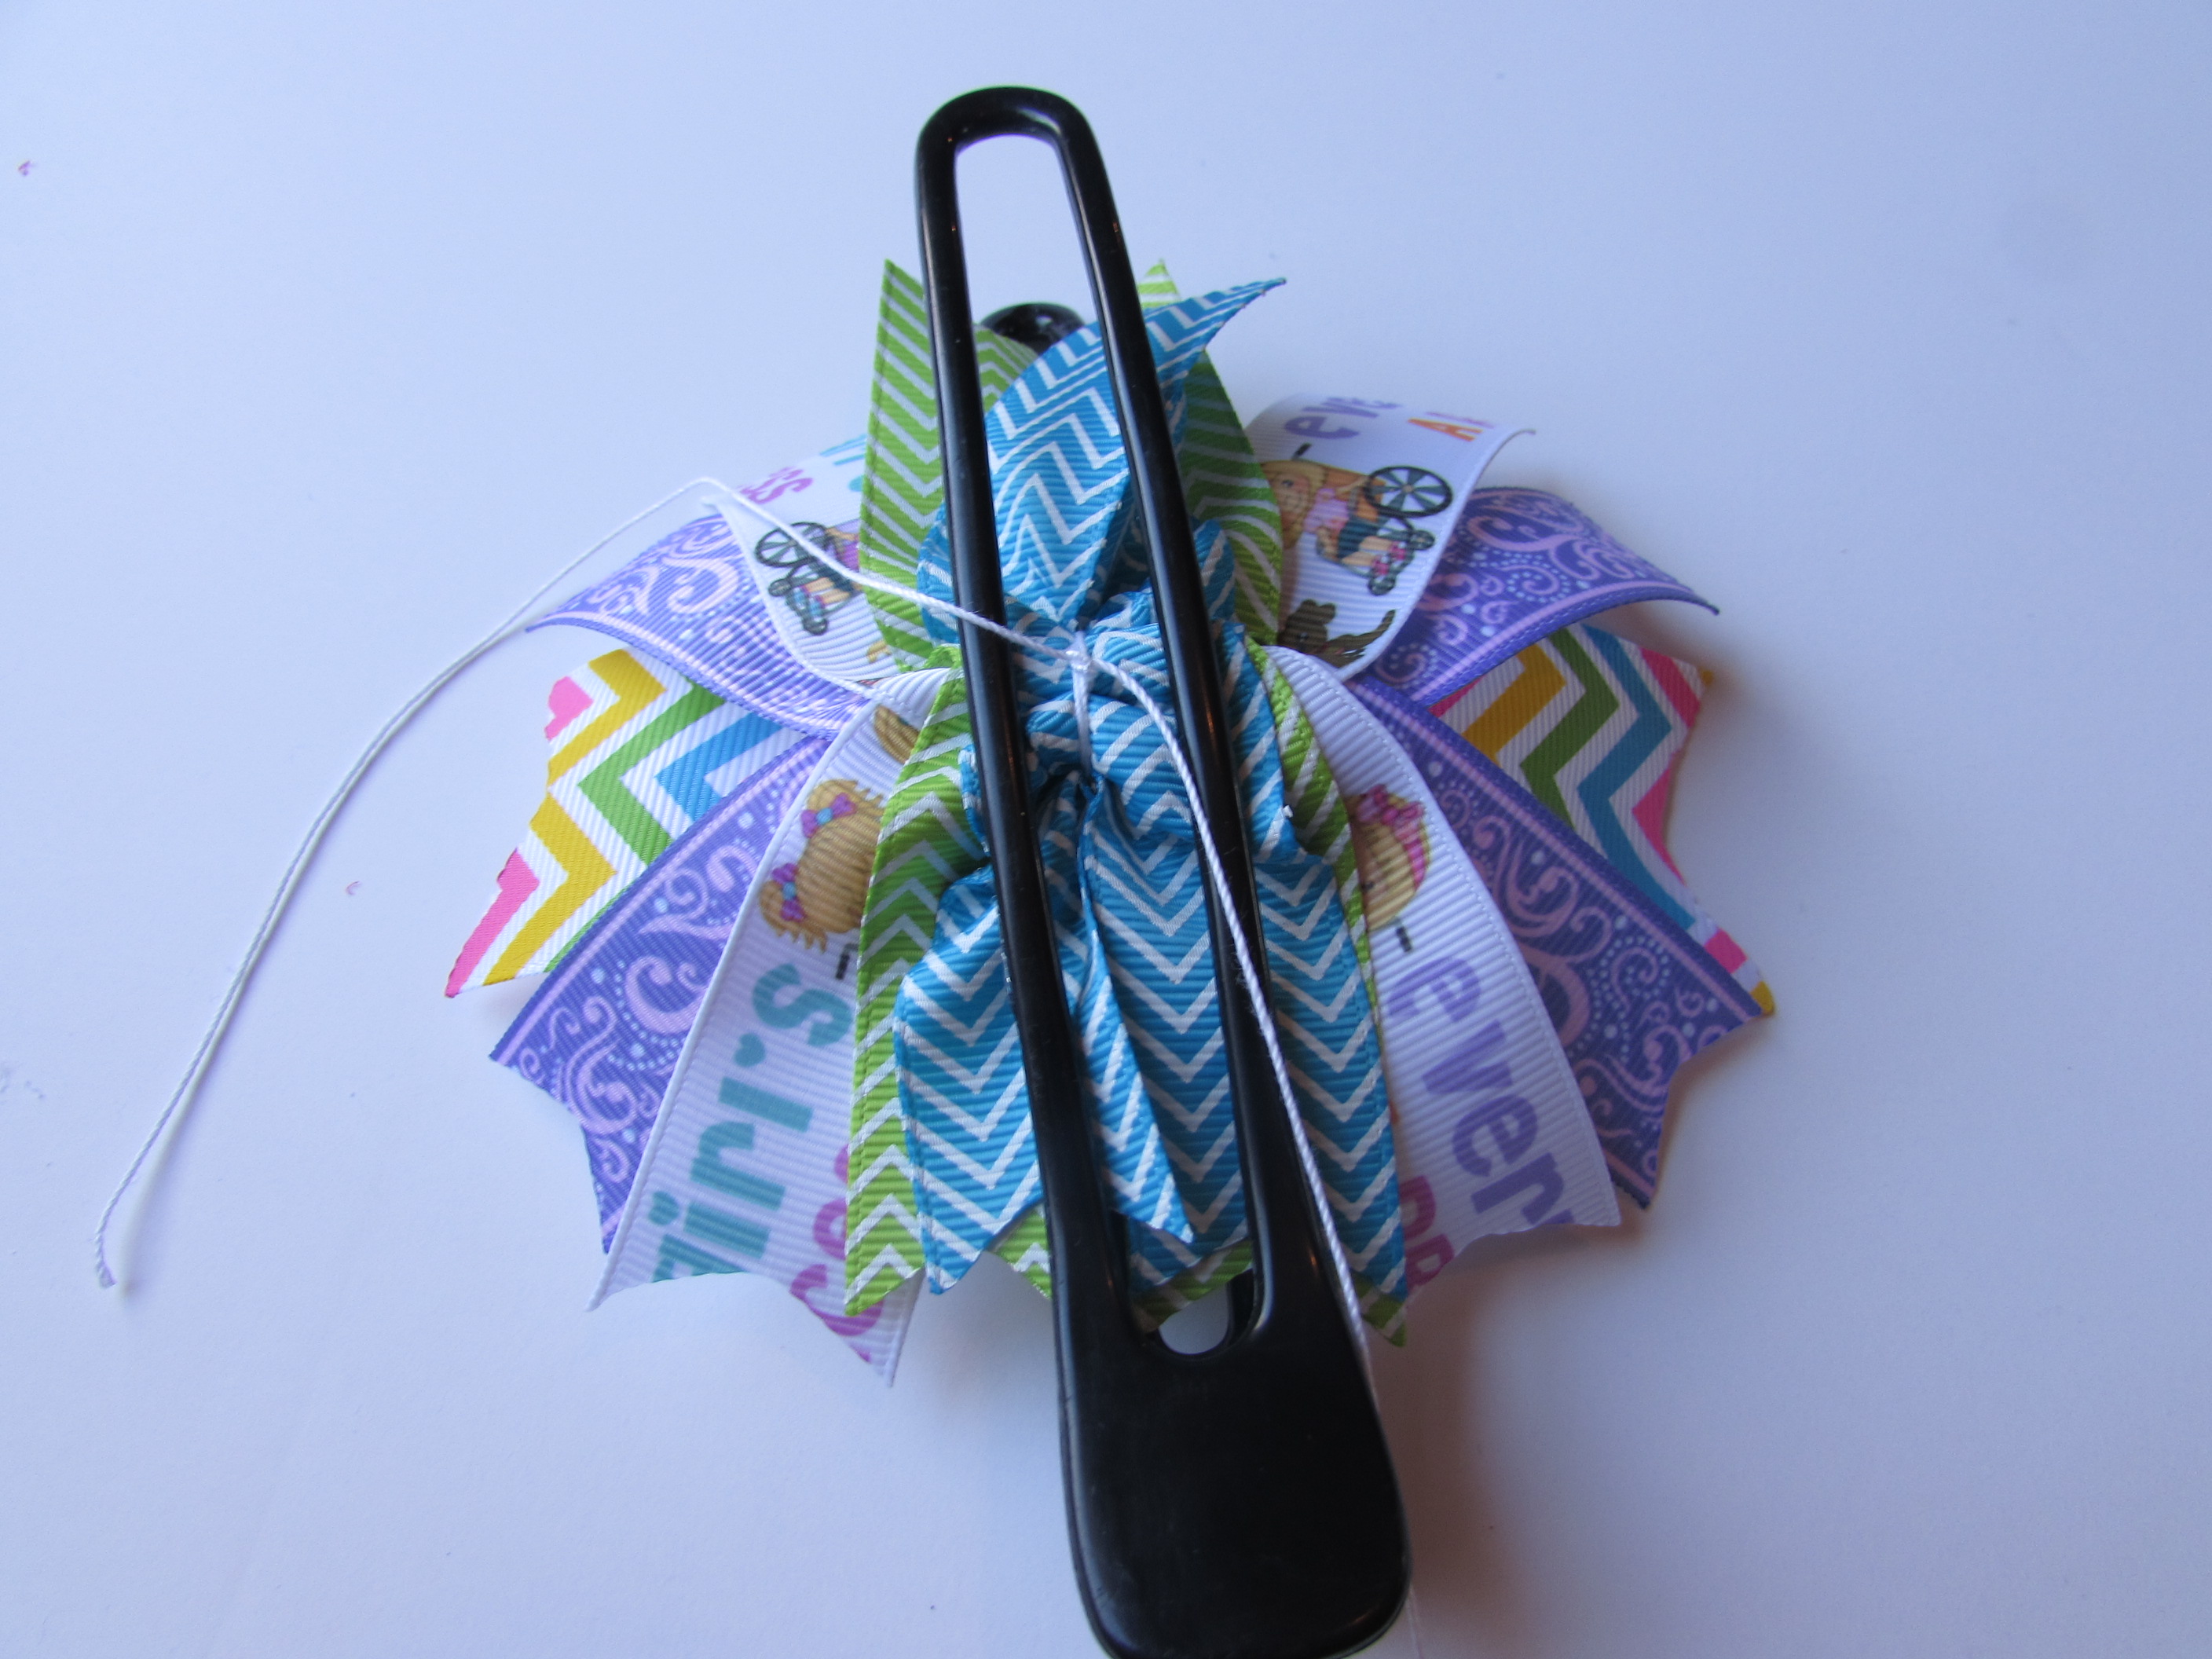
- Remove clip and trim off the extra thread.
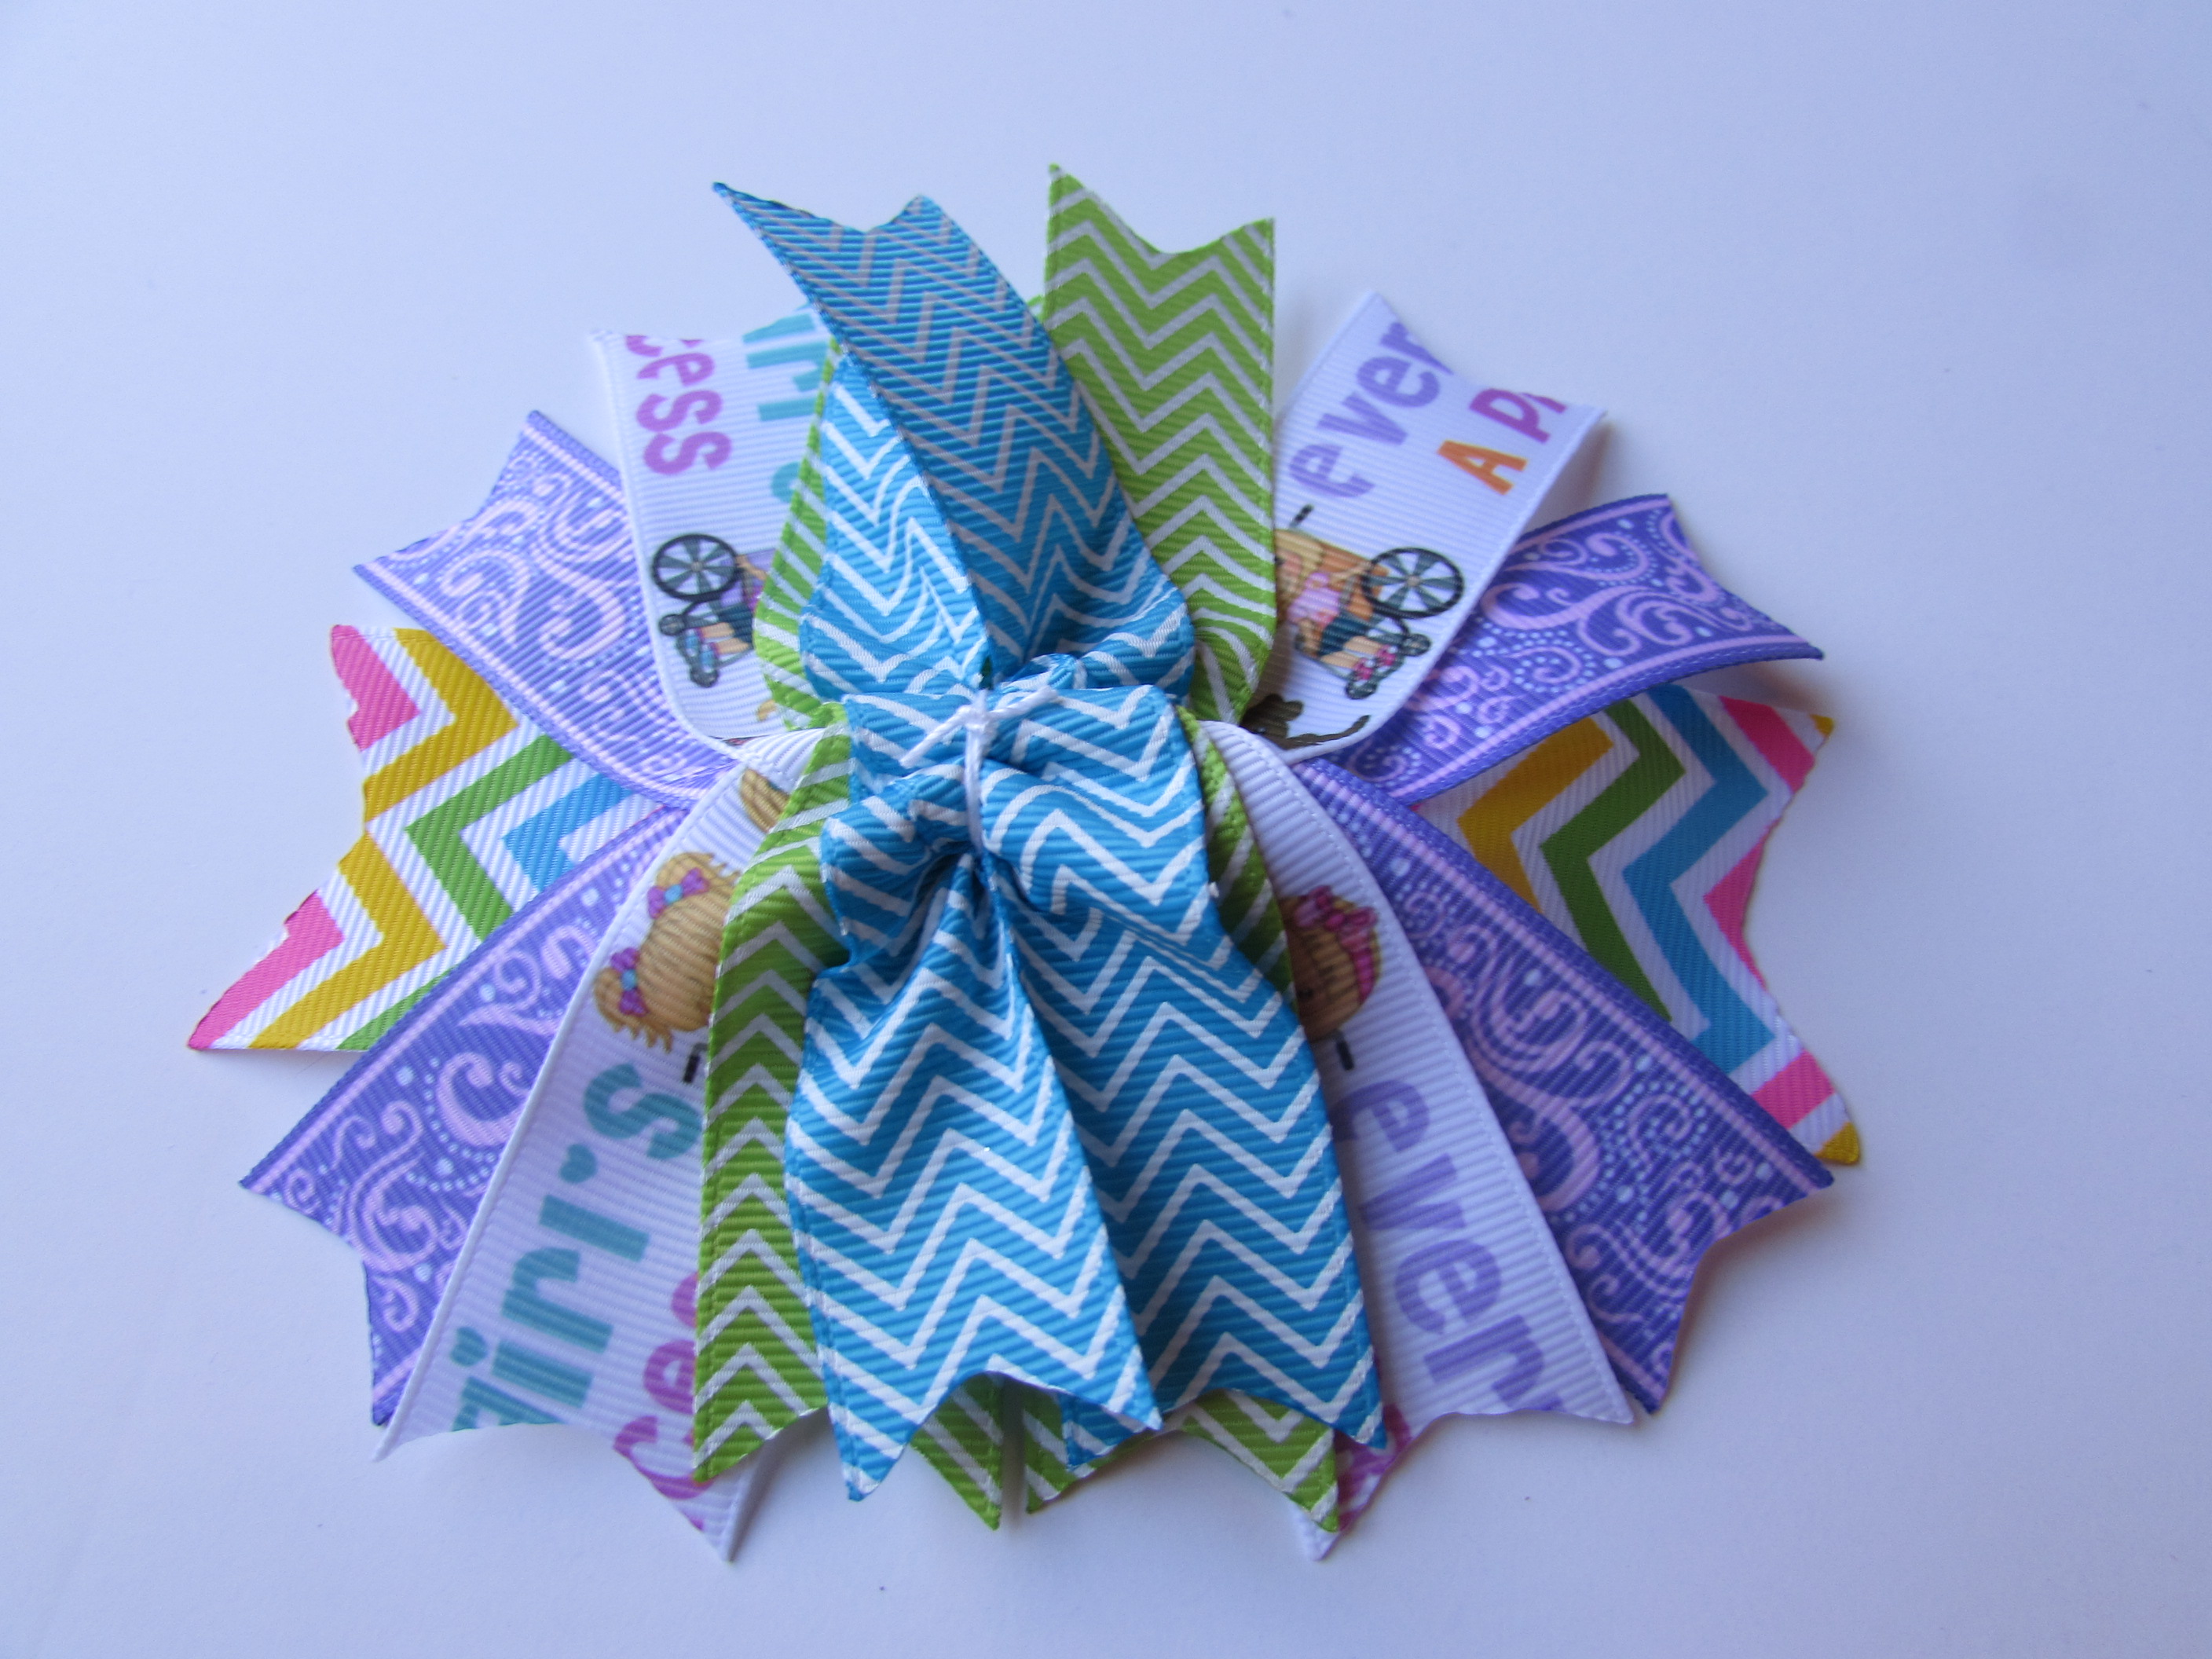
- Now pull gently on spikes to make ends even.
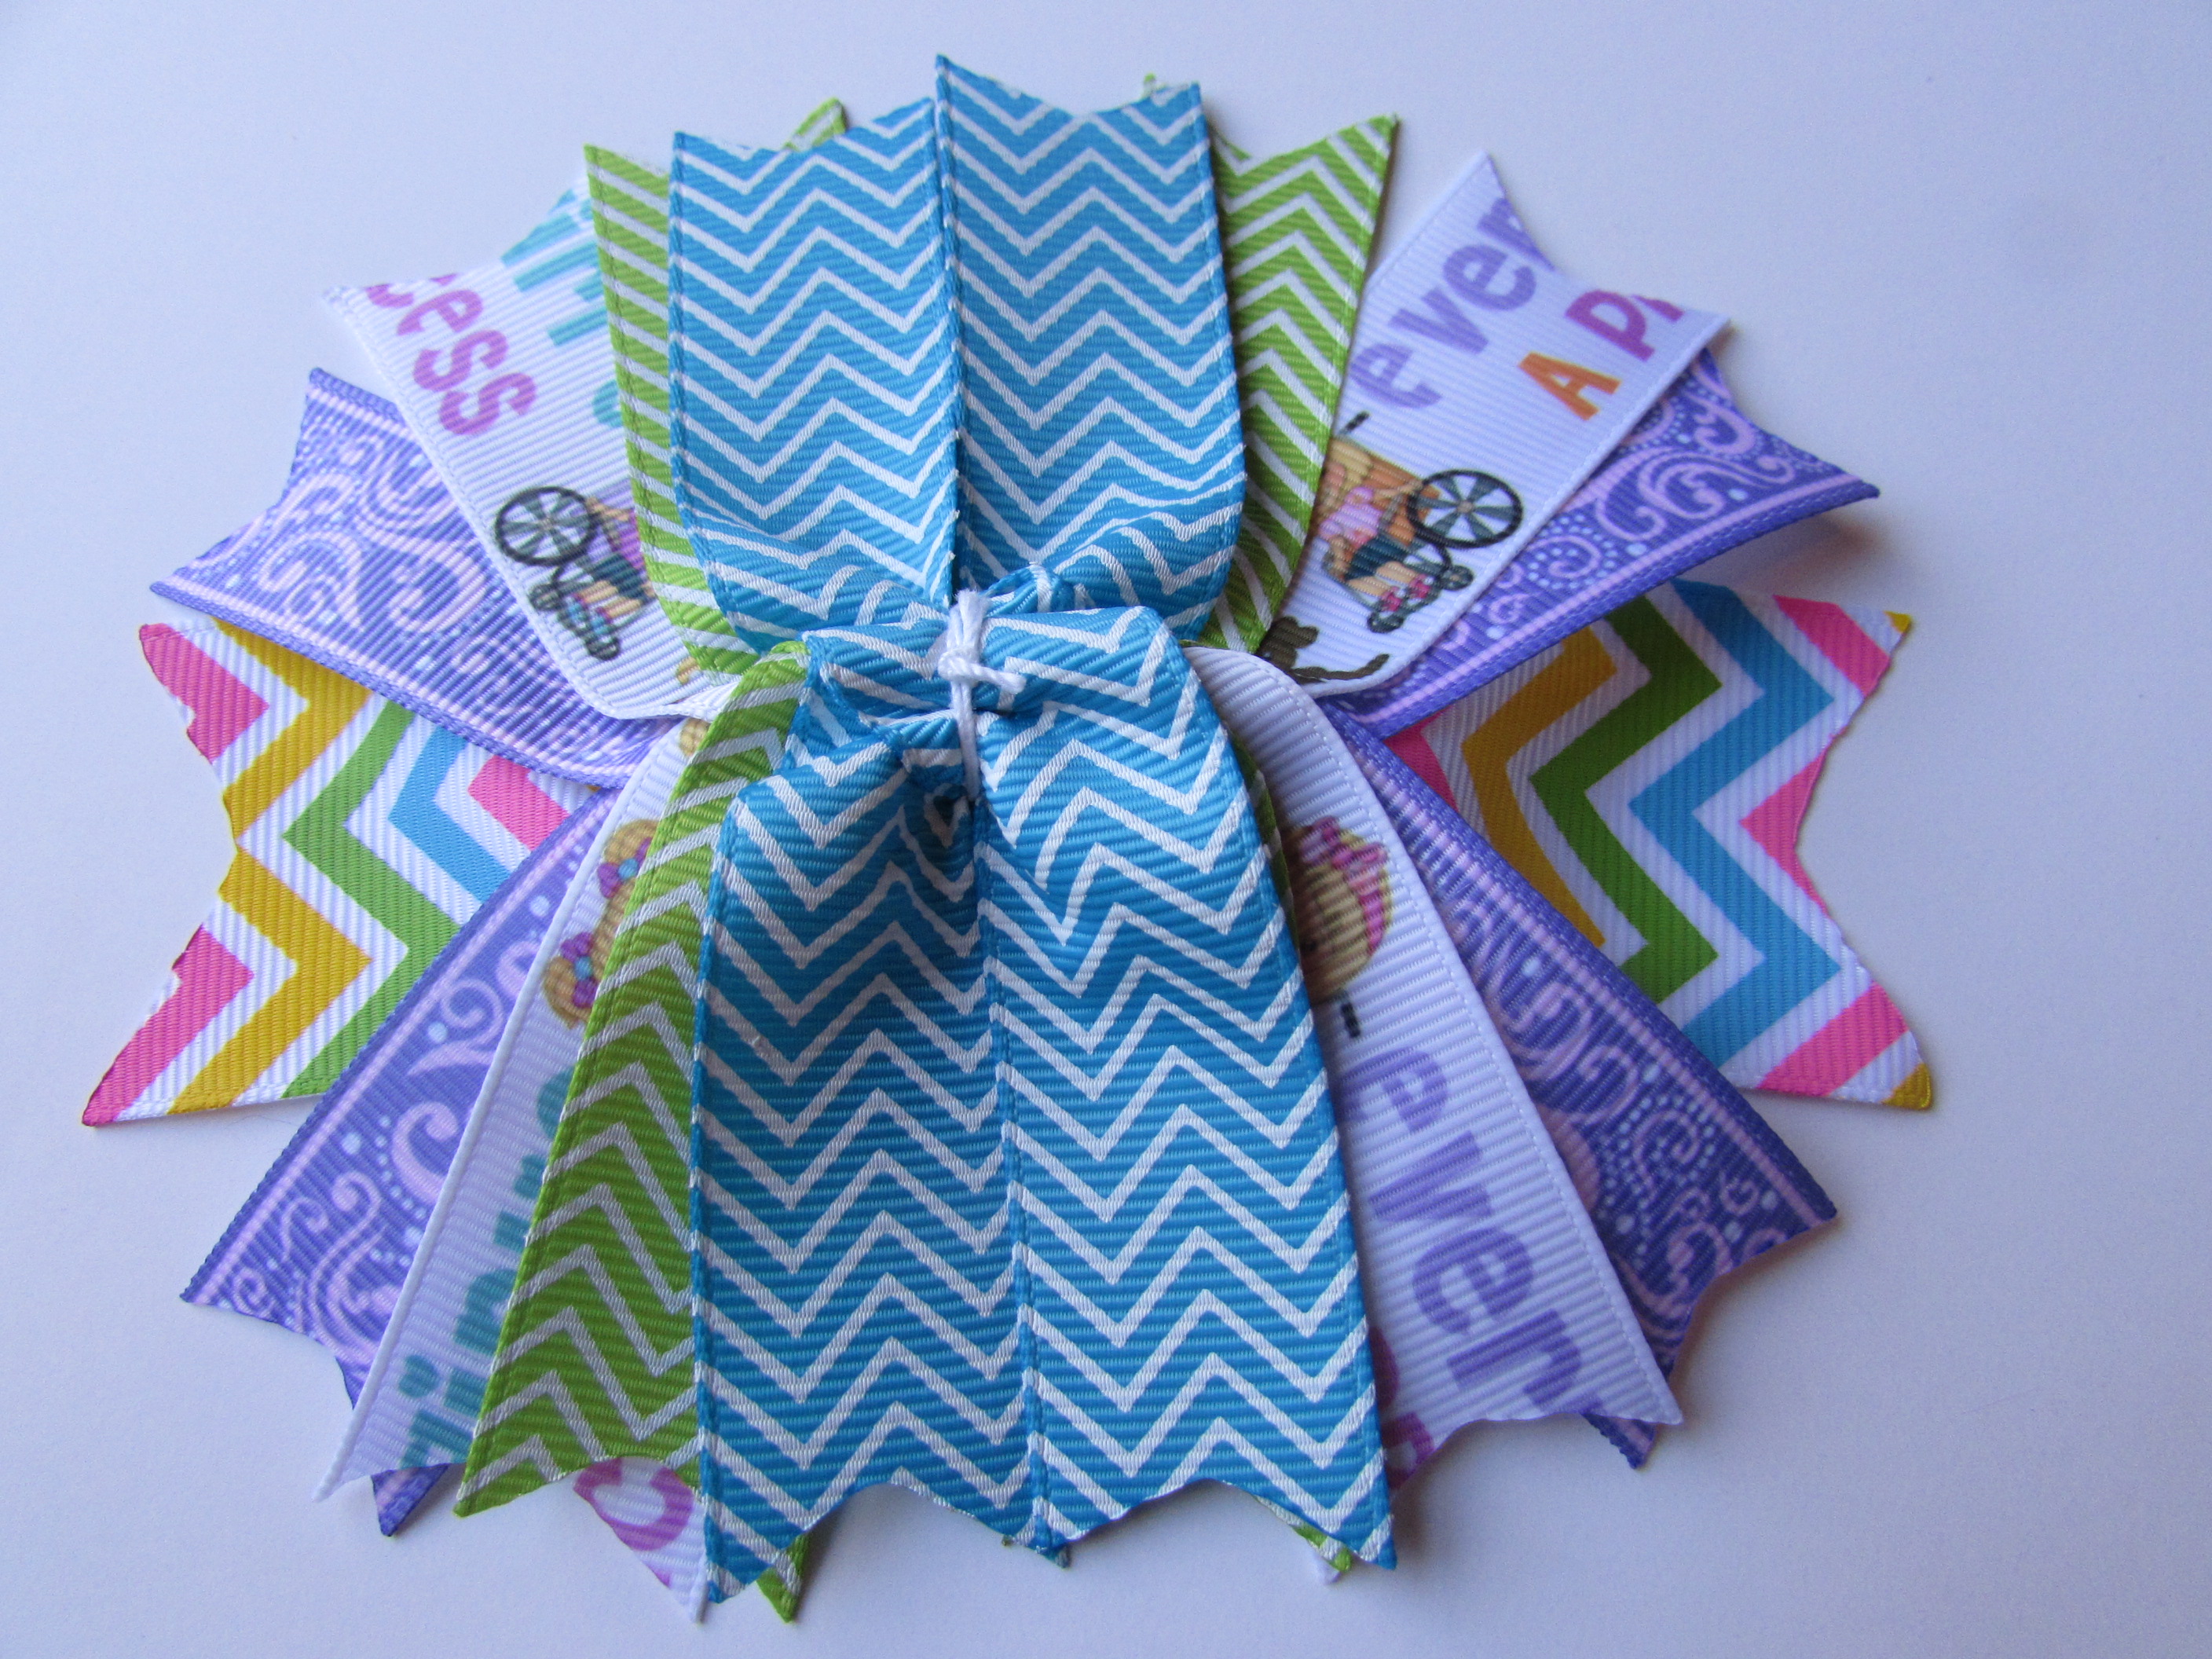
- Glue behind the ribbon to hold ribbon in place.
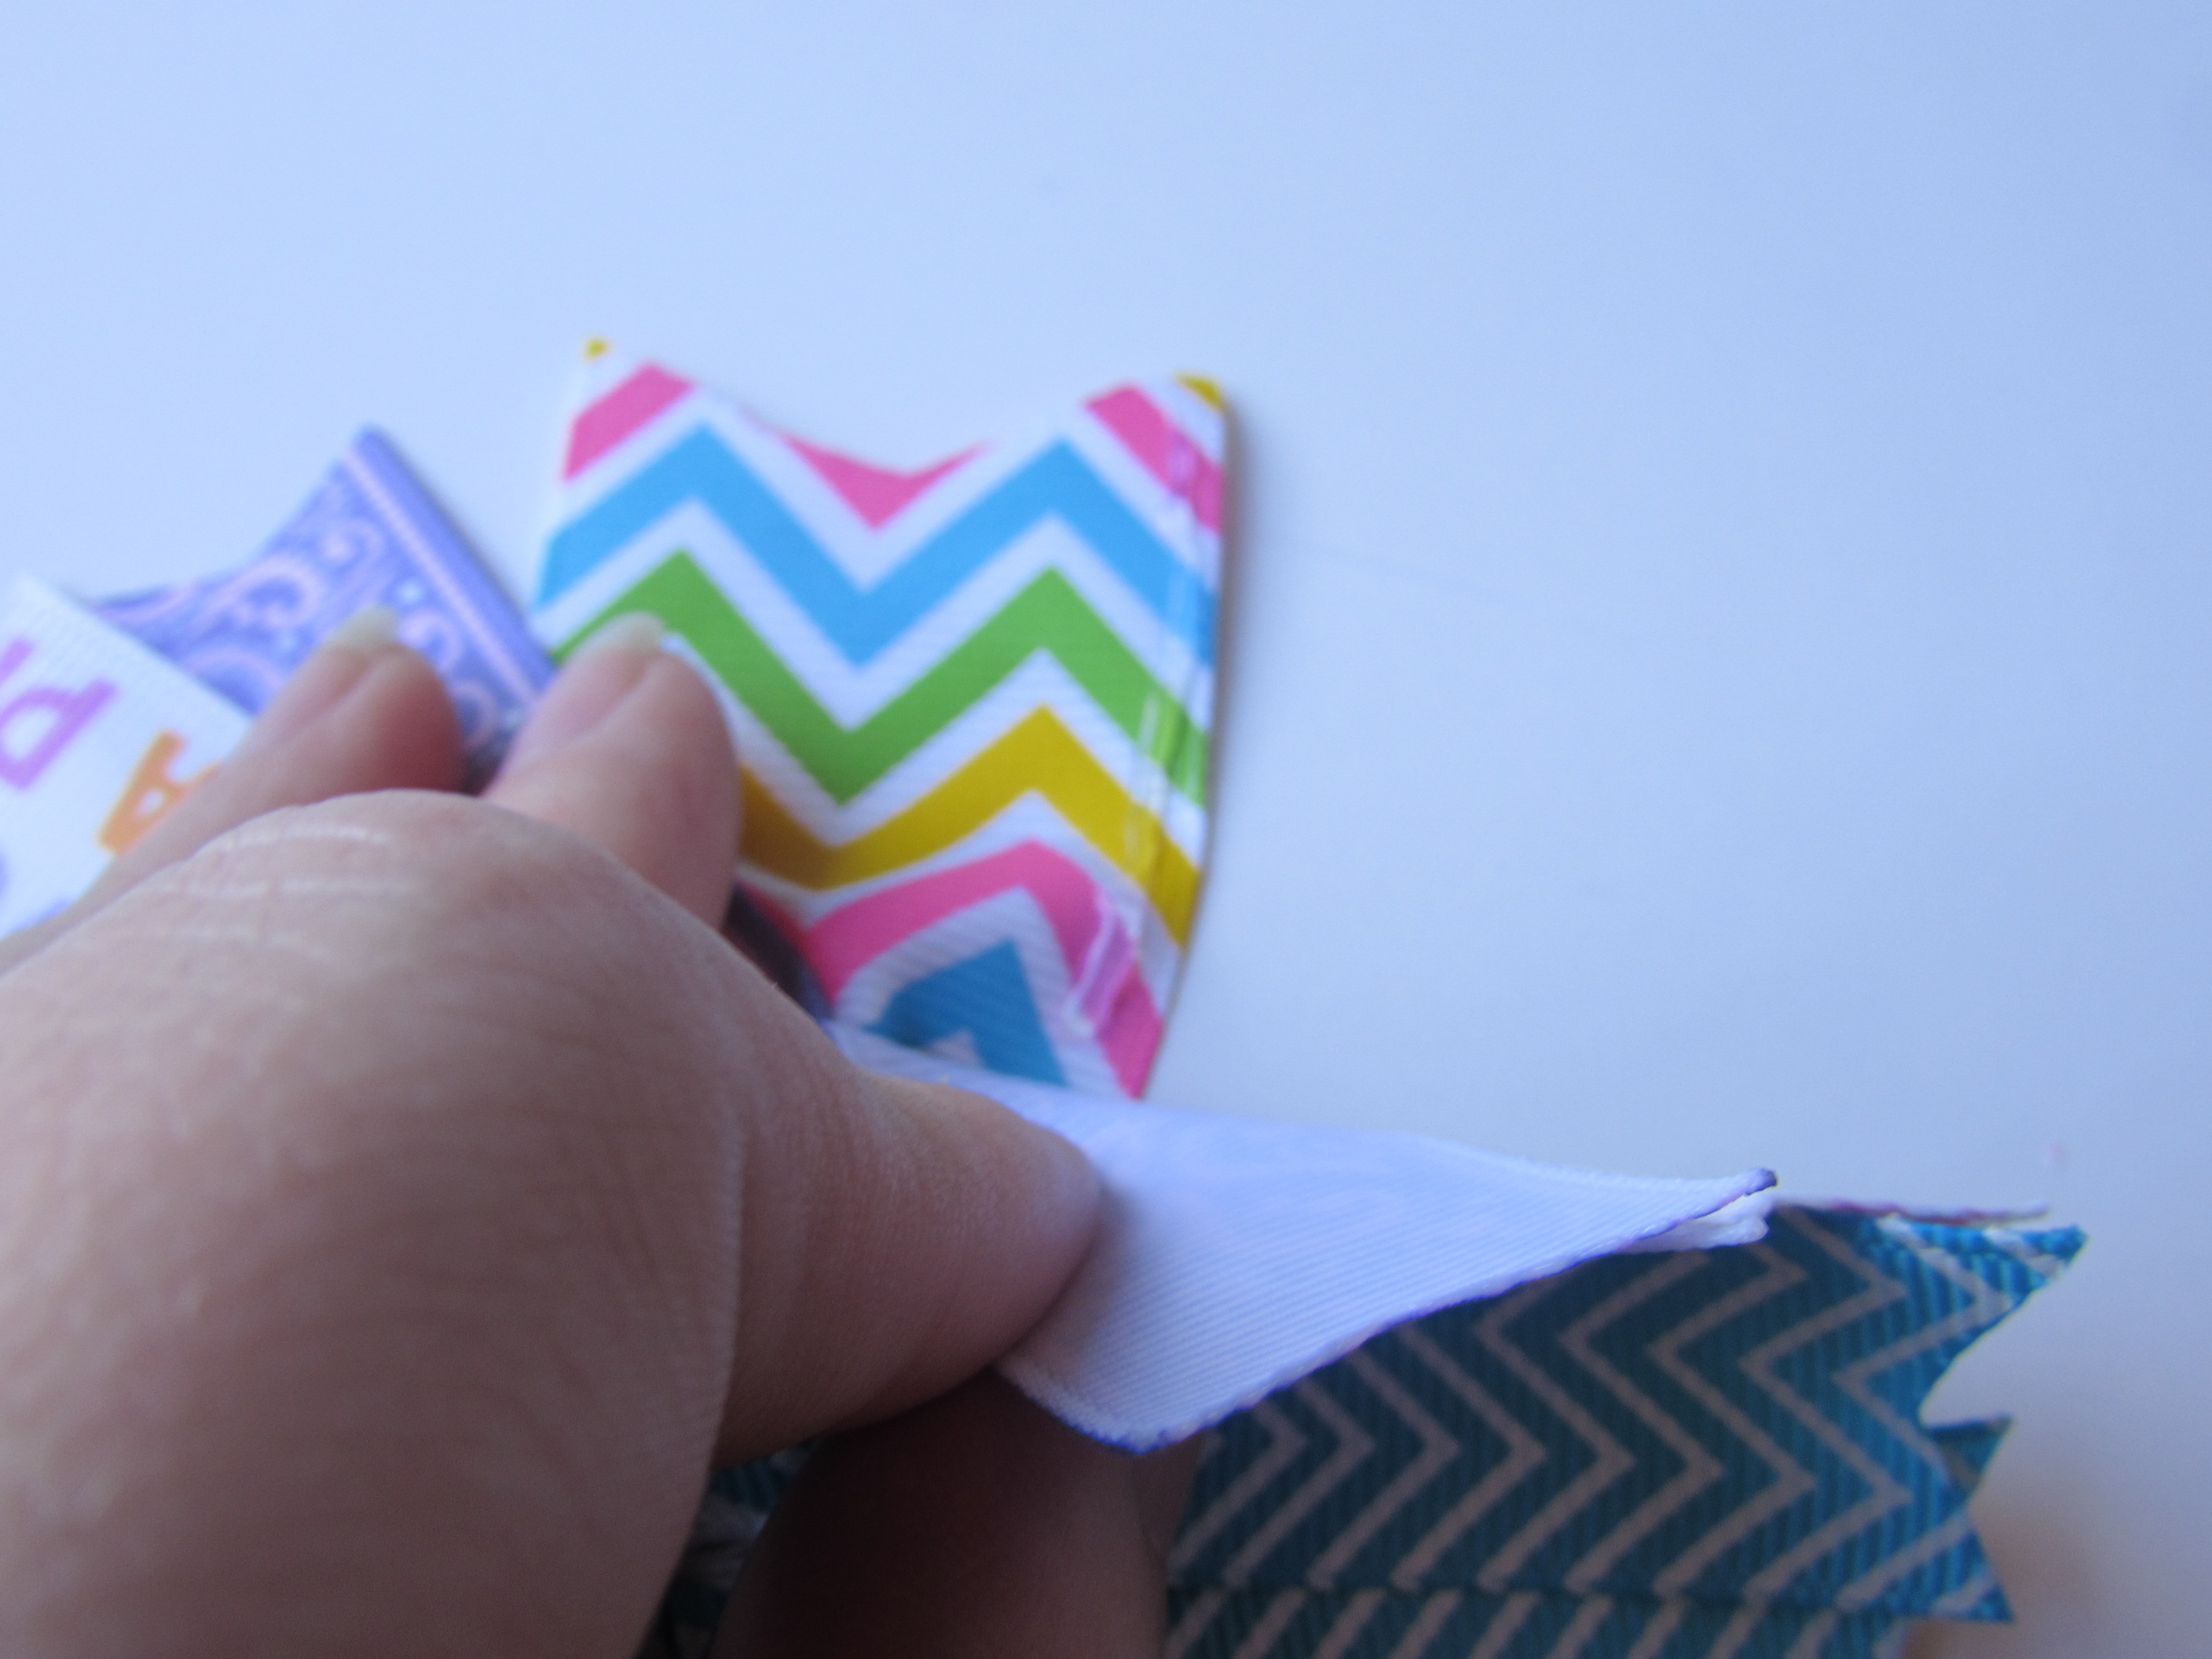
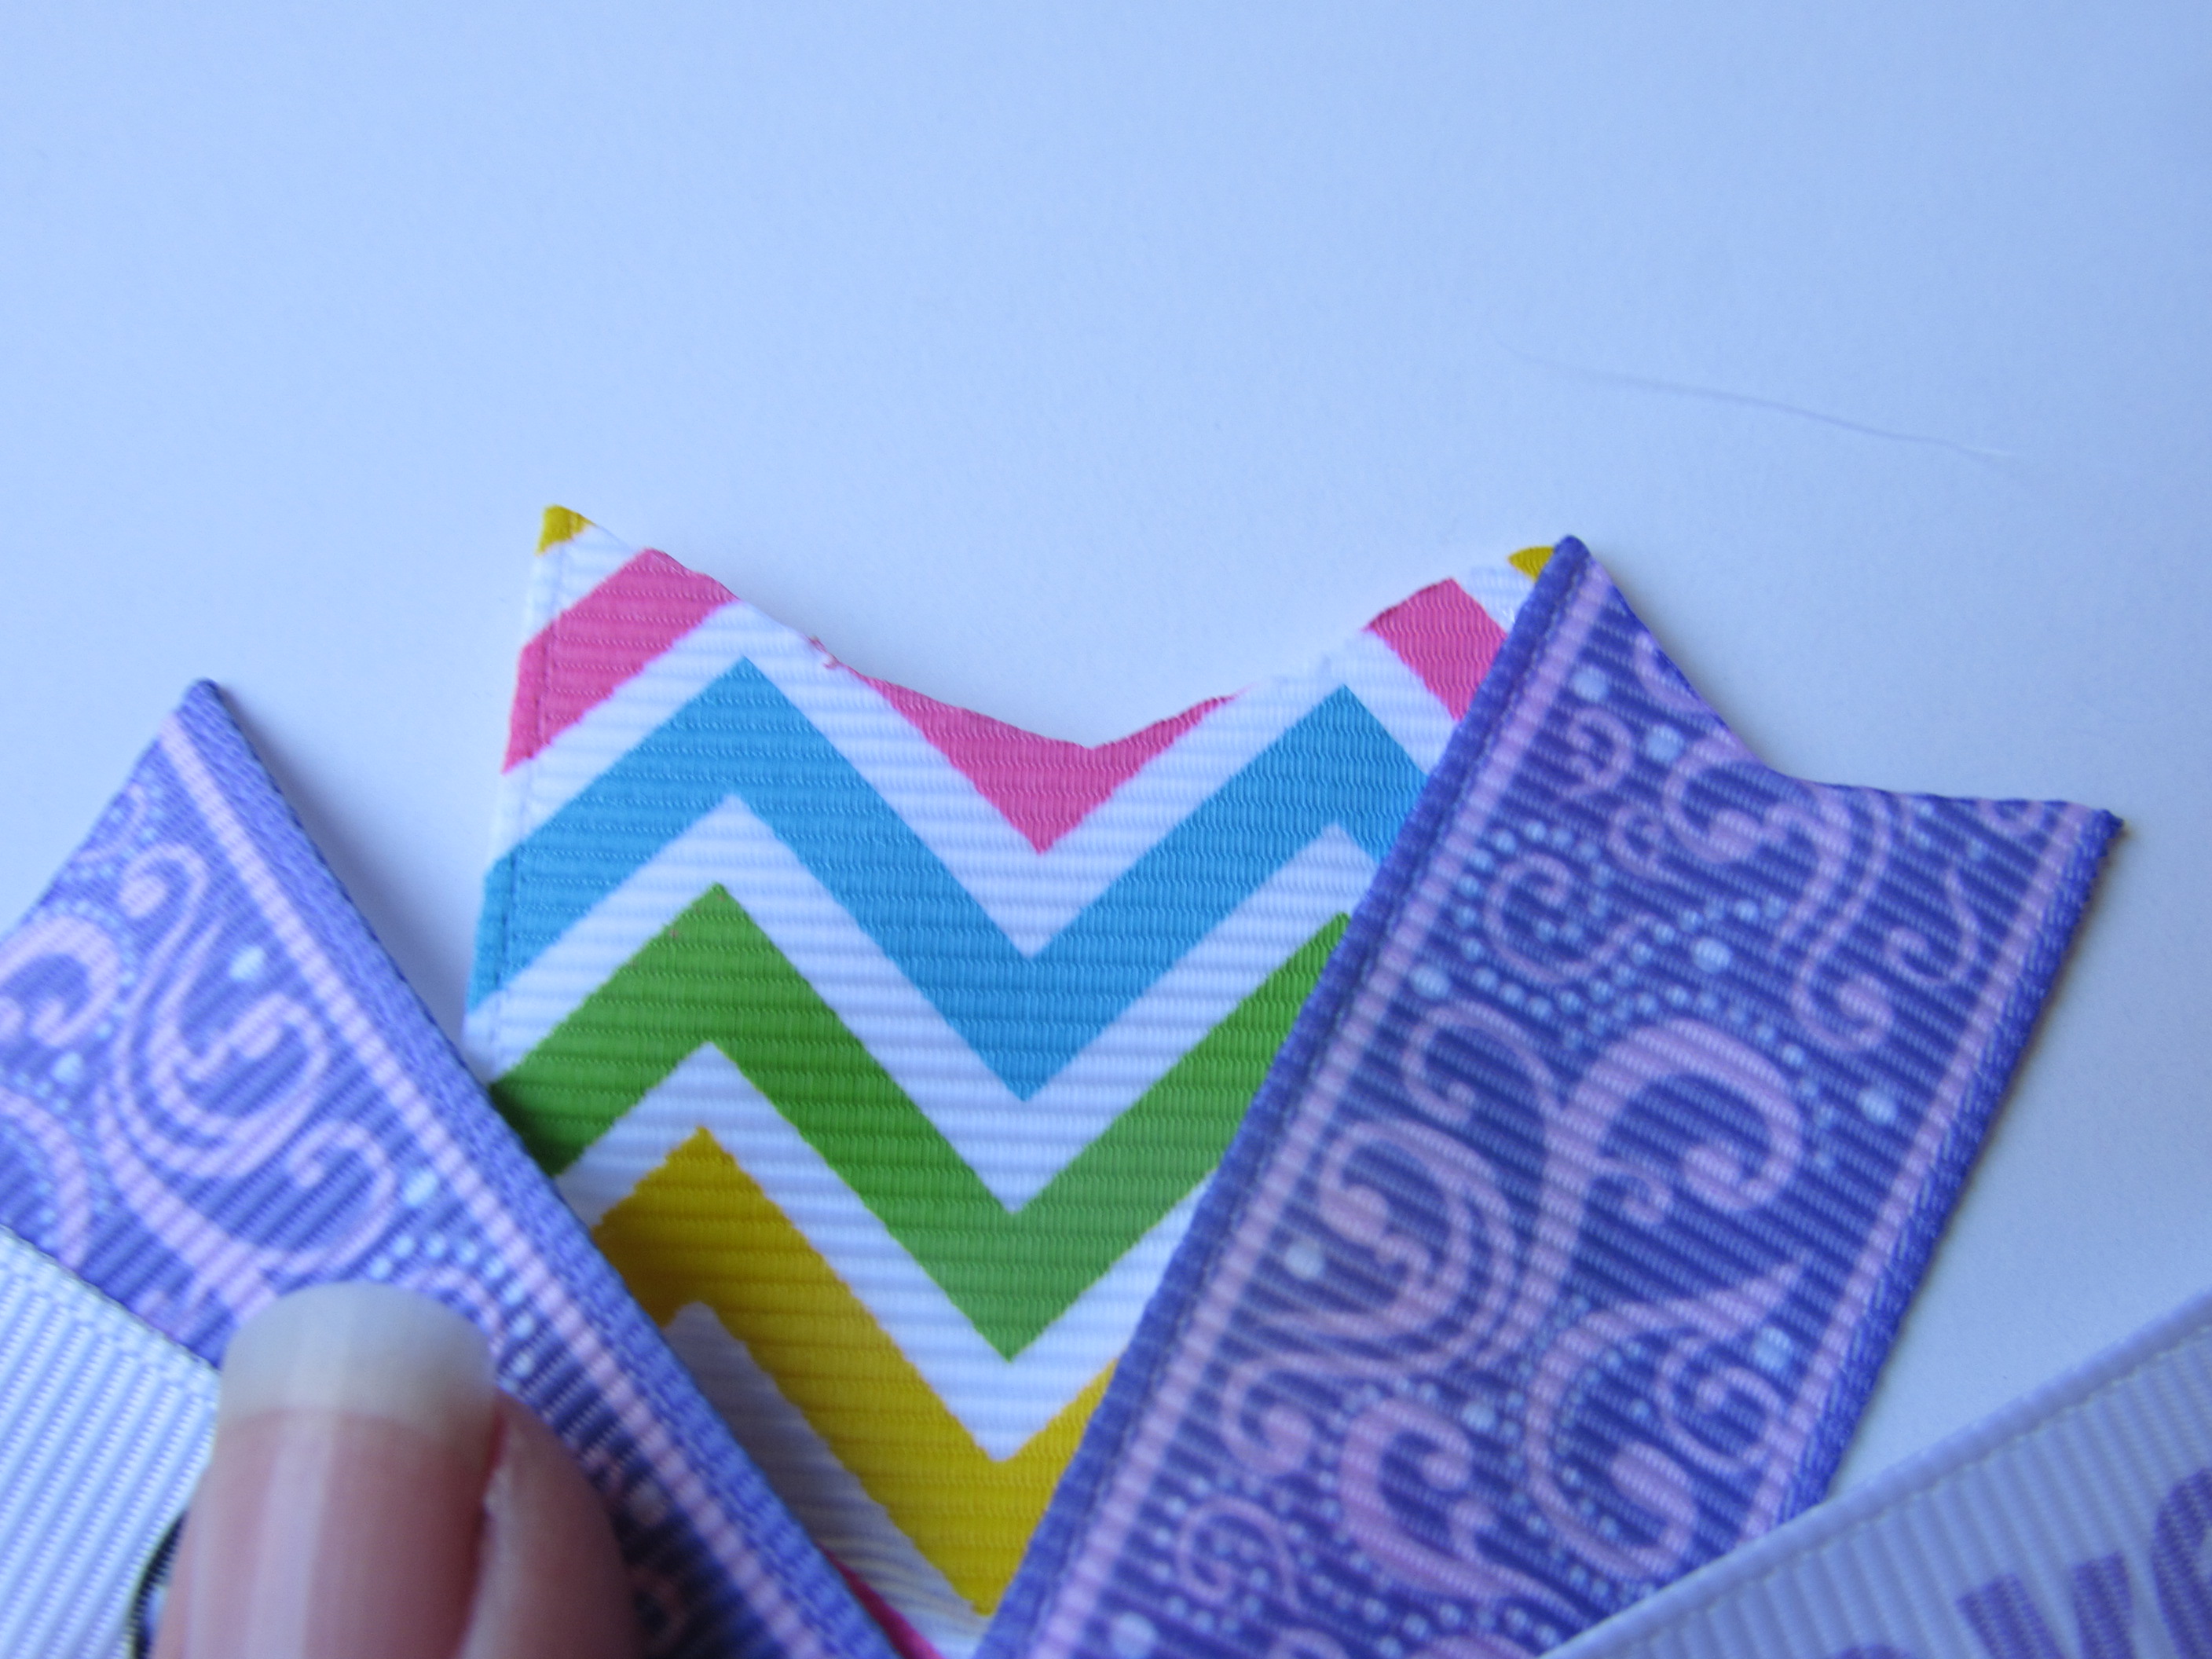
- Repeat for all pieces.
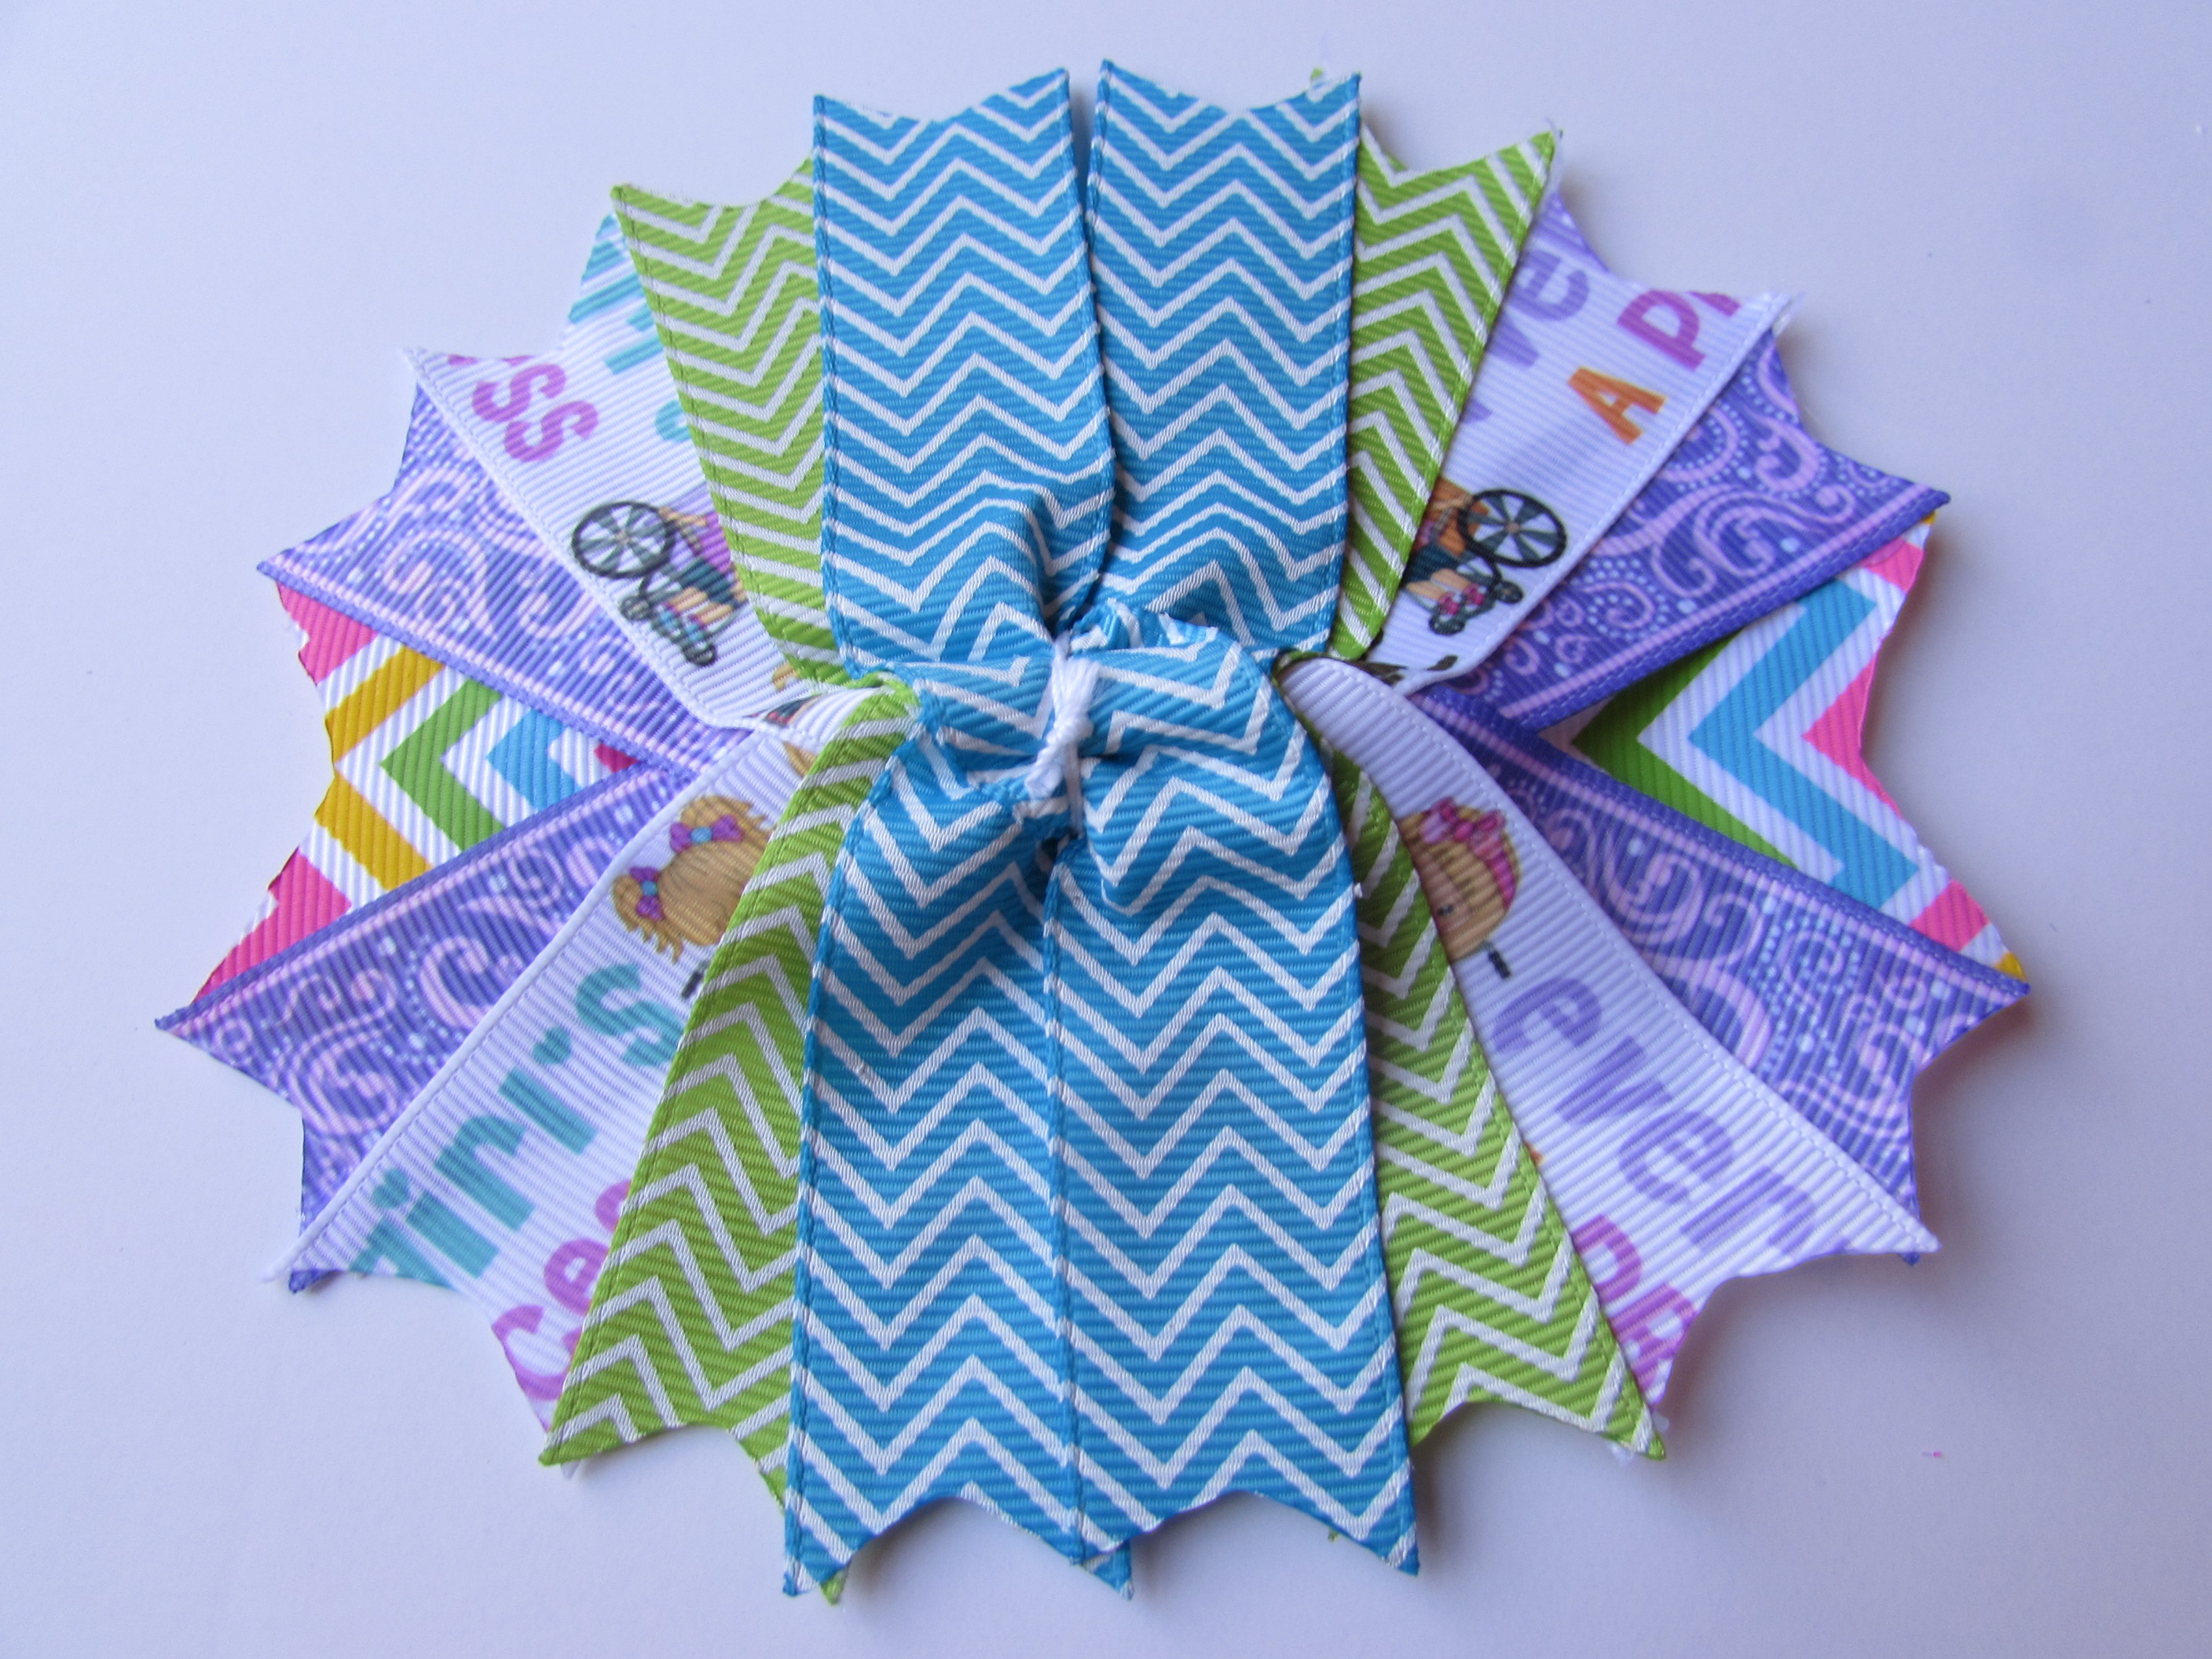
- Take all pieces and lay them on a towel and spray with your hairspray. Drying times will vary depending on what you use and how much you spray on the bow parts.
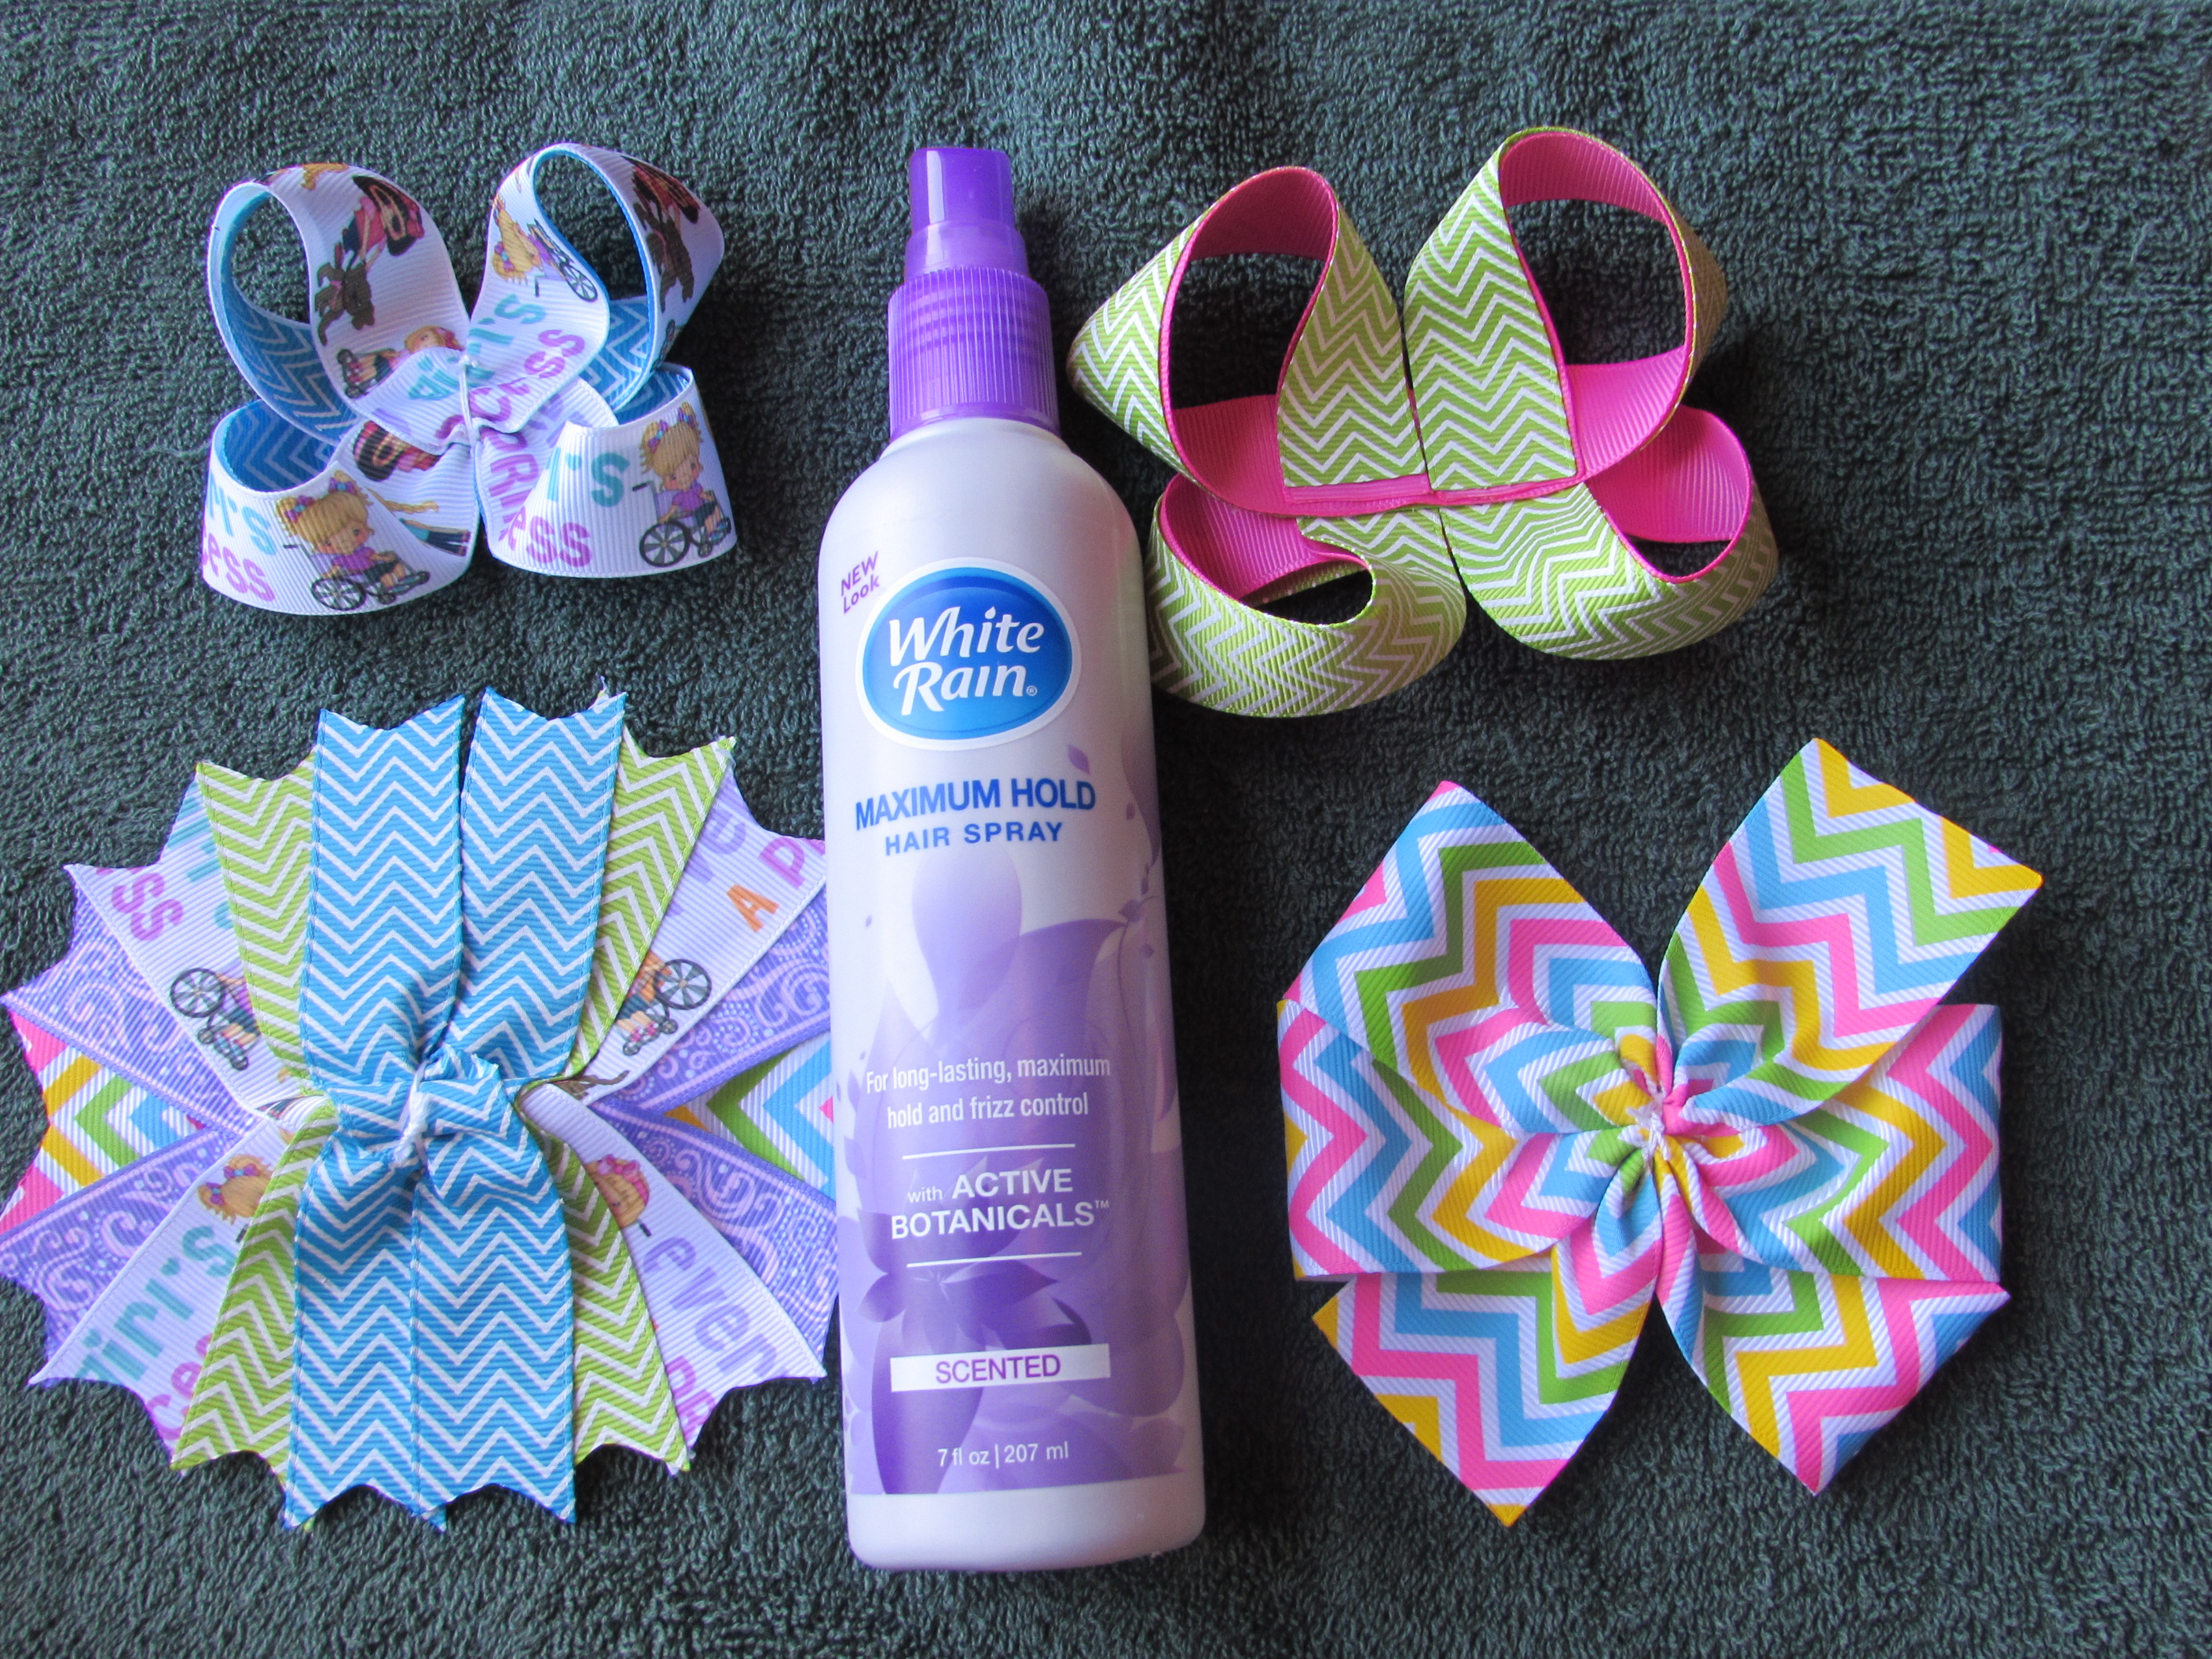
Assembly Time!
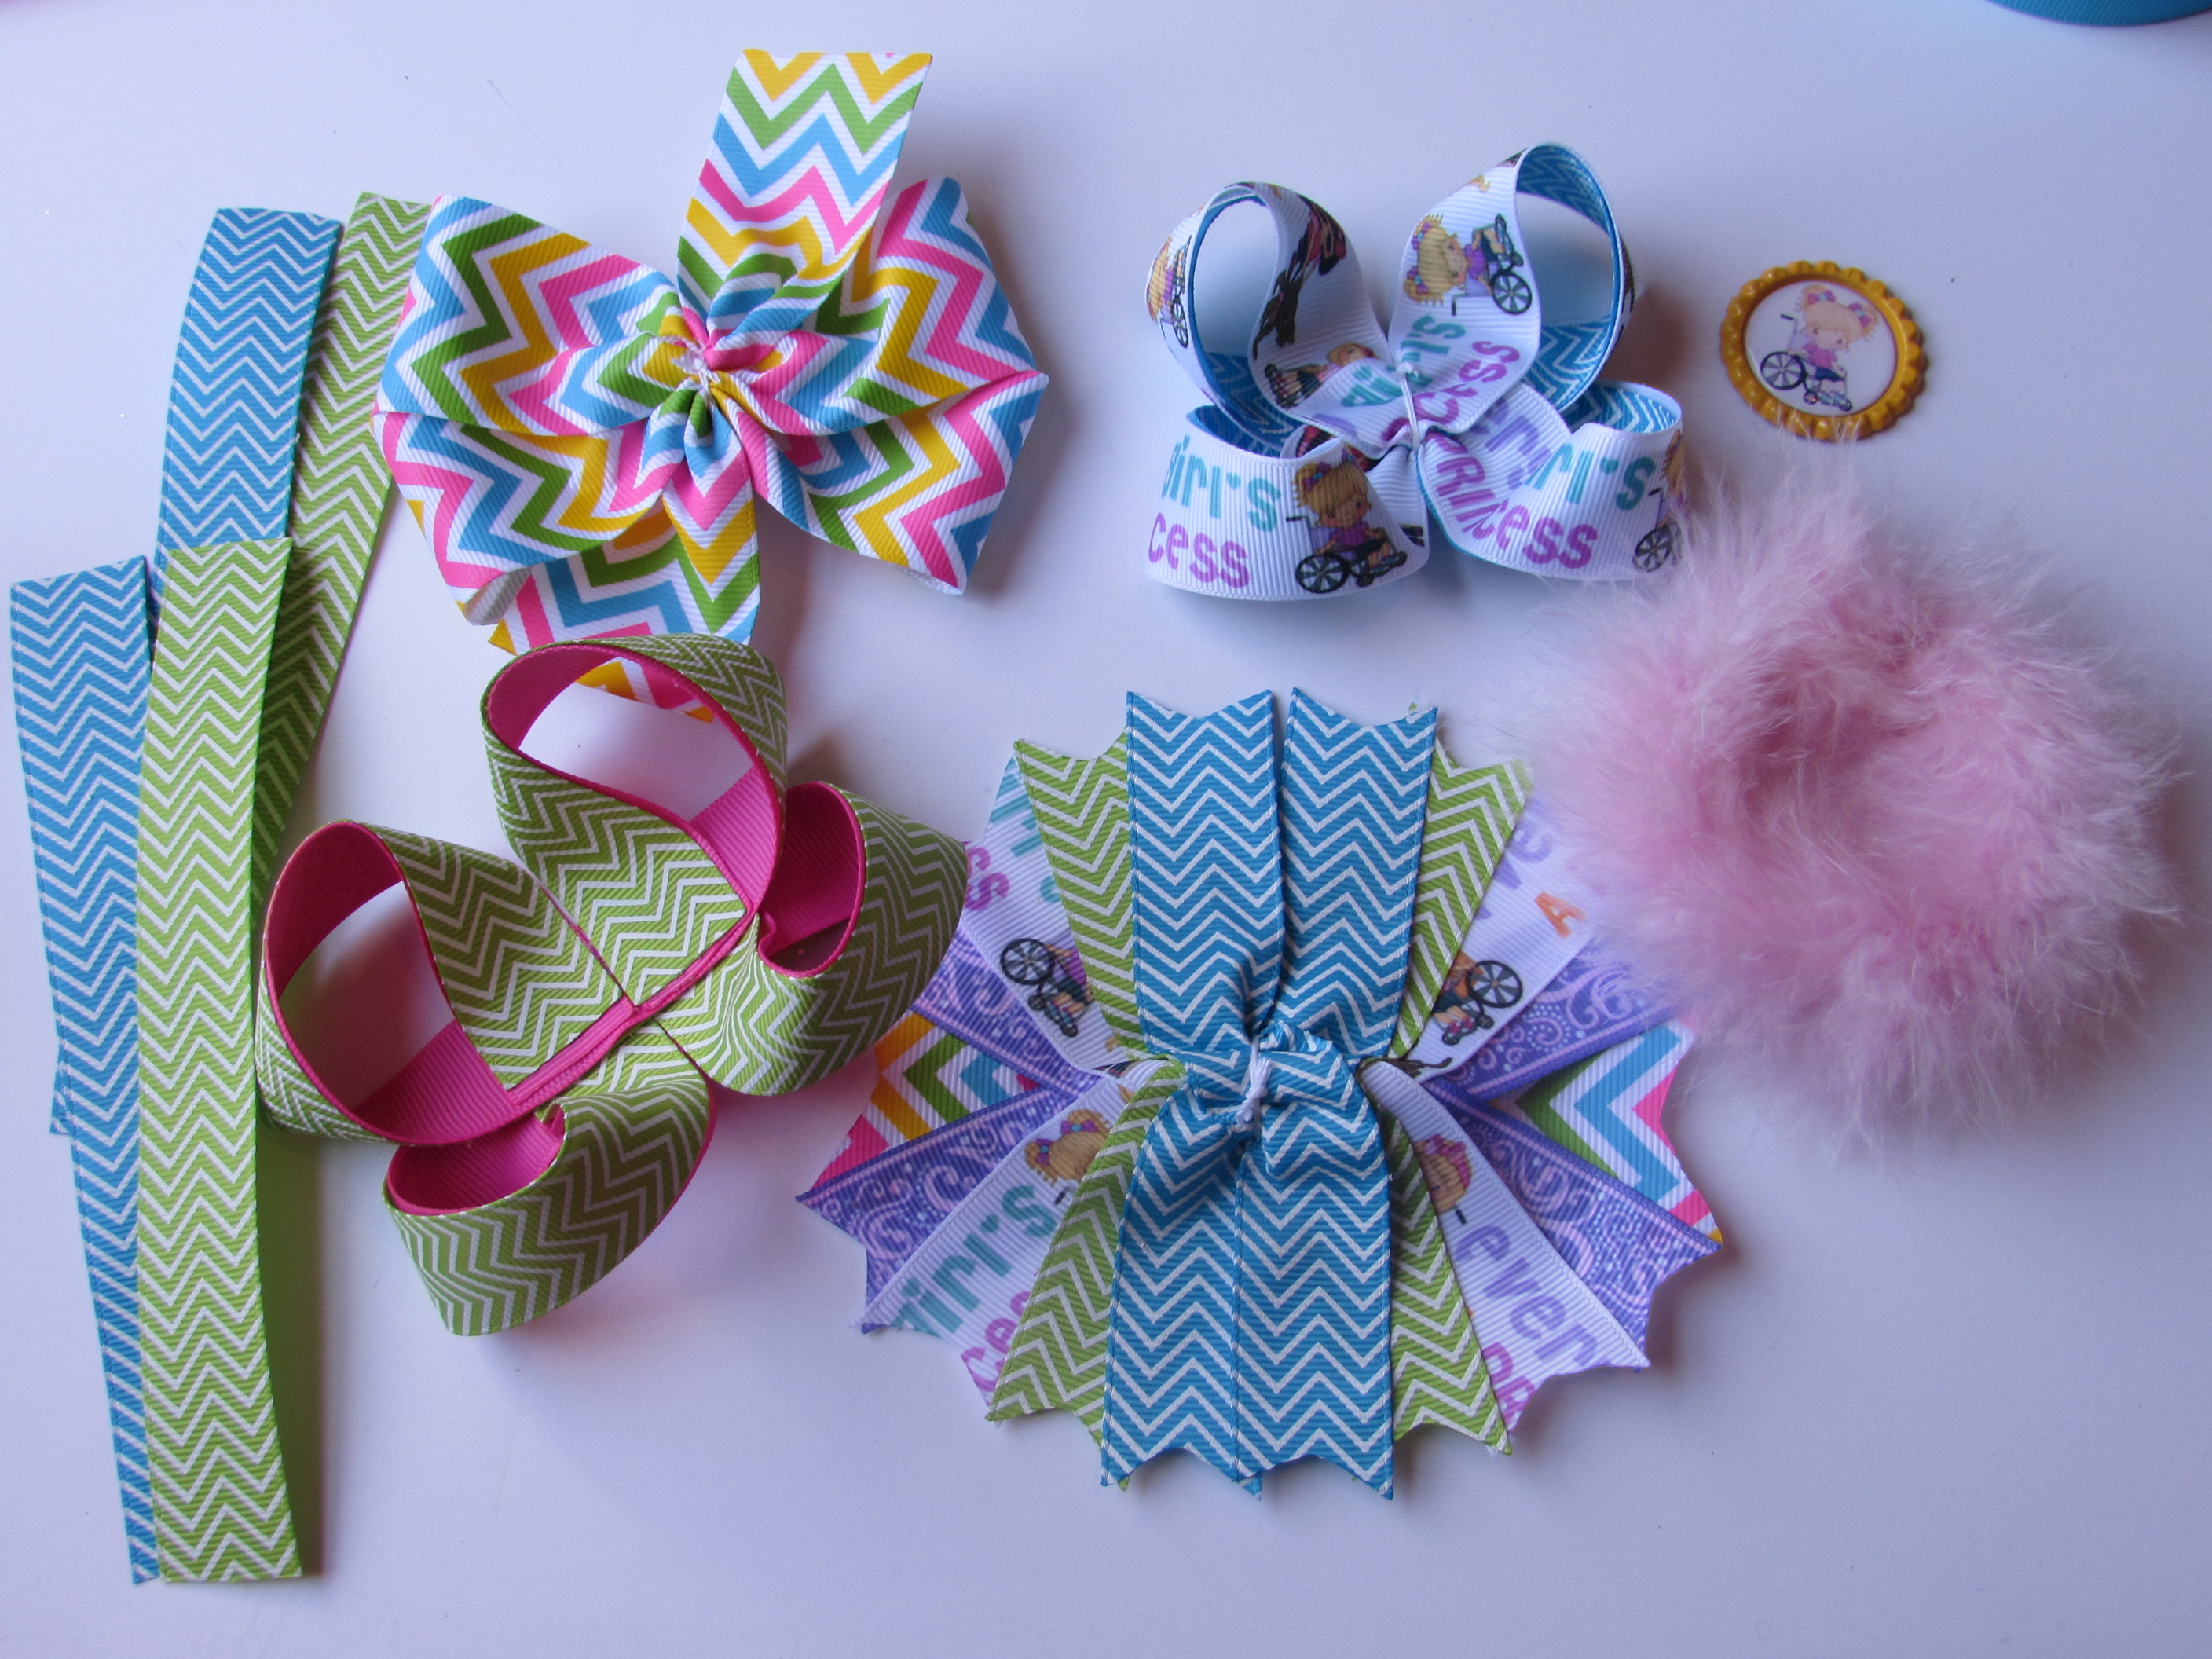
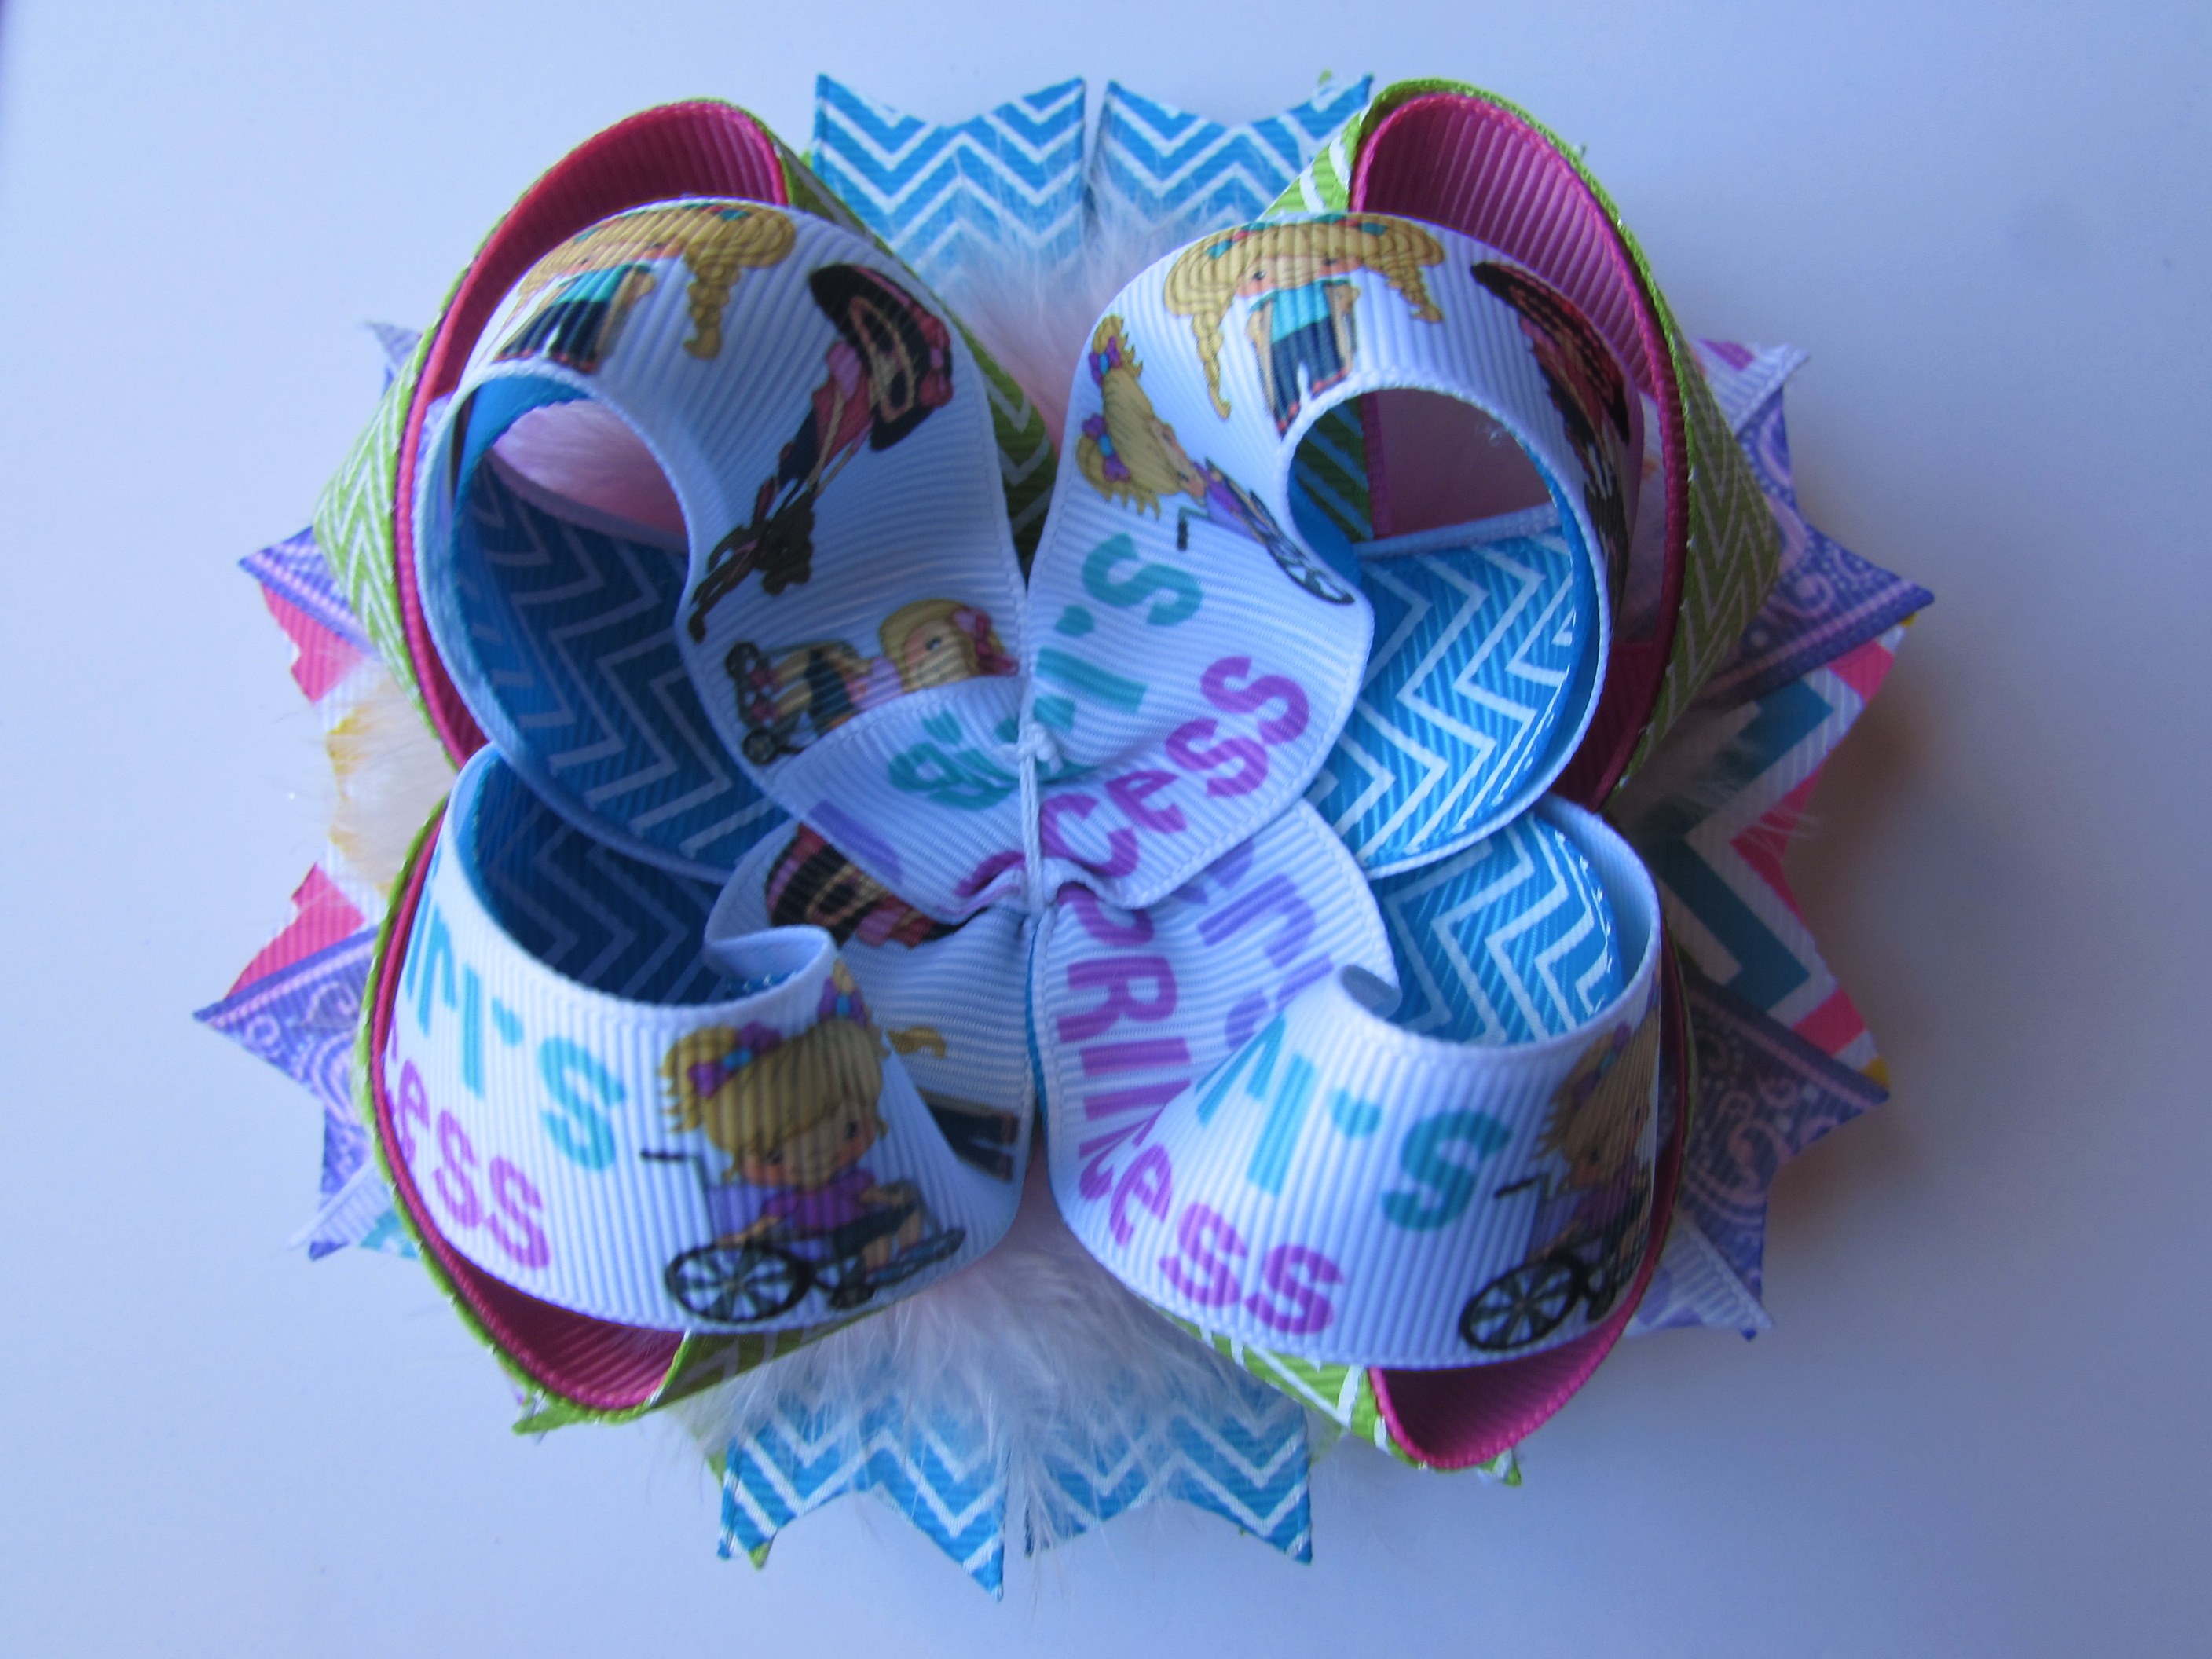
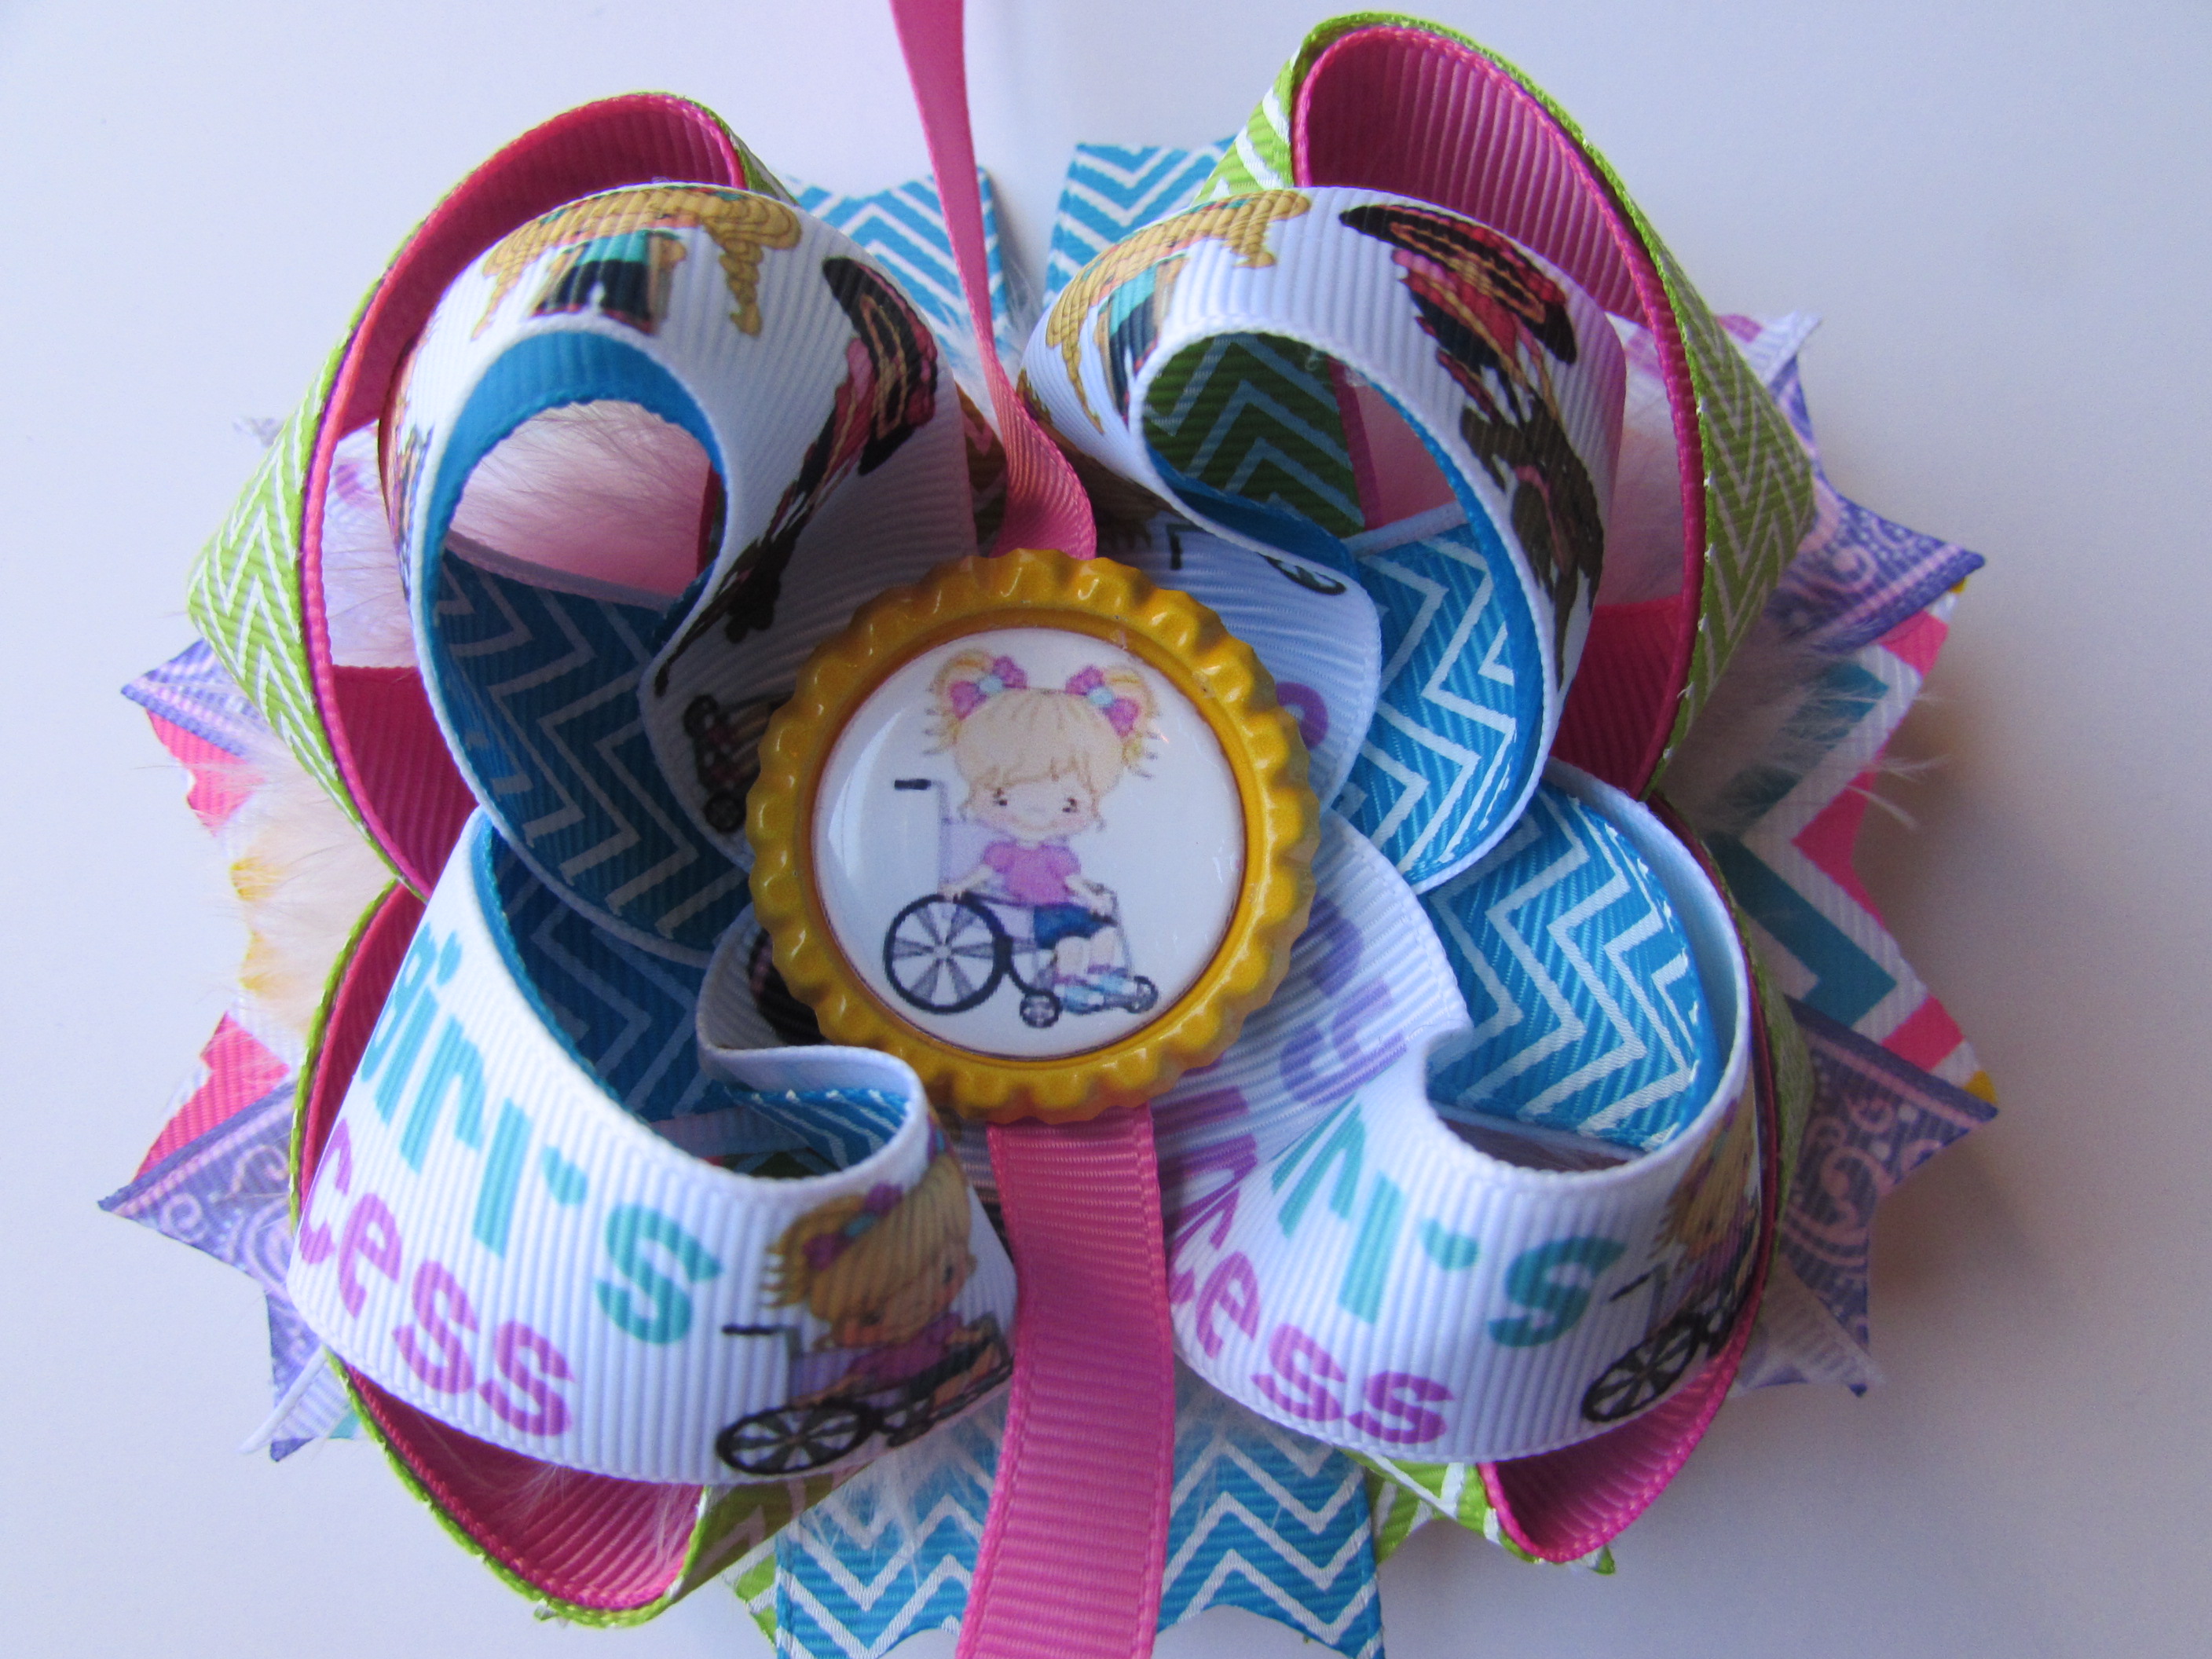
For my stacked bows I use side bows, center embellishment and feathers. So go ahead and gather those items up if you want to use them.
- Flip the pinwheel bow over – Right side down
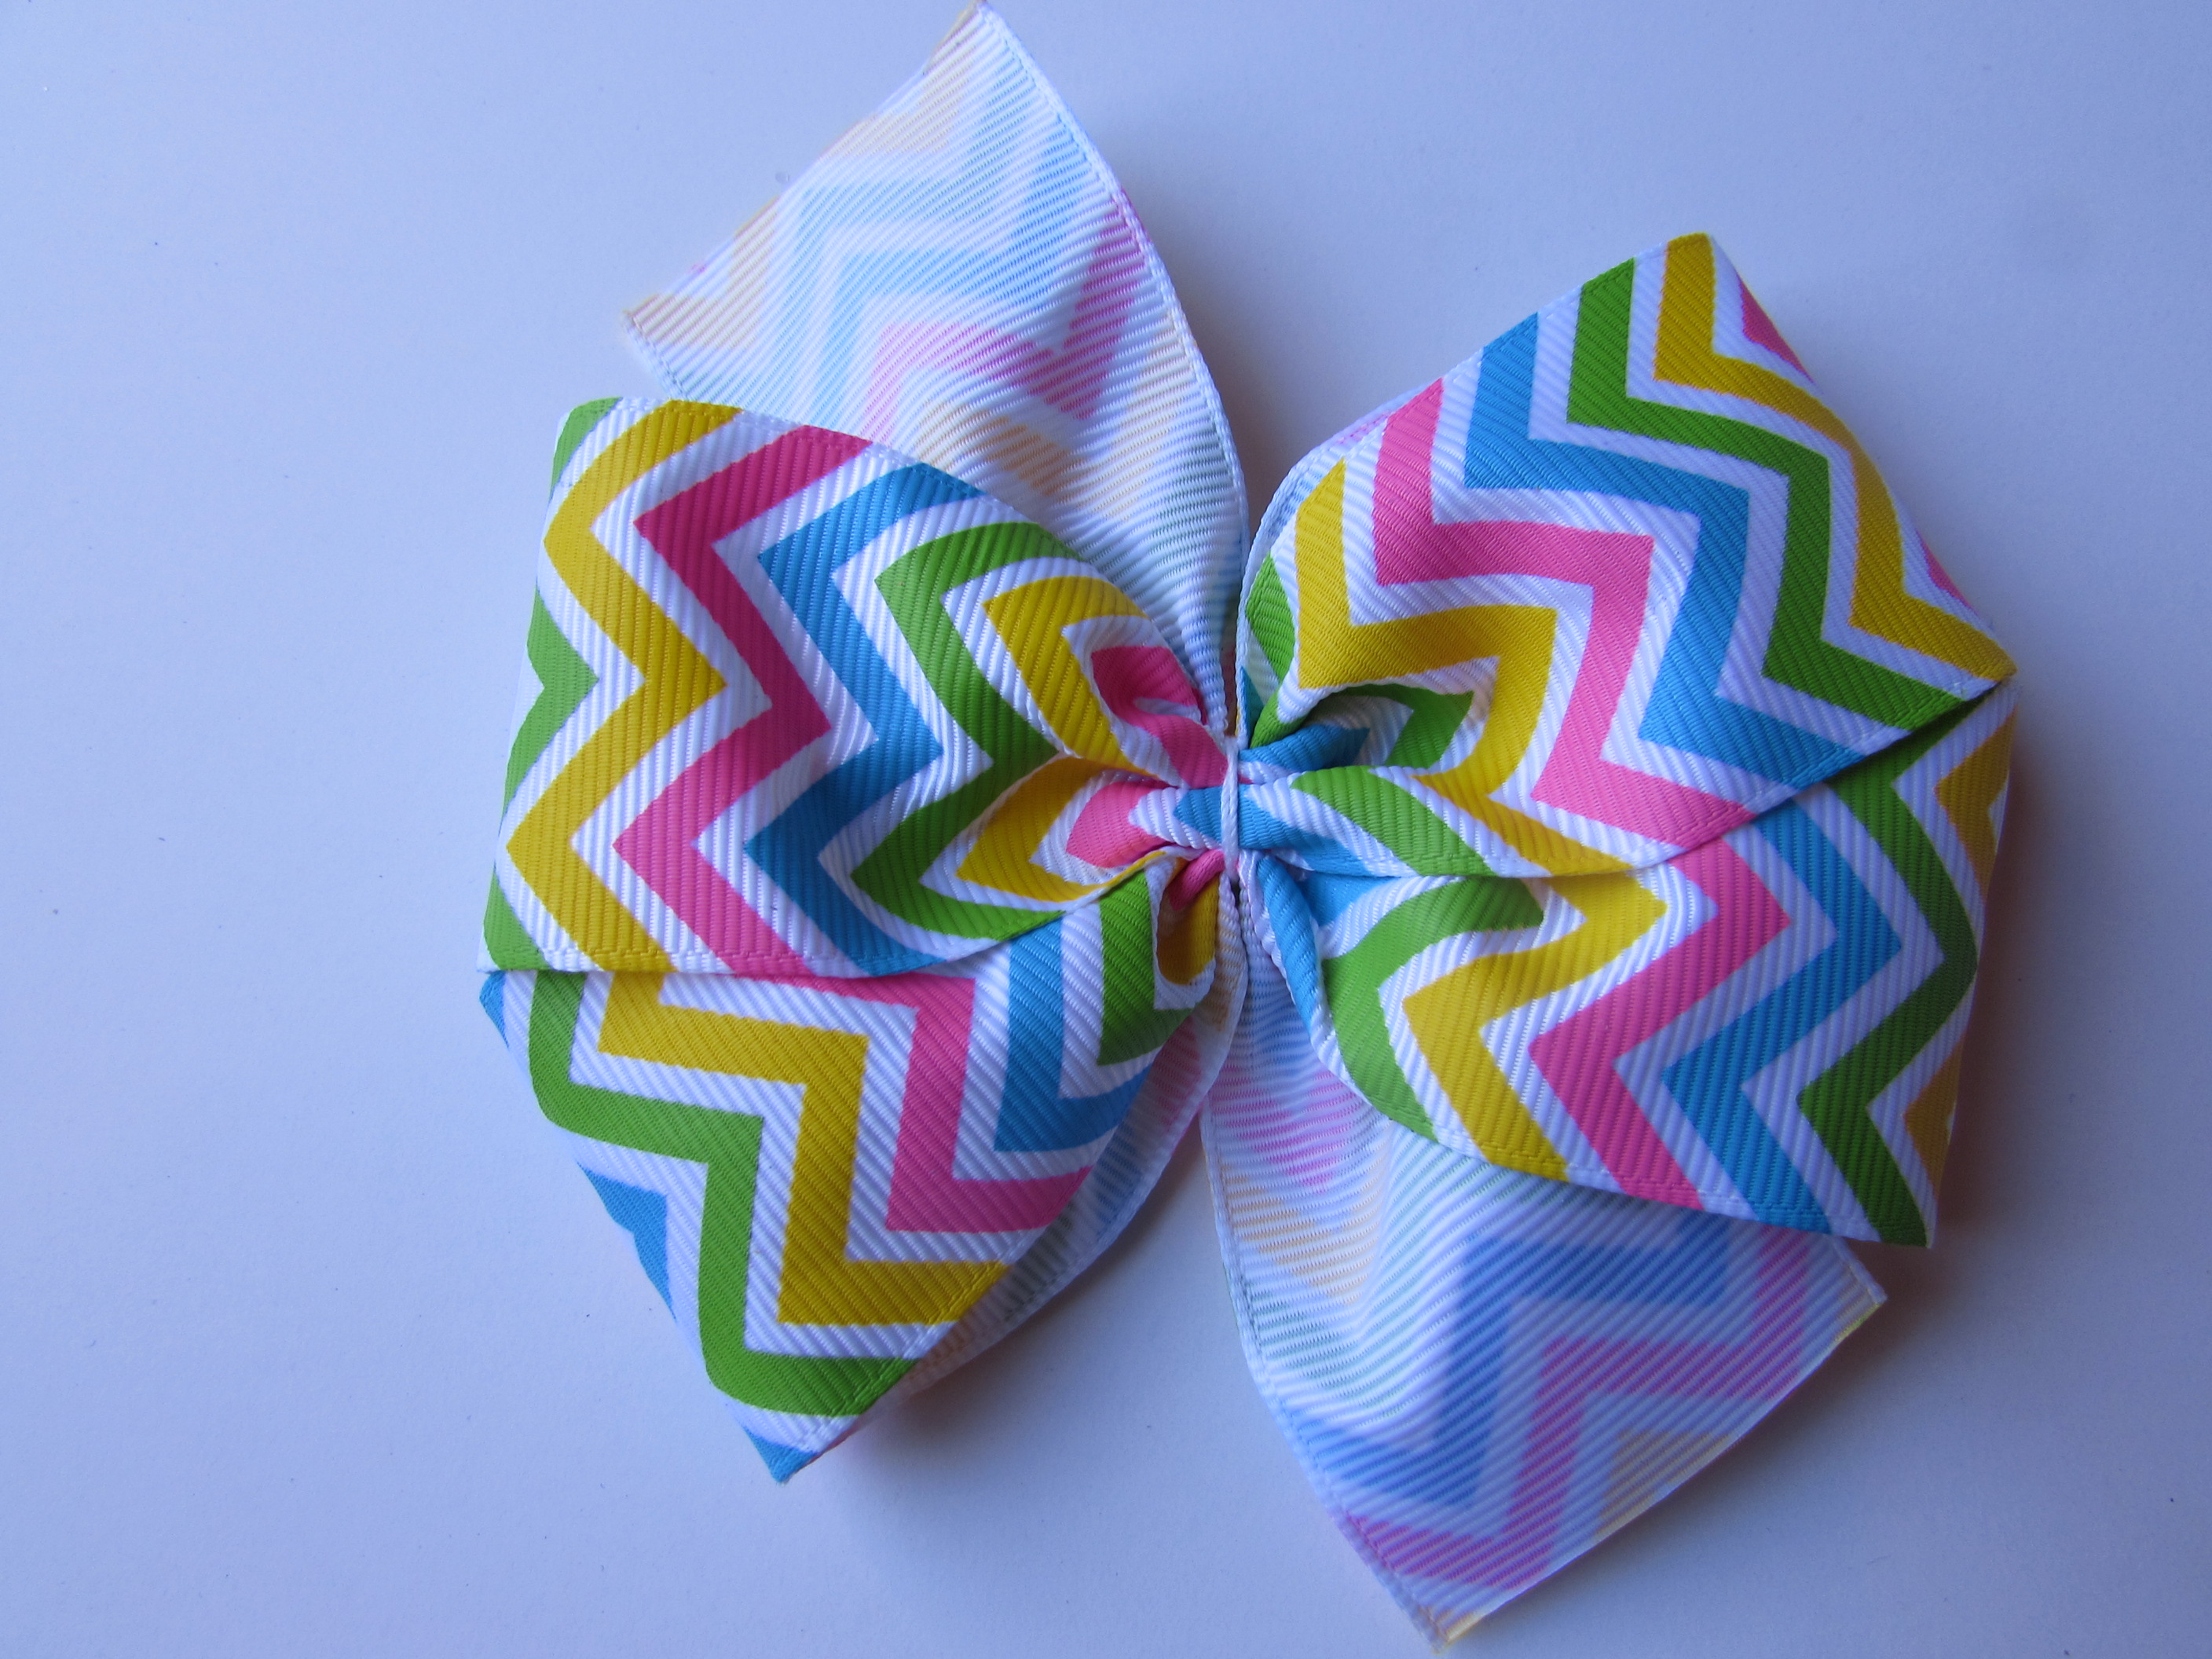
- Hot-glue in the center.
- Lay the spikes on top. Center of spikes sits on the center of the pinwheel.
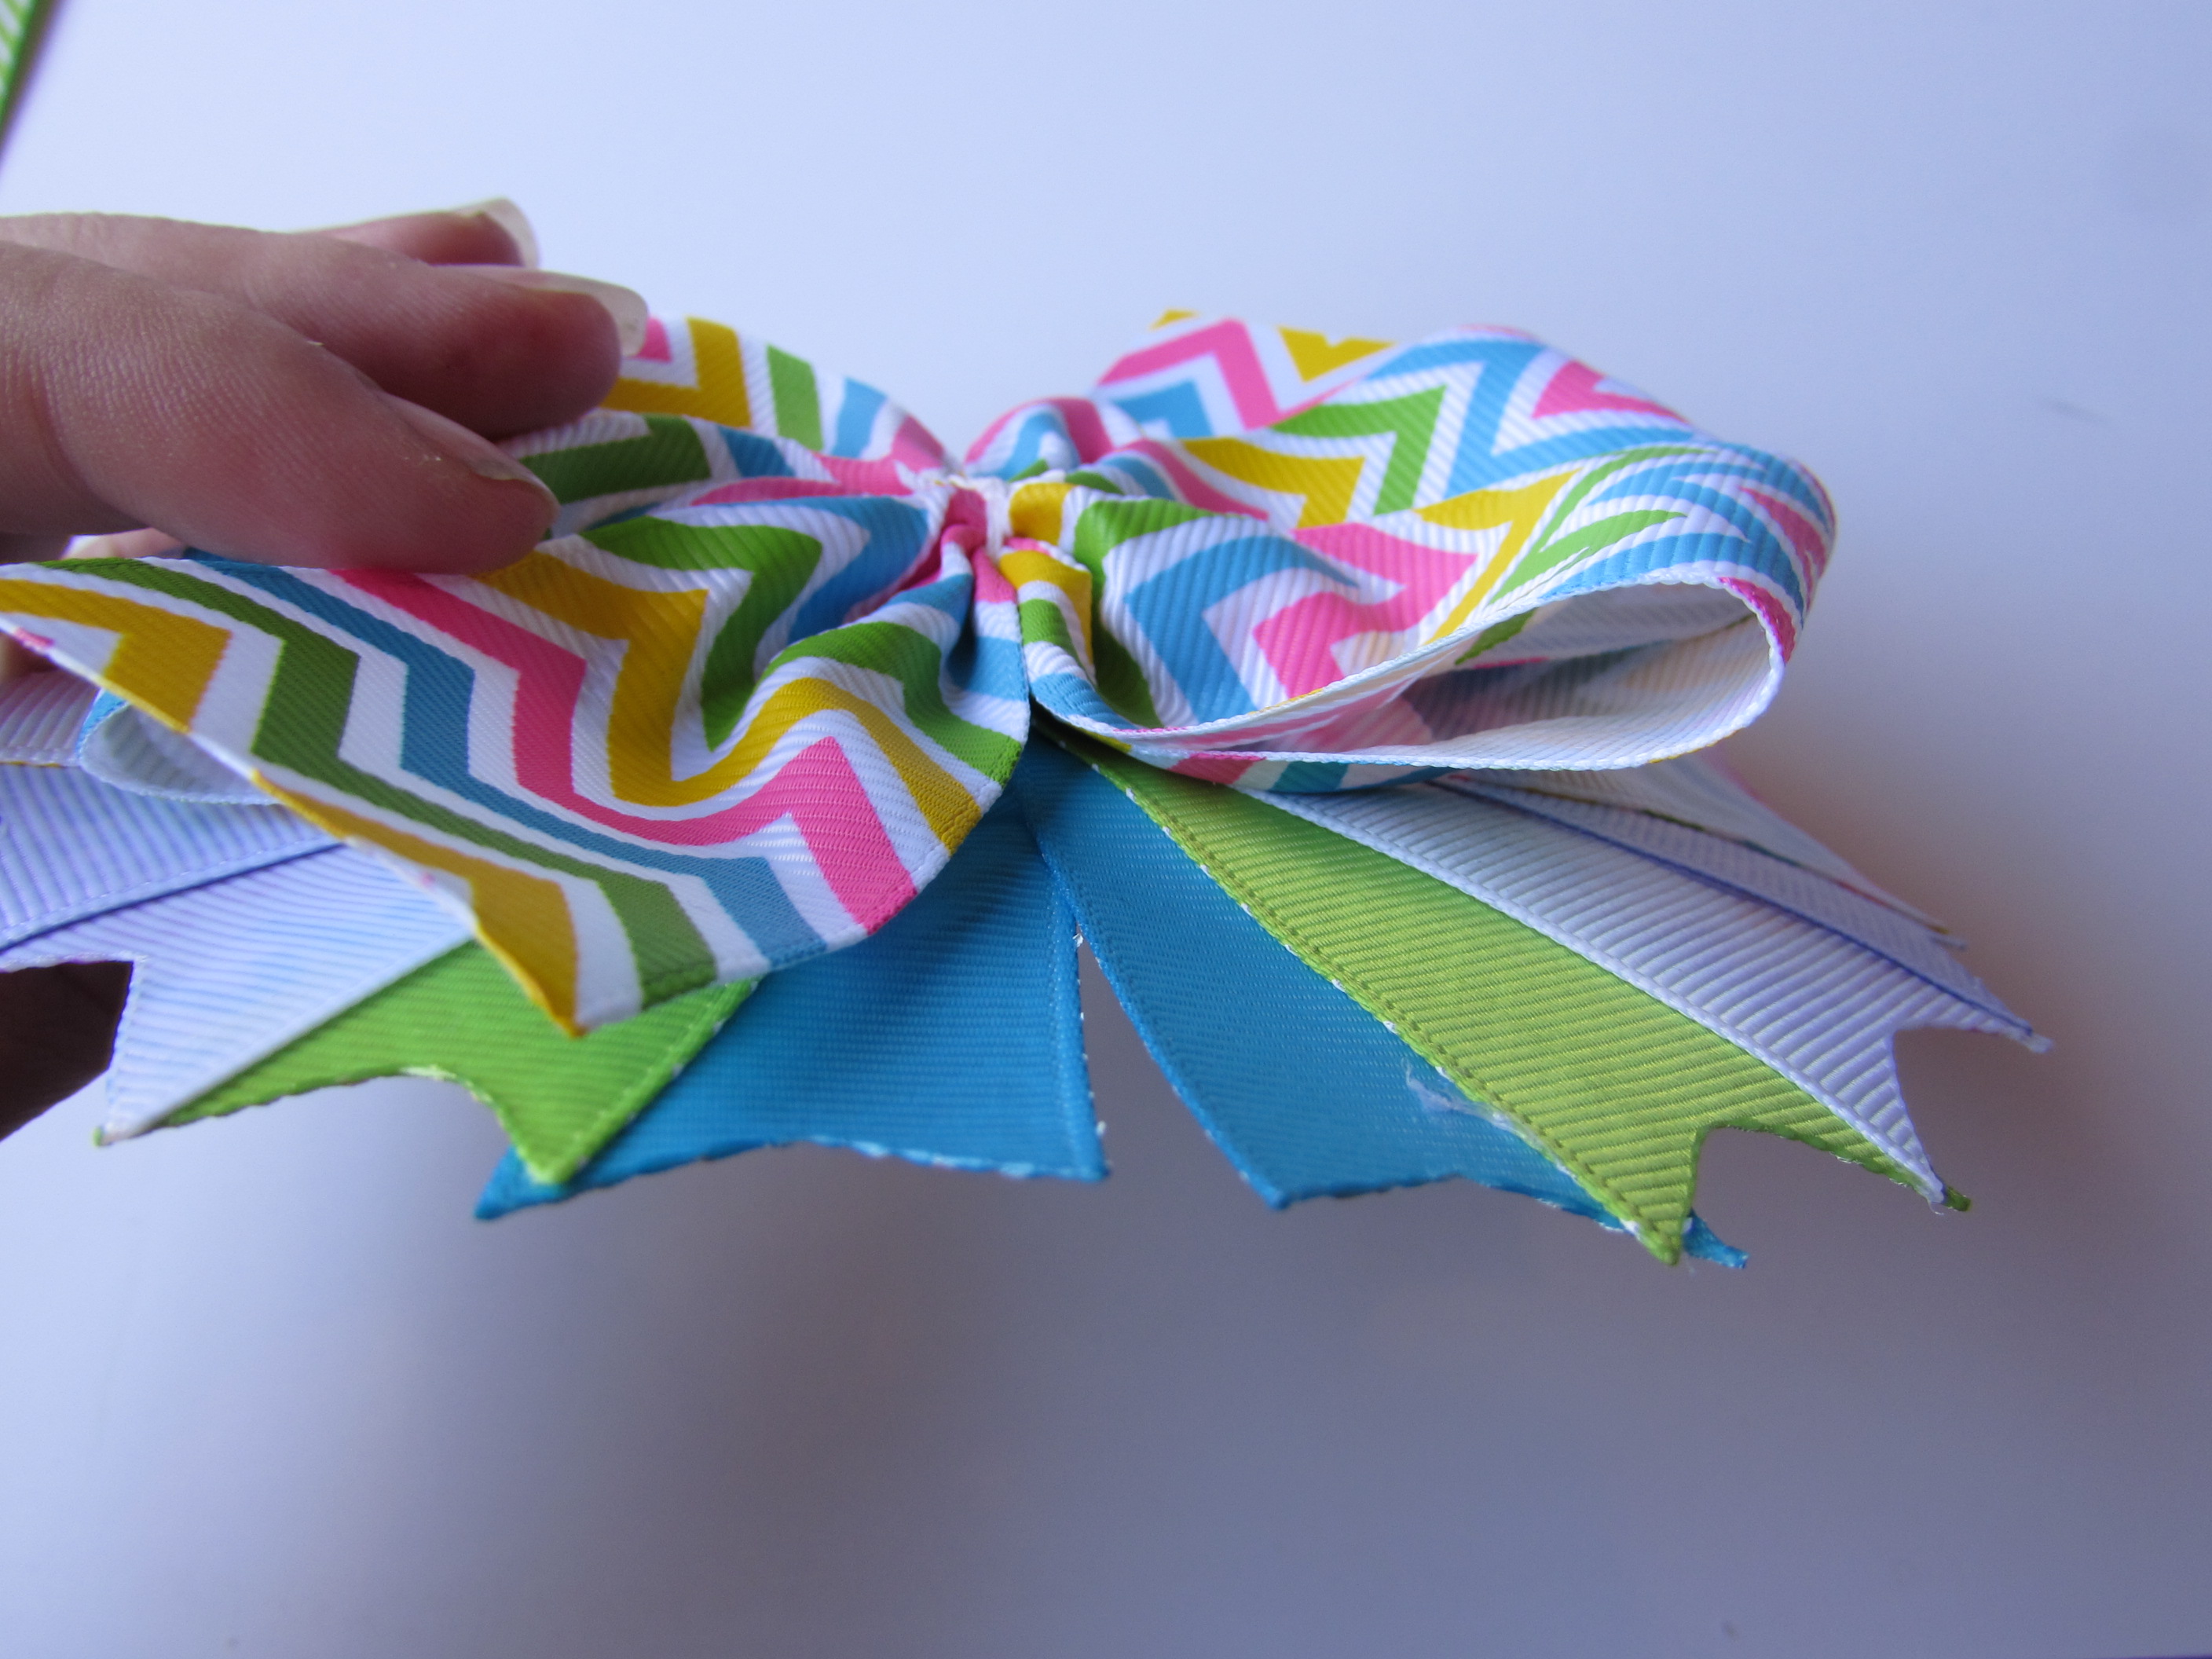
- Lay your feather puff on top of the spikes. Glue in the center.
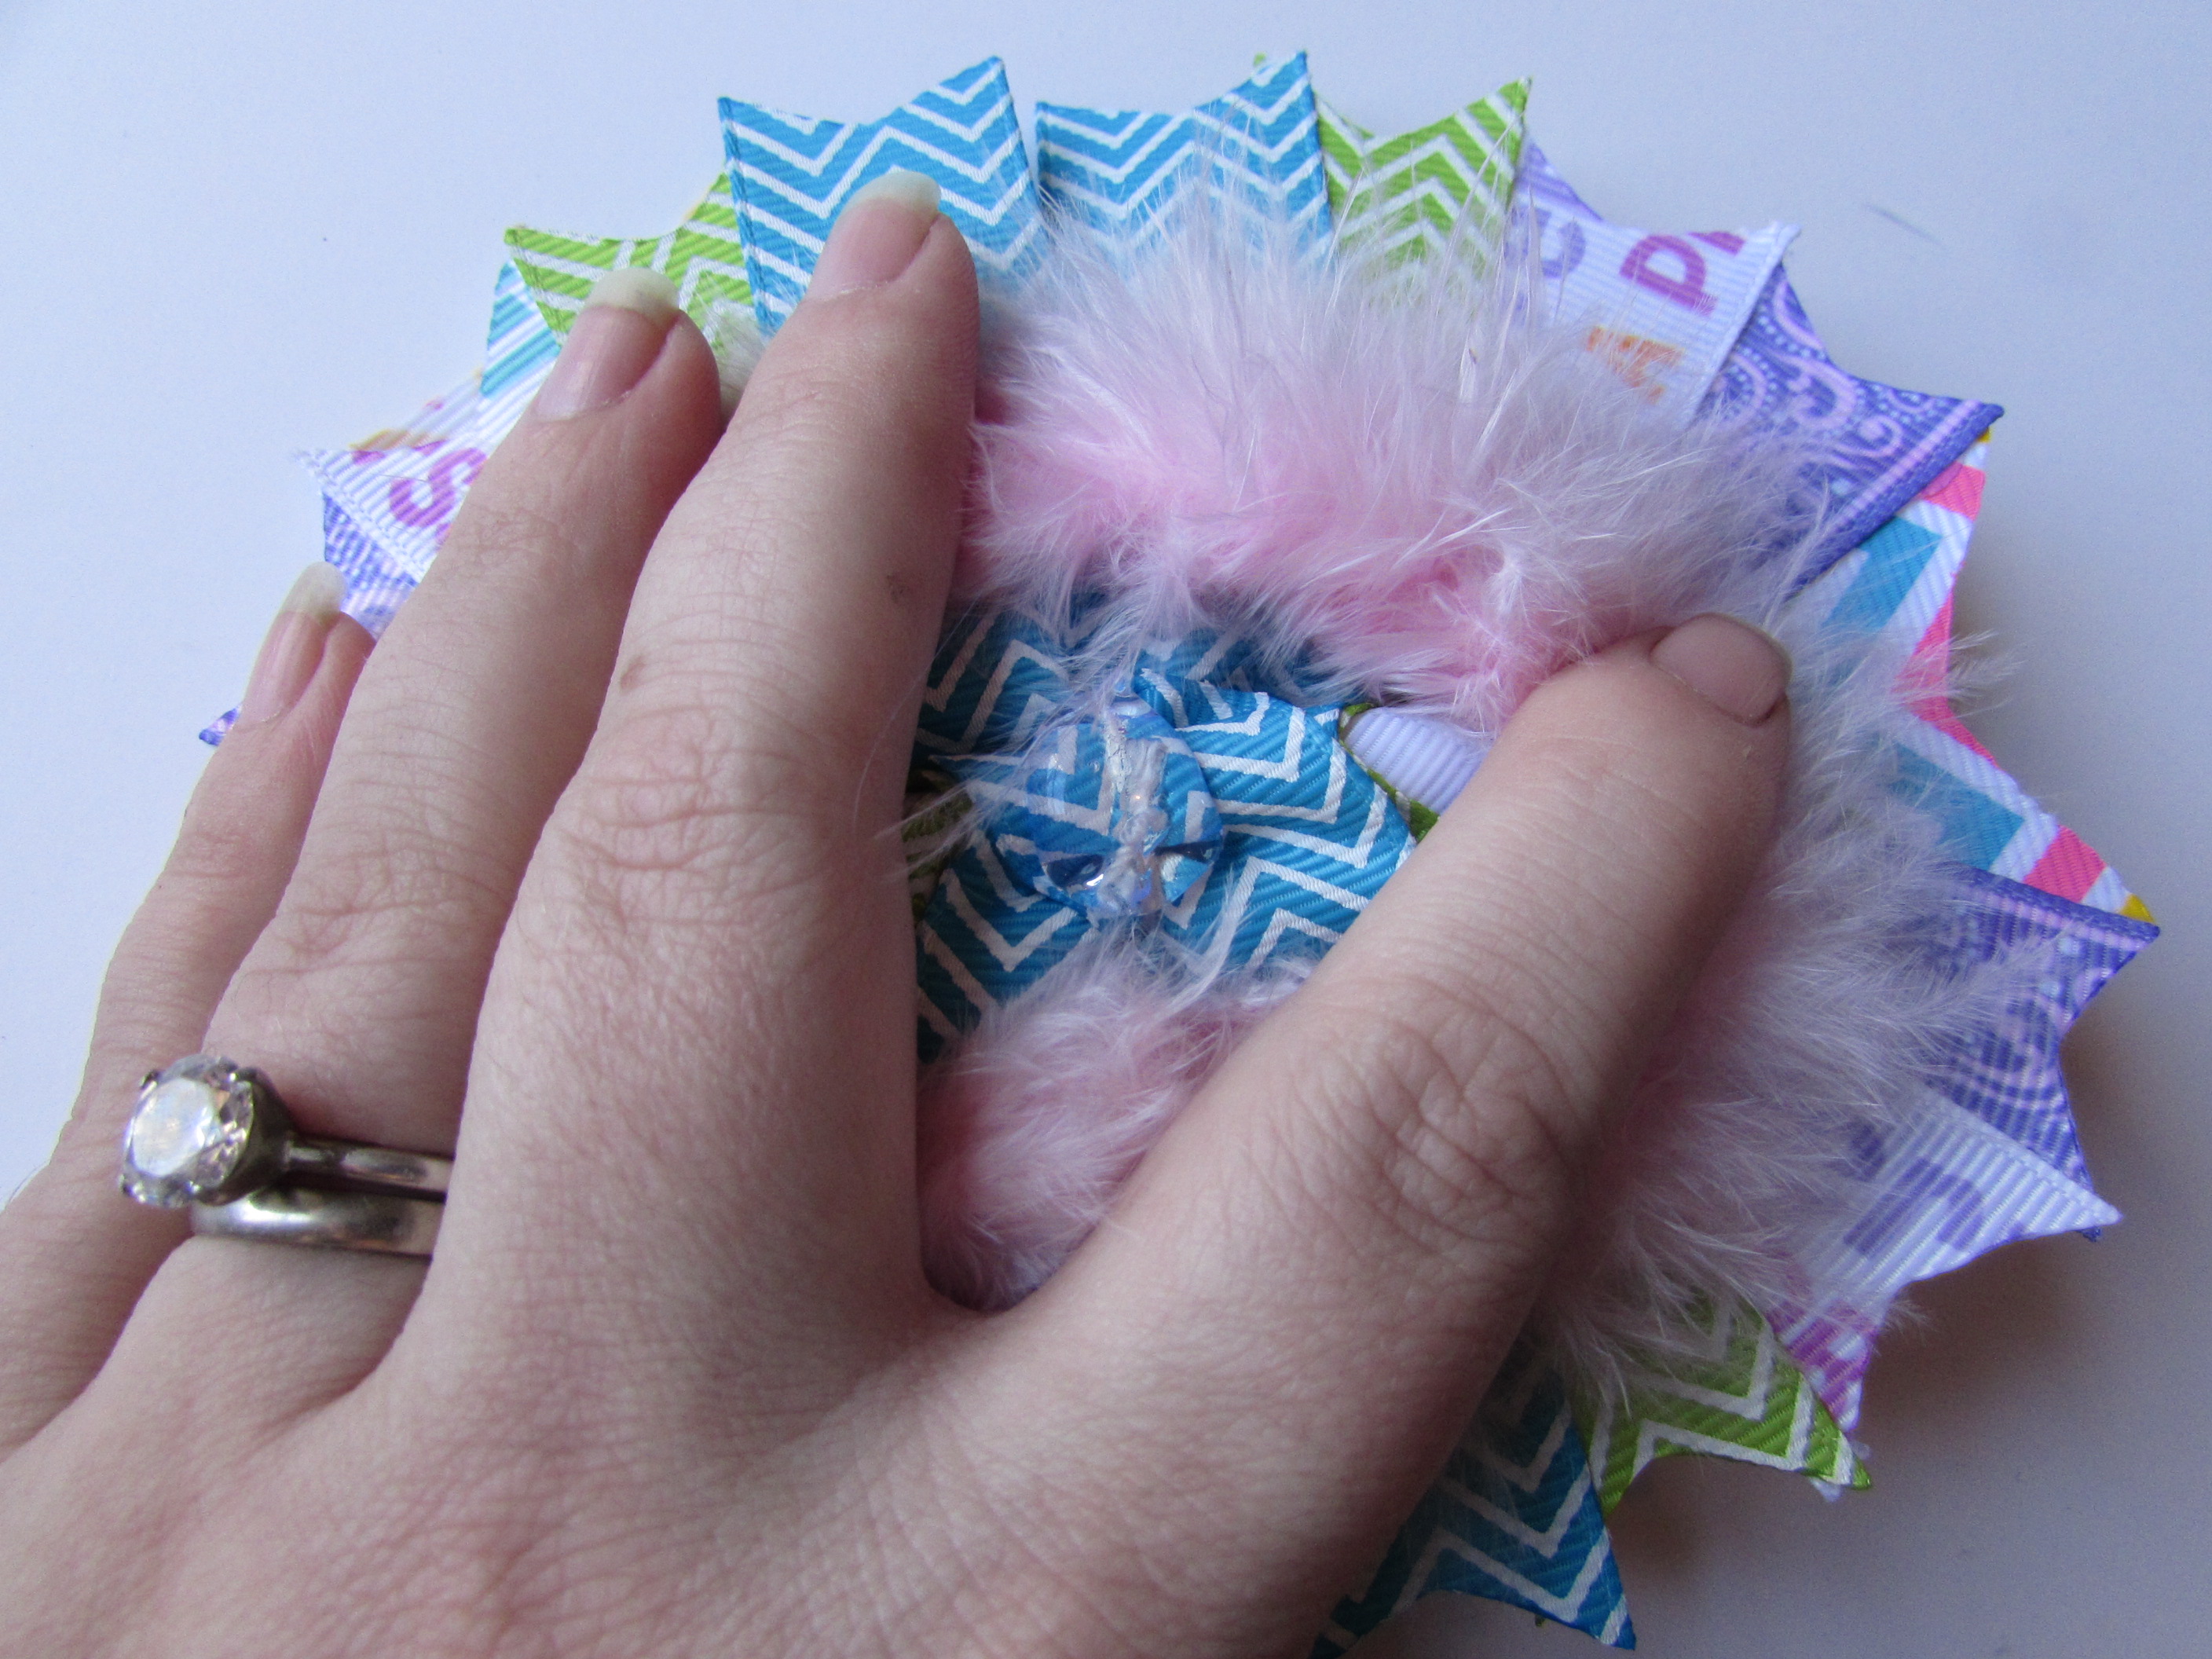
- Quickly lay your surround a bow on top center of the feather puff.
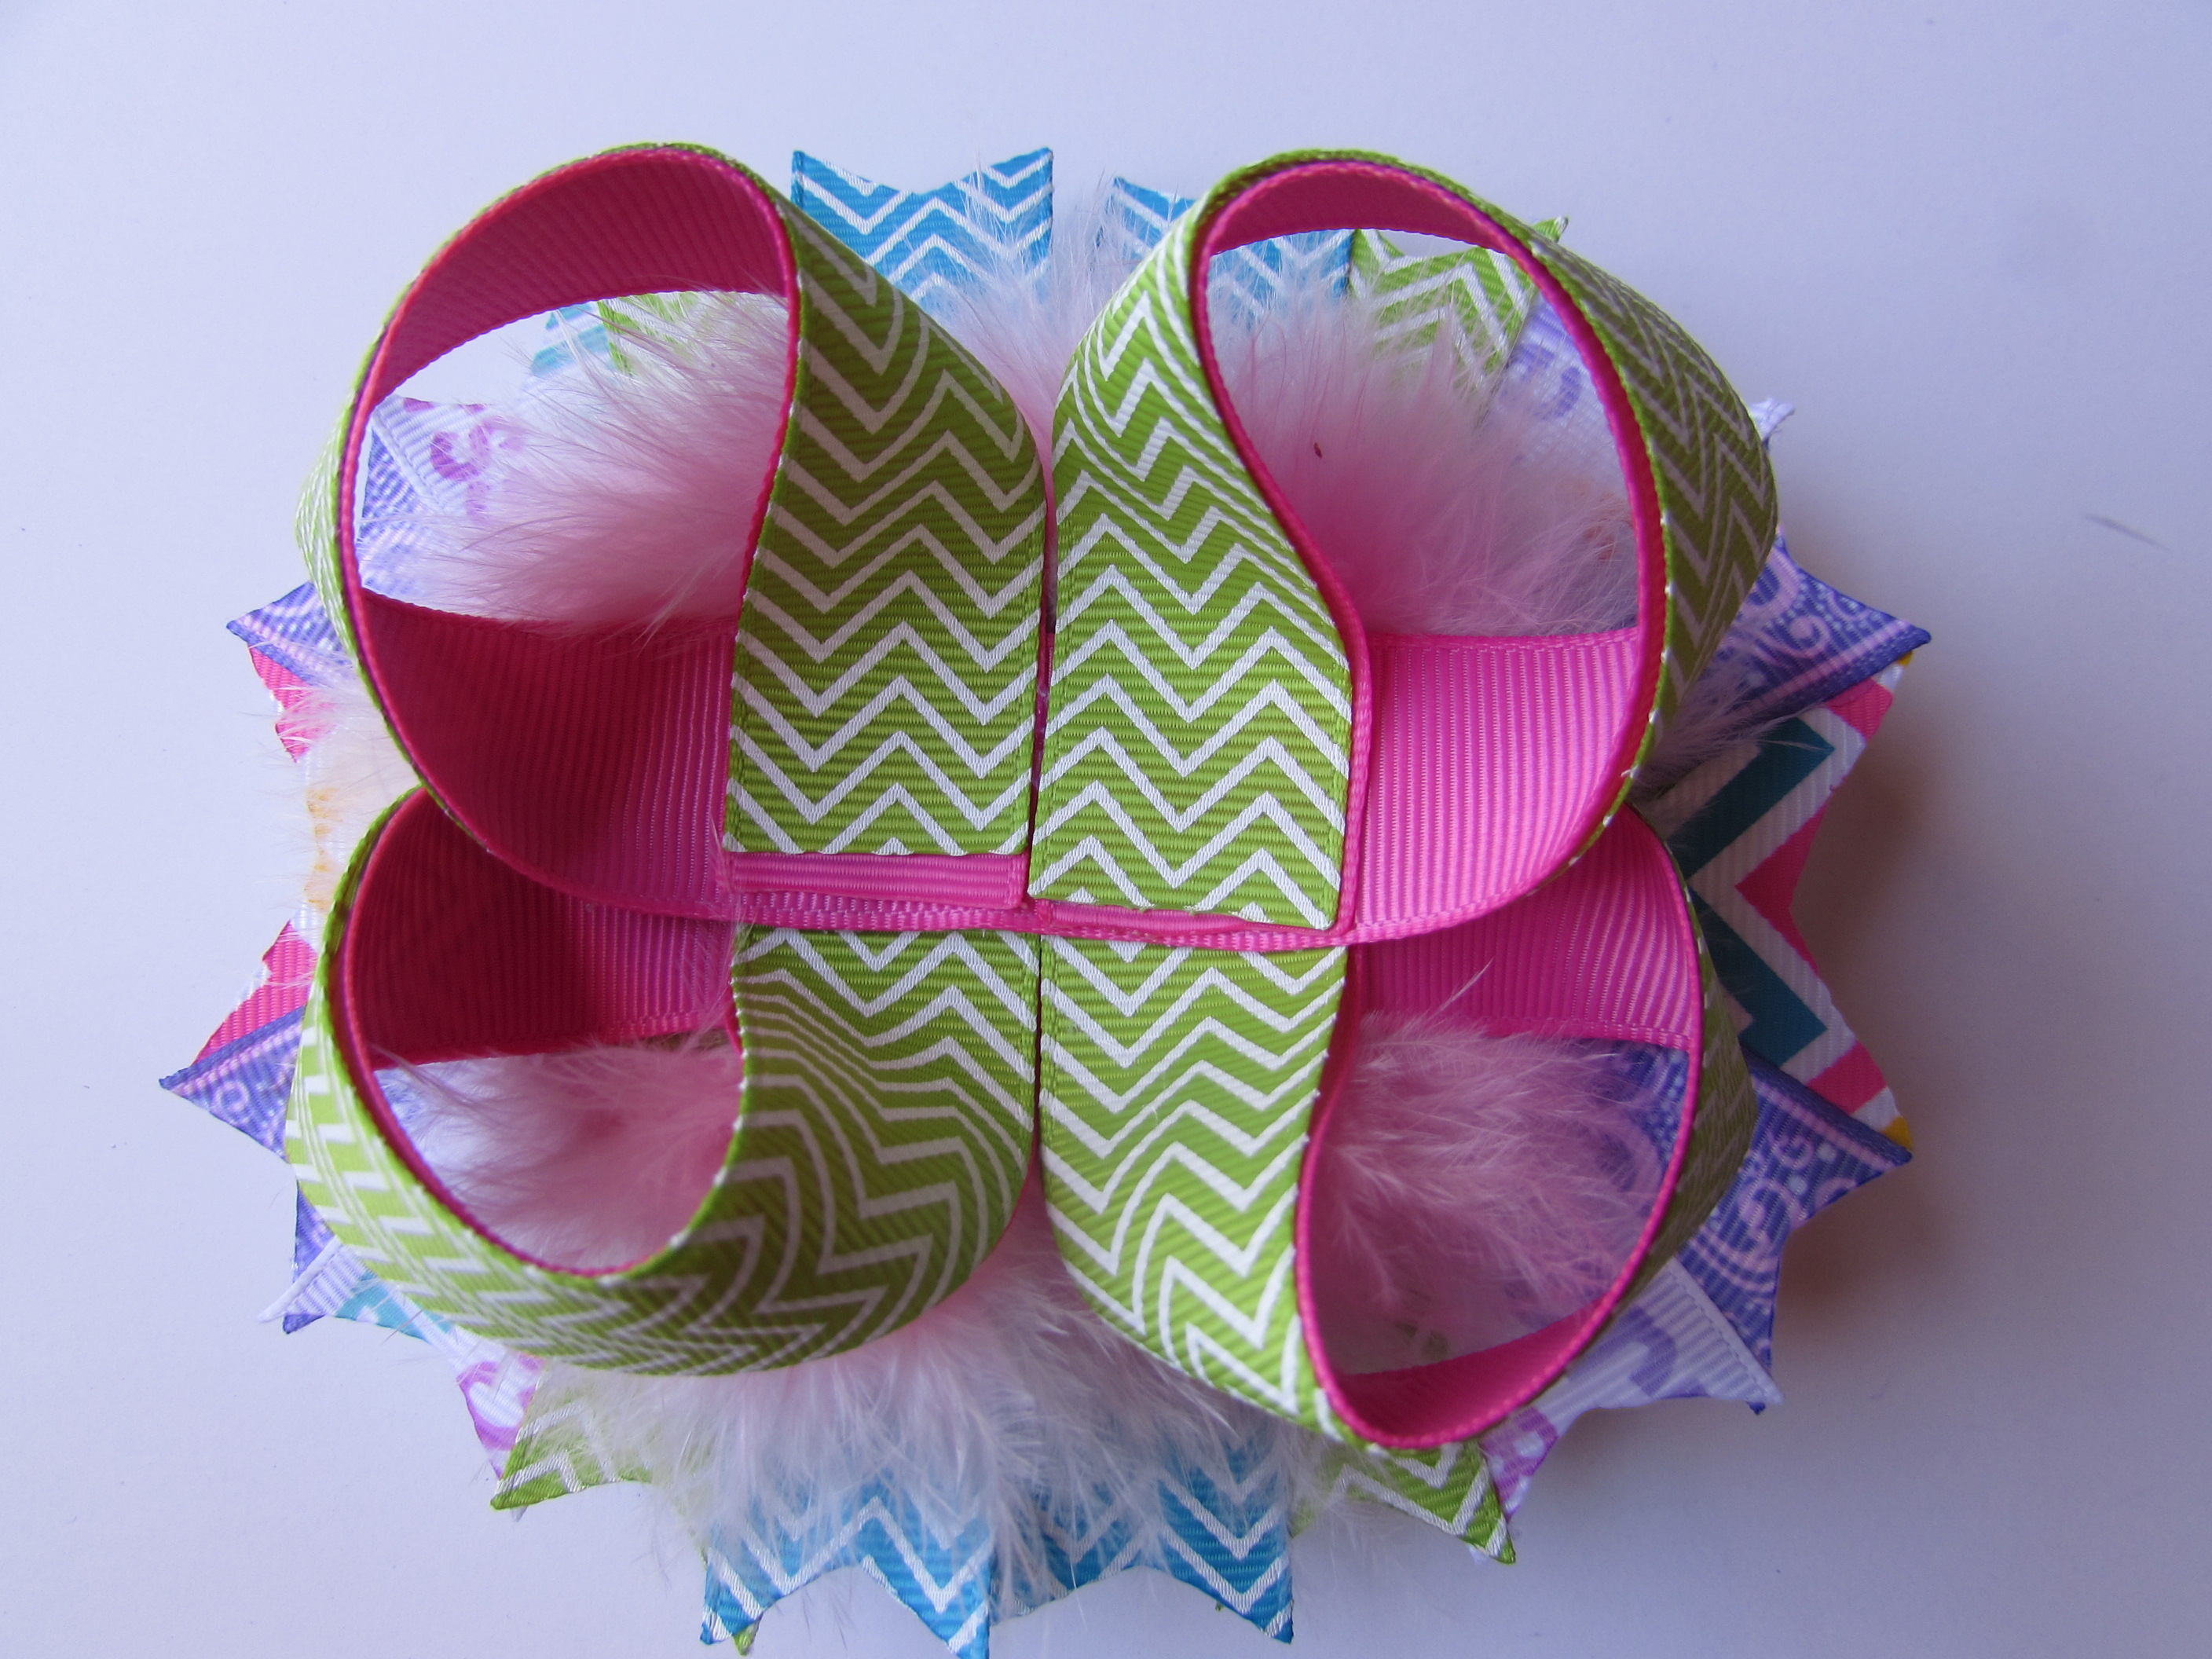
- Glue in the center of your surround a bow.
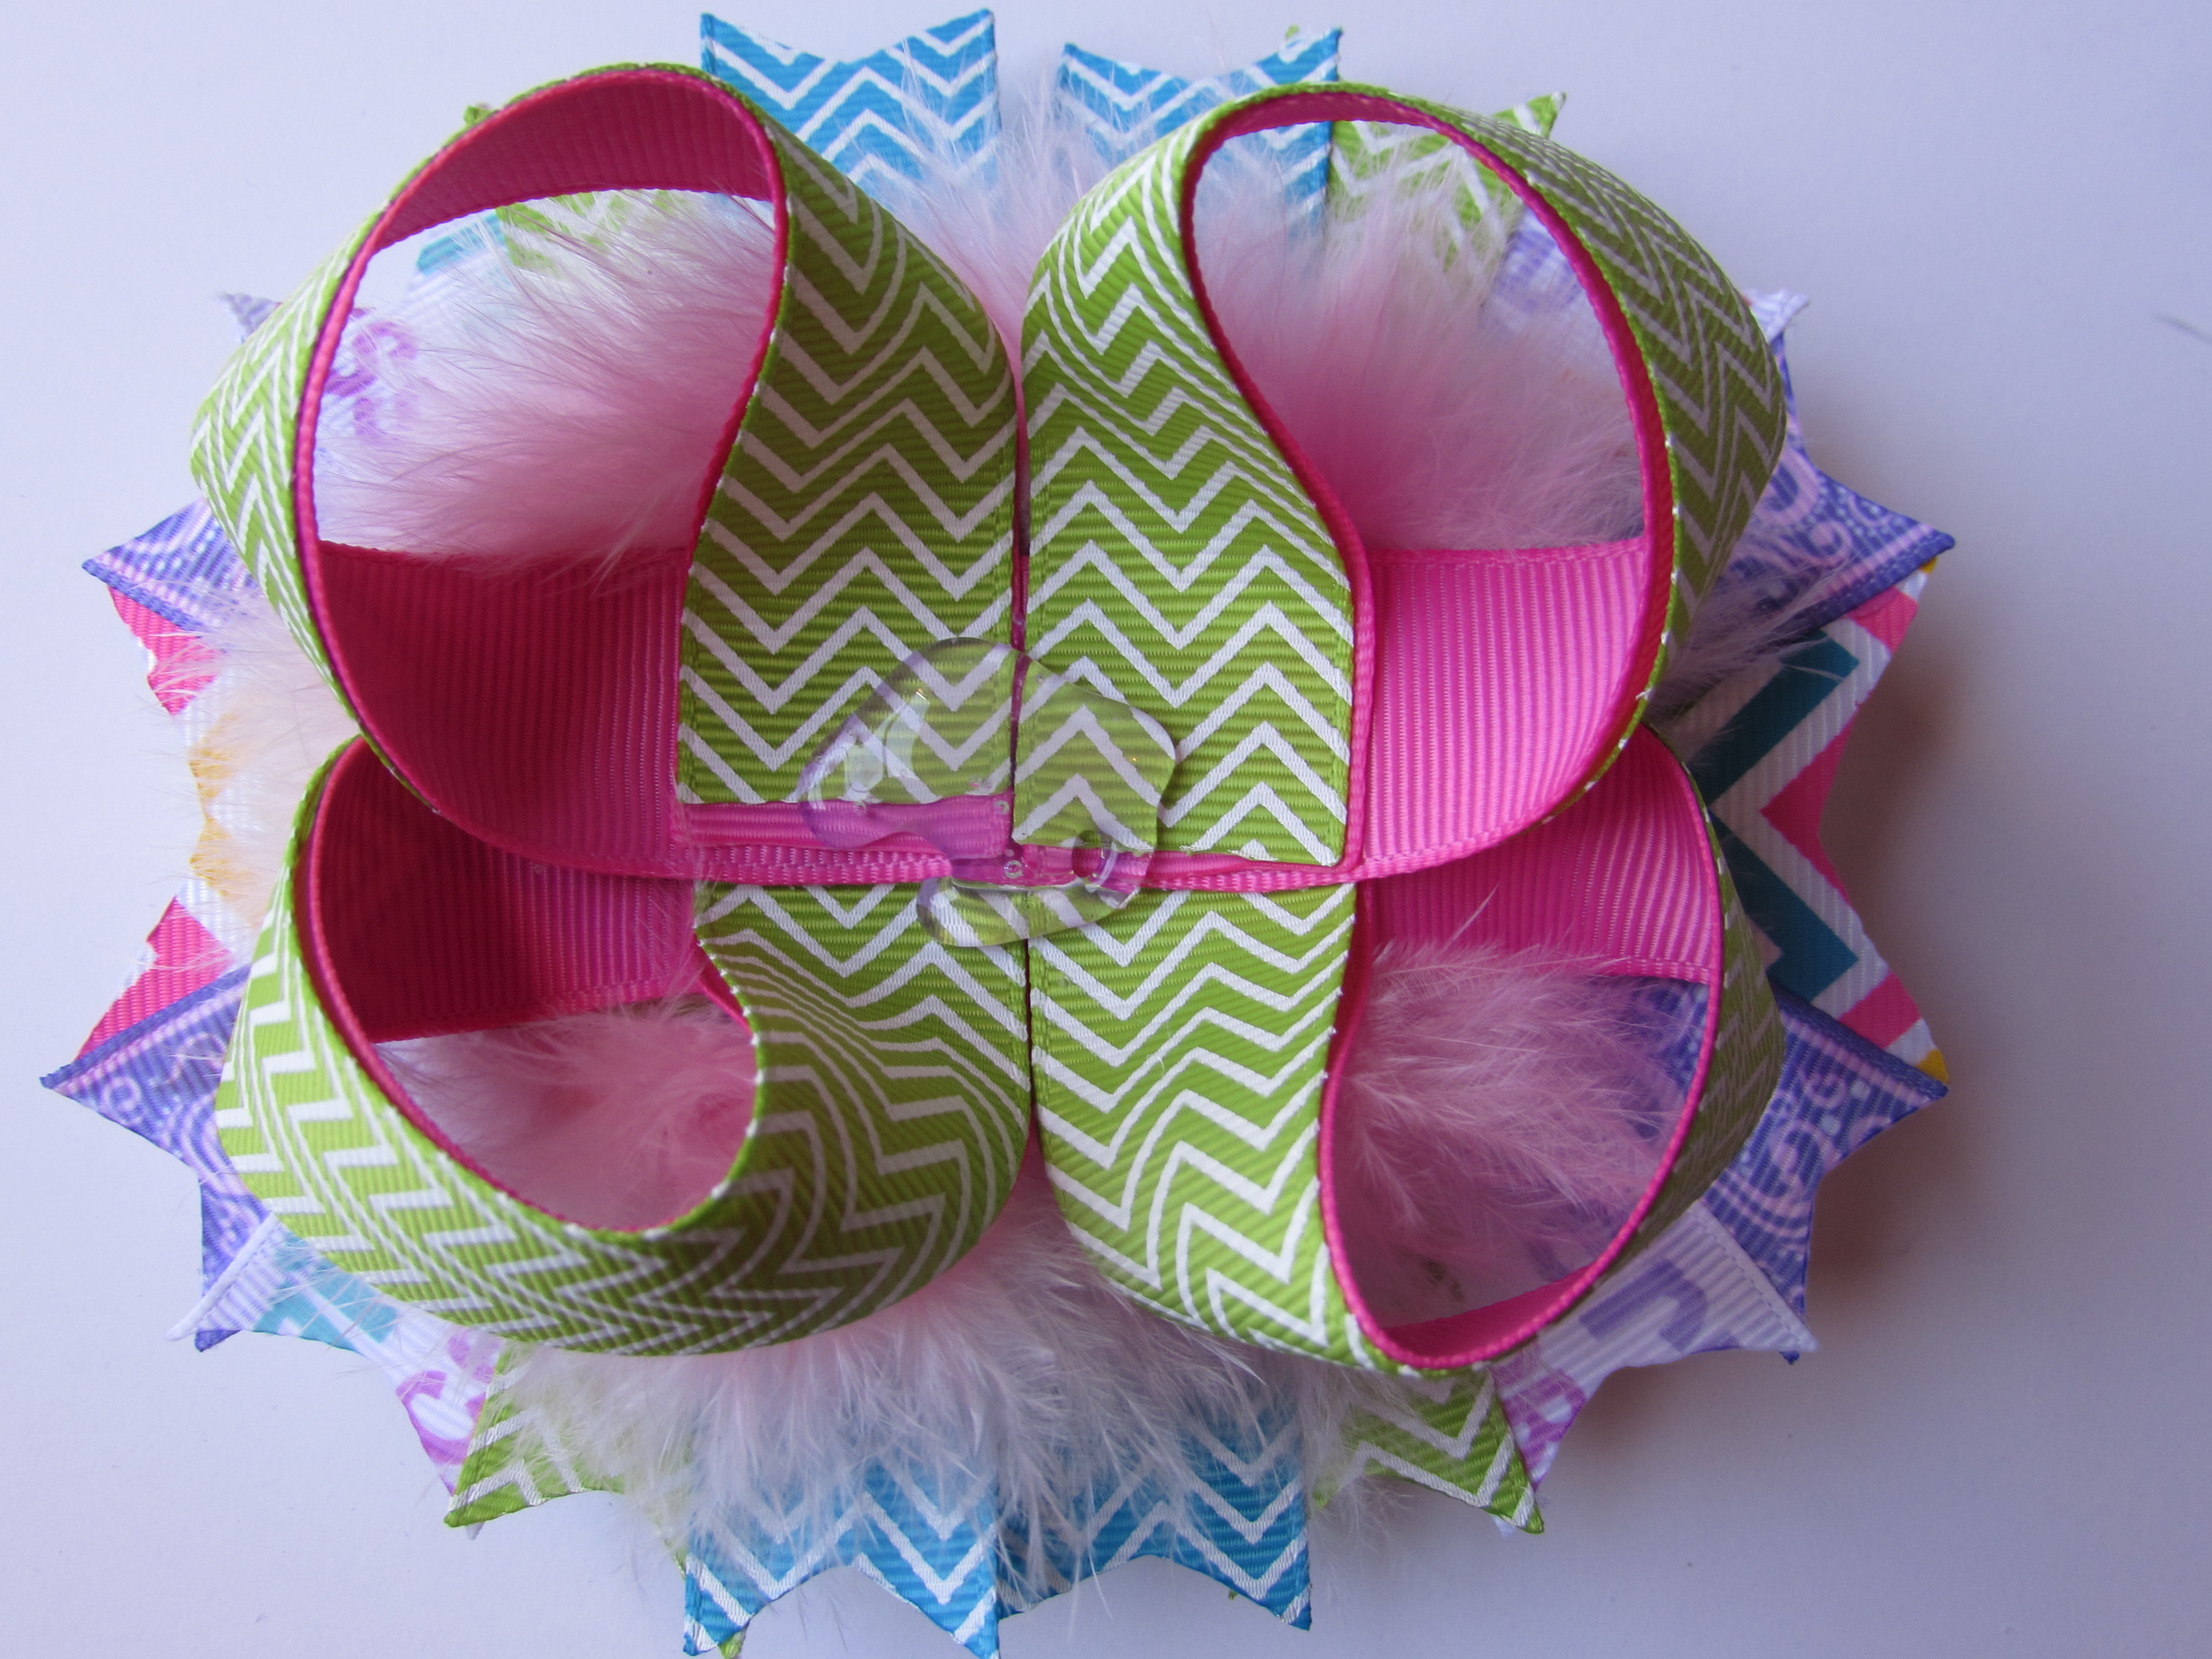
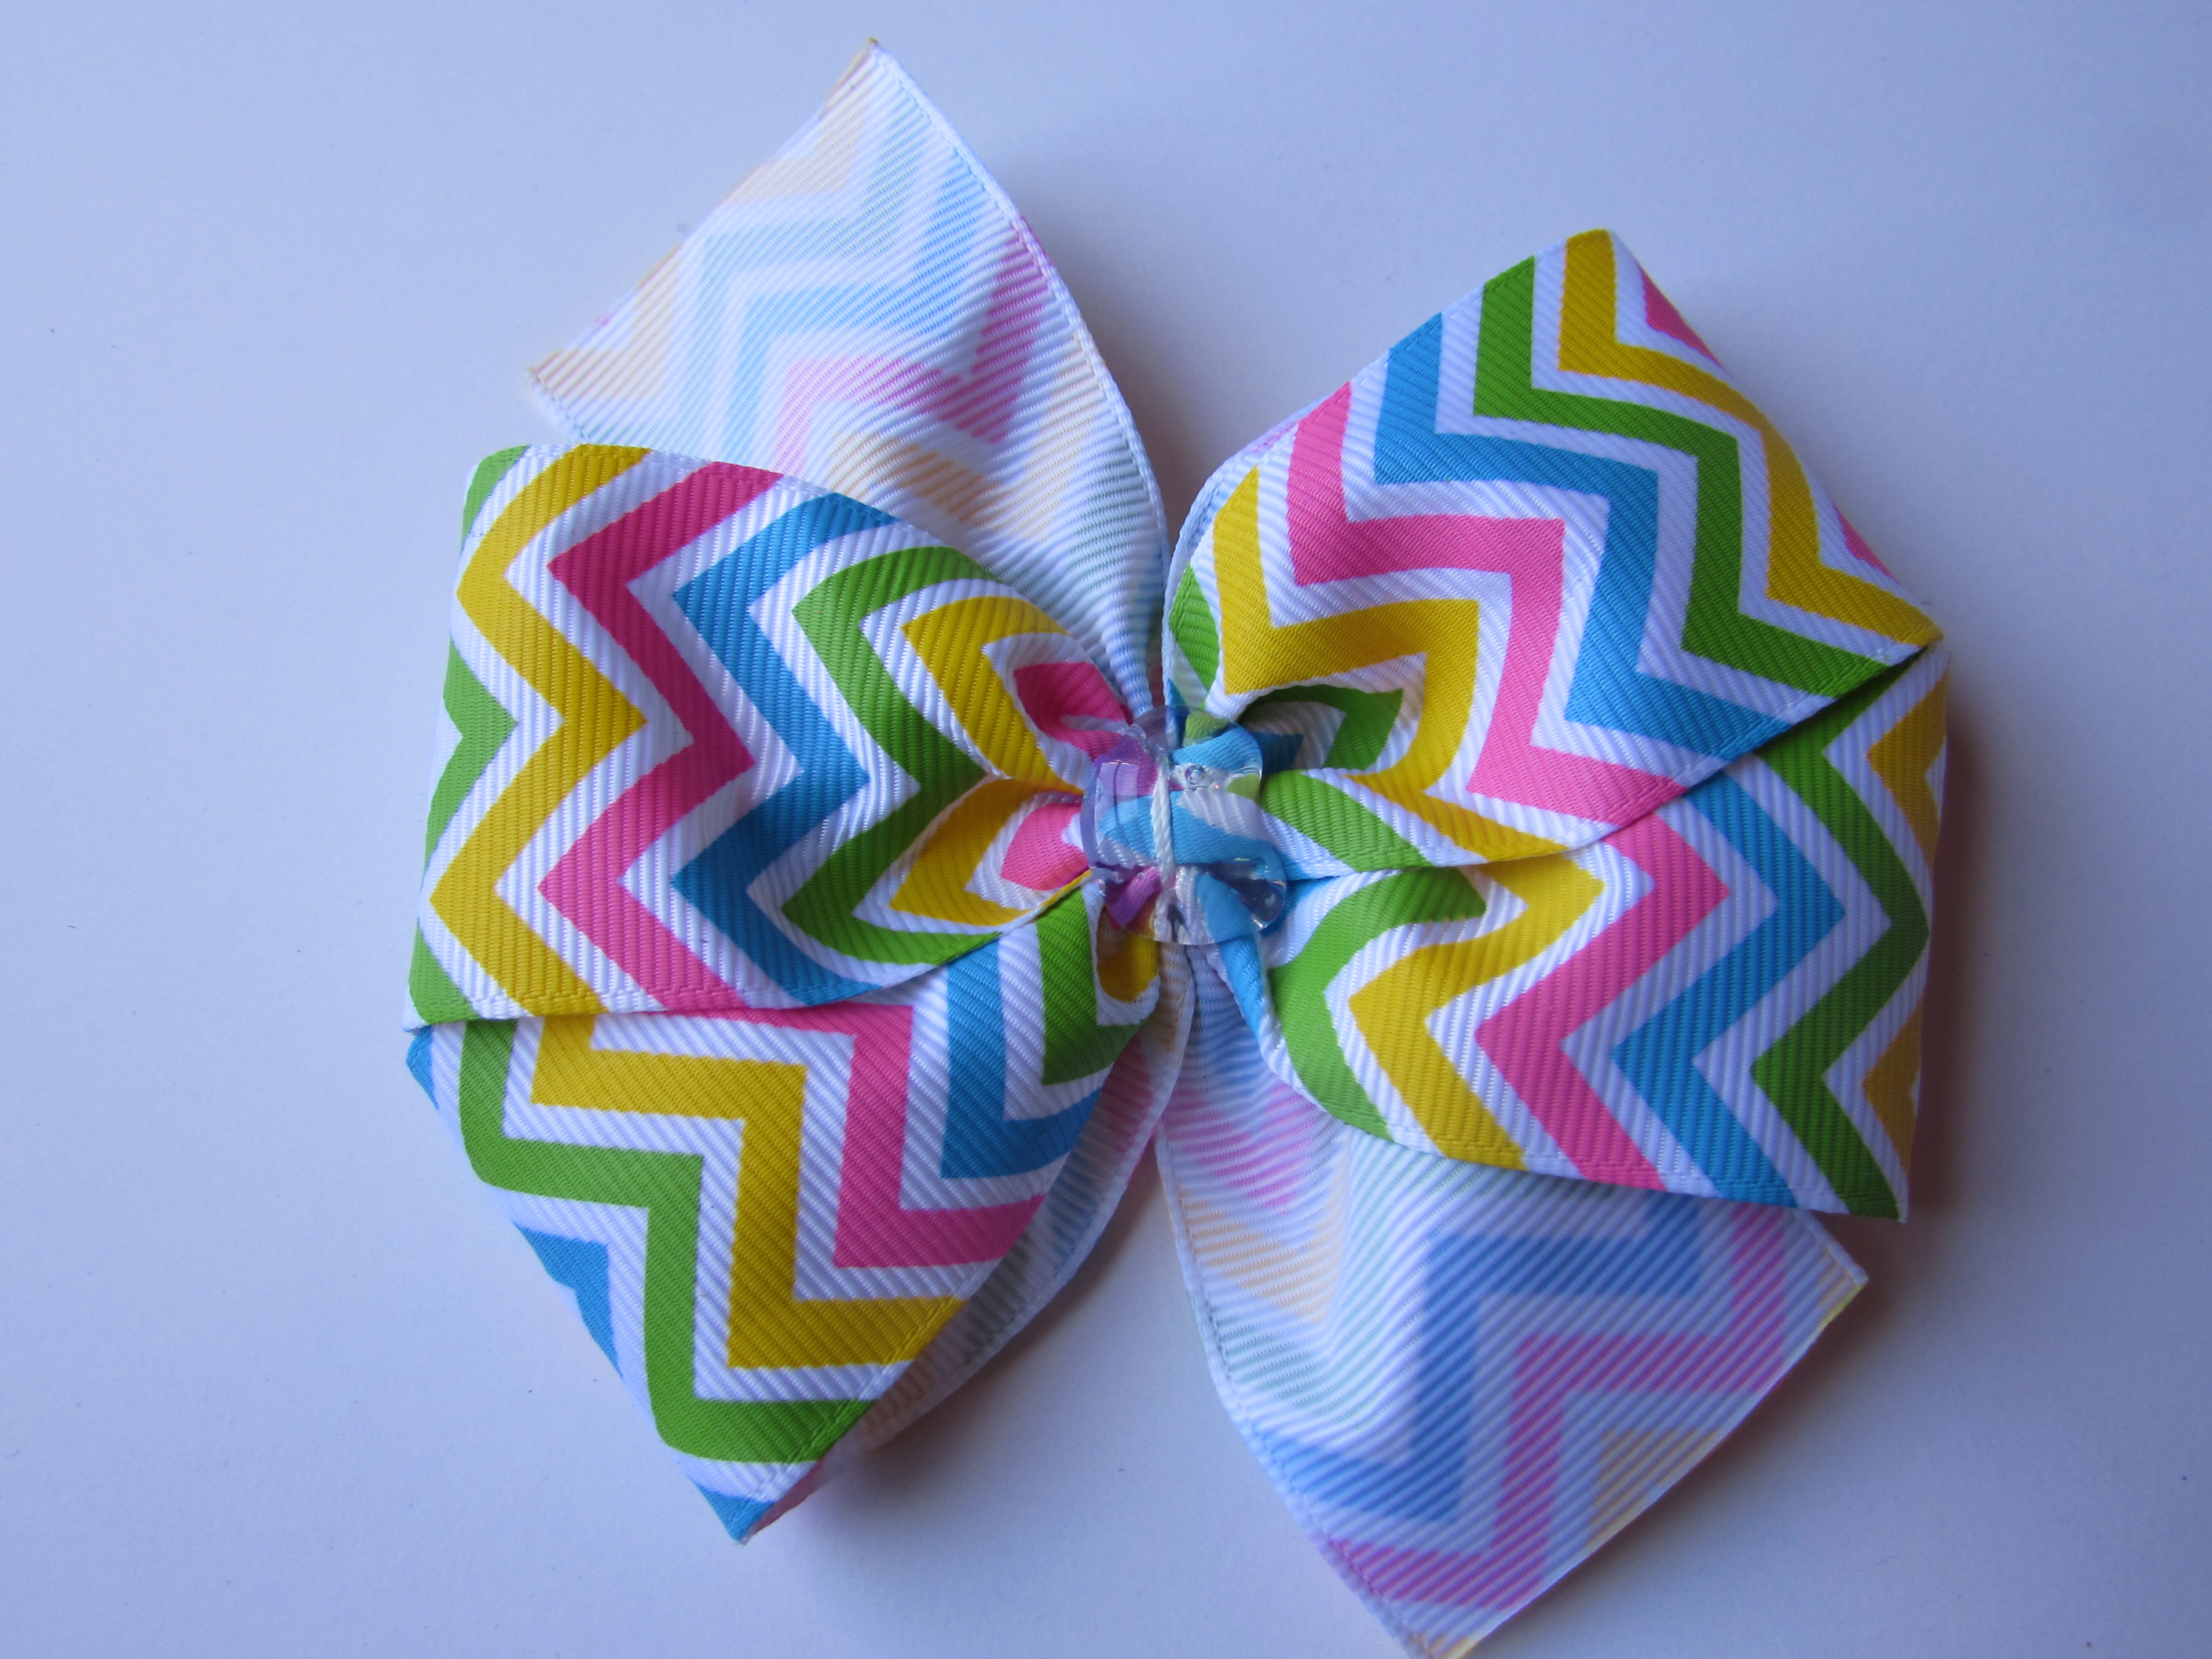
- Place topper bow in the center.
- Wrap your bow center with a piece of 3/8” ribbon.
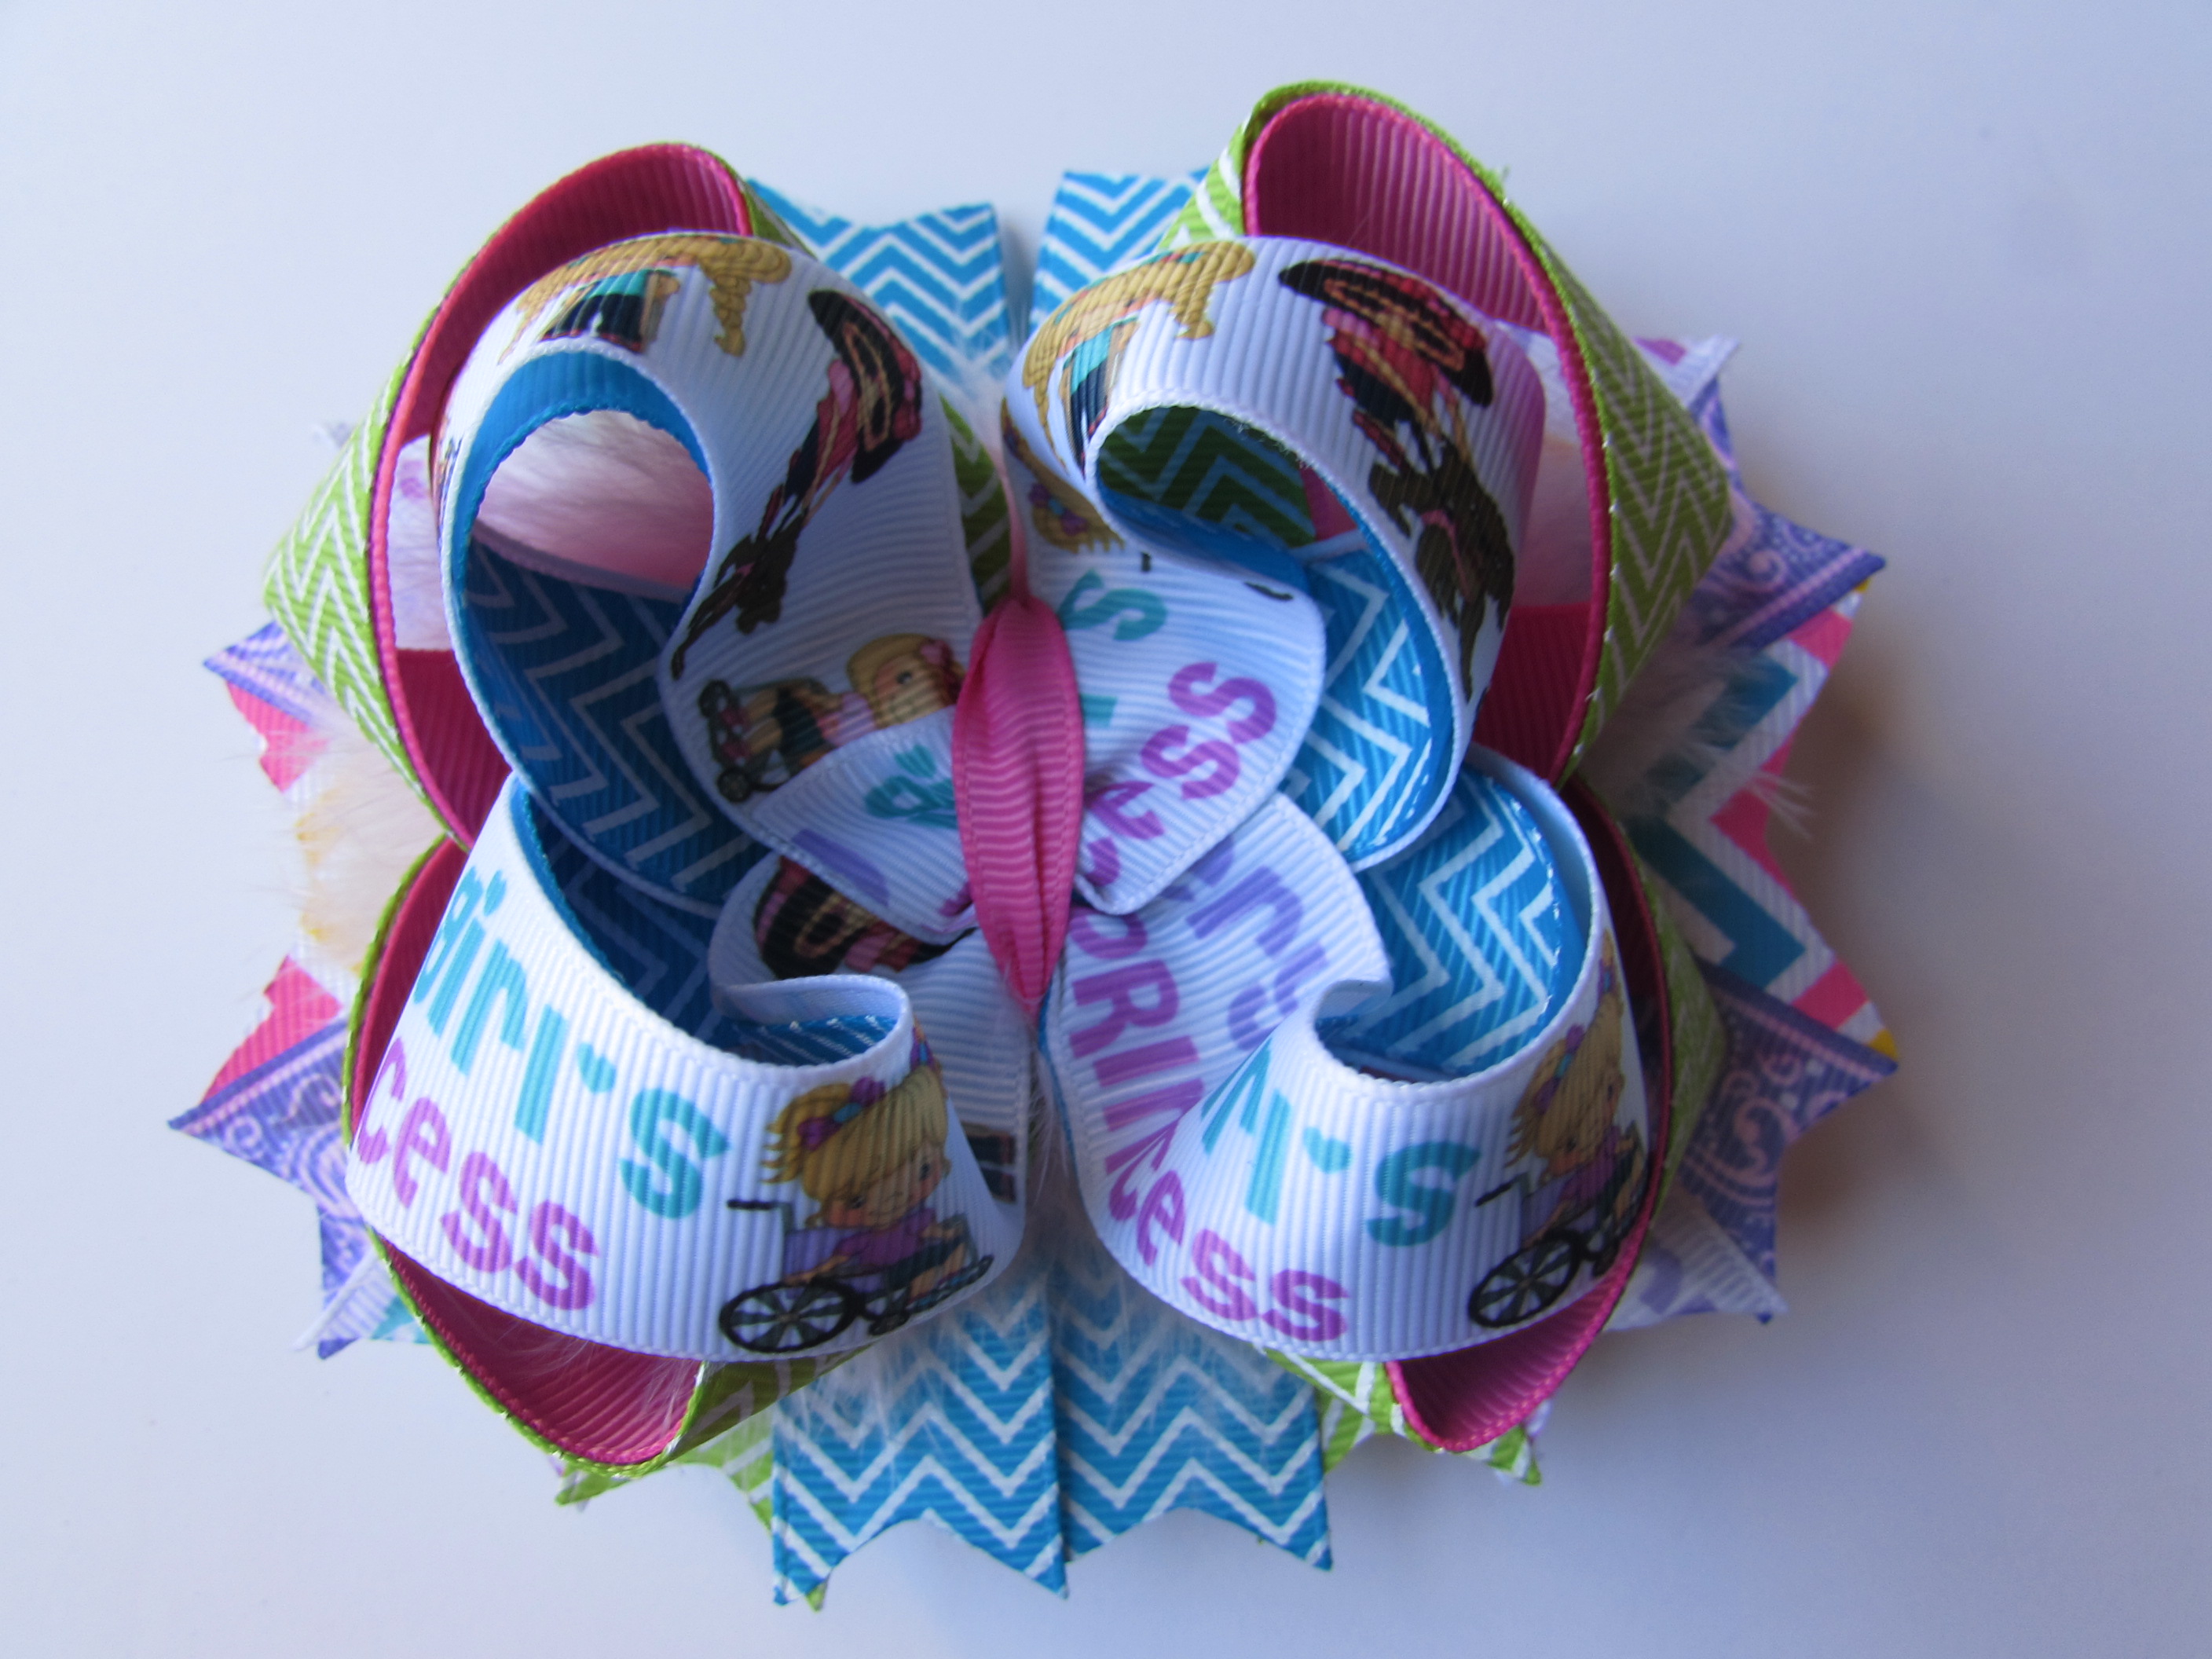
-
- Now take your center embellishment and glue it to the center of your bow.
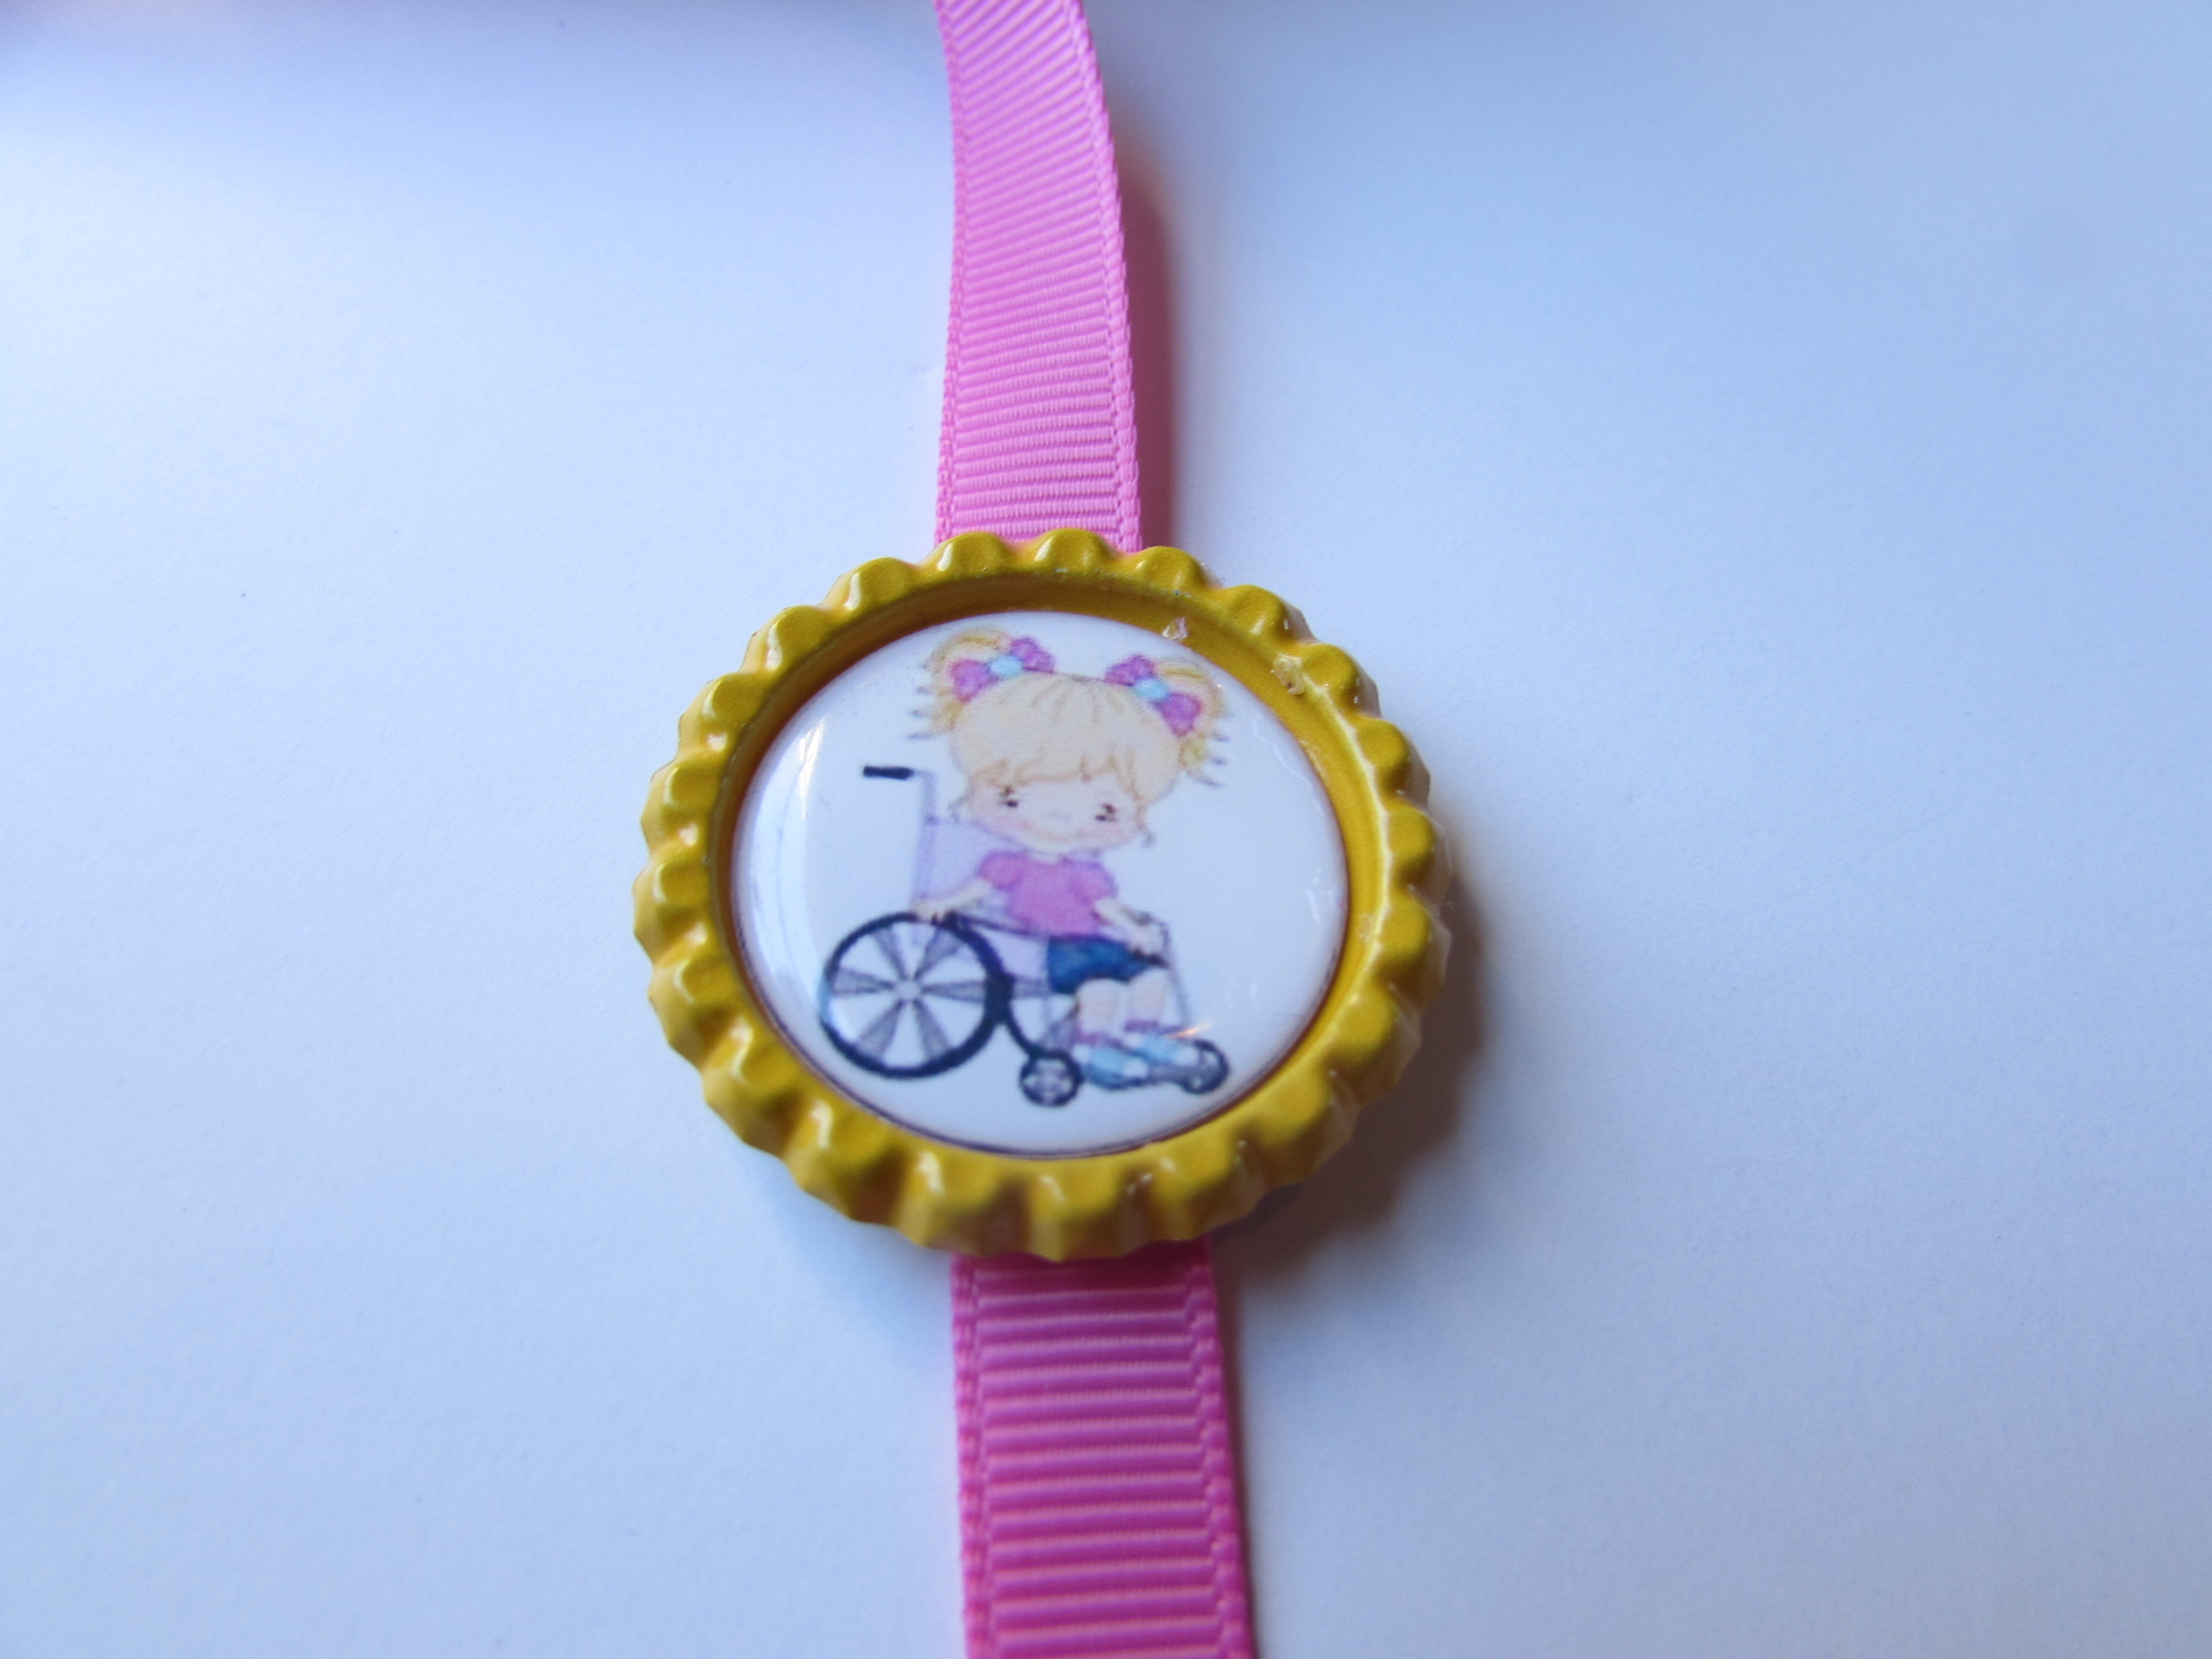
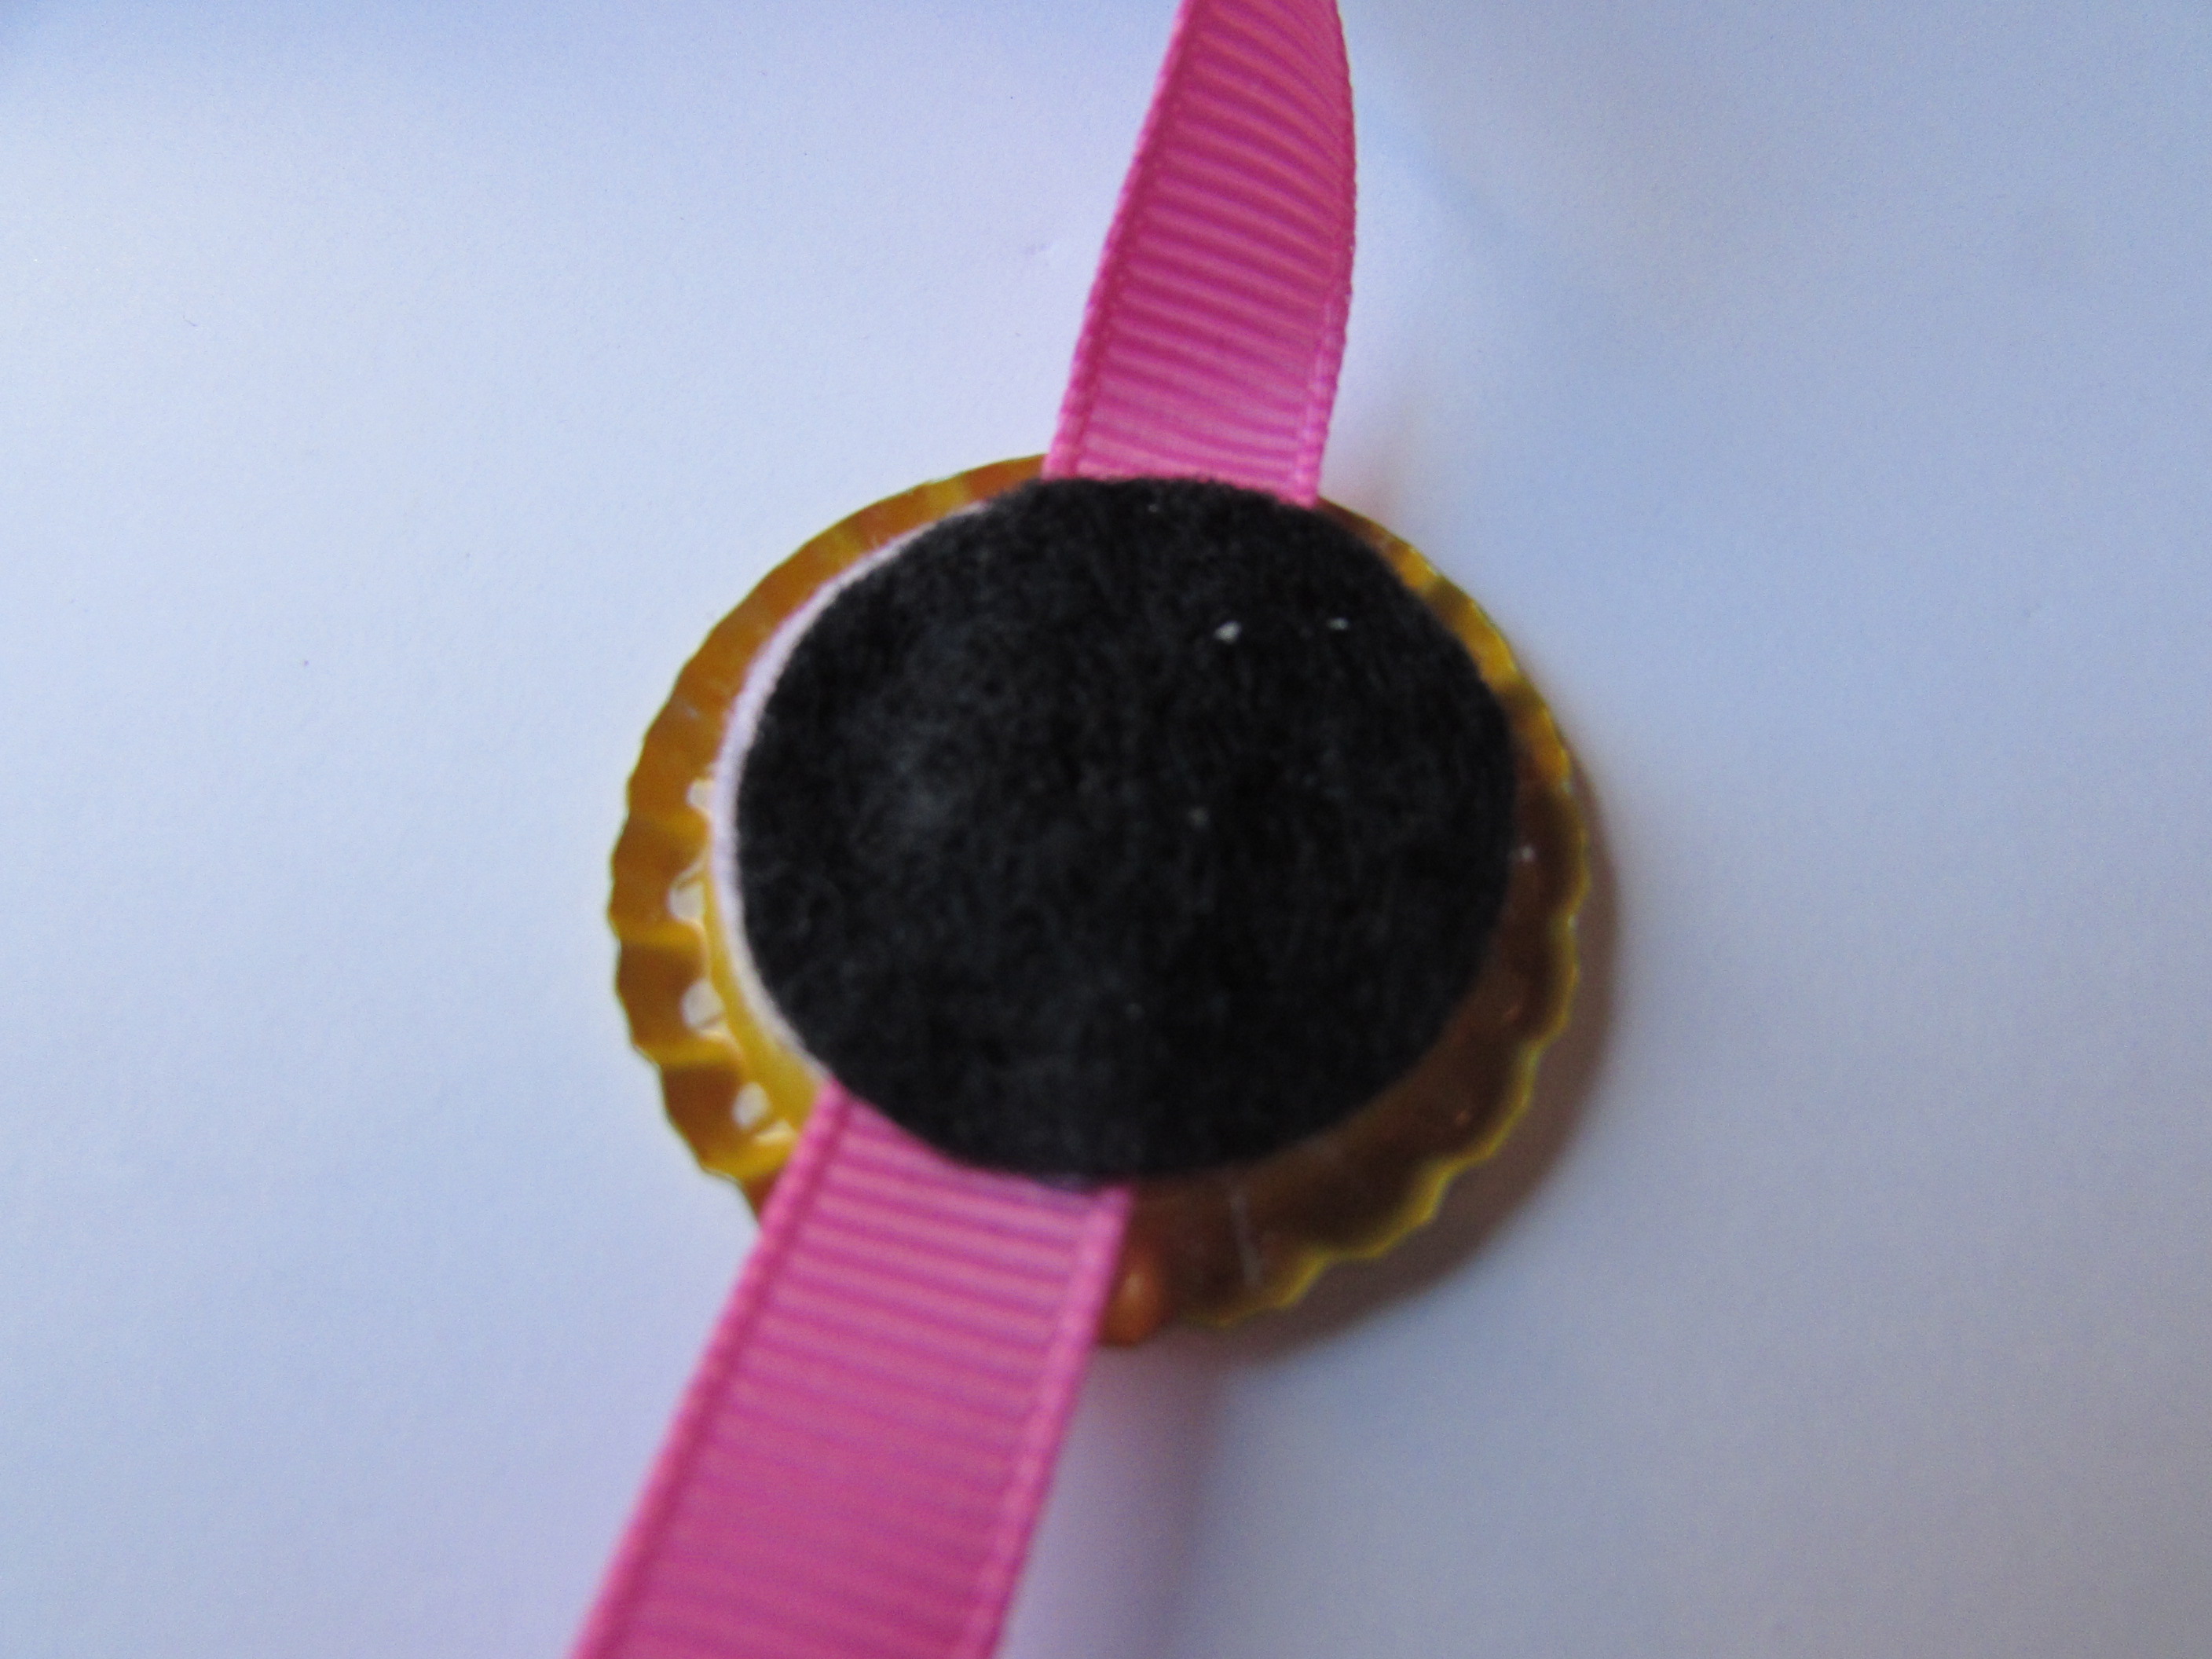
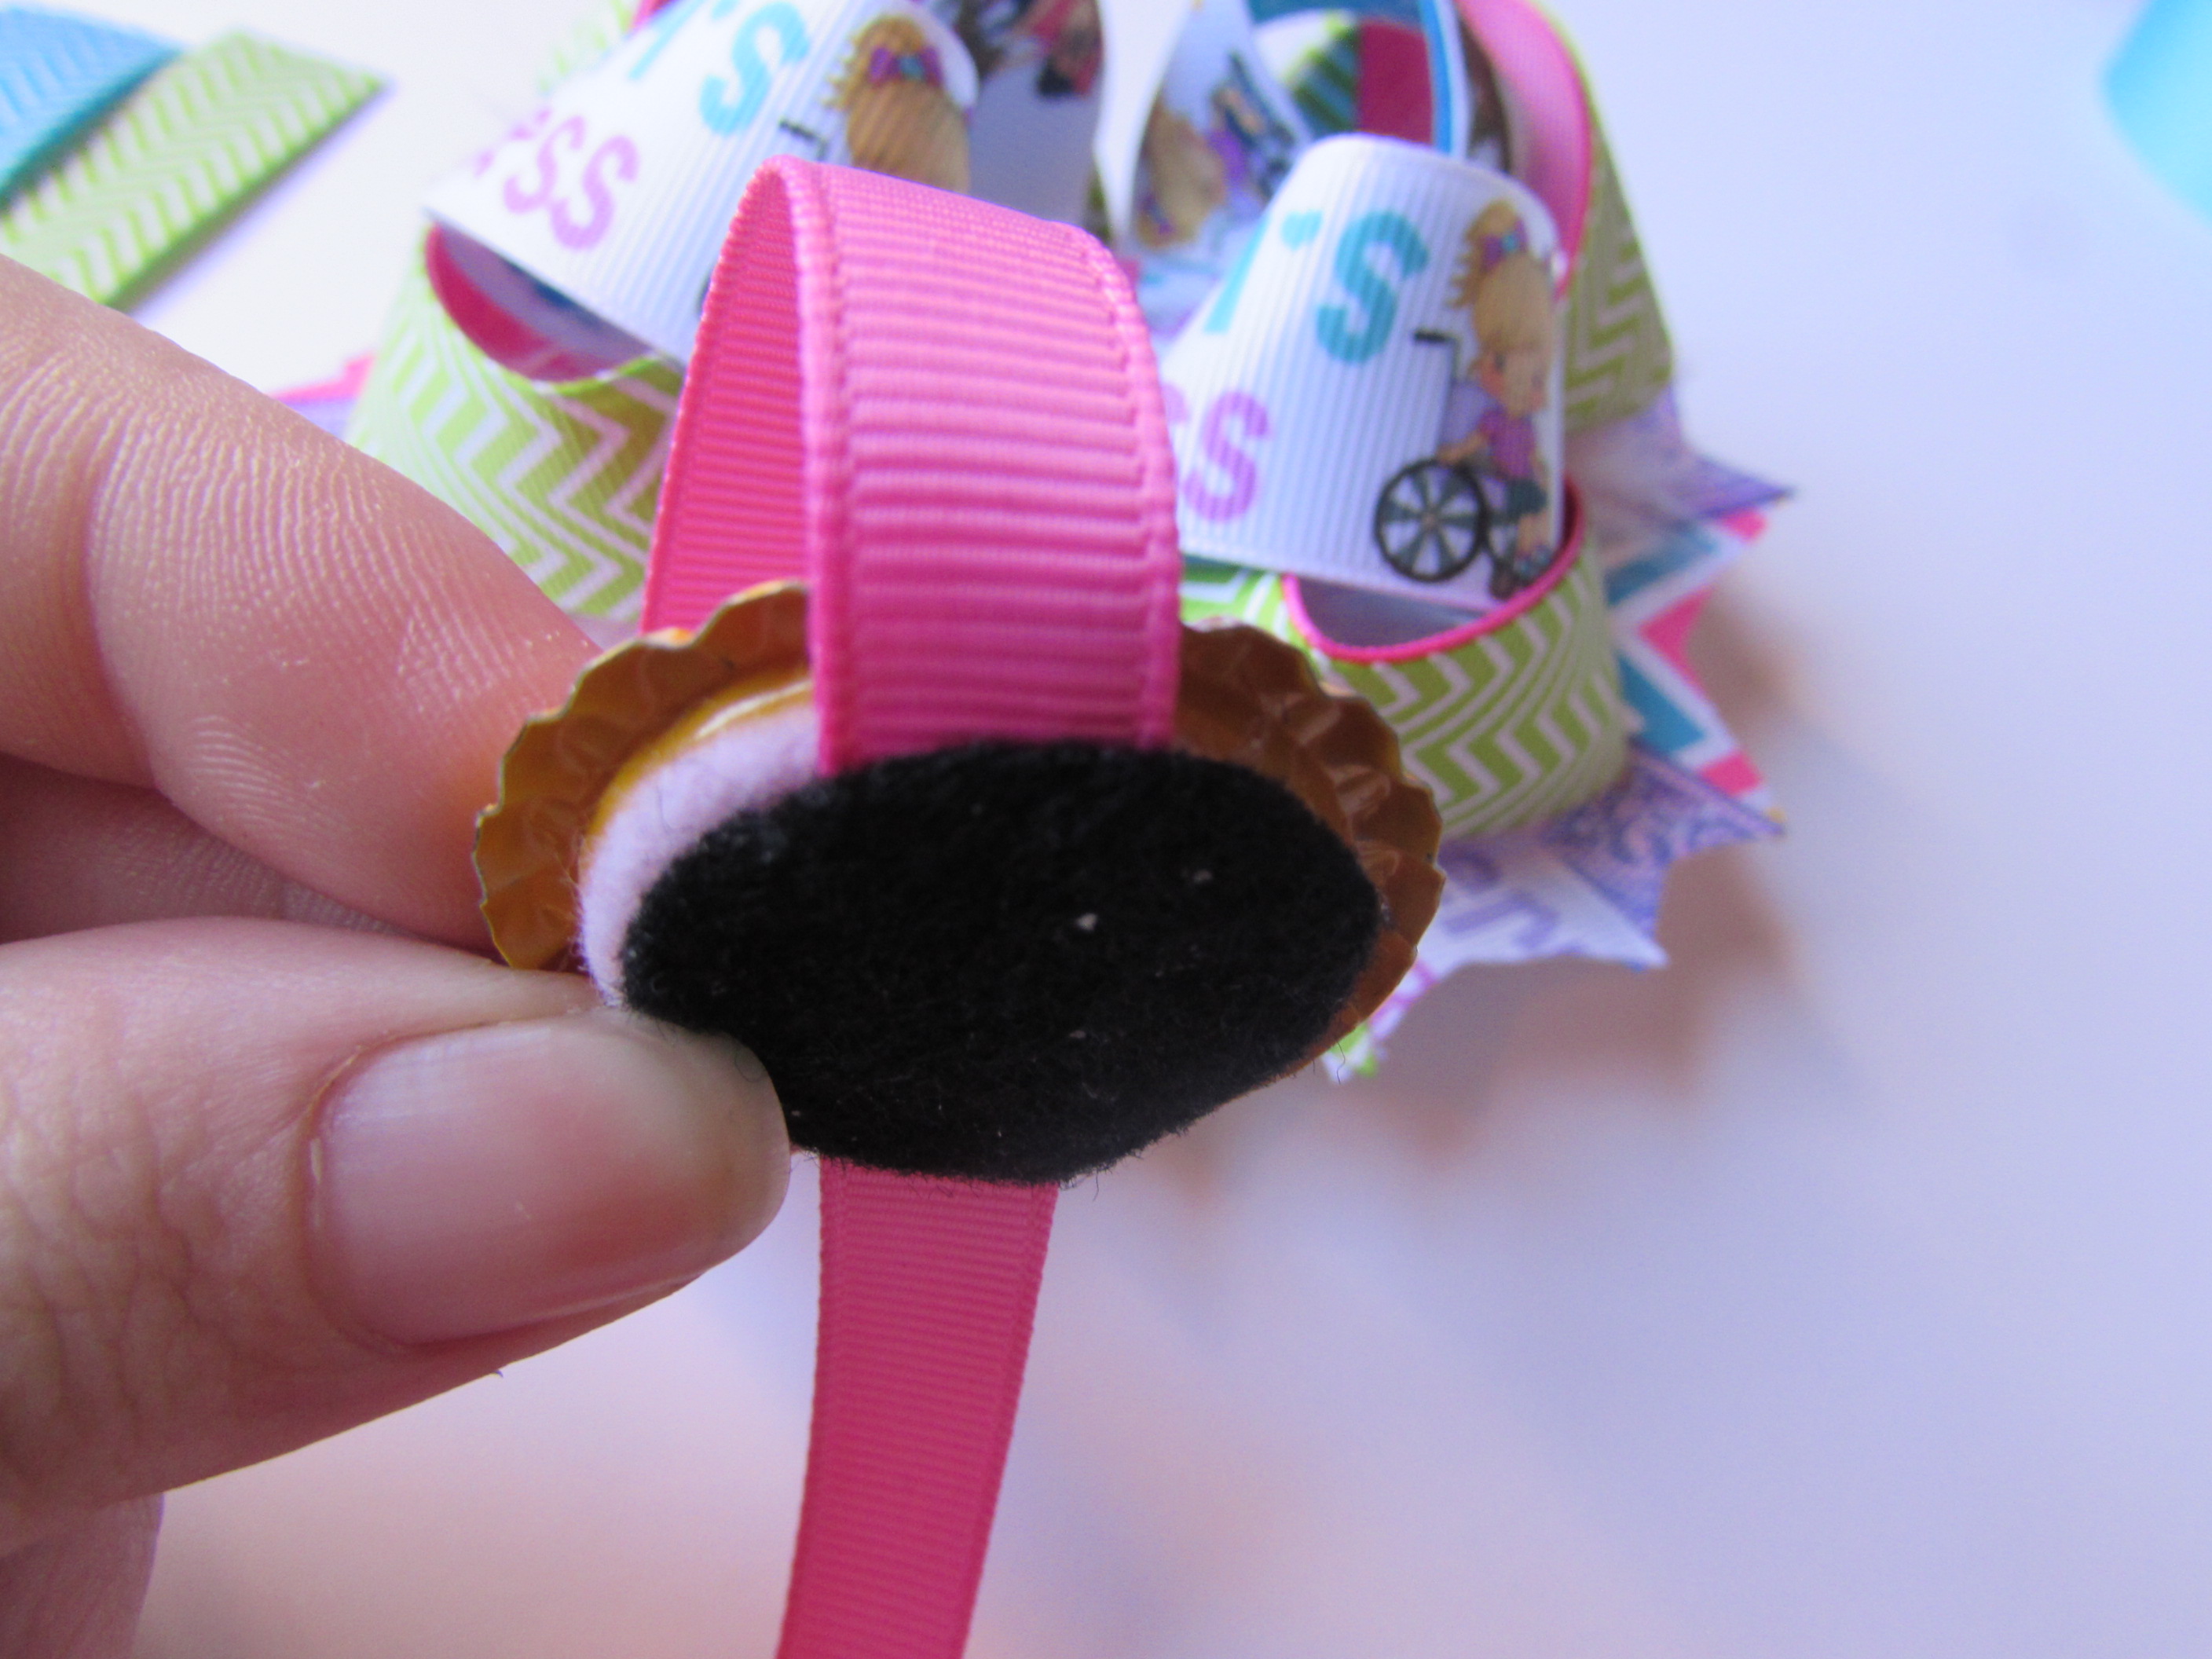
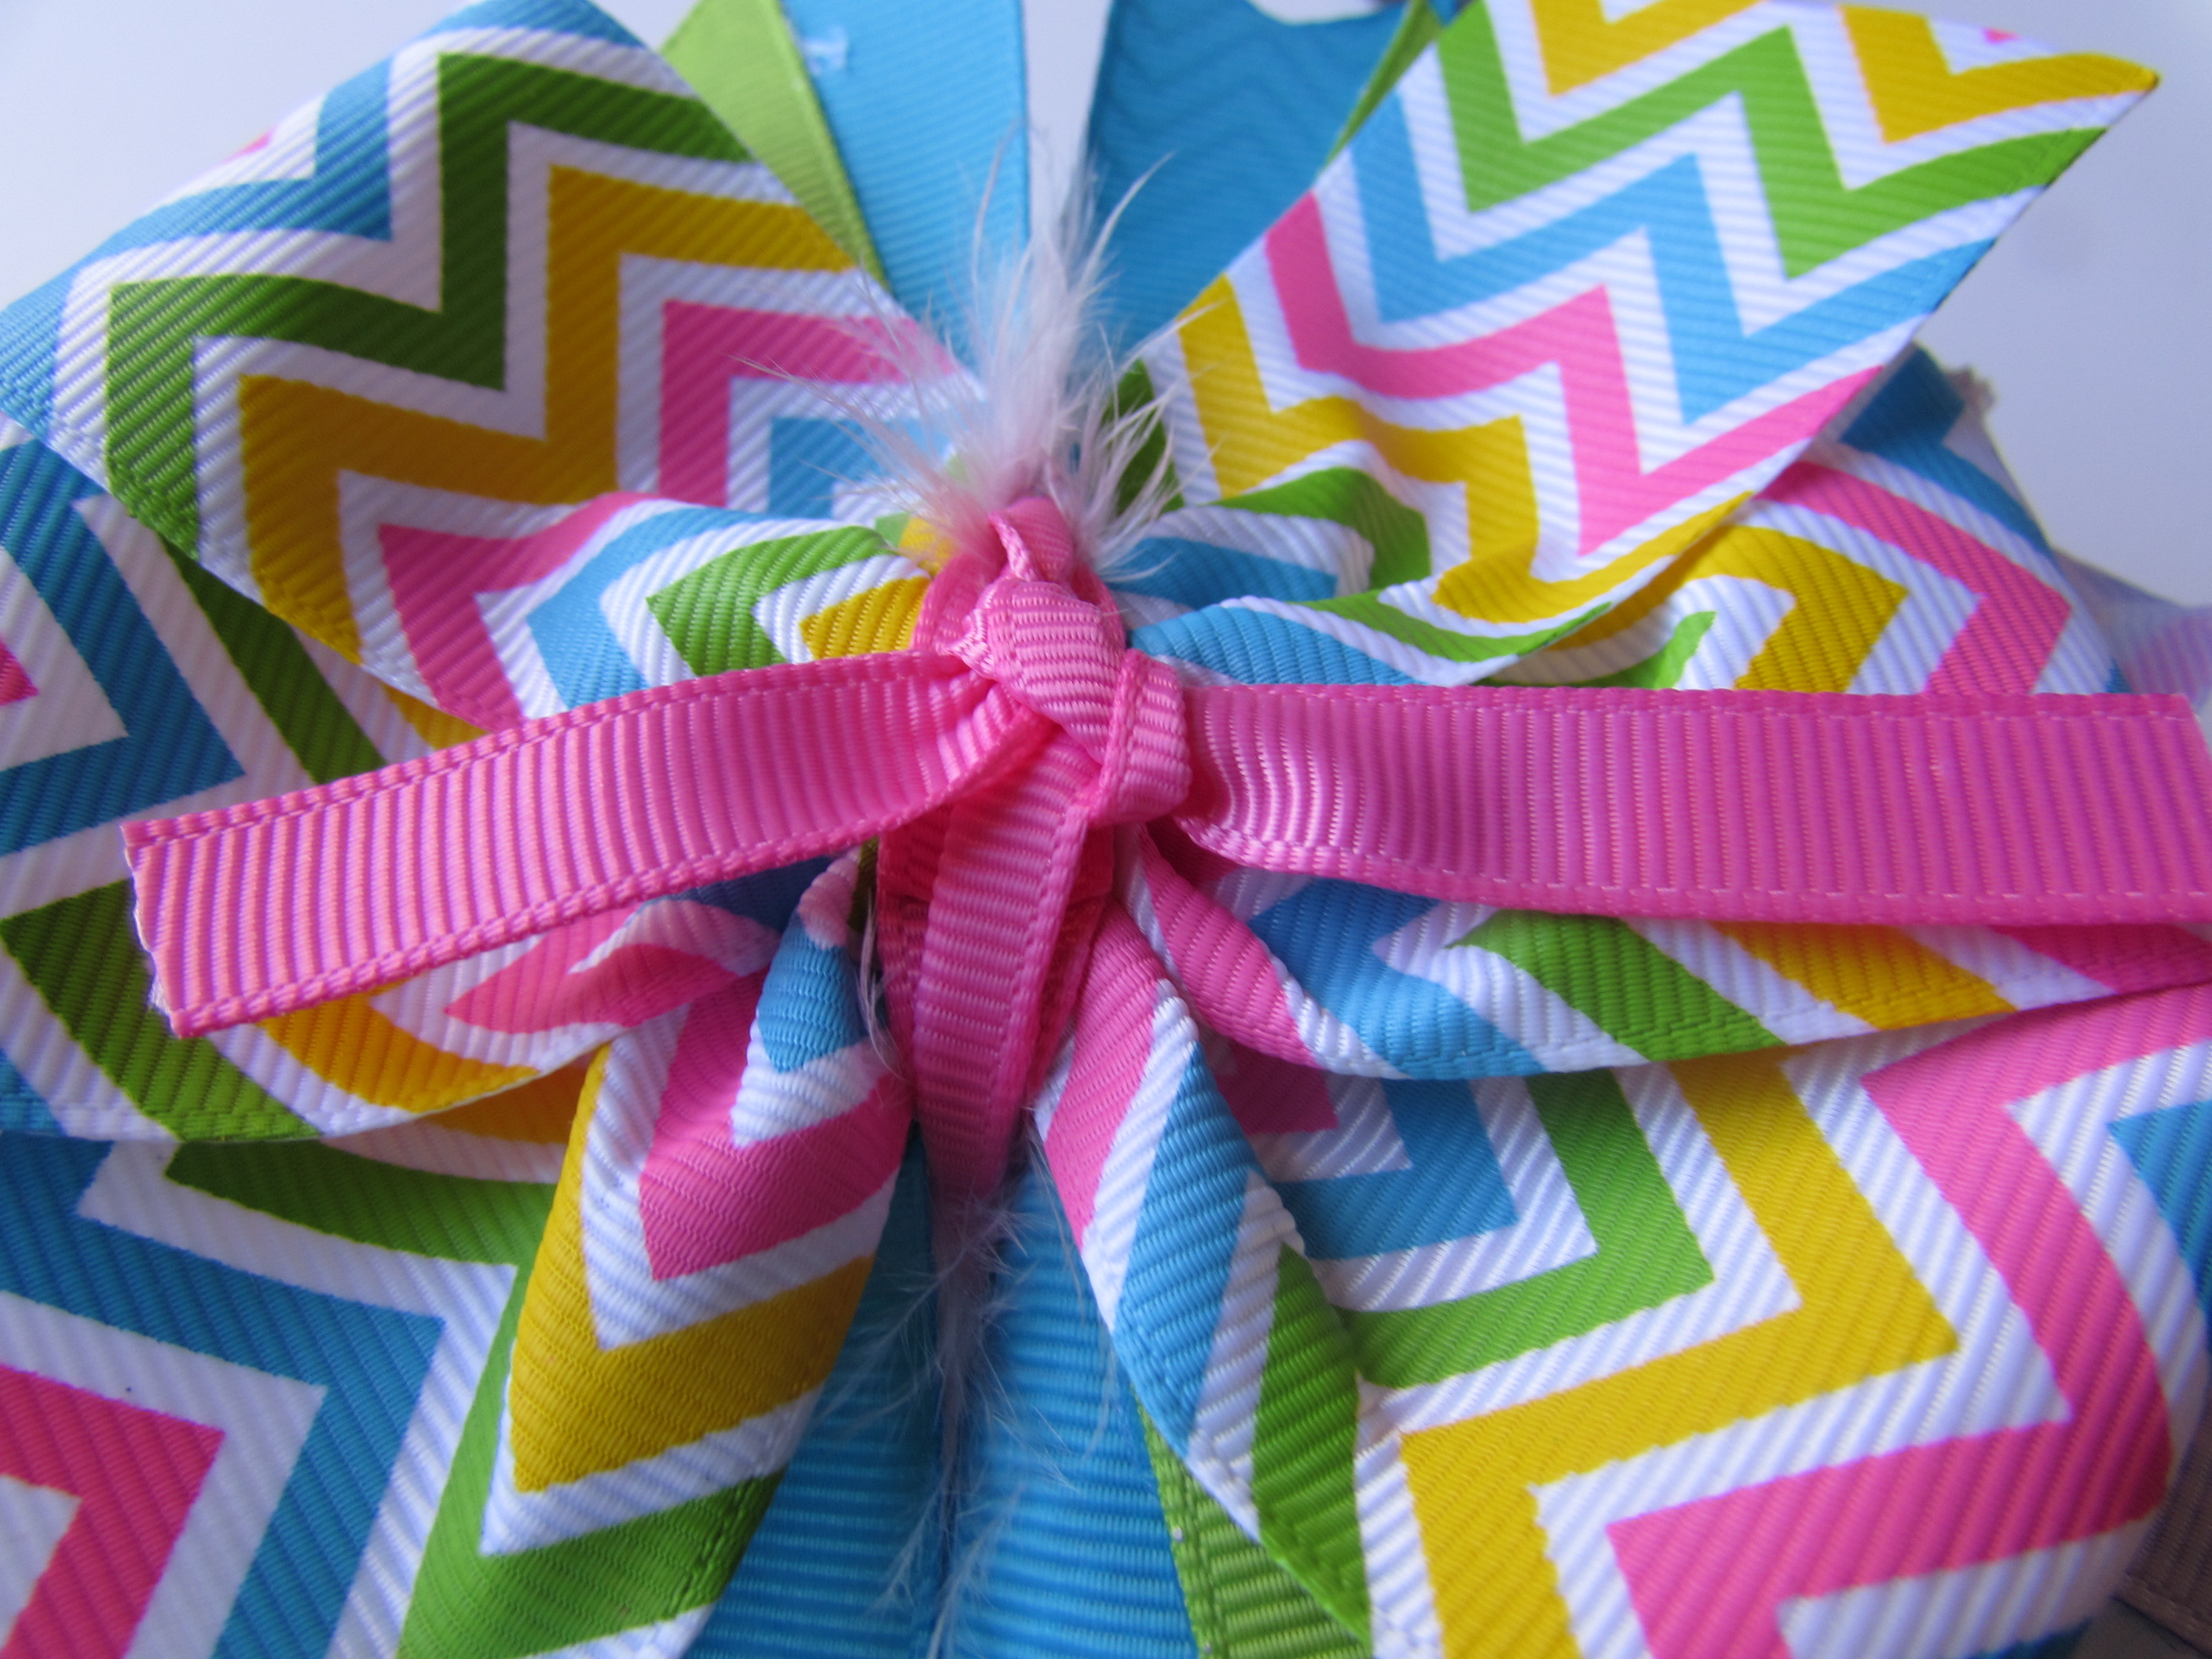
- Take your 3/8 “ ribbon and tie to the back of the bow.
How to make side bows?!?
Supplies Needed: Any size of ribbon will work but I am using 4 7/8” ribbon cut to 6.5” long.
- Cut your ribbon and heat seal all ends.
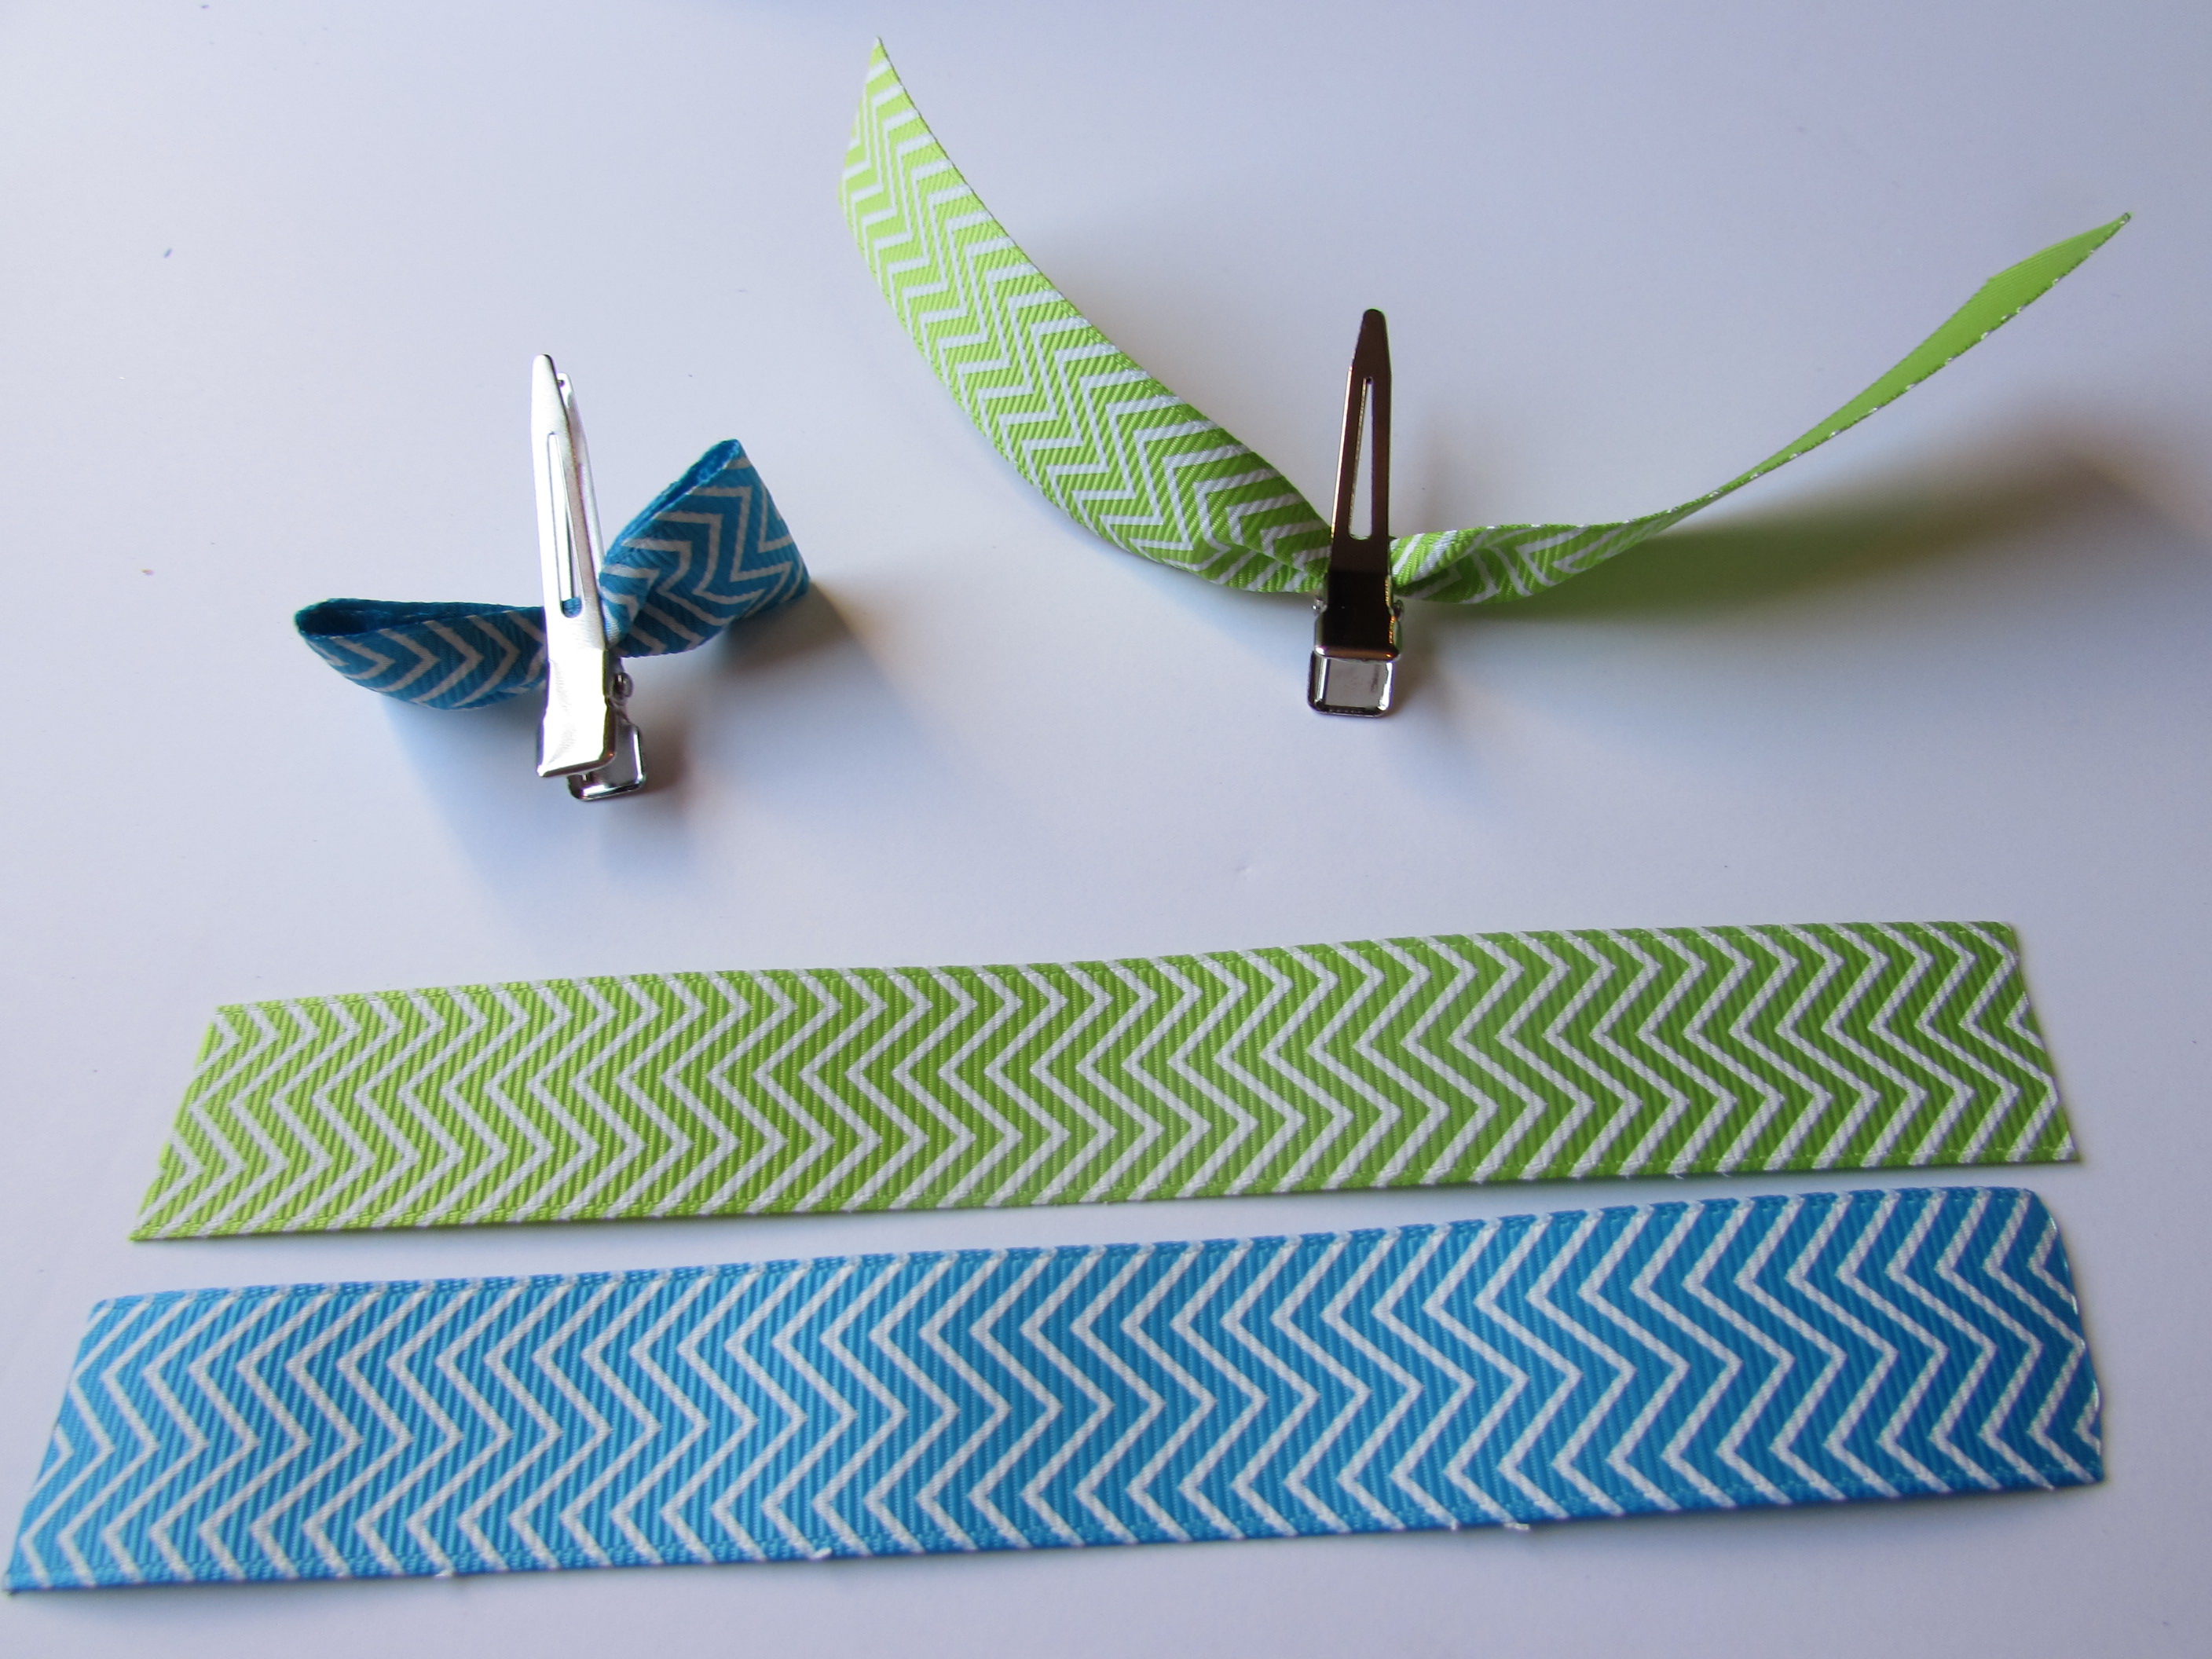
- Take 1 piece, make a circle.
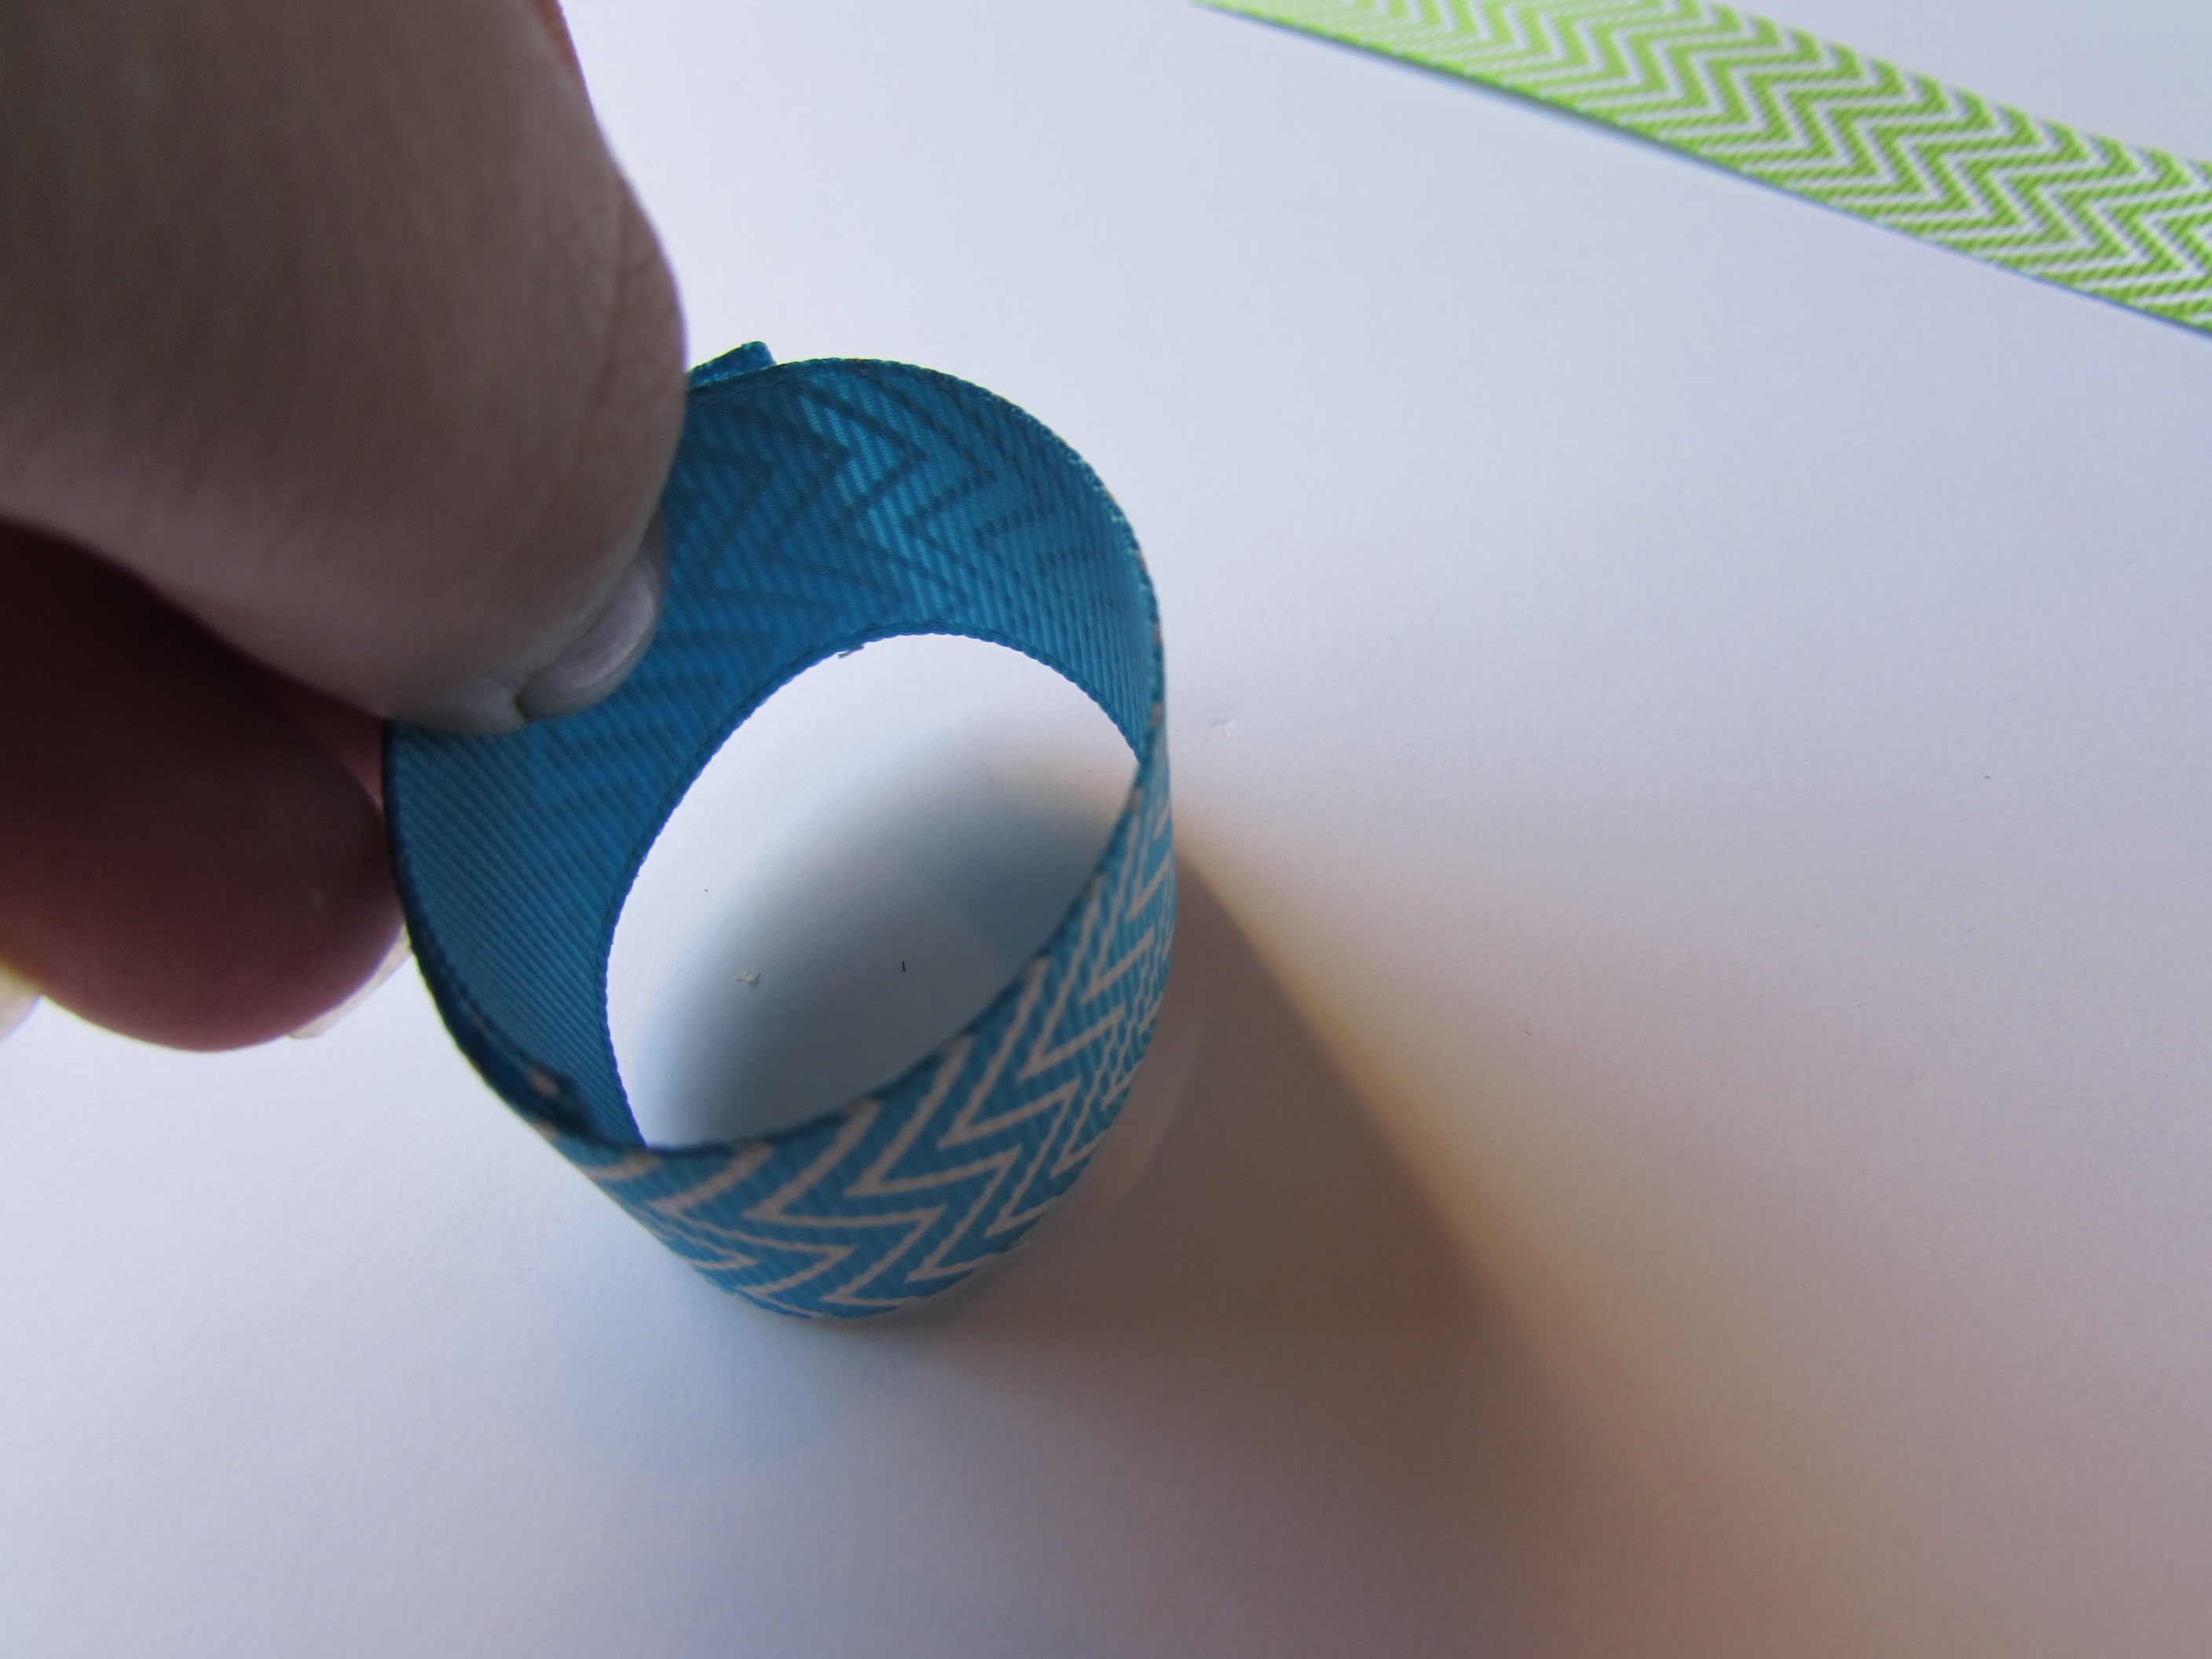
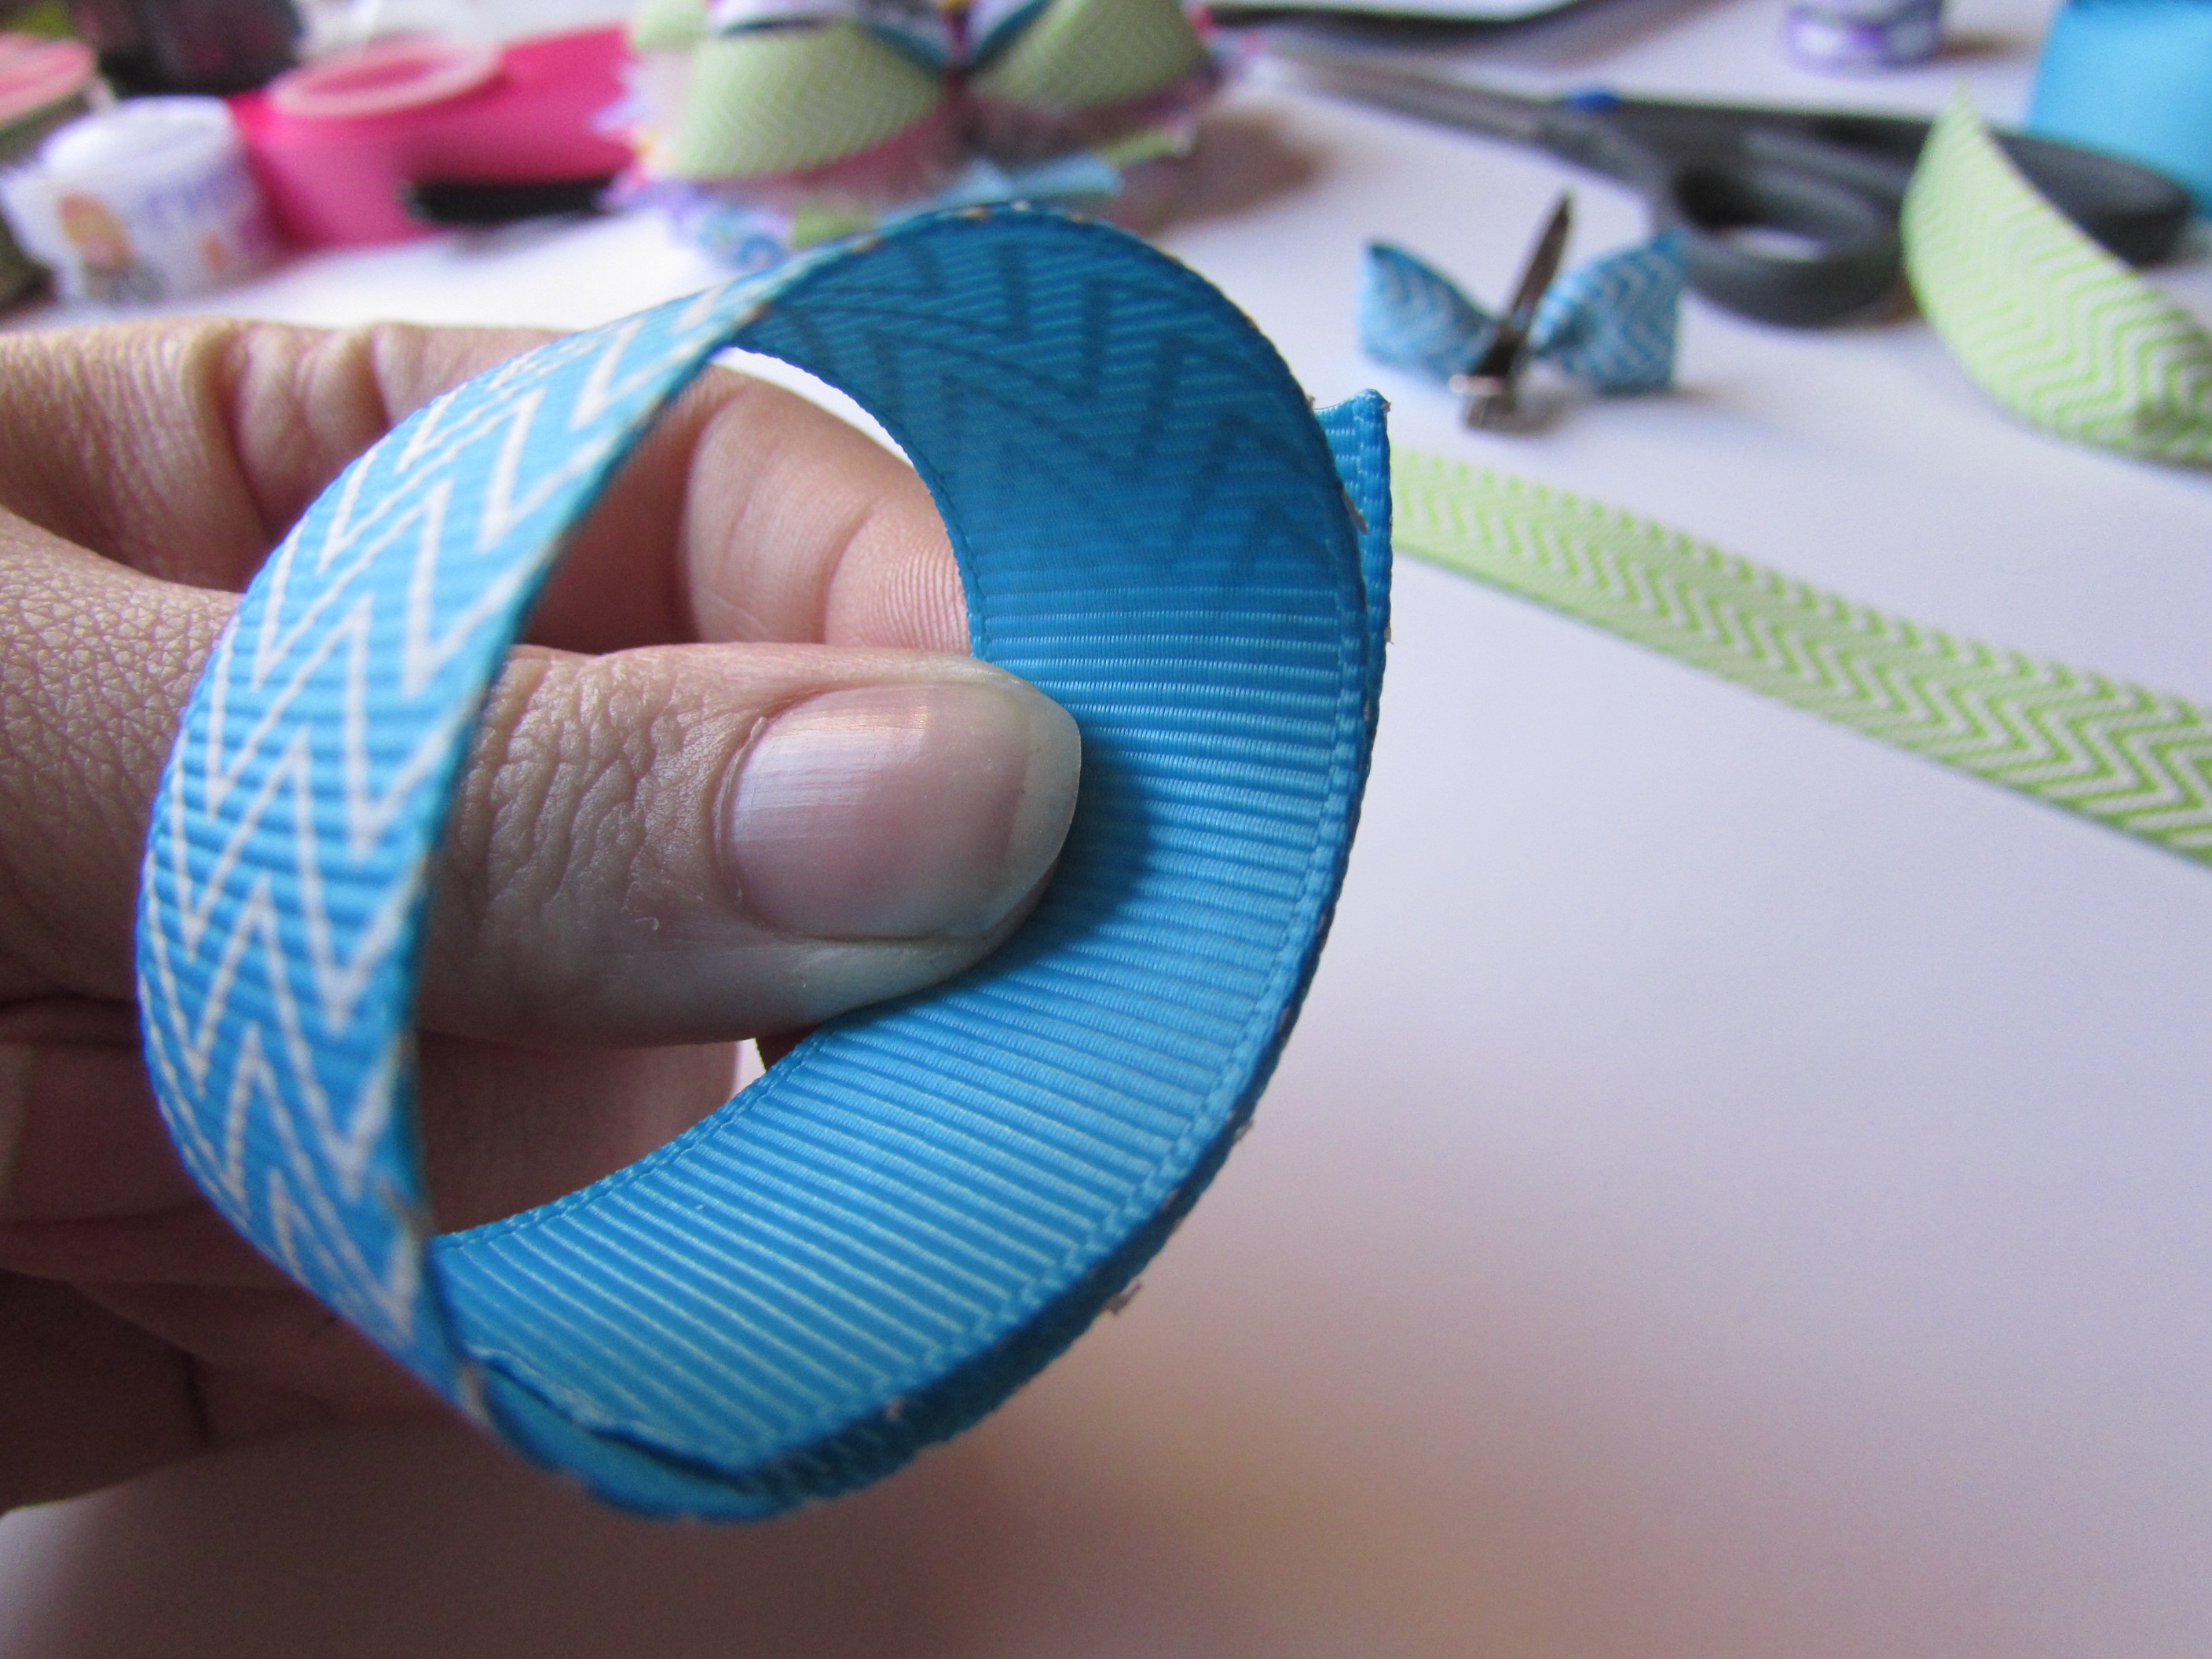
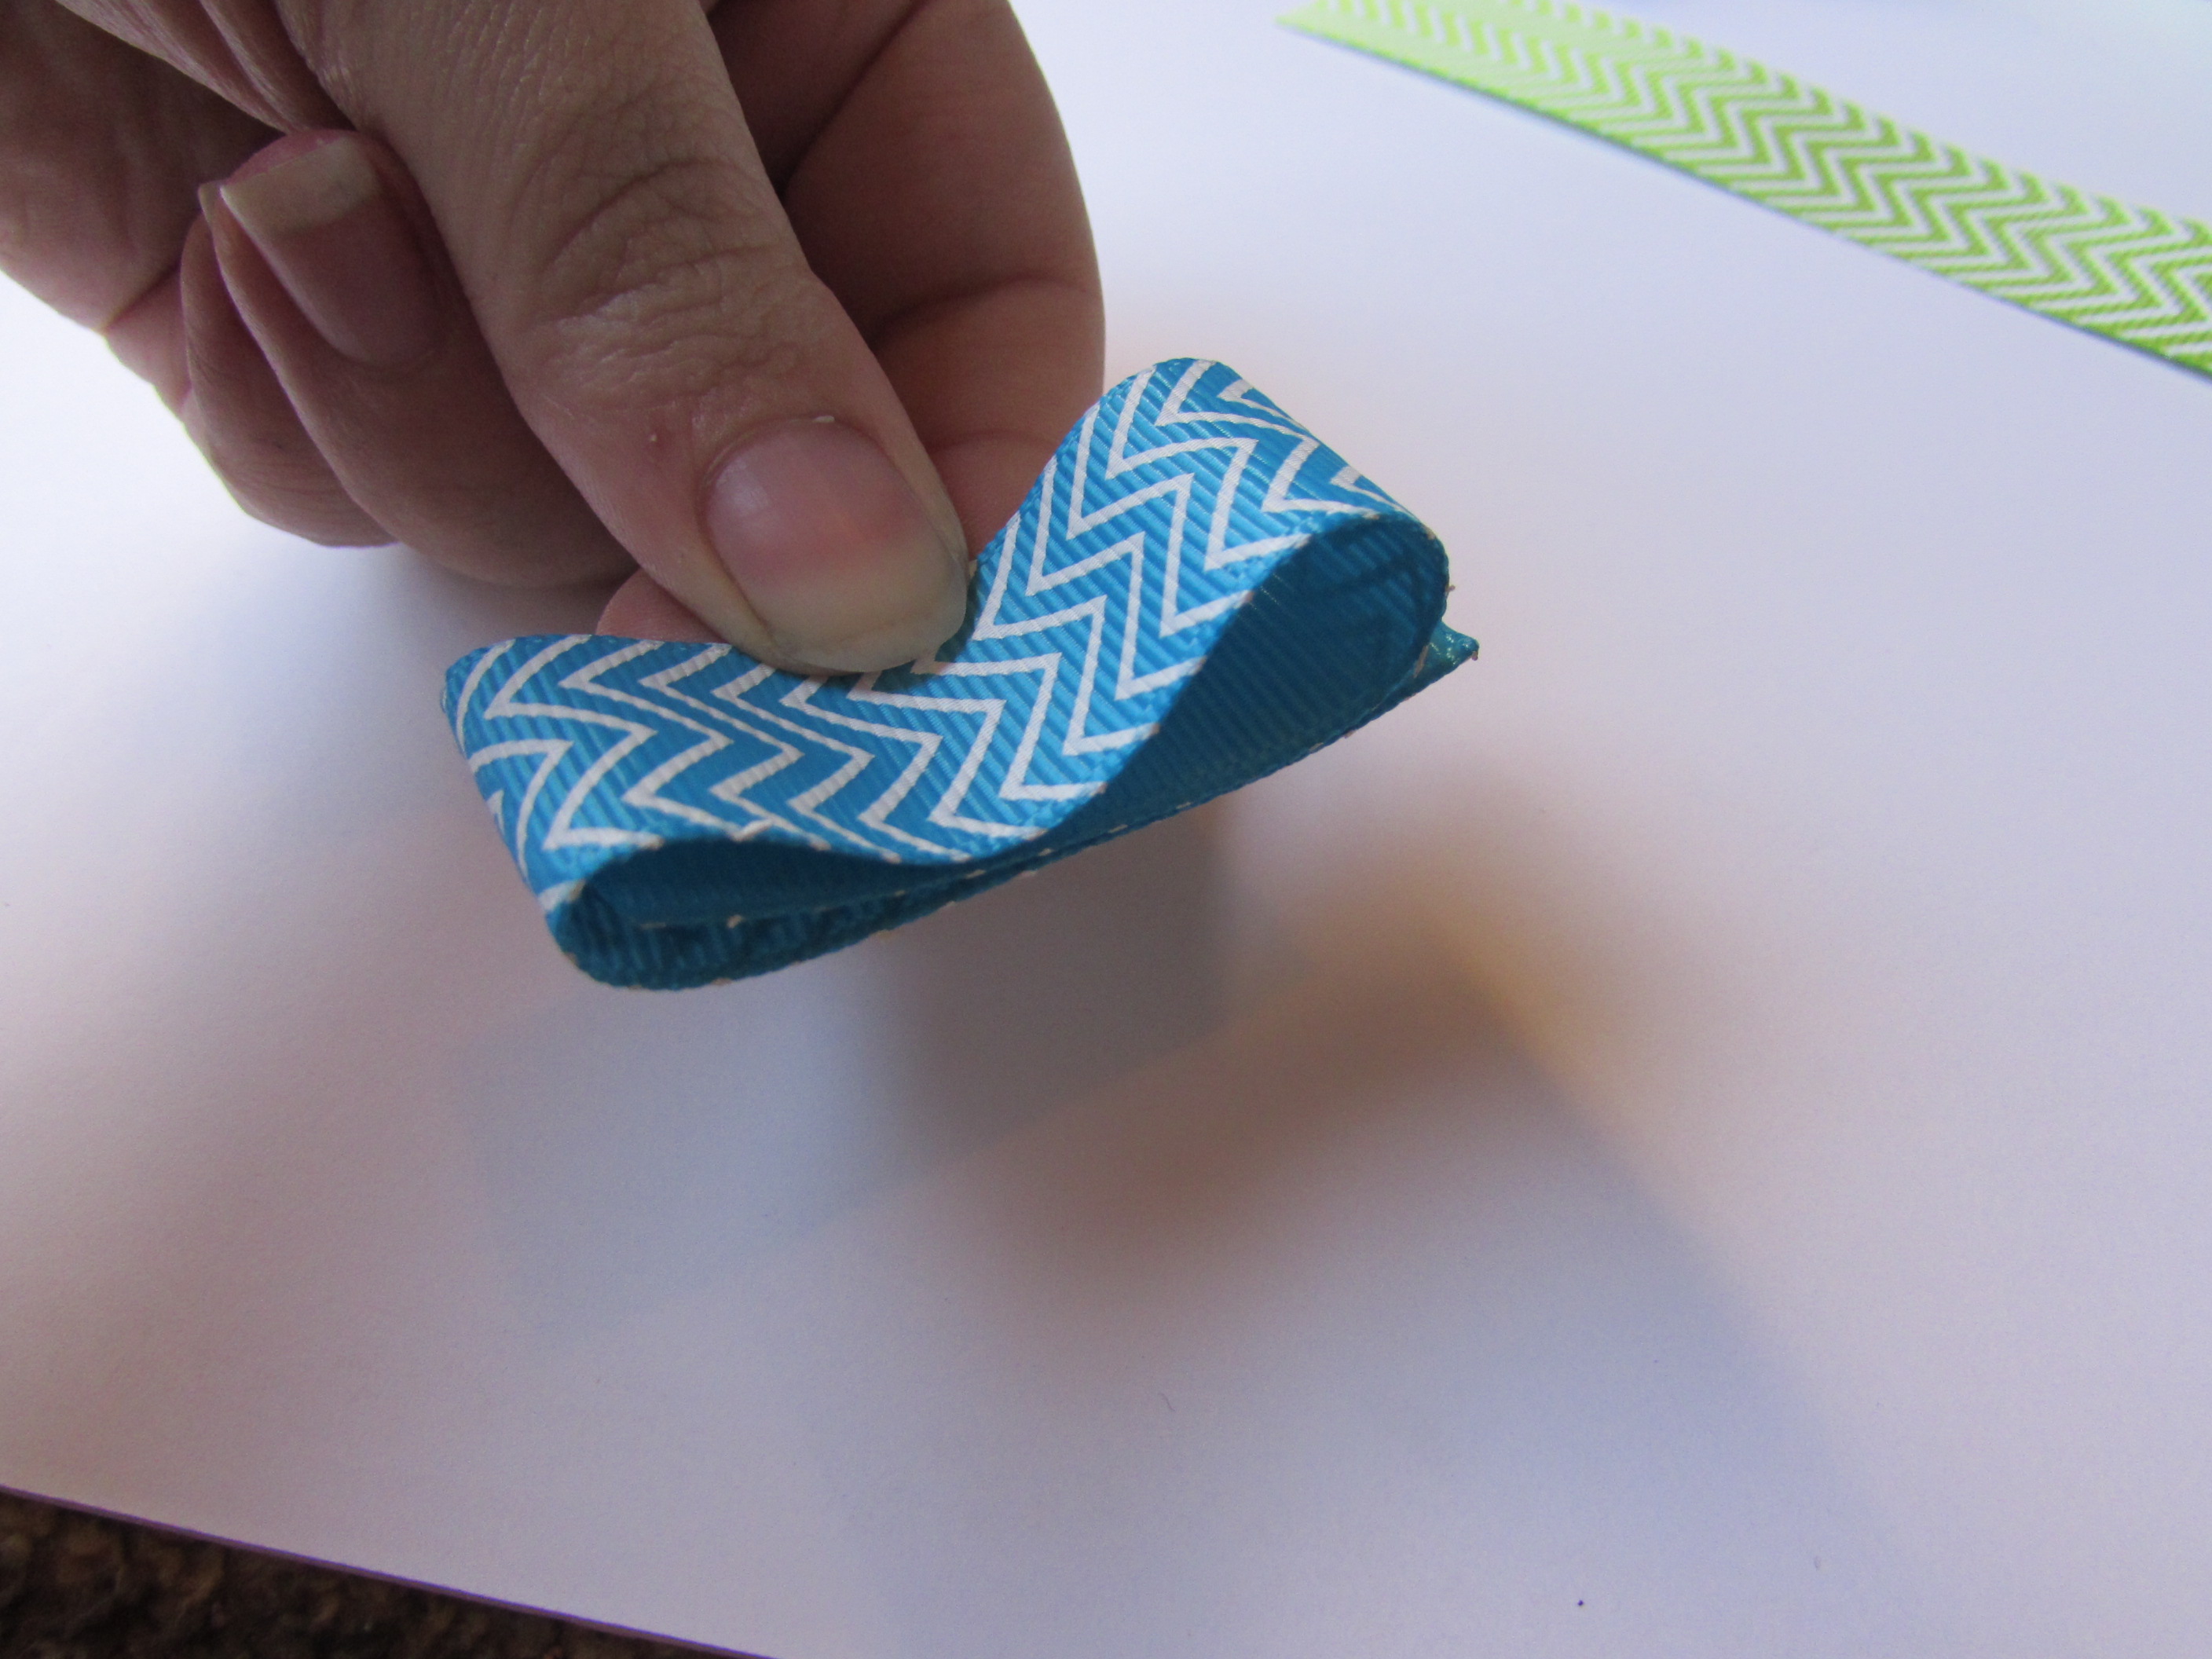
- Press center down.
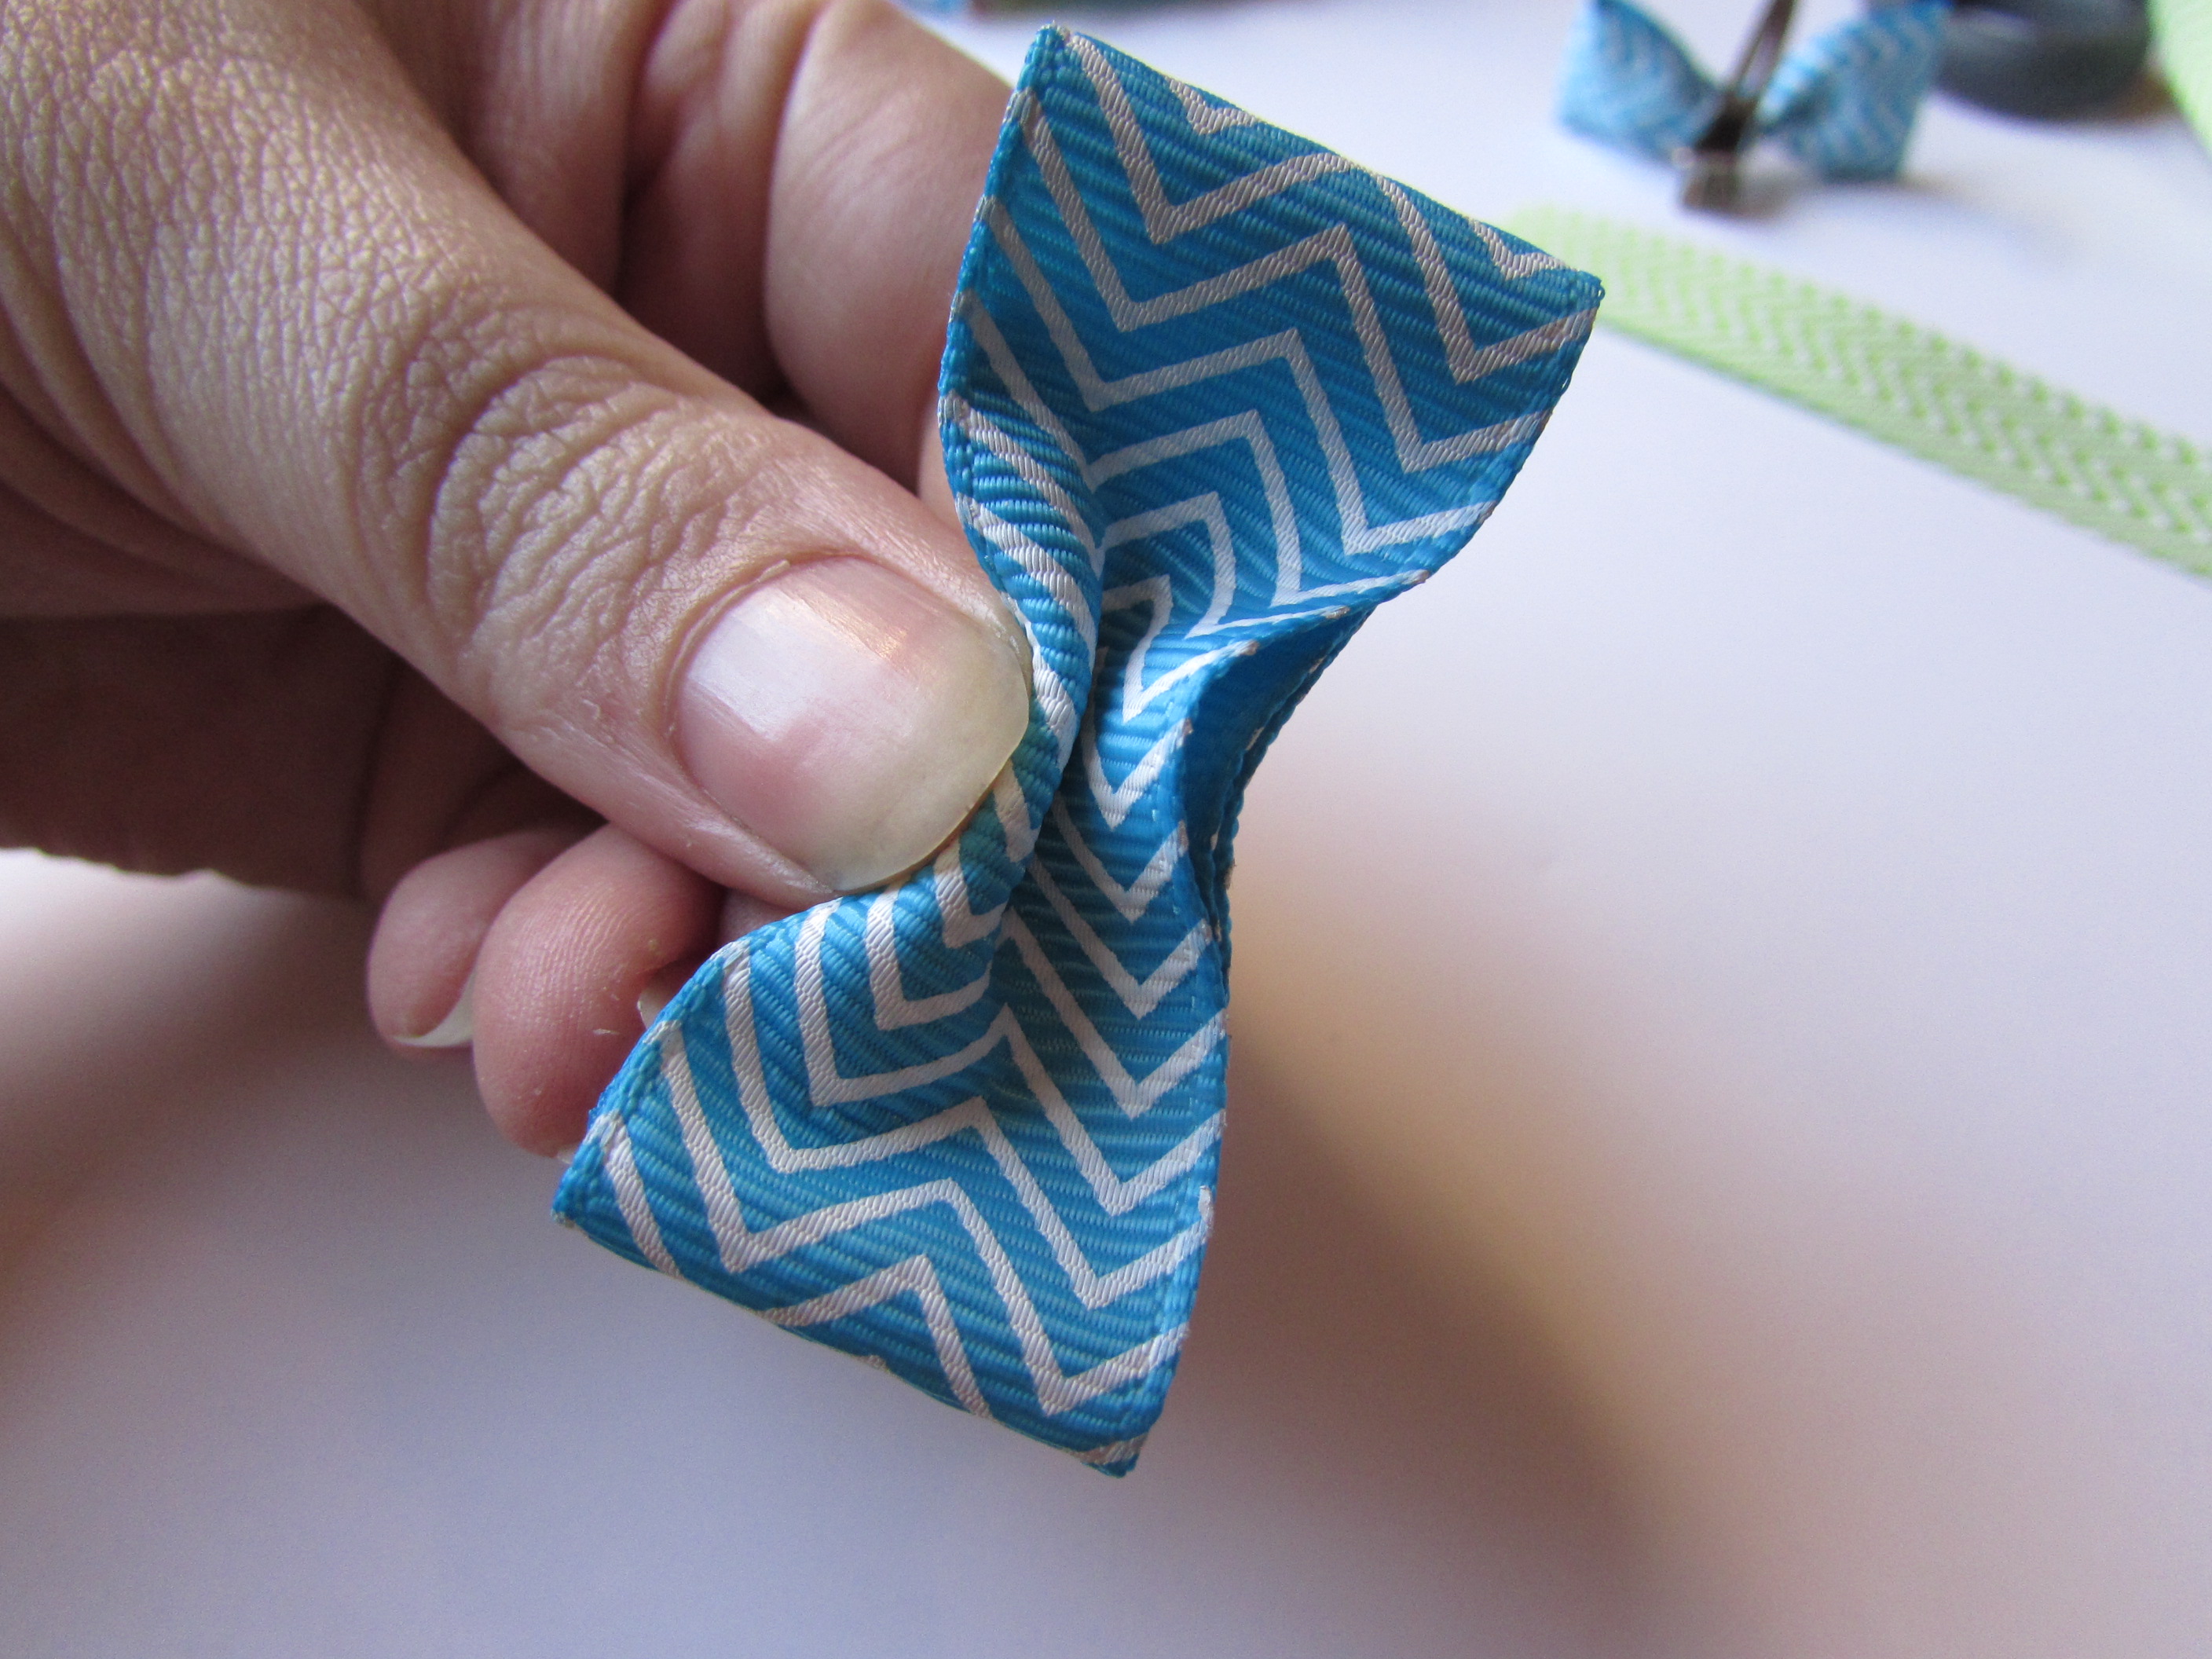
- Fold Center.
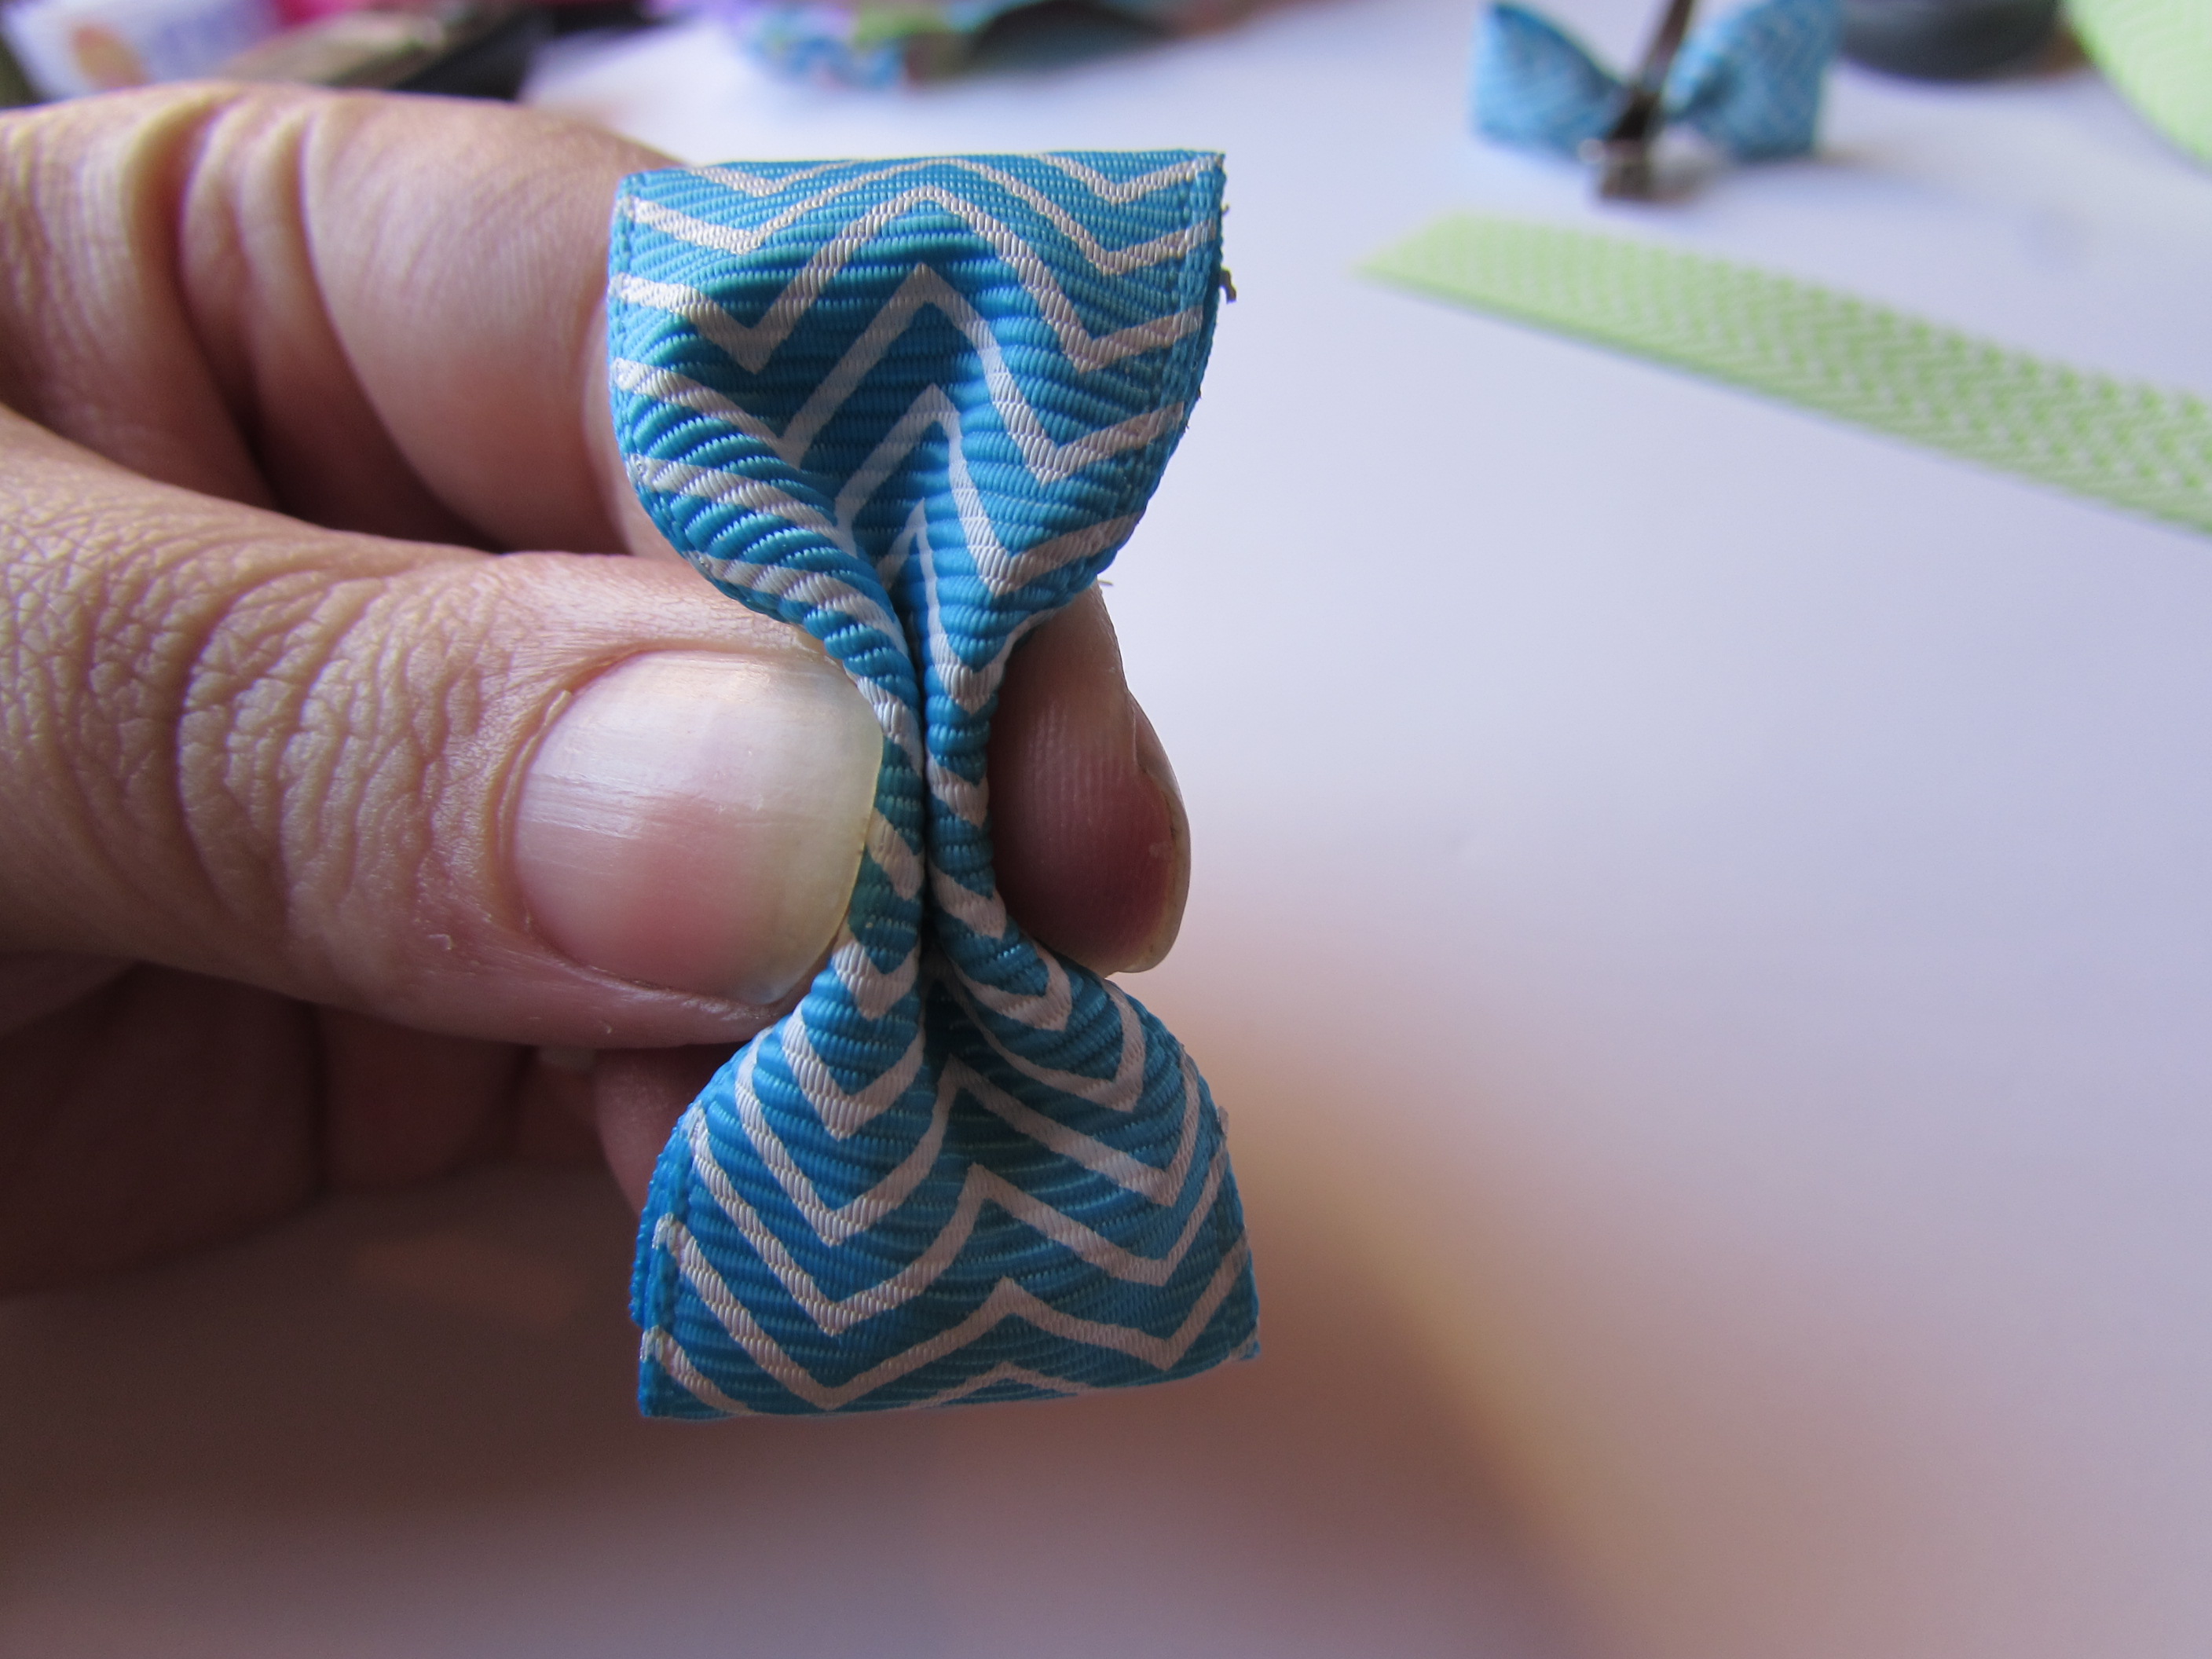
- Glue the center together or tie it. I glue it!
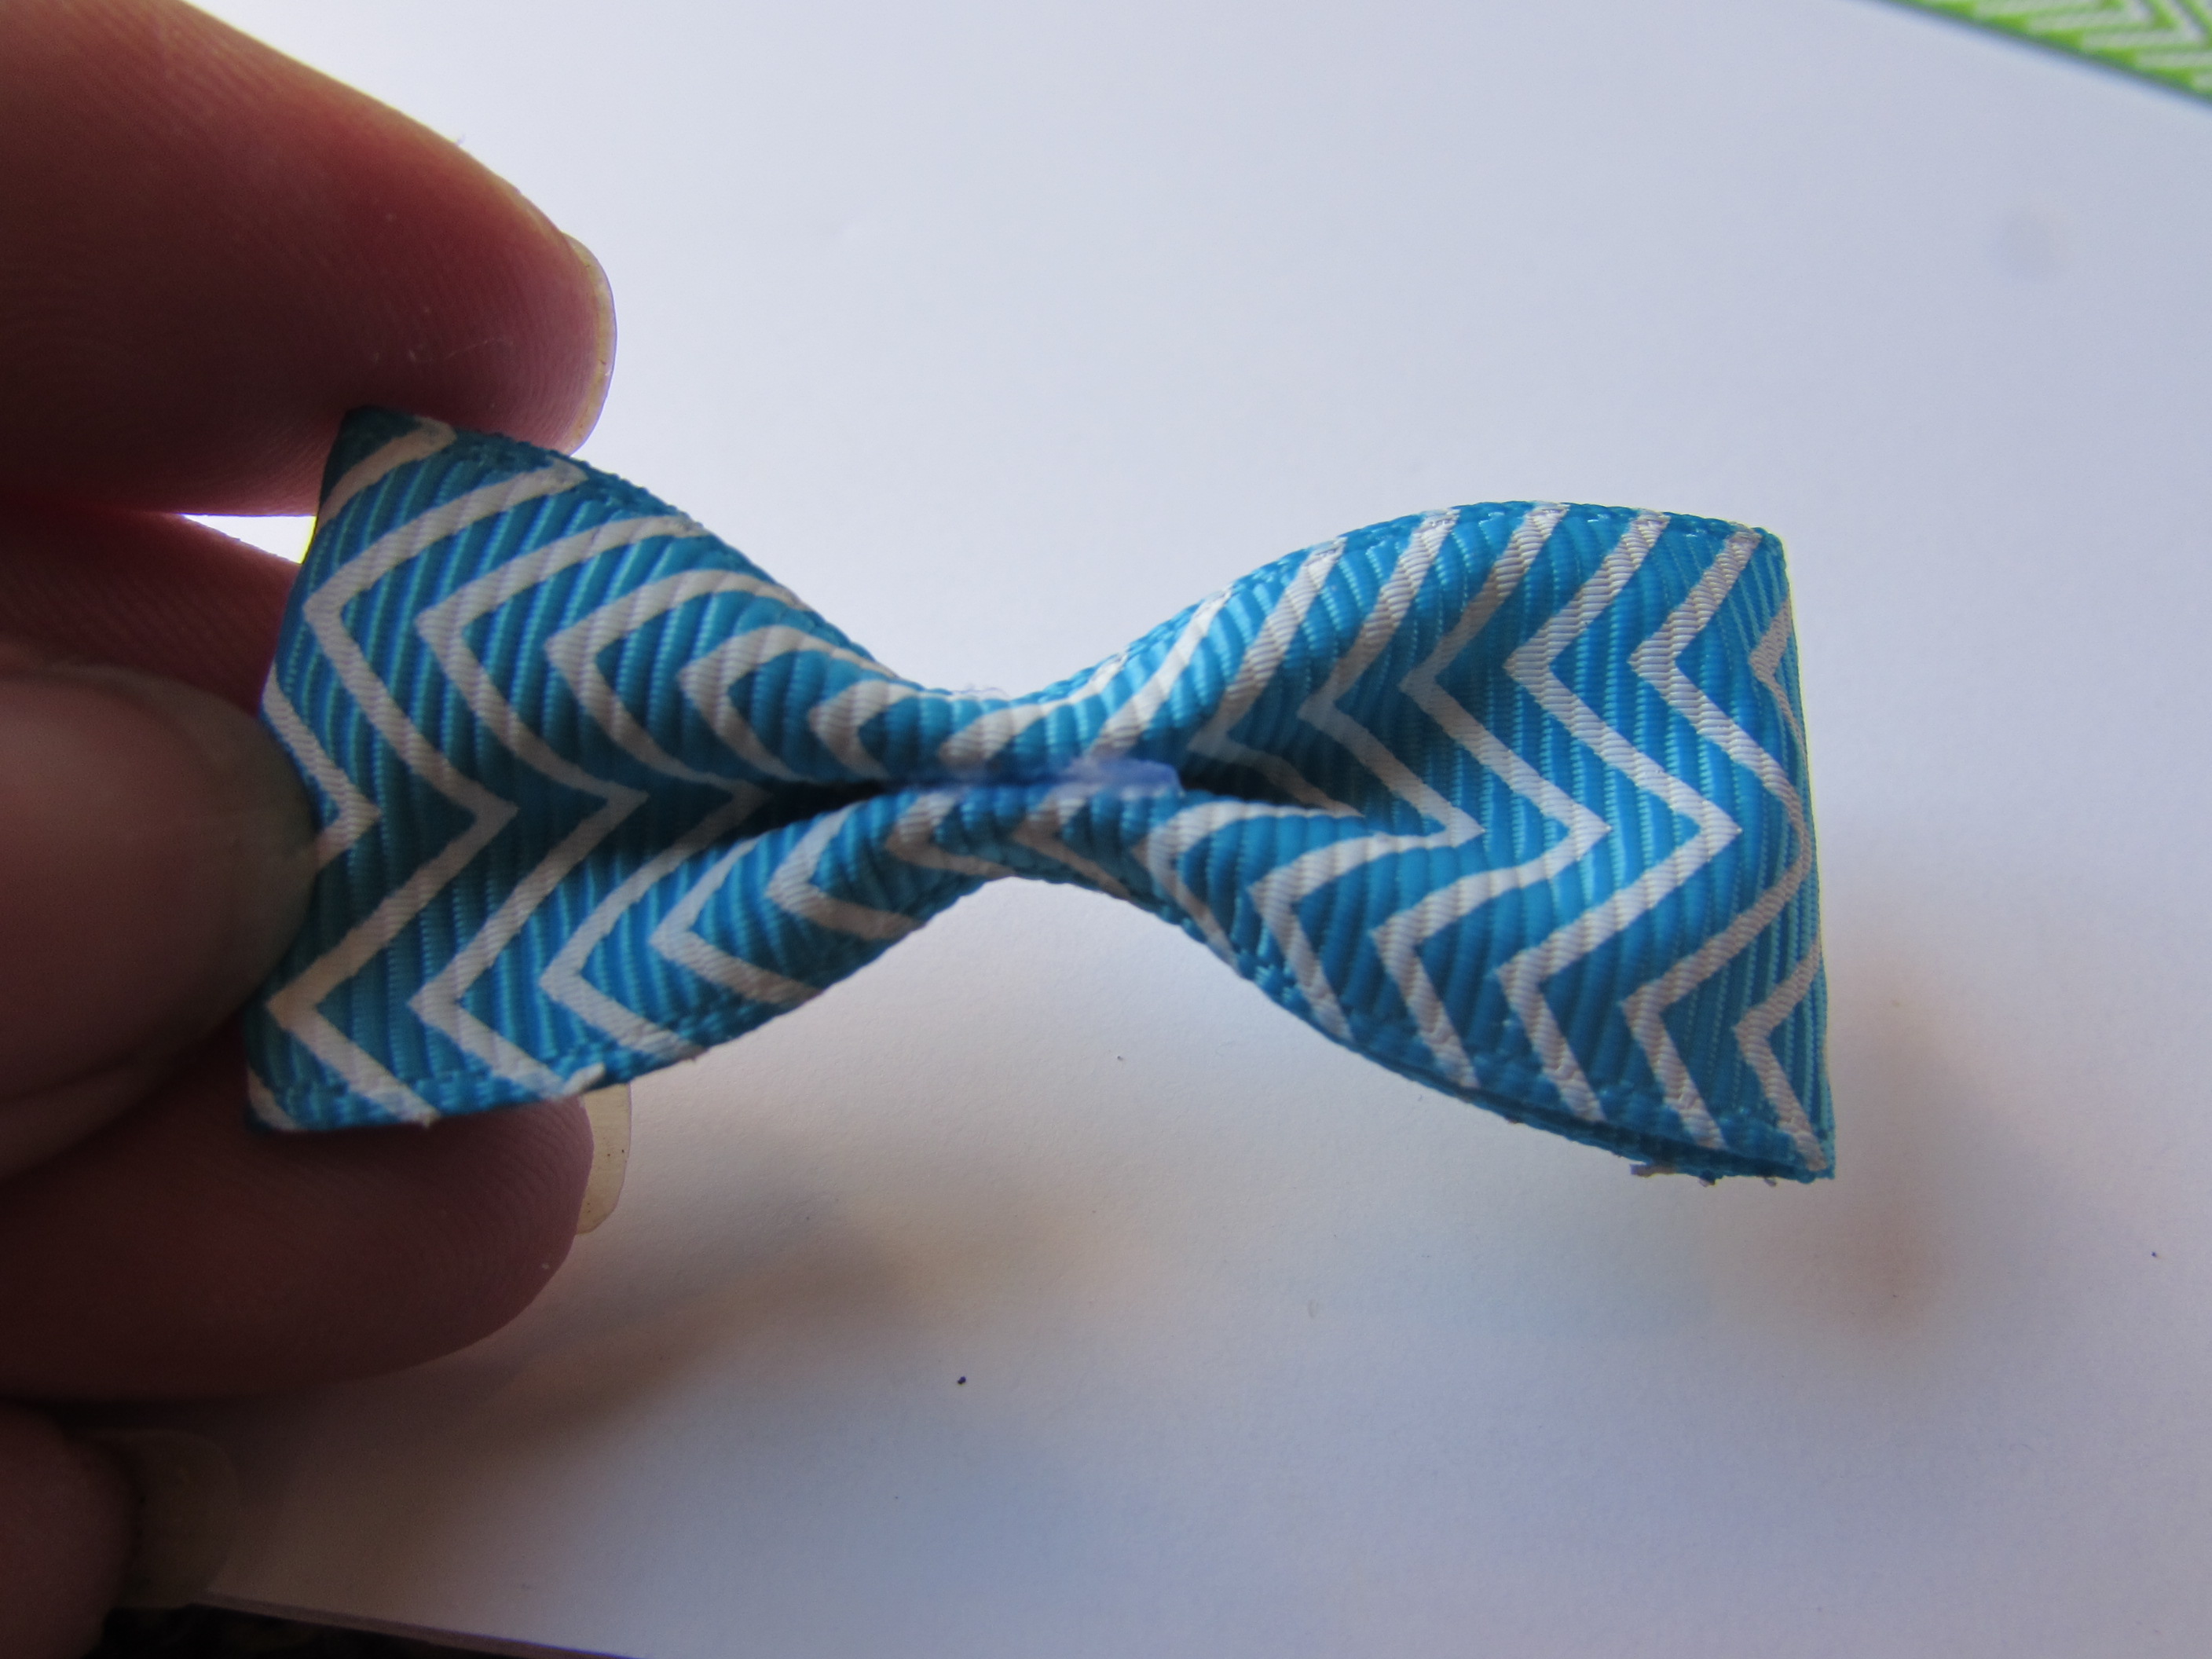
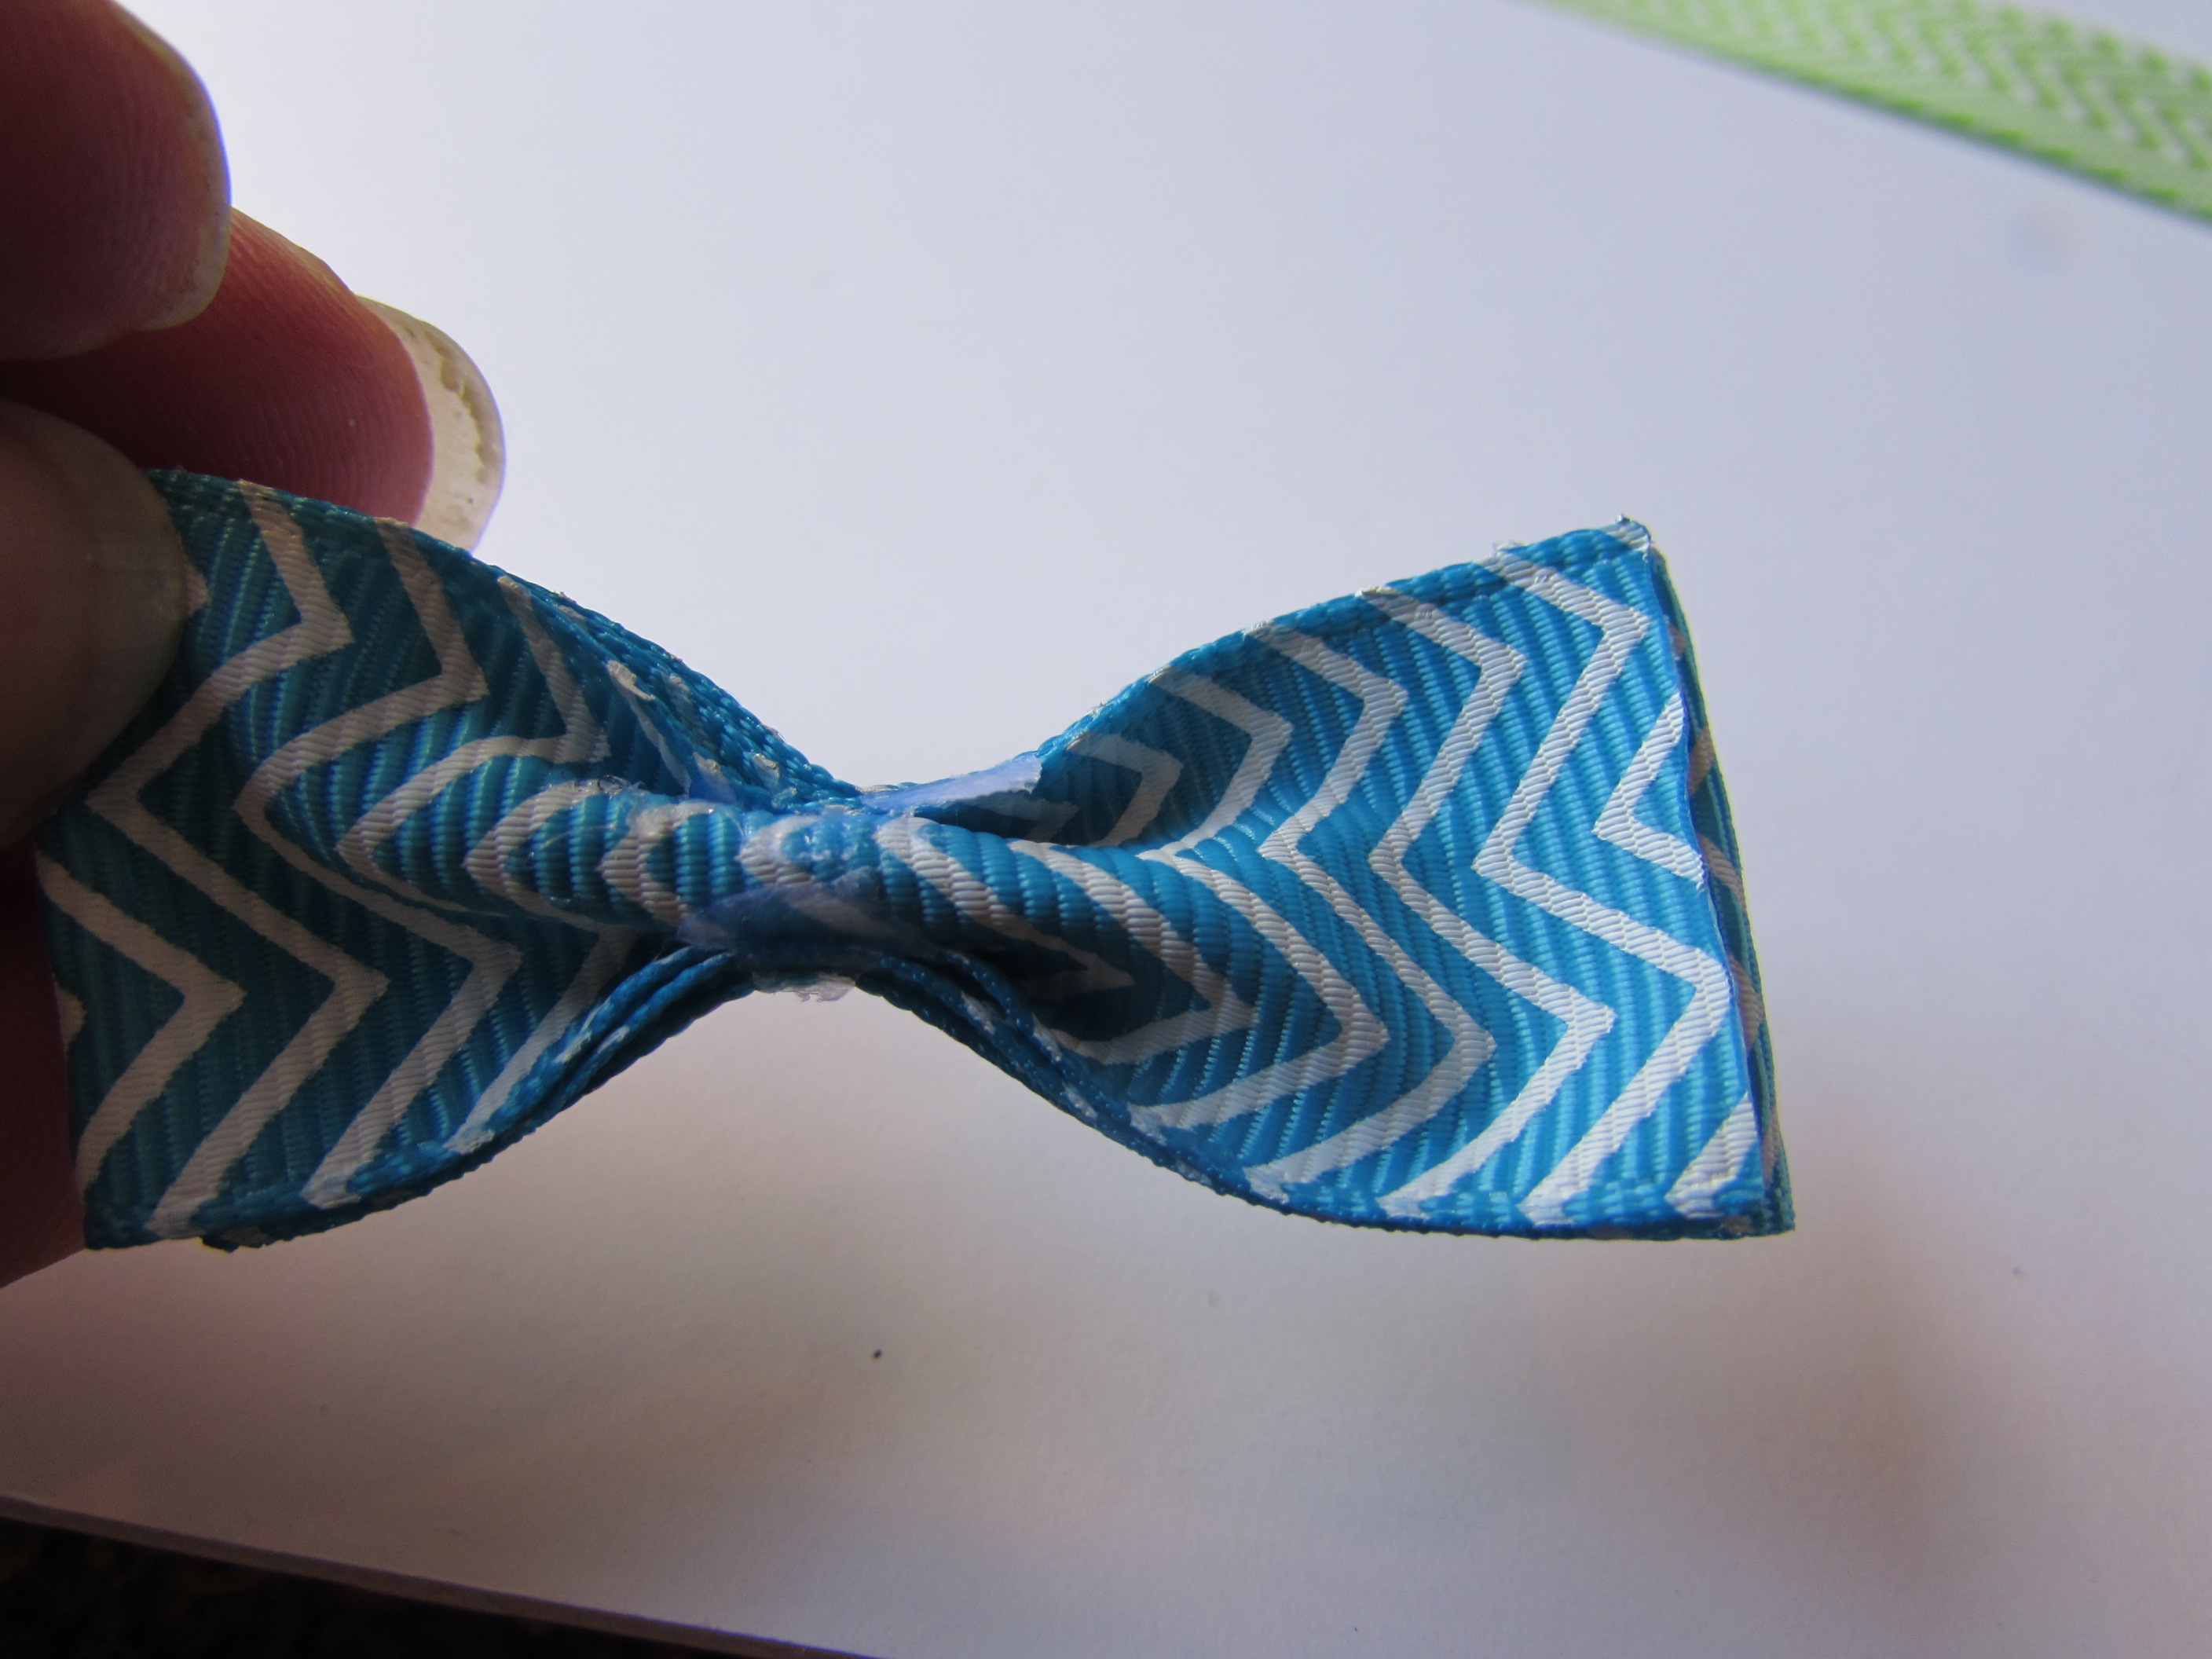
- Take another piece fold it in half and fold it as same way in step 4.
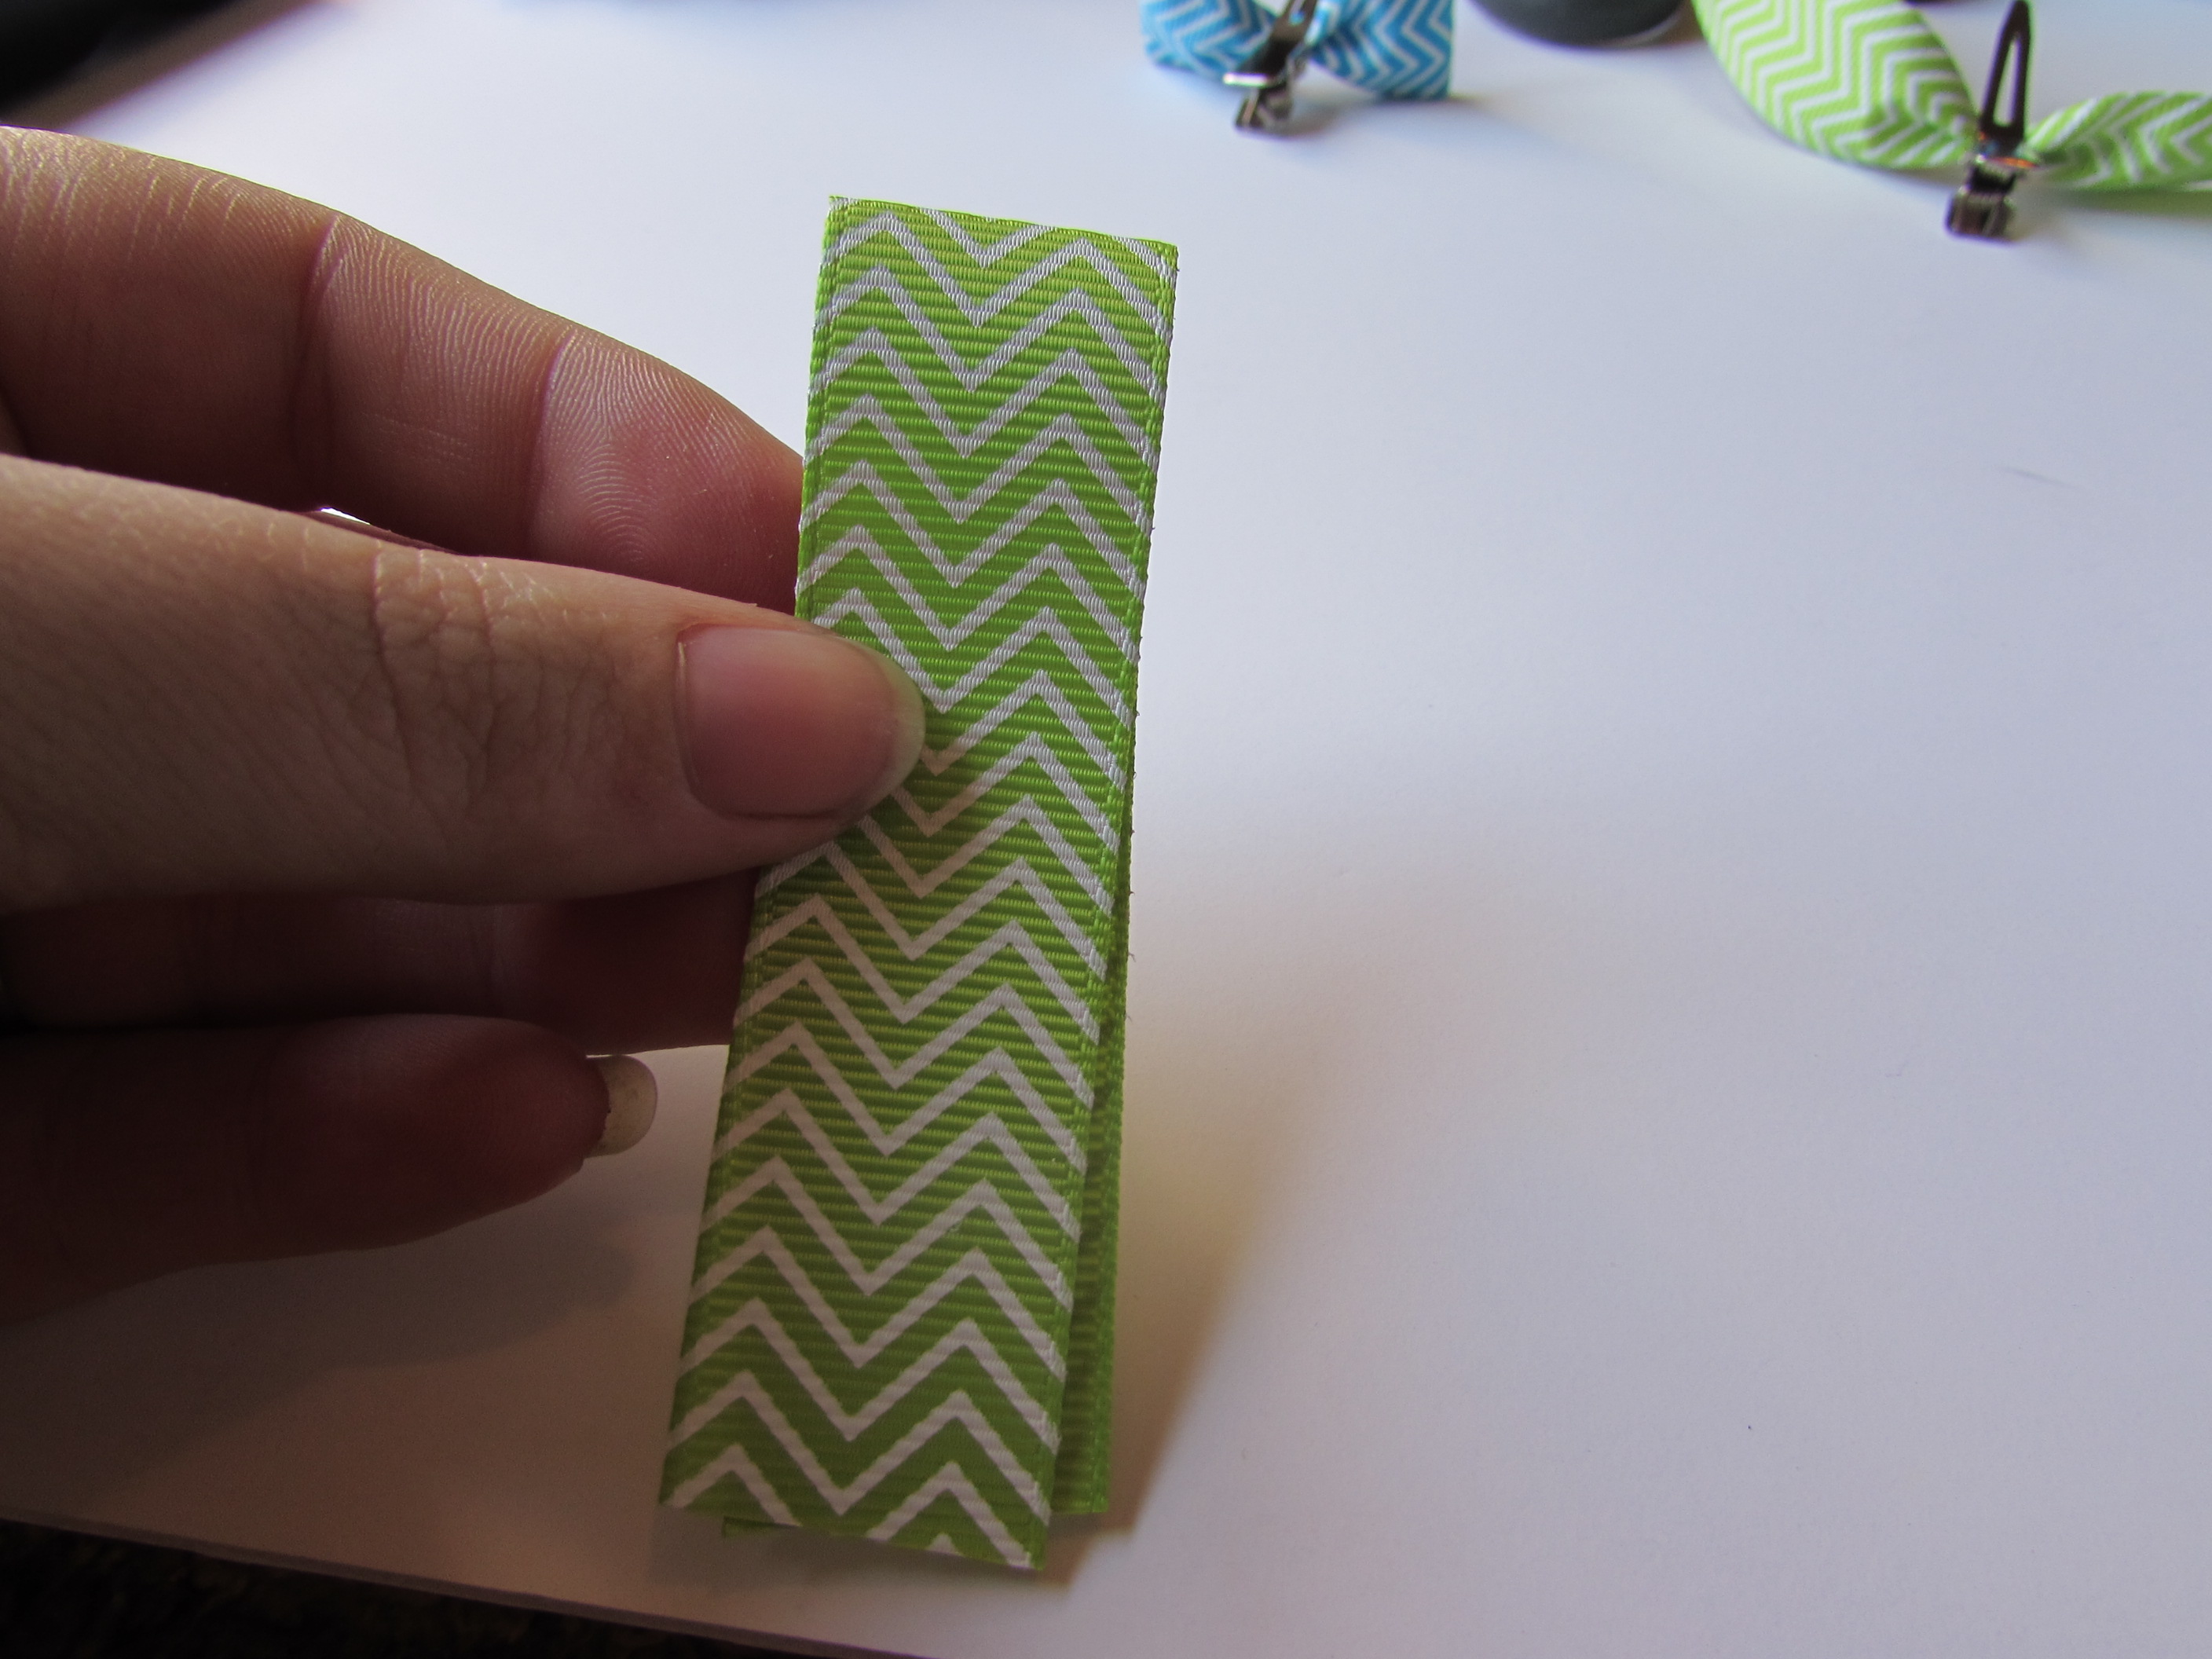
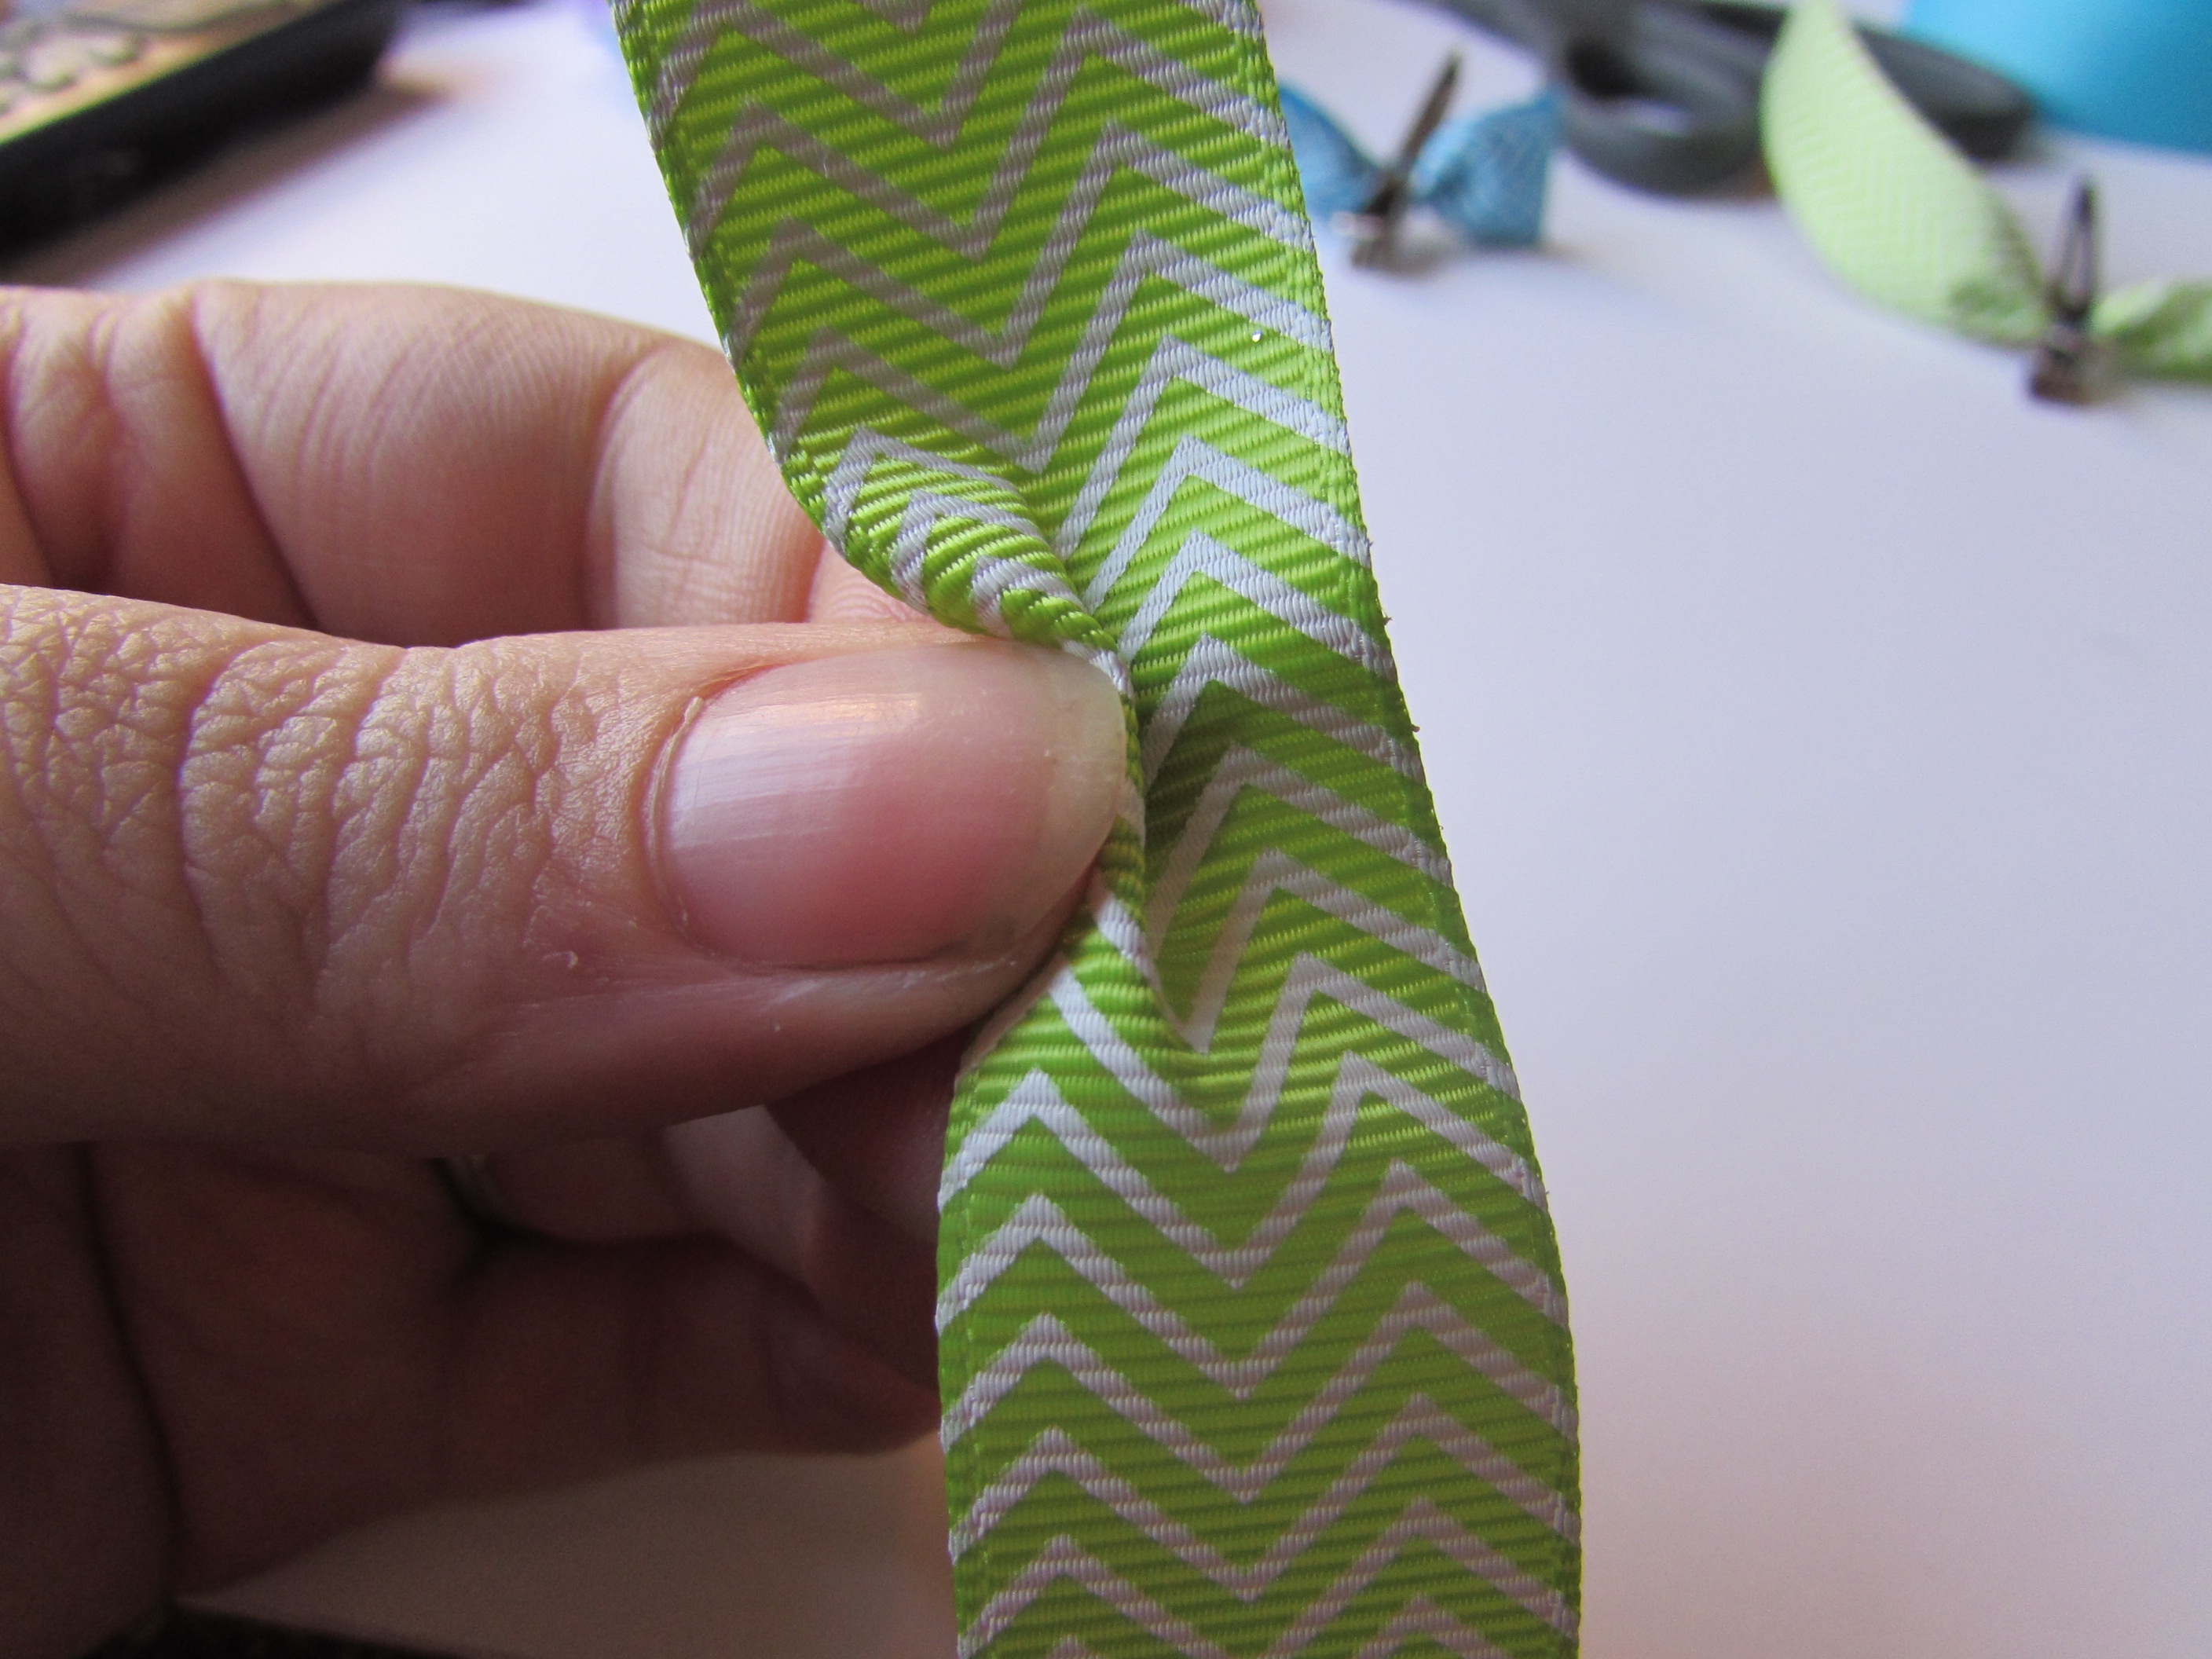
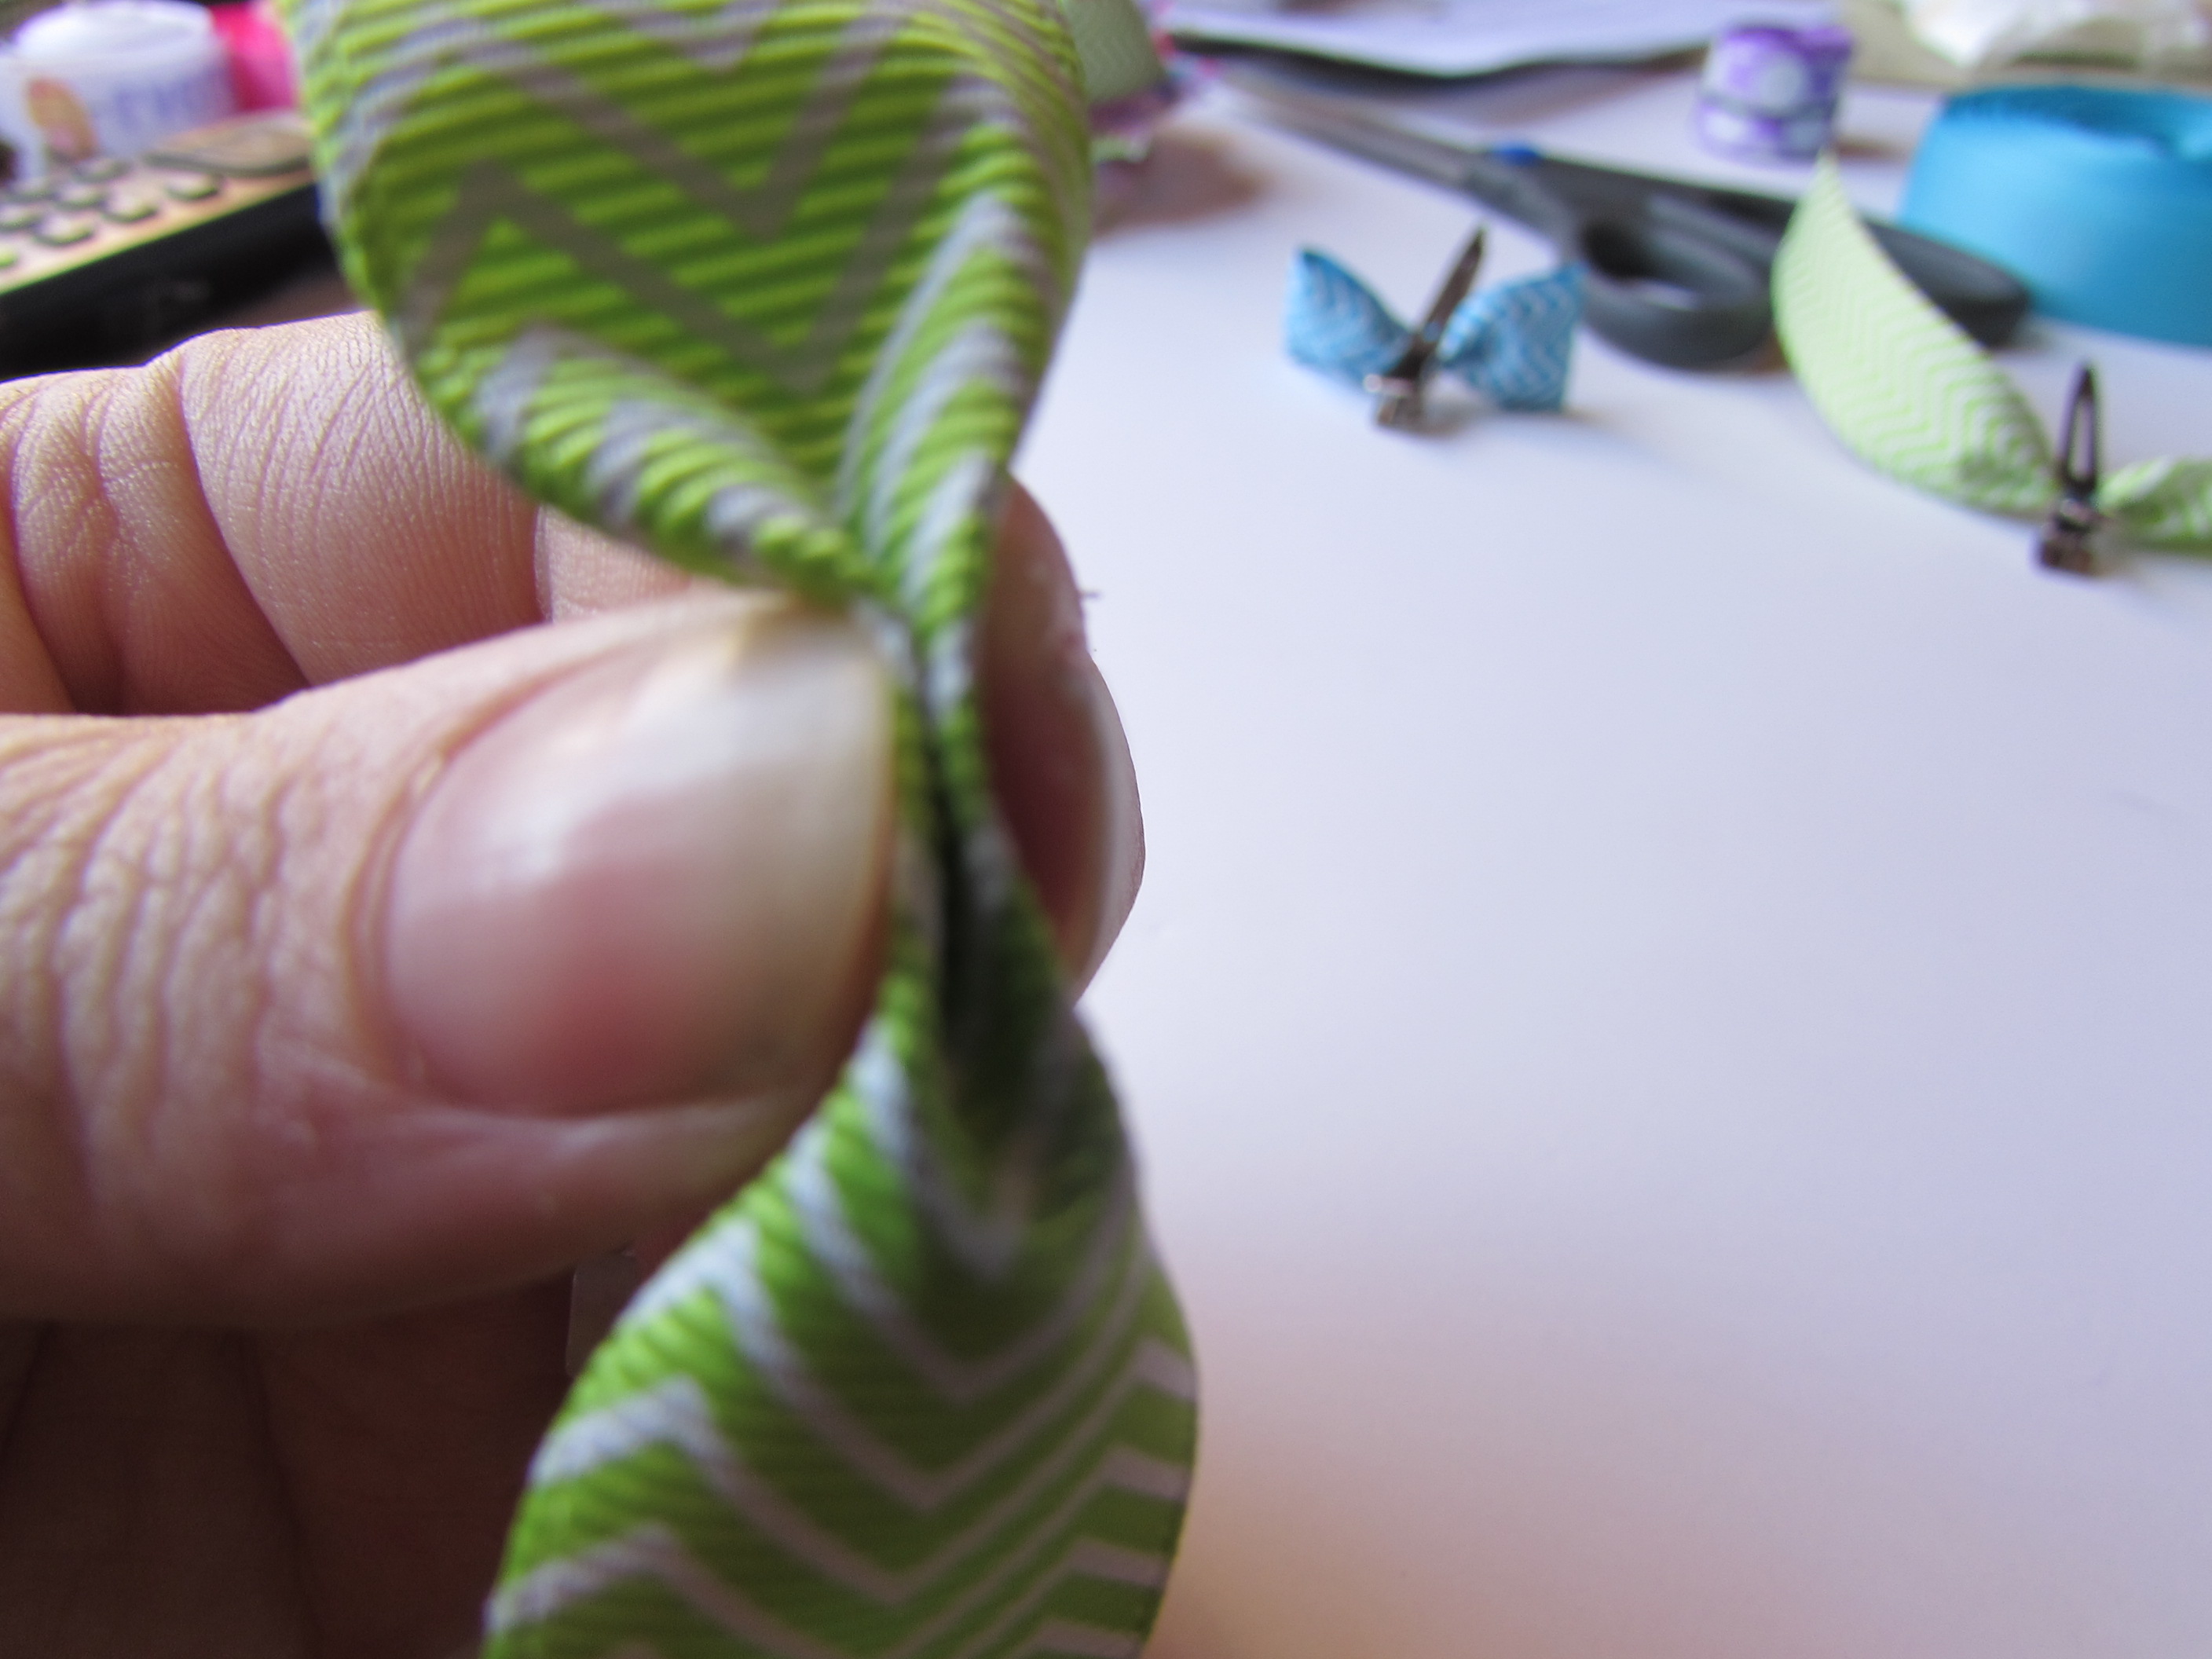
- Now glue or tie the center as Step 5.
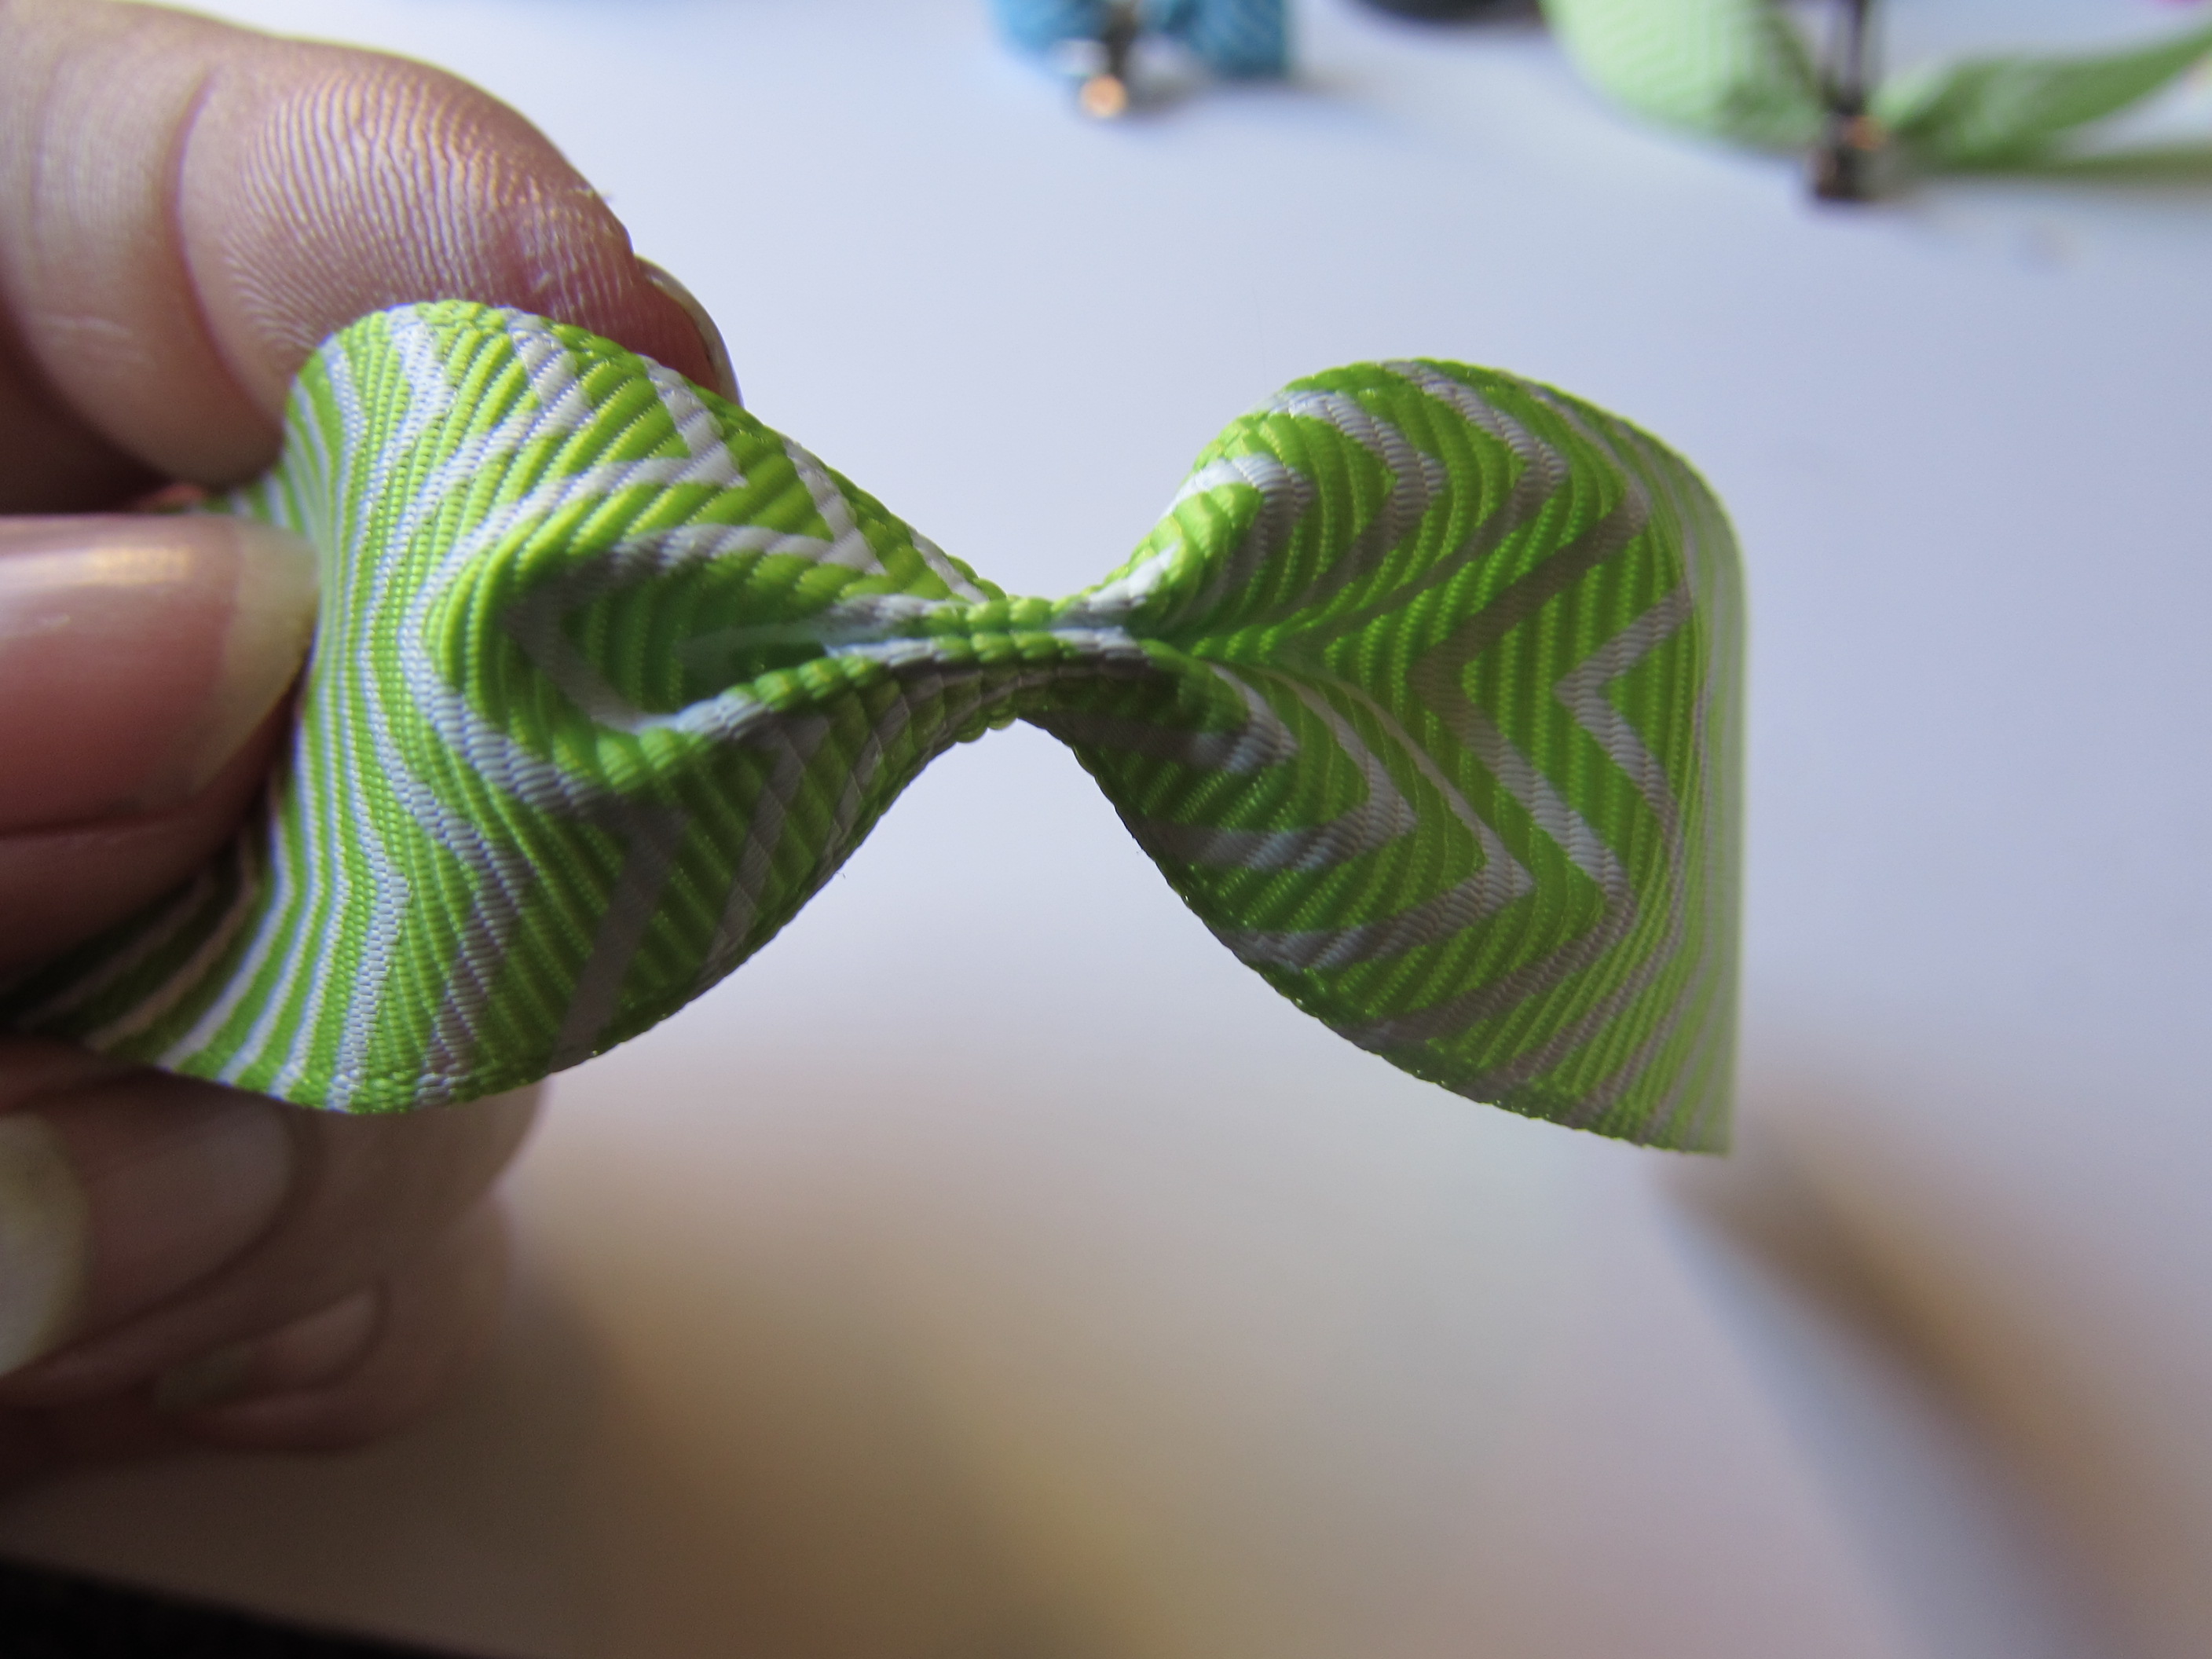
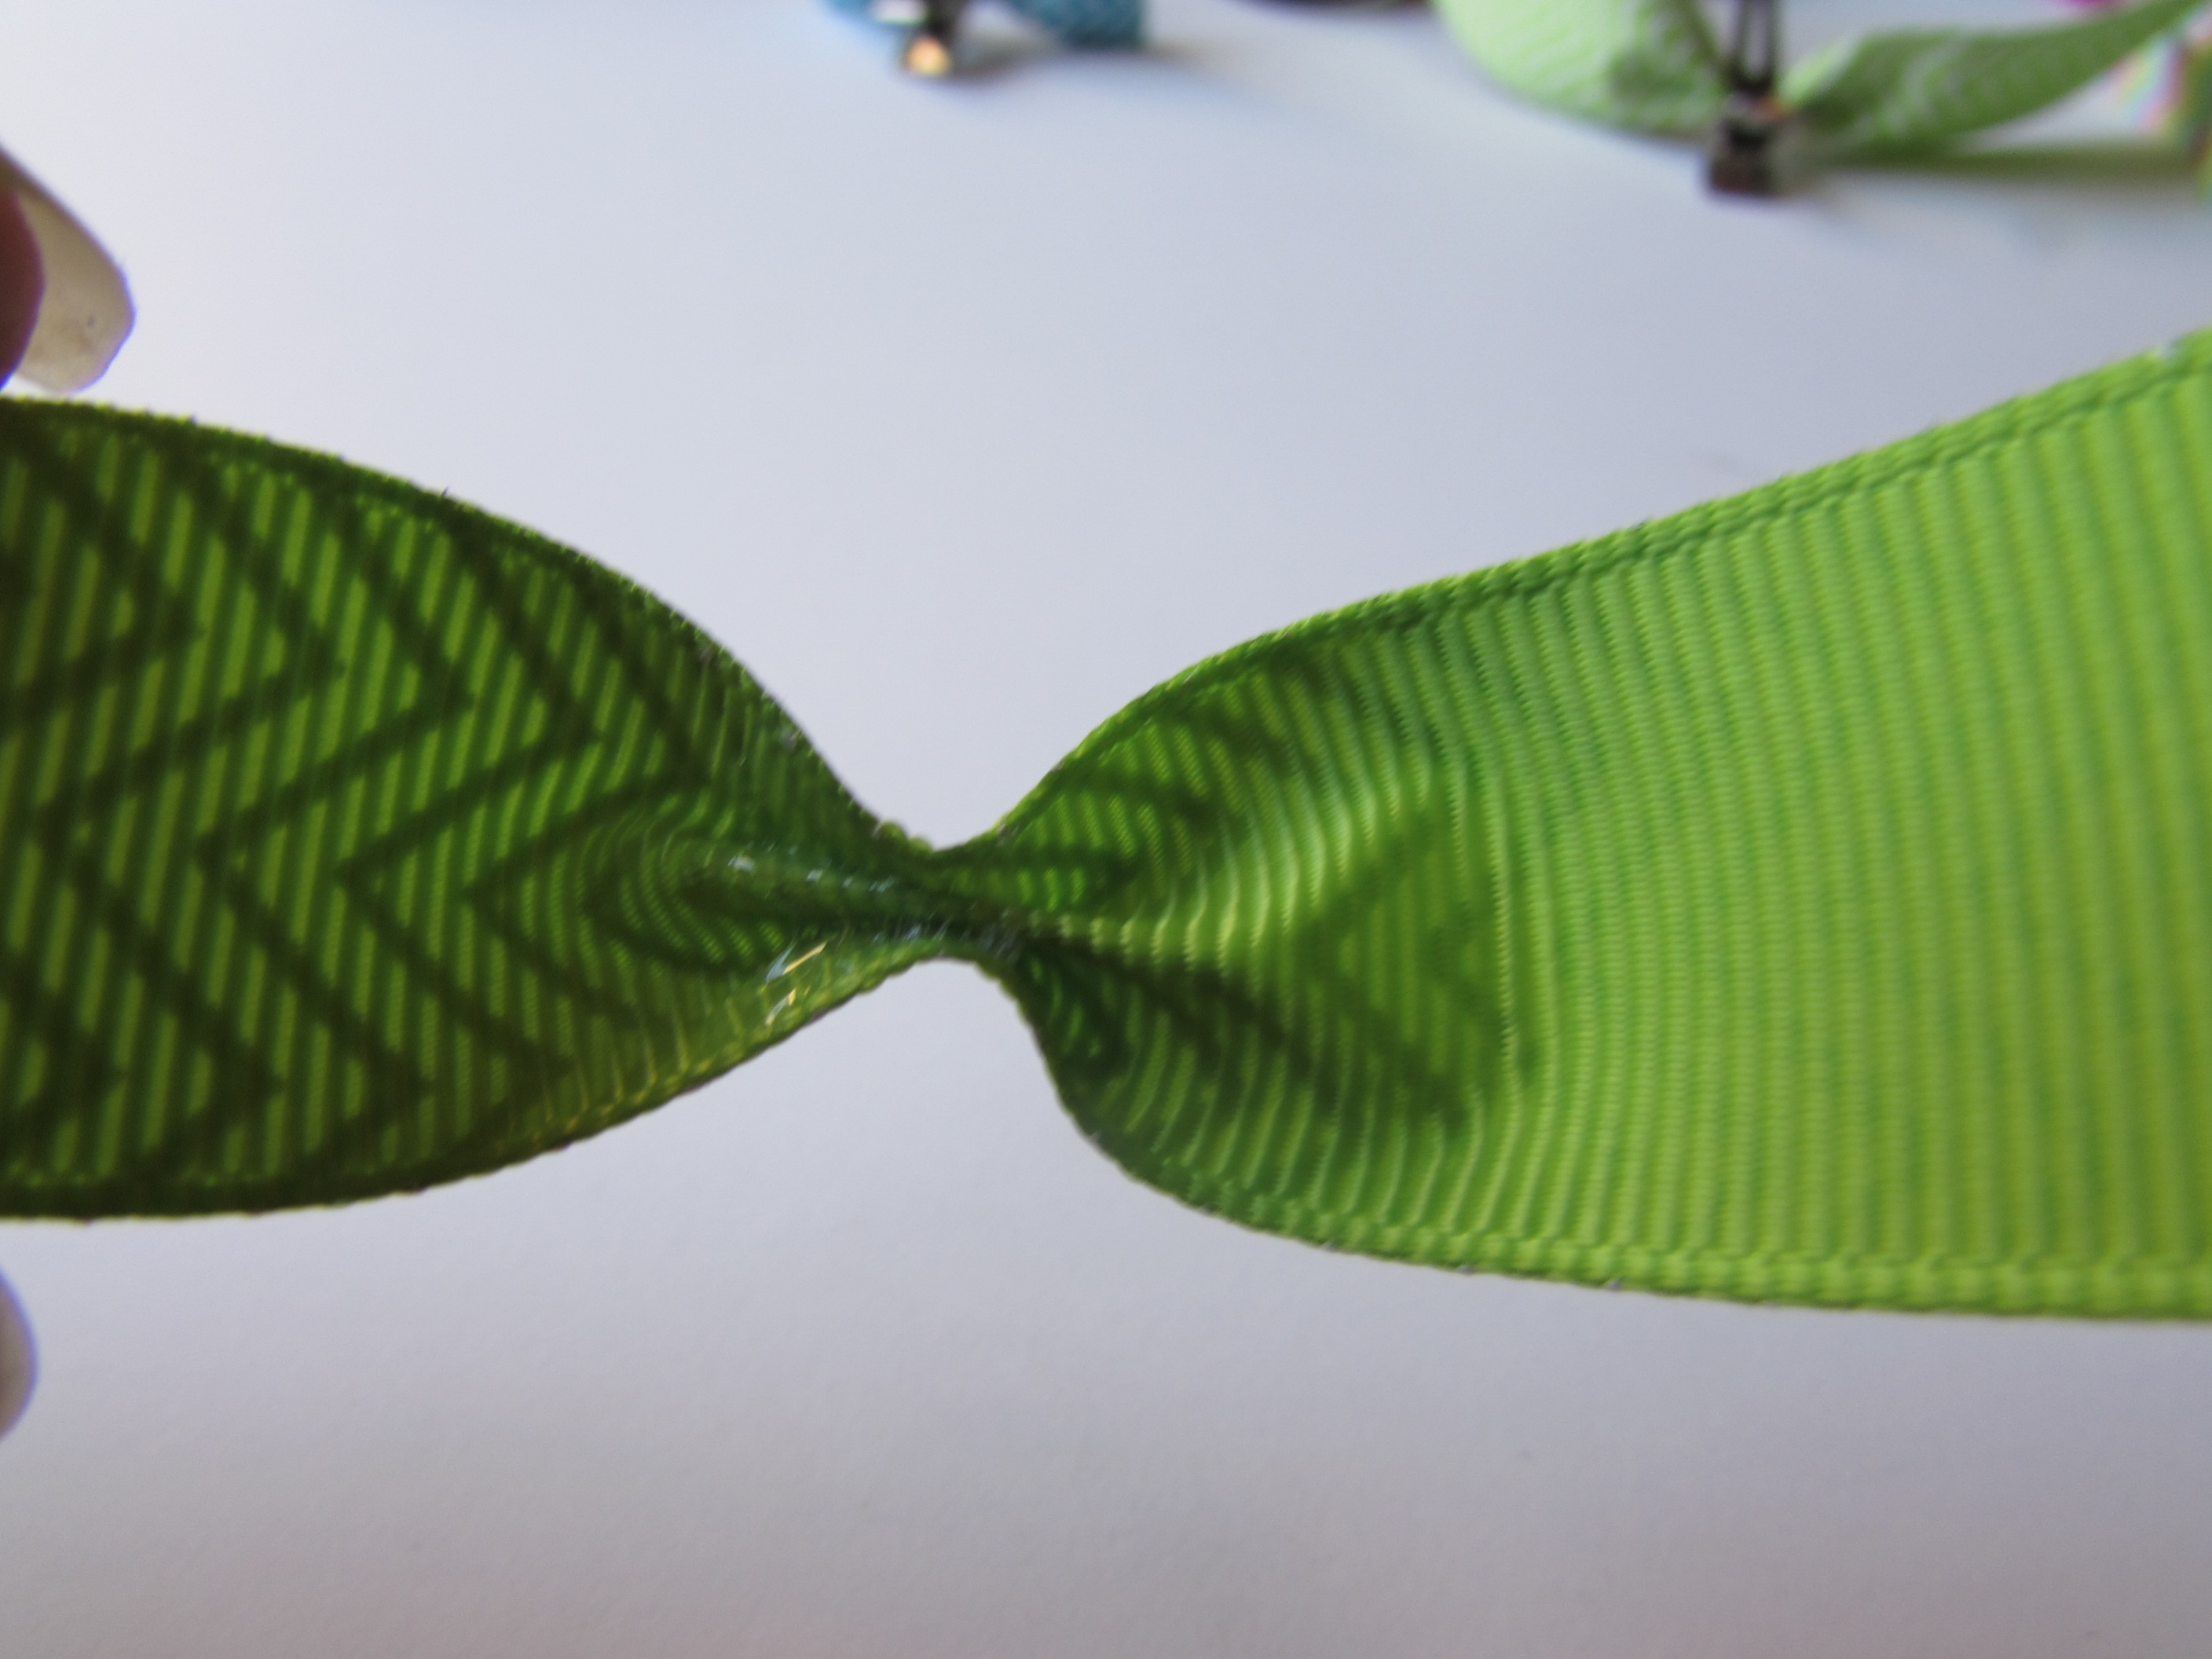
- Now combine the centers of both pieces. Glue or Tie.
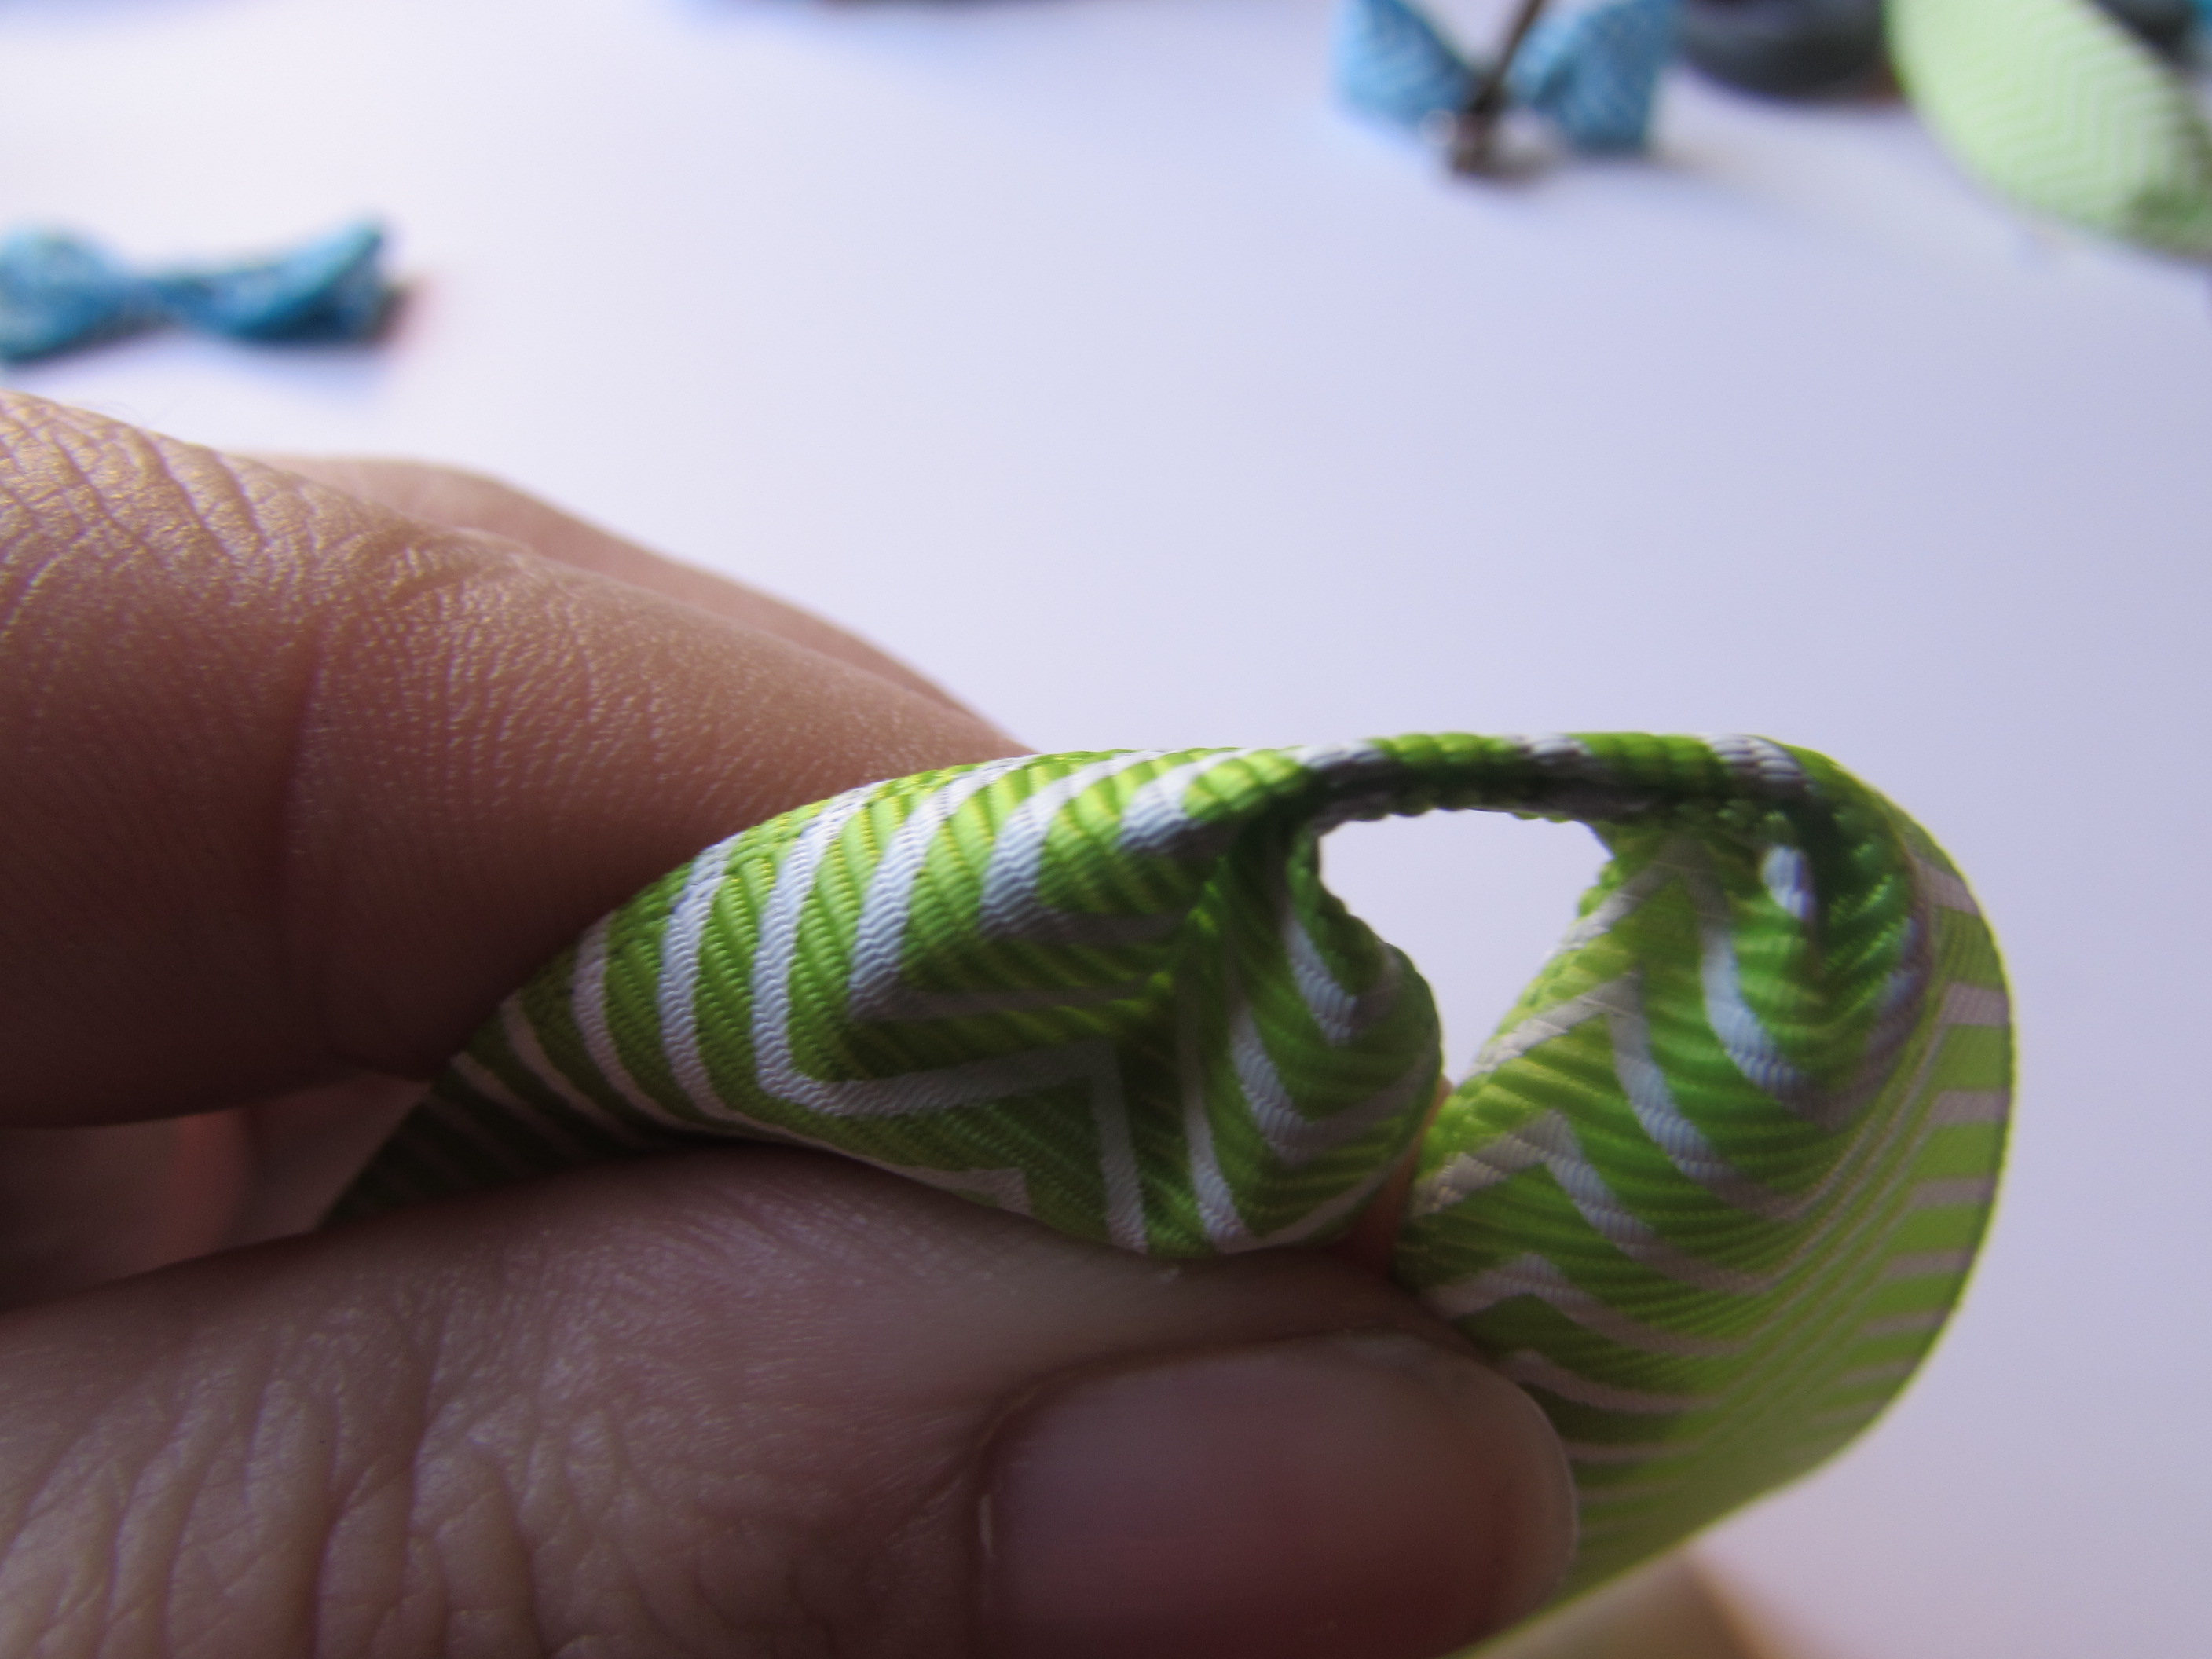
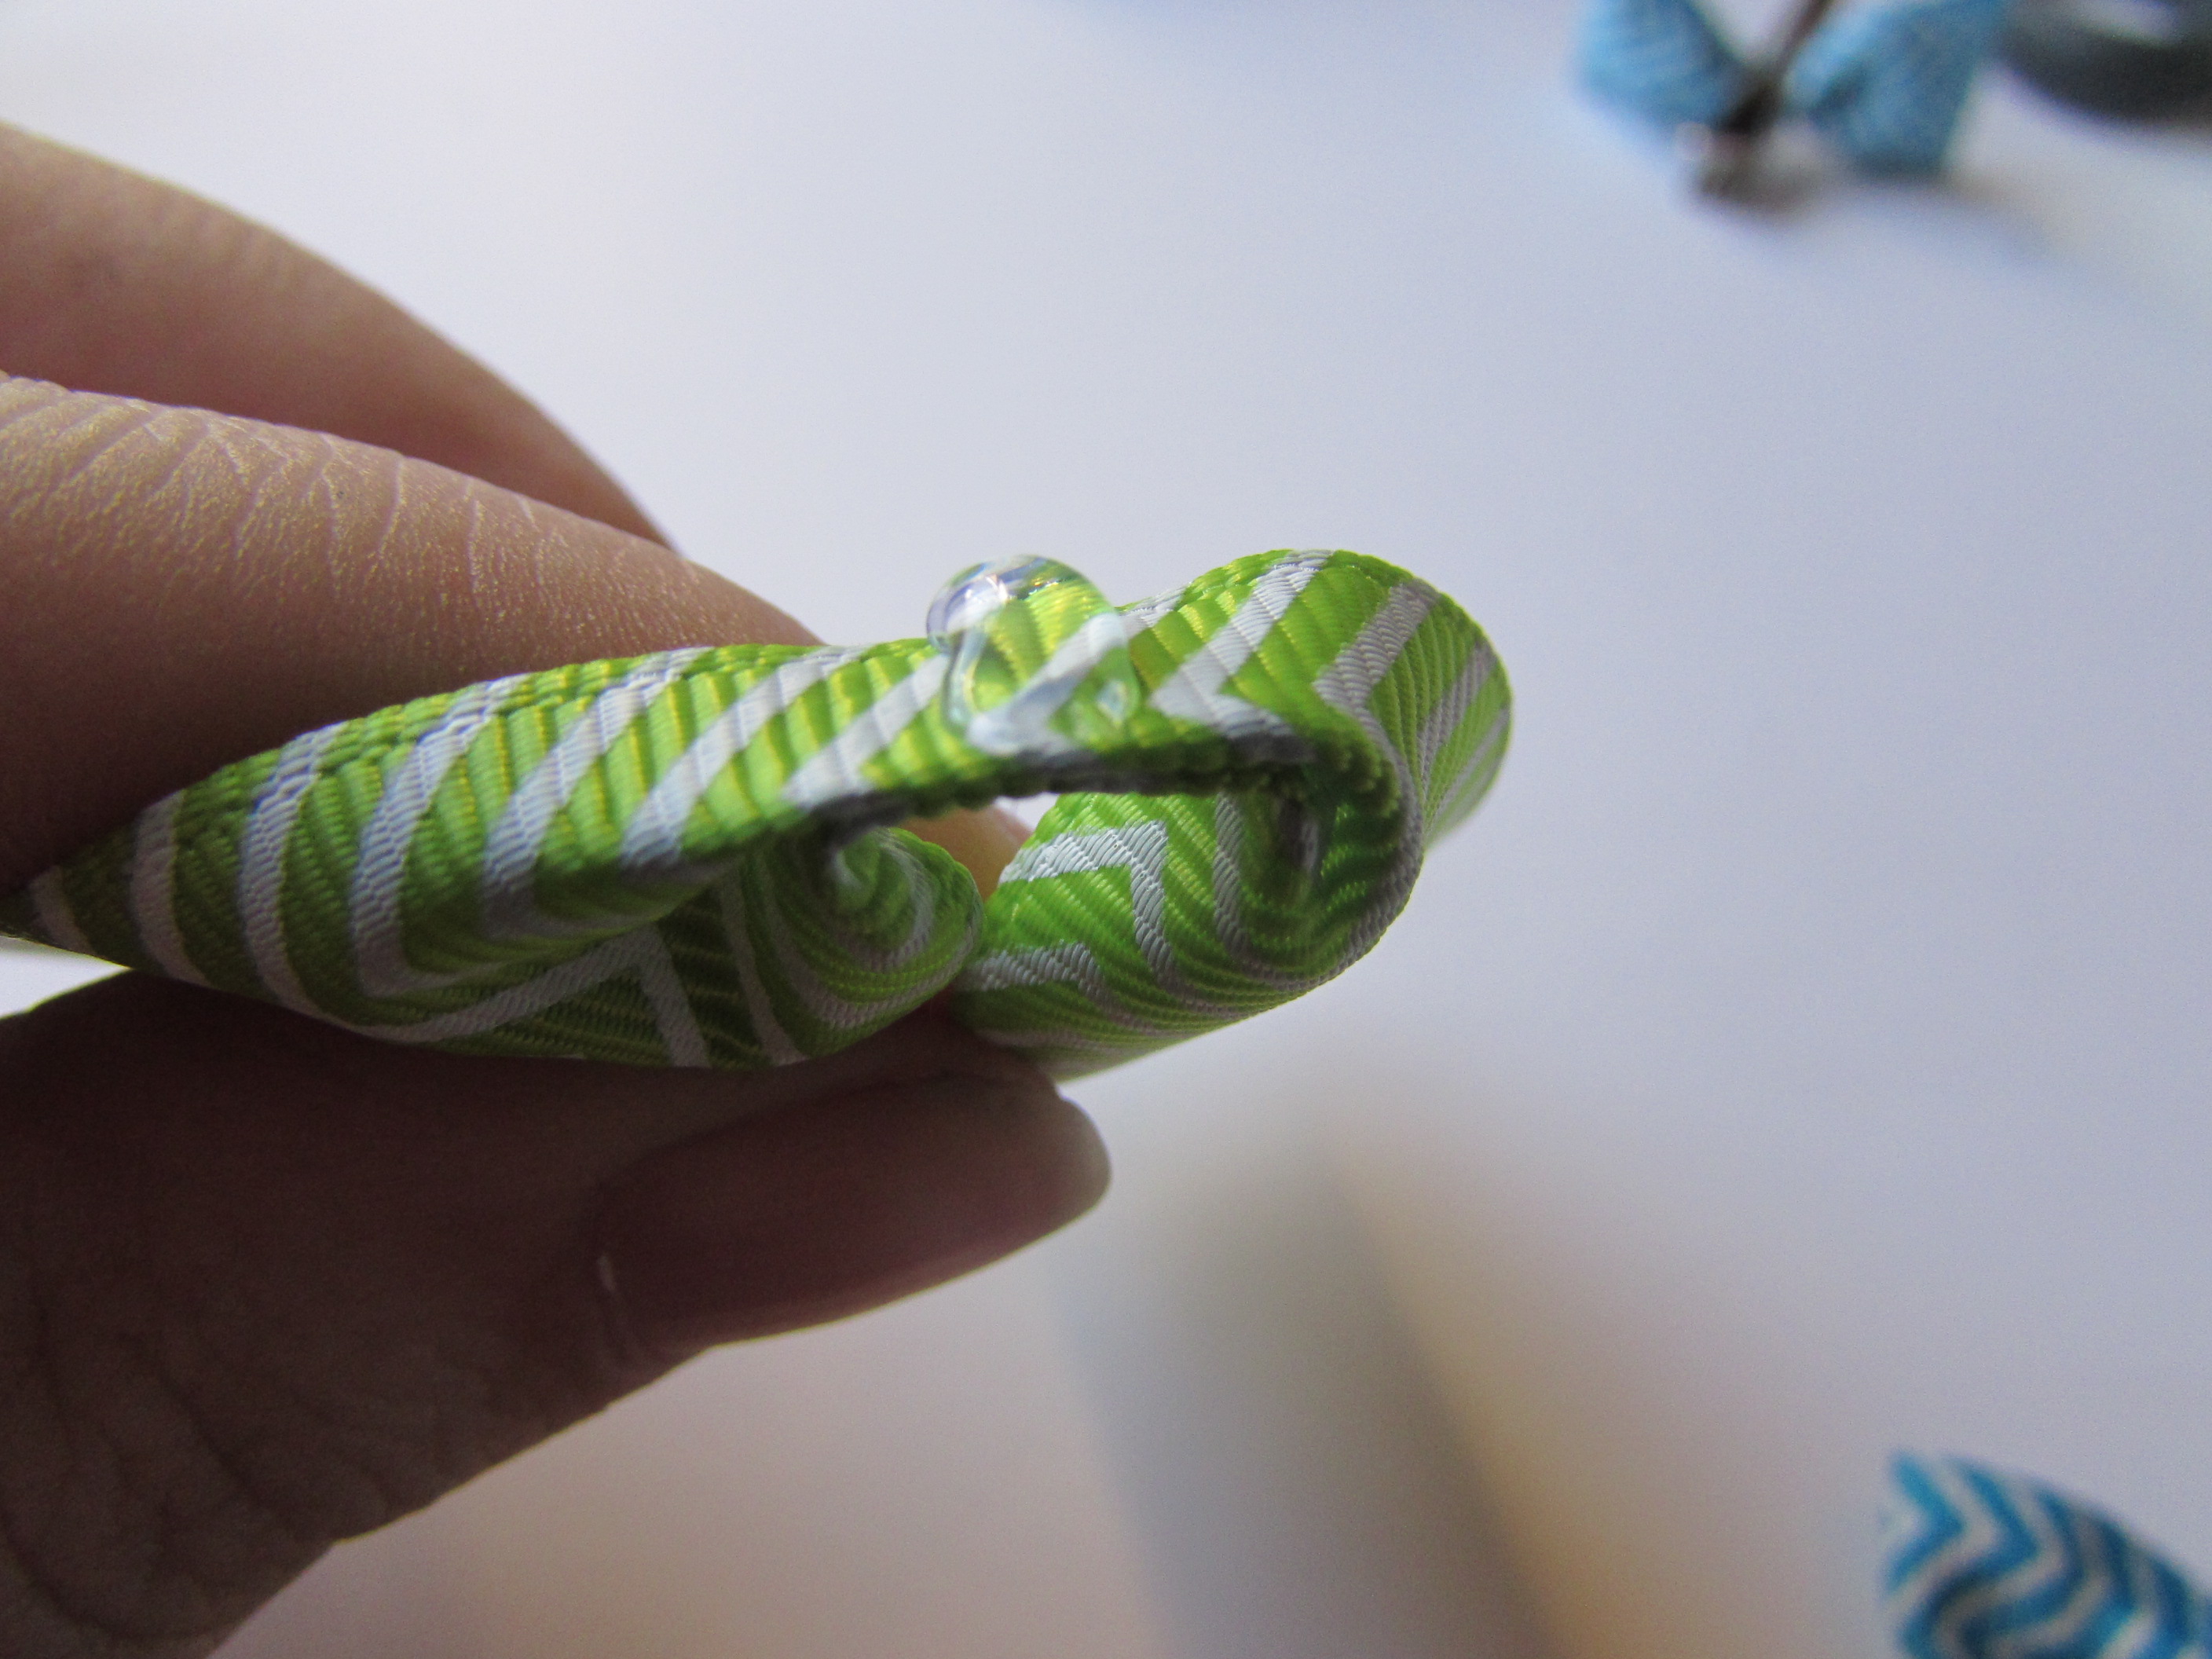
- Repeat steps 2-8 for 2nd side bow.
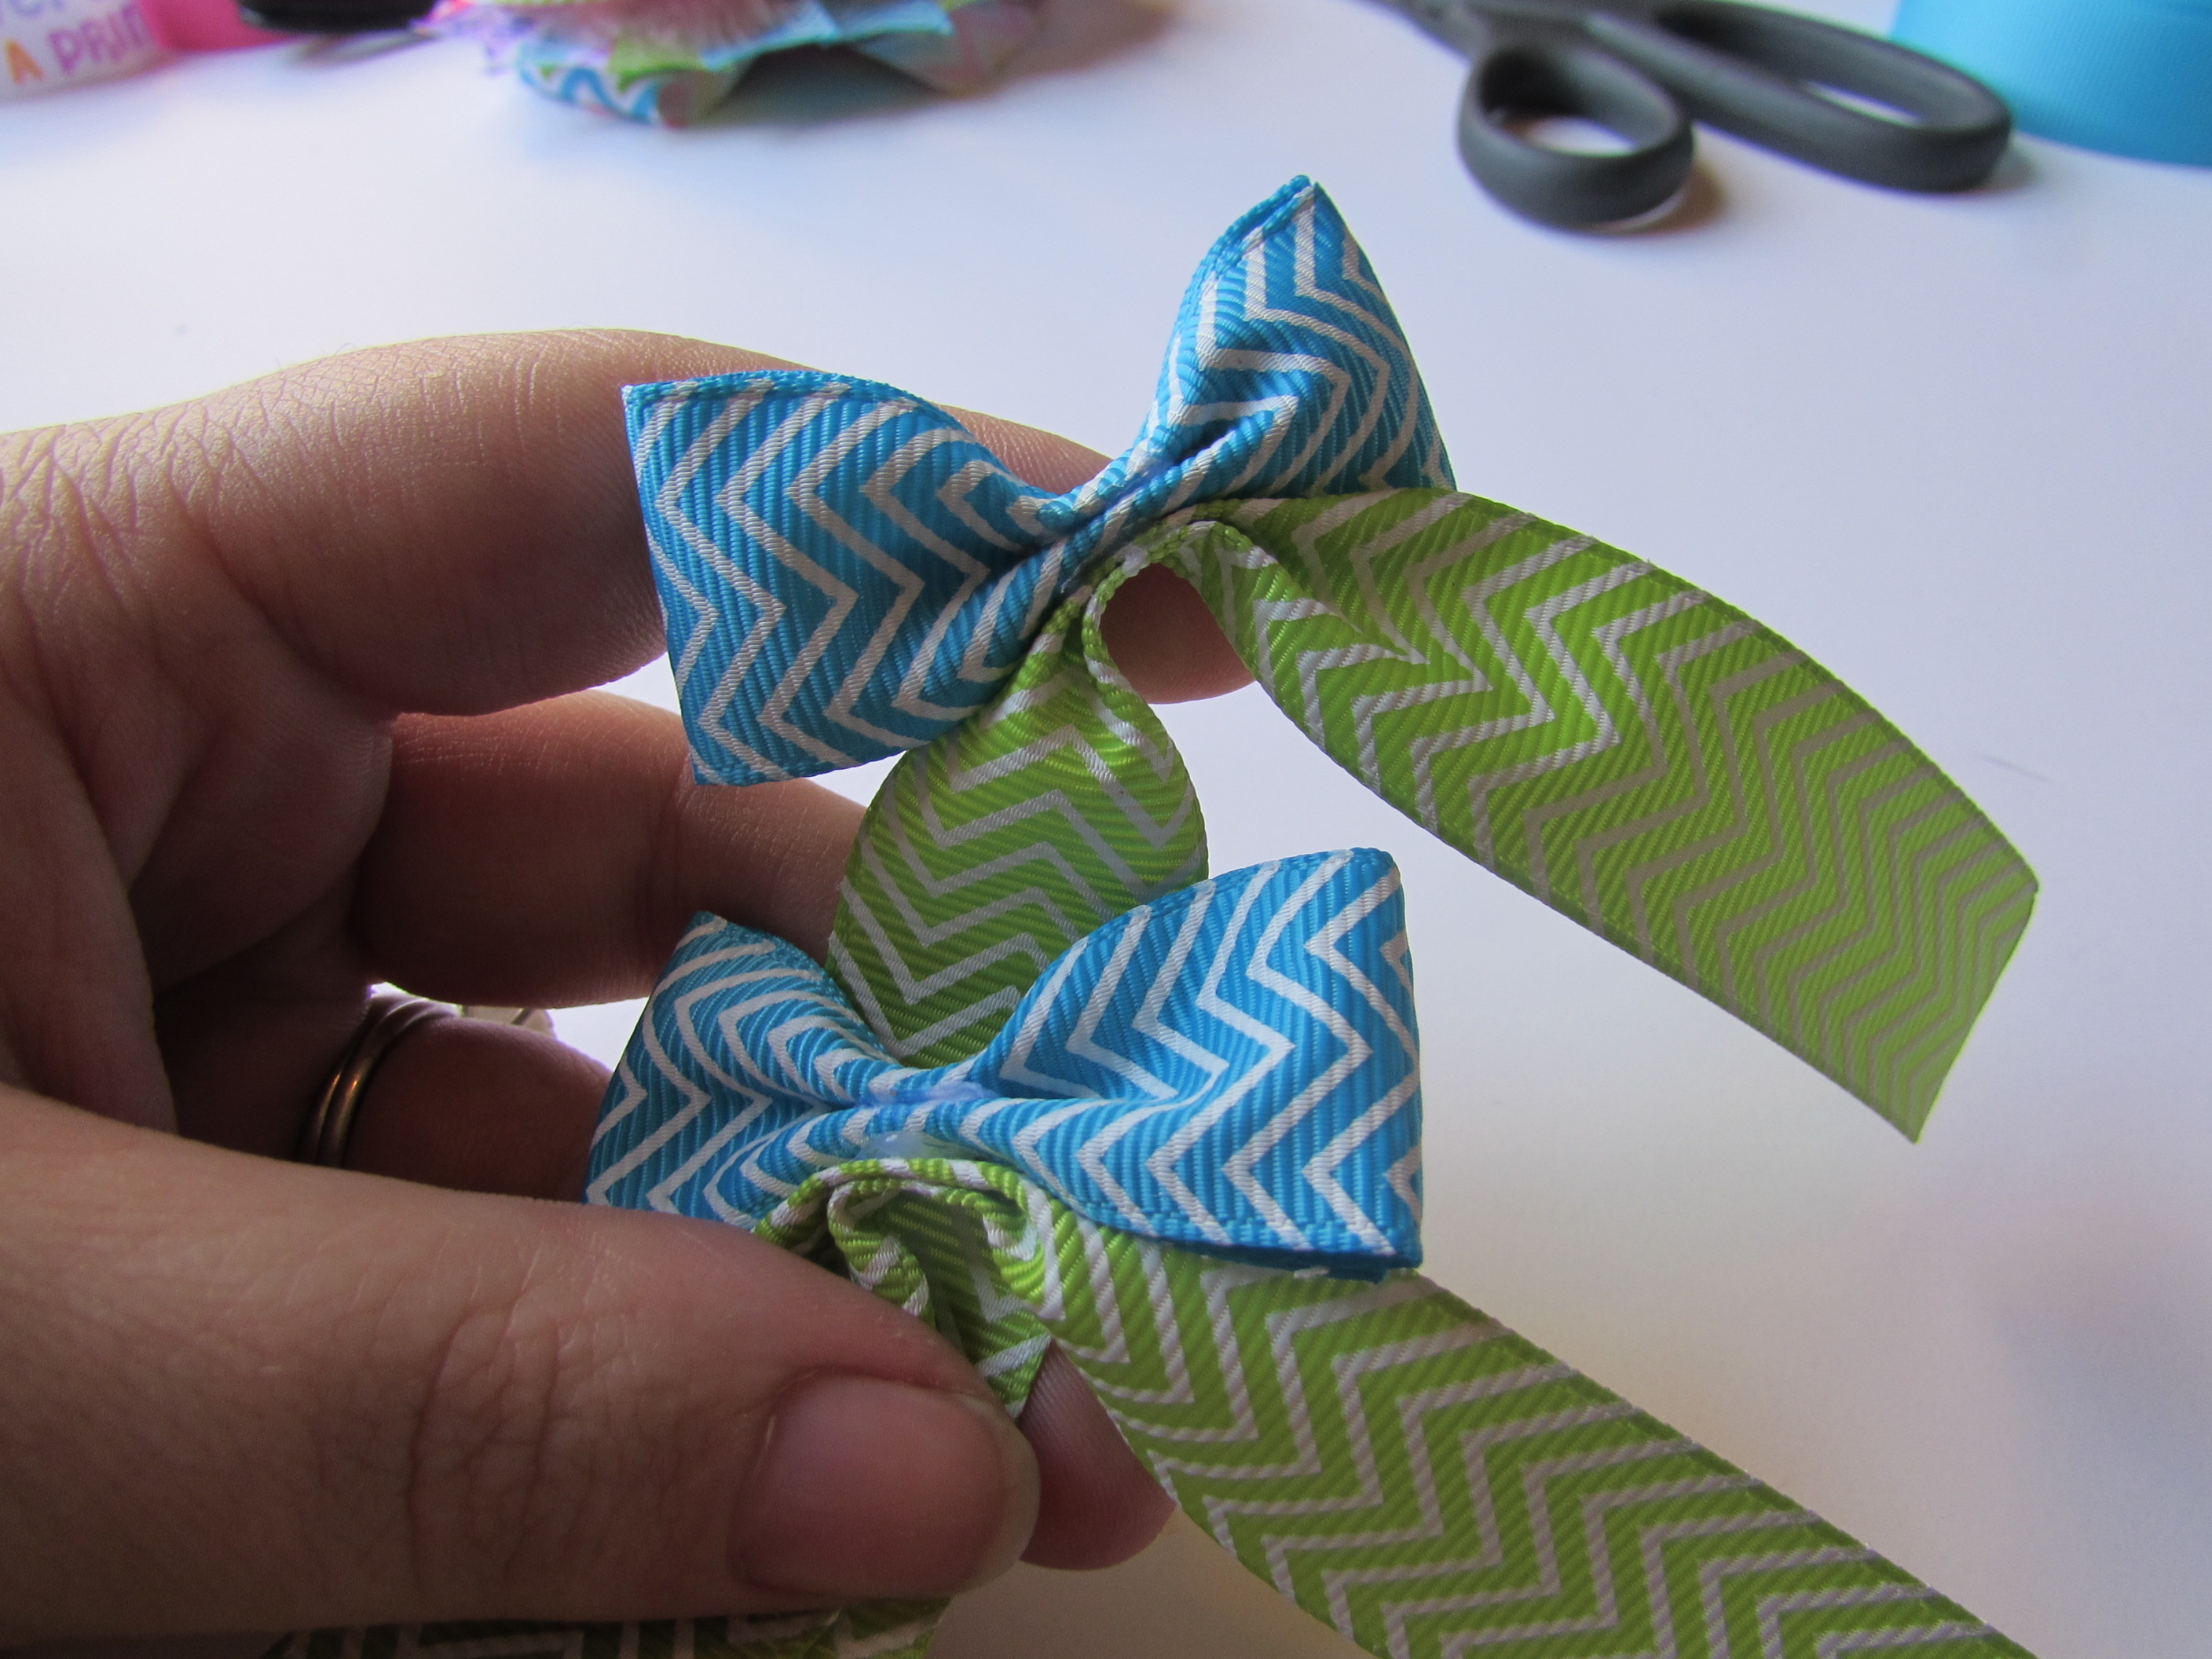
- Now wrap the center of both side bows with 3/8” ribbon.
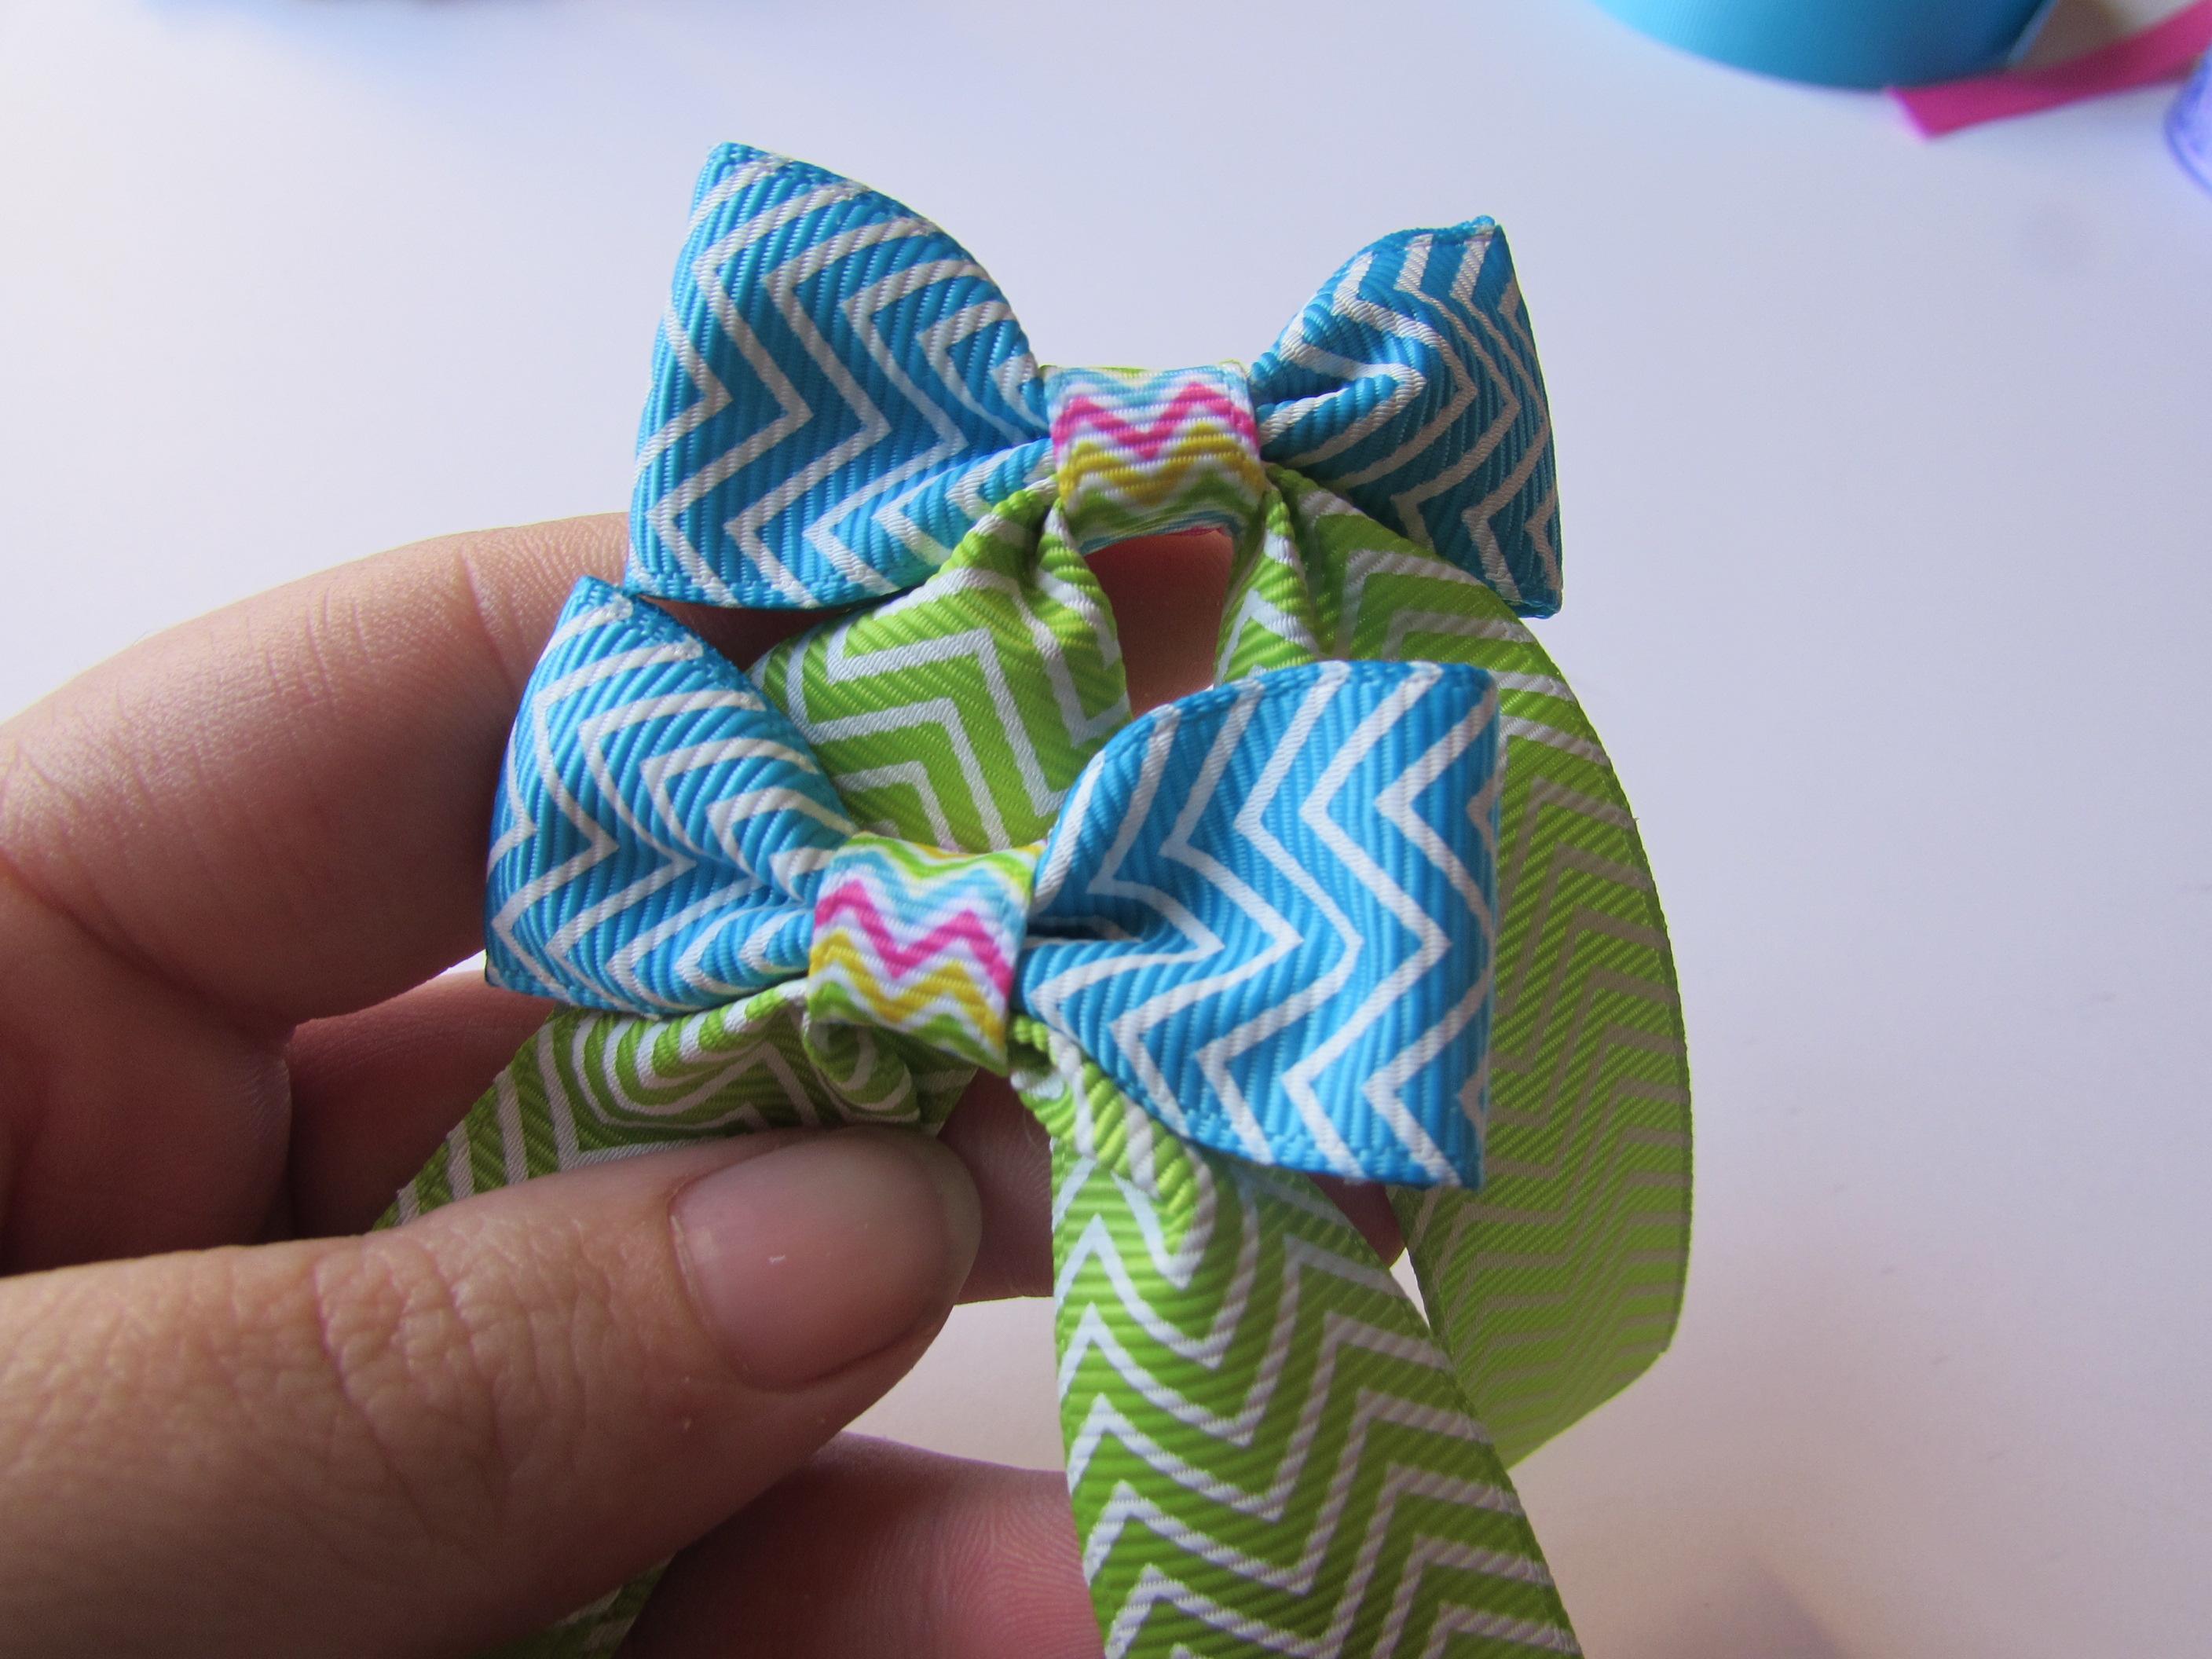
- Now trim and heat seal the ends to your liking.
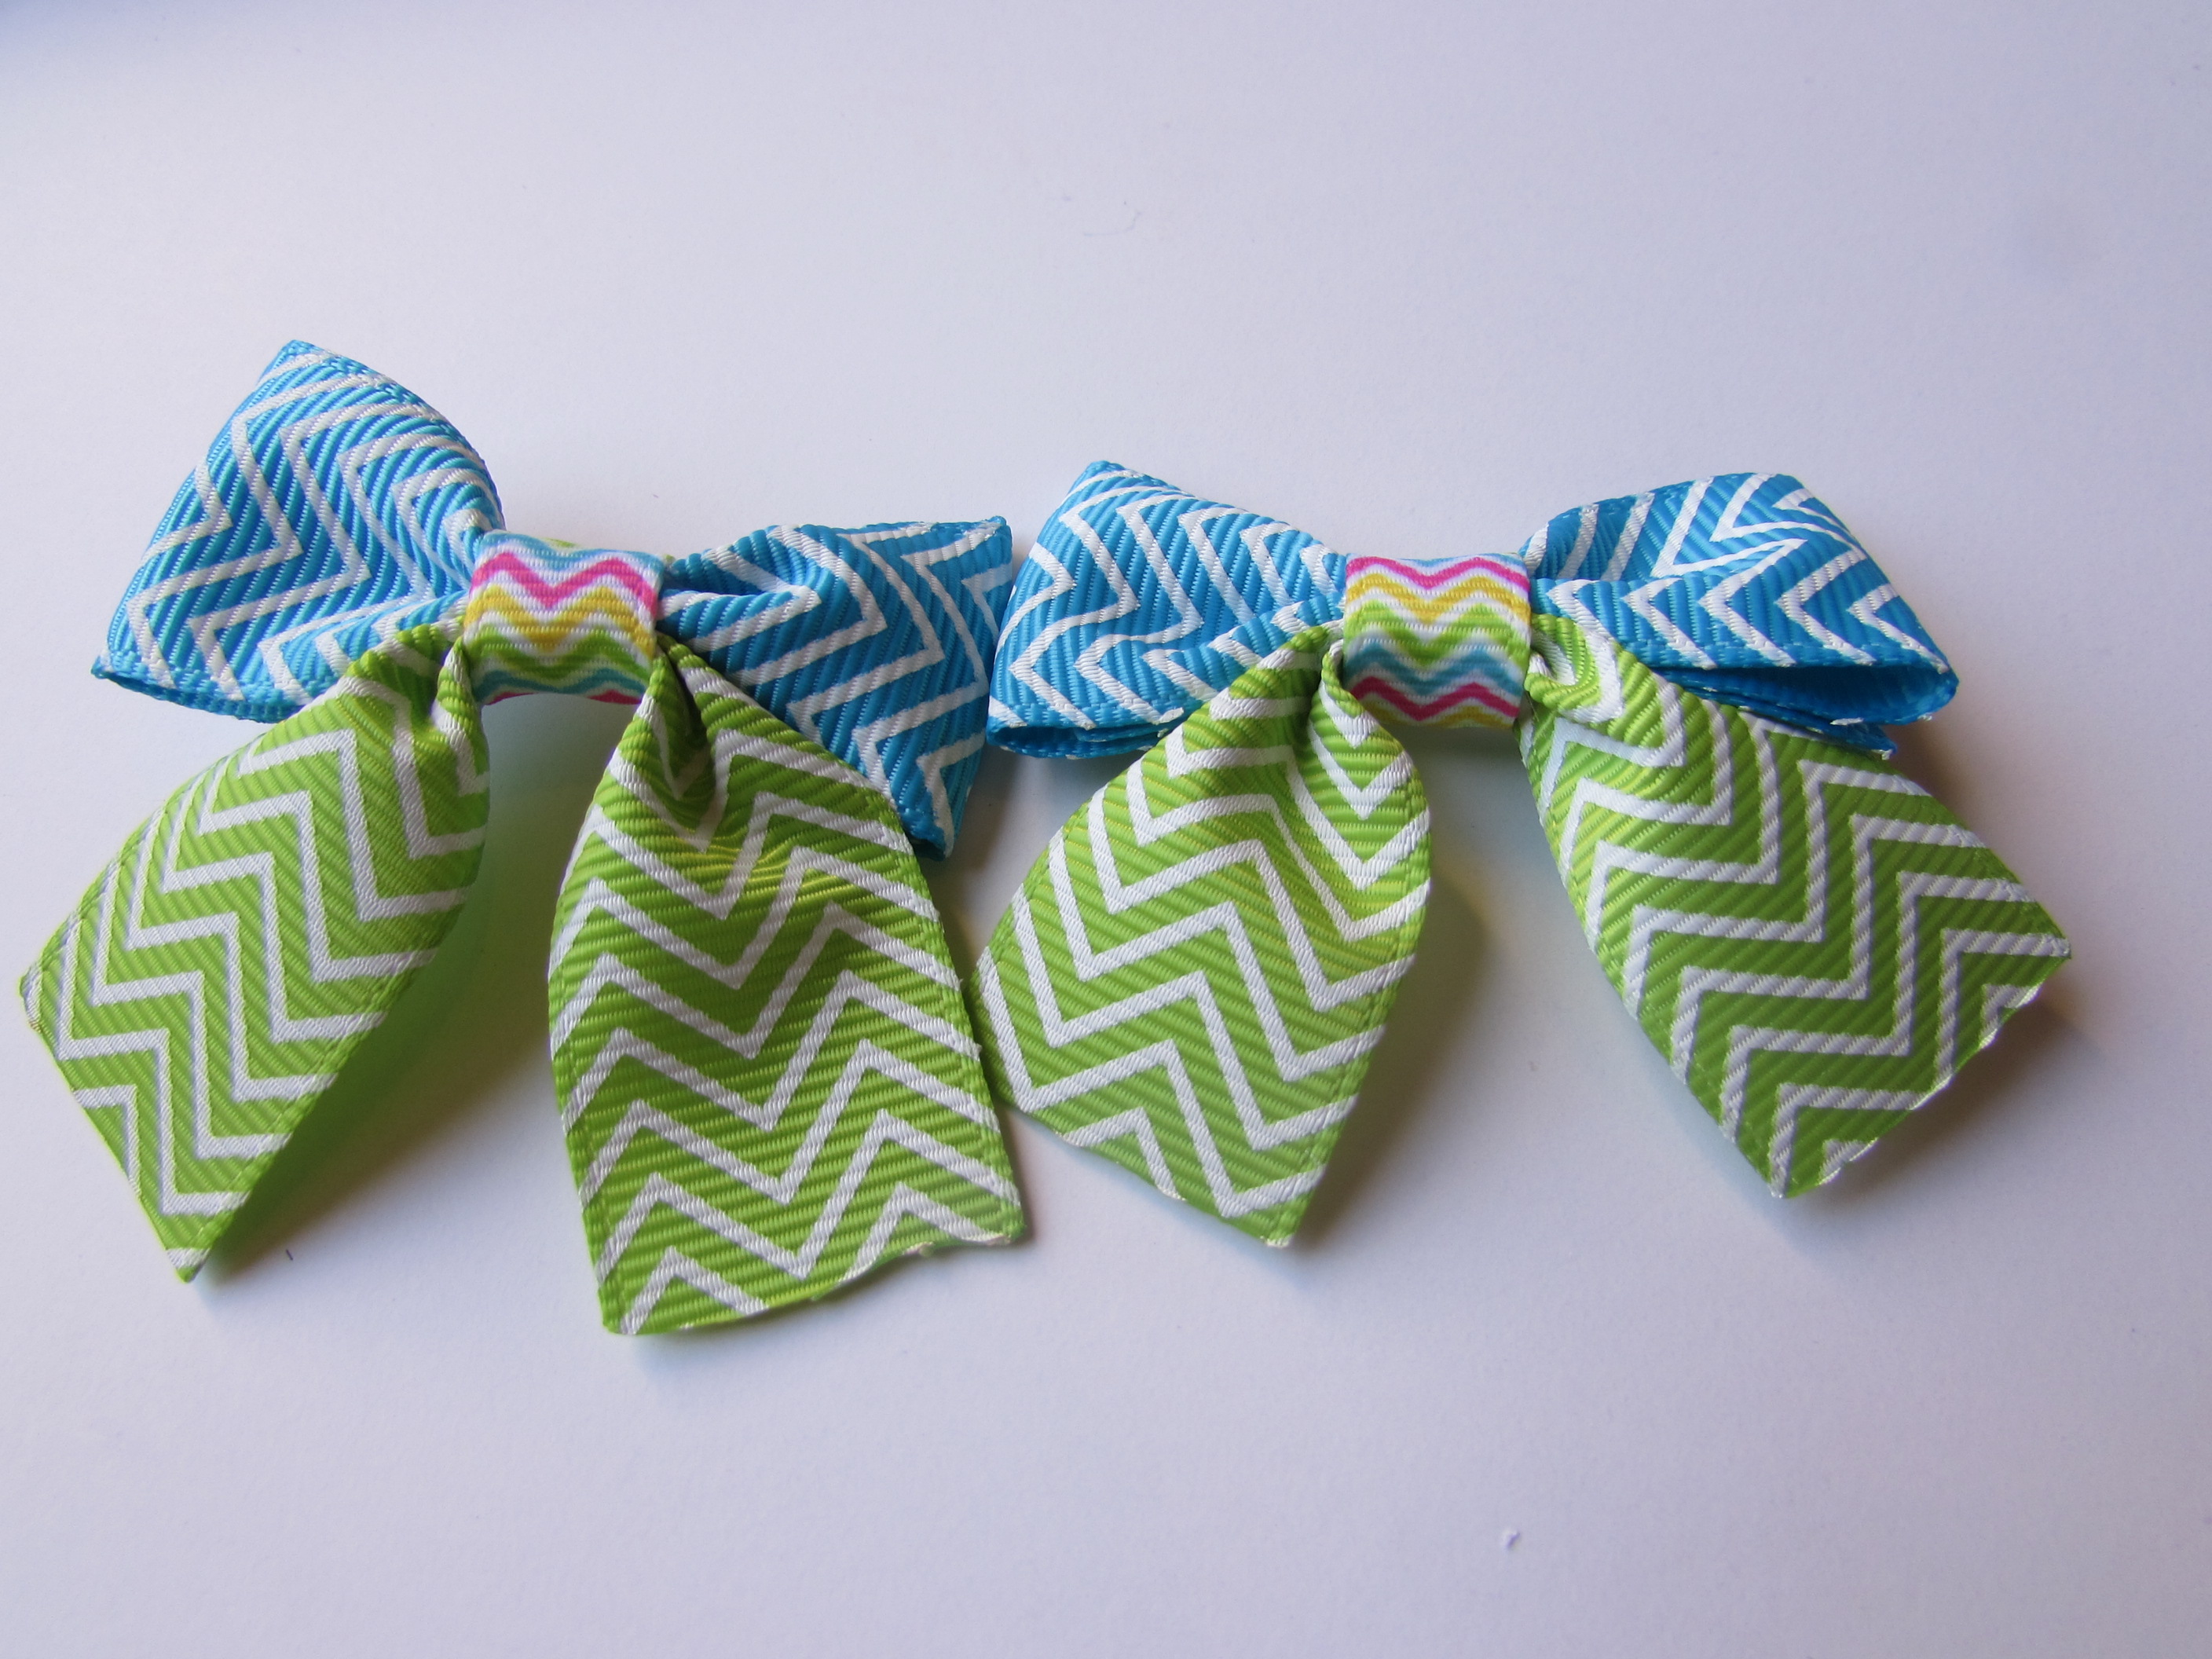
- Now glue them to your bow wherever you would like. I normally do the left bottom loop and the top right loop. But this is your choice.


 TOOLS
TOOLS
 NEW
NEW


