 Contributor post by Cassie
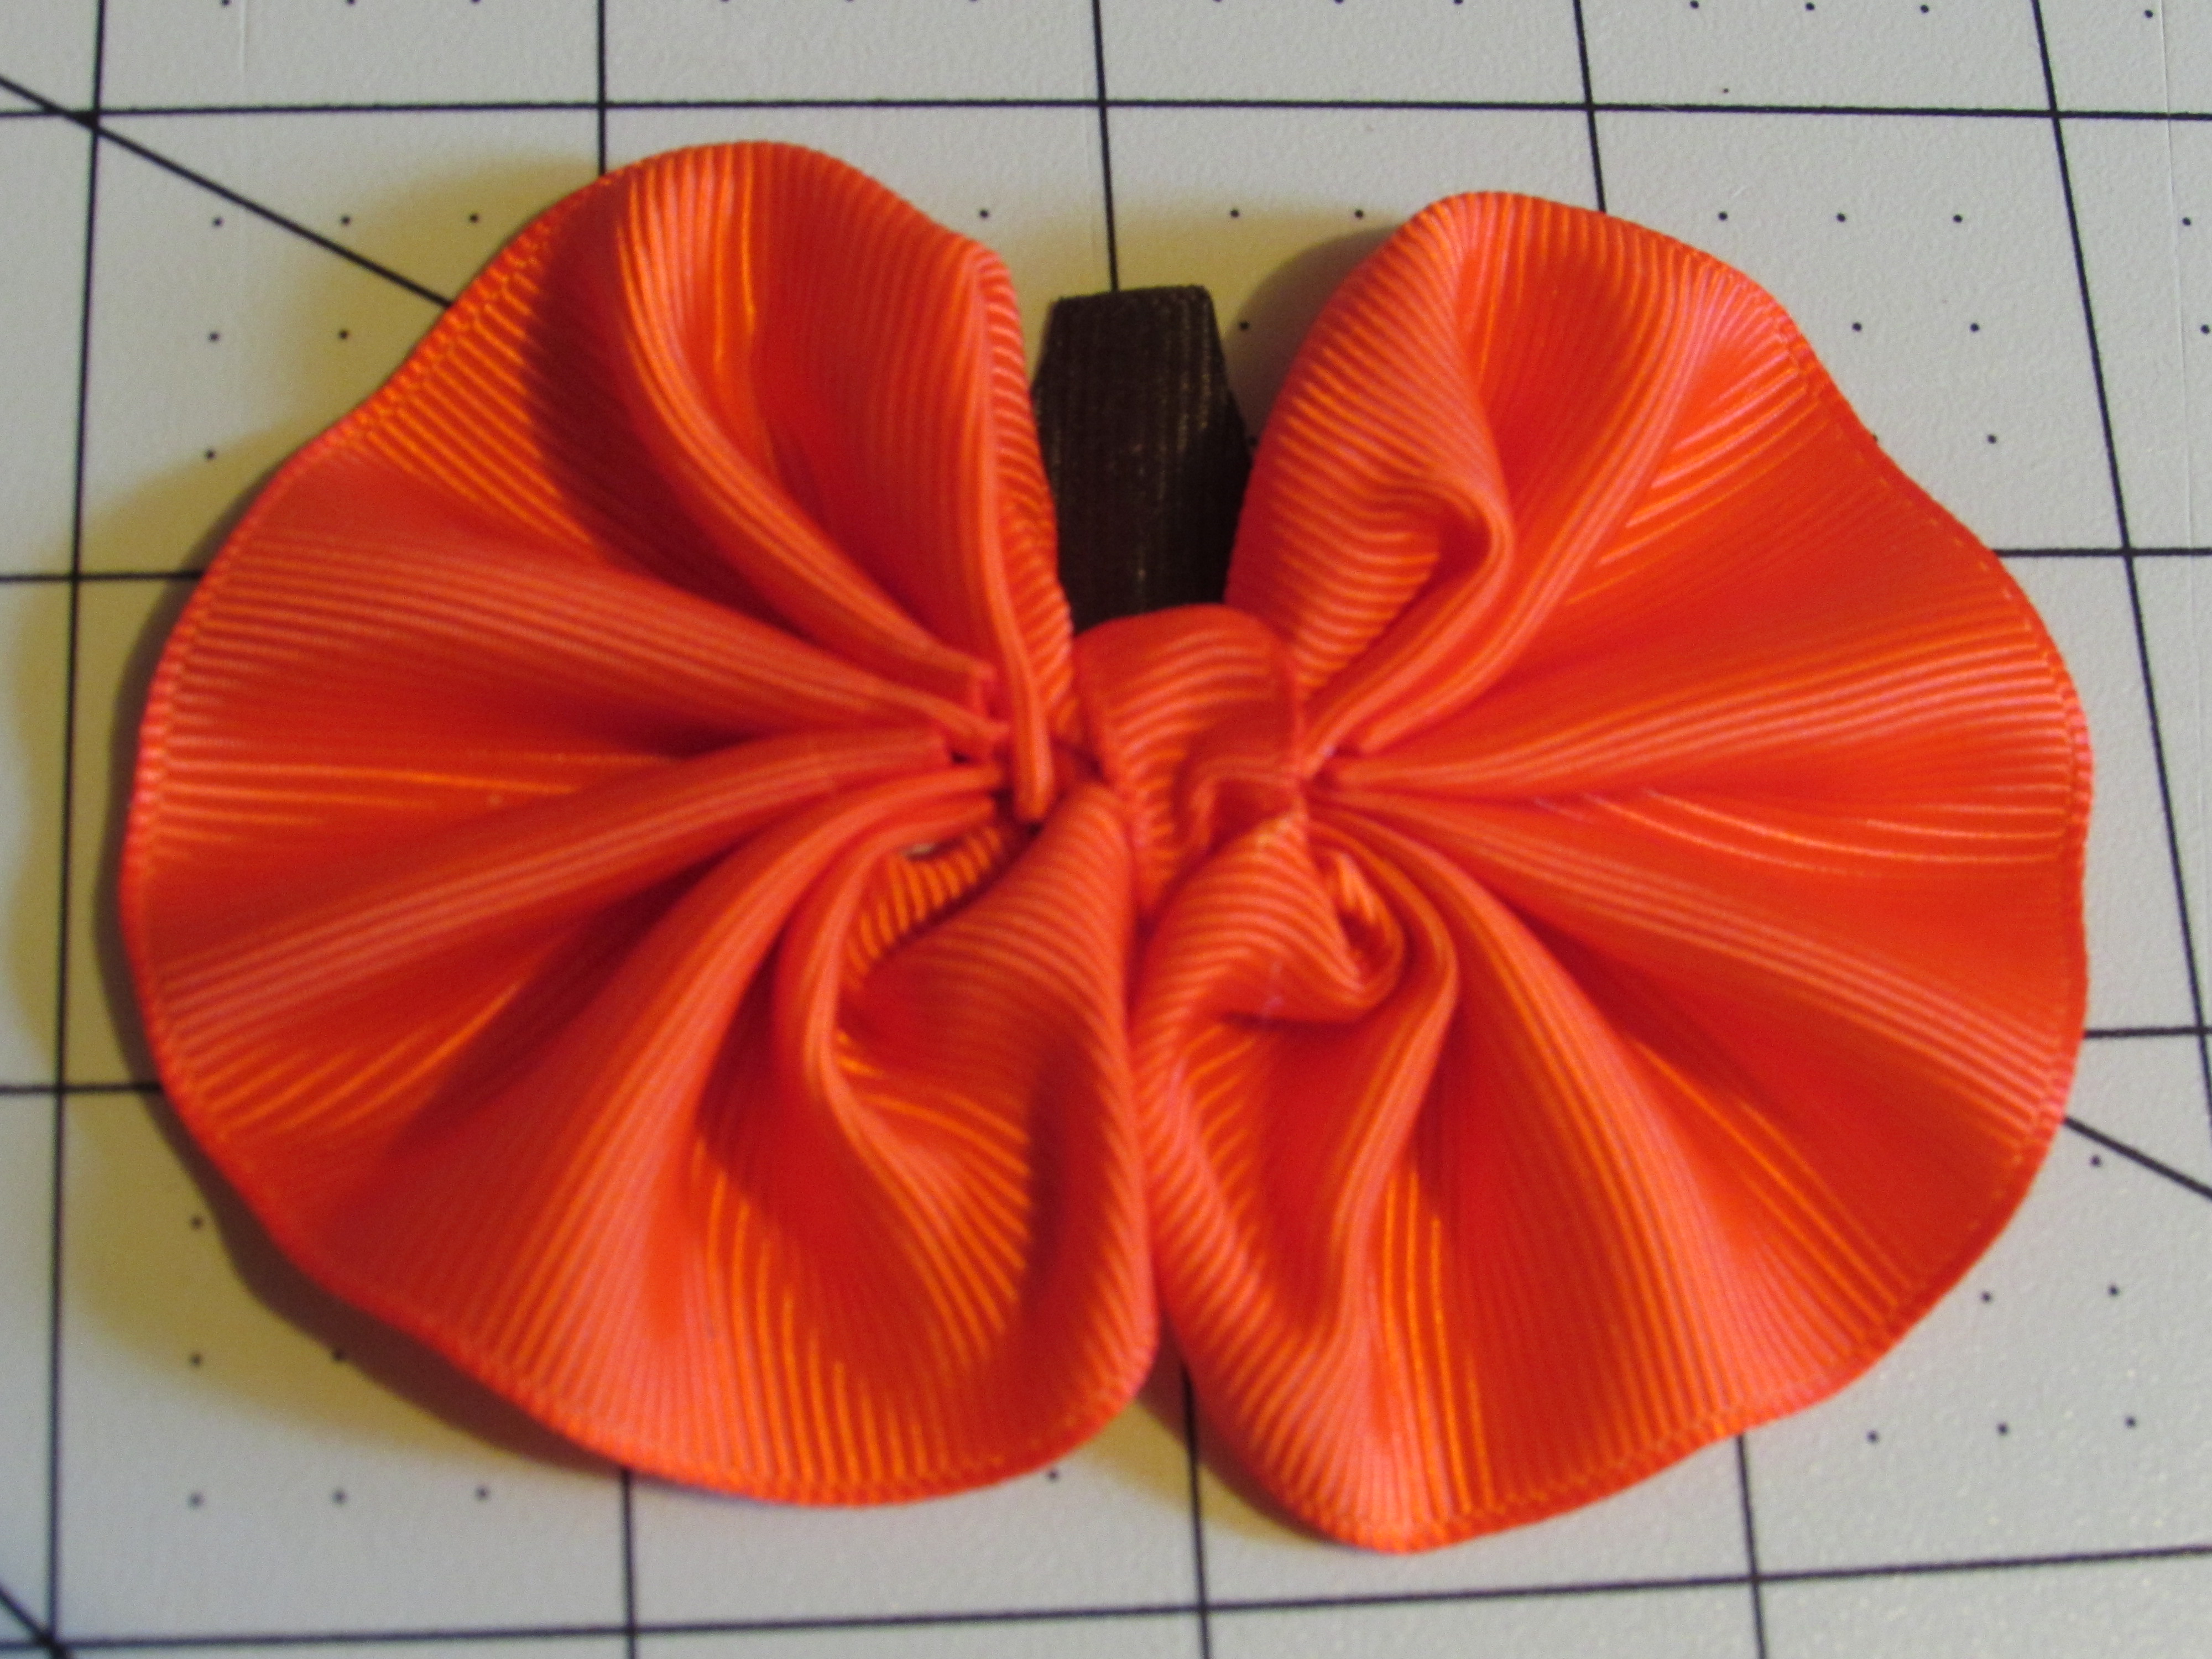
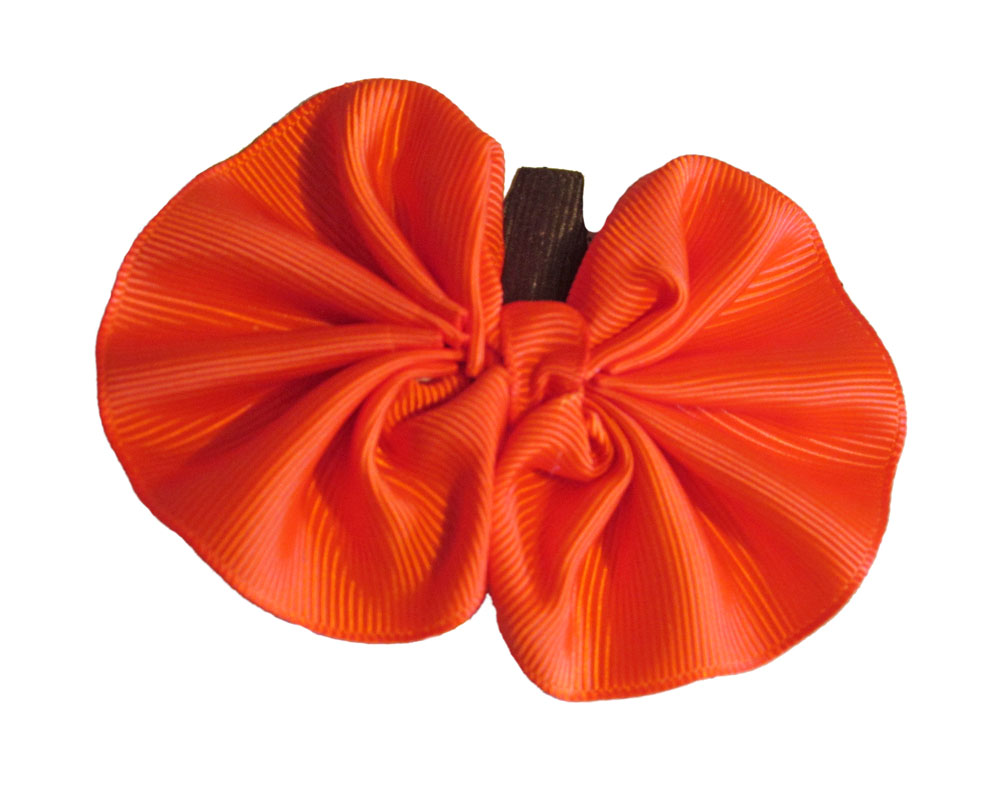
Good Day Everyone! It is Cassie here, from CuppyCake GumDrop Boutique & More. Today I will be showing you how to make an adorable Ruffled Pumpkin hair clip and or headband. With the holiday's creeping up on us and the weather getting chillier {{ here in KY anyways }} what a better way to start it off than by creating some adorable pumpkin hair accessories, right?!
Look how adorable that is?!!? Yes, I know right? Adorable, simple and super quick to make! So let's gather up the supplies and get ready.
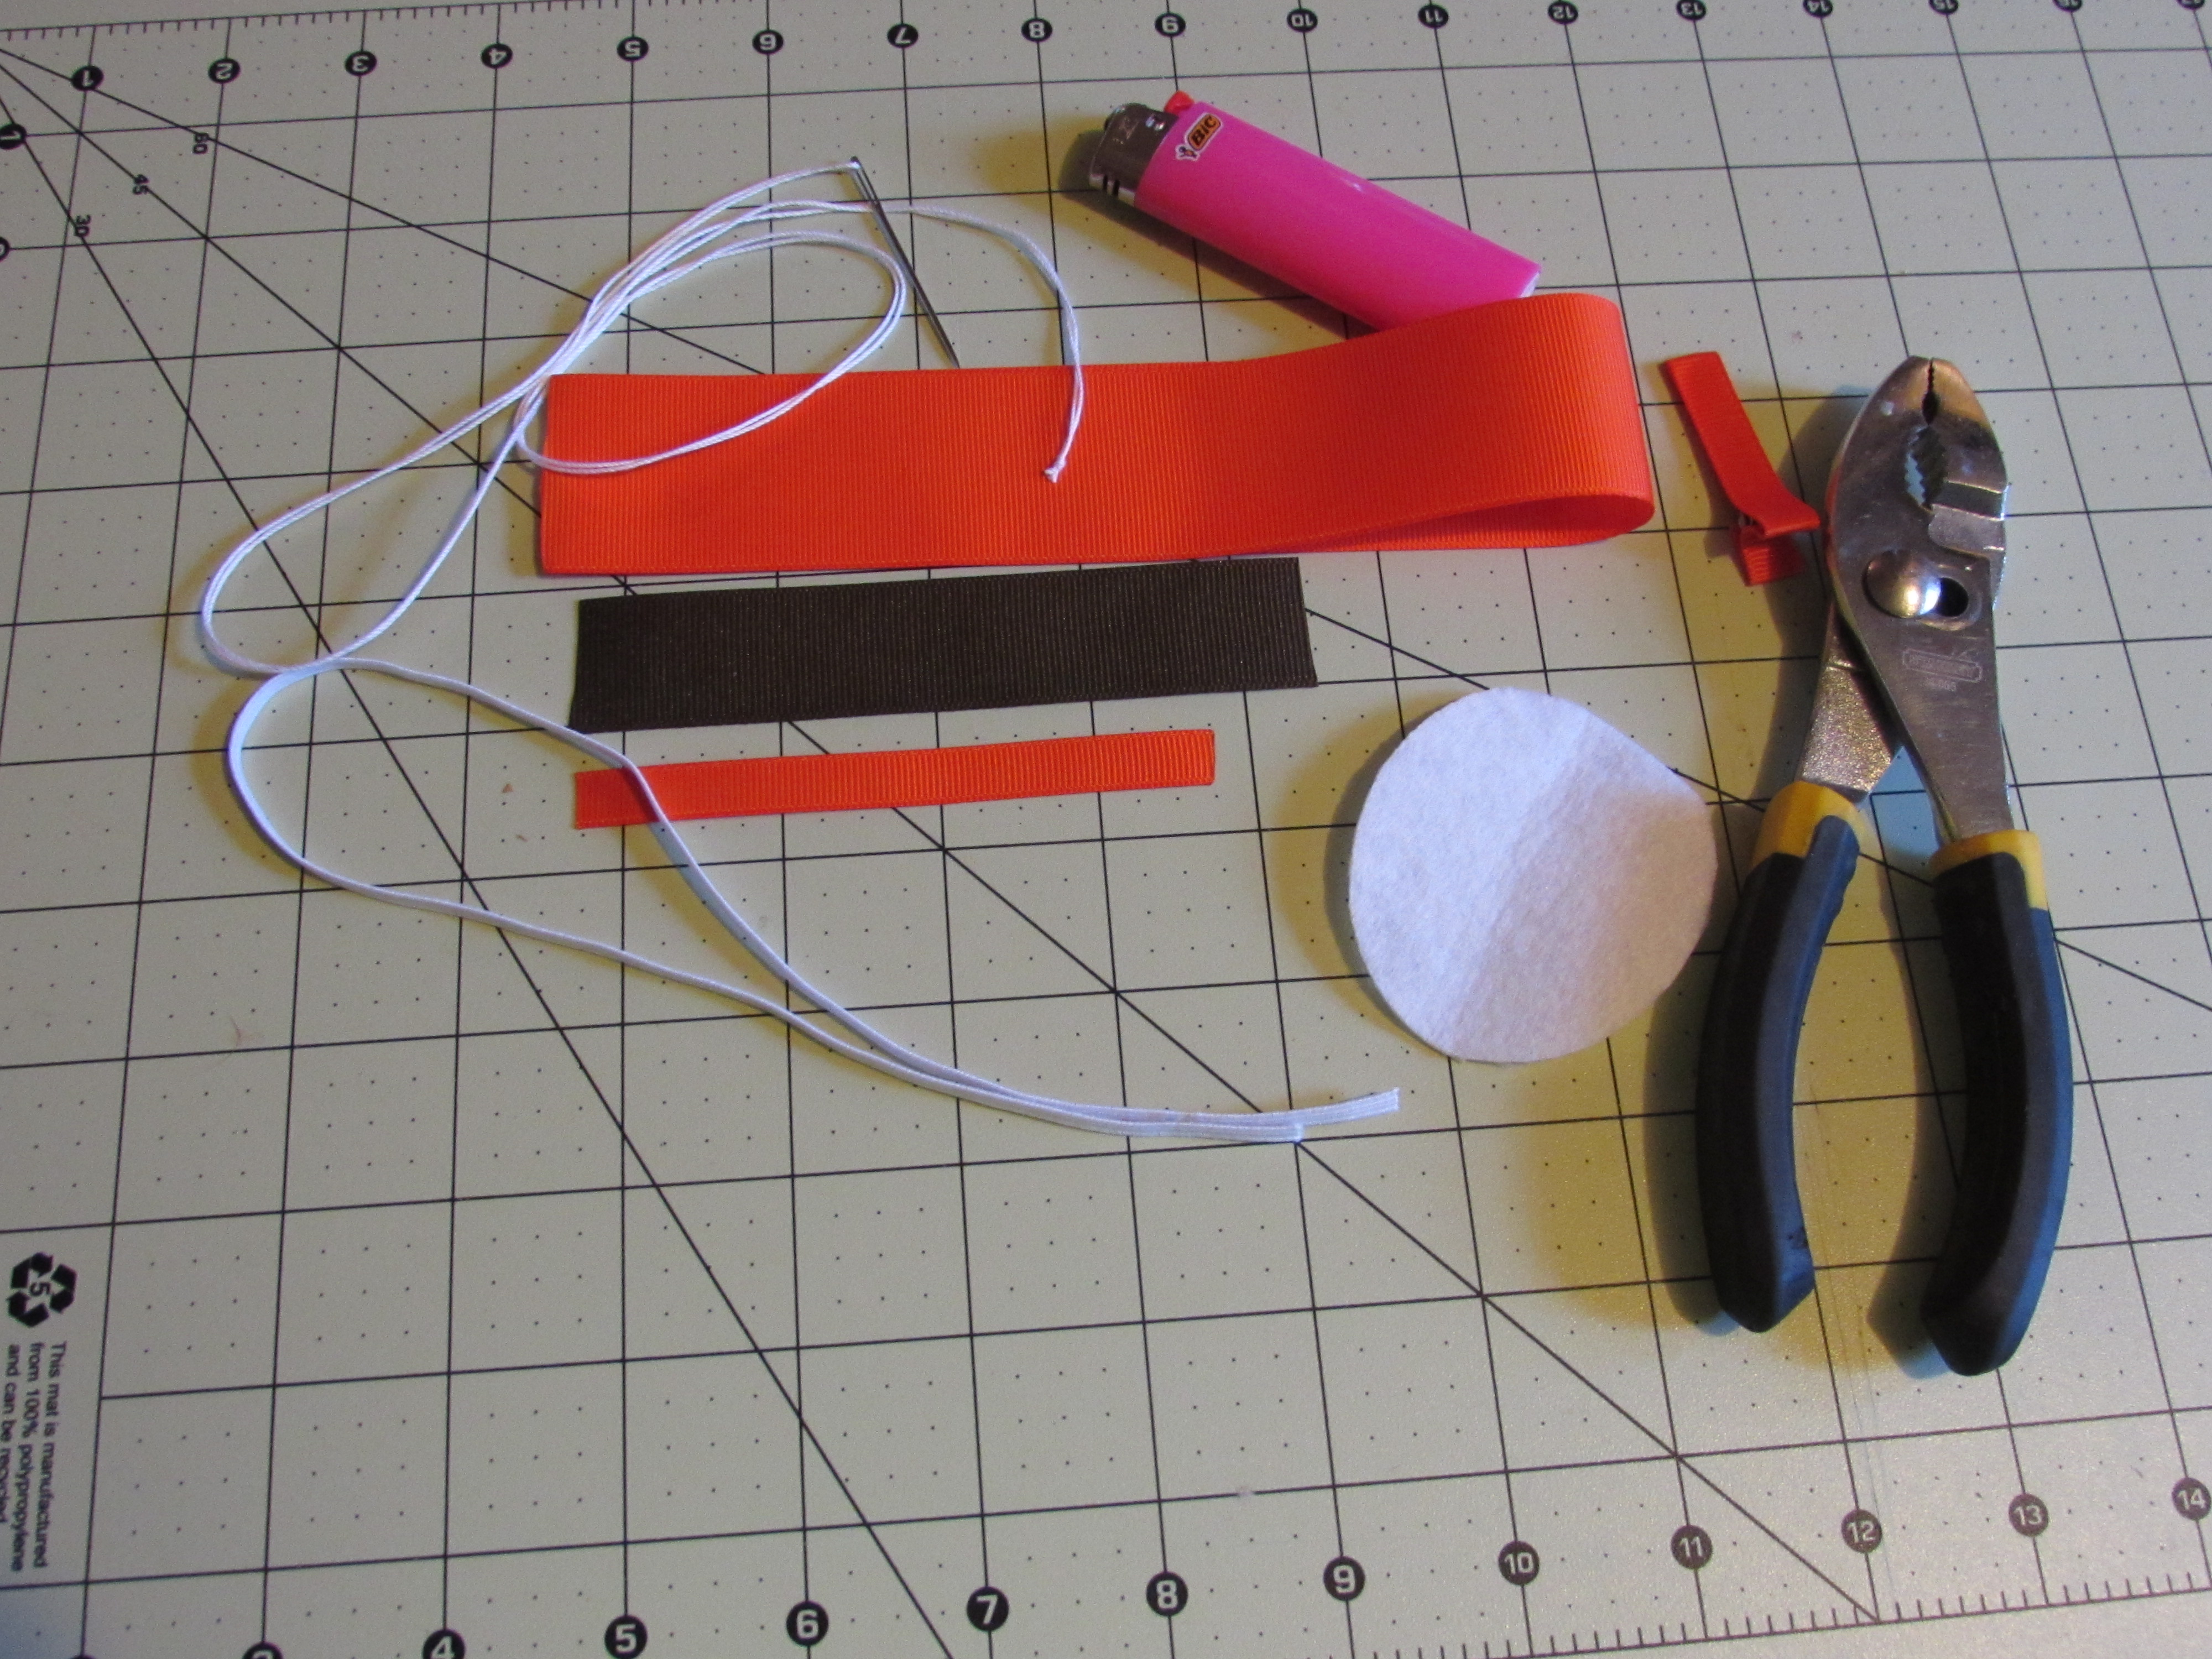
Supplies you will need are:
Scissors
Needle/thread {{ sorry but I promise it is super easy! }}
Pliers {{ optional }}
15" orange
1.5" grosgrain ribbon
4" orange
3/8" grosgrain ribbon
Scrap Brown 7/8" grosgrain ribbon {{ at least an inch }}
A partially
lined alligator clip {{ orange to match the bow is best }}
Skinny elastic {{ optional -> I will be showing how to add it to a skinny elastic headband also }}
felt circle {{ optional -> I will be showing how to add it to a skinny elastic headband also....... You may have to "trim" it to fit your overall size of pumpkin }}
Hotglue/gun
Lighter
Now, gather those supplies and come right back!
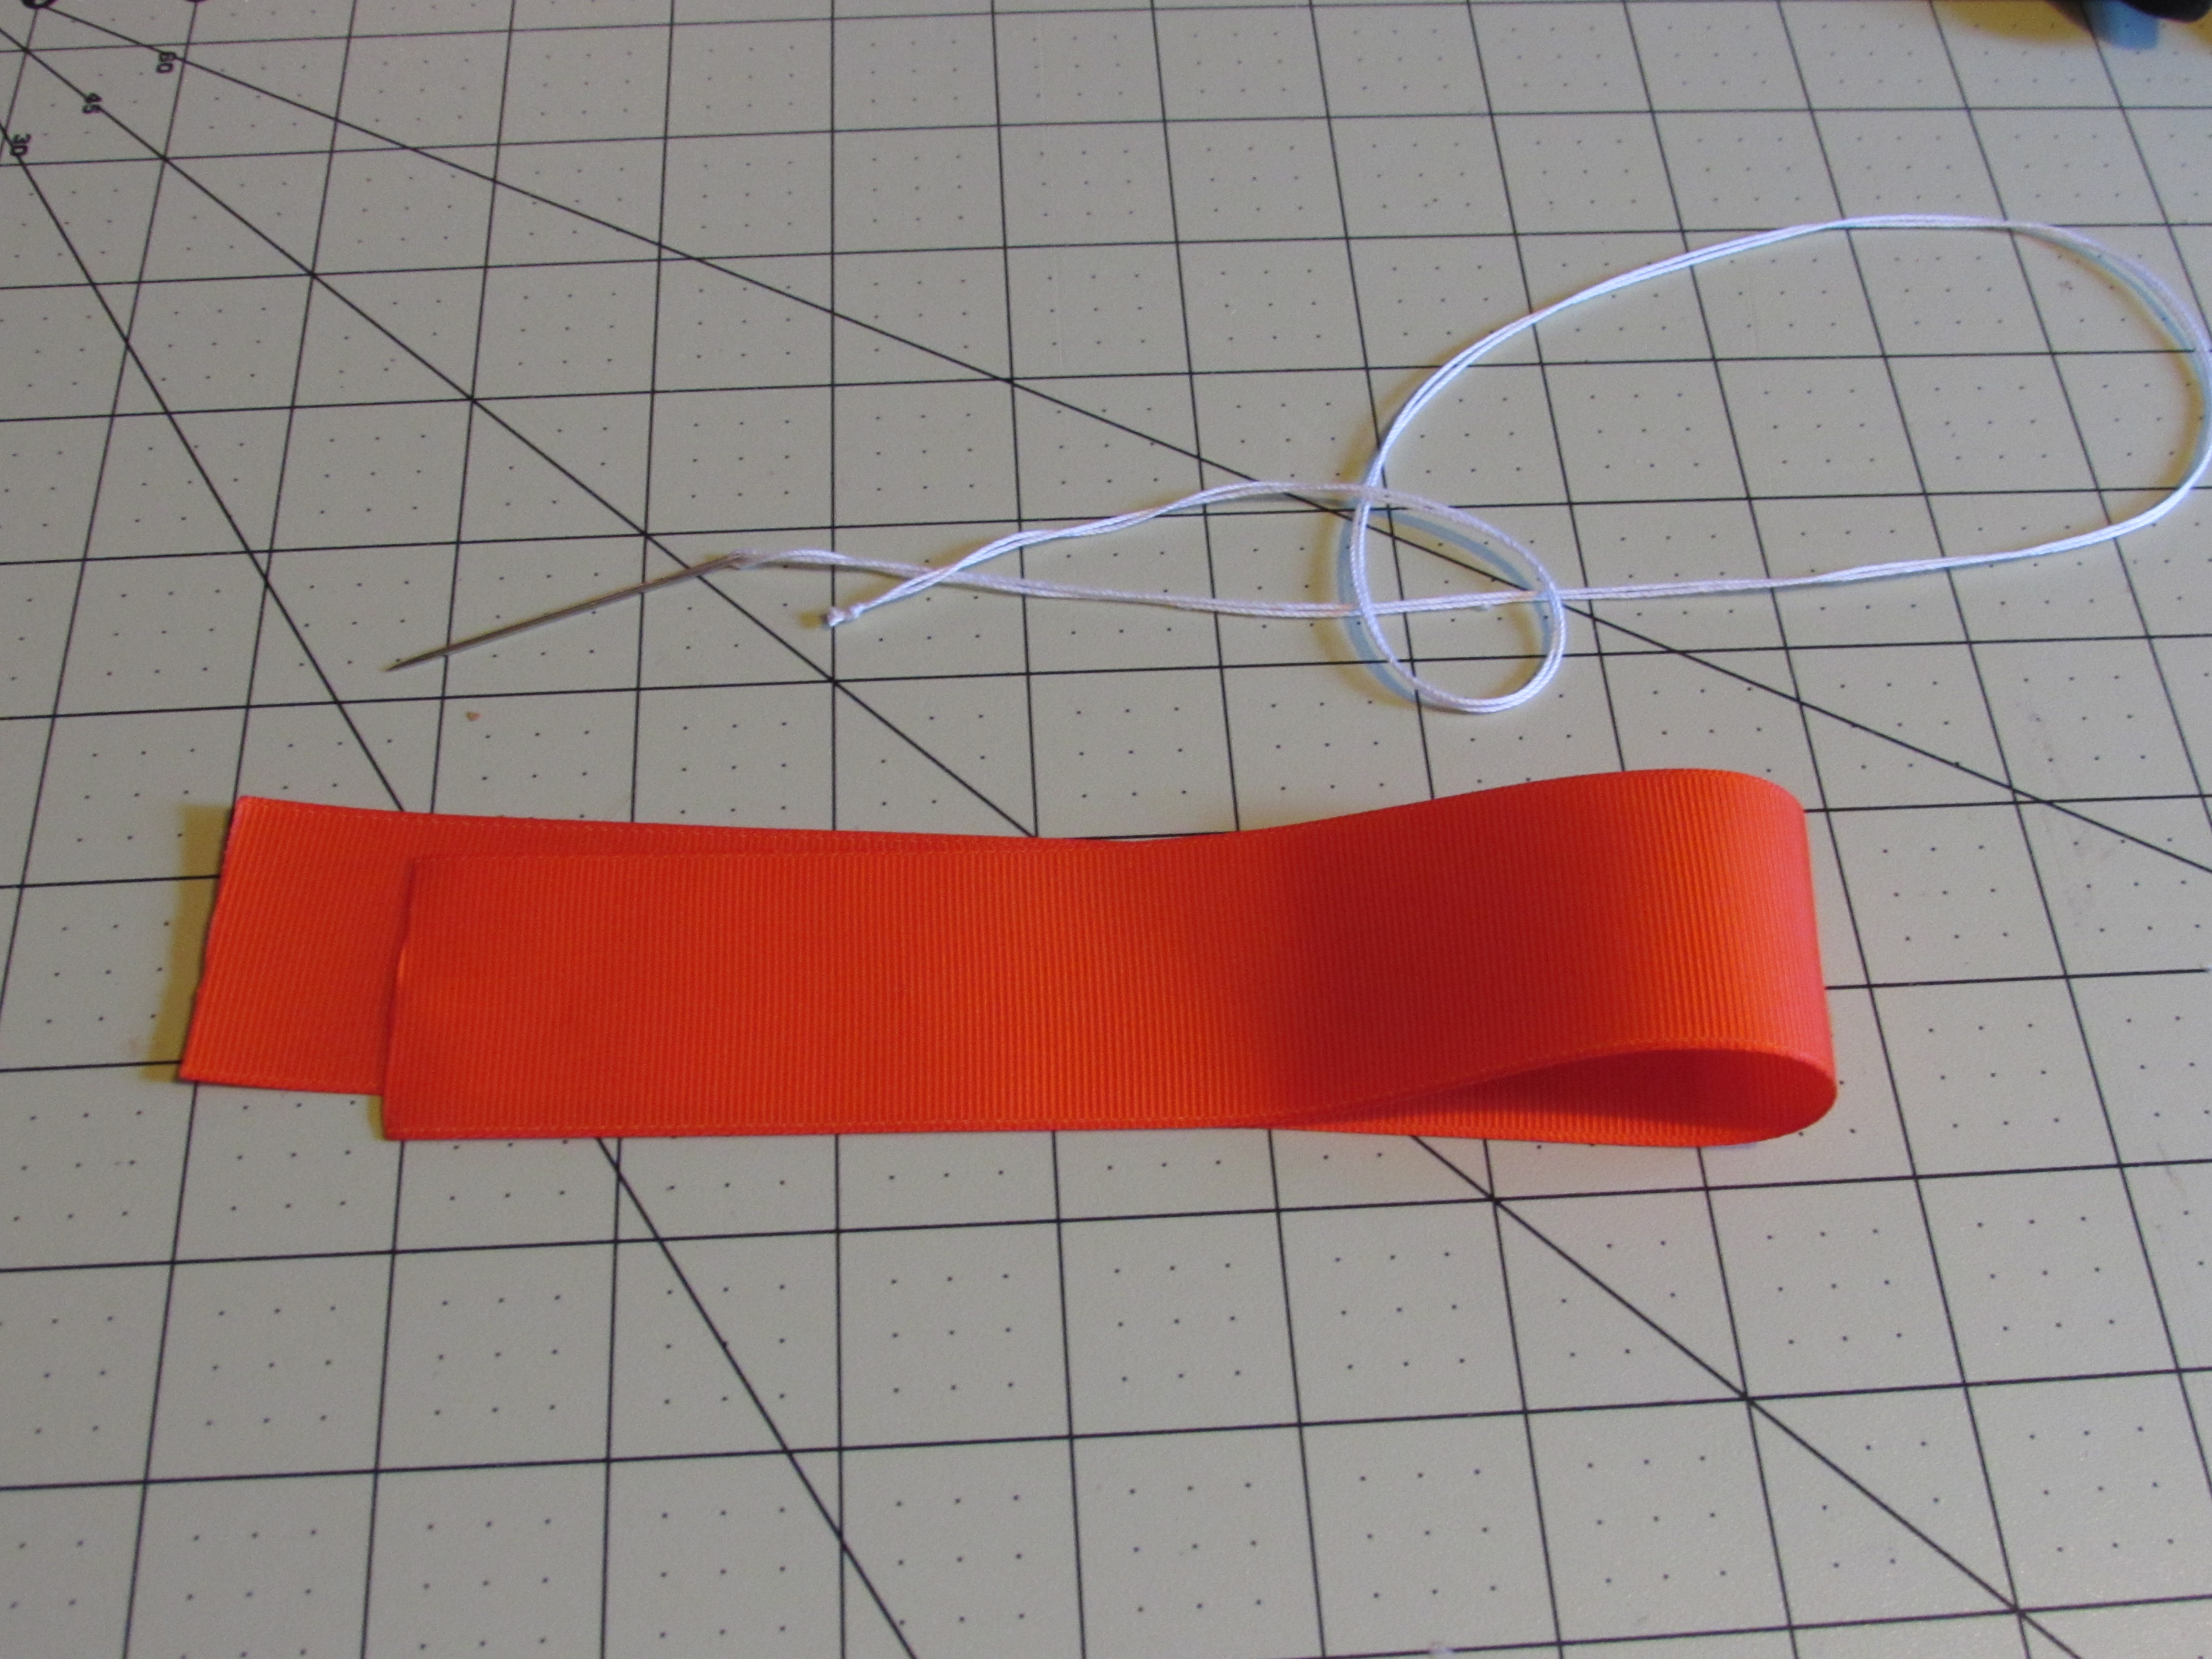
Step 1: Get your needle/thread and your 15" of 1.5" orange ribbon and let's get started
Step 2: Take your needle through the bottom corner of the ribbon
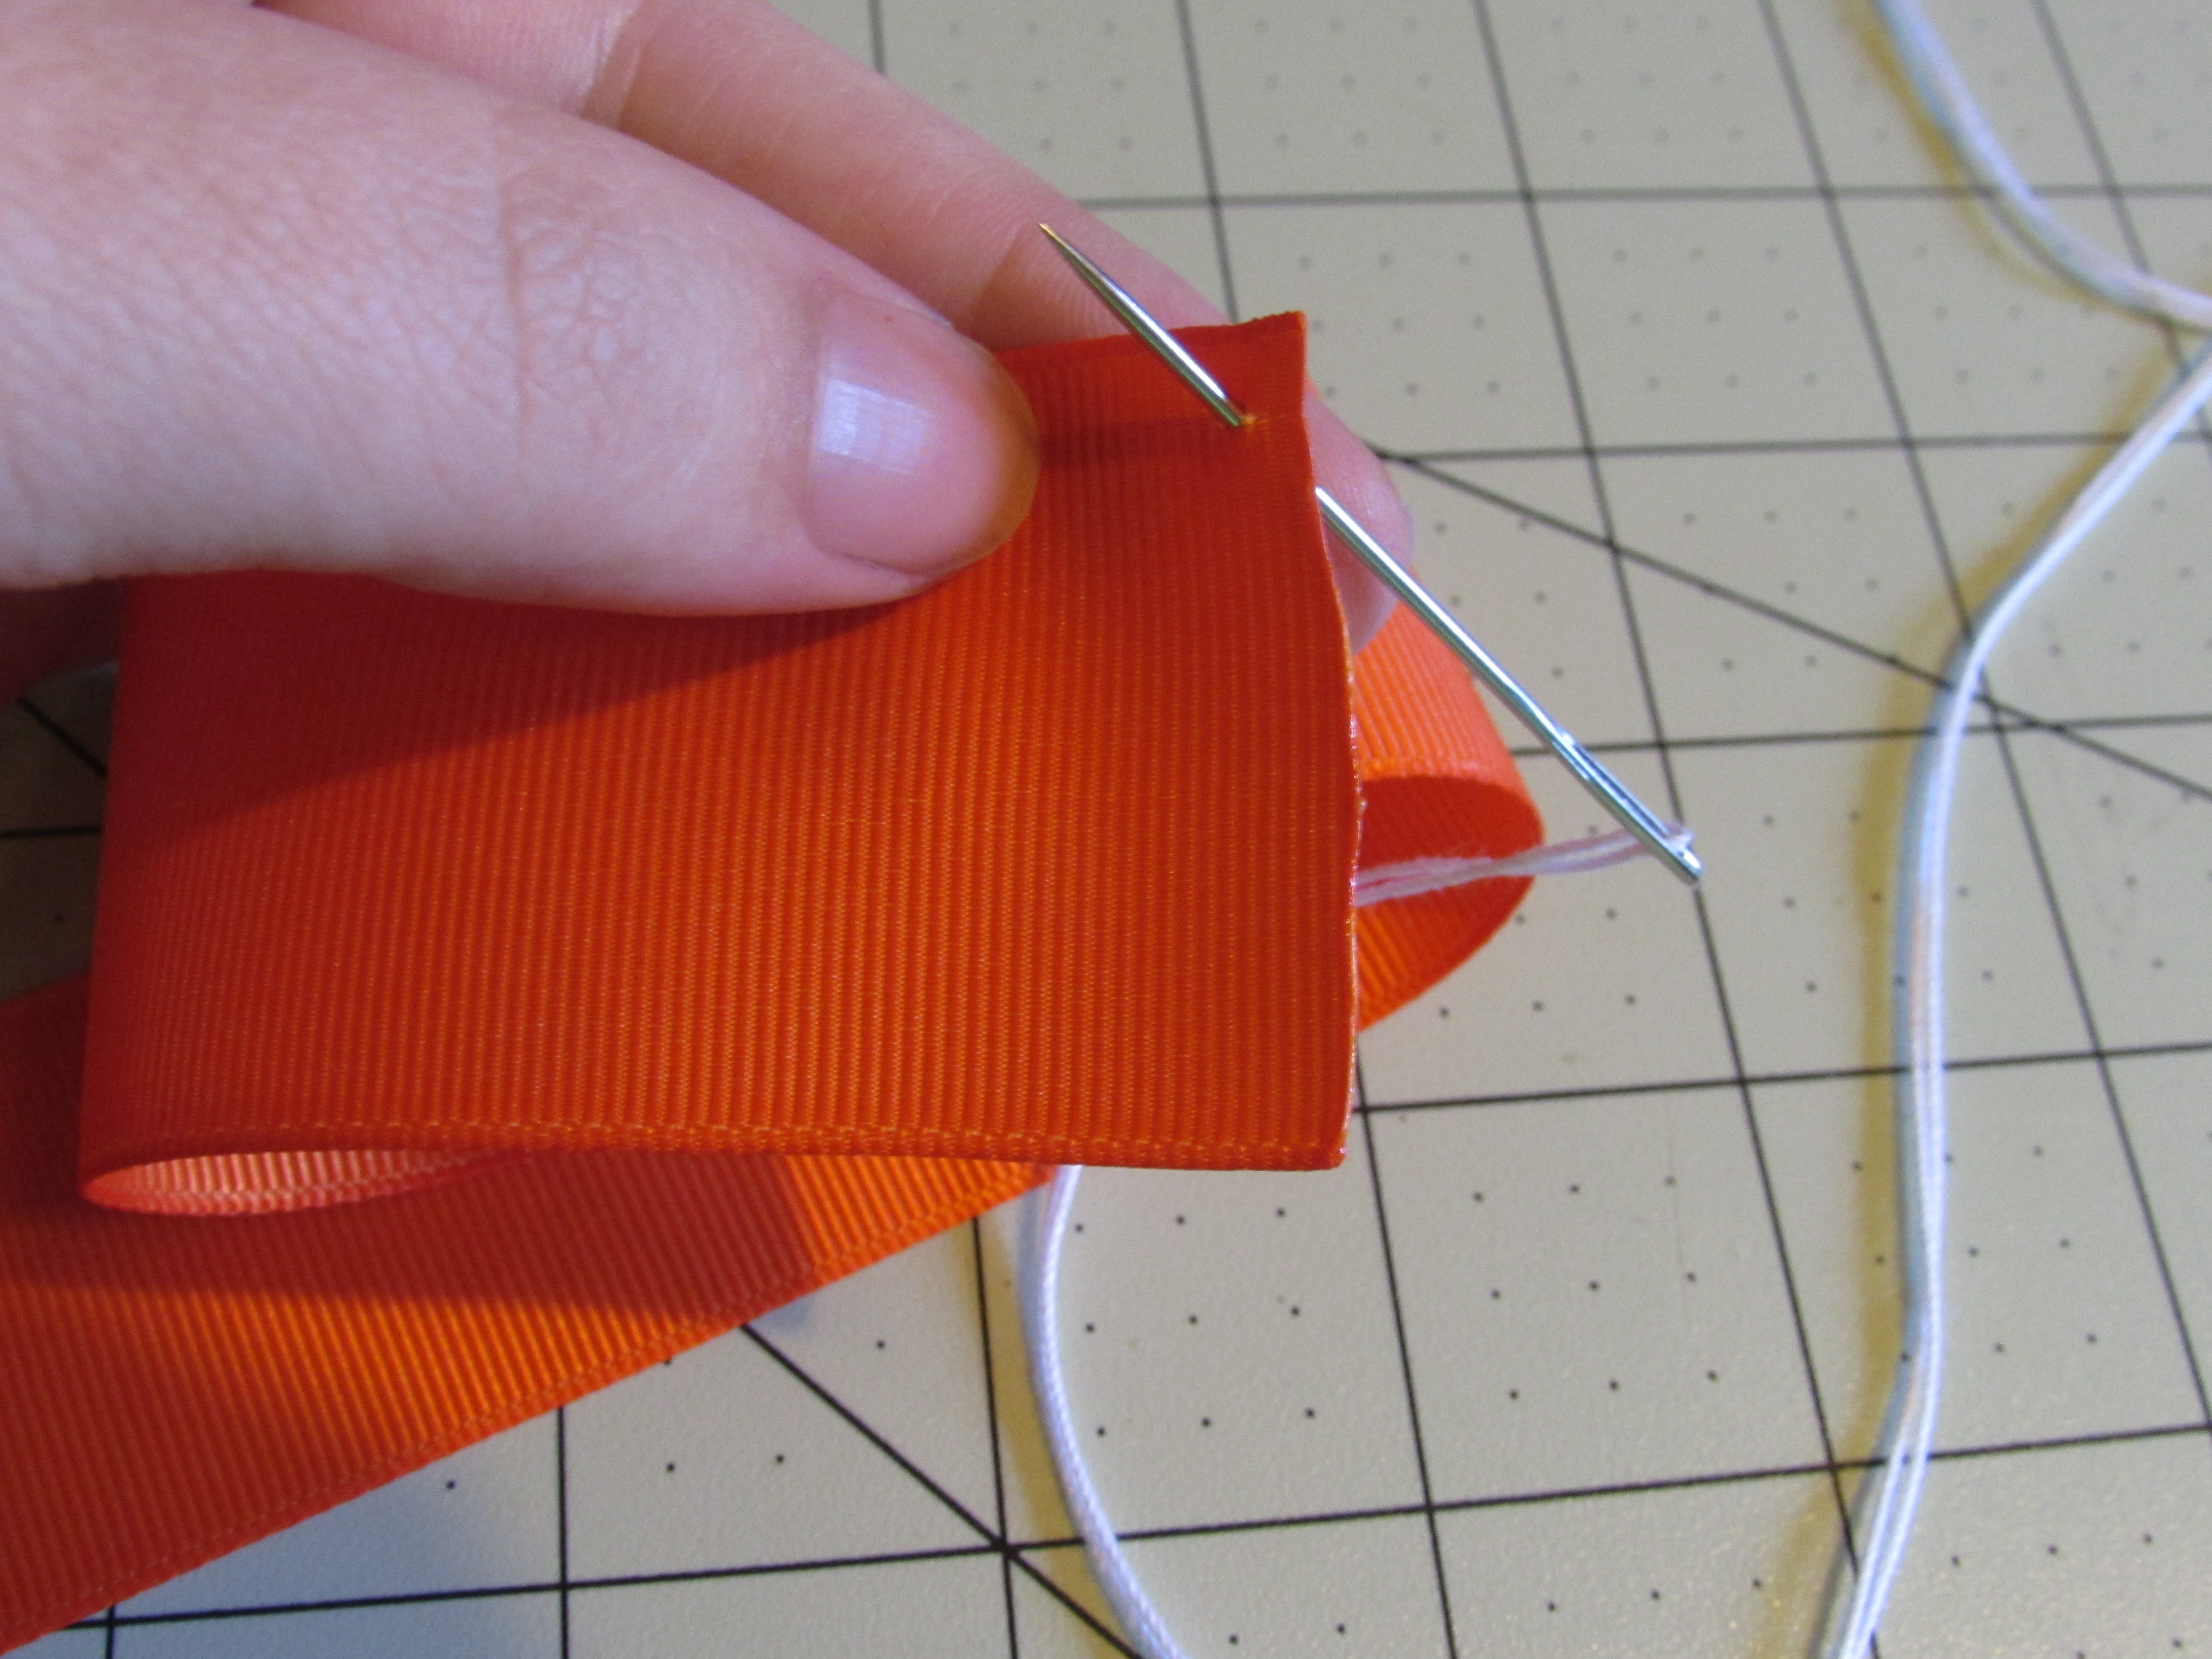
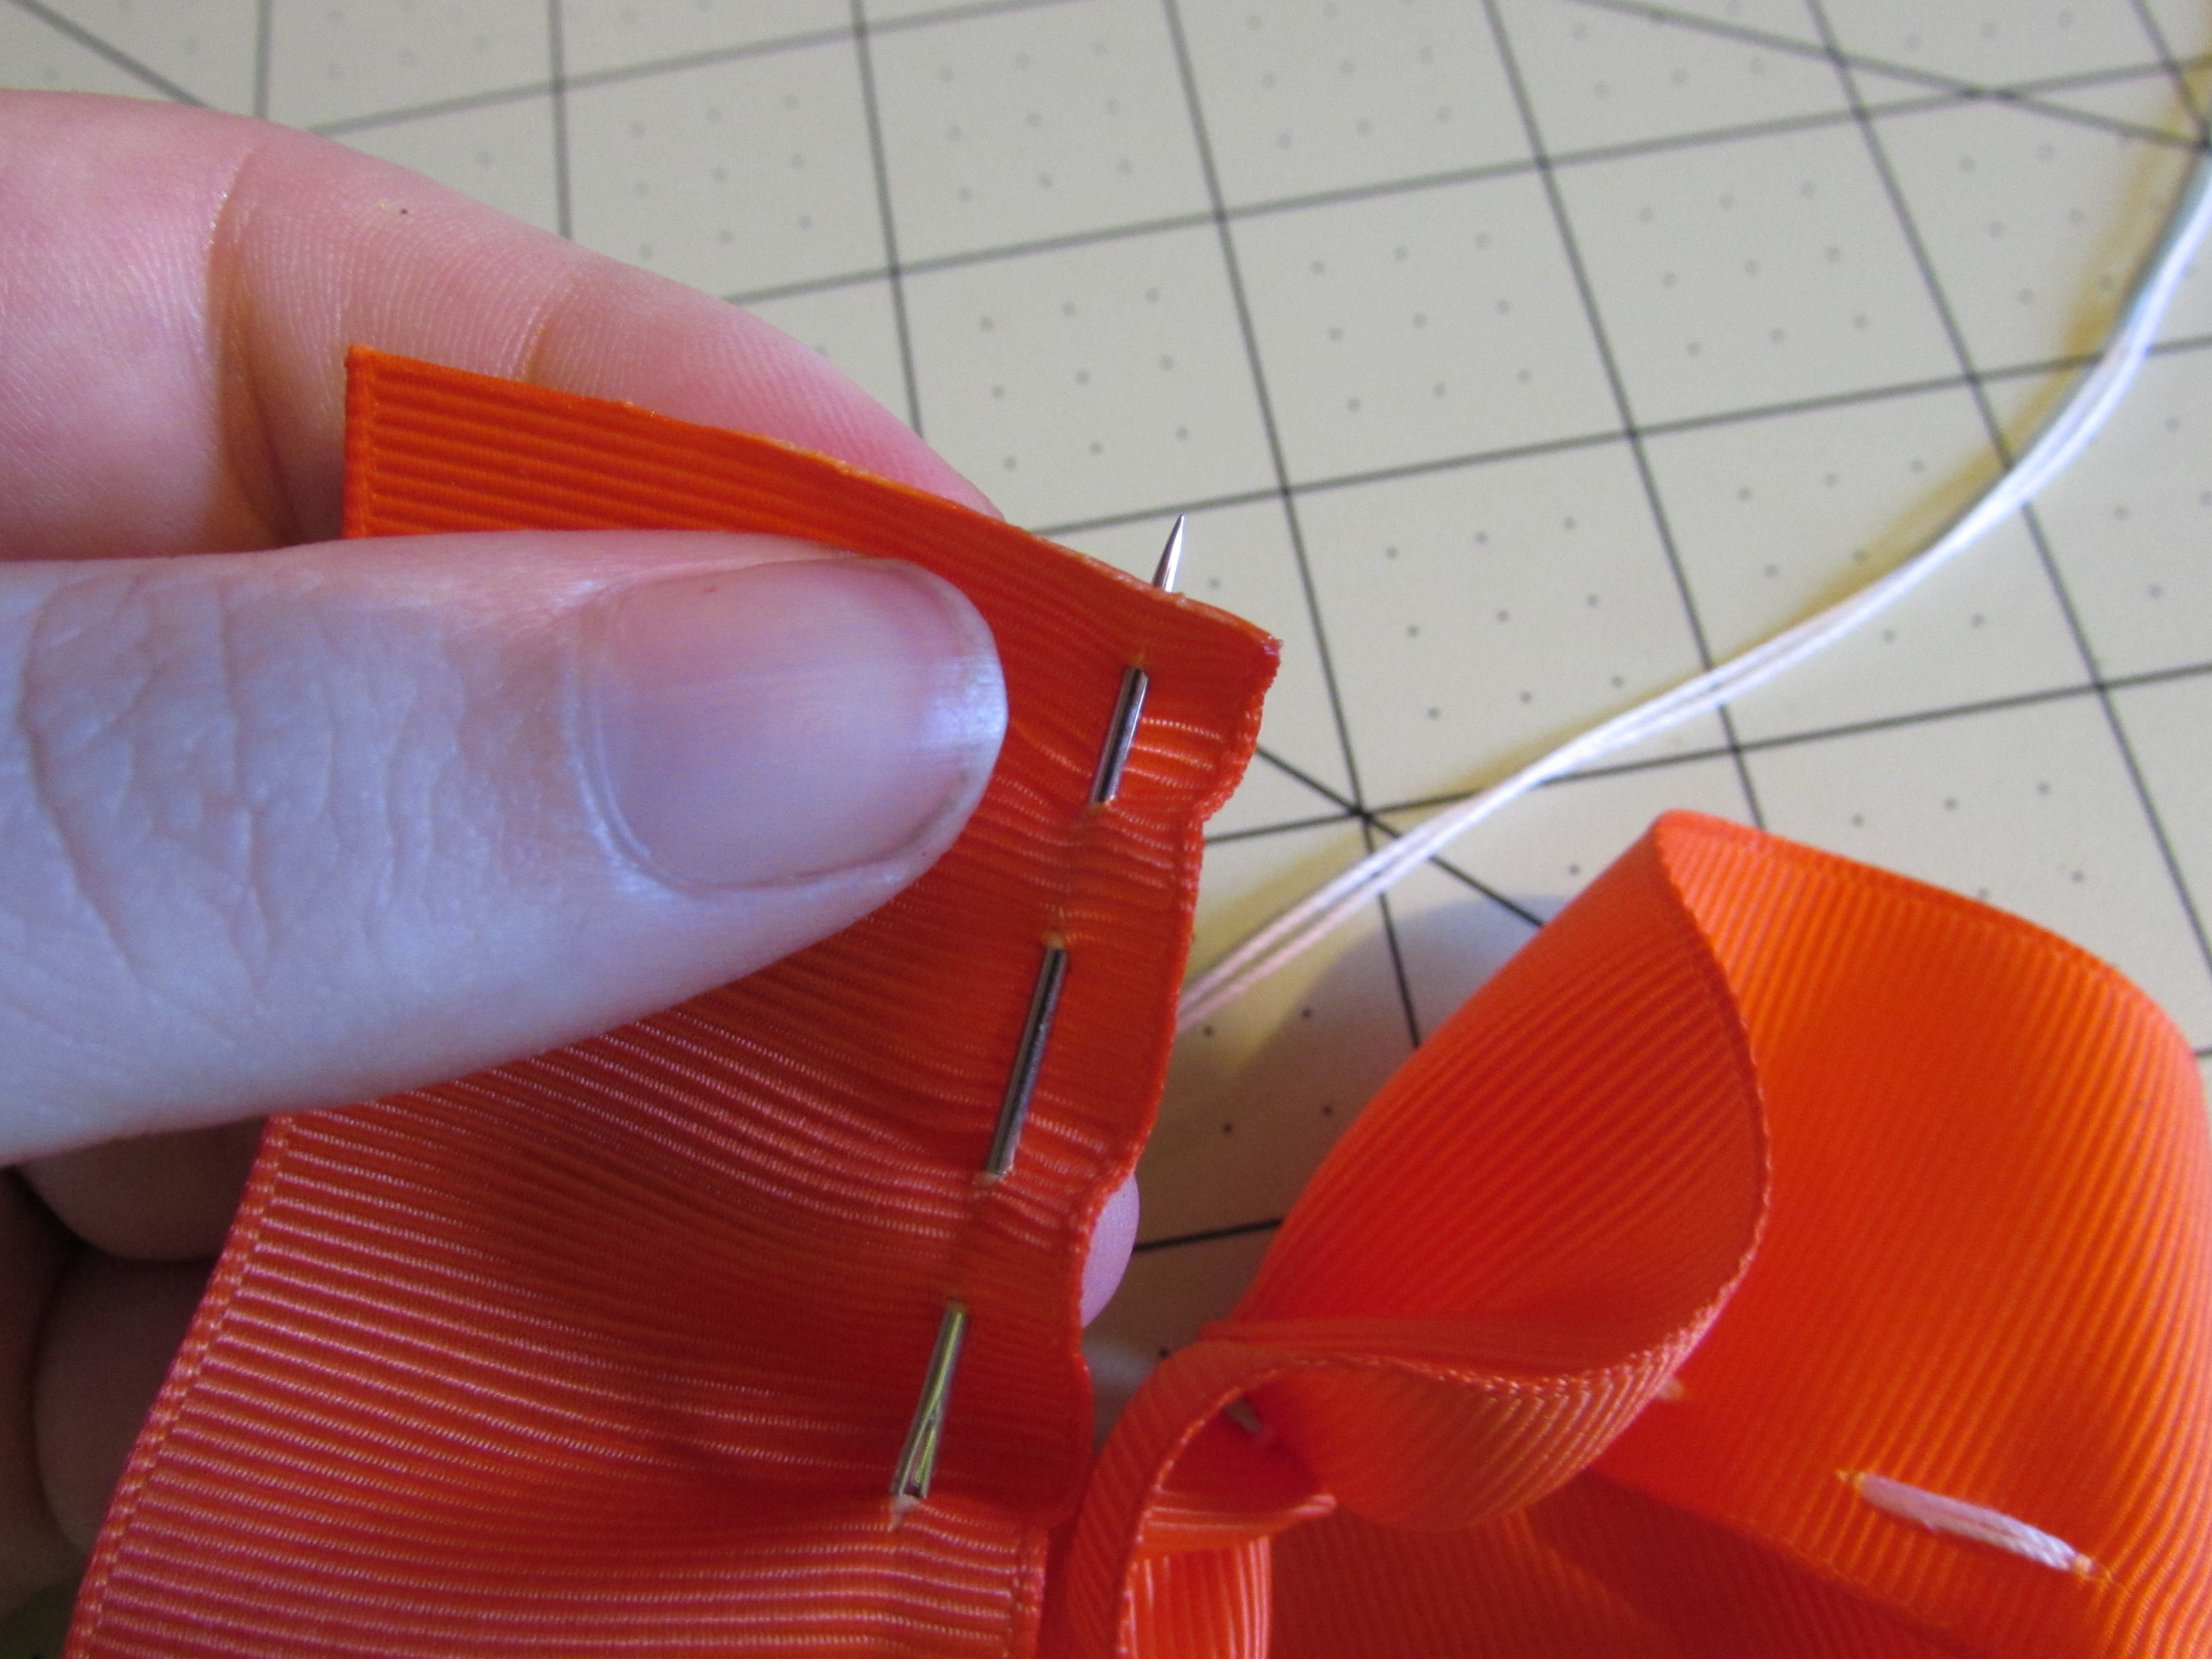
Step 3: Go through the ribbon again, "weaving" your needle in and out all the way along the bottom of the ribbon
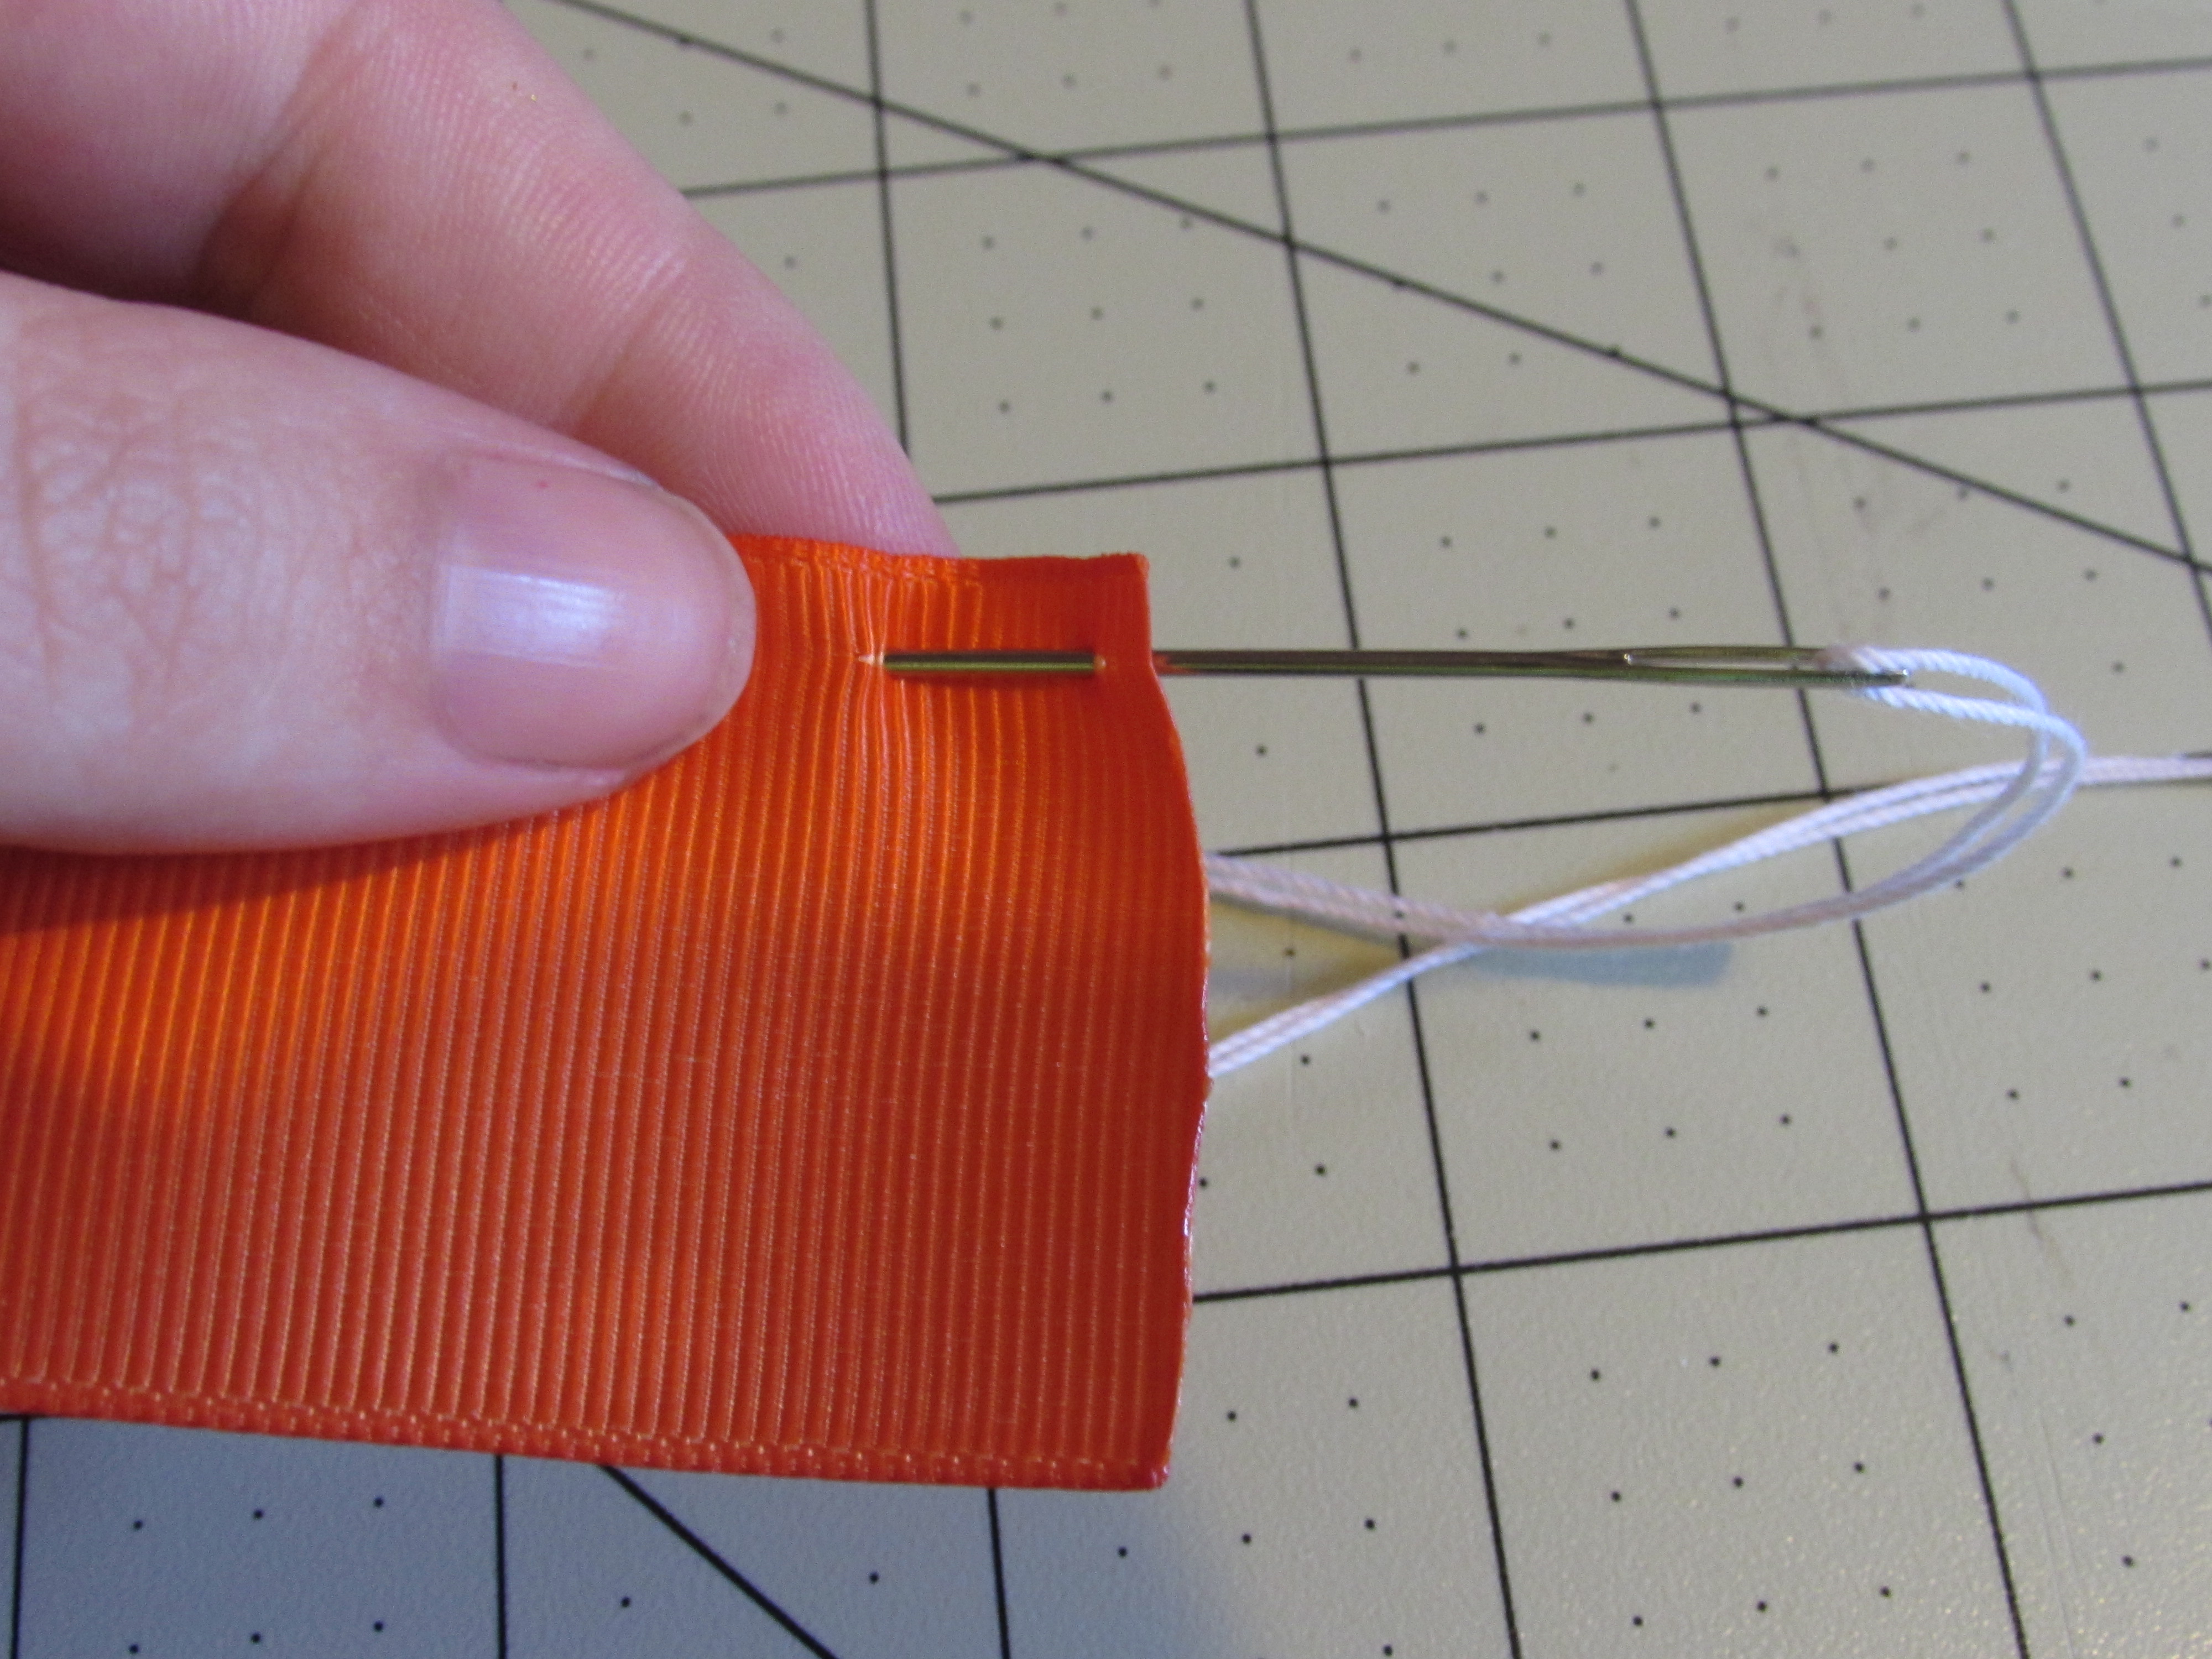
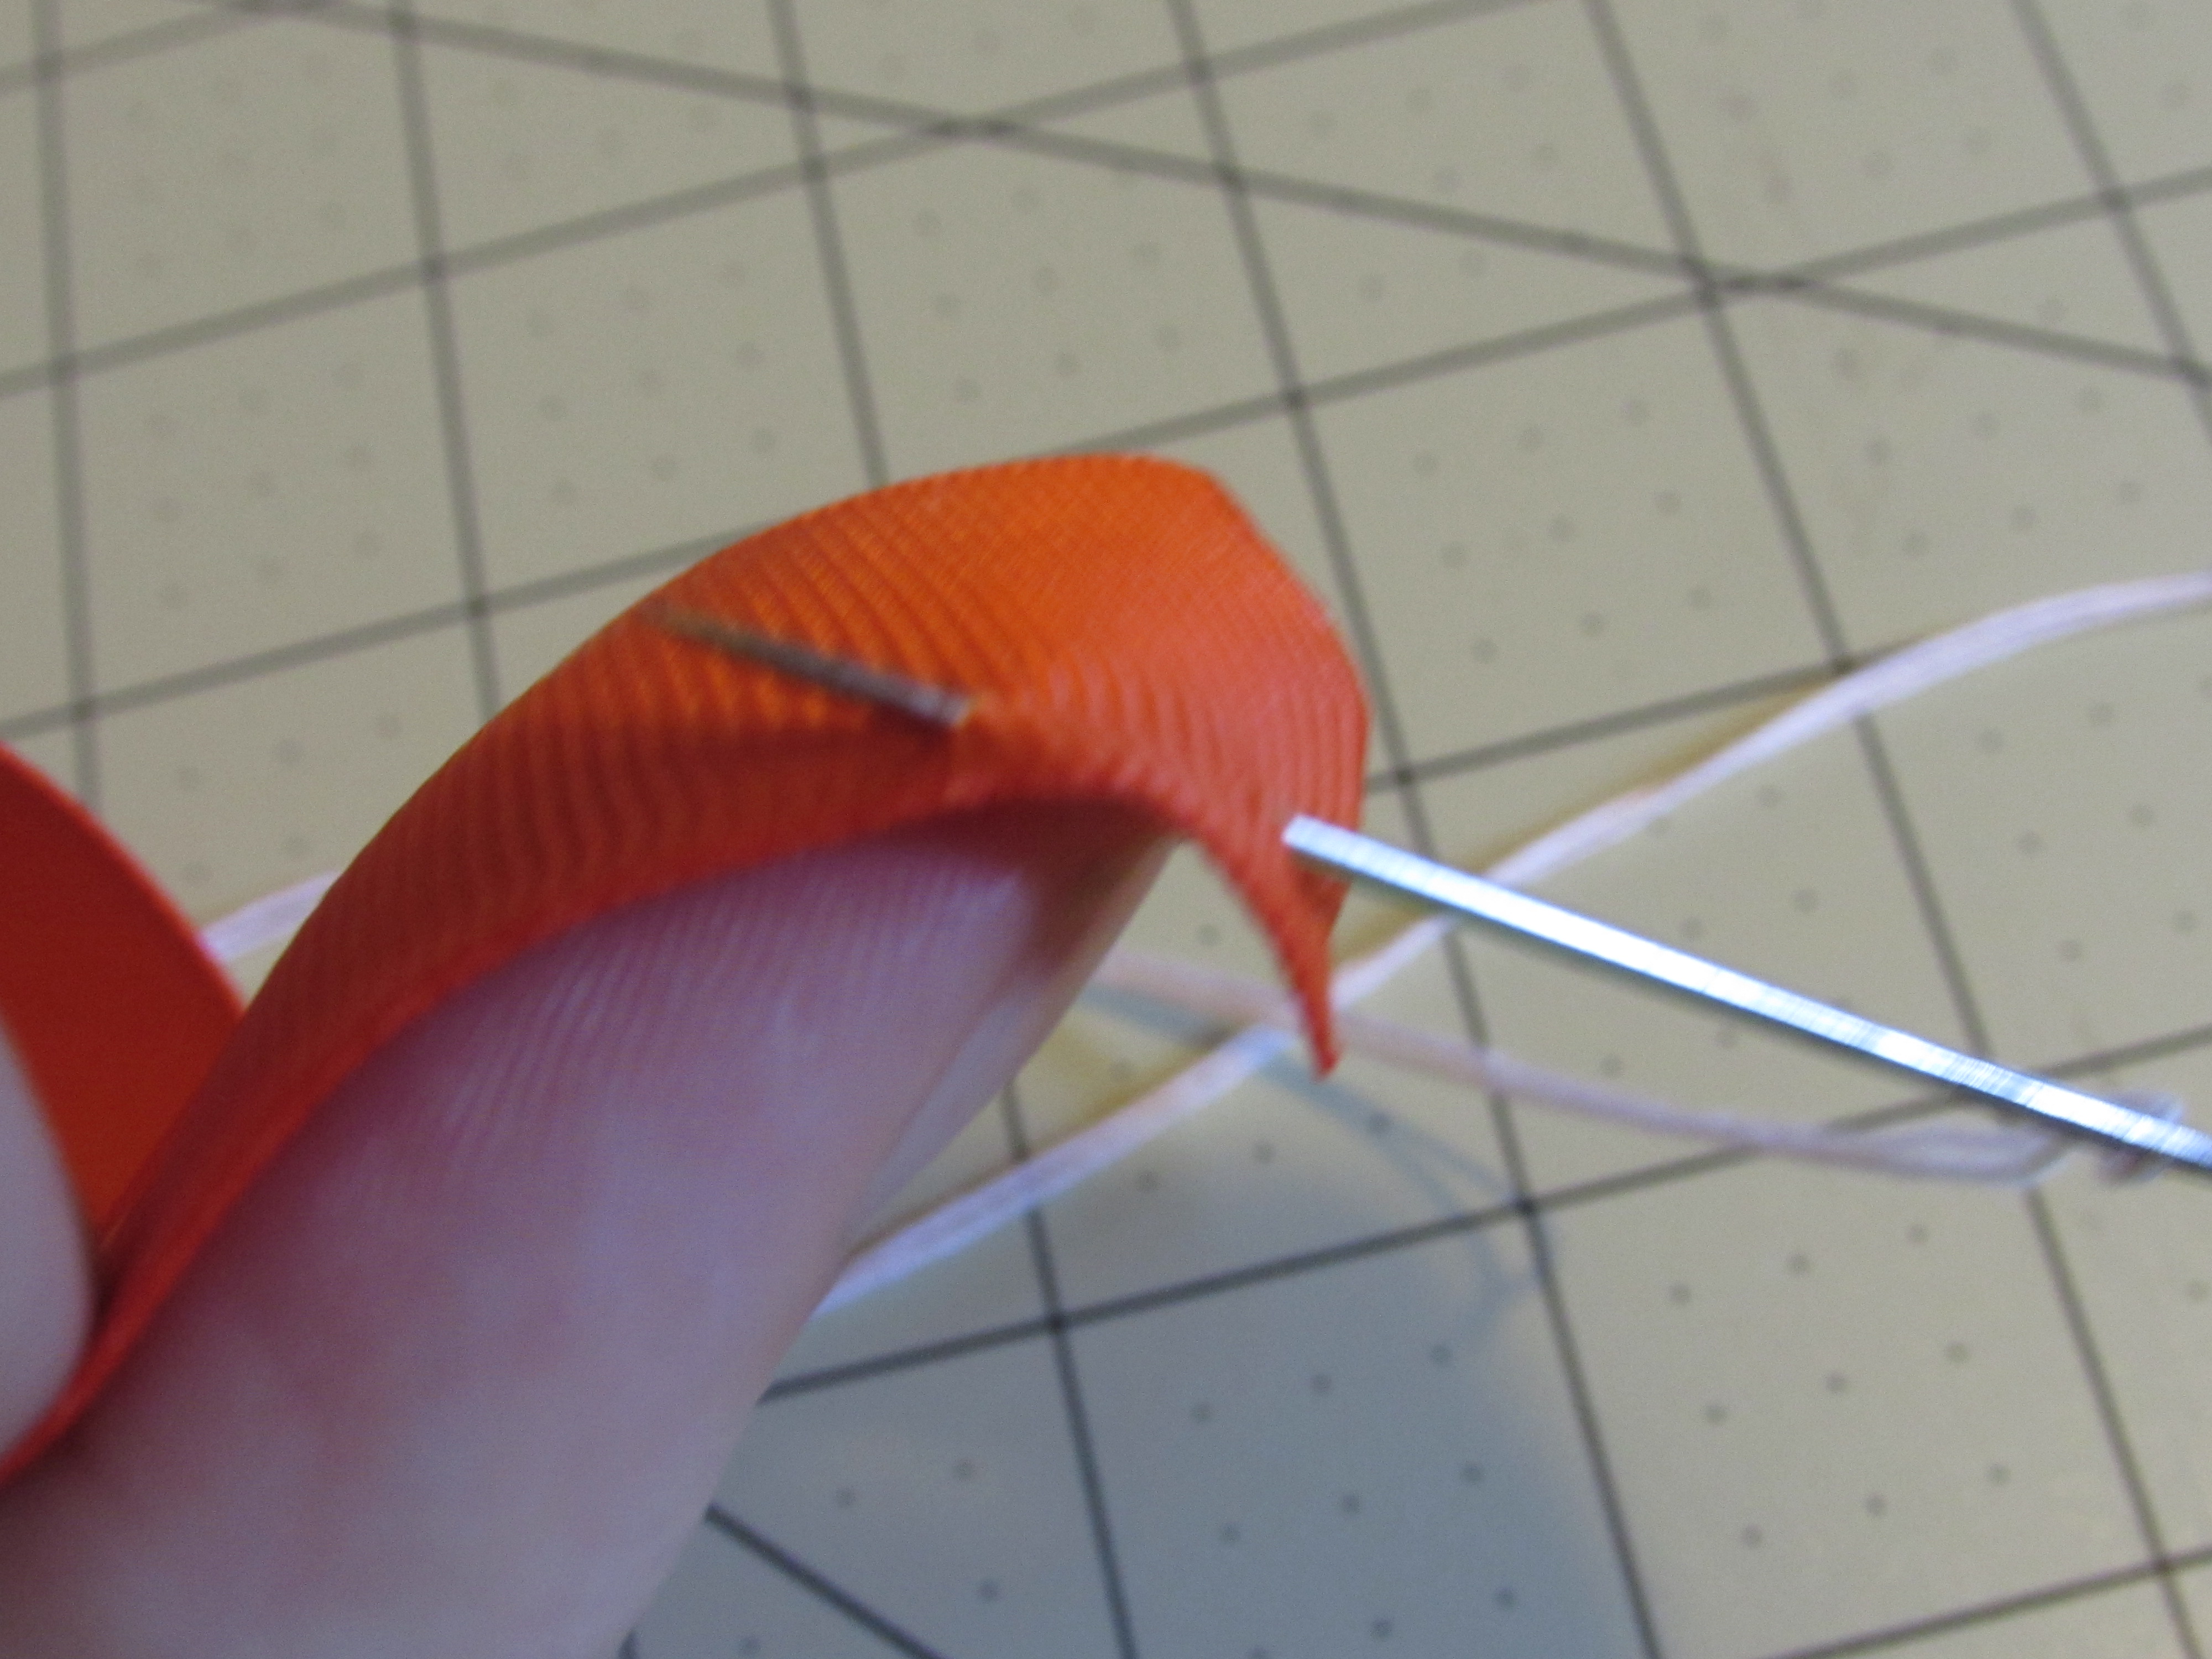
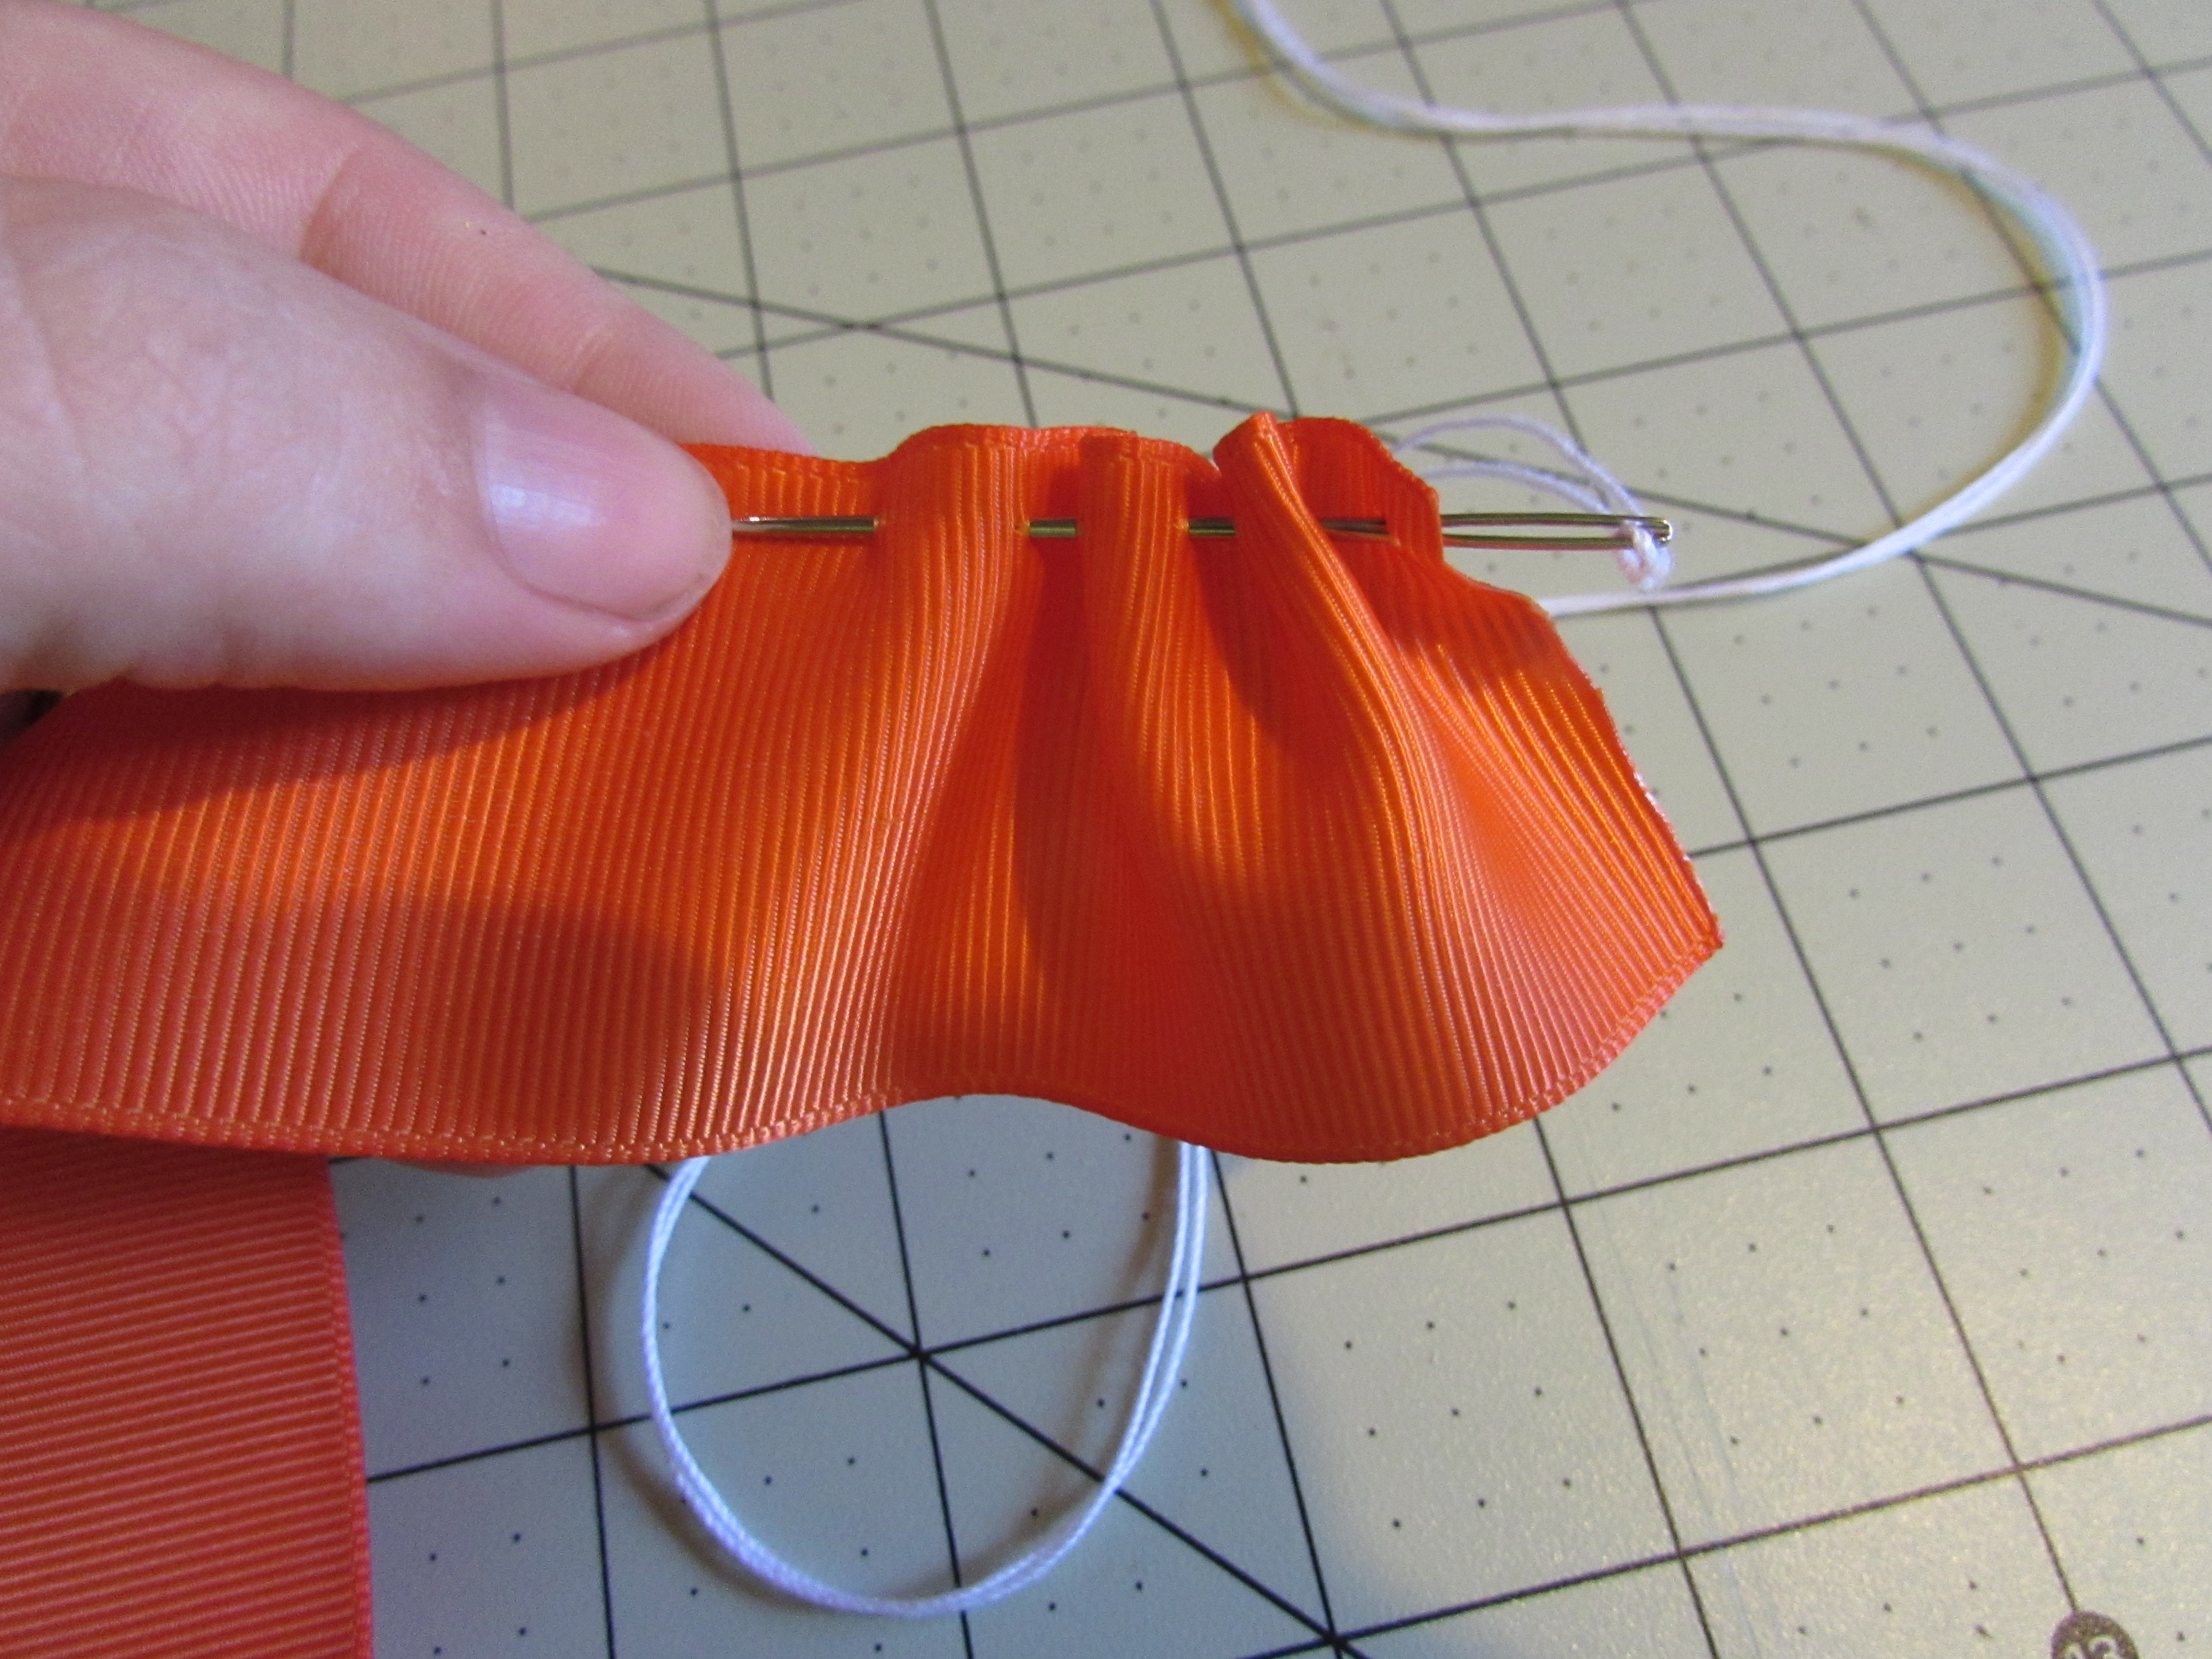
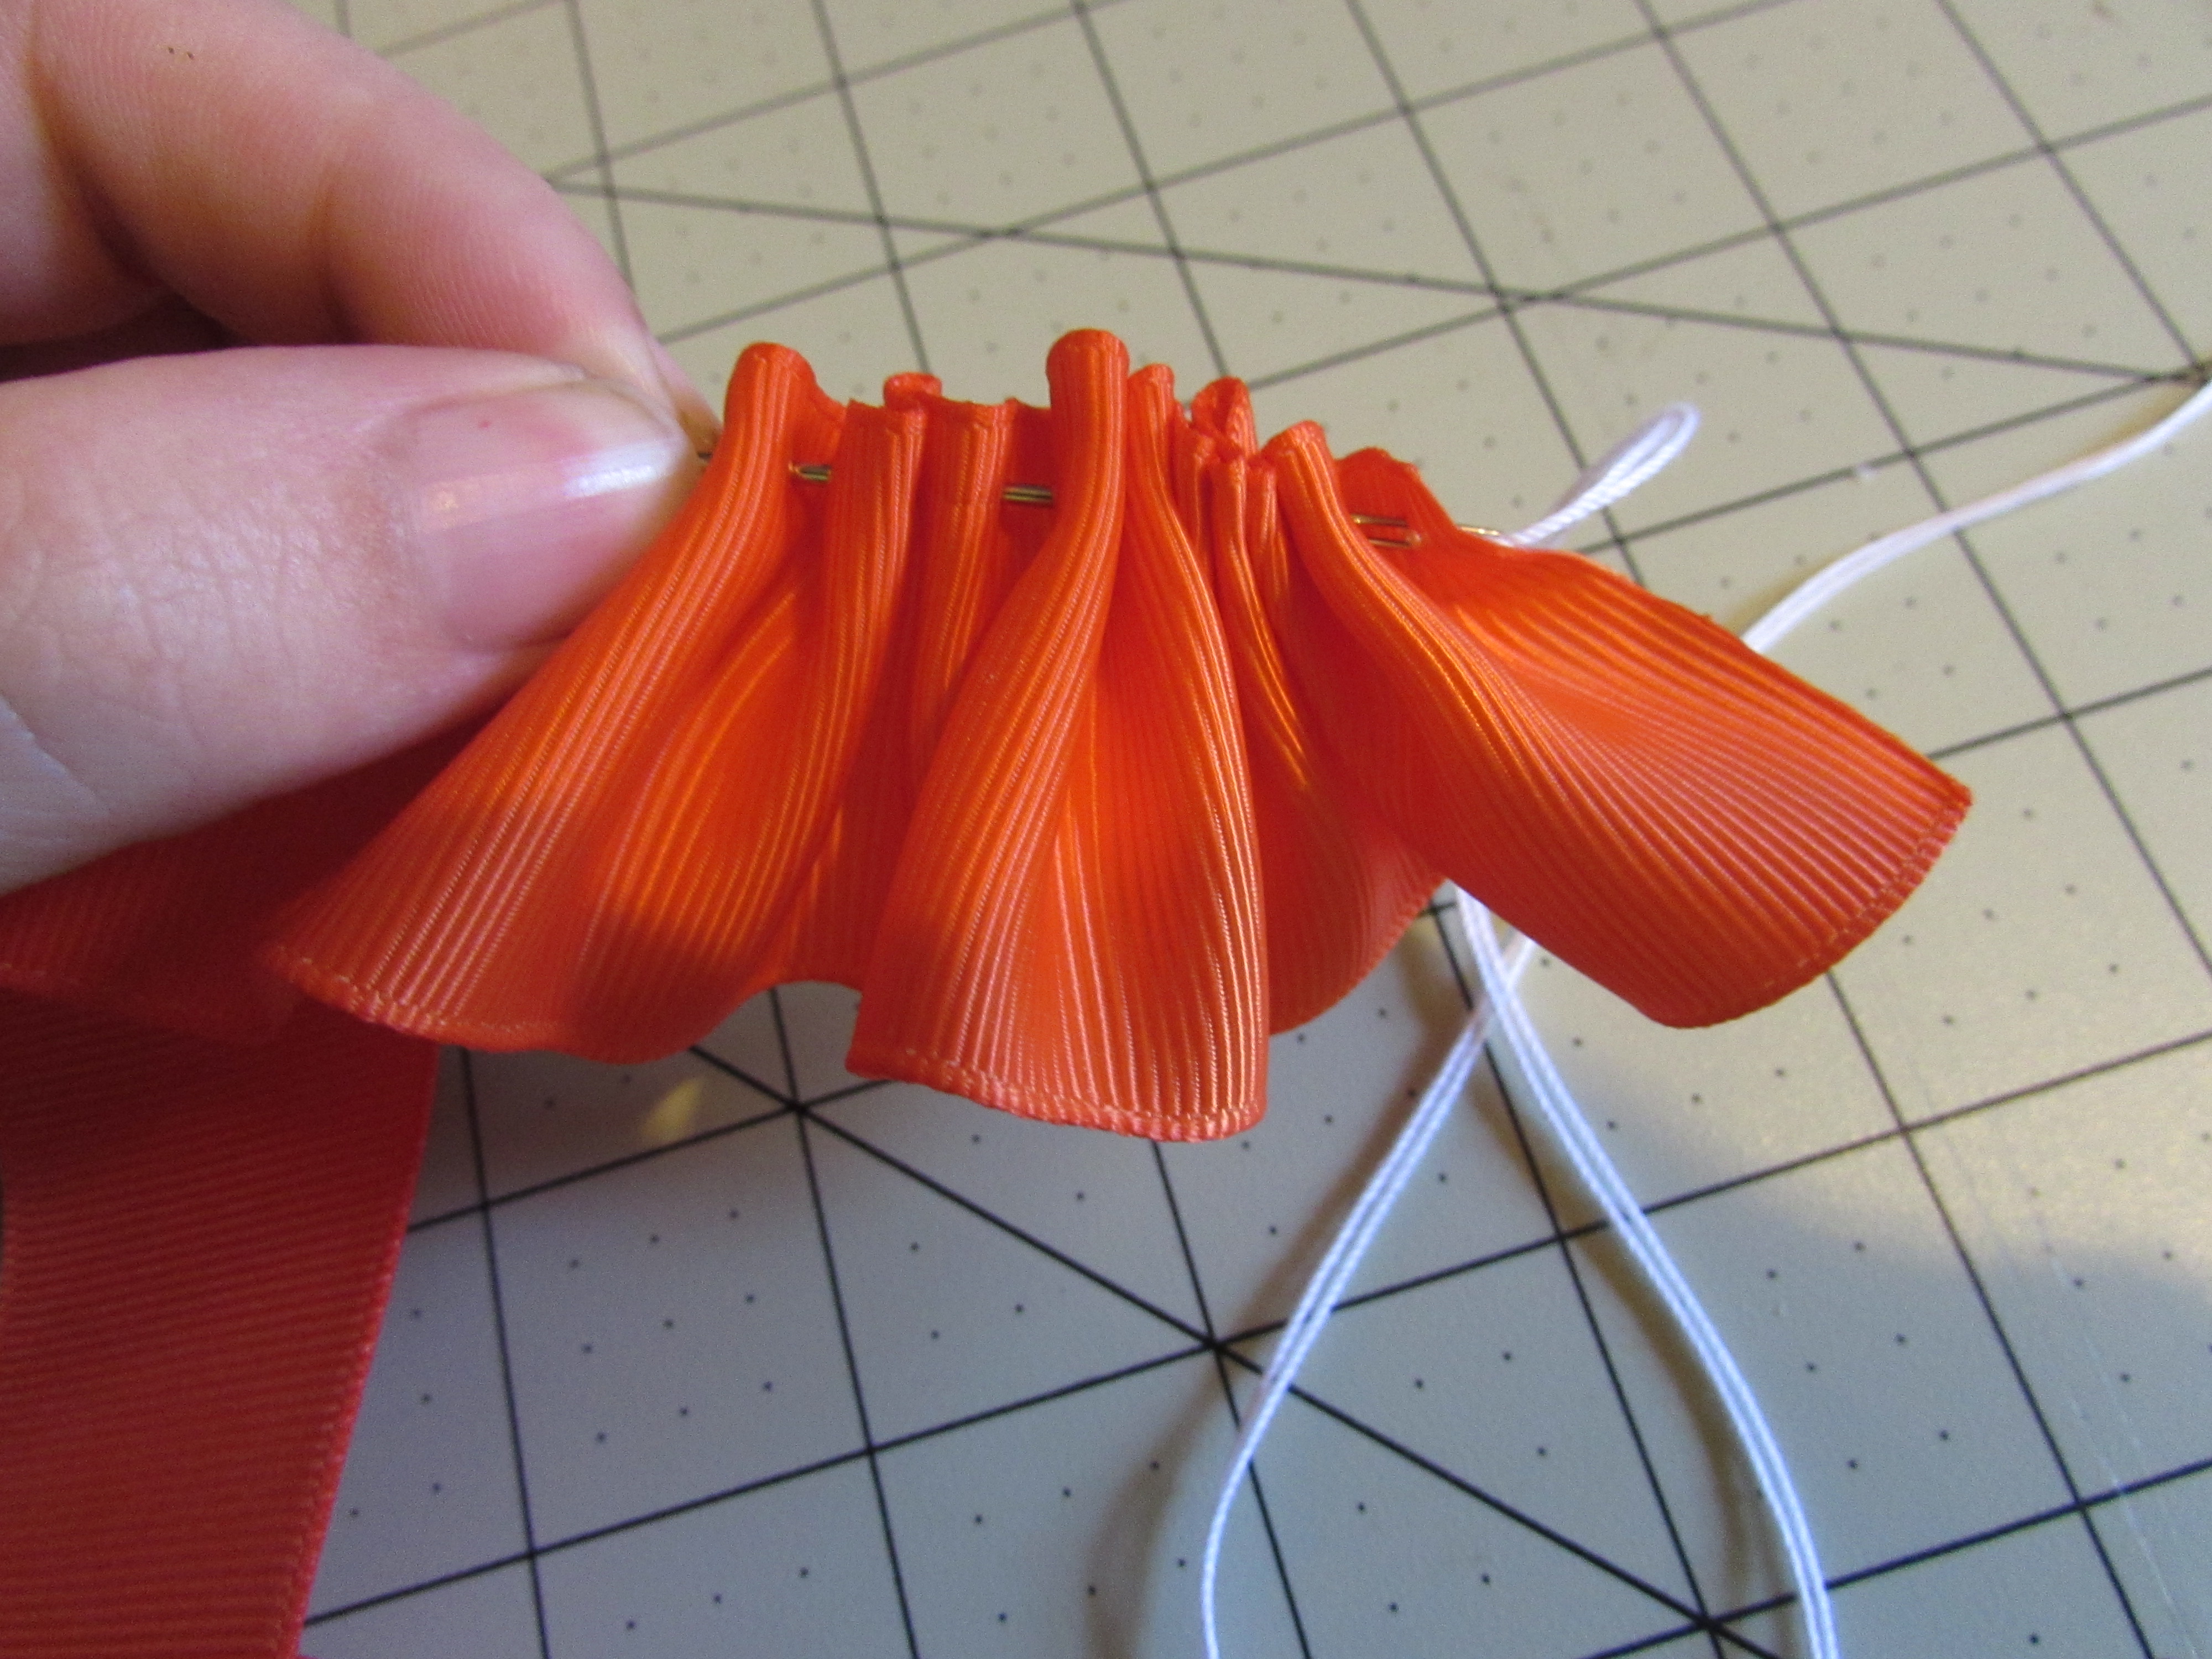
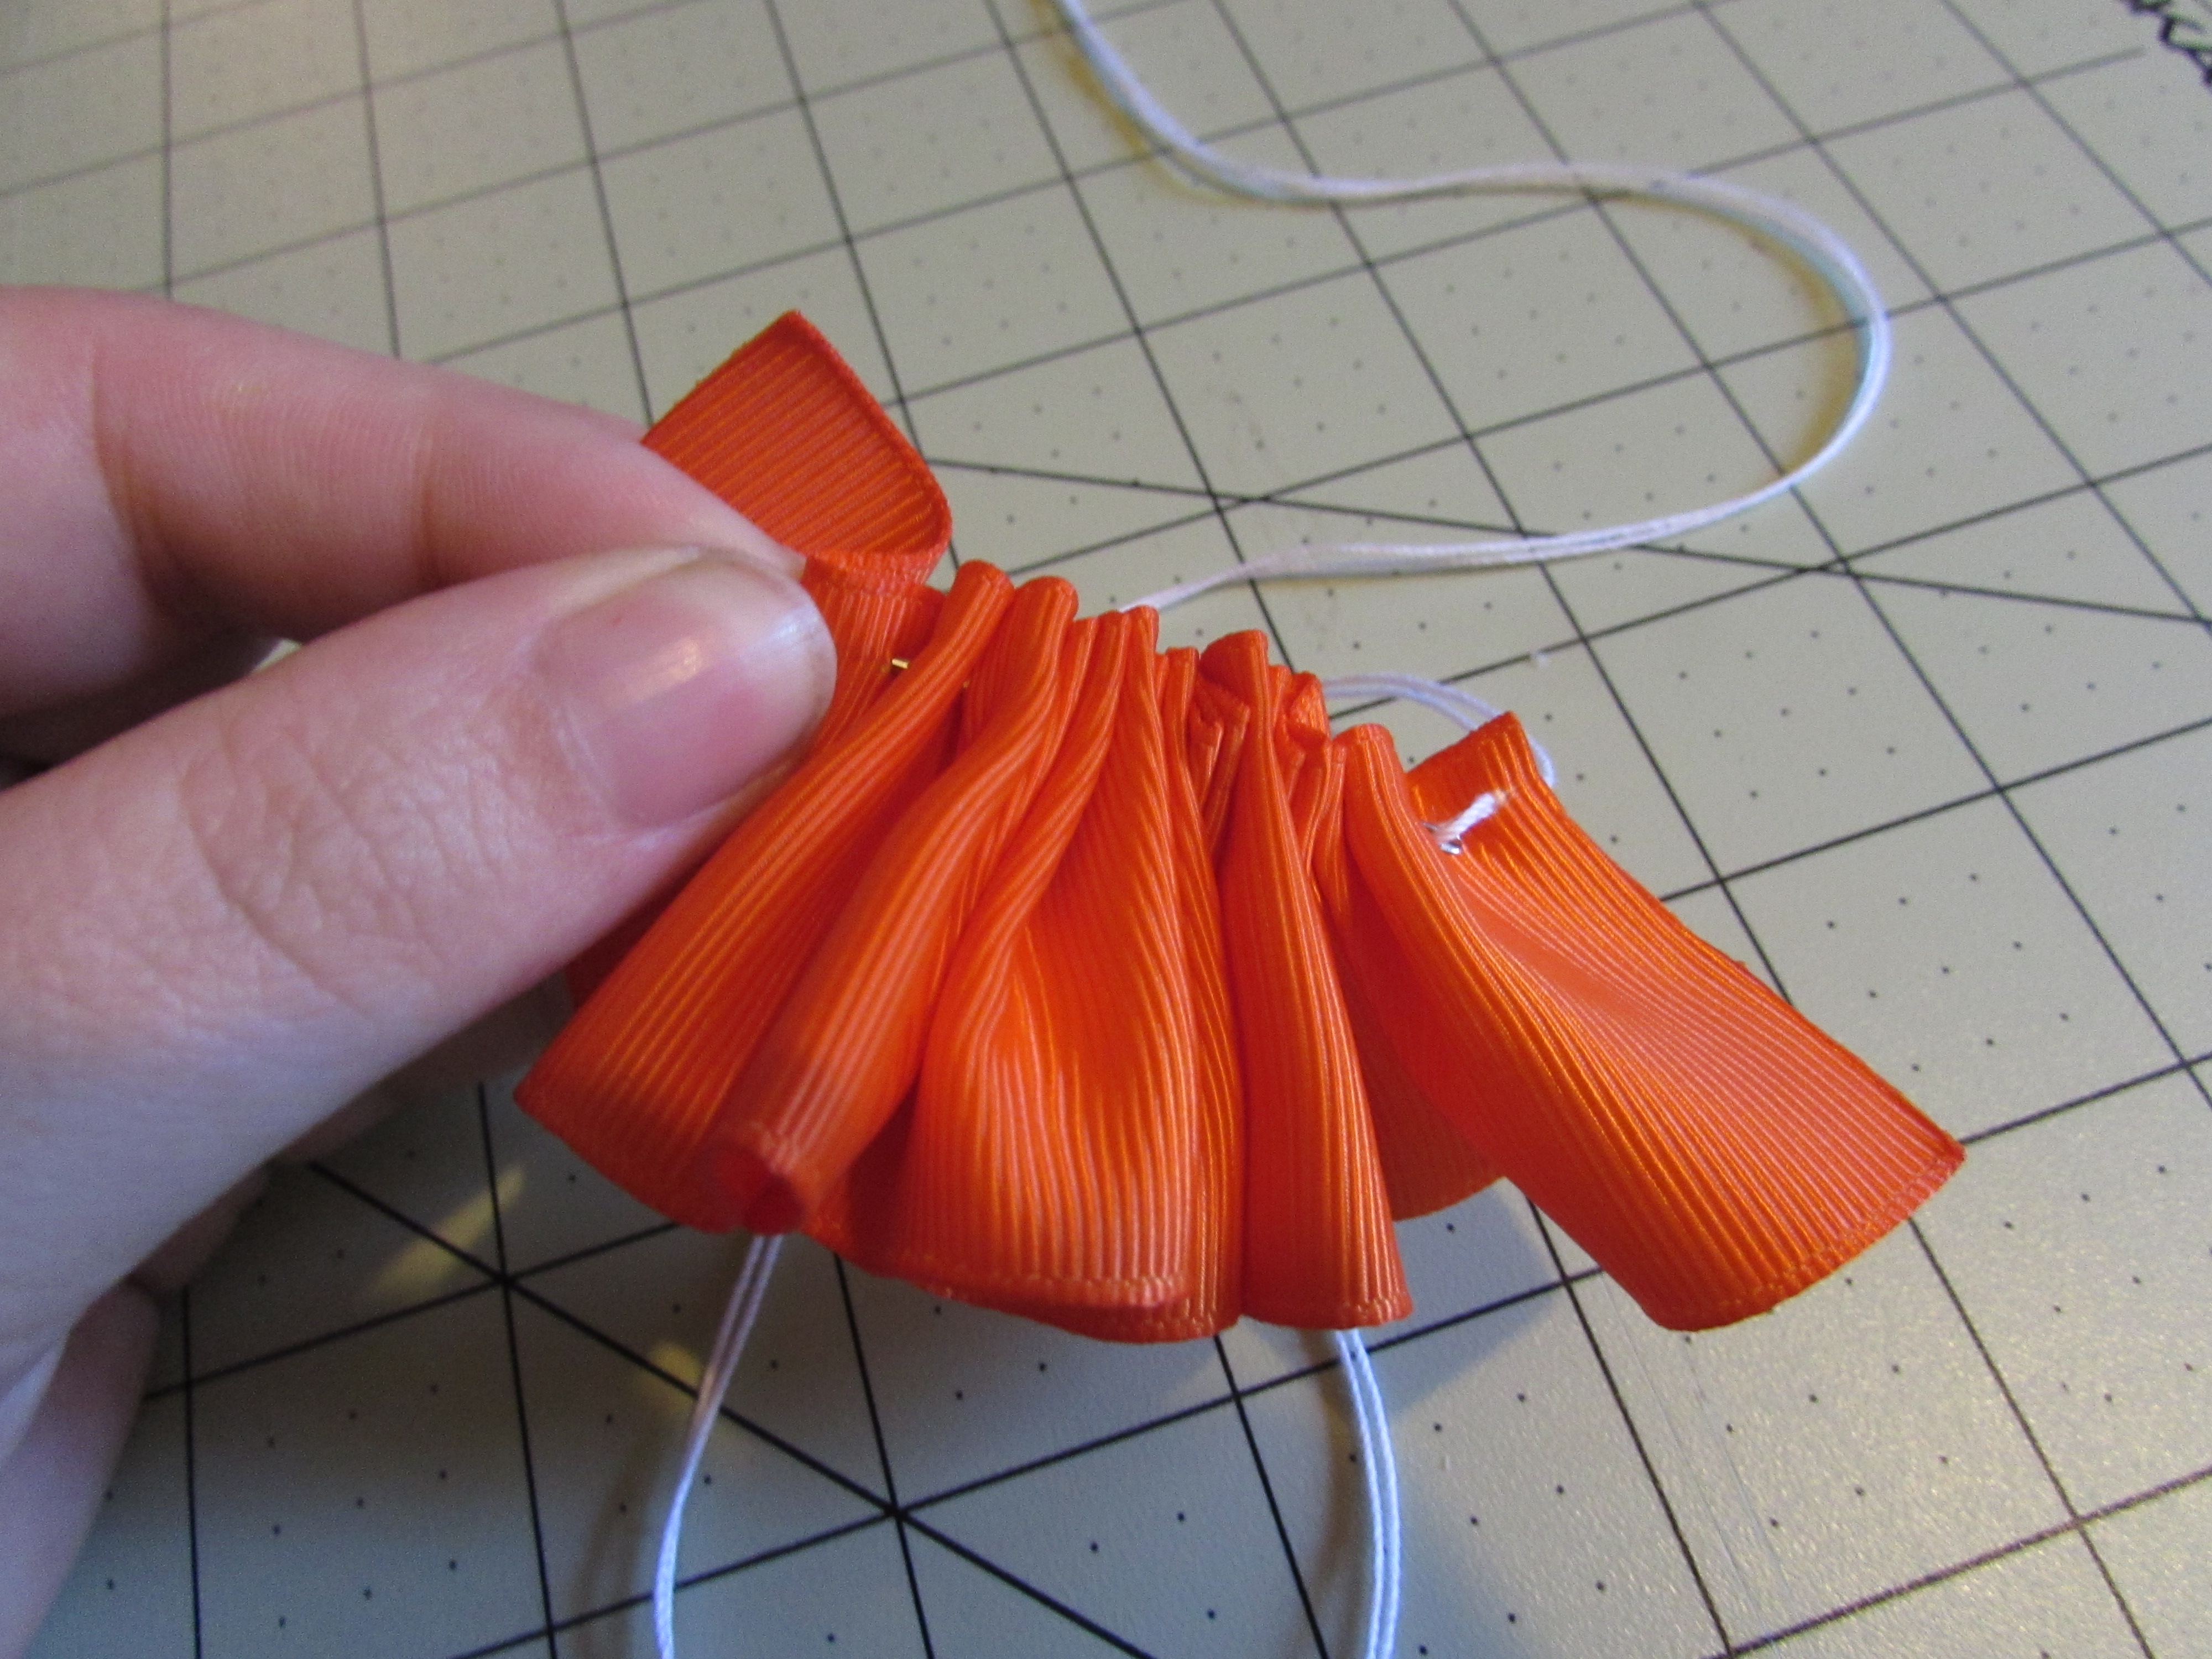
Step 4: When you are almost done you need to make sure your needle goes out the bottom of the ribbon just like how you started it
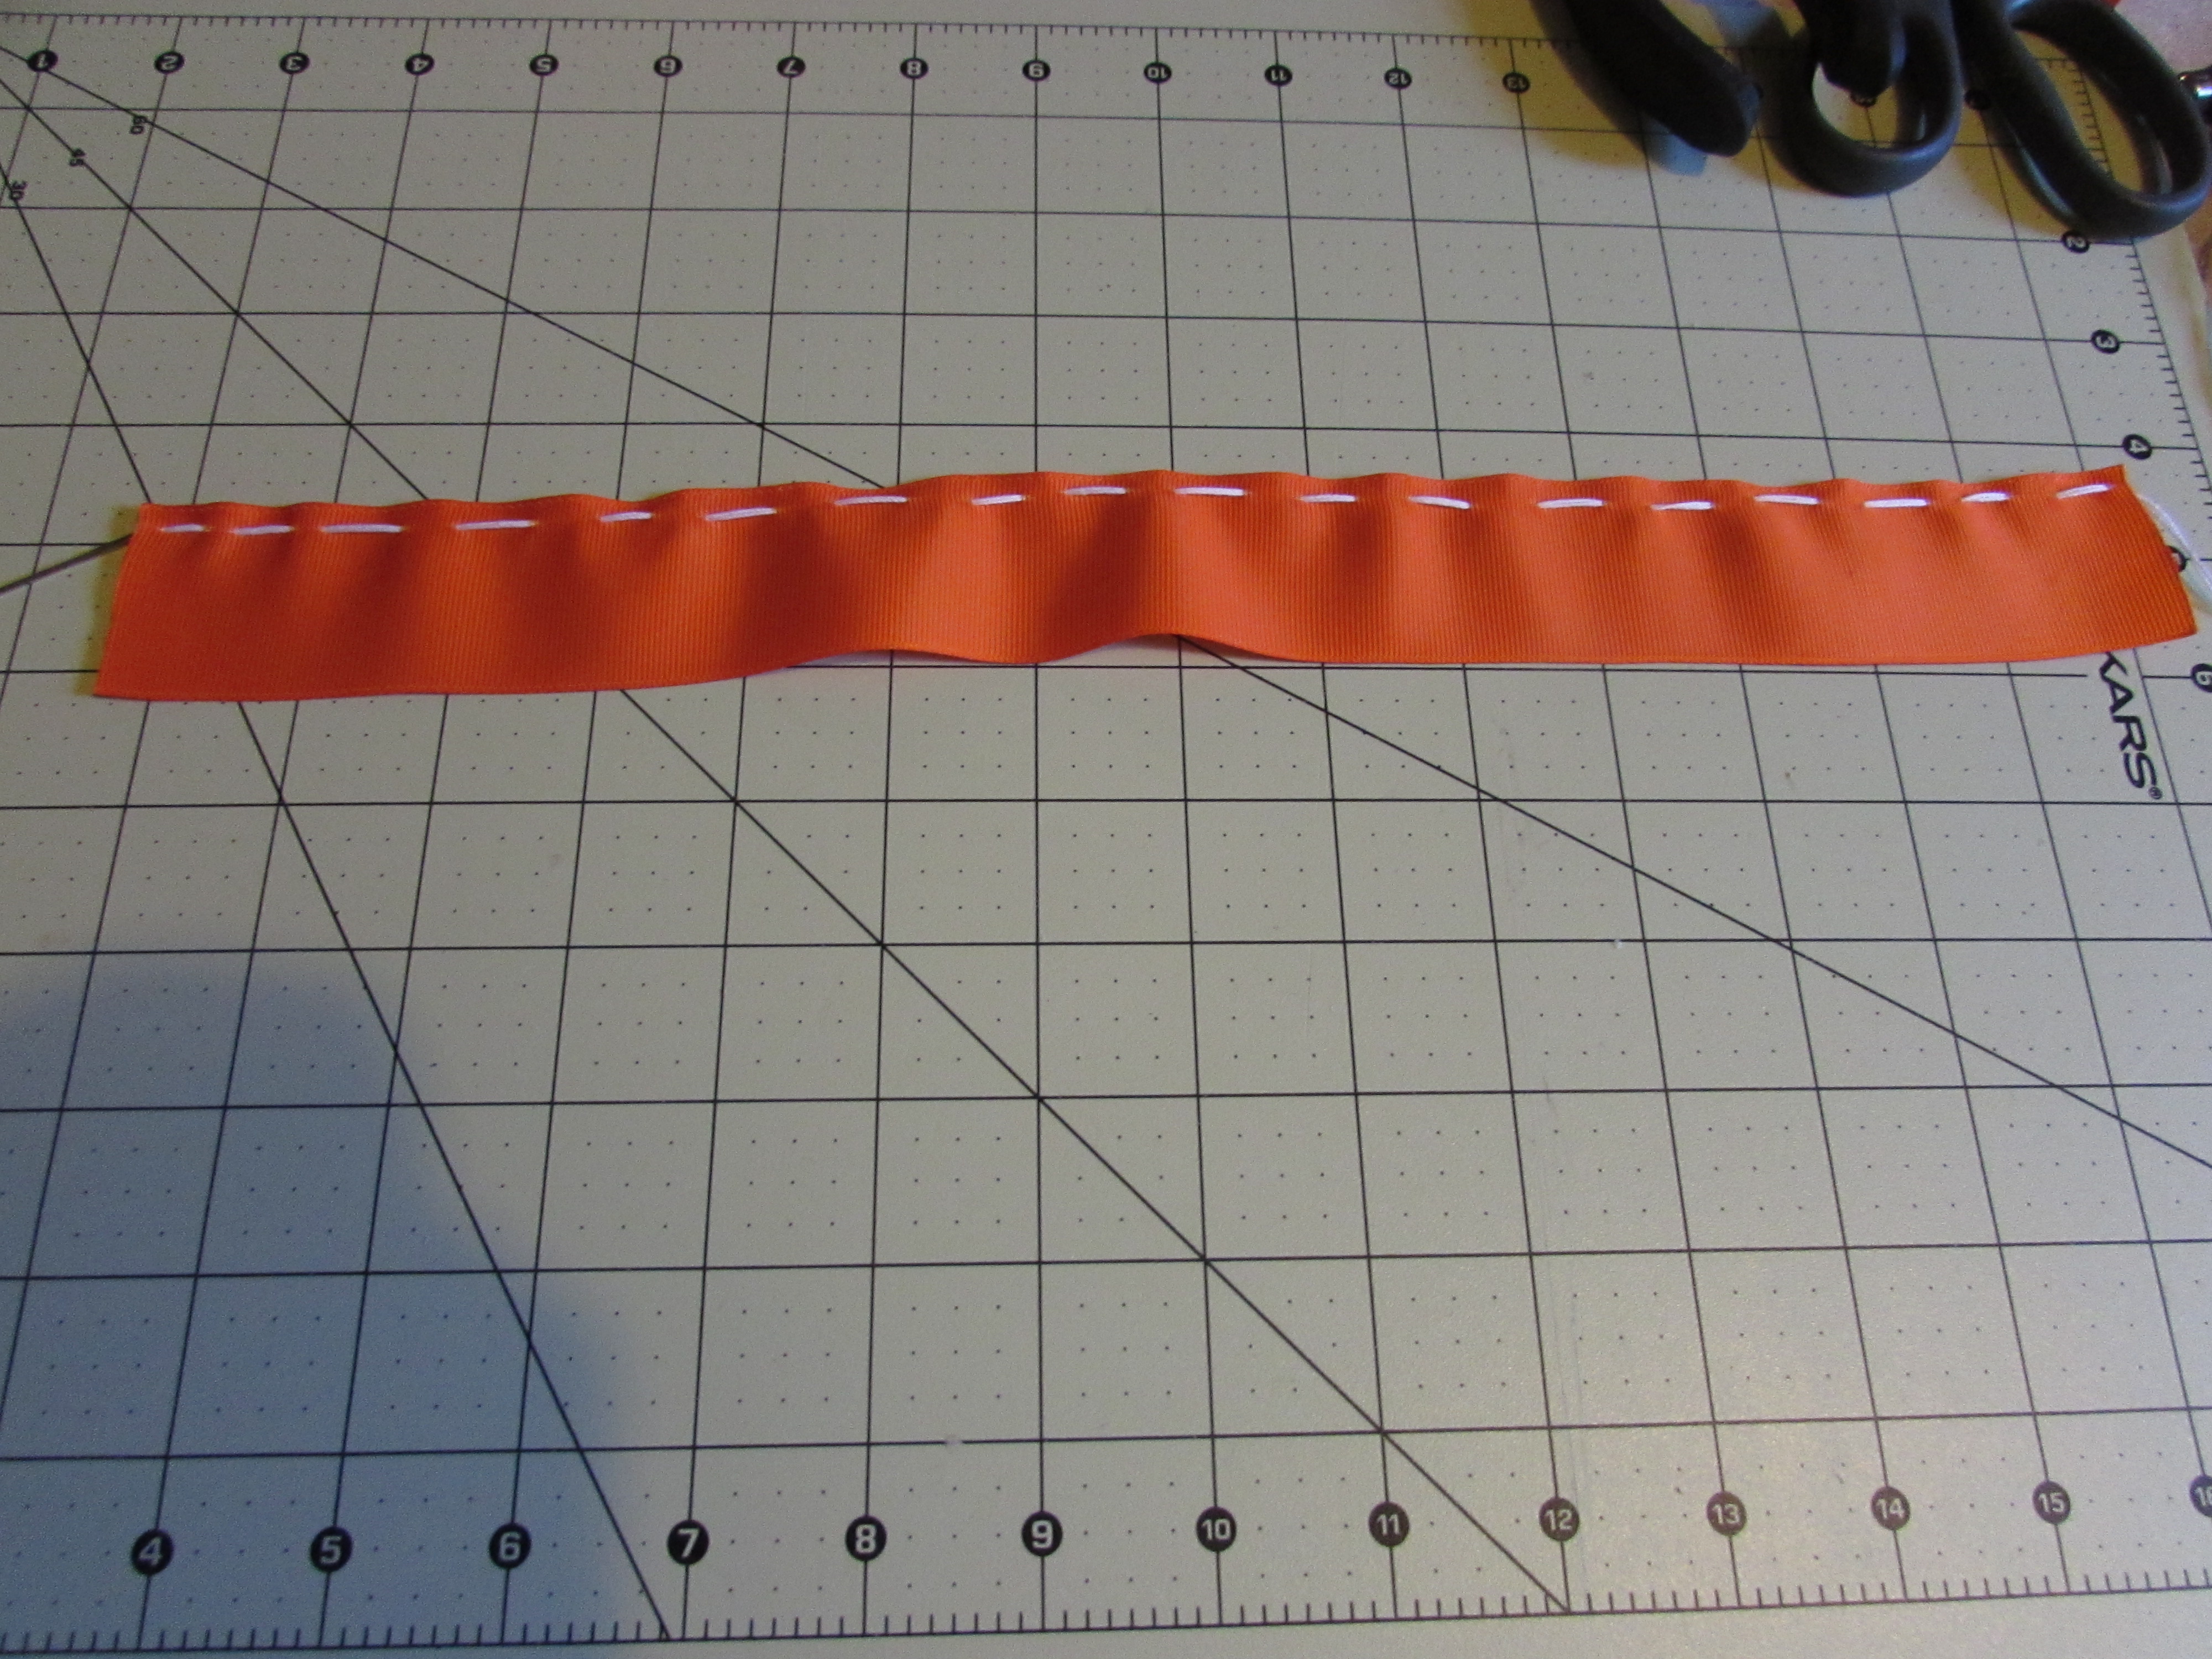
- Yours should now look like this if you flatten out all the ruffles
Step 5: You want to pull the thread so your ribbon will "ruffle" up
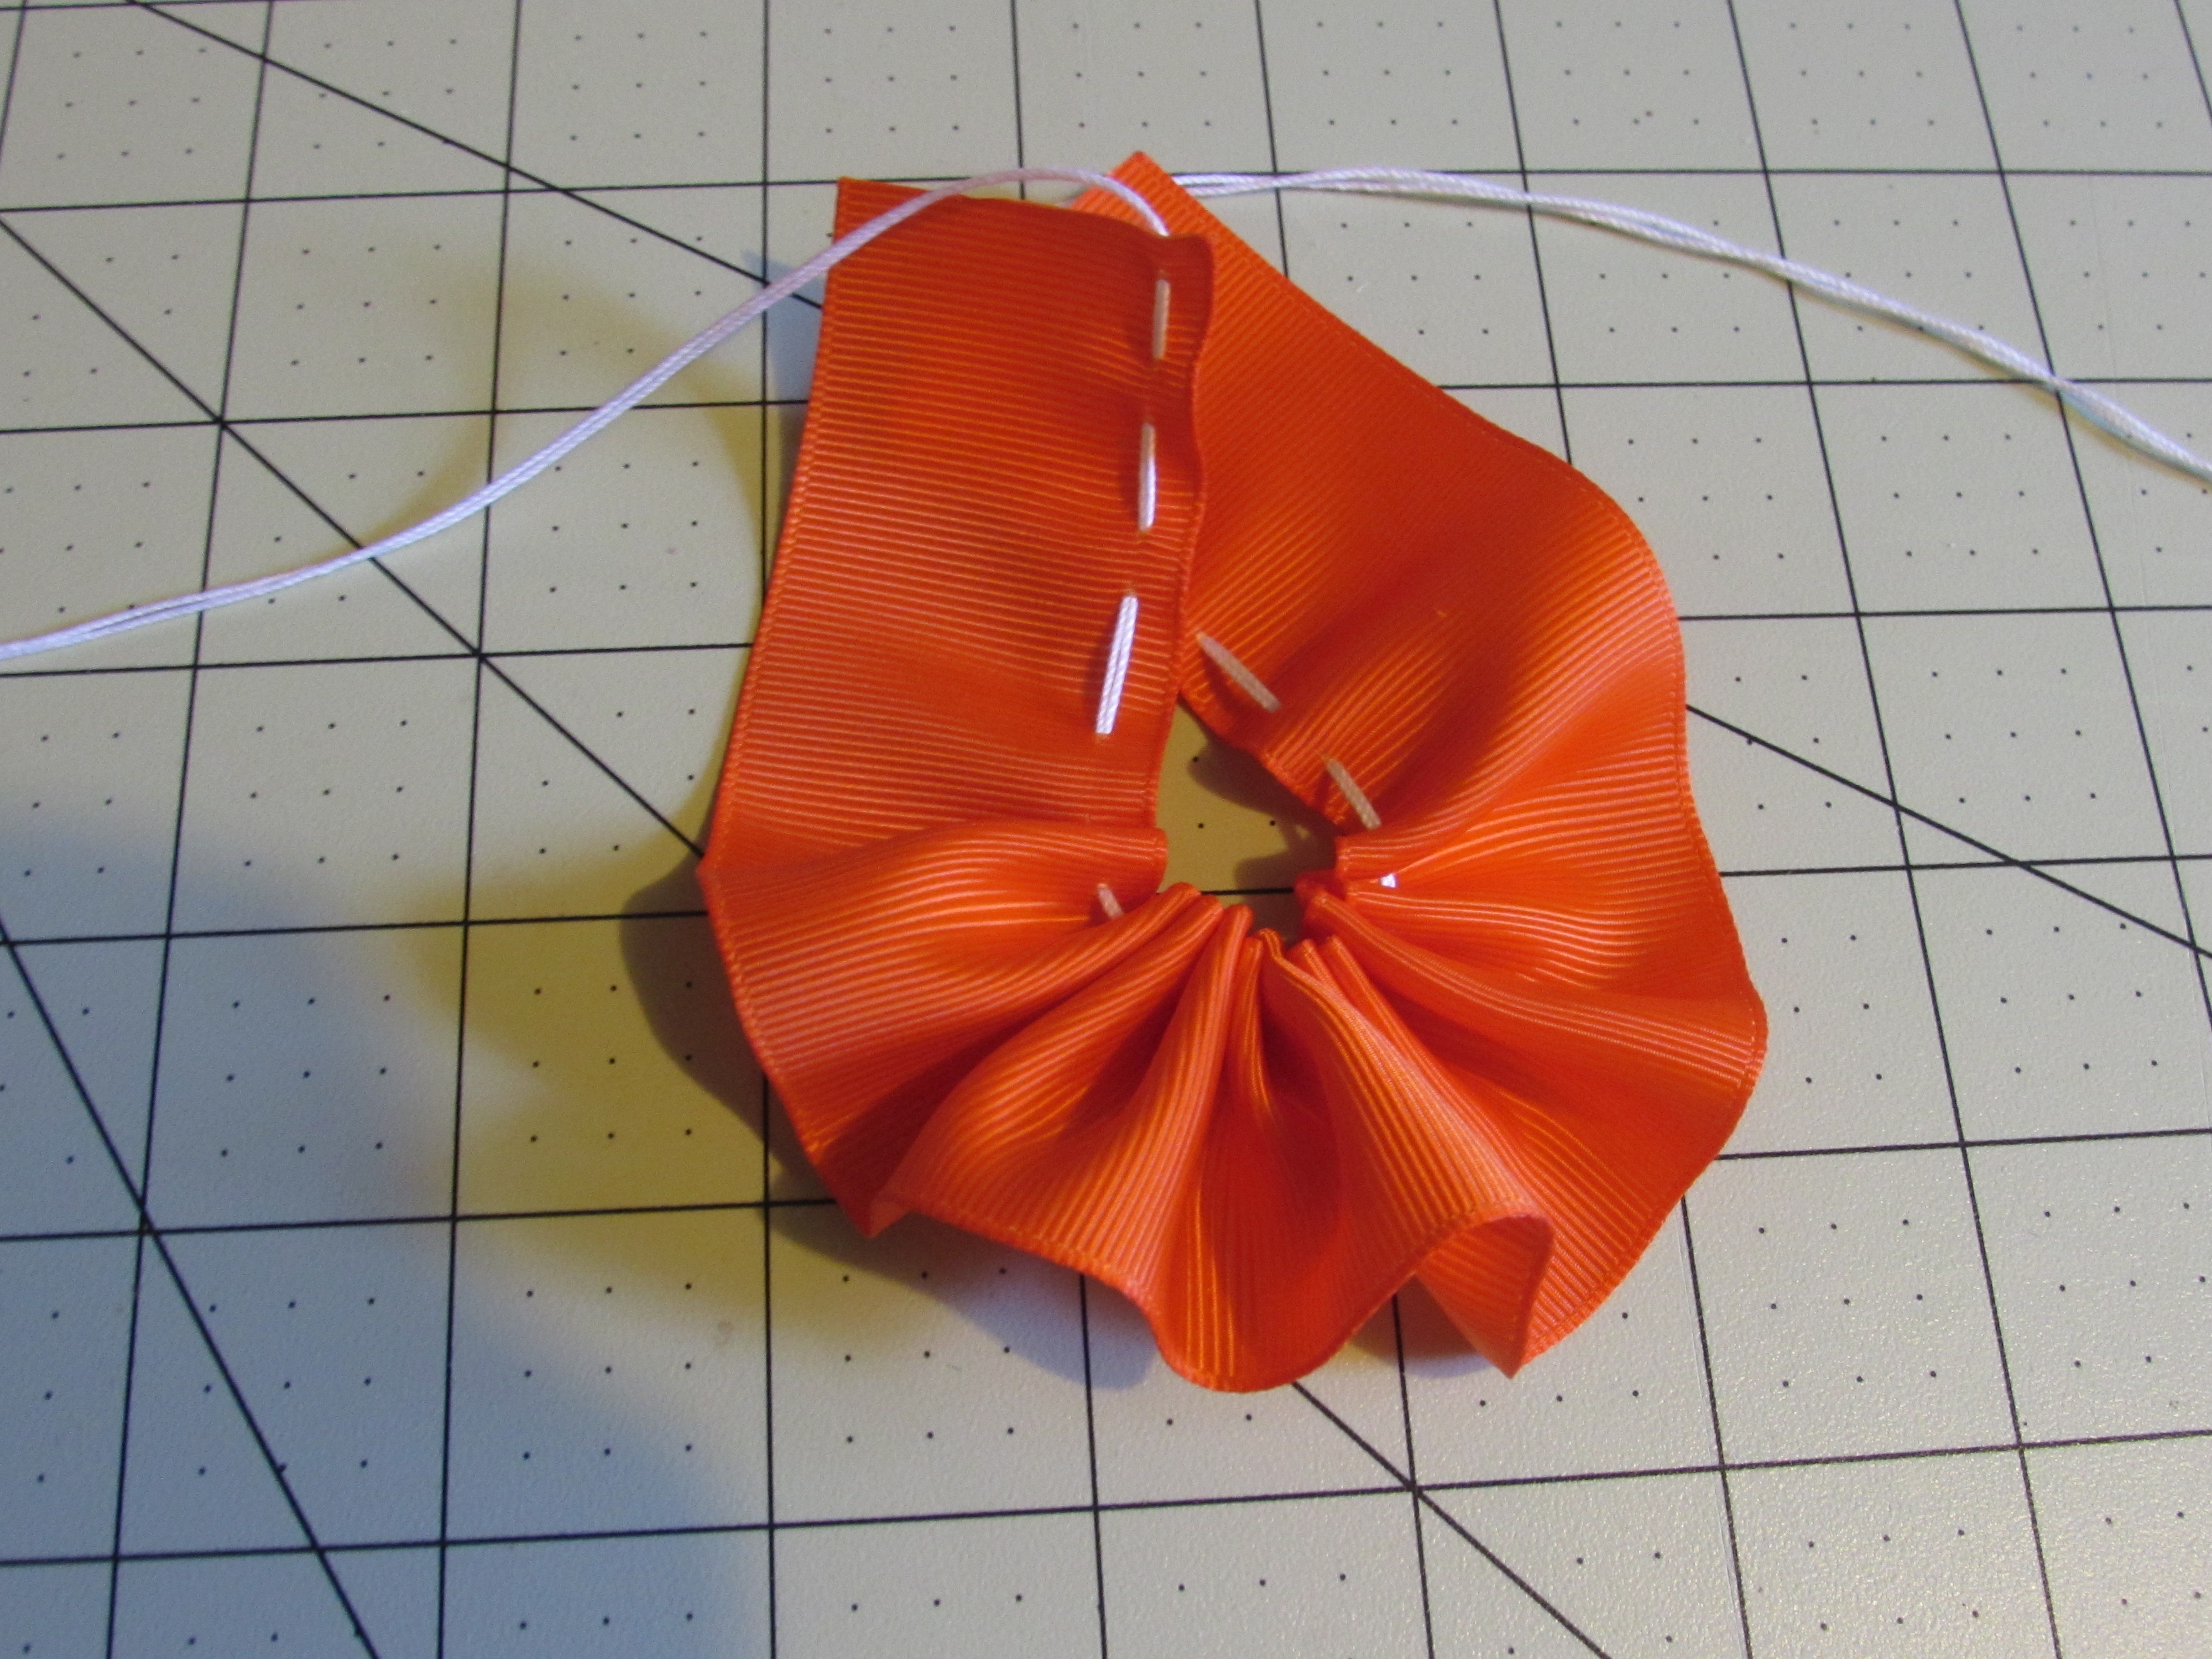
- push it all the way down to the "knot" on your thread
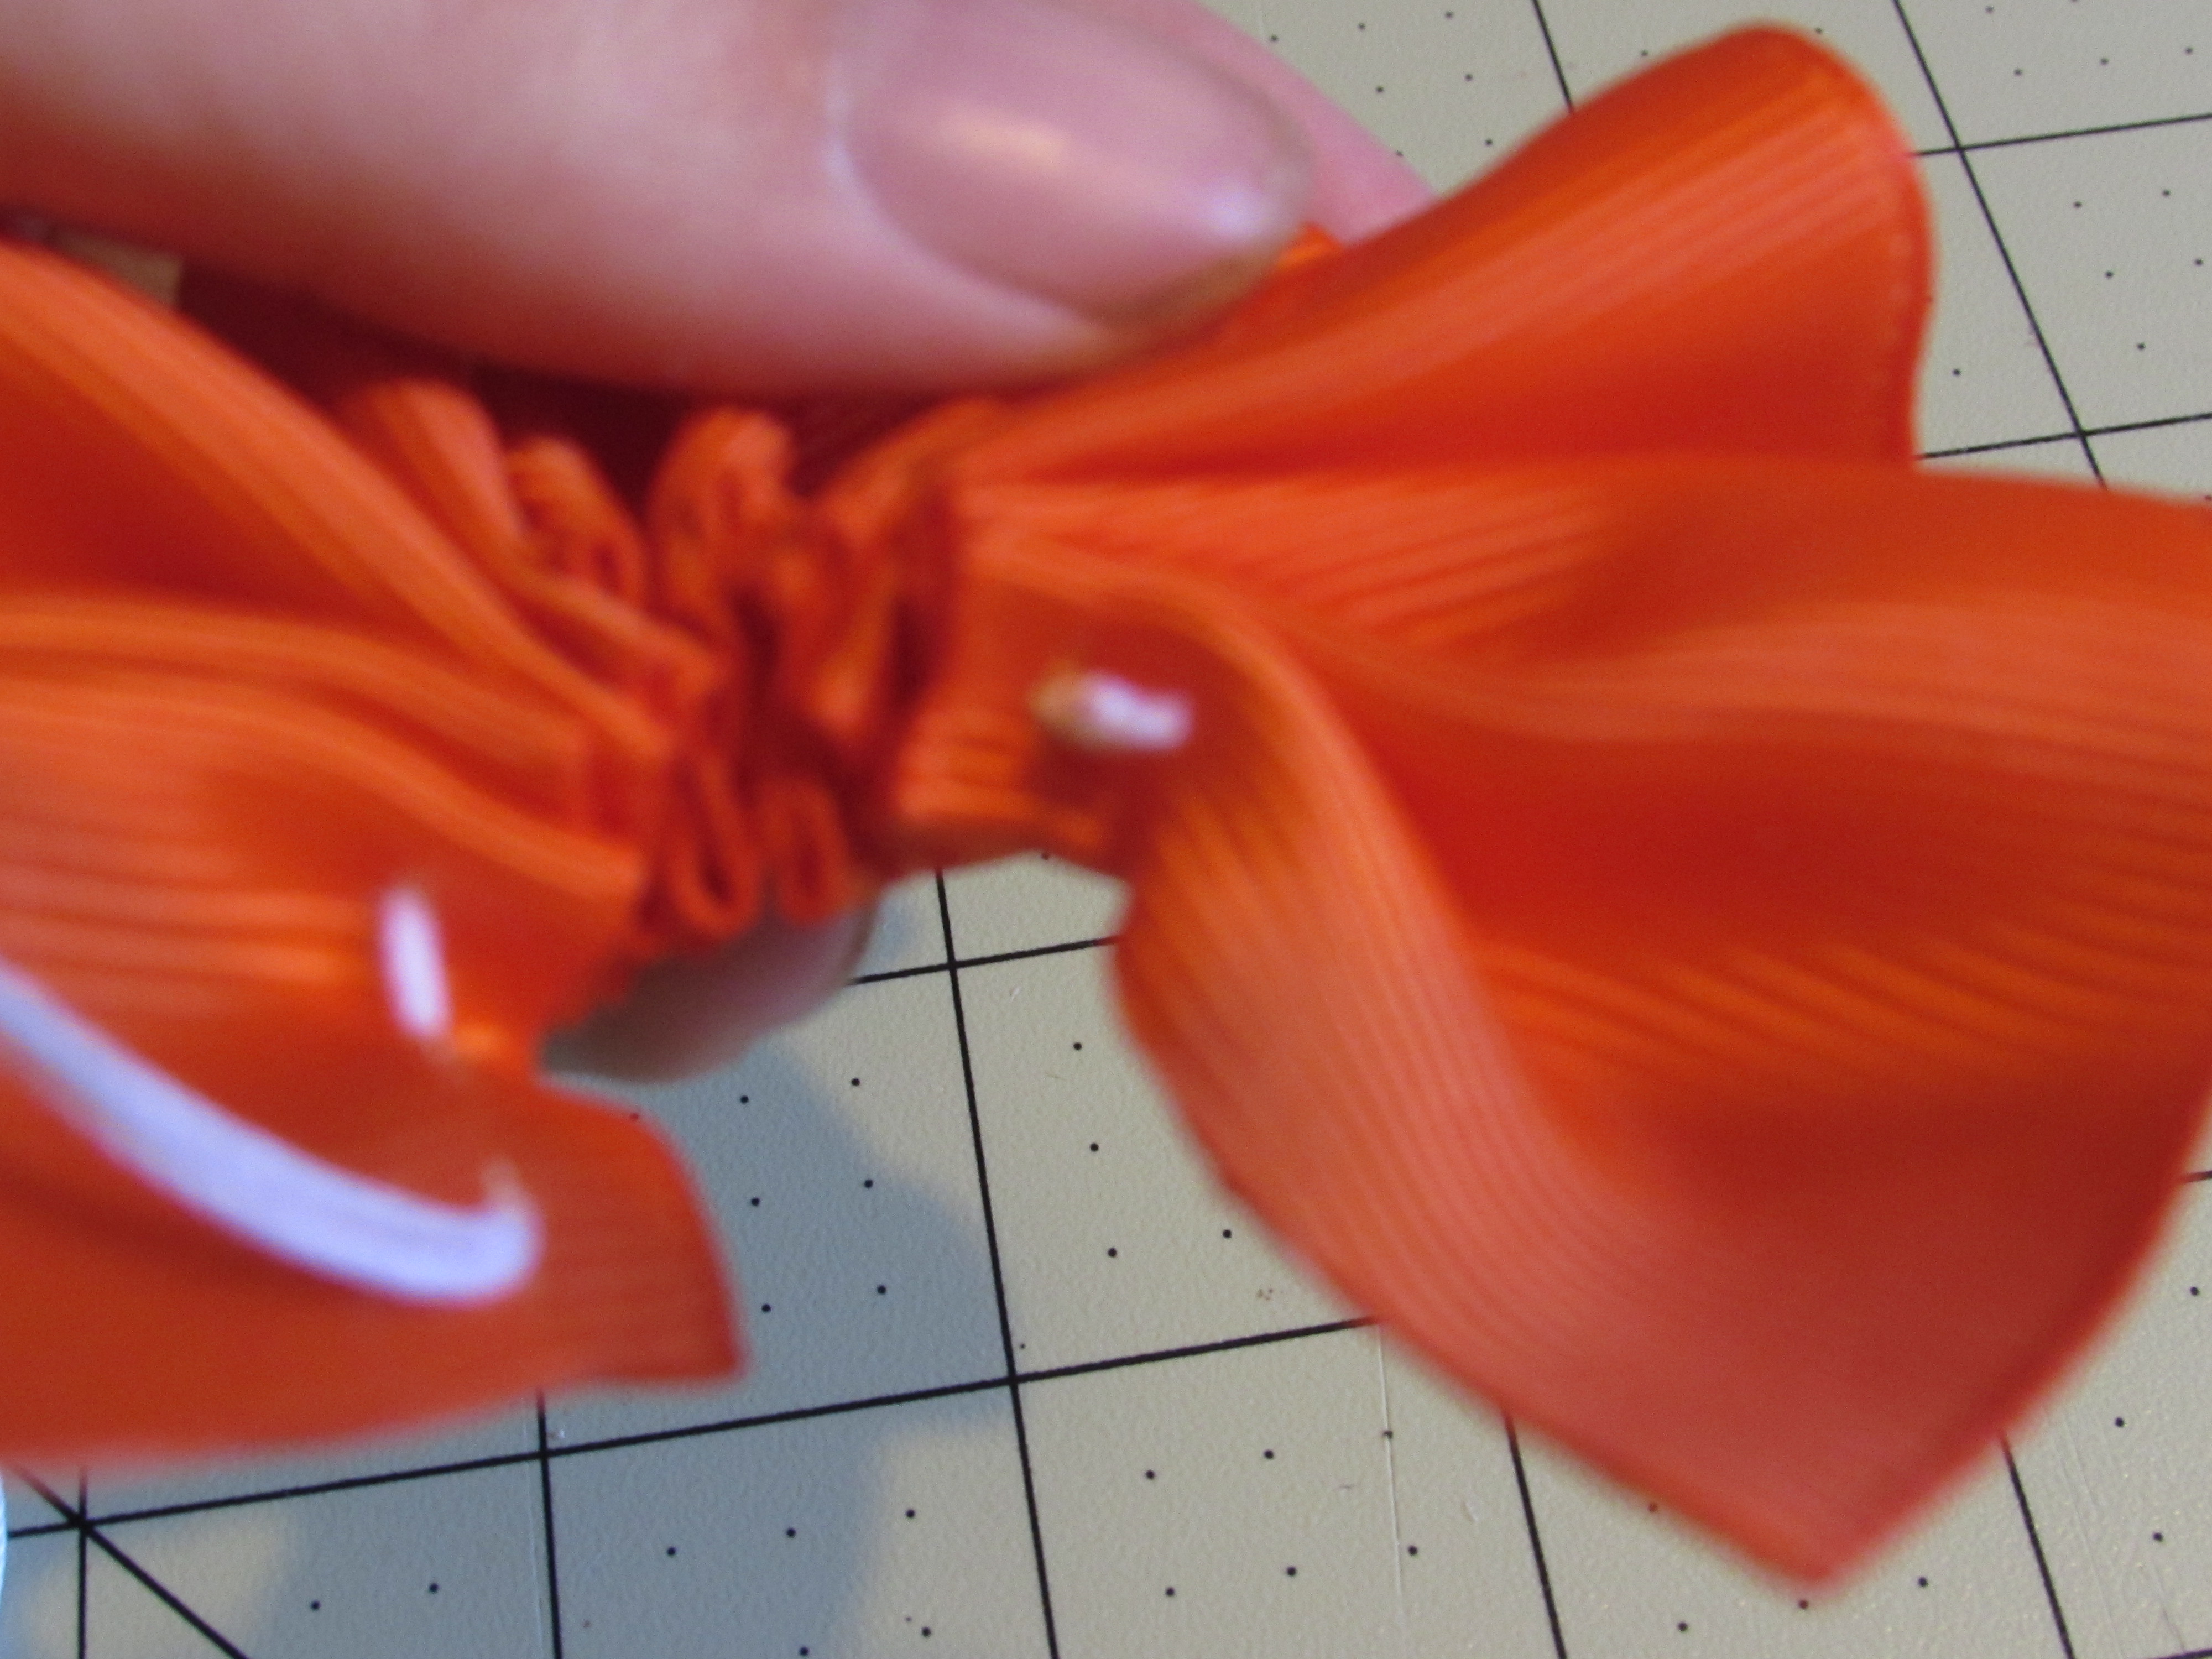
Step 6: Get both of the end pieces of your ruffle and sew them together
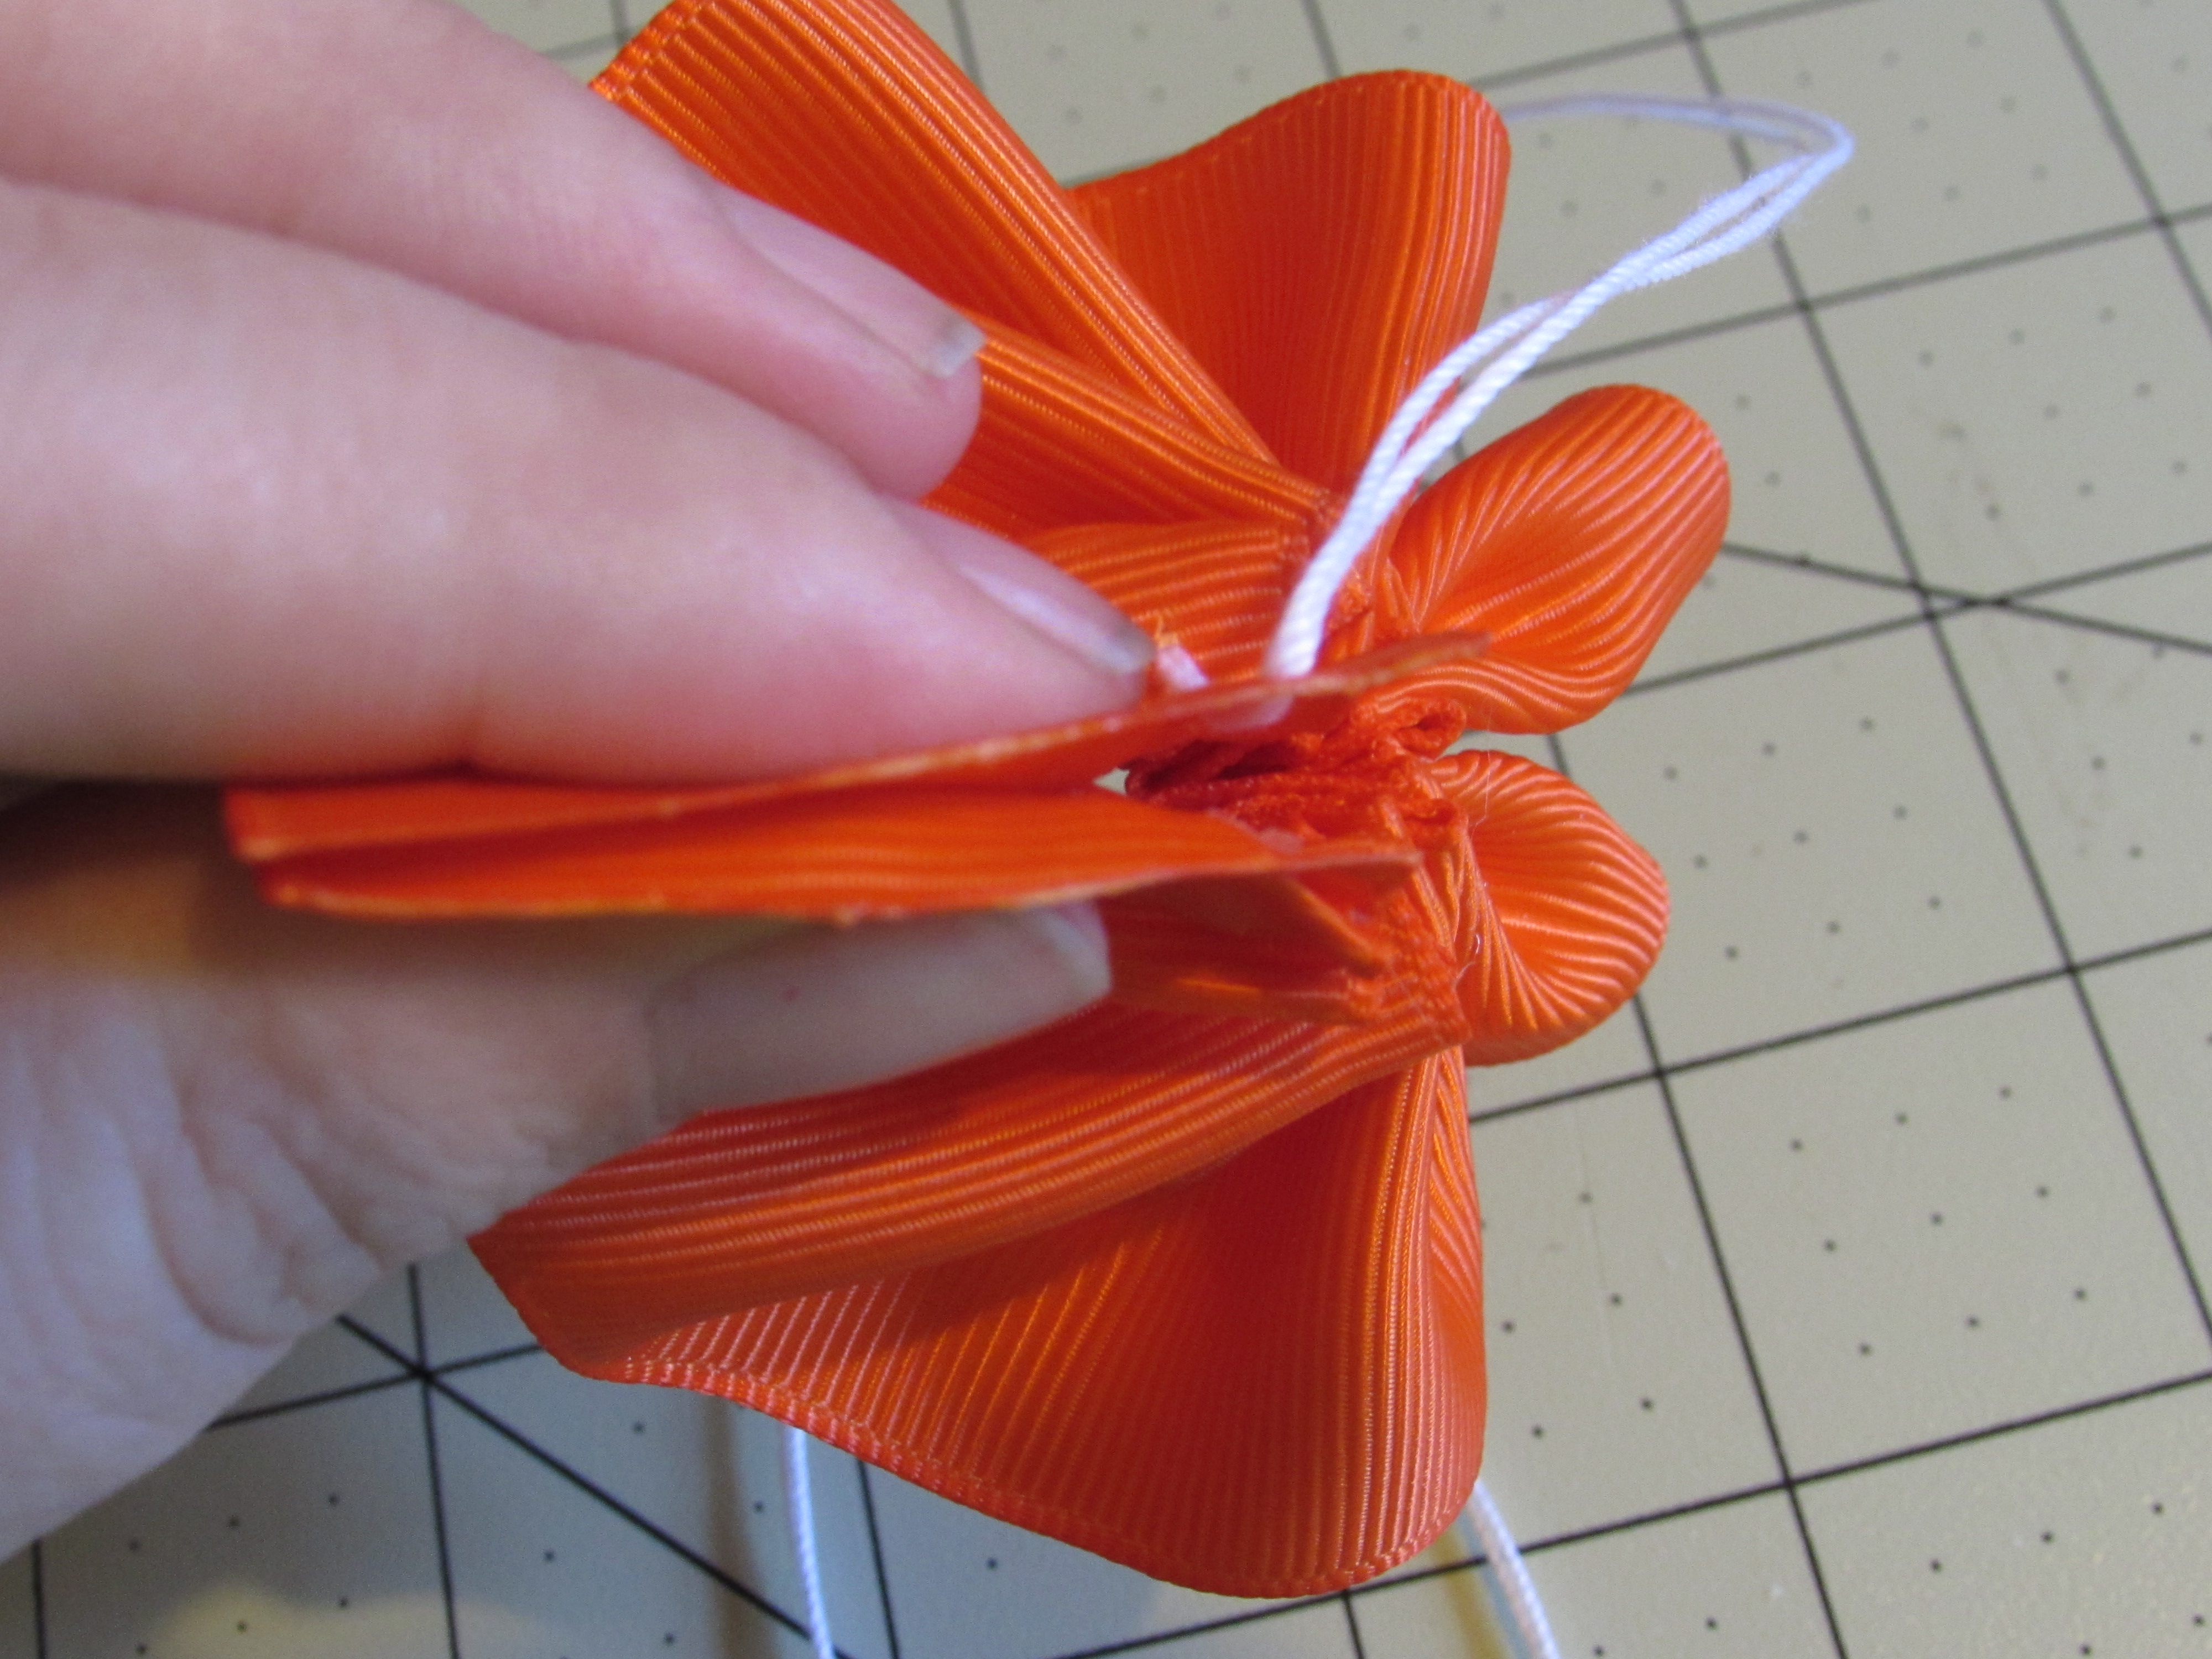
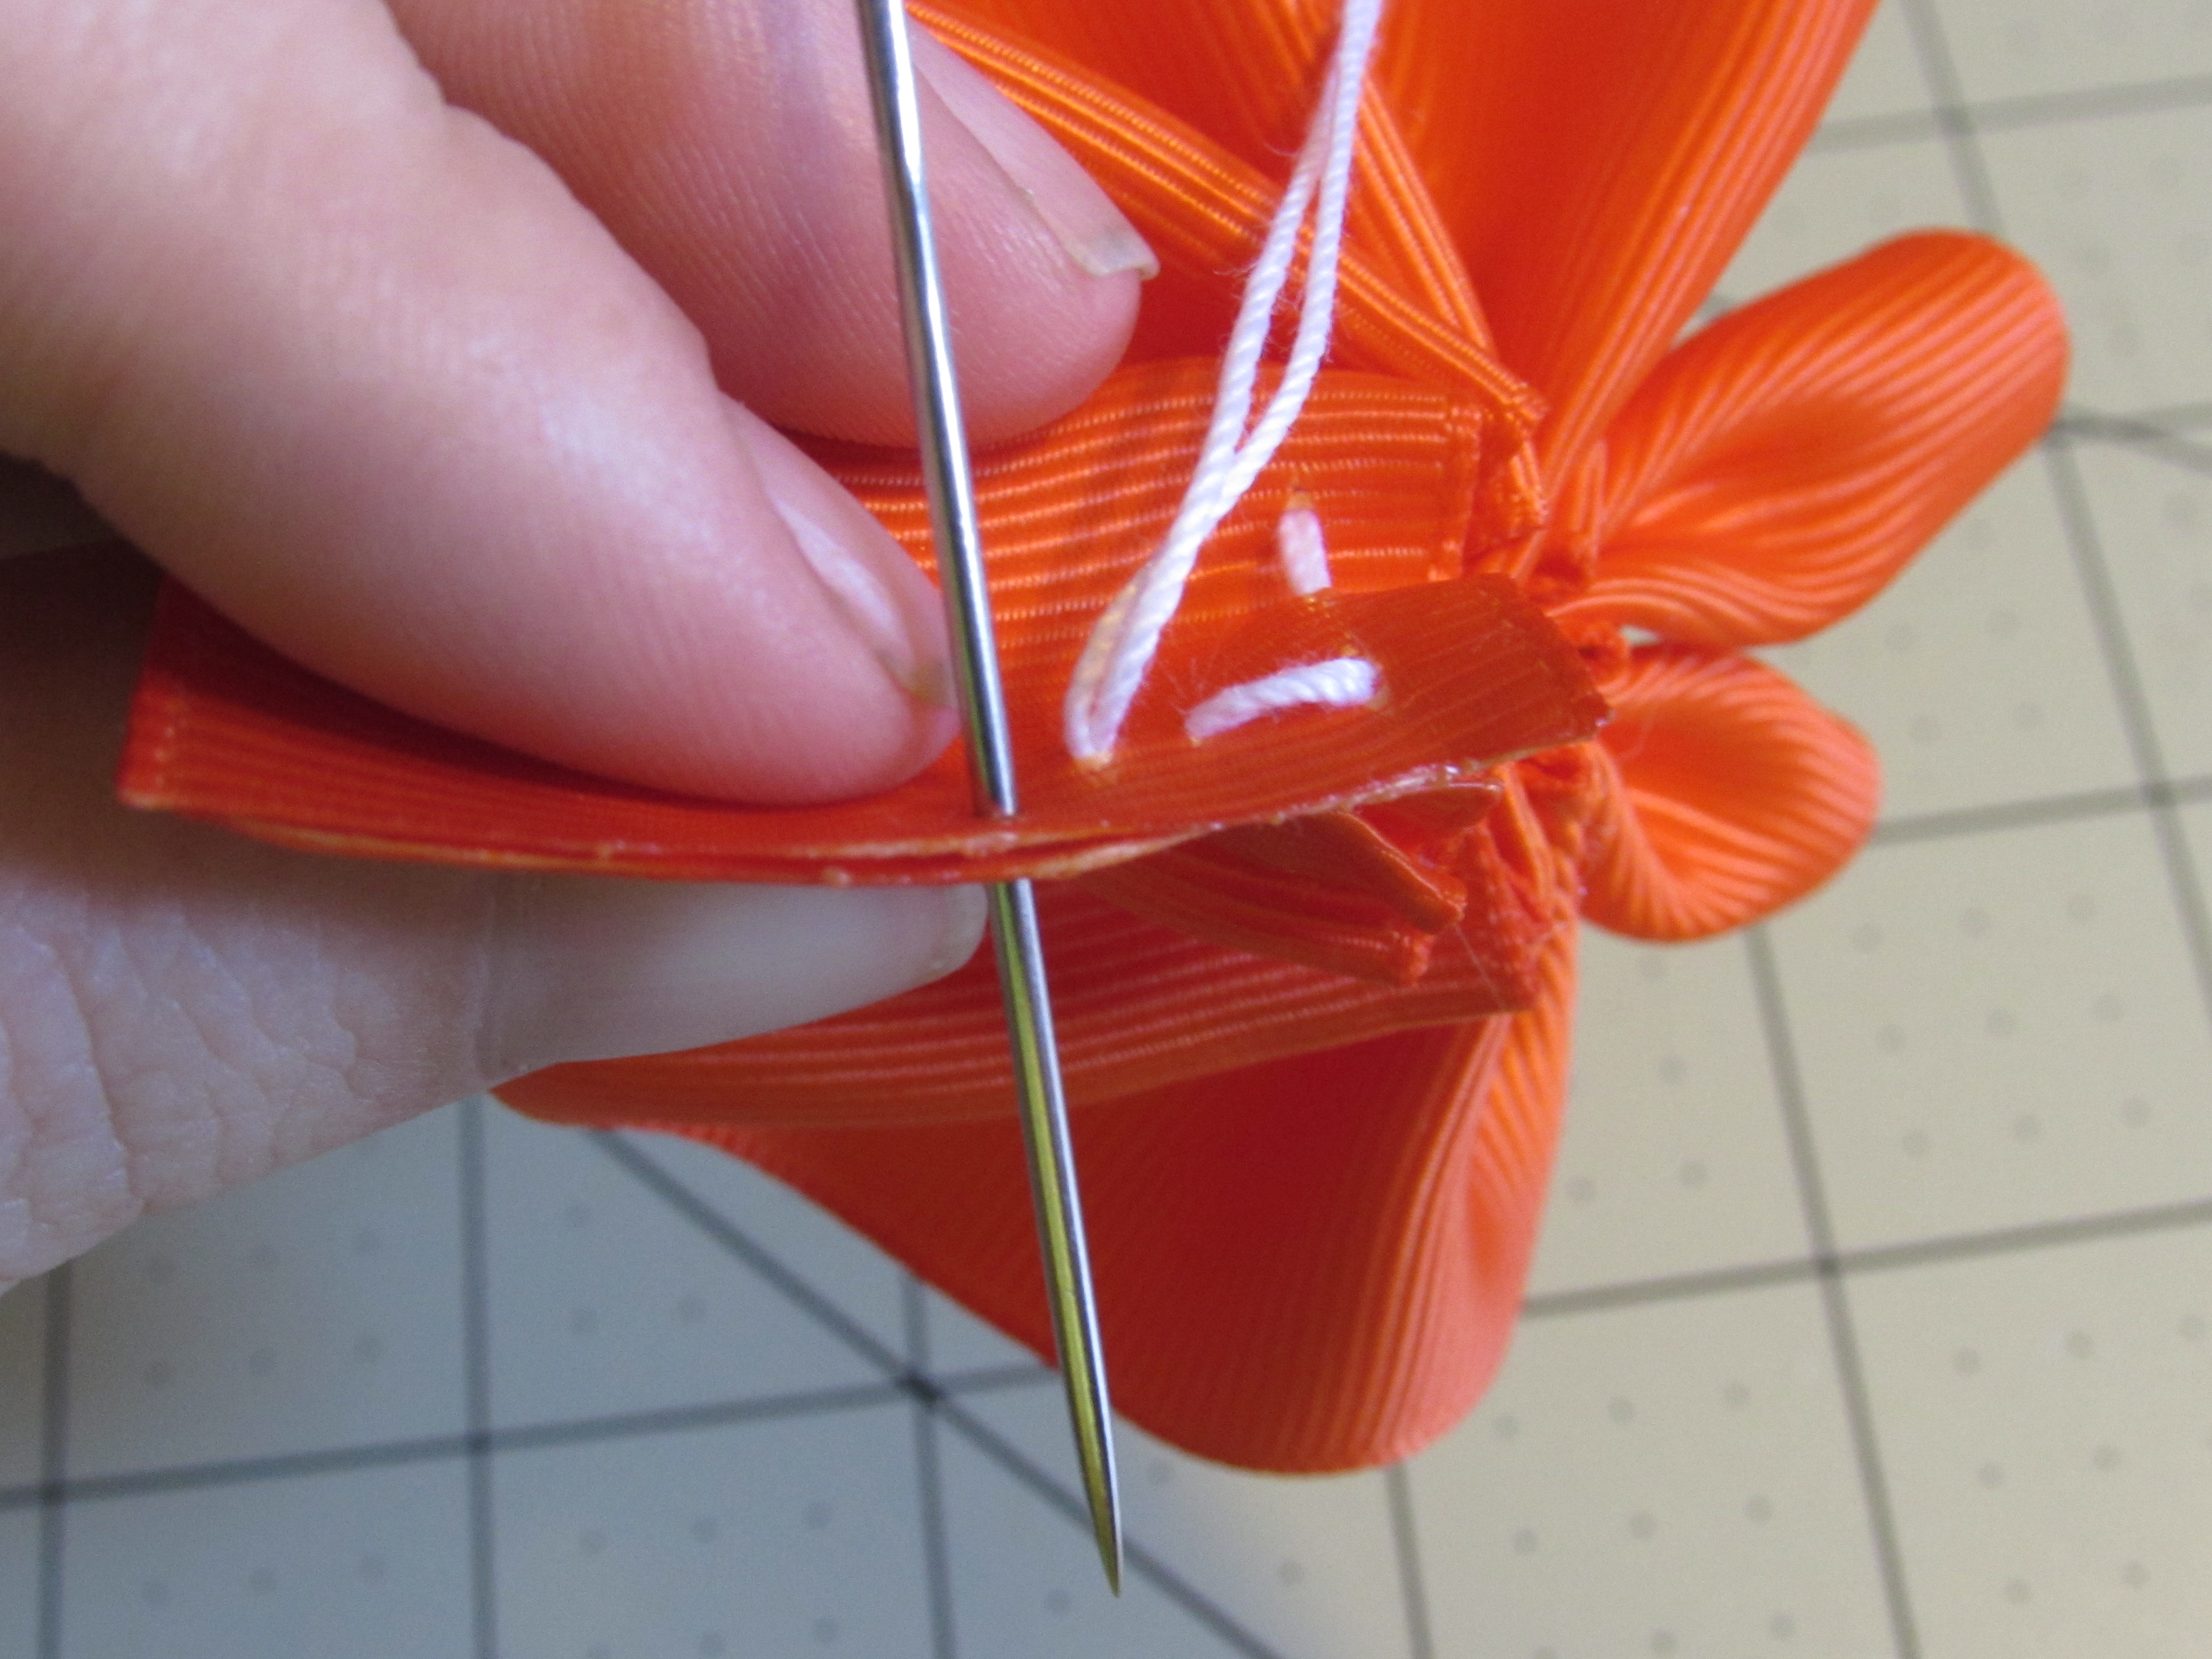
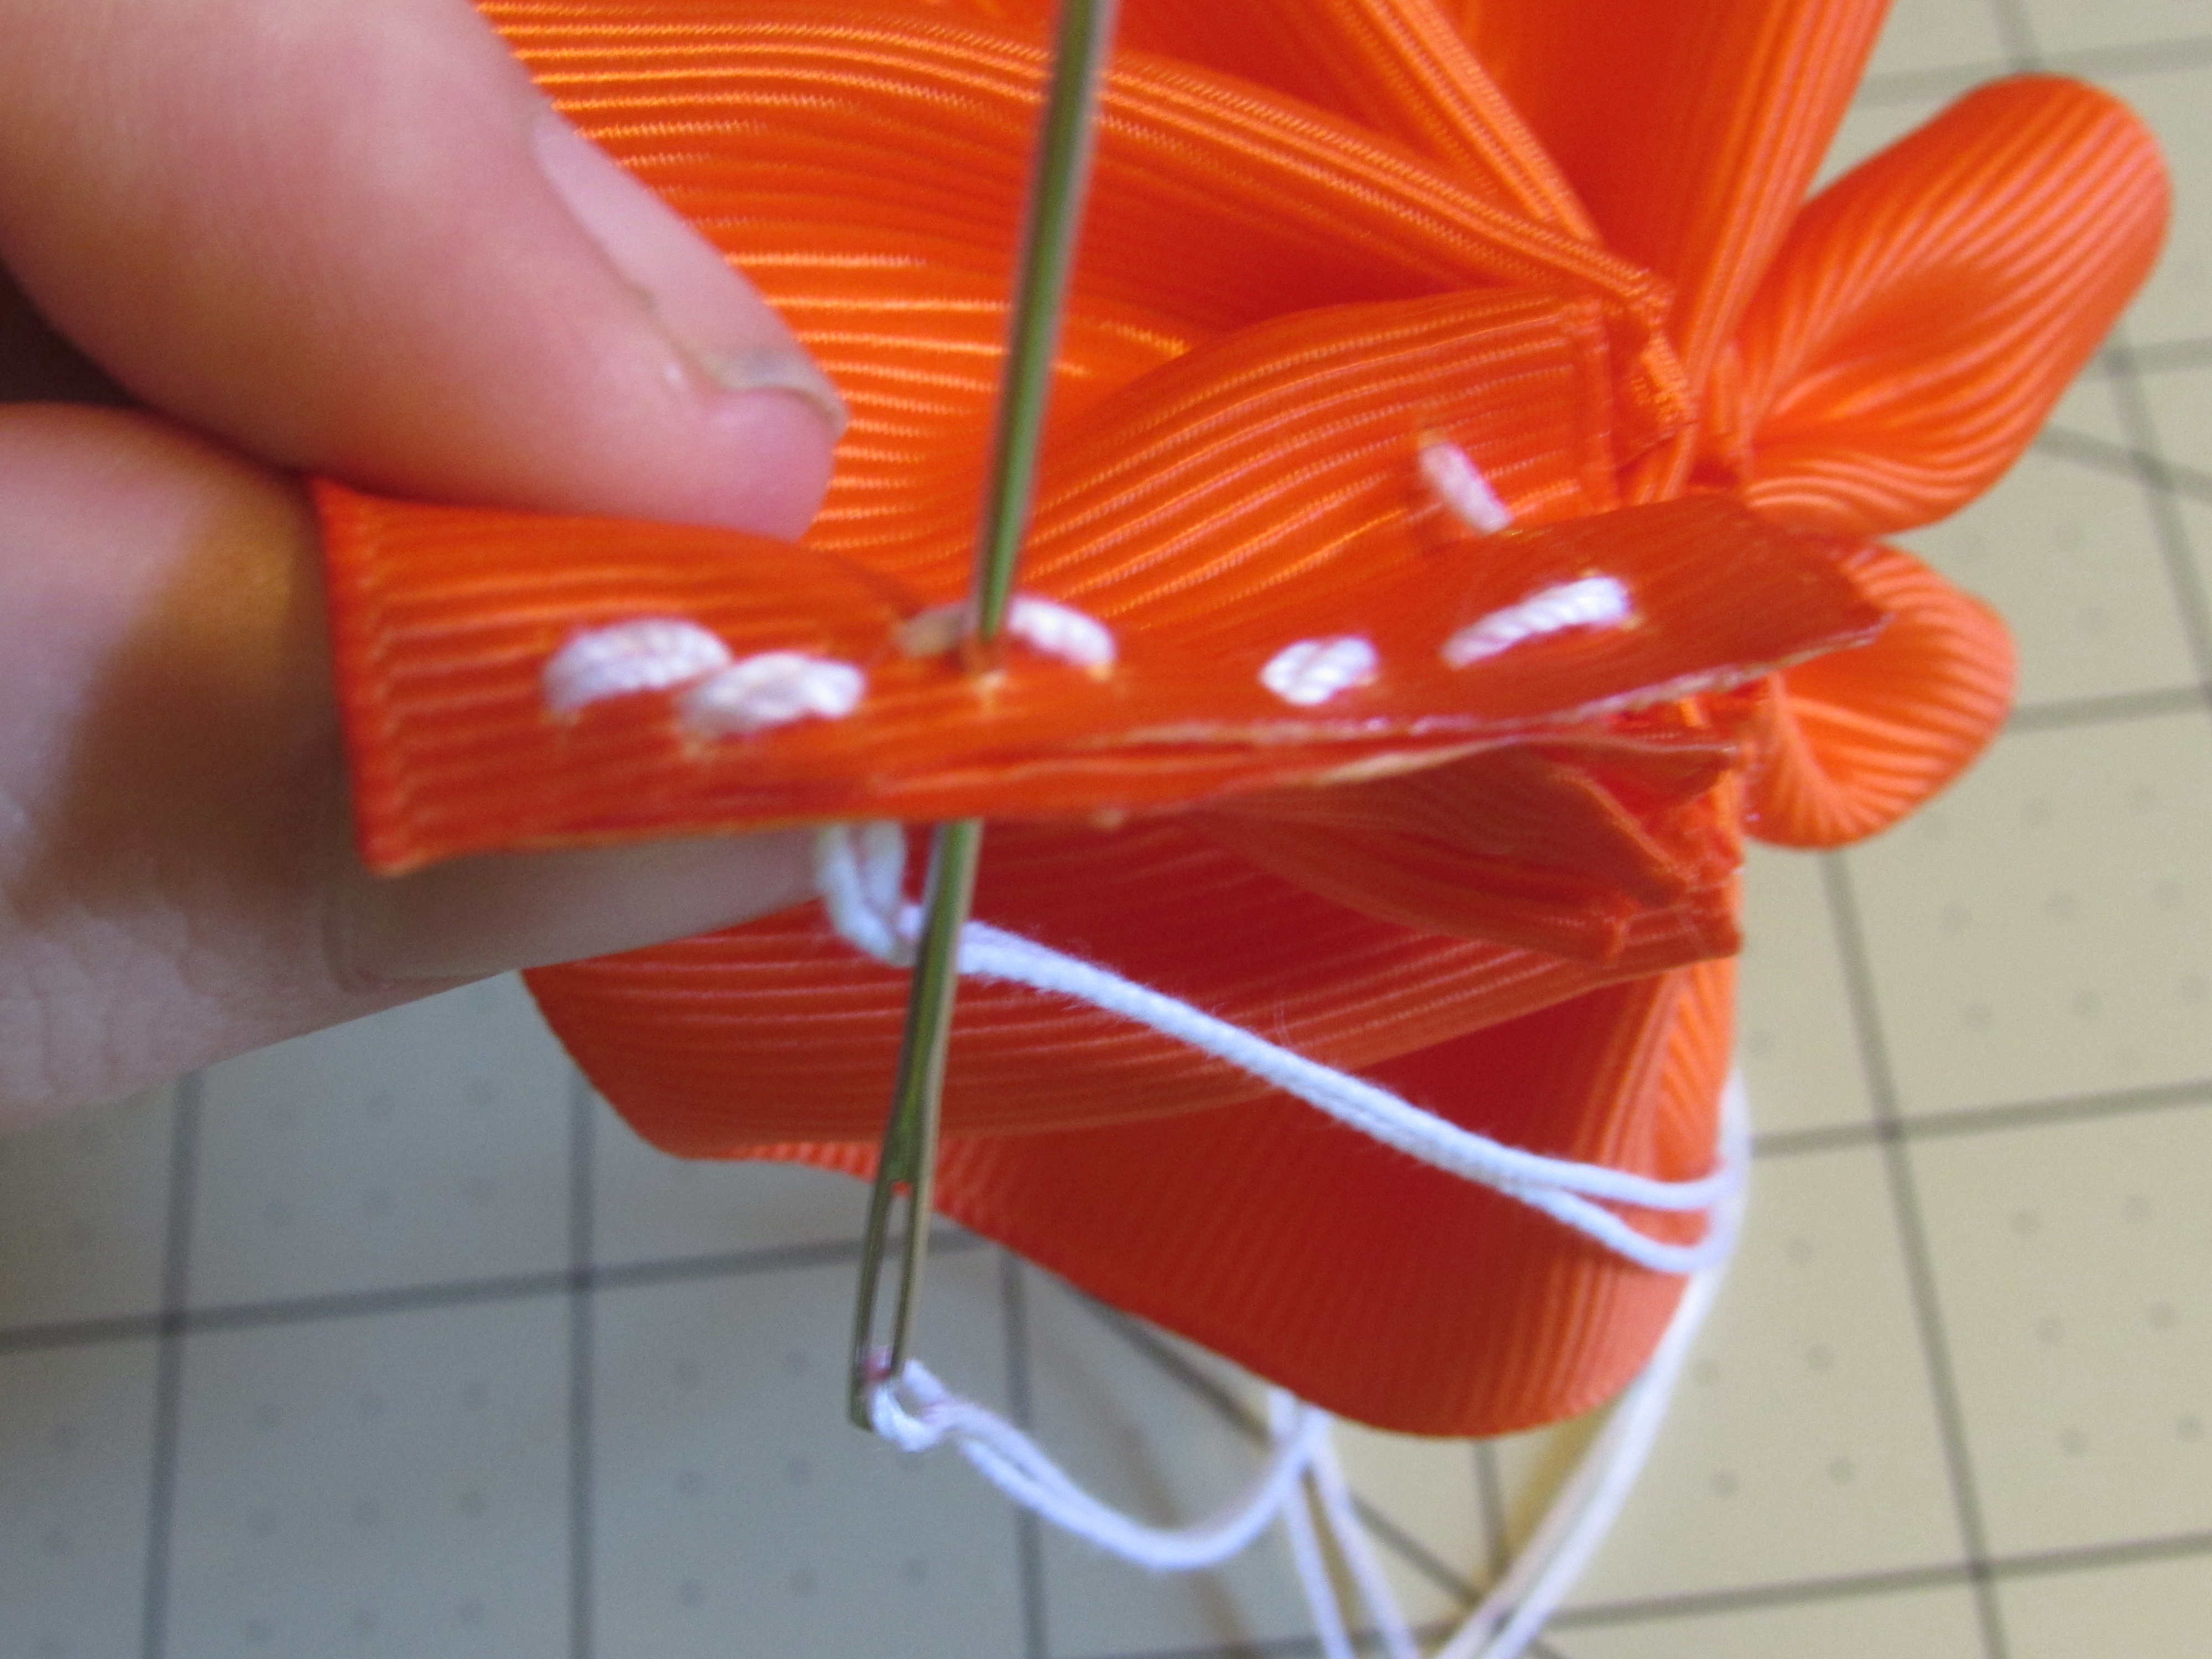
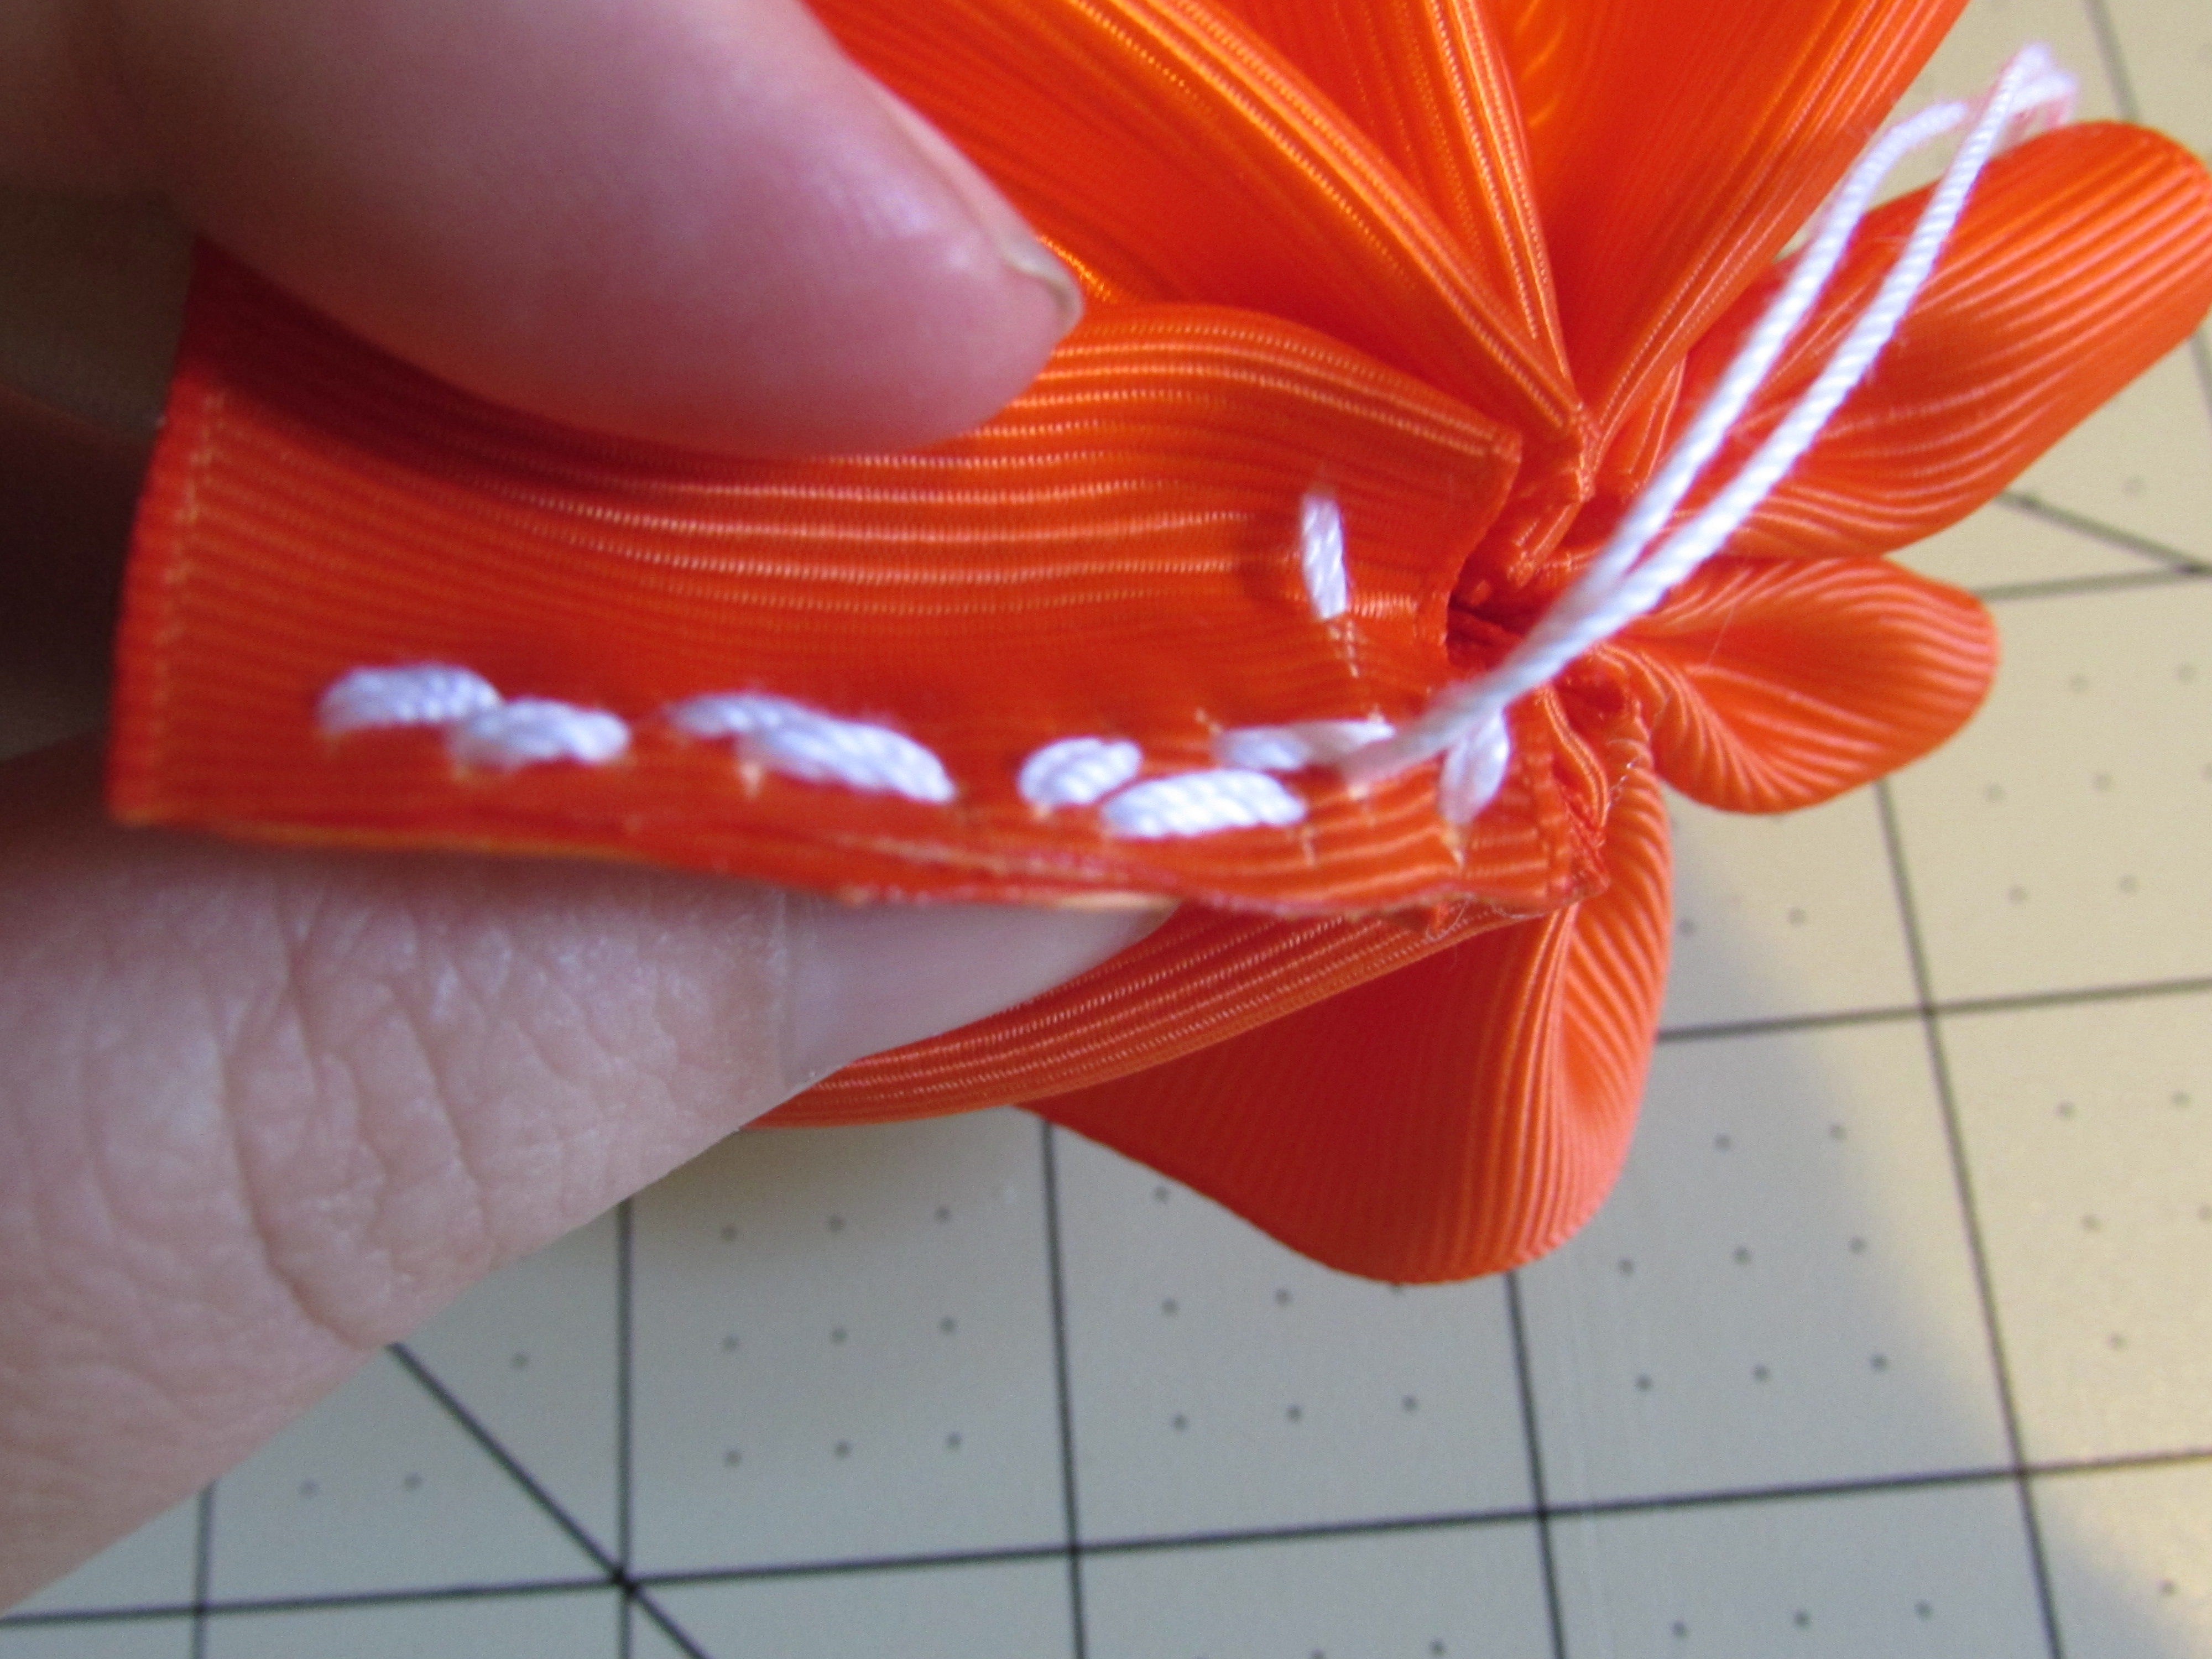
- Get to the end you cut off the needle/thread and tie it off. Once you tie it off you want to cut the access thread
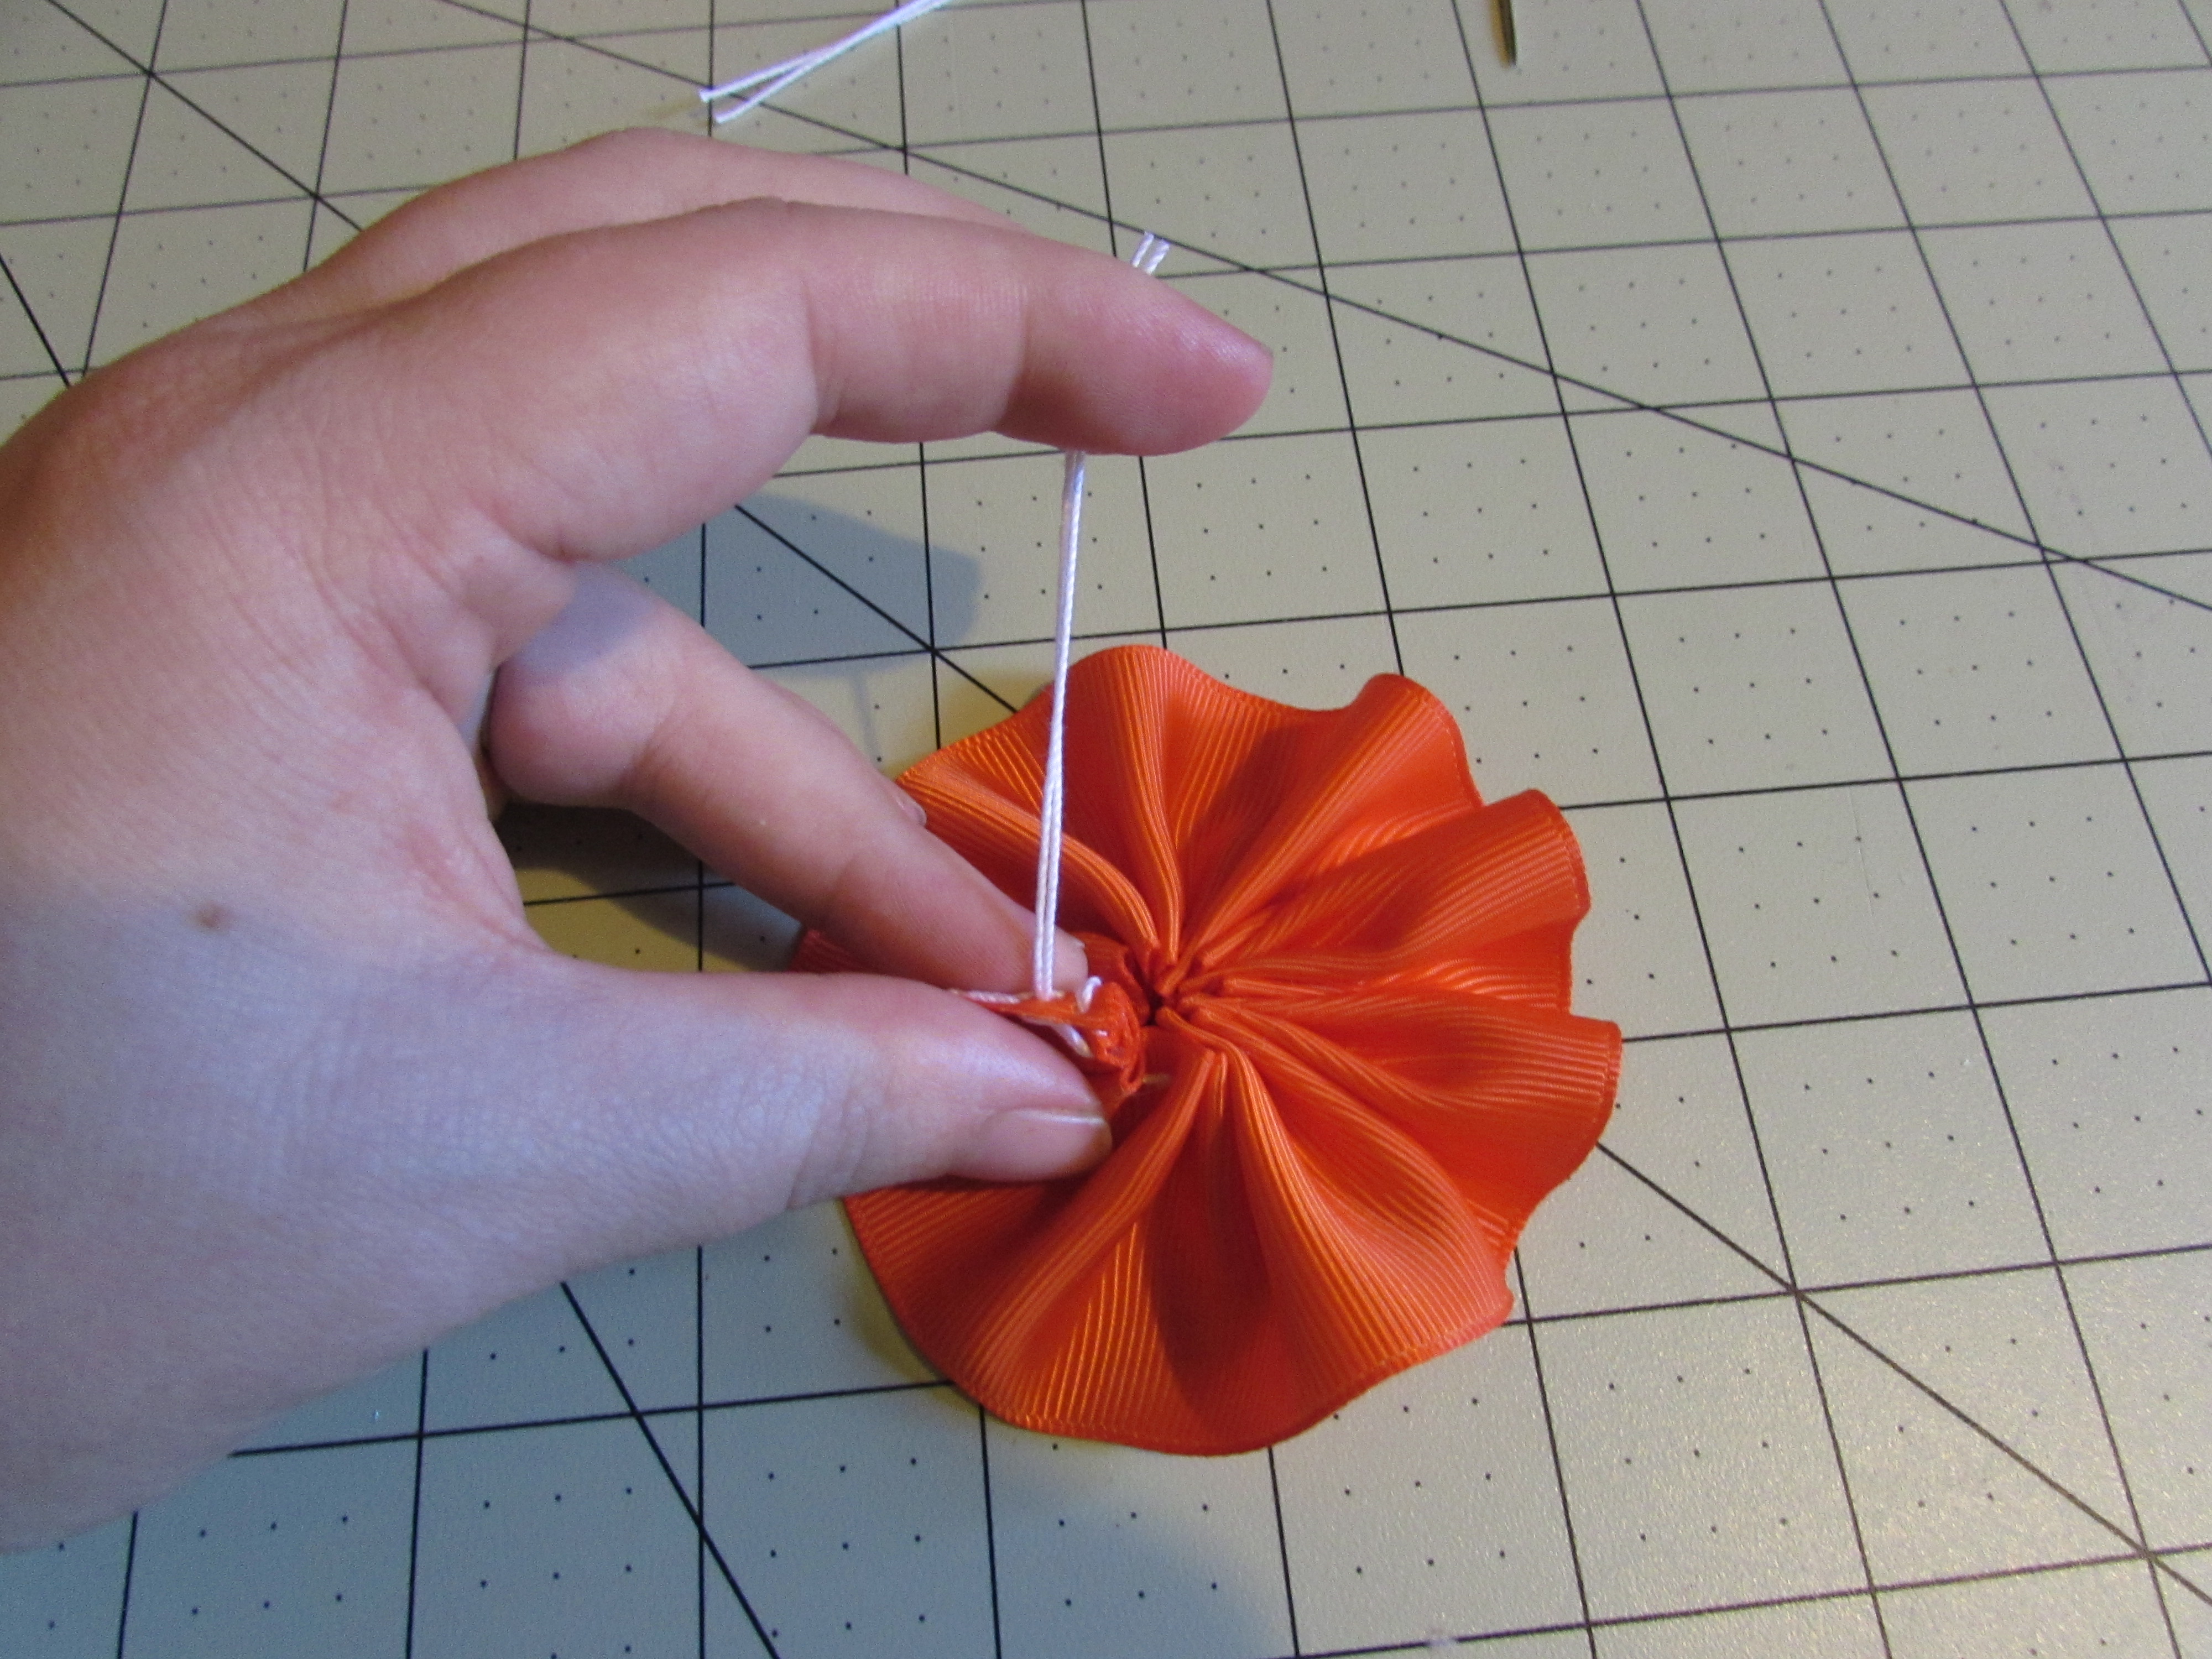
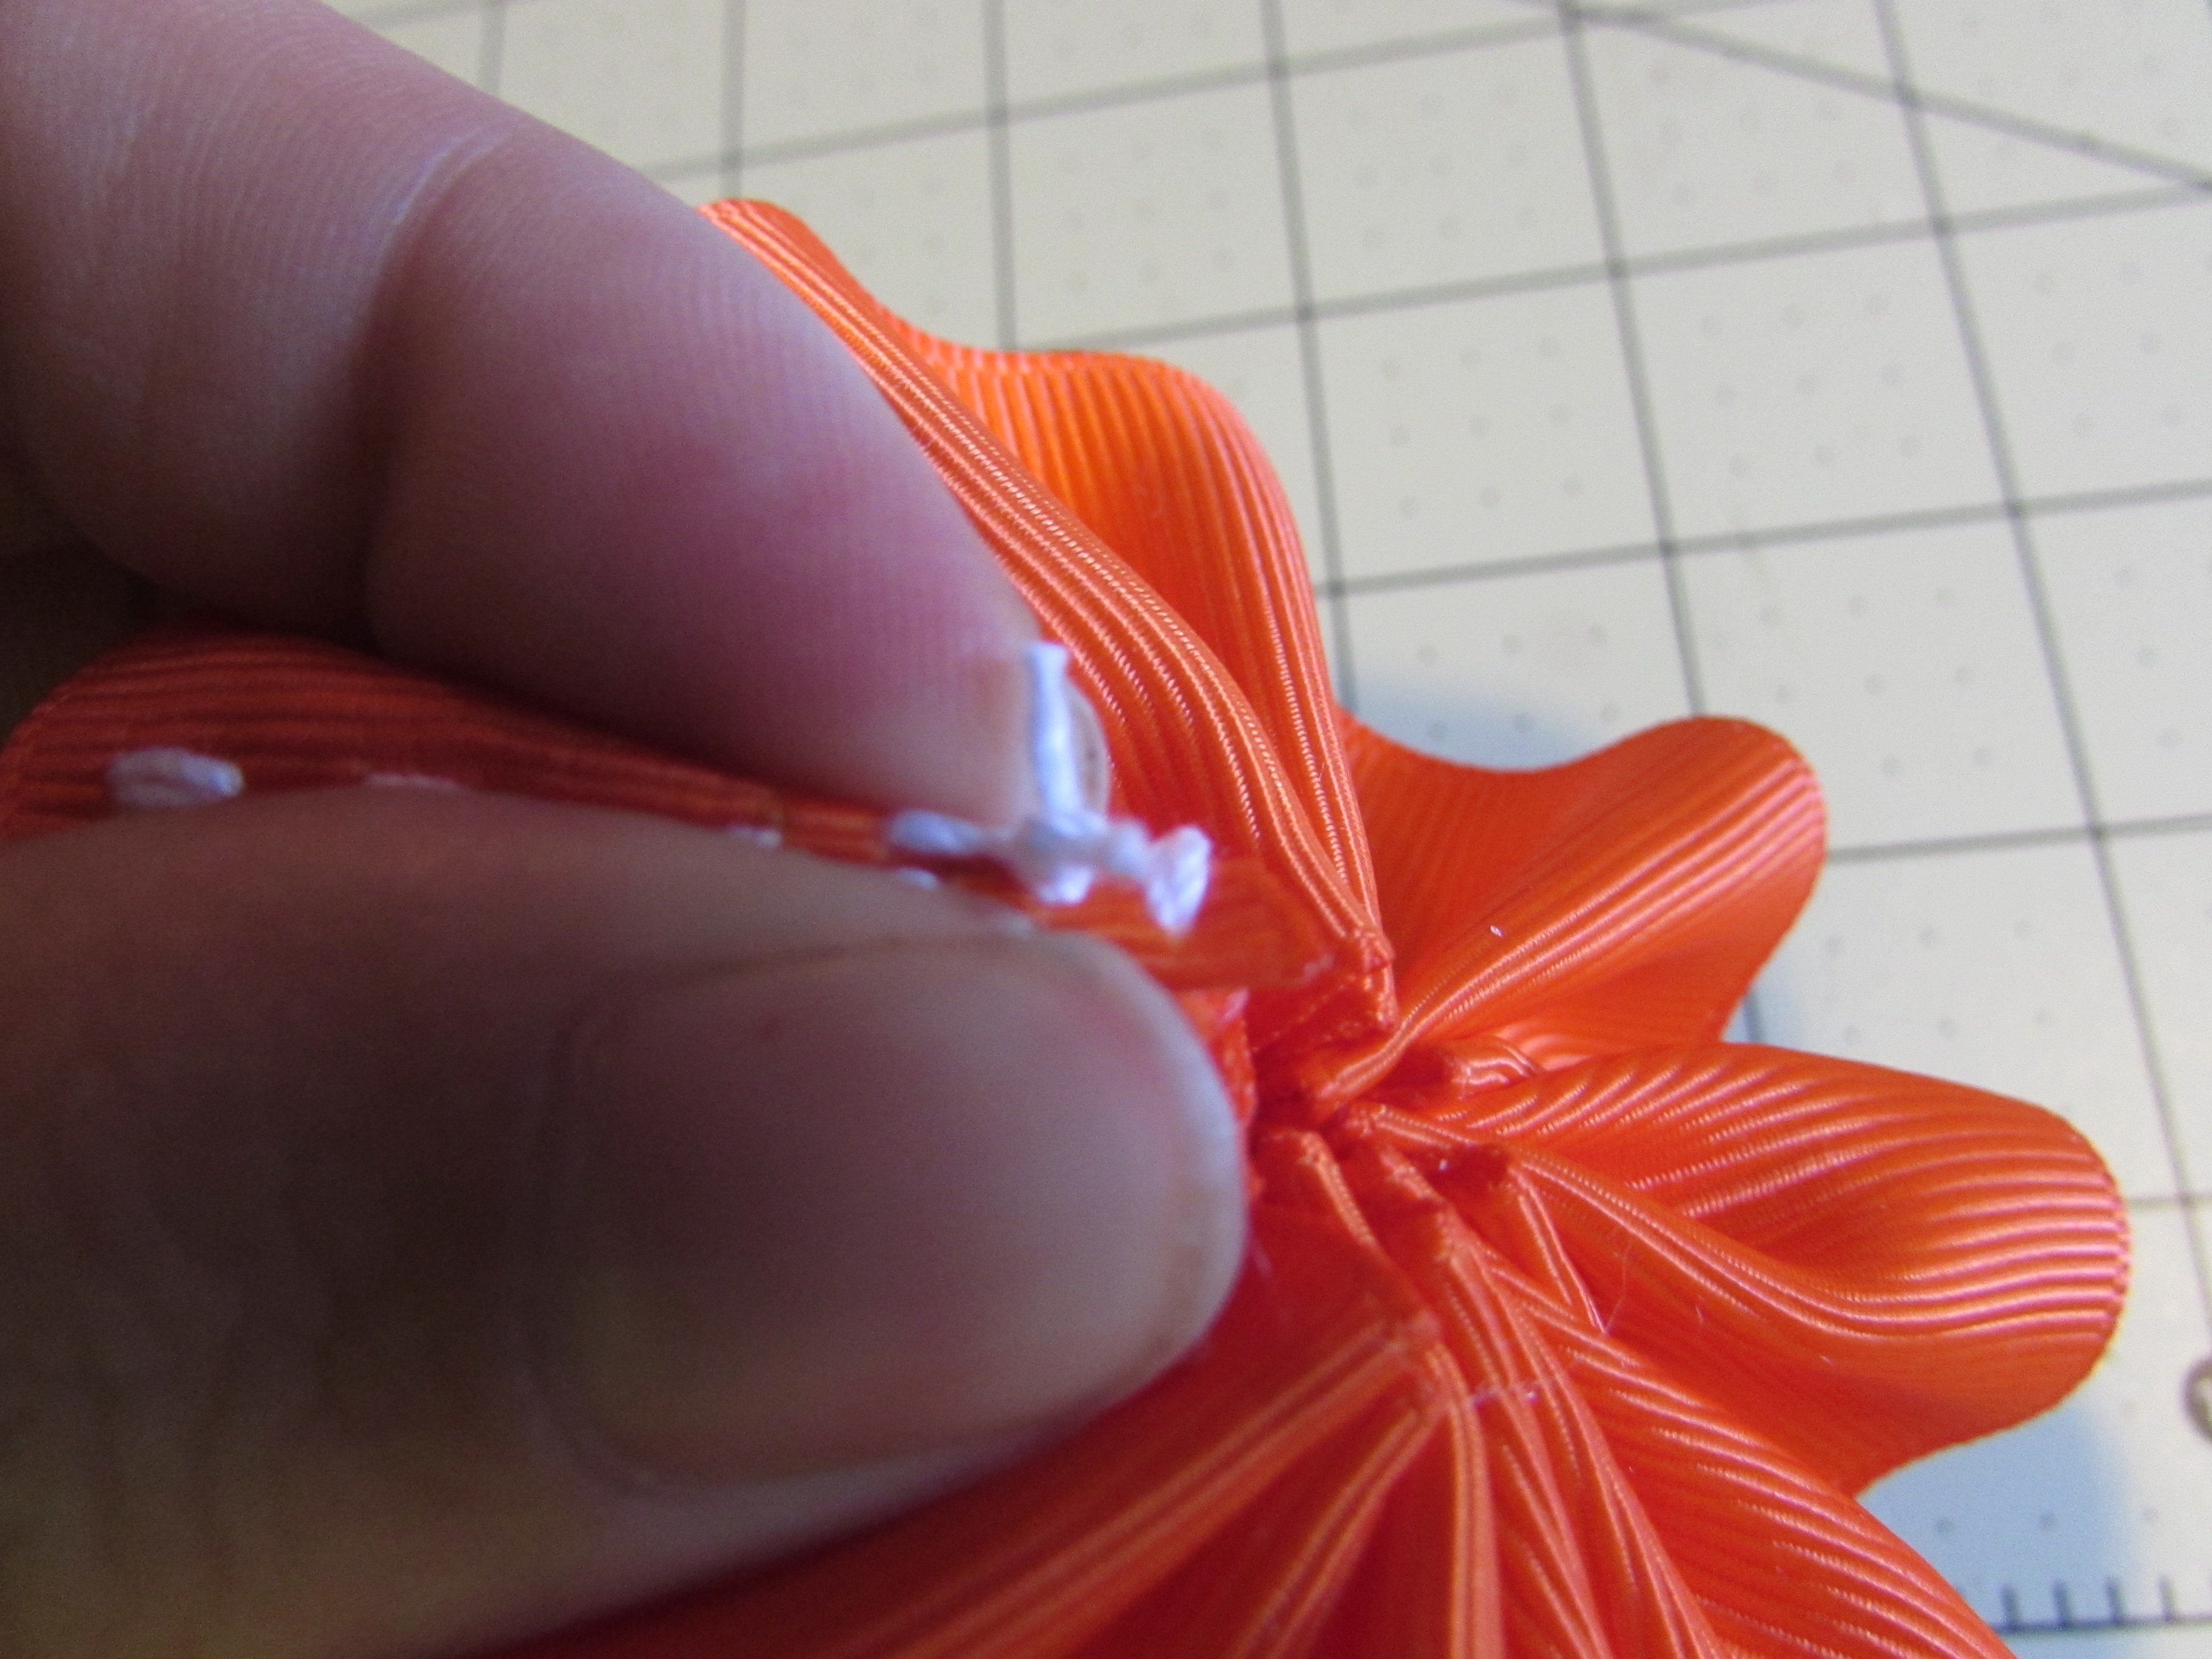
- Knot the end of your thread
Step 7: Crease the center of the ruffle
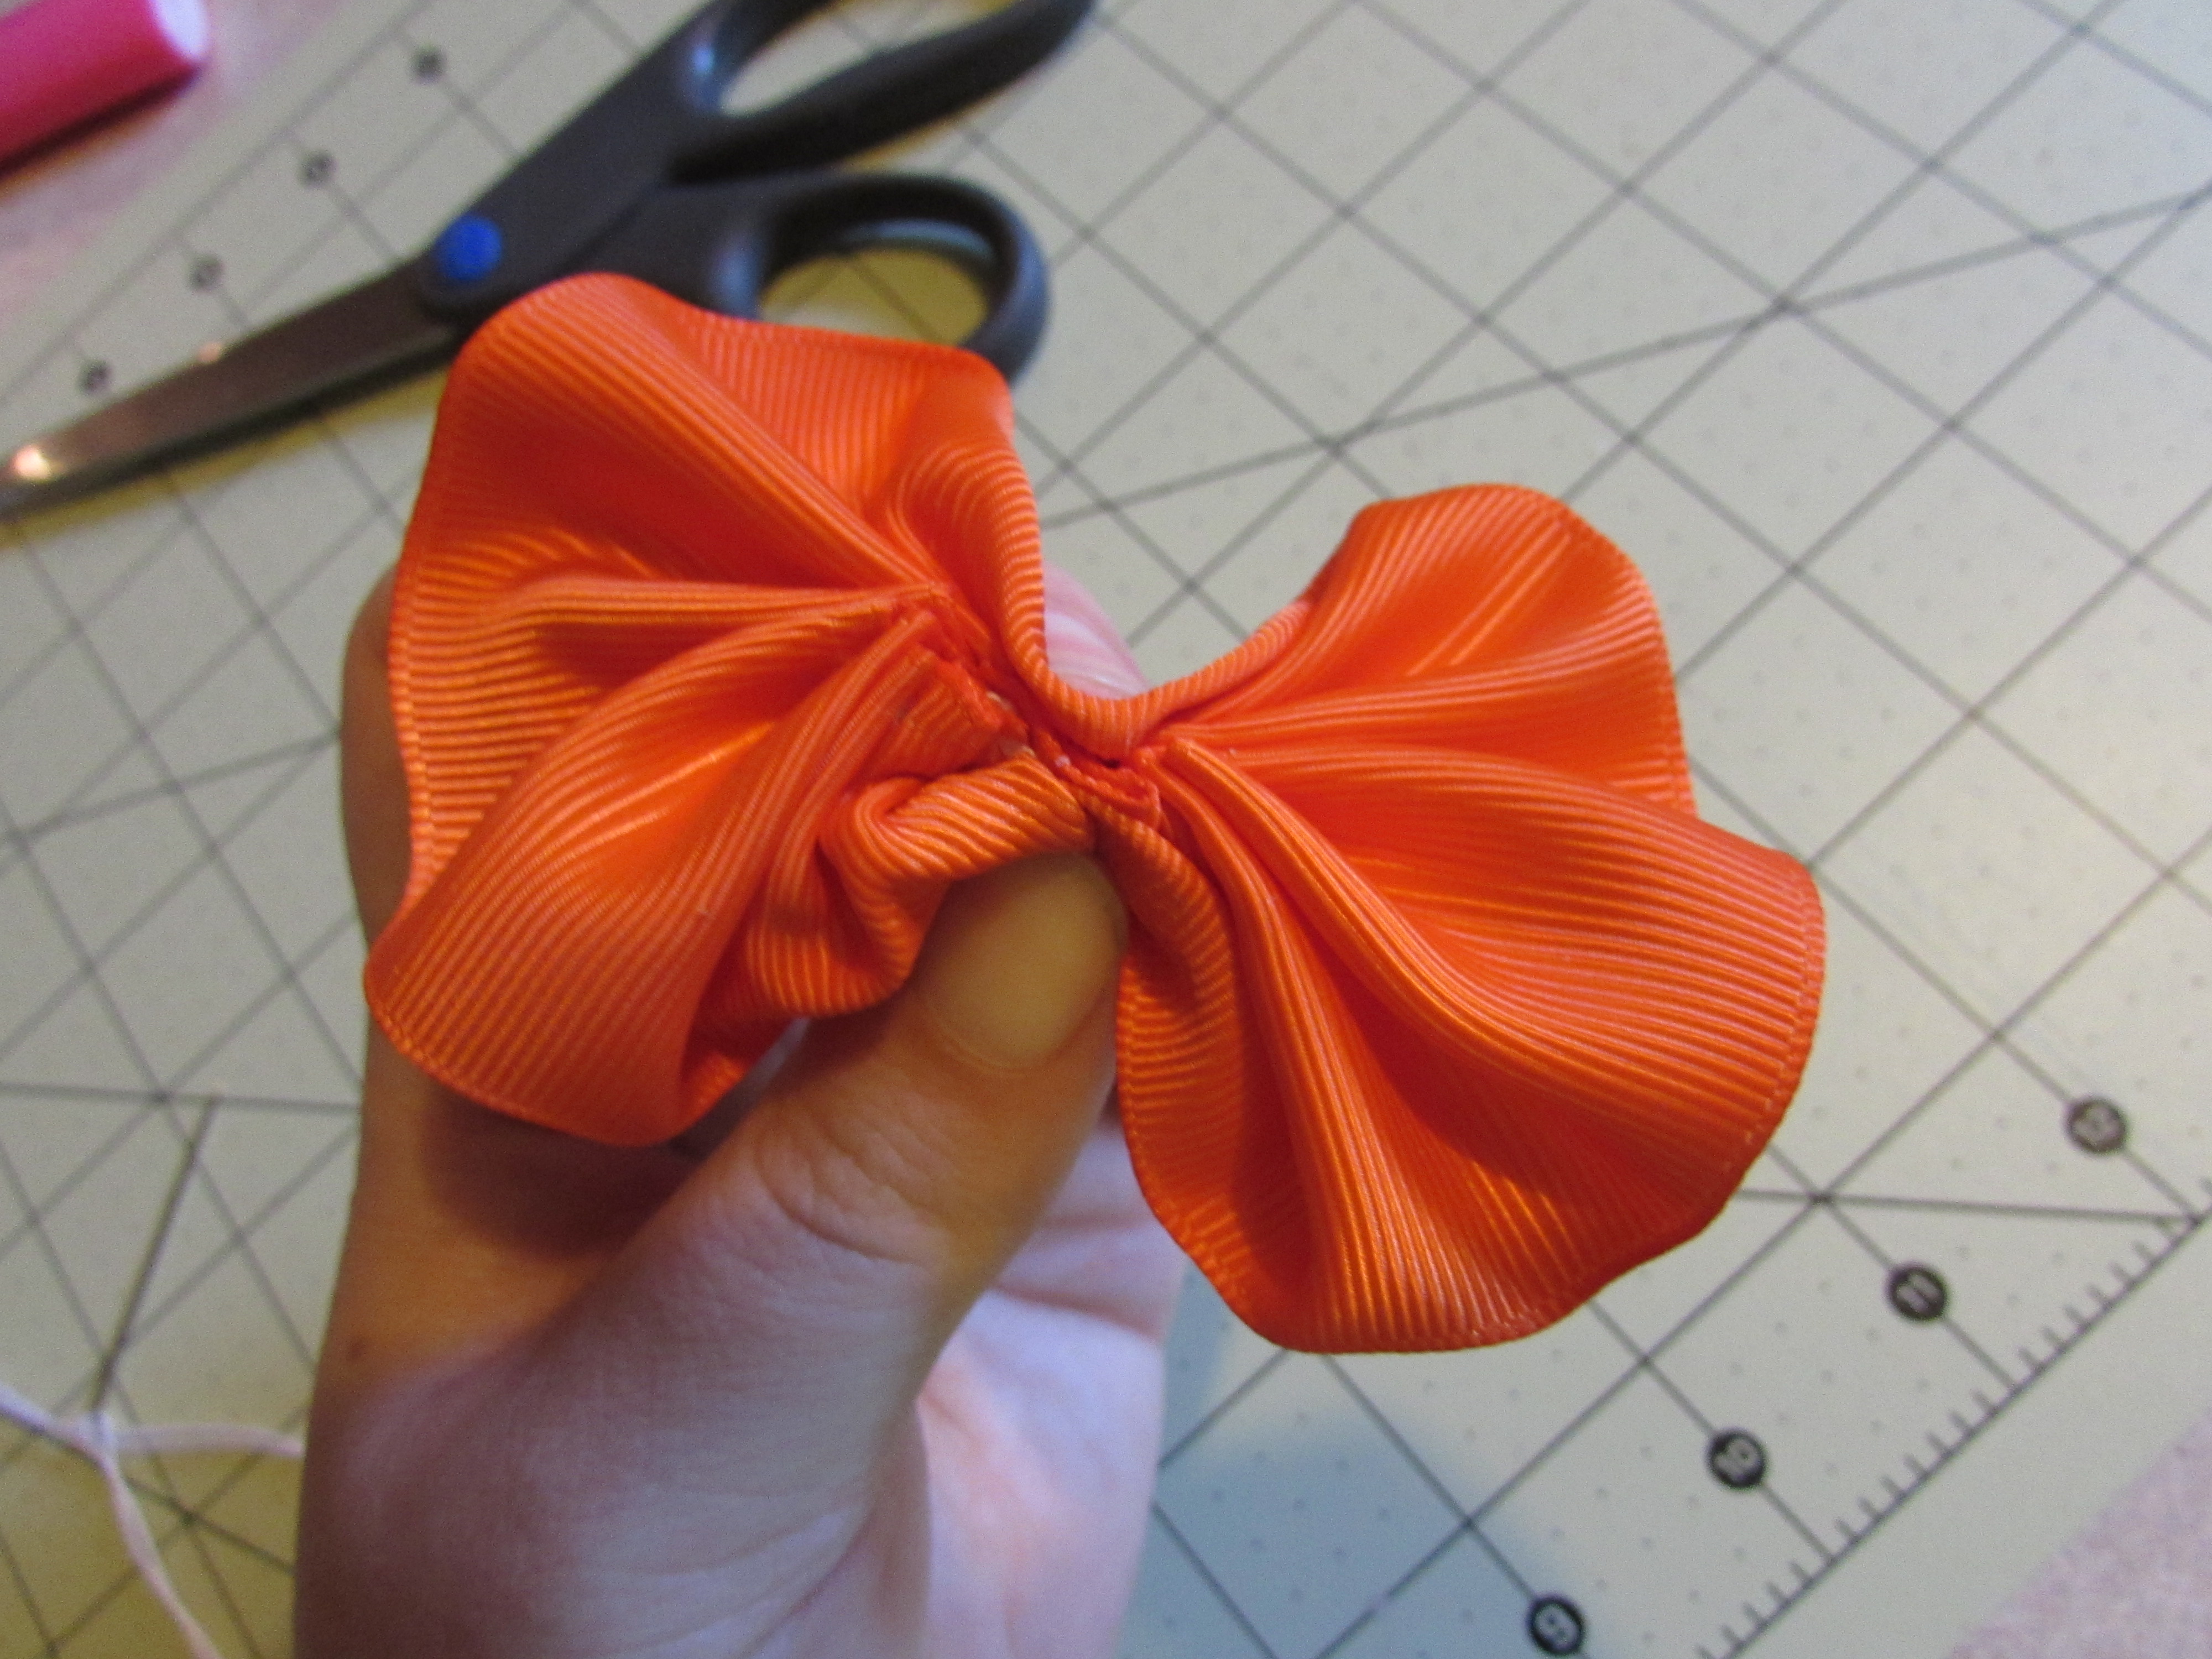
Step 8: Sew through the center
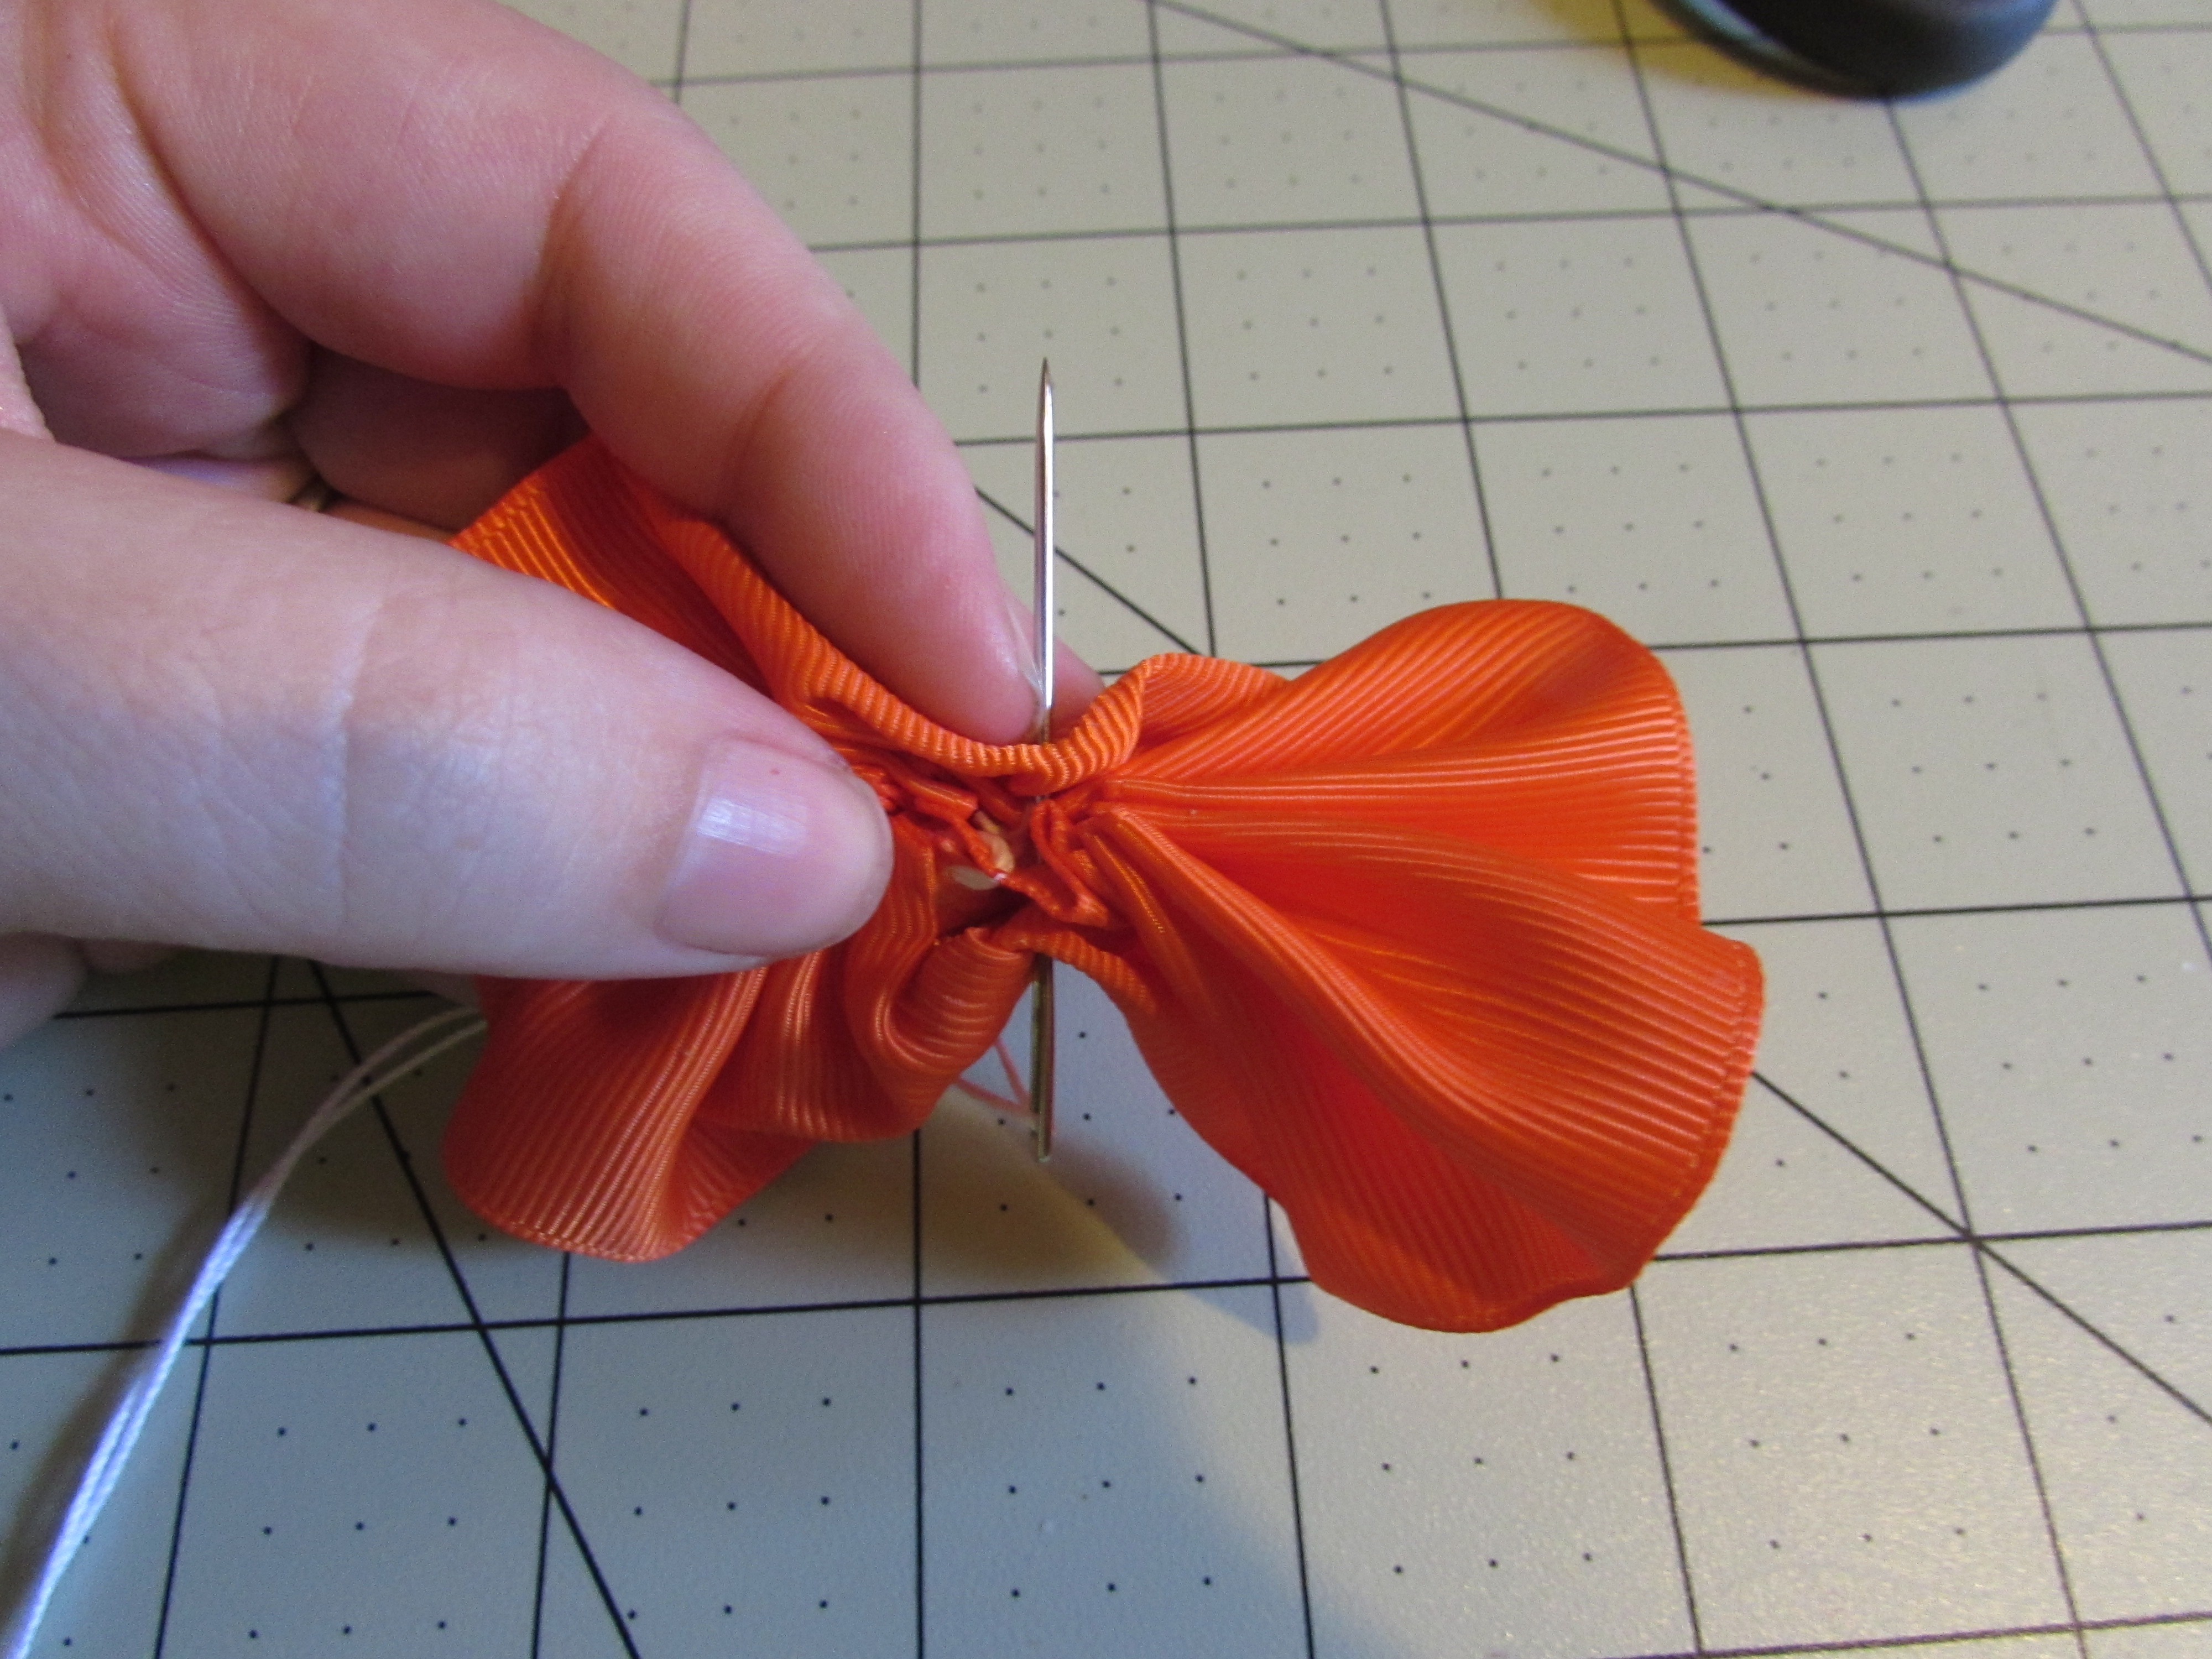
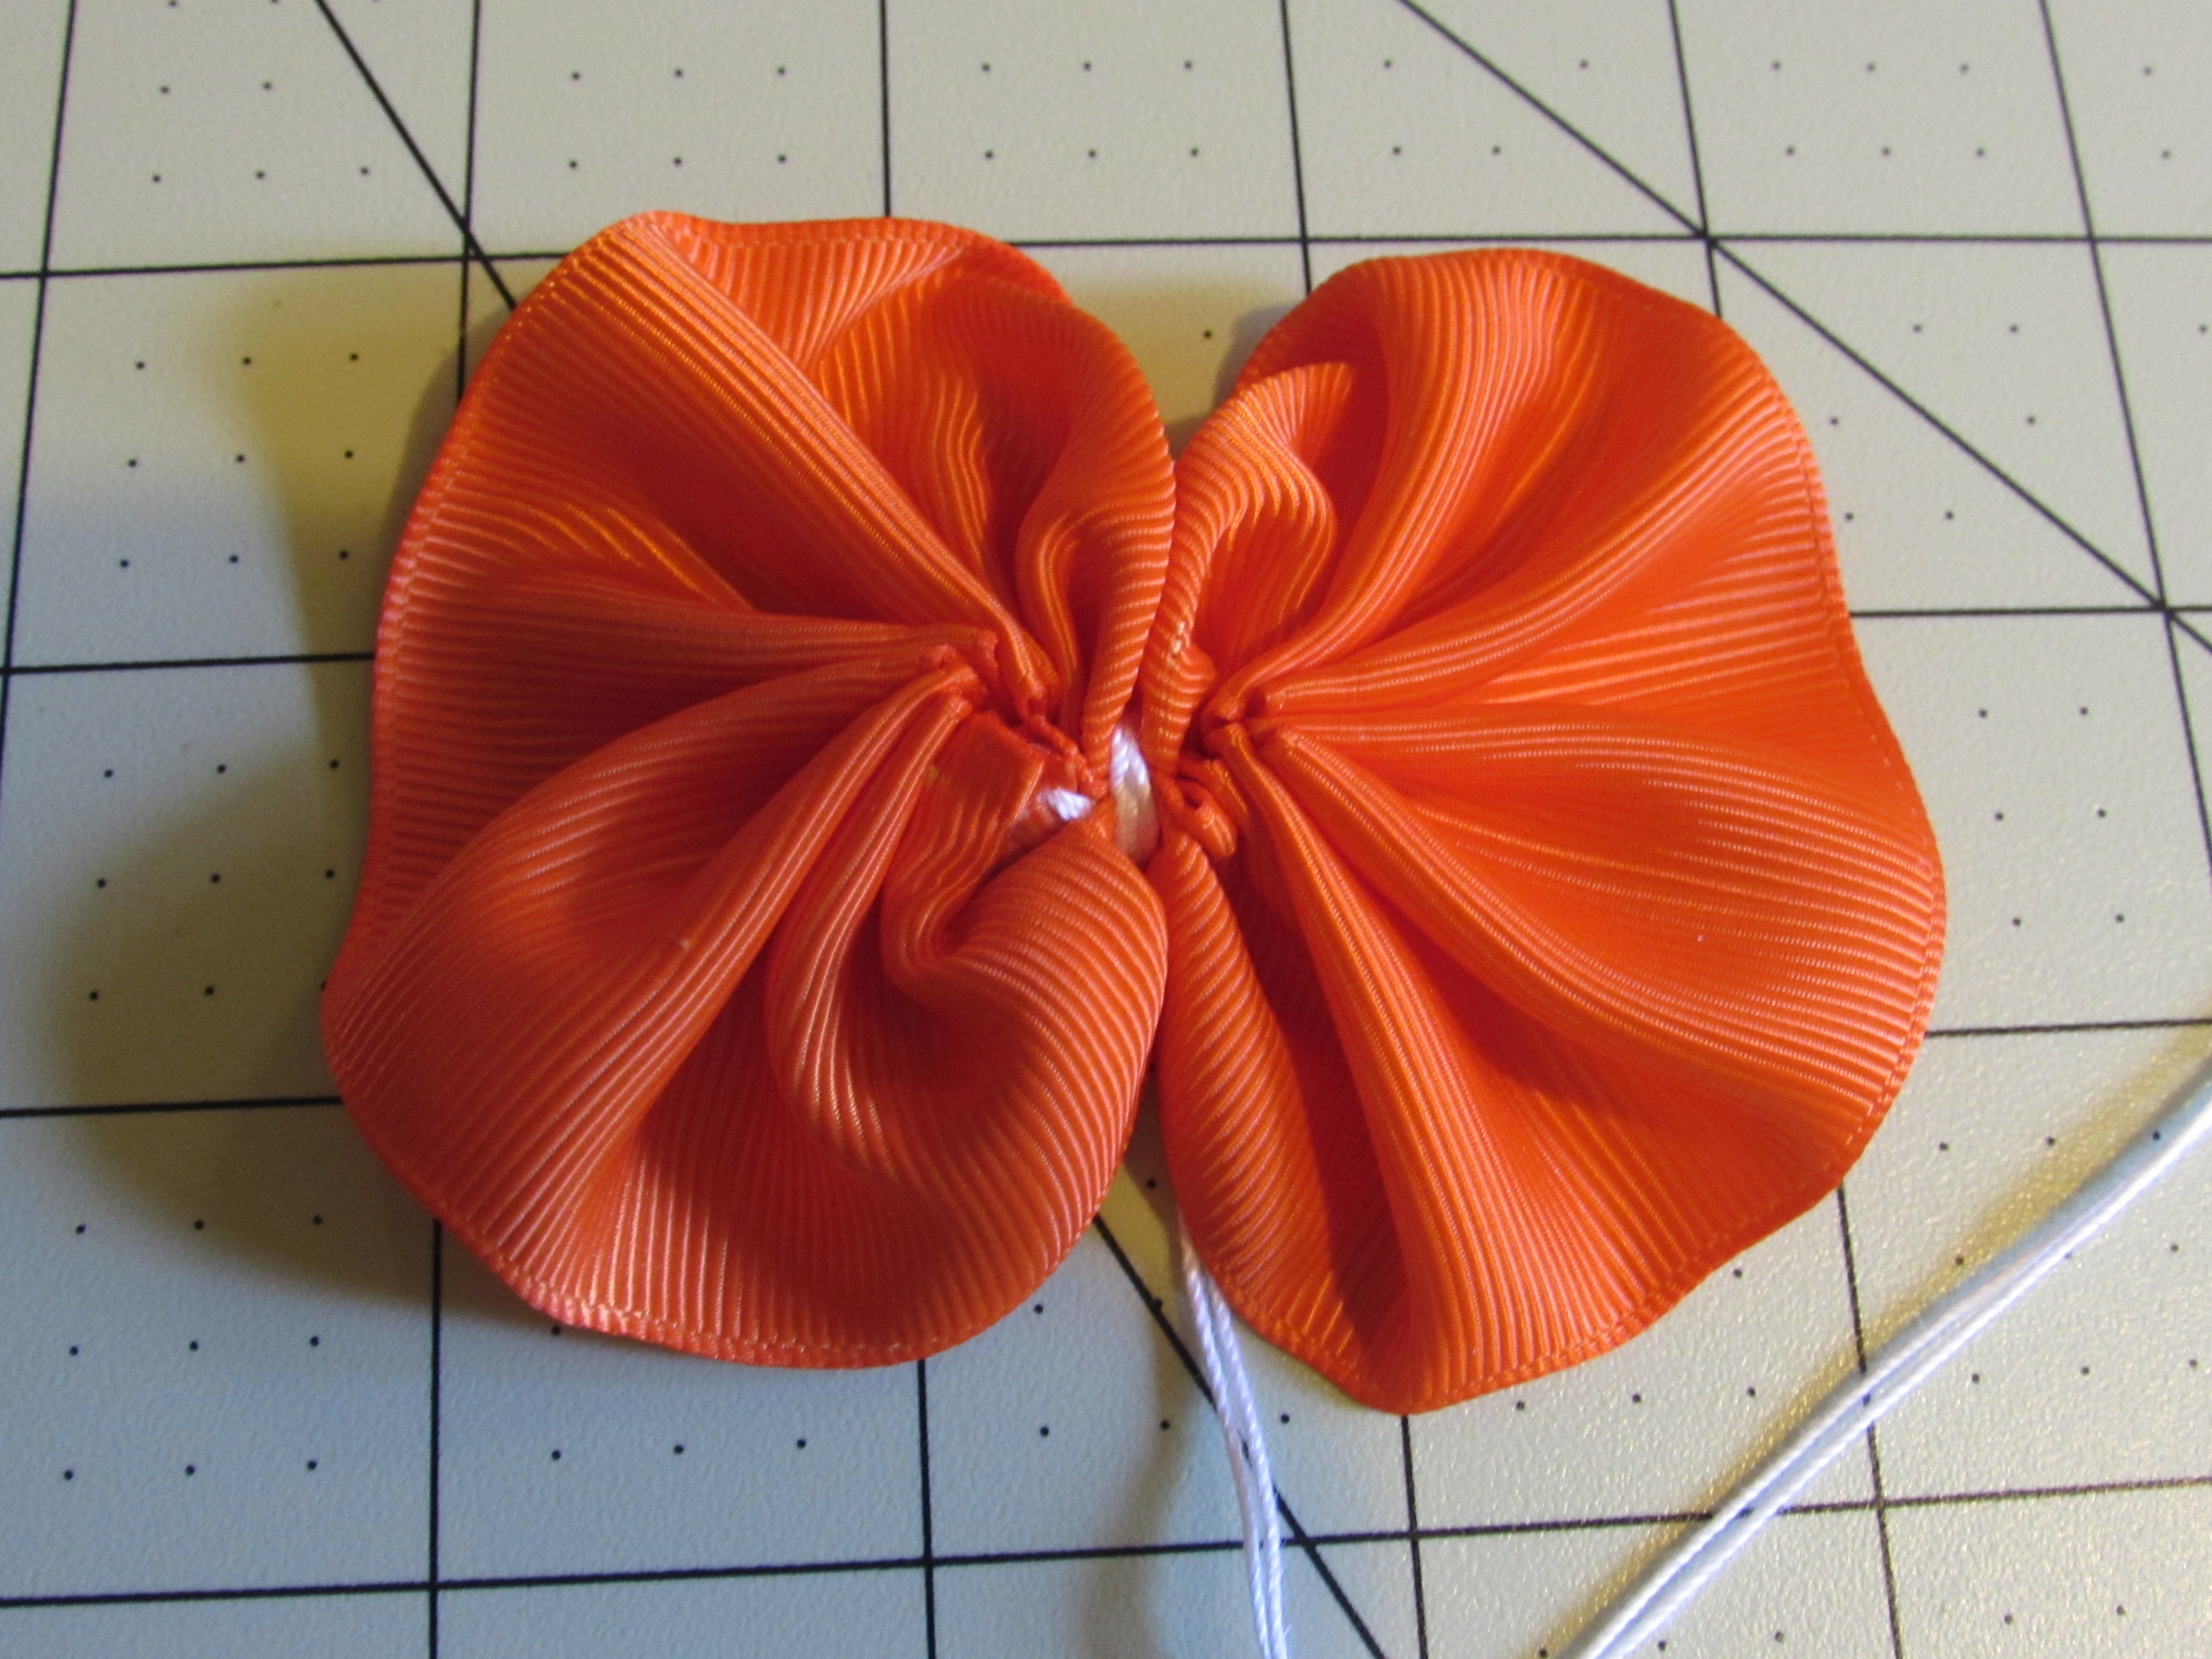
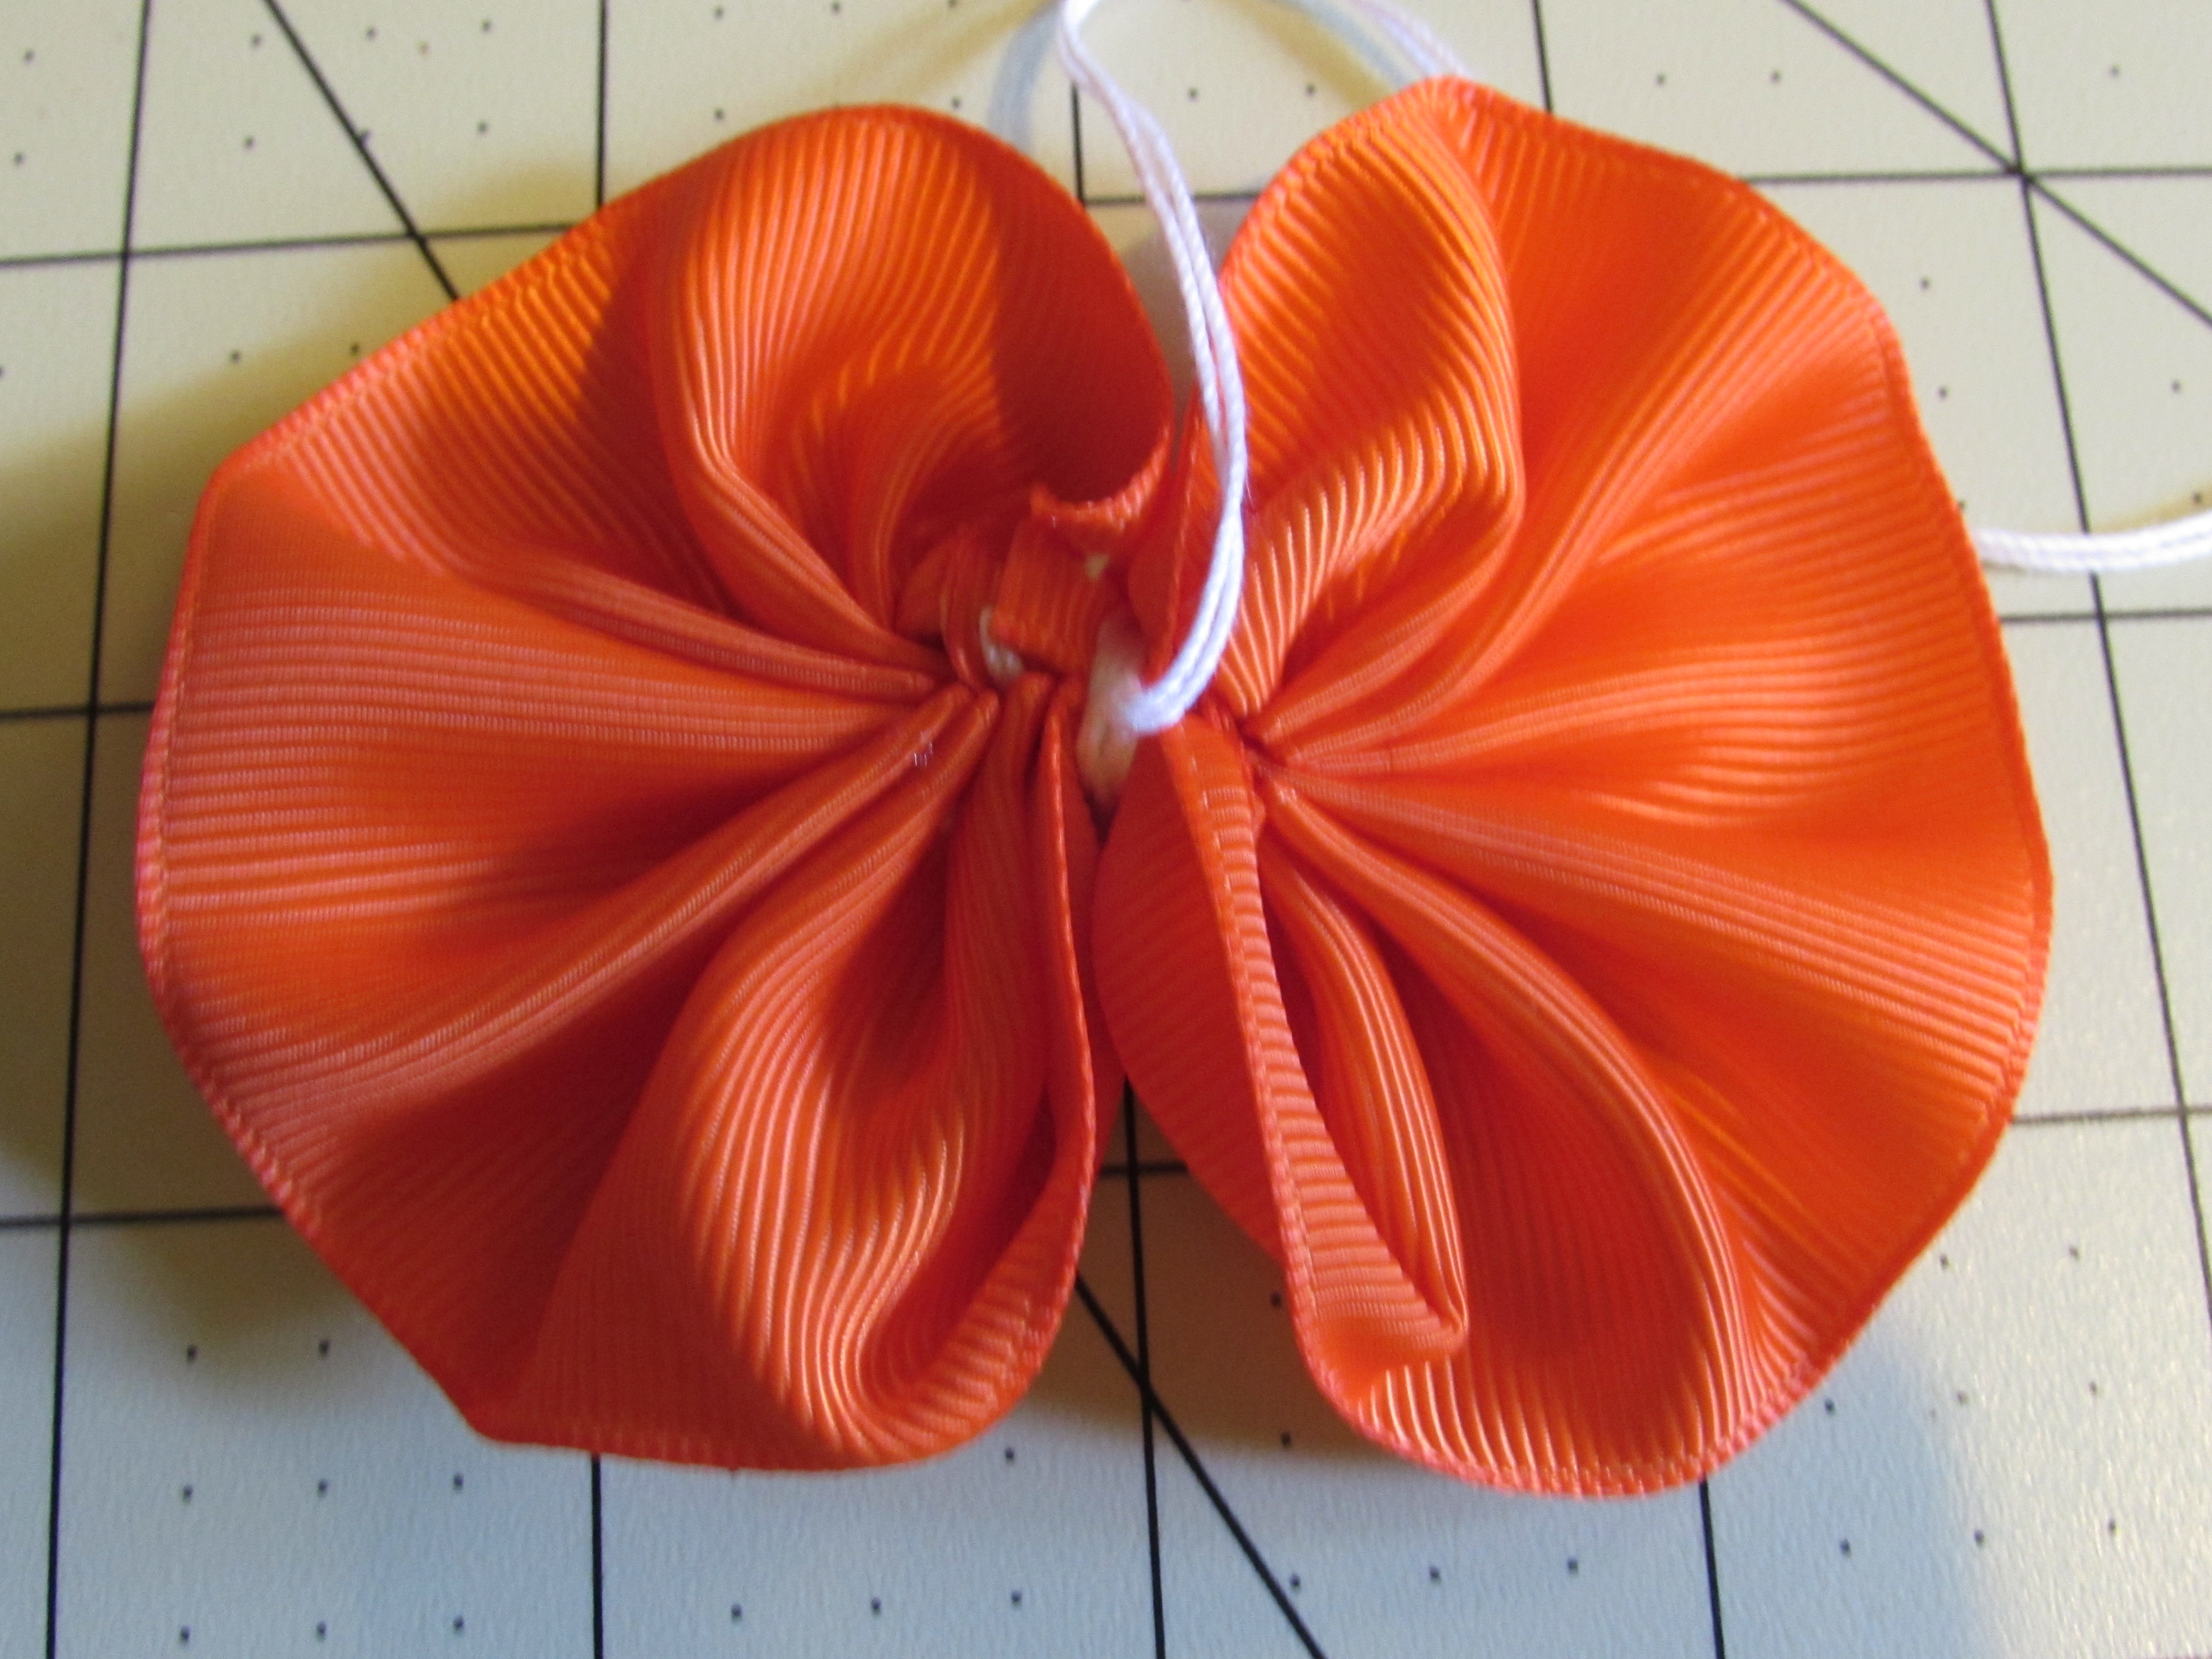

- Cut off the needle/thread
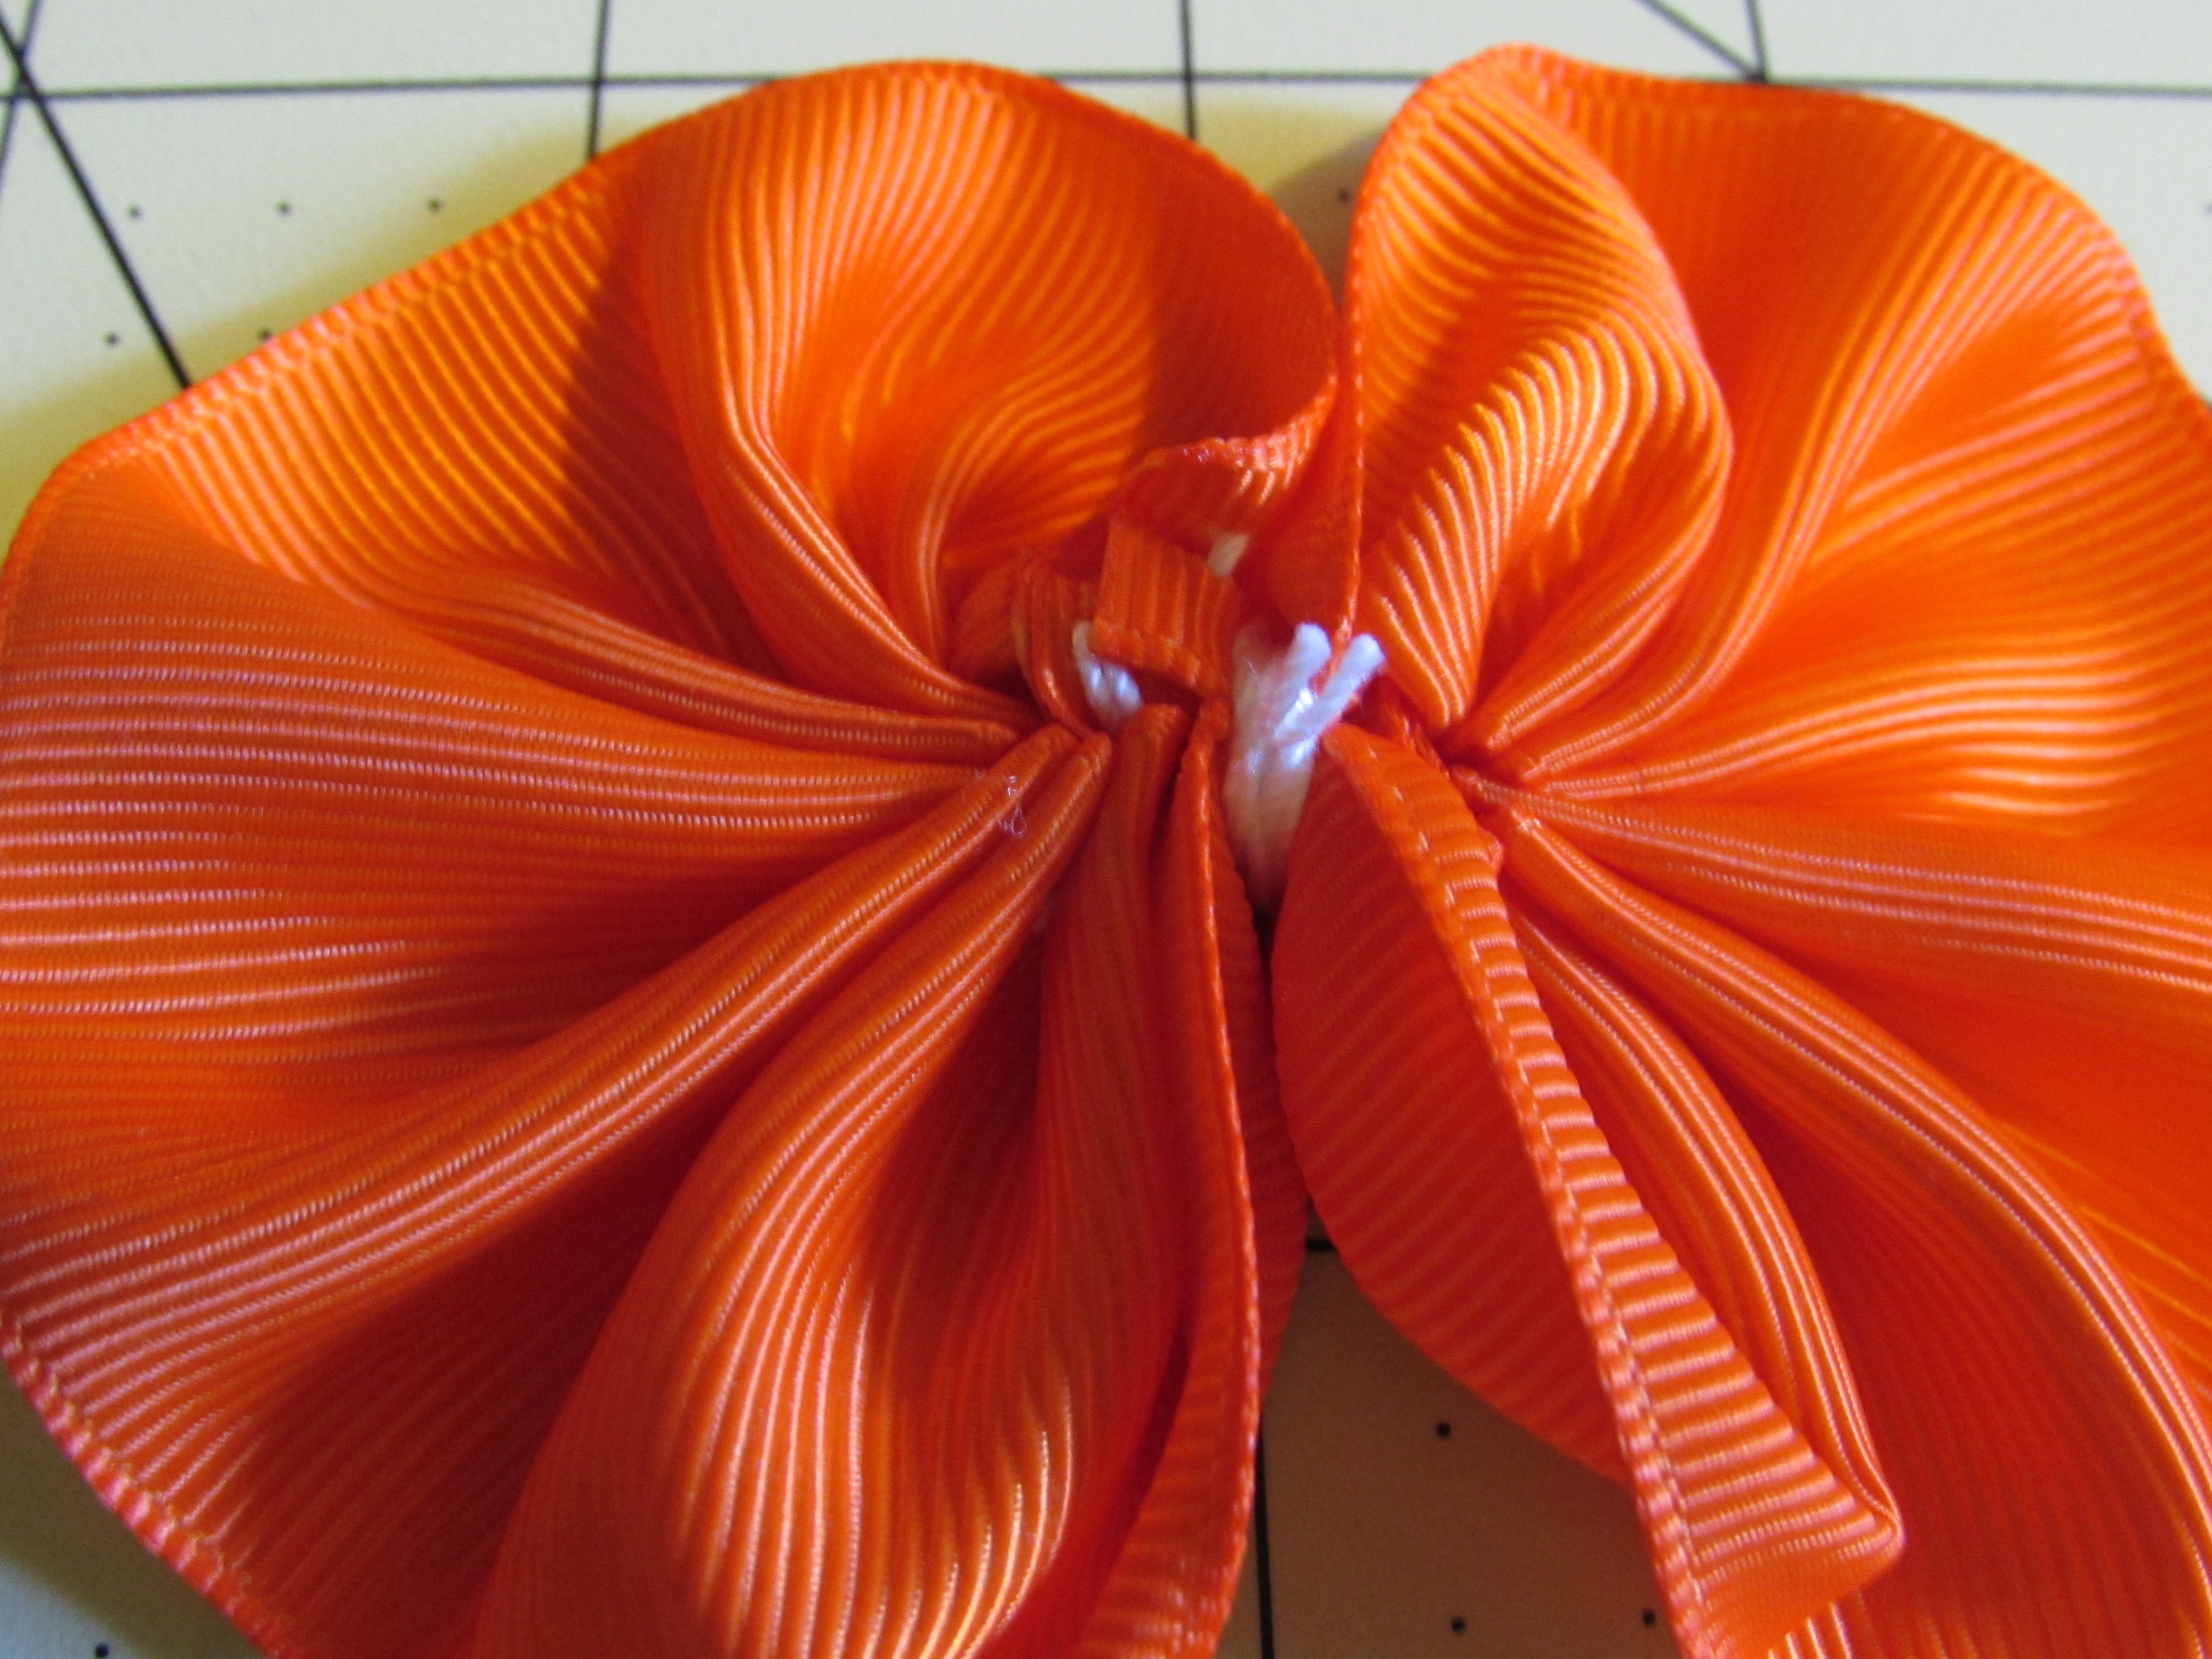
Step 9: Take your 3/8" 4" piece of orange and wrap around the center and secure it where you sewn it.
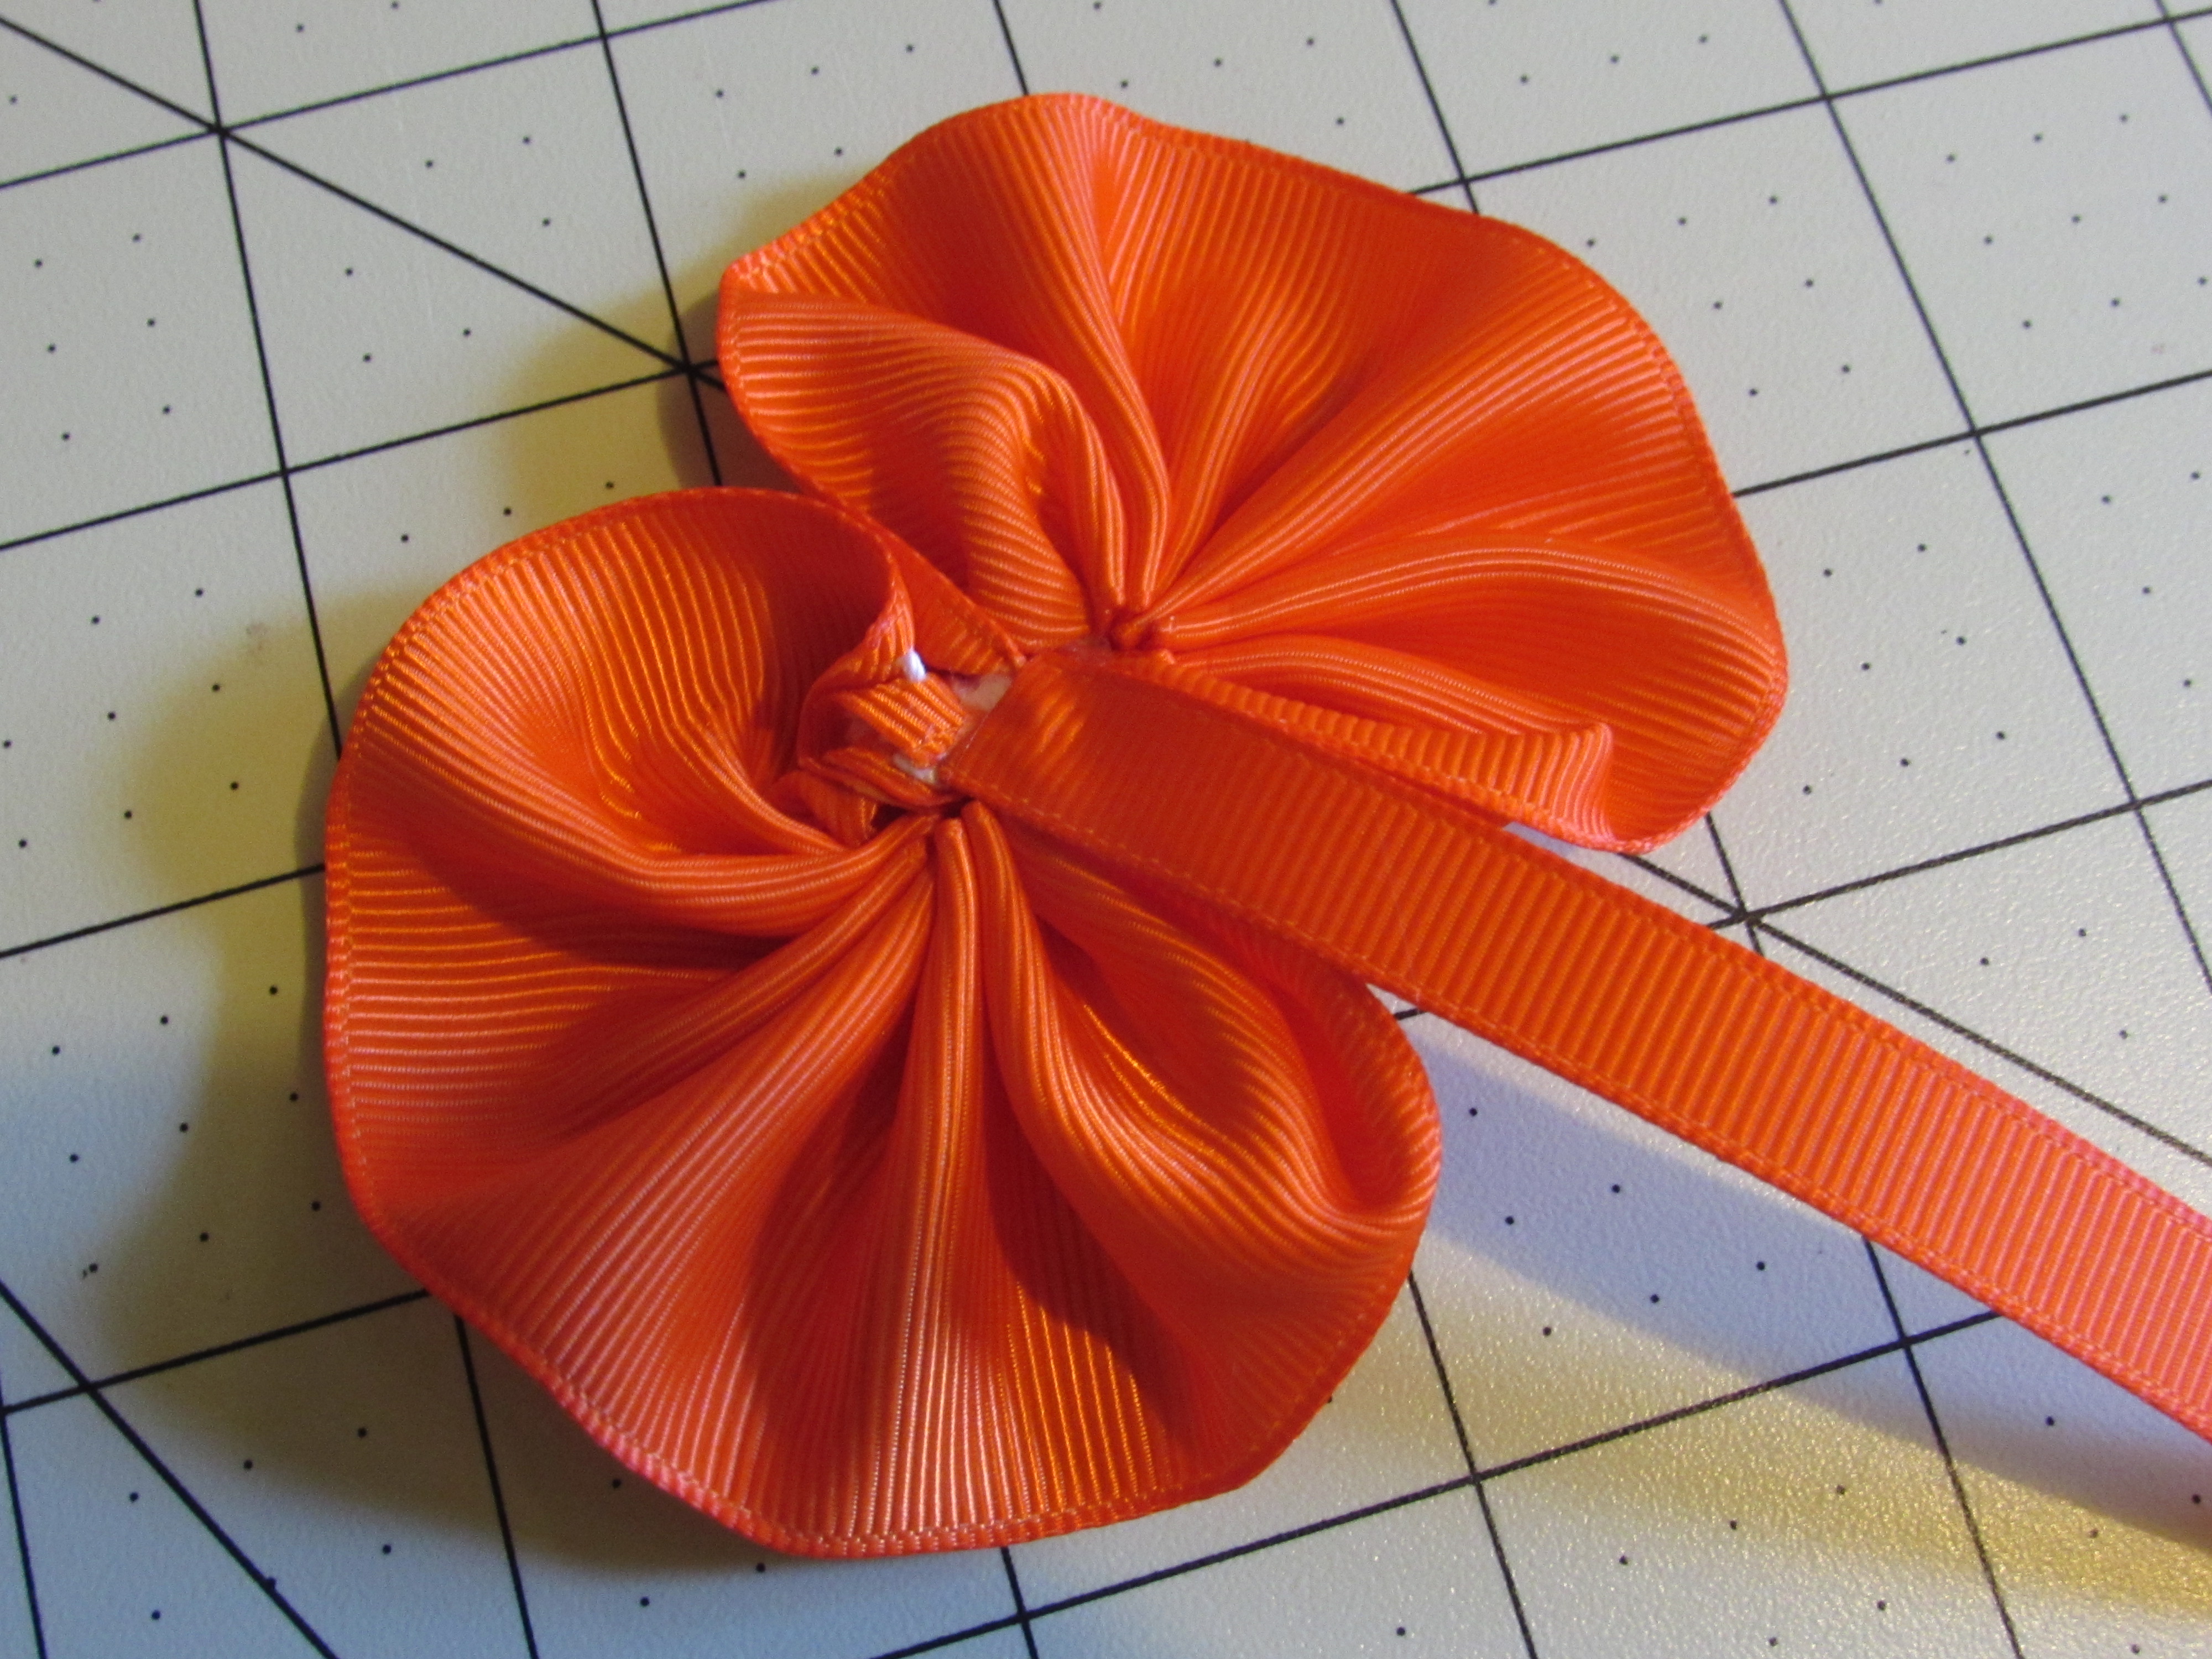
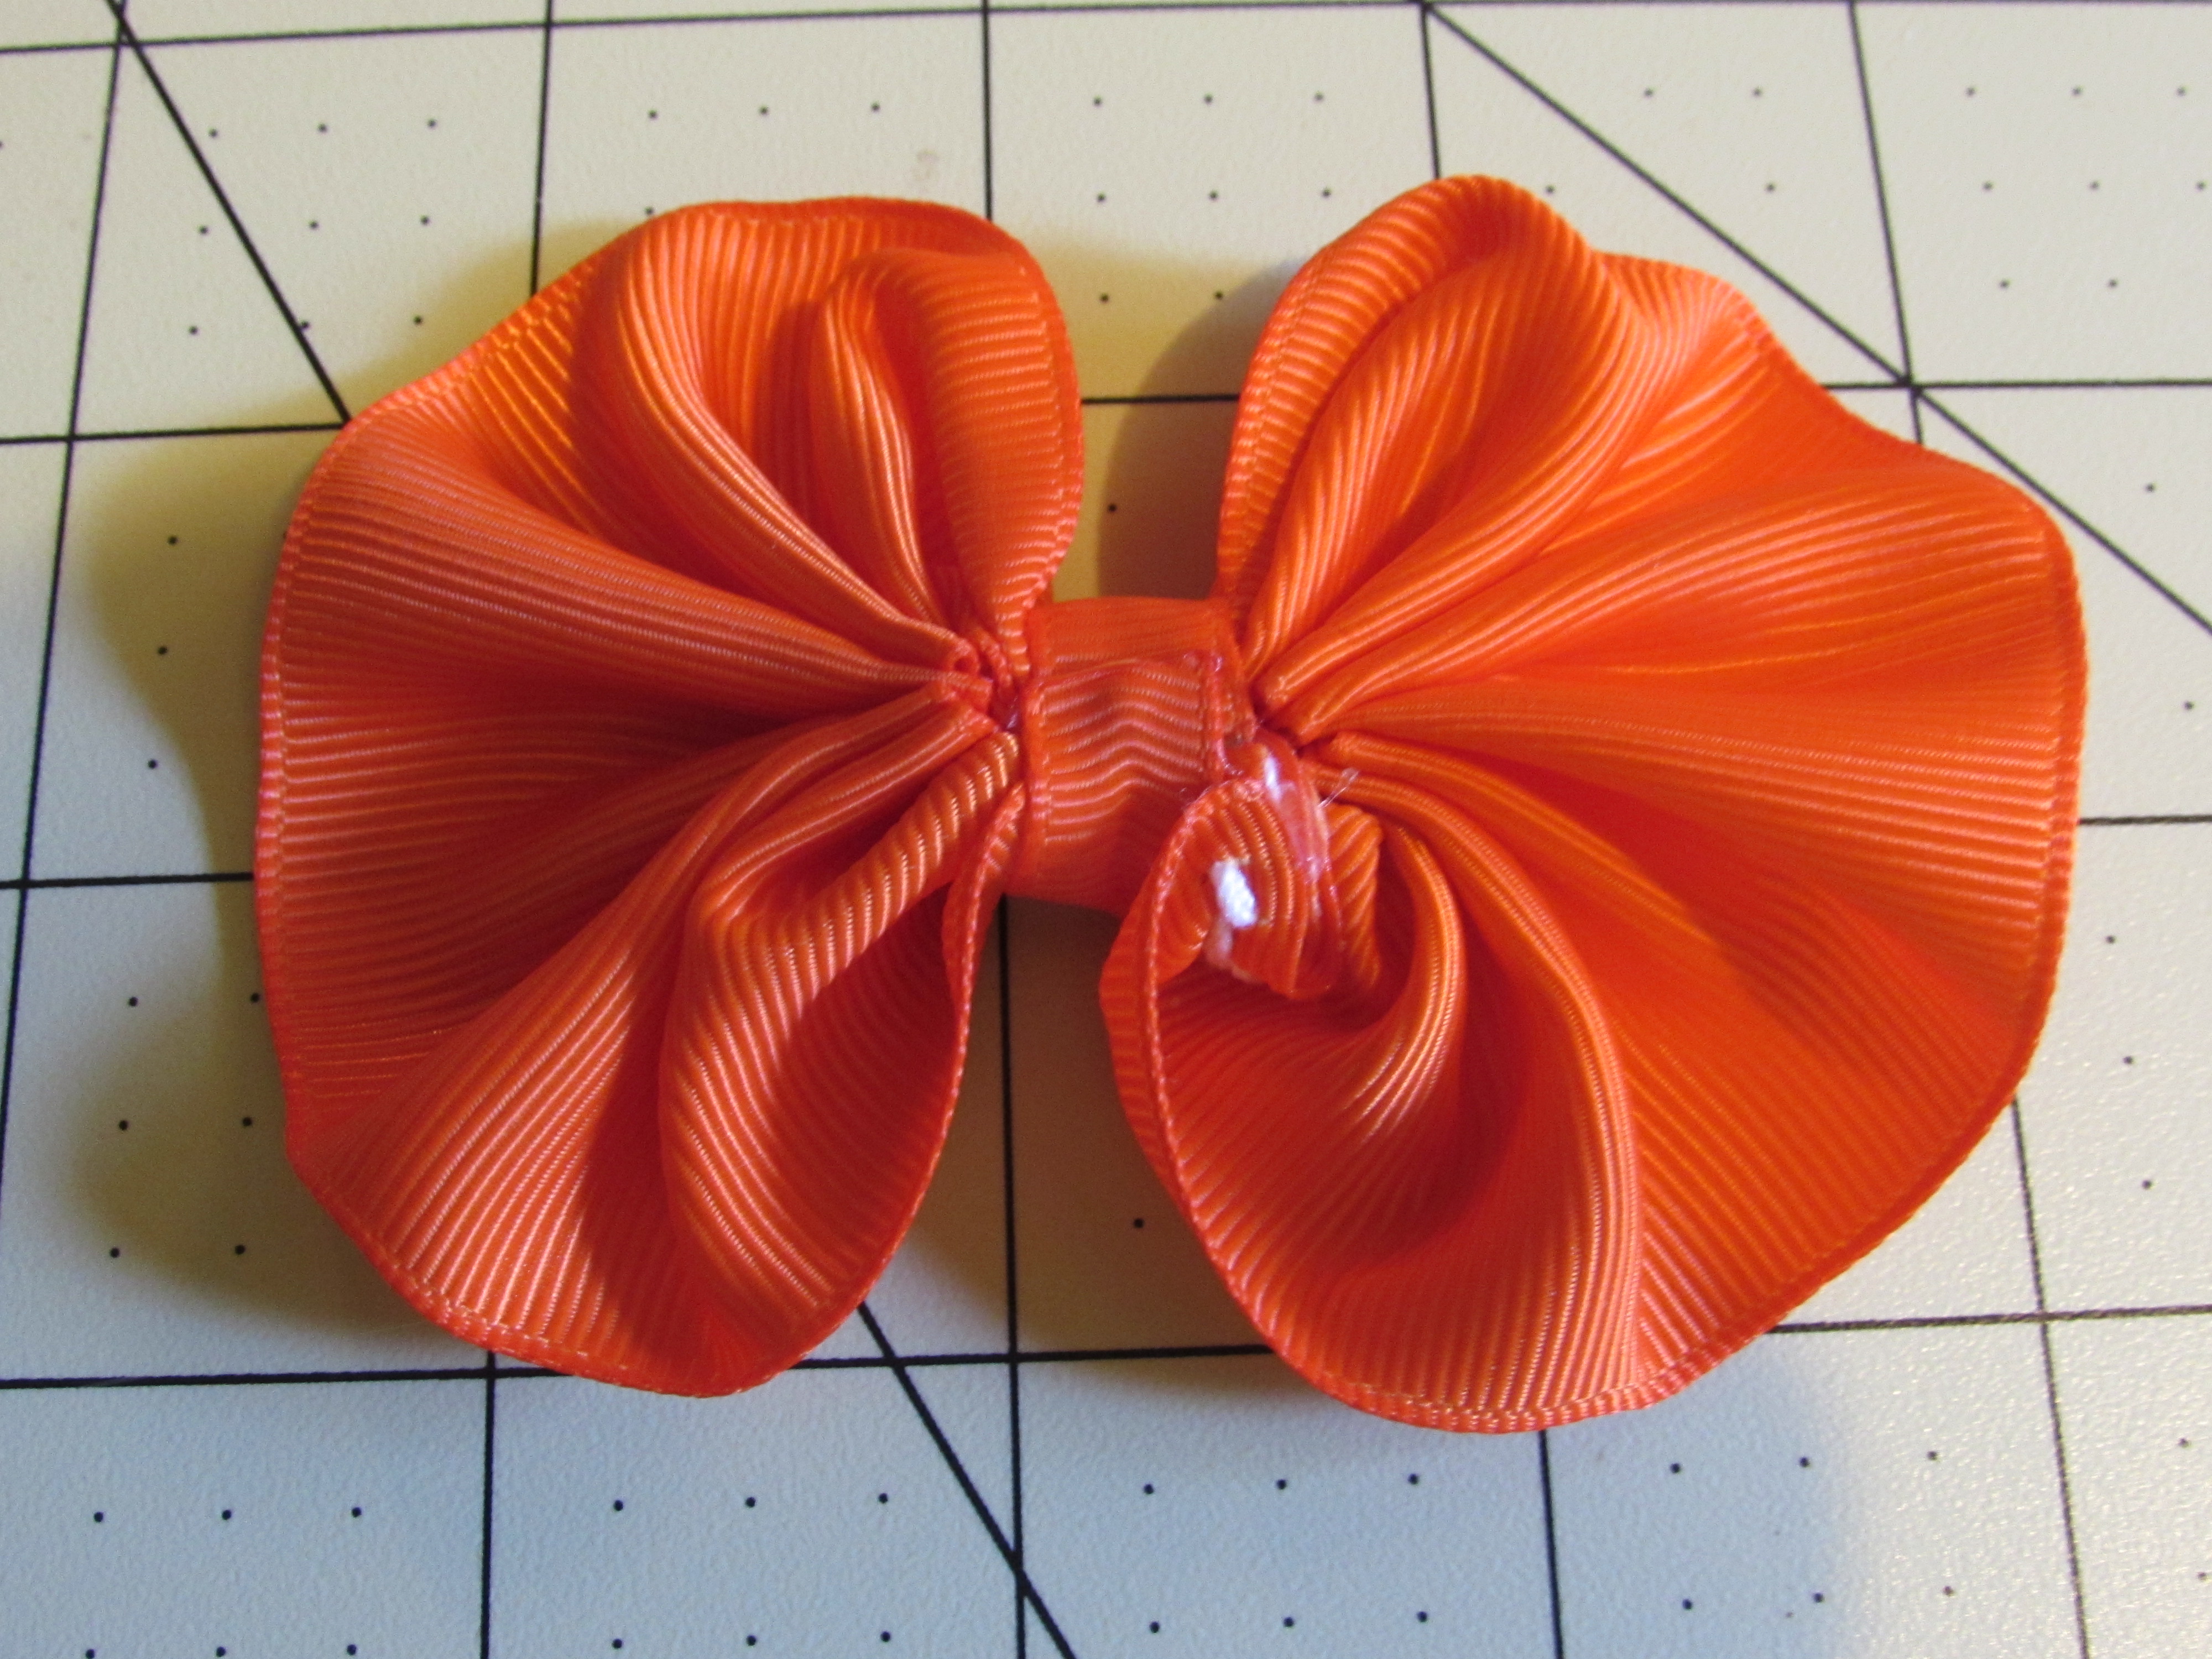
Step 10: Take your brown ribbon scrap and cut a "pumpkin top" shape out of it and heat seal EVERY side.
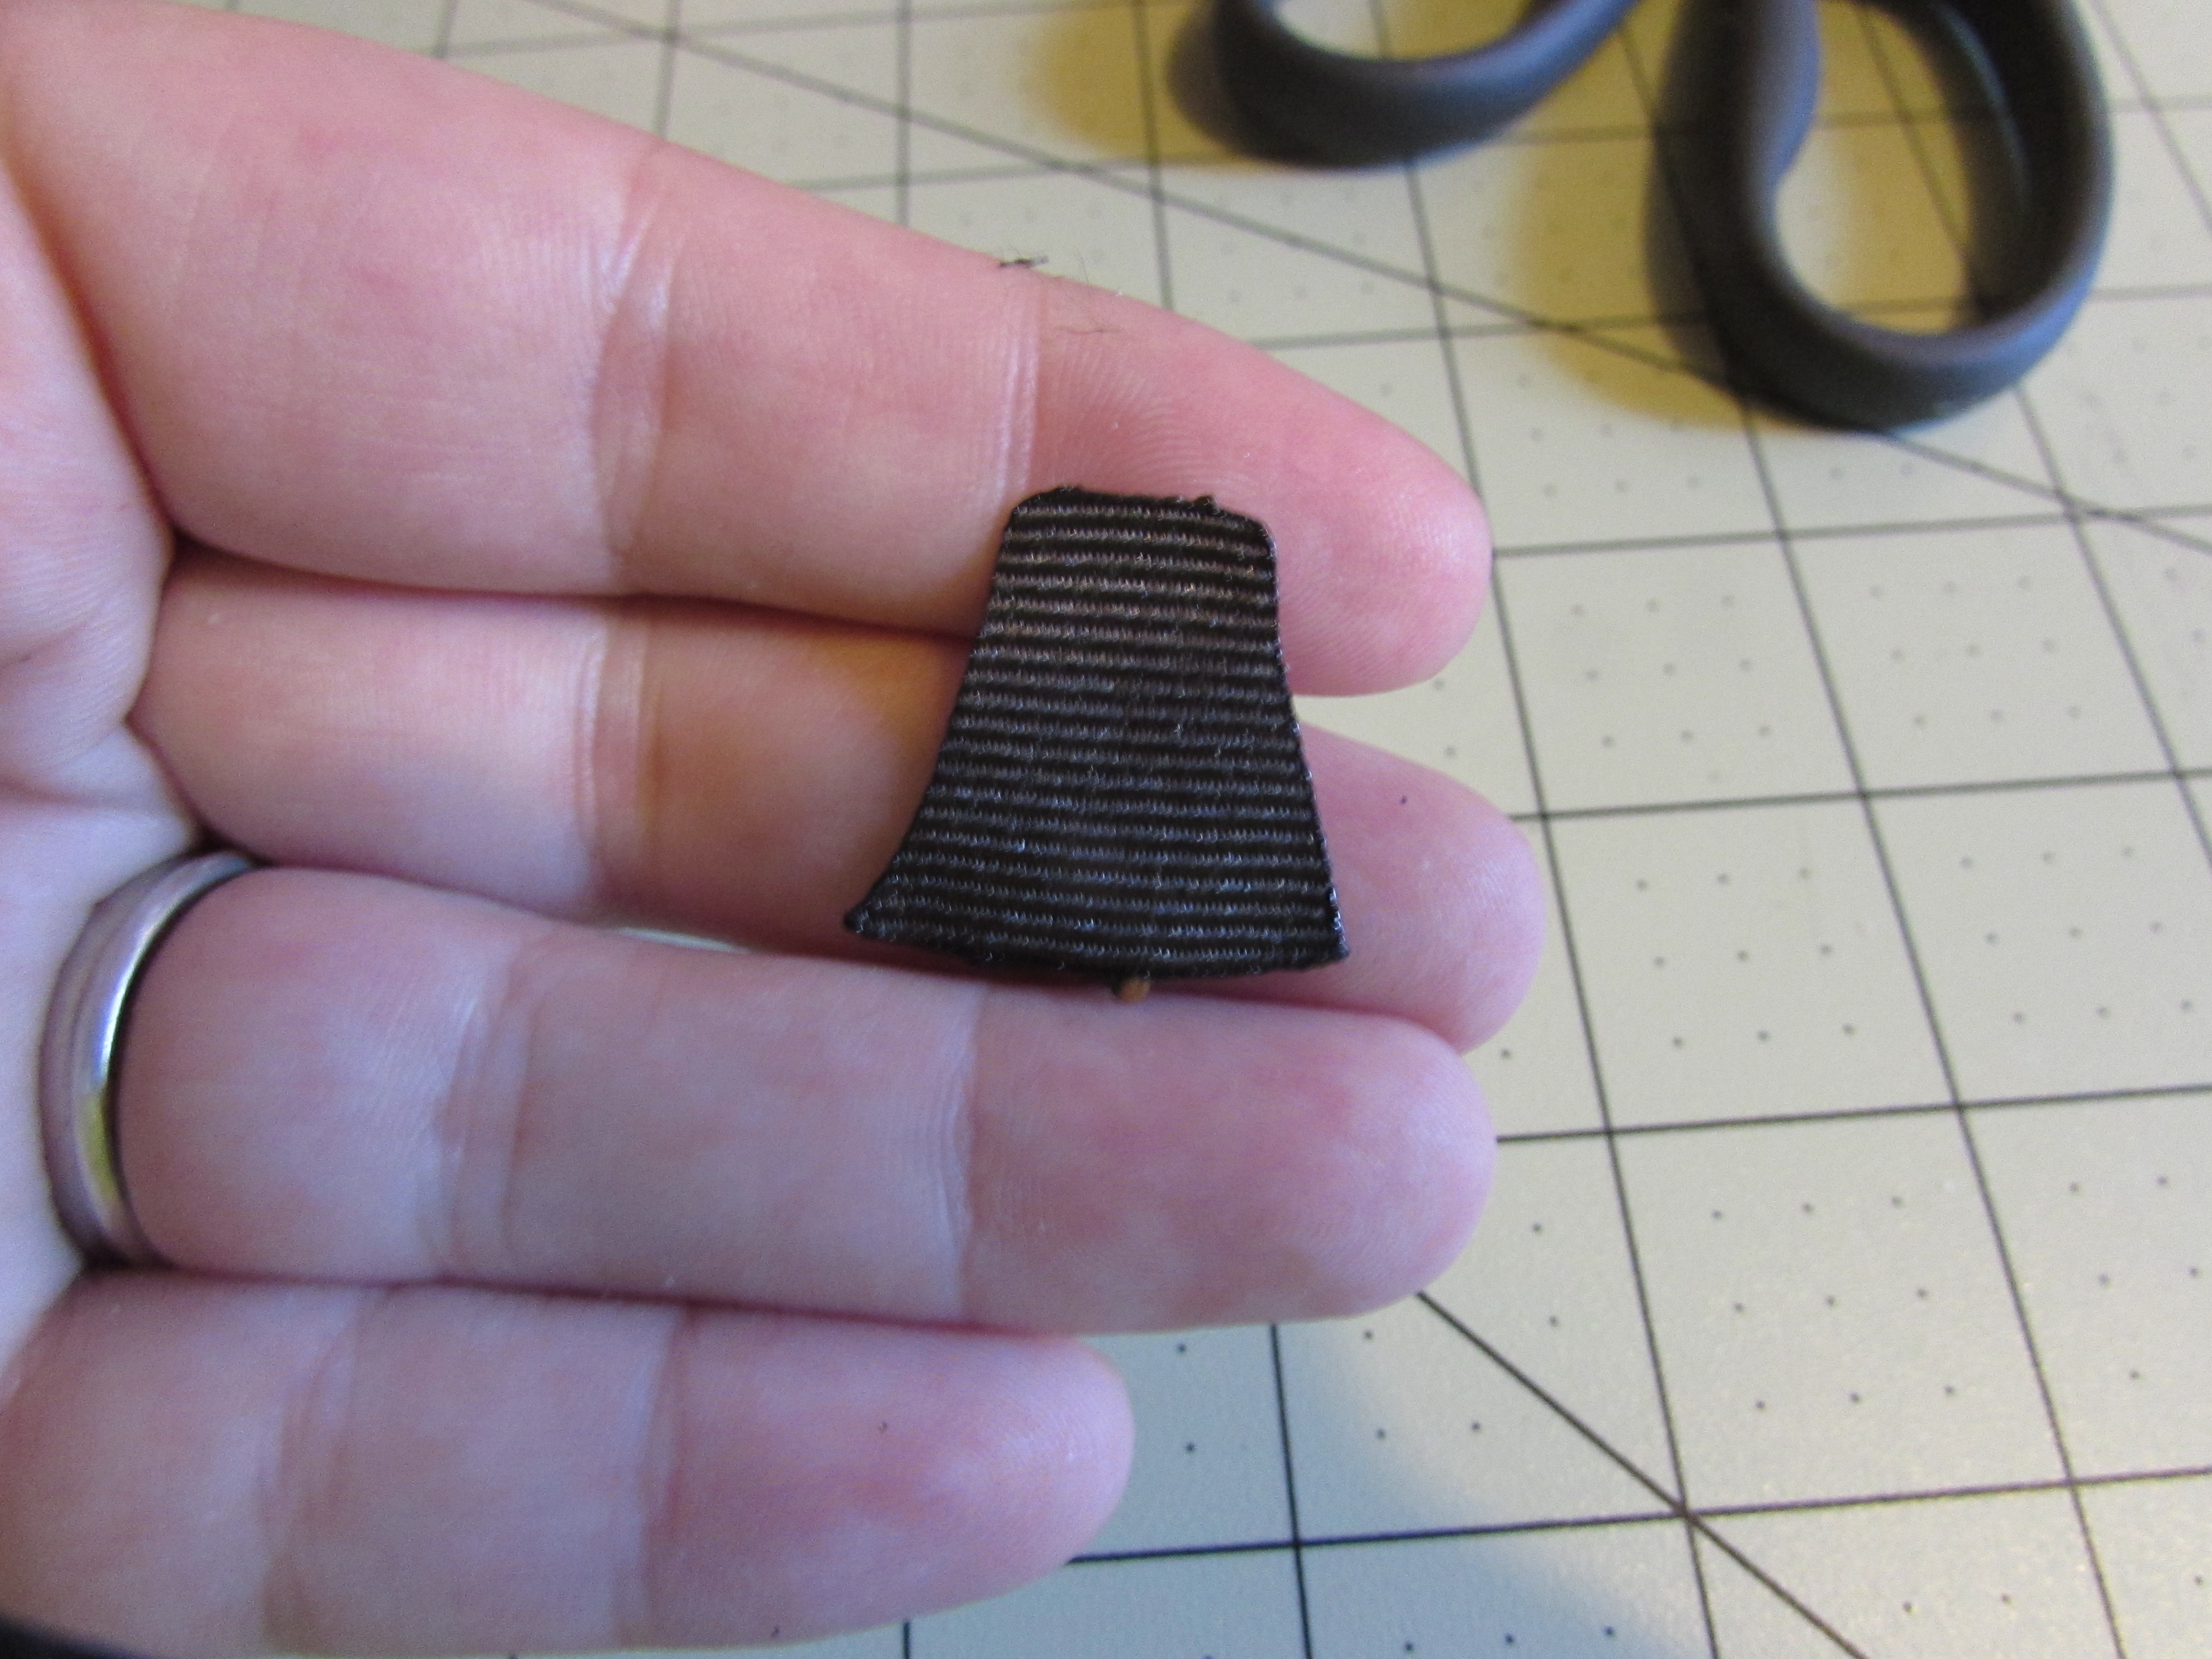
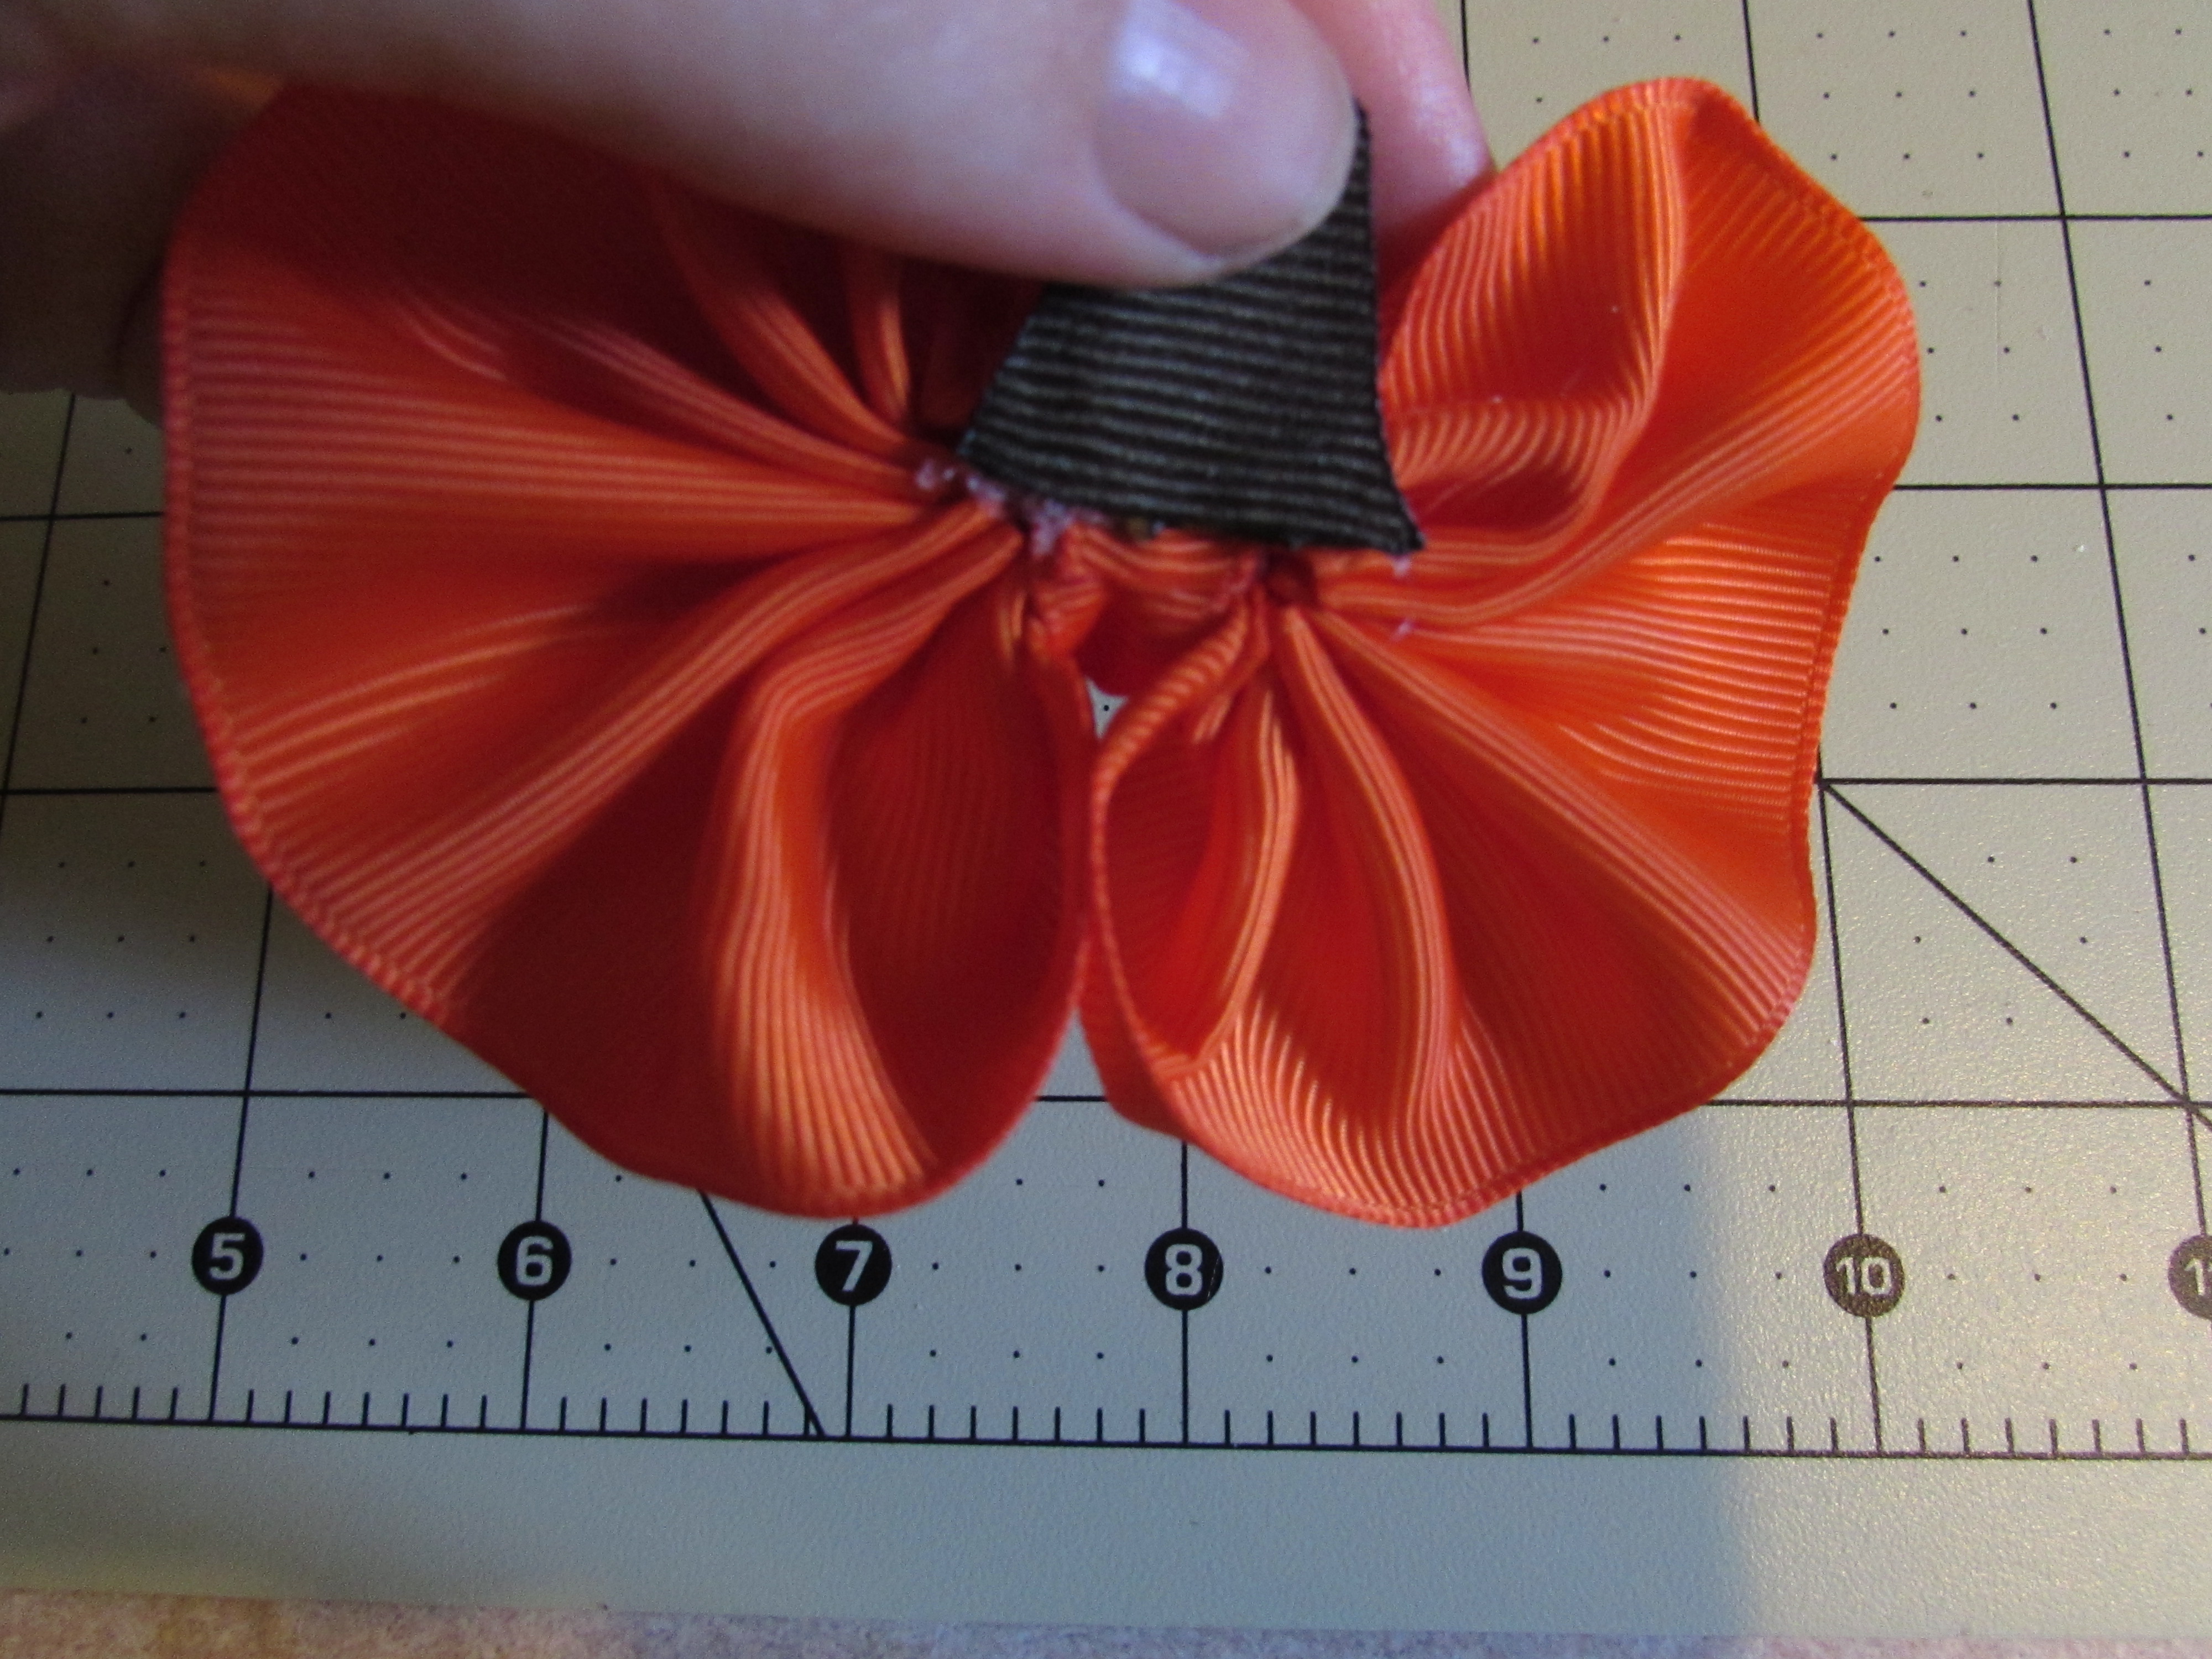
Step 11: Apply hotglue along the bottom of that piece, lay it in the center of the back of your pumpkin
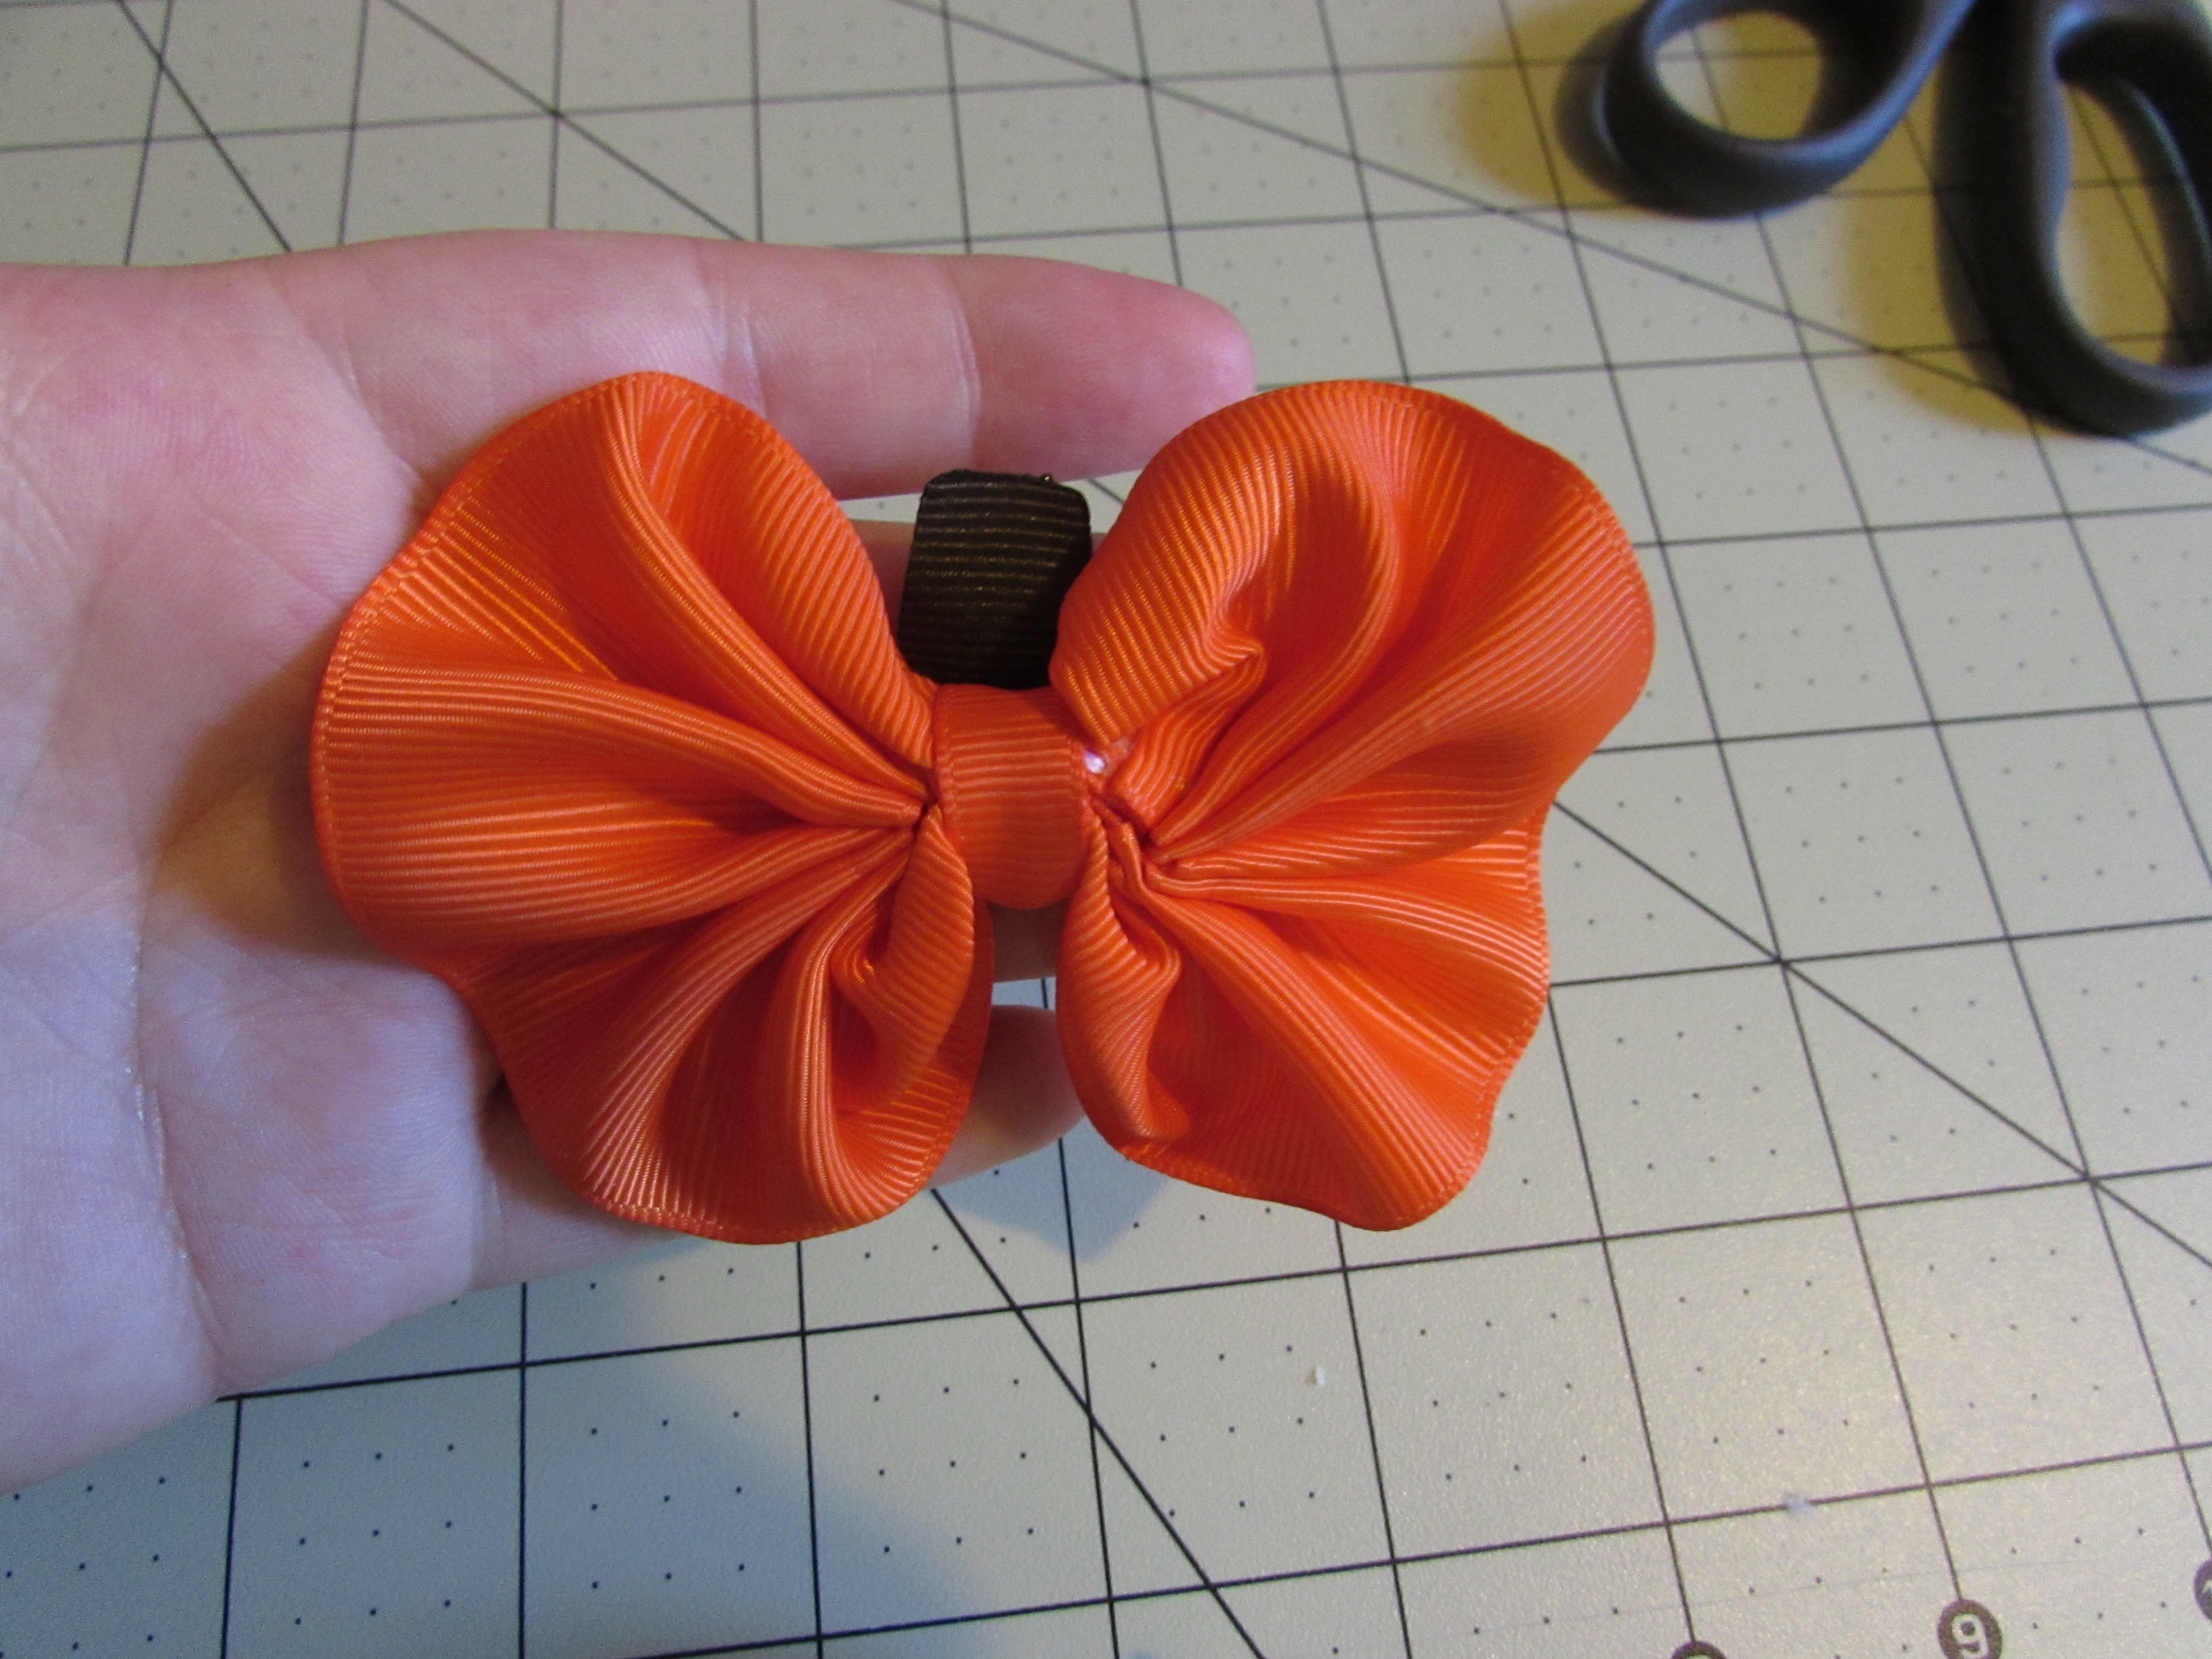
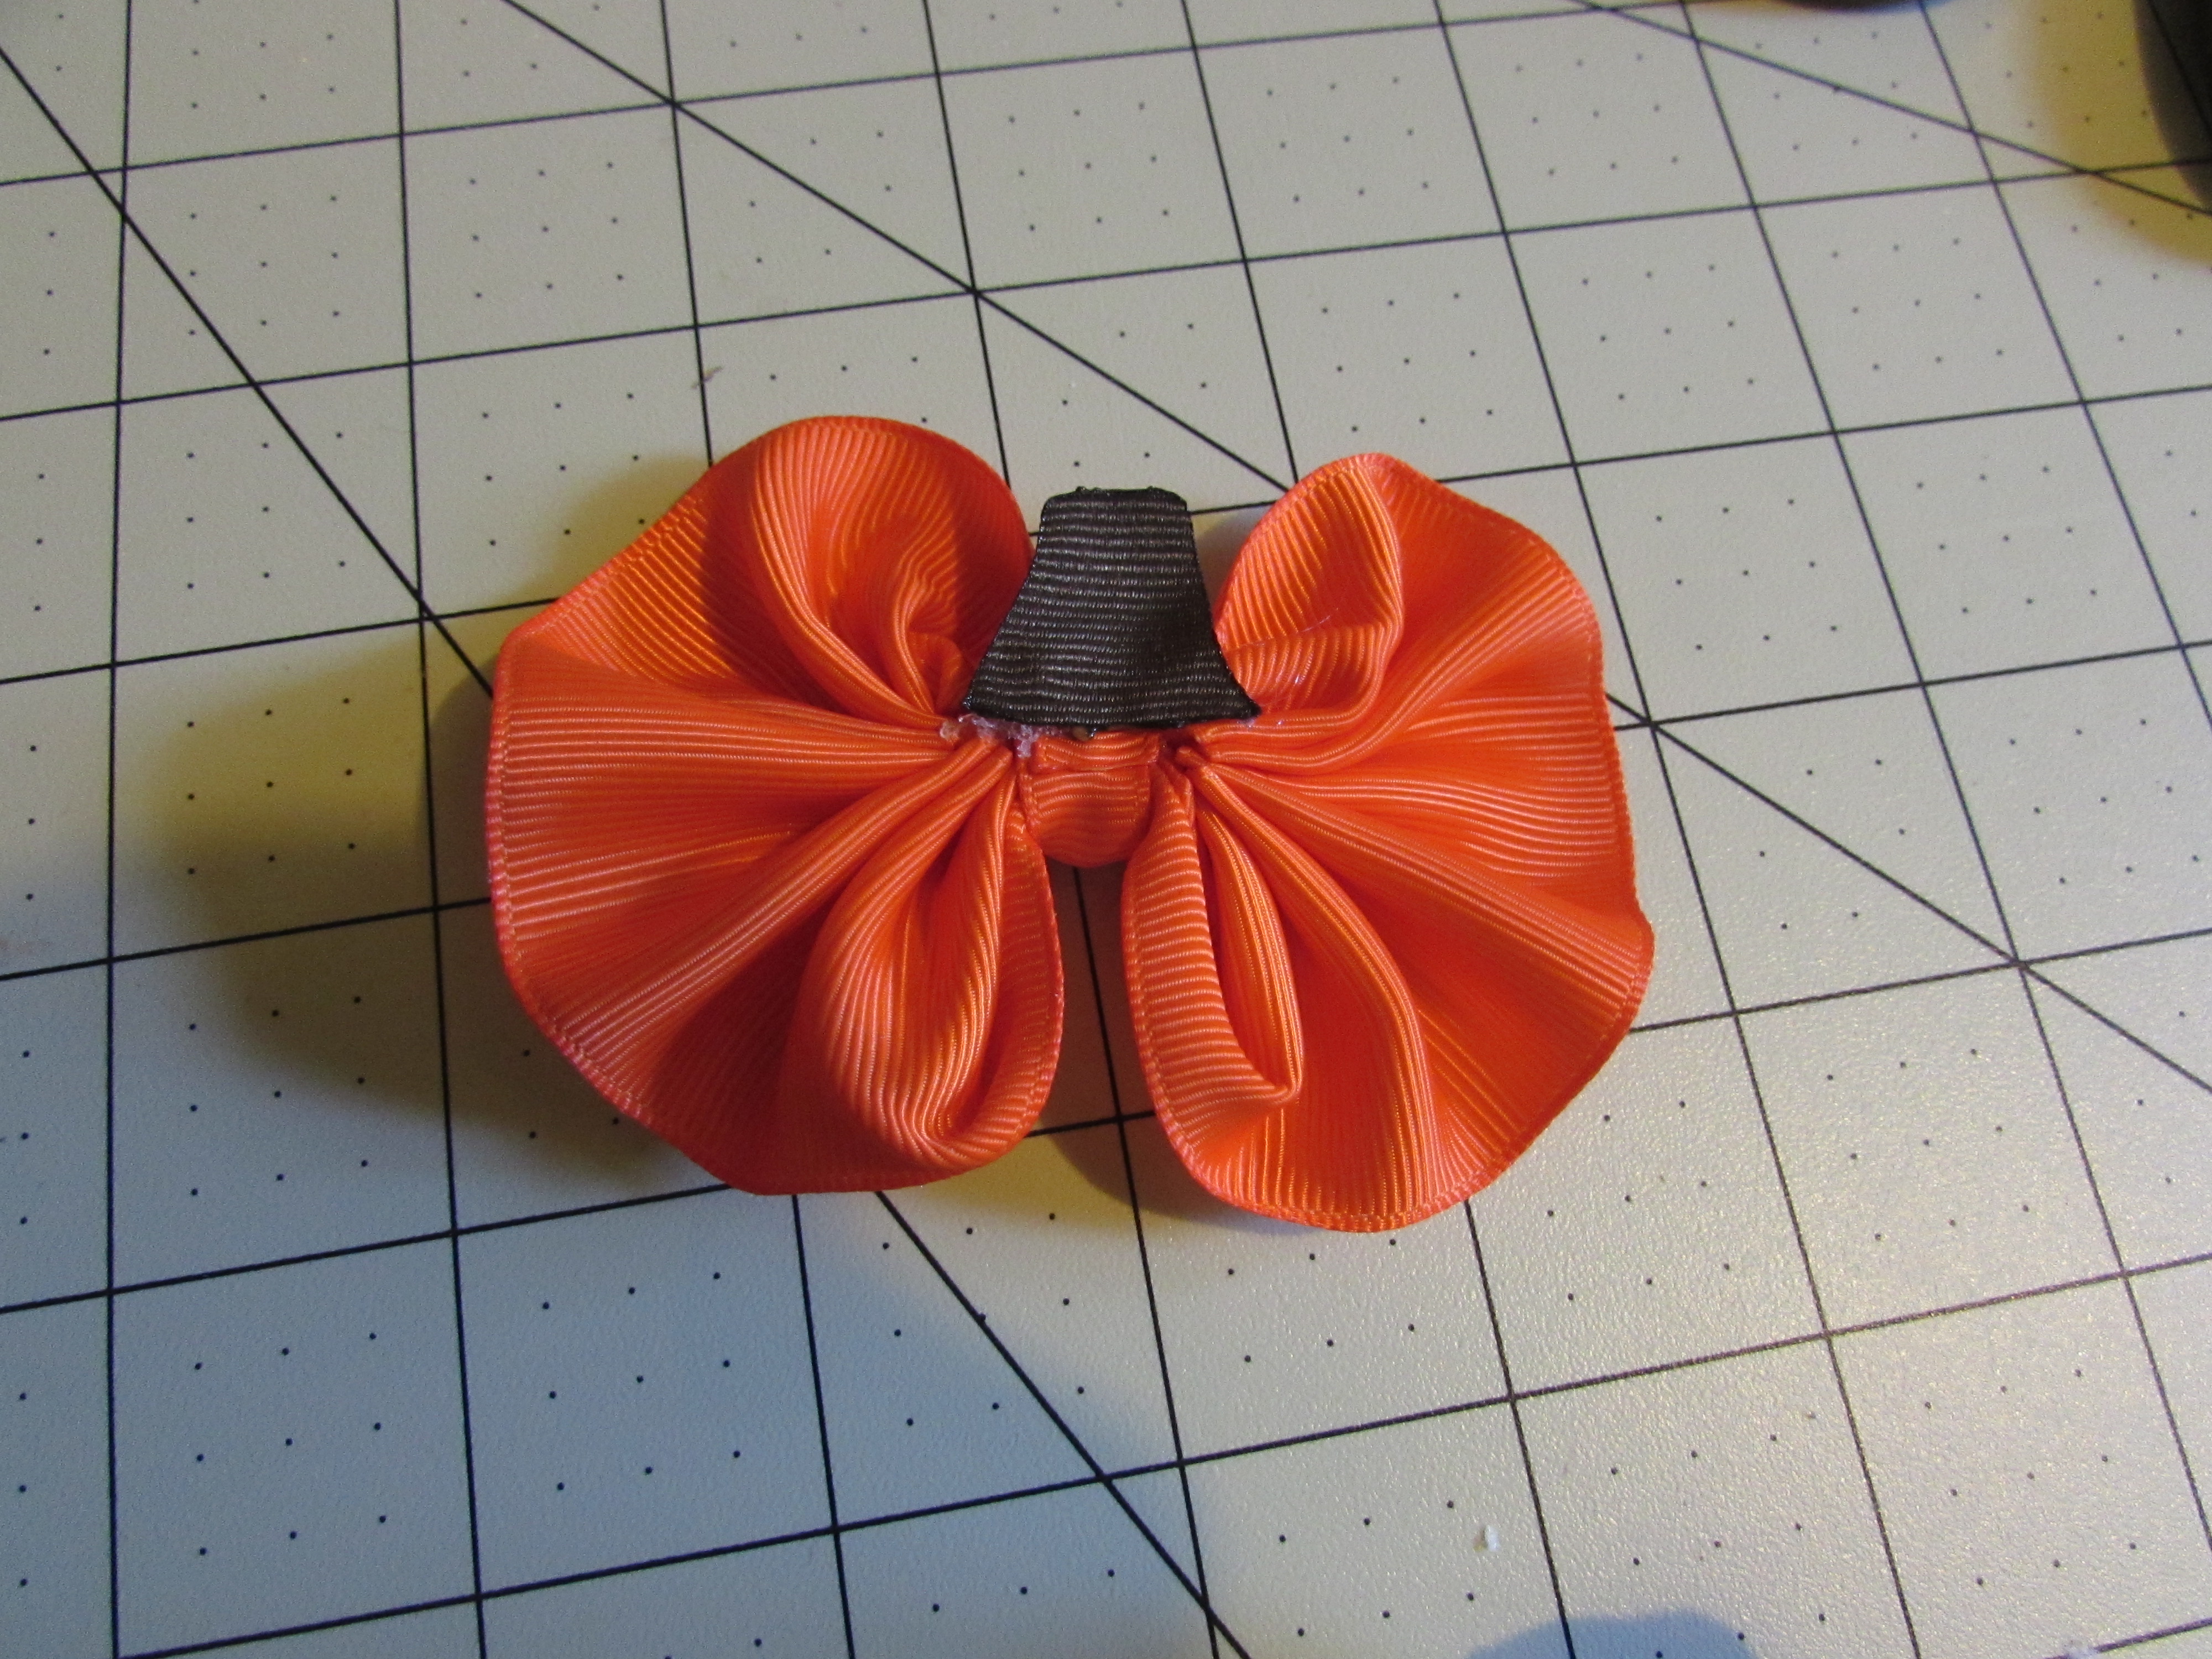
- Flip your pumpkin over and add a drop of hotglue to the bottom part of the ribbon to join both ruffles together
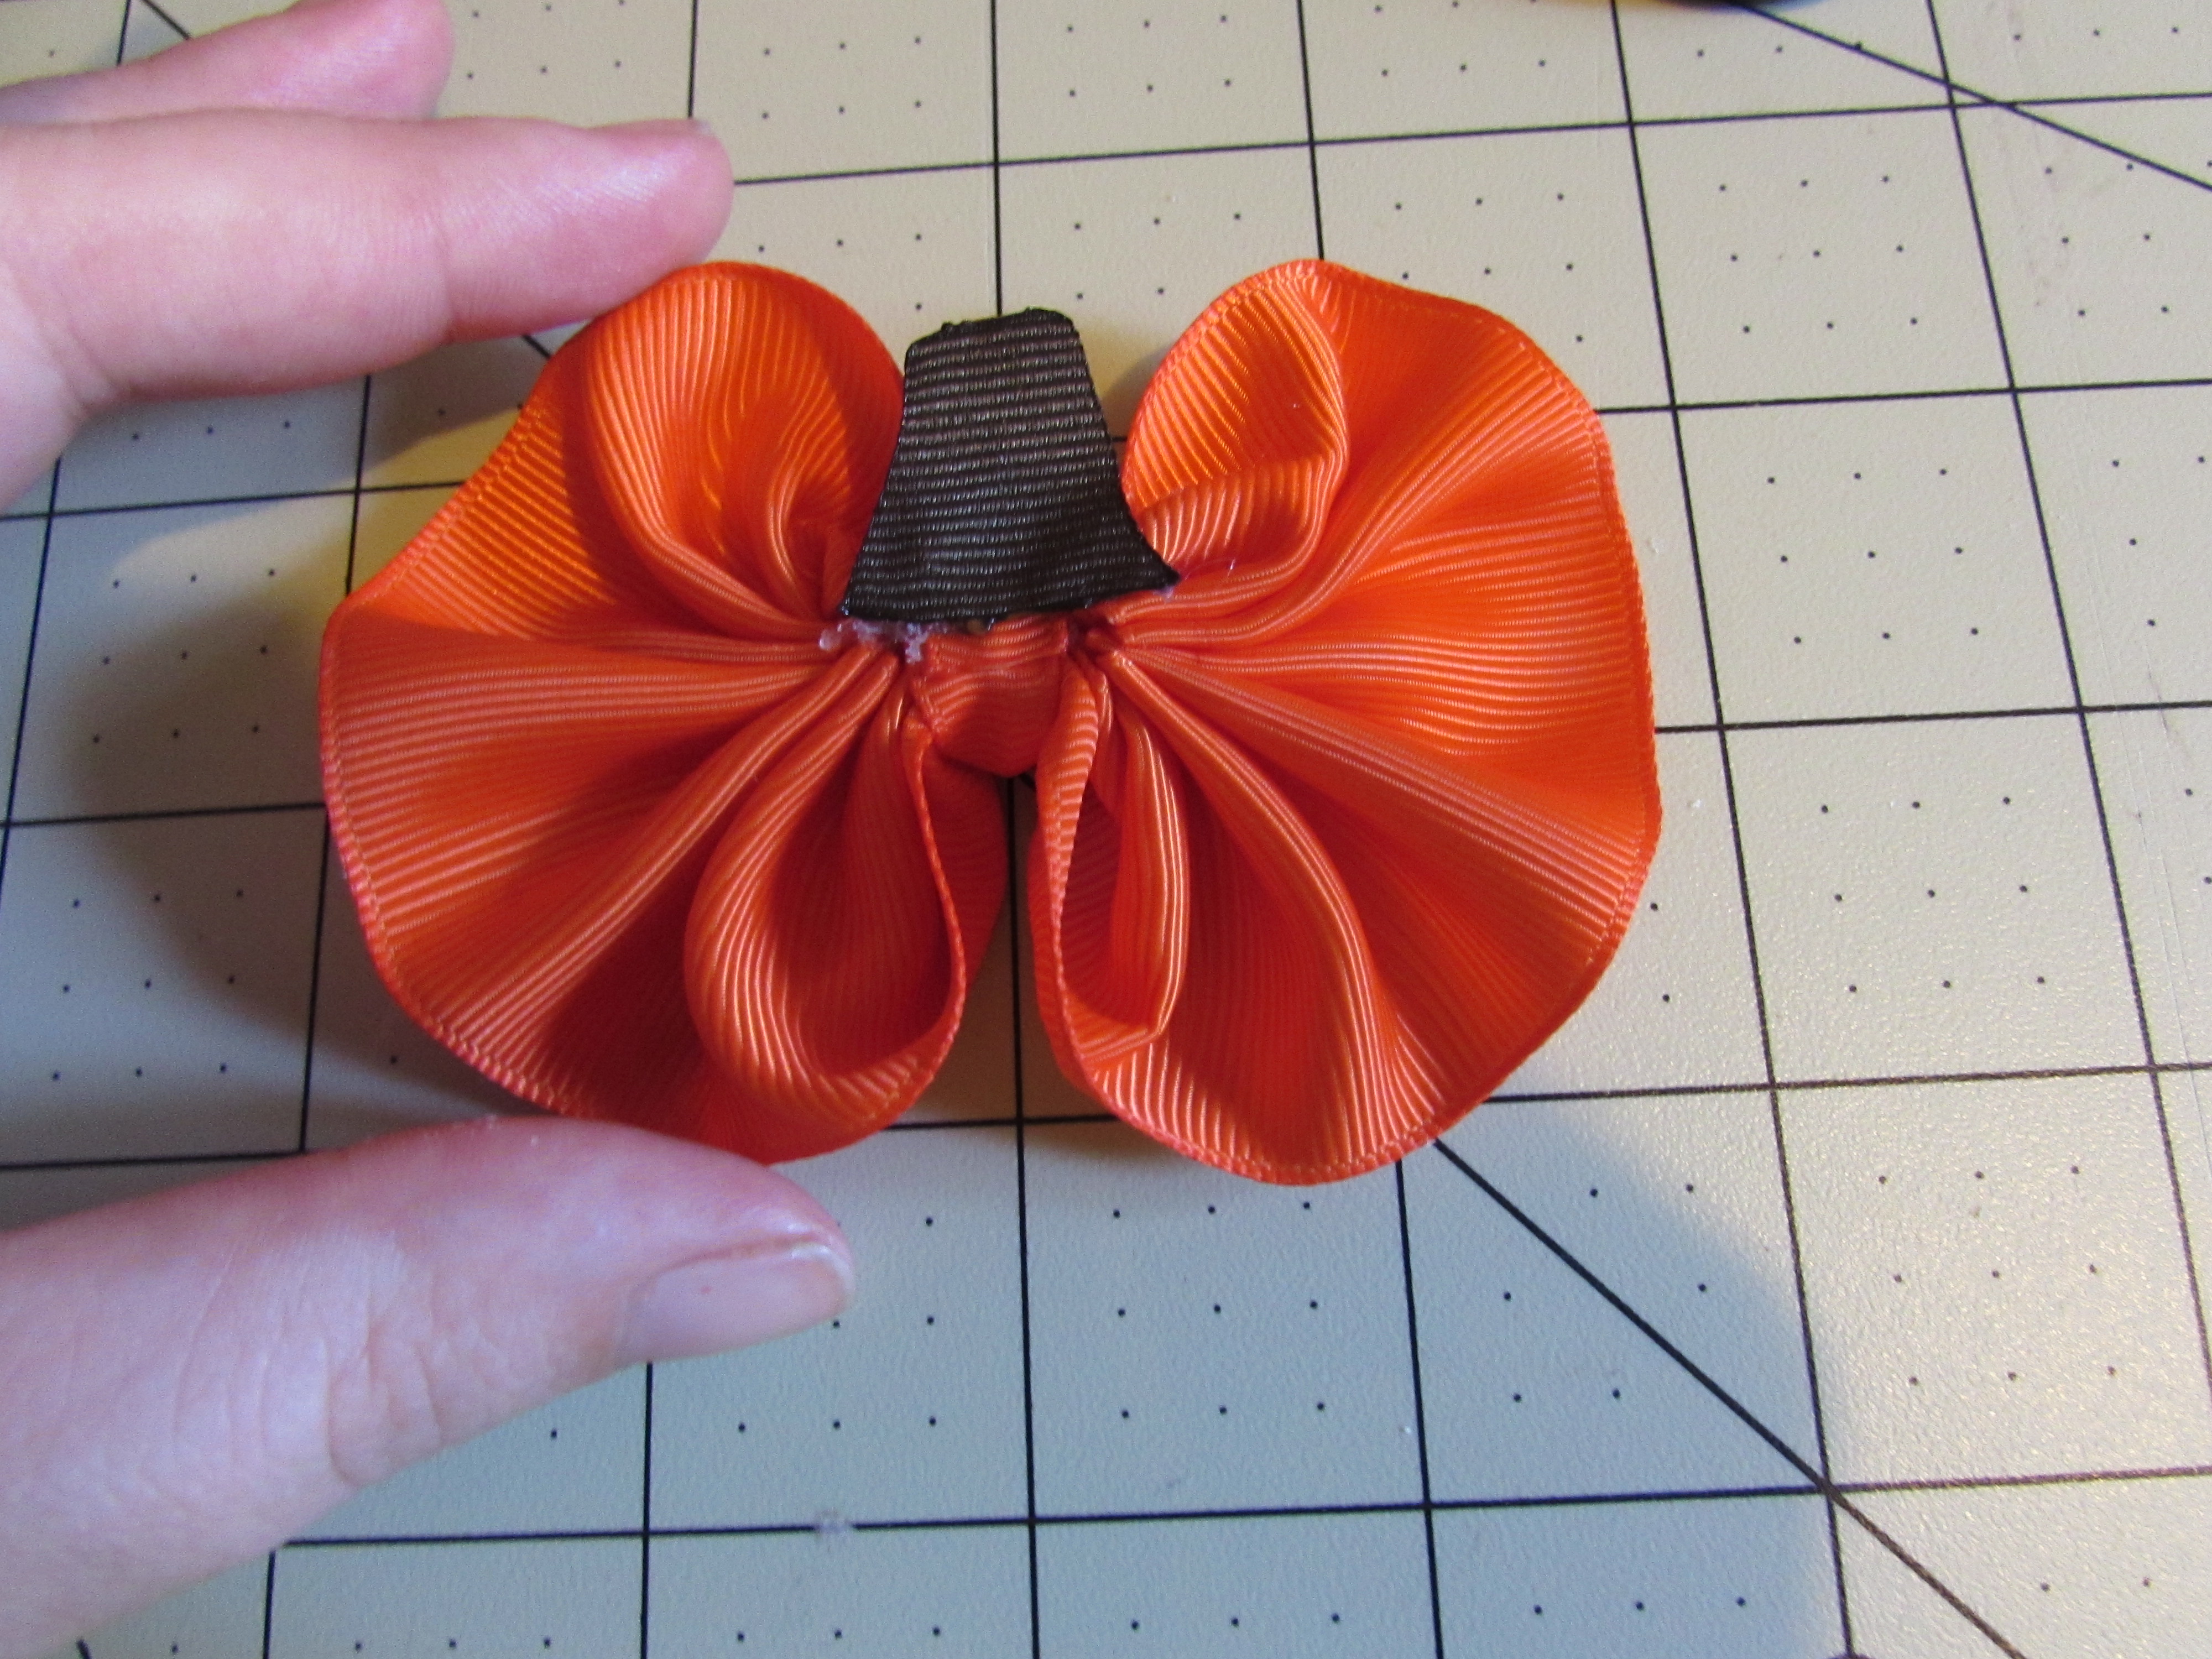
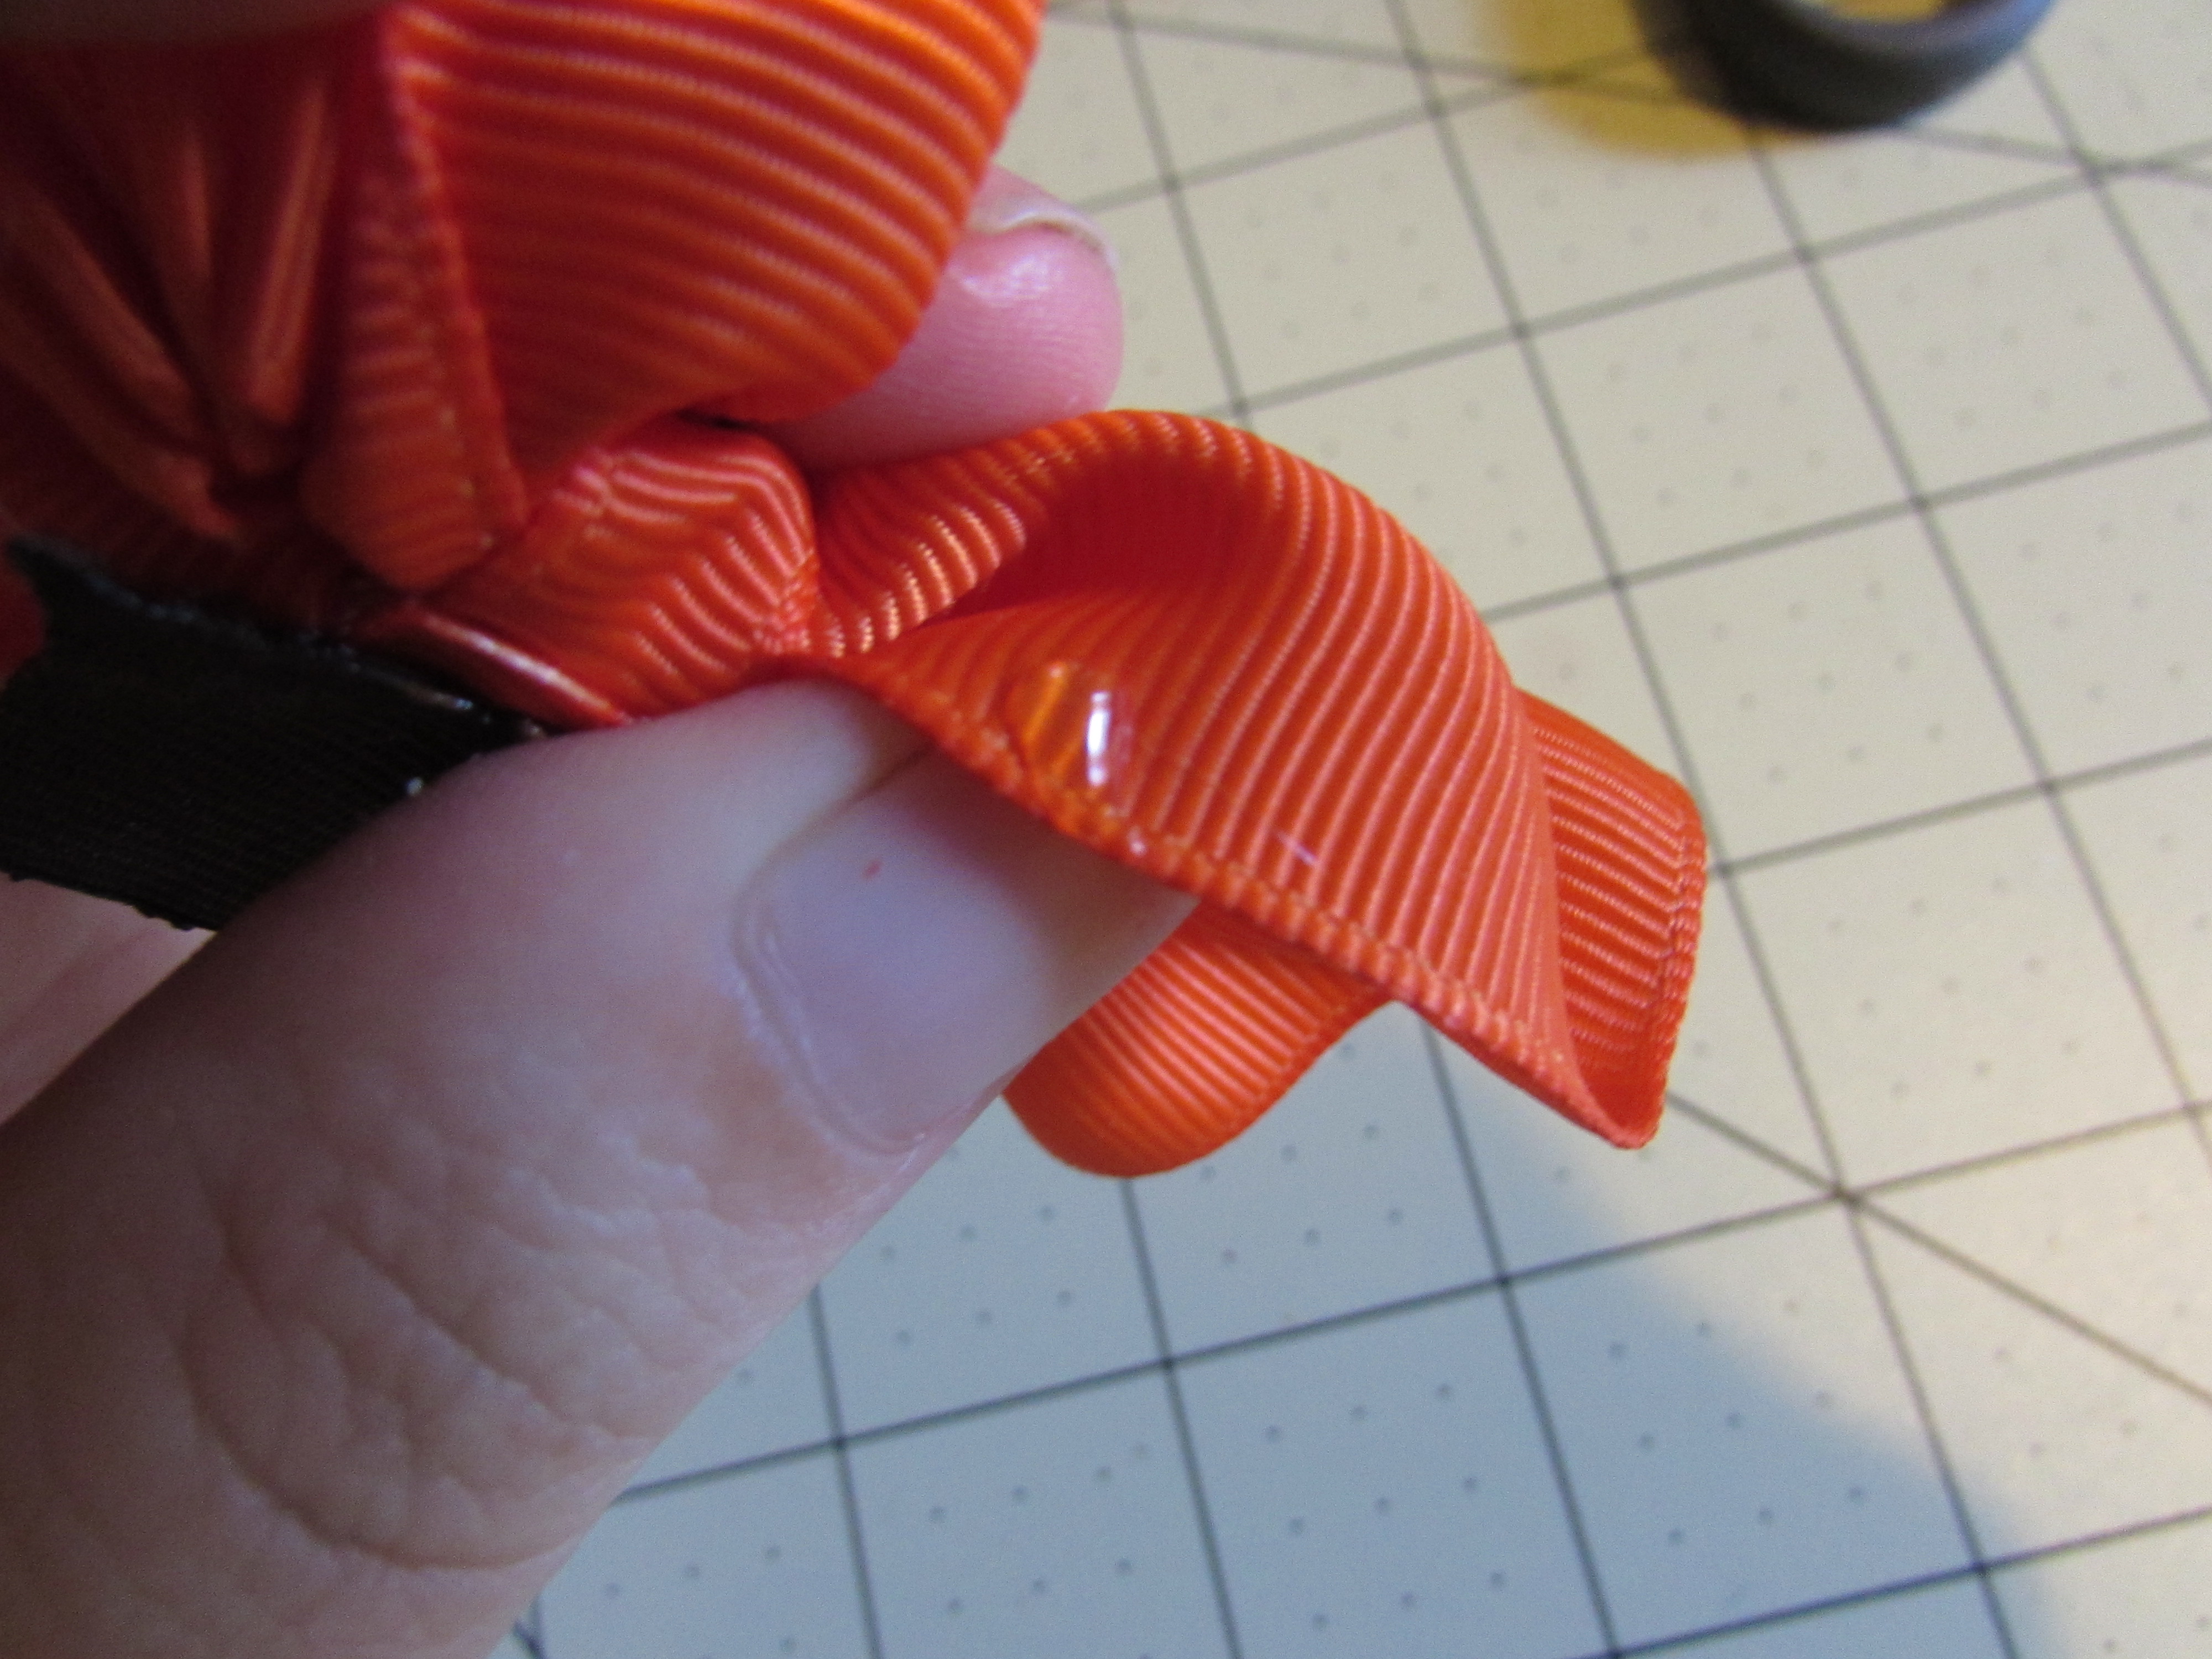
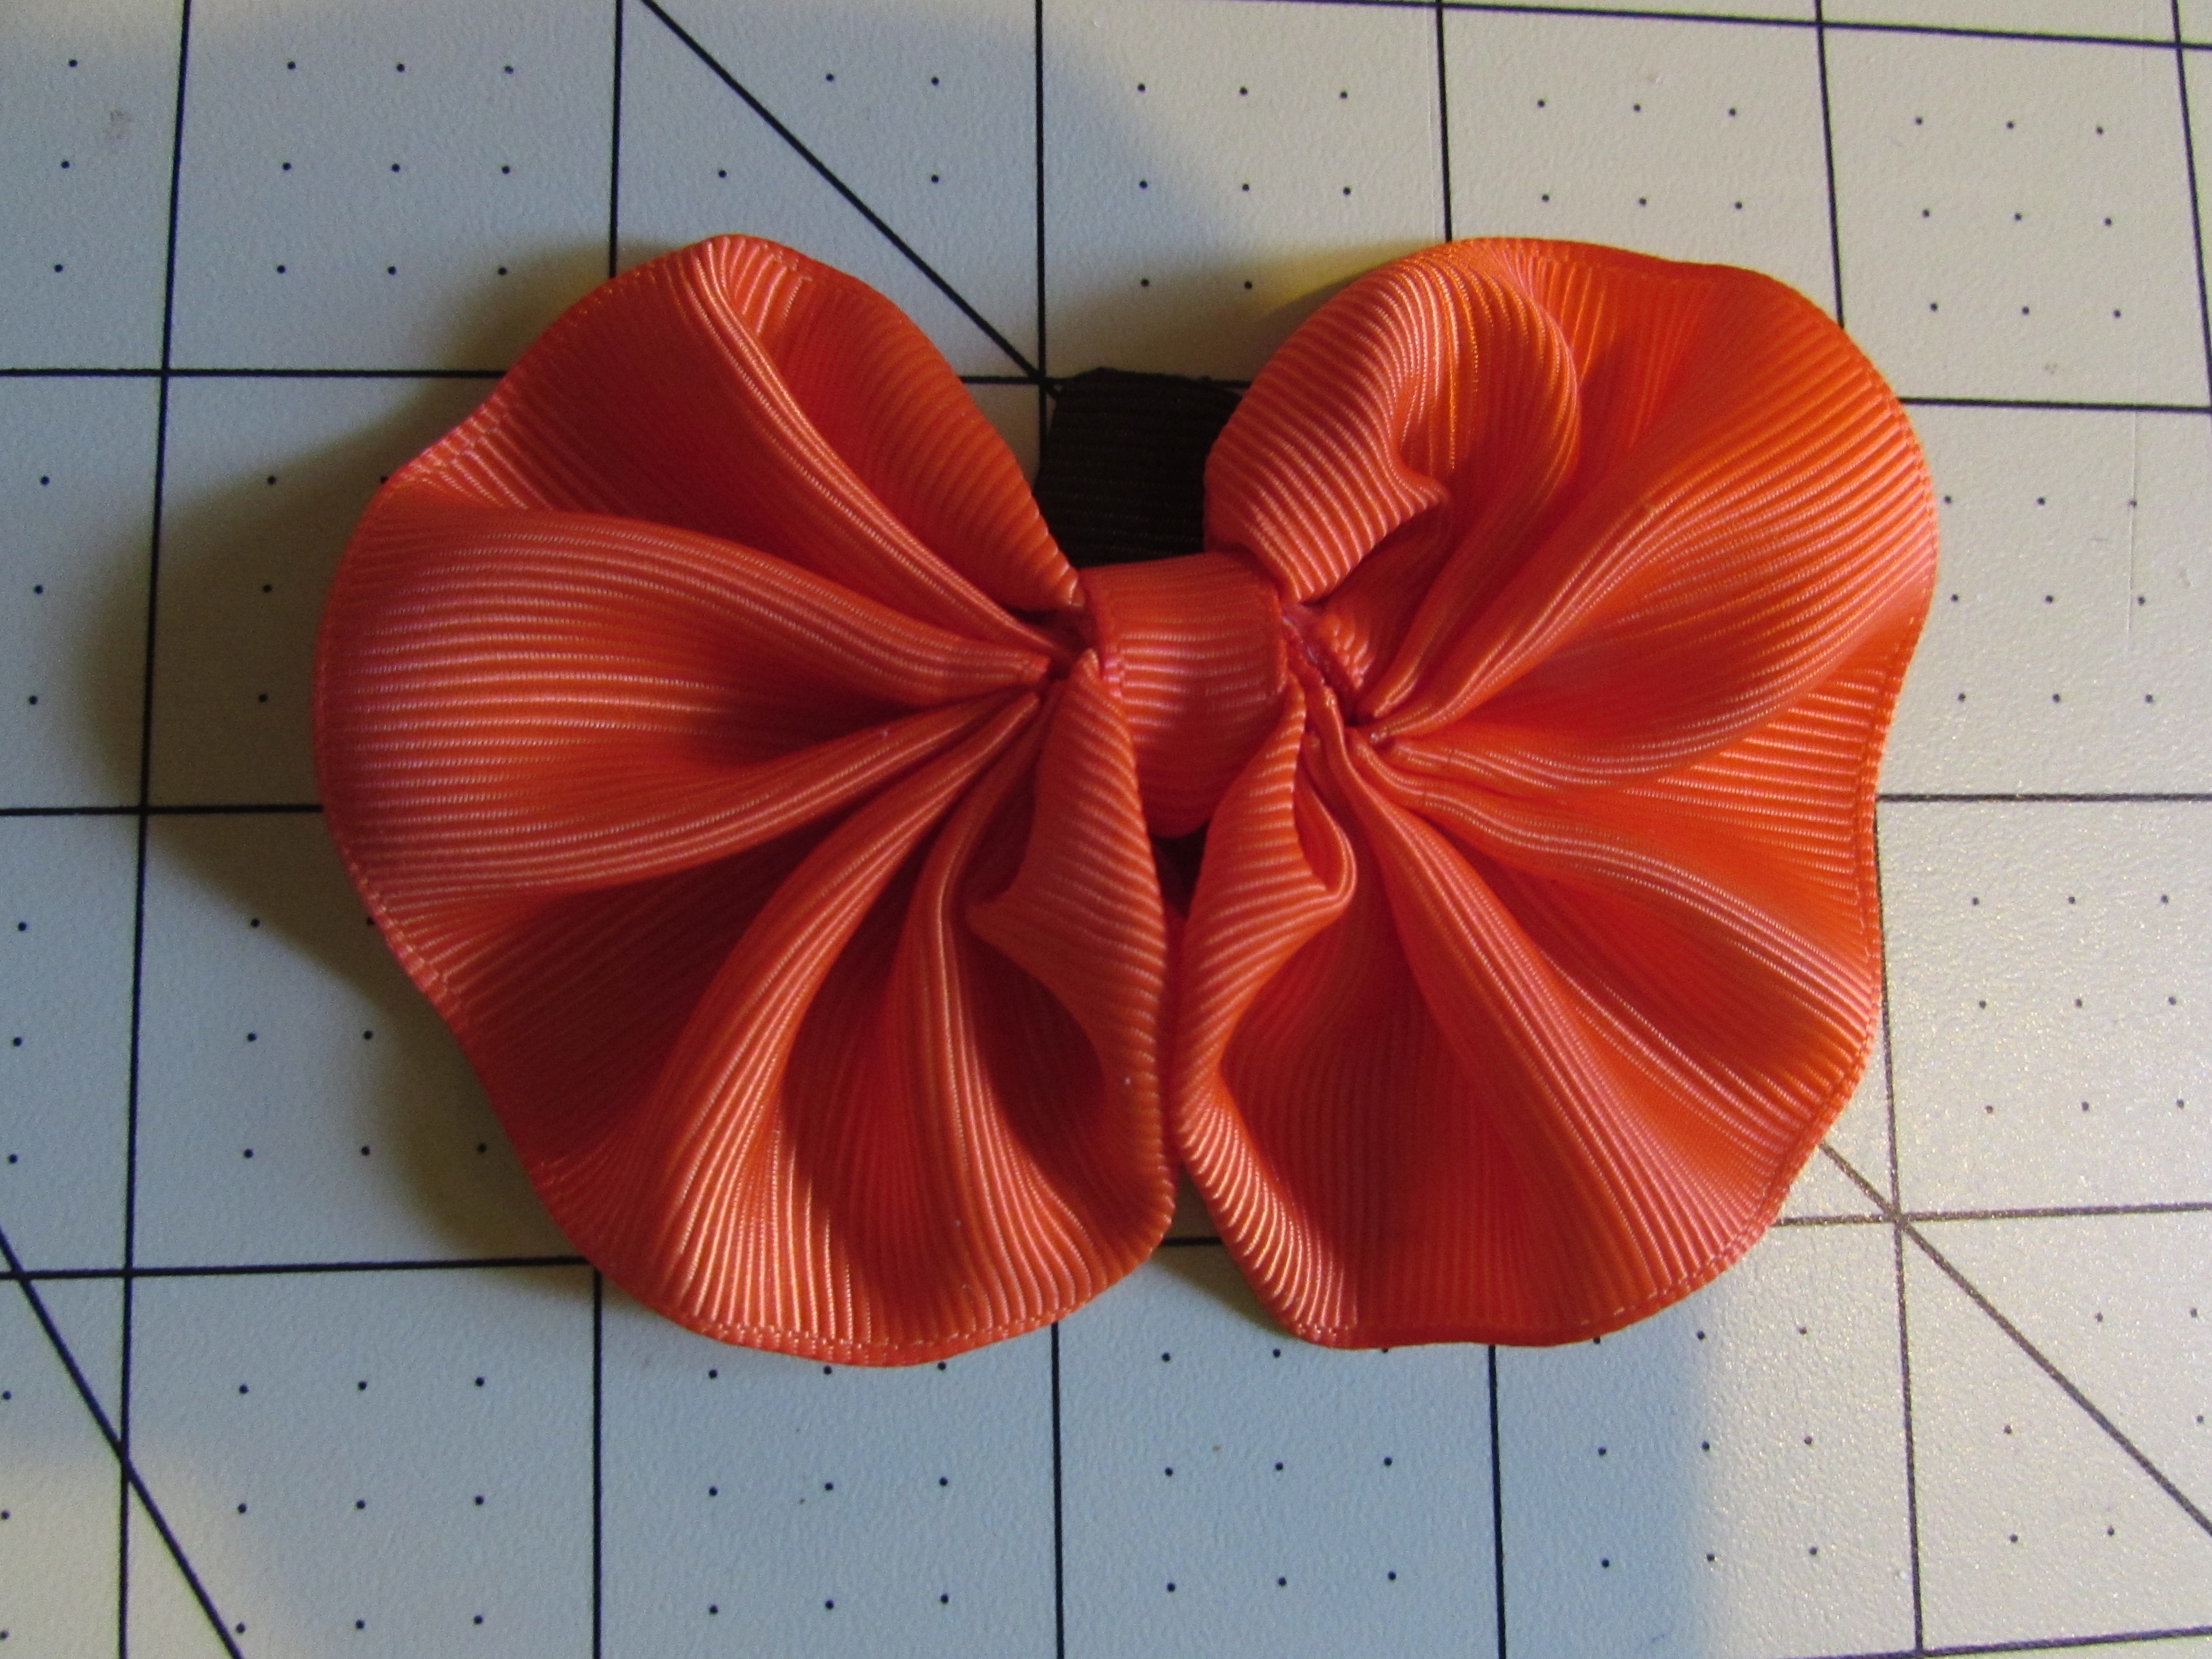
- Add your clip if you want just a hair clip
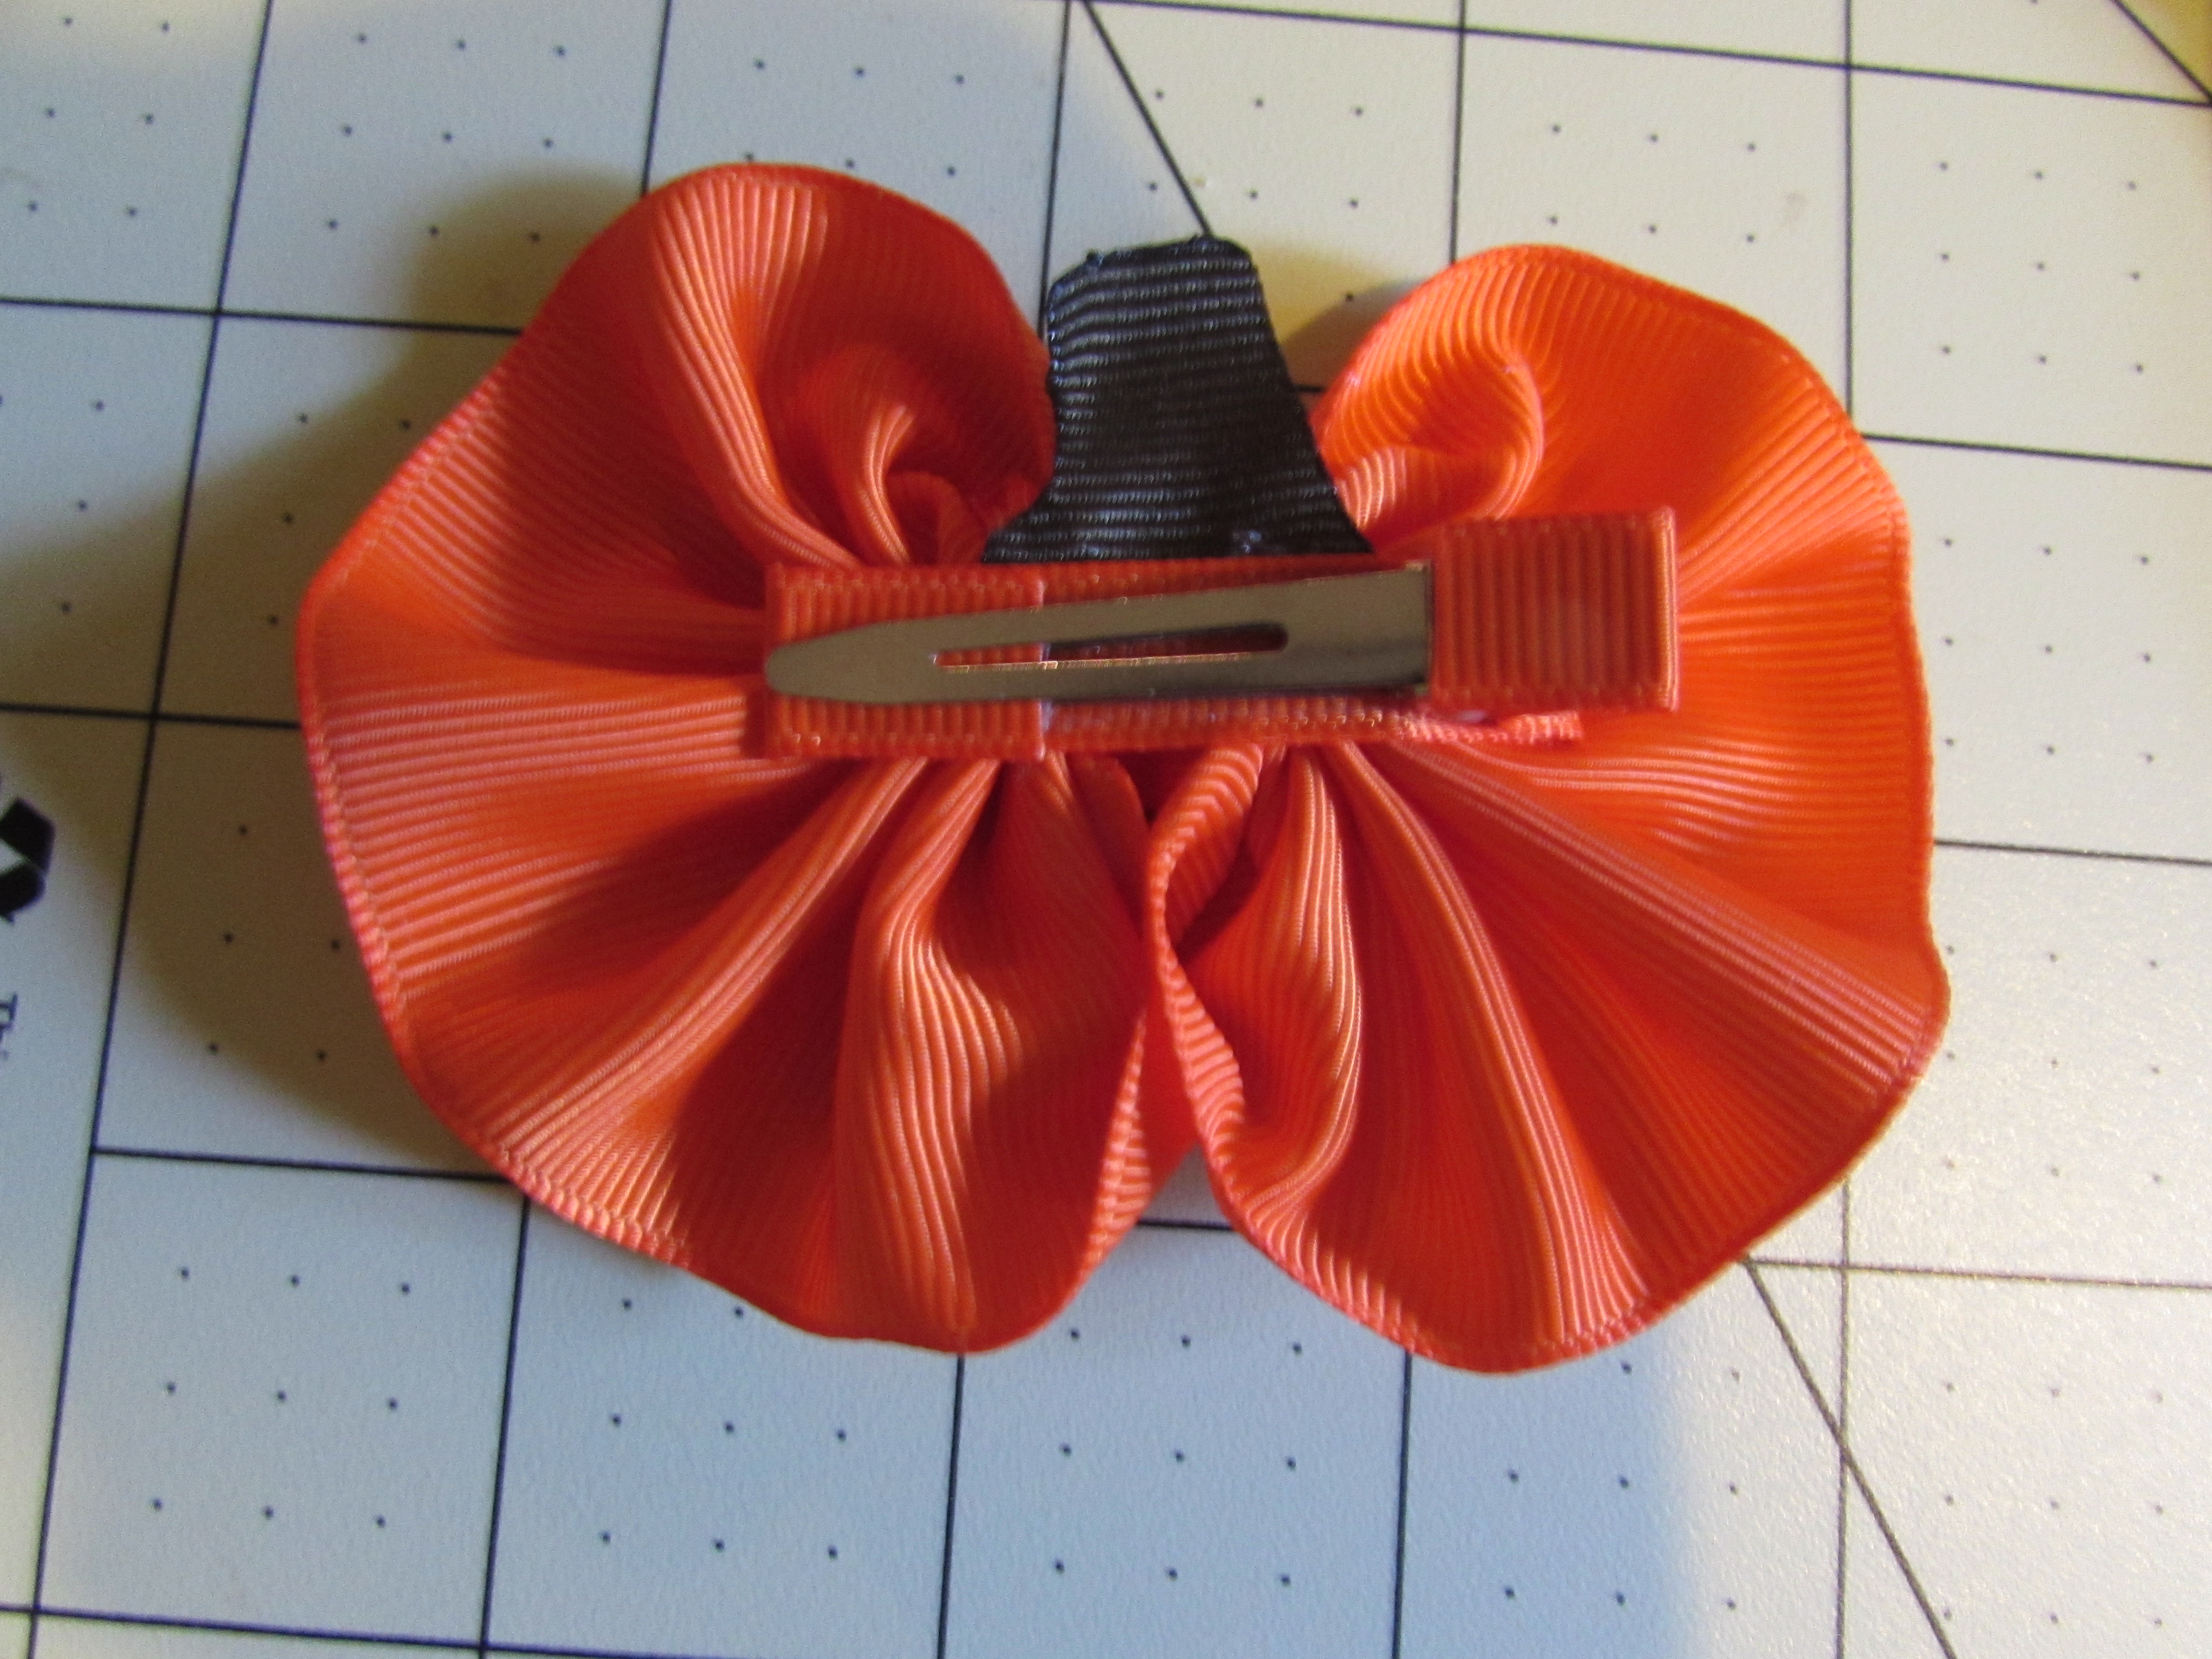
>>>> If you would like to see it applied to a skinny elastic headband please scroll on down and keep following :)) <<<<
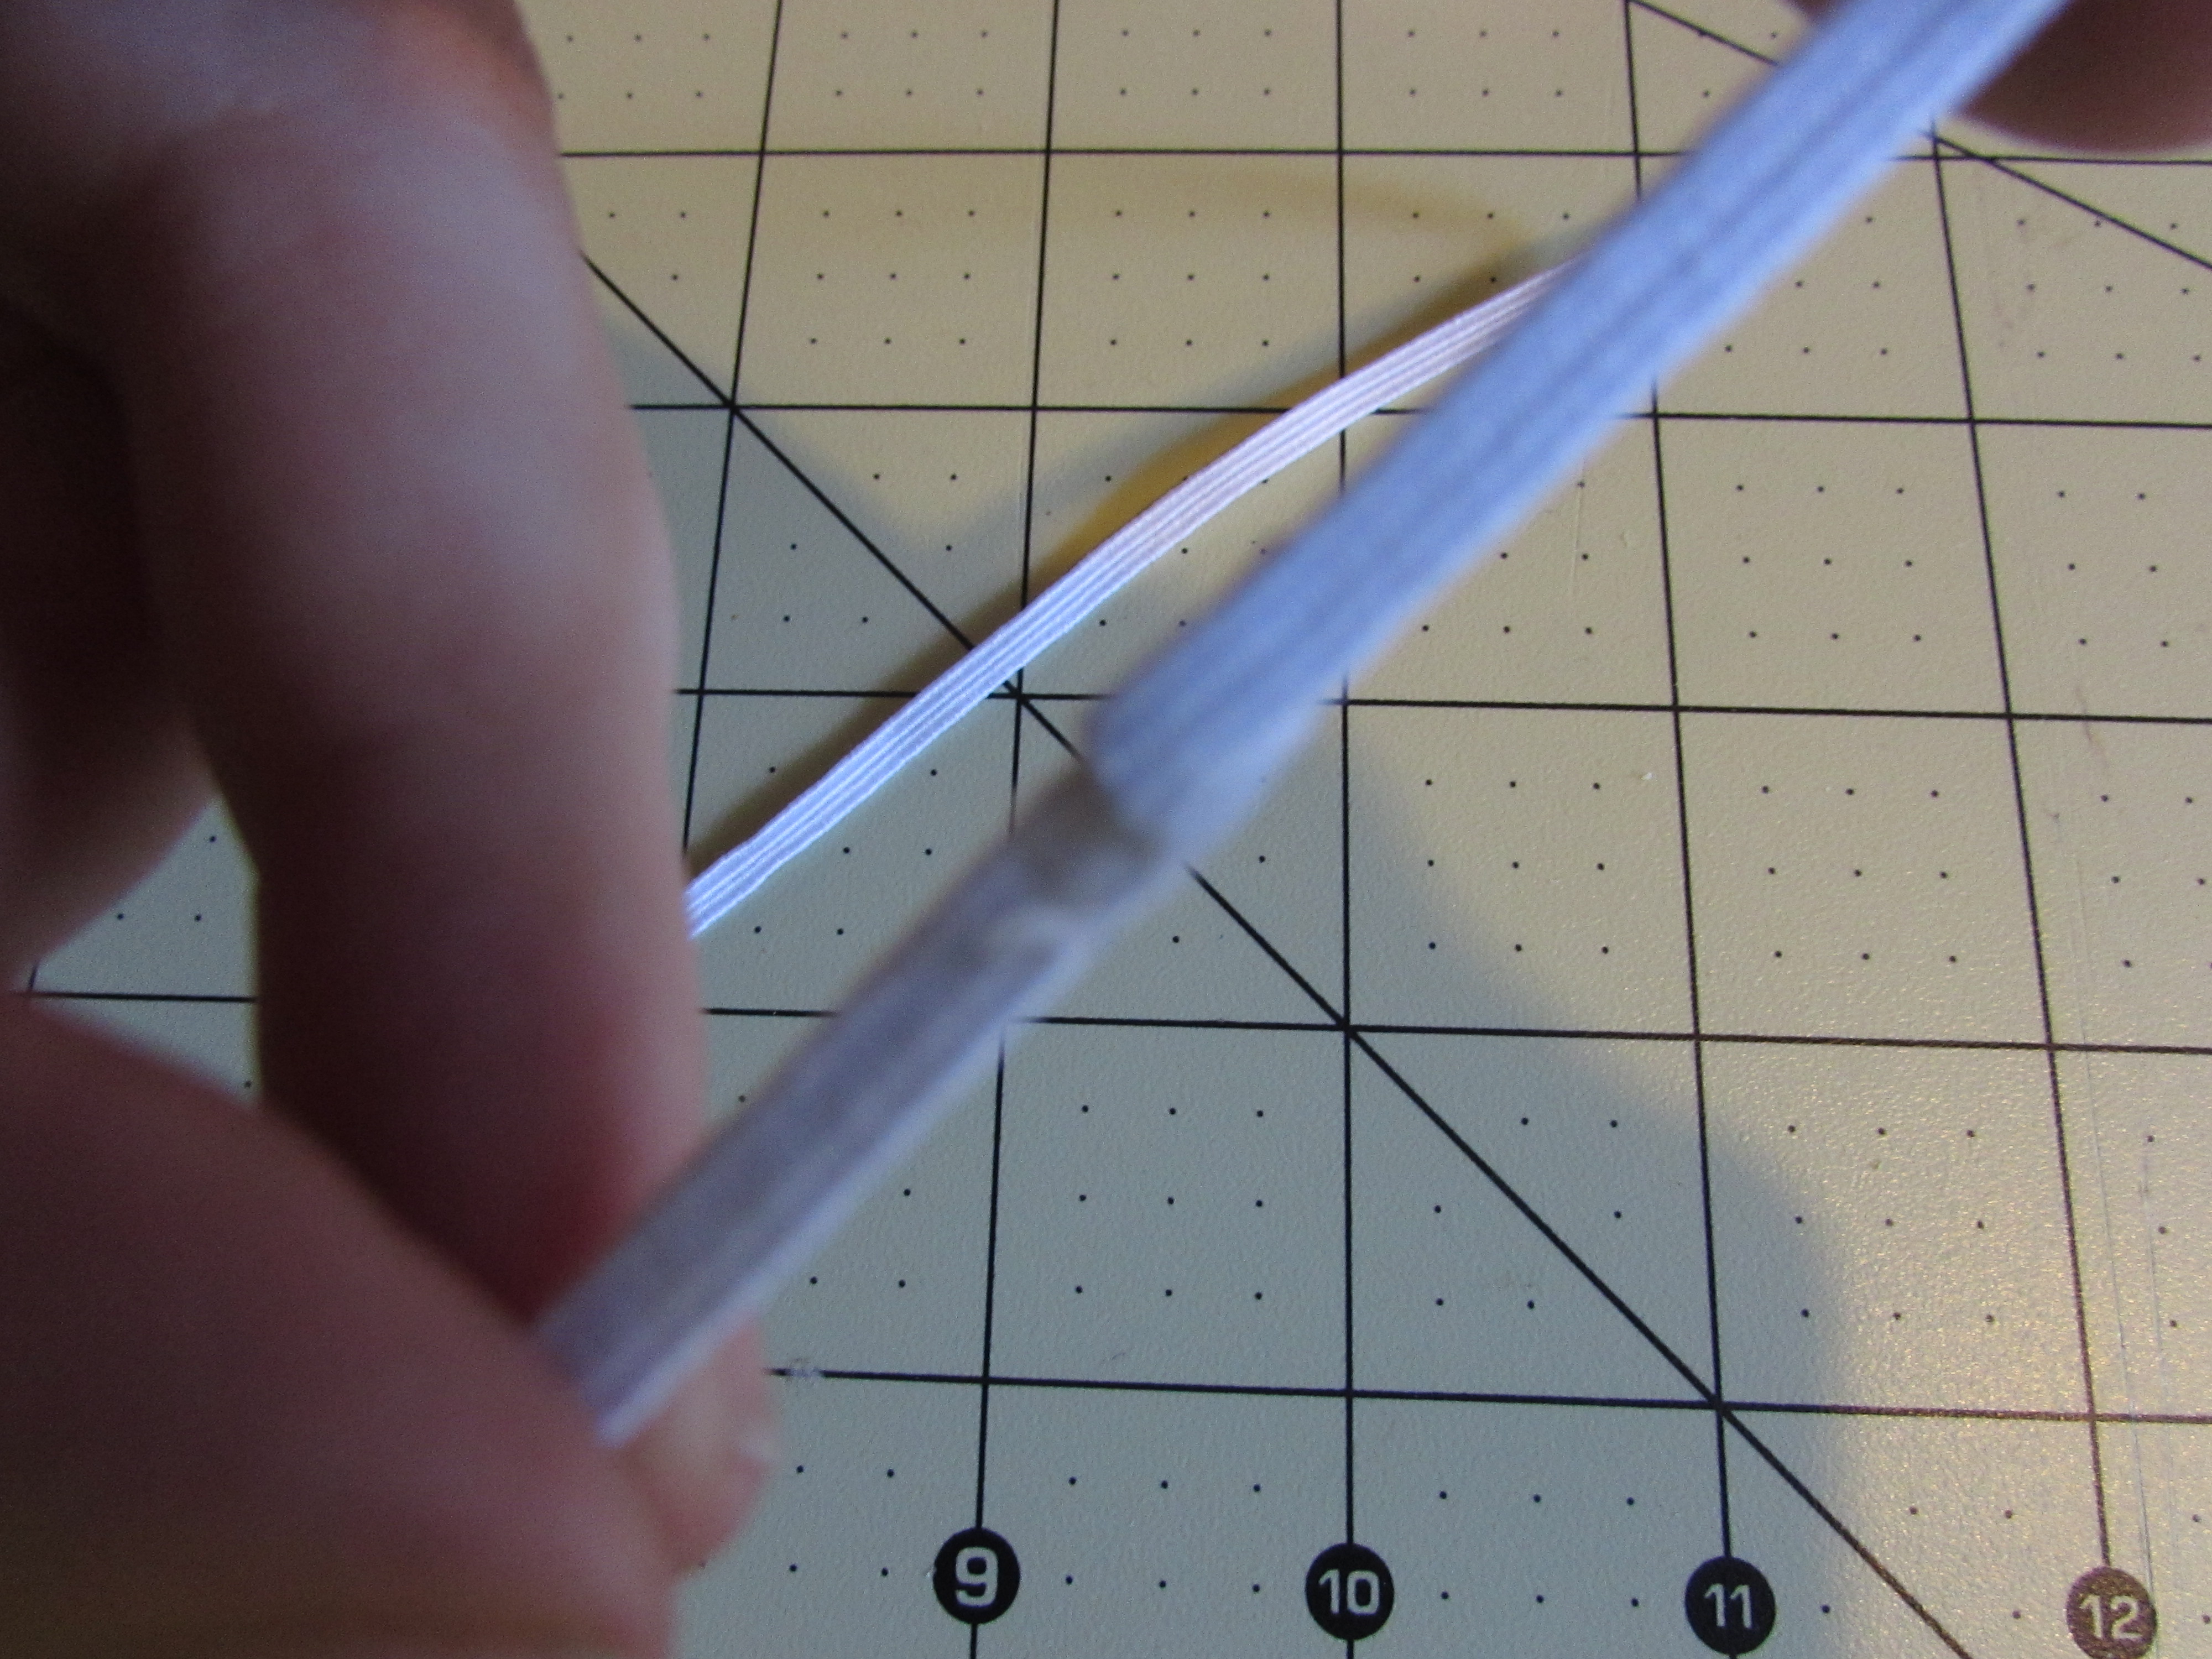
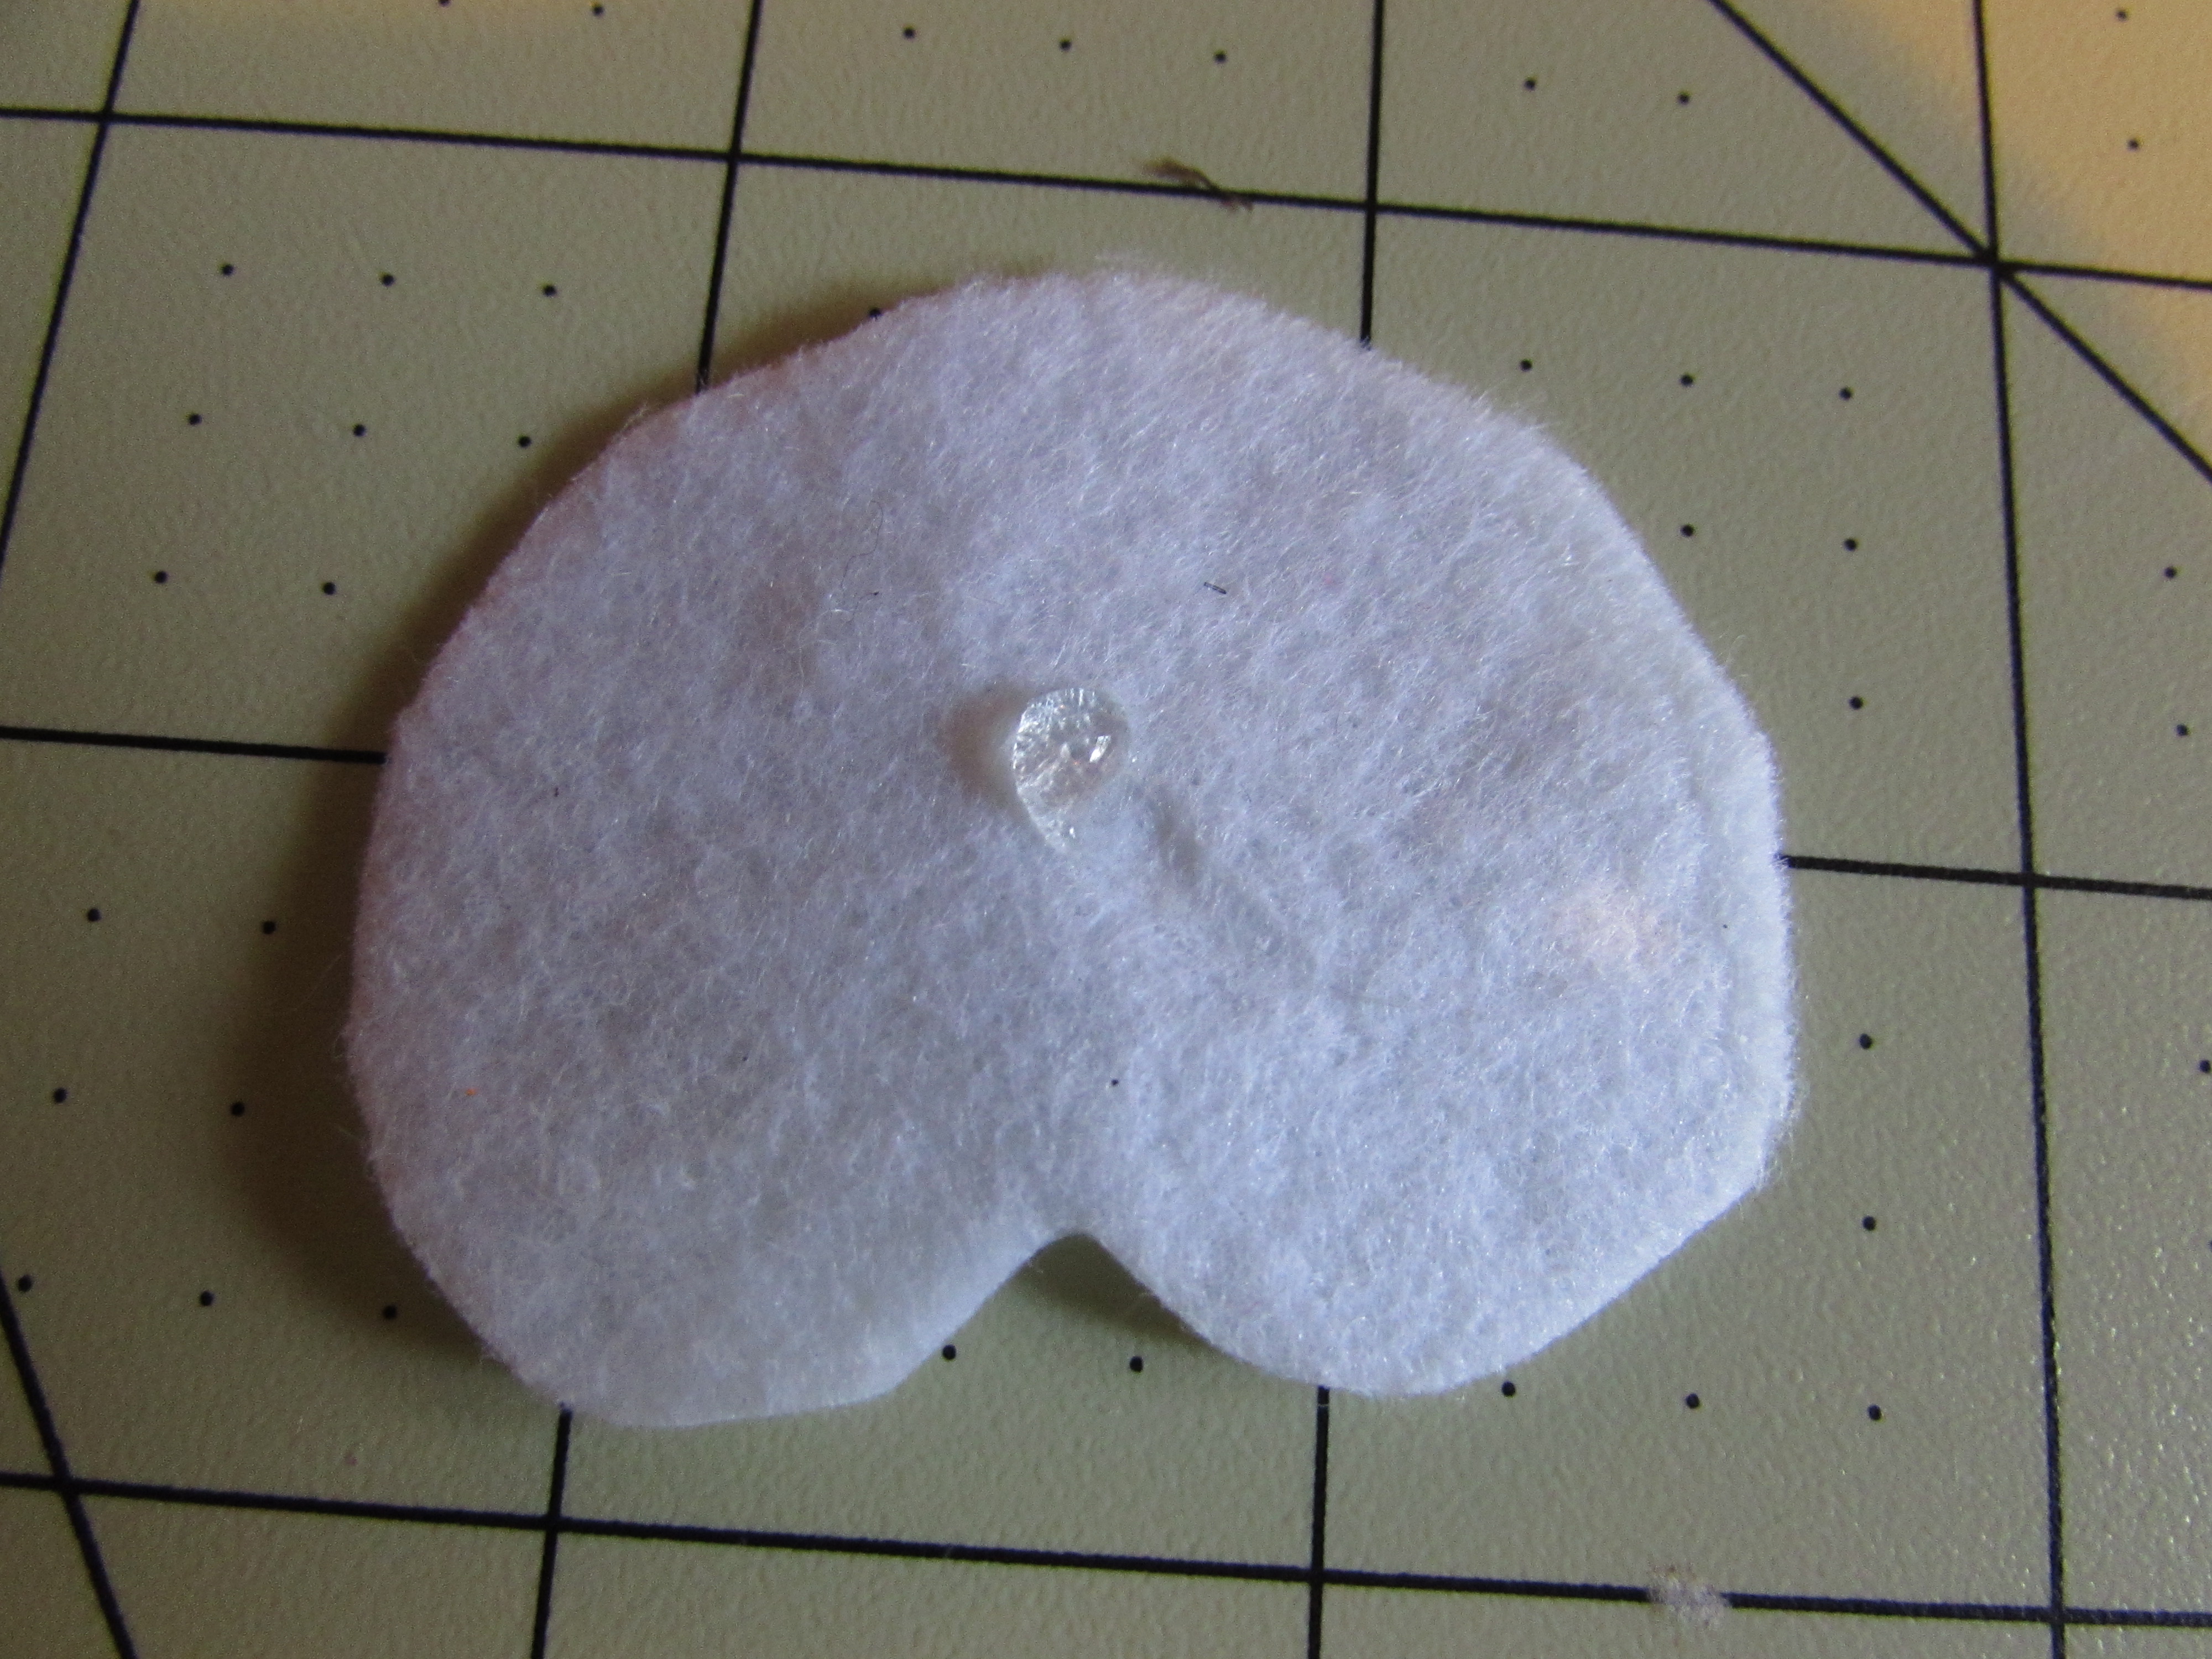
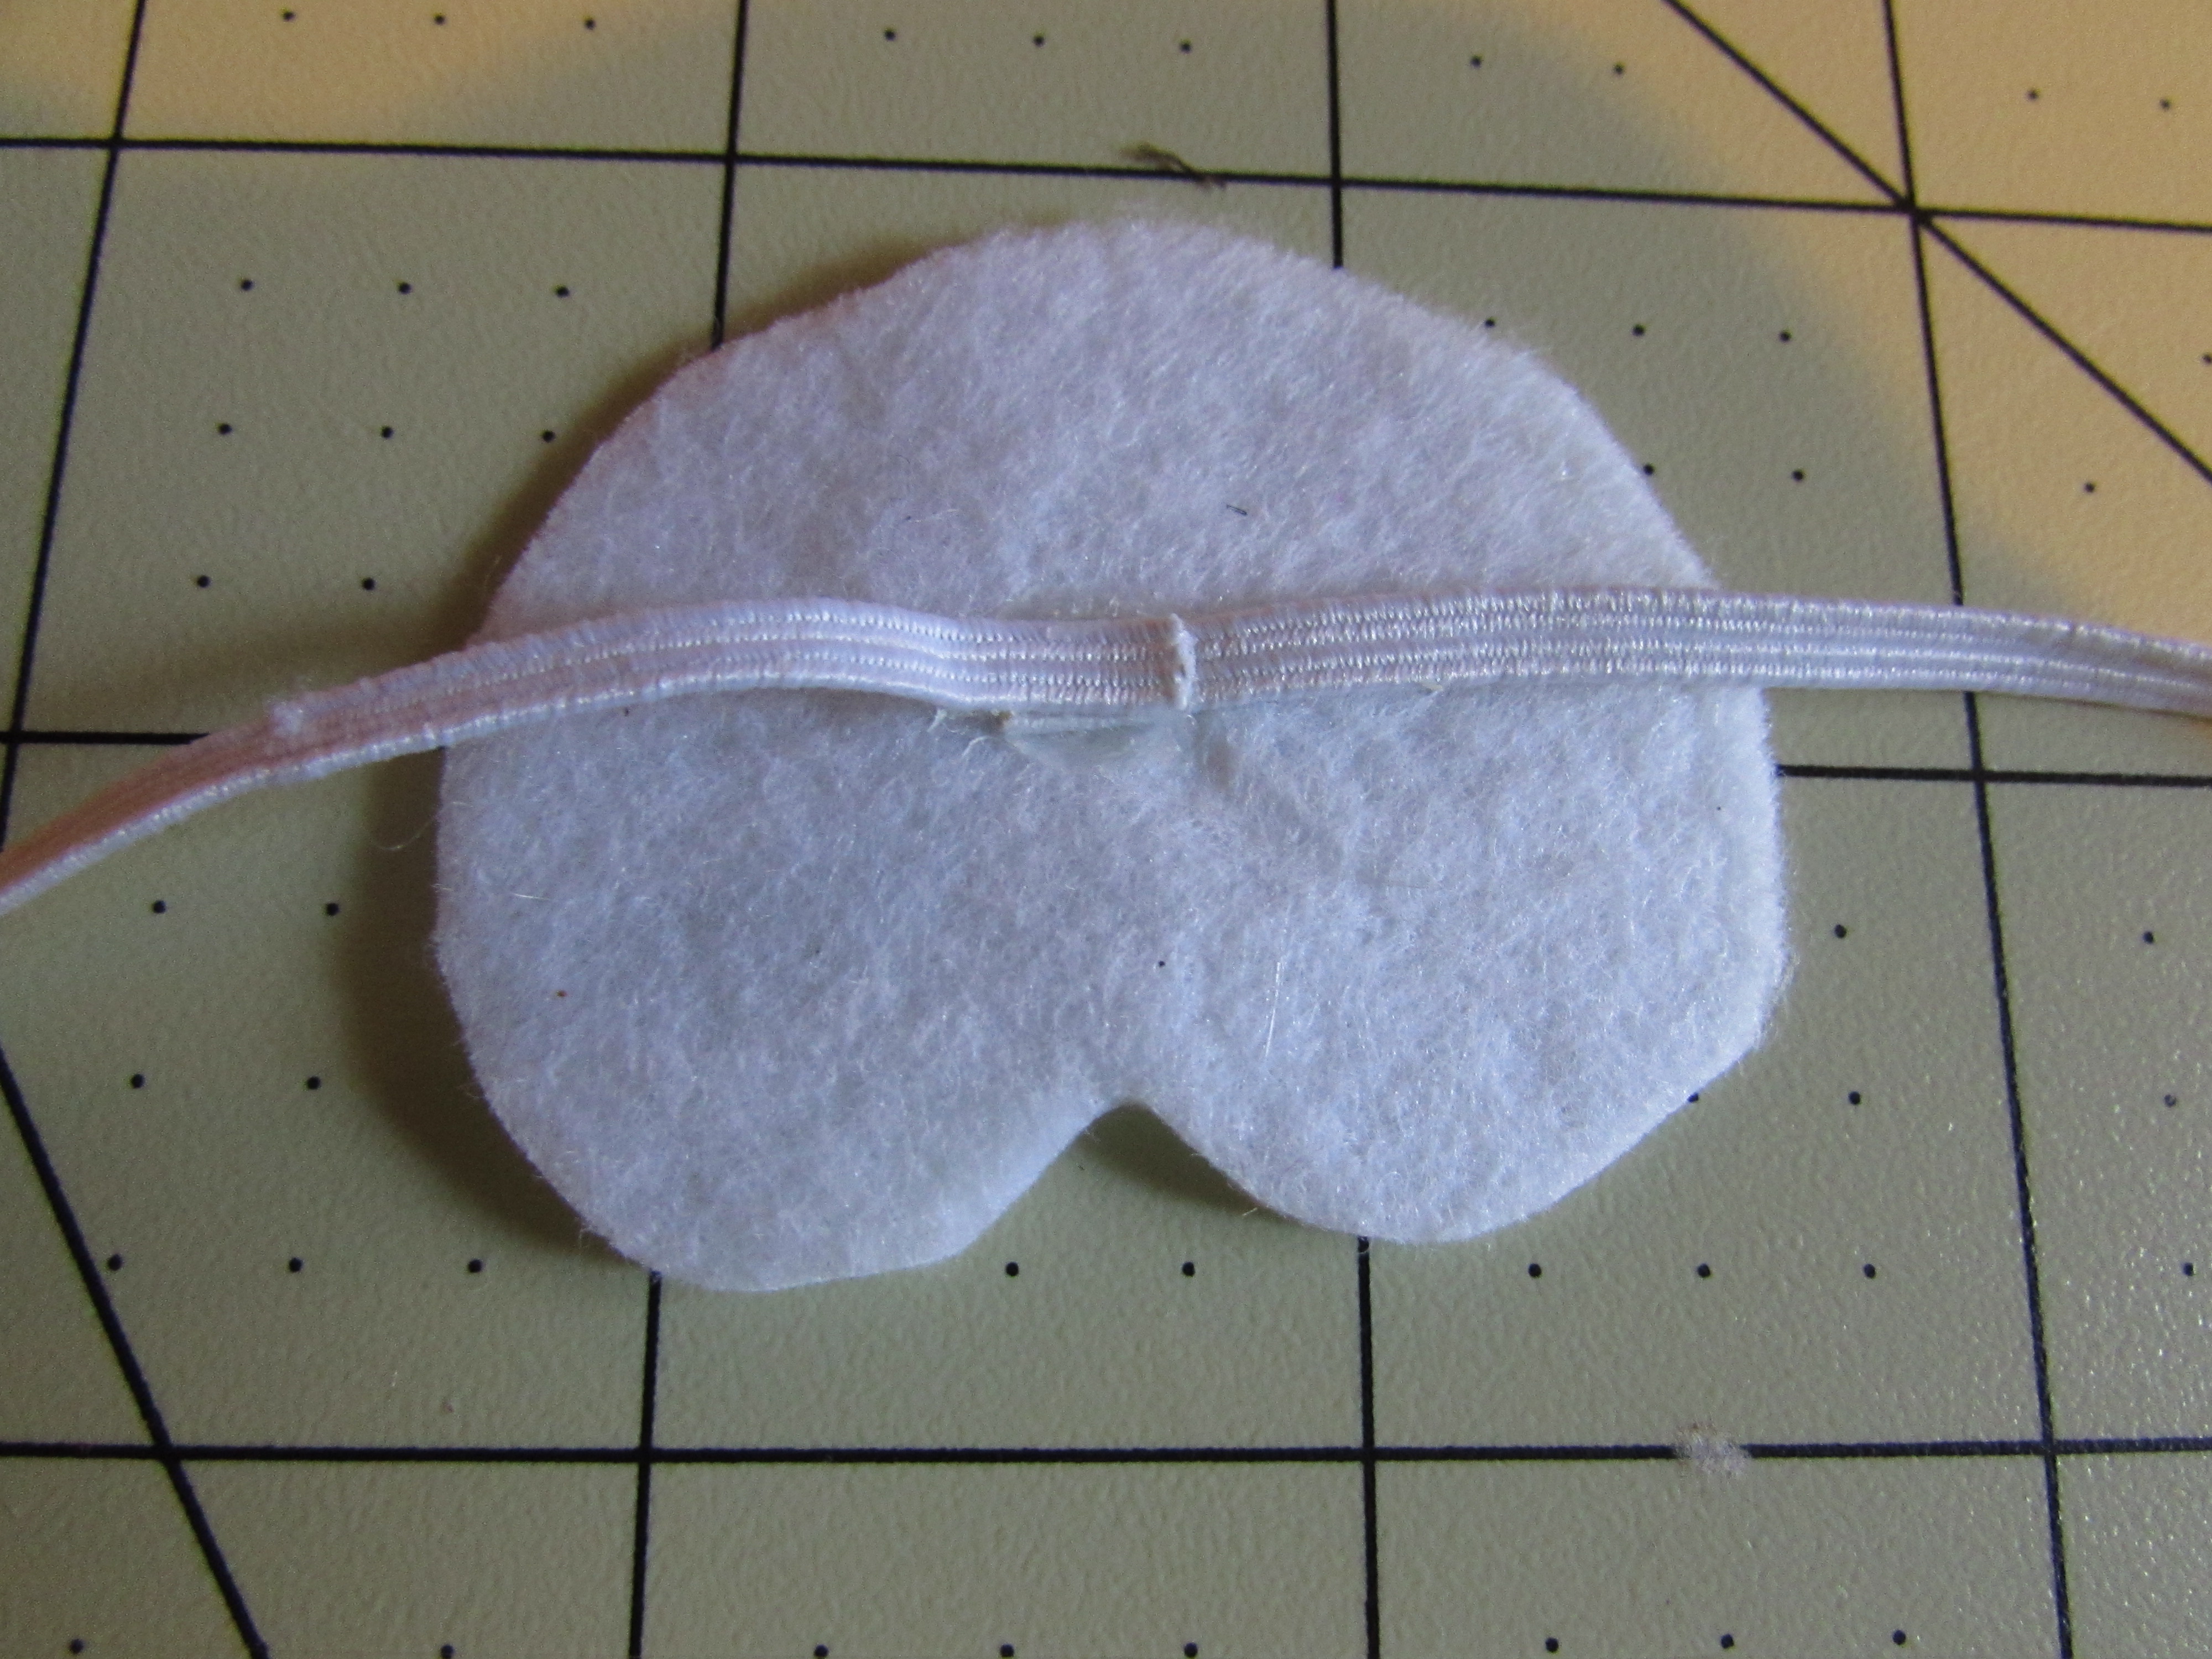
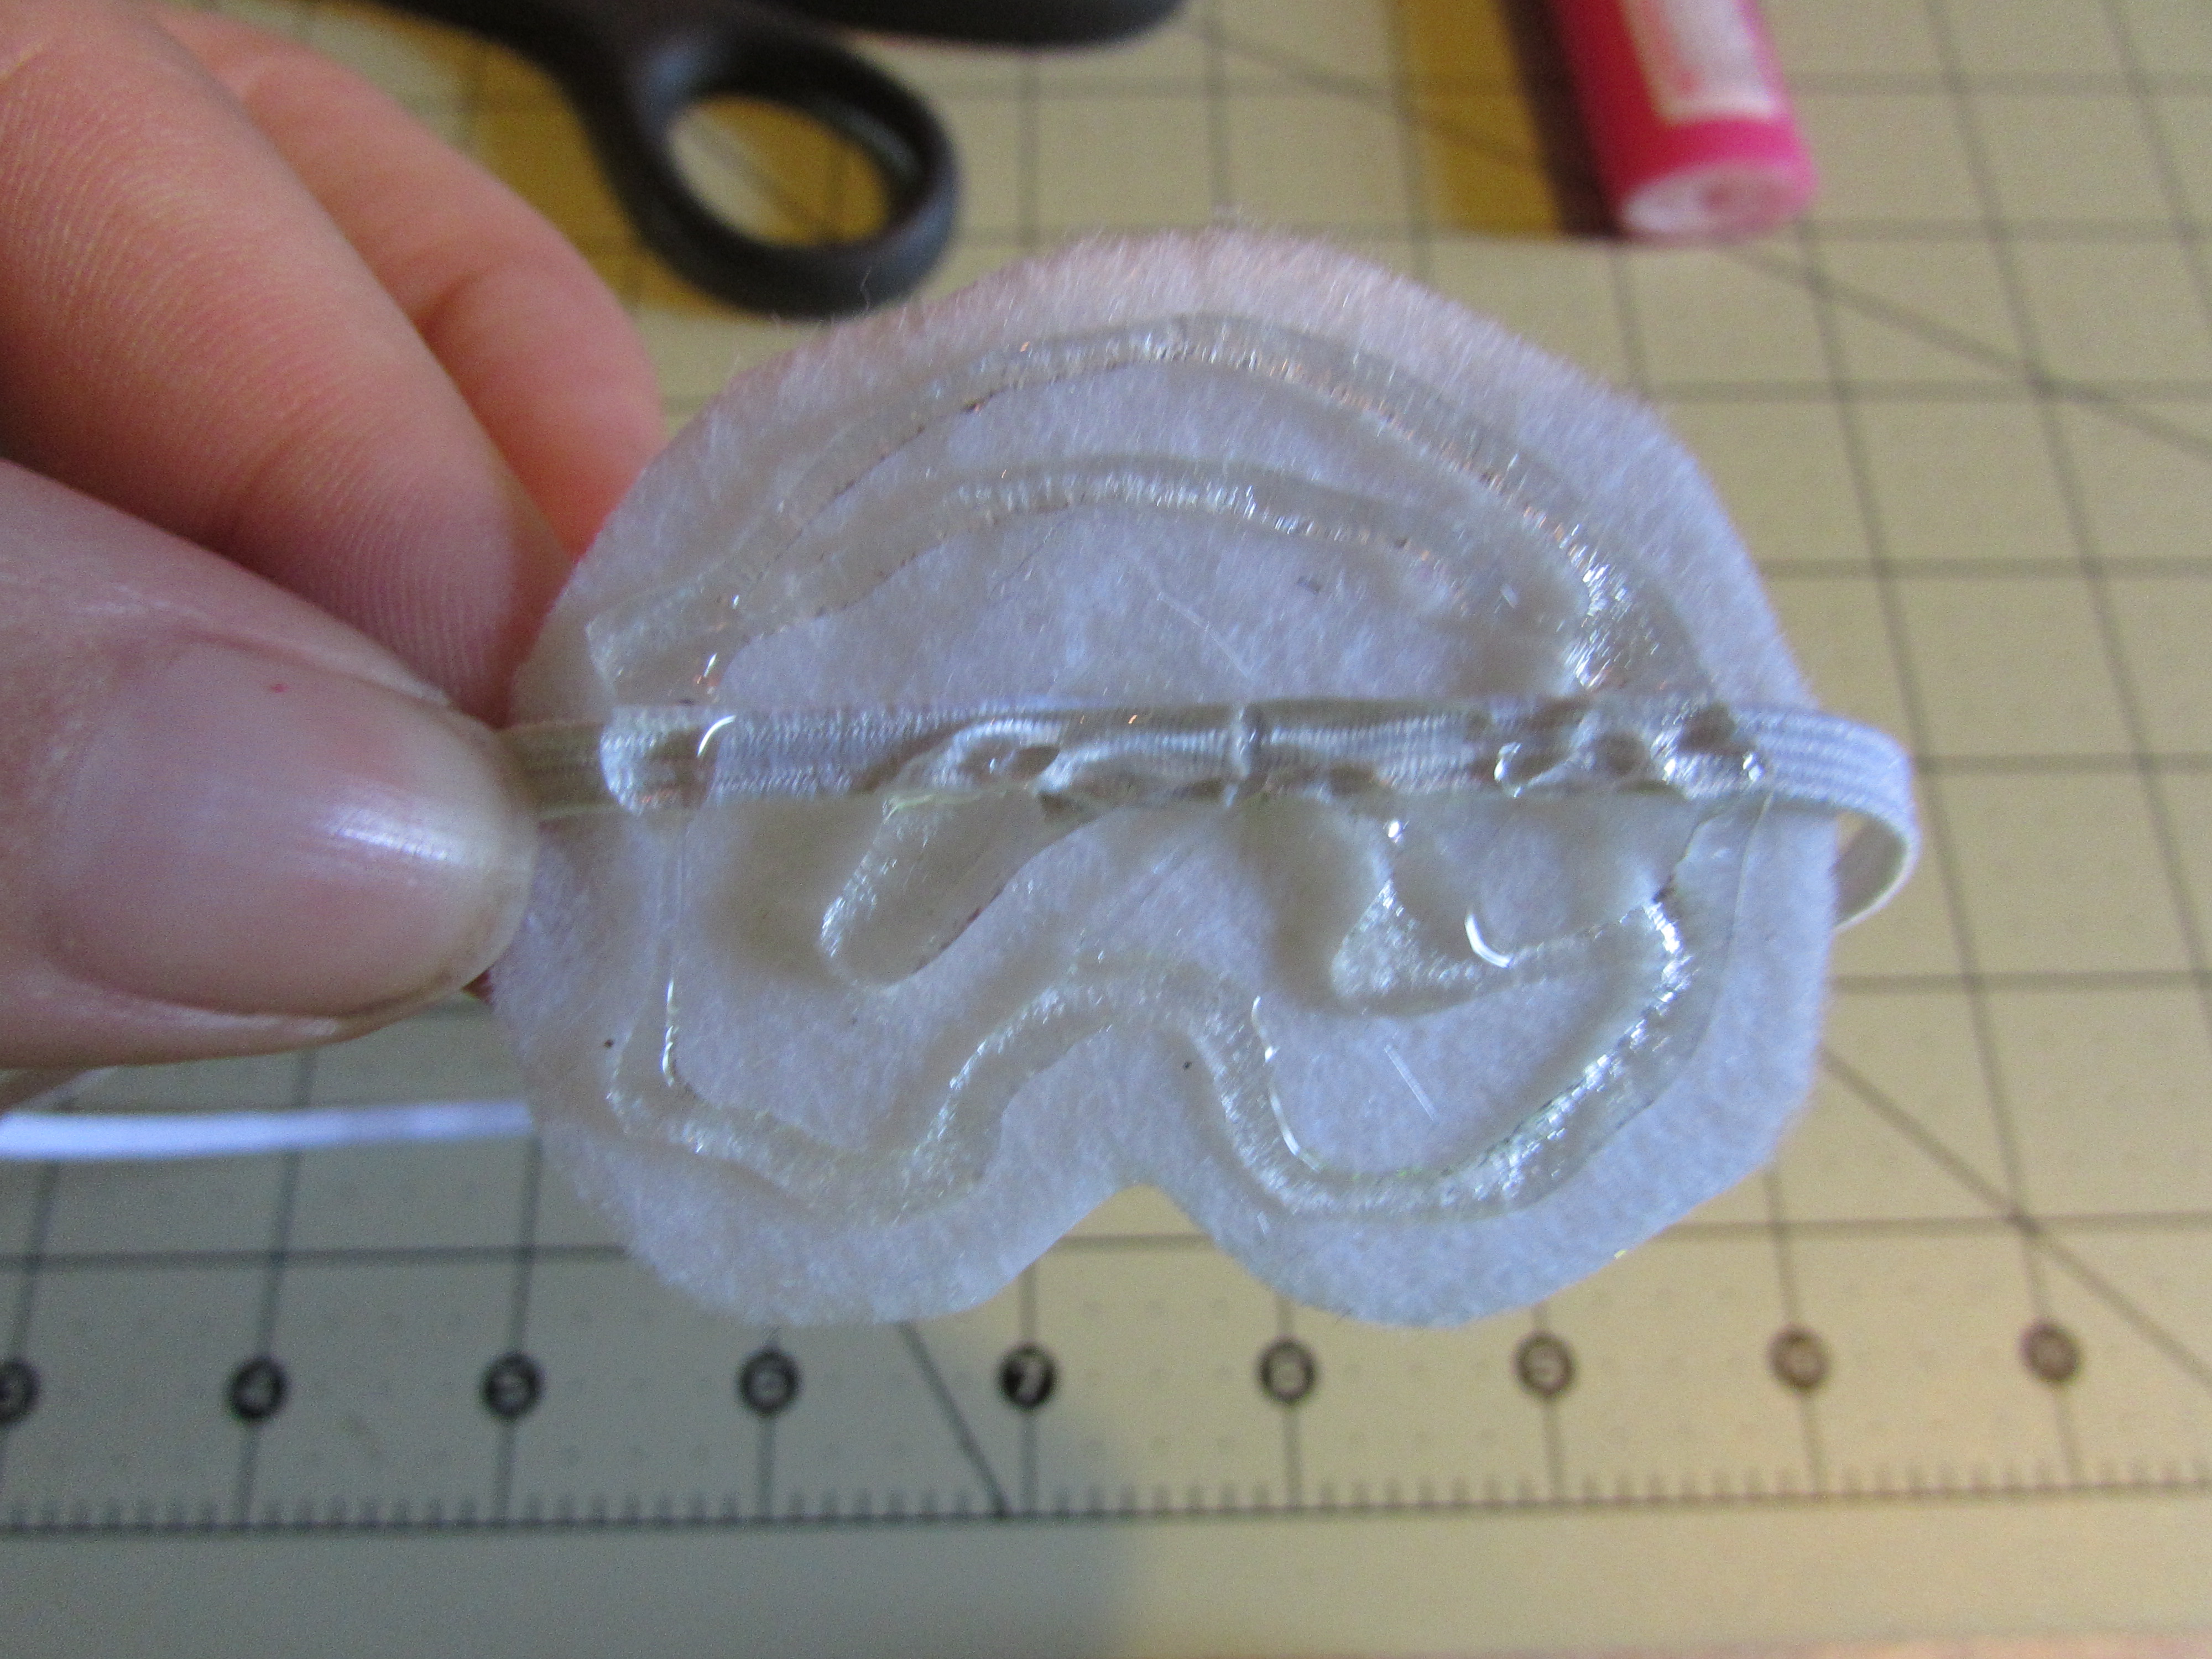
- Get your skinny elastic, heat seal BOTH ends. Add a drop of hotglue to one end, join the other end on top of it to adhere both ends together. Press until they are secured. Apply a drop of hotglue to the center of your felt. {{ If you need to trim your felt piece up to fit the back of your pumpkin please do so before you apply the headband to the center }} Then, apply the headband {{ where you secured the ends together }} to the hotglue drop. Press firm til secured. Then apply a generous amount of hotglue to the felt and then apply it to the back of your pumpkin. Press firm til it is secured into place.
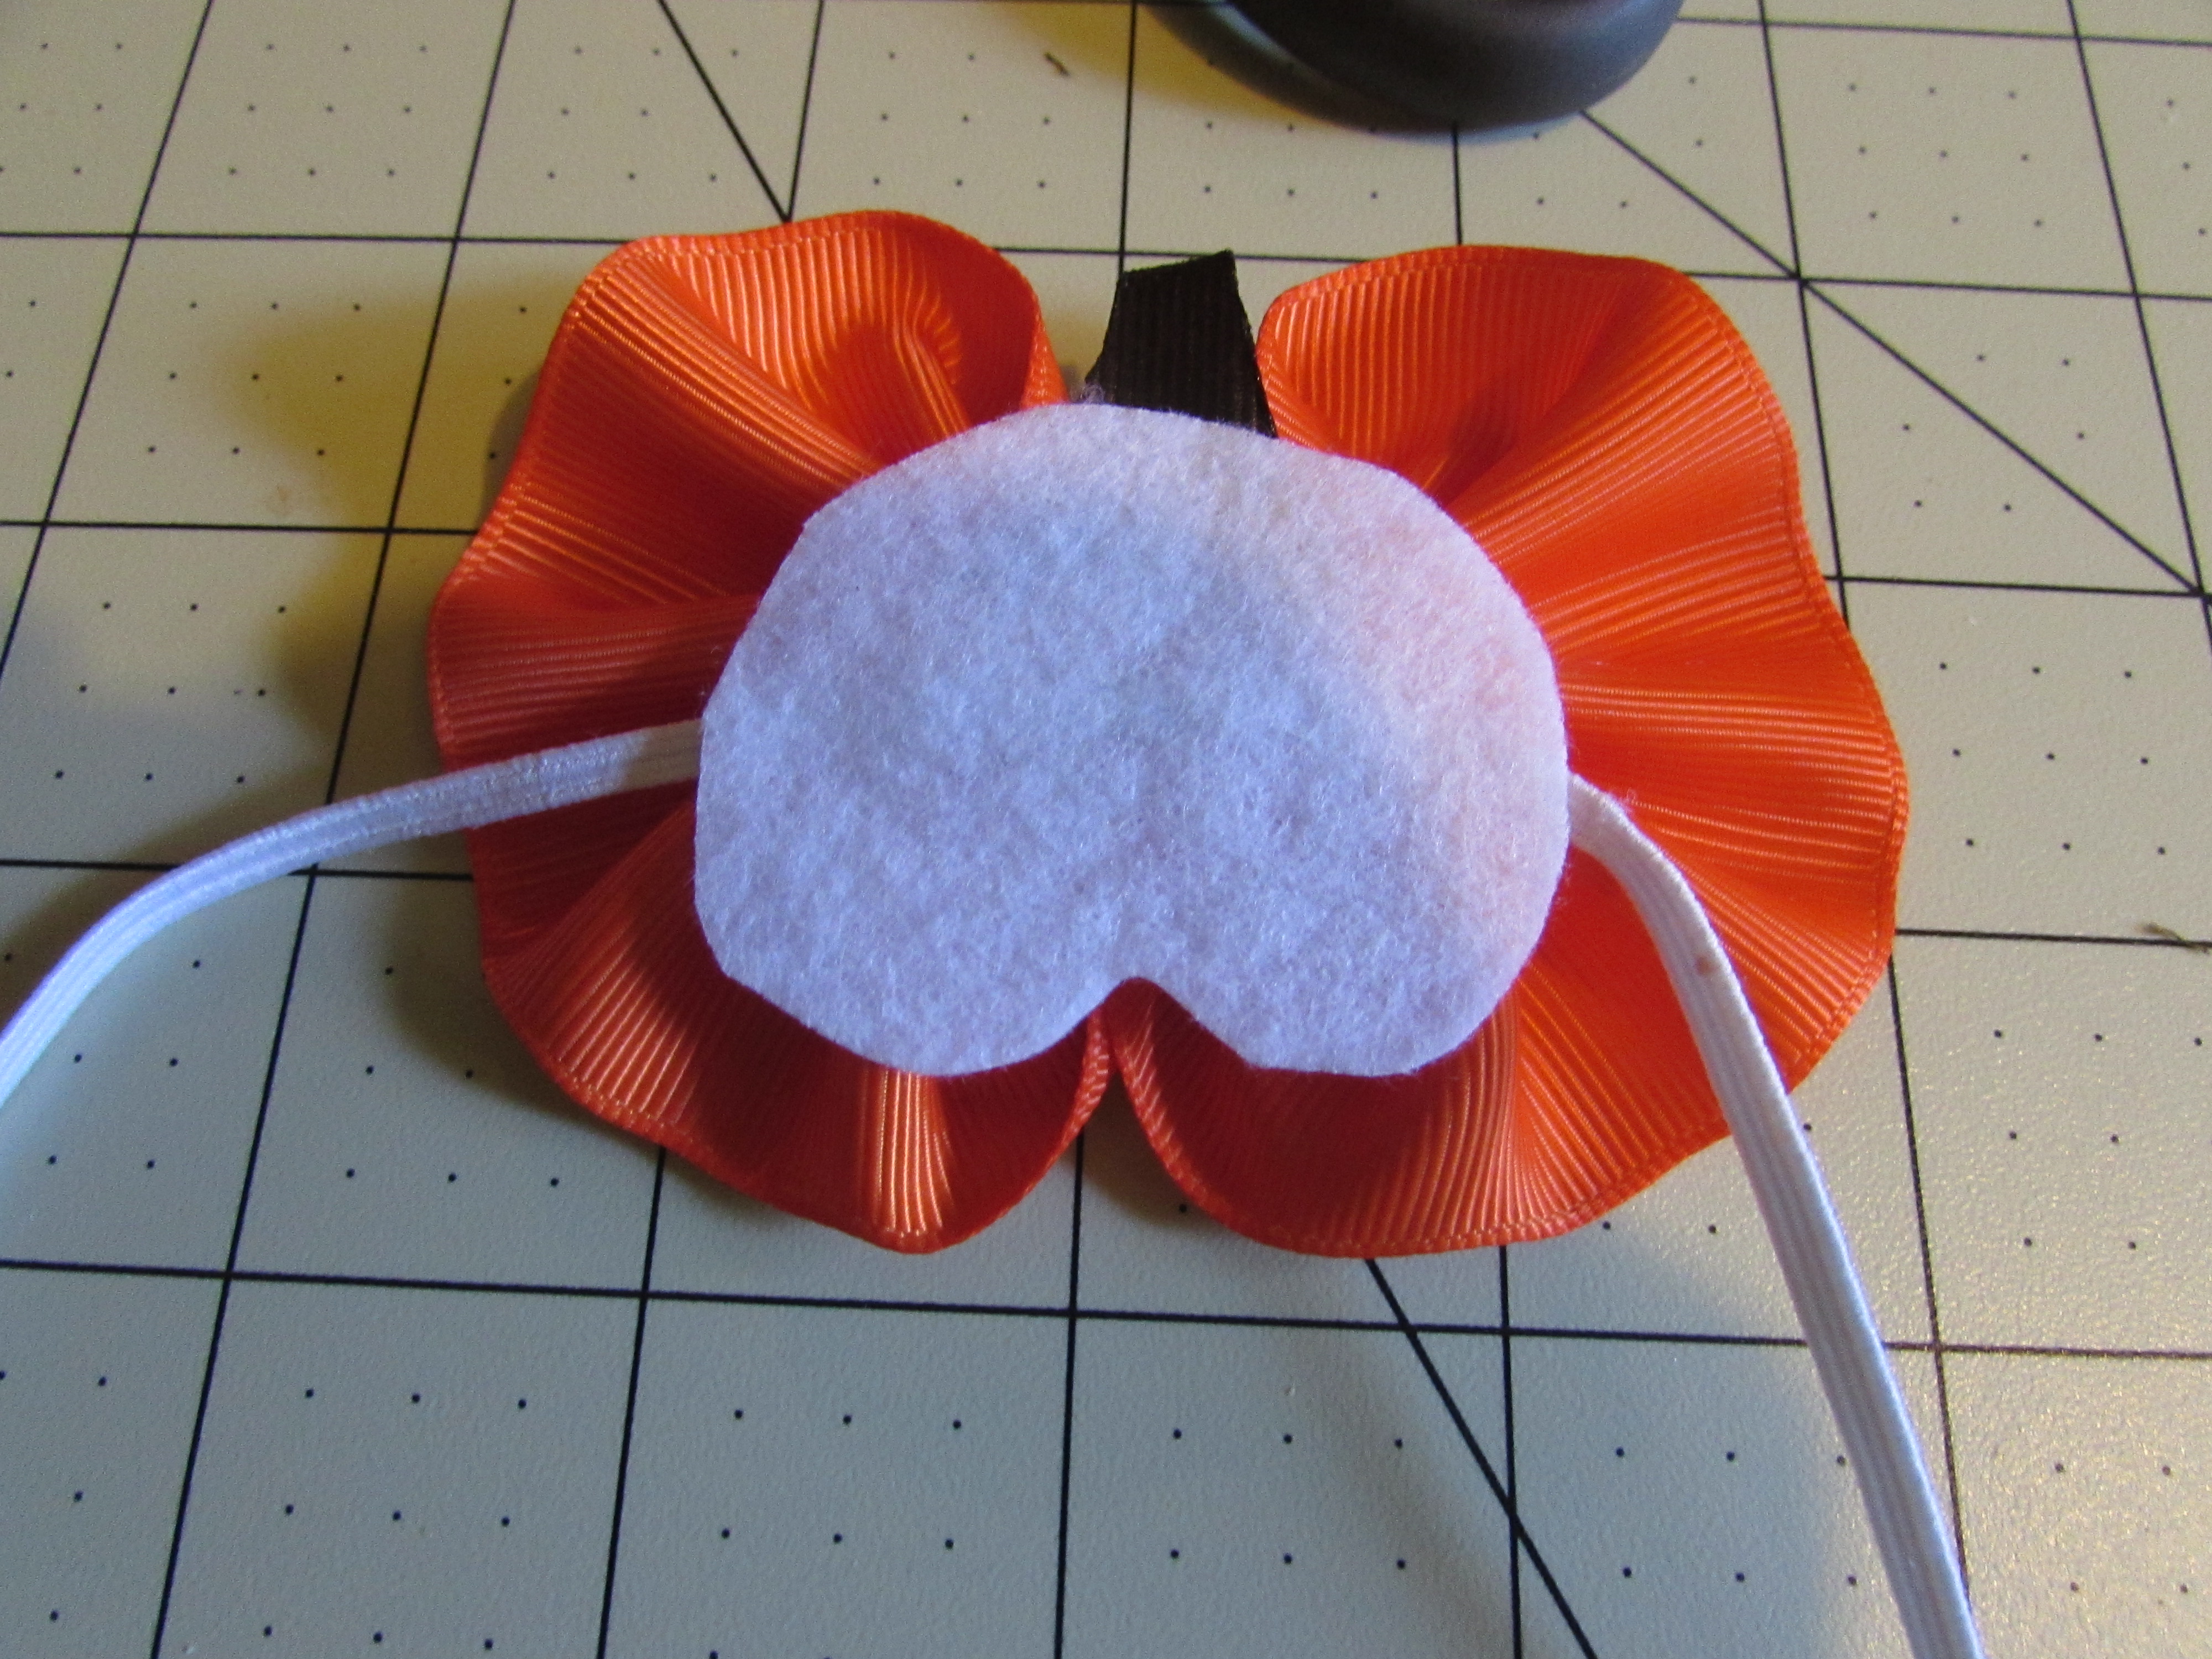
- FLIP IT OVER & YOU'RE DONE!
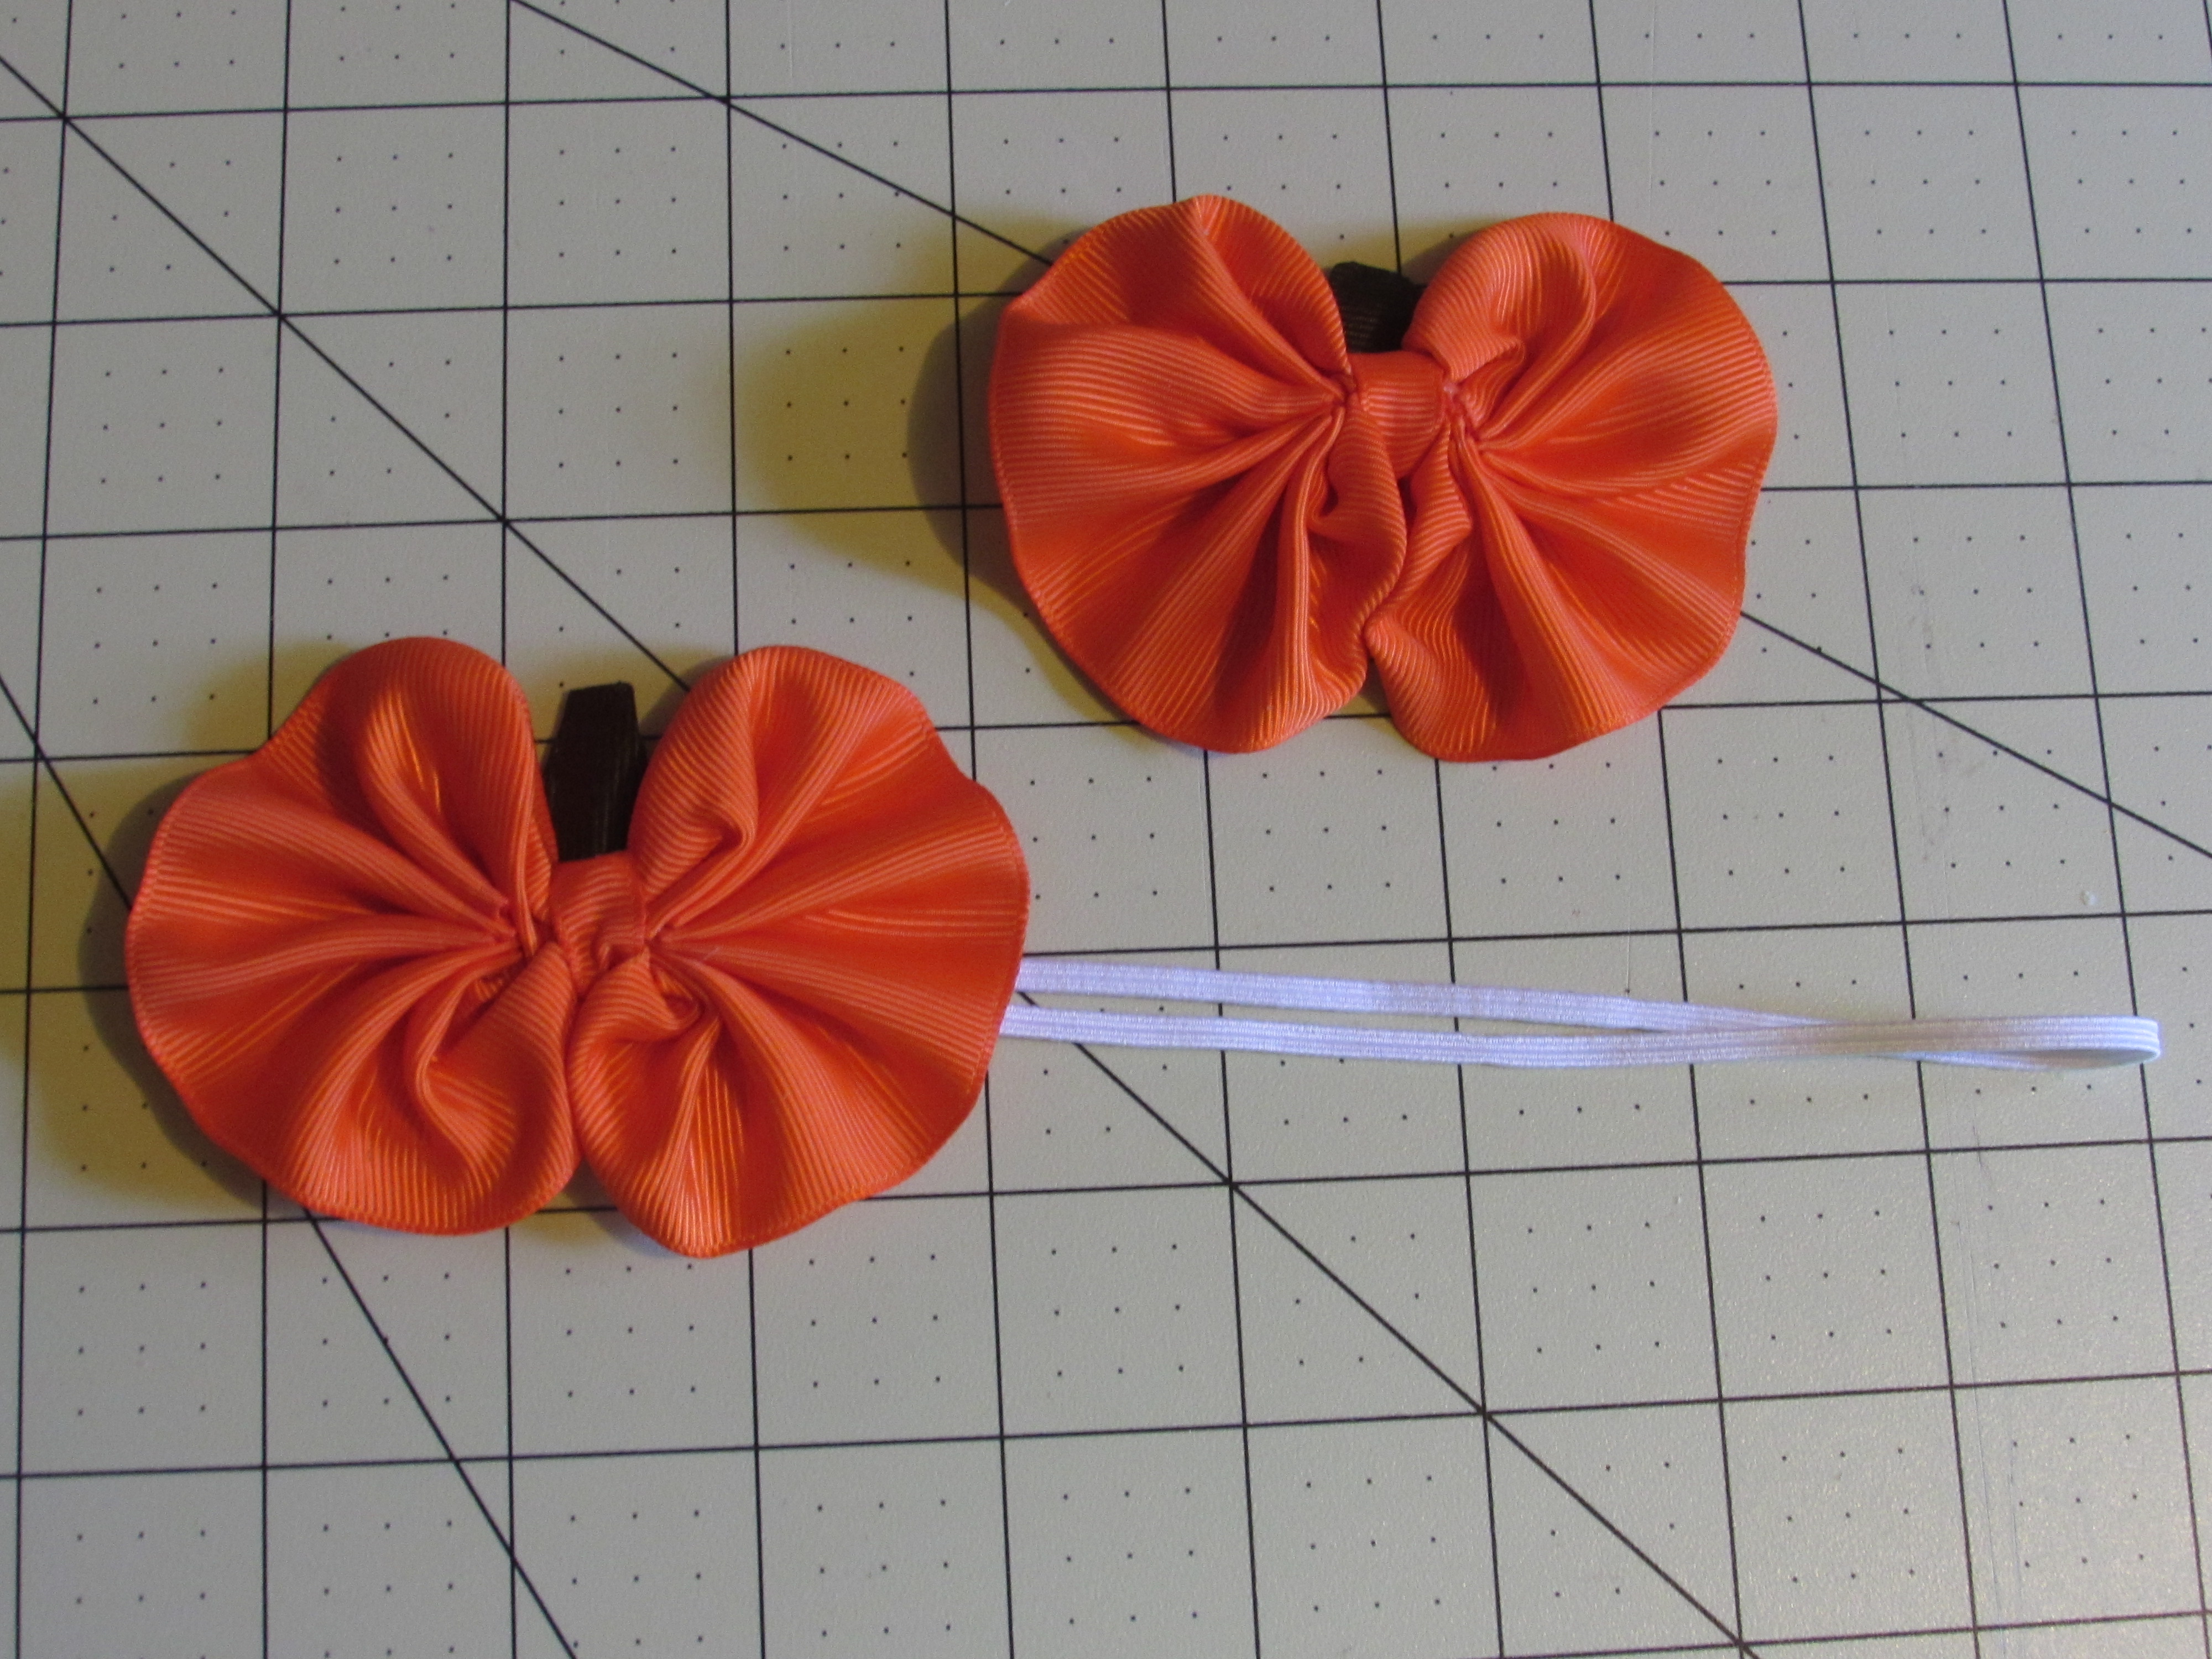
>>>> Hope you all enjoyed this adorable Ruffled Pumpkin Tutorial. Have a great day! <<<<
Visit the rest of our blog for more Crafting Tutorials and DIY Instructions!
 Contributor post by Cassie
Good Day Everyone! It is Cassie here, from CuppyCake GumDrop Boutique & More. Today I will be showing you how to make an adorable Ruffled Pumpkin hair clip and or headband. With the holiday's creeping up on us and the weather getting chillier {{ here in KY anyways }} what a better way to start it off than by creating some adorable pumpkin hair accessories, right?!
Look how adorable that is?!!? Yes, I know right? Adorable, simple and super quick to make! So let's gather up the supplies and get ready.
Supplies you will need are:
Scissors
Needle/thread {{ sorry but I promise it is super easy! }}
Pliers {{ optional }}
15" orange 1.5" grosgrain ribbon
4" orange 3/8" grosgrain ribbon
Scrap Brown 7/8" grosgrain ribbon {{ at least an inch }}
A partially lined alligator clip {{ orange to match the bow is best }}
Skinny elastic {{ optional -> I will be showing how to add it to a skinny elastic headband also }}
felt circle {{ optional -> I will be showing how to add it to a skinny elastic headband also....... You may have to "trim" it to fit your overall size of pumpkin }}
Hotglue/gun
Lighter
Now, gather those supplies and come right back!
 Step 1: Get your needle/thread and your 15" of 1.5" orange ribbon and let's get started
 Step 2: Take your needle through the bottom corner of the ribbon
 Step 3: Go through the ribbon again, "weaving" your needle in and out all the way along the bottom of the ribbon


 Step 4: When you are almost done you need to make sure your needle goes out the bottom of the ribbon just like how you started it
 - Yours should now look like this if you flatten out all the ruffles
 Step 5: You want to pull the thread so your ribbon will "ruffle" up
 - push it all the way down to the "knot" on your thread
 Step 6: Get both of the end pieces of your ruffle and sew them together


 - Get to the end you cut off the needle/thread and tie it off. Once you tie it off you want to cut the access thread

 - Knot the end of your thread
Step 7: Crease the center of the ruffle
 Step 8: Sew through the center


 - Cut off the needle/thread
 Step 9: Take your 3/8" 4" piece of orange and wrap around the center and secure it where you sewn it.

 Step 10: Take your brown ribbon scrap and cut a "pumpkin top" shape out of it and heat seal EVERY side.
 Step 11: Apply hotglue along the bottom of that piece, lay it in the center of the back of your pumpkin

 - Flip your pumpkin over and add a drop of hotglue to the bottom part of the ribbon to join both ruffles together


 - Add your clip if you want just a hair clip
 >>>> If you would like to see it applied to a skinny elastic headband please scroll on down and keep following :)) <<<<
- Get your skinny elastic, heat seal BOTH ends. Add a drop of hotglue to one end, join the other end on top of it to adhere both ends together. Press until they are secured. Apply a drop of hotglue to the center of your felt. {{ If you need to trim your felt piece up to fit the back of your pumpkin please do so before you apply the headband to the center }} Then, apply the headband {{ where you secured the ends together }} to the hotglue drop. Press firm til secured. Then apply a generous amount of hotglue to the felt and then apply it to the back of your pumpkin. Press firm til it is secured into place.


 - FLIP IT OVER & YOU'RE DONE!
 >>>> Hope you all enjoyed this adorable Ruffled Pumpkin Tutorial. Have a great day! <<<<


 TOOLS
TOOLS
 NEW
NEW


