 Contributor post by Cassie
Hey guys!
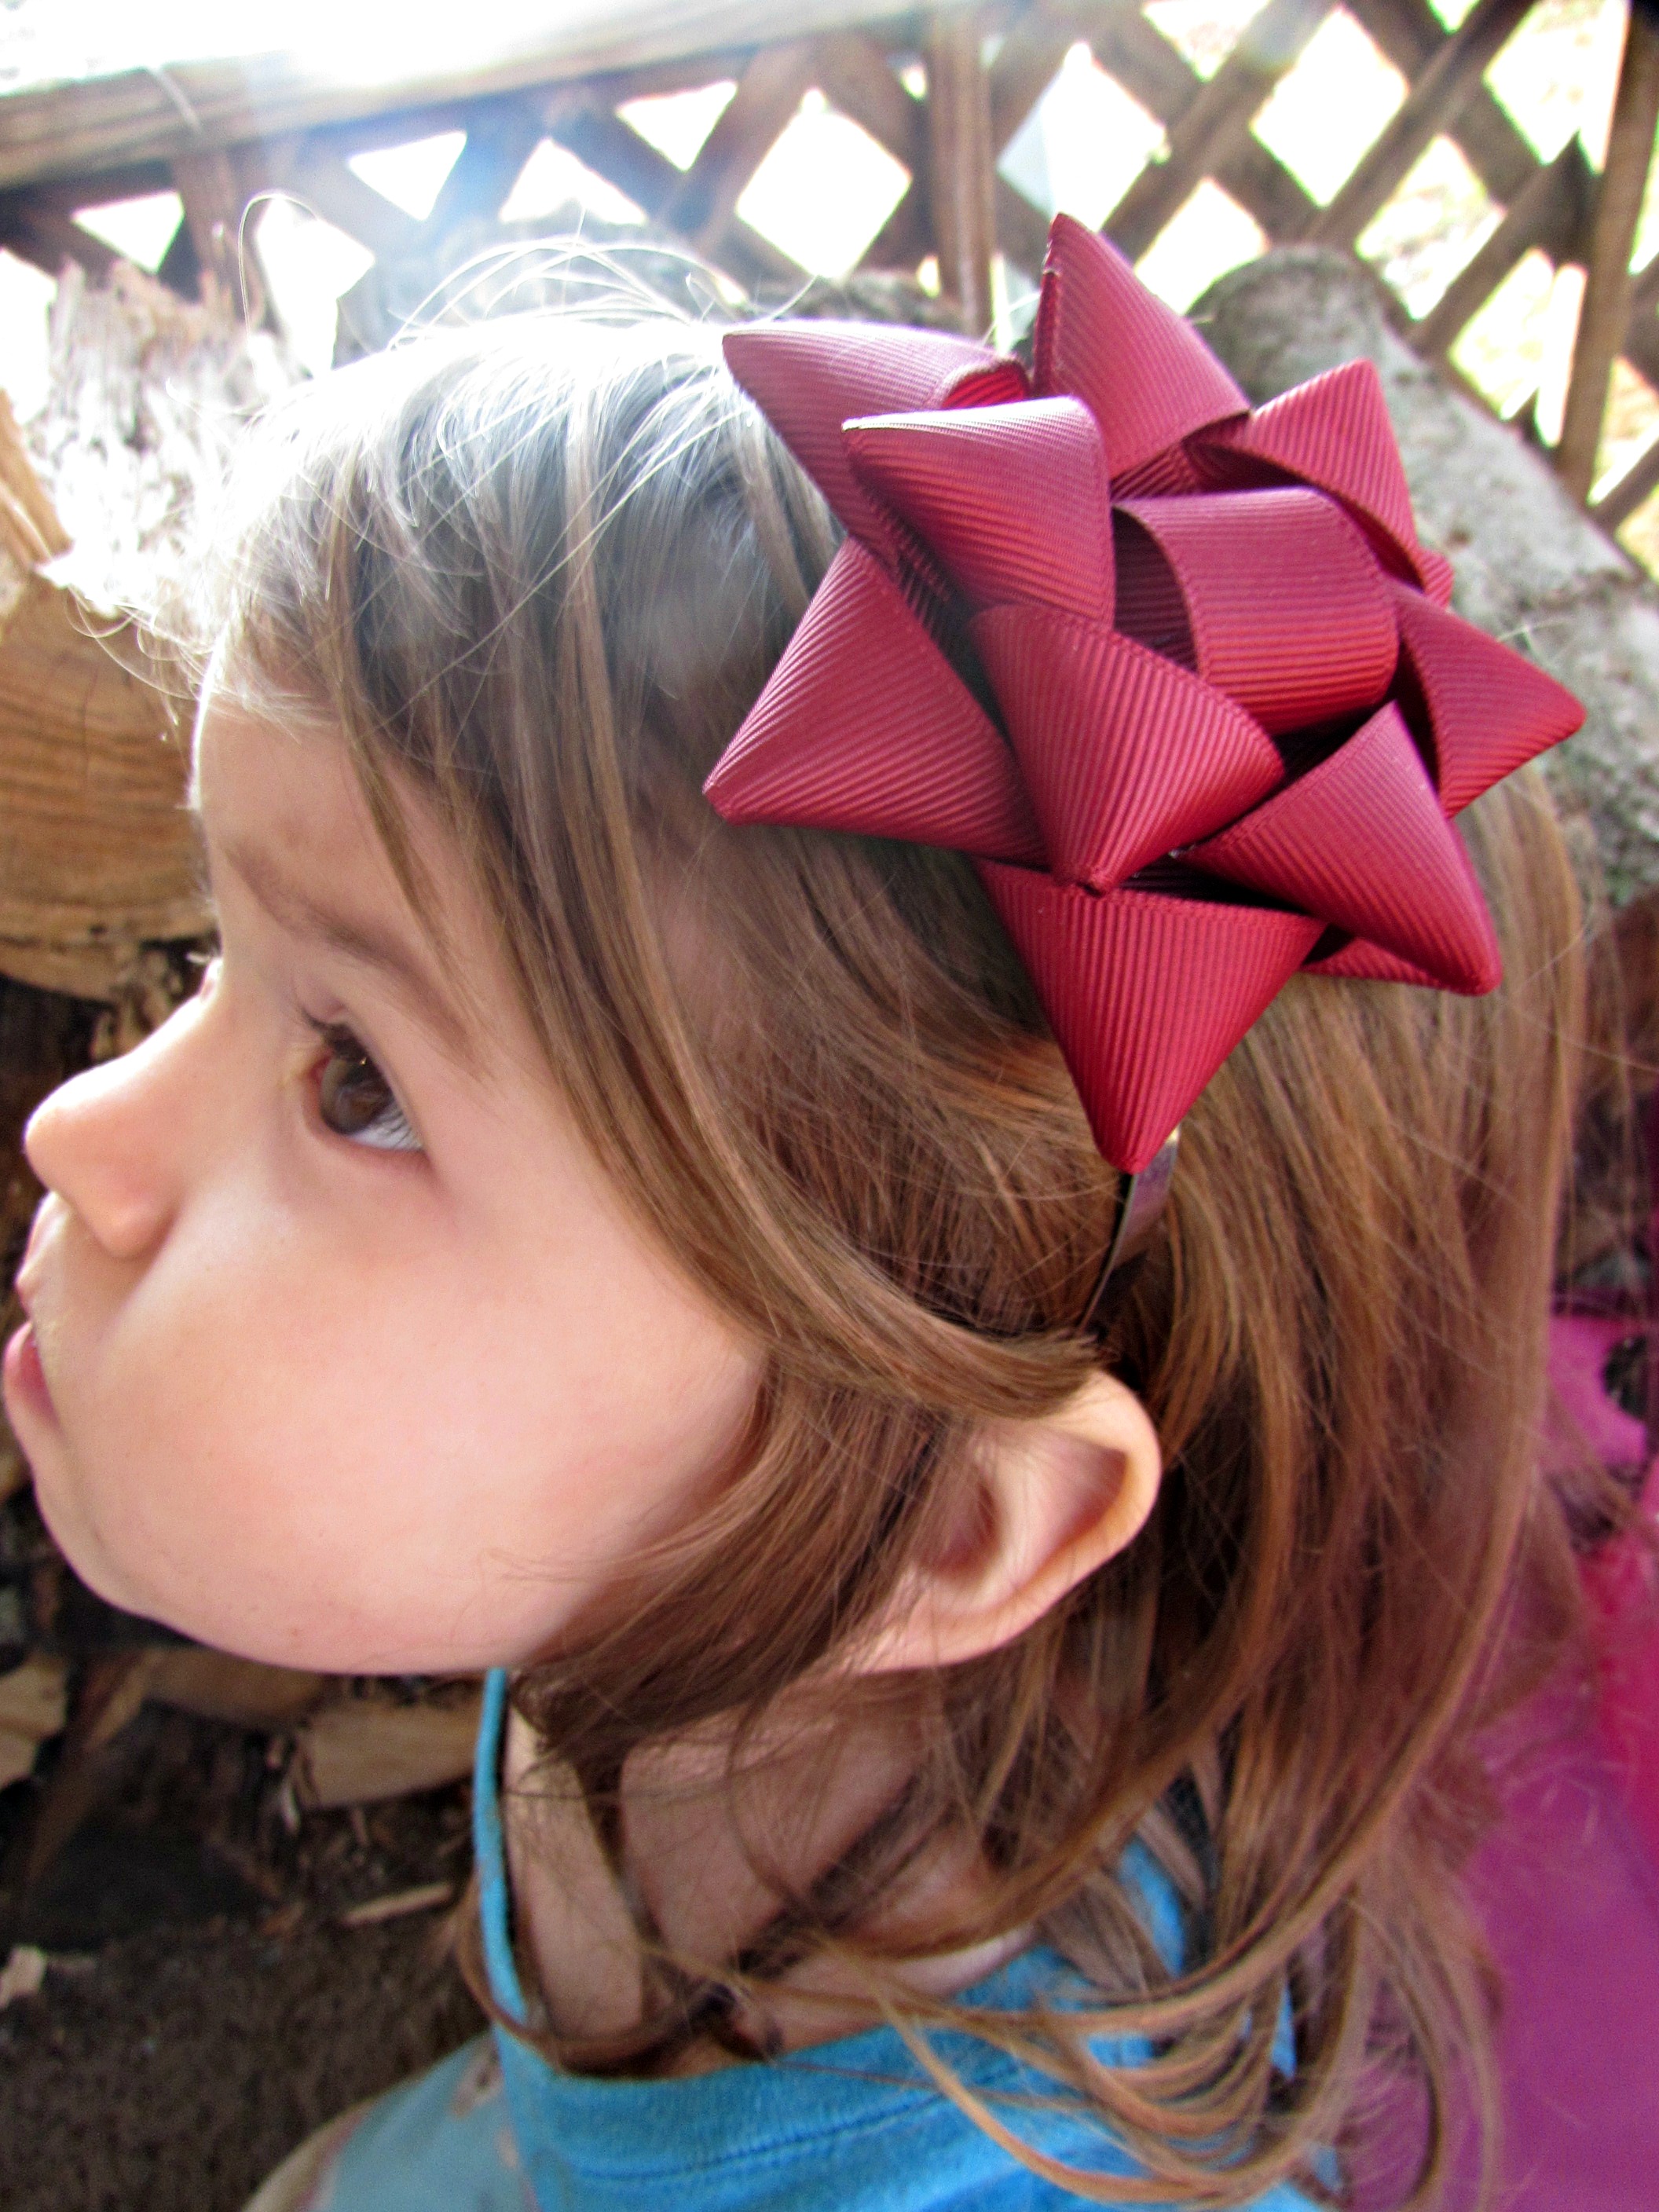
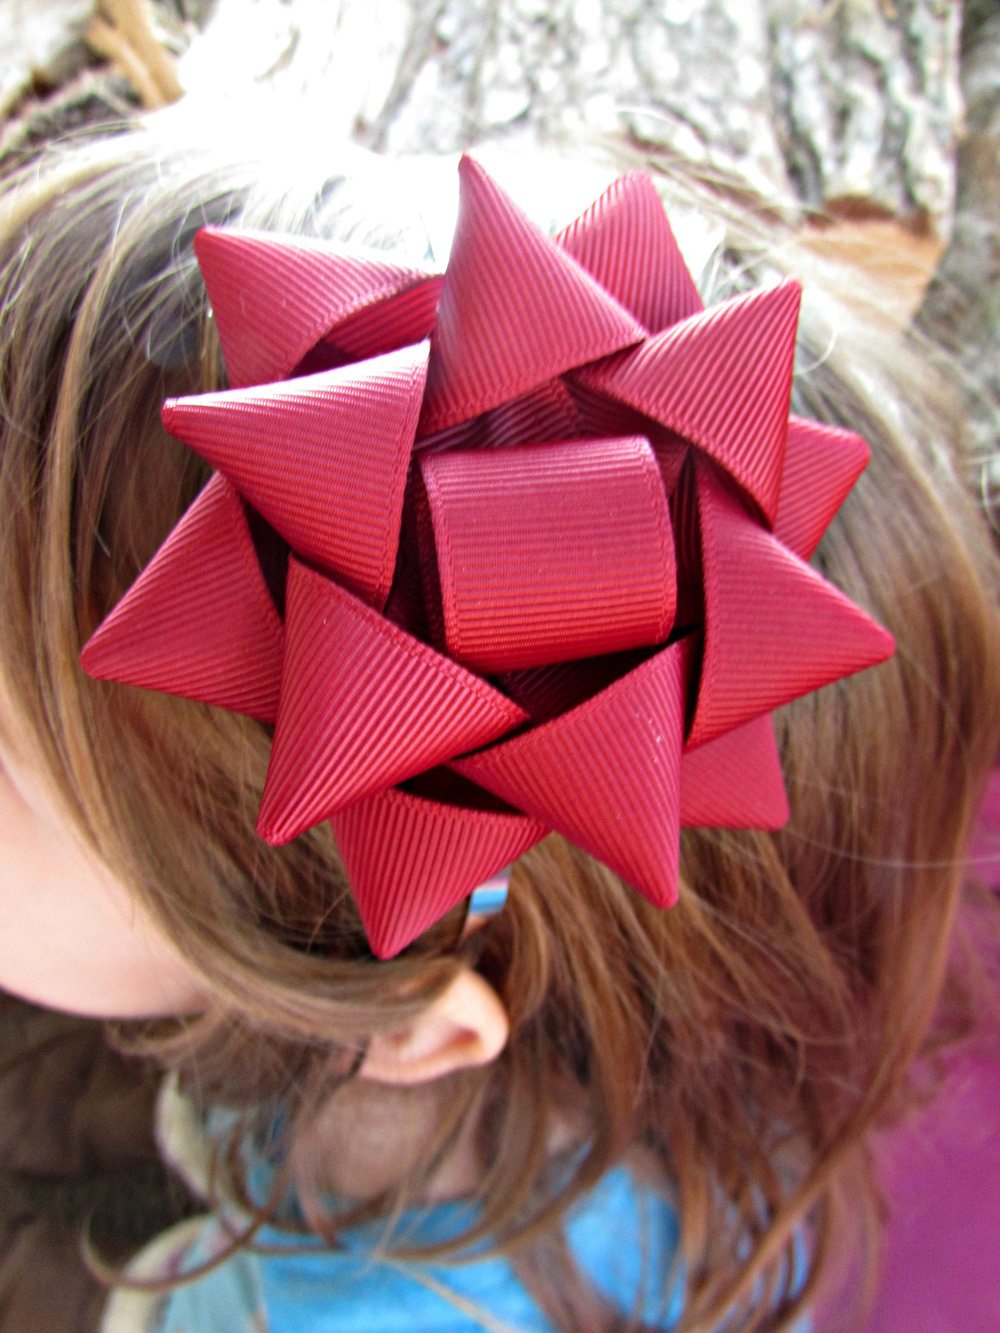
We know you can't get enough of the gift bow - bows, right? Well, today I am going to show you how to make them by SEWING. Yes, sewing. But oh my goodness they are super cute, easy and fun to make. Can wear them year round too, I know I probably will - haha.
*Editor's note - Three of our blog contributors submitted this same adorable ribbon bow project, which means that you absolutely have to make it, right?! Danielle and Brittany share how to make this bow using hot-glue as the fastener and Cassie shows how to make the same bow with a simple sewing technique. Be sure to check out the hot-glue method as well here! Before you head there too fast, we want to point out that while we crafters tend to grab the glue gun when we think it will save time over the old-fashioned needle-and-thread, we feel that in this case, the sewing method looks like it will win hands-down in terms of speed!
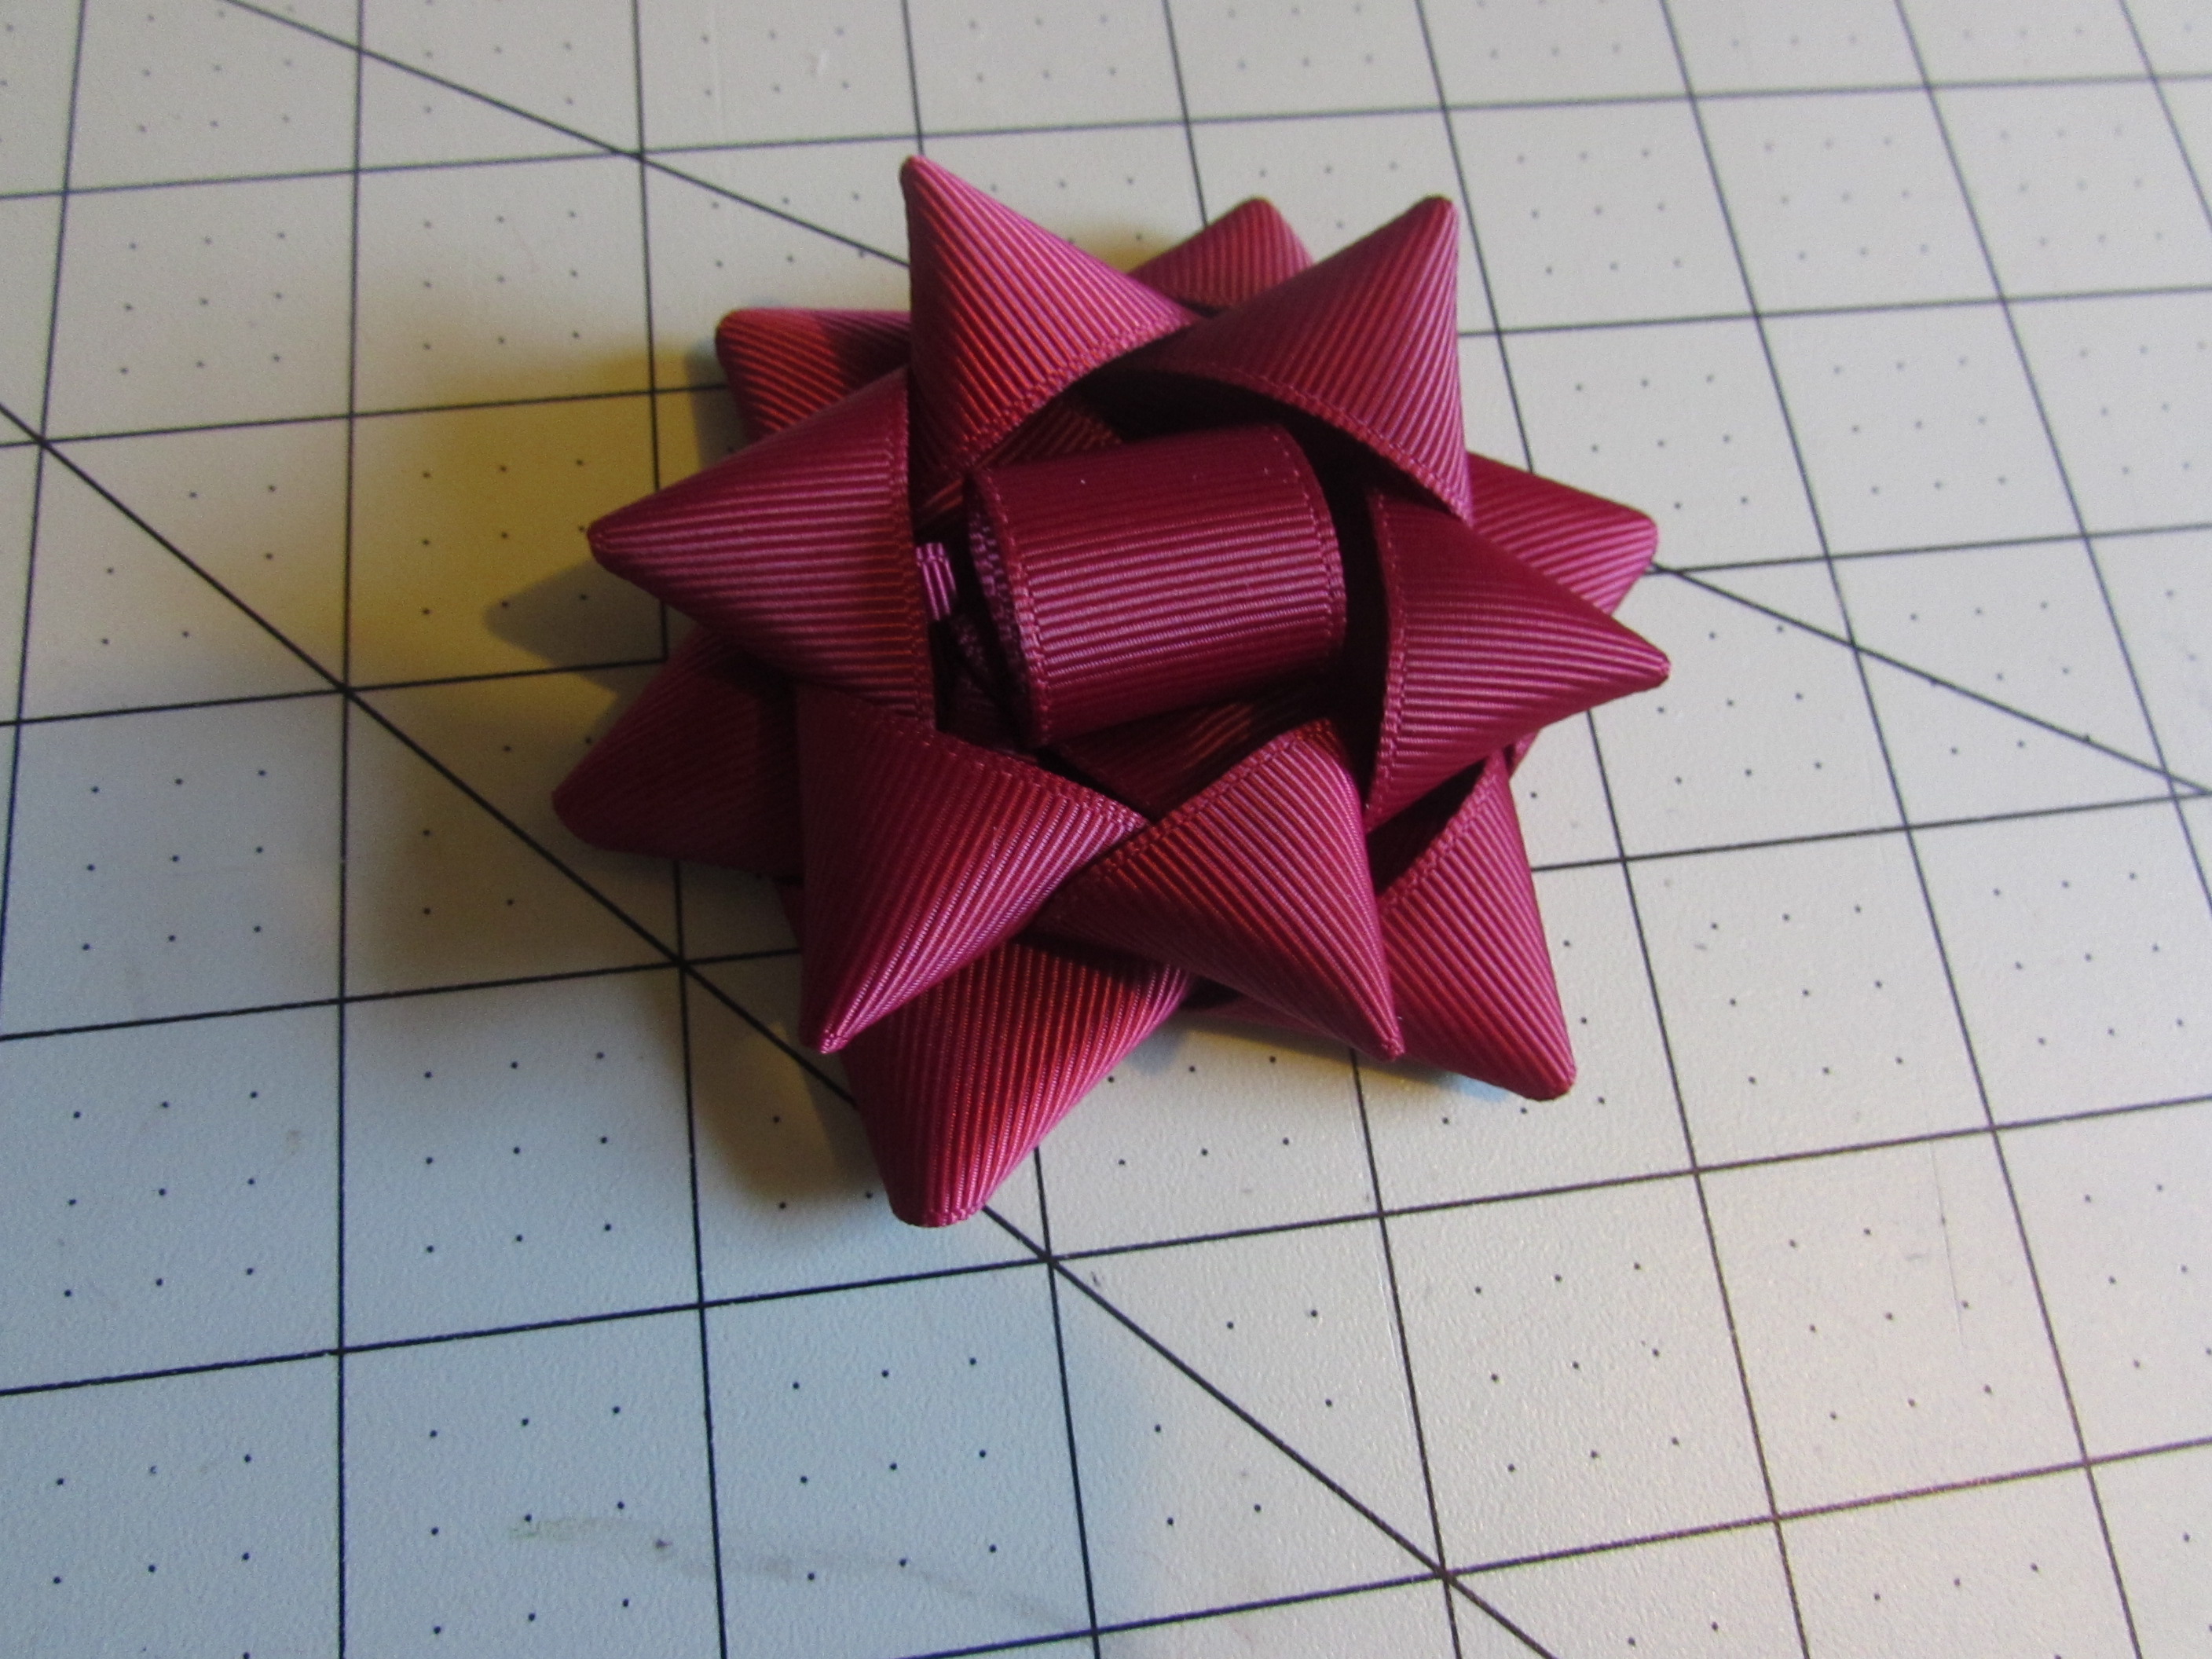
So let's gather those supplies and get started.
Supplies Needed:
*
7/8" Ribbon
* Needle/Thread
* Hotglue/Hotglue gun
* Lighter
* Scissors
Step 1:
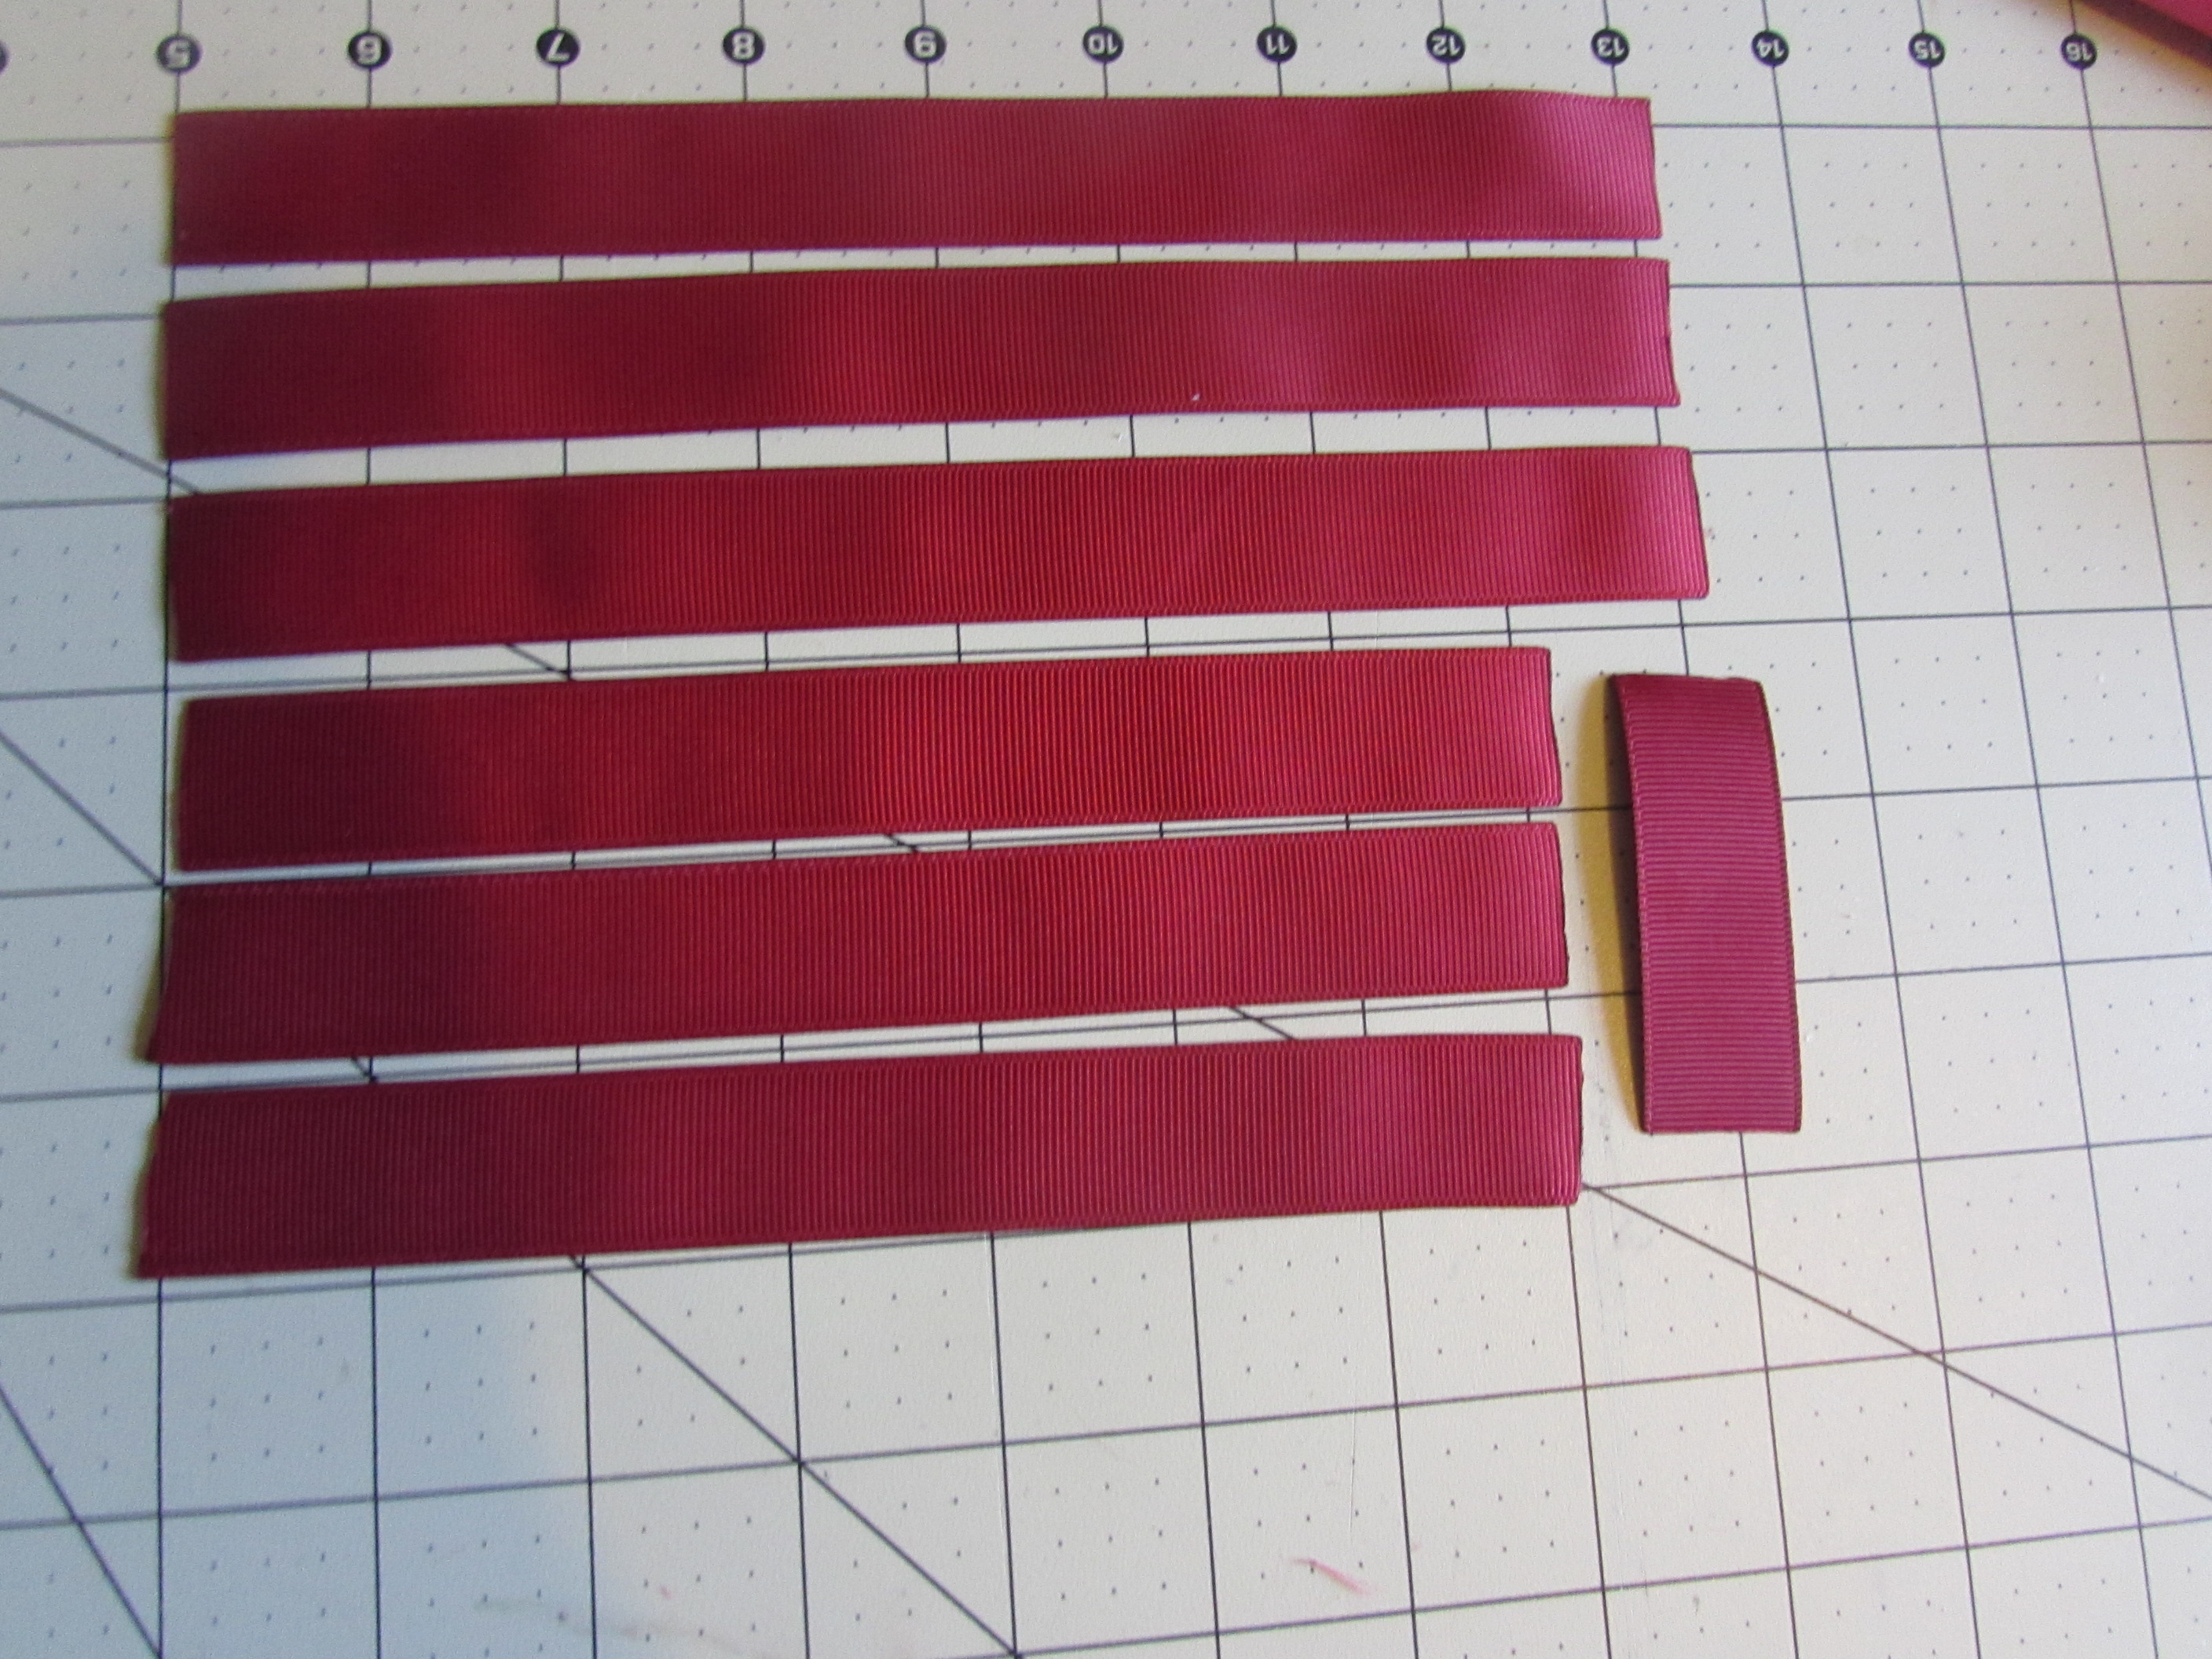
- Cut your ribbon.
* 3 pieces of 7/8" ribbon at 8" and heat seal the ends
* 3 pieces of 7/8" ribbon at 7" and heat seal the ends
* 1 piece of 7/8" ribbon 2.5" and heat seal the ends
Step 2:
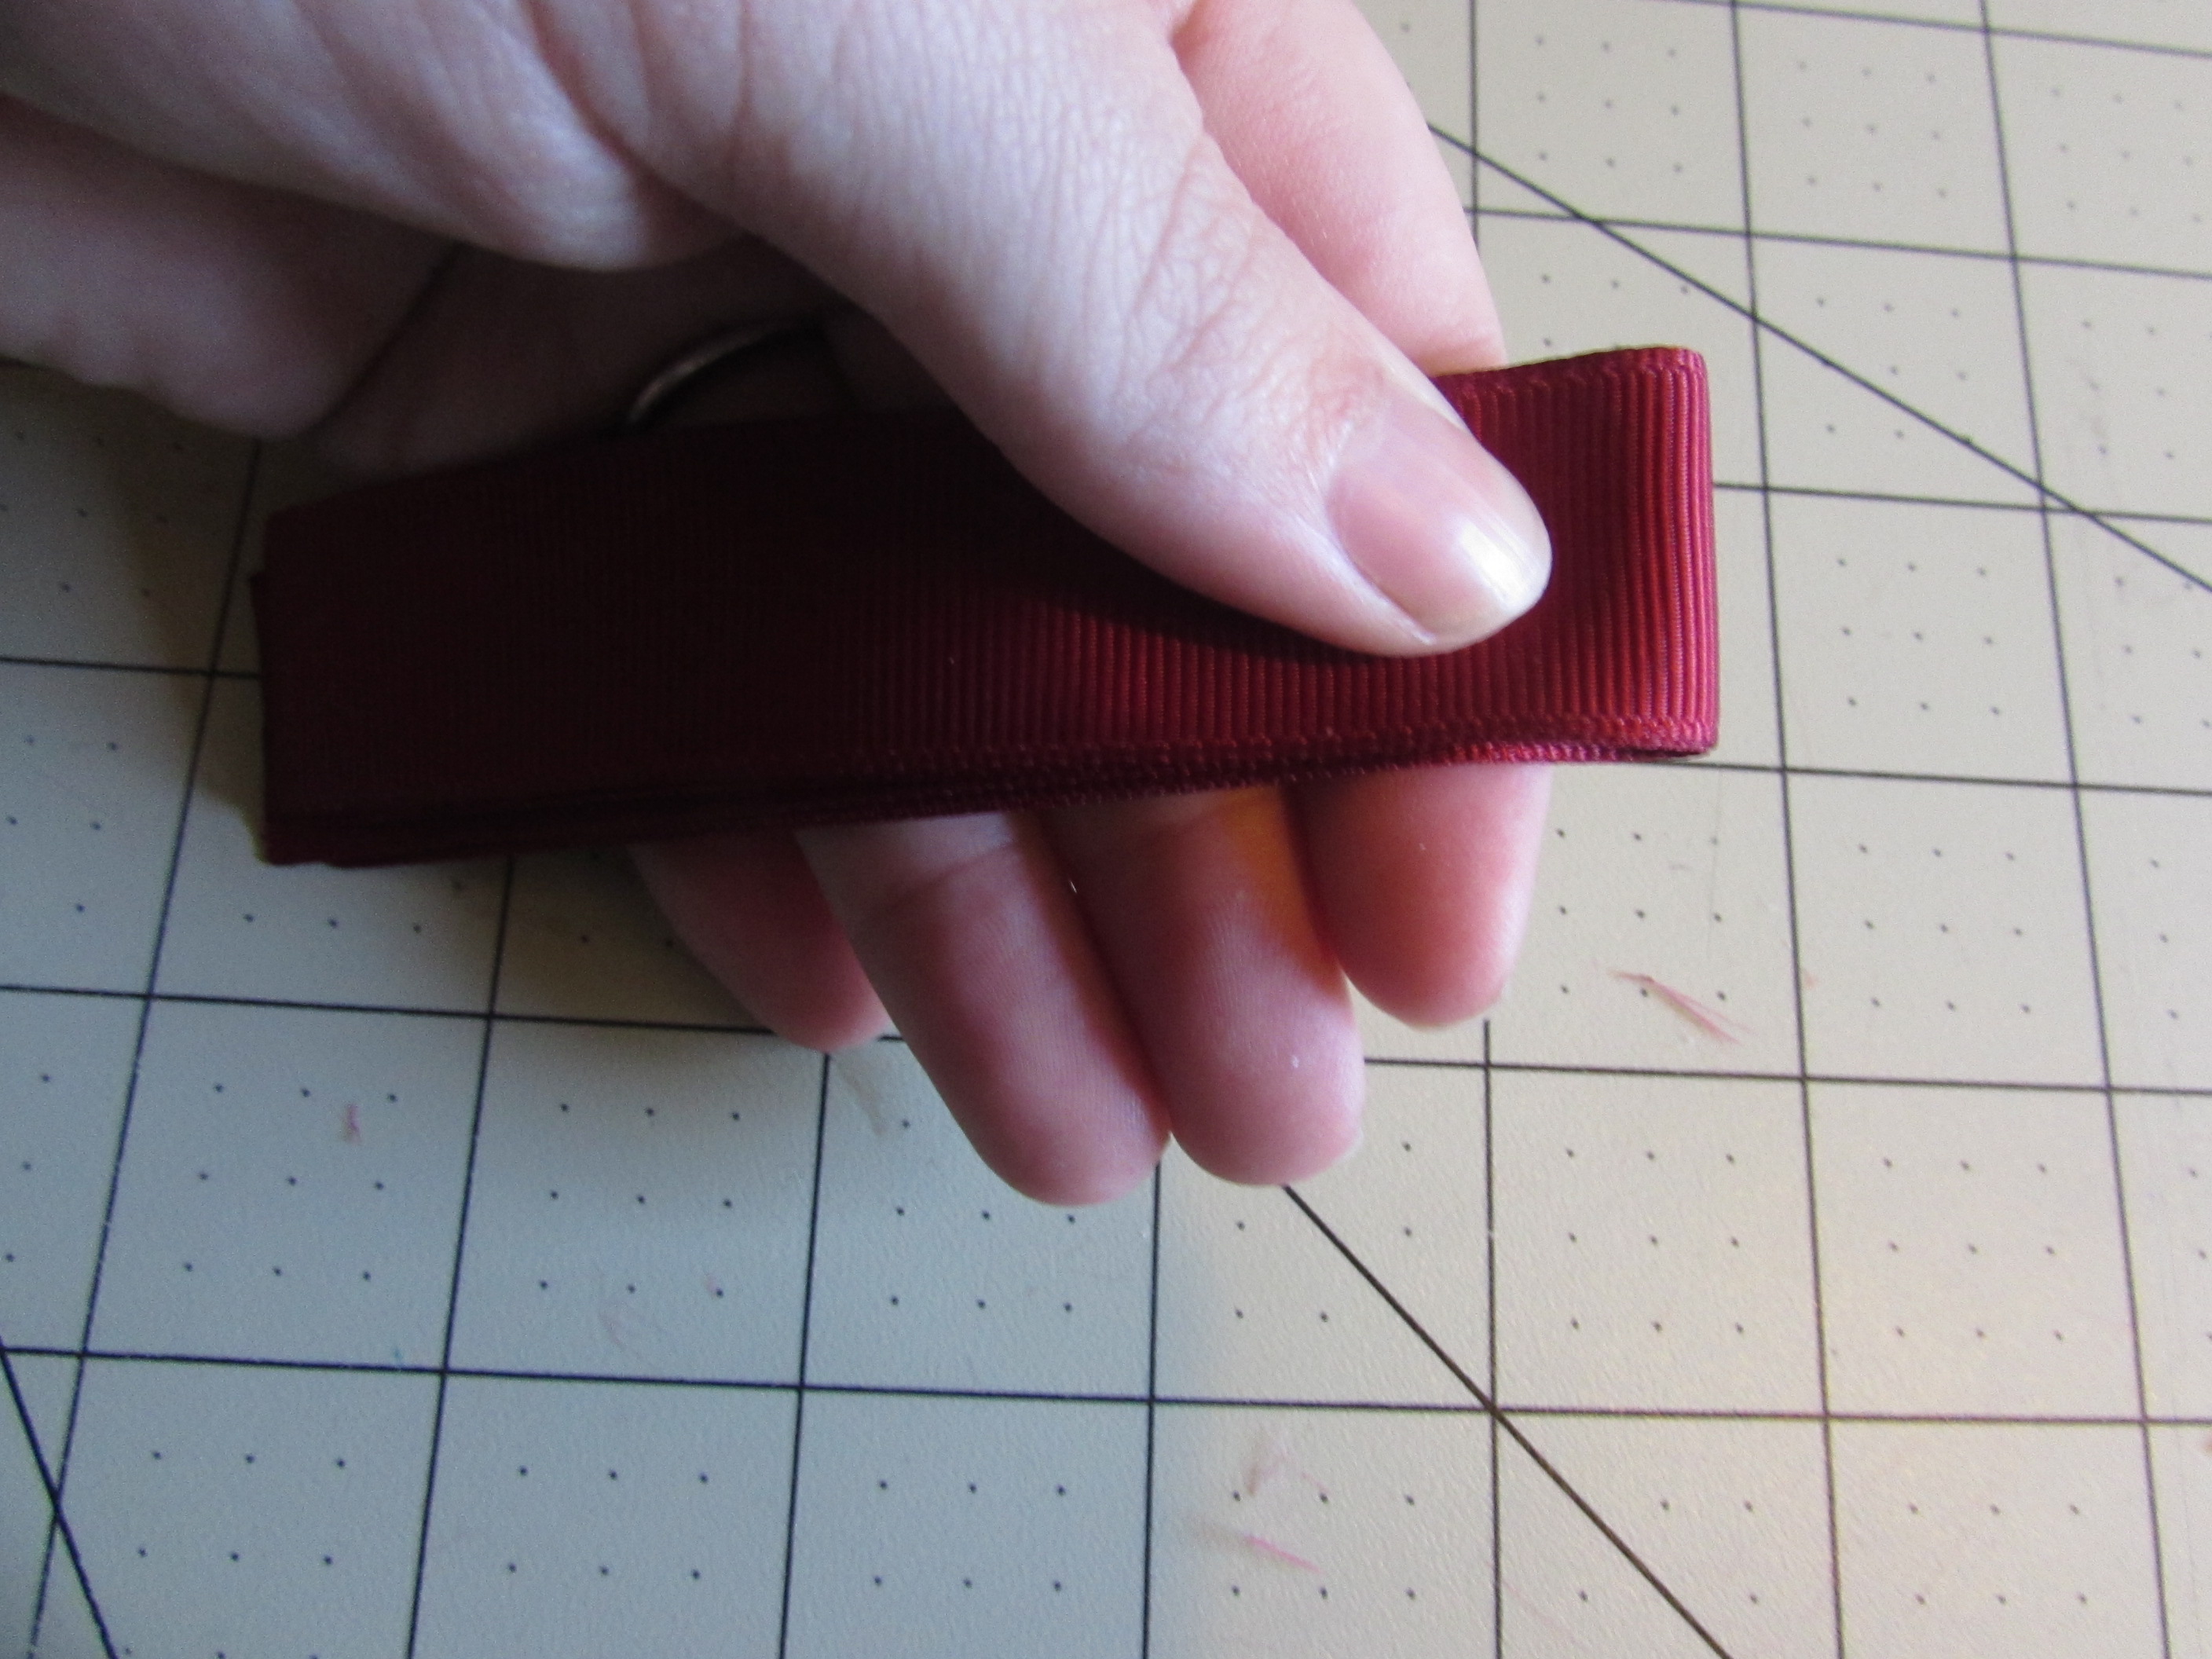
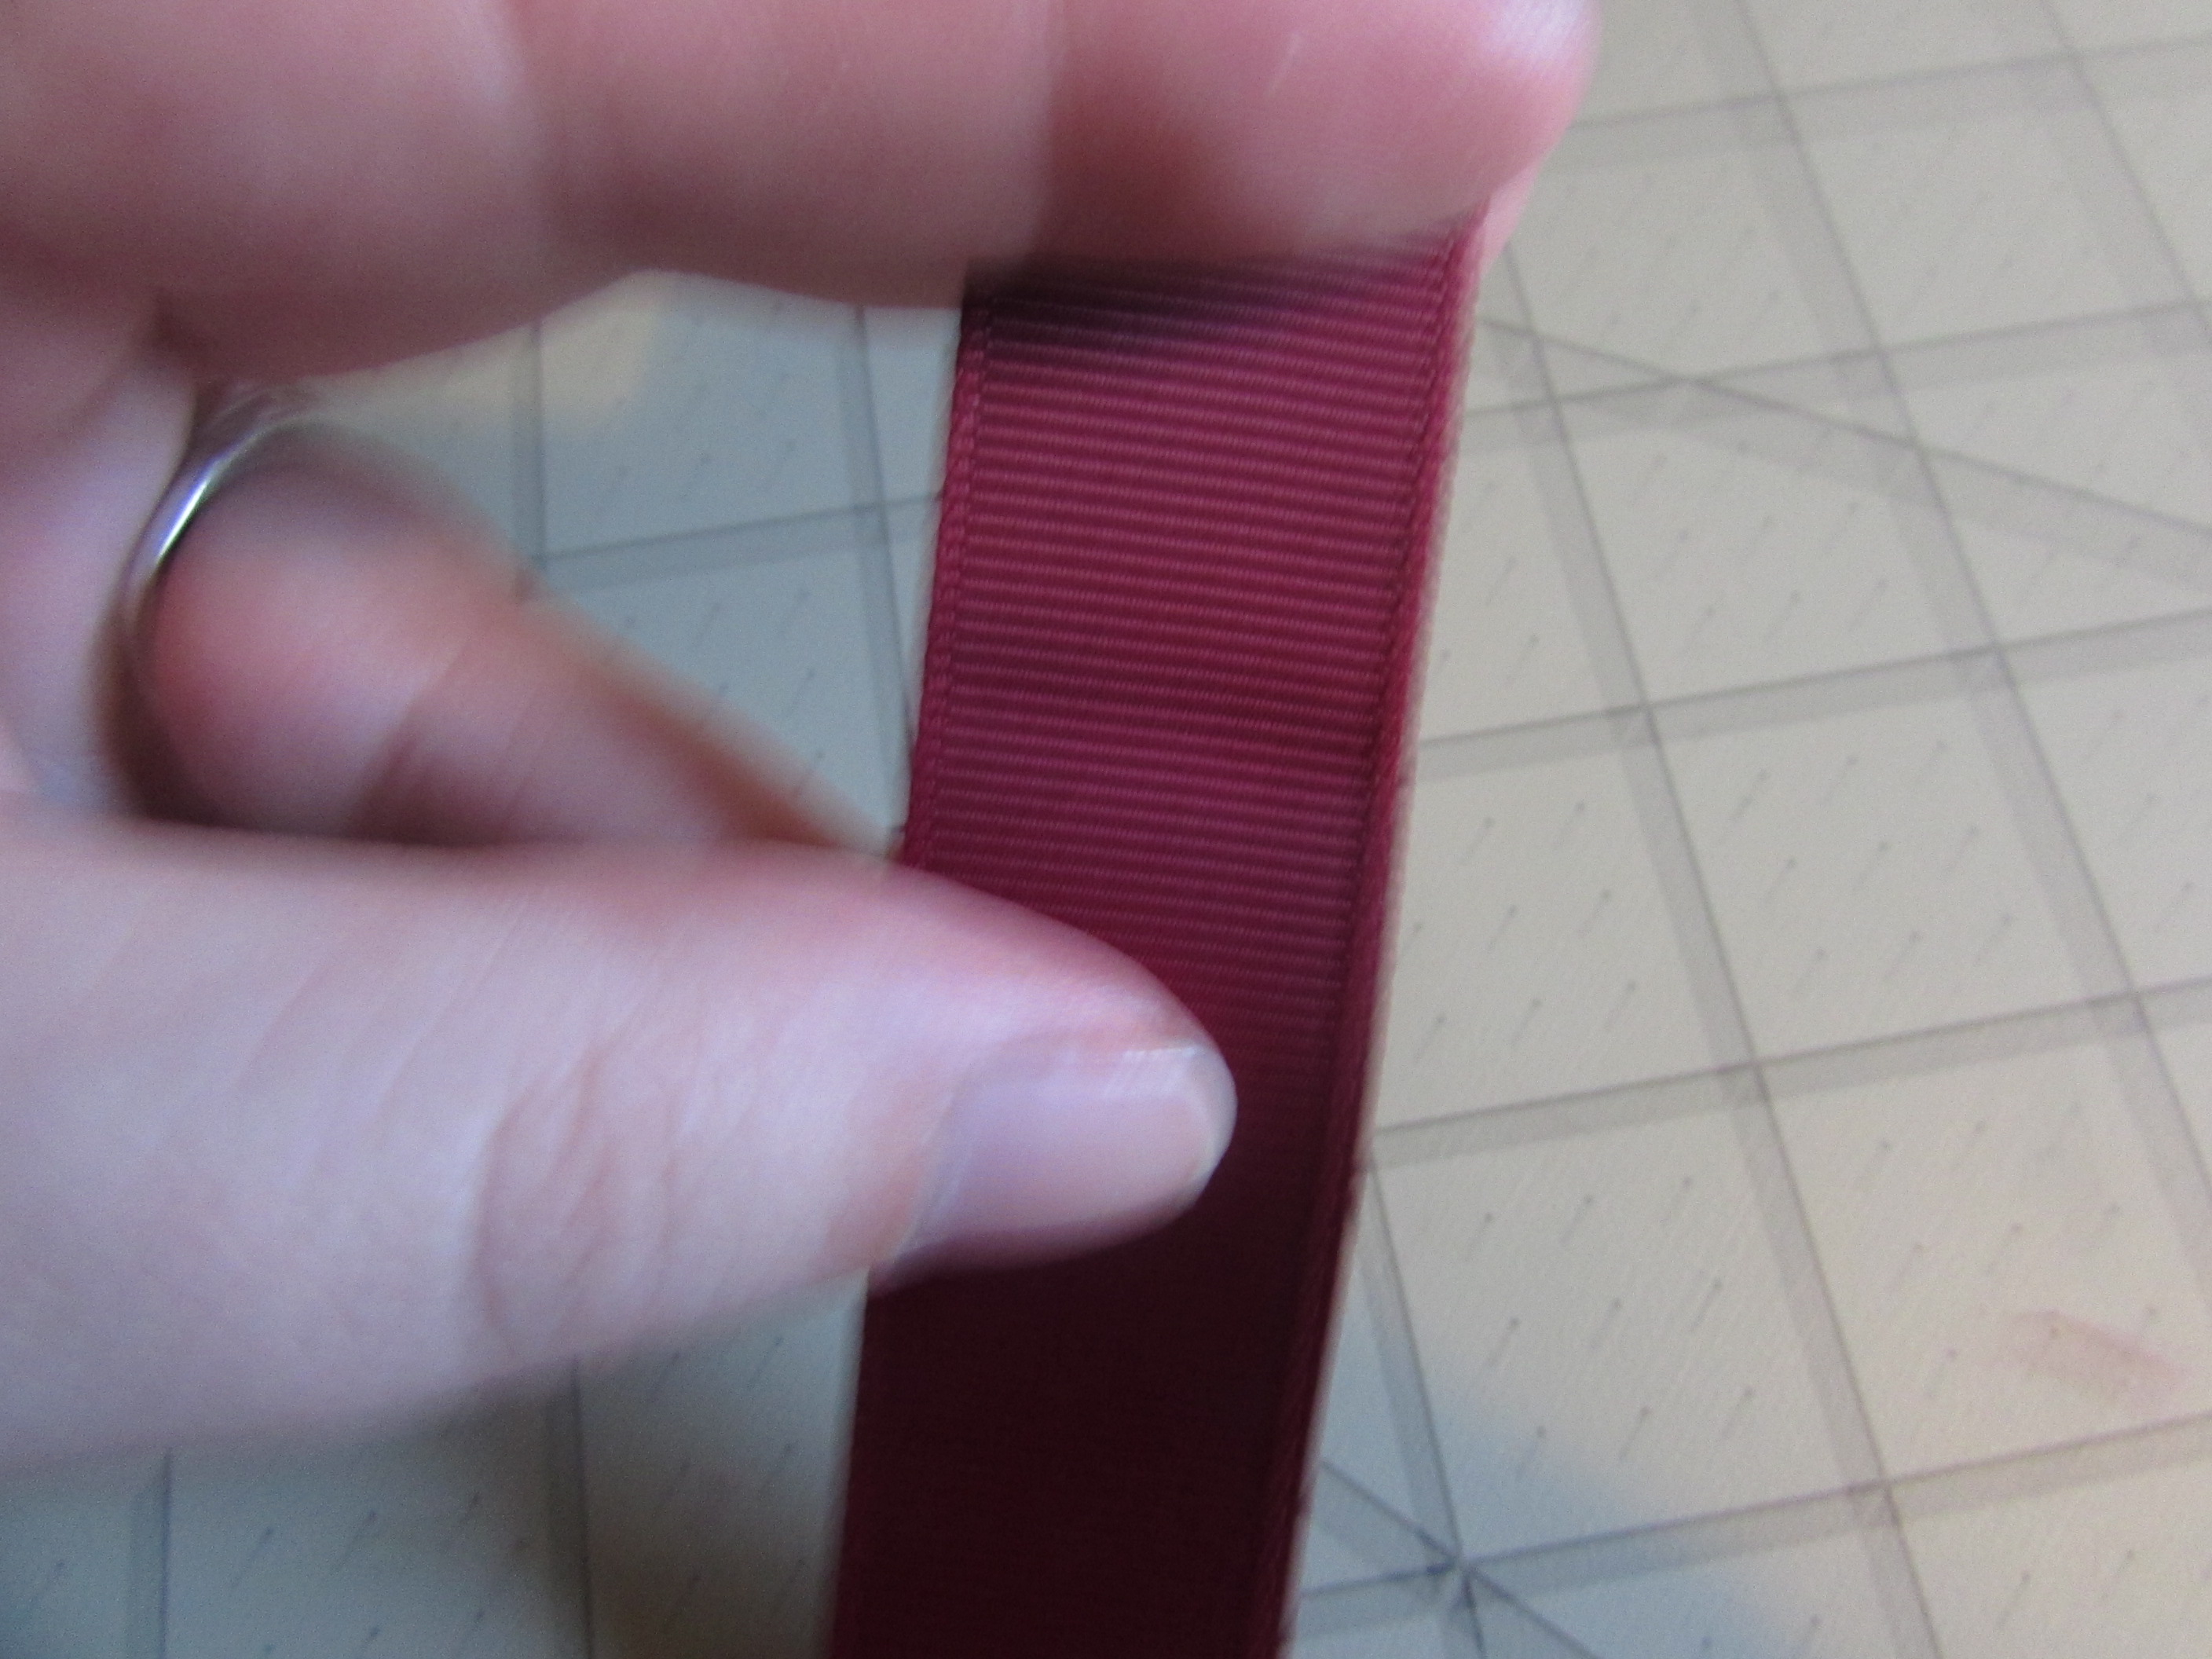
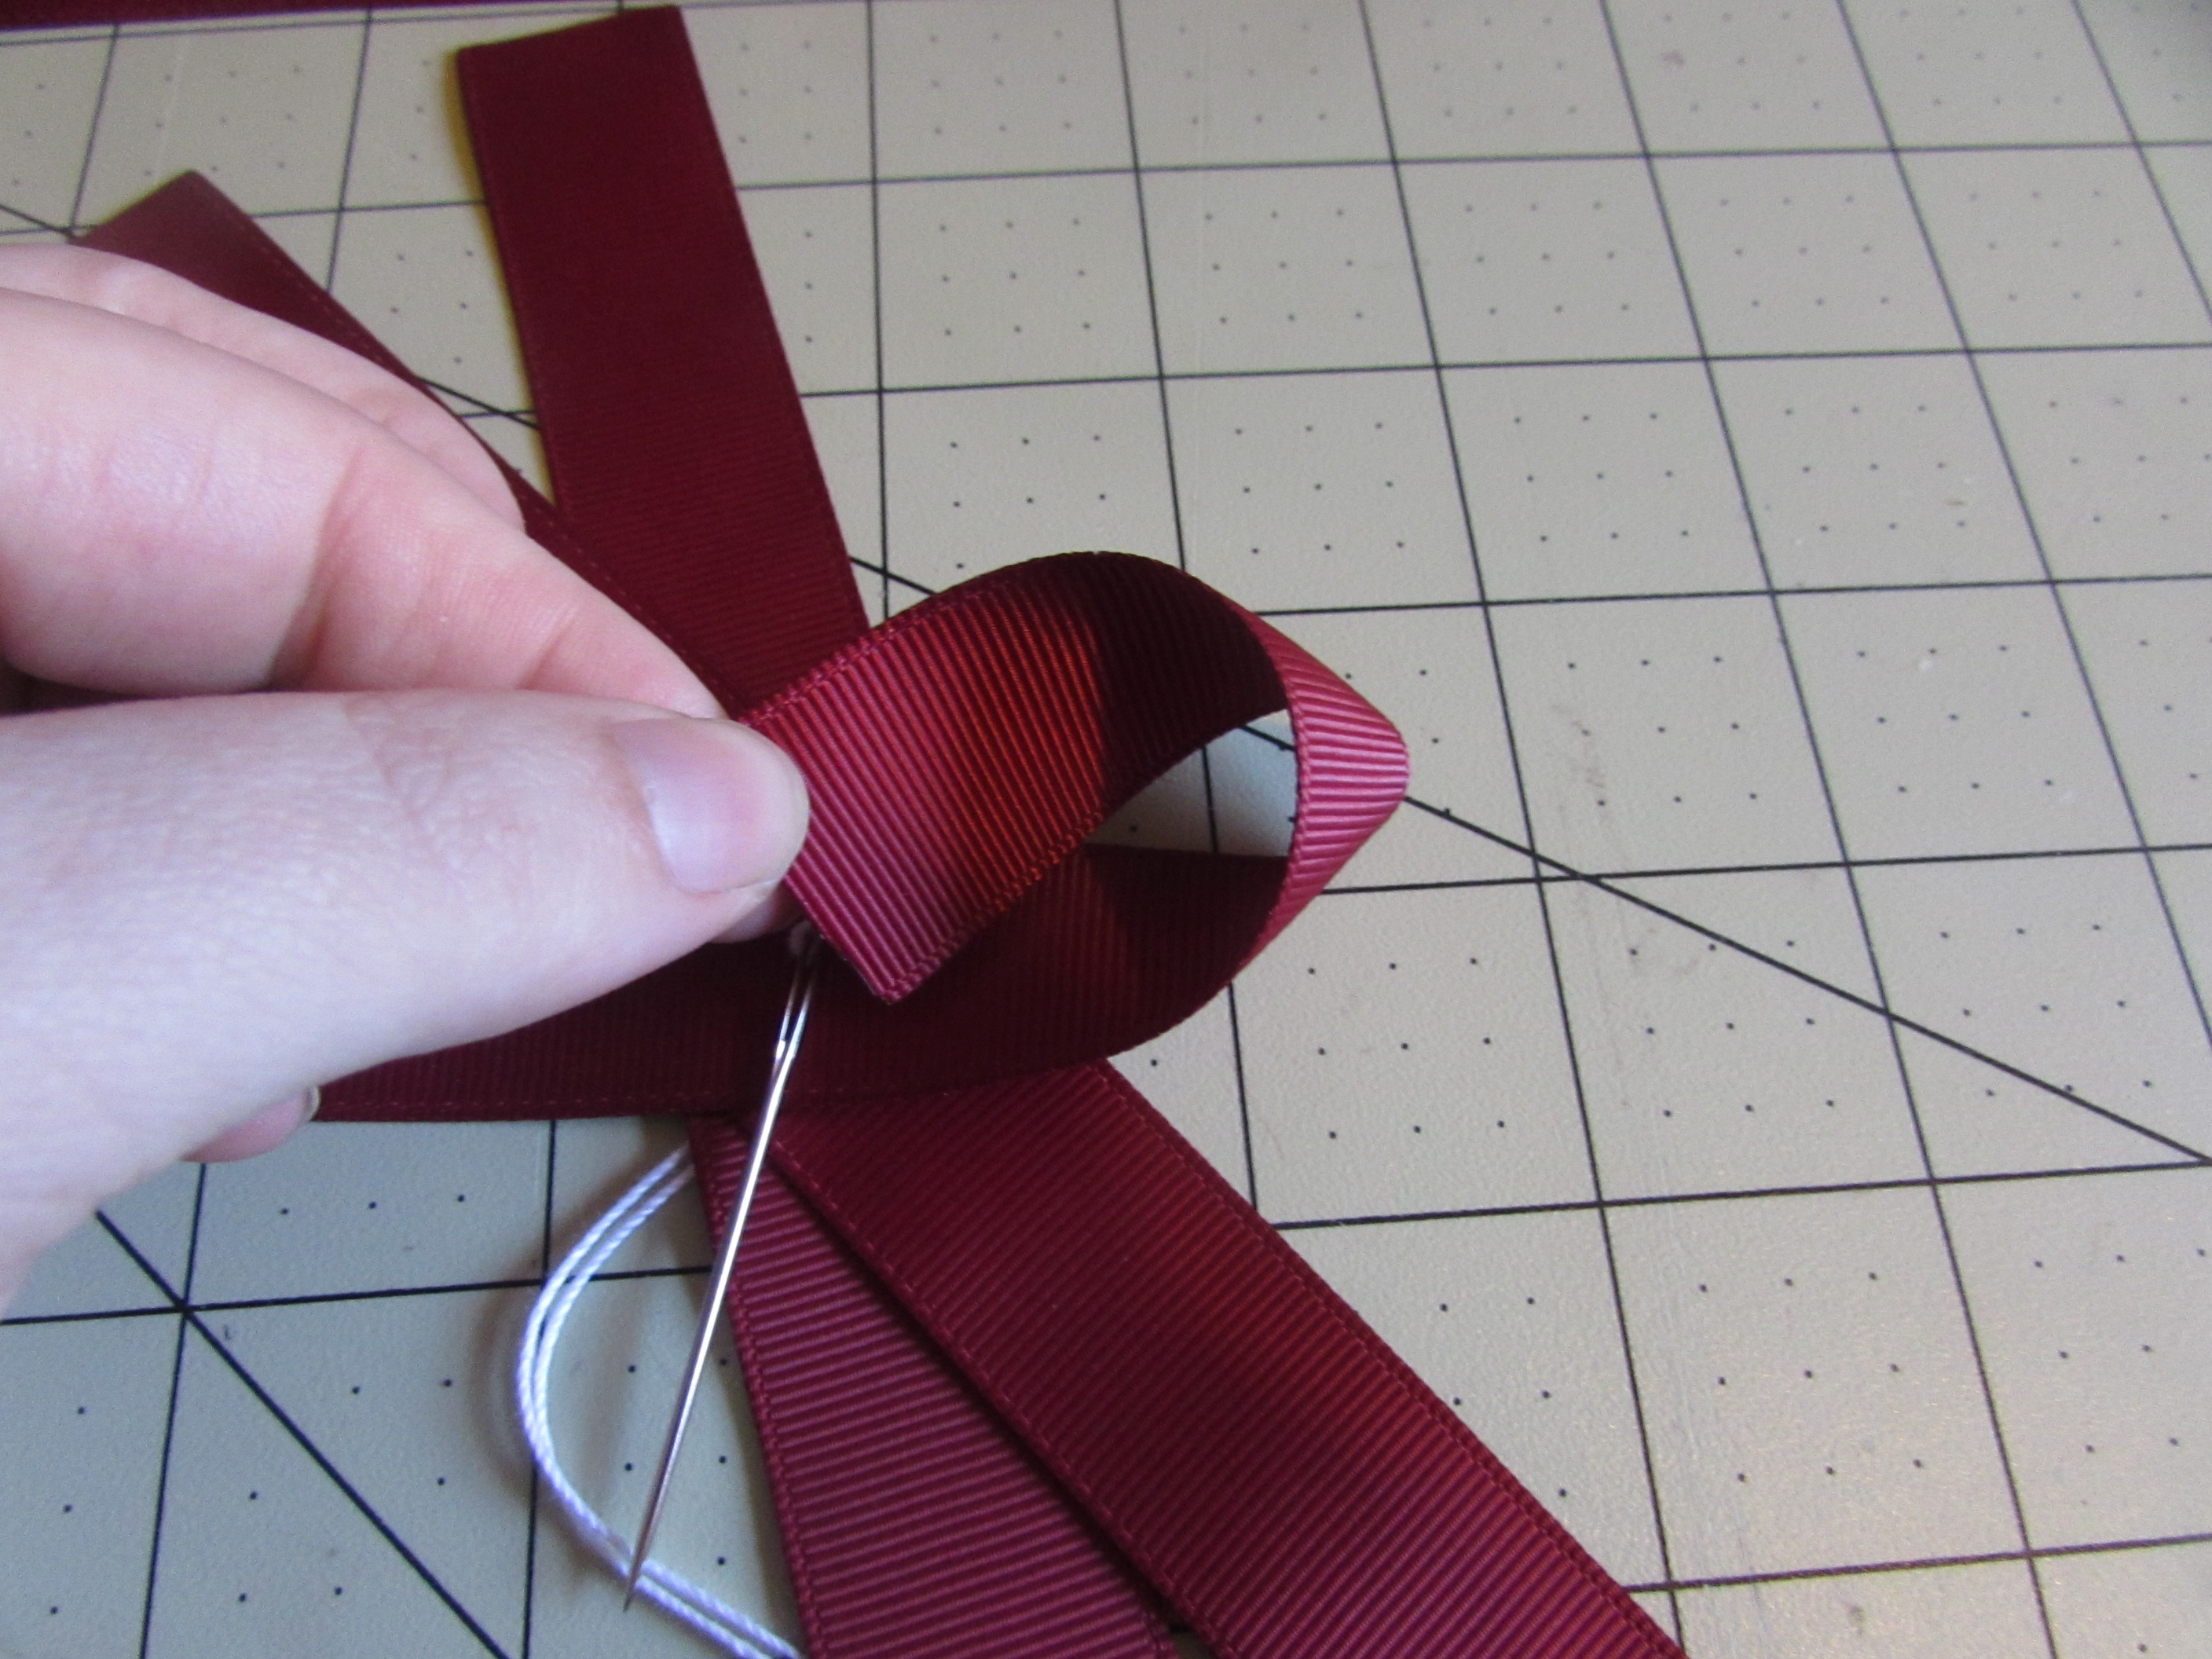
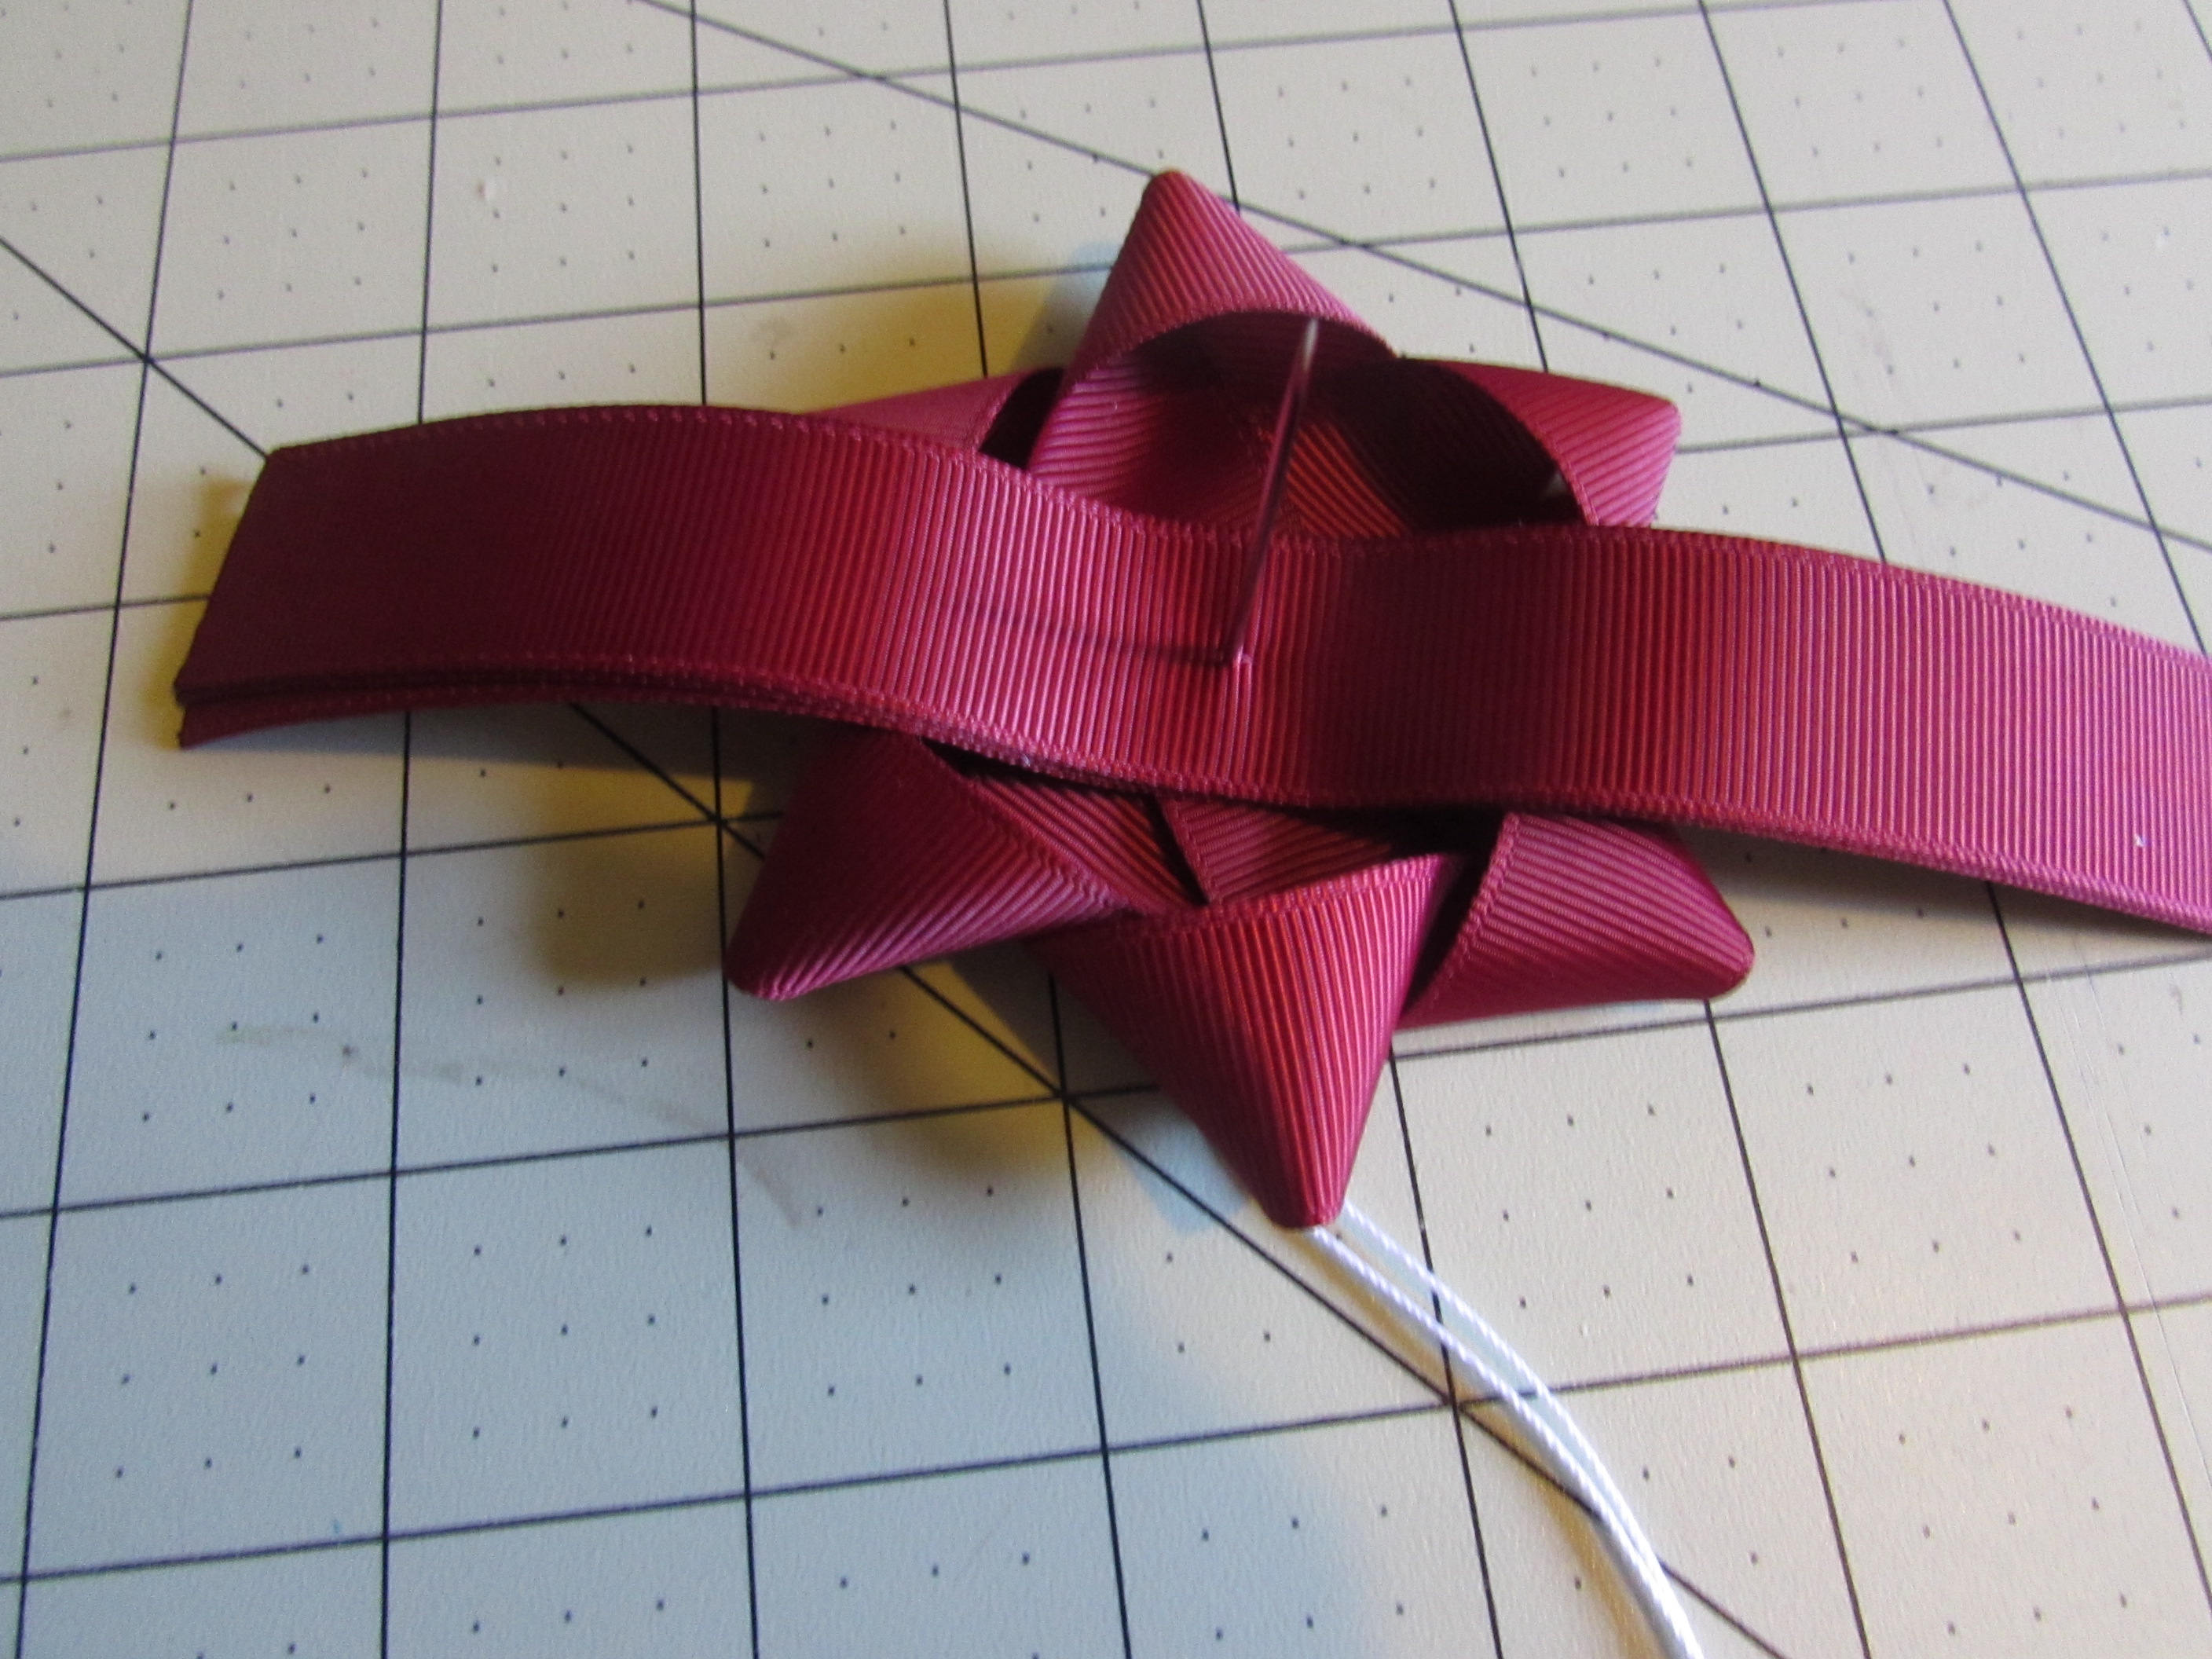
- Fold your 3 pieces of 8" ribbon in half and create a crease.
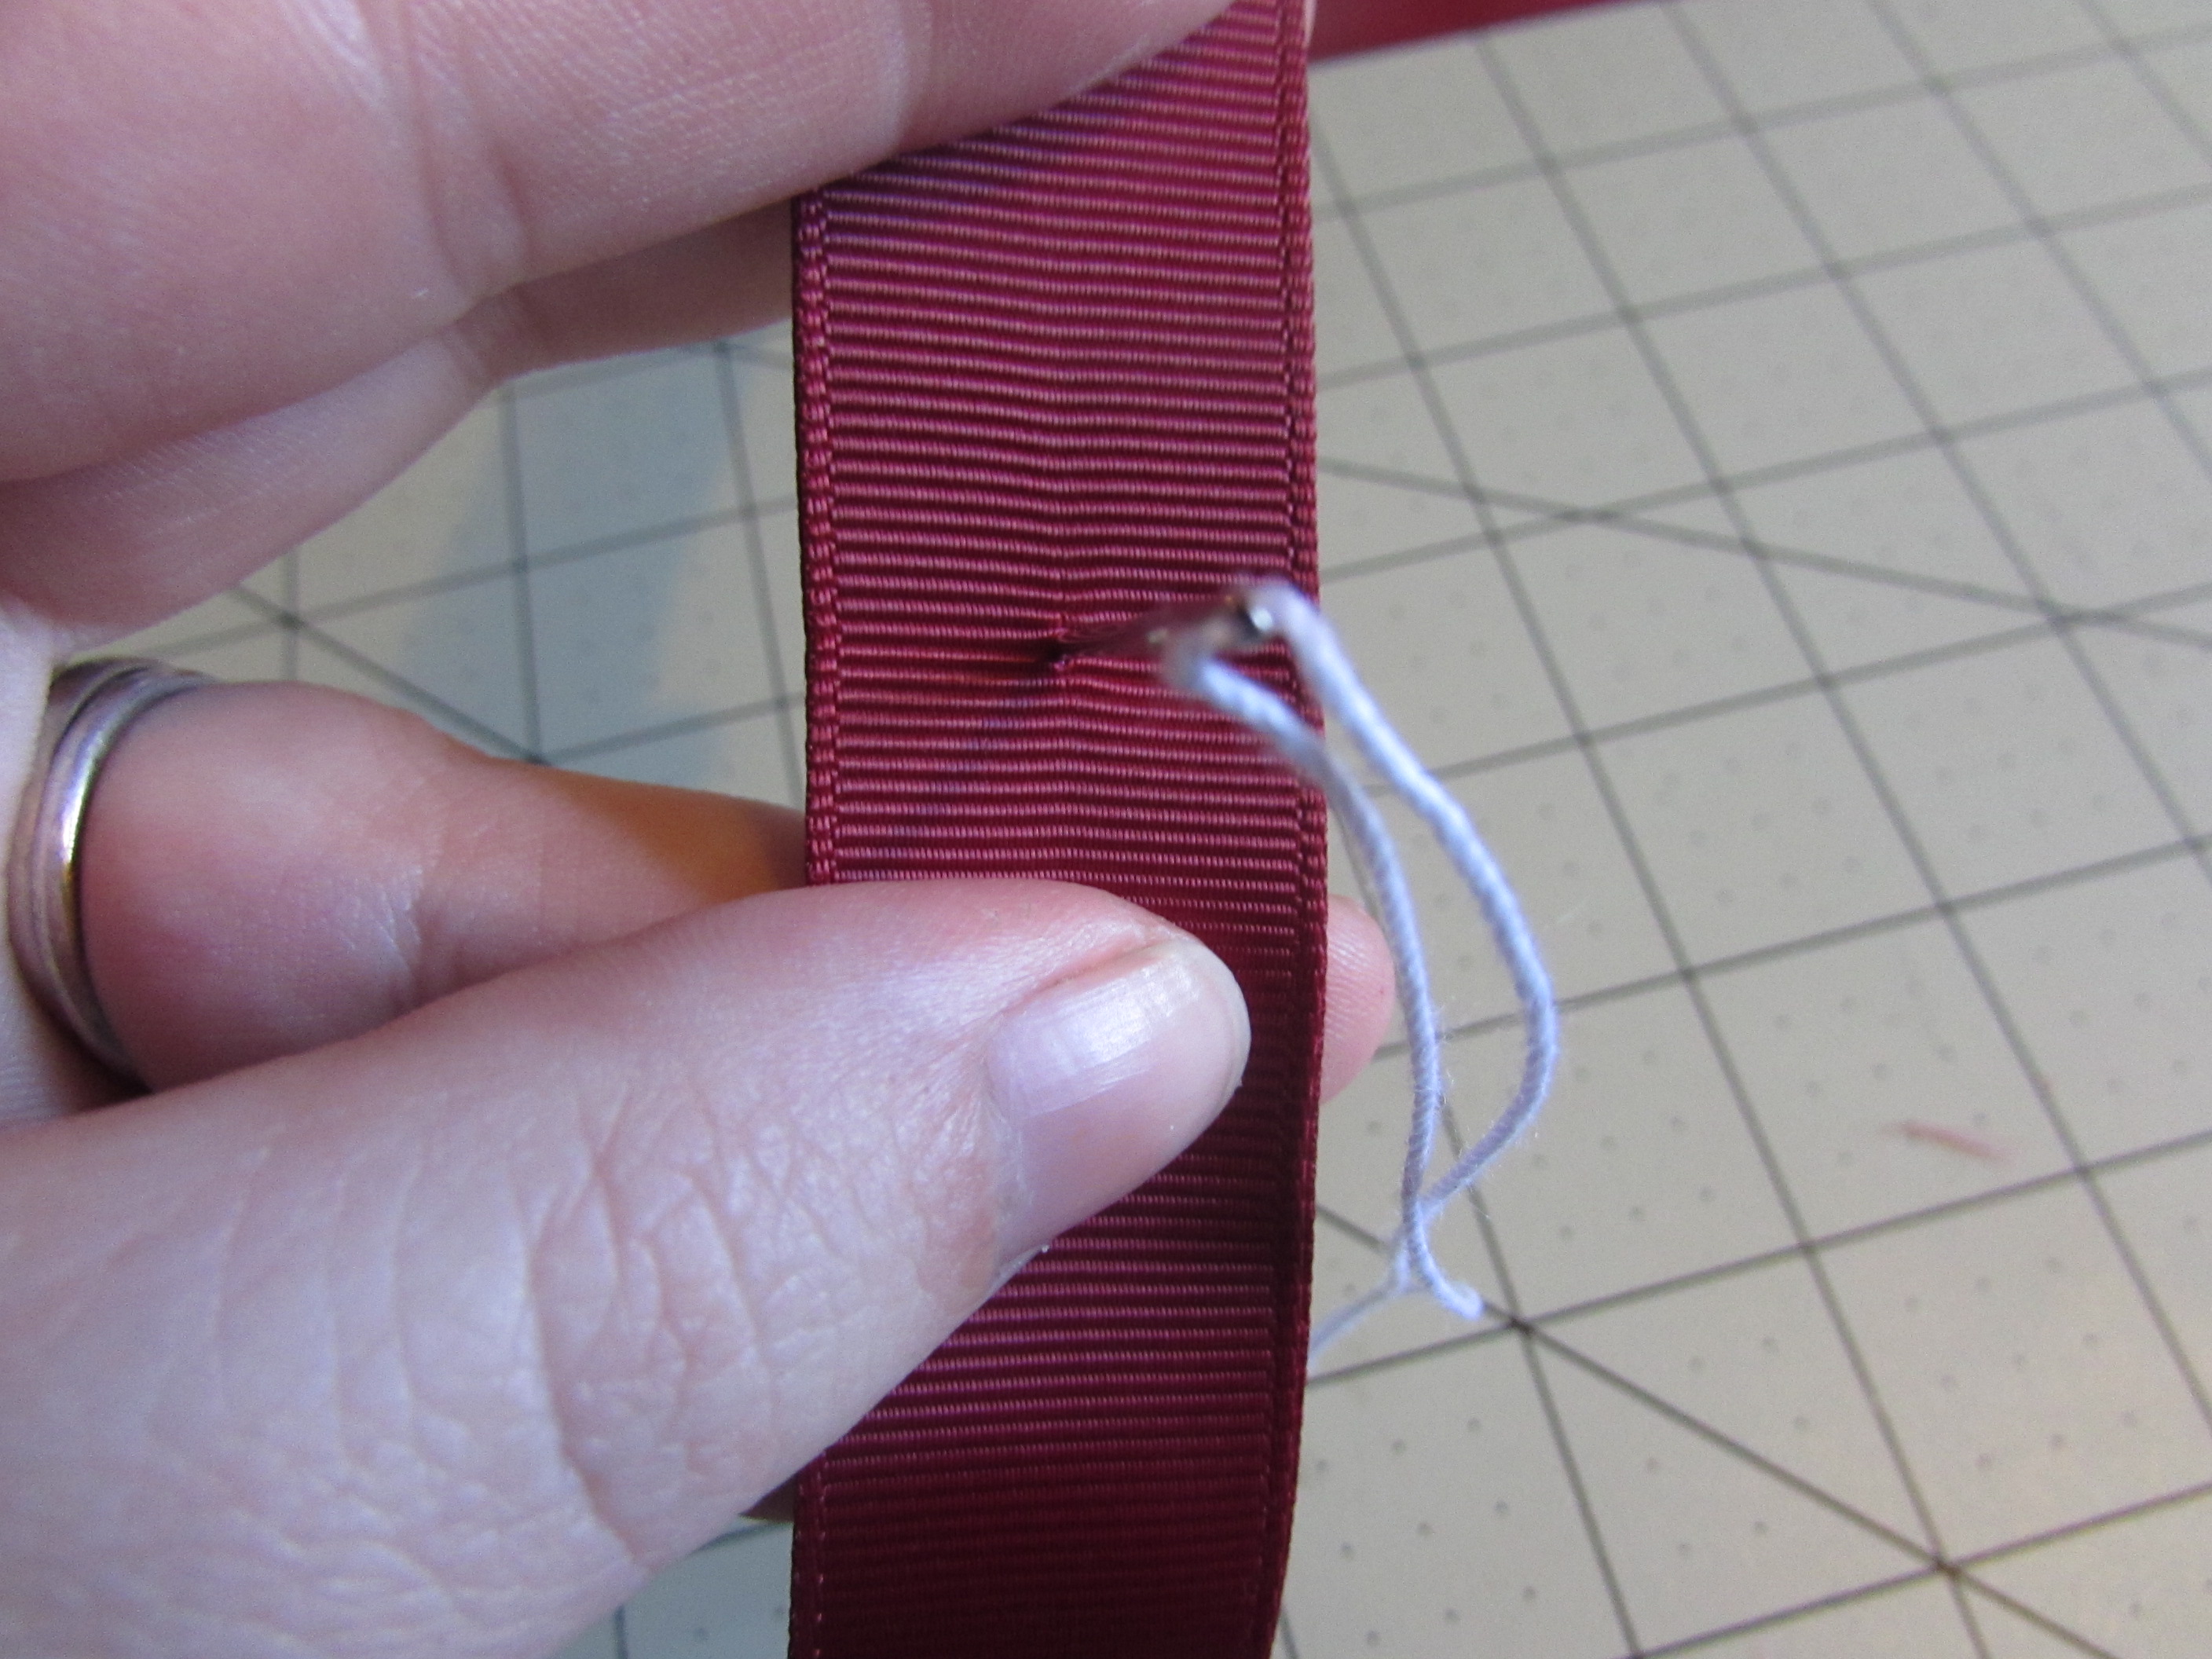
- Unfold and put the needle and thread {{ make sure you have a knot }} in the center of the crease you just made. .
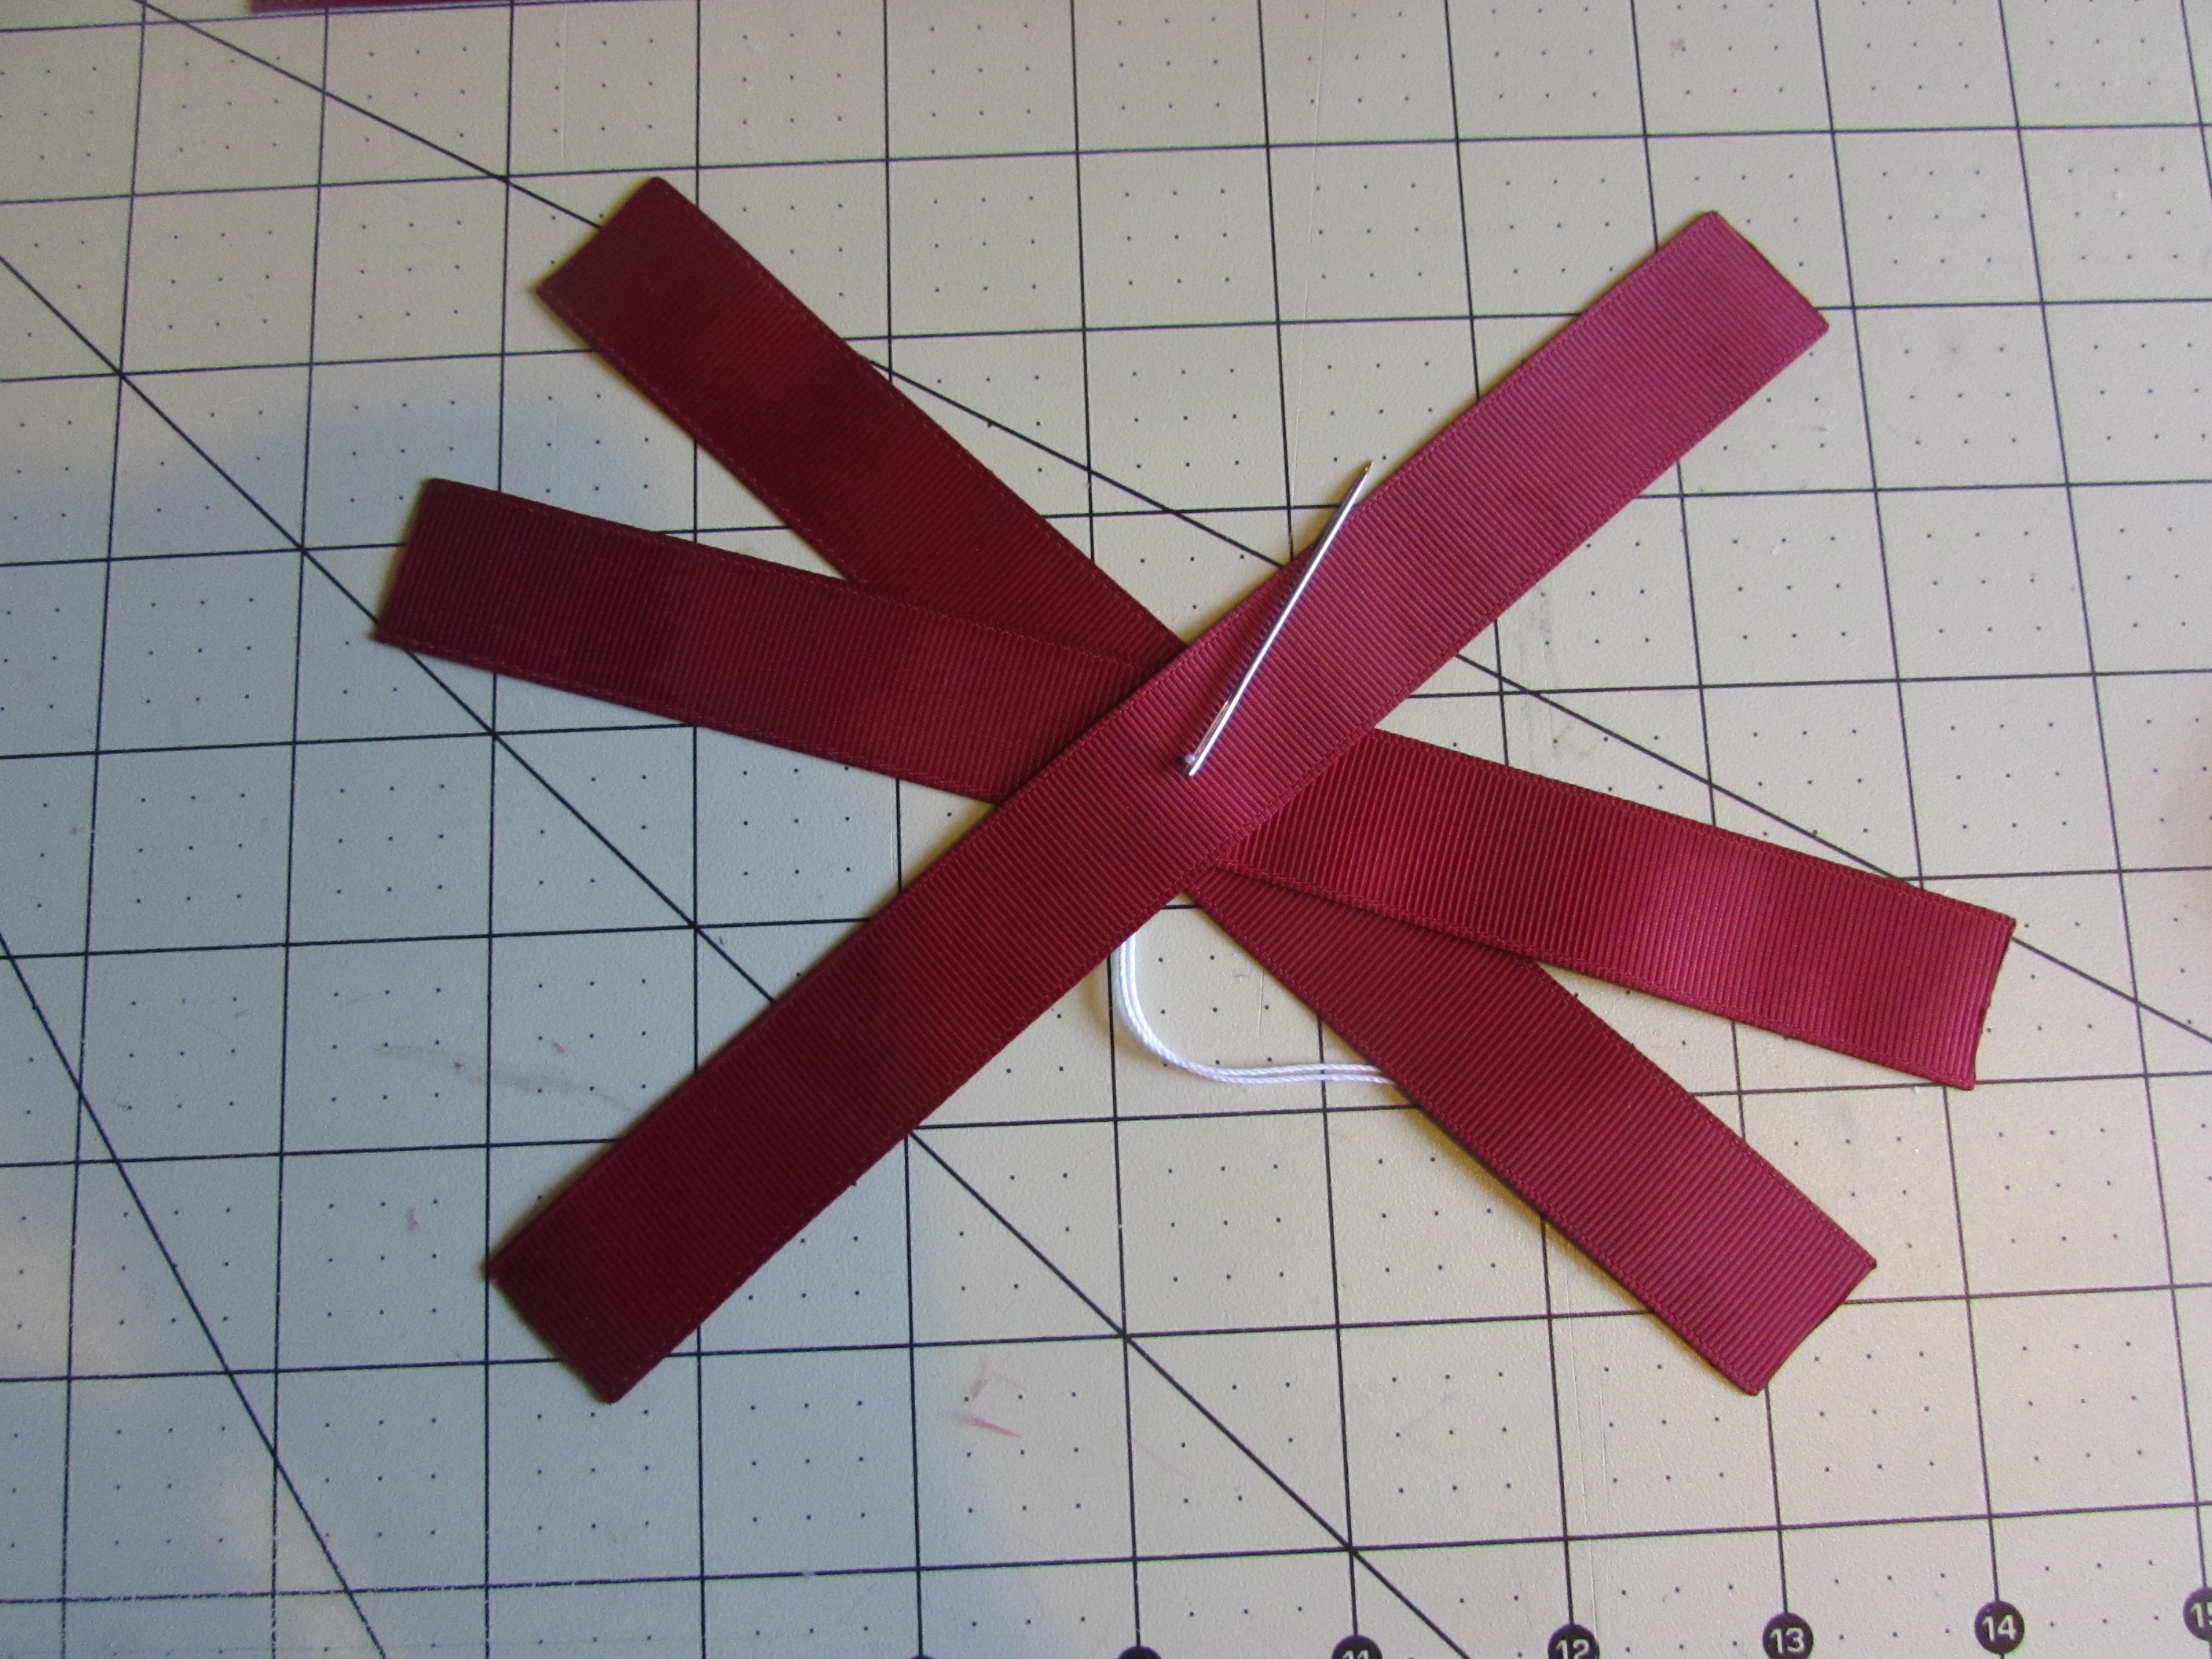
- Fan out the ribbons.
- Start to fold the ends and lay them on top of the needle.
Step 3:
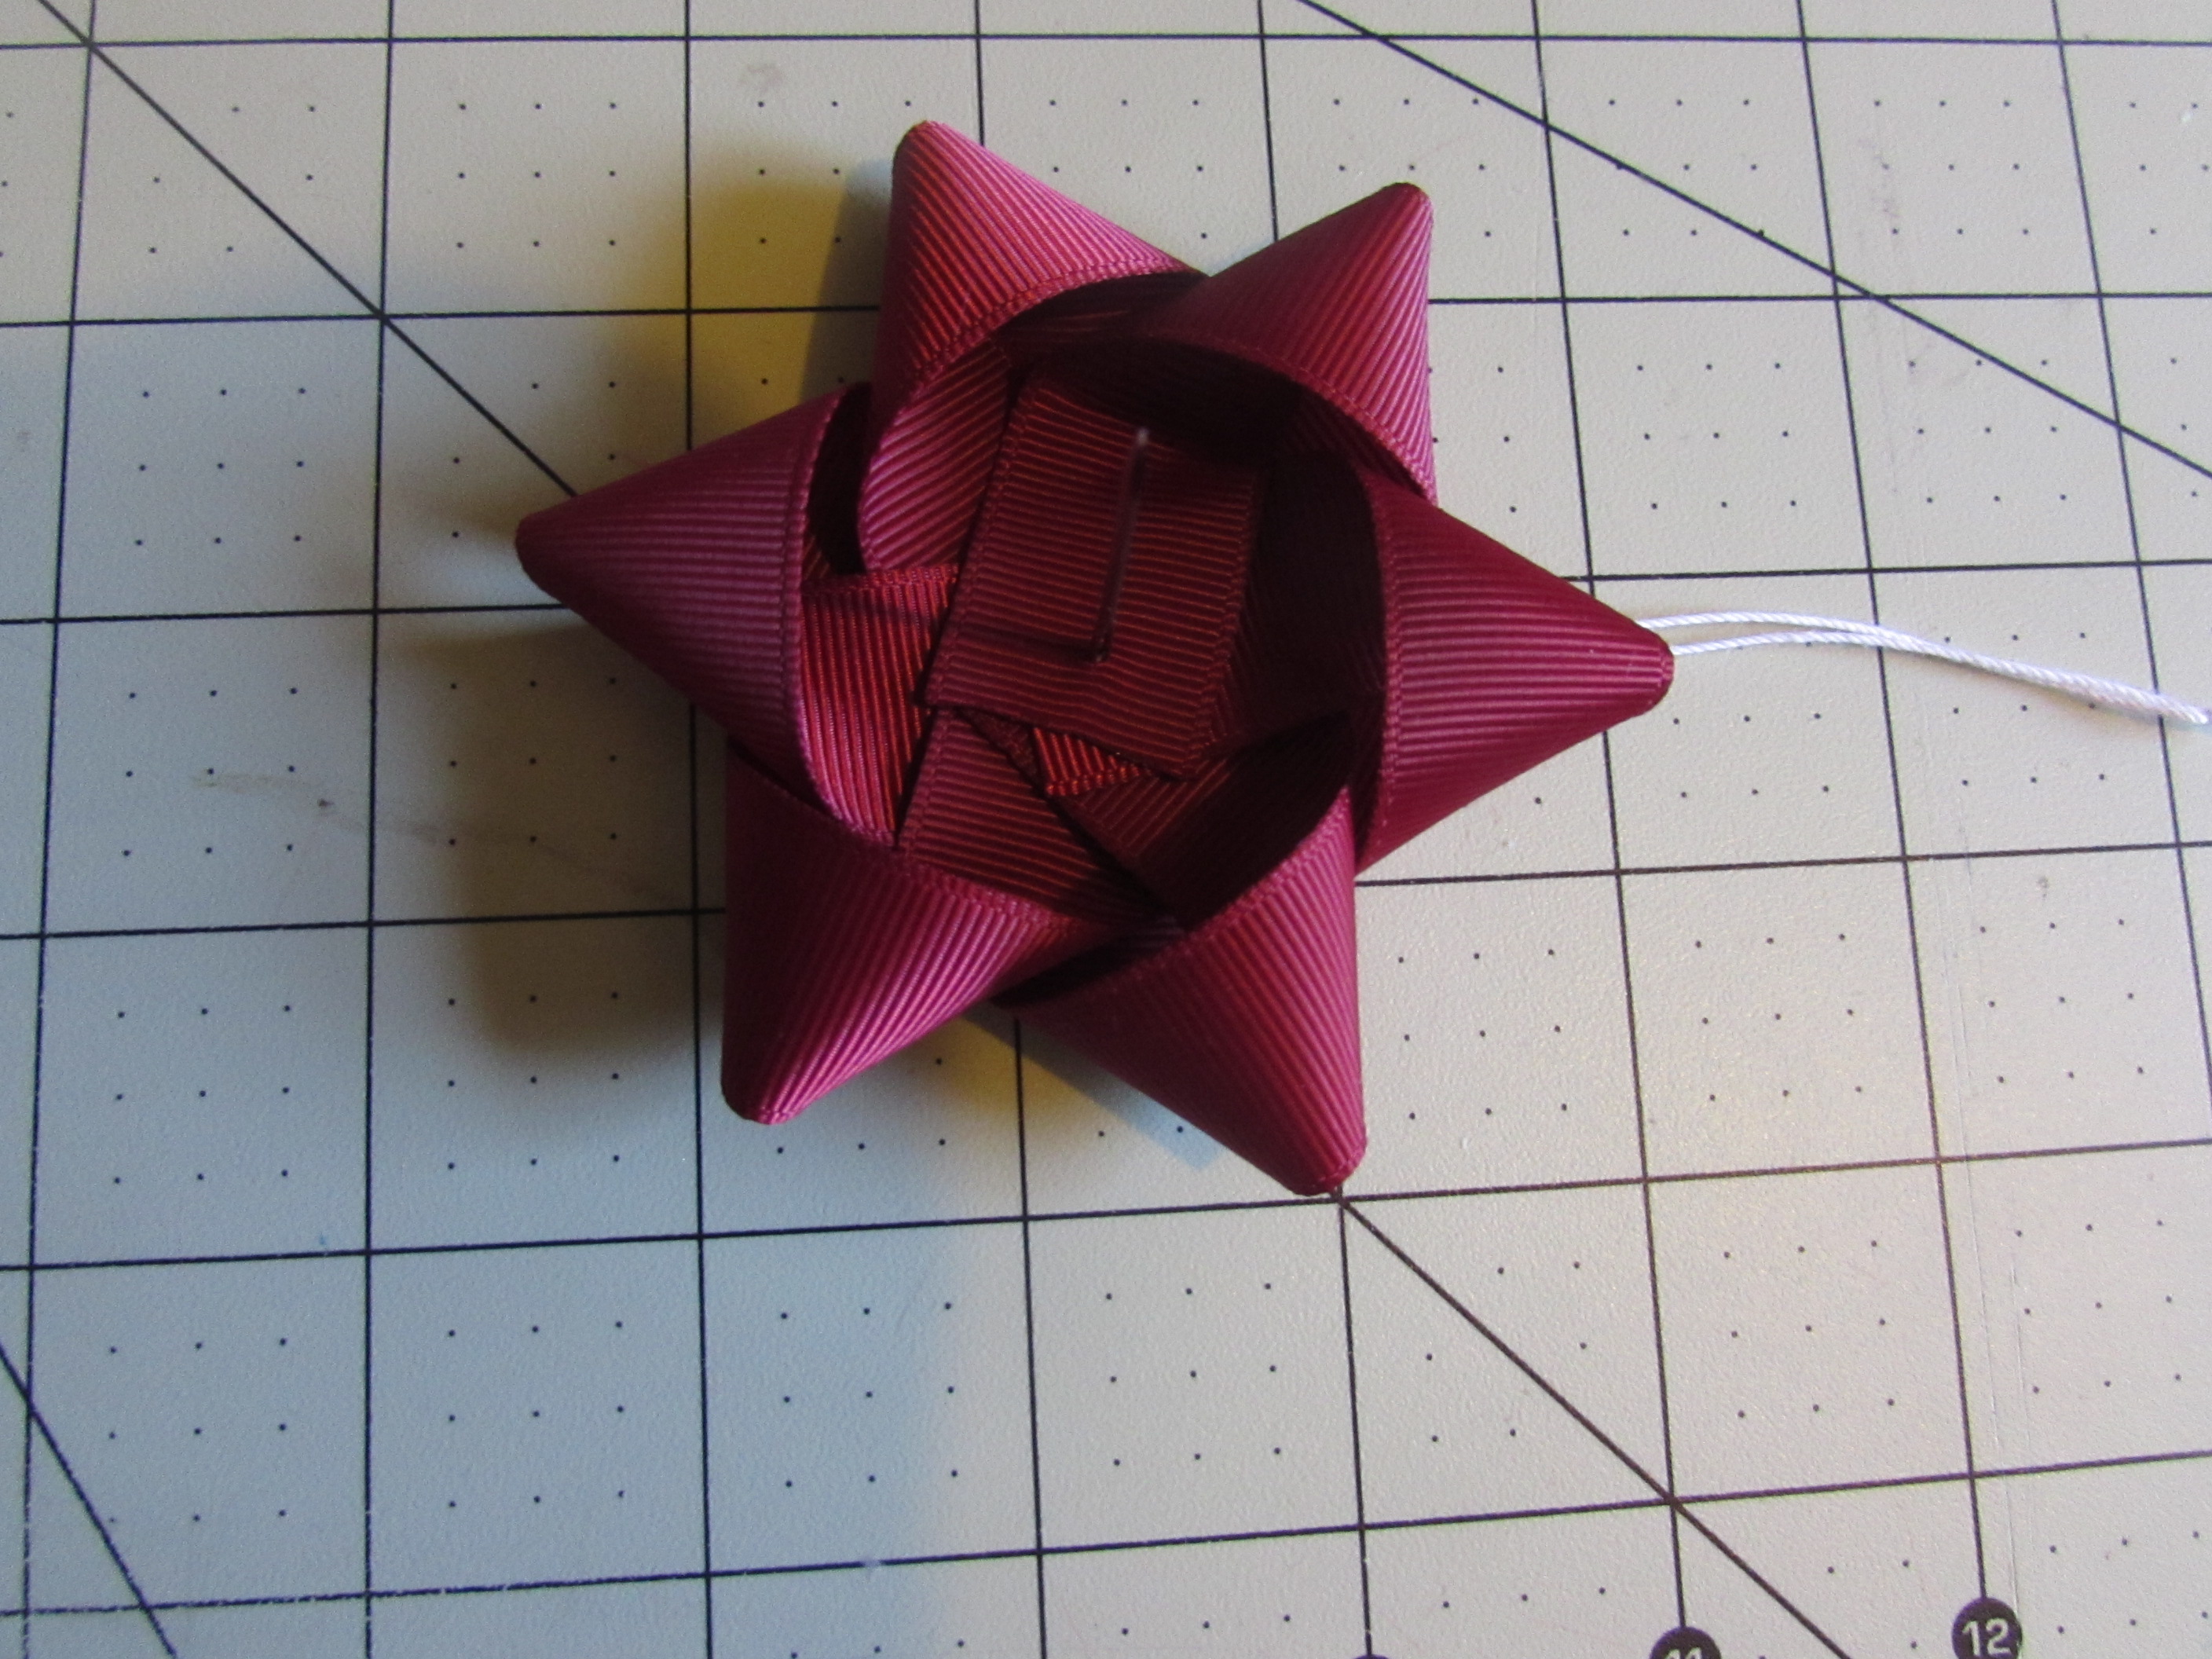
- Keep folding the ends onto the needle until all the ends are completed.
Step 4:
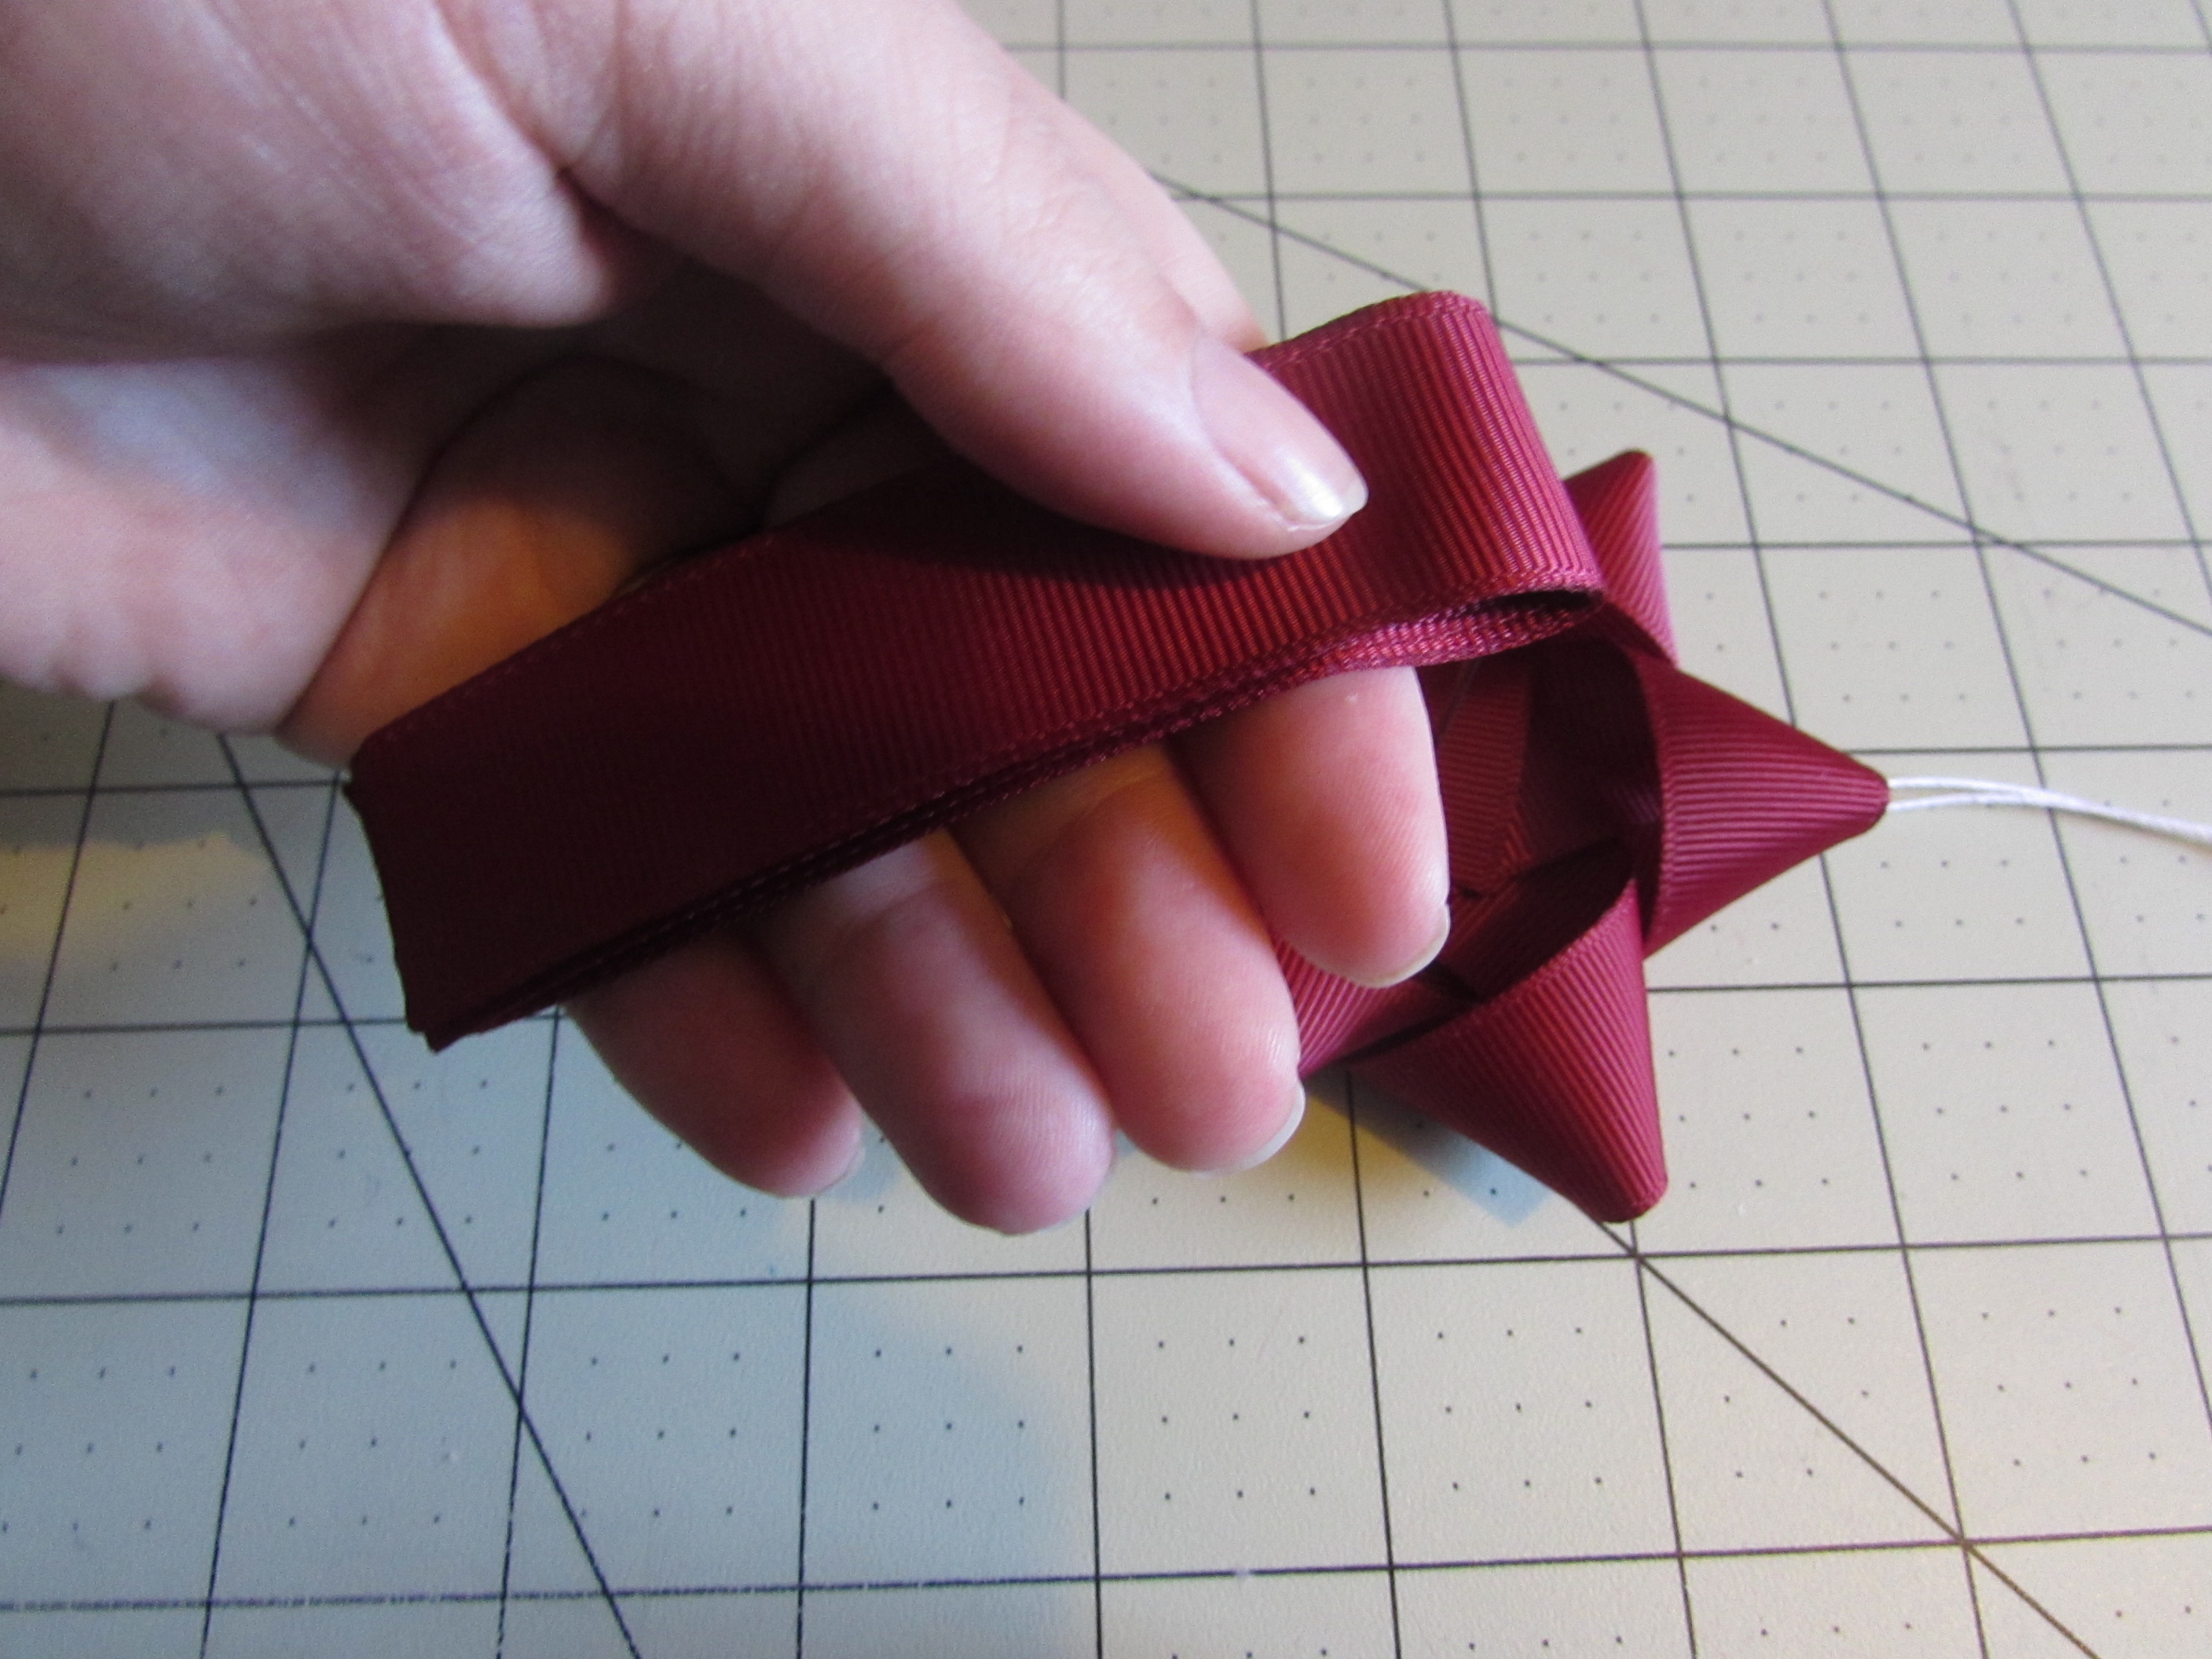
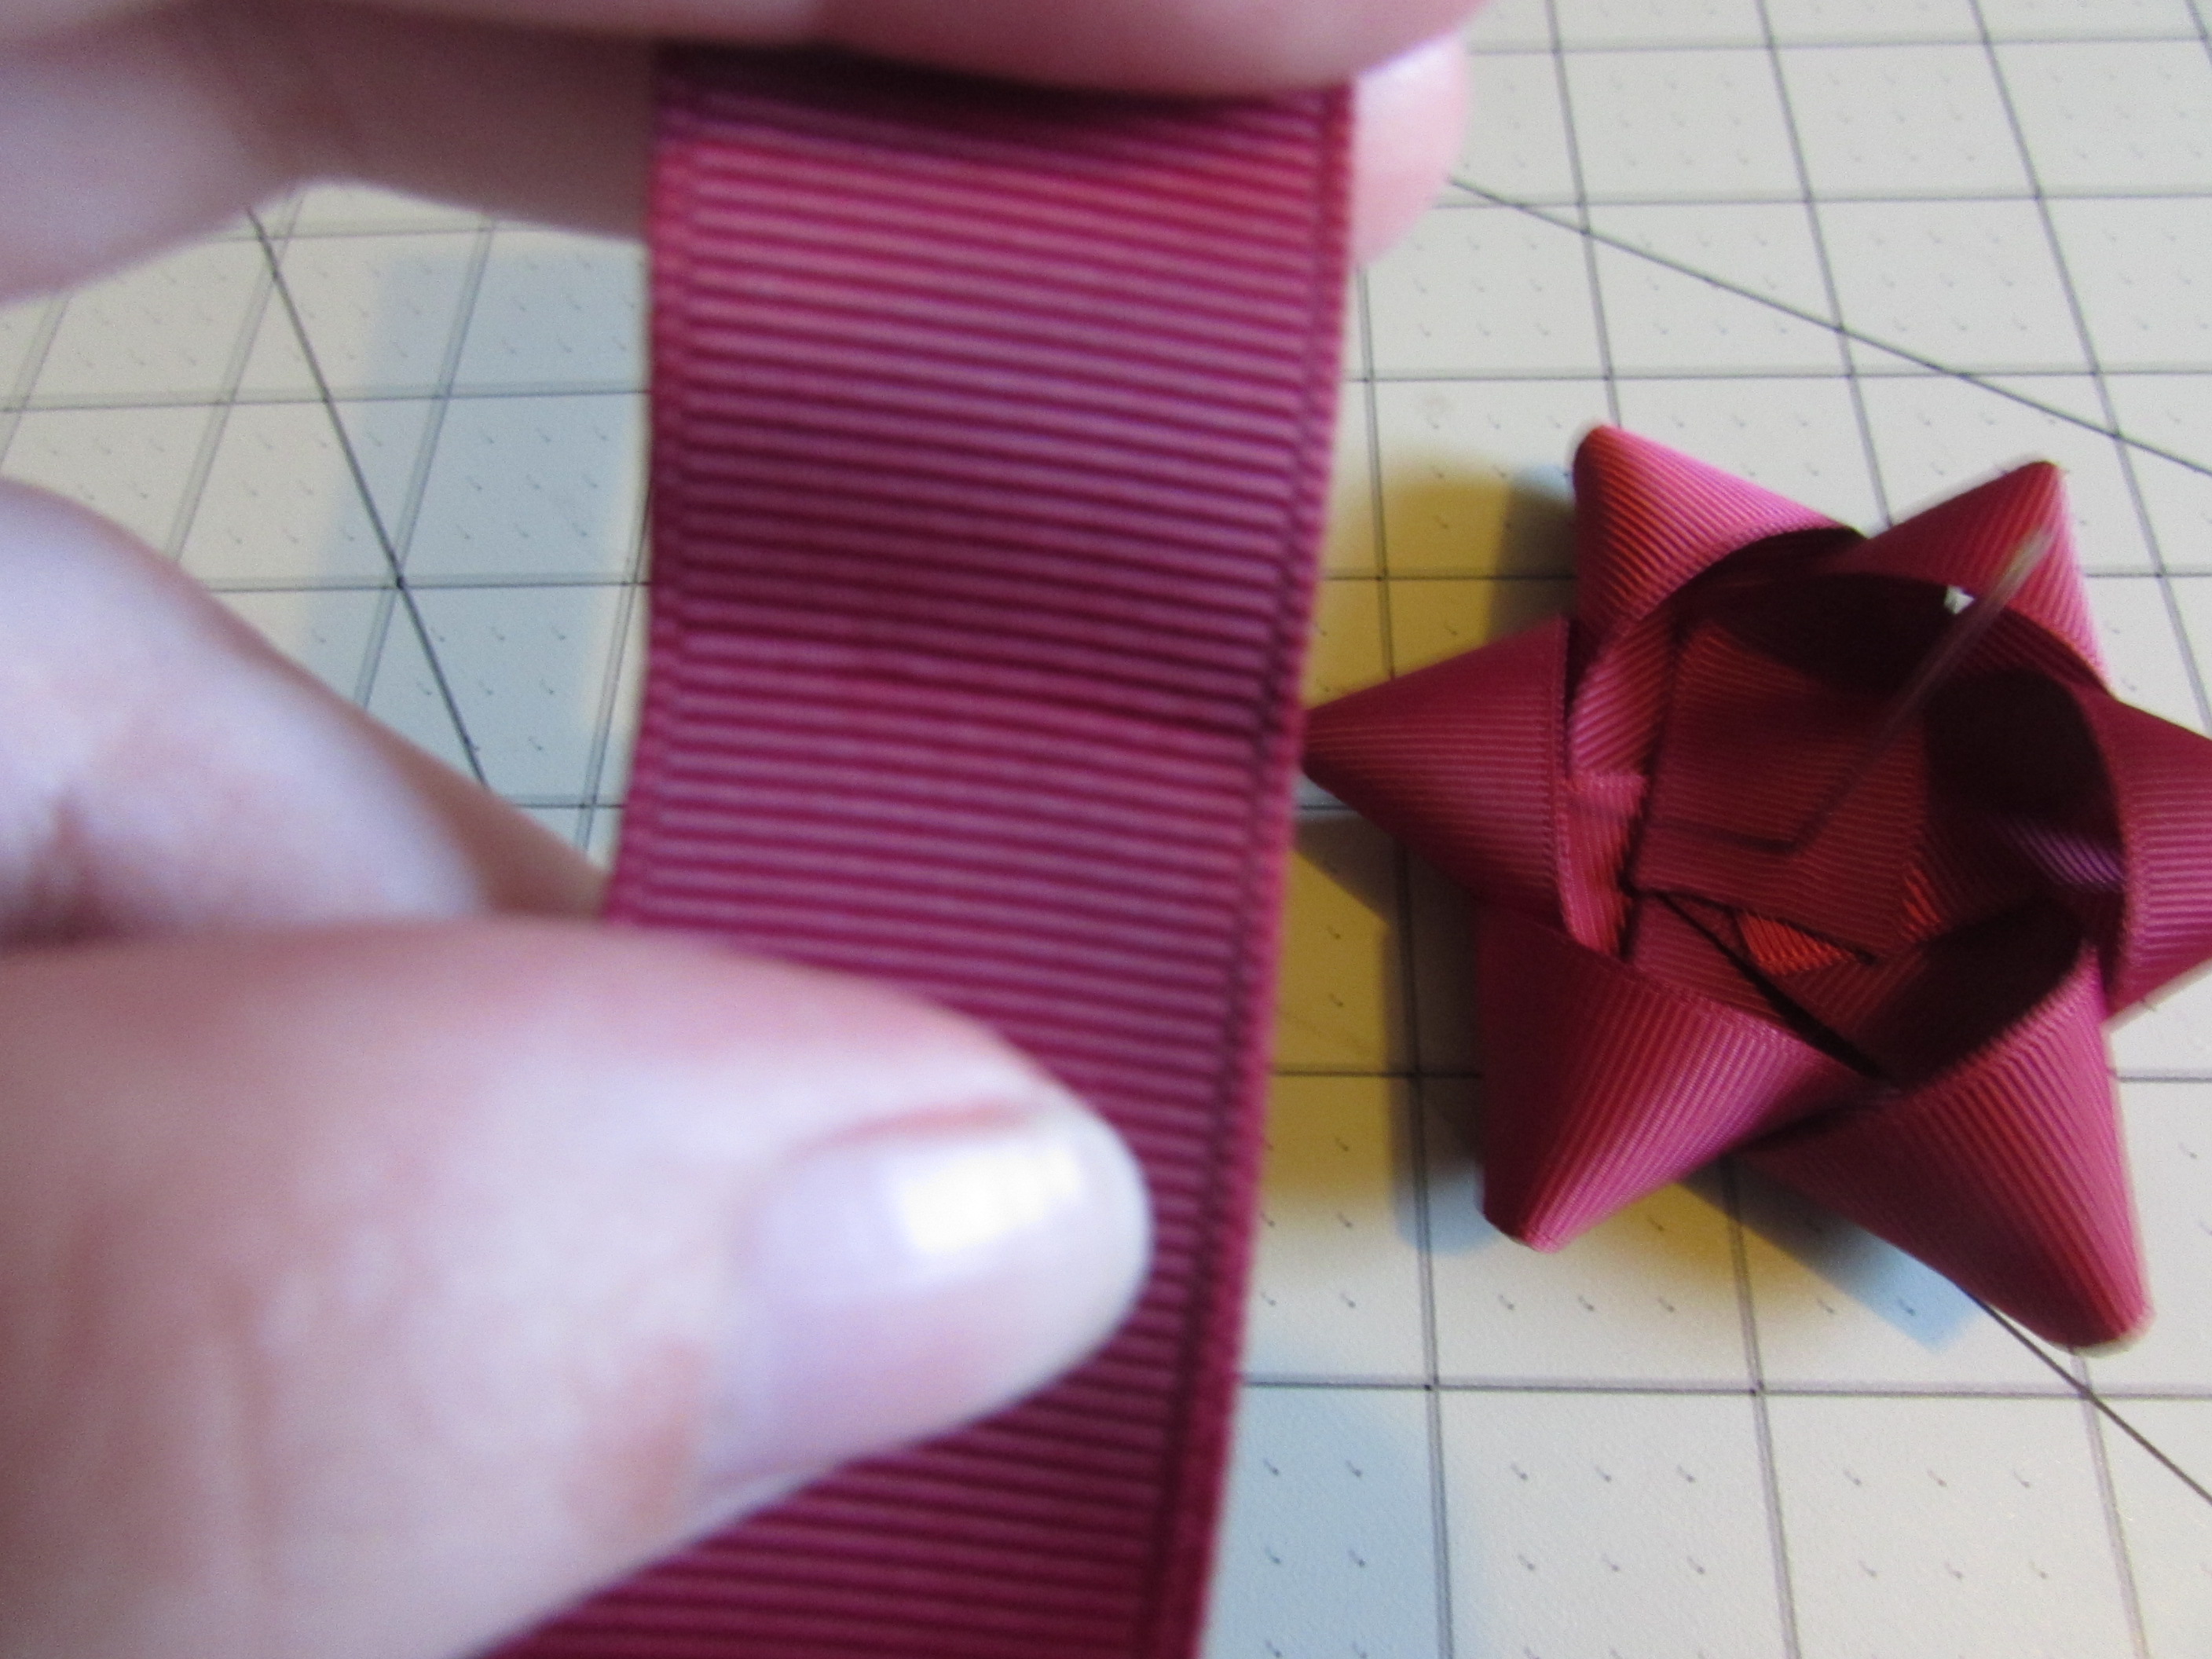
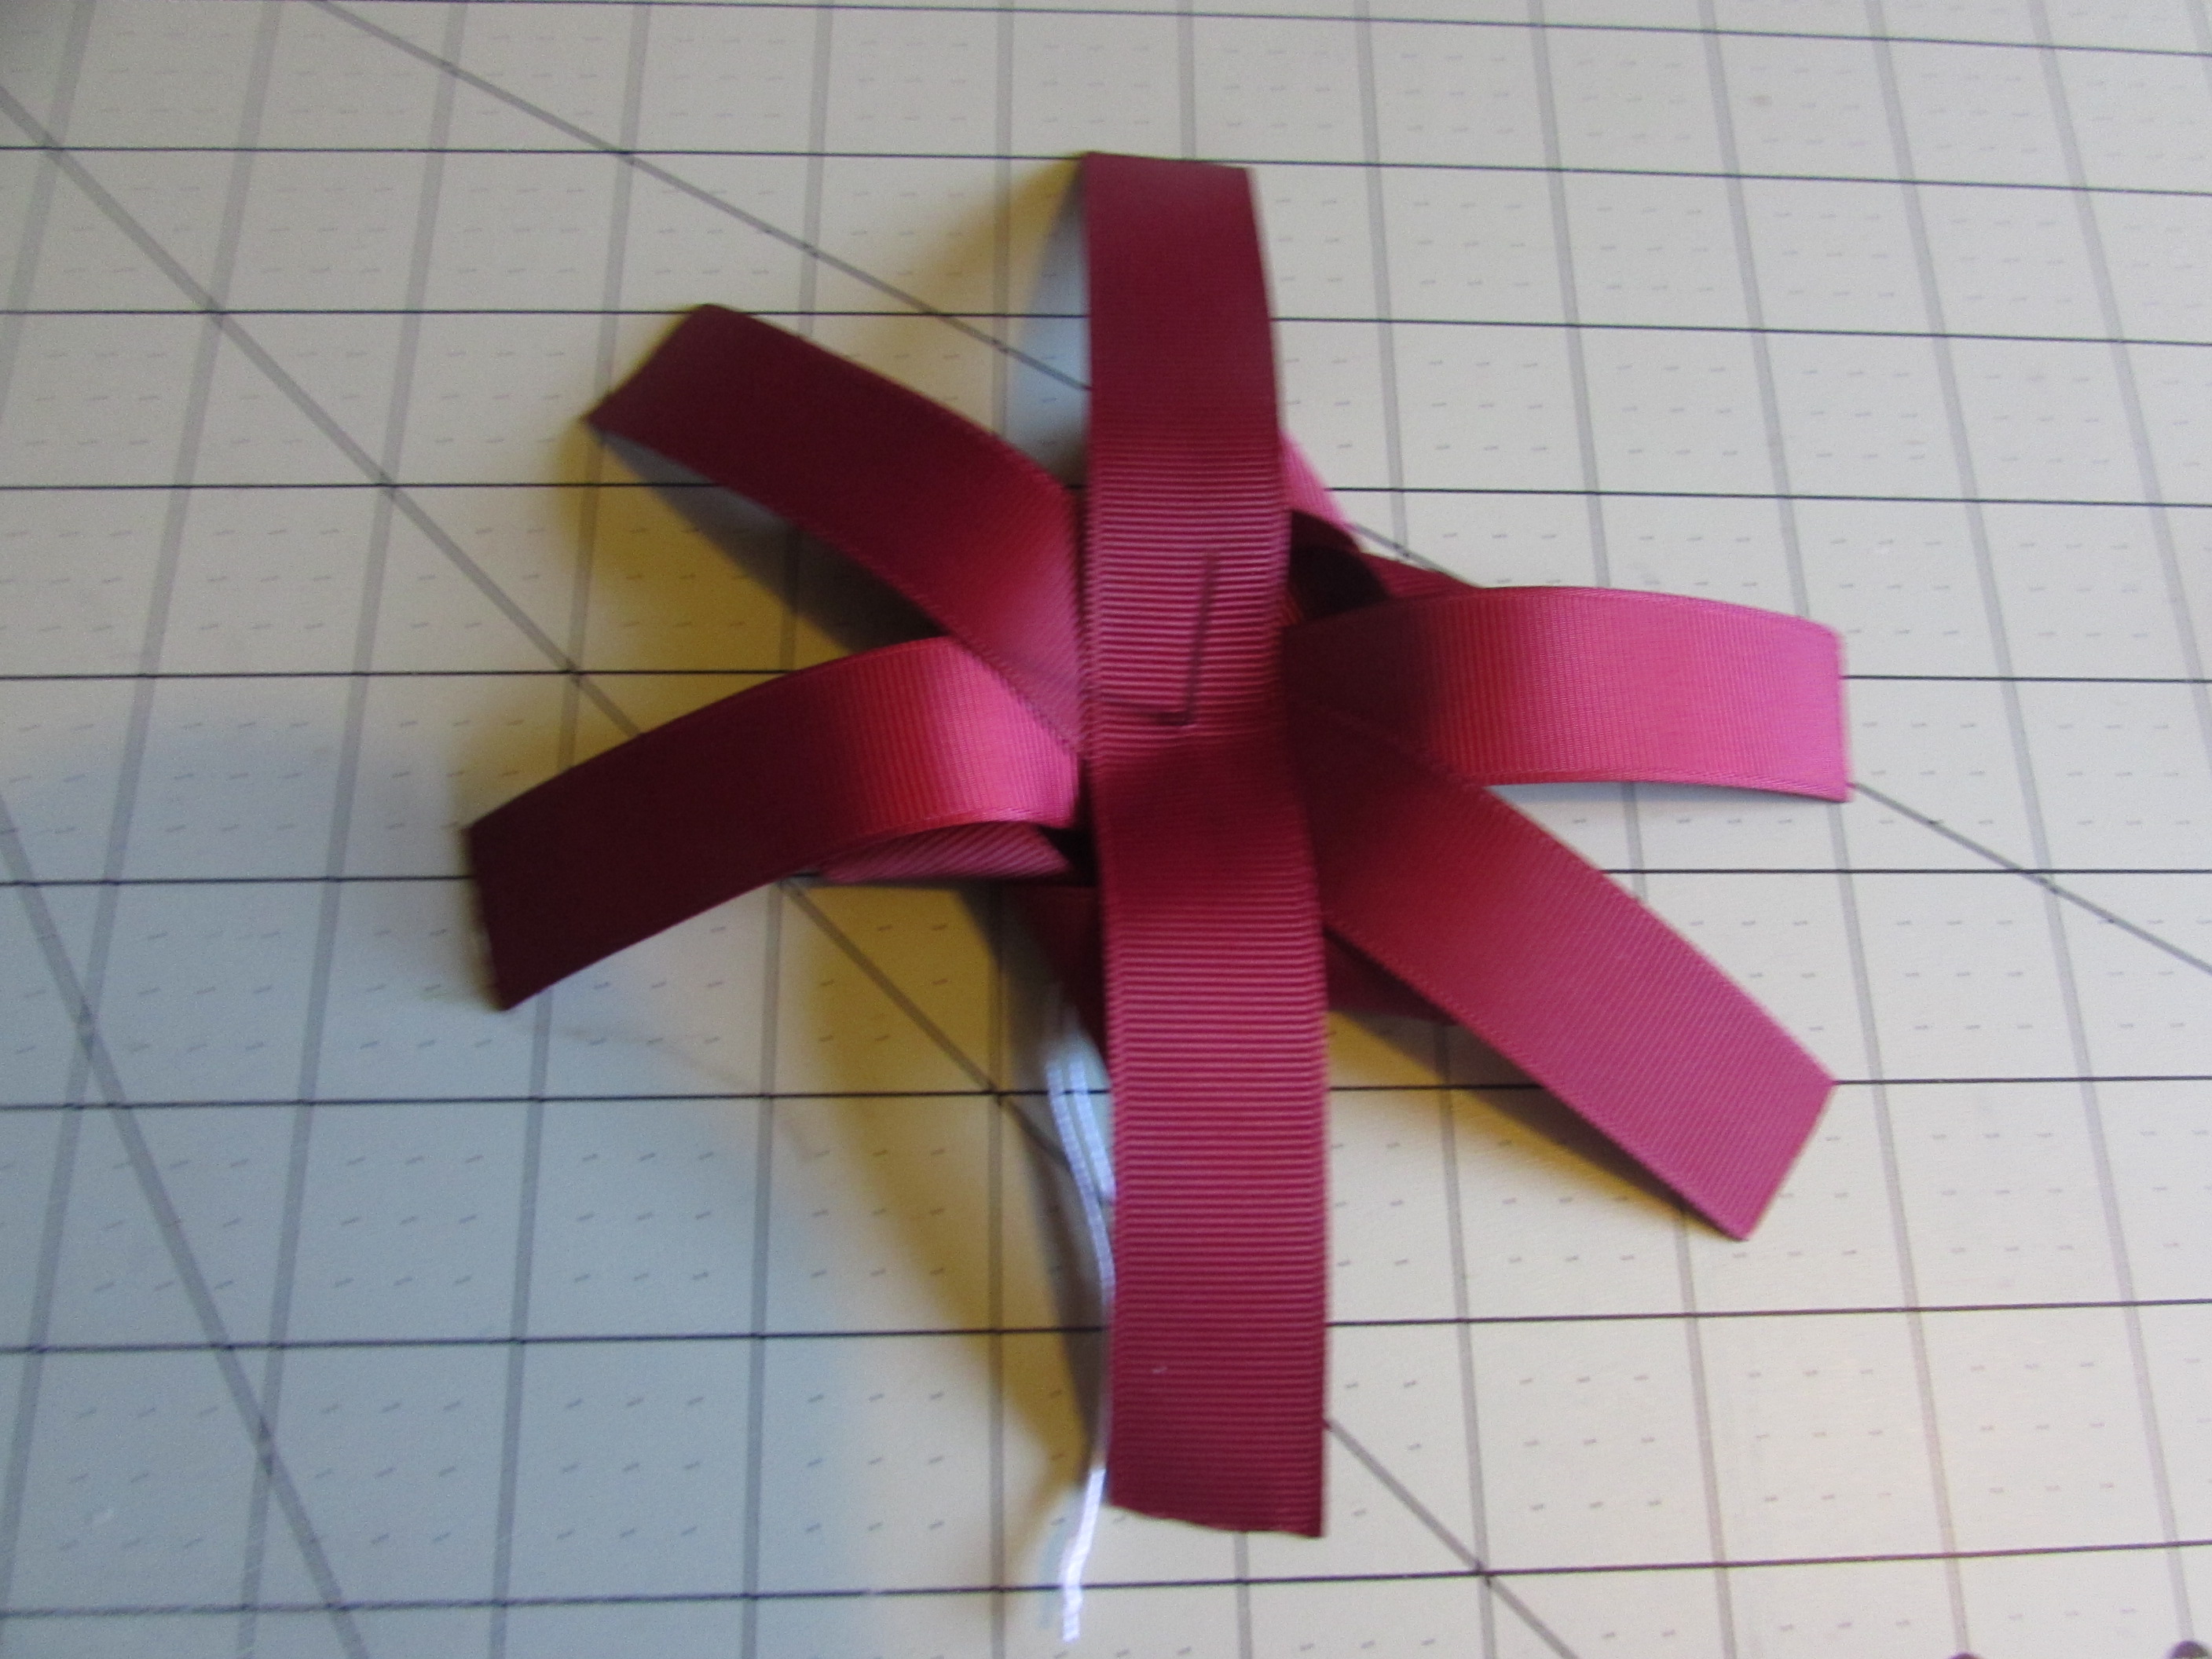
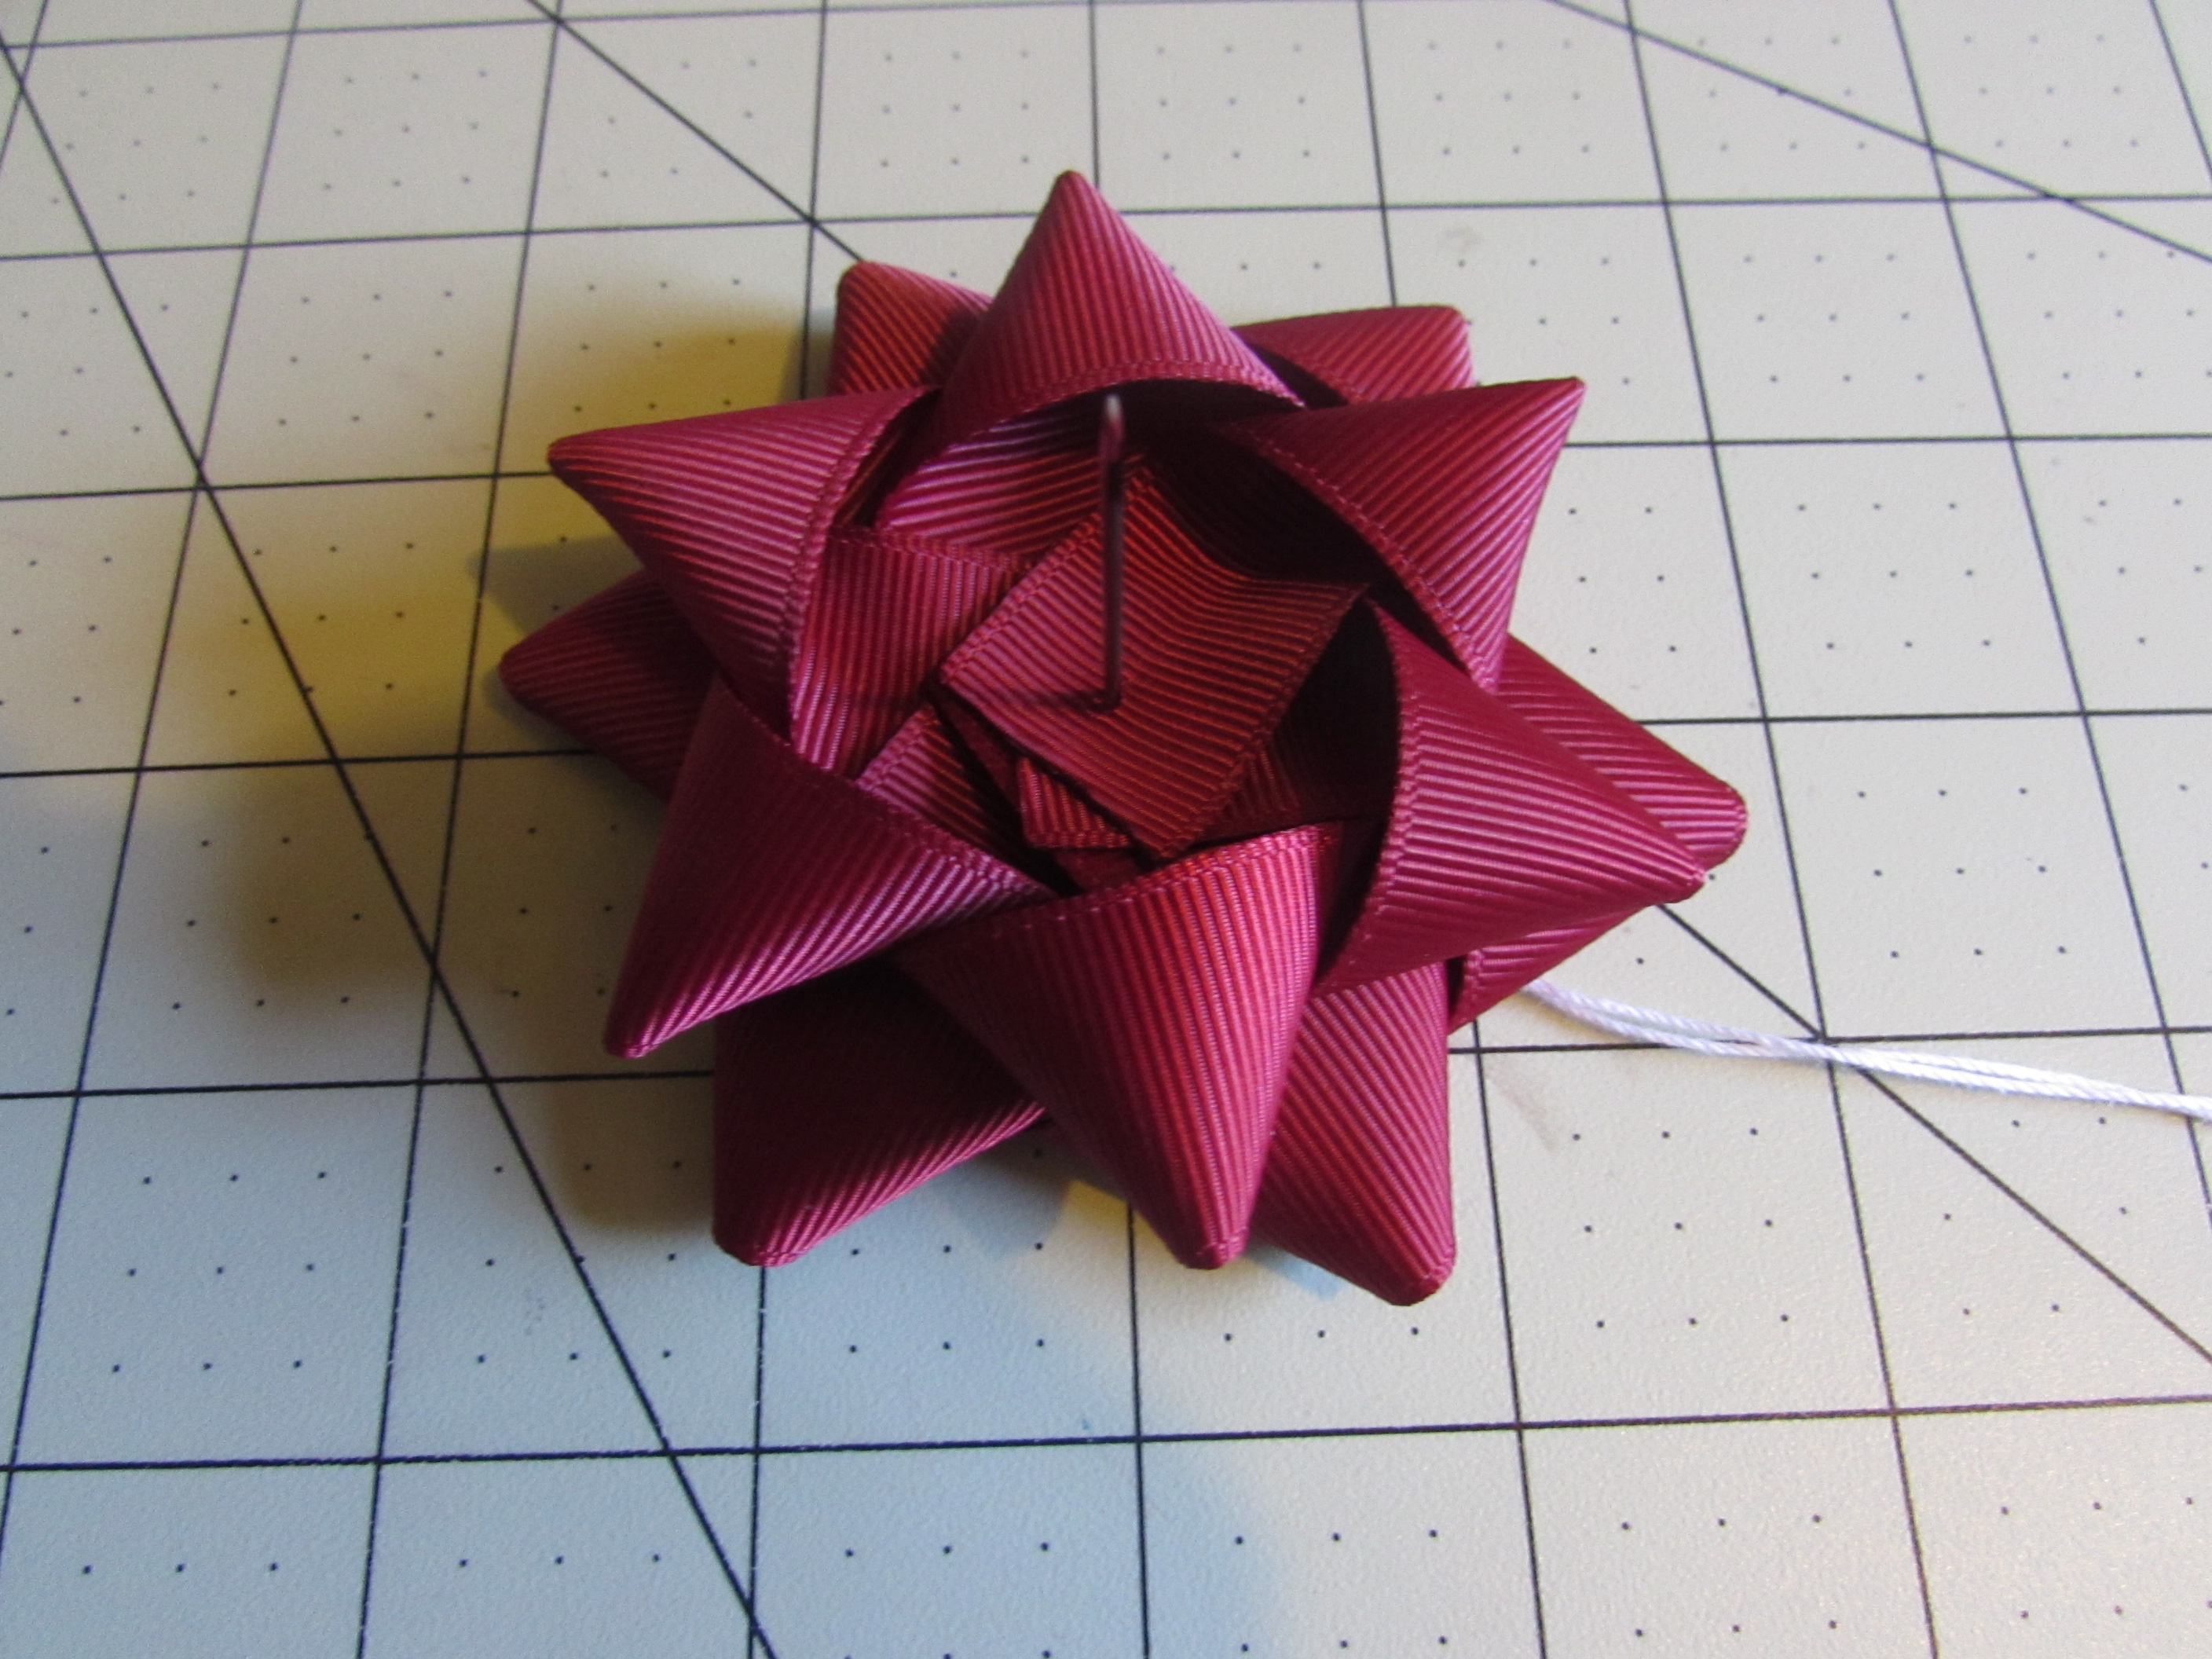
Repeat Step 2-3 for the 3 pieces of 7" of 7/8" ribbon
- Fold your 3" of 7" ribbon in half and create a crease.
- Unfold and put the needle and thread {{ make sure you have a knot }} in the center of the crease you just made. .
- Fan out the ribbons.
- Start to fold the ends and lay them on top of the needle.
- Keep folding the ends onto the needle until all the ends are completed.

Step 5:
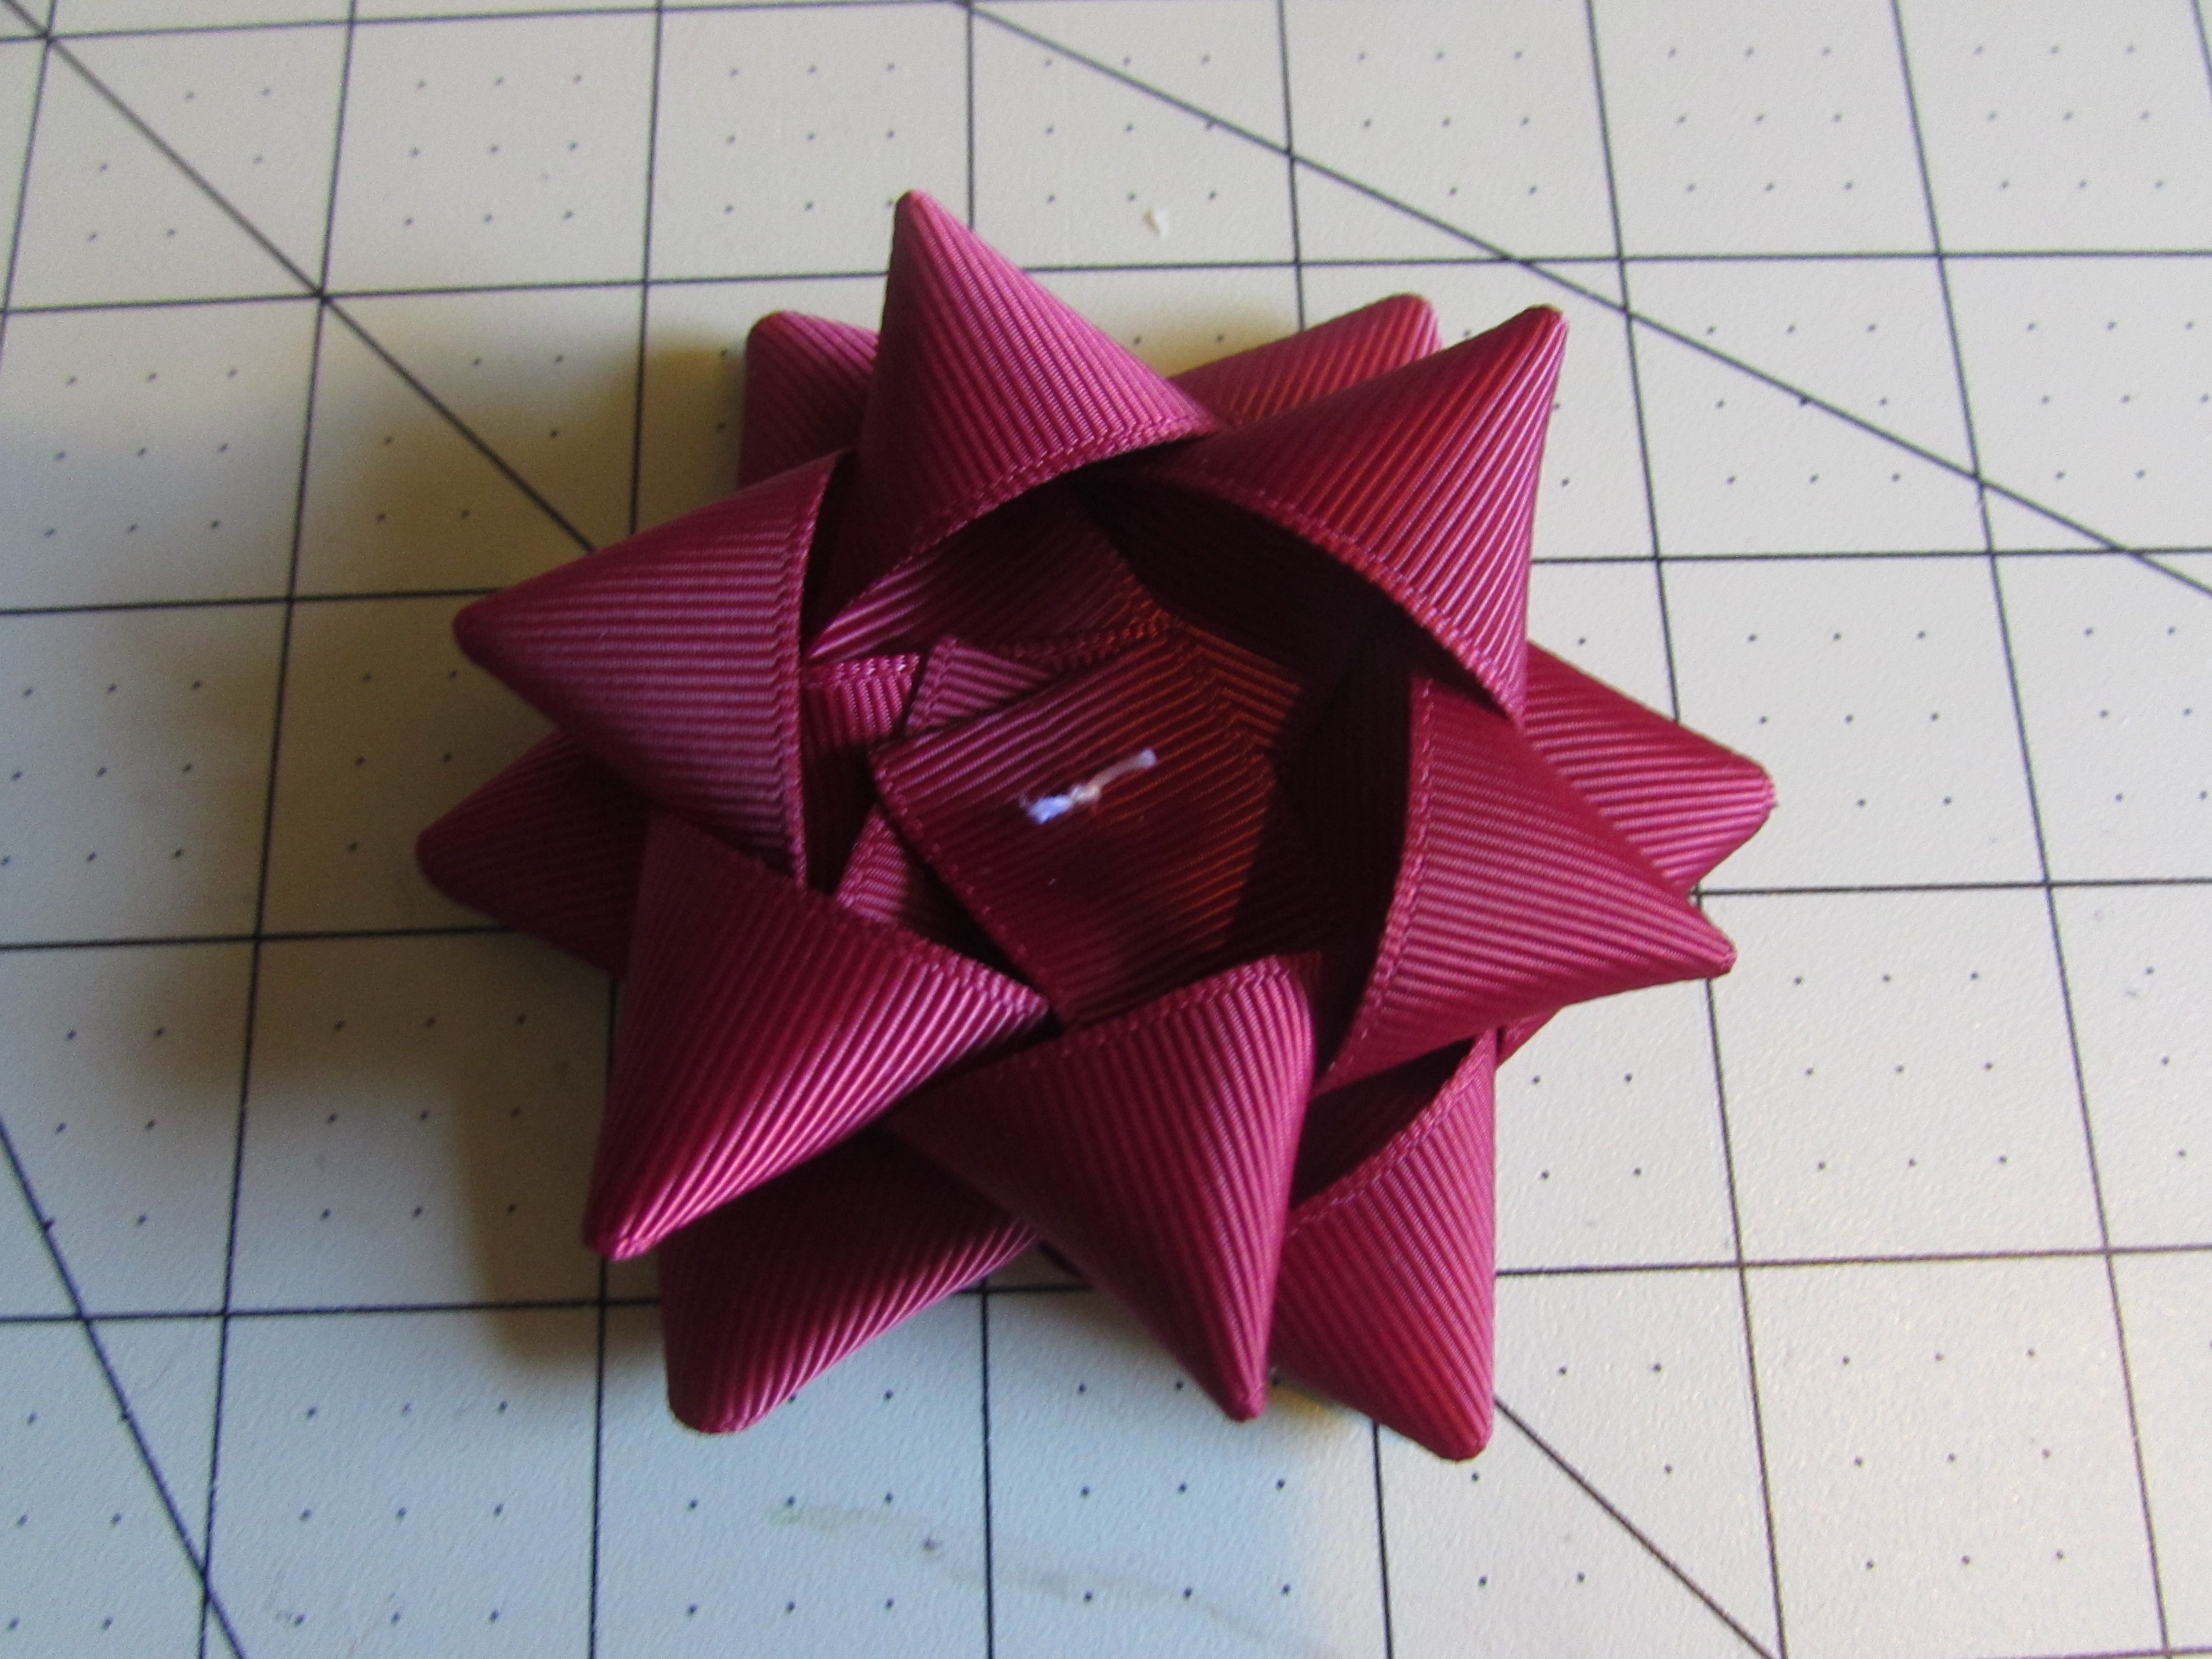
- Pull the parts to the knot at the end of your thread and go up and down through all of the layers a couple of times.
- Cut the thread off leaving several inches for tying.
- Tie several knots snug against the ribbon and trim ends of thread.
Step 6:
Take your 2.5" of 7/8" ribbon
- Create a circle shape
- Apply hotglue to the ends
- Then apply hotglue to the top of the ends you just glued
- Then lay that directly in the center of your bow over the knots
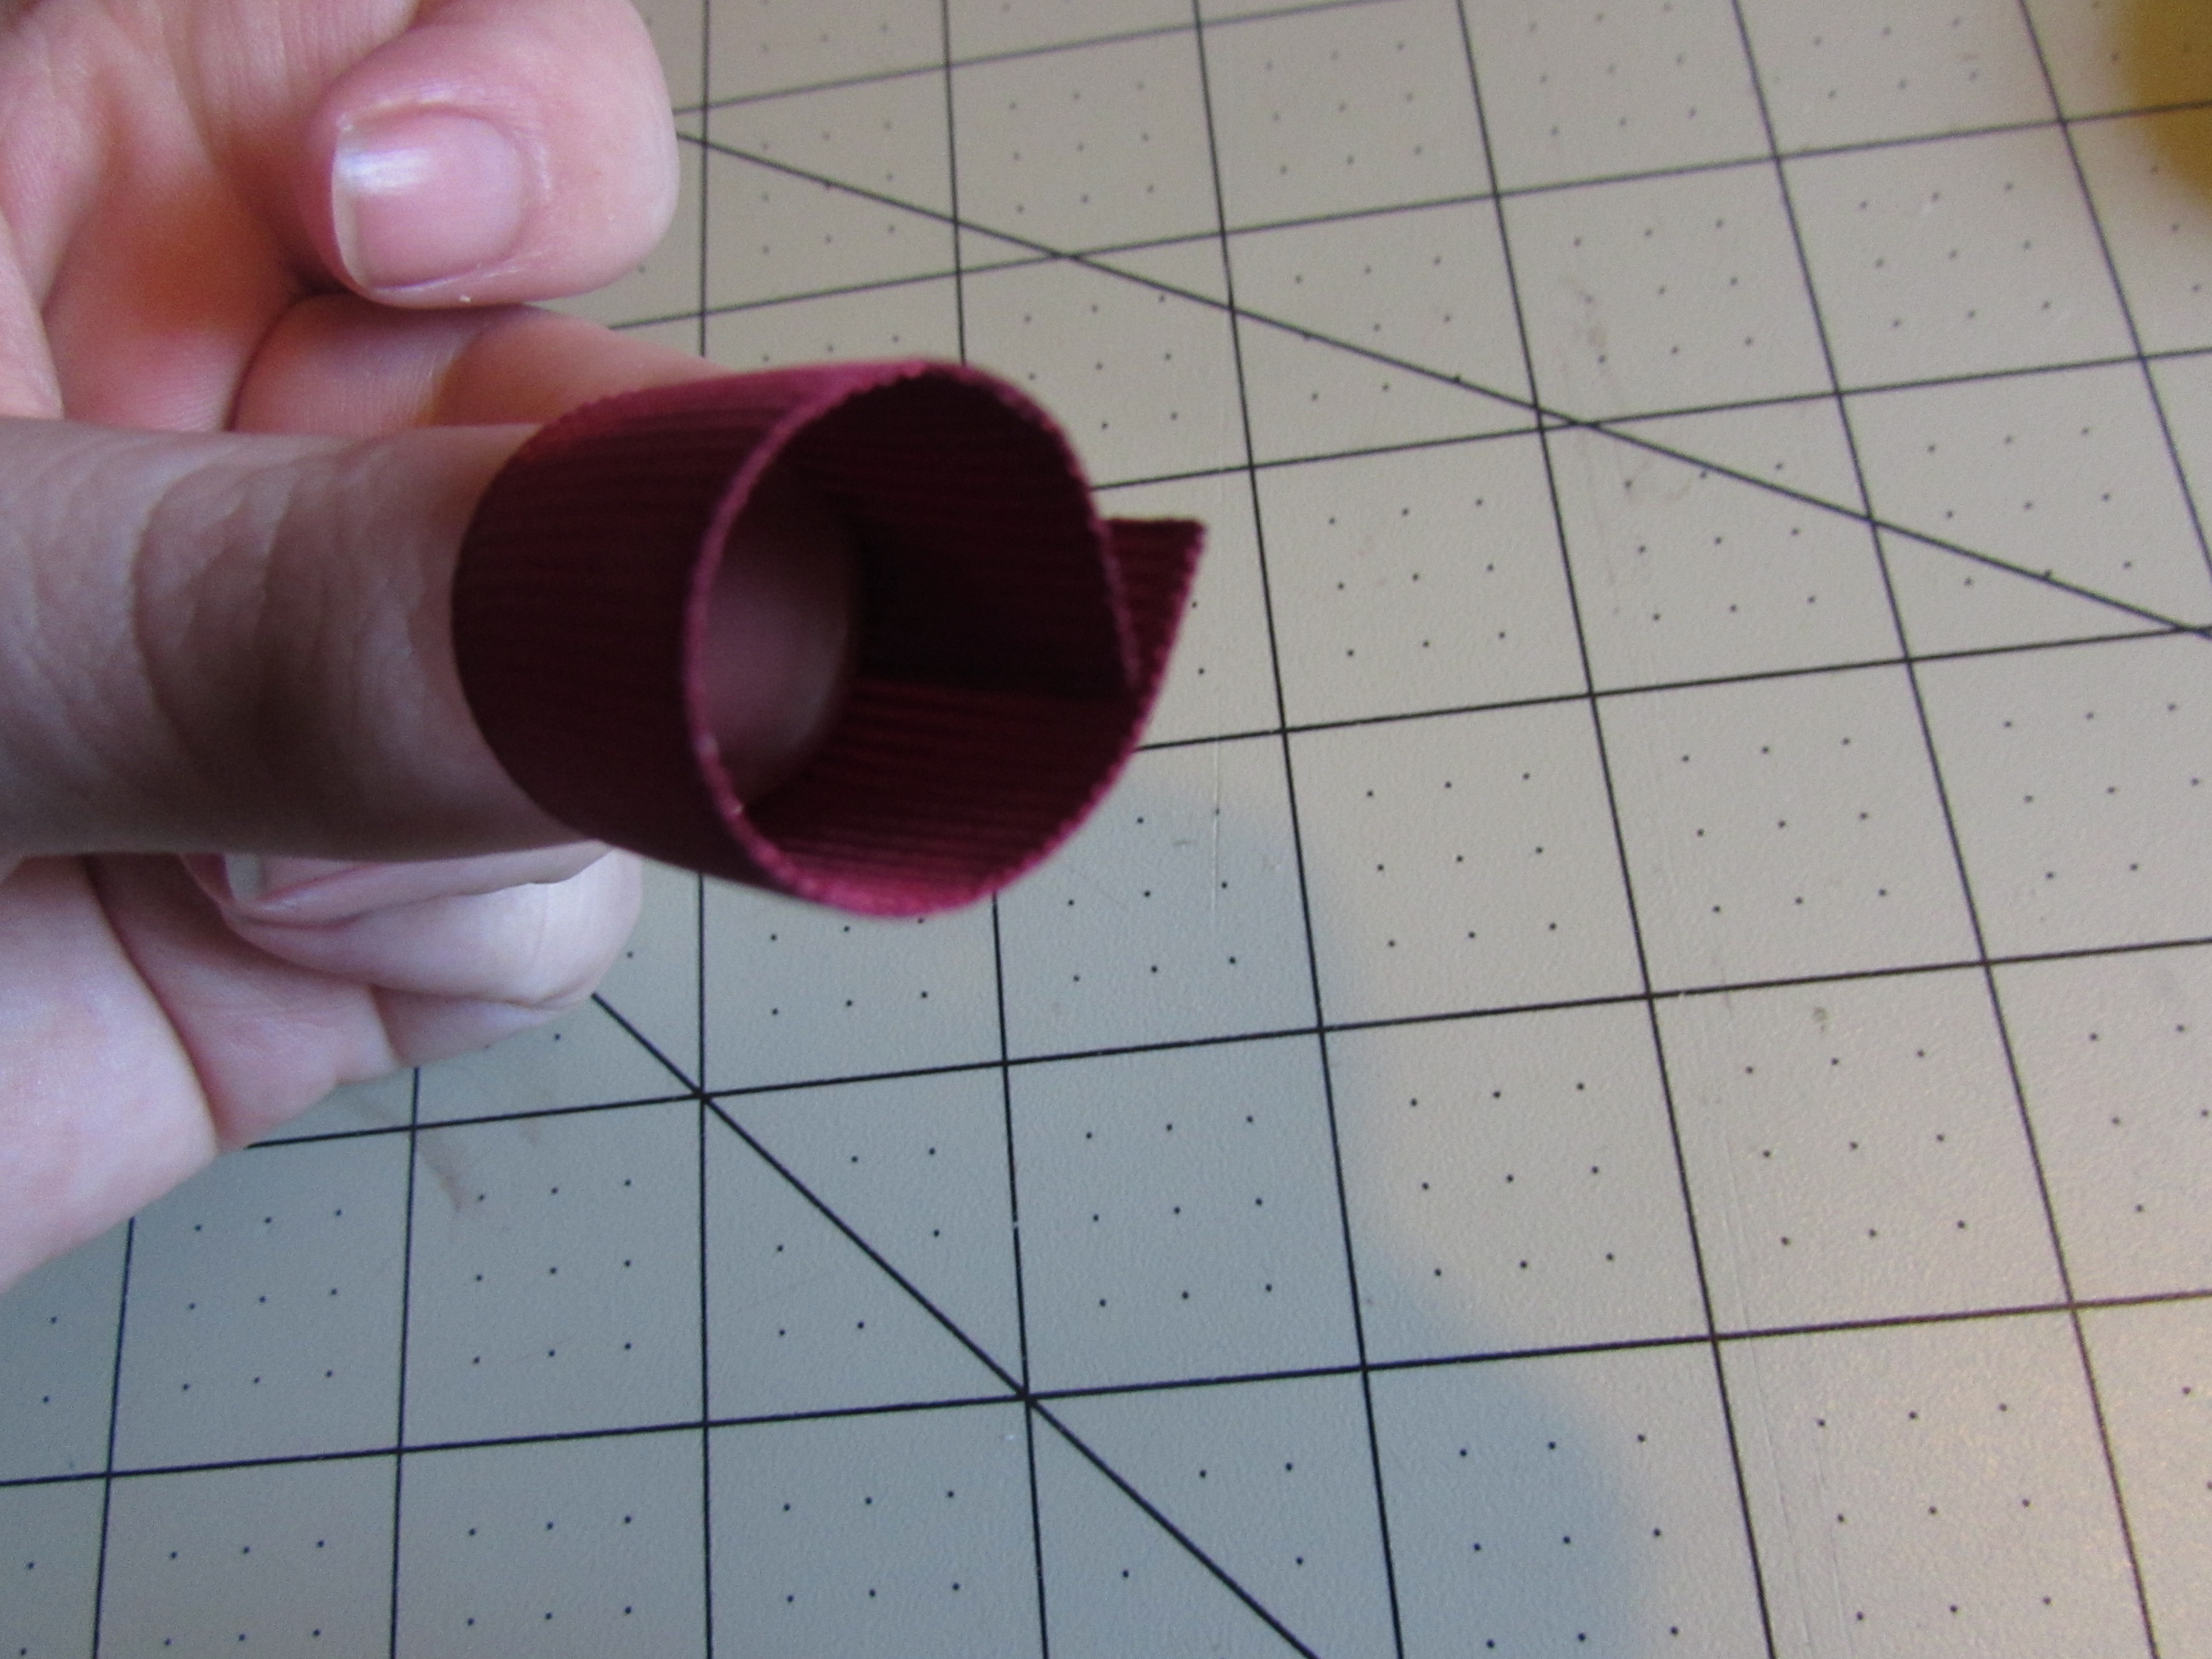
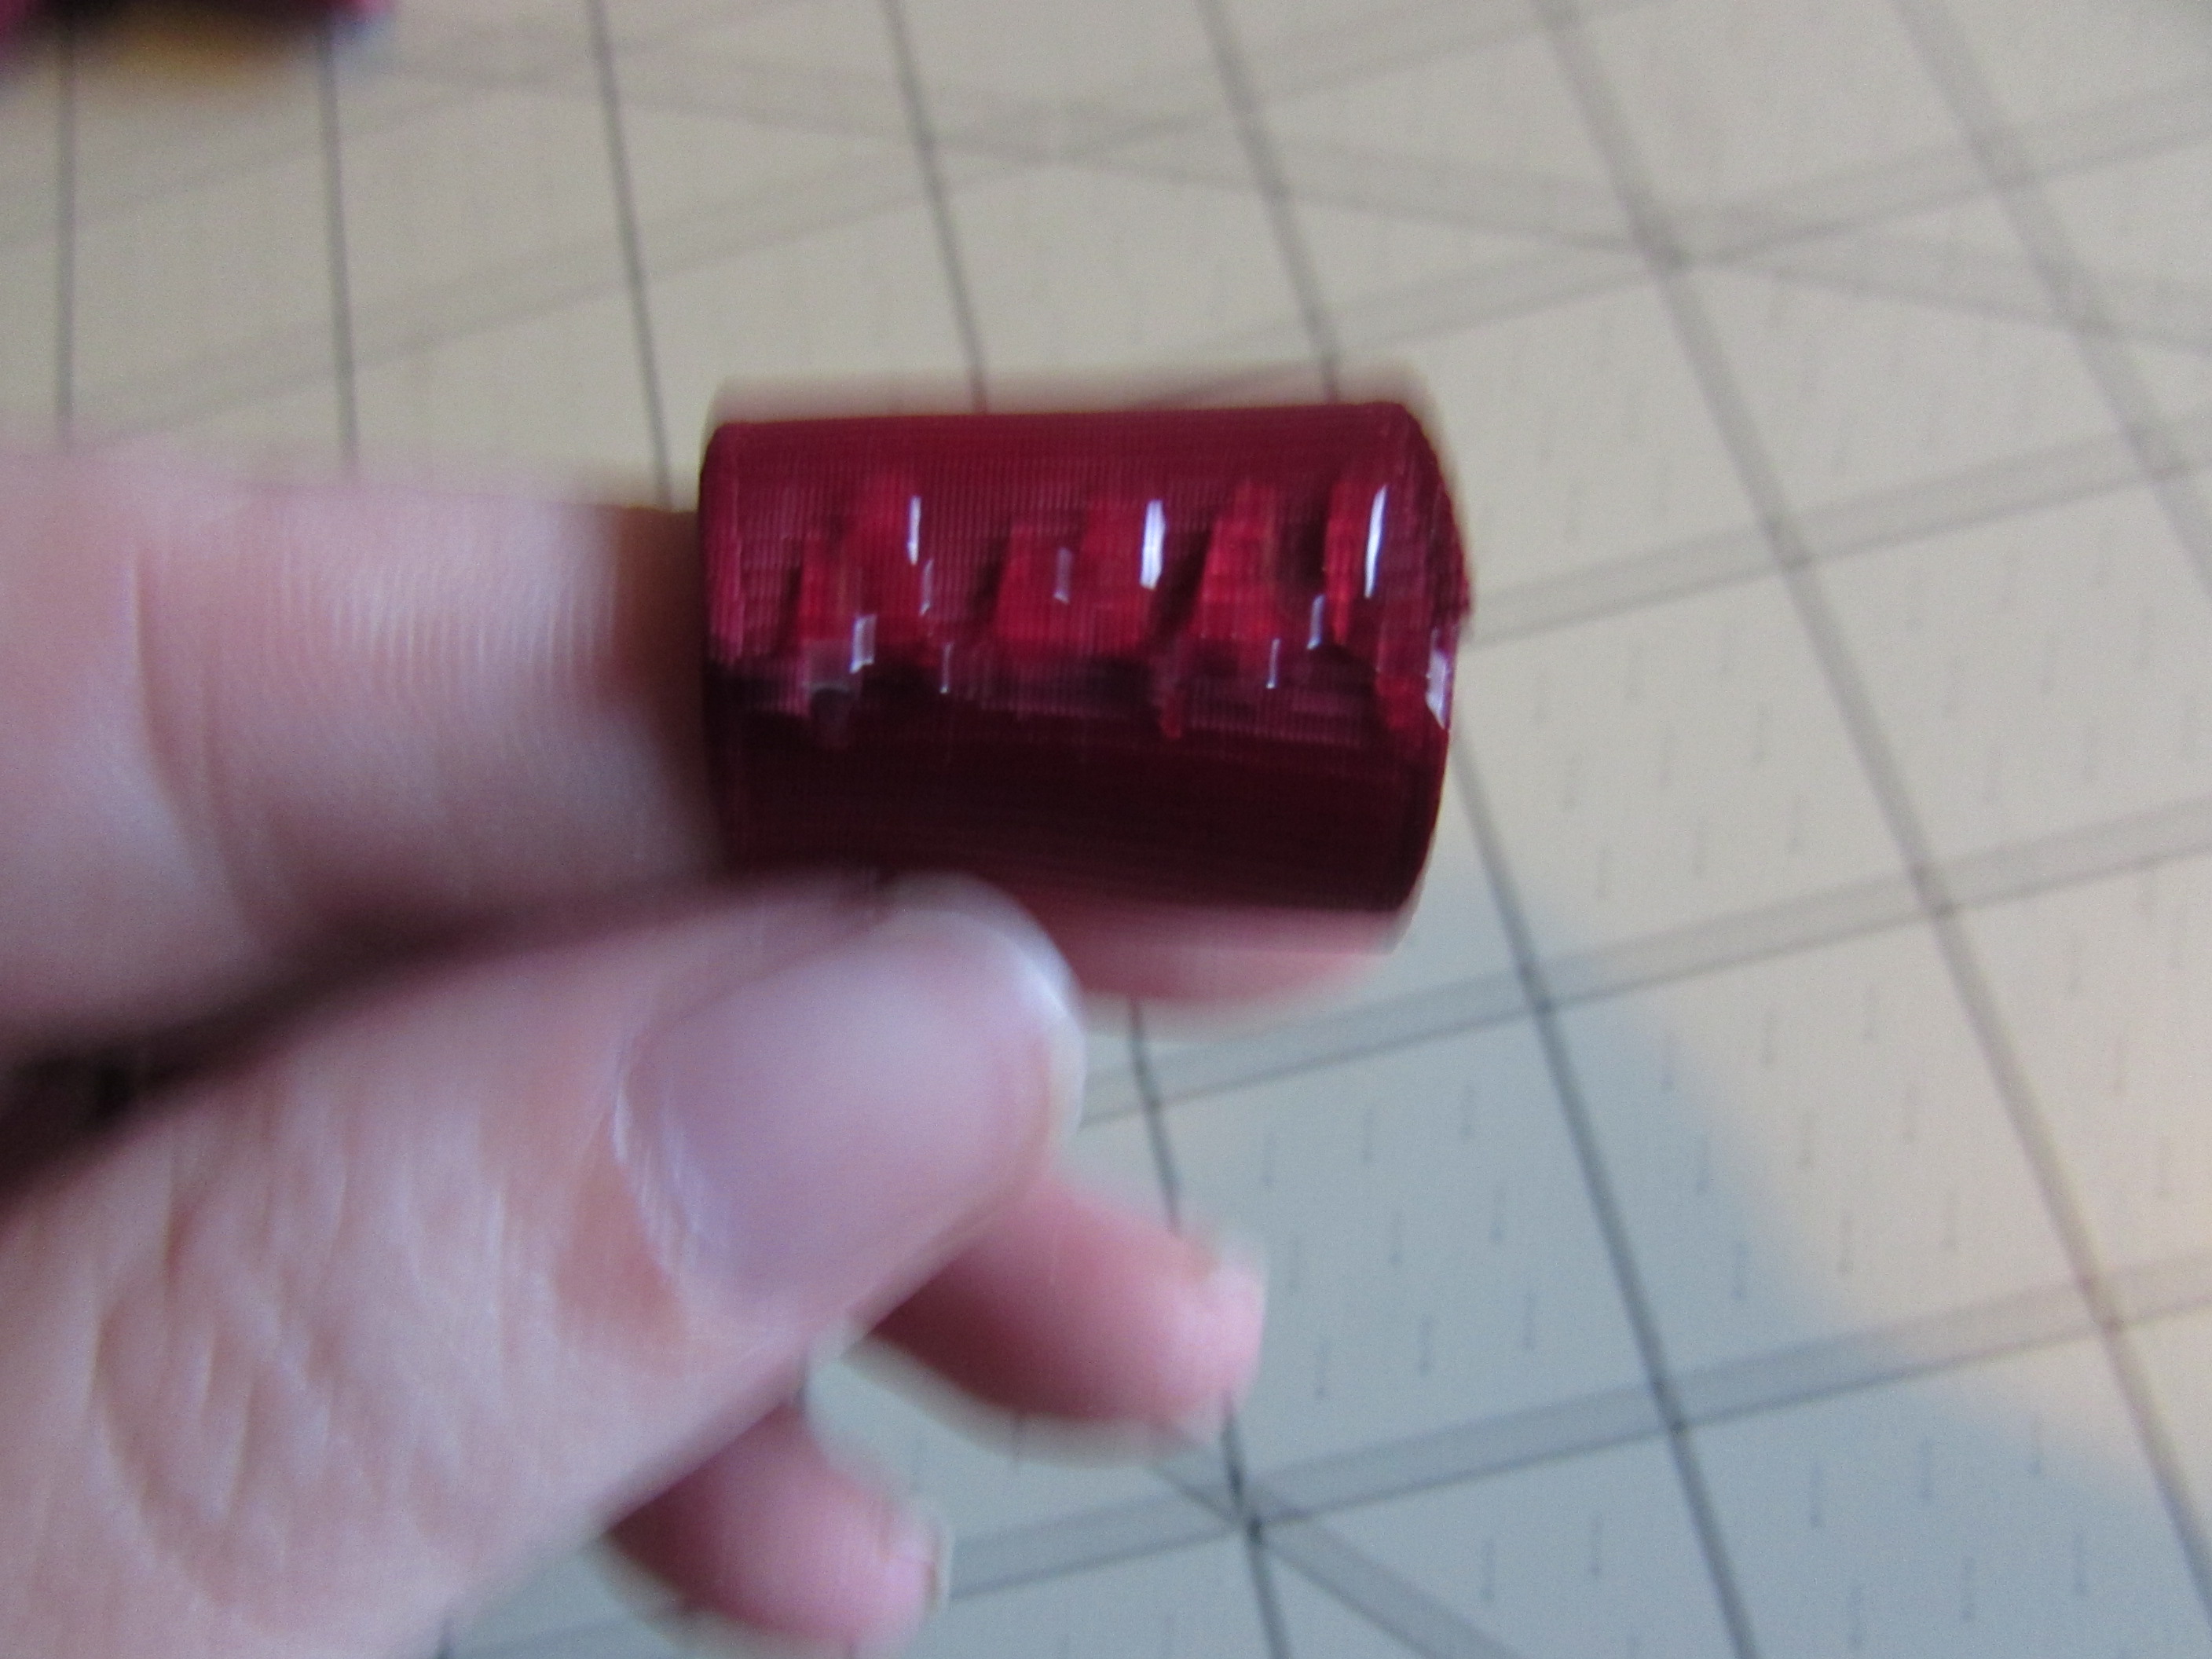

Now at this point you can add your clip or headband or add it to your presents! I, however, like my bows stiff, so I spray them down with hairspray and blow dry them dry.
* You want to also add a piece of felt to the bottom of your bow before you add your hardware. Once you add your felt, add your hardware and then I always secure the hardware down with another piece of felt.
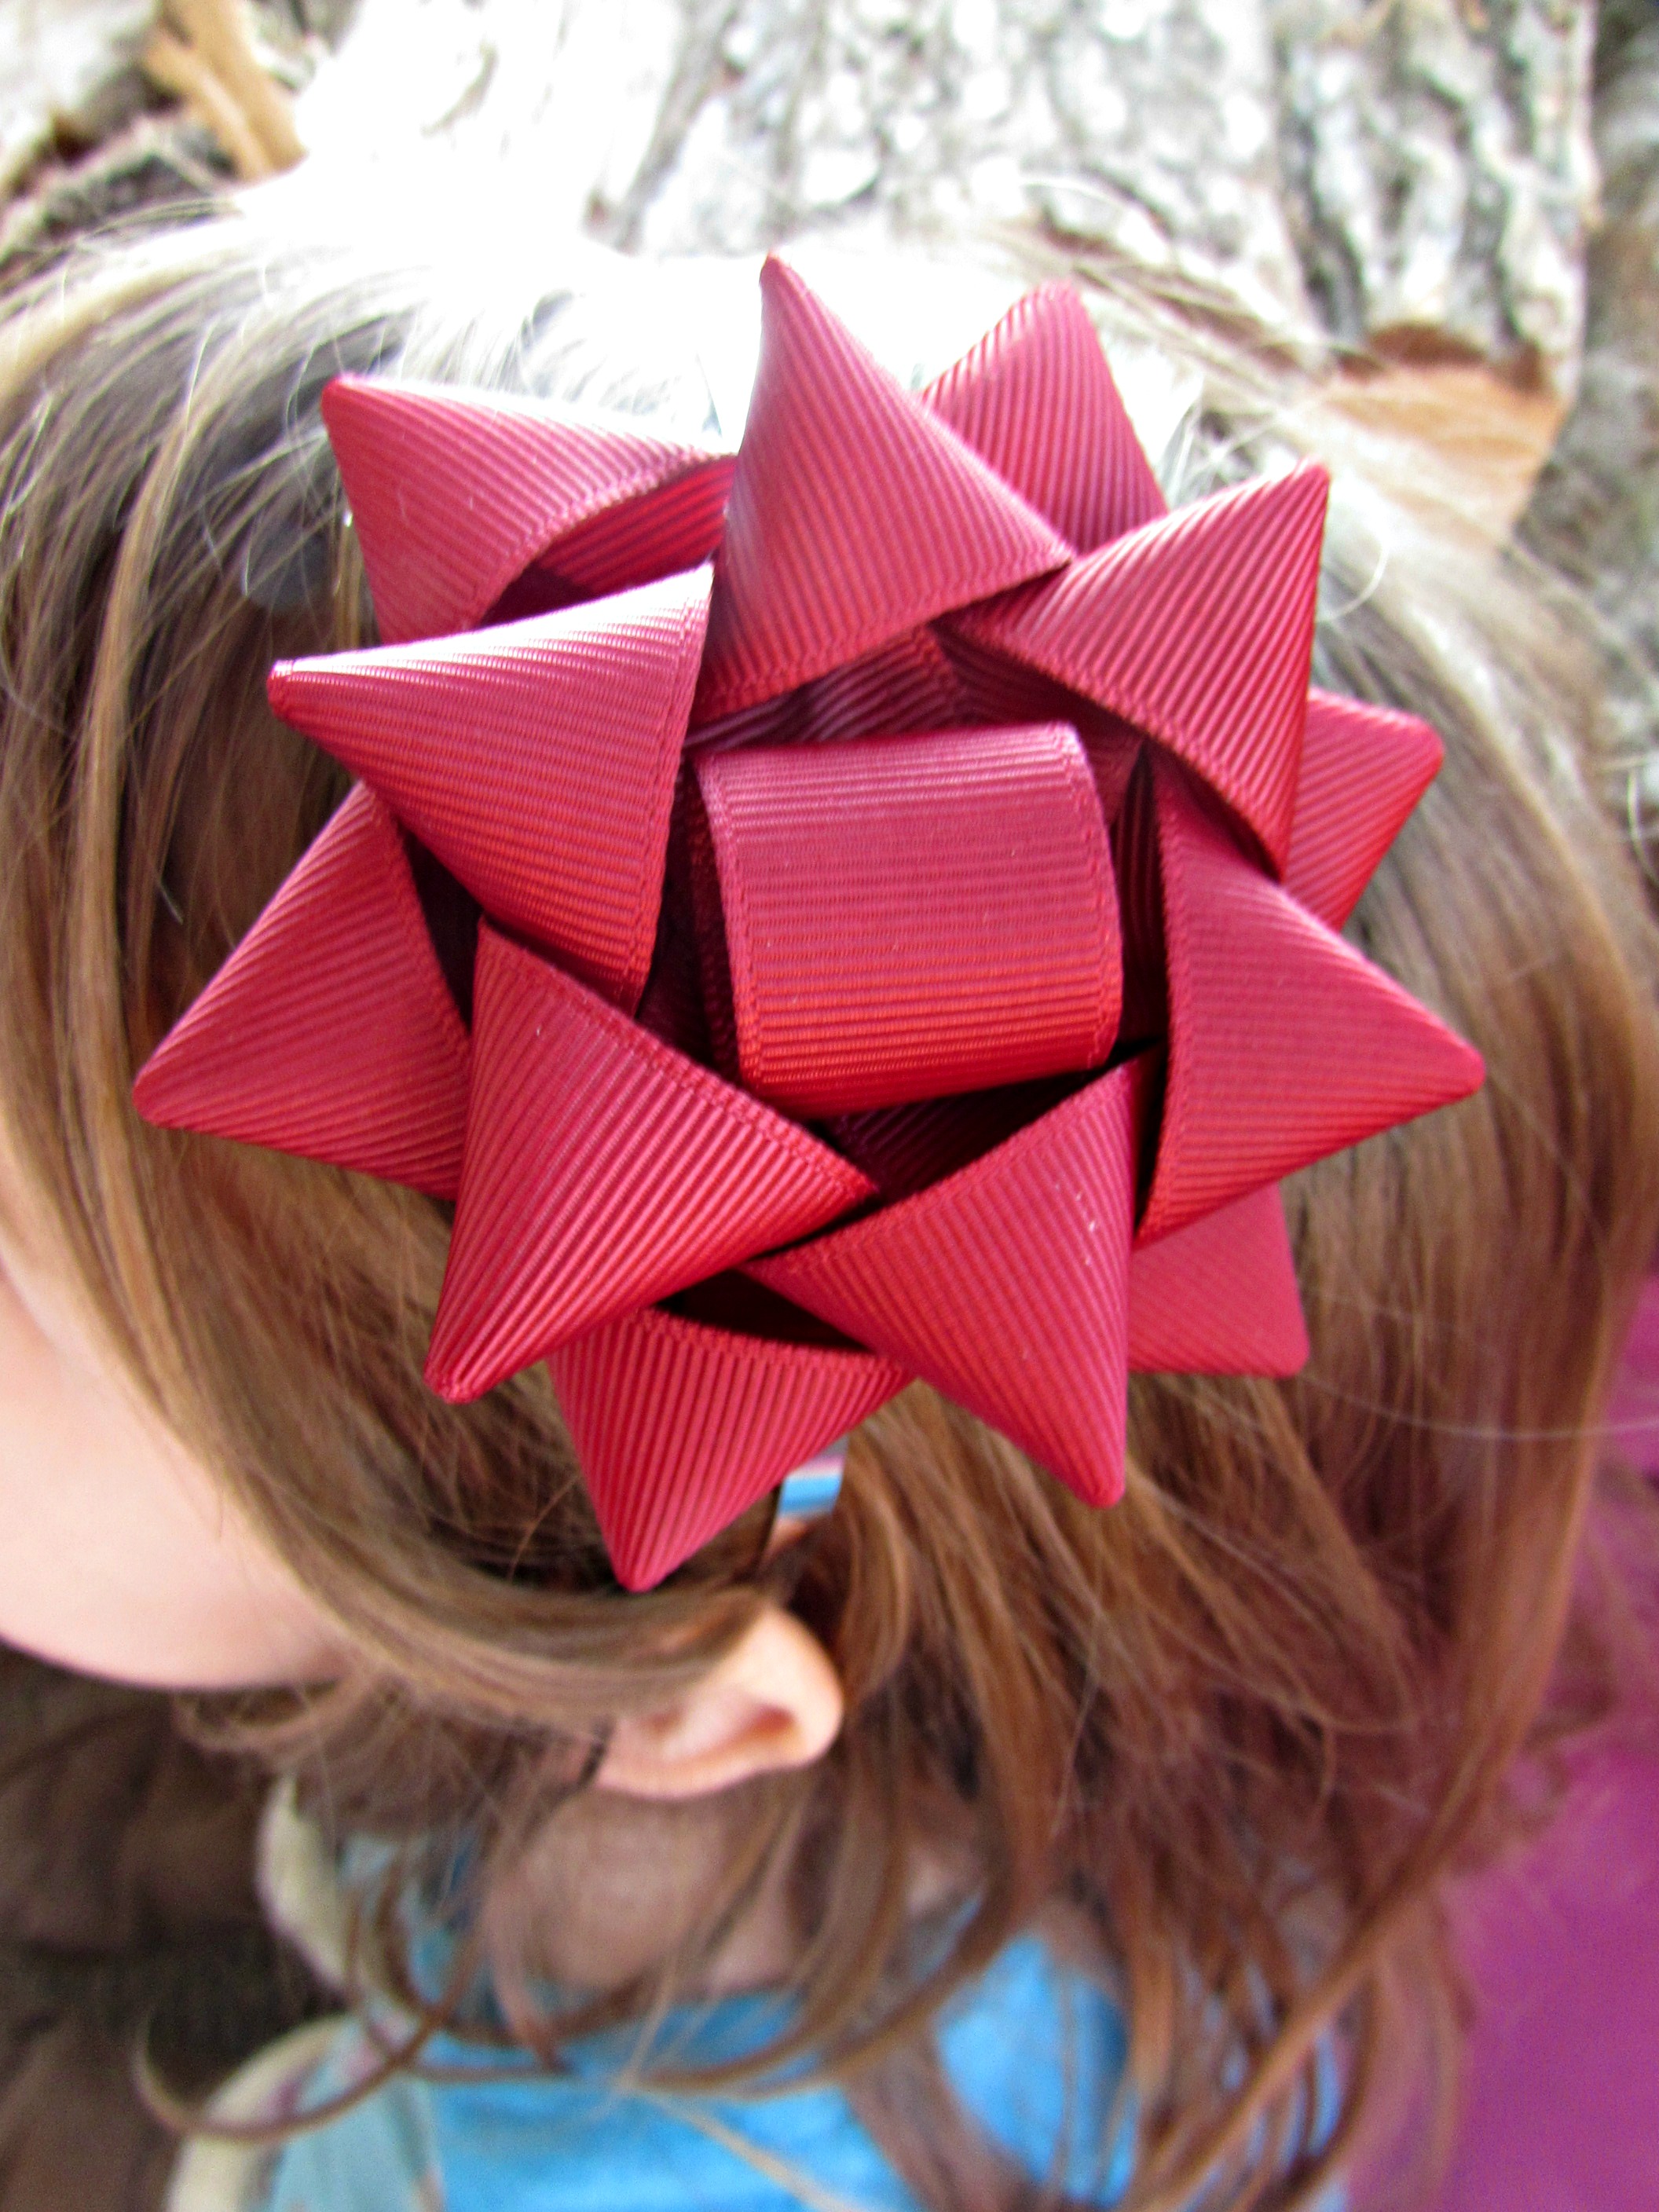
Love these, they can be created with any size of ribbon. I have made them using 3/8", 5/8" and 7/8" ribbon. They are super cute, adorable, simple, easy, and makes a fun addition to presents for Christmas and/or birthdays.
Hope you have enjoyed learning how I make my gift-bow bows. Even though we had to sew a little, they are still very easy and simple to sew - nothing major :))
* Happy Holidays from my home to yours!
Visit the rest of our blog for more Crafting Tutorials and DIY Instructions!
 Contributor post by Cassie
Hey guys!
We know you can't get enough of the gift bow - bows, right? Well, today I am going to show you how to make them by SEWING. Yes, sewing. But oh my goodness they are super cute, easy and fun to make. Can wear them year round too, I know I probably will - haha.
*Editor's note - Three of our blog contributors submitted this same adorable ribbon bow project, which means that you absolutely have to make it, right?! Danielle and Brittany share how to make this bow using hot-glue as the fastener and Cassie shows how to make the same bow with a simple sewing technique. Be sure to check out the hot-glue method as well here! Before you head there too fast, we want to point out that while we crafters tend to grab the glue gun when we think it will save time over the old-fashioned needle-and-thread, we feel that in this case, the sewing method looks like it will win hands-down in terms of speed!
 So let's gather those supplies and get started.
Supplies Needed:
* 7/8" Ribbon
* Needle/Thread
* Hotglue/Hotglue gun
* Lighter
* Scissors
Step 1:
- Cut your ribbon.
* 3 pieces of 7/8" ribbon at 8" and heat seal the ends
* 3 pieces of 7/8" ribbon at 7" and heat seal the ends
* 1 piece of 7/8" ribbon 2.5" and heat seal the ends
 Step 2:
- Fold your 3 pieces of 8" ribbon in half and create a crease.
- Unfold and put the needle and thread {{ make sure you have a knot }} in the center of the crease you just made. .
- Fan out the ribbons.
- Start to fold the ends and lay them on top of the needle.


 Step 3:
- Keep folding the ends onto the needle until all the ends are completed.
 Step 4:
Repeat Step 2-3 for the 3 pieces of 7" of 7/8" ribbon
- Fold your 3" of 7" ribbon in half and create a crease.
- Unfold and put the needle and thread {{ make sure you have a knot }} in the center of the crease you just made. .
- Fan out the ribbons.
- Start to fold the ends and lay them on top of the needle.
- Keep folding the ends onto the needle until all the ends are completed.


 Step 5:
- Pull the parts to the knot at the end of your thread and go up and down through all of the layers a couple of times.
- Cut the thread off leaving several inches for tying.
- Tie several knots snug against the ribbon and trim ends of thread.
 Step 6:
Take your 2.5" of 7/8" ribbon
- Create a circle shape
- Apply hotglue to the ends
- Then apply hotglue to the top of the ends you just glued
- Then lay that directly in the center of your bow over the knots


 Now at this point you can add your clip or headband or add it to your presents! I, however, like my bows stiff, so I spray them down with hairspray and blow dry them dry.
* You want to also add a piece of felt to the bottom of your bow before you add your hardware. Once you add your felt, add your hardware and then I always secure the hardware down with another piece of felt.
 Love these, they can be created with any size of ribbon. I have made them using 3/8", 5/8" and 7/8" ribbon. They are super cute, adorable, simple, easy, and makes a fun addition to presents for Christmas and/or birthdays.
Hope you have enjoyed learning how I make my gift-bow bows. Even though we had to sew a little, they are still very easy and simple to sew - nothing major :))
* Happy Holidays from my home to yours!


 TOOLS
TOOLS
 NEW
NEW


