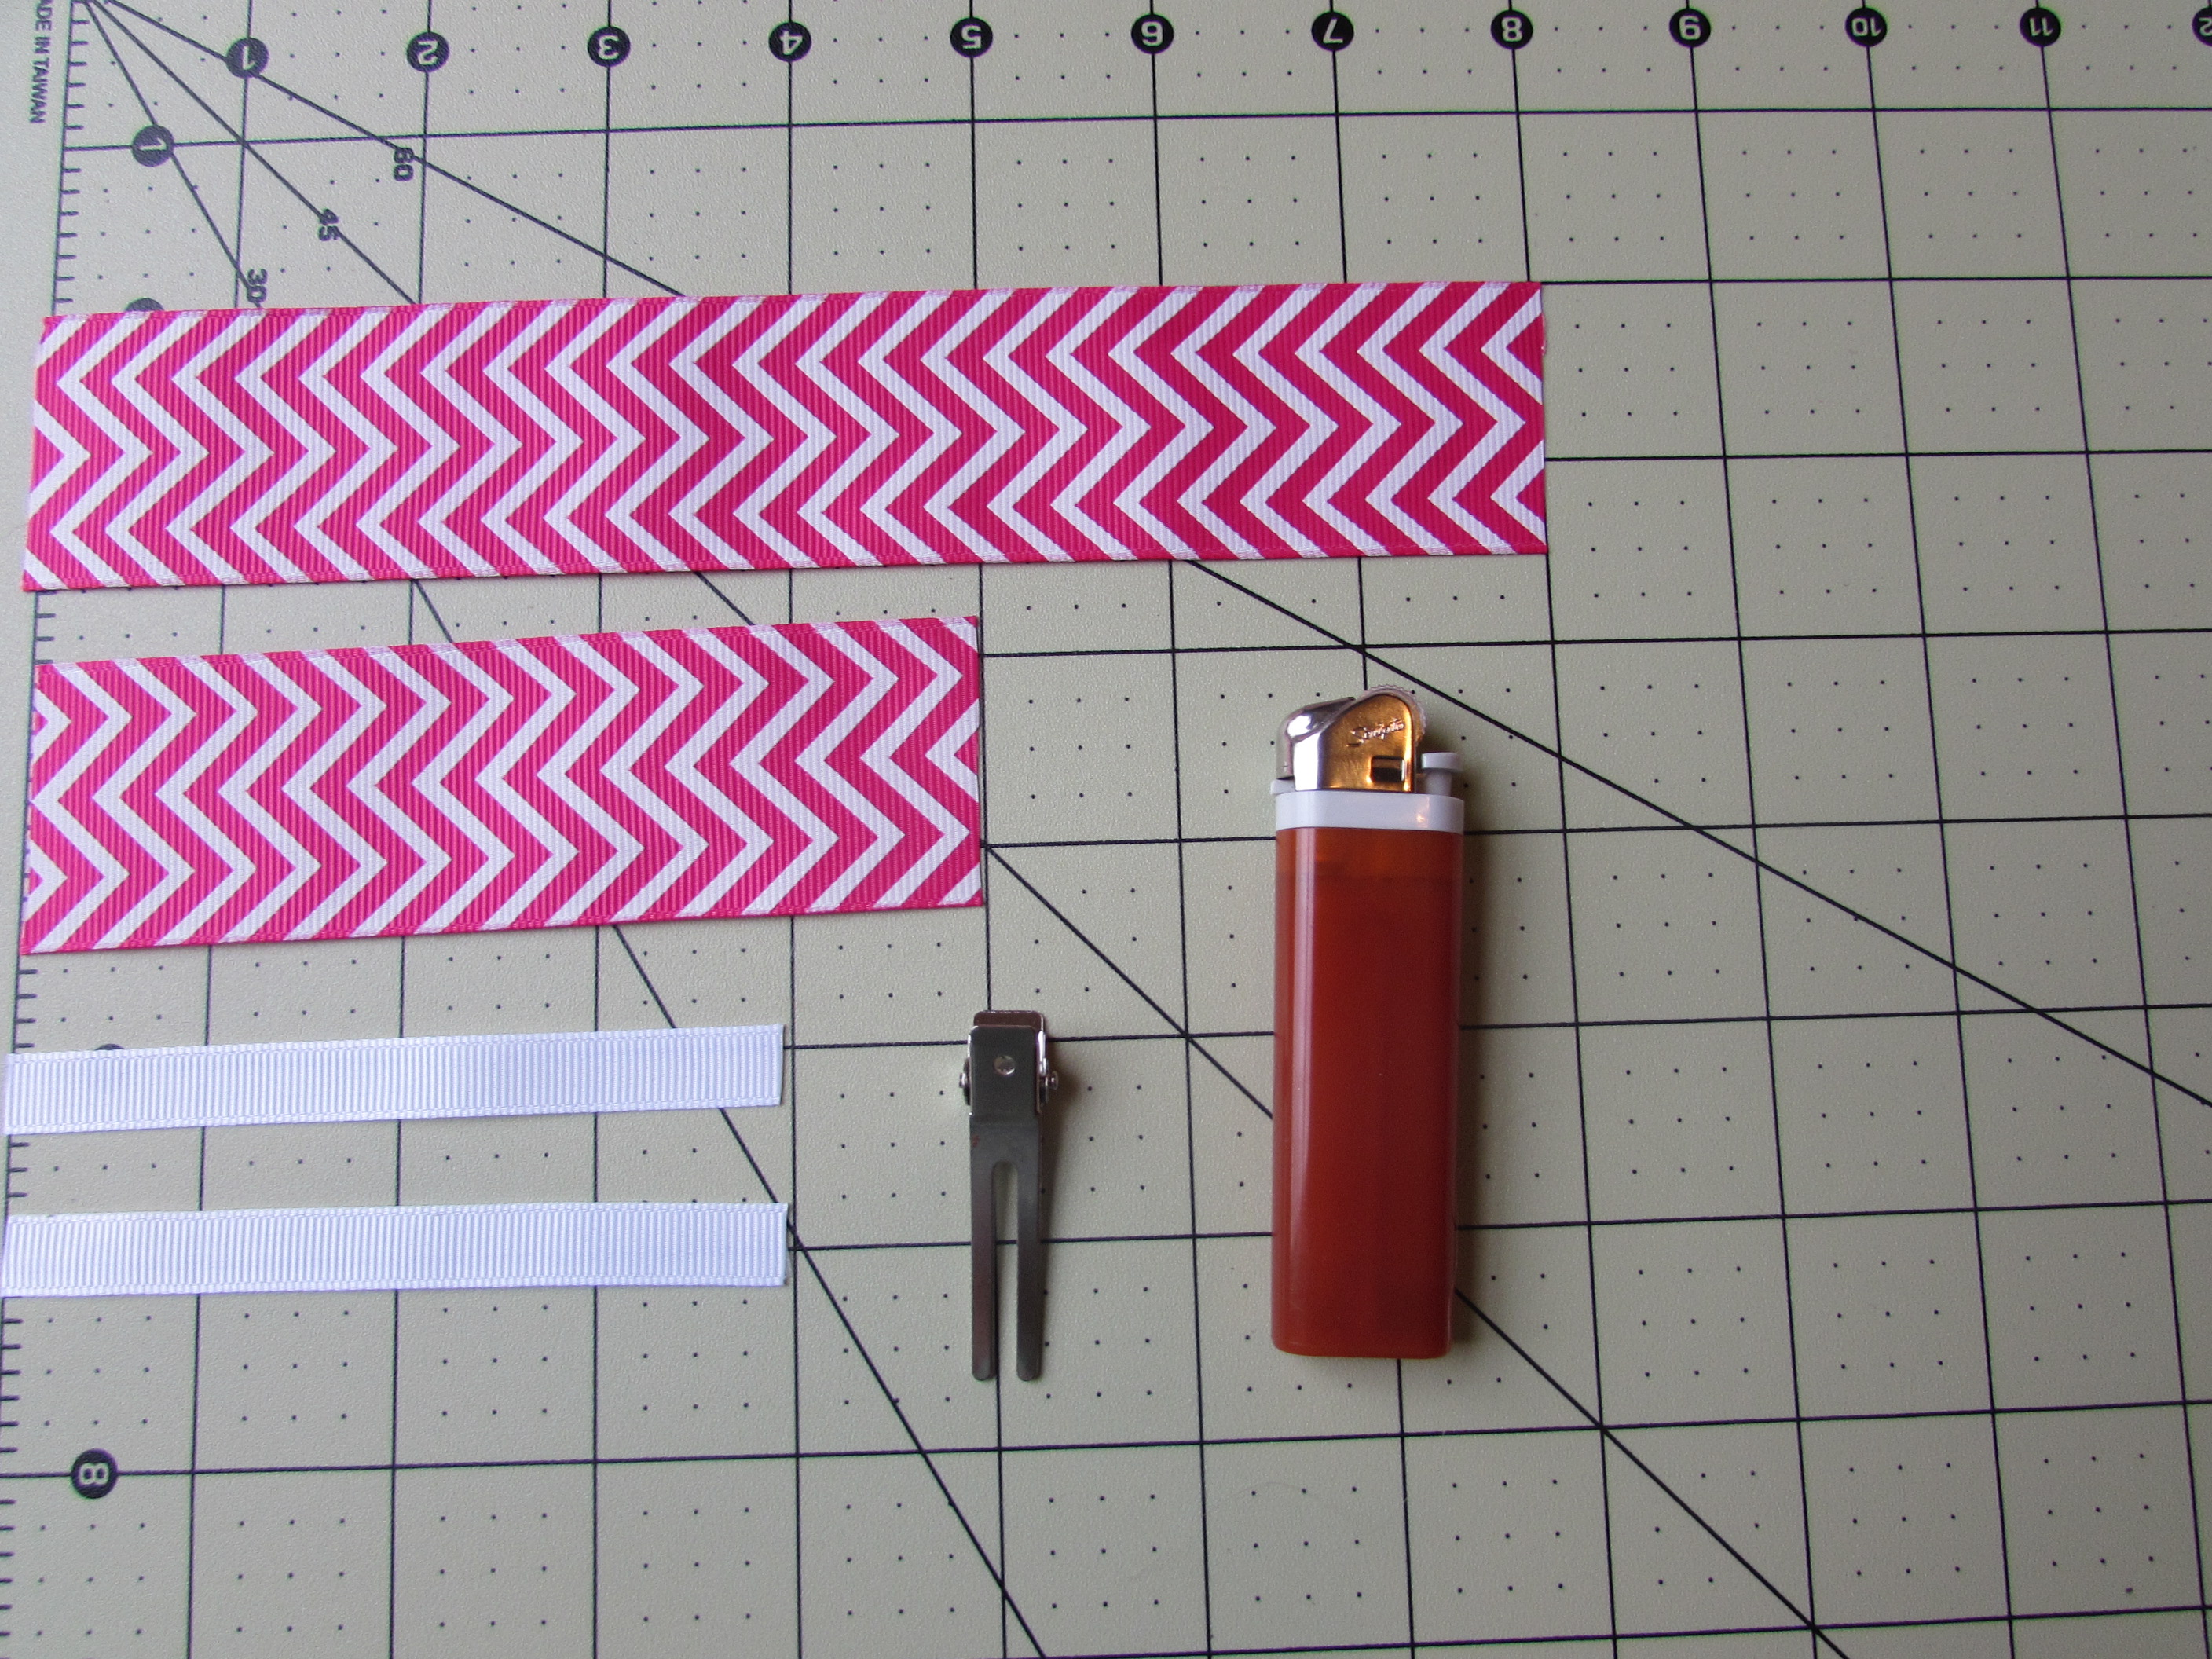
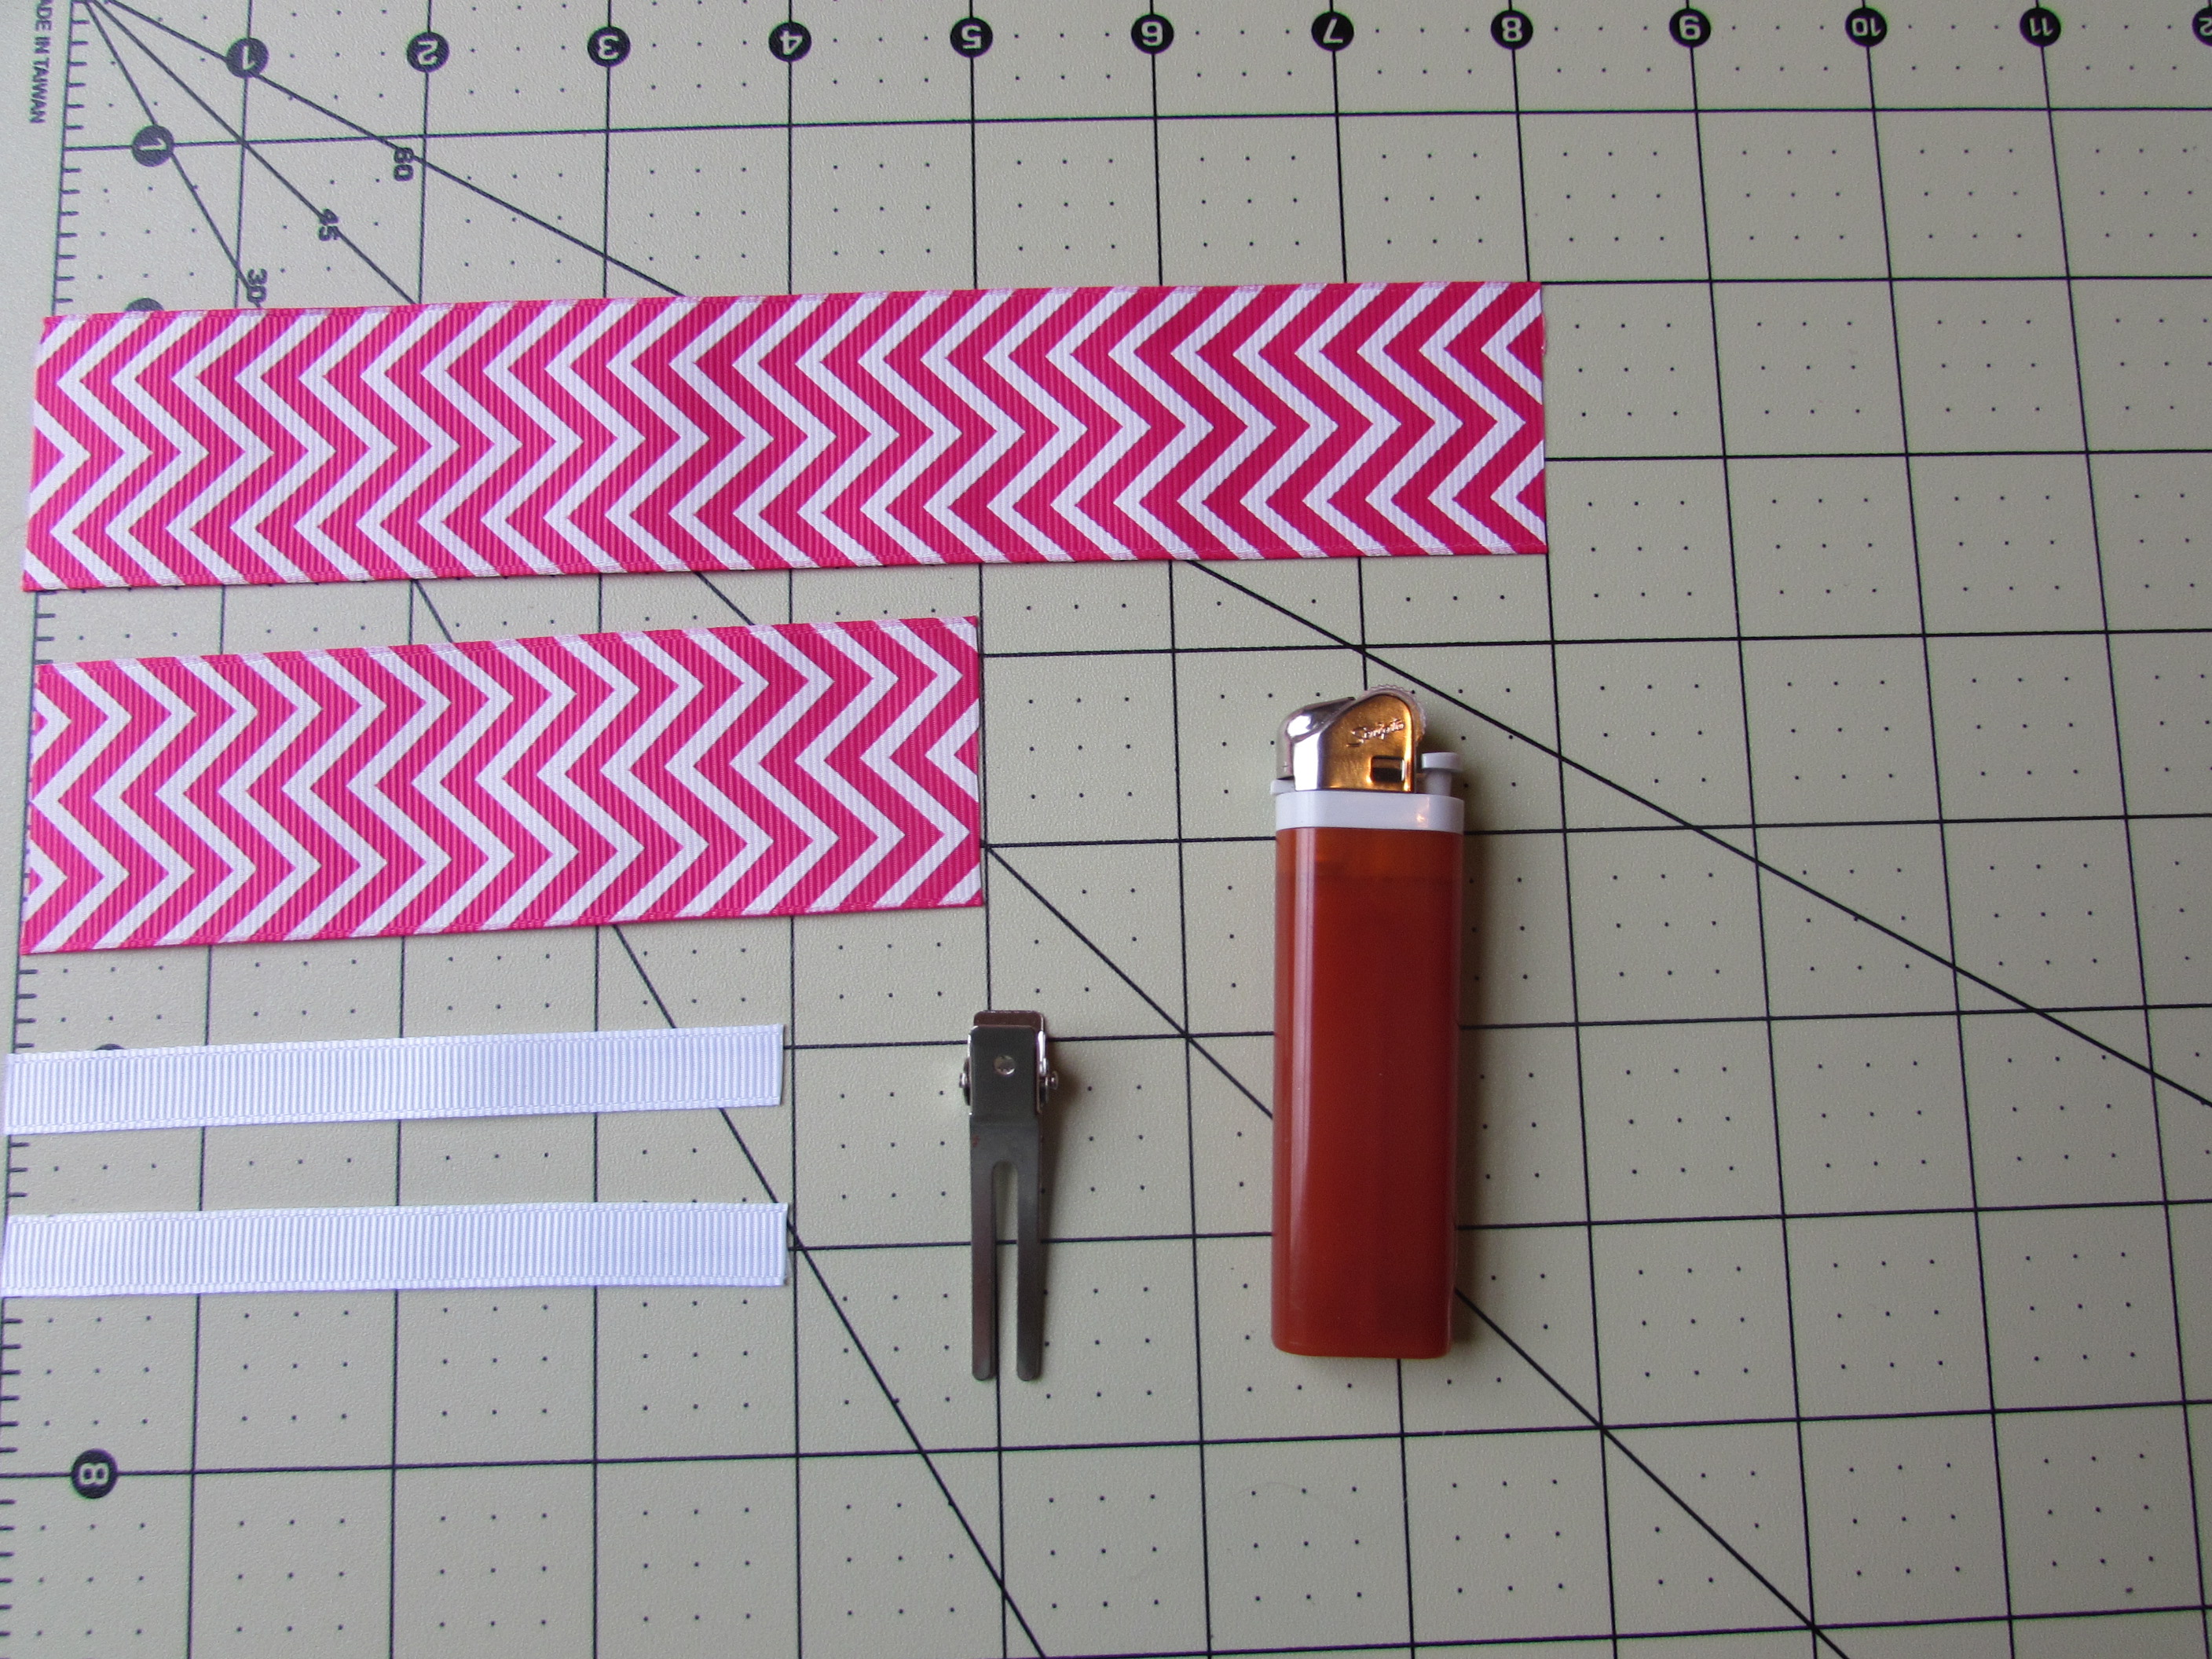
 Step 1: Heat Seal all ribbon ends.
Step 2: Take your 1.5" 8" long piece, fold in half and crease.
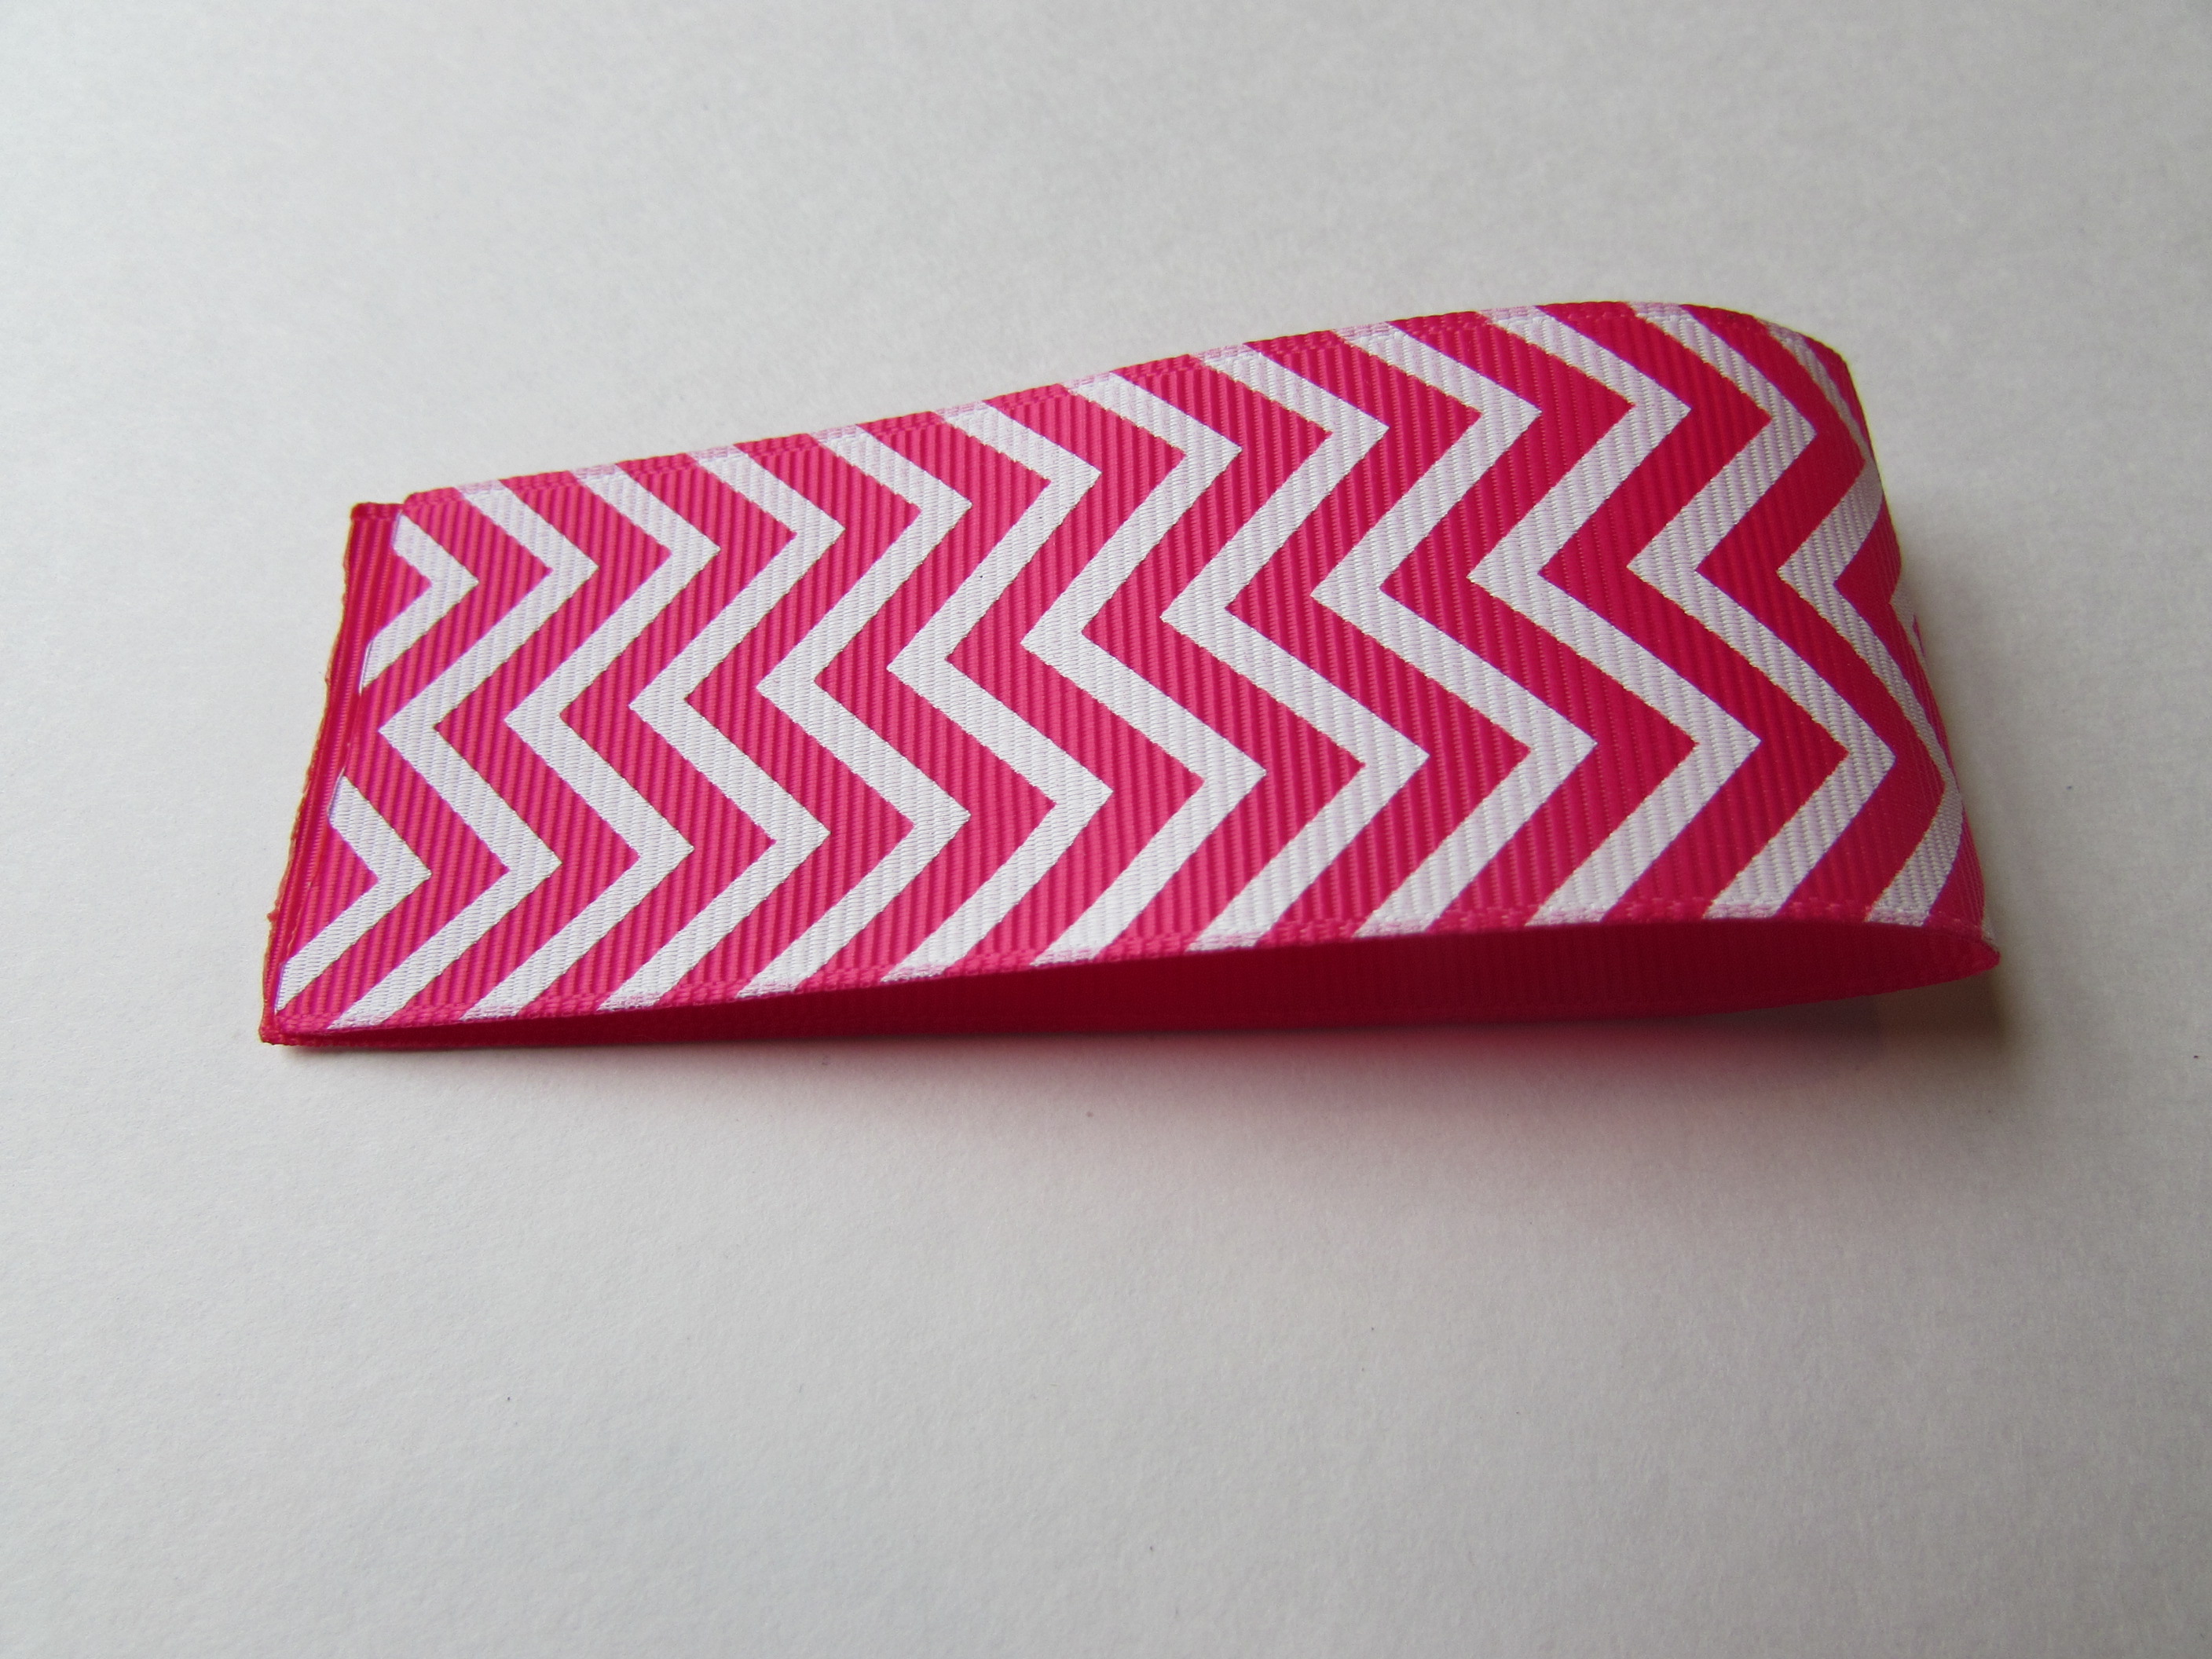
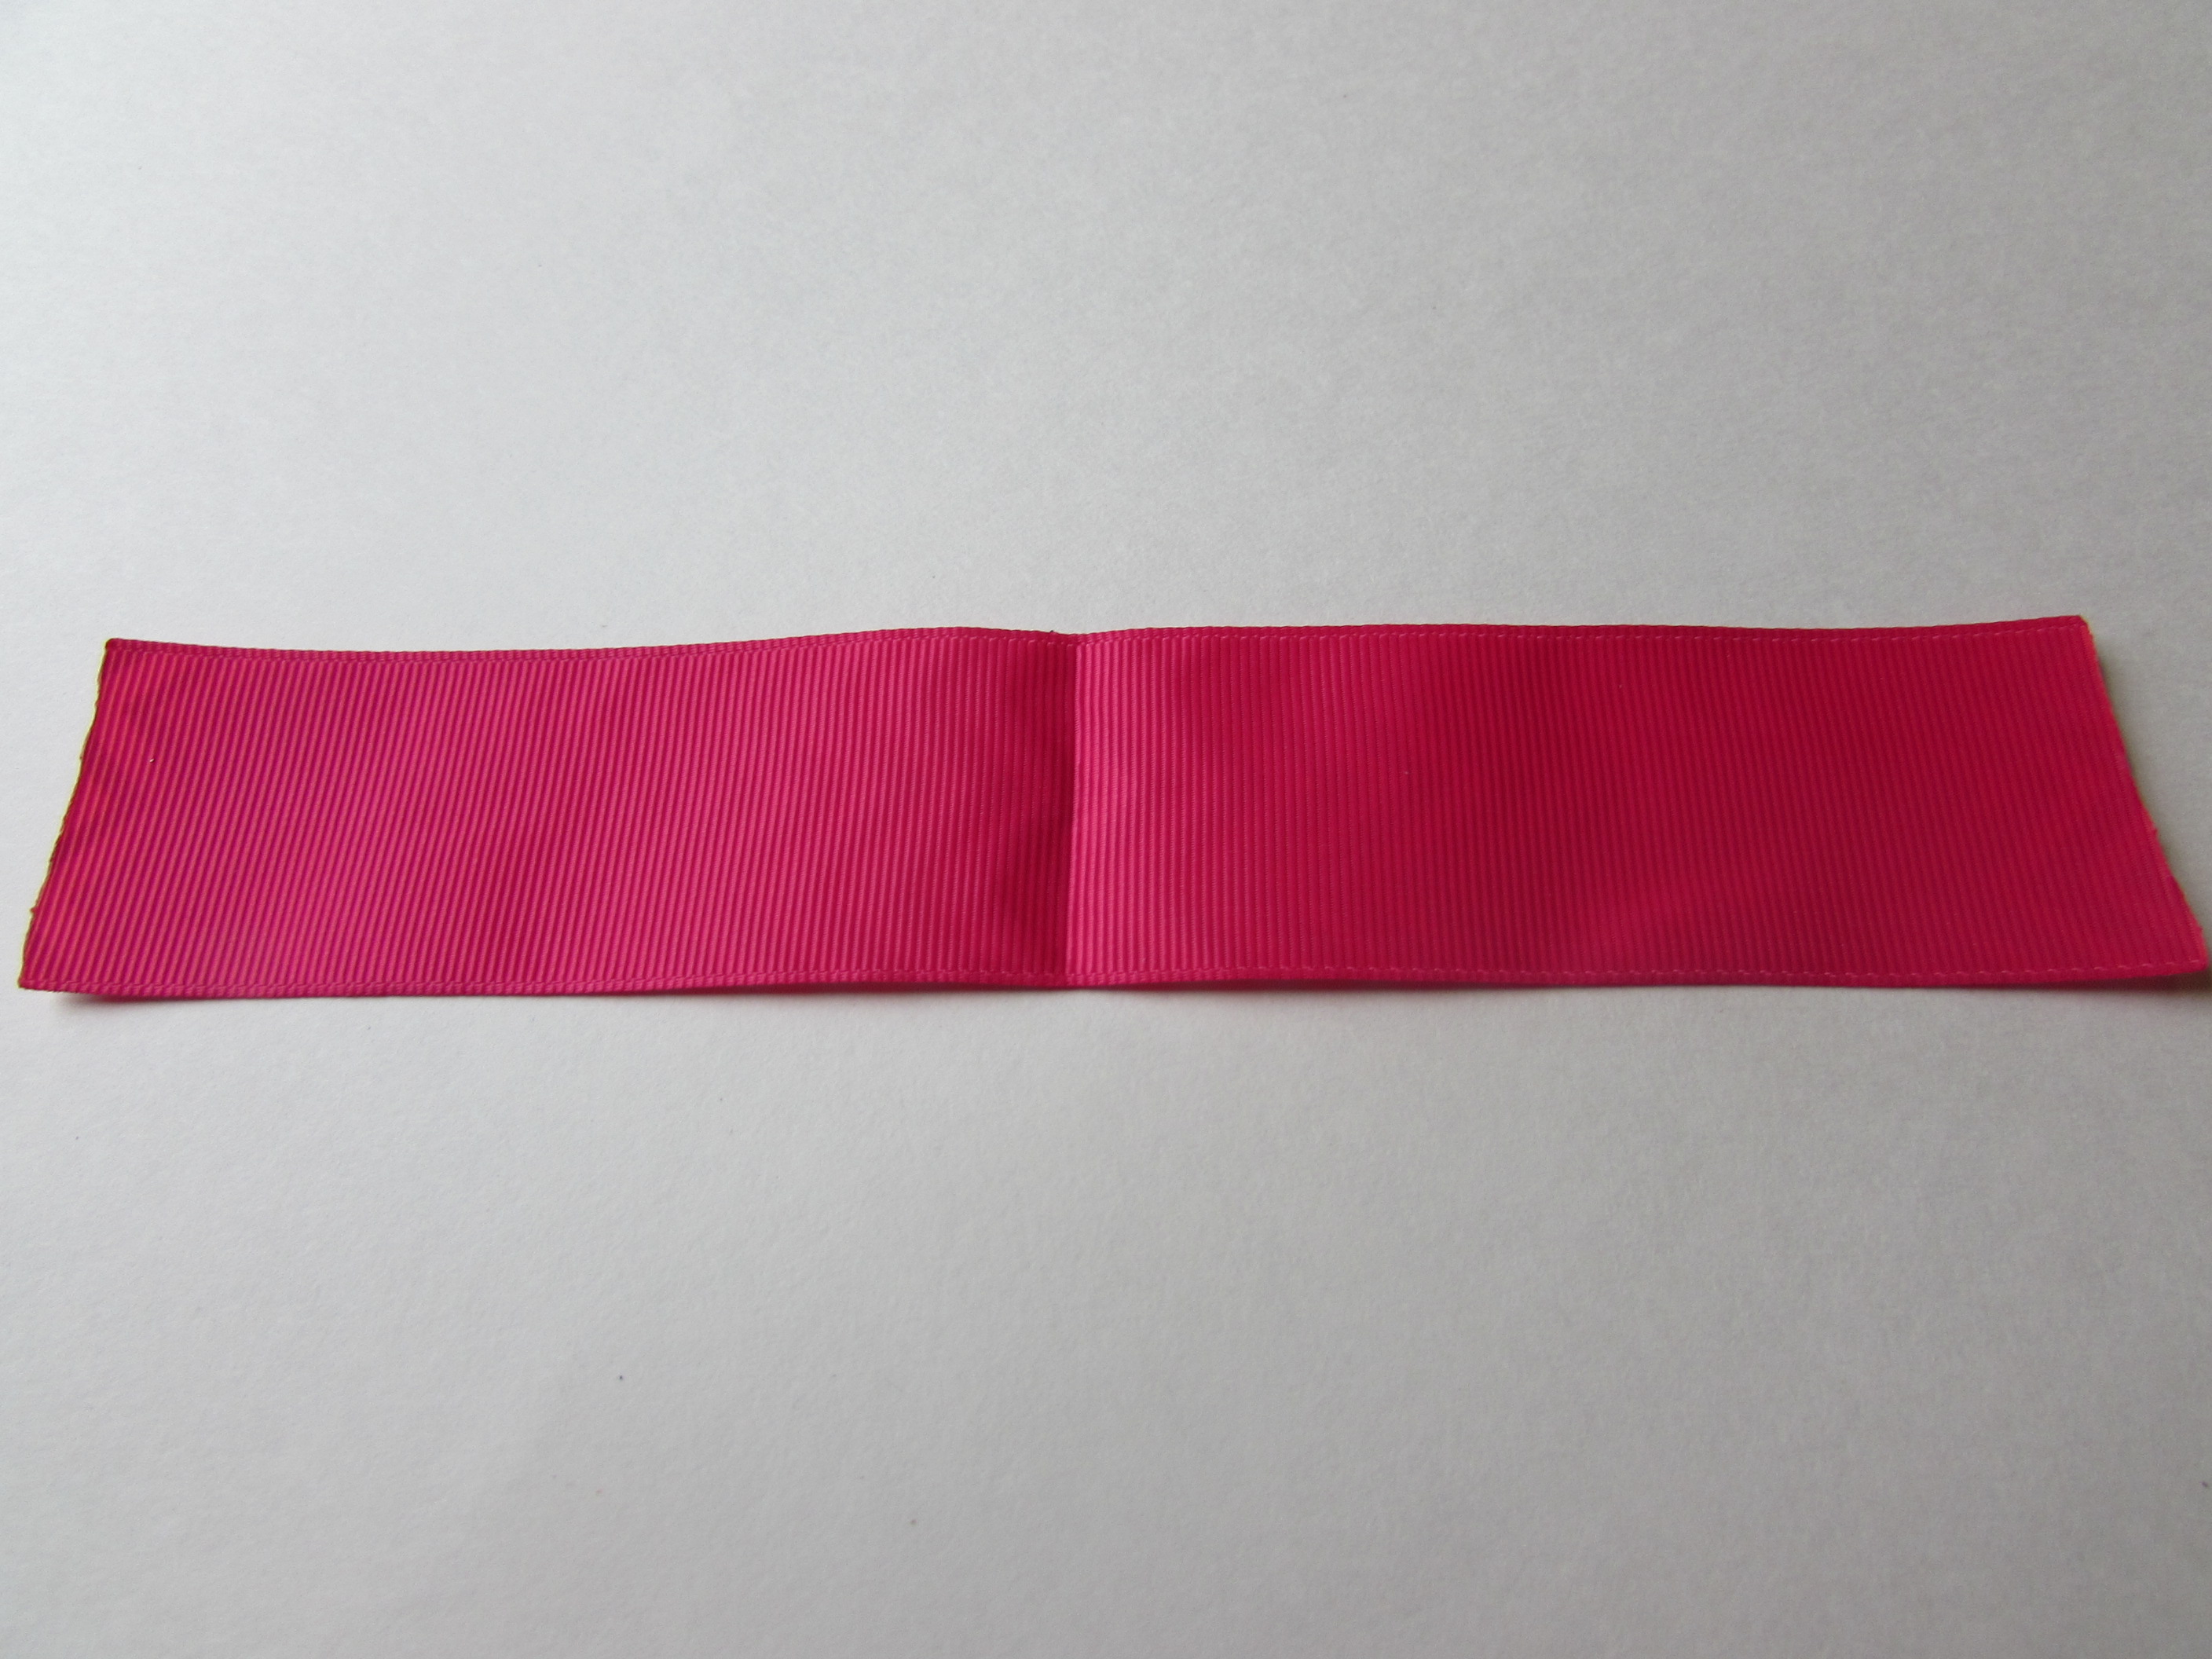 Step 3:Take one end and apply a line of hot glue to the very end of the ribbon.
 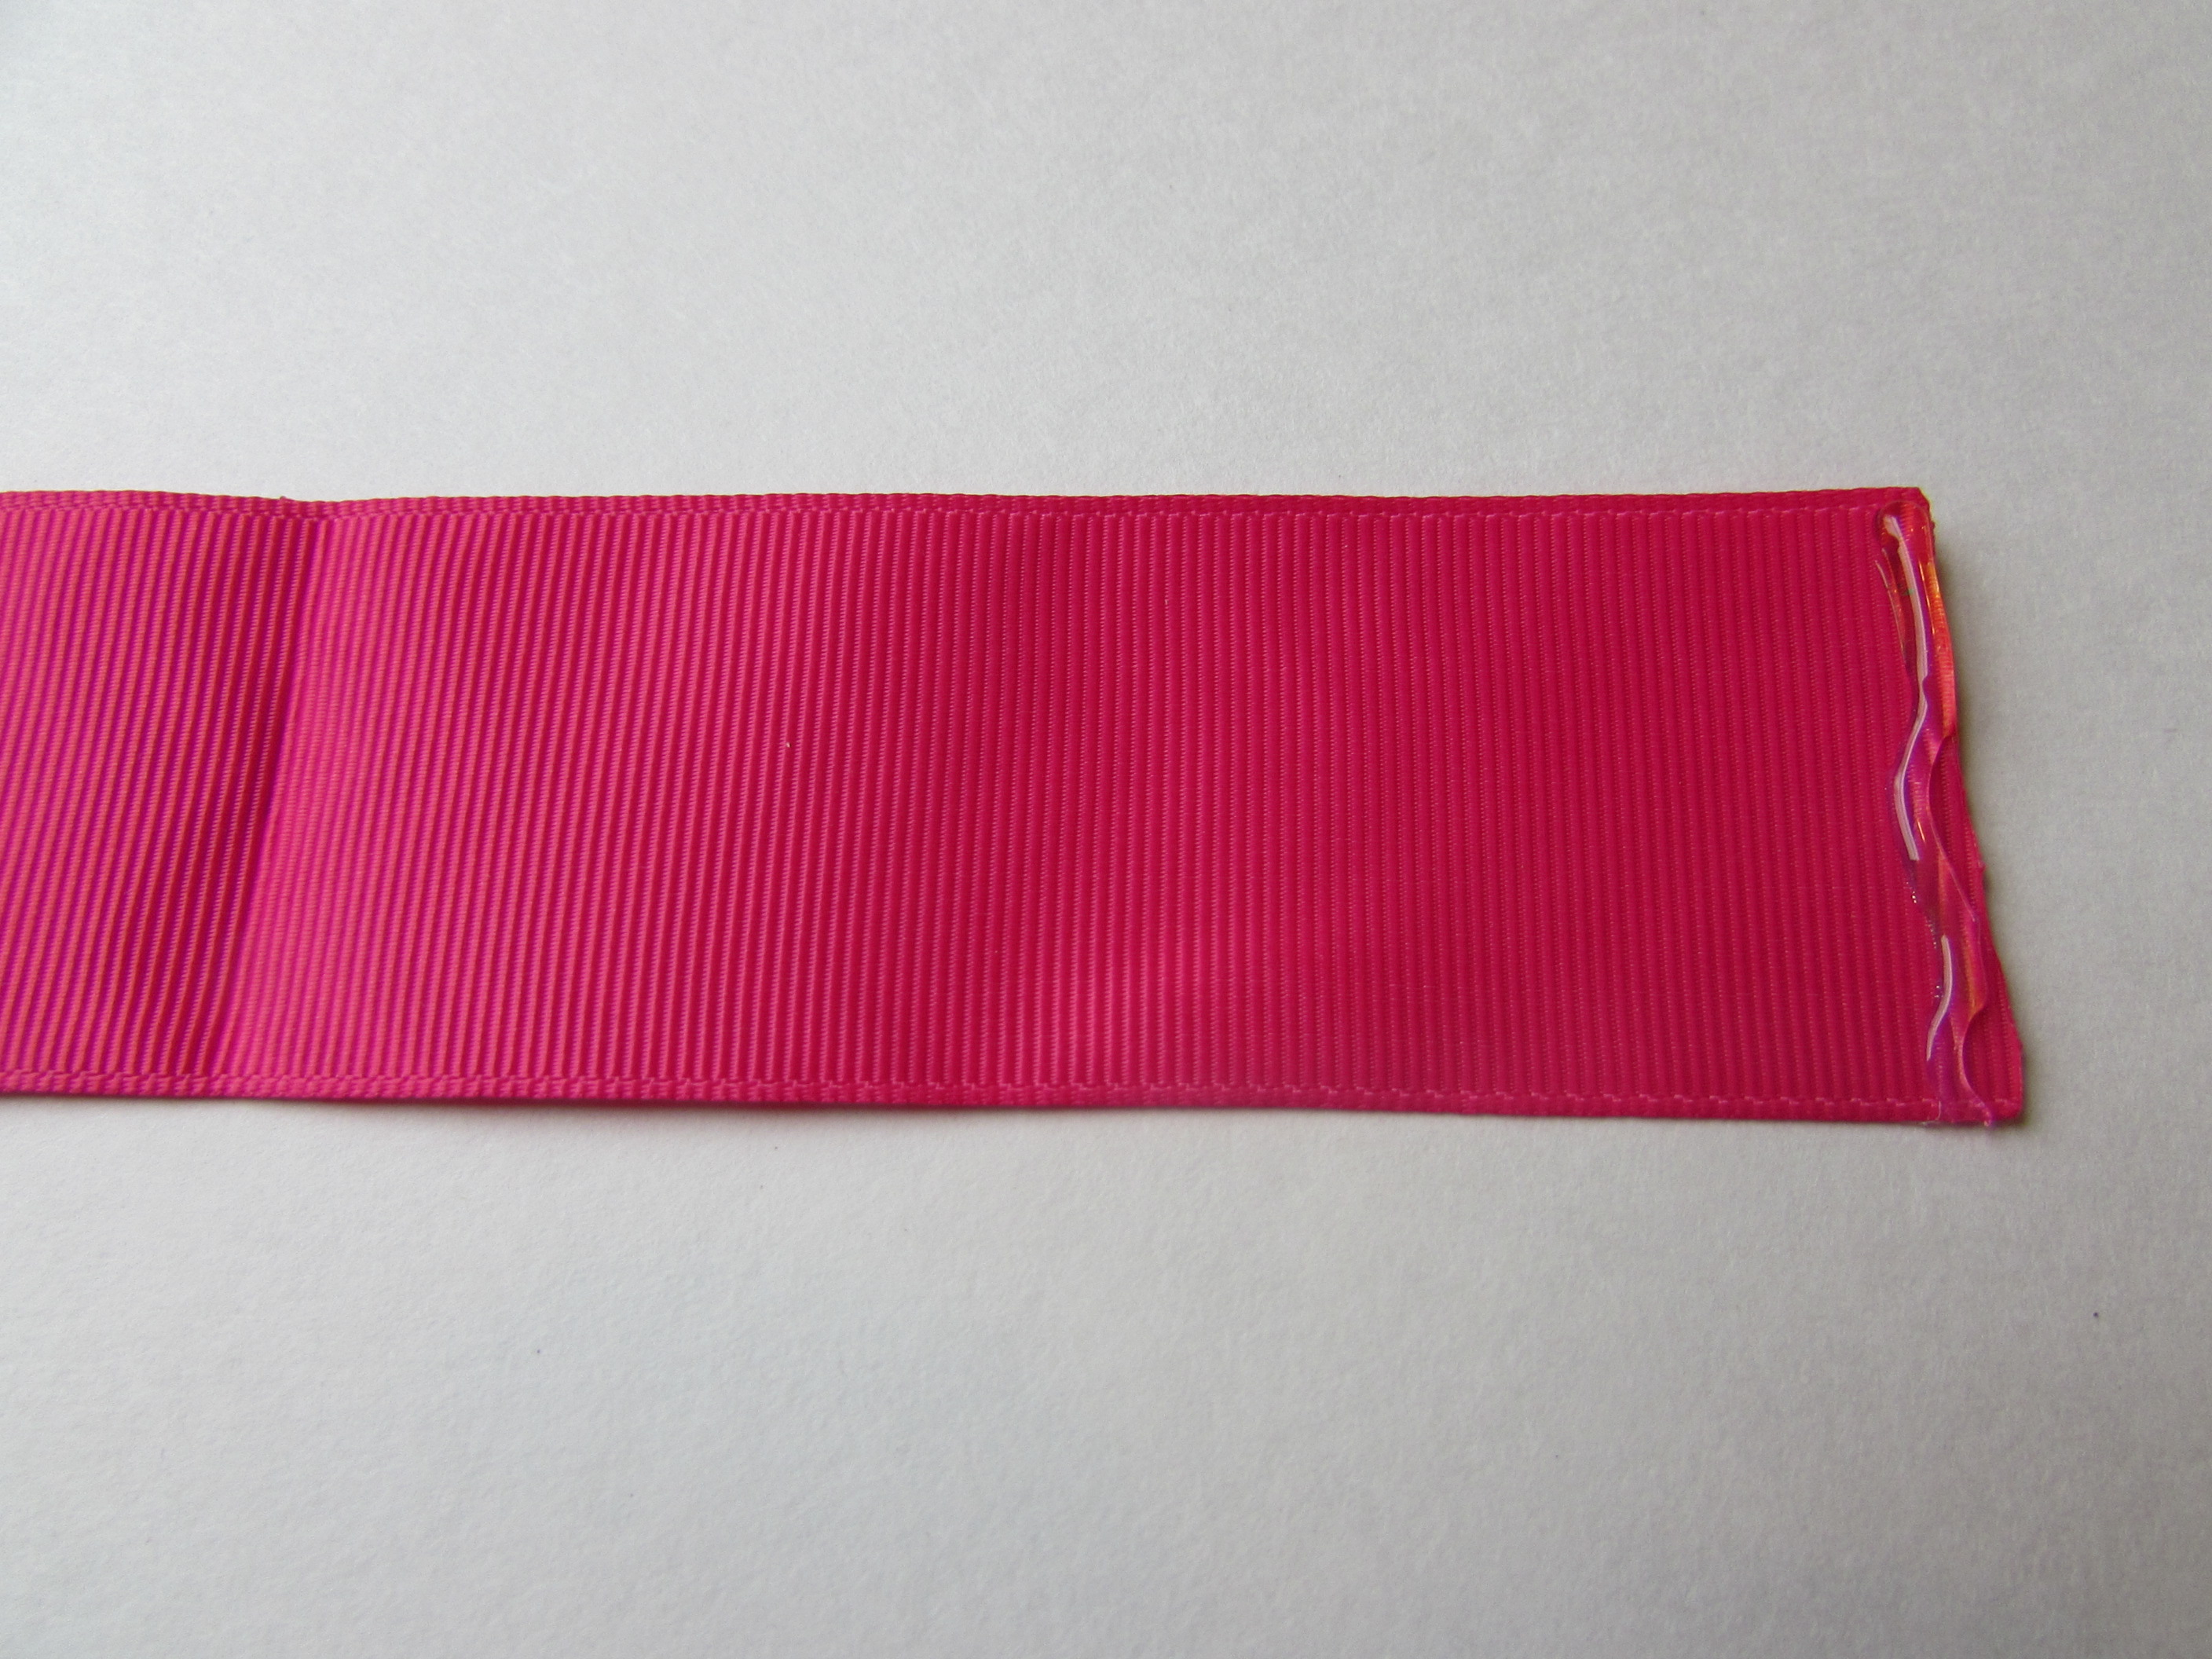 Step 4: Bring to the center and press down until the glue dries.
 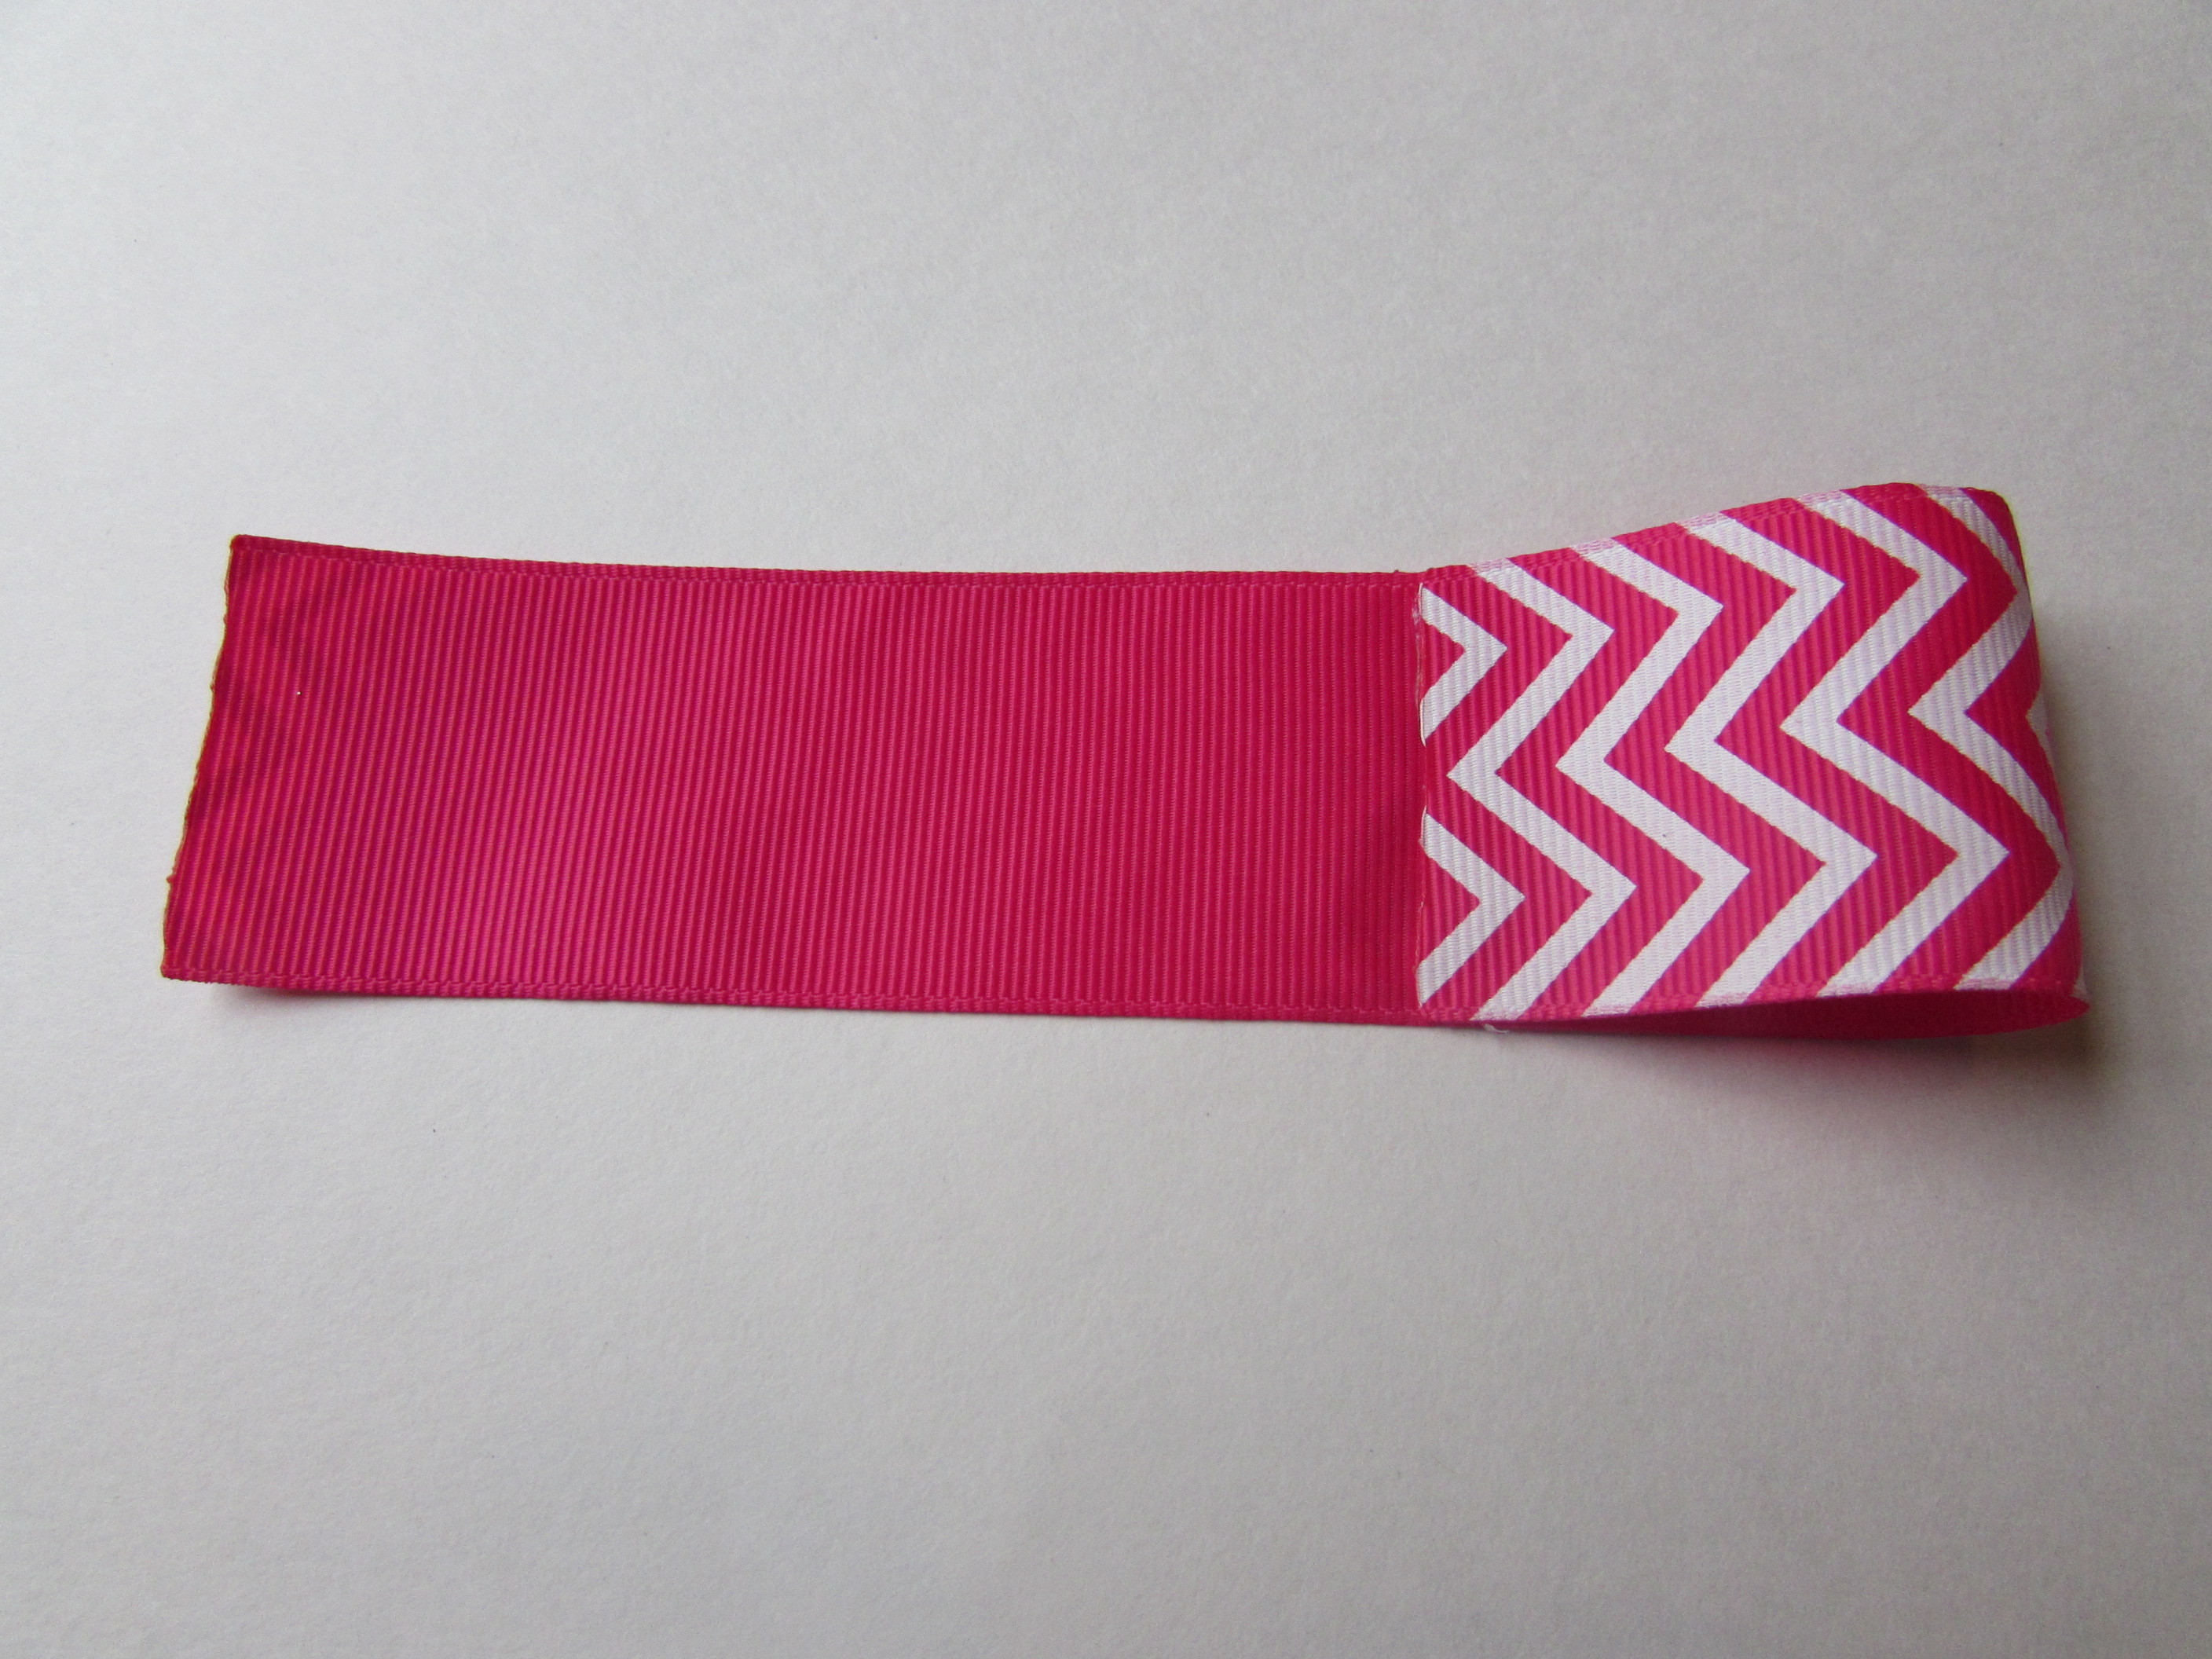 Step 5: Do the same for the other end of the ribbon.
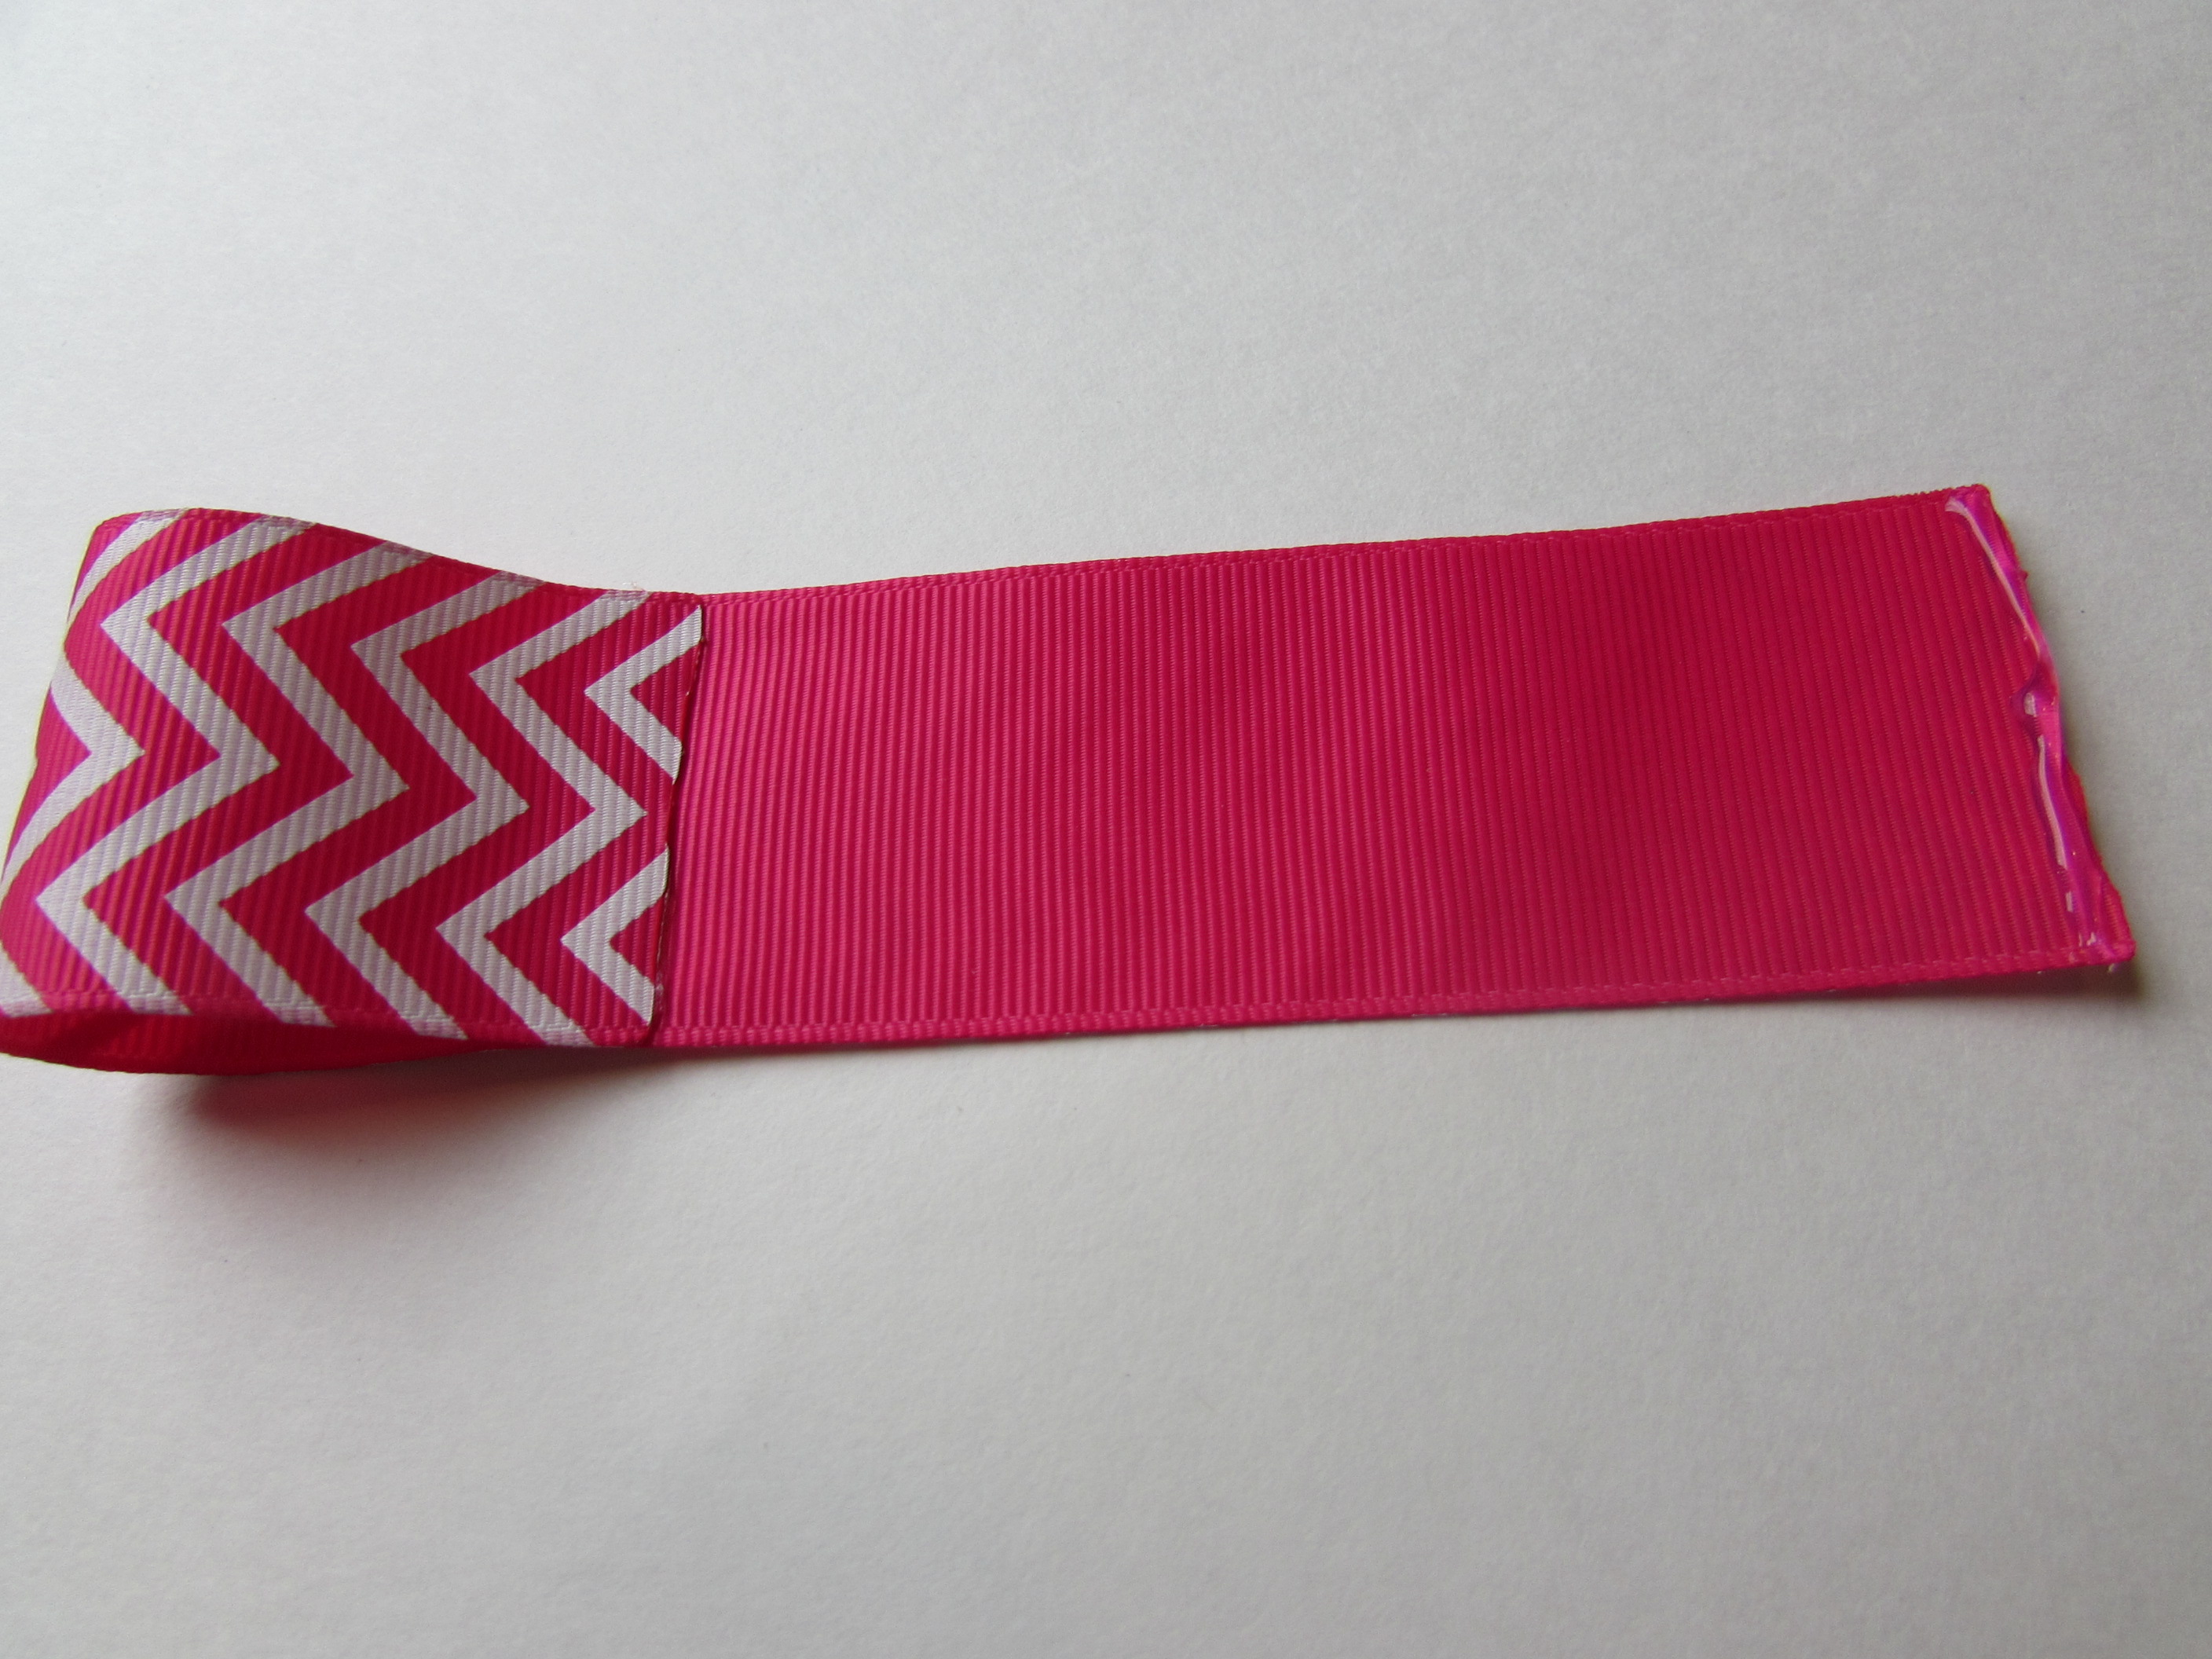
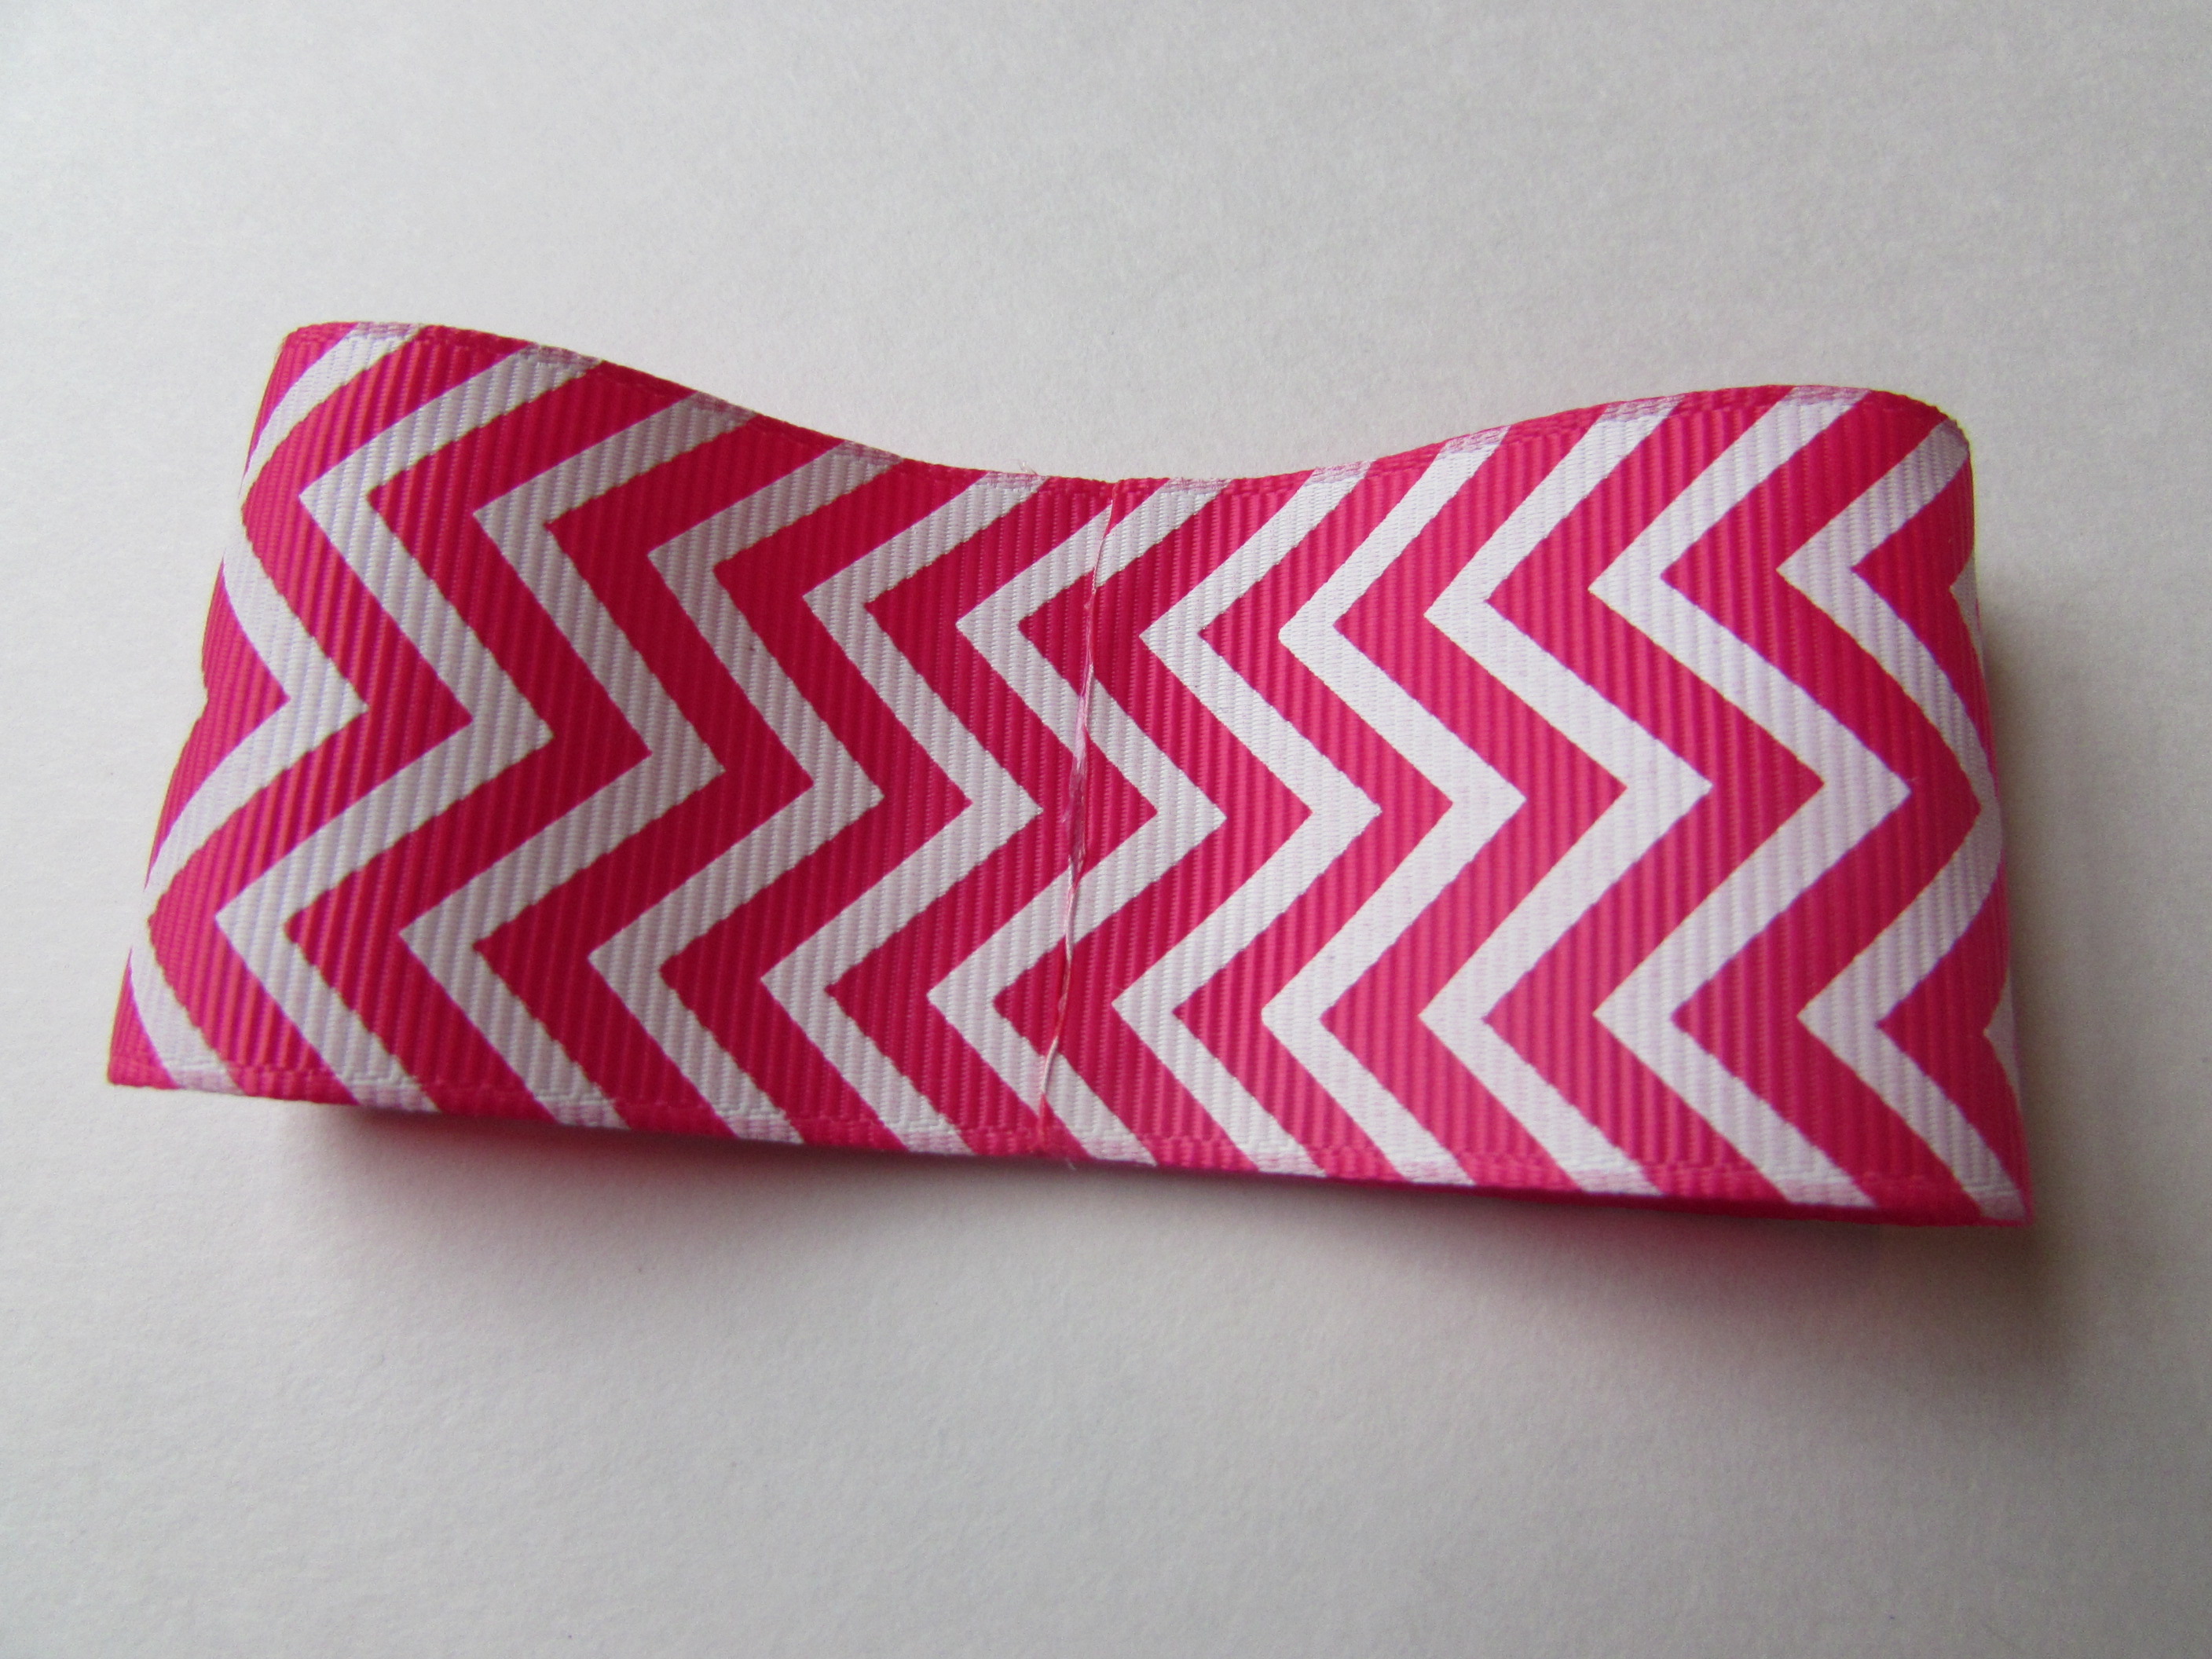 Step 6: Pick it up, and flip the bow over. Right side up.
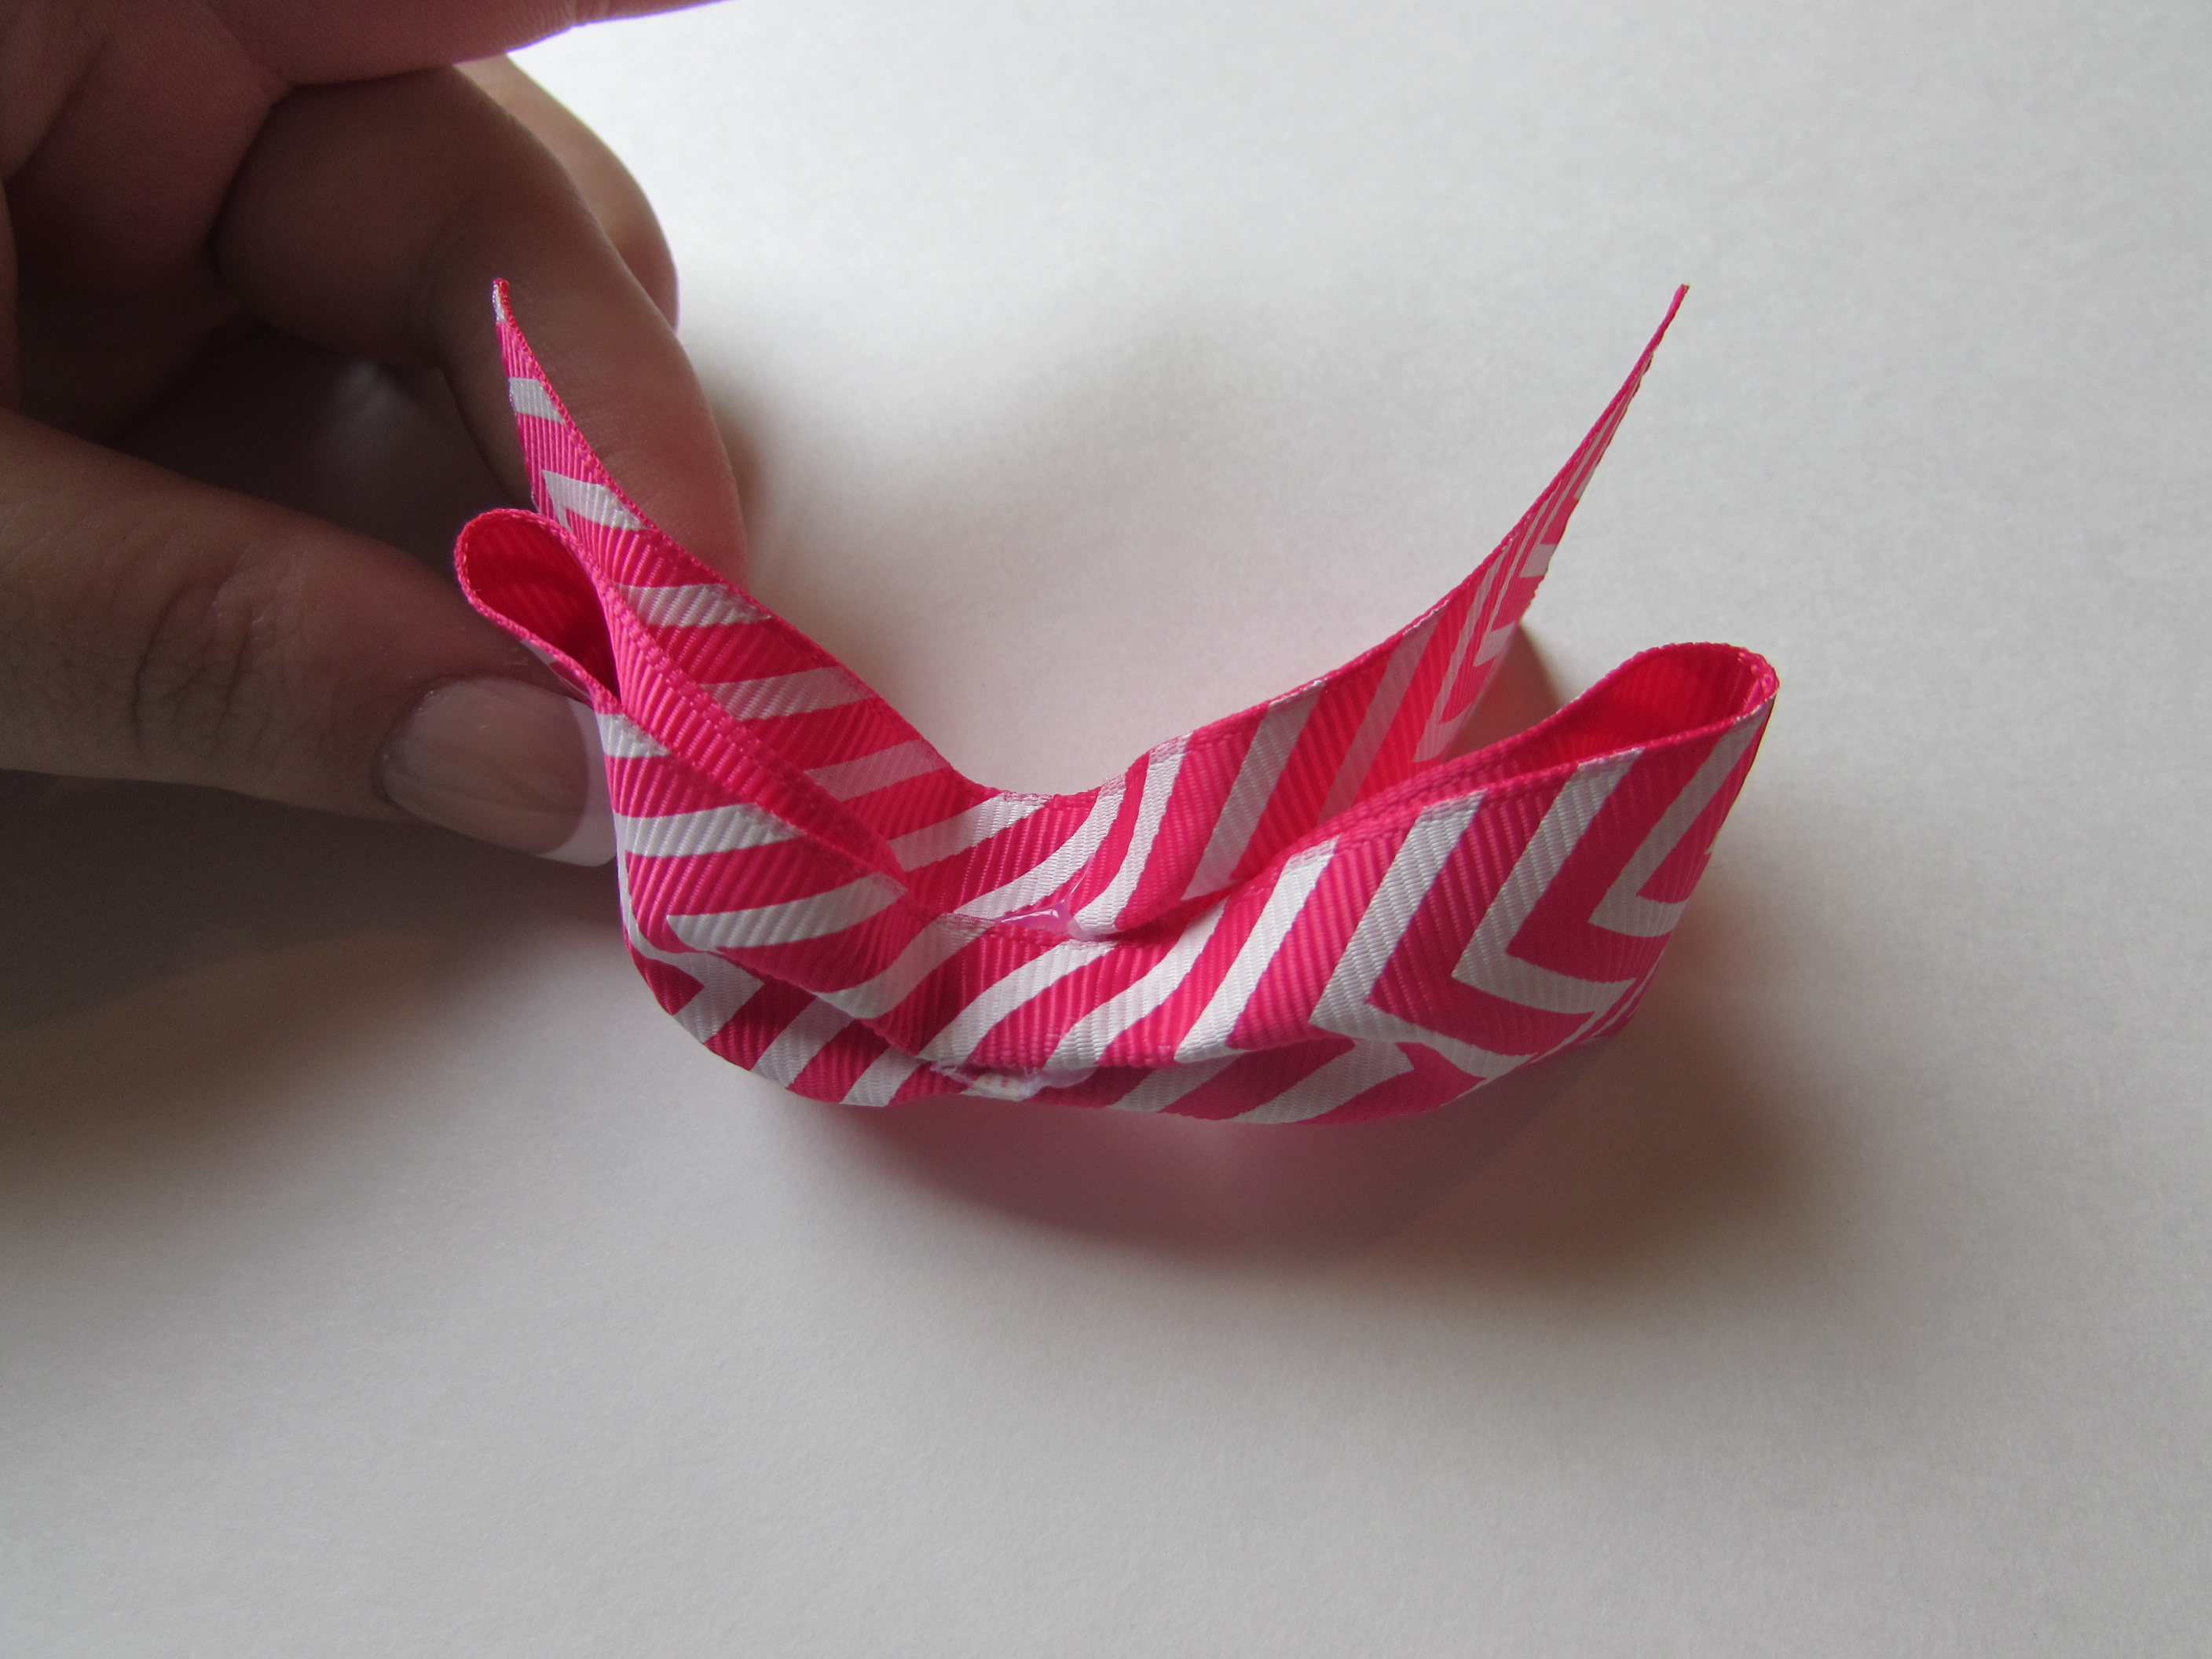
 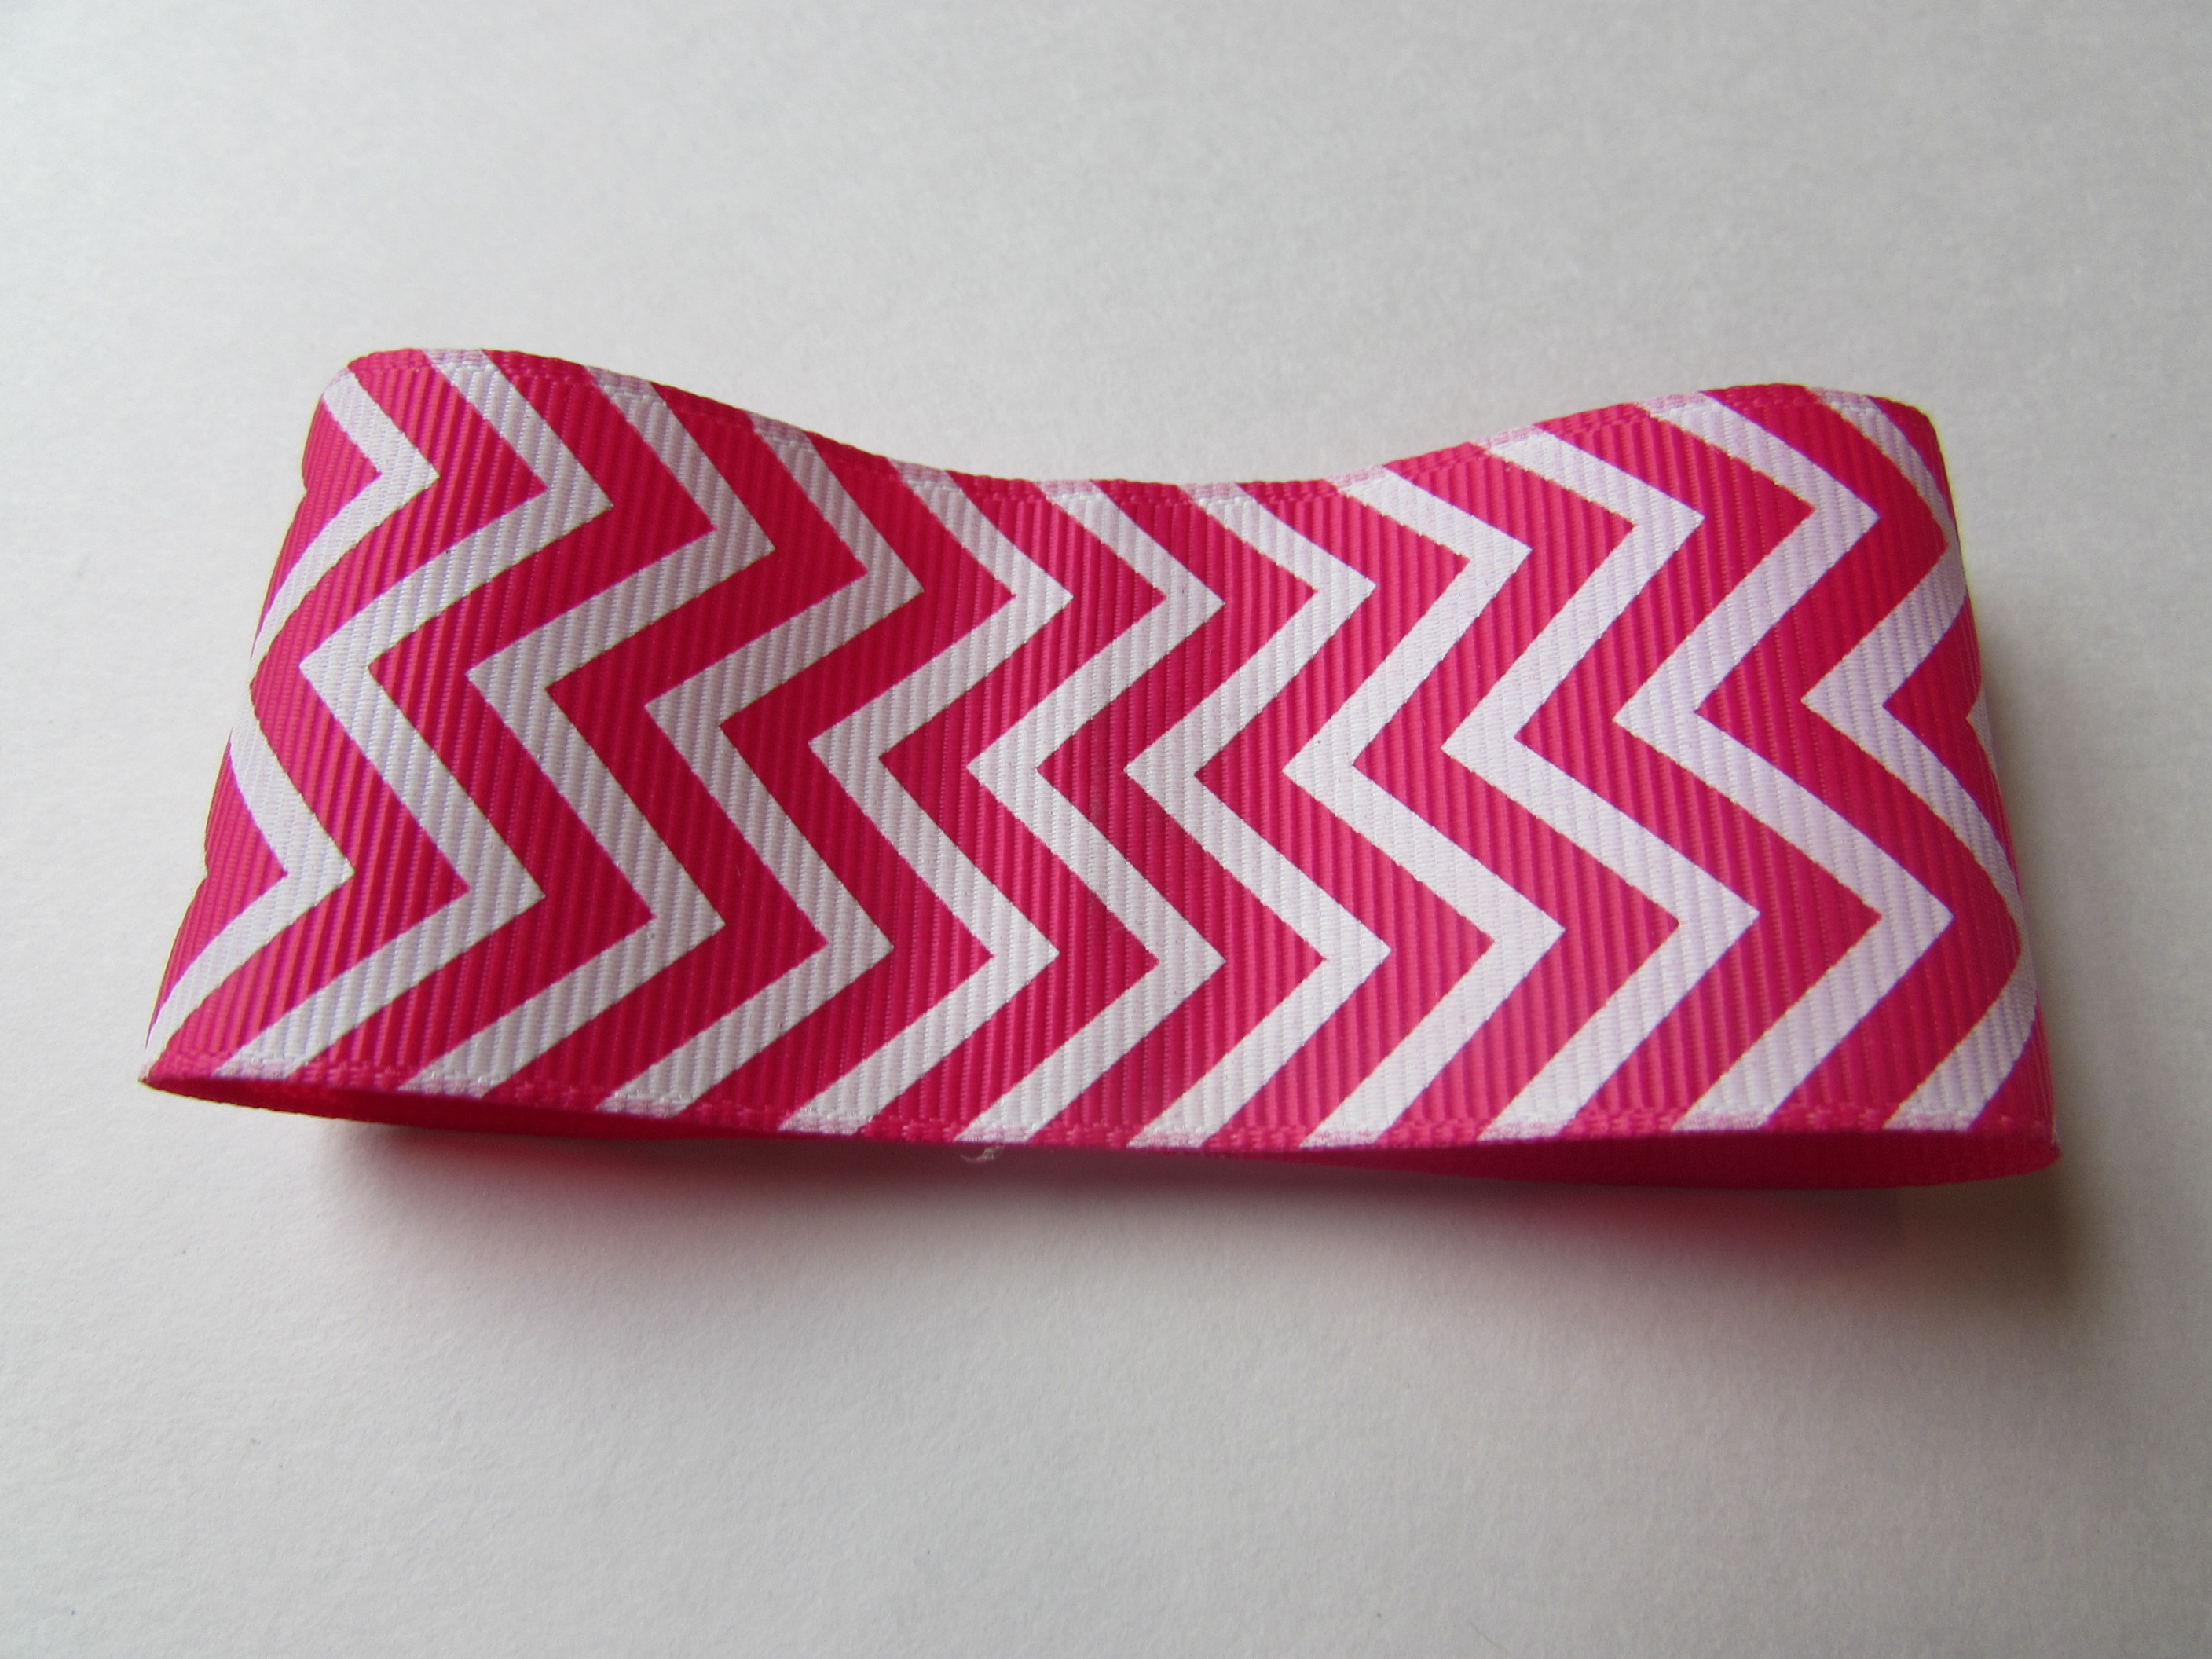 Step 7: Fold one side down.
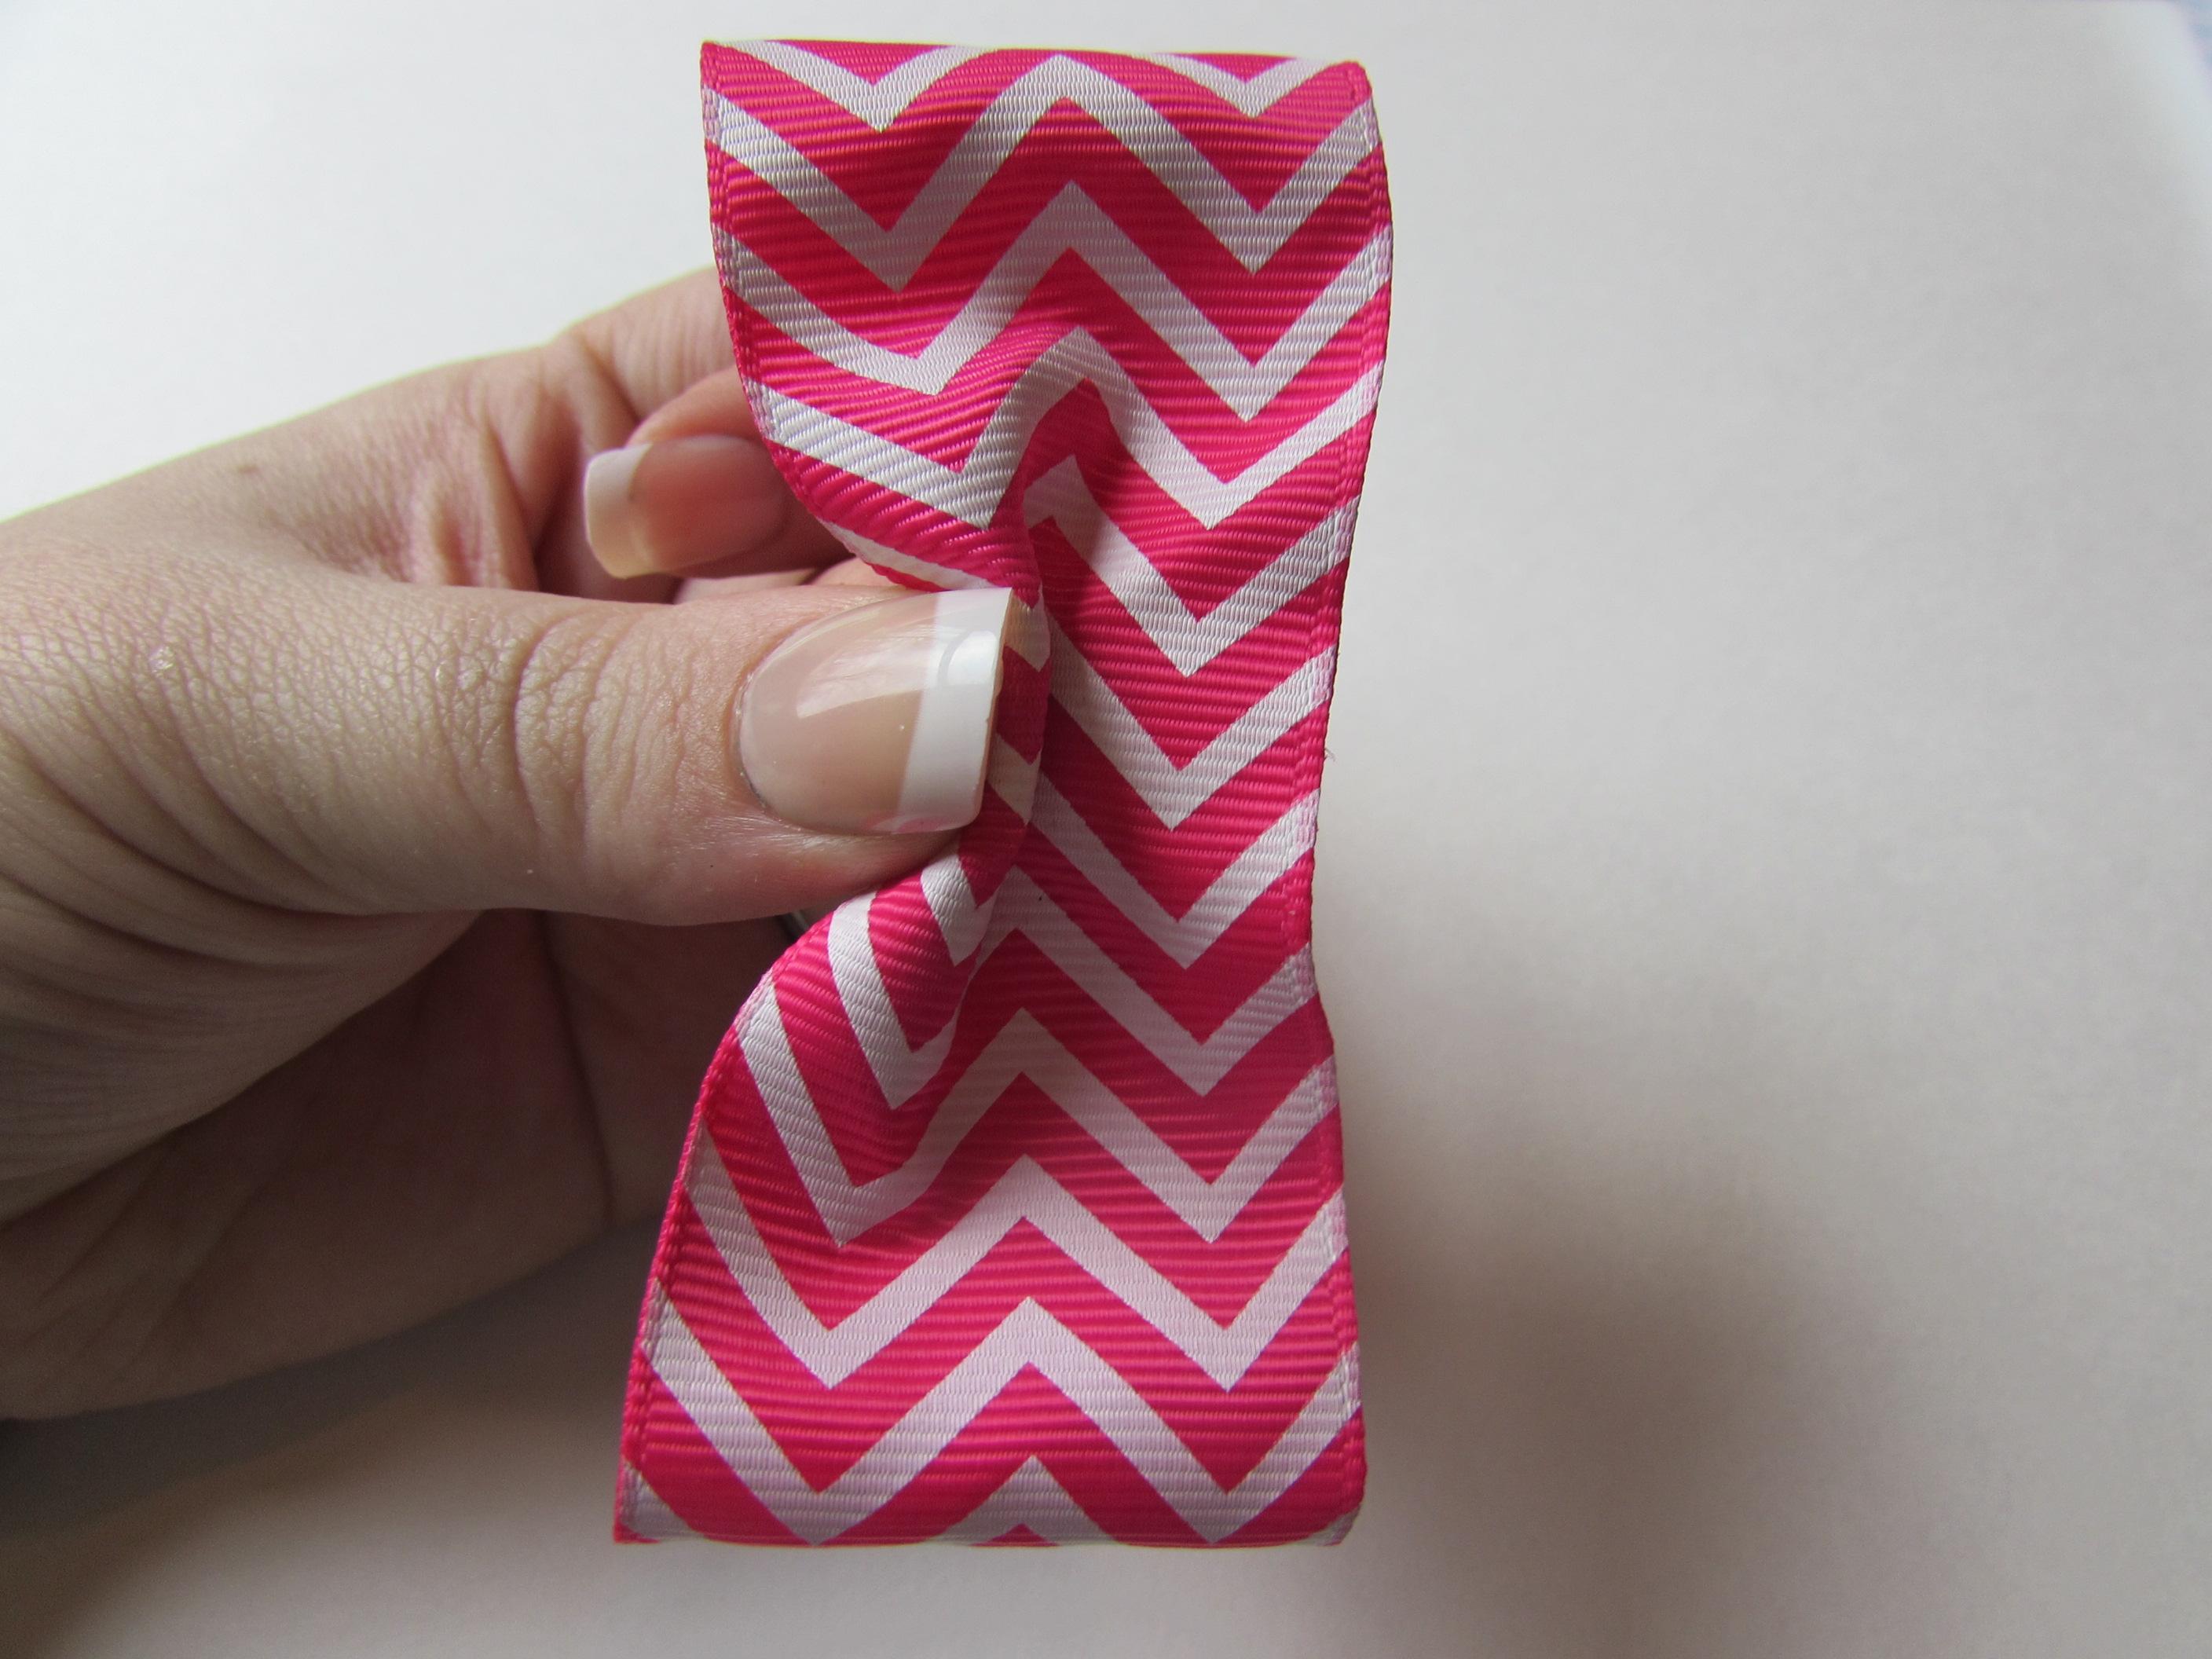 Step 8: Fold the other side down.
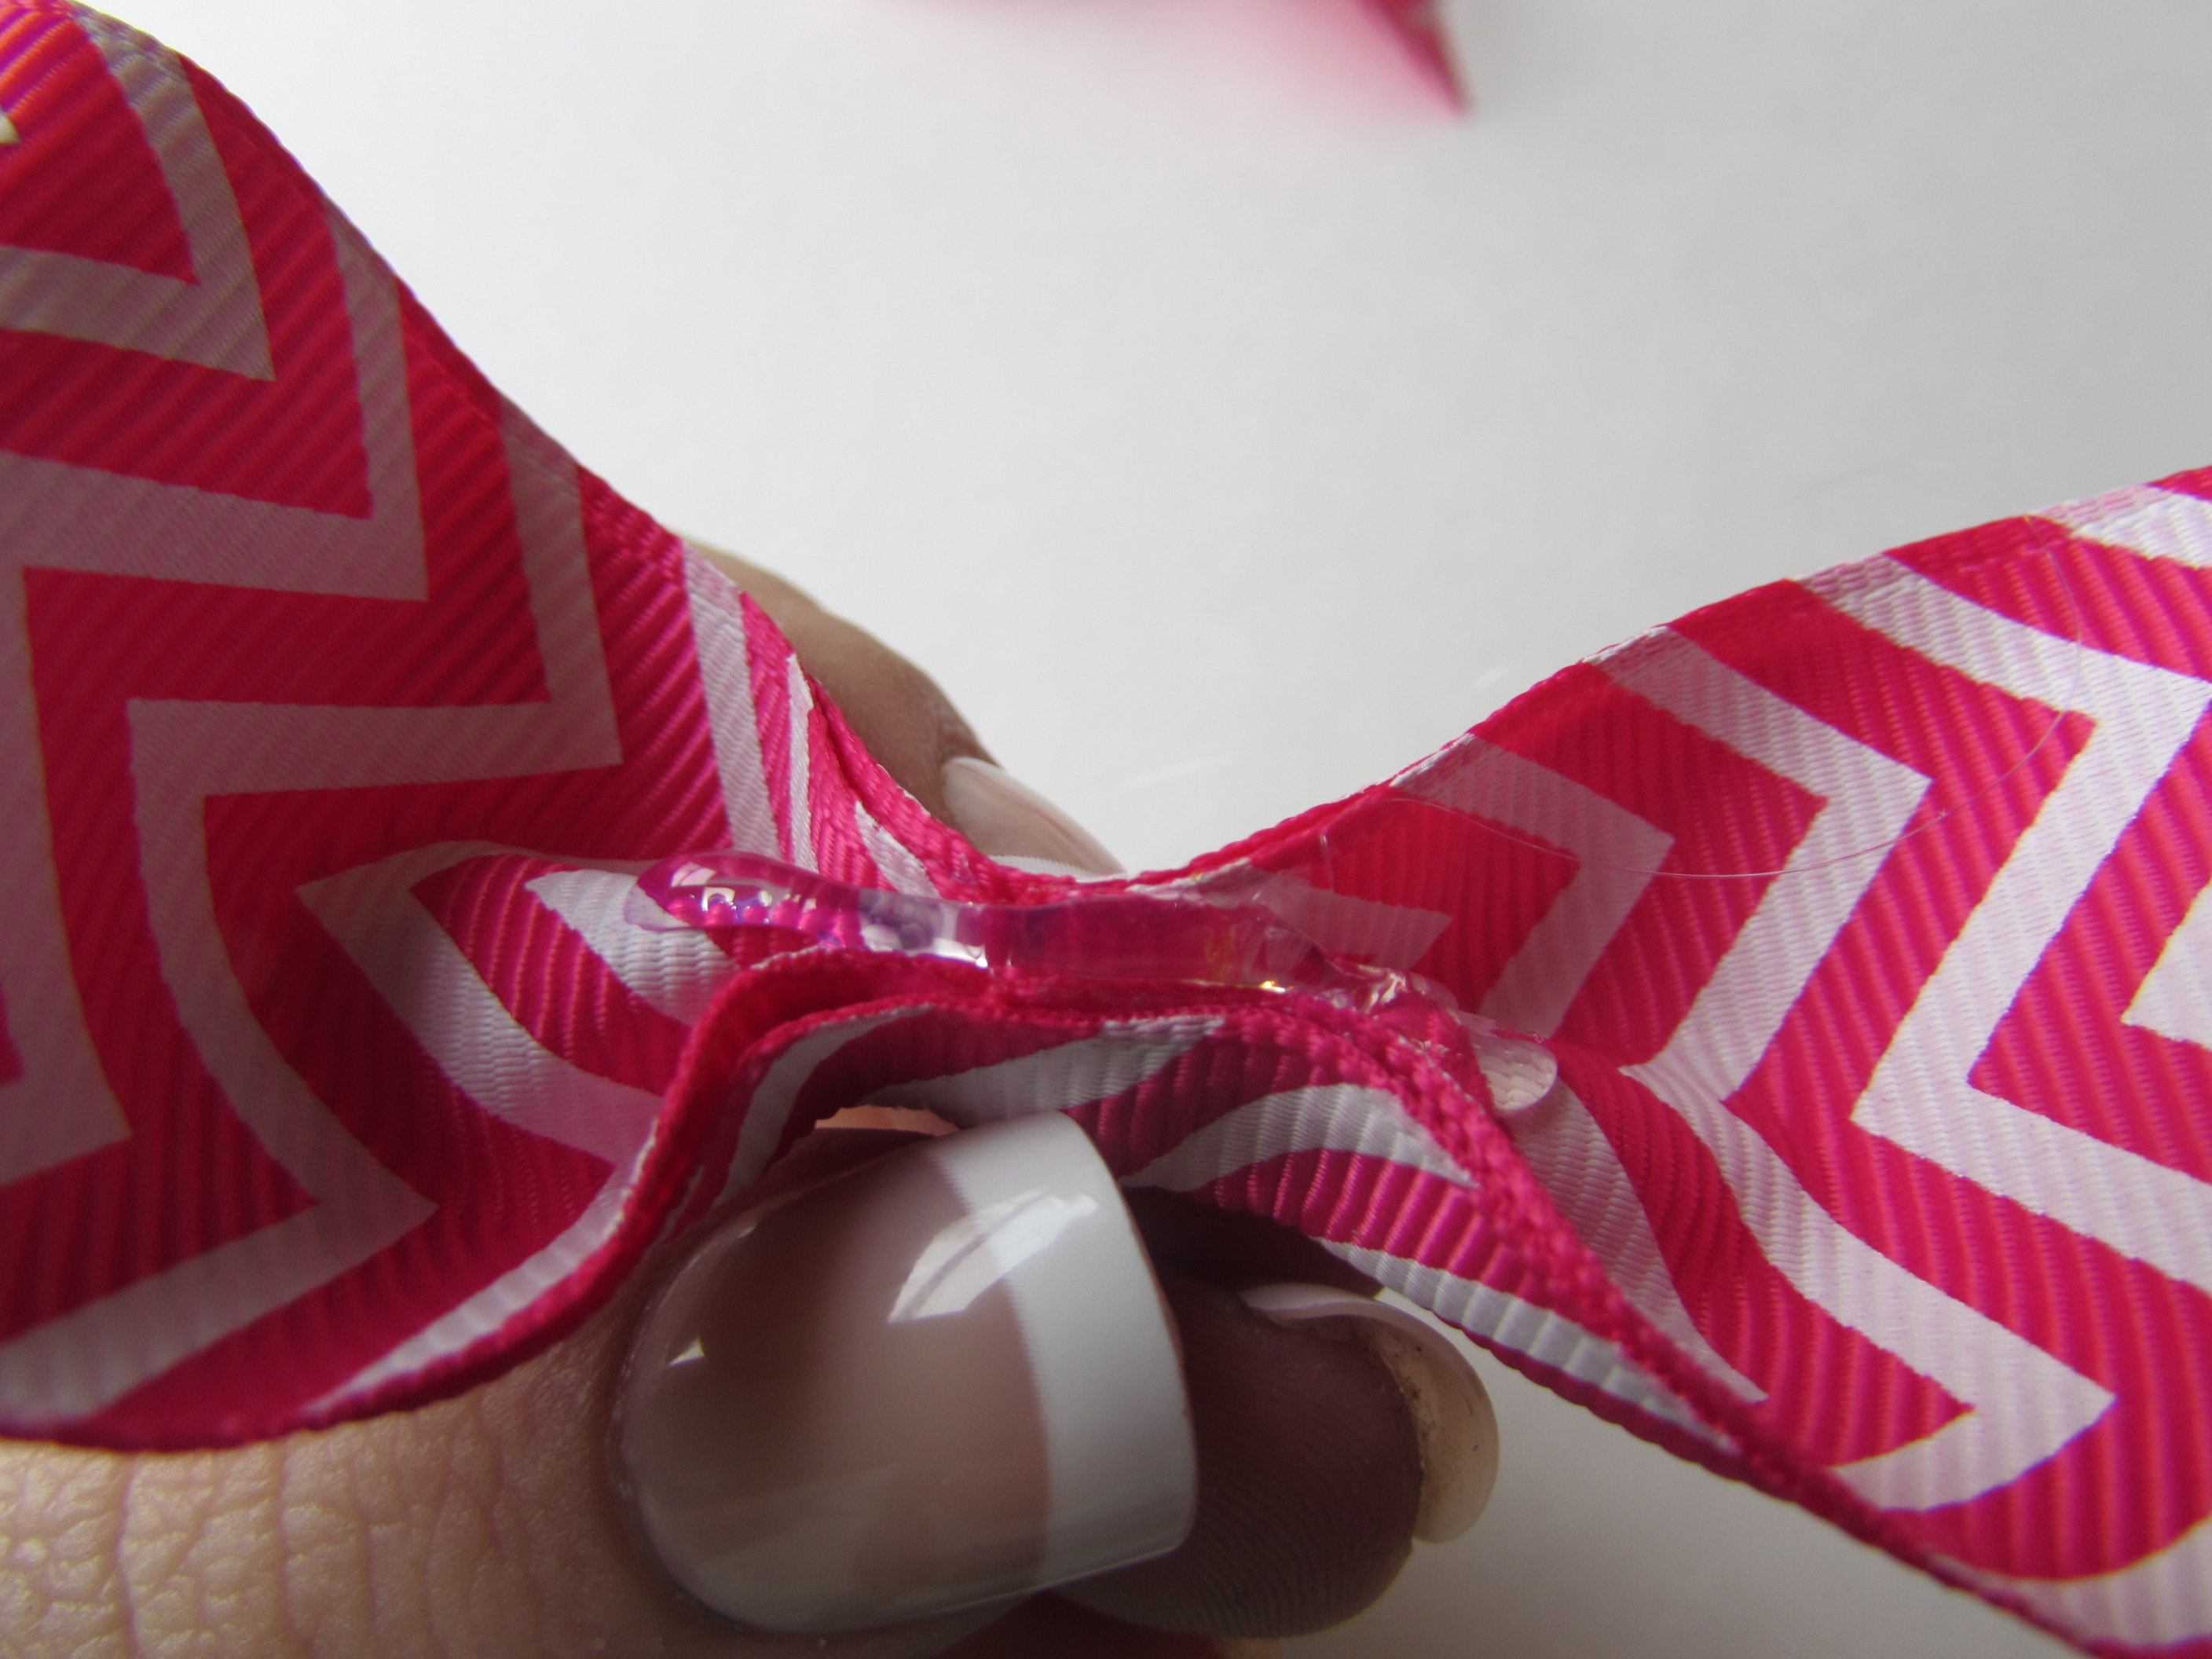
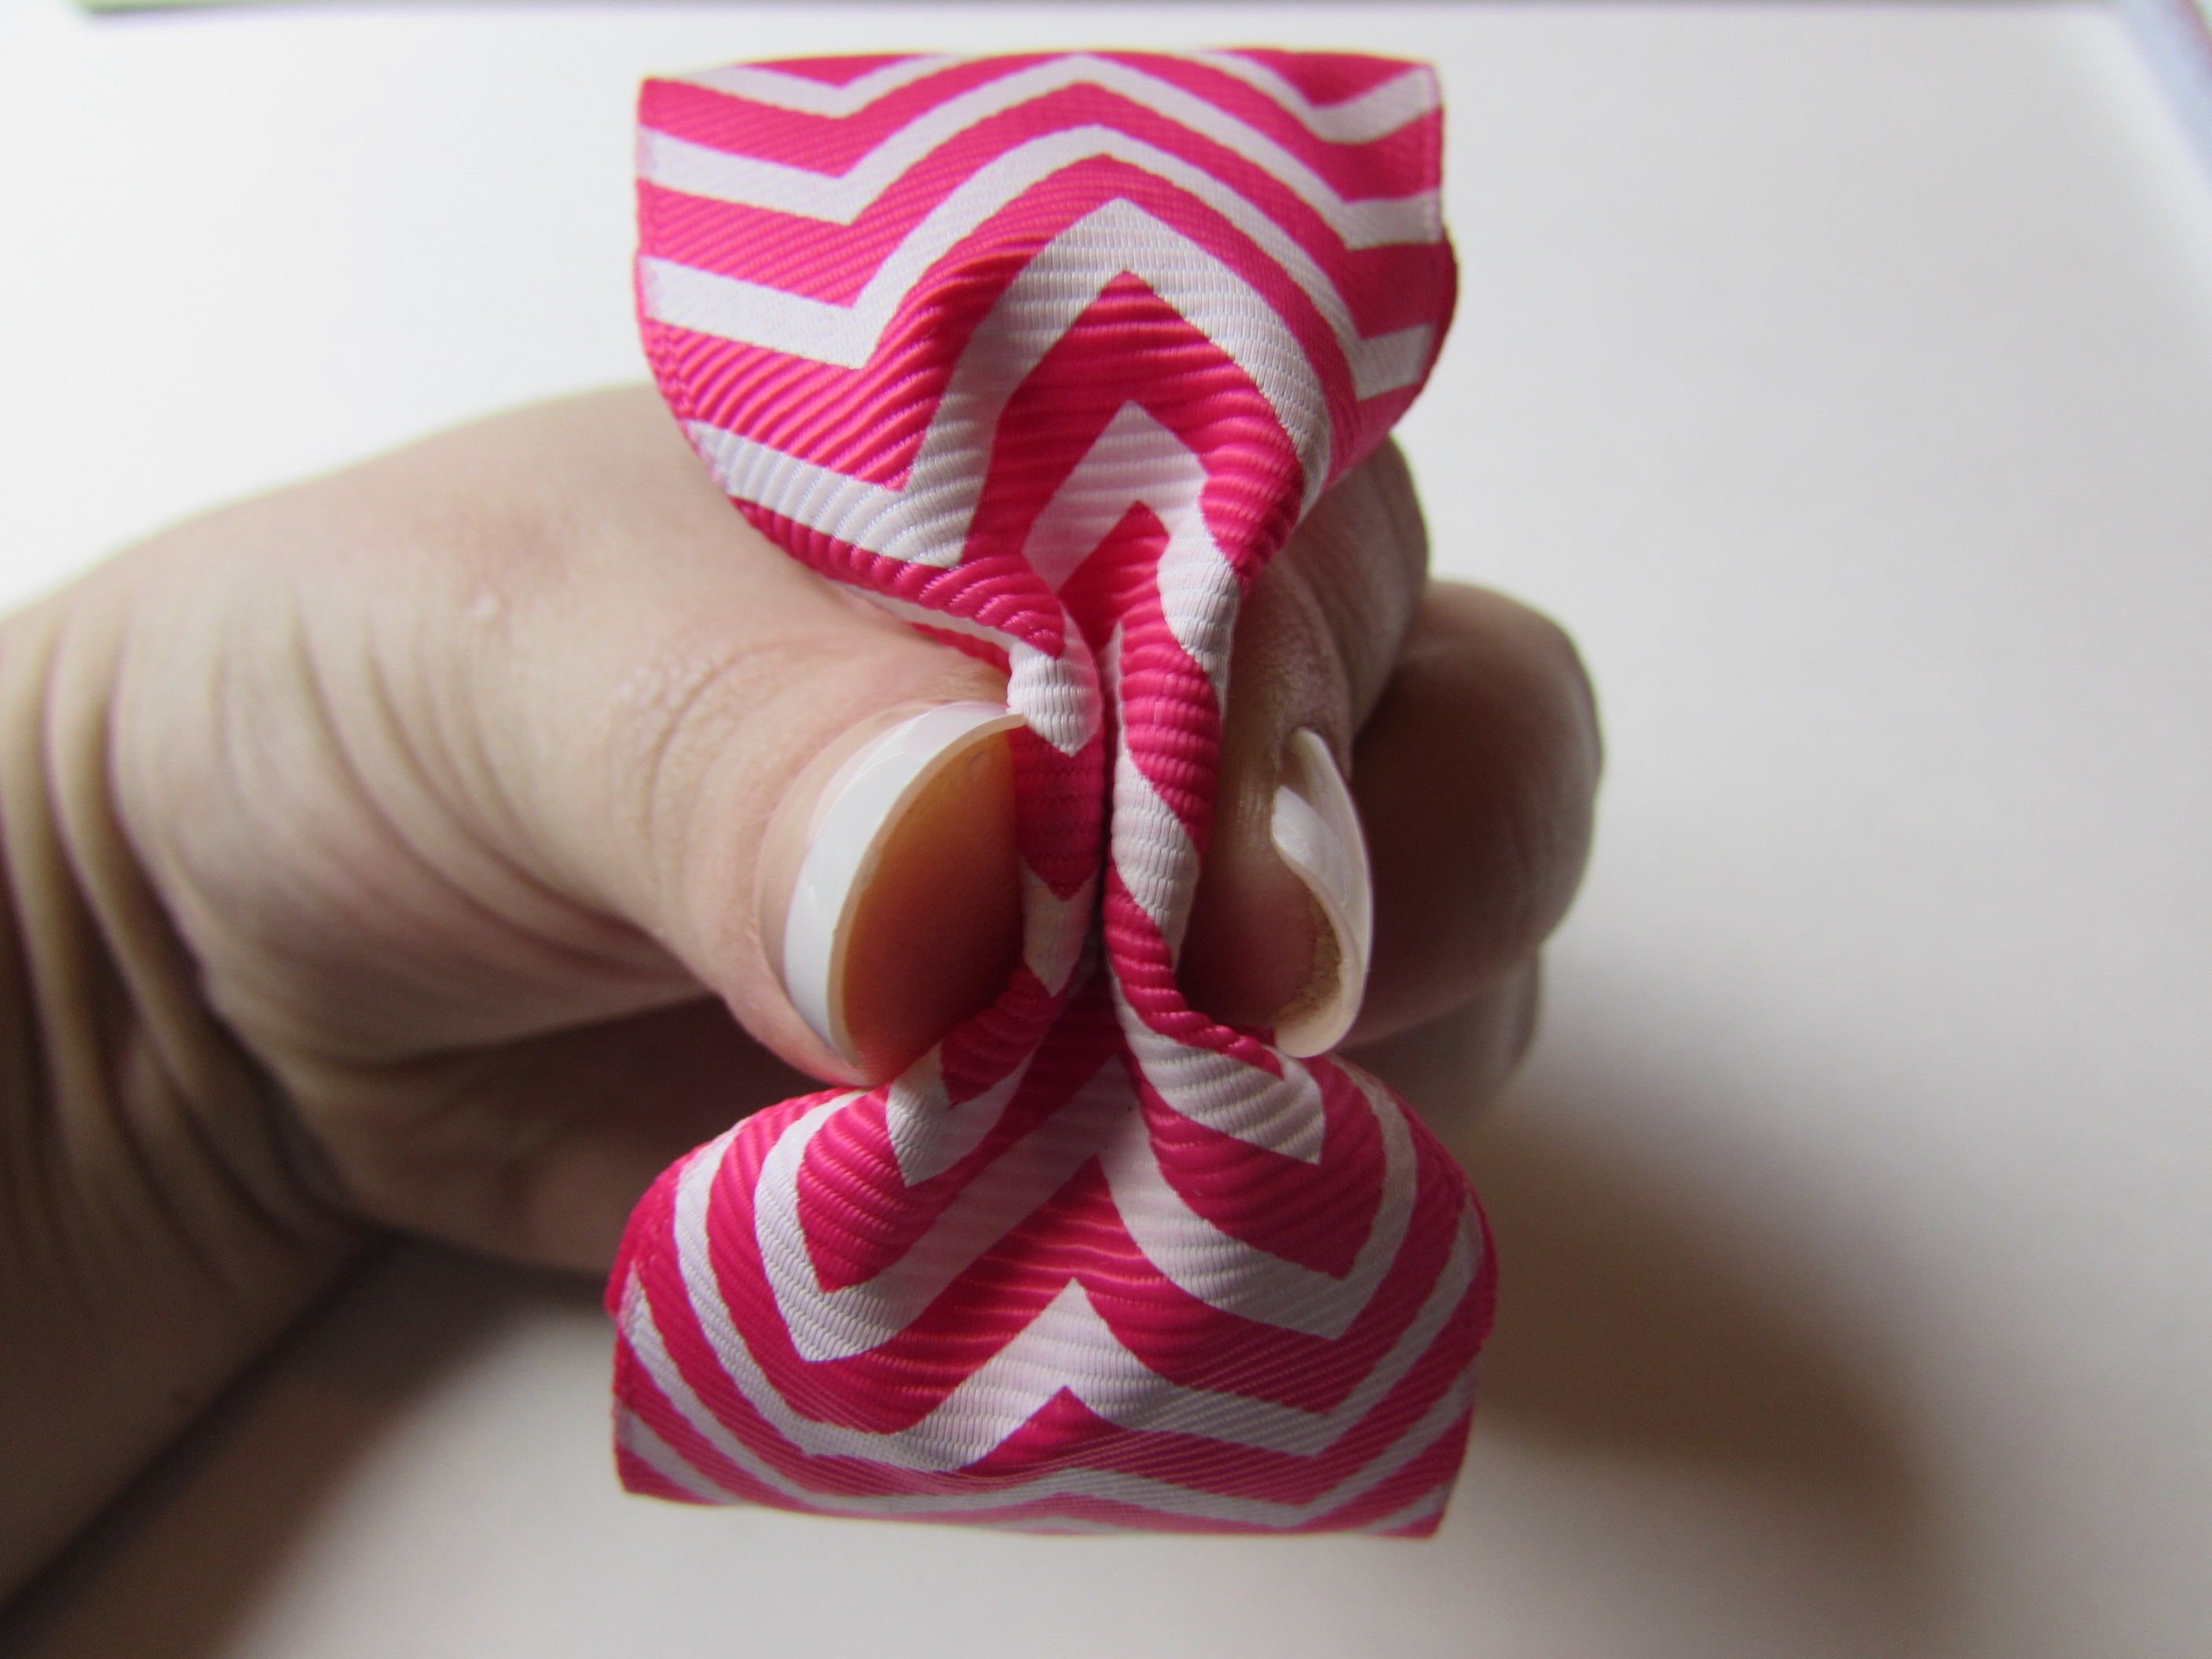 Step 9: Add a drop of hot glue in the center. Press and hold it until the ribbon is stuck together.
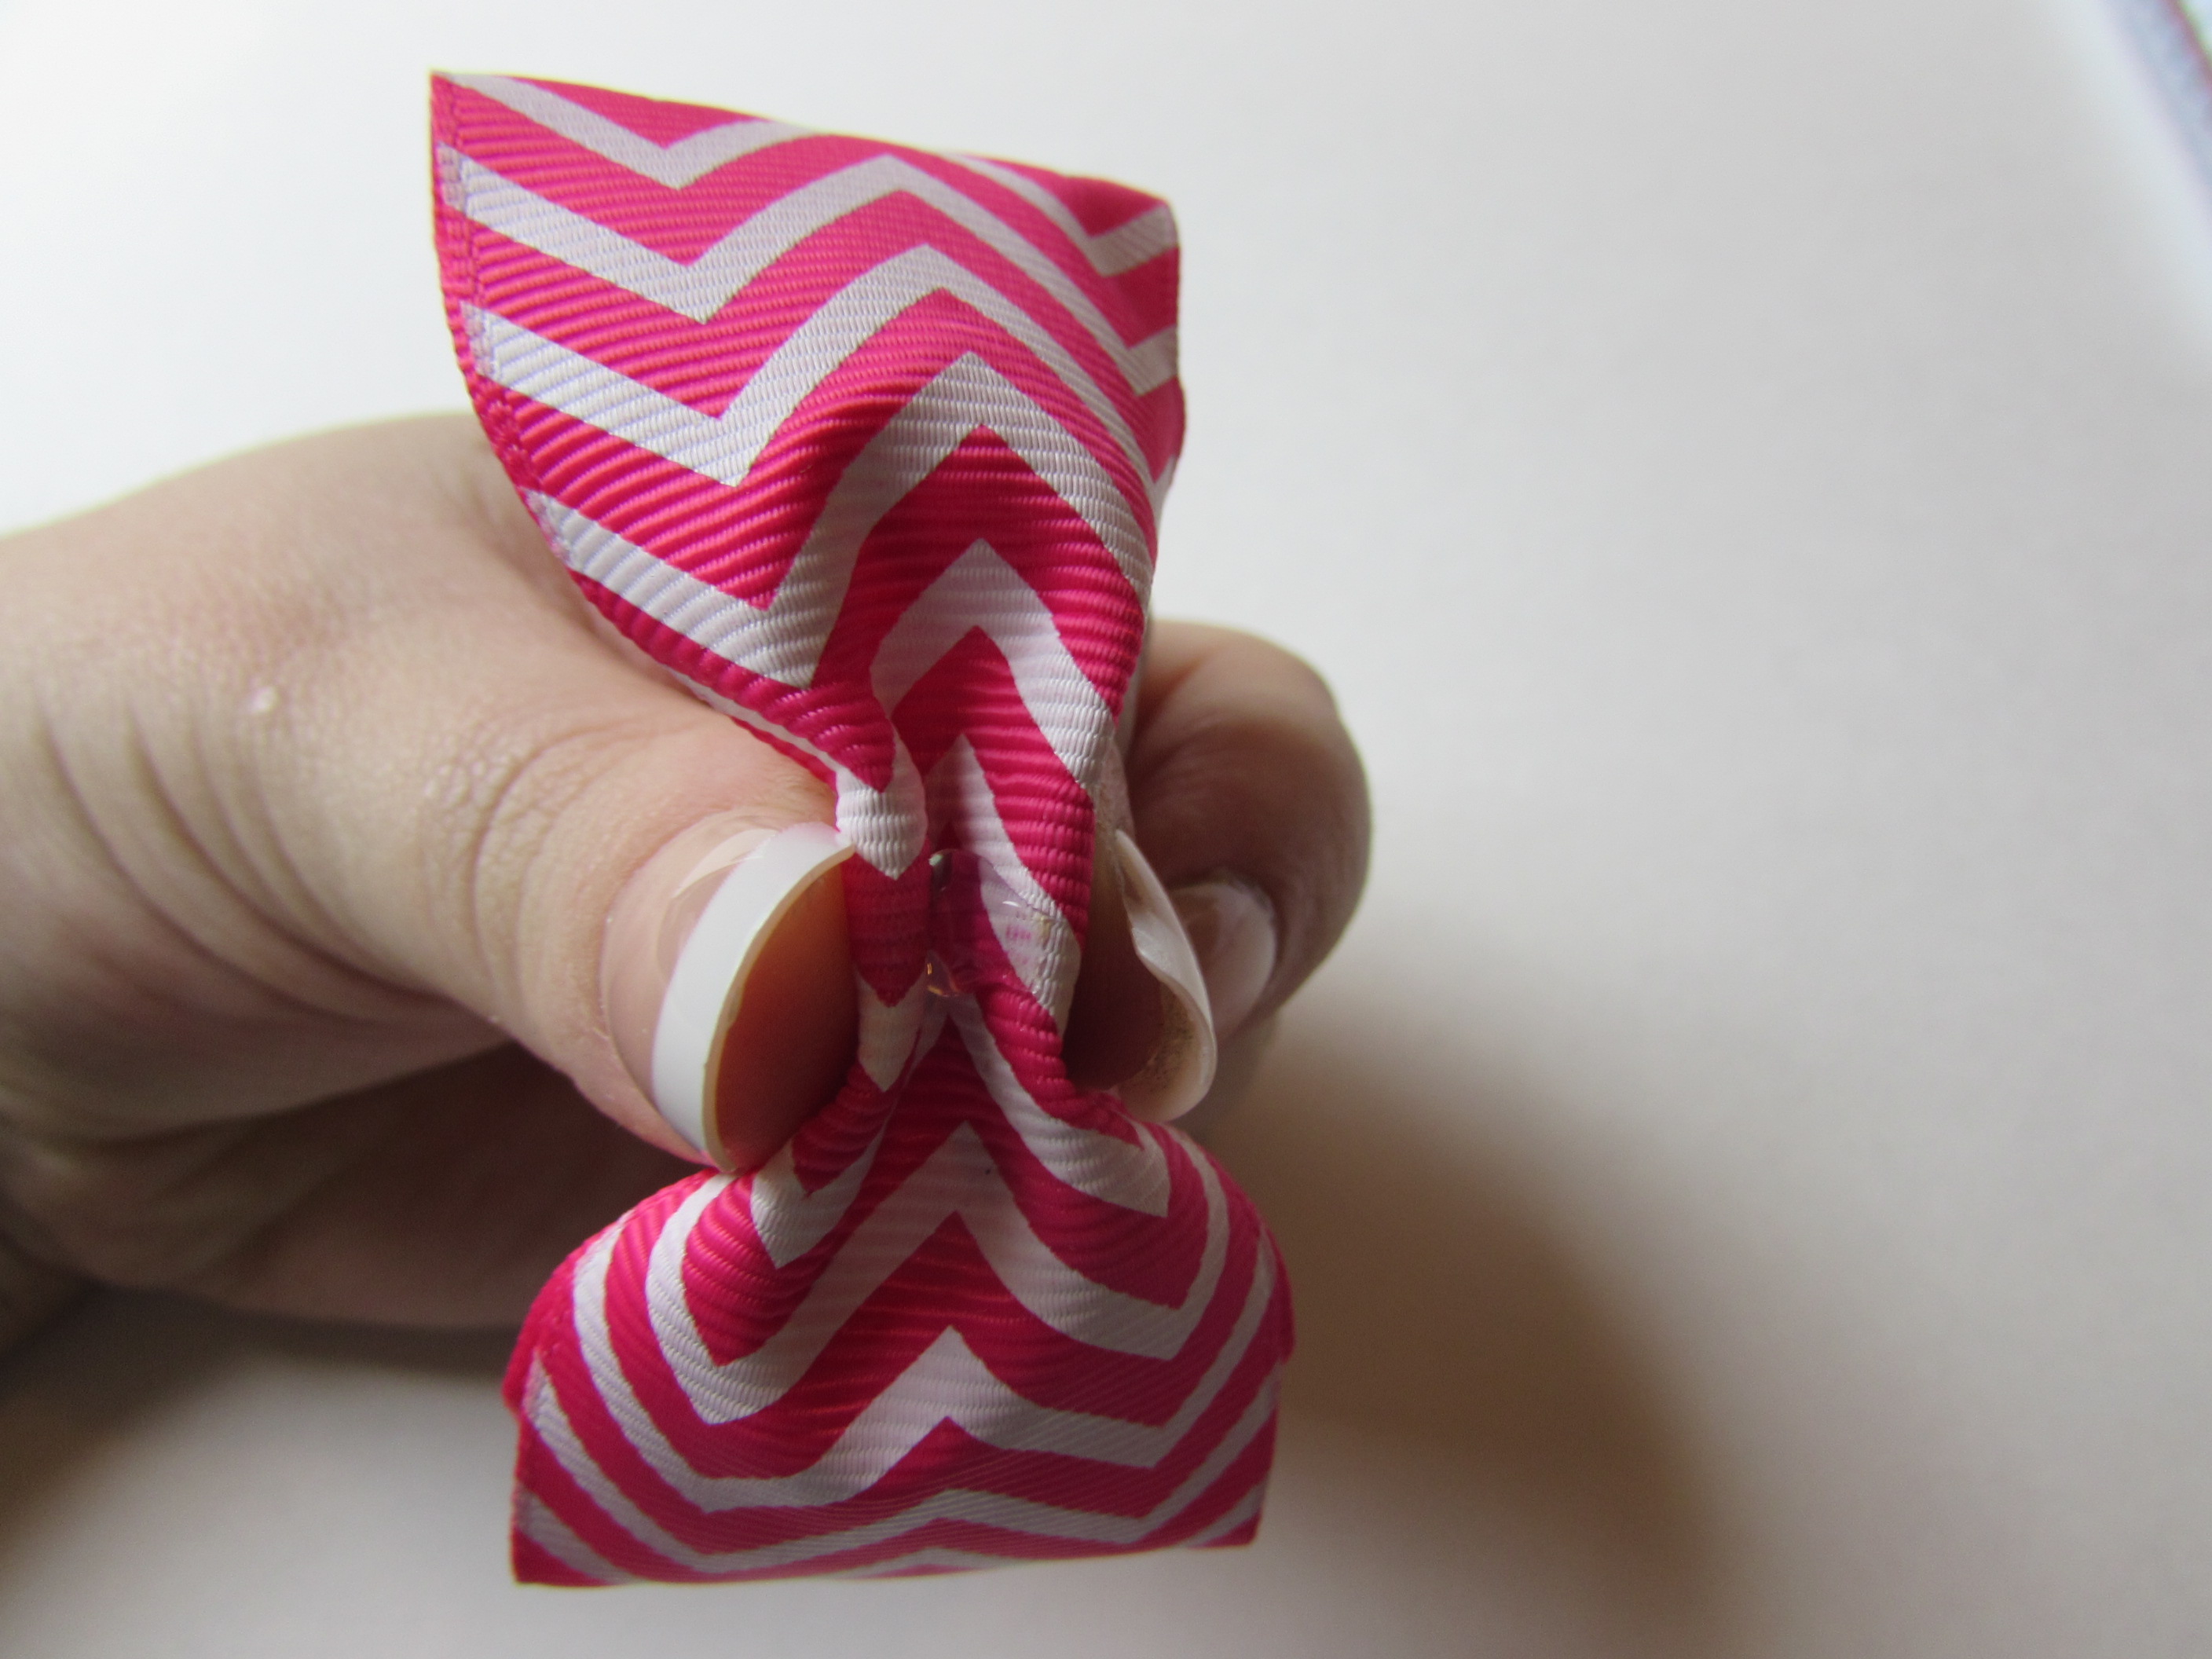
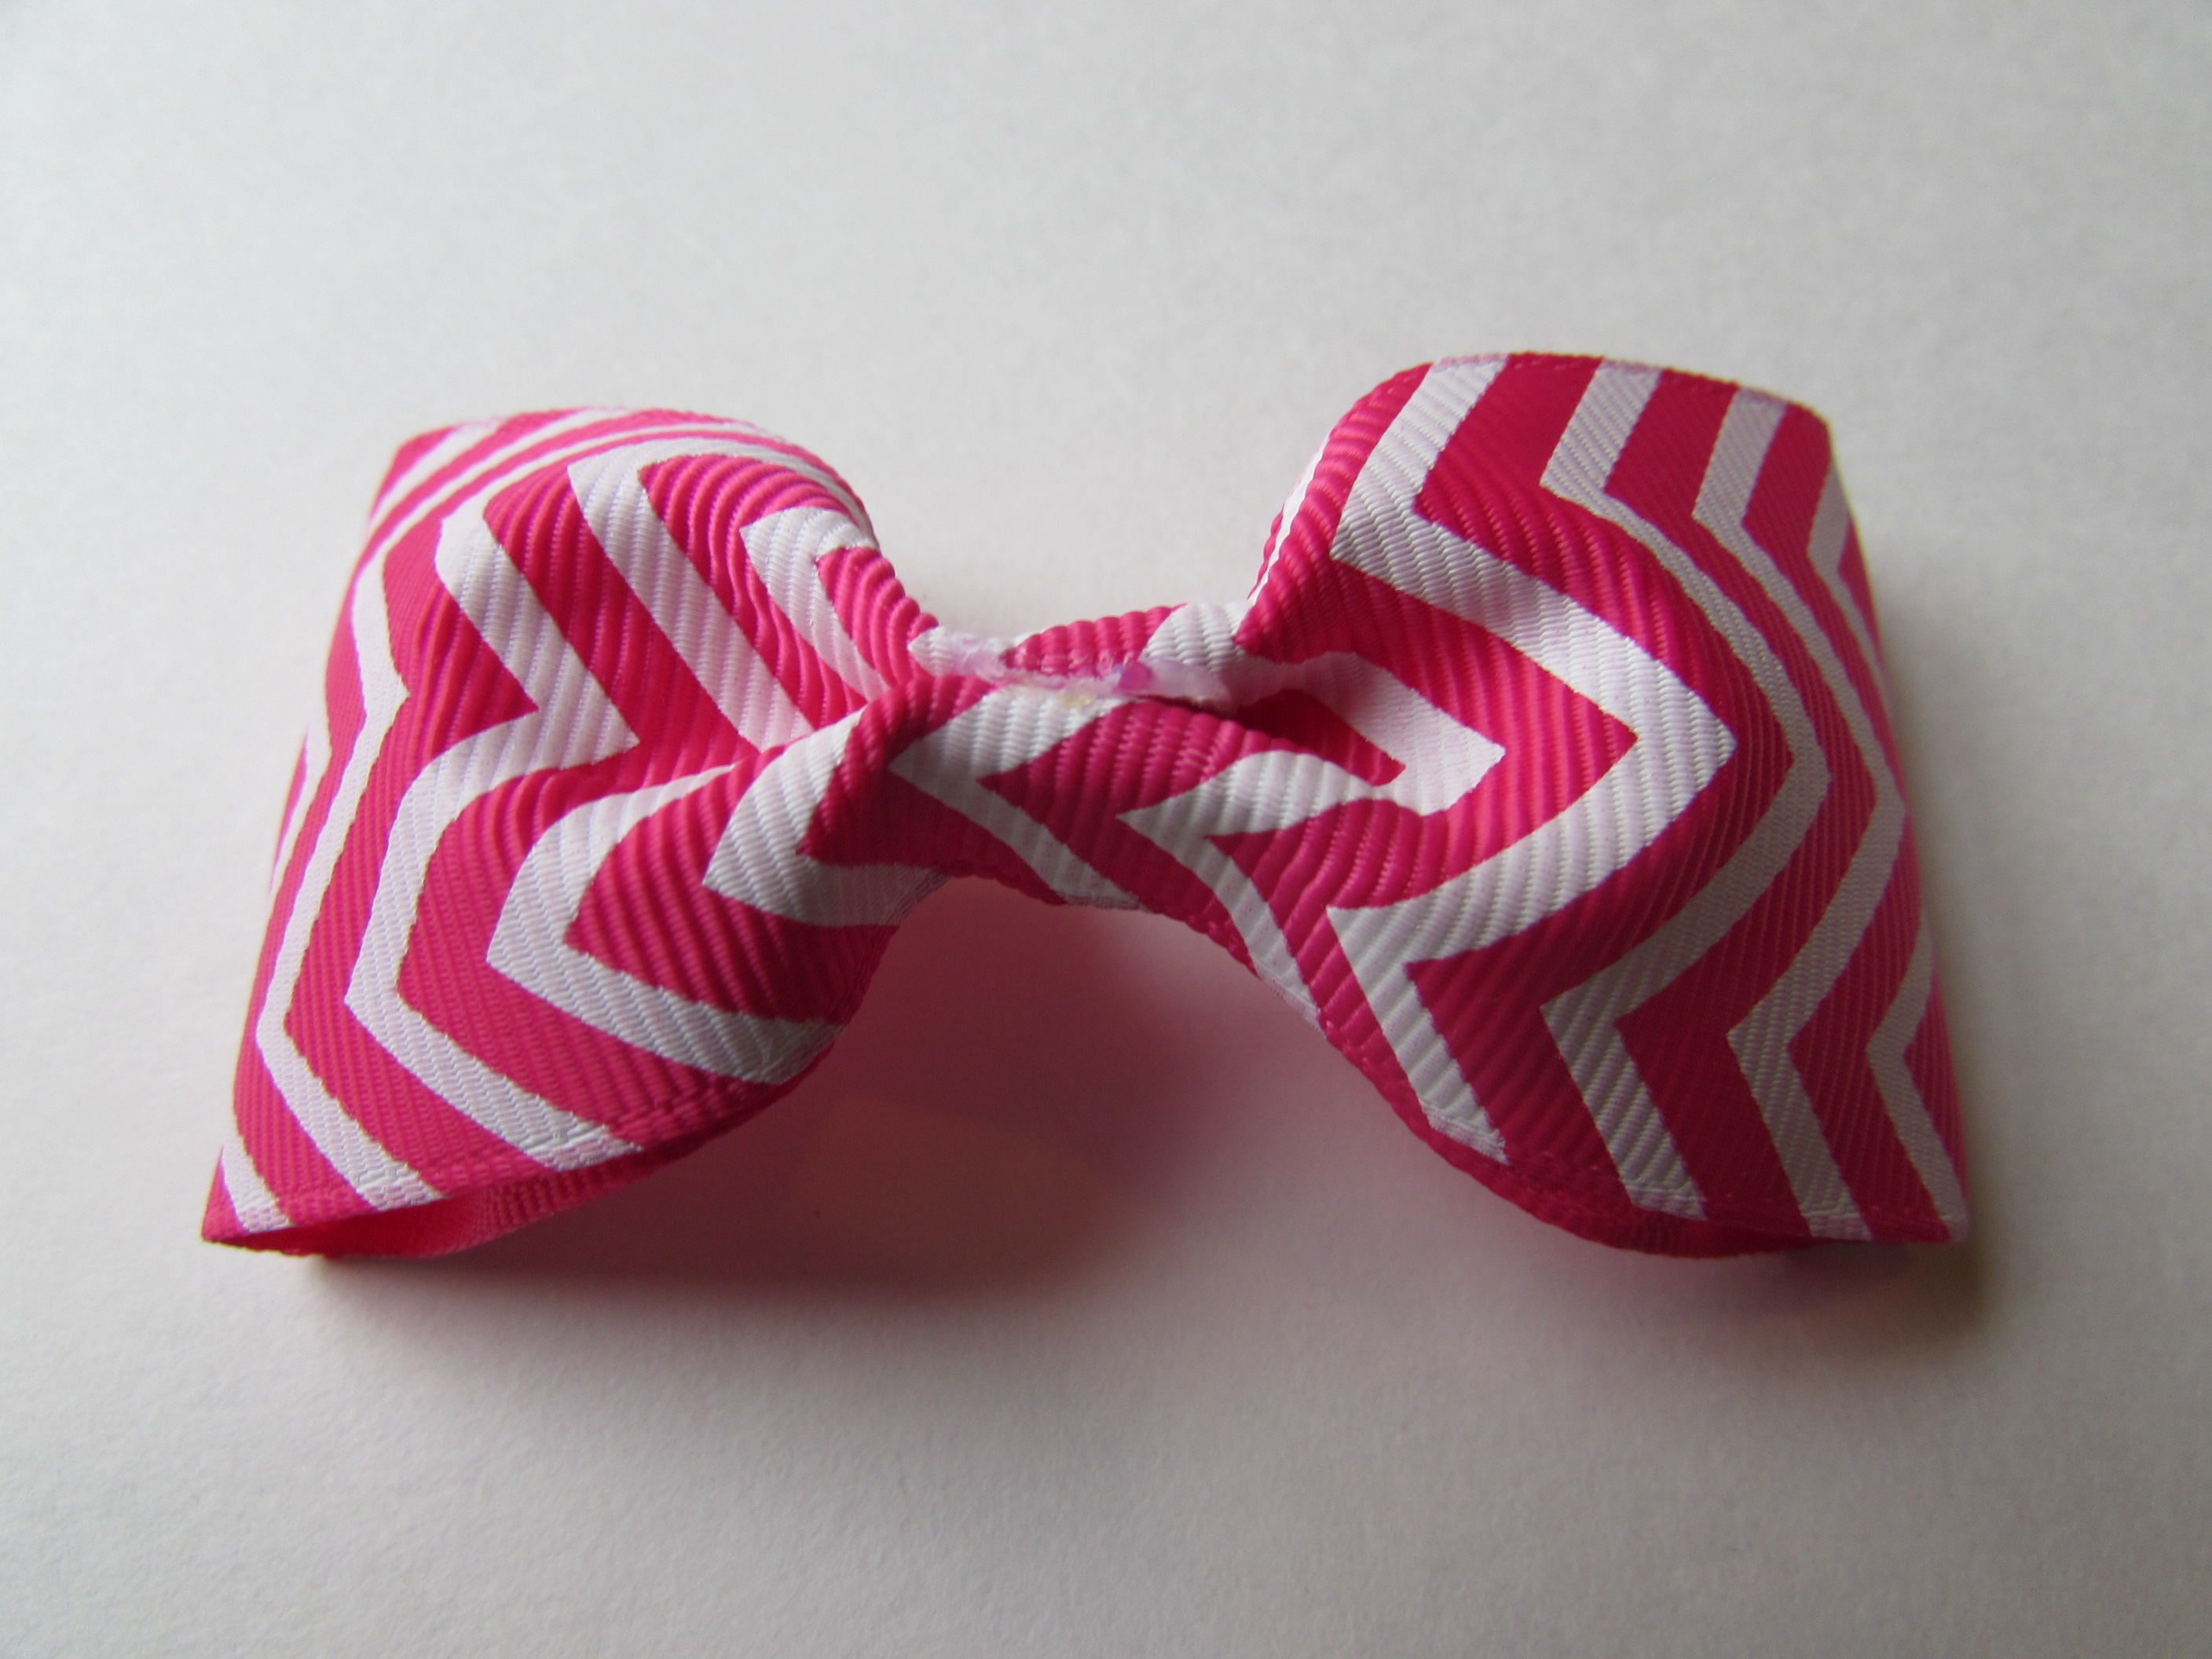 Step 10: Flip the bow over.
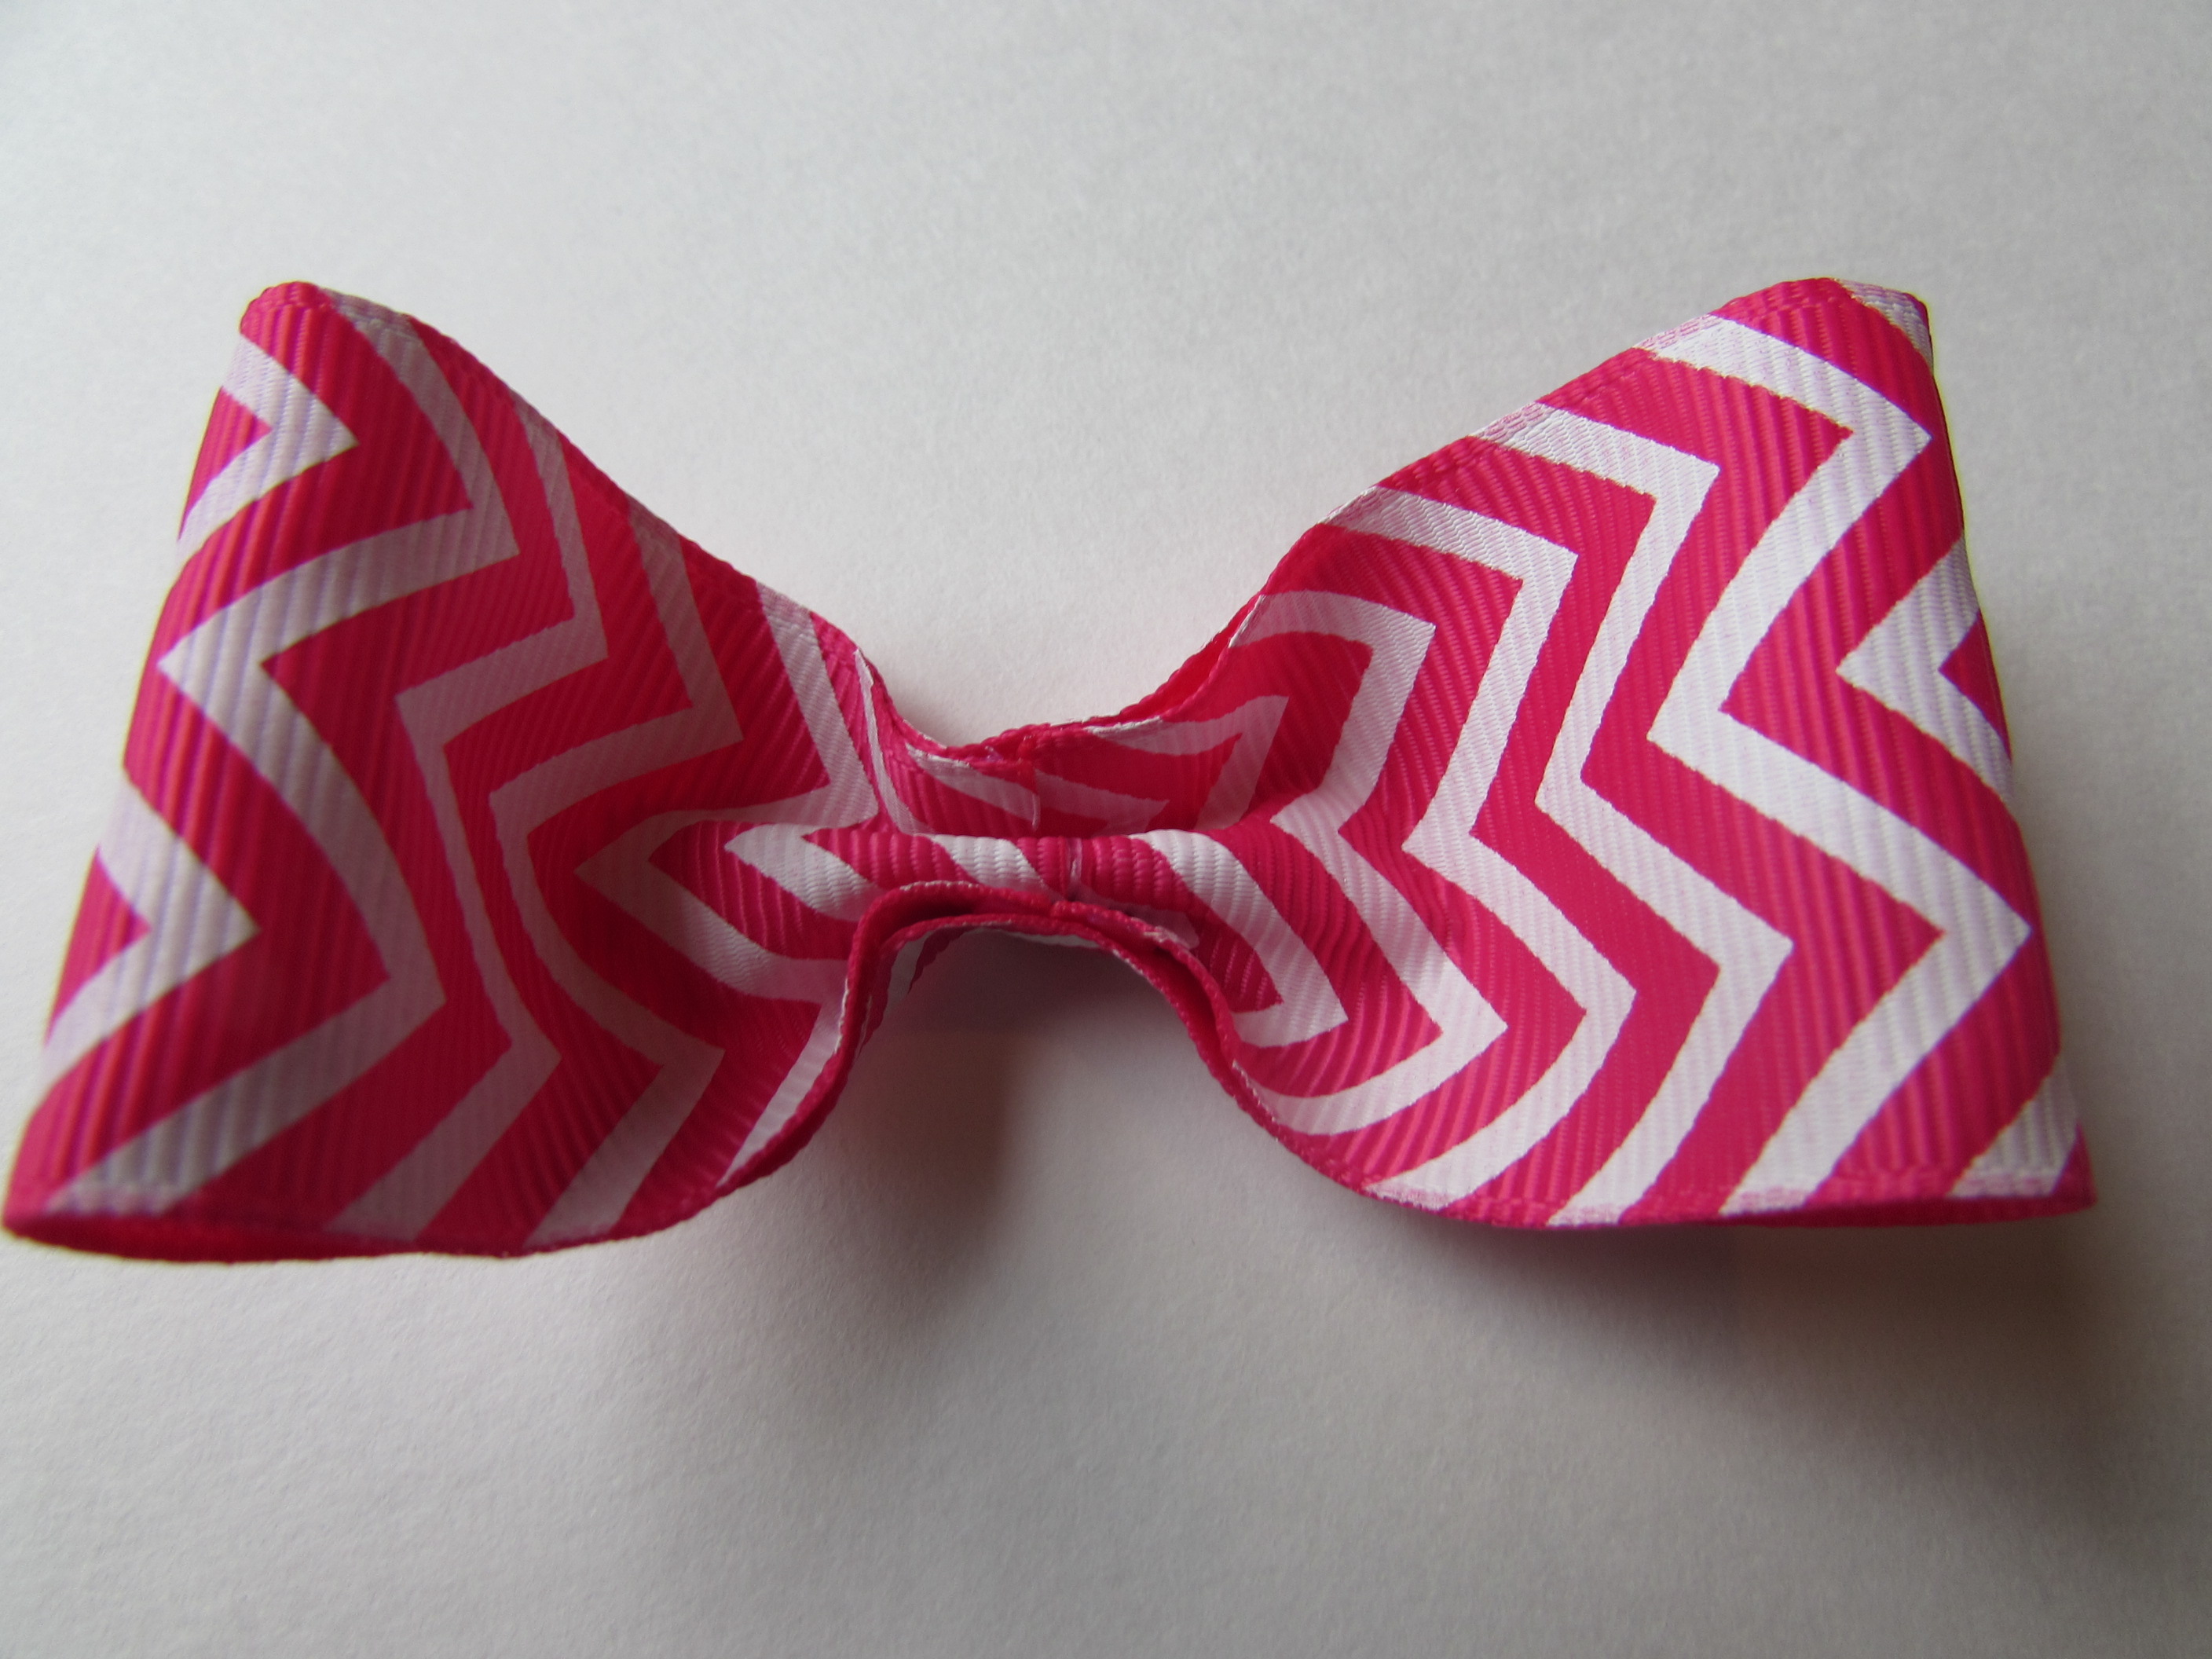 Step 11: Apply a drop of hot glue under the top flap.
 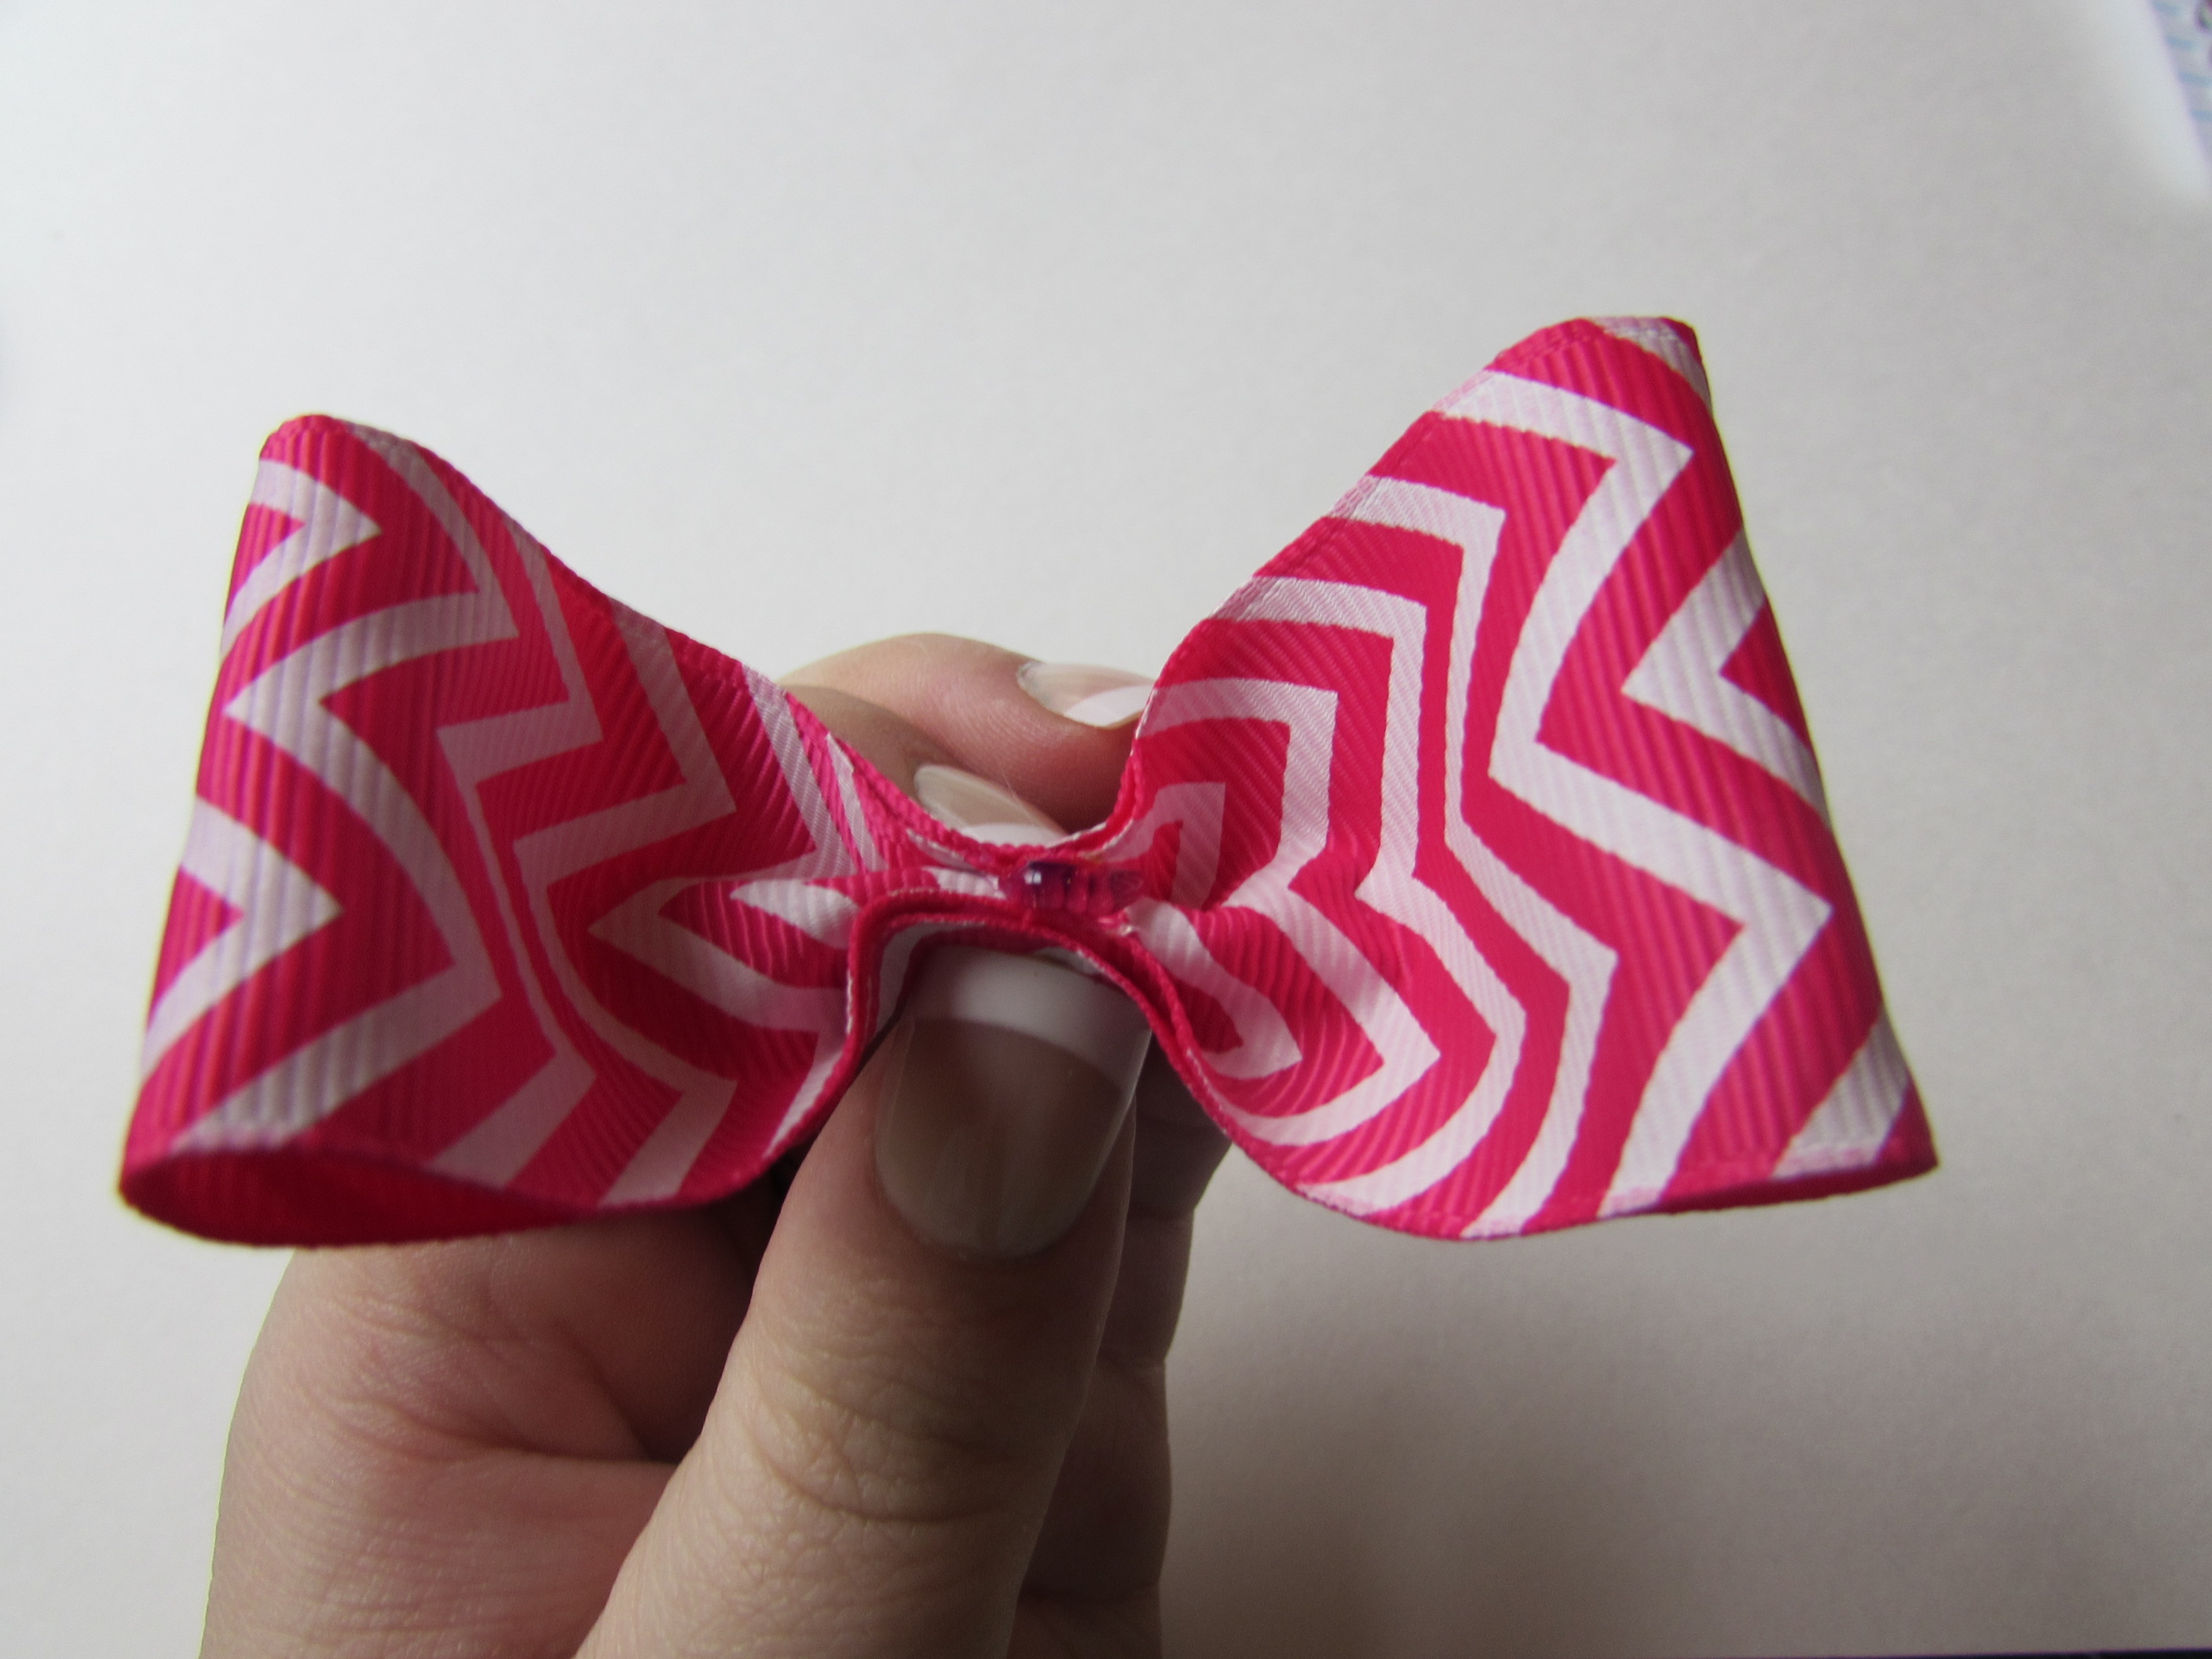 Step 12: Repeat for the bottom flap.
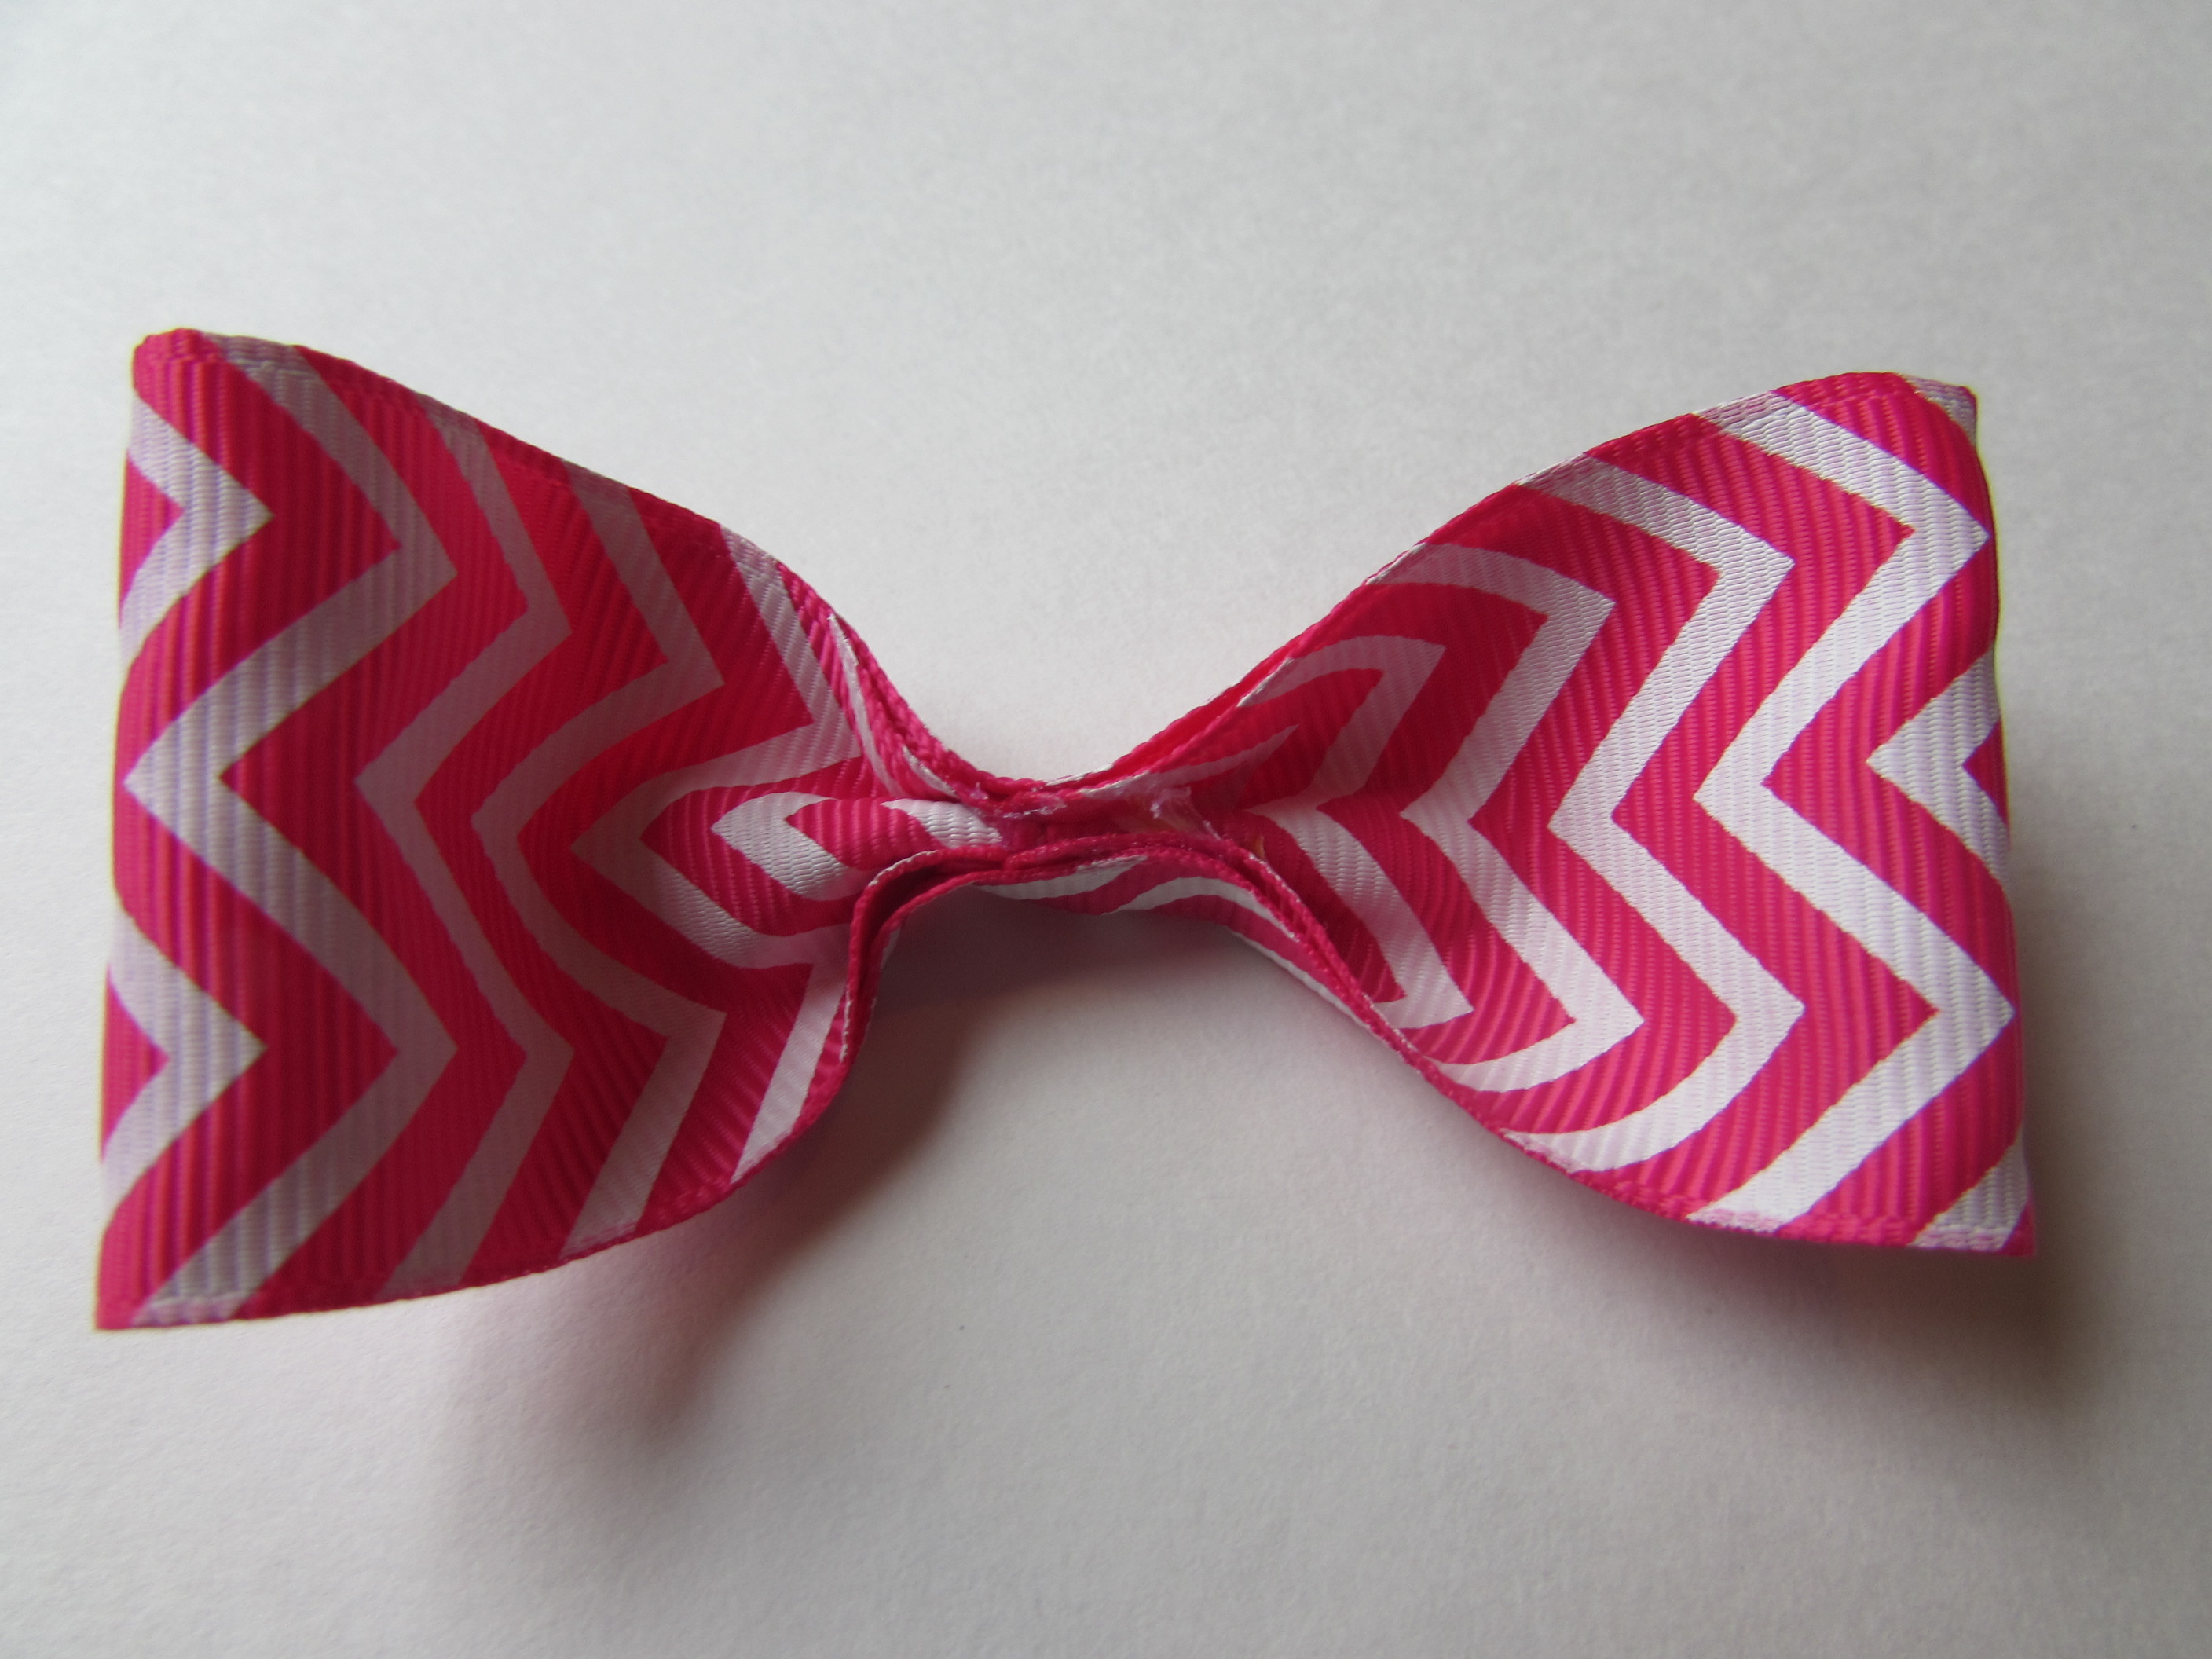 Step 13: Set that bow part aside.
Step 14: Grab your 1.5" 5" long piece. Cut a "V" on the ends by folding the ribbon in half then flipping the ends together in half and up at an angle.
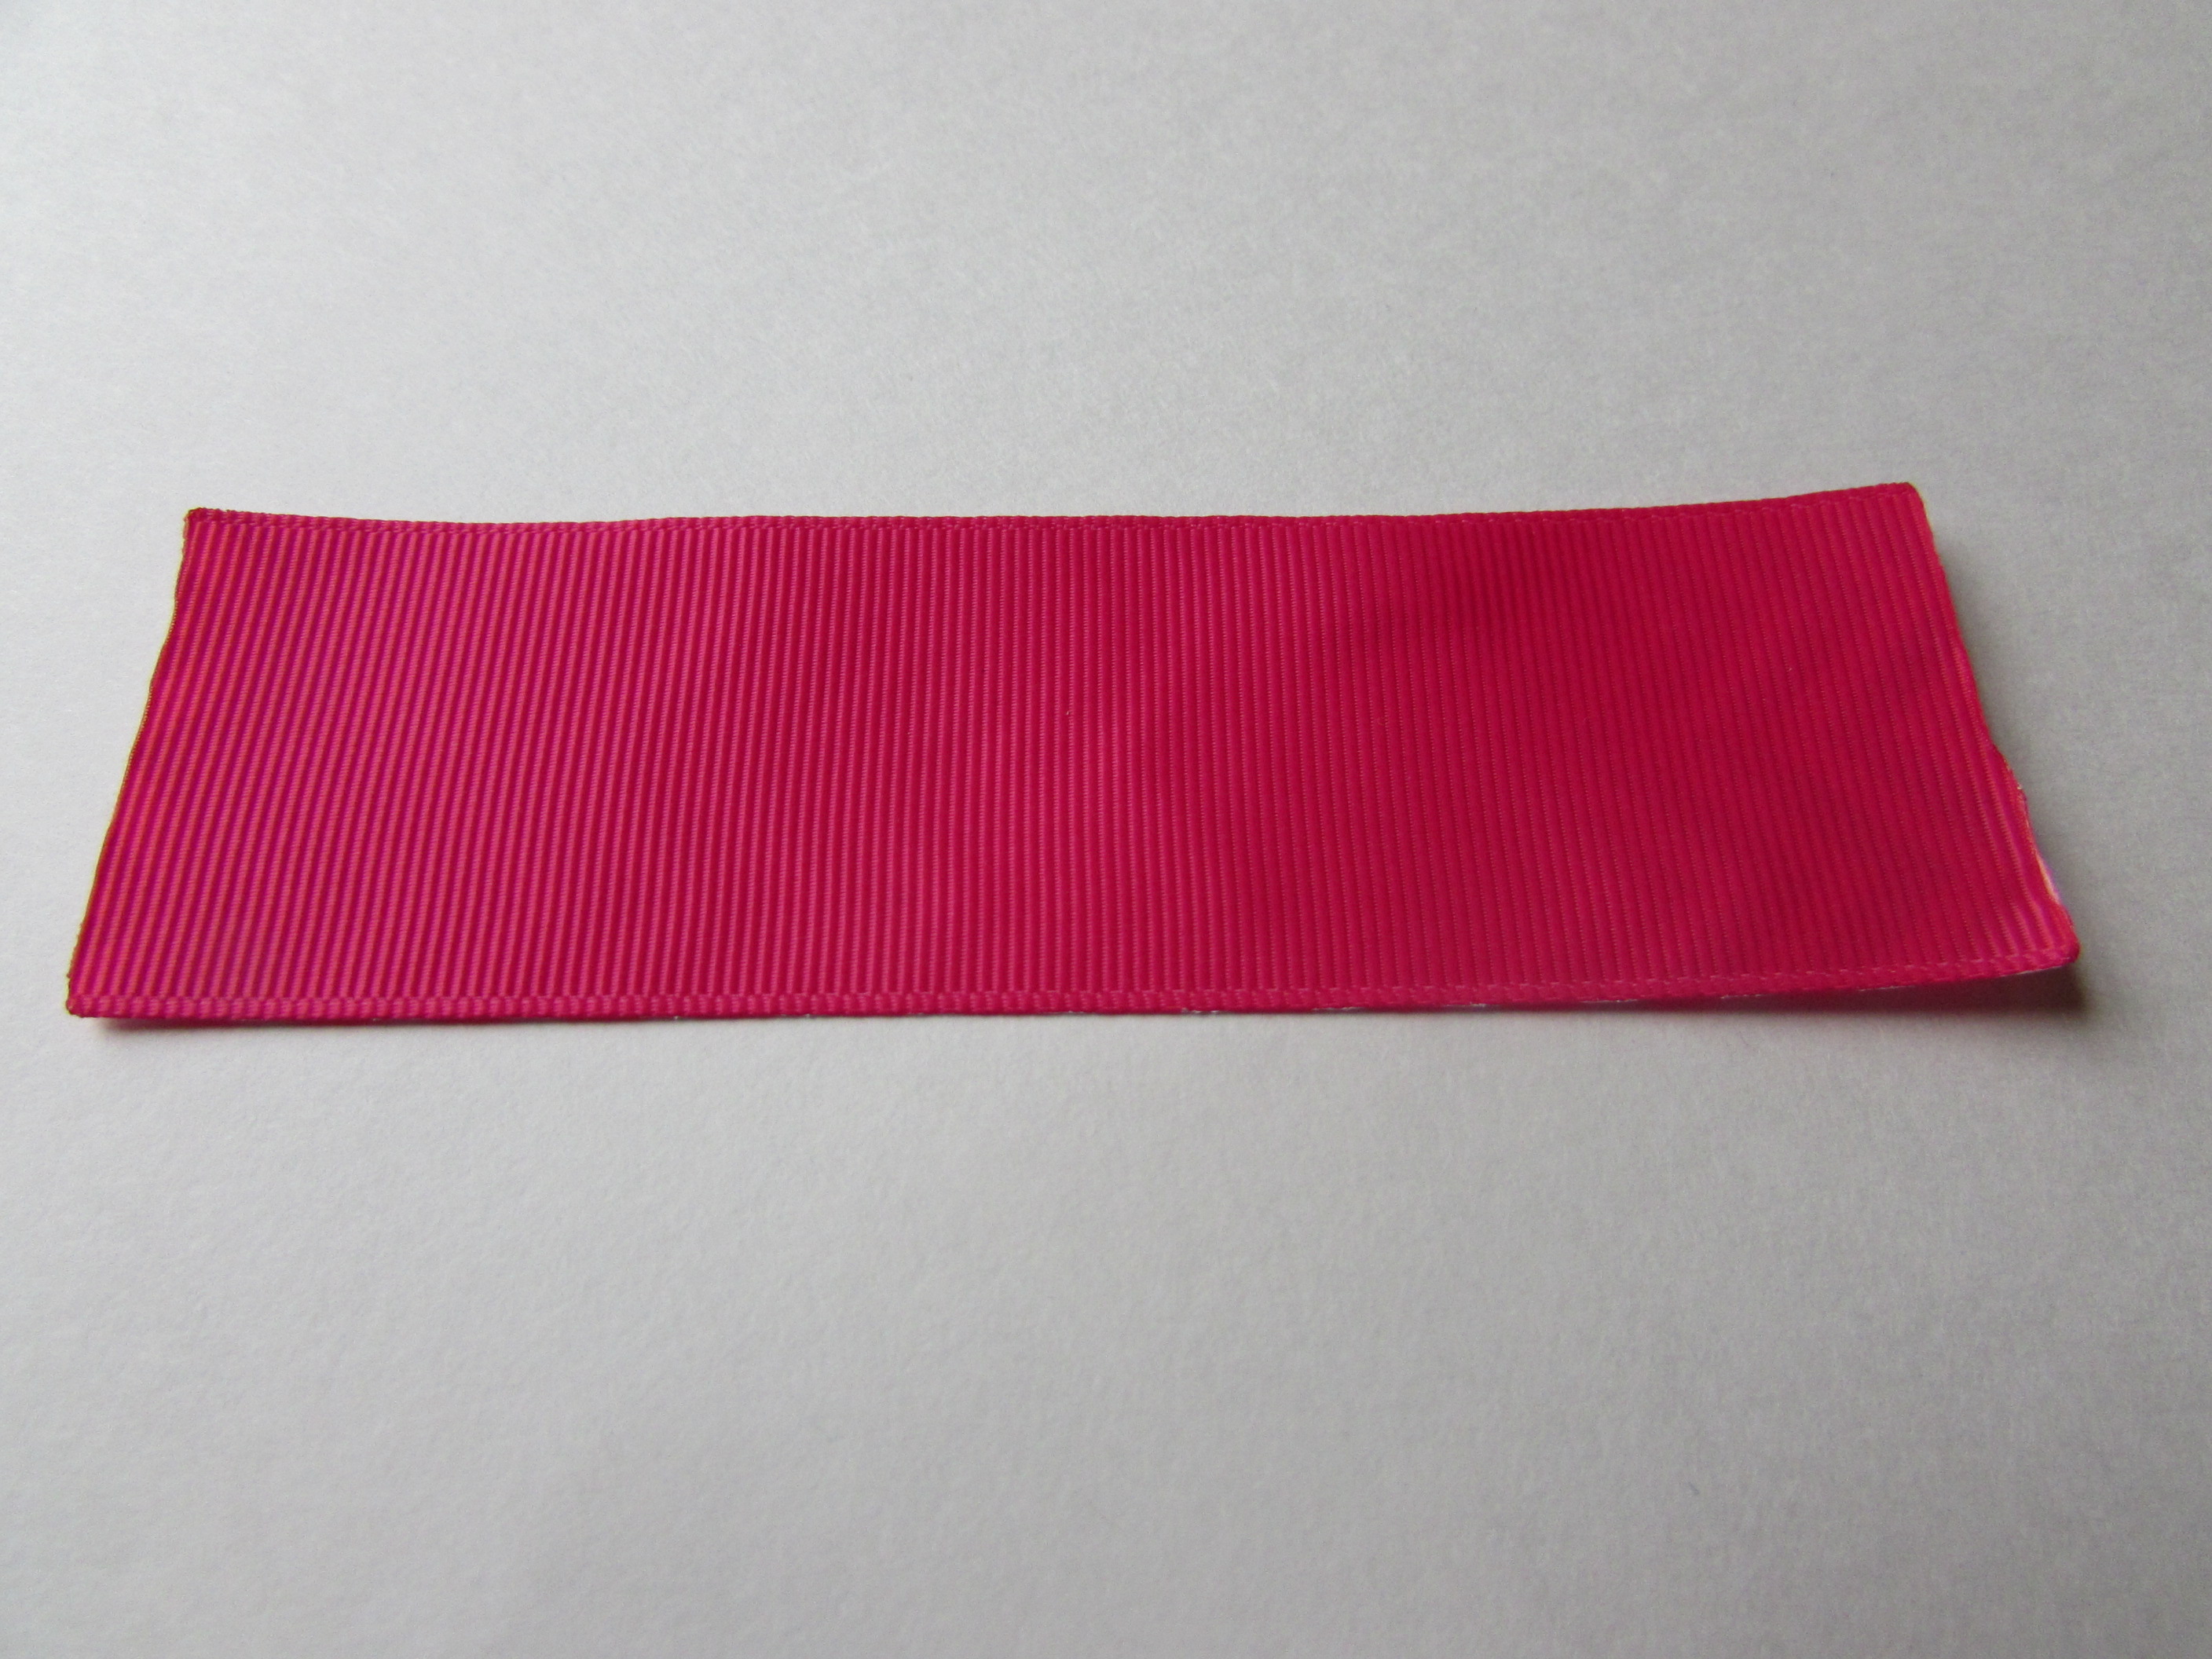
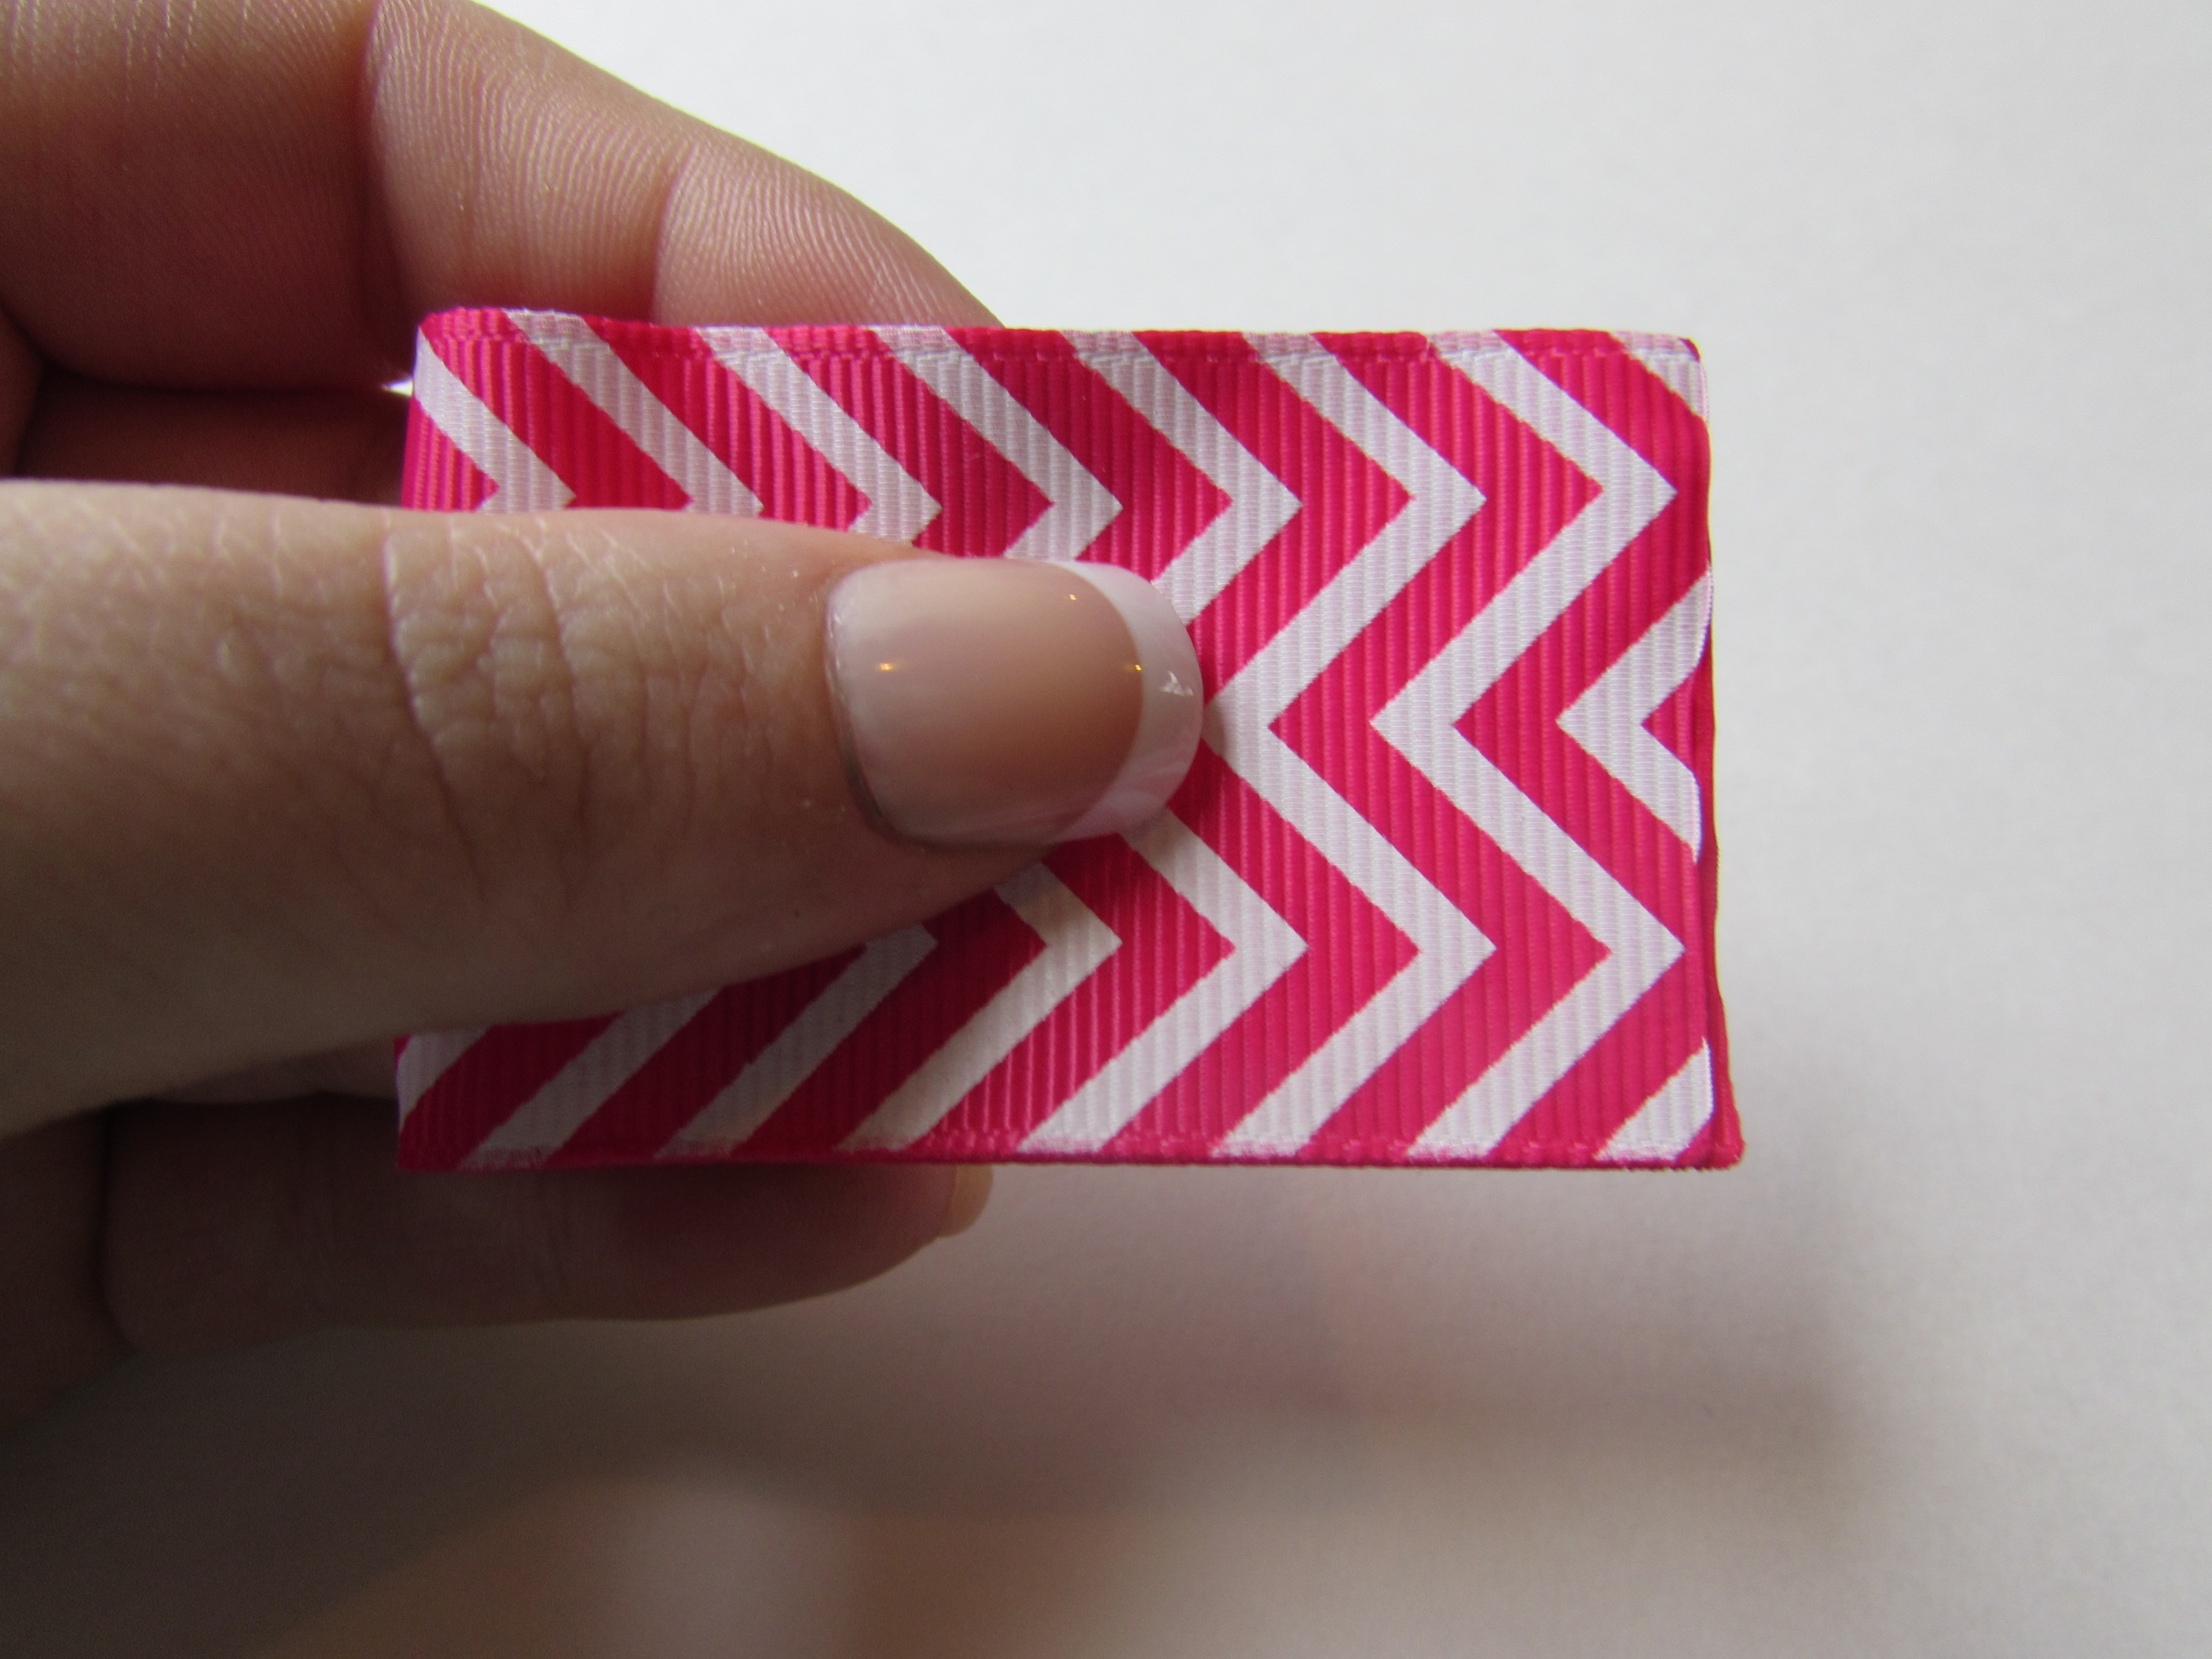
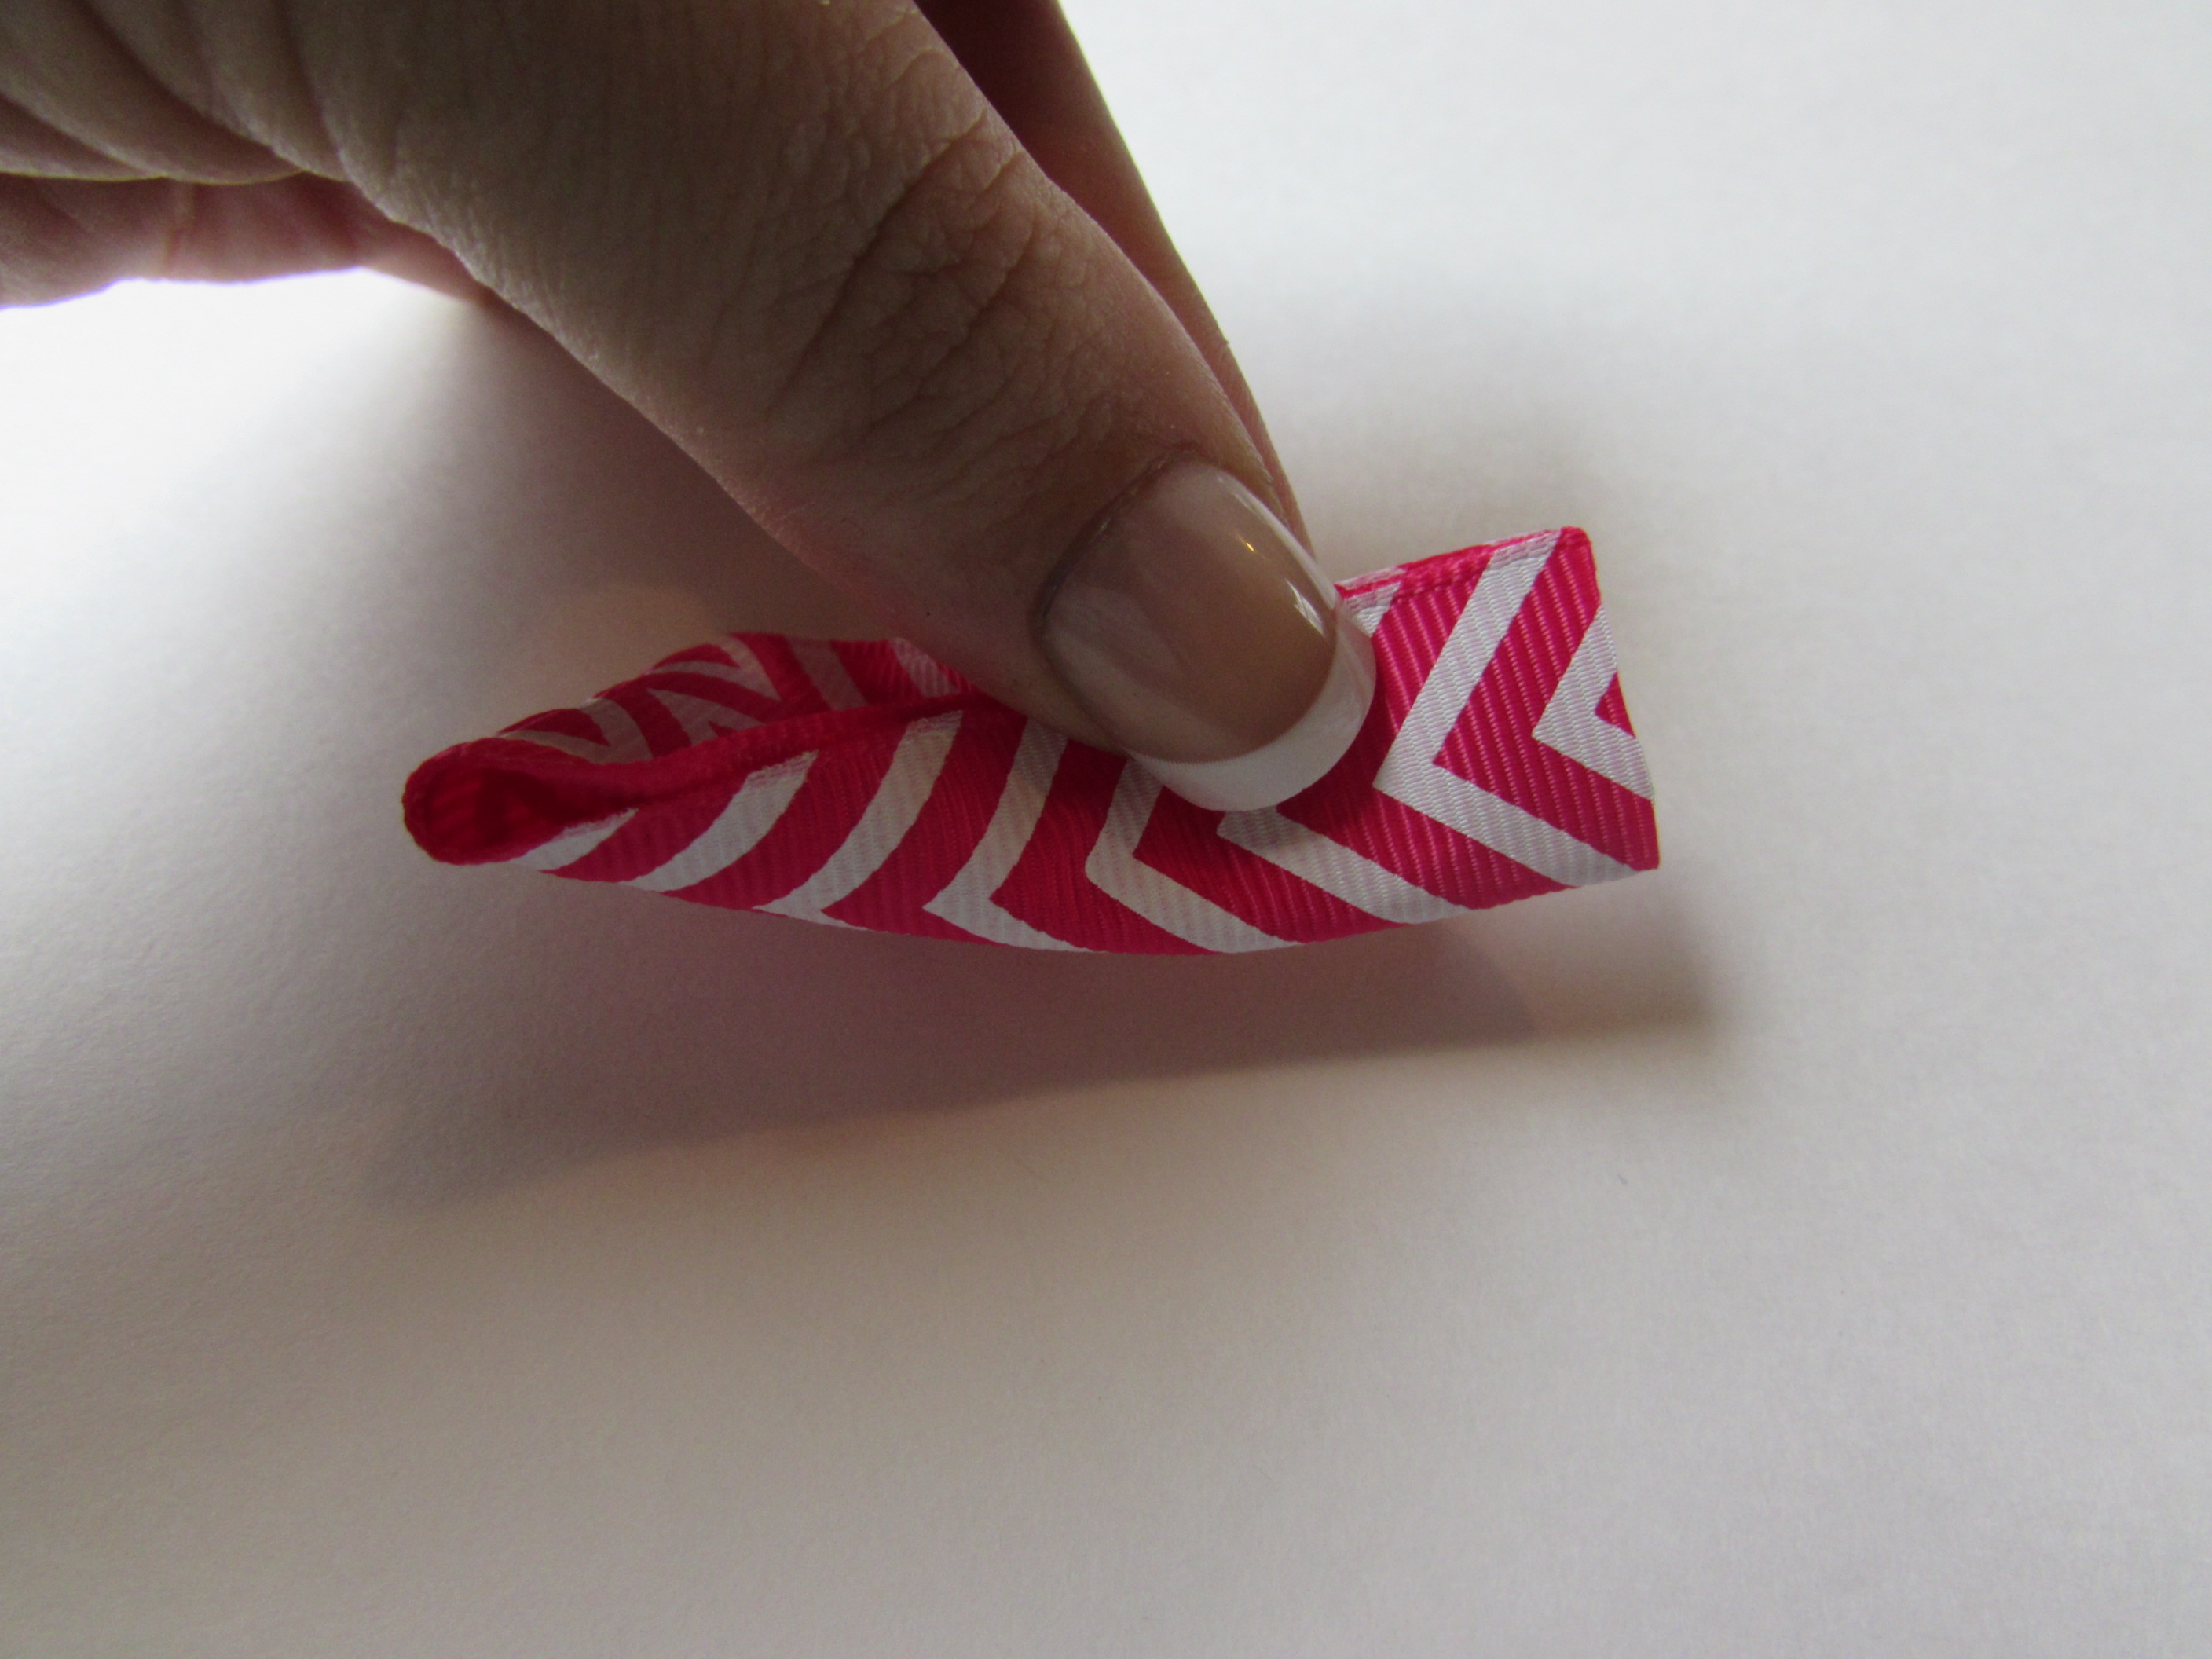
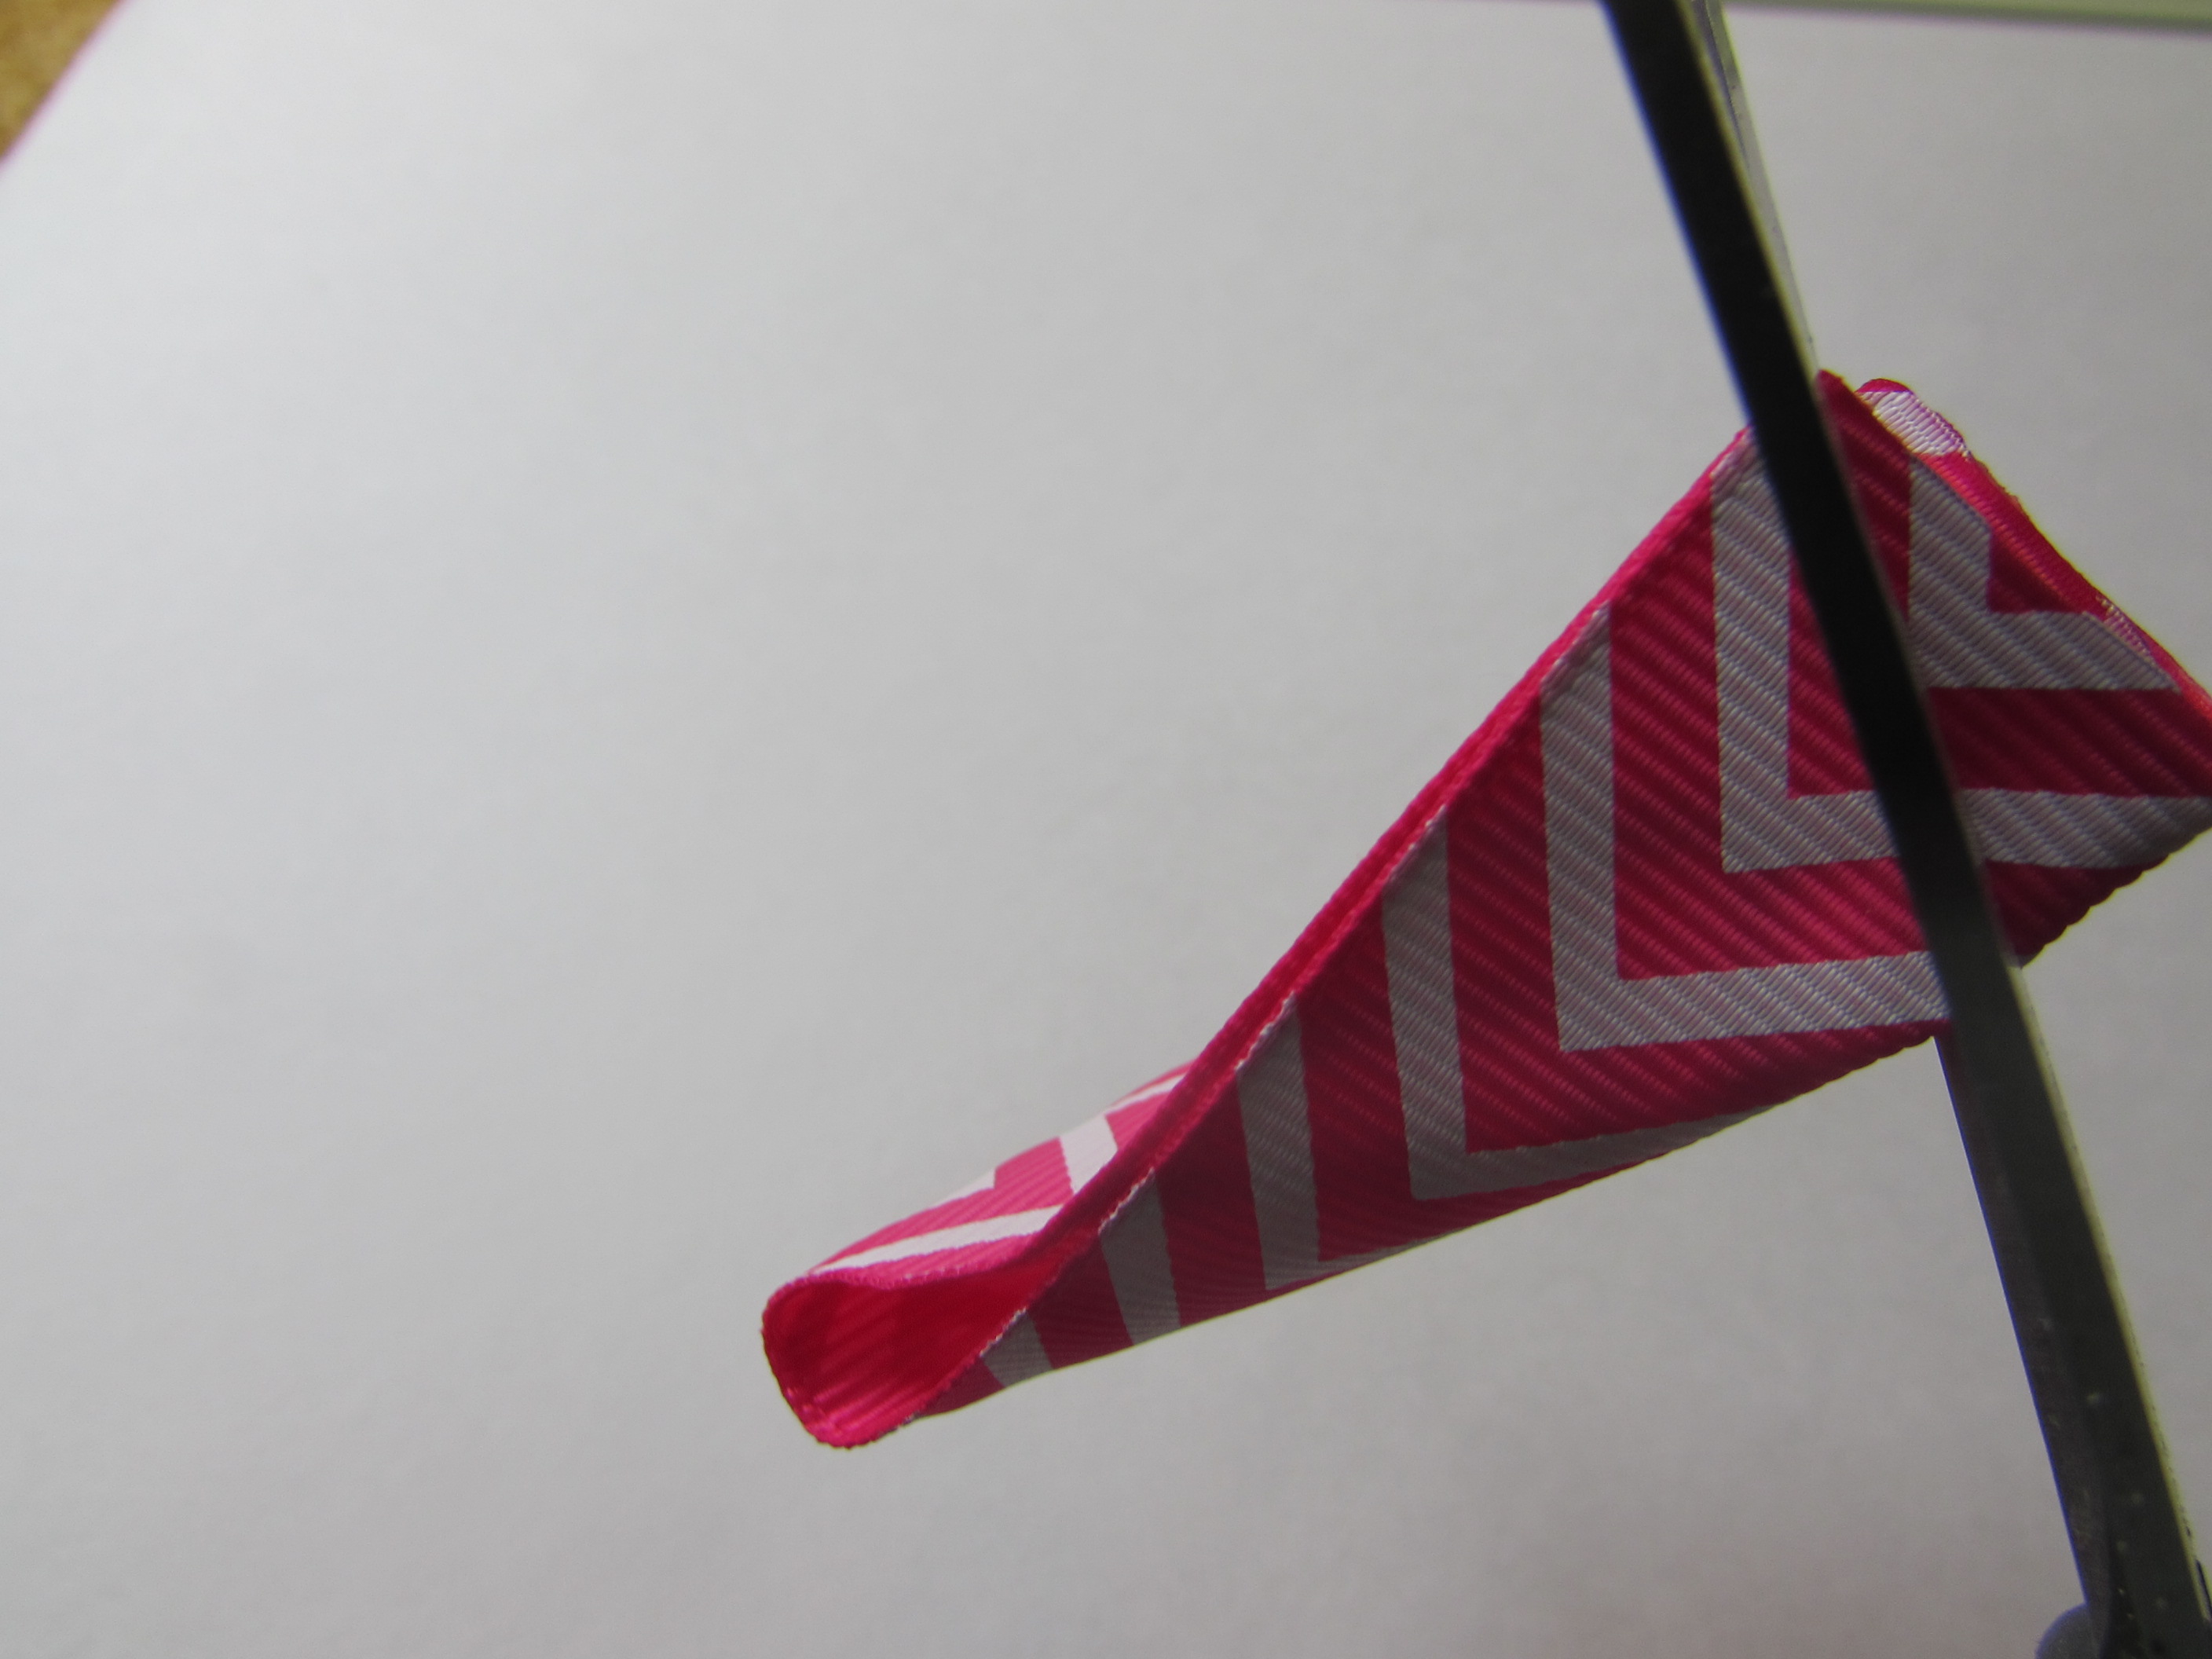
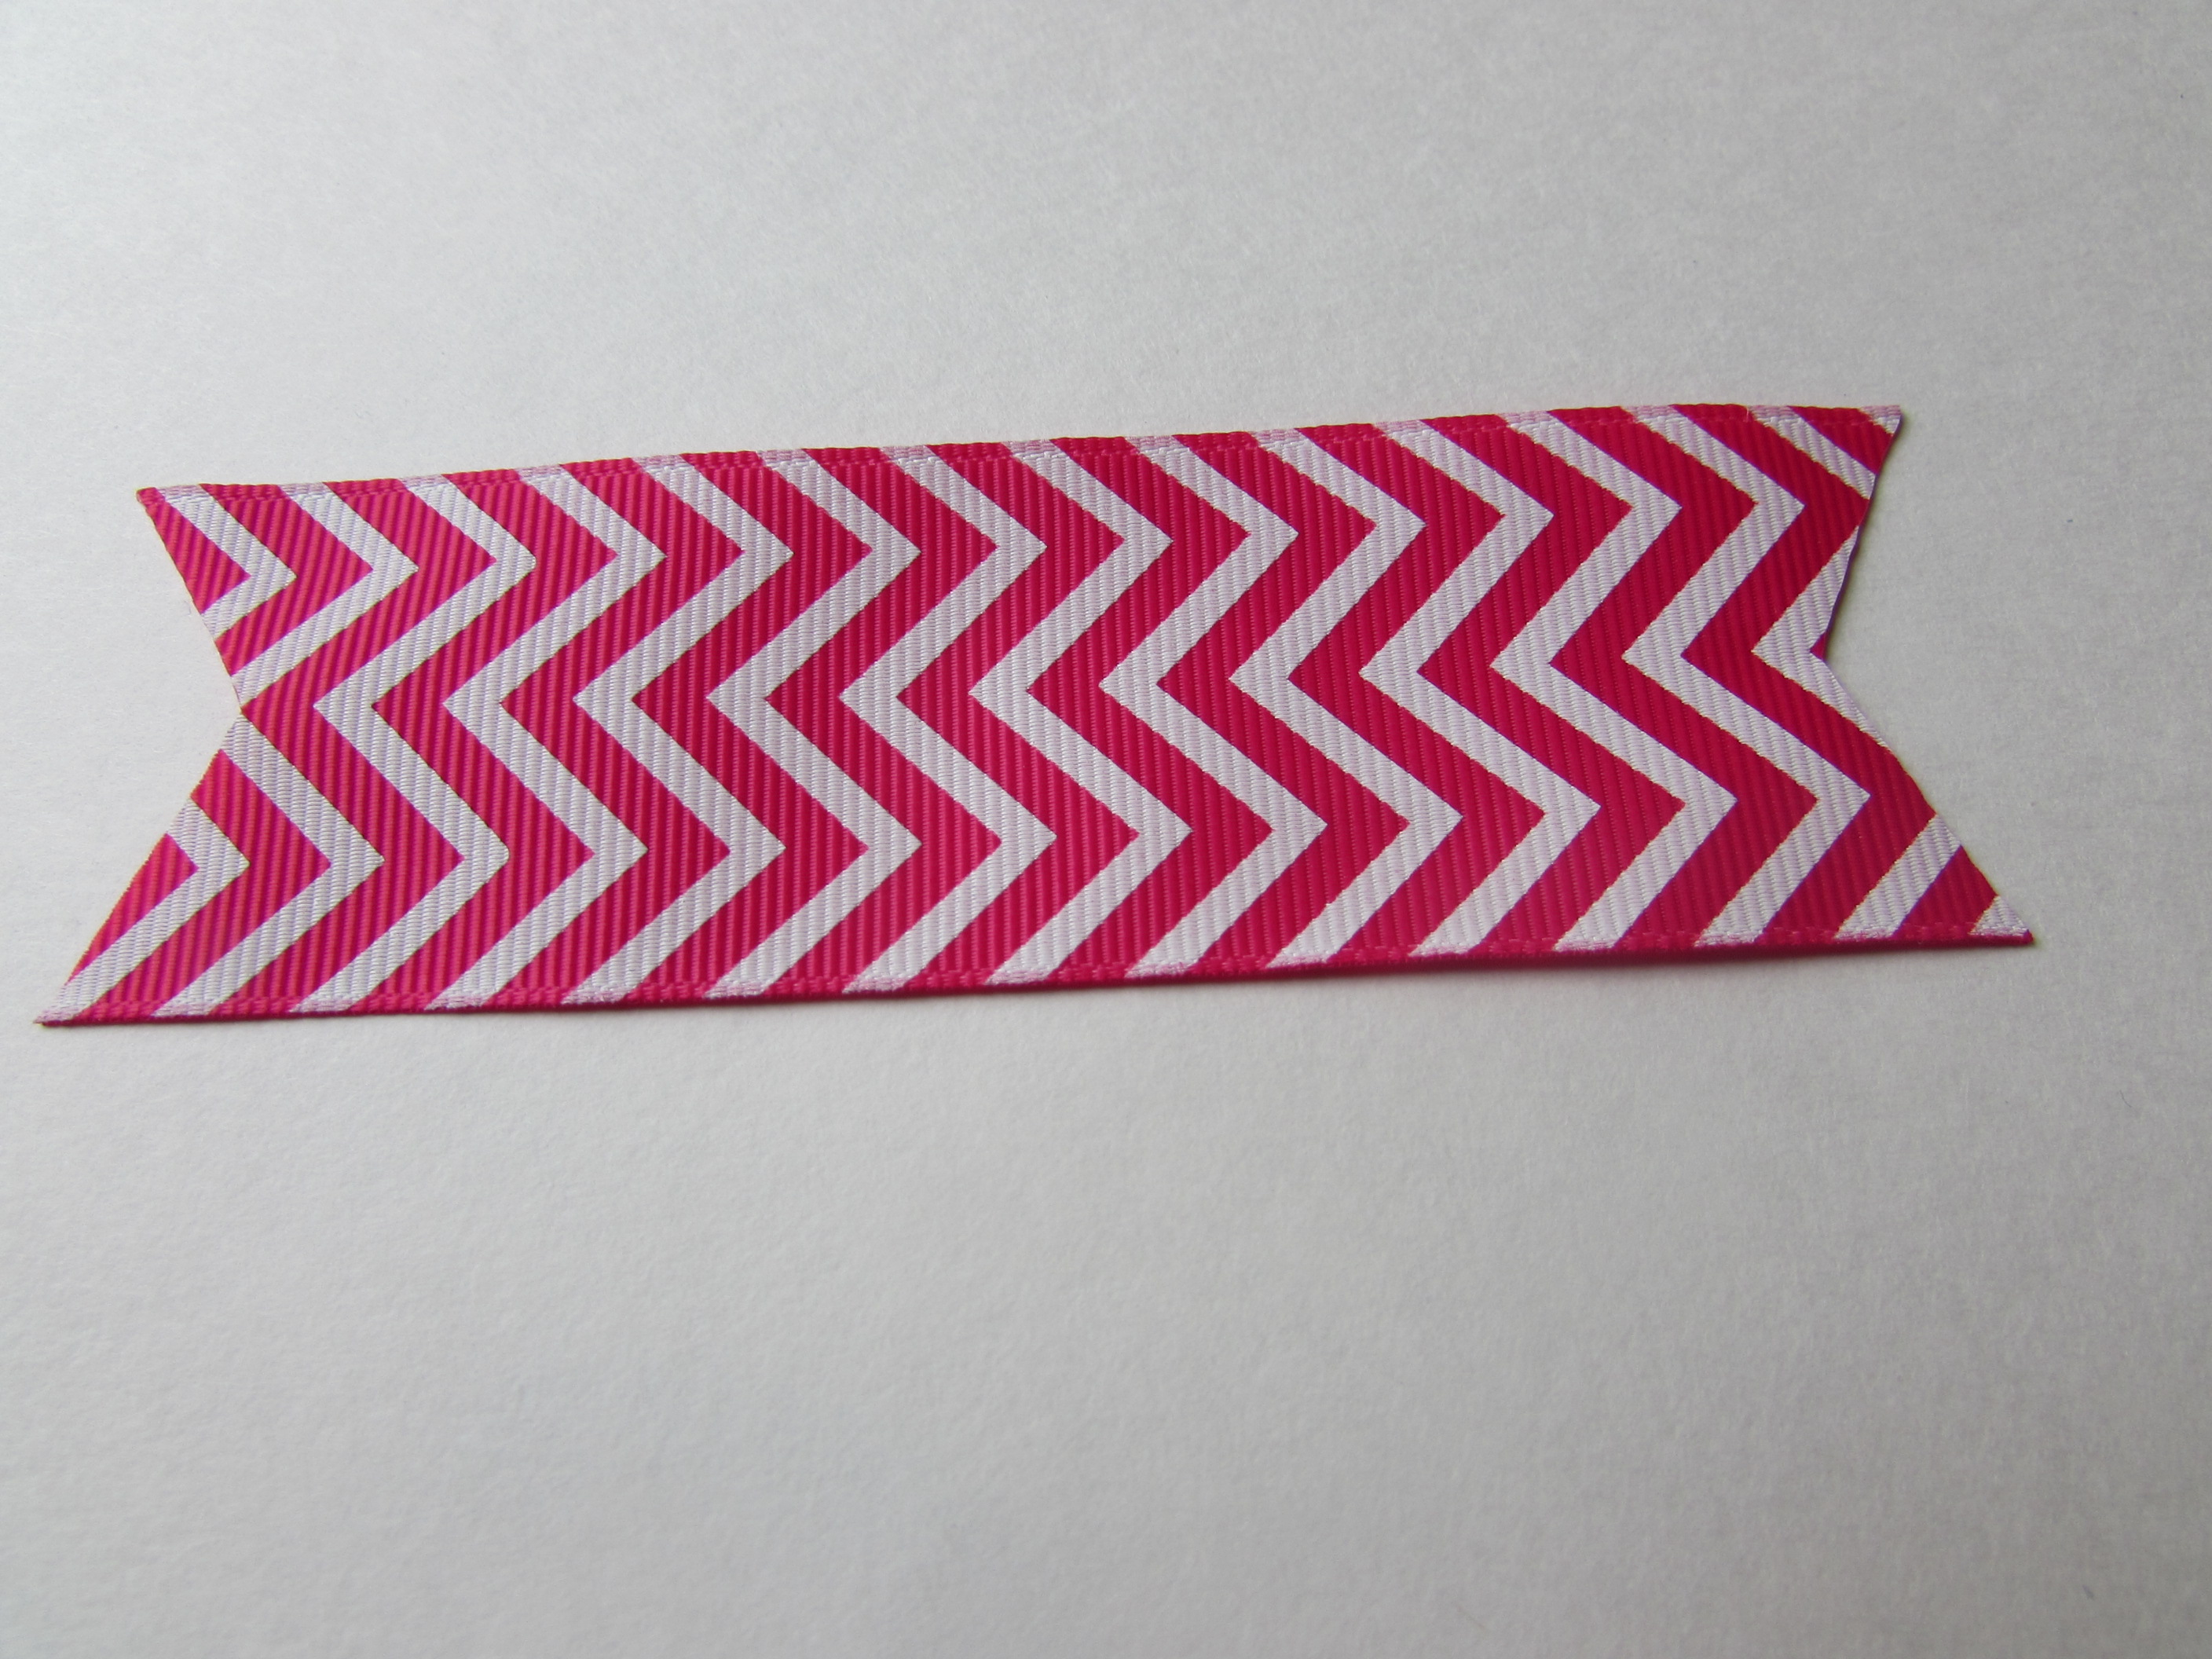 Step 15: Heat seal the ends of the "V" cut ends.
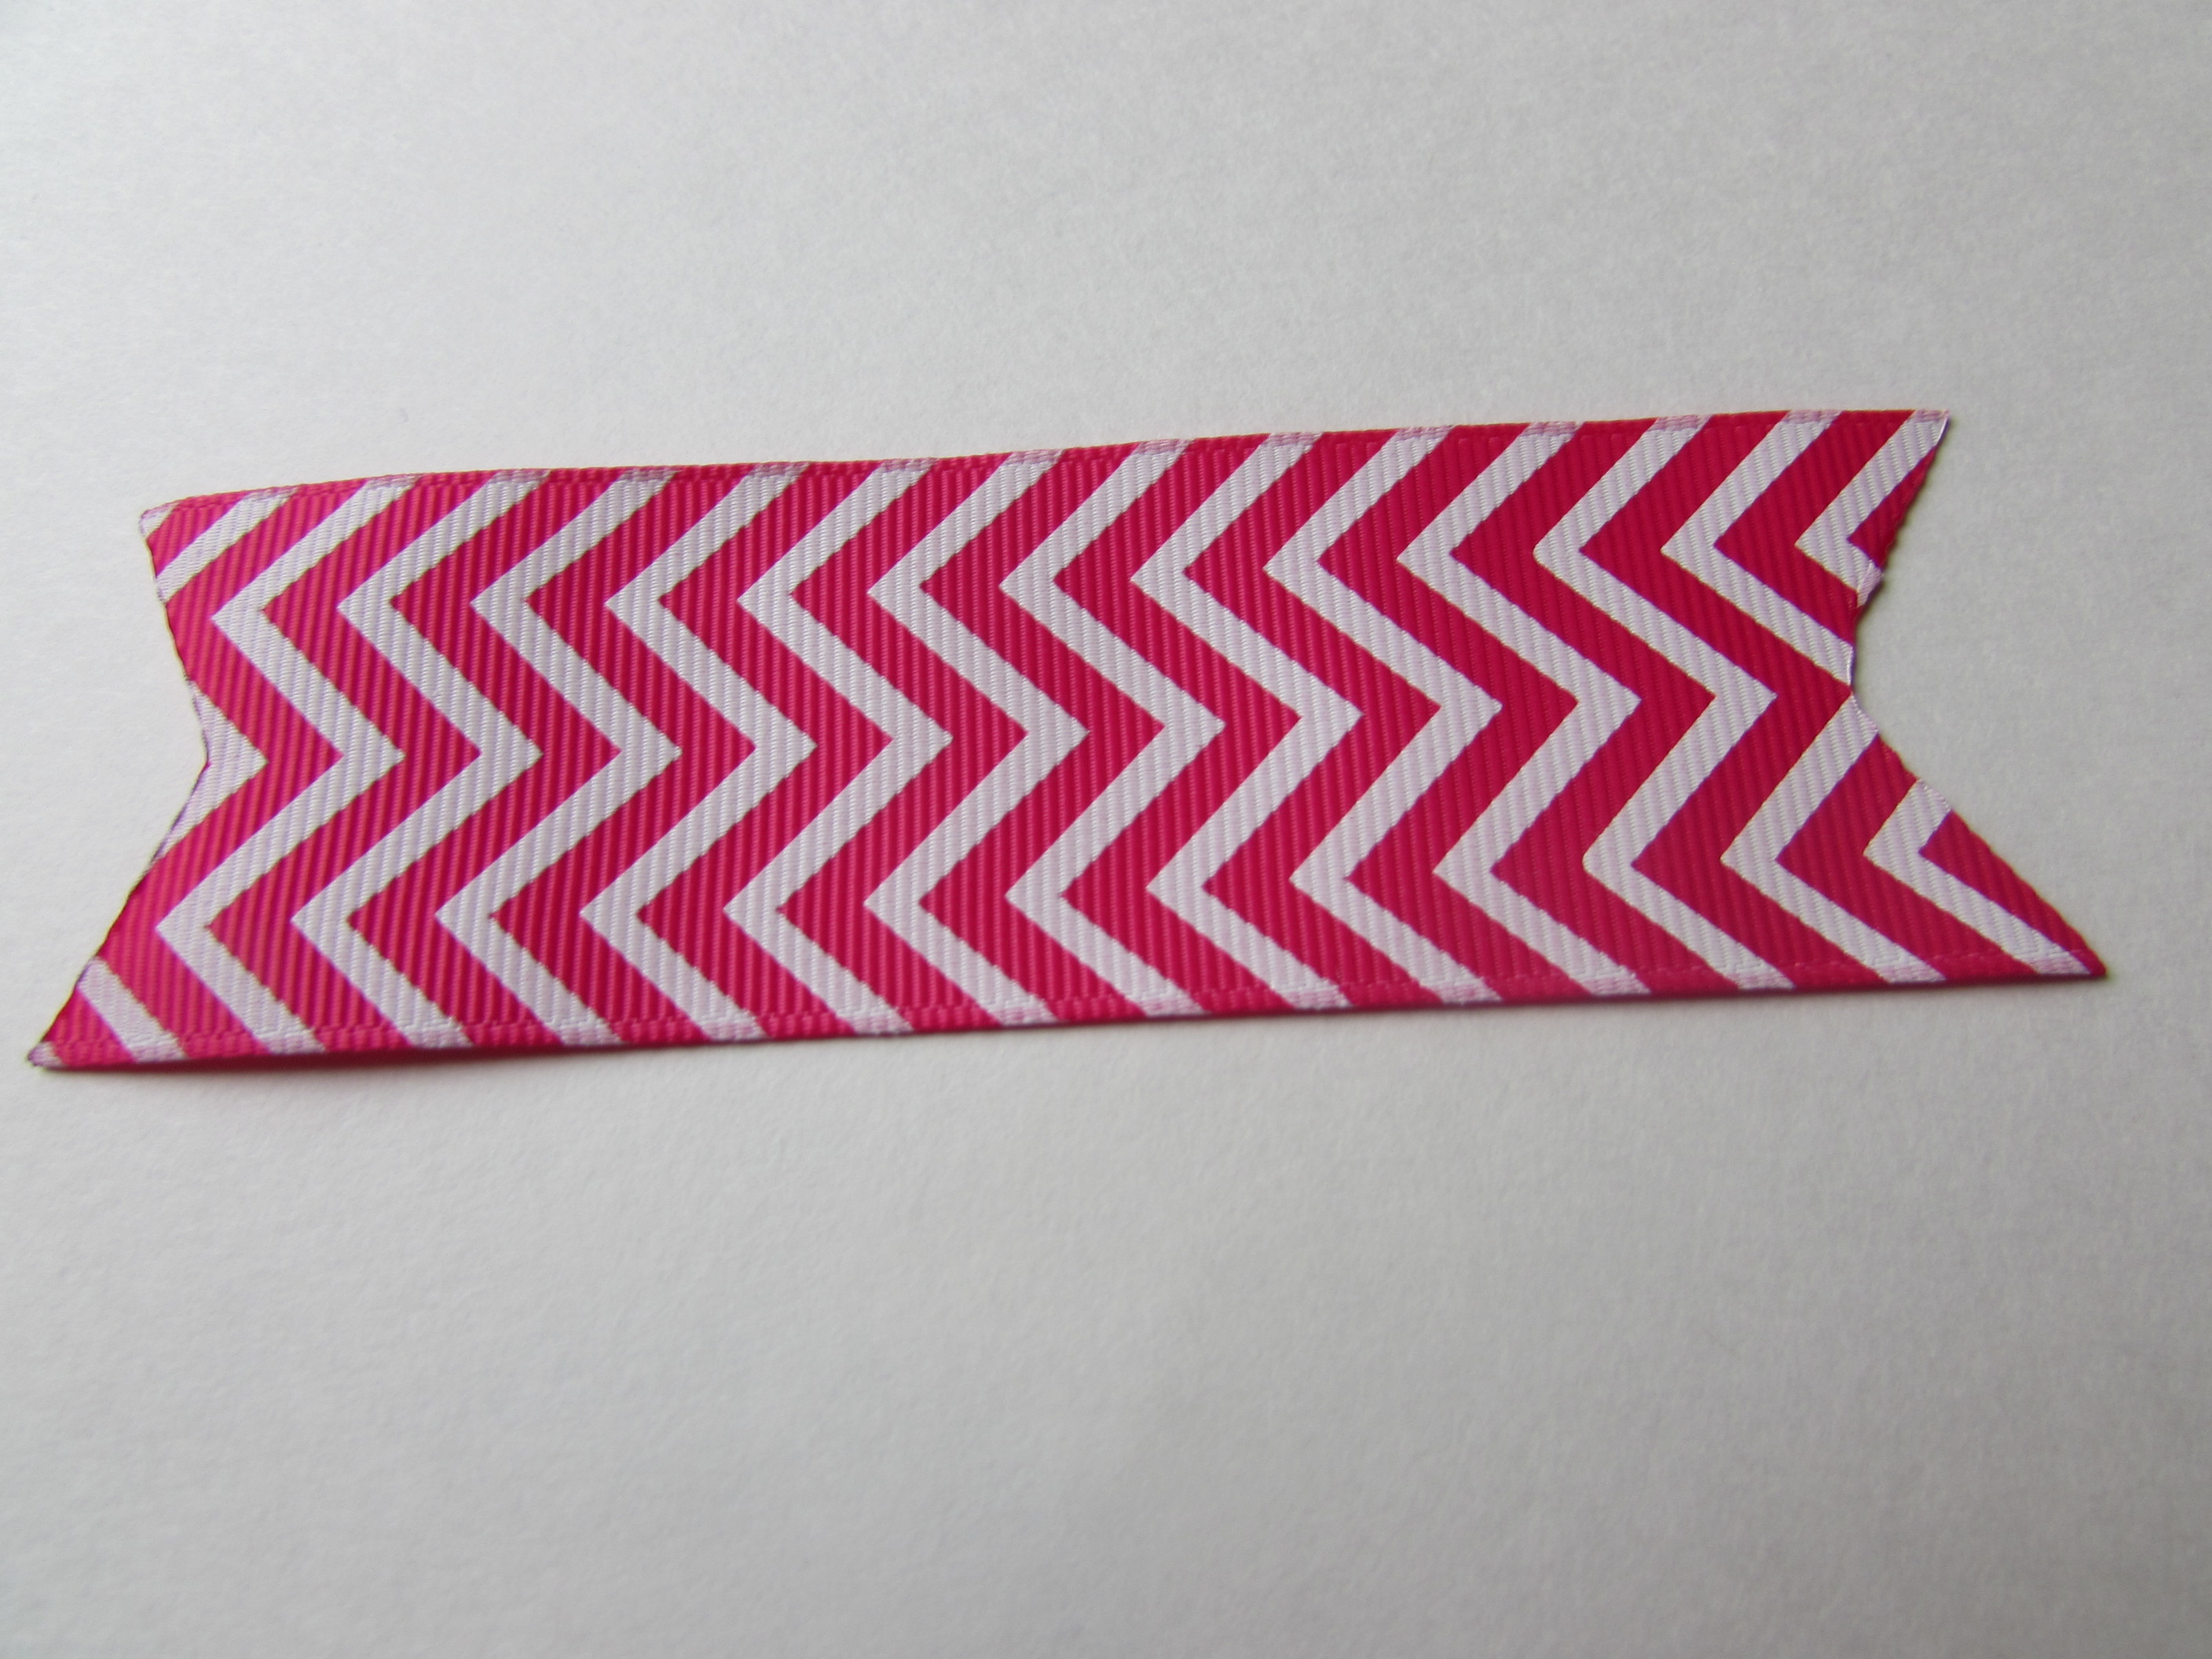 Step 16: Fold in half.
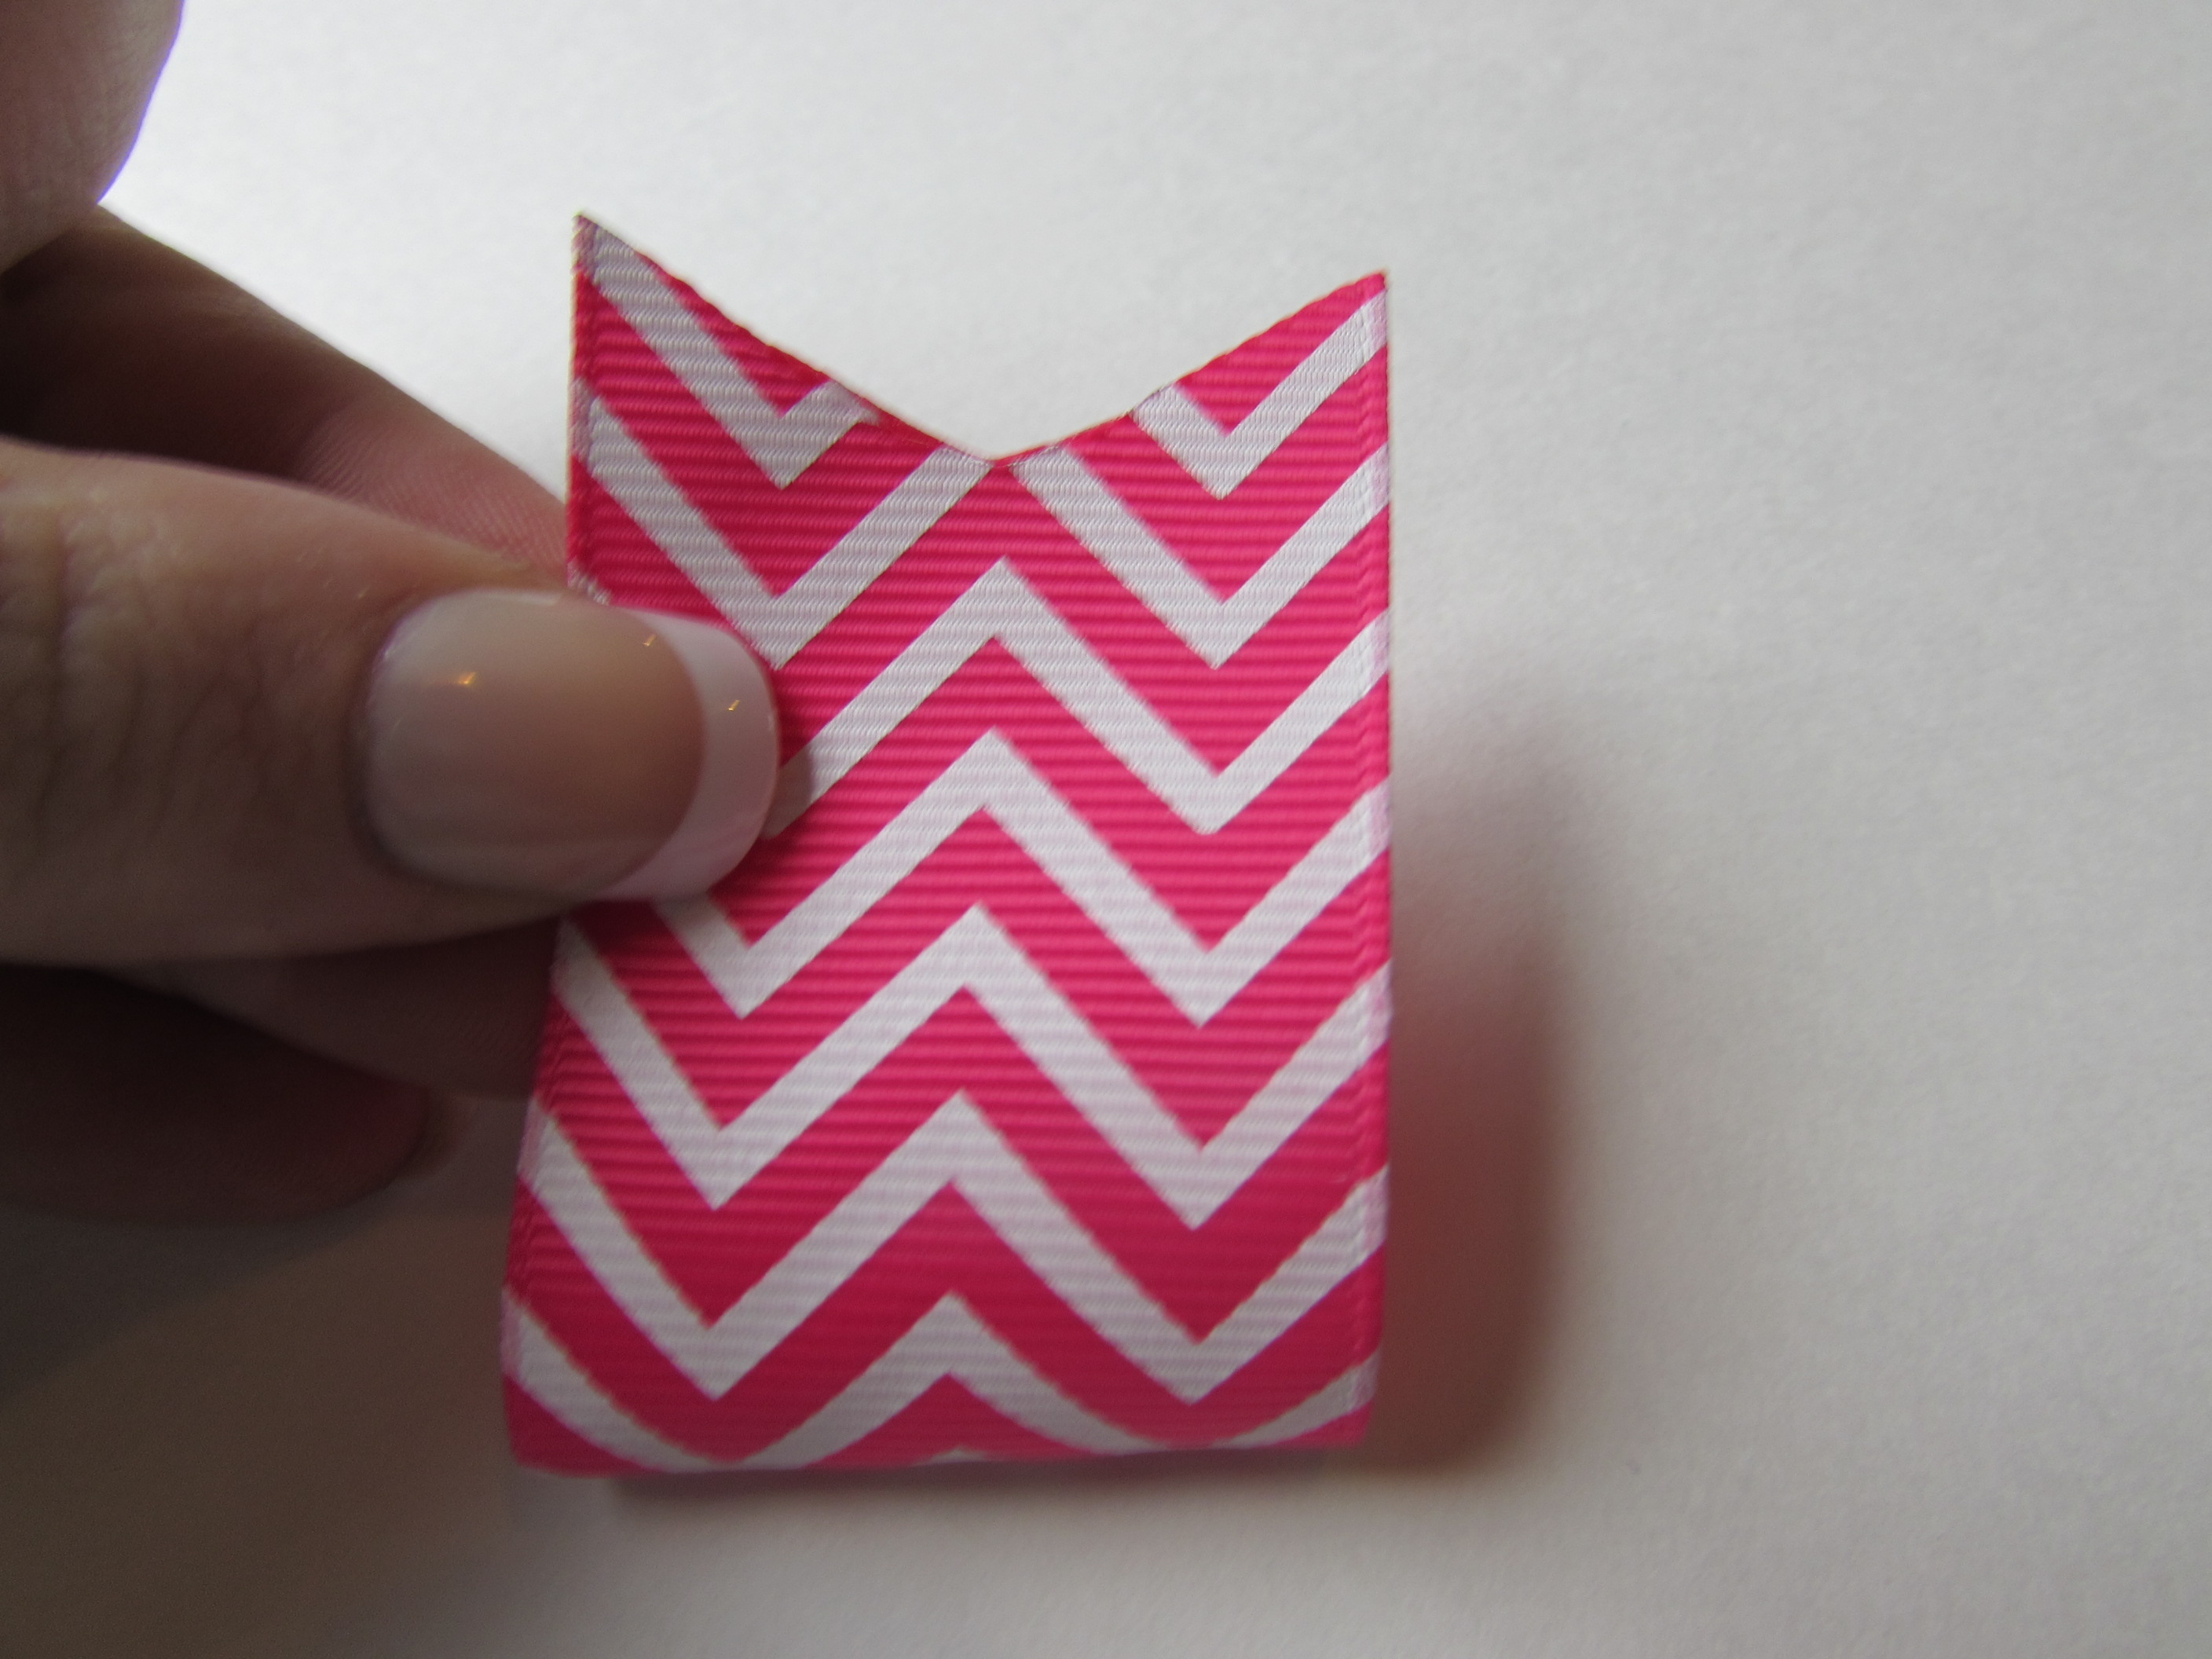 Step 17: Crease the center.
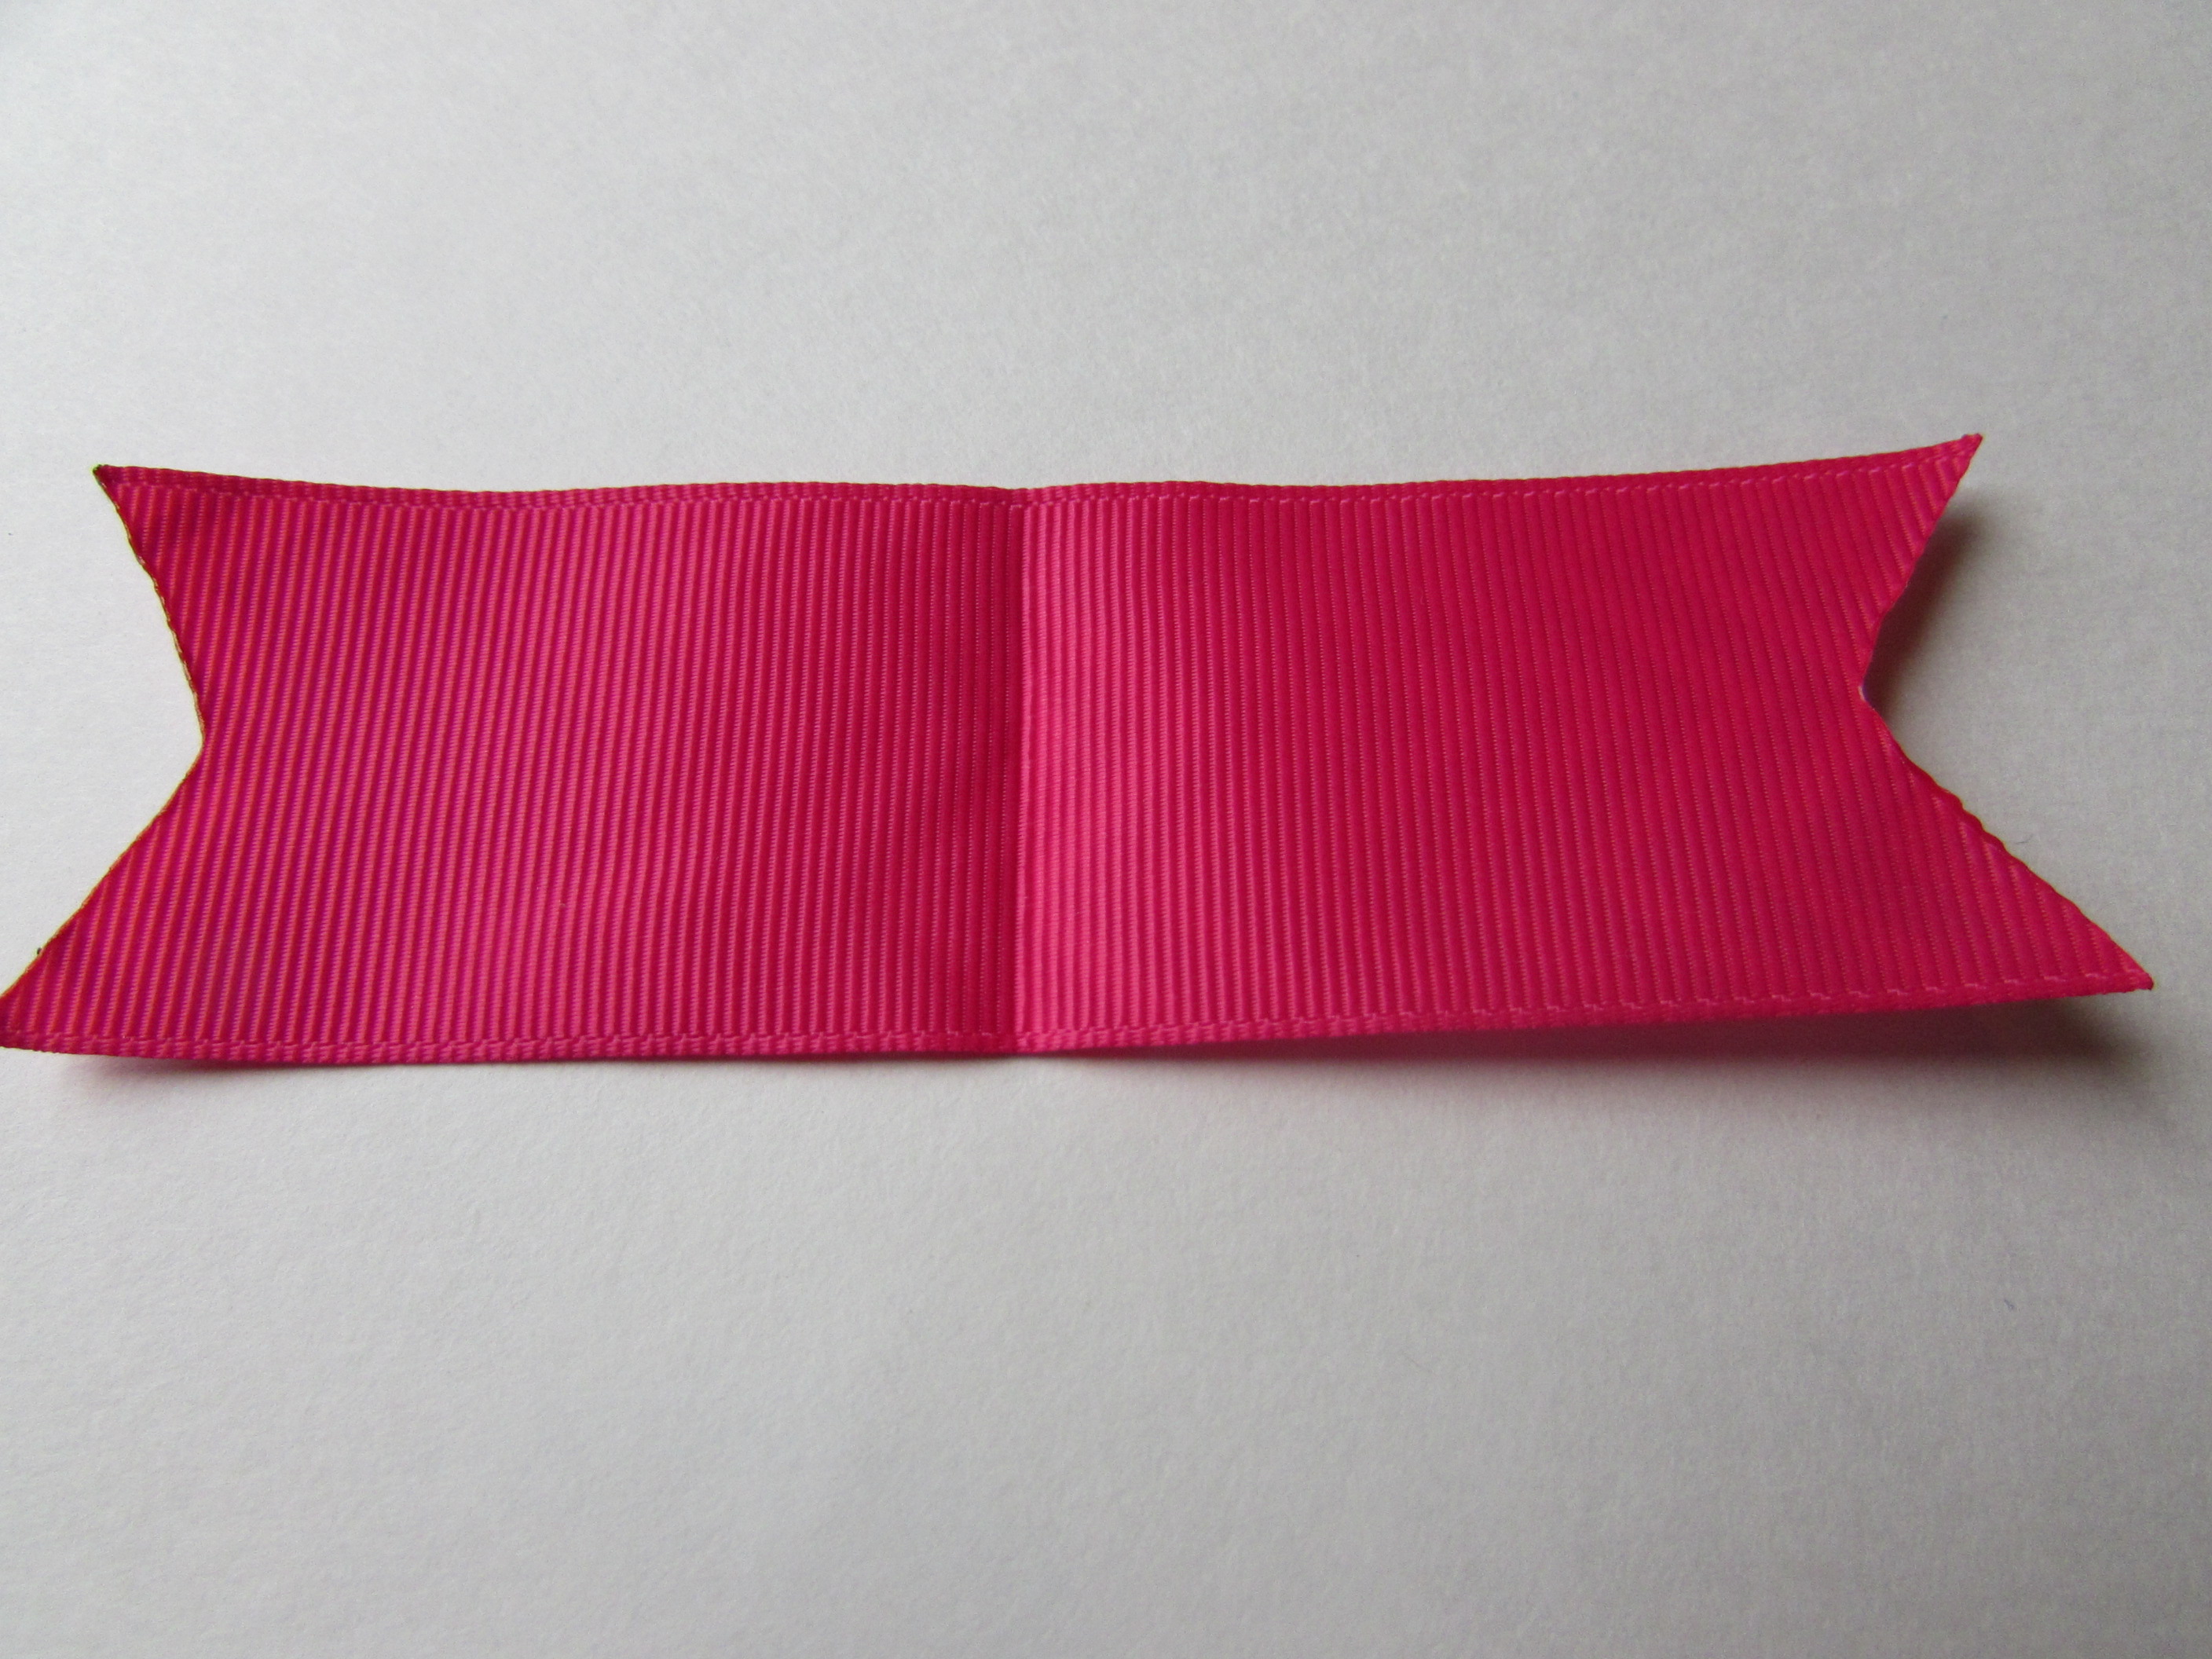 Step 18: Flip the ribbon over.
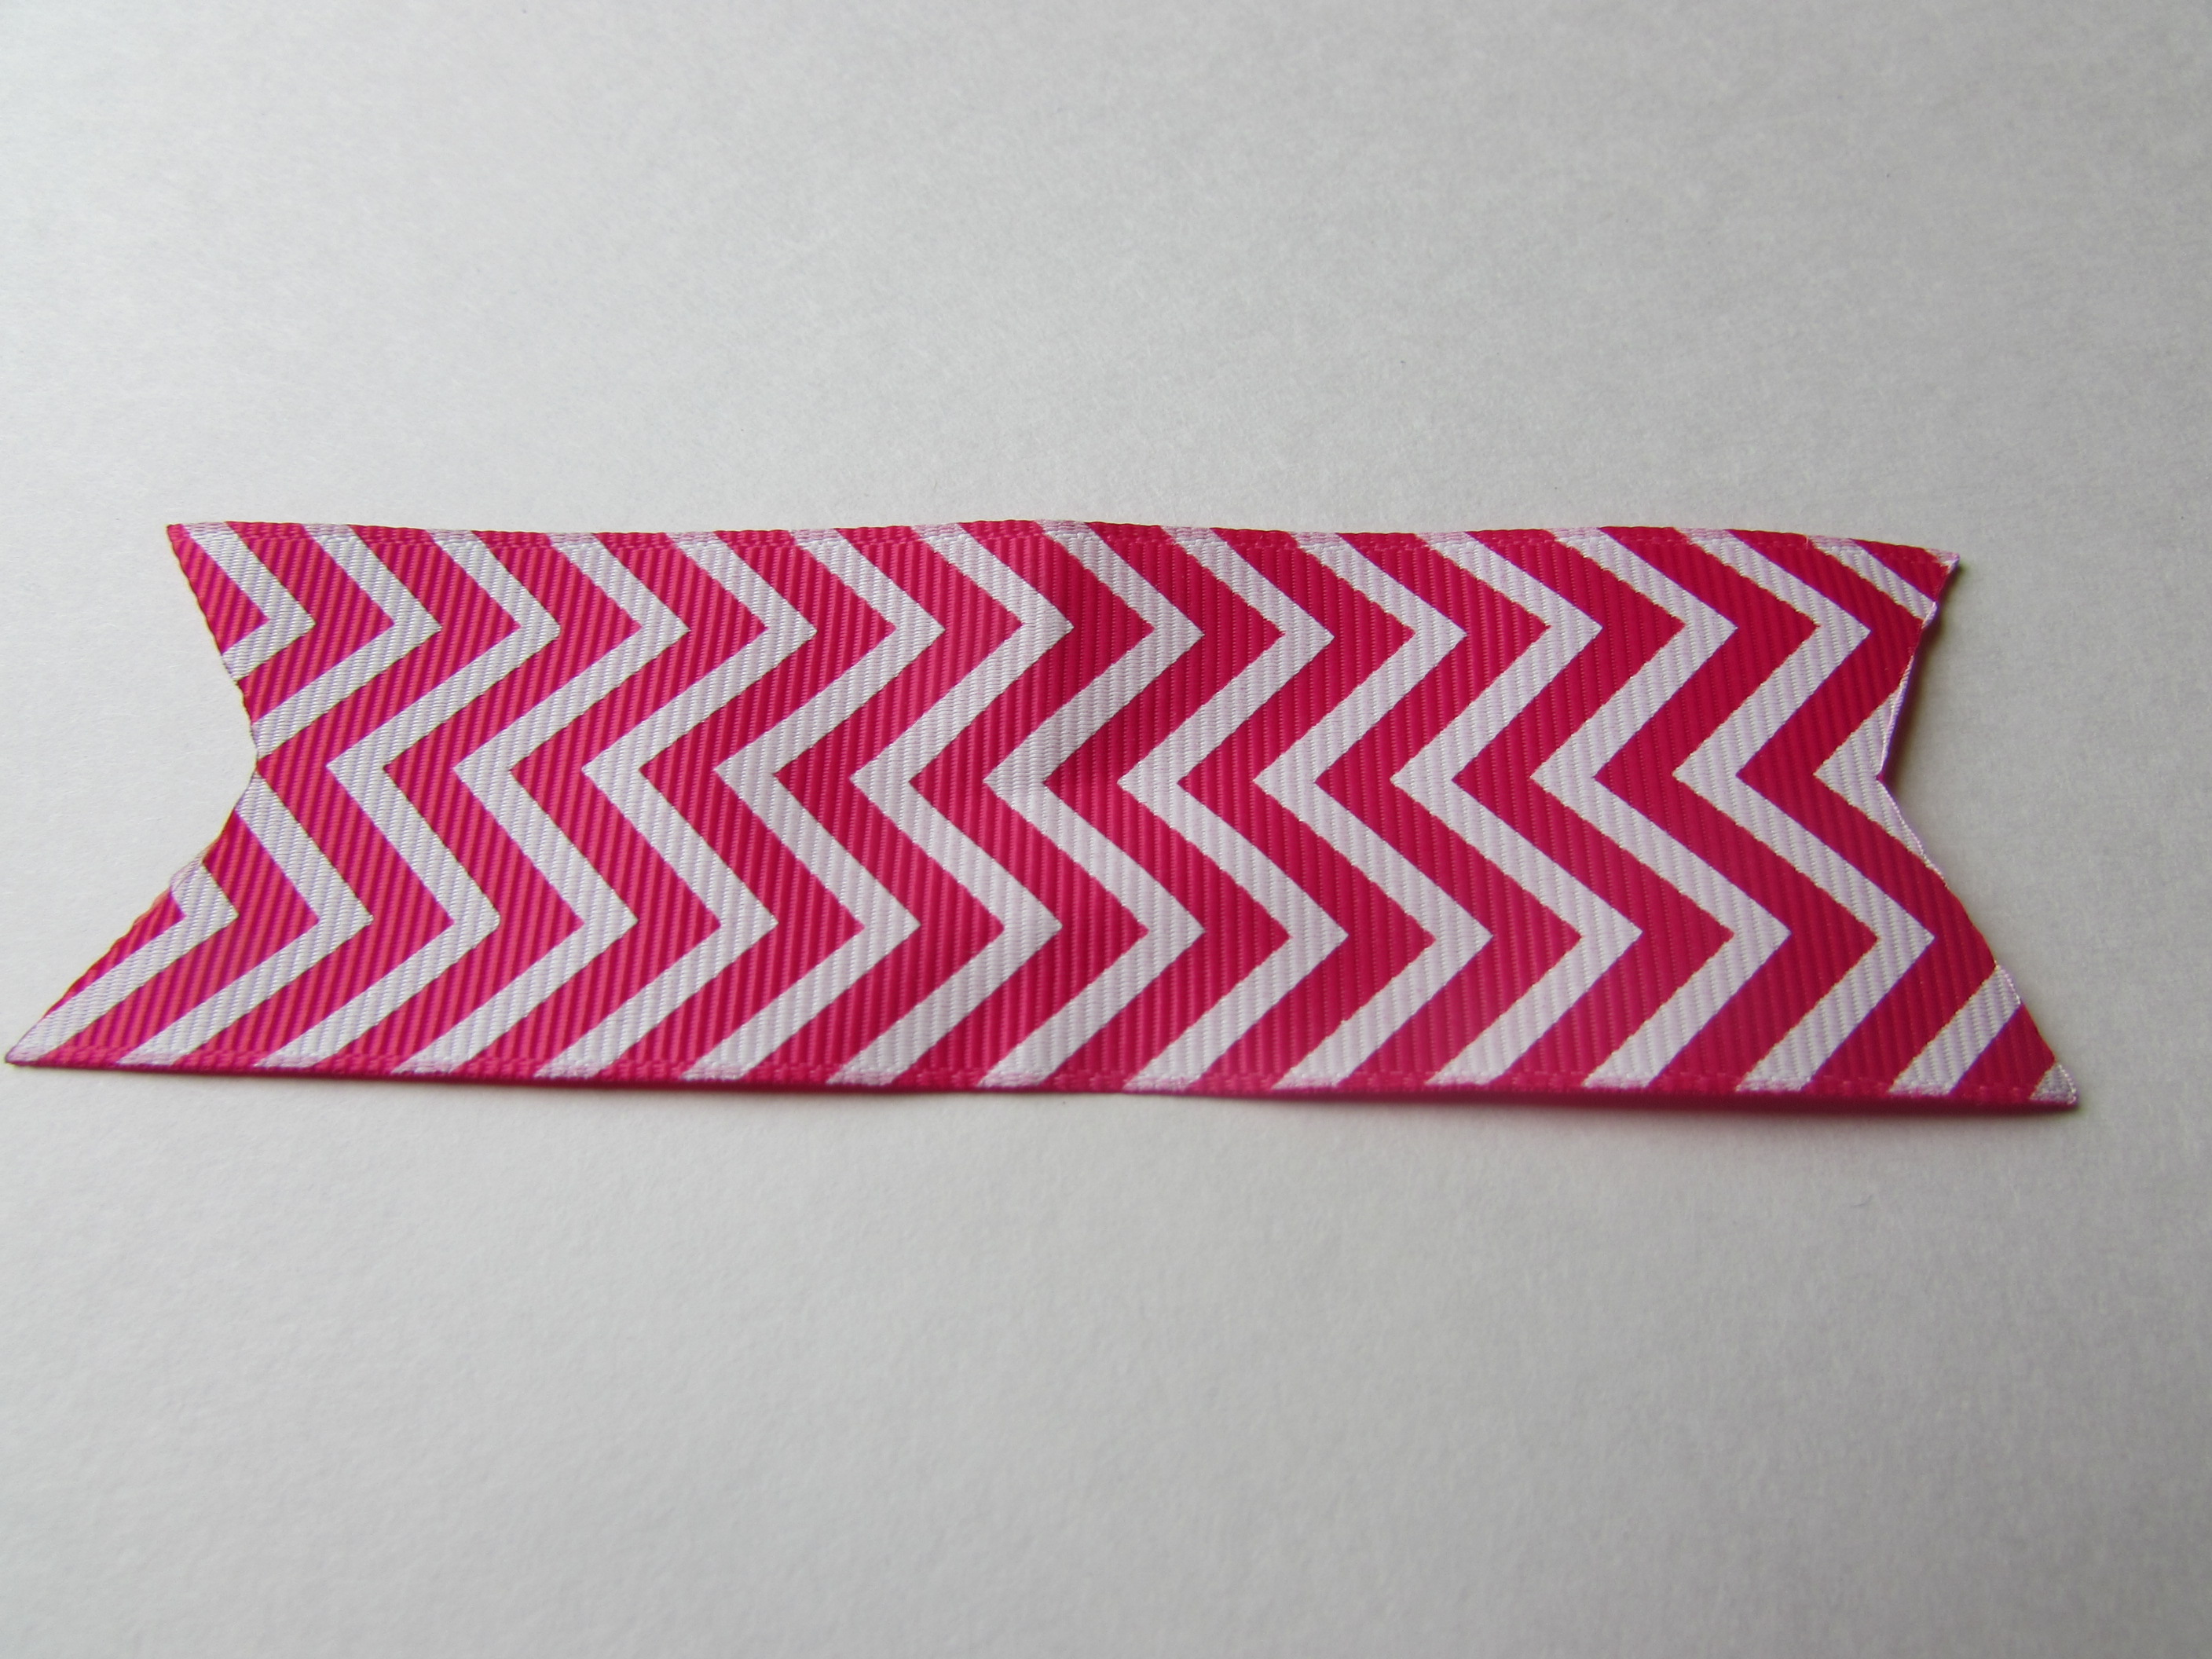 Step 19: Find the center, fold down half {{ like we did in the bow }}
 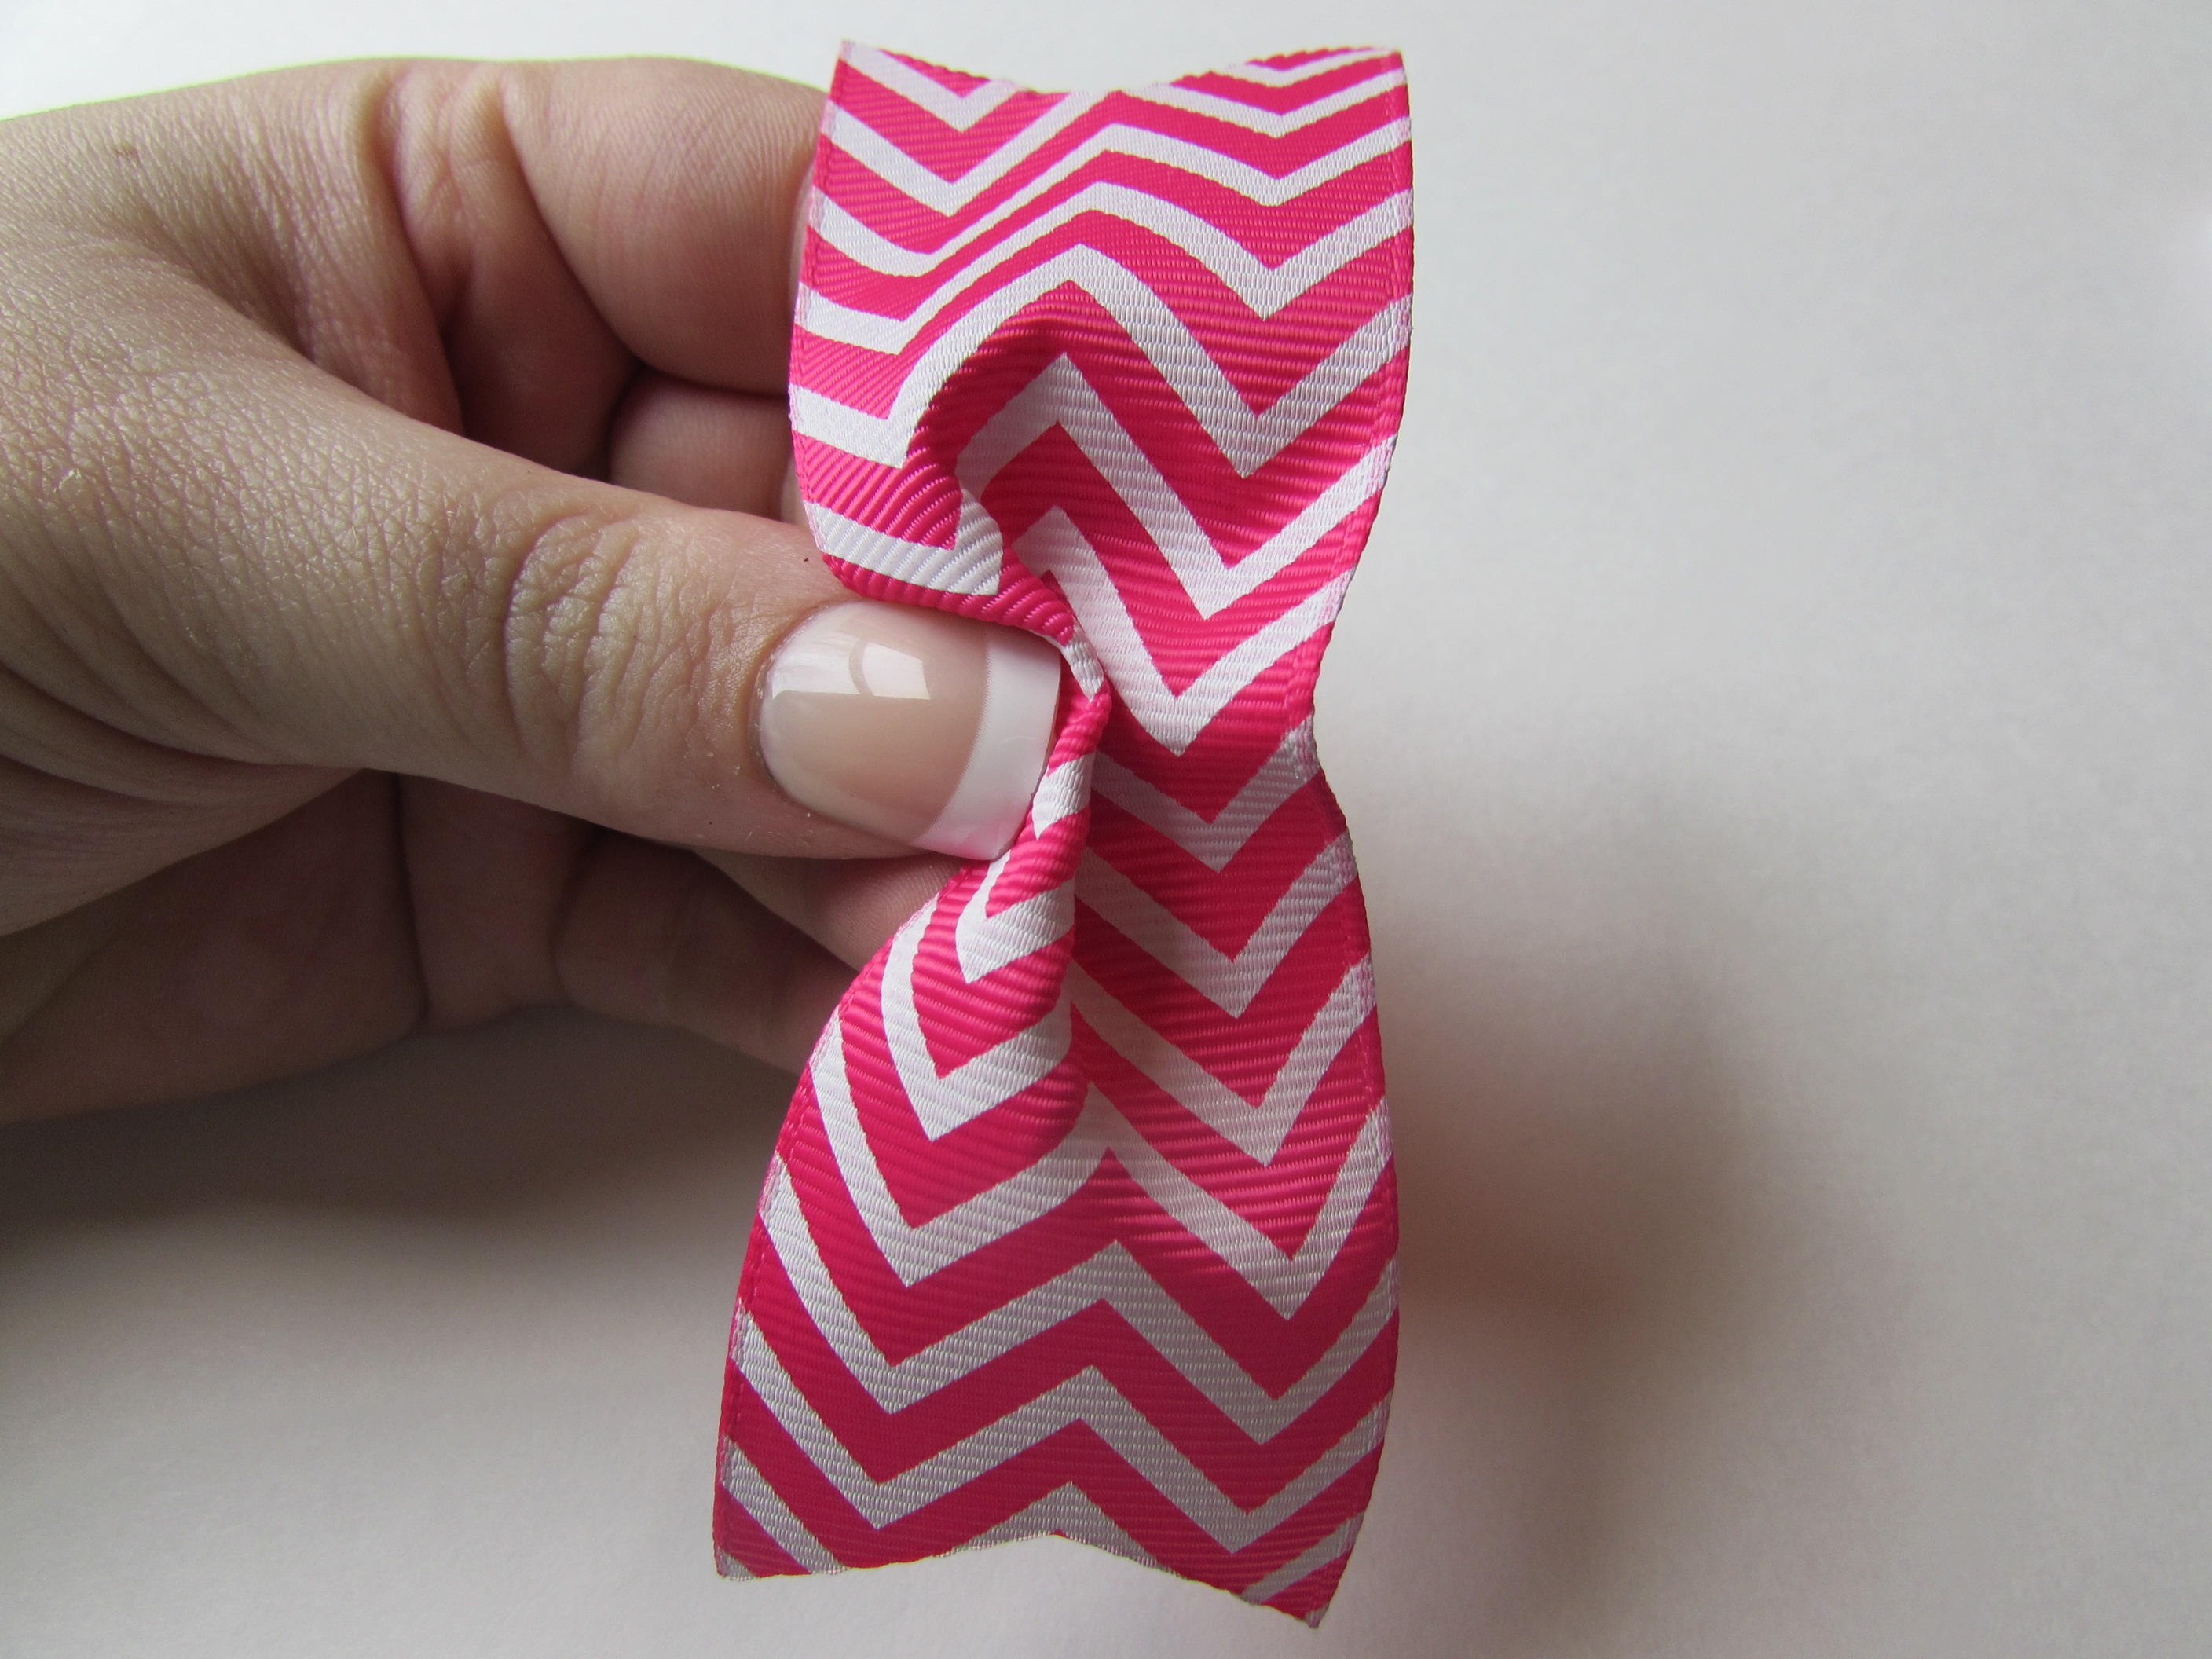 Step 20: Fold the other side down
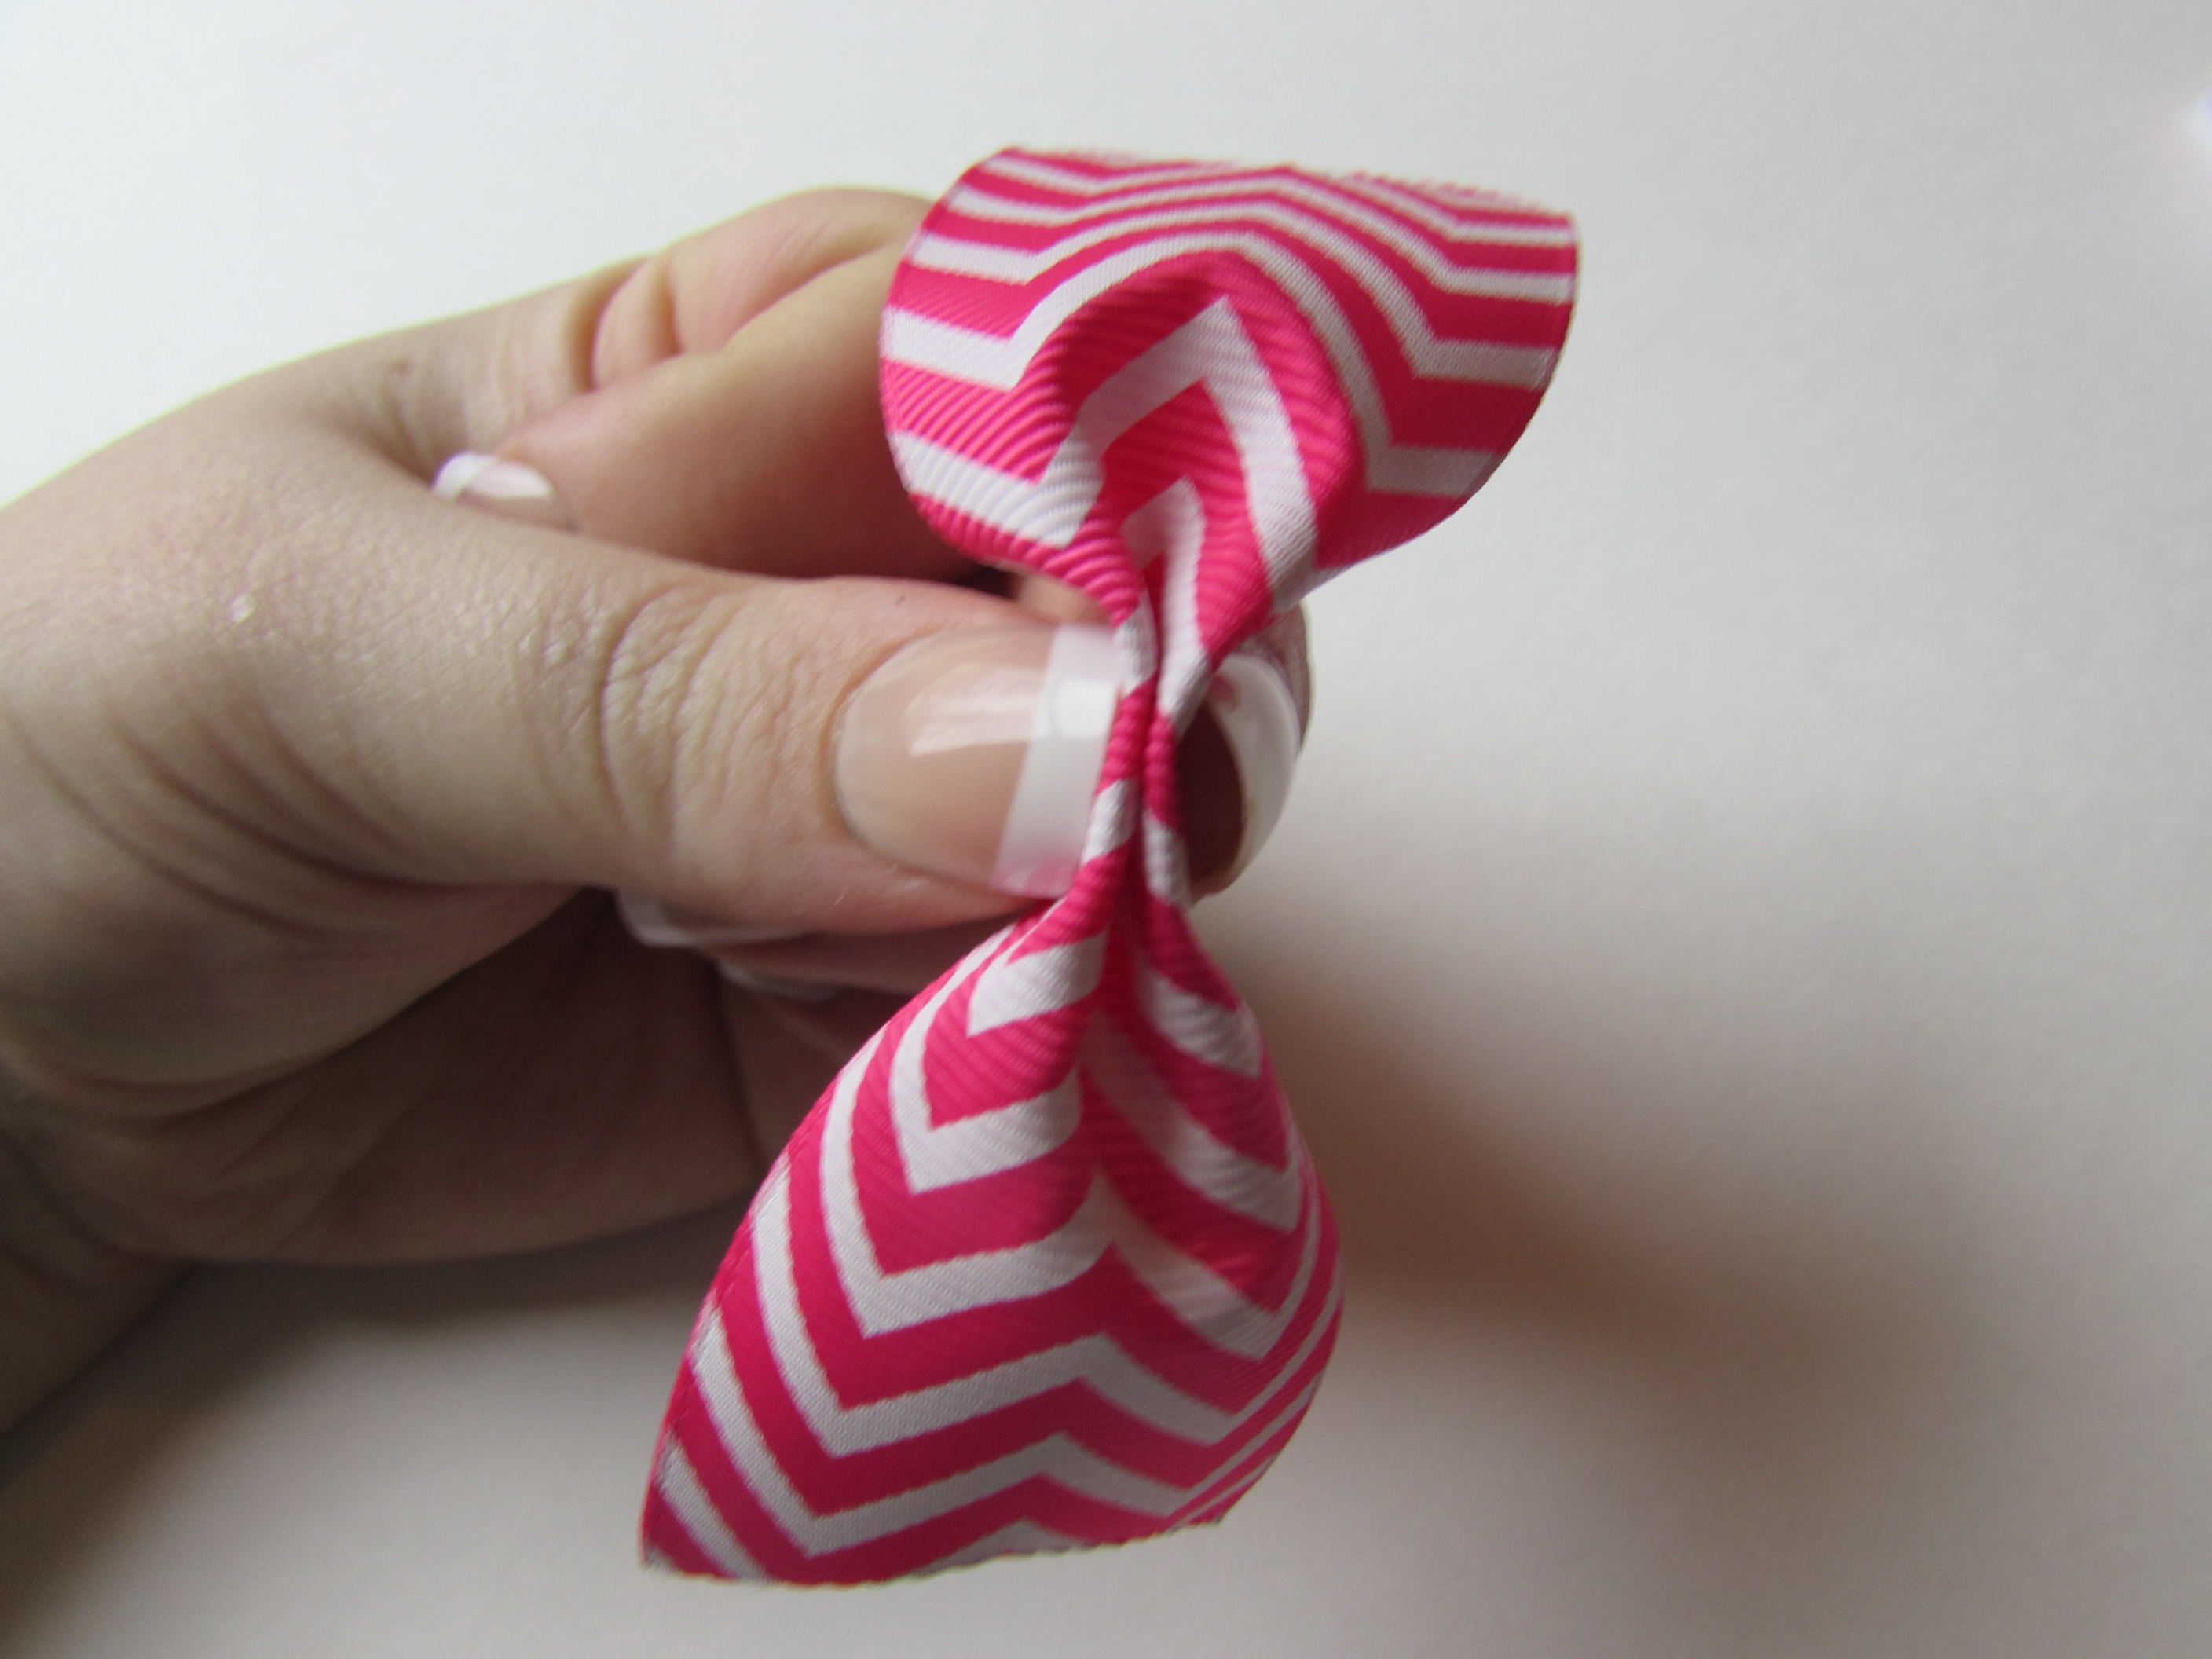 Step 21: Add a drop of hot glue in the center. Hold the center until the glue dries.
Step 22: Flip the bow over.
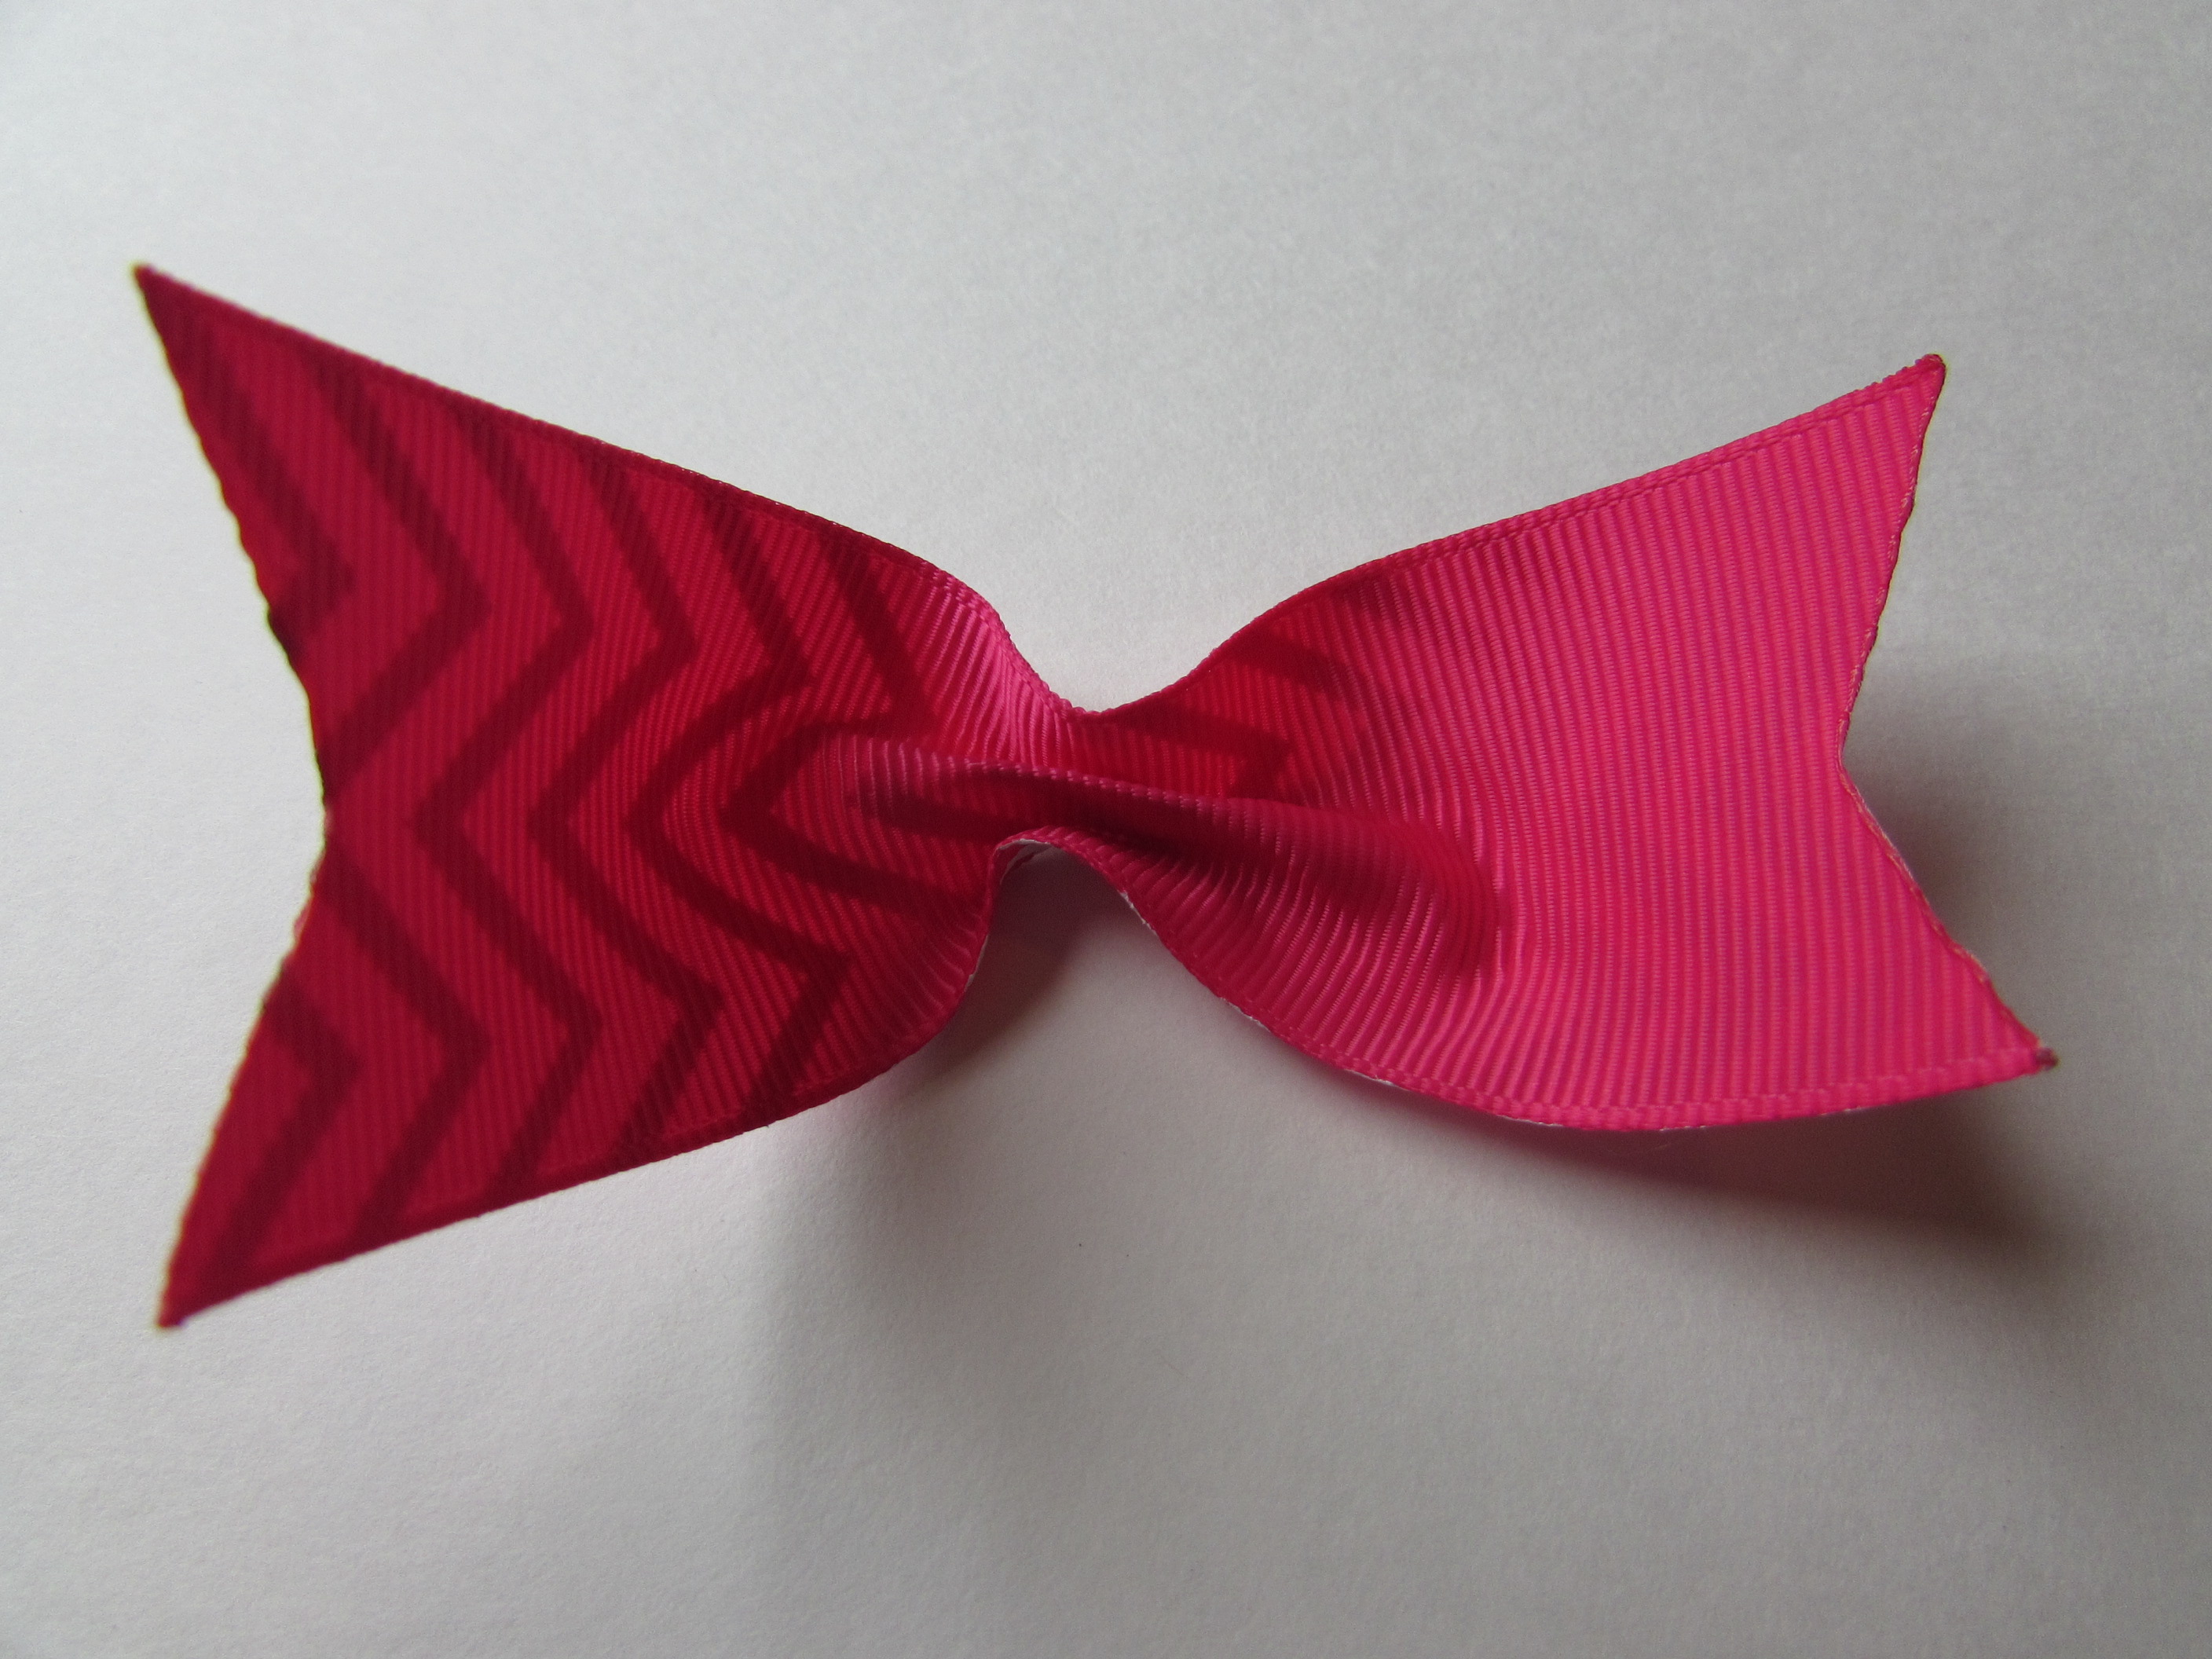 Step 23: Add a drop of hot glue under the top flap.
 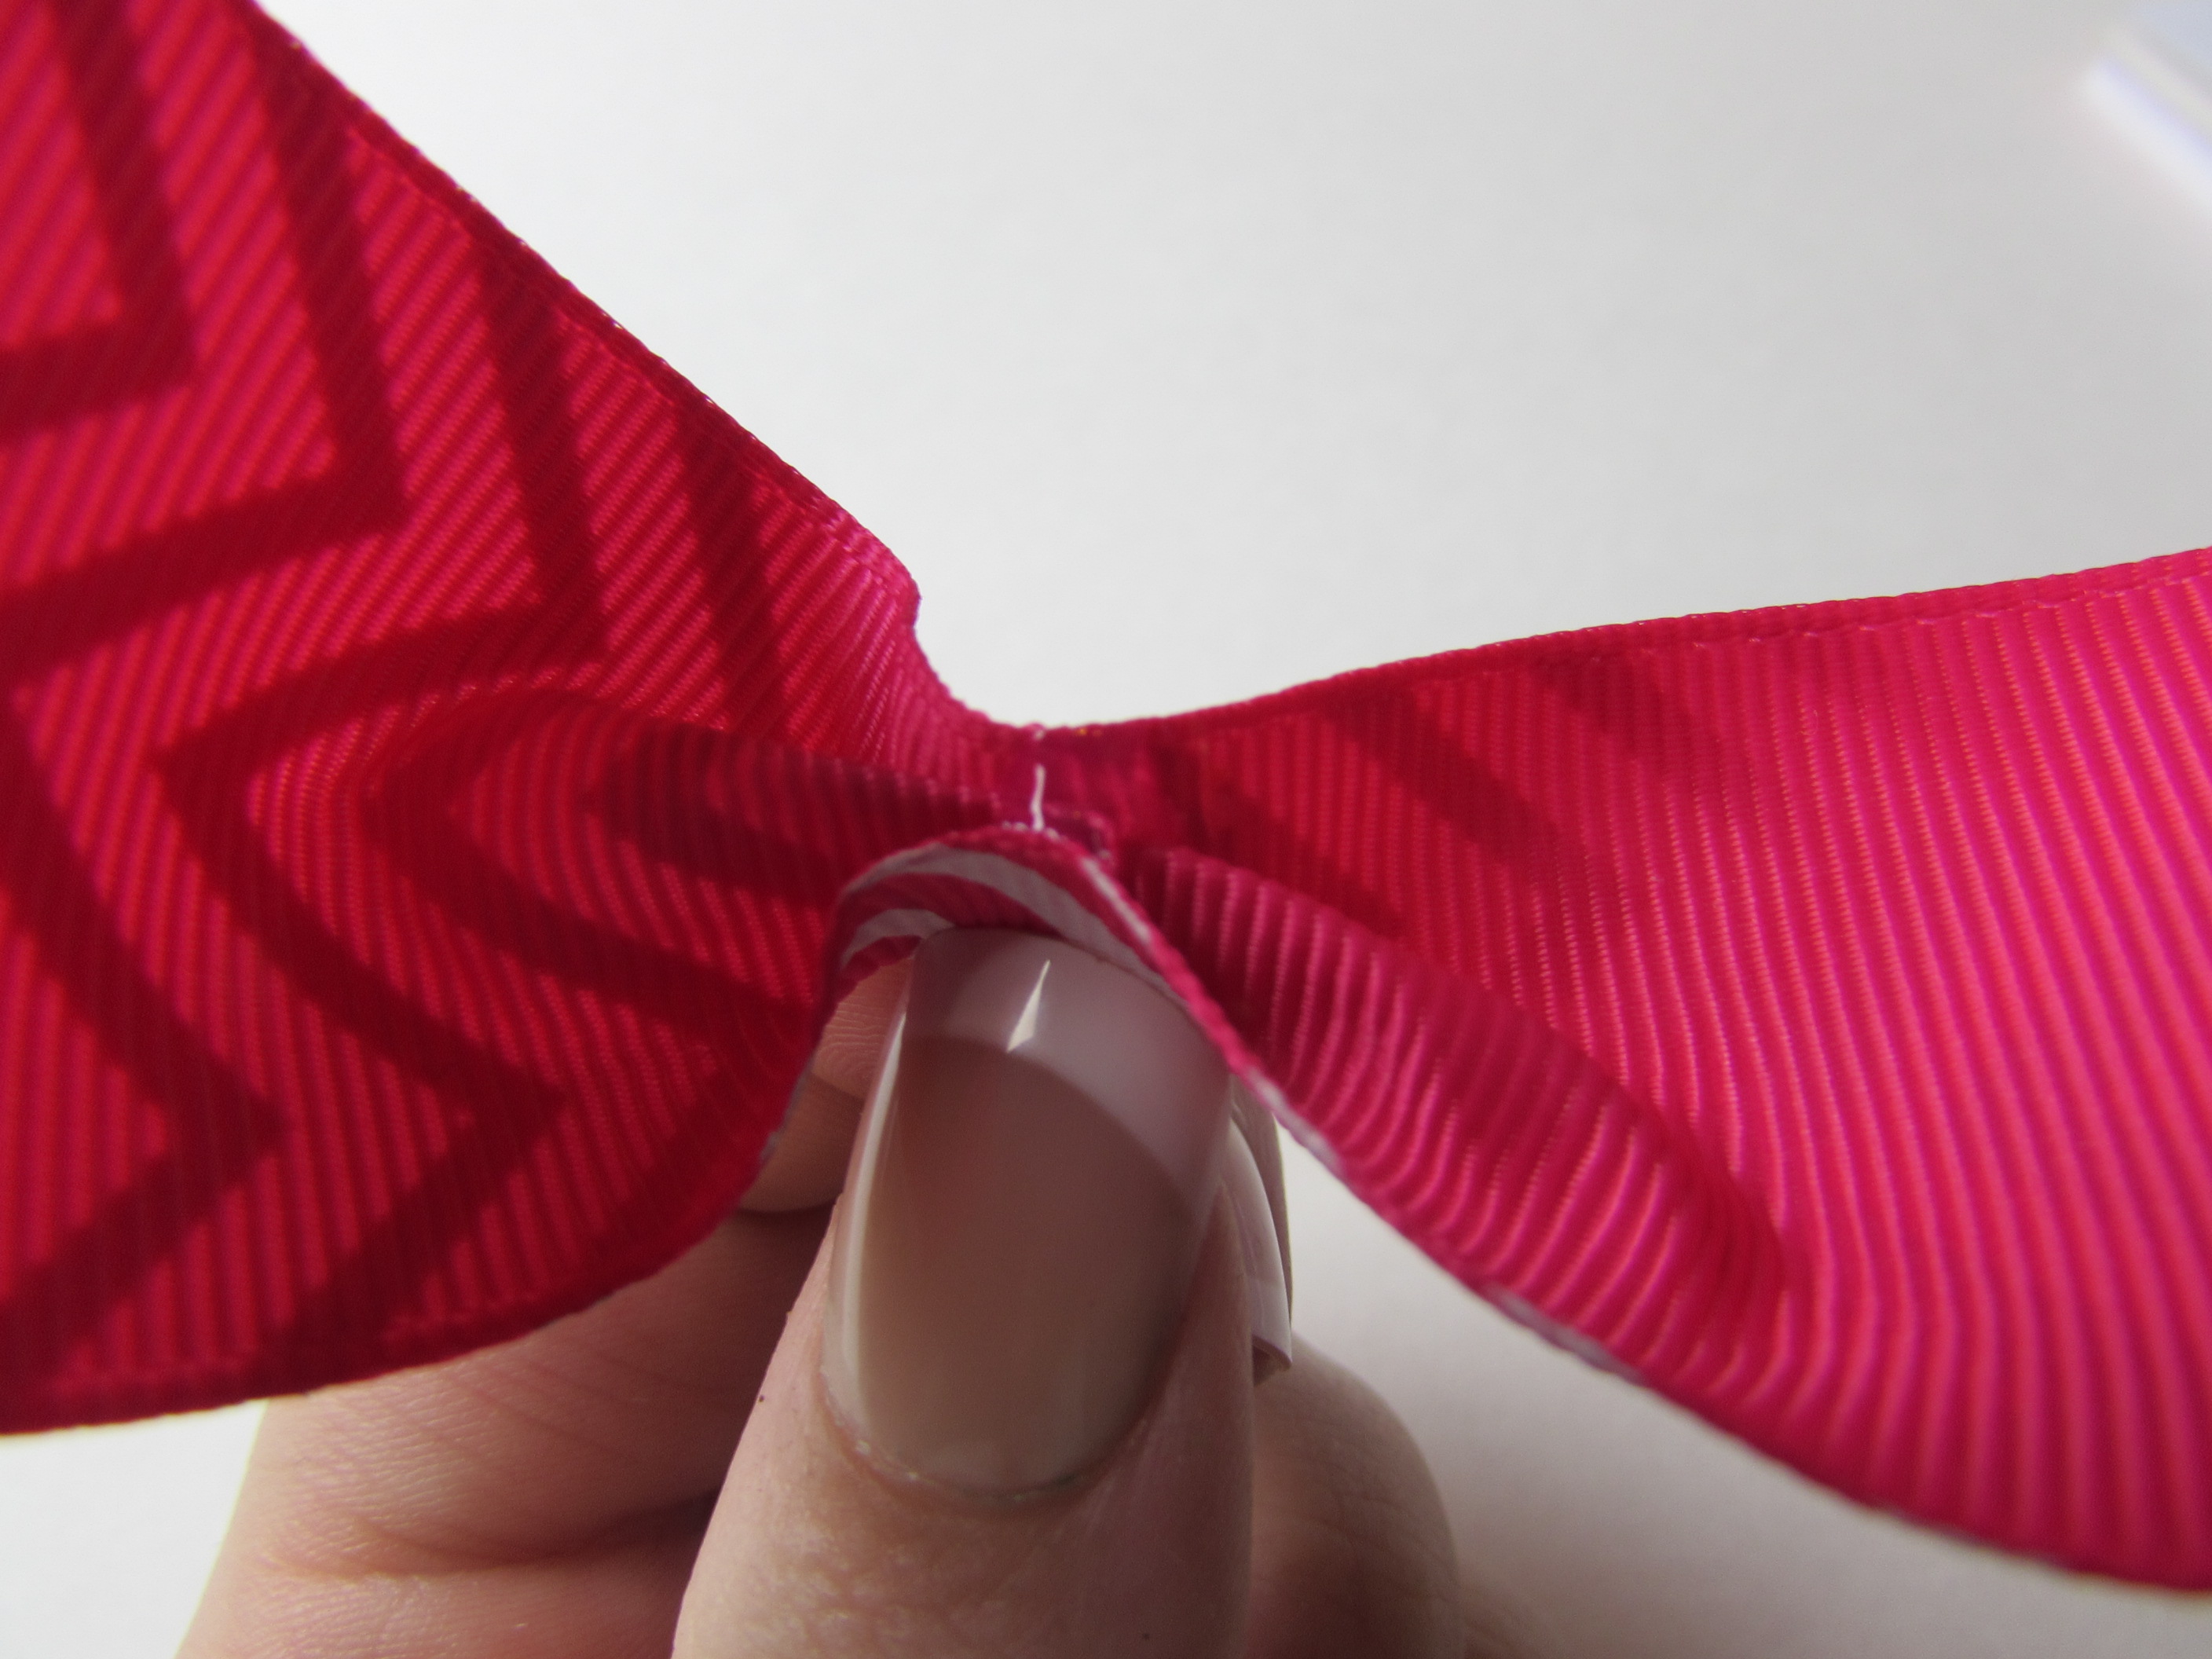 Step 24: Press and hold until the glue dries.
Step 25: Put a drop of hot glue on the bottom flap.
 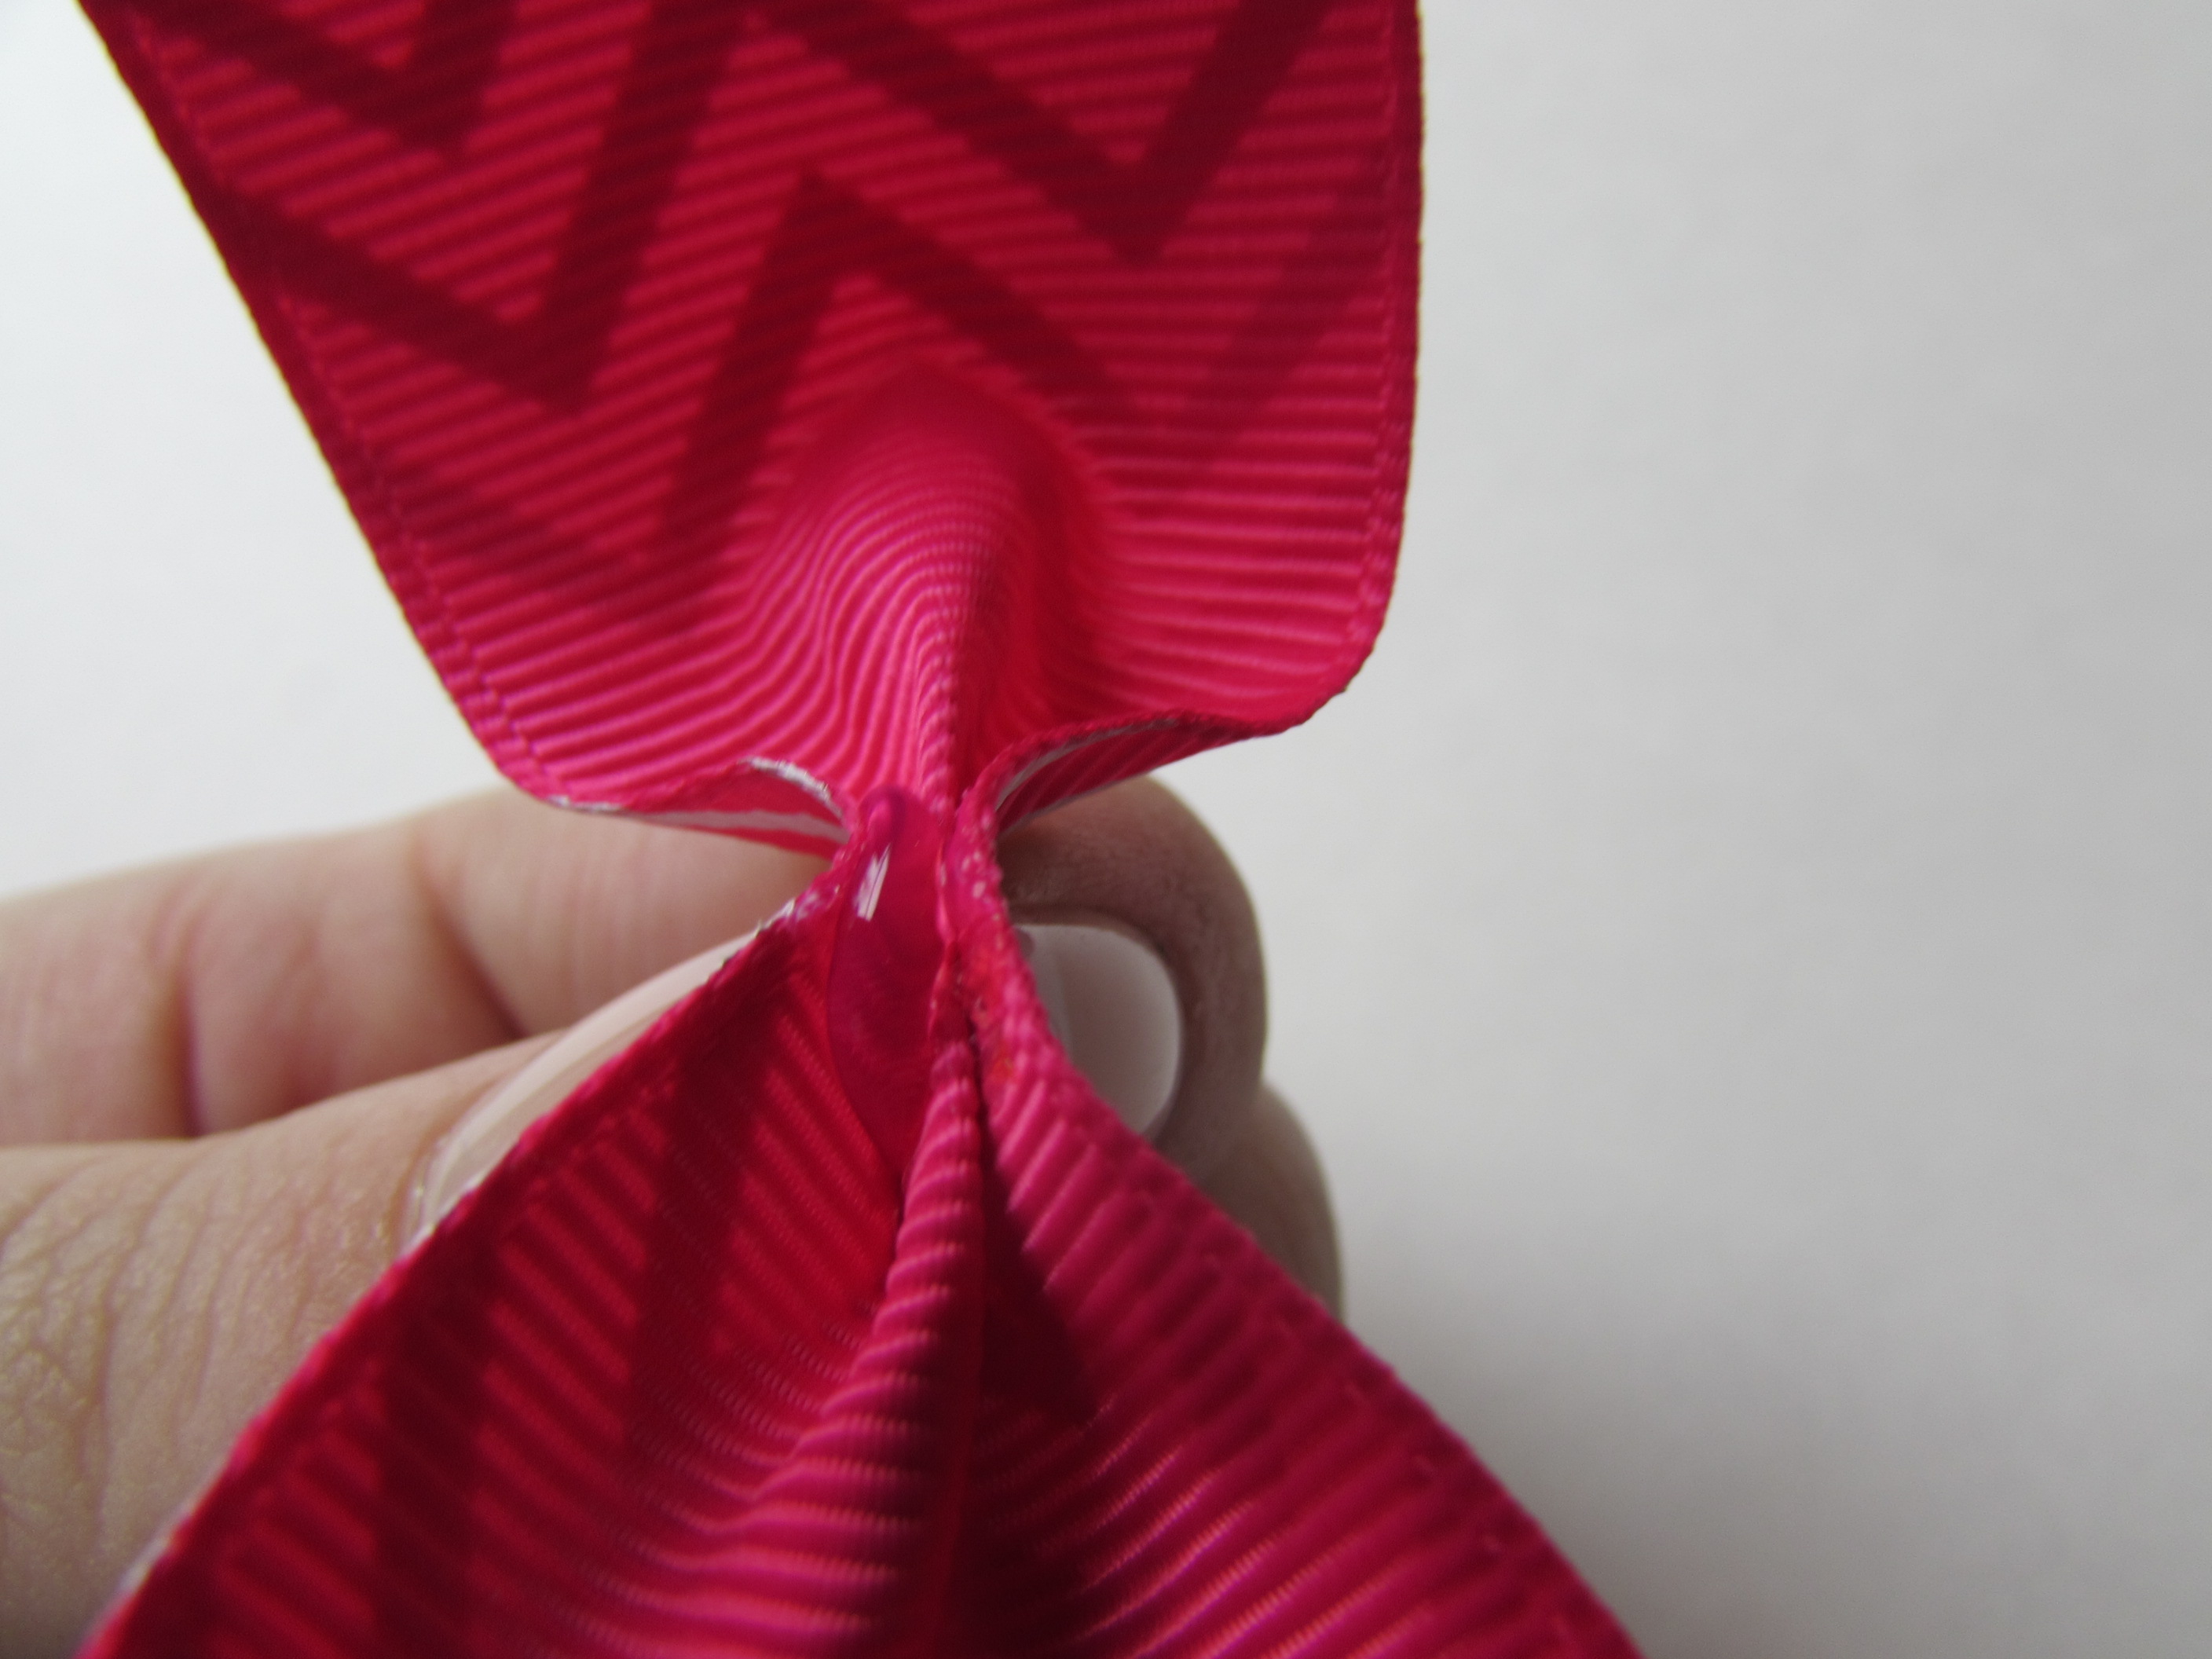 Step 26: Take your first bow part you made and add a line of hot glue to the bottom of it.
 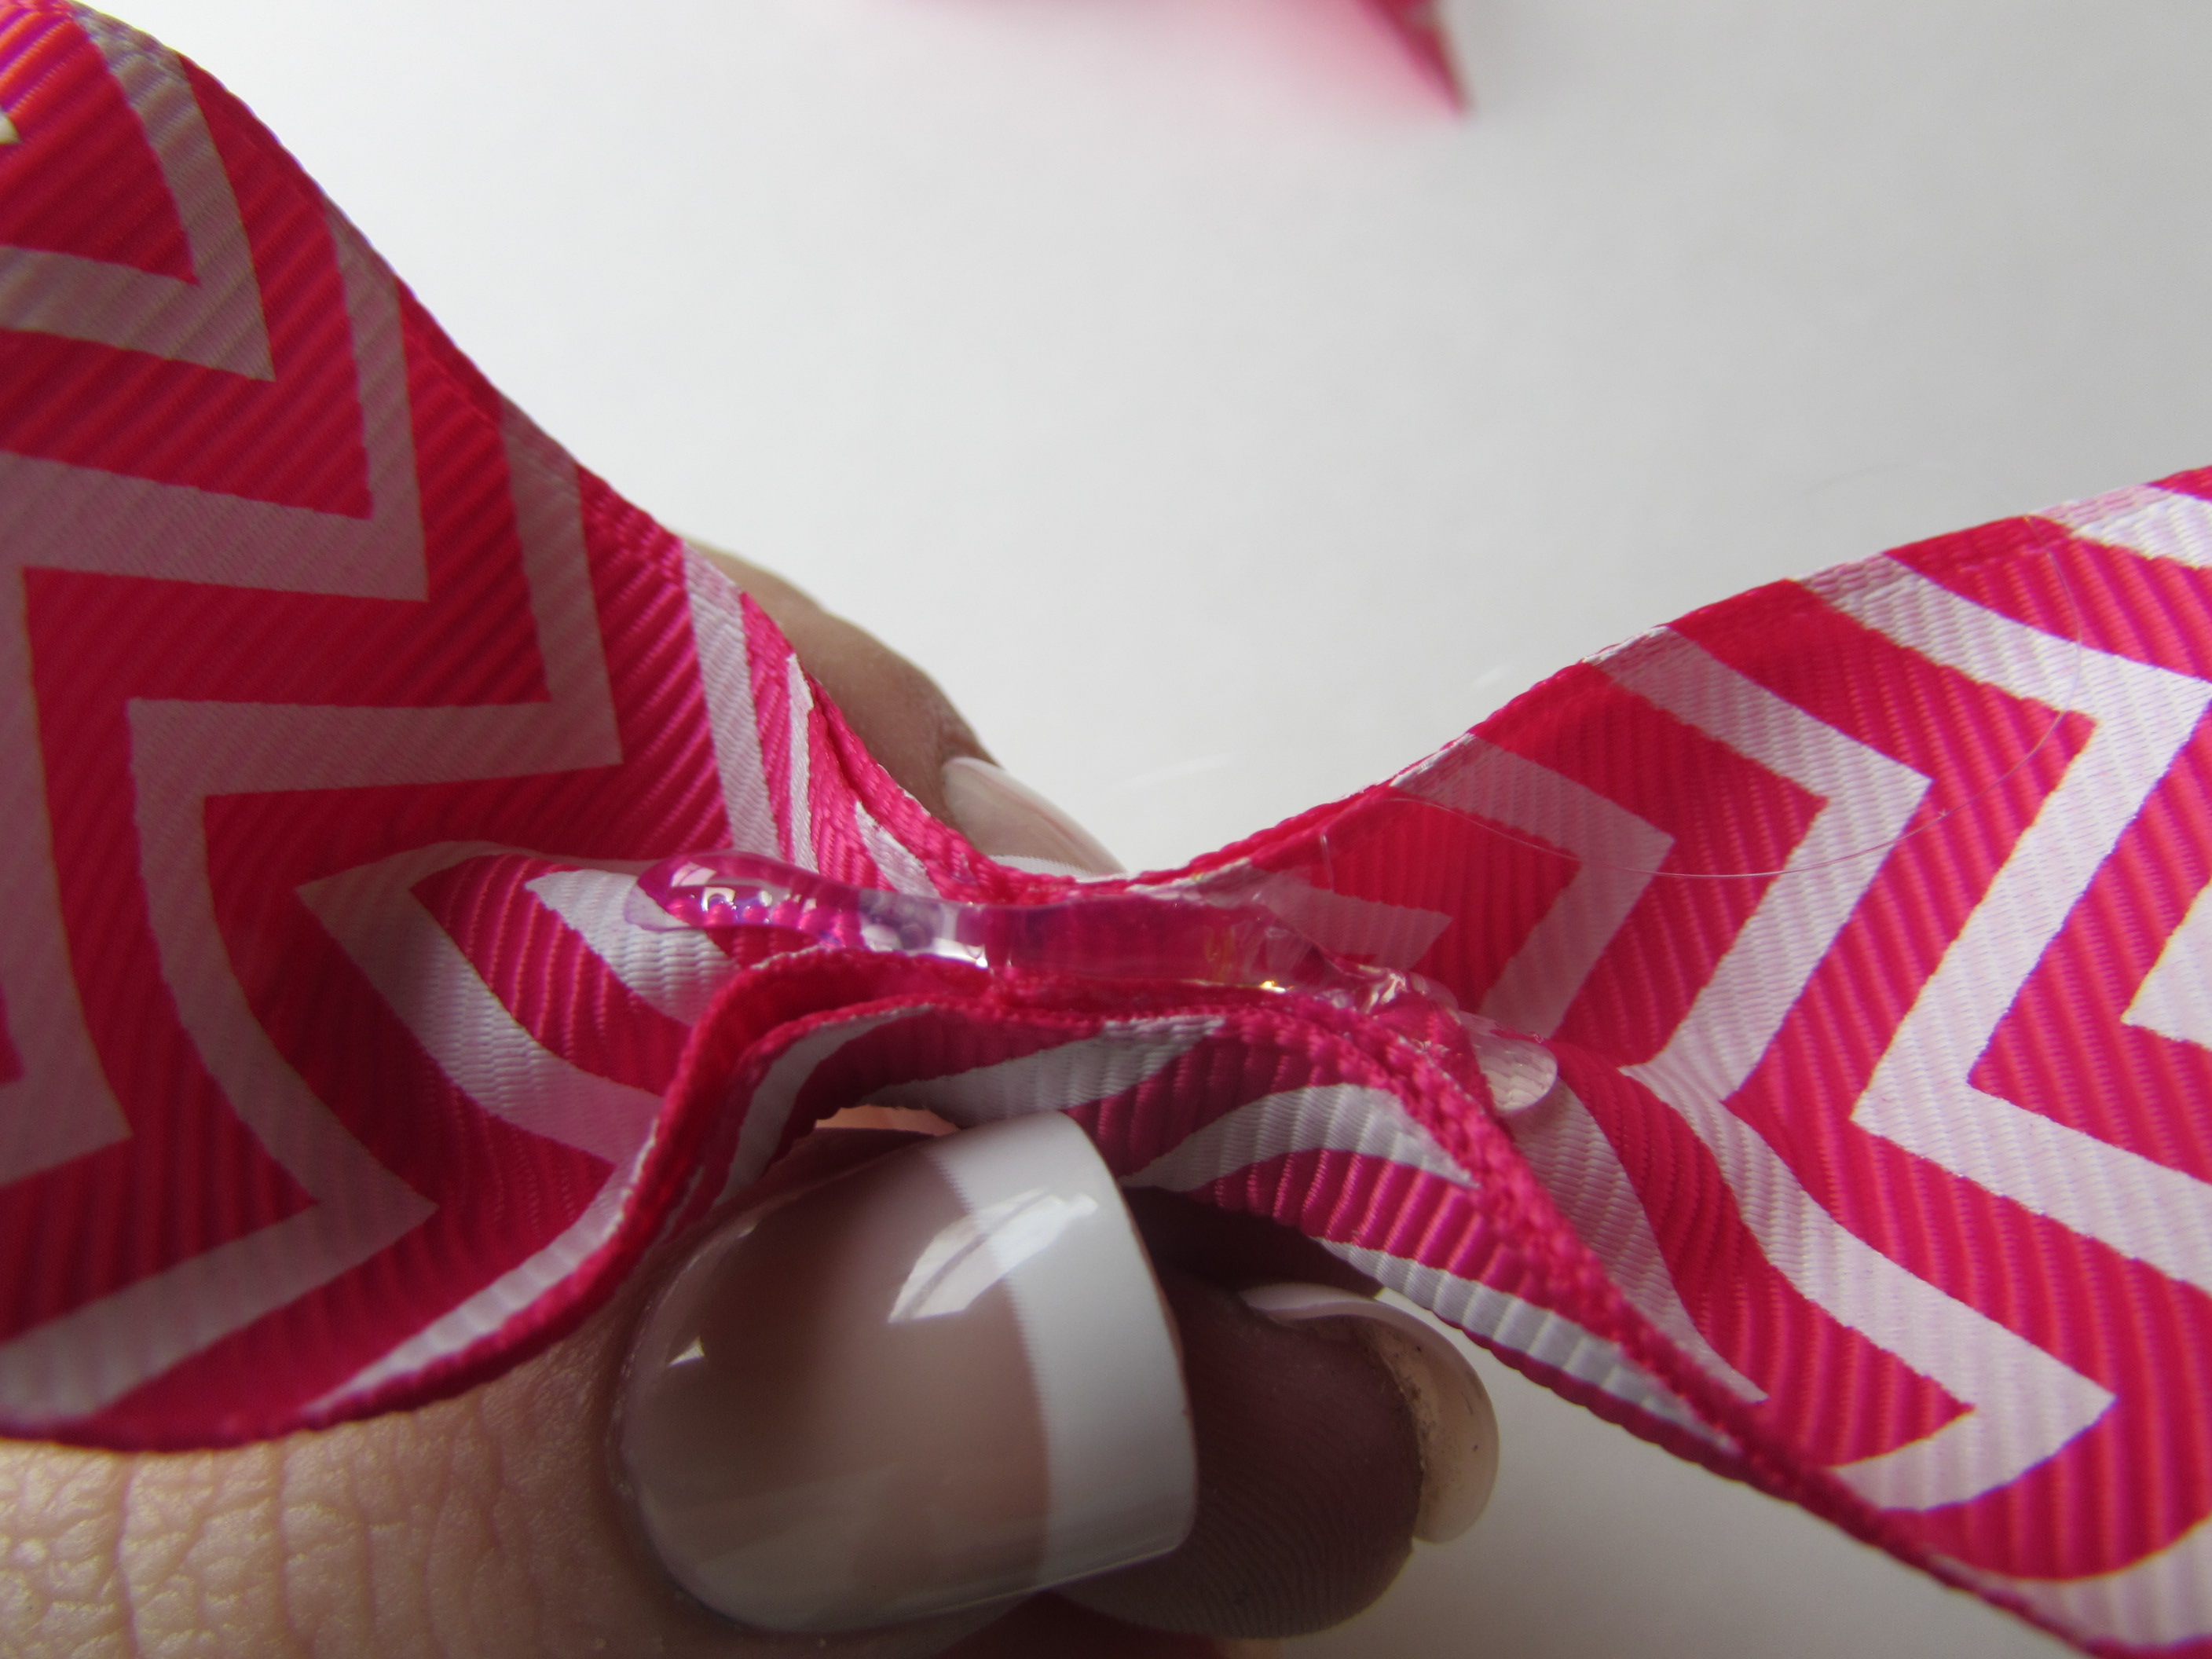 Step 27: Add the top of the second bow part we made and attach it to the bottom of the first bow part we created.
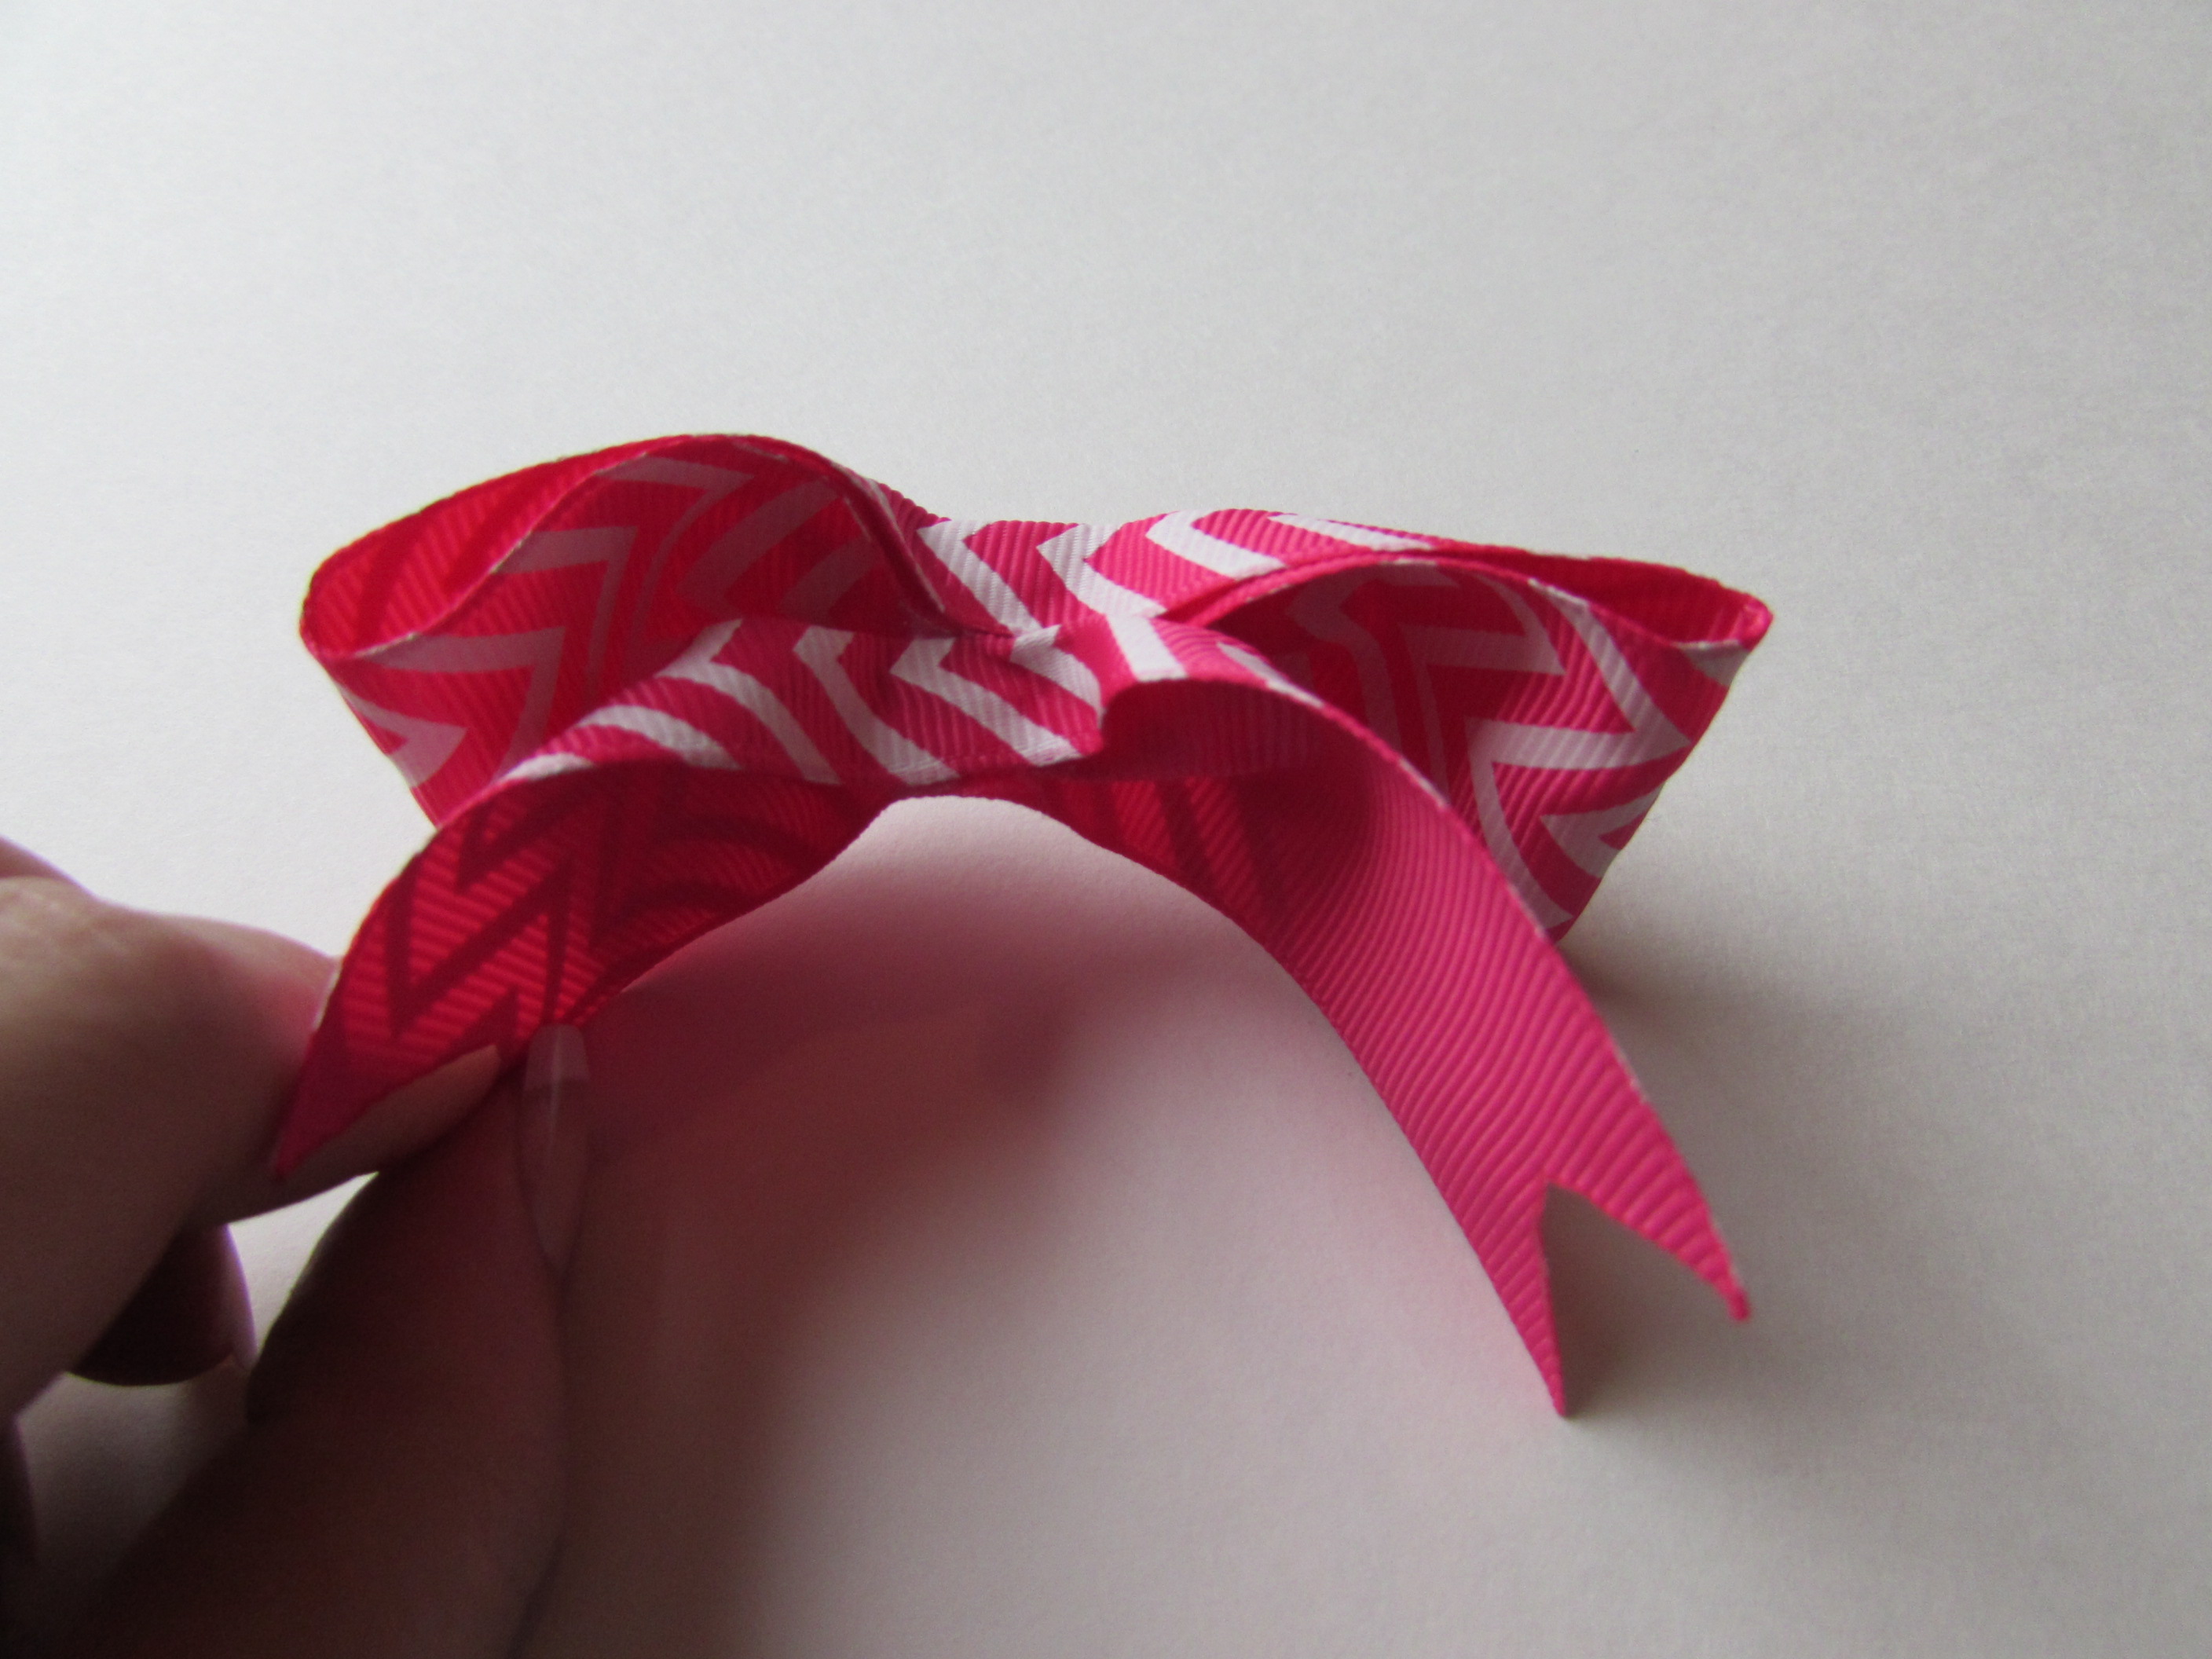 Step 28: Take 1 piece of your 3/8" ribbon that is 4" long and add a drop of hot glue on one end.
 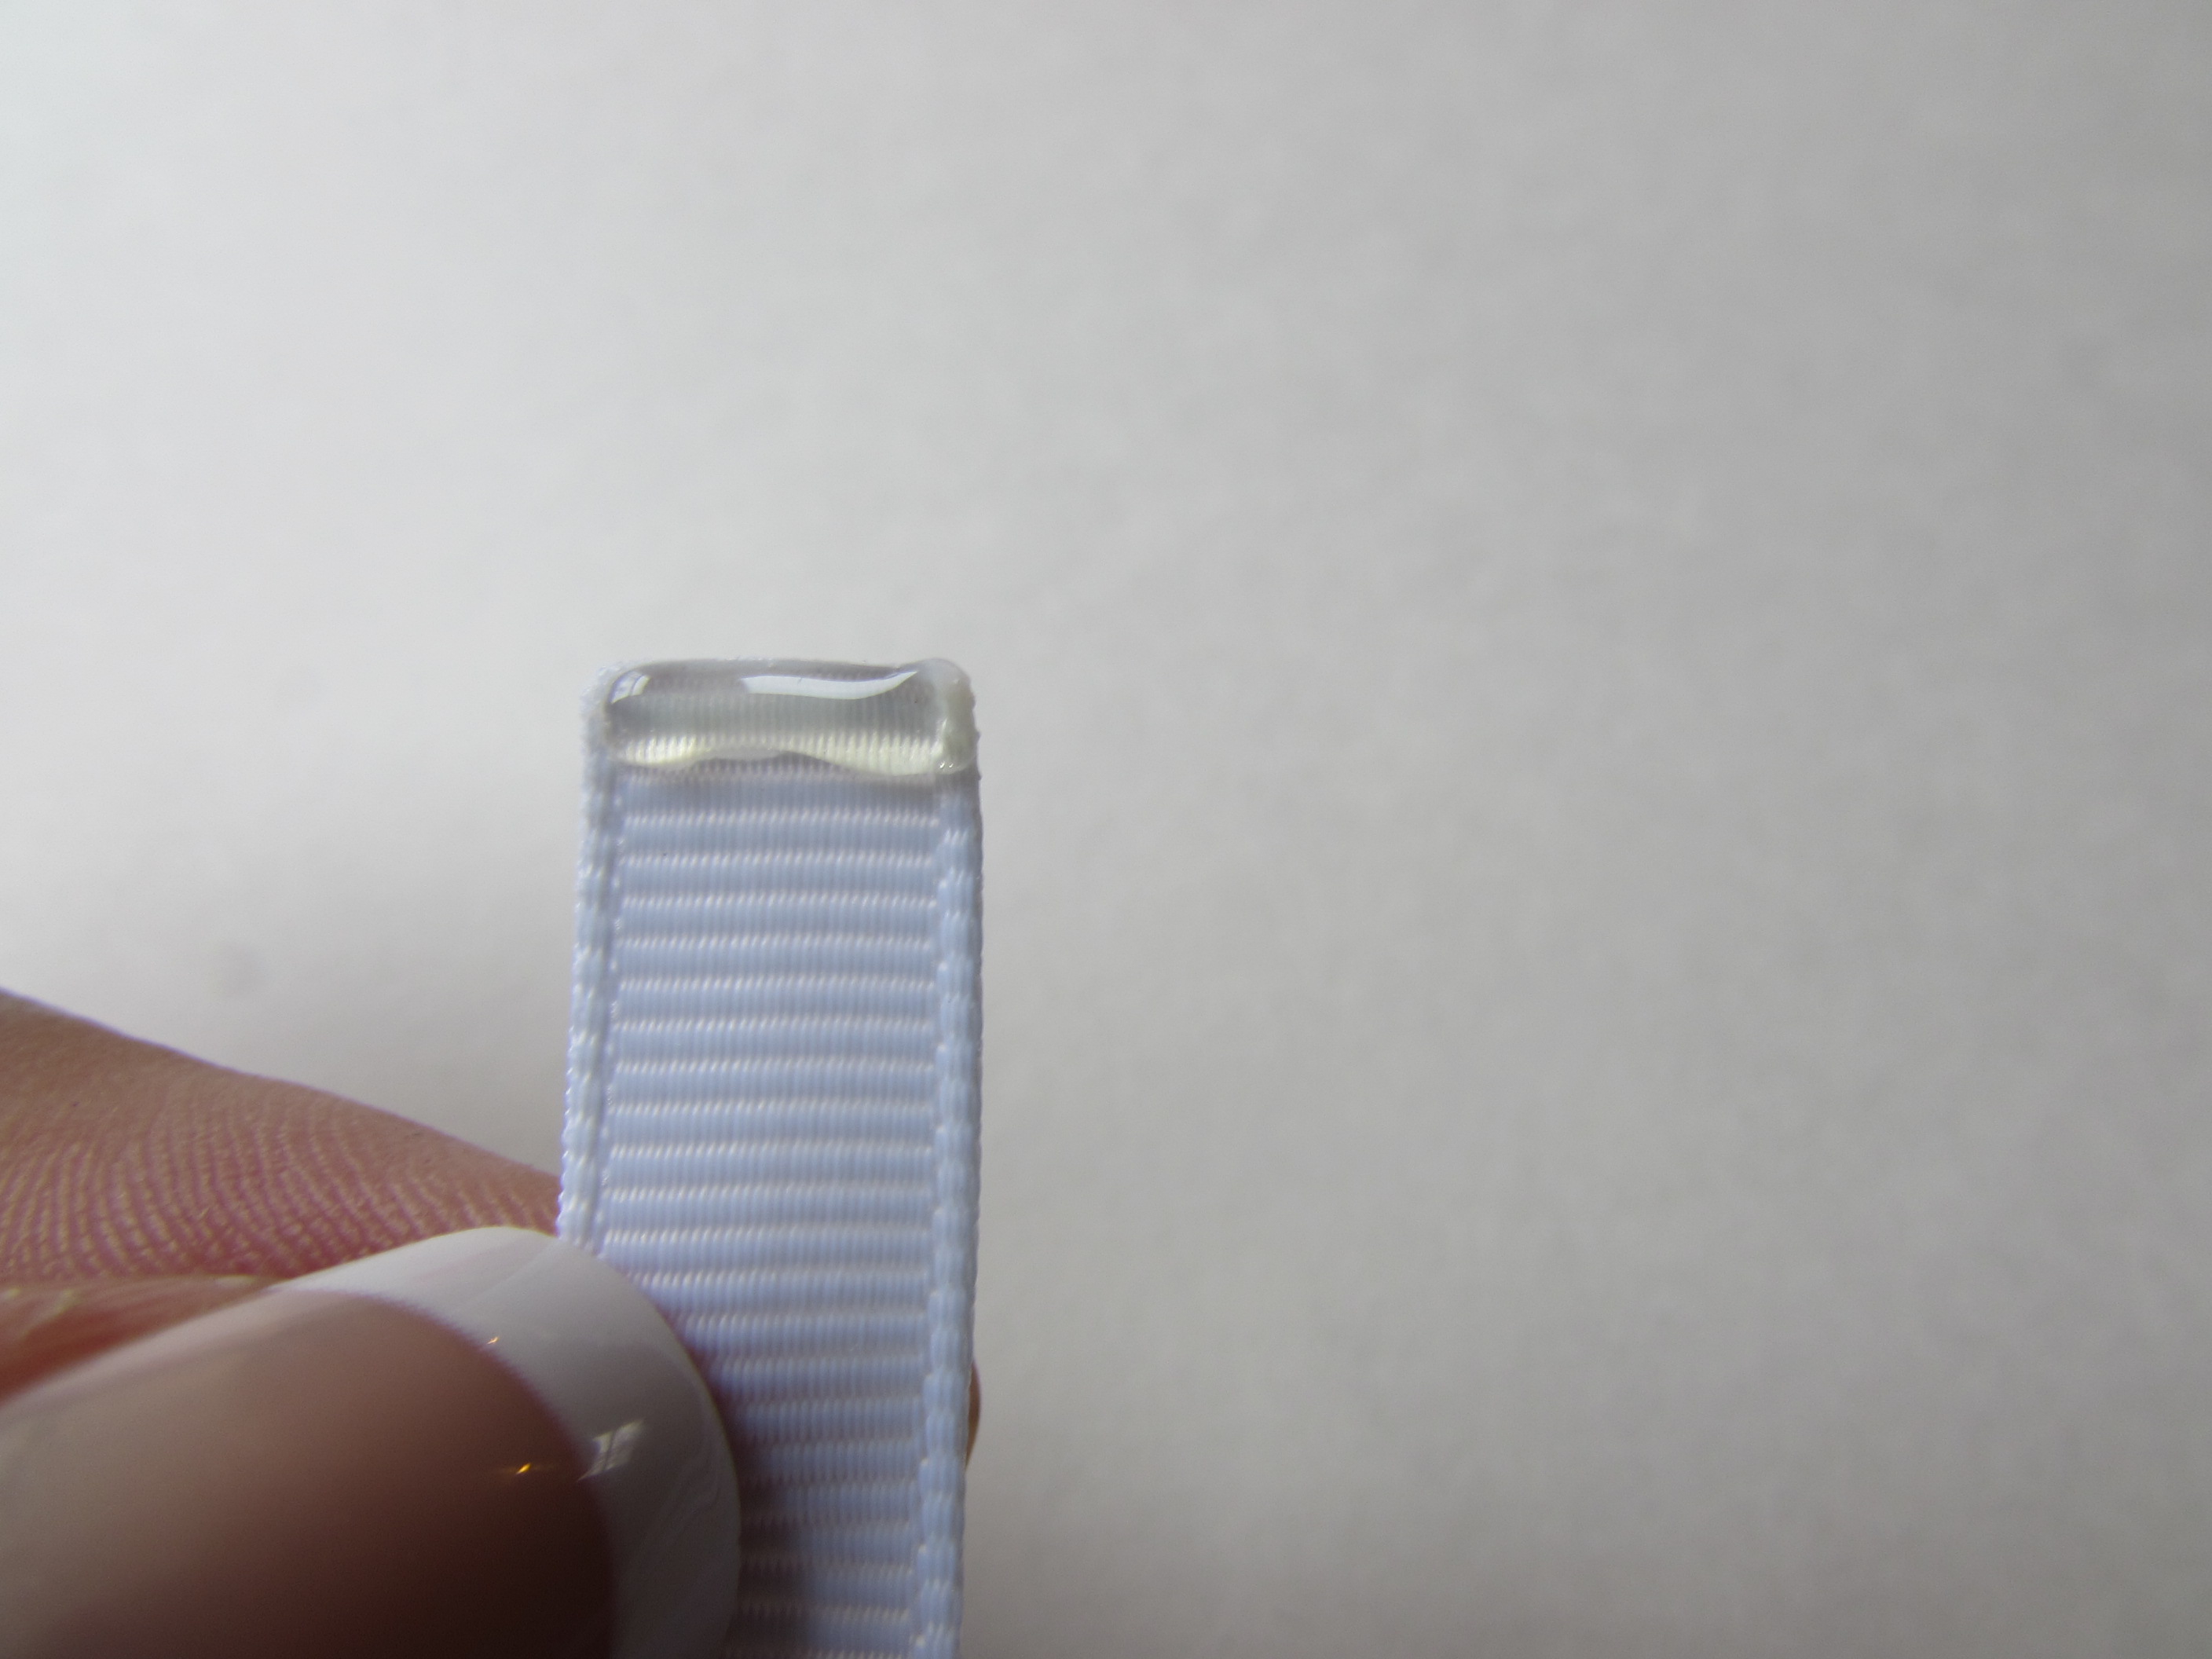 Step 29: Add the ribbon to the back of the bow.
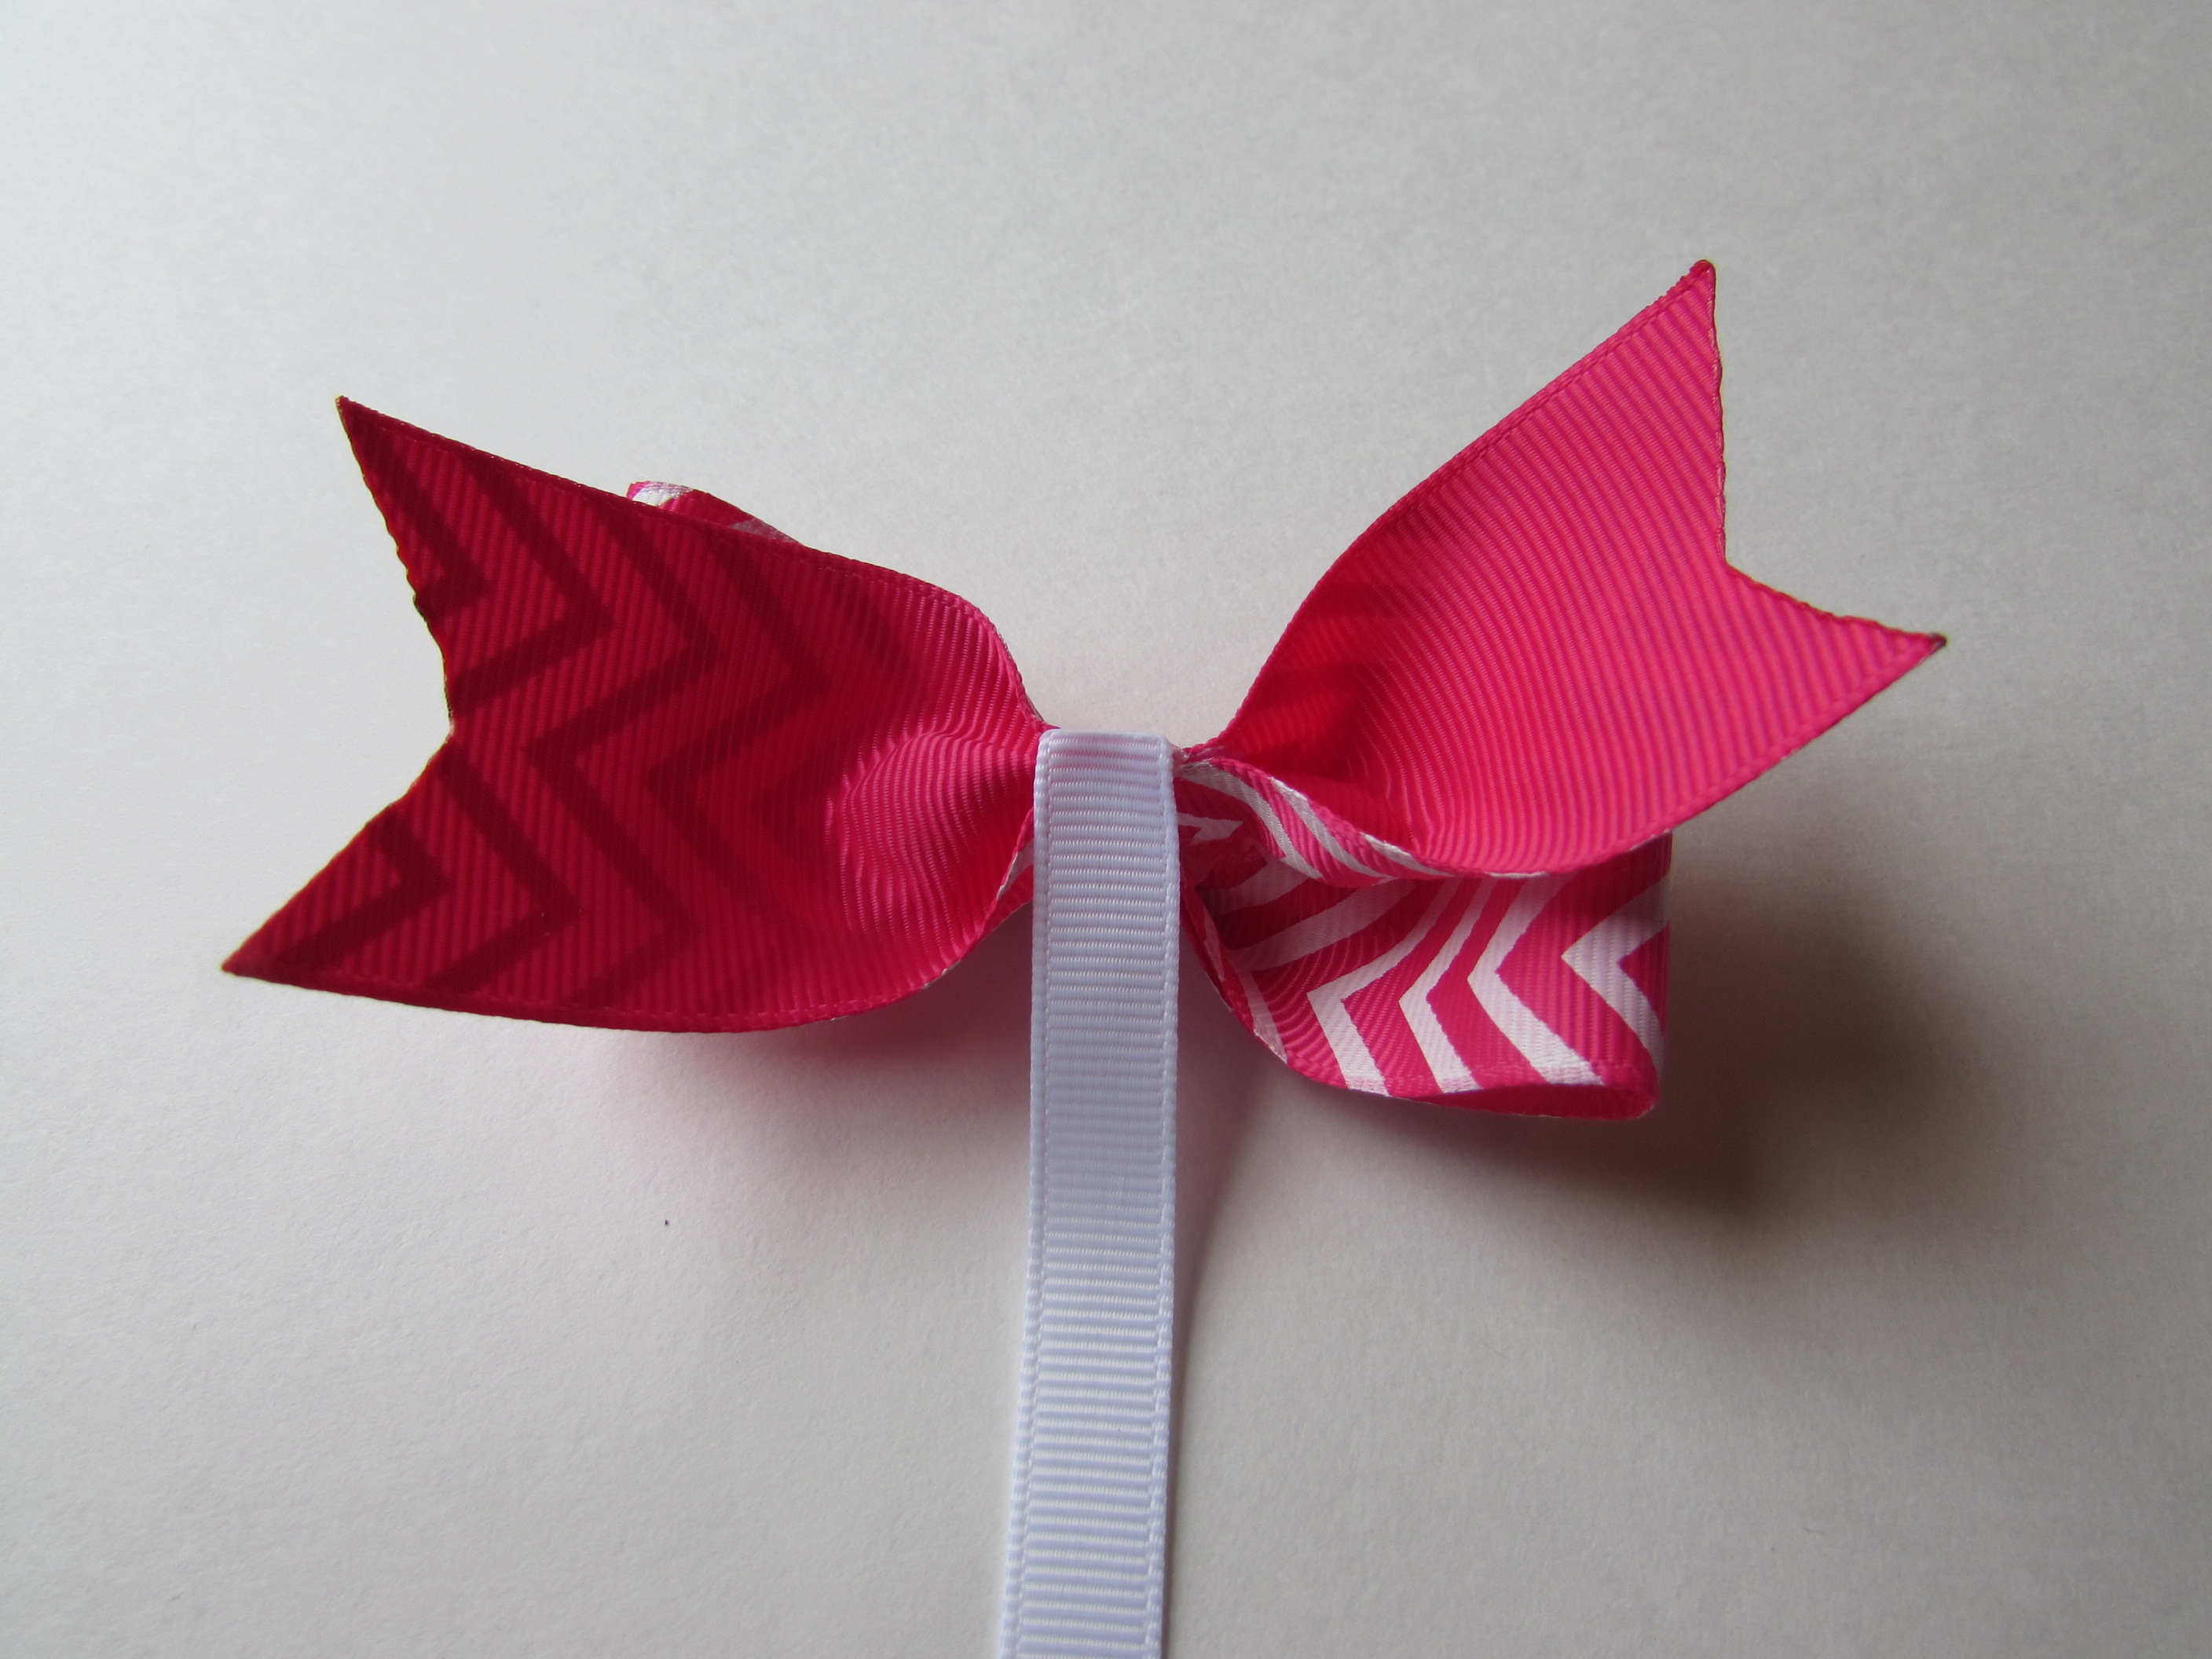 Step 30: Wrap the ribbon around the entire bow.
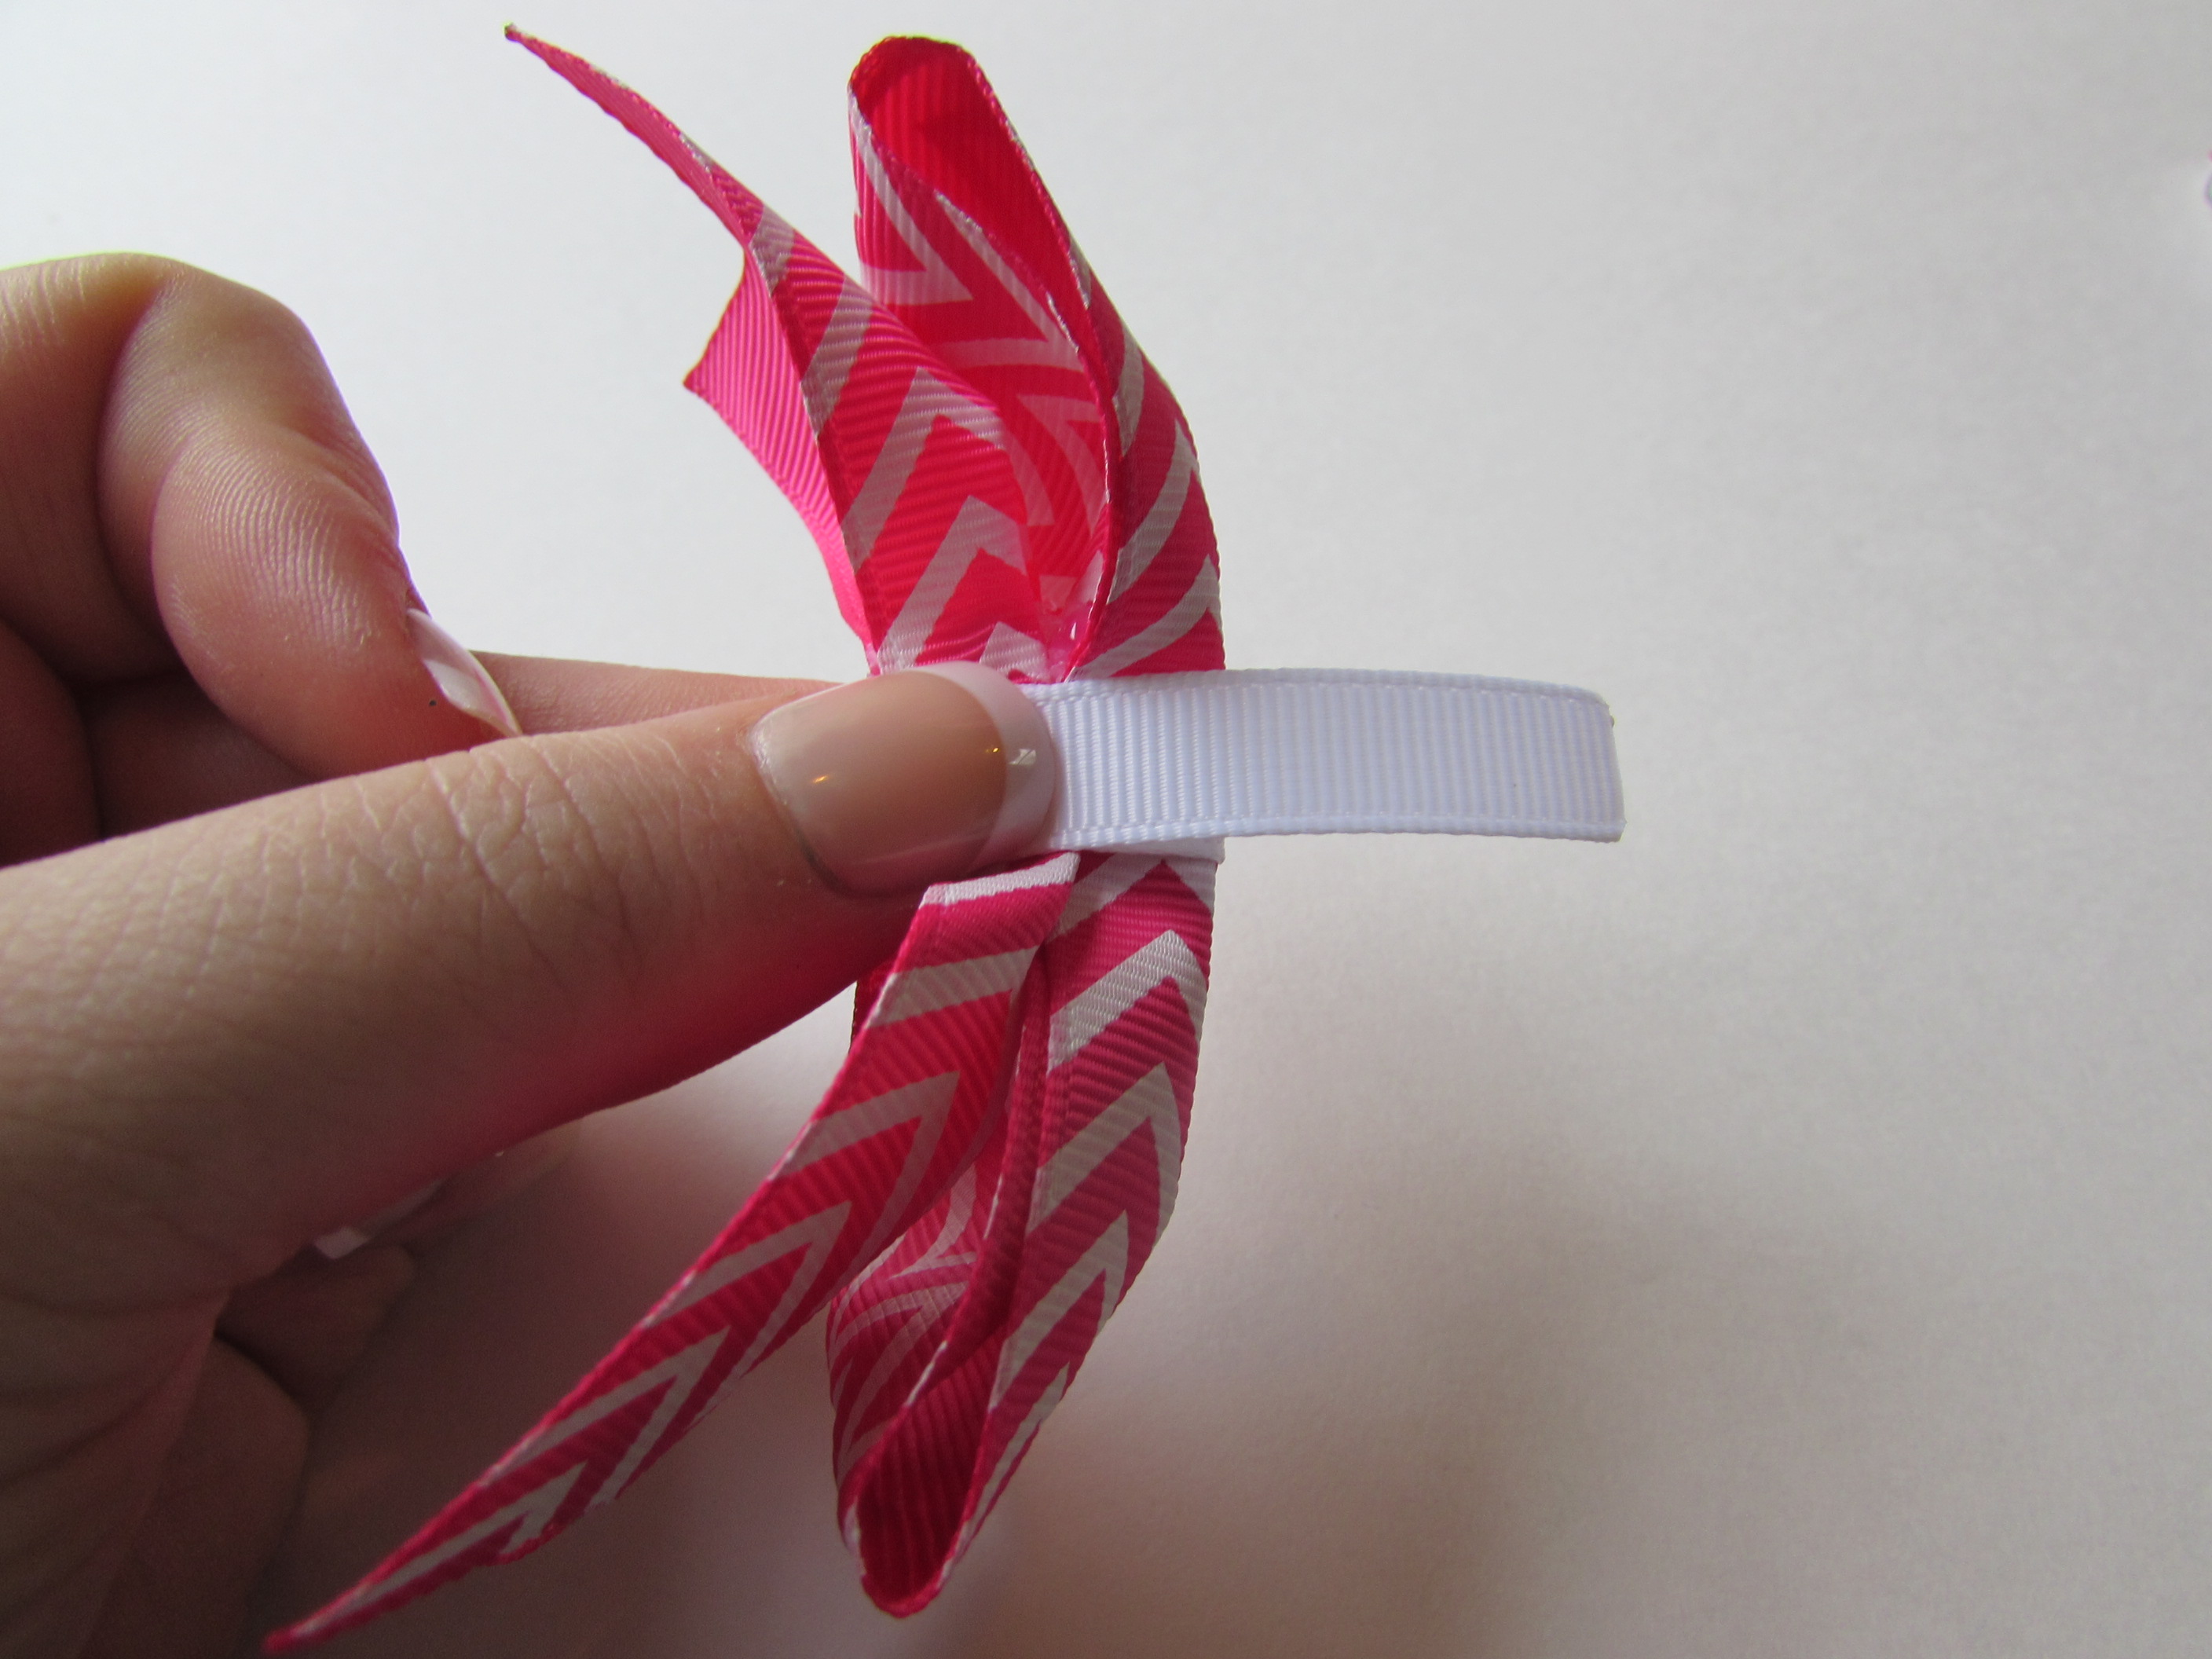
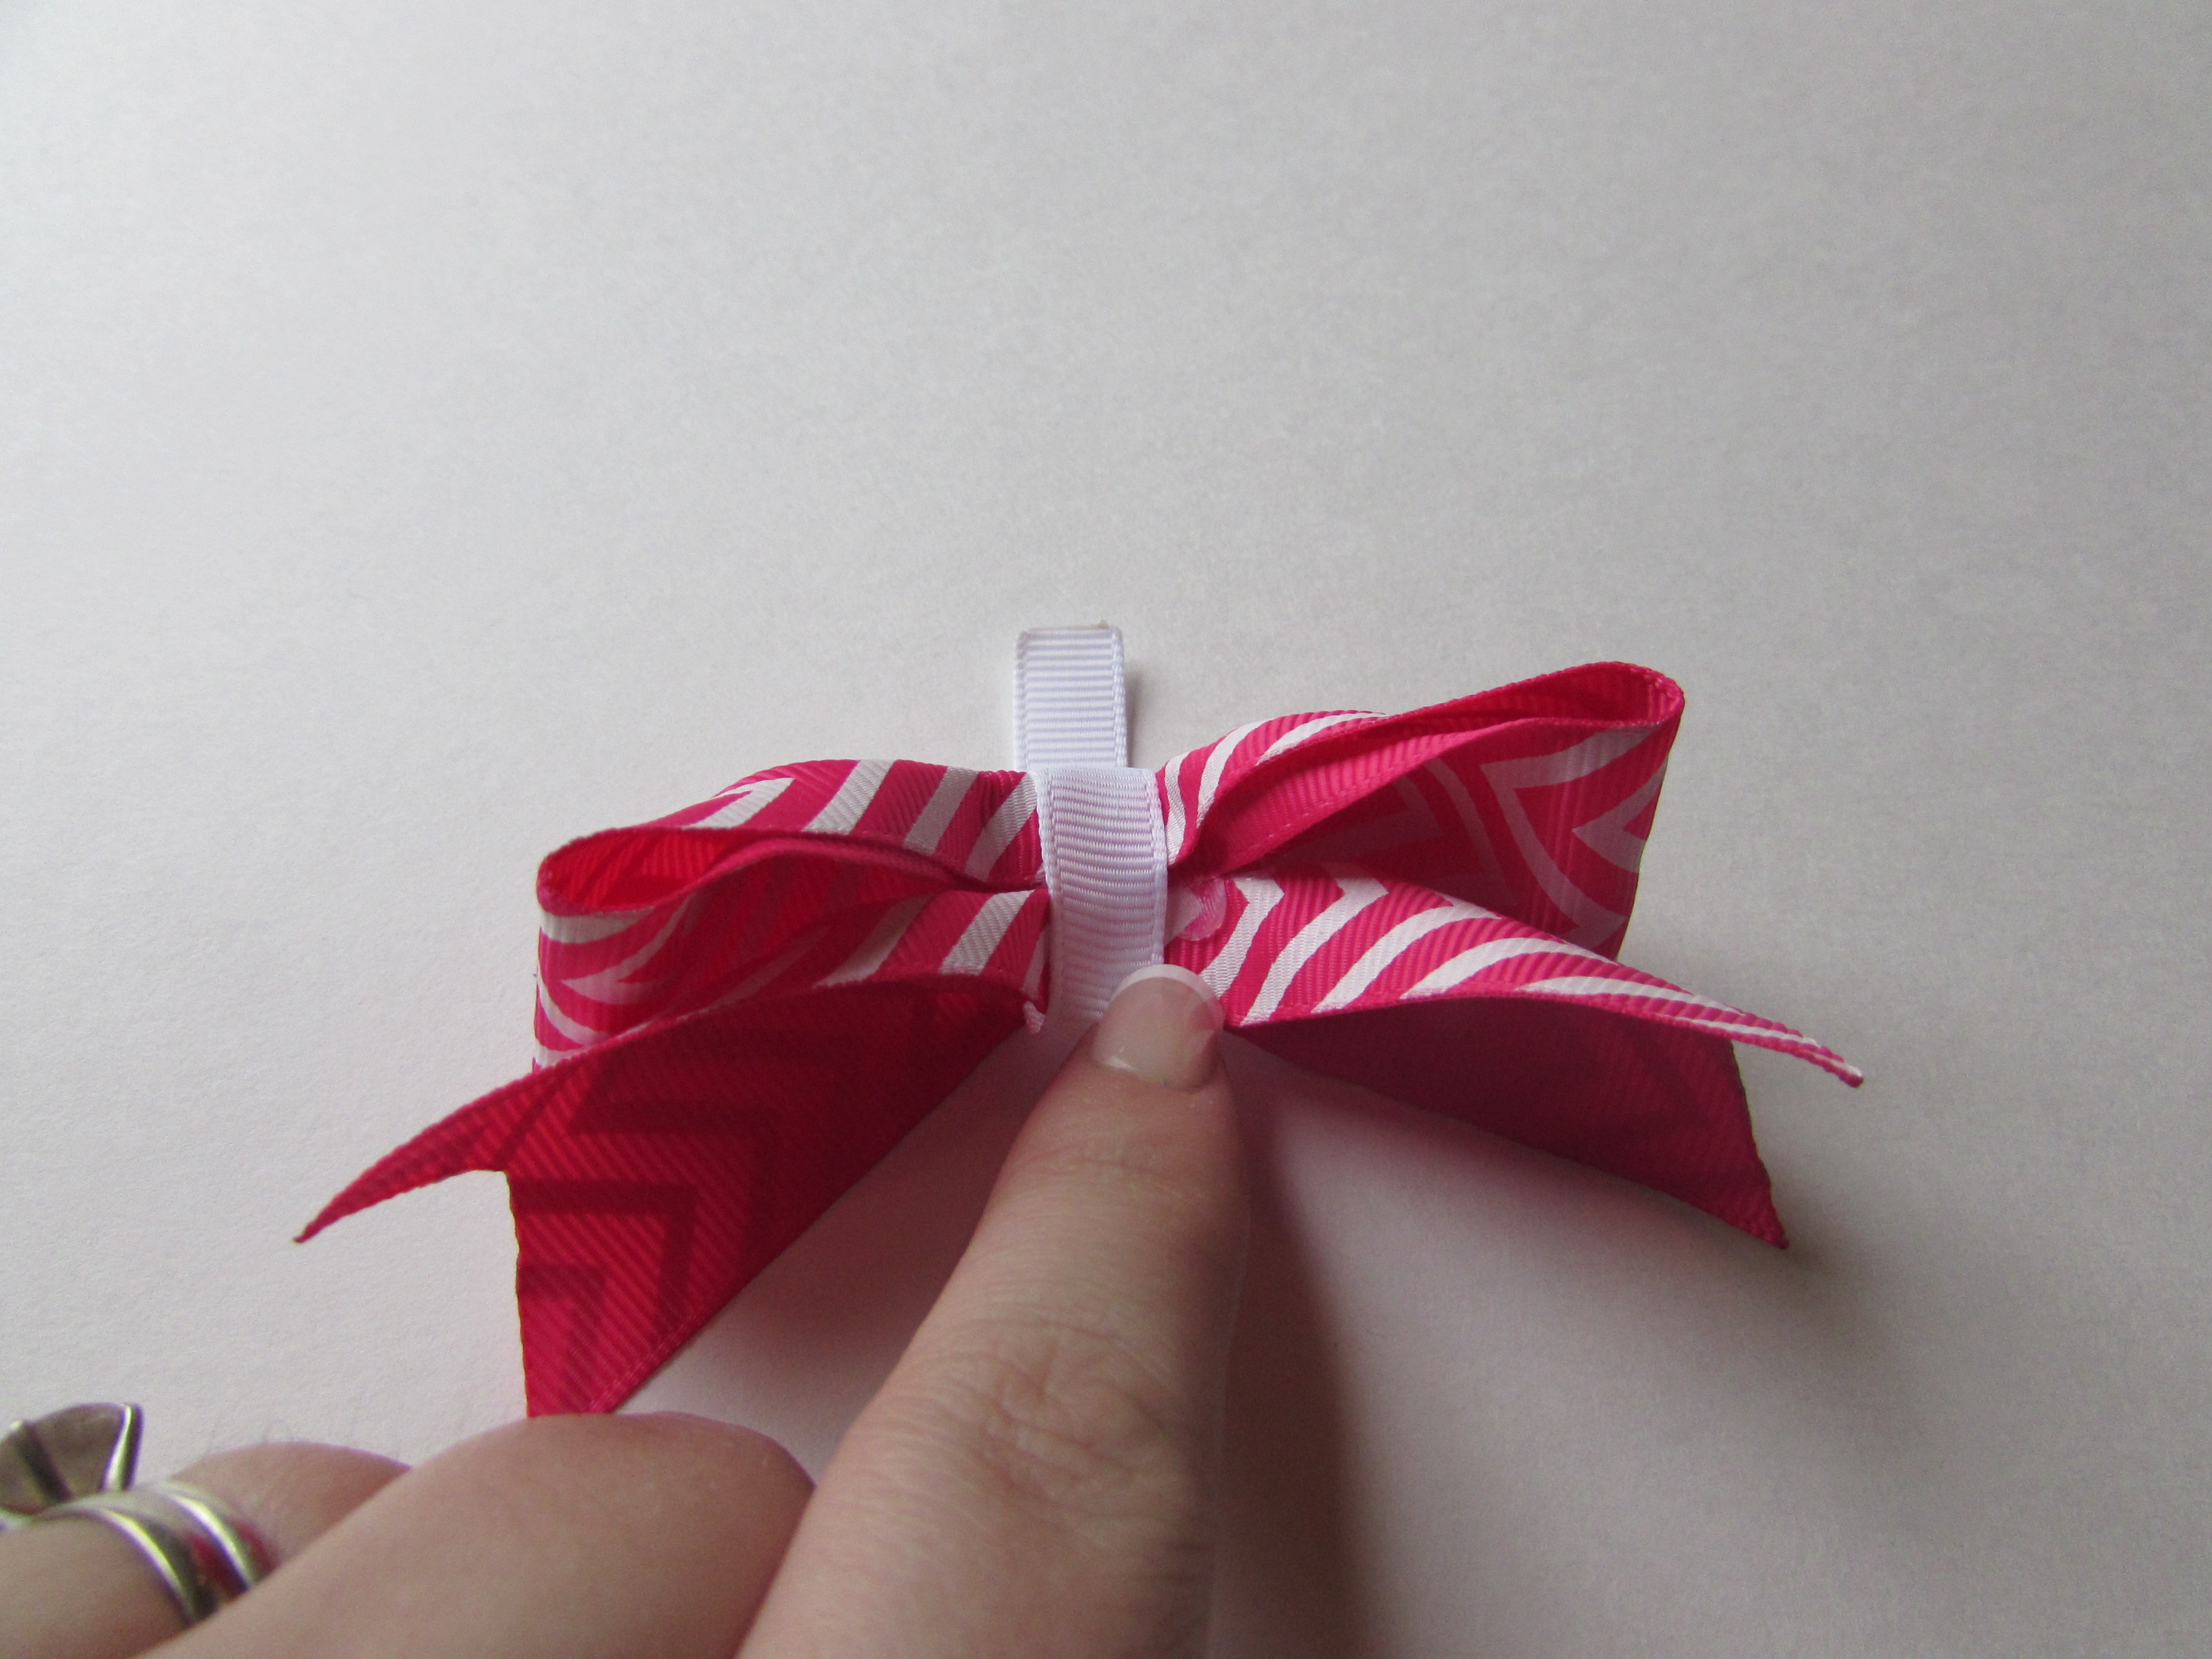 Step 31: Cut off the extra ribbon { if any } and heat seal the end and glue it down.
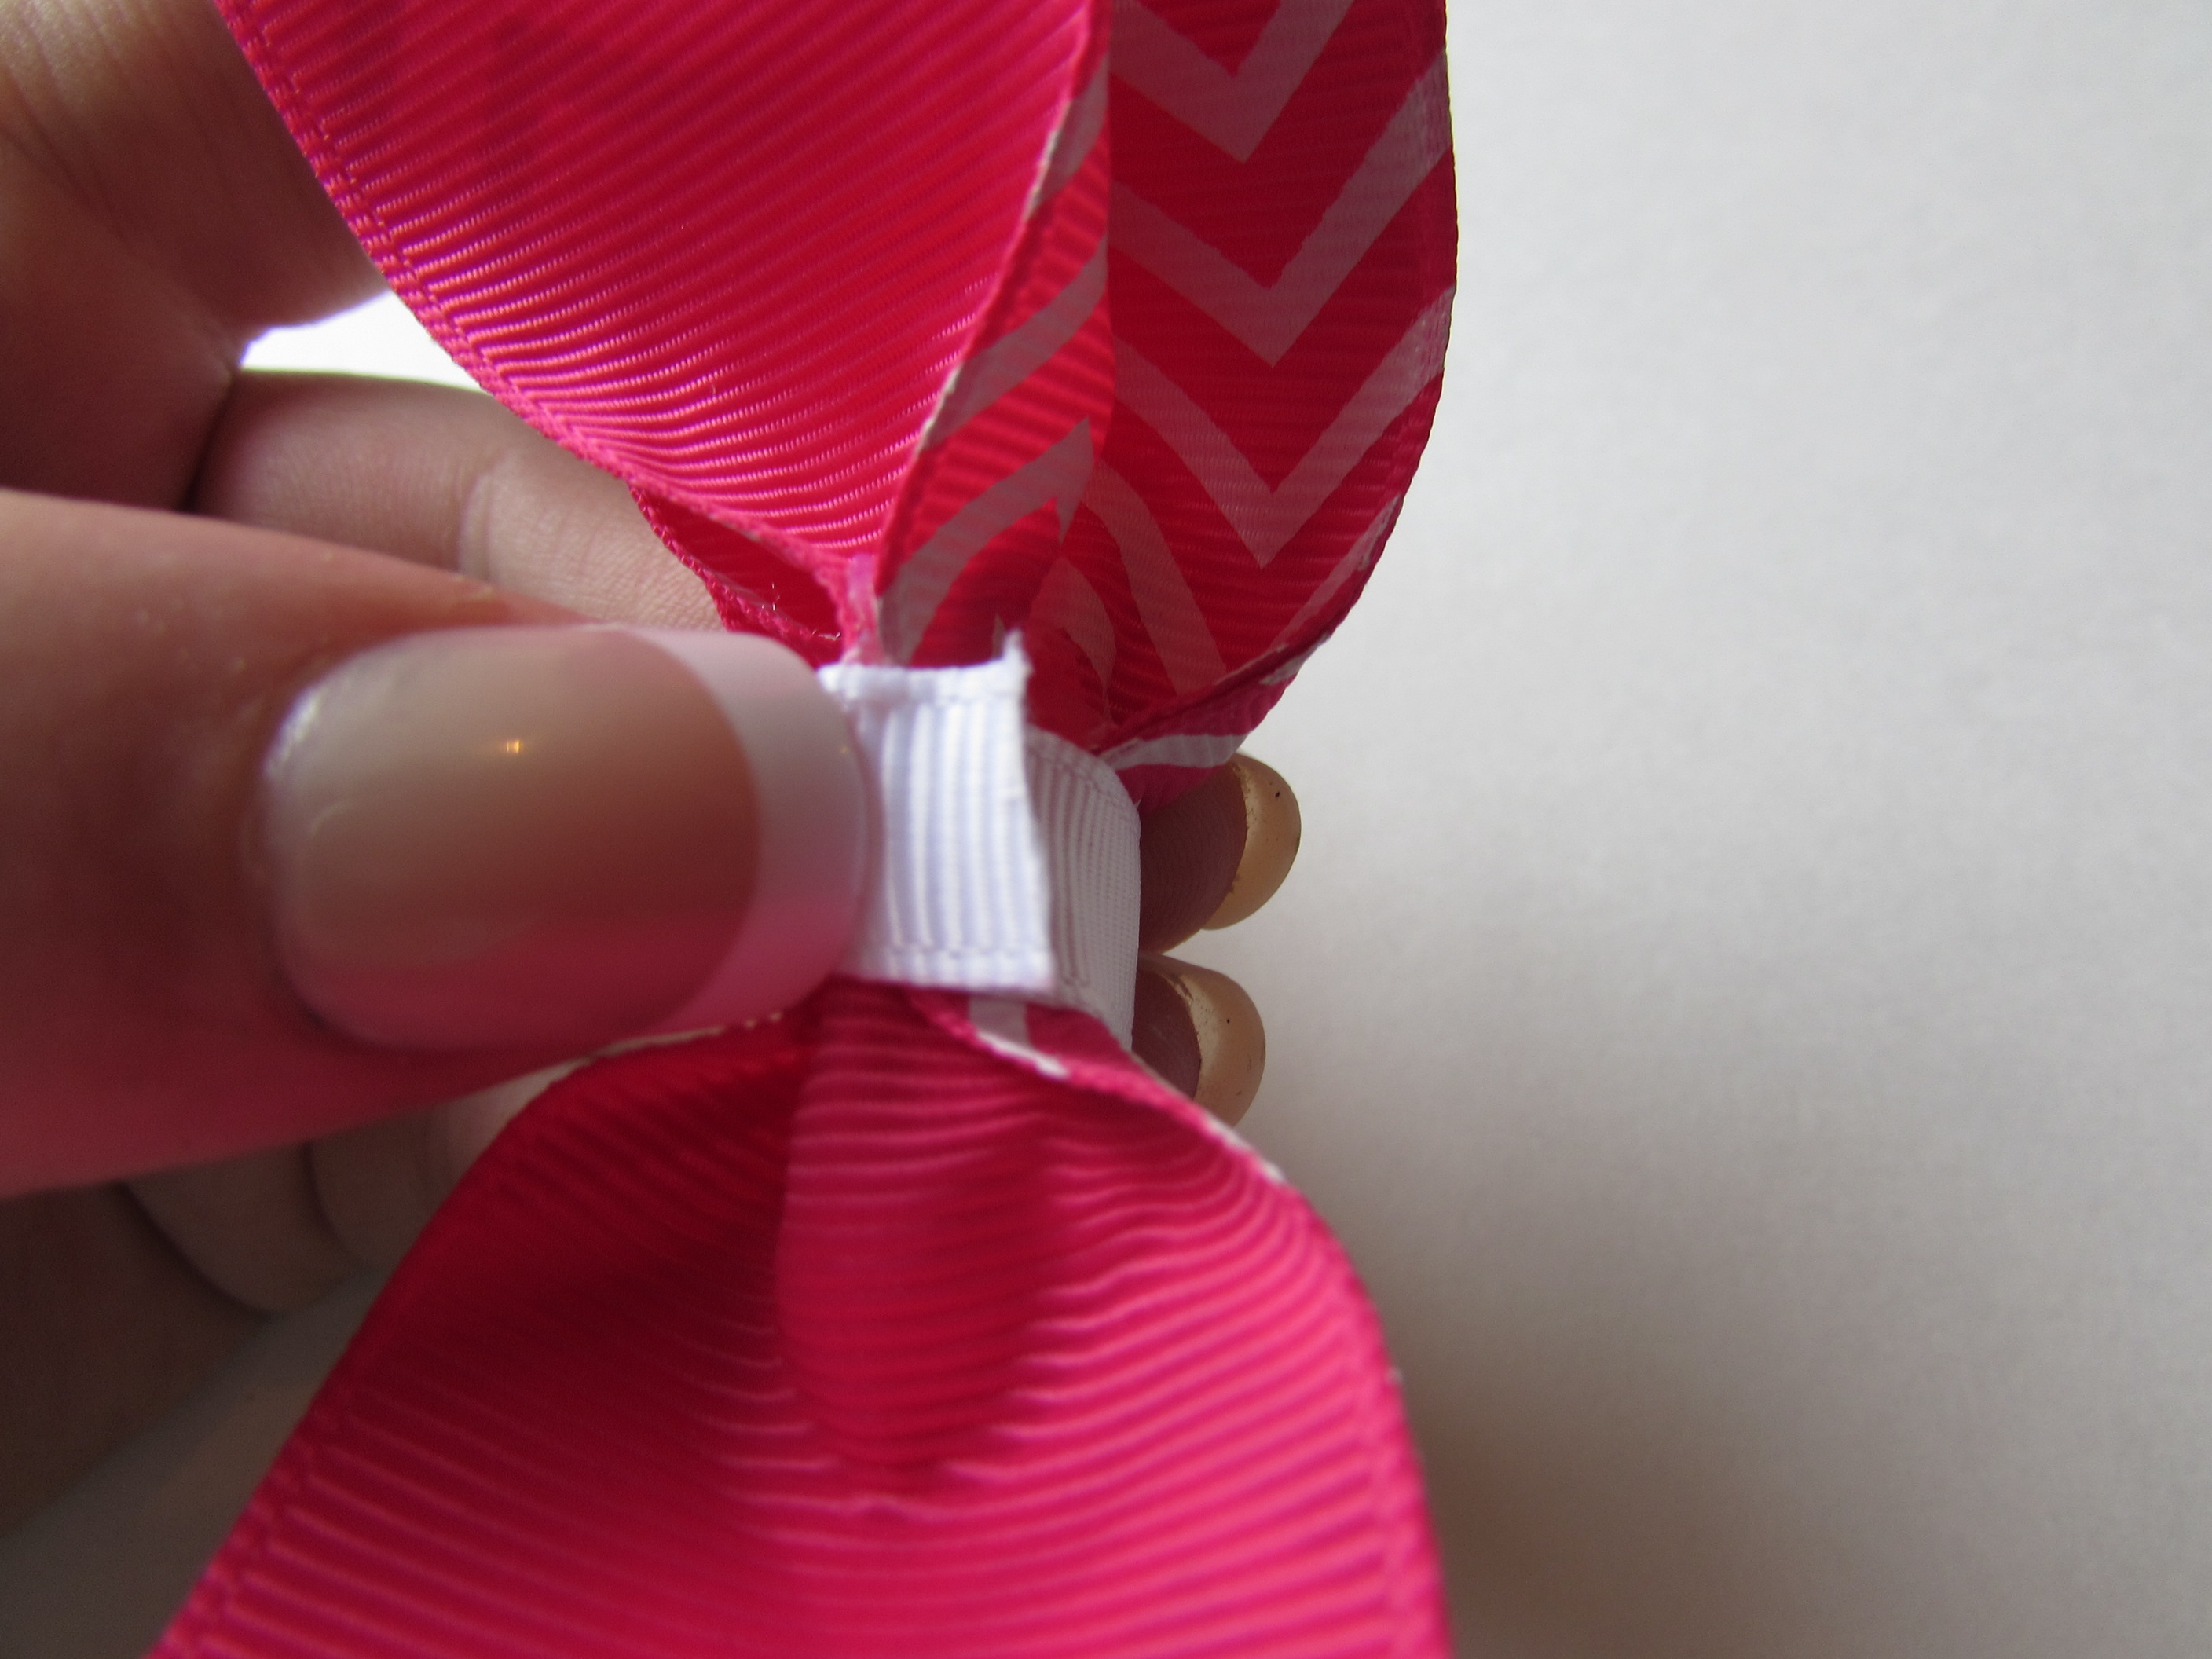
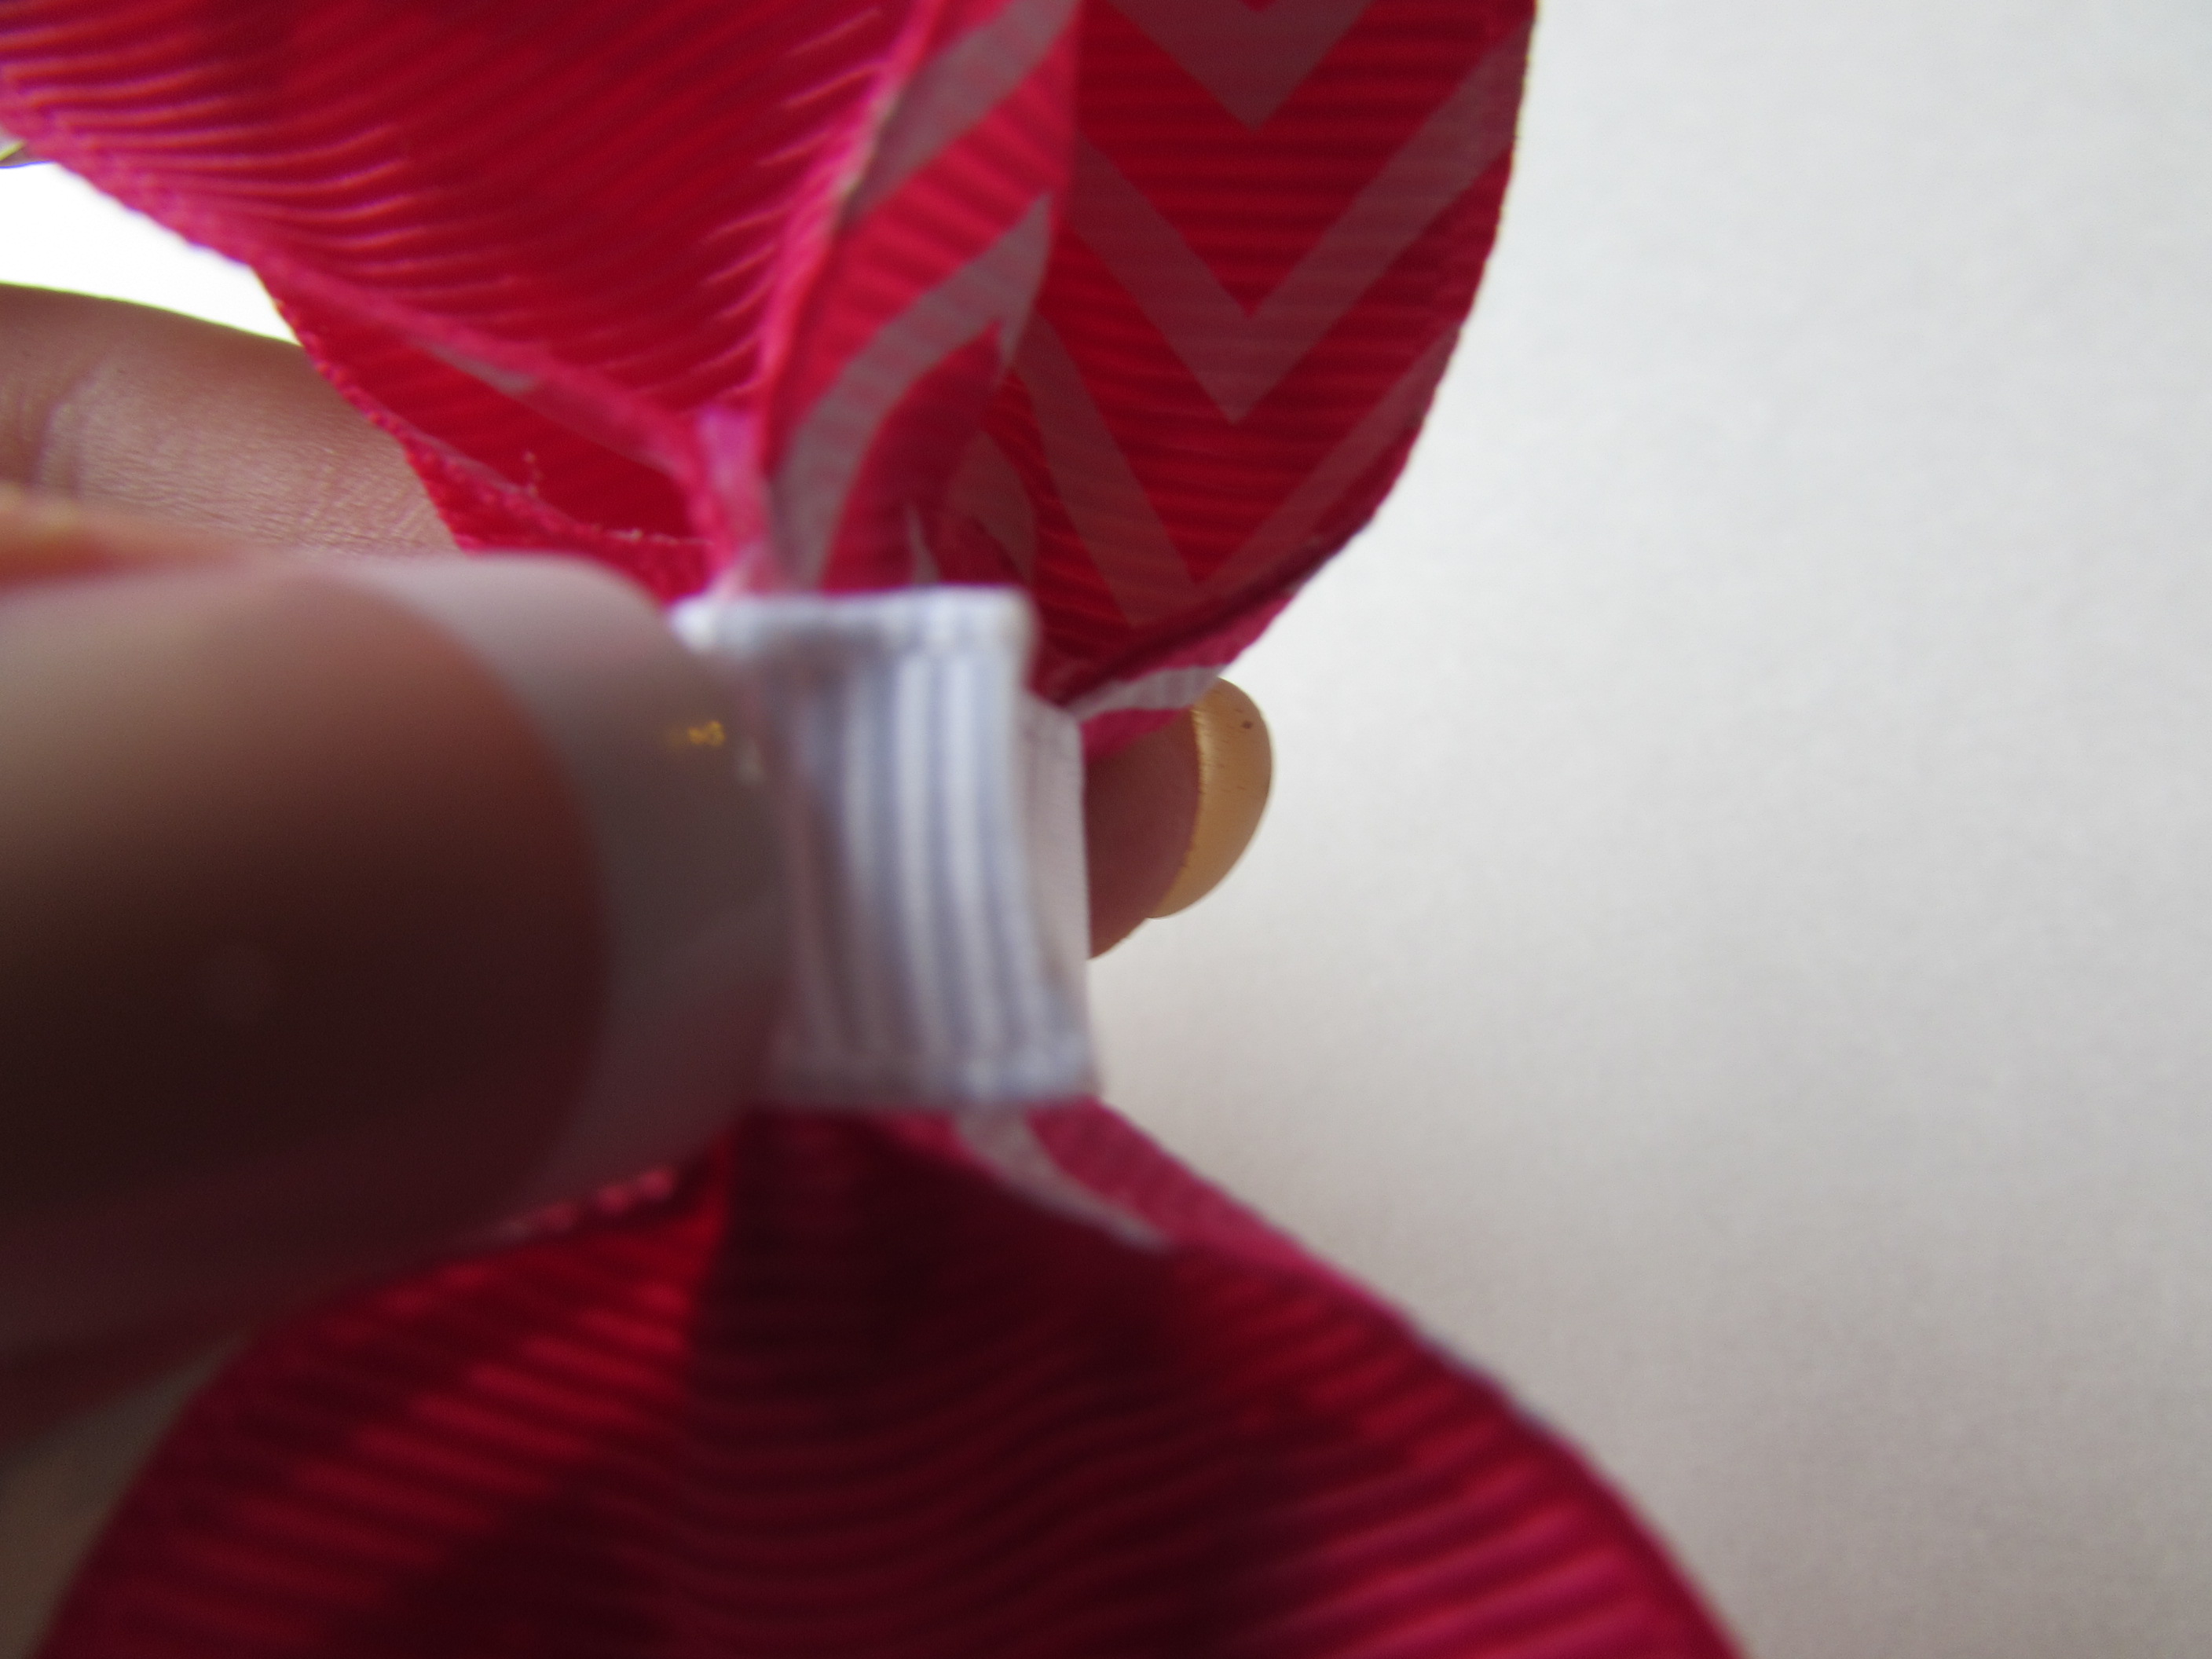
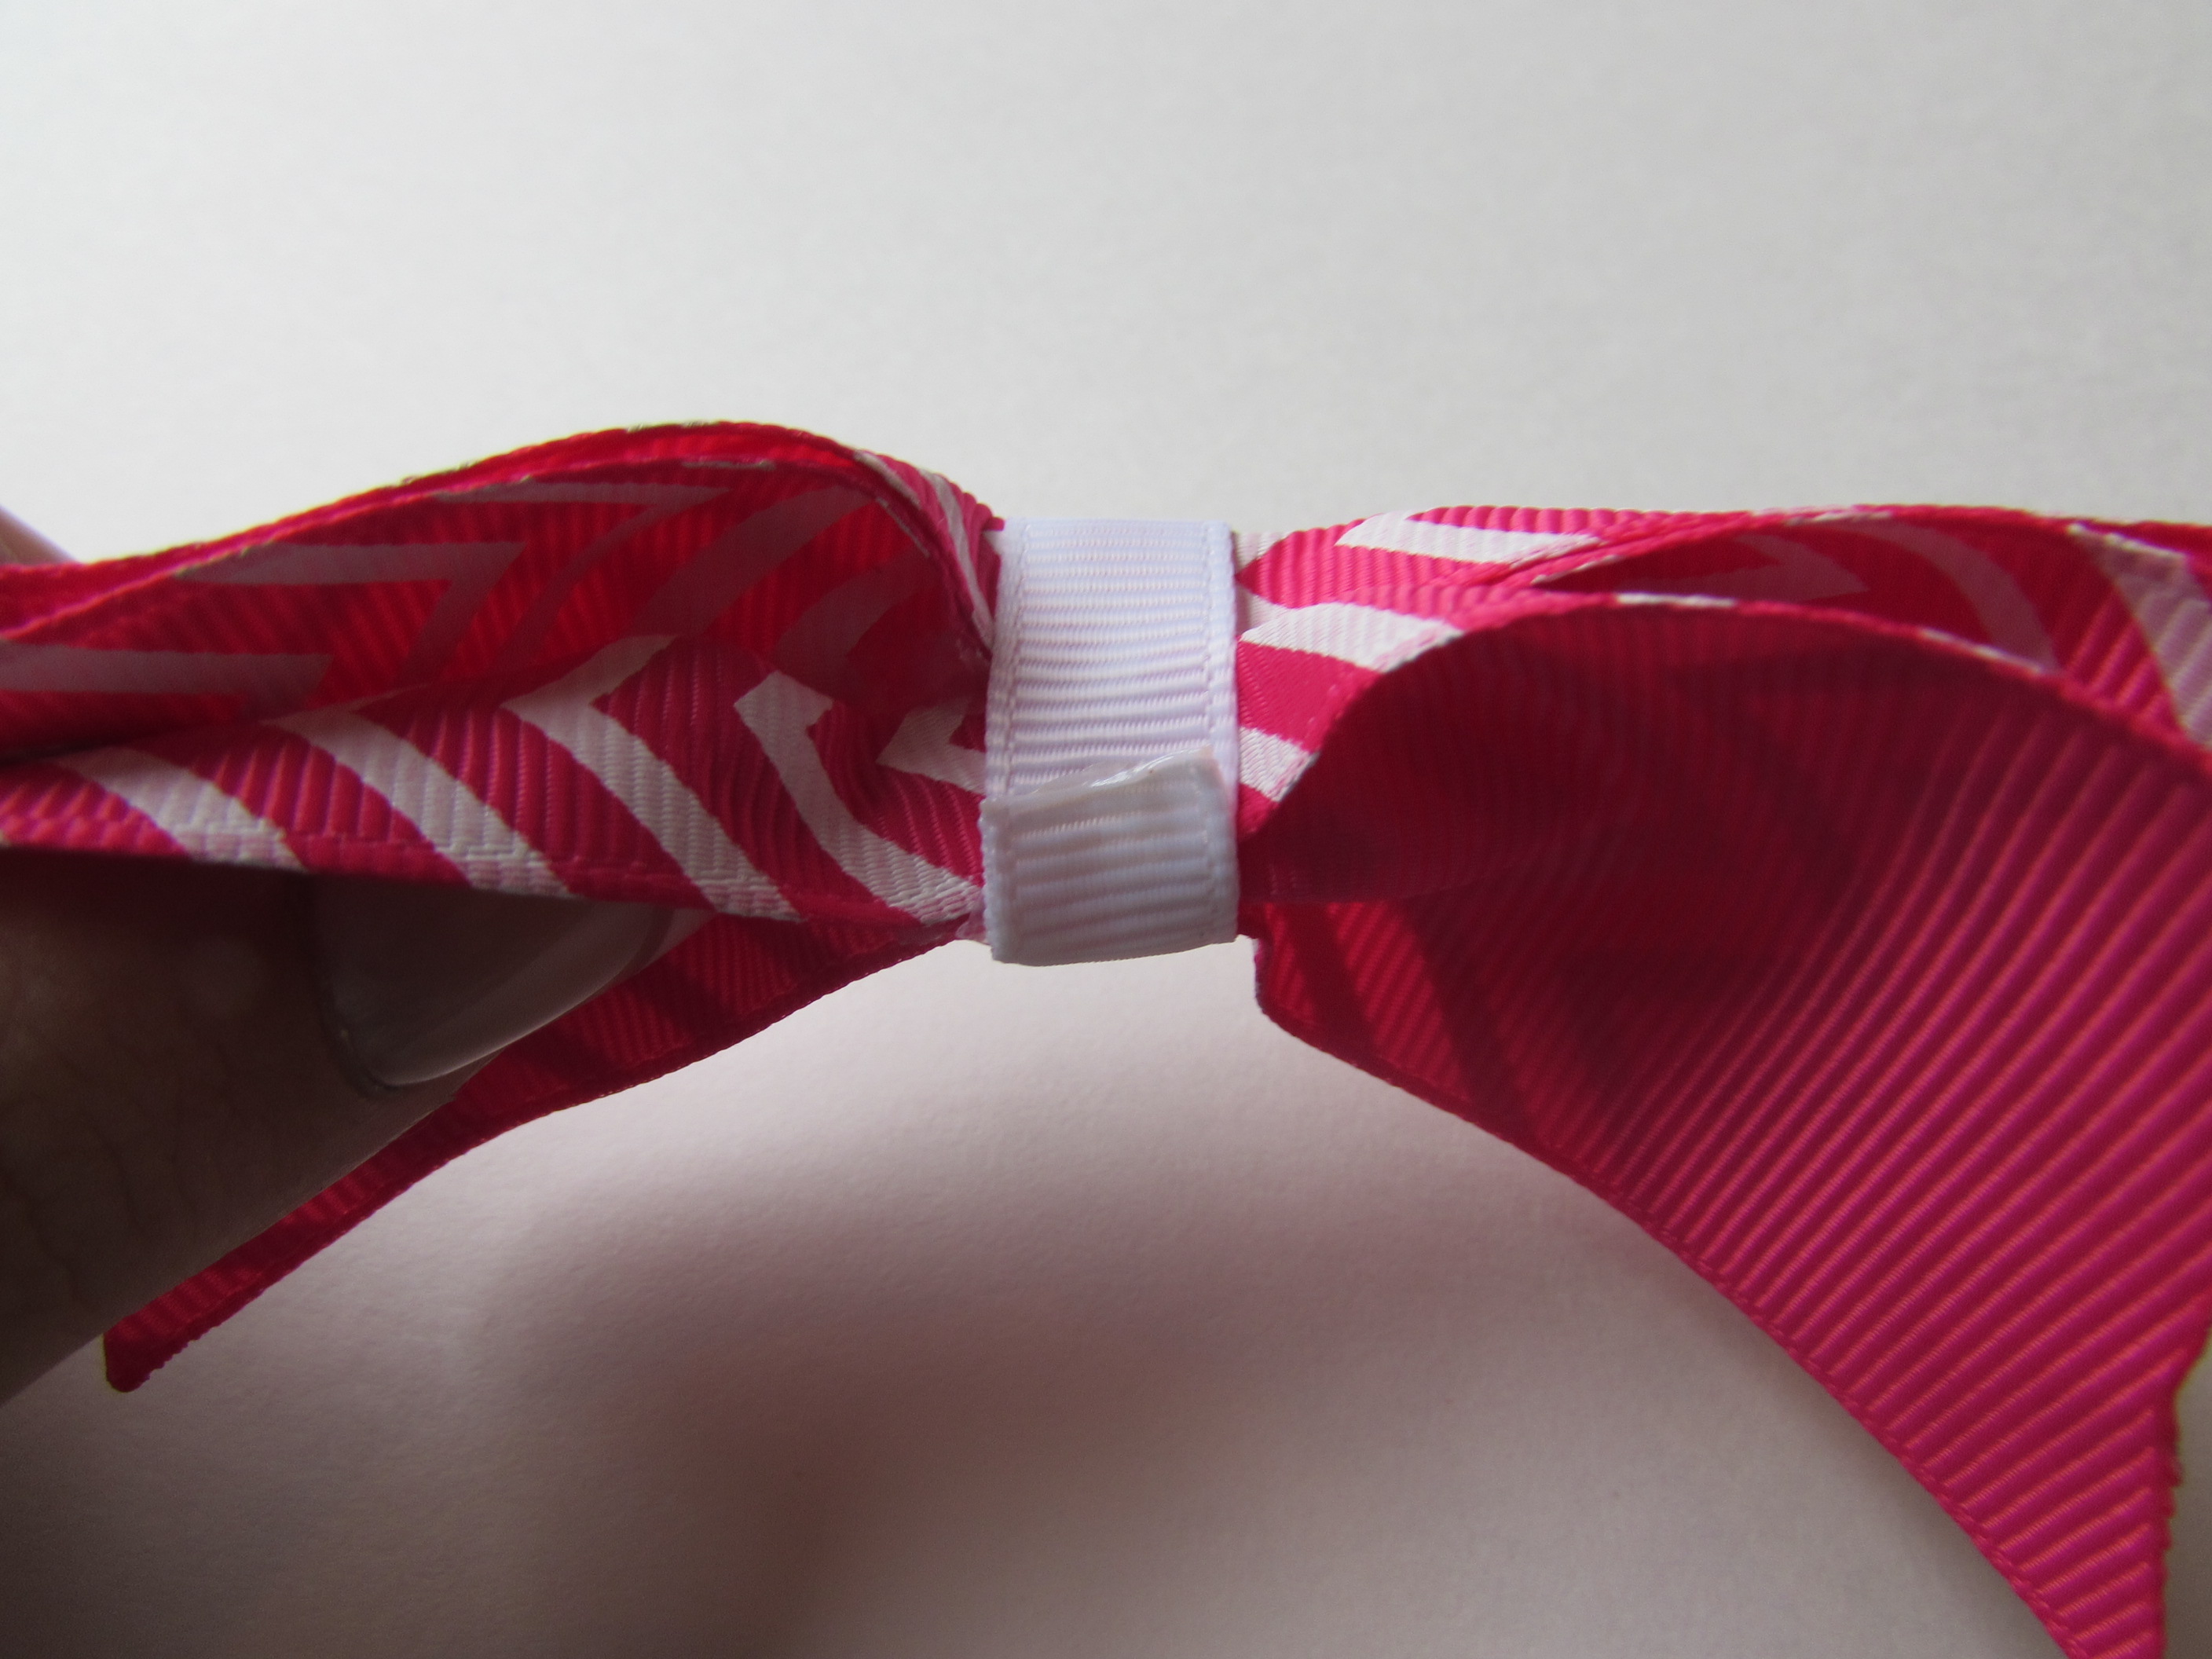 Step 32: Now it is time to line your clip with your remaining 3/8" 4" piece of ribbon.
Step 33: Apply hot glue to the back of the clip.
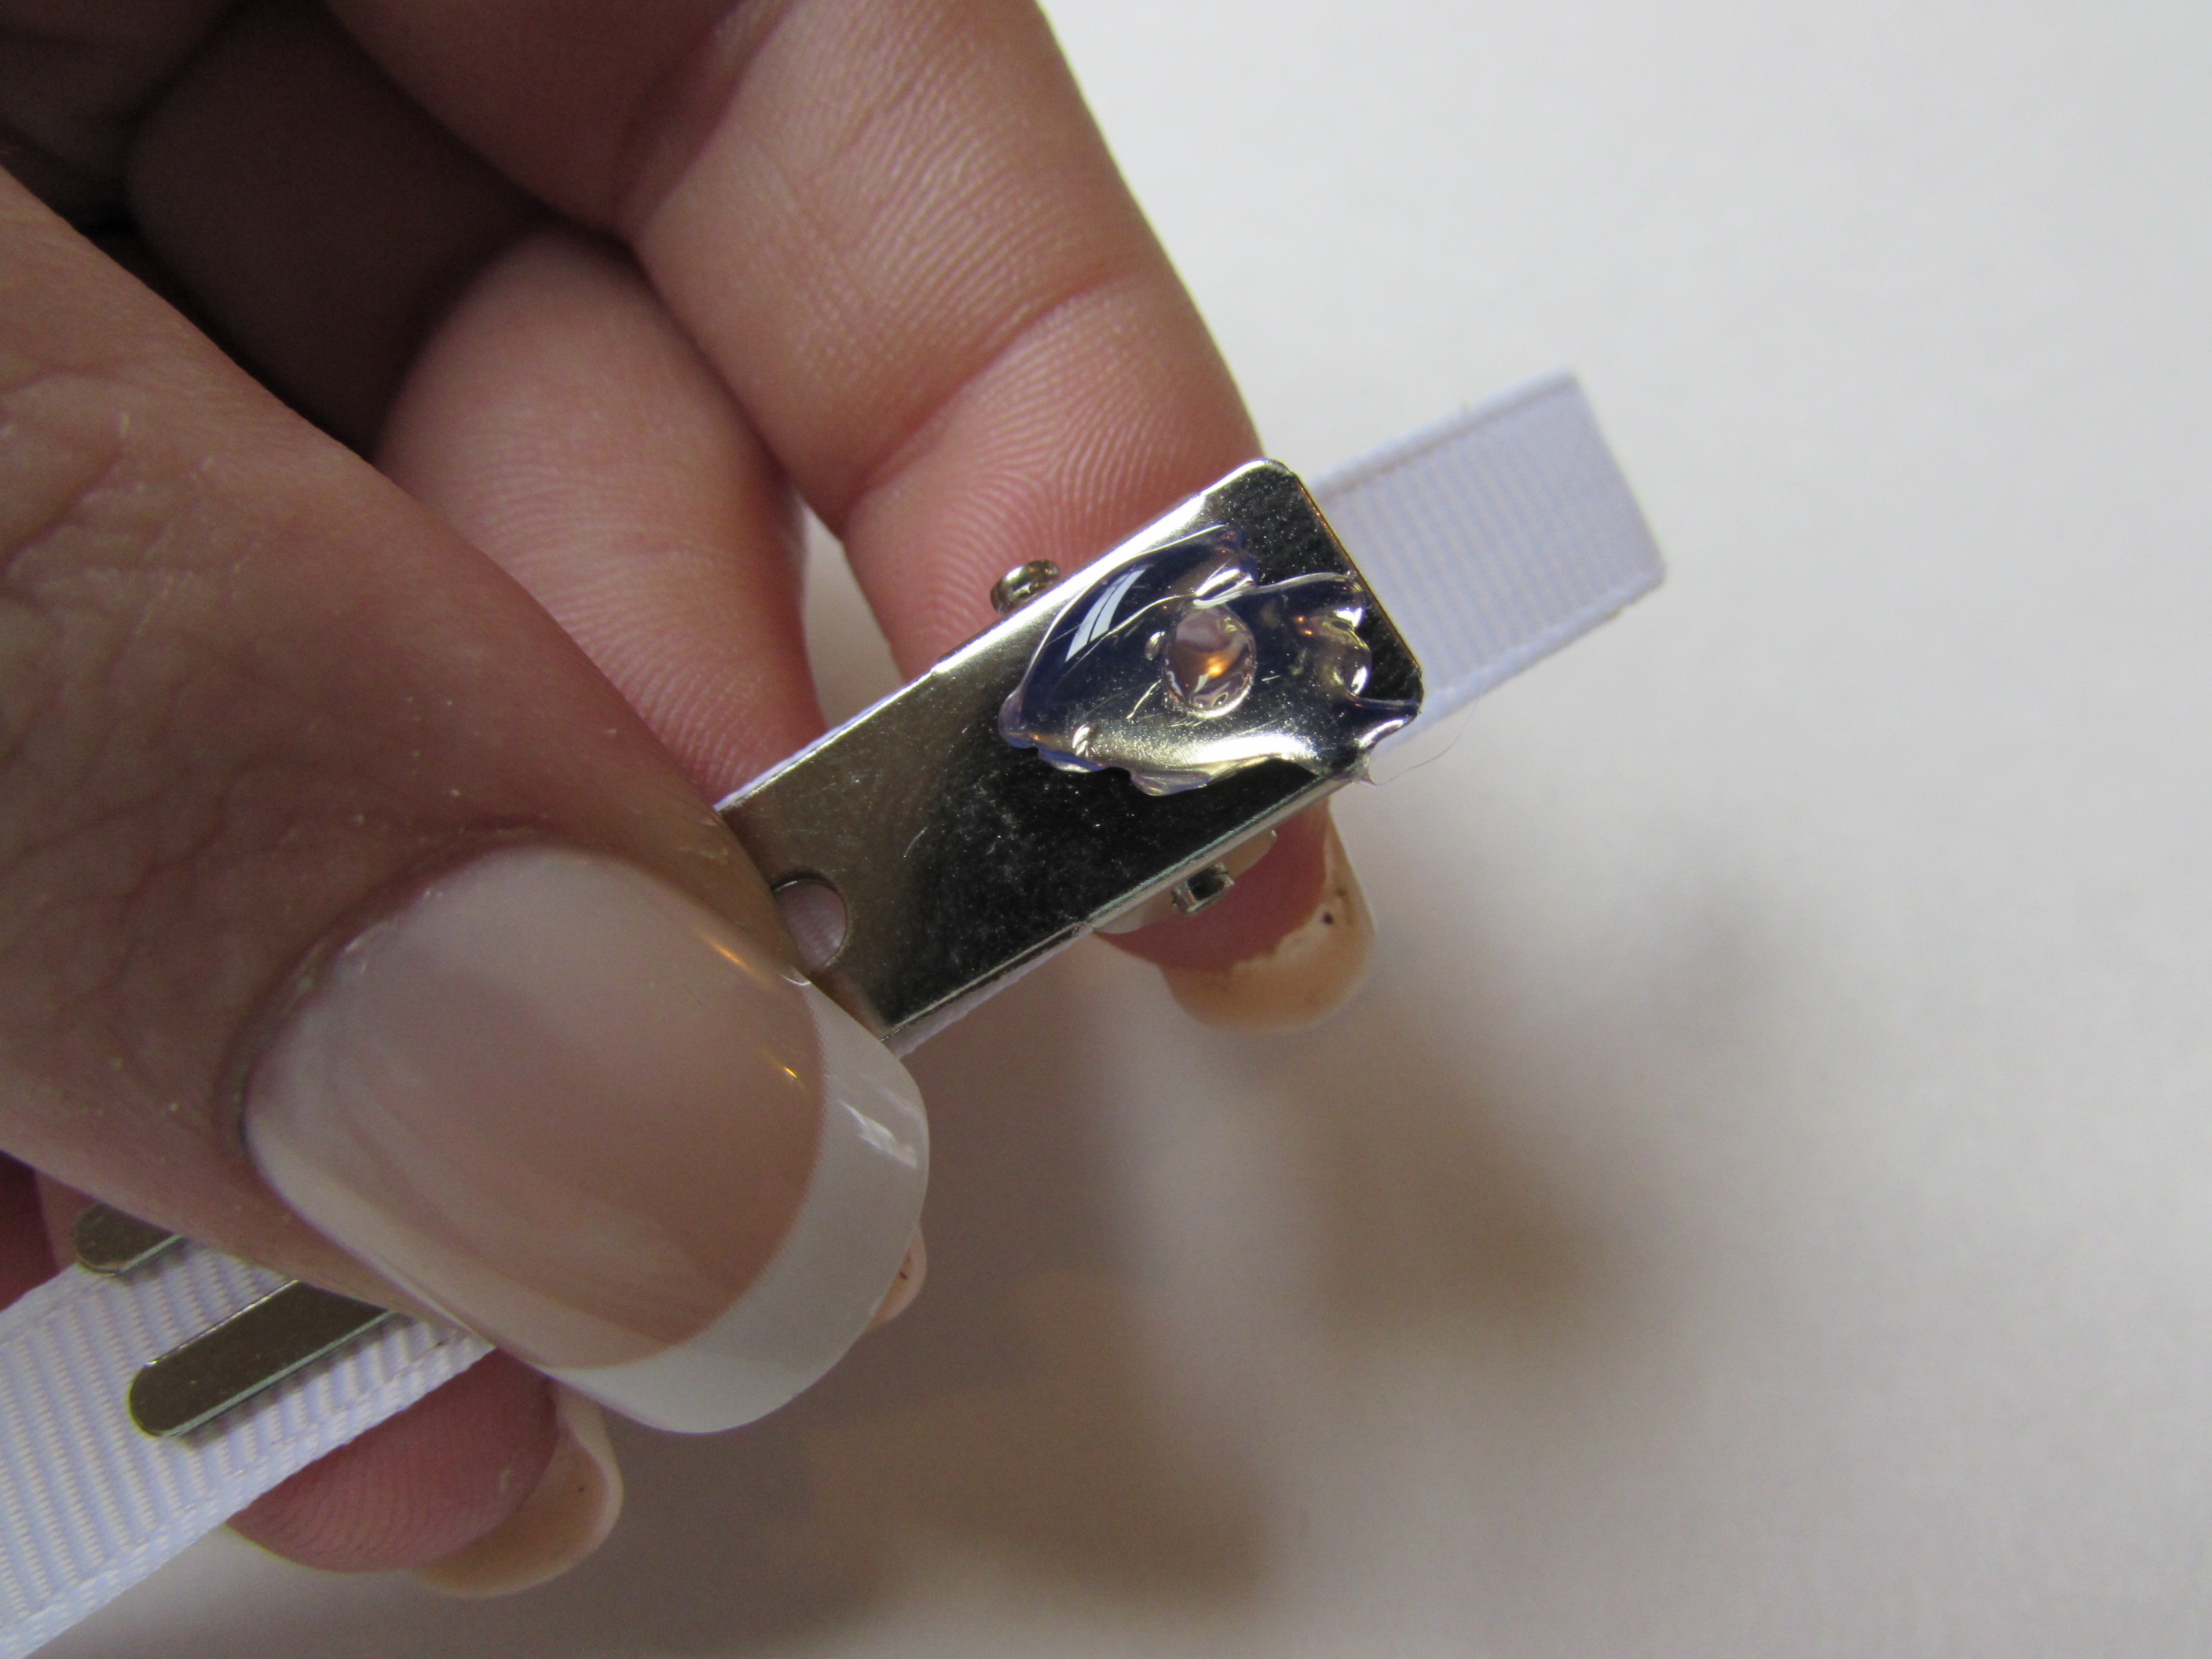 Step 34: Fold one end of the ribbon down onto the top of the glue.
 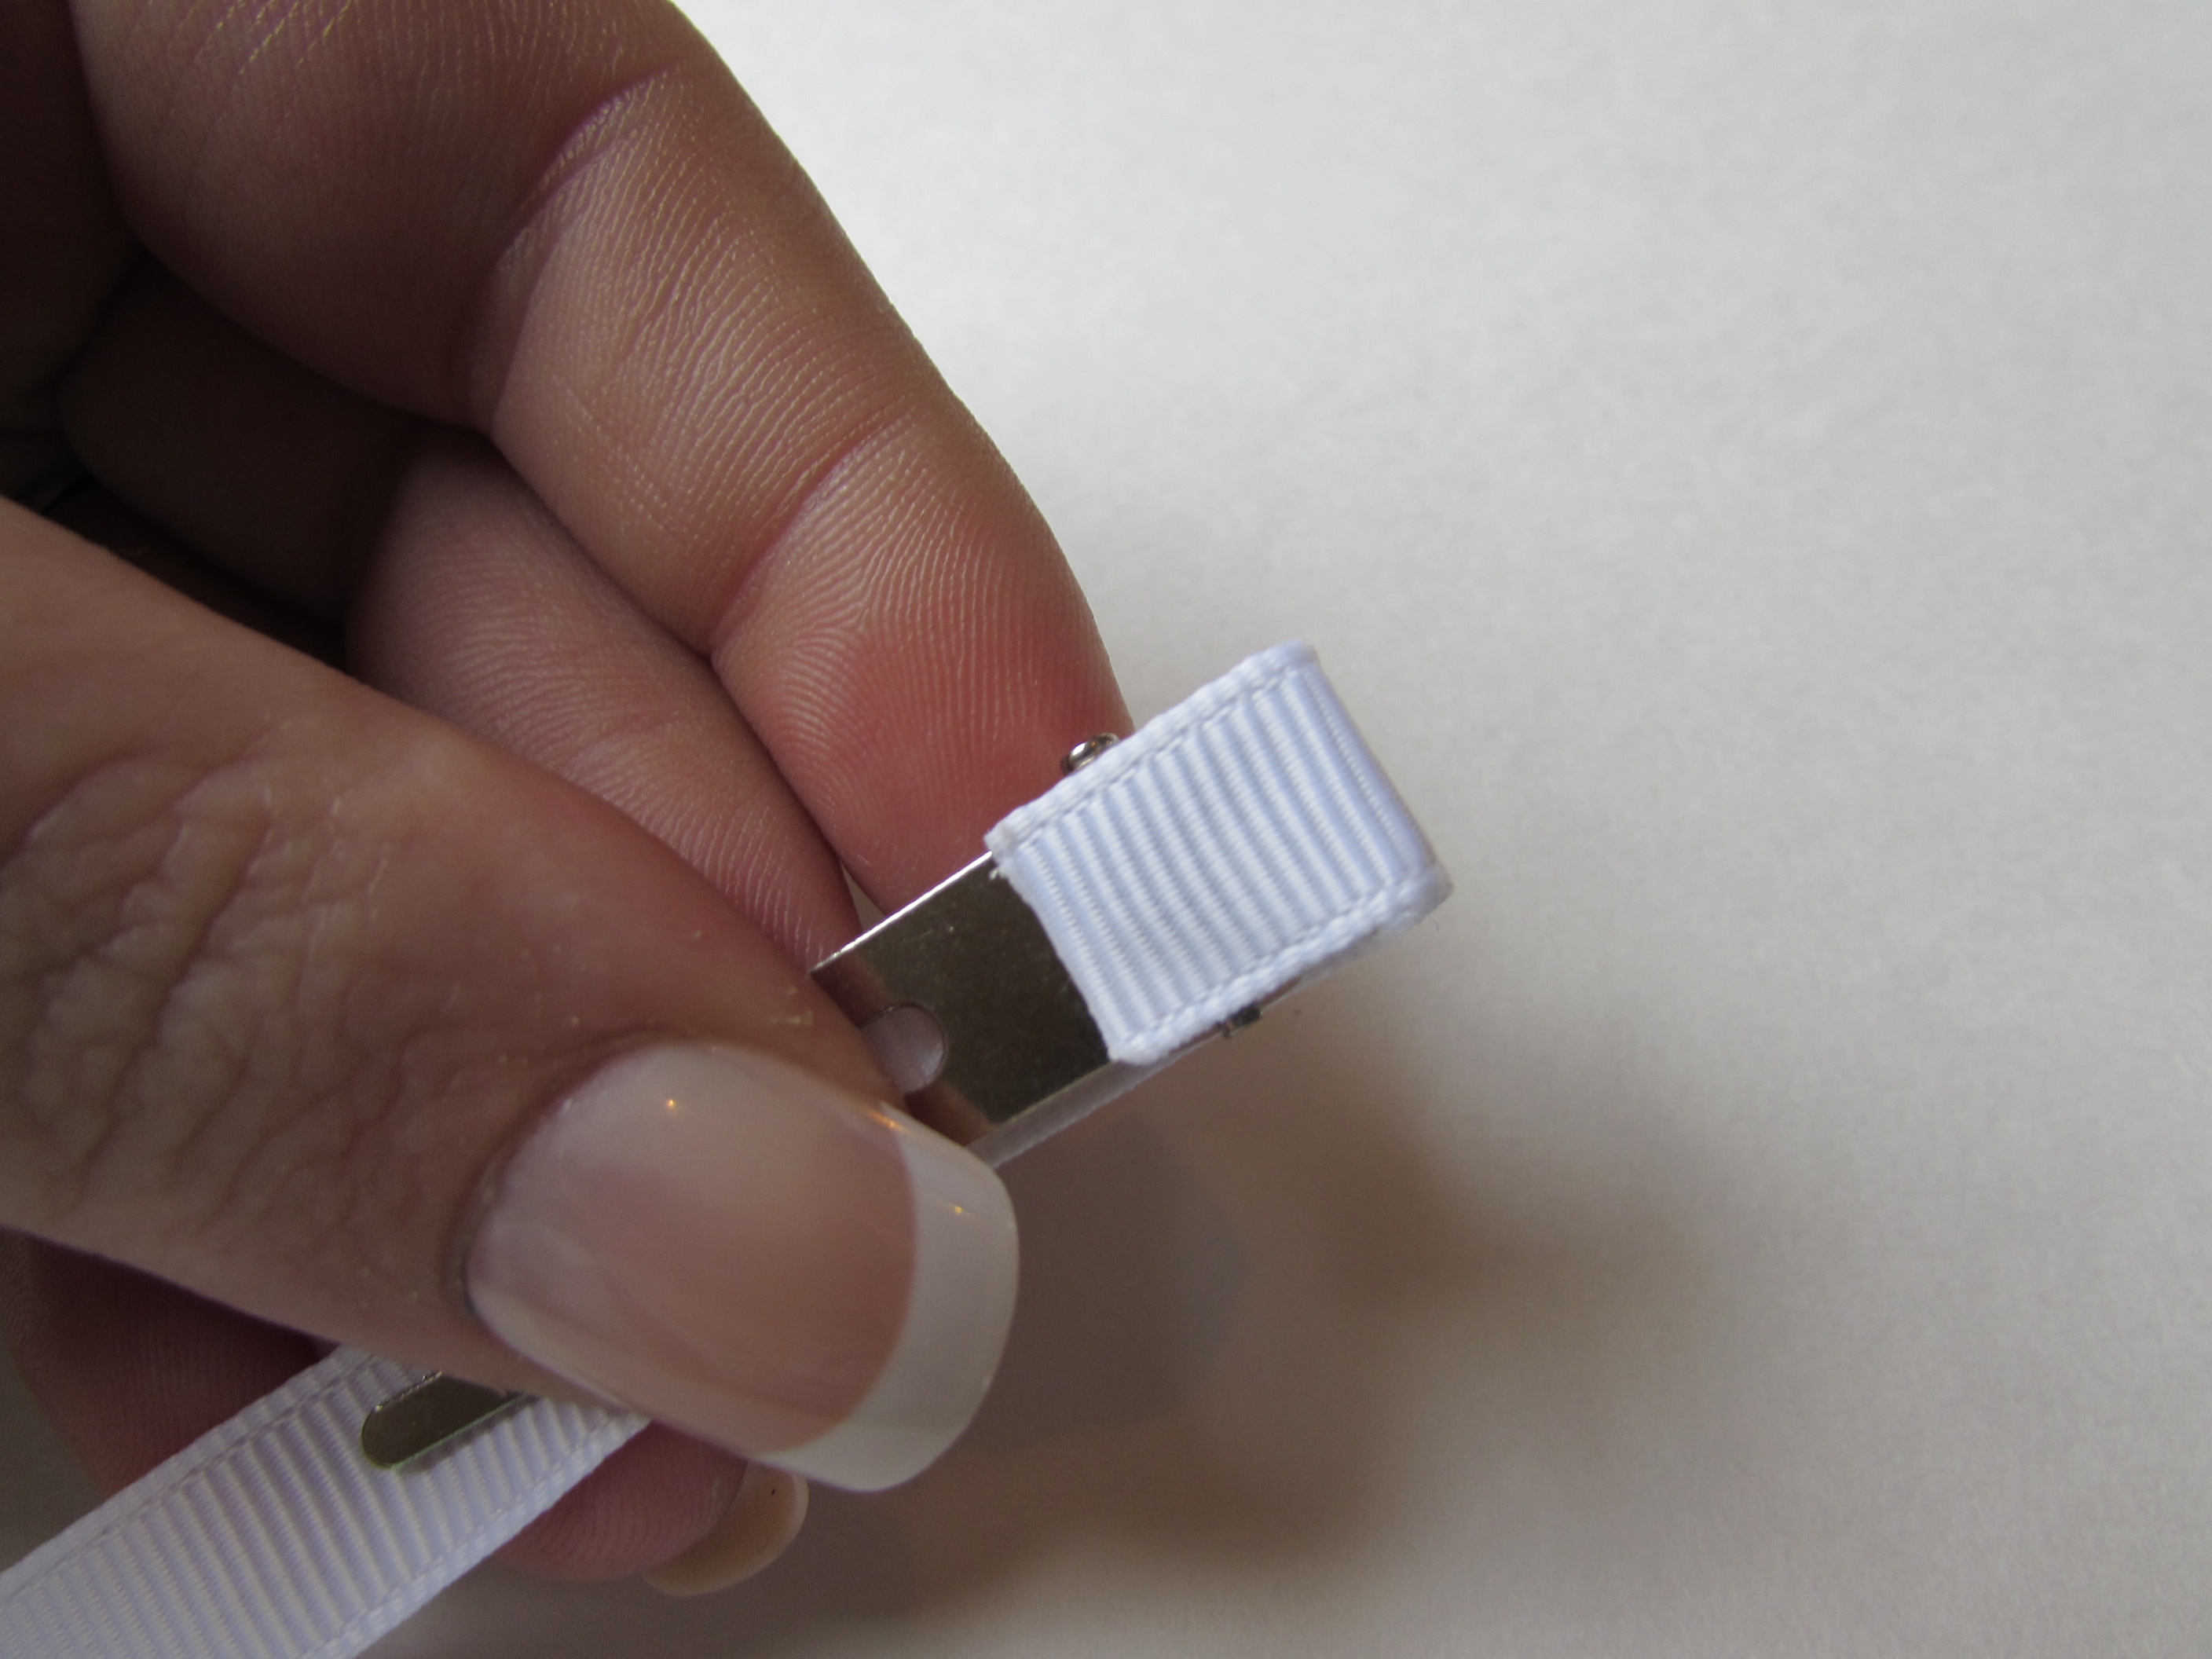 Step 35: Flip the clip over and apply hotglue to the top of the clip. Then lay the ribbon on top of the glue and press and hold until the glue is dried.
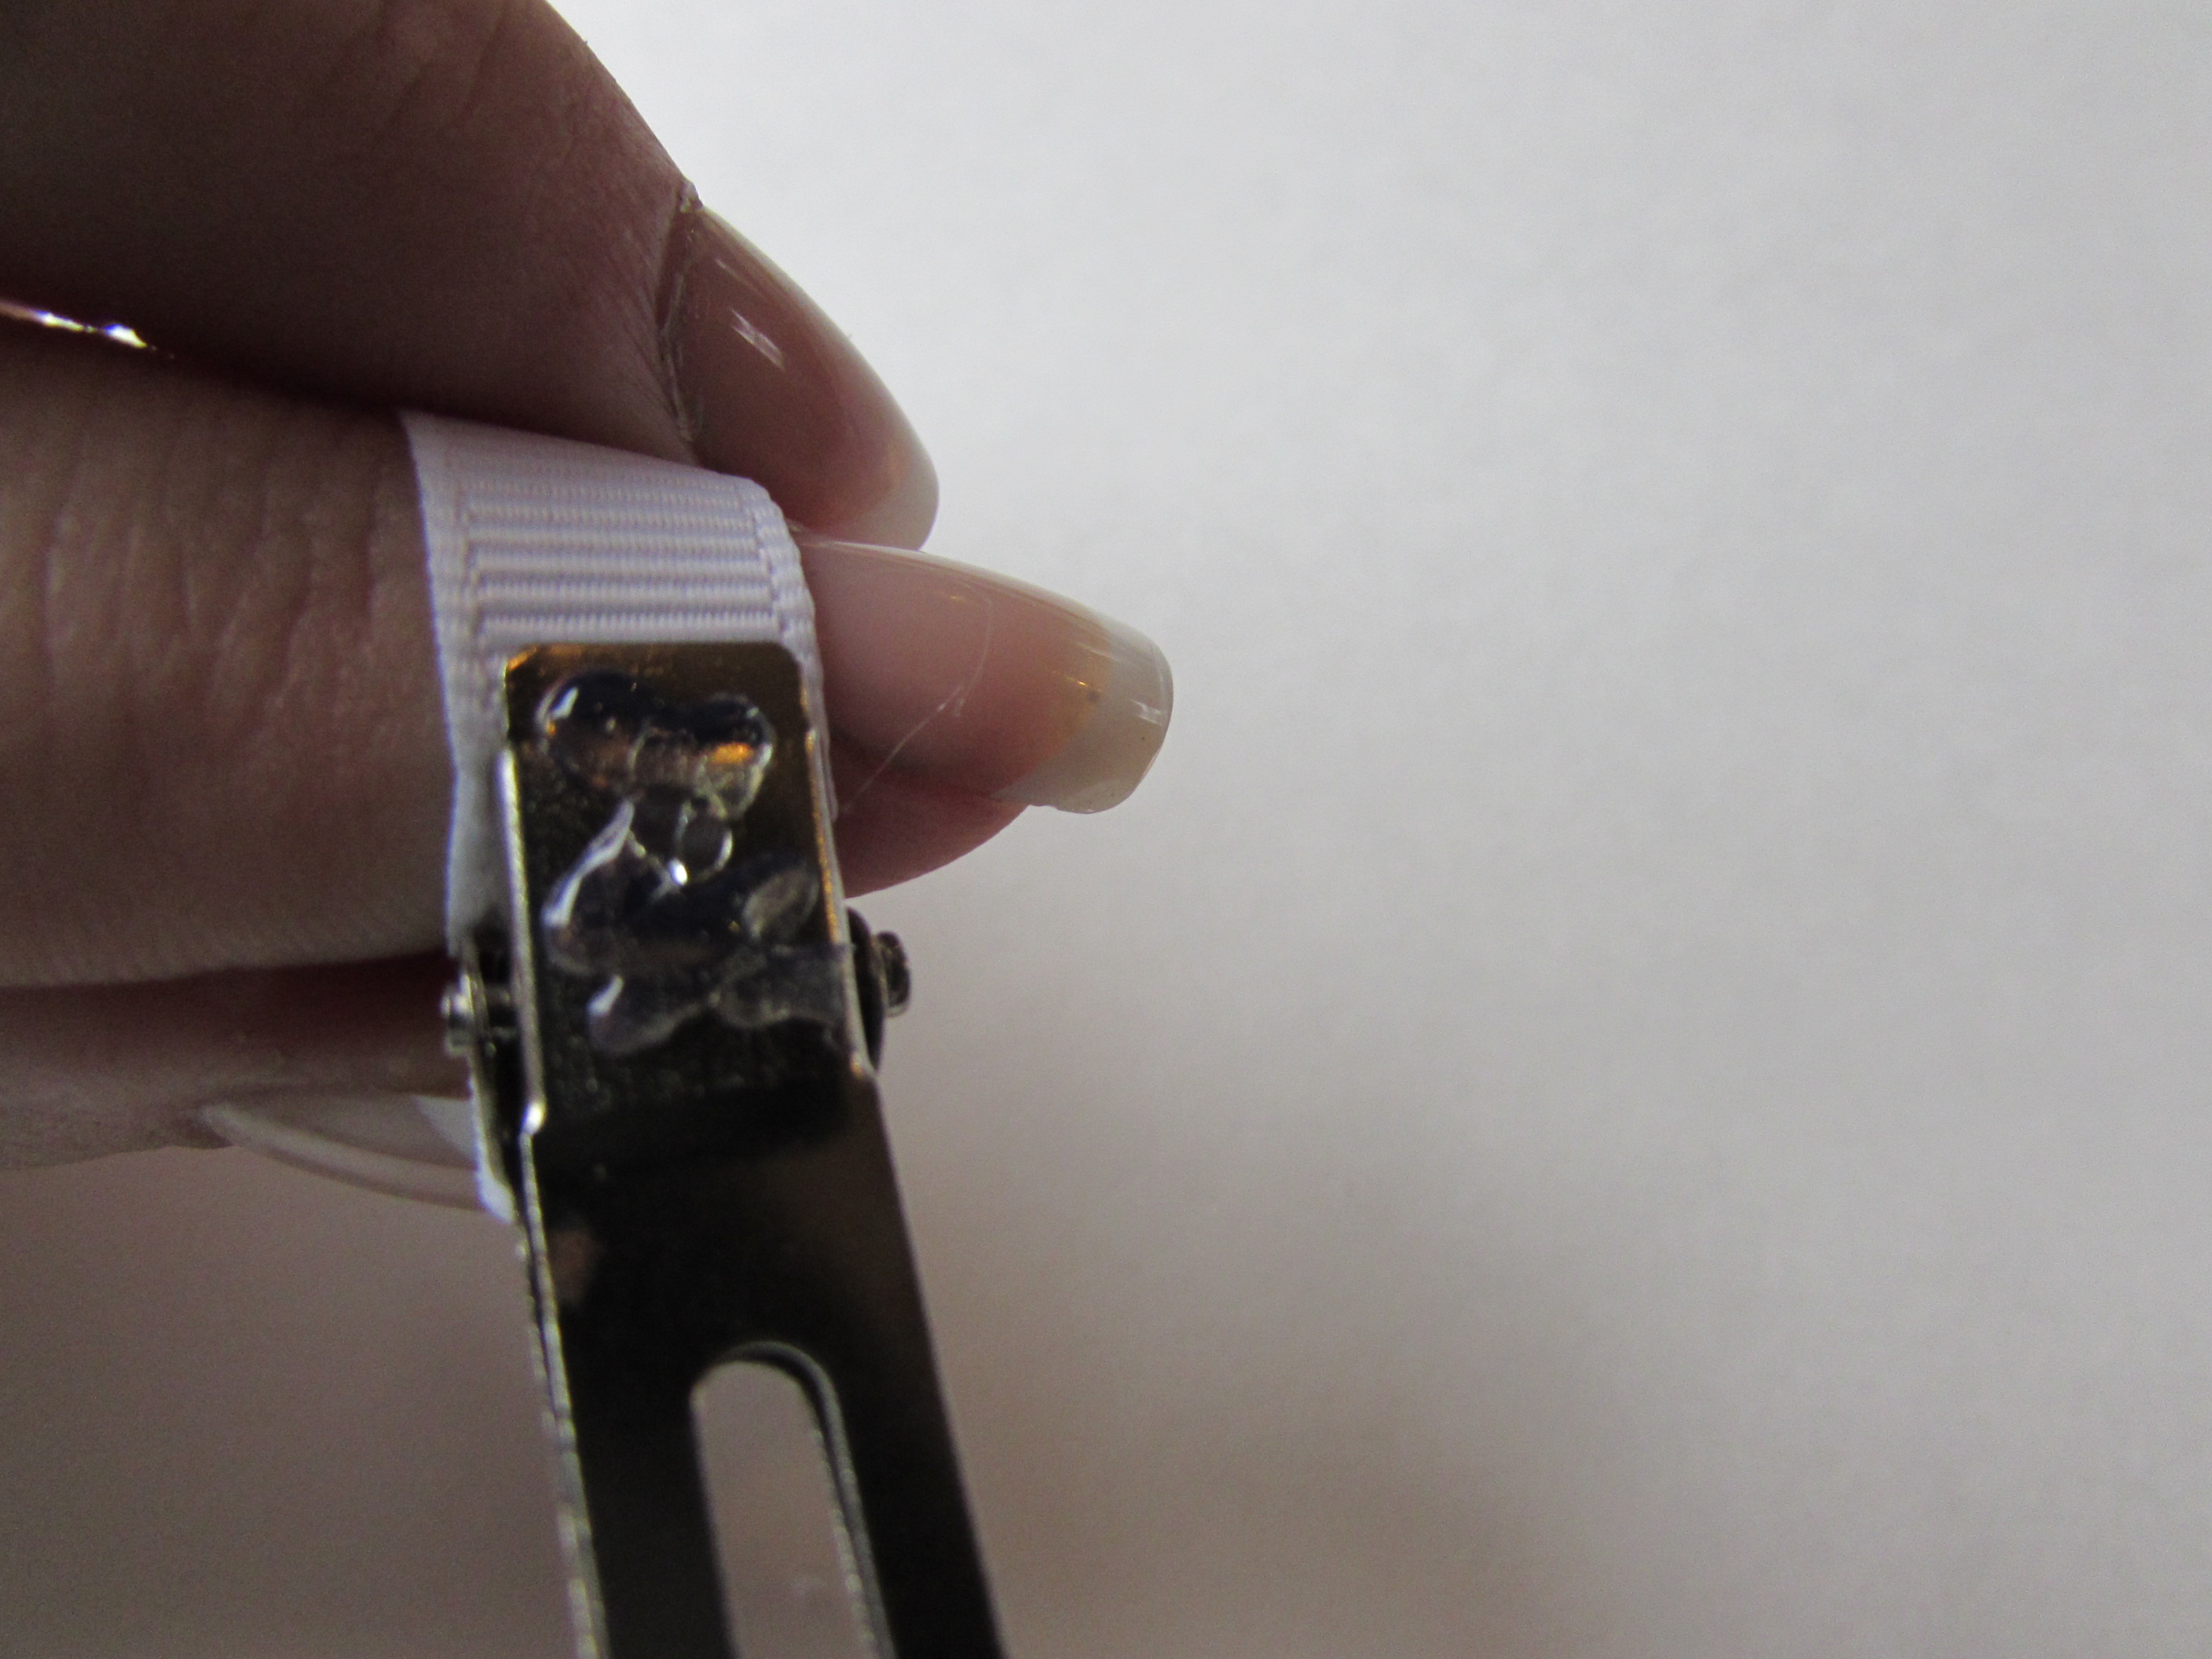
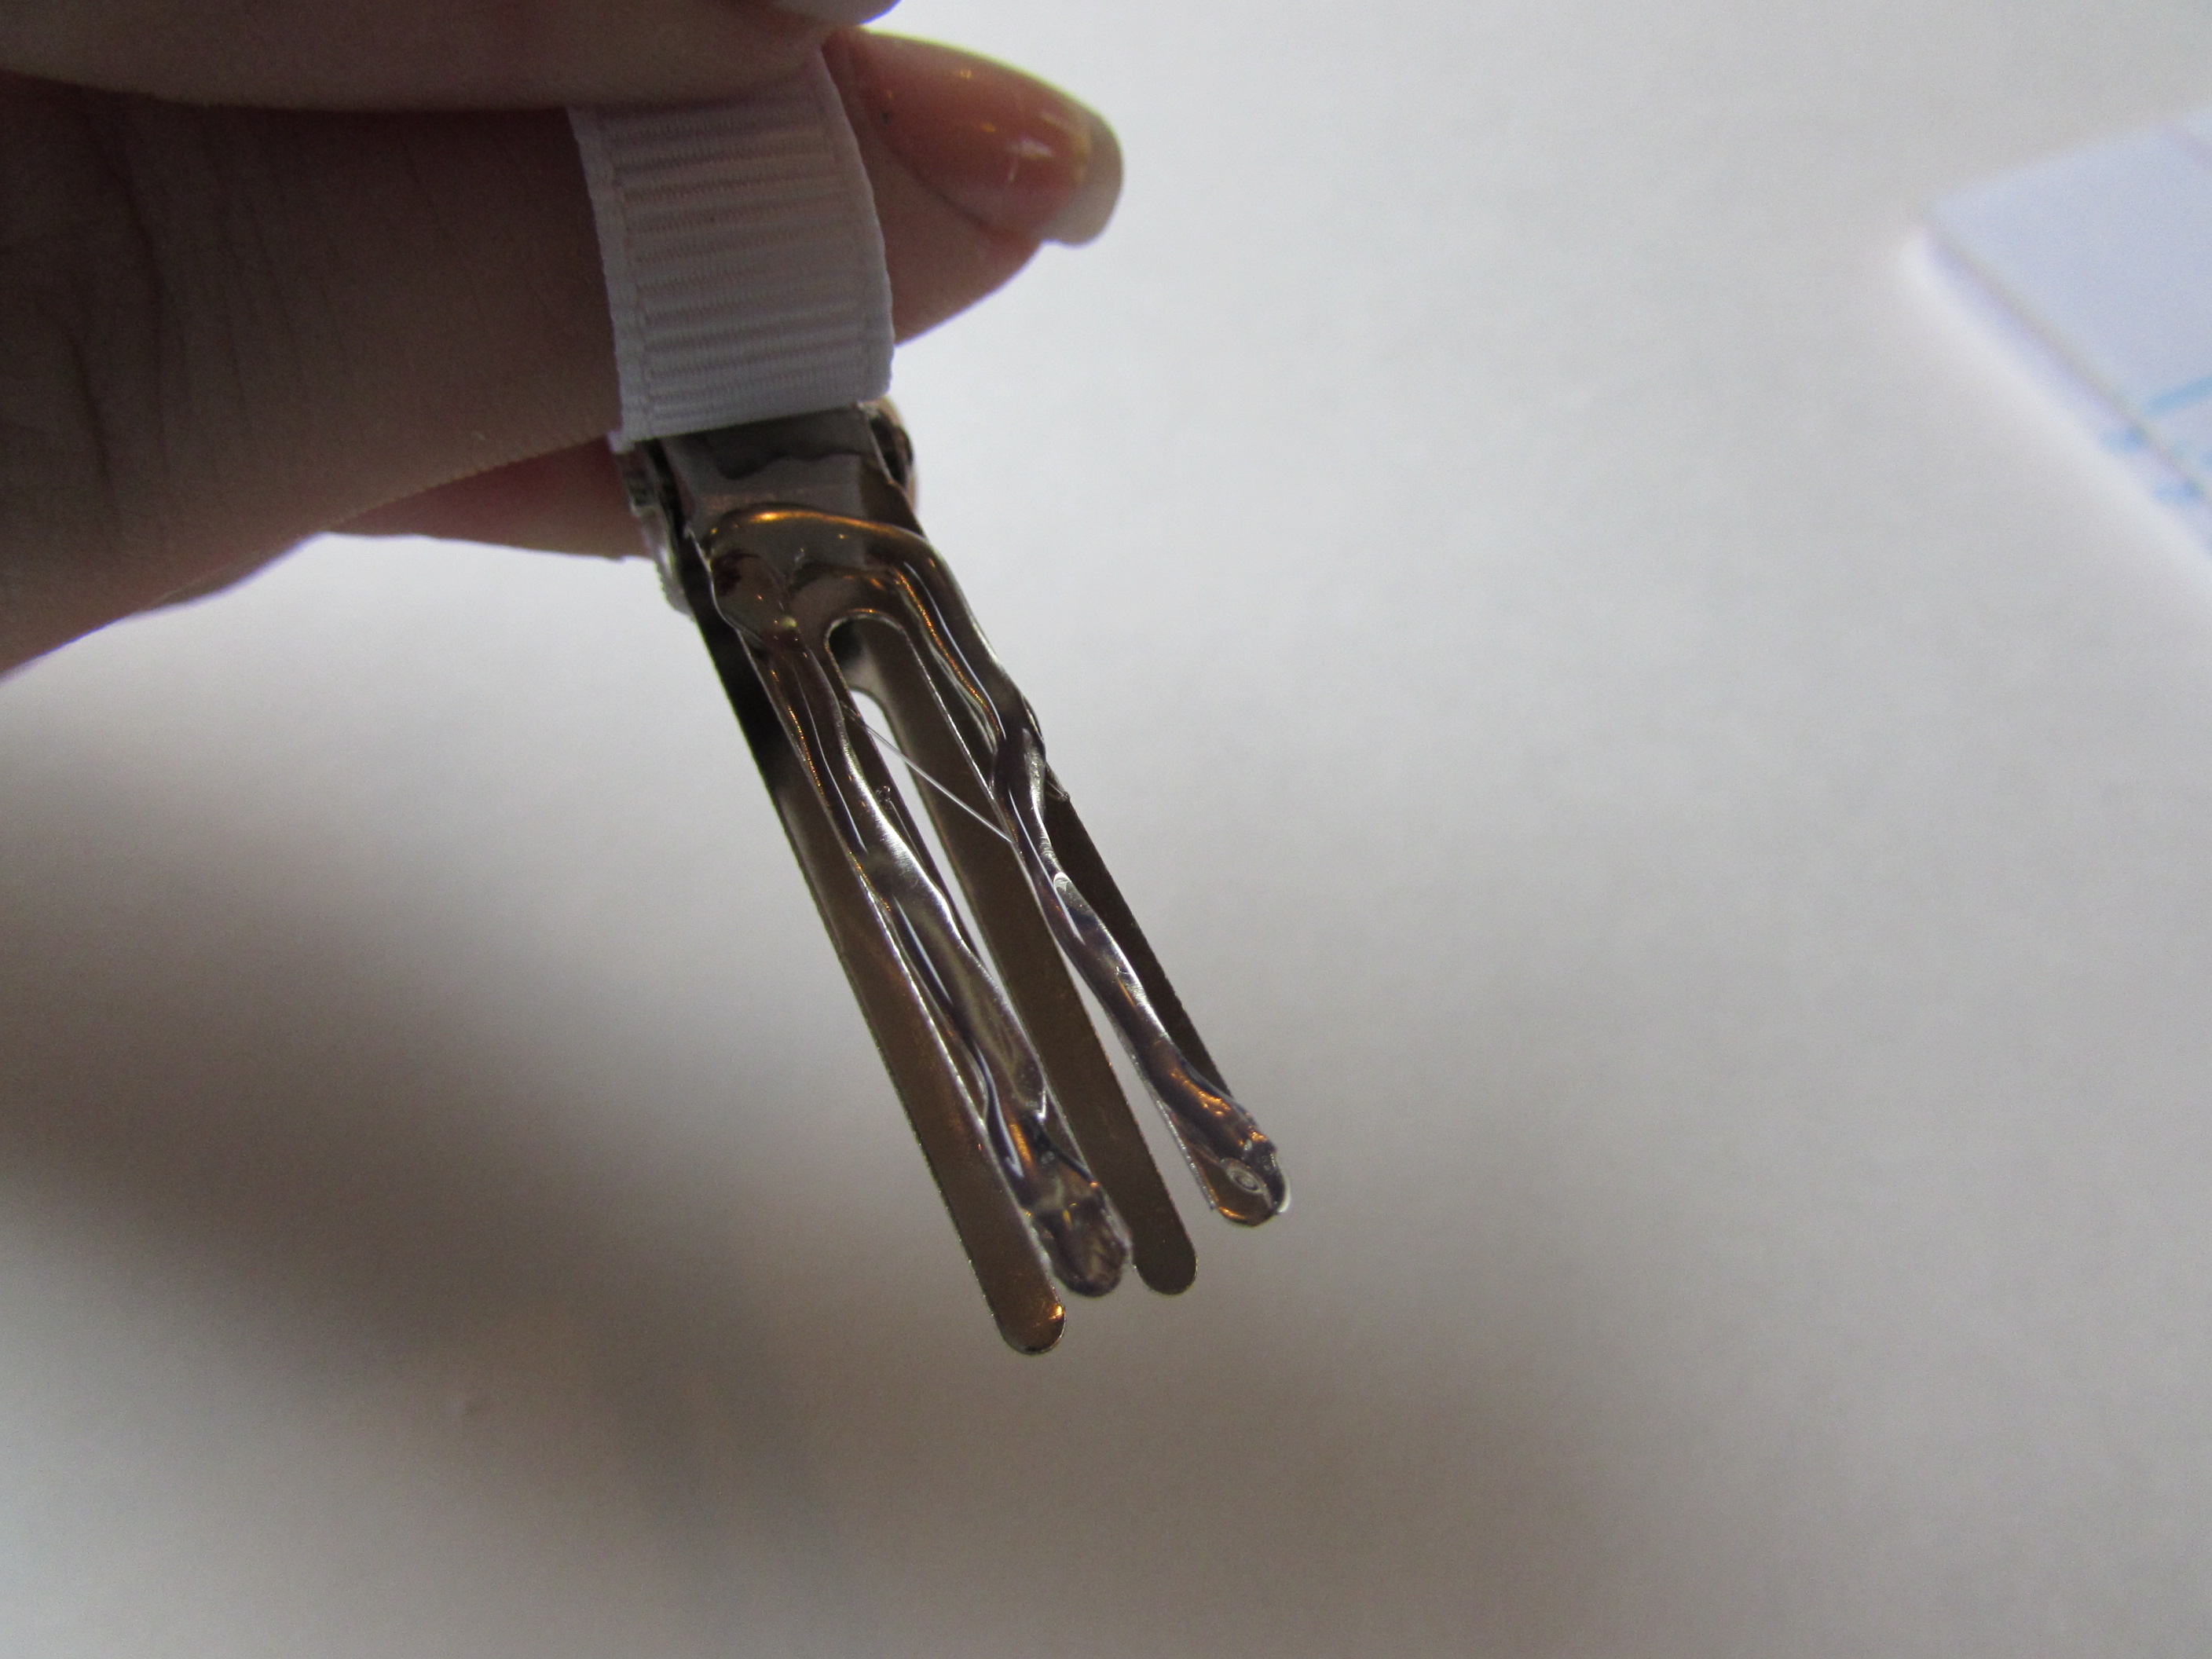
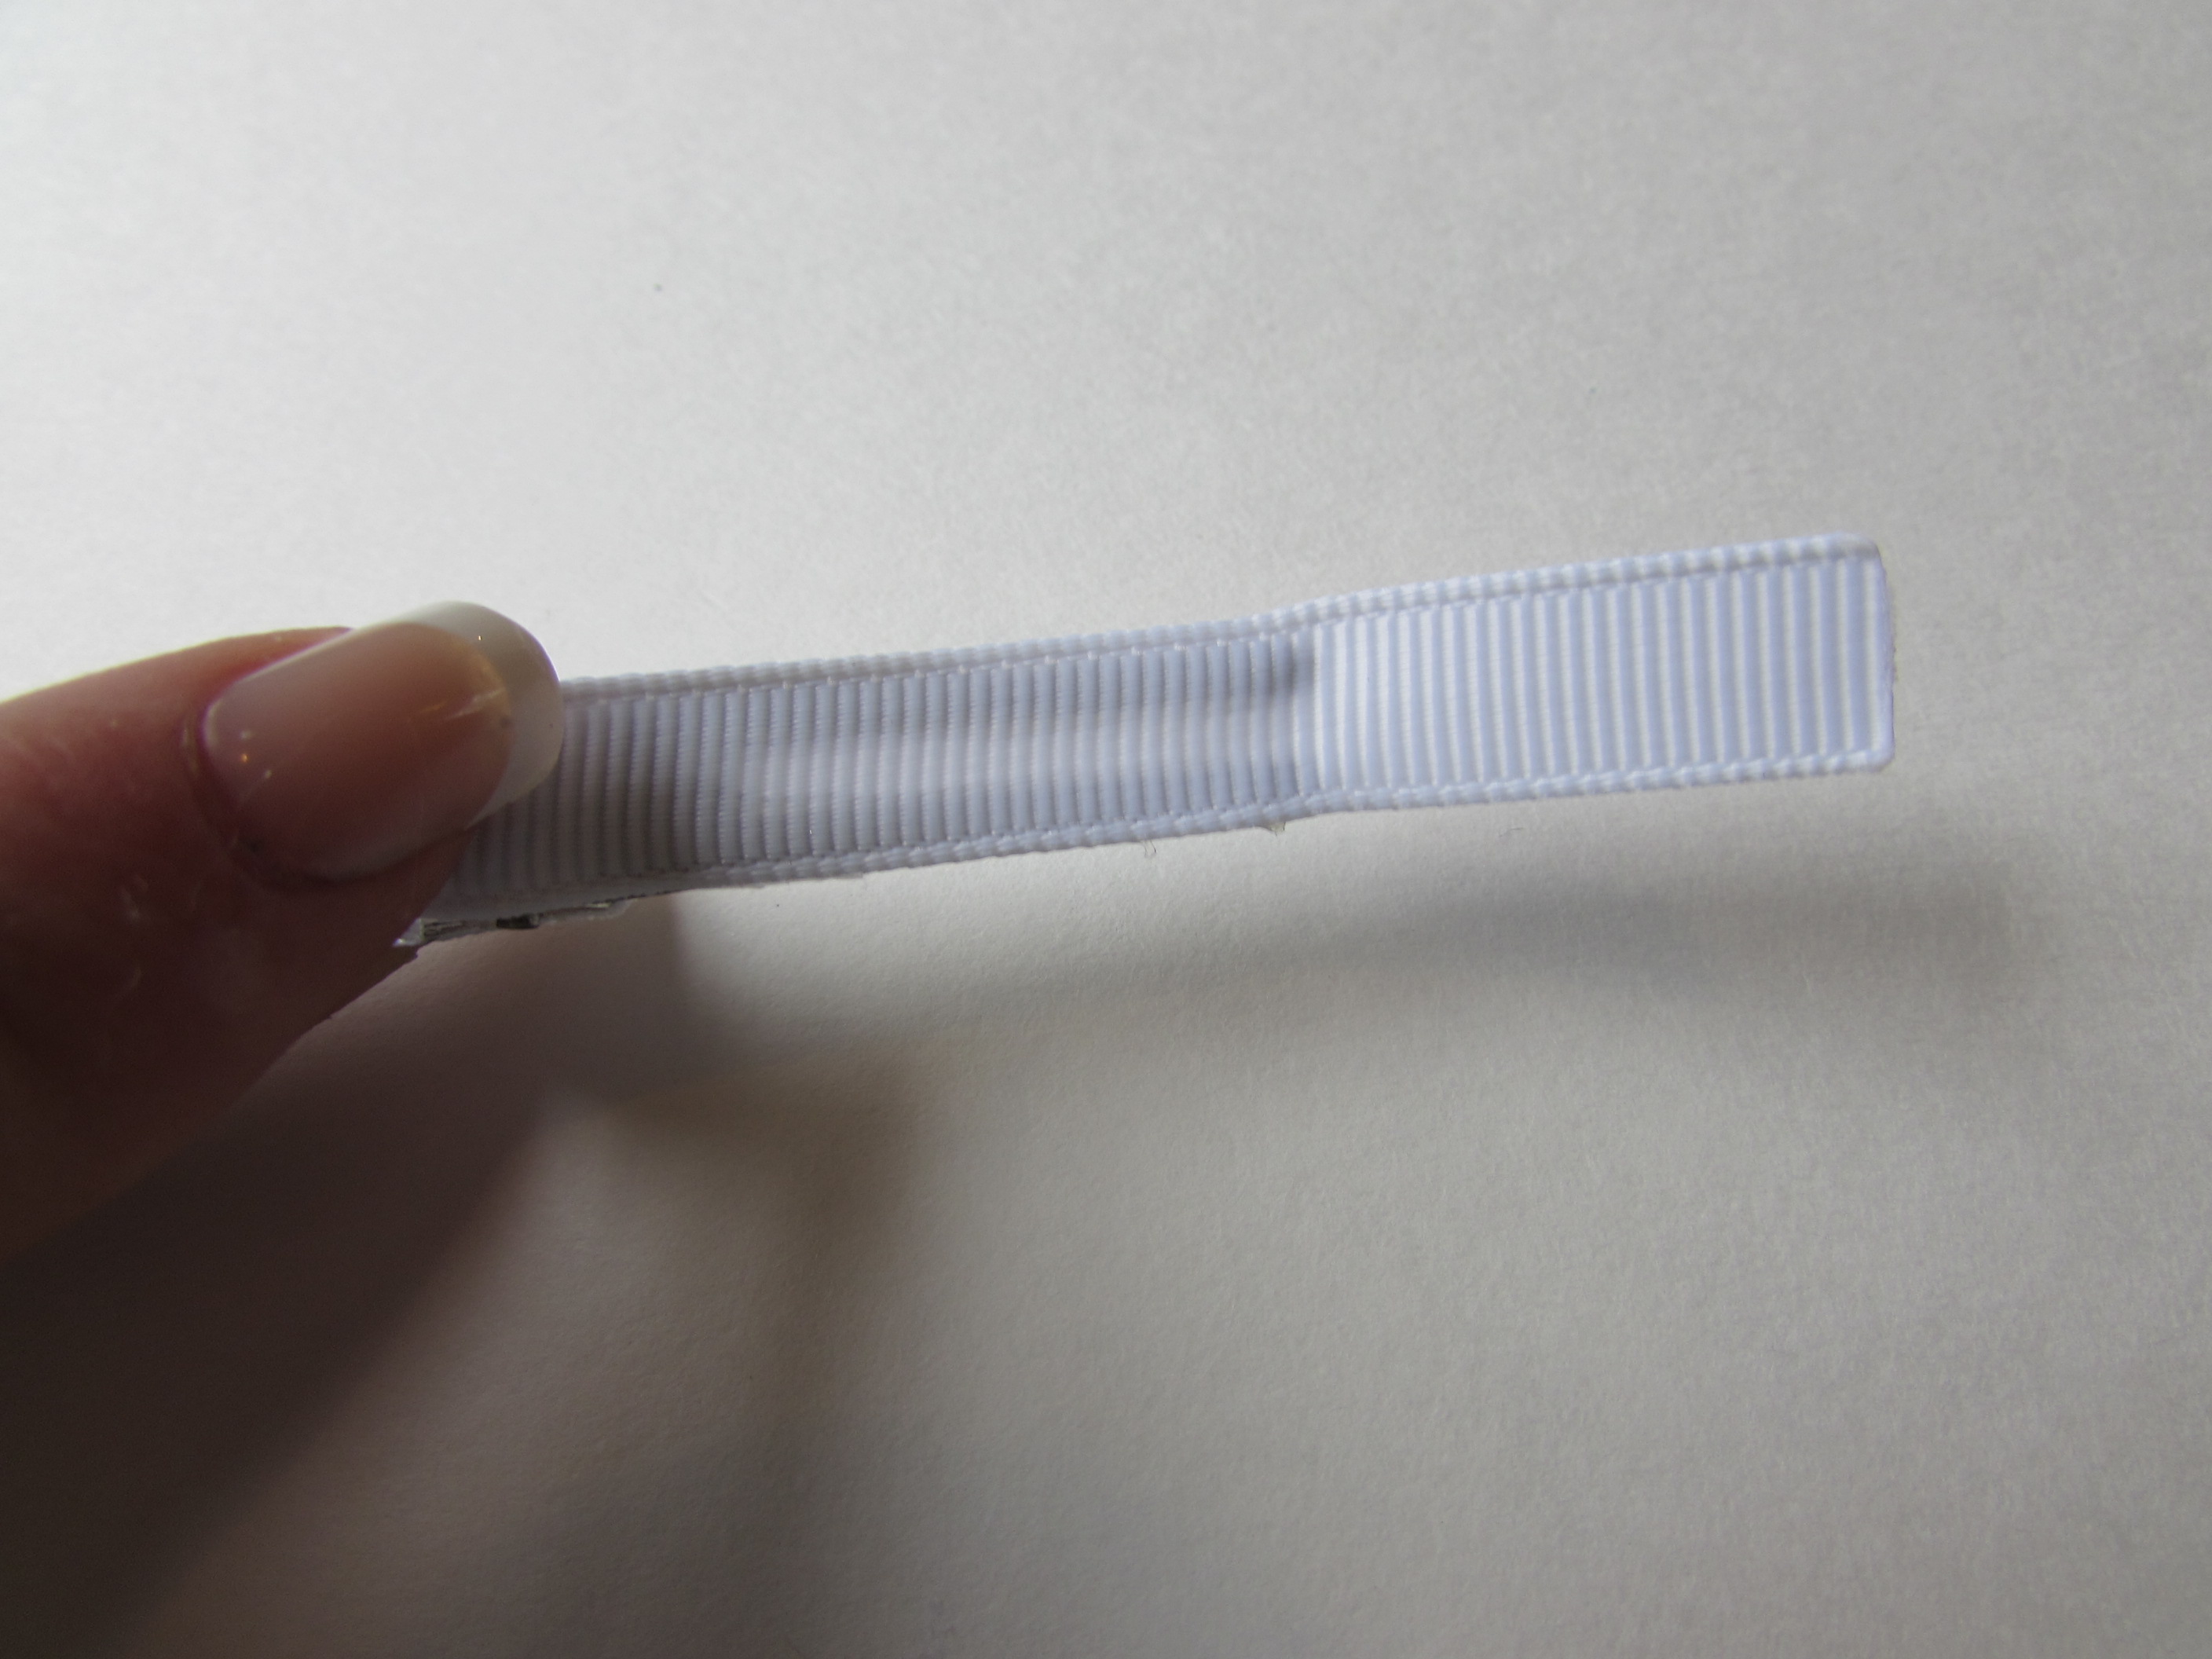
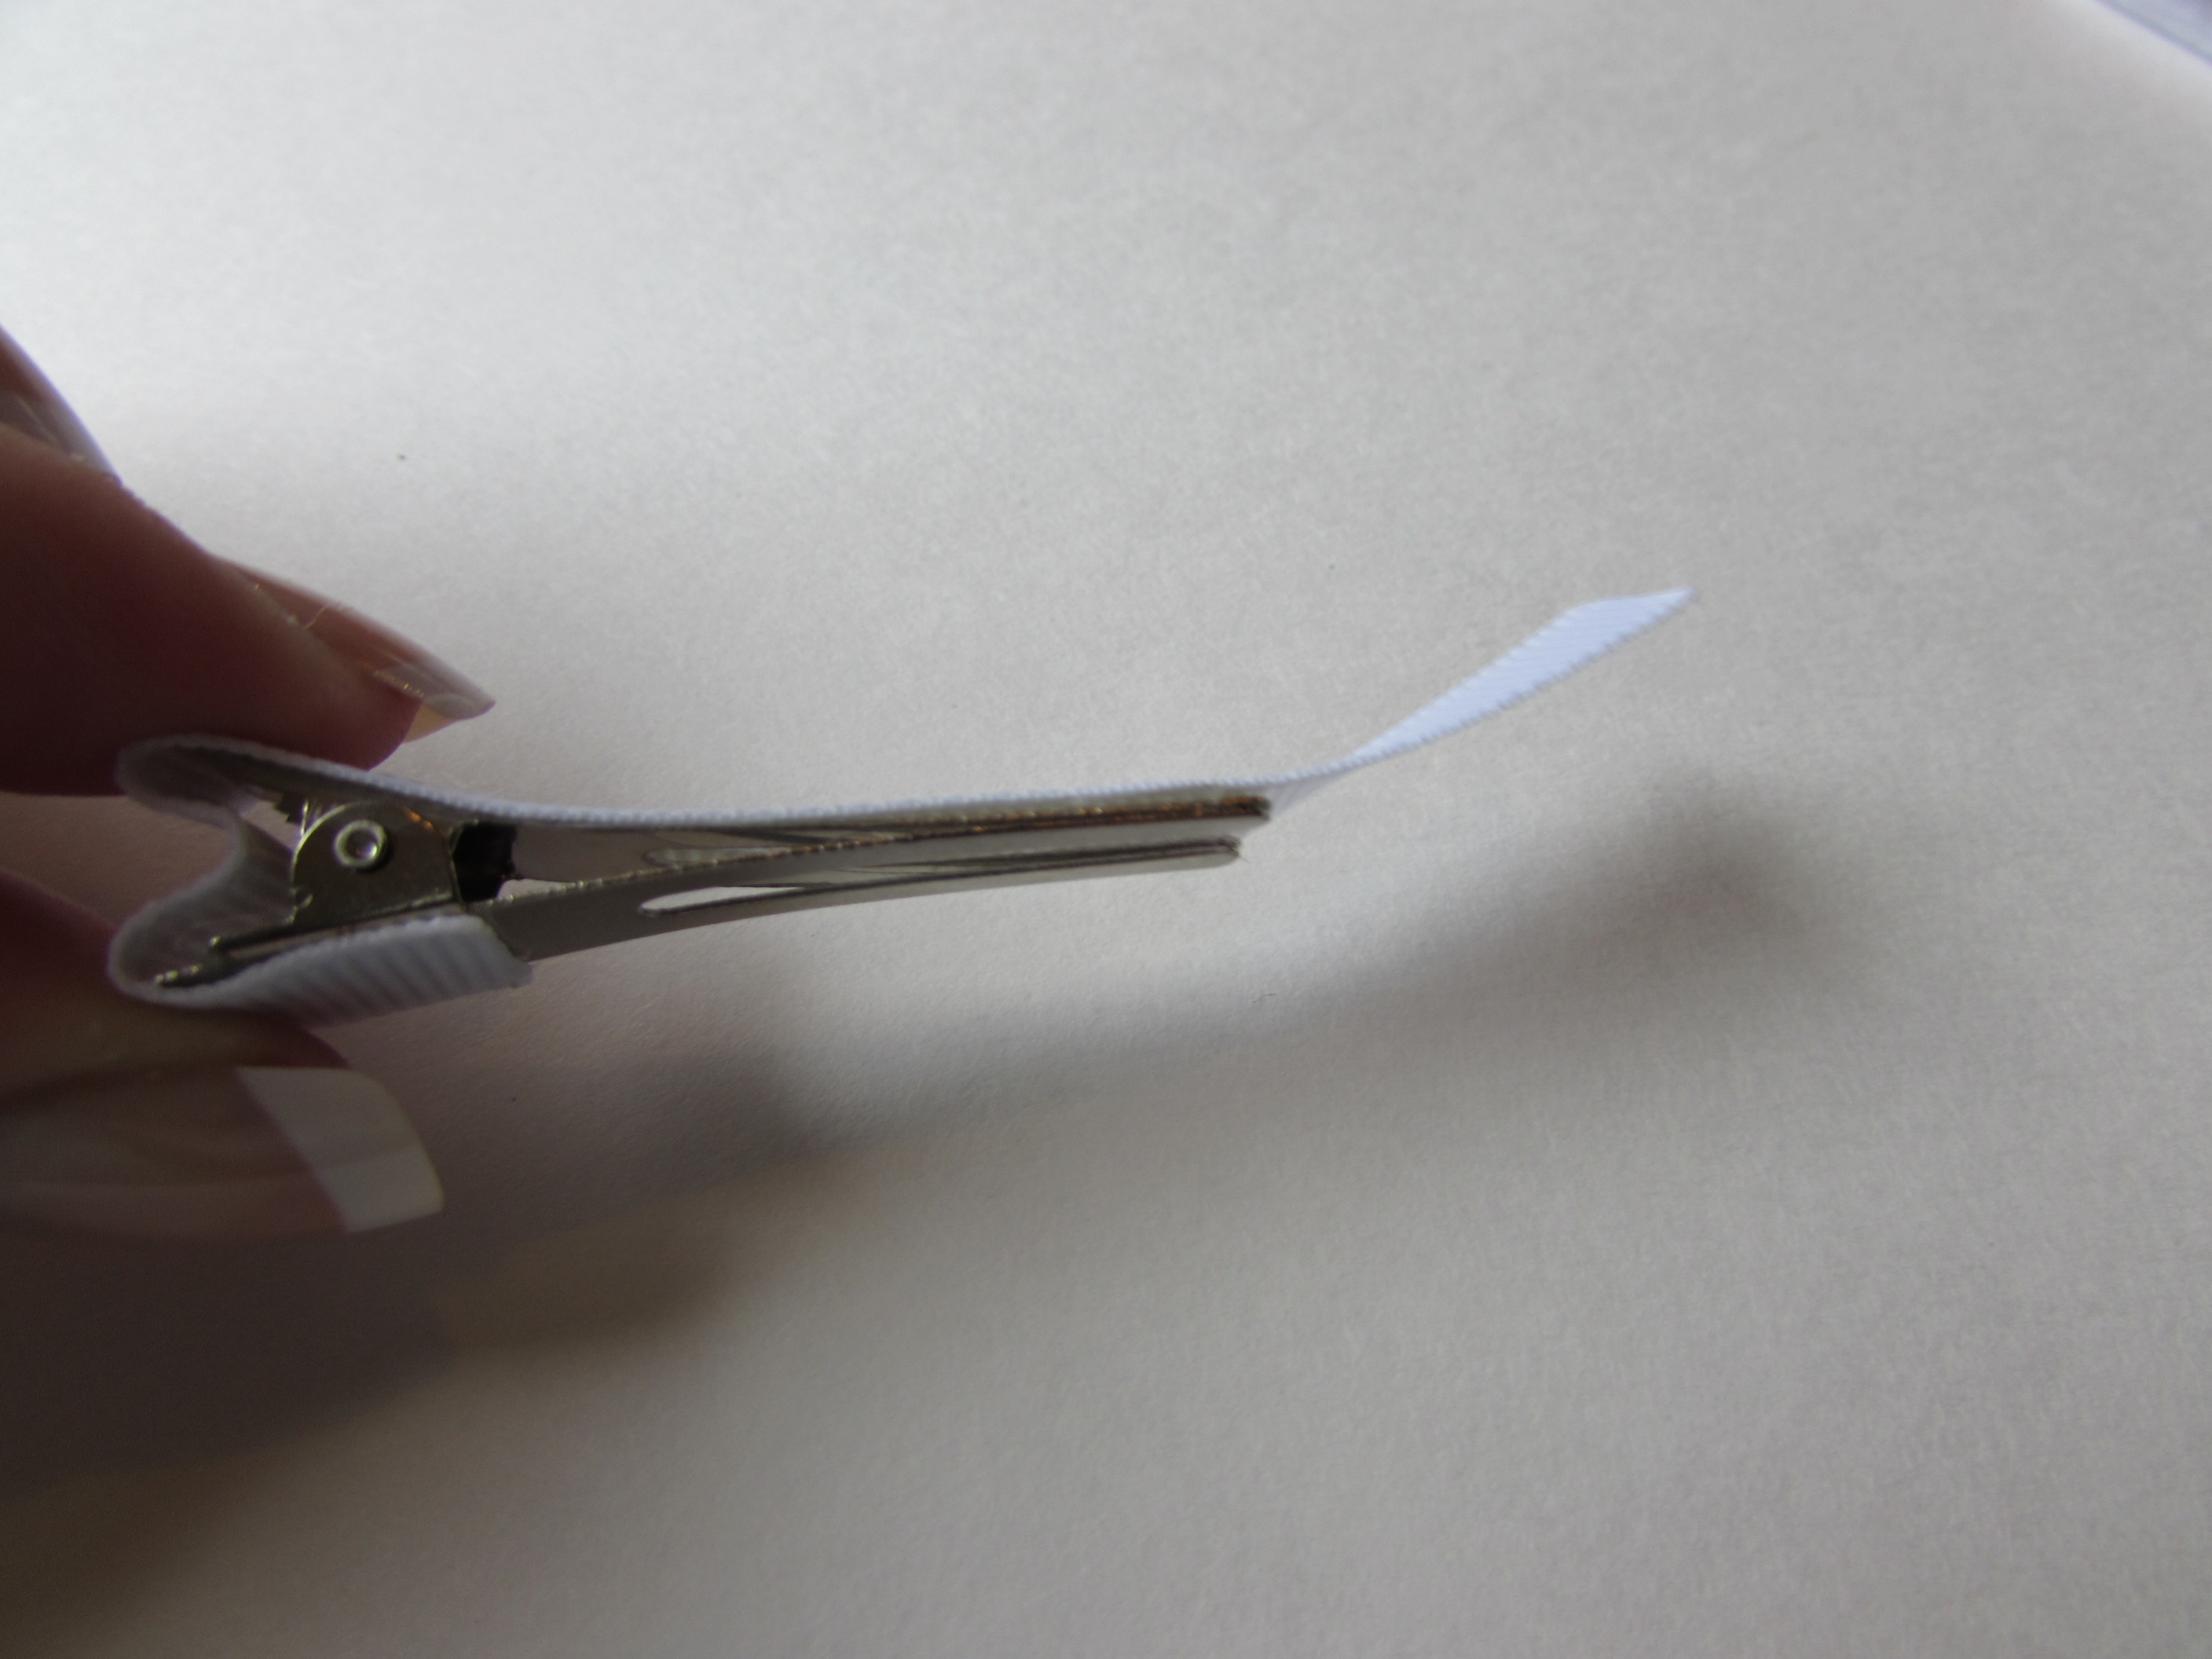 Step 36: Open your clip. Apply hot glue to the reminder of the ribbon, fold down and attach it to the clip.. Hold until the glue is dried.
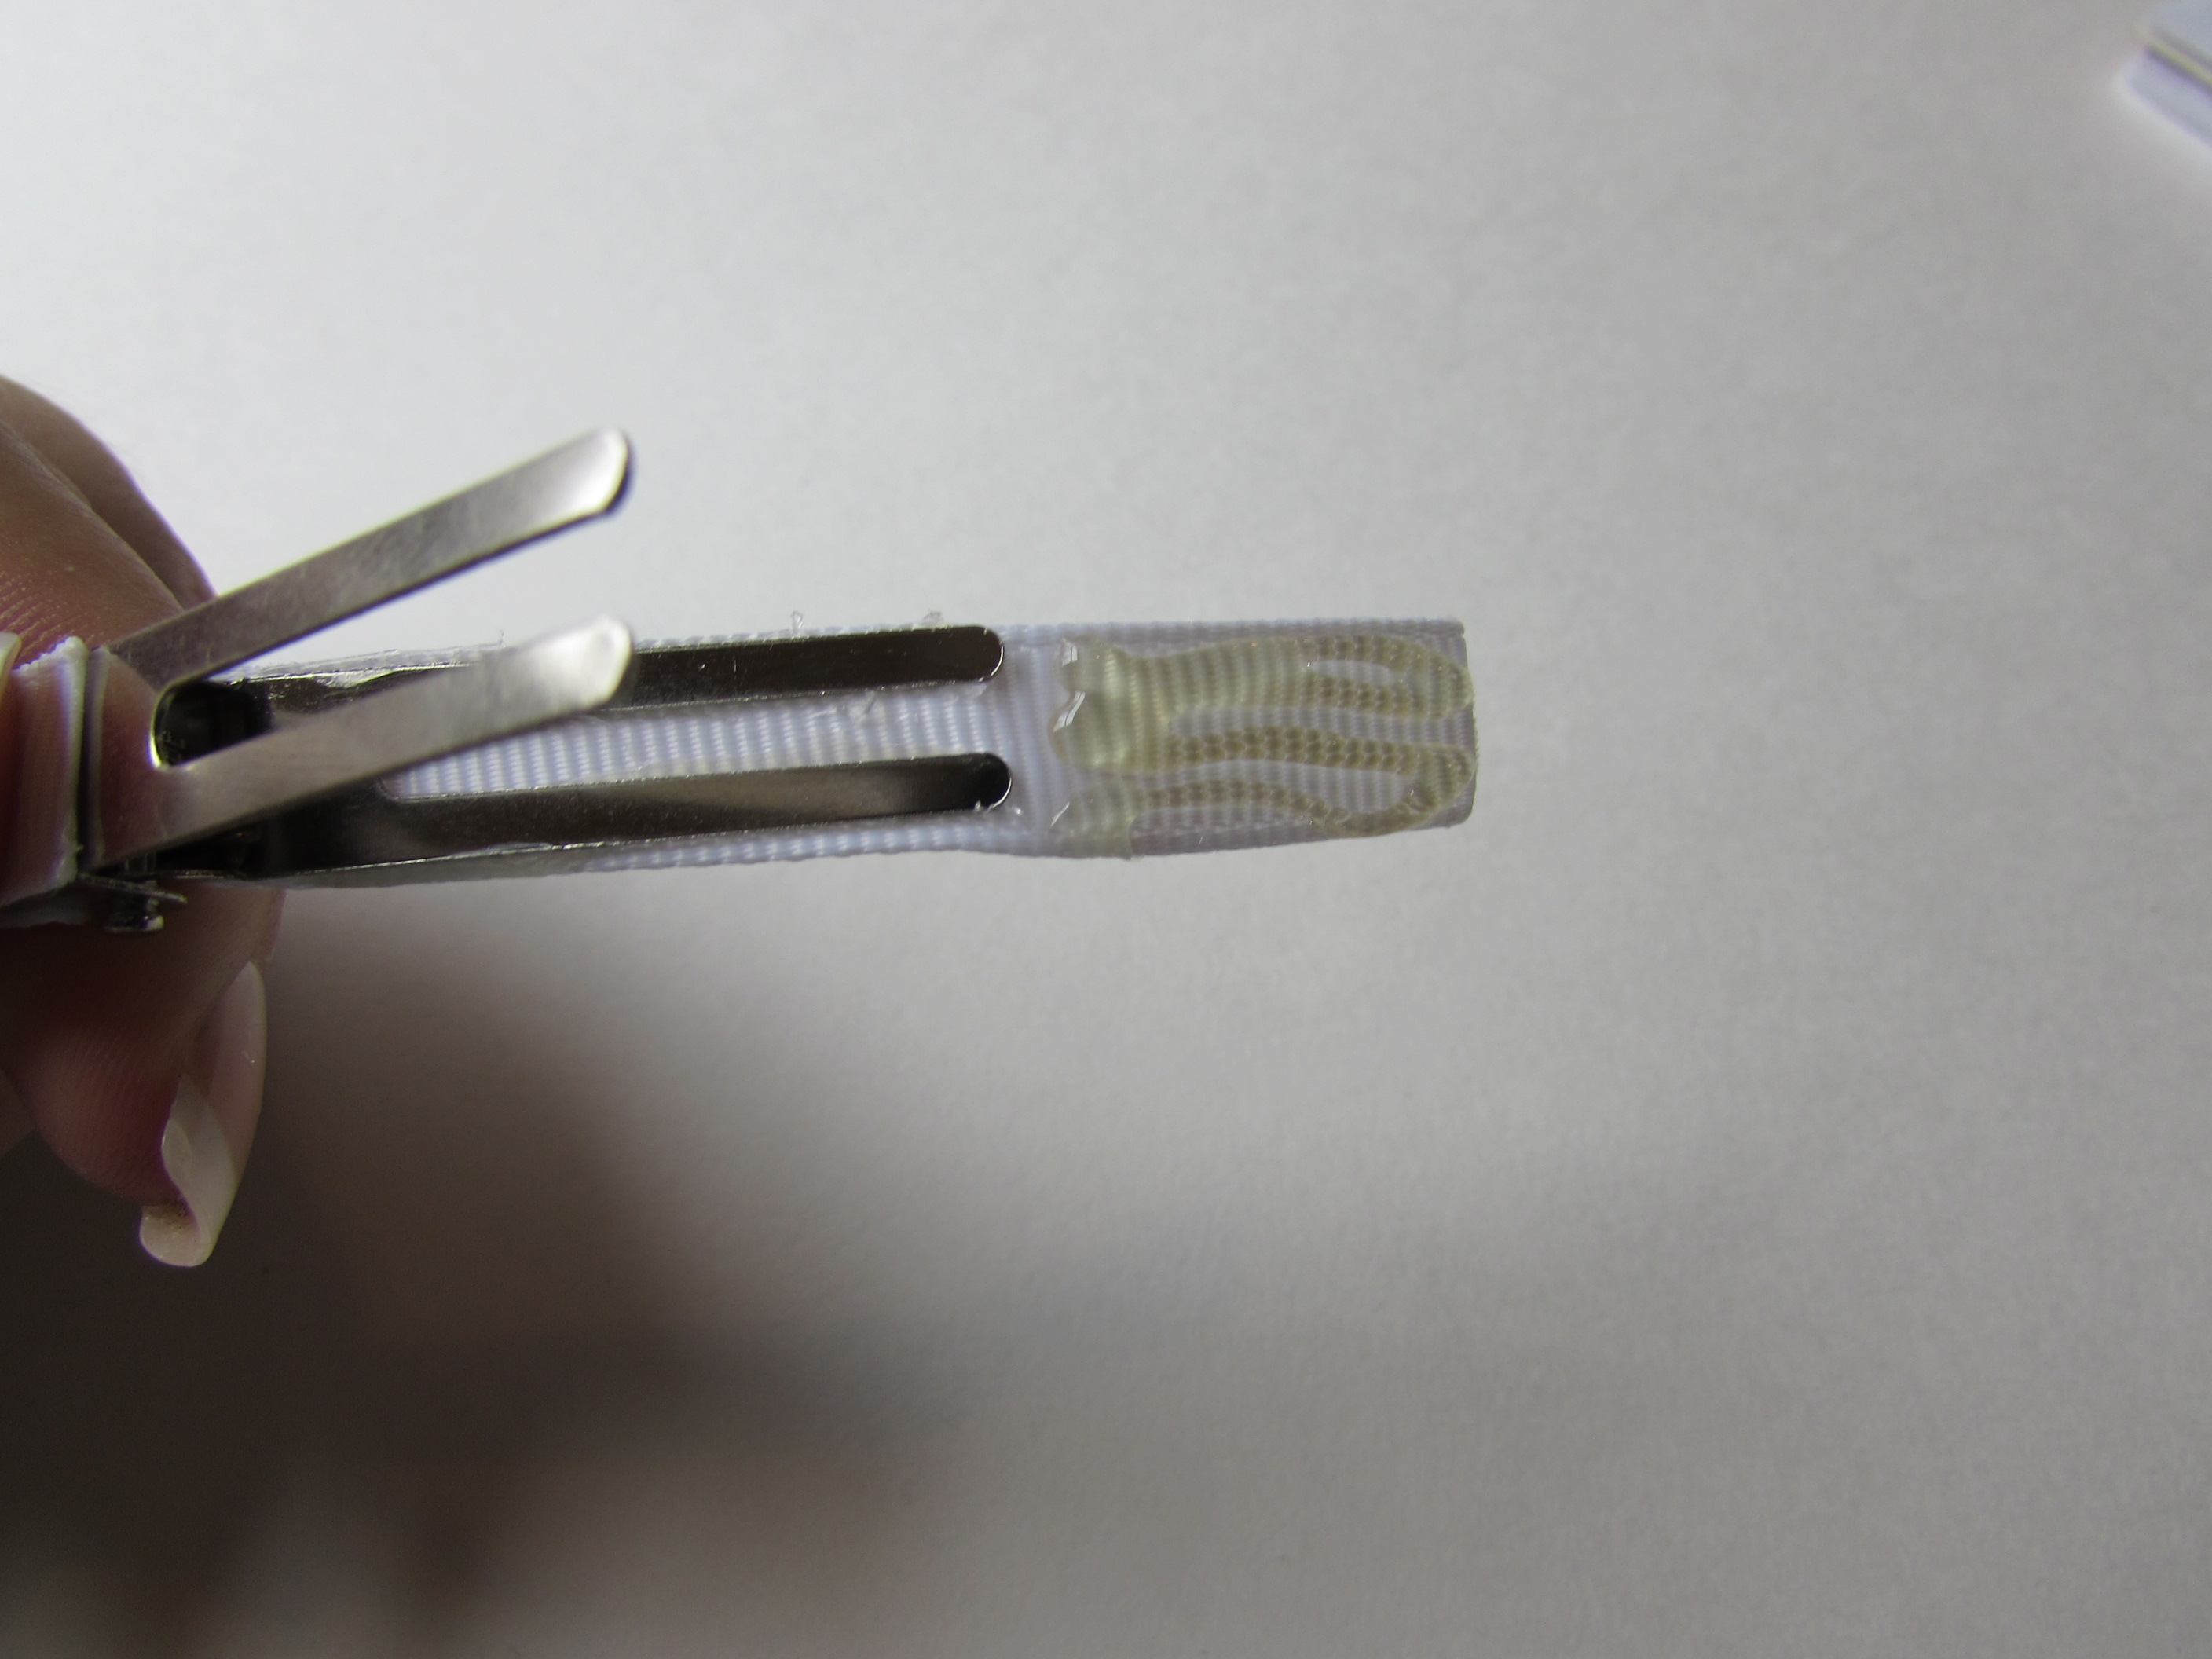
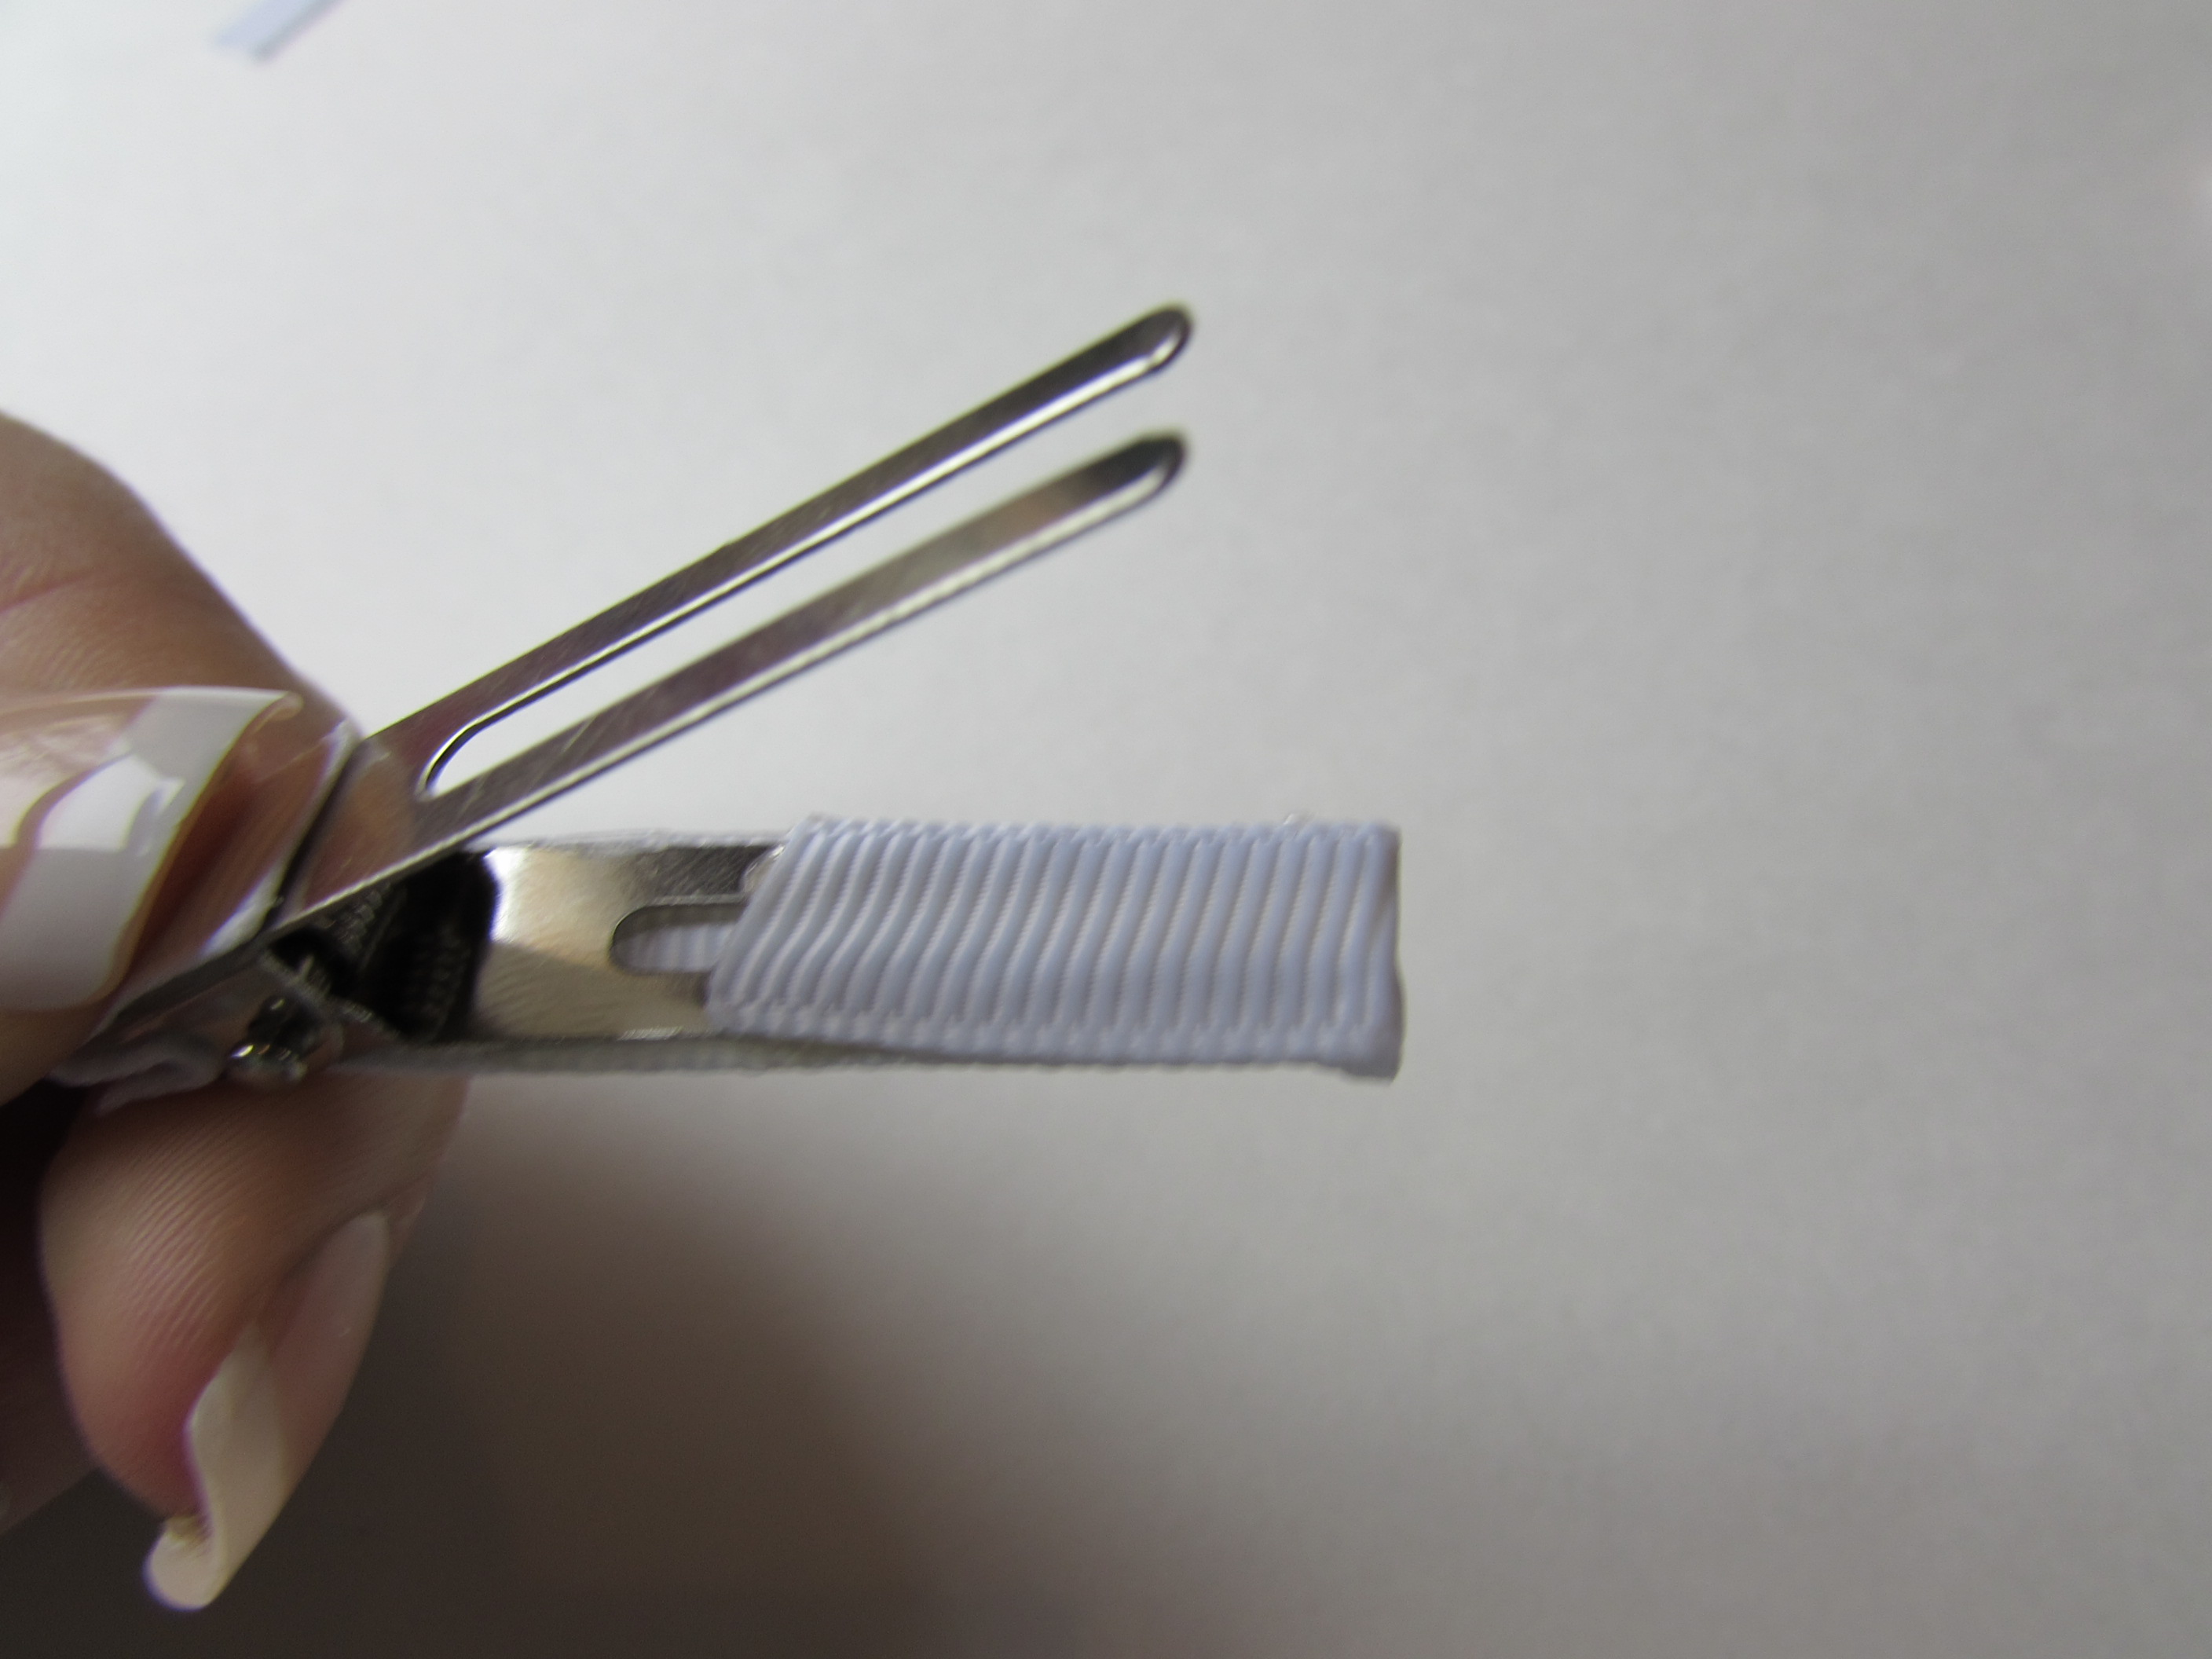 Step 37: Now you have your bow and the lined clip ready to finish the bow up. You need to apply hot glue to the clip and then attach the clip to the bottom of your bow.
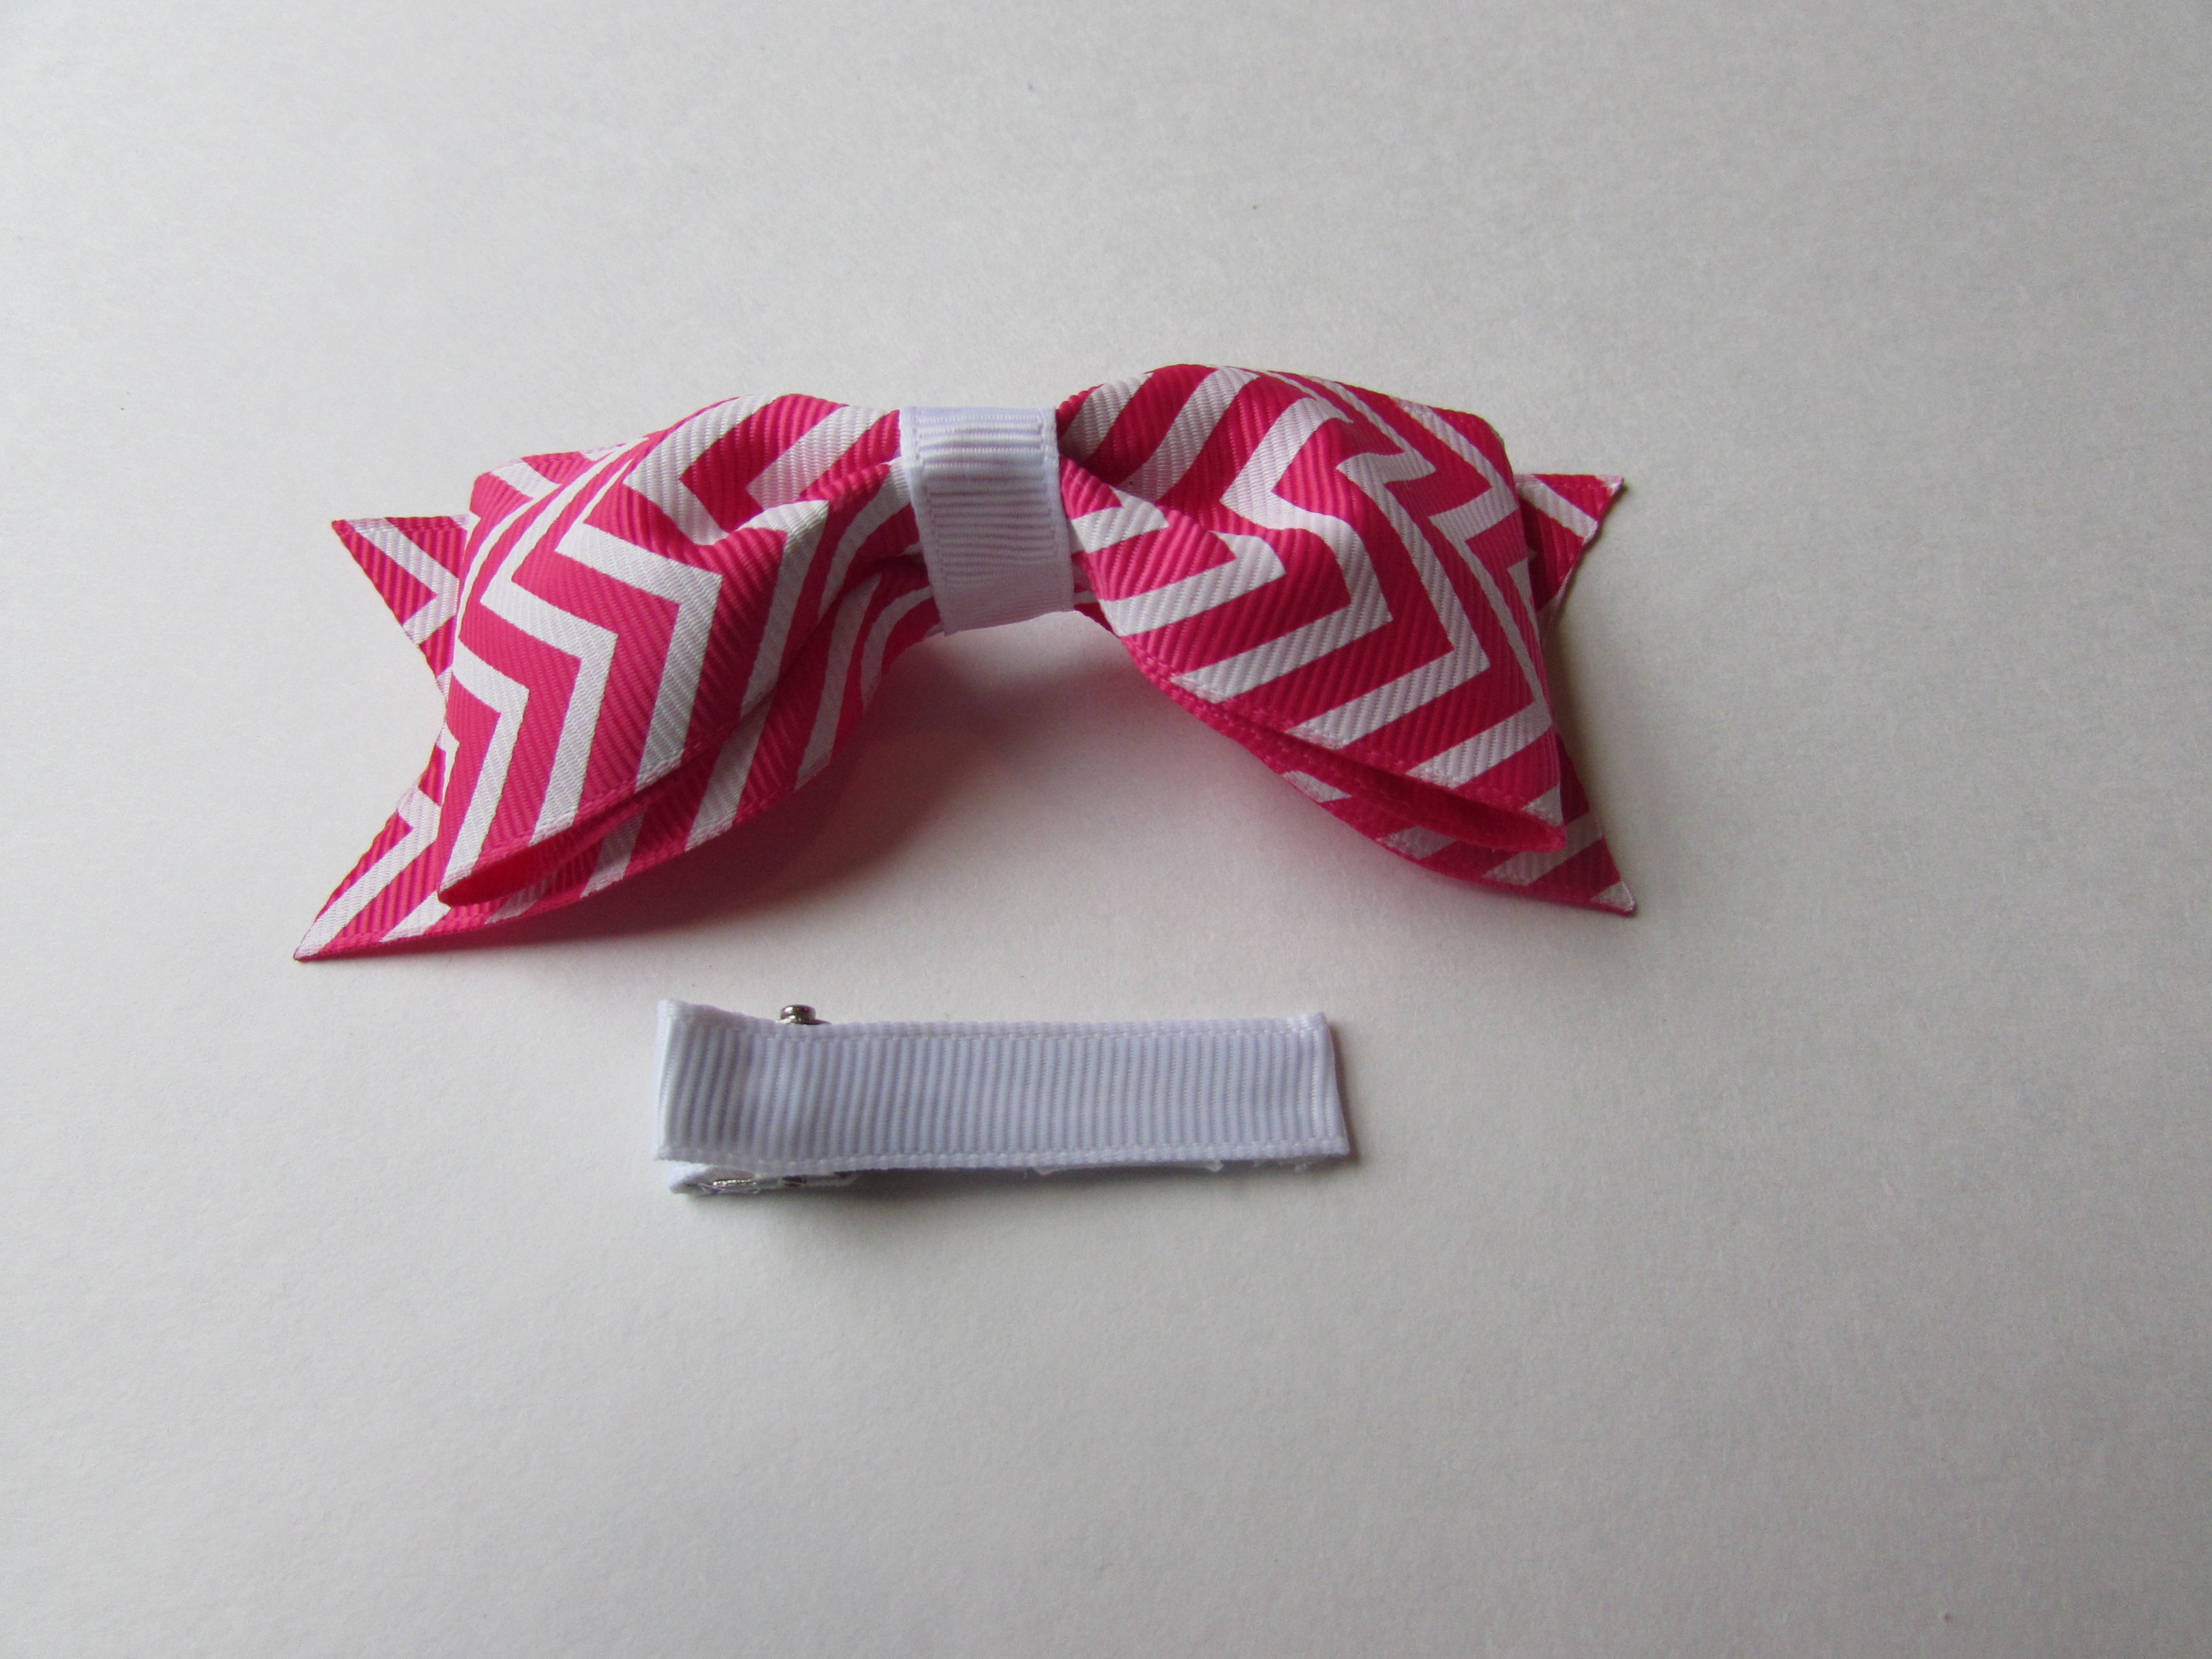
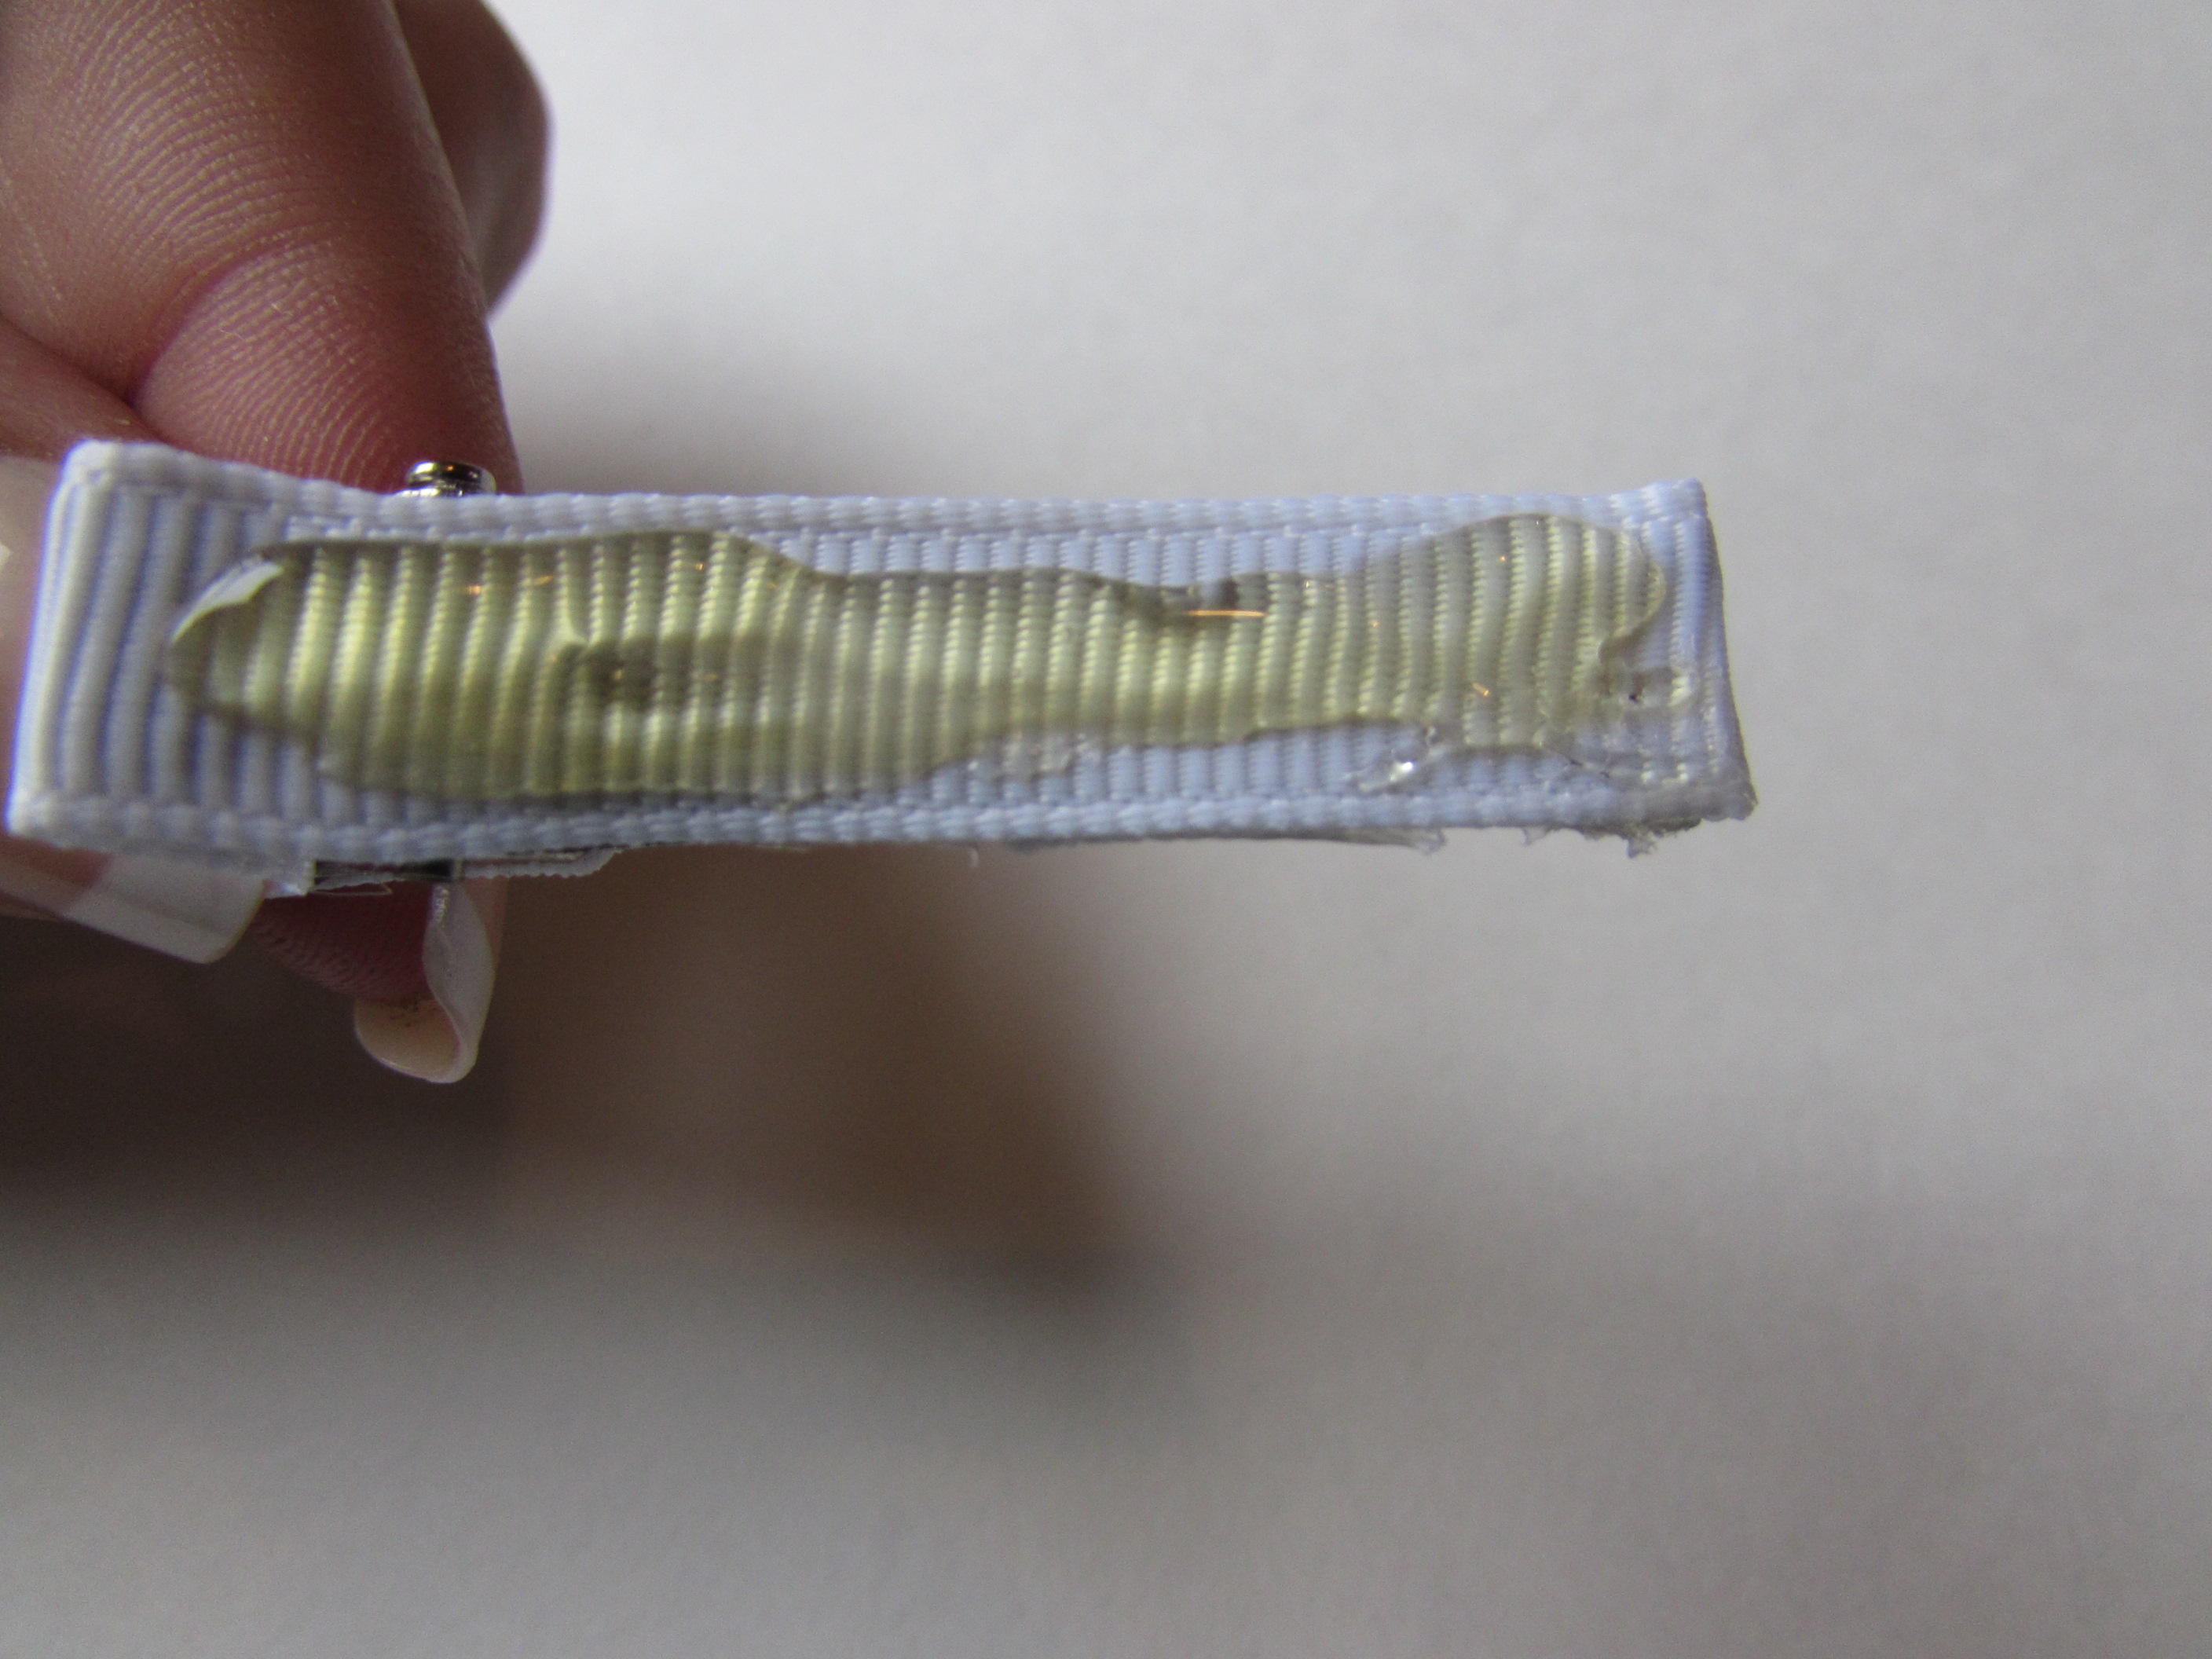
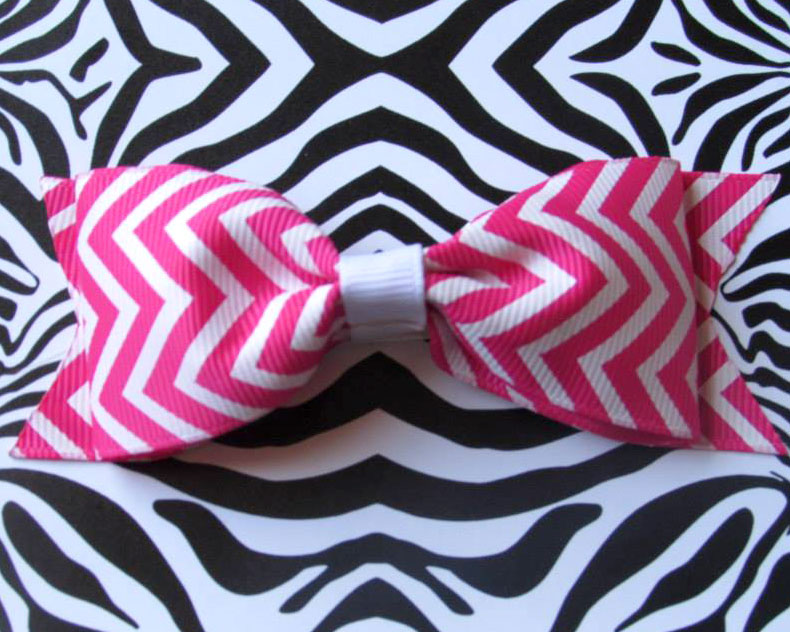
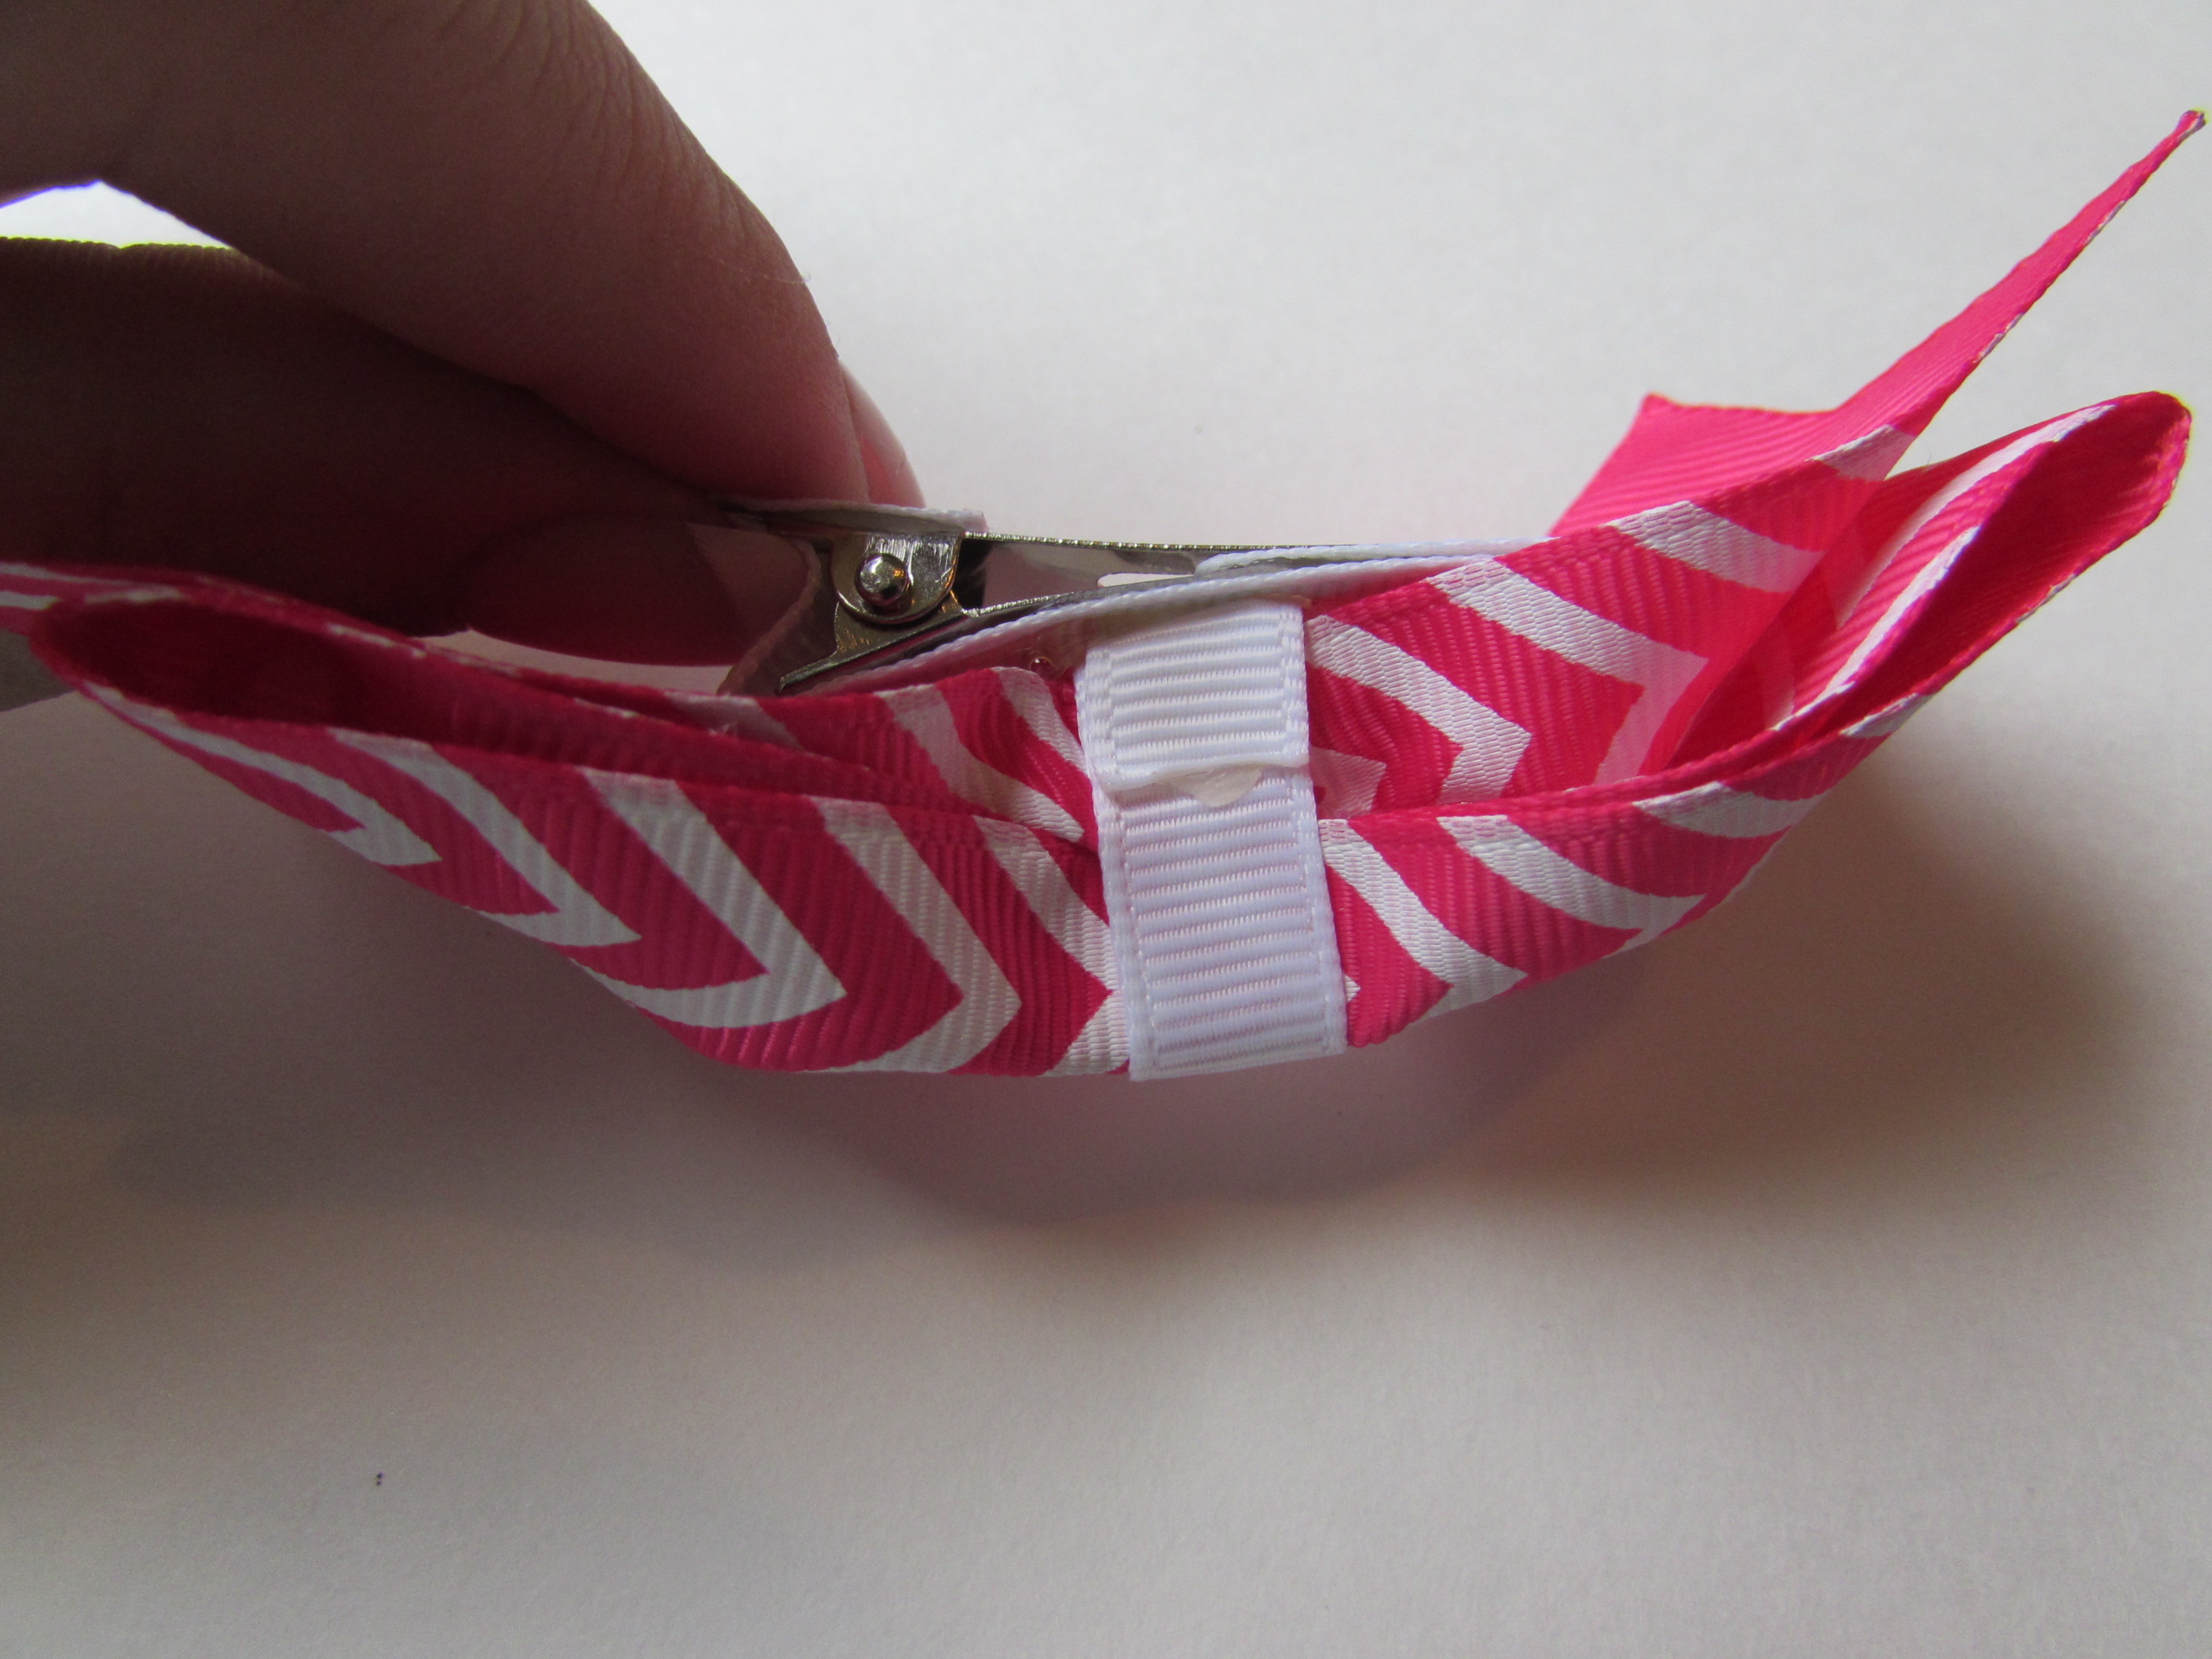 Now you are done with your cute simple Fancy Bowtie Bow!
Thank you for taking the time to craft with me and the Hairbow Center!


 TOOLS
TOOLS
 NEW
NEW


