 Contributor post by Brittany
The big celebration is just a few days away! If the holiday has snuck up on you and you're still in need of a fabulous hair bow in a flash, today is your lucky day! This stunning sparkler requires minimal supplies, time & effort! So let's gather up our supplies and get started!
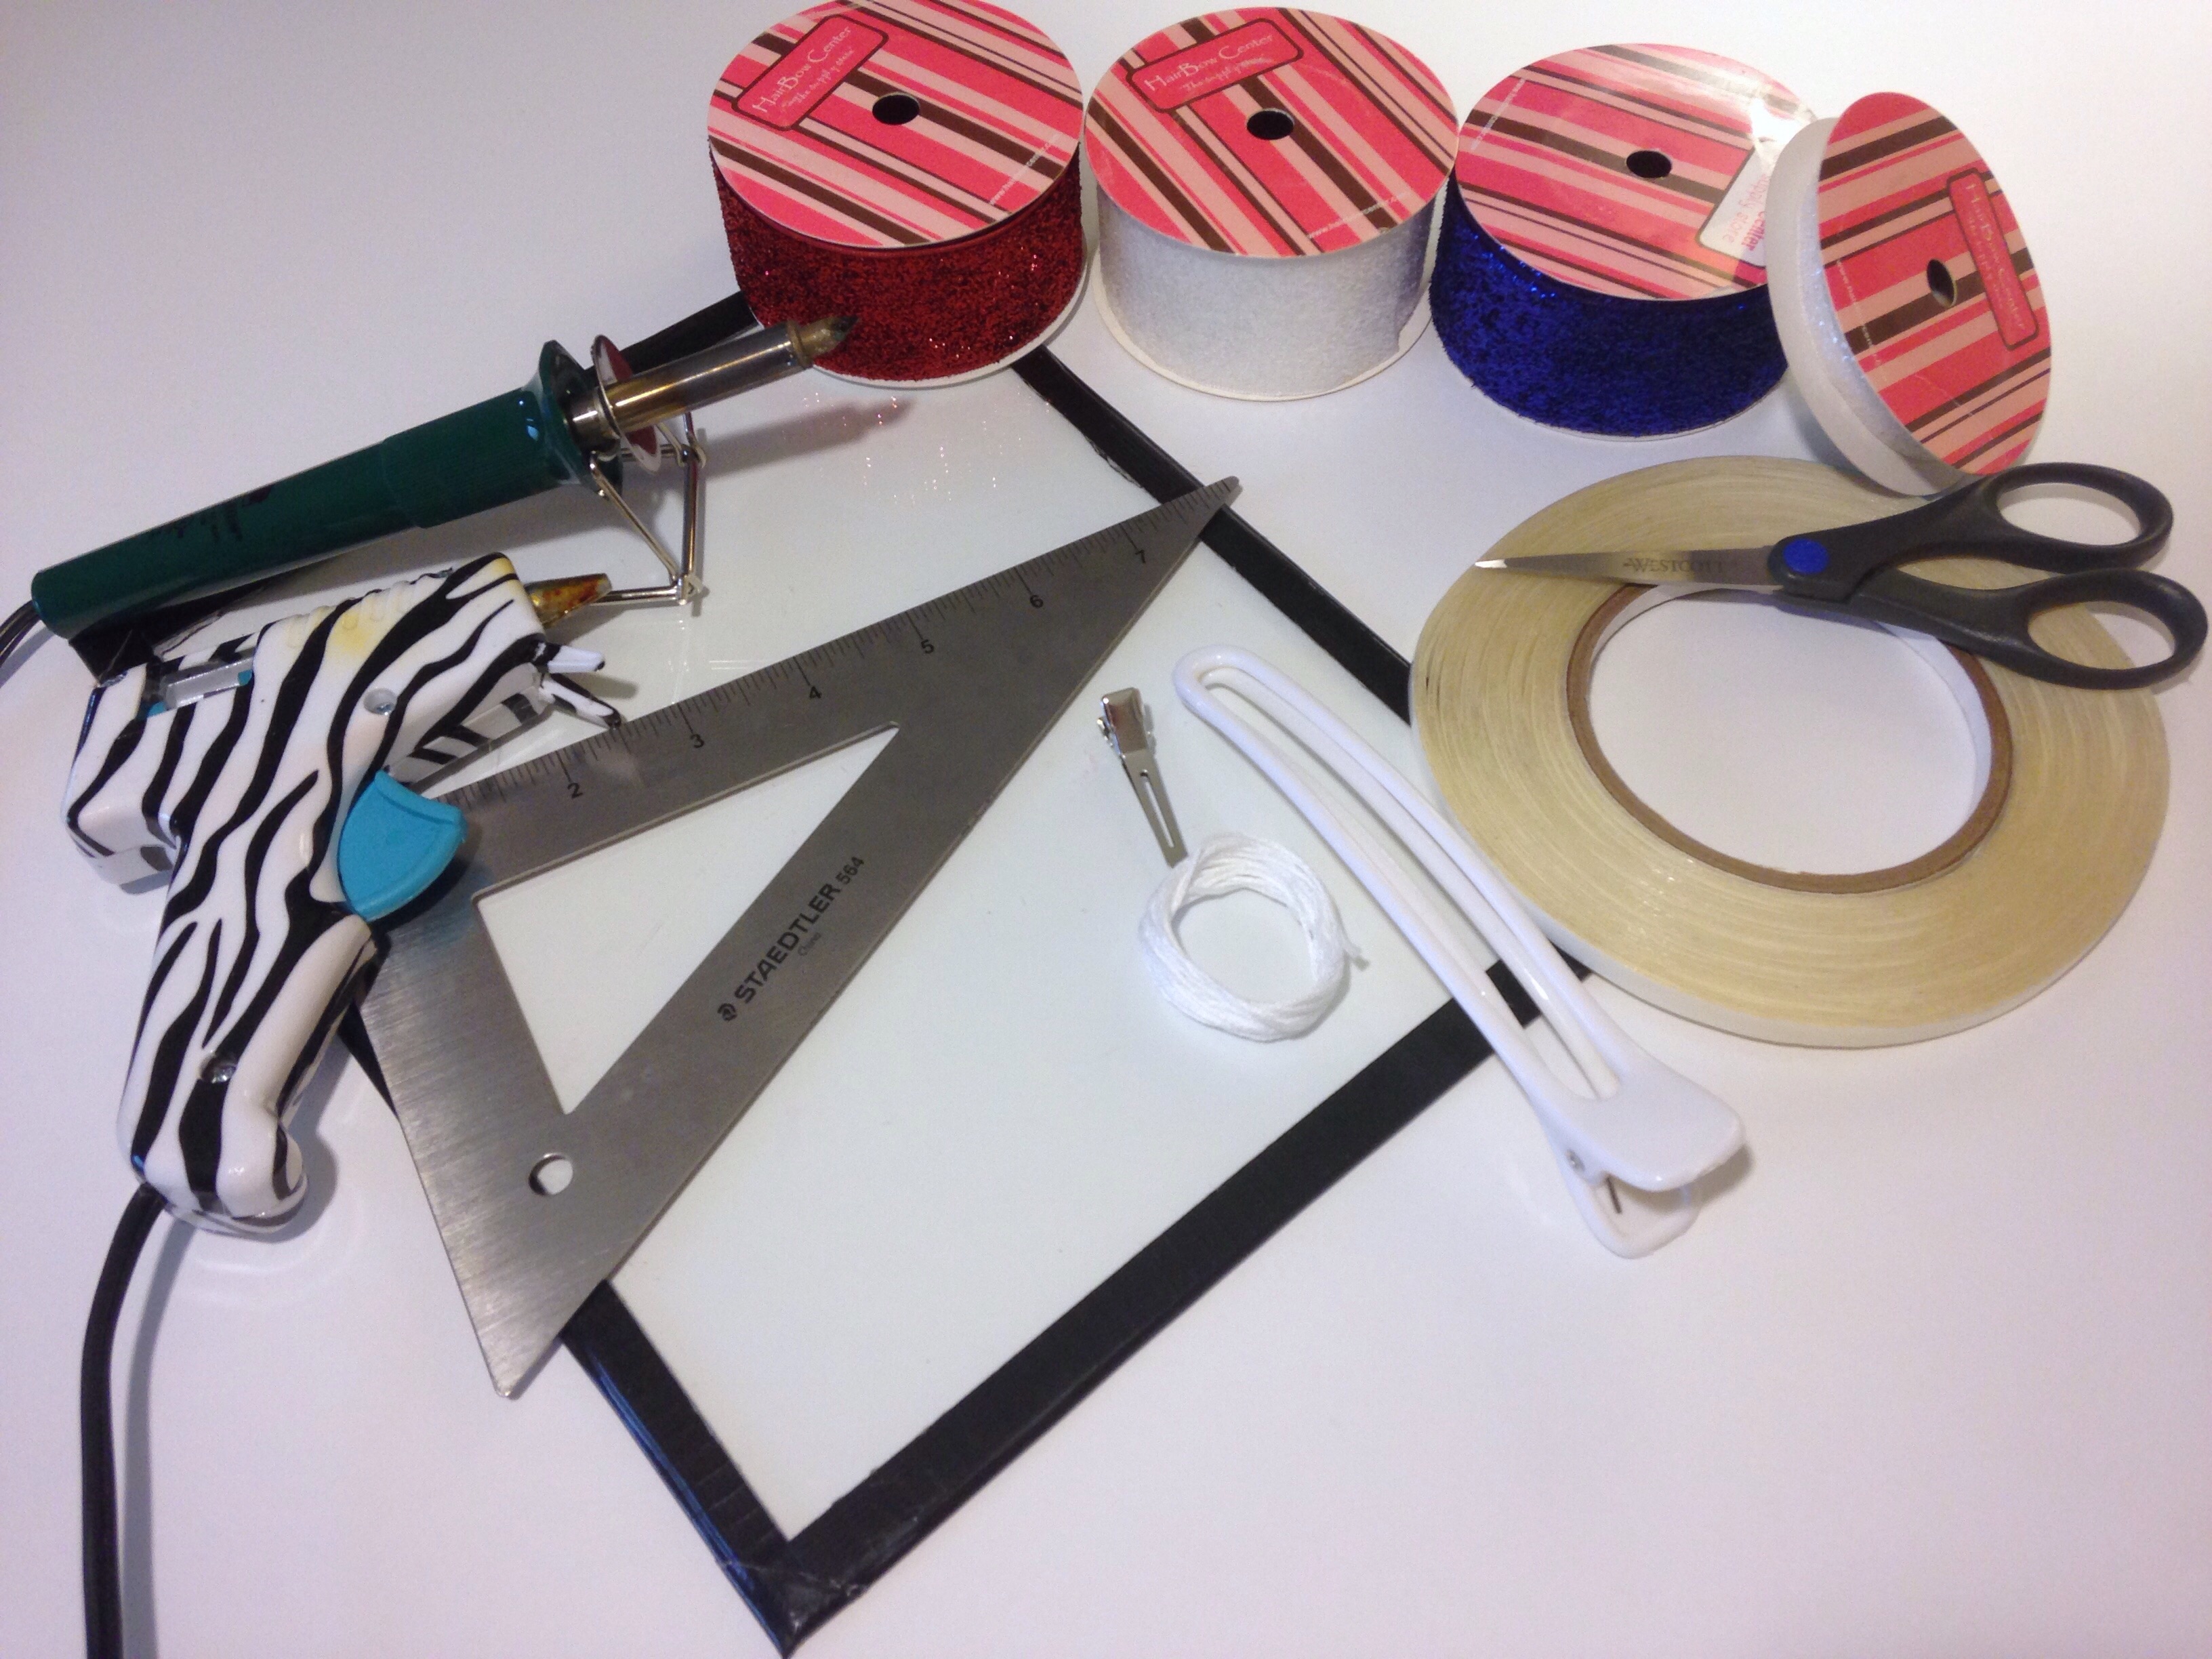
Pictured above are the items you will need:
•
1.5" red glitter ribbon
•1.5" white glitter ribbon
•1.5" royal blue glitter ribbon
•
3/8" white glitter ribbon
•
wood burning tool
•8x10" piece of glass (or other appropriate surface to use woodburner)
•metal ruler
•hot glue gun
•
alligator clip
•strong embroidery thread
•large salon clip
•1/4" double sided fillet tape
•scissors
Ready... Set... Here we go! Turn on your wood burning tool to let it heat up for a moment while you measure your first ribbon length (they heat up very fast!). Because this ribbon is flammable and should not be heat sealed with a lighter, I always use my wood burning tool to cut & heat seal my ribbon in one easy step! Do not use this tool directly on a delicate surface or one that could burn easily. You don't need to go out and buy an expensive work mat to use this tool! The piece of glass I'm using came out of an 8x10" picture frame and I covered the sharp edges & corners with duct tape just to keep from accidentally cutting myself. Always use a metal ruler with this tool (a plastic ruler will melt and a wooden ruler would burn).
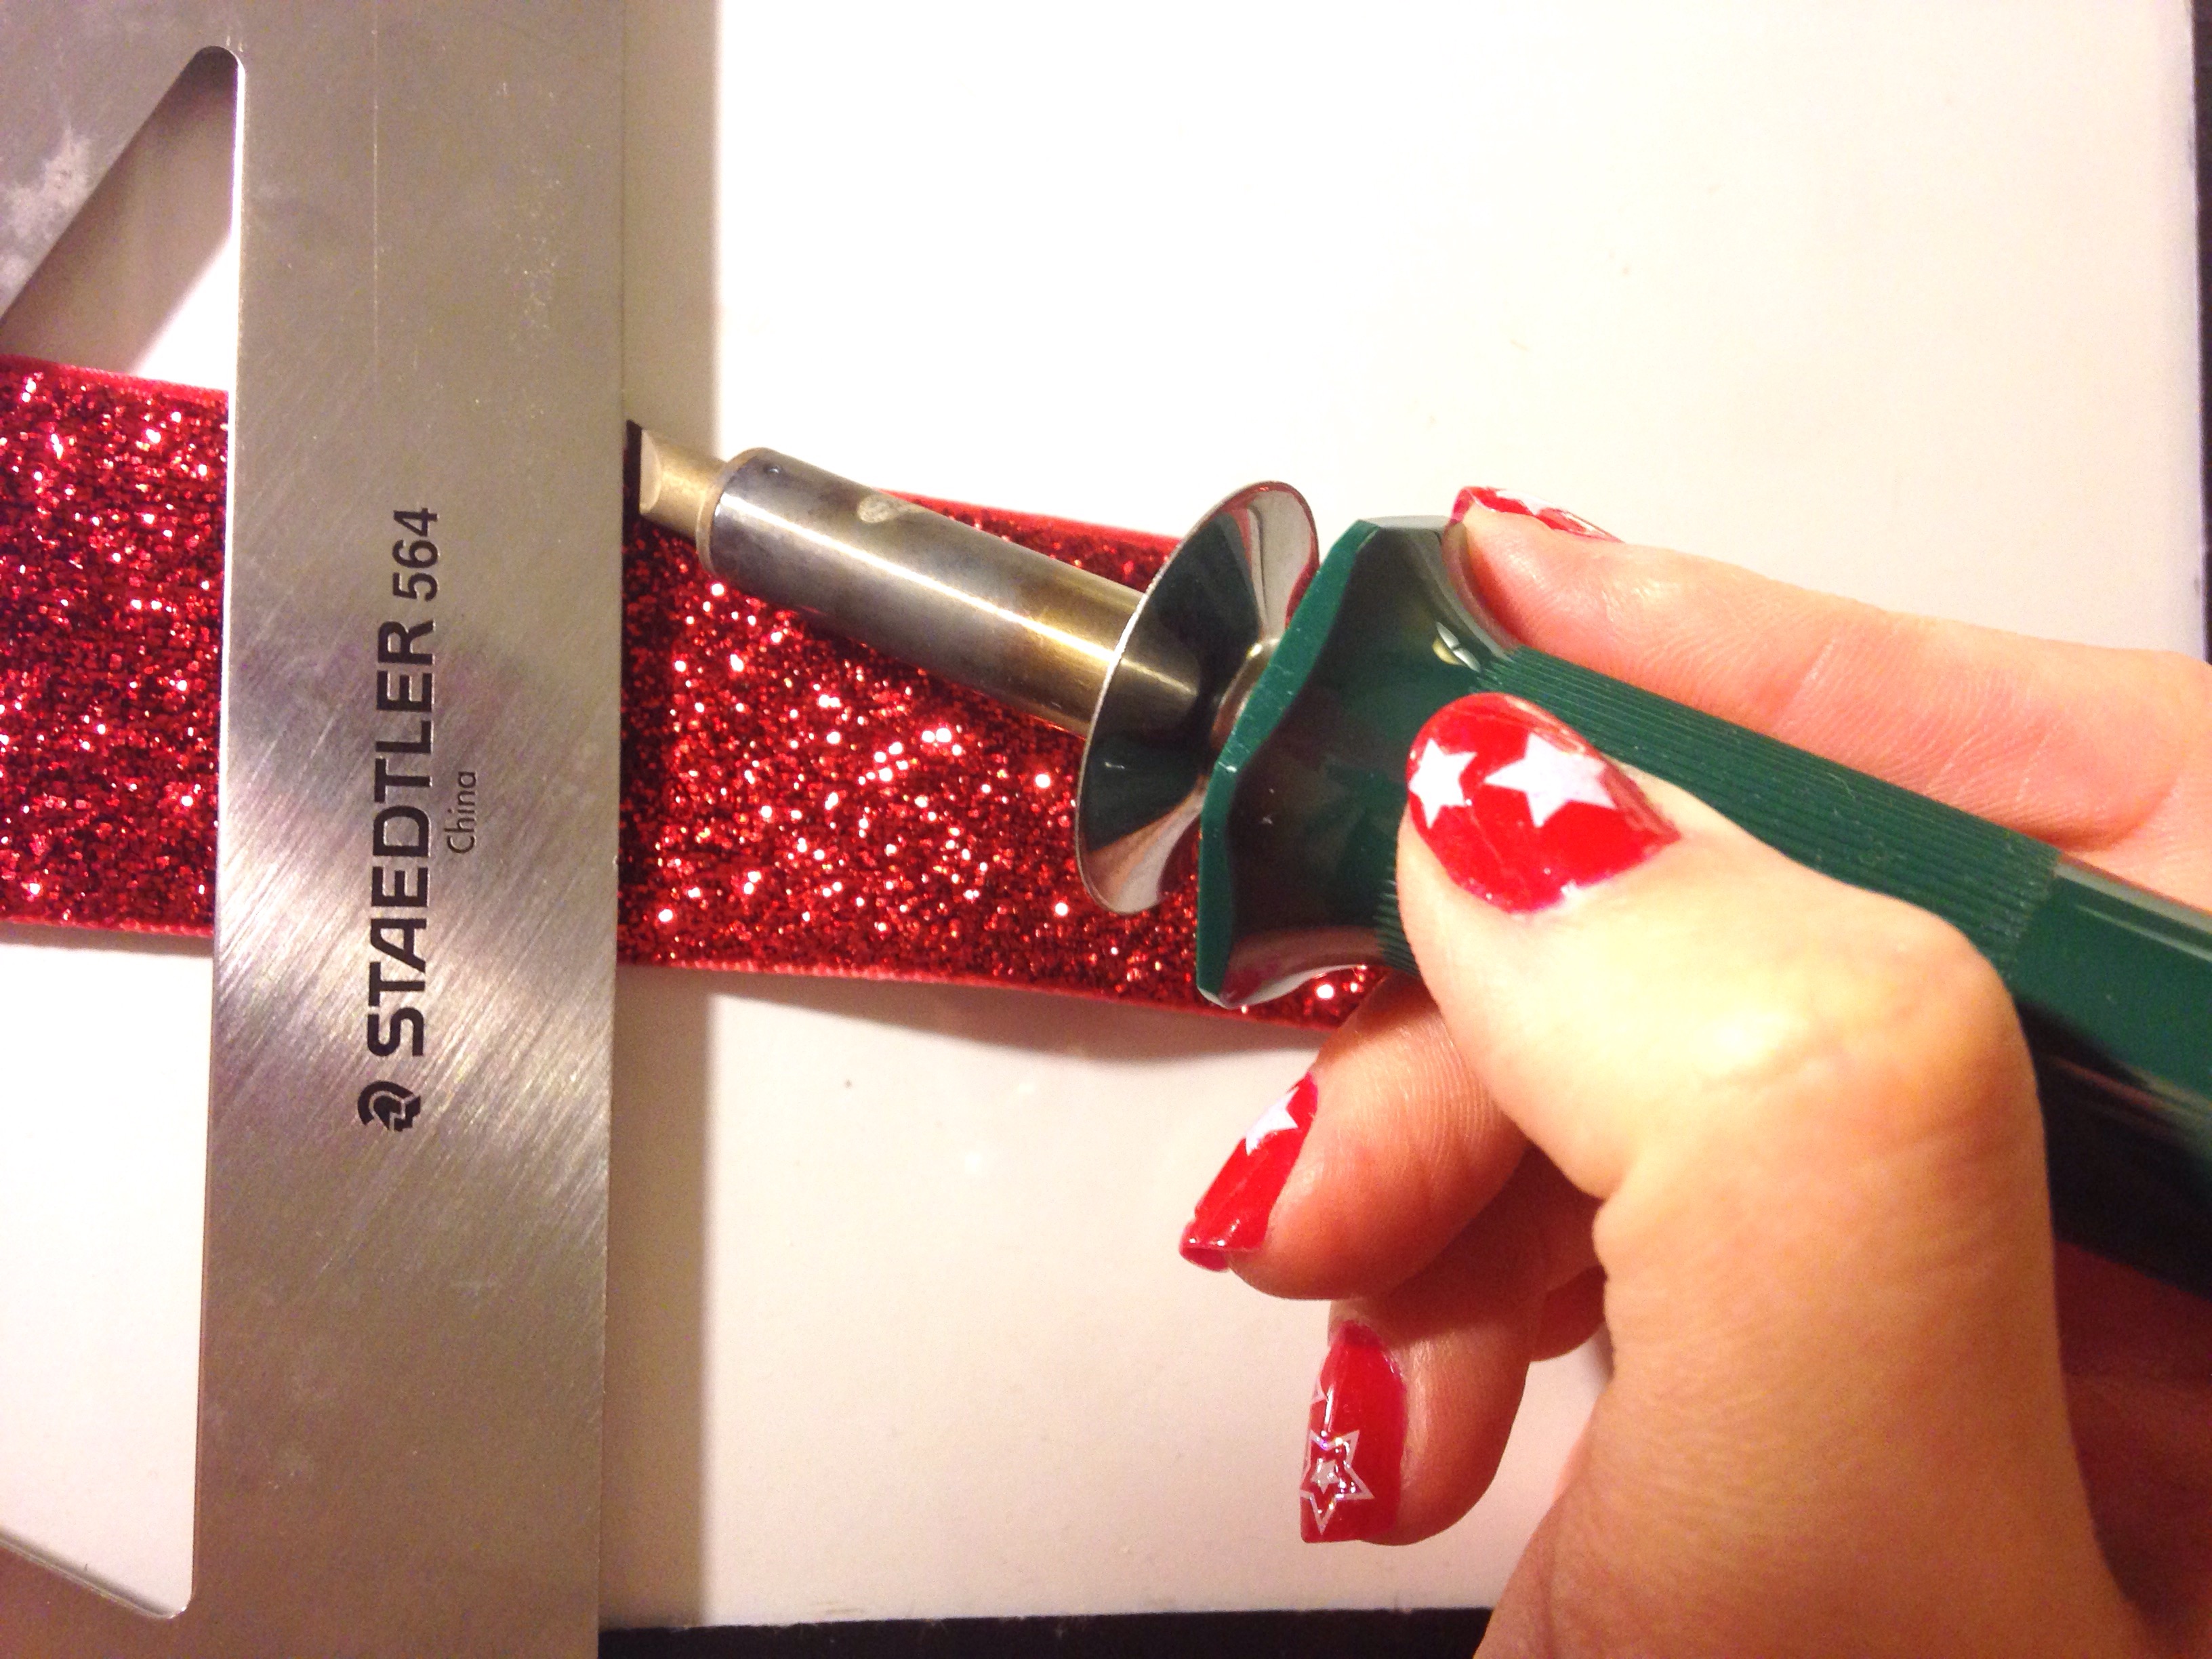
For your top layer of this patriotic colored bow you will need 6" of 1.5" red glitter ribbon. Measure your length of ribbon and use your metal ruler as a guide to cut against to keep a straight line.
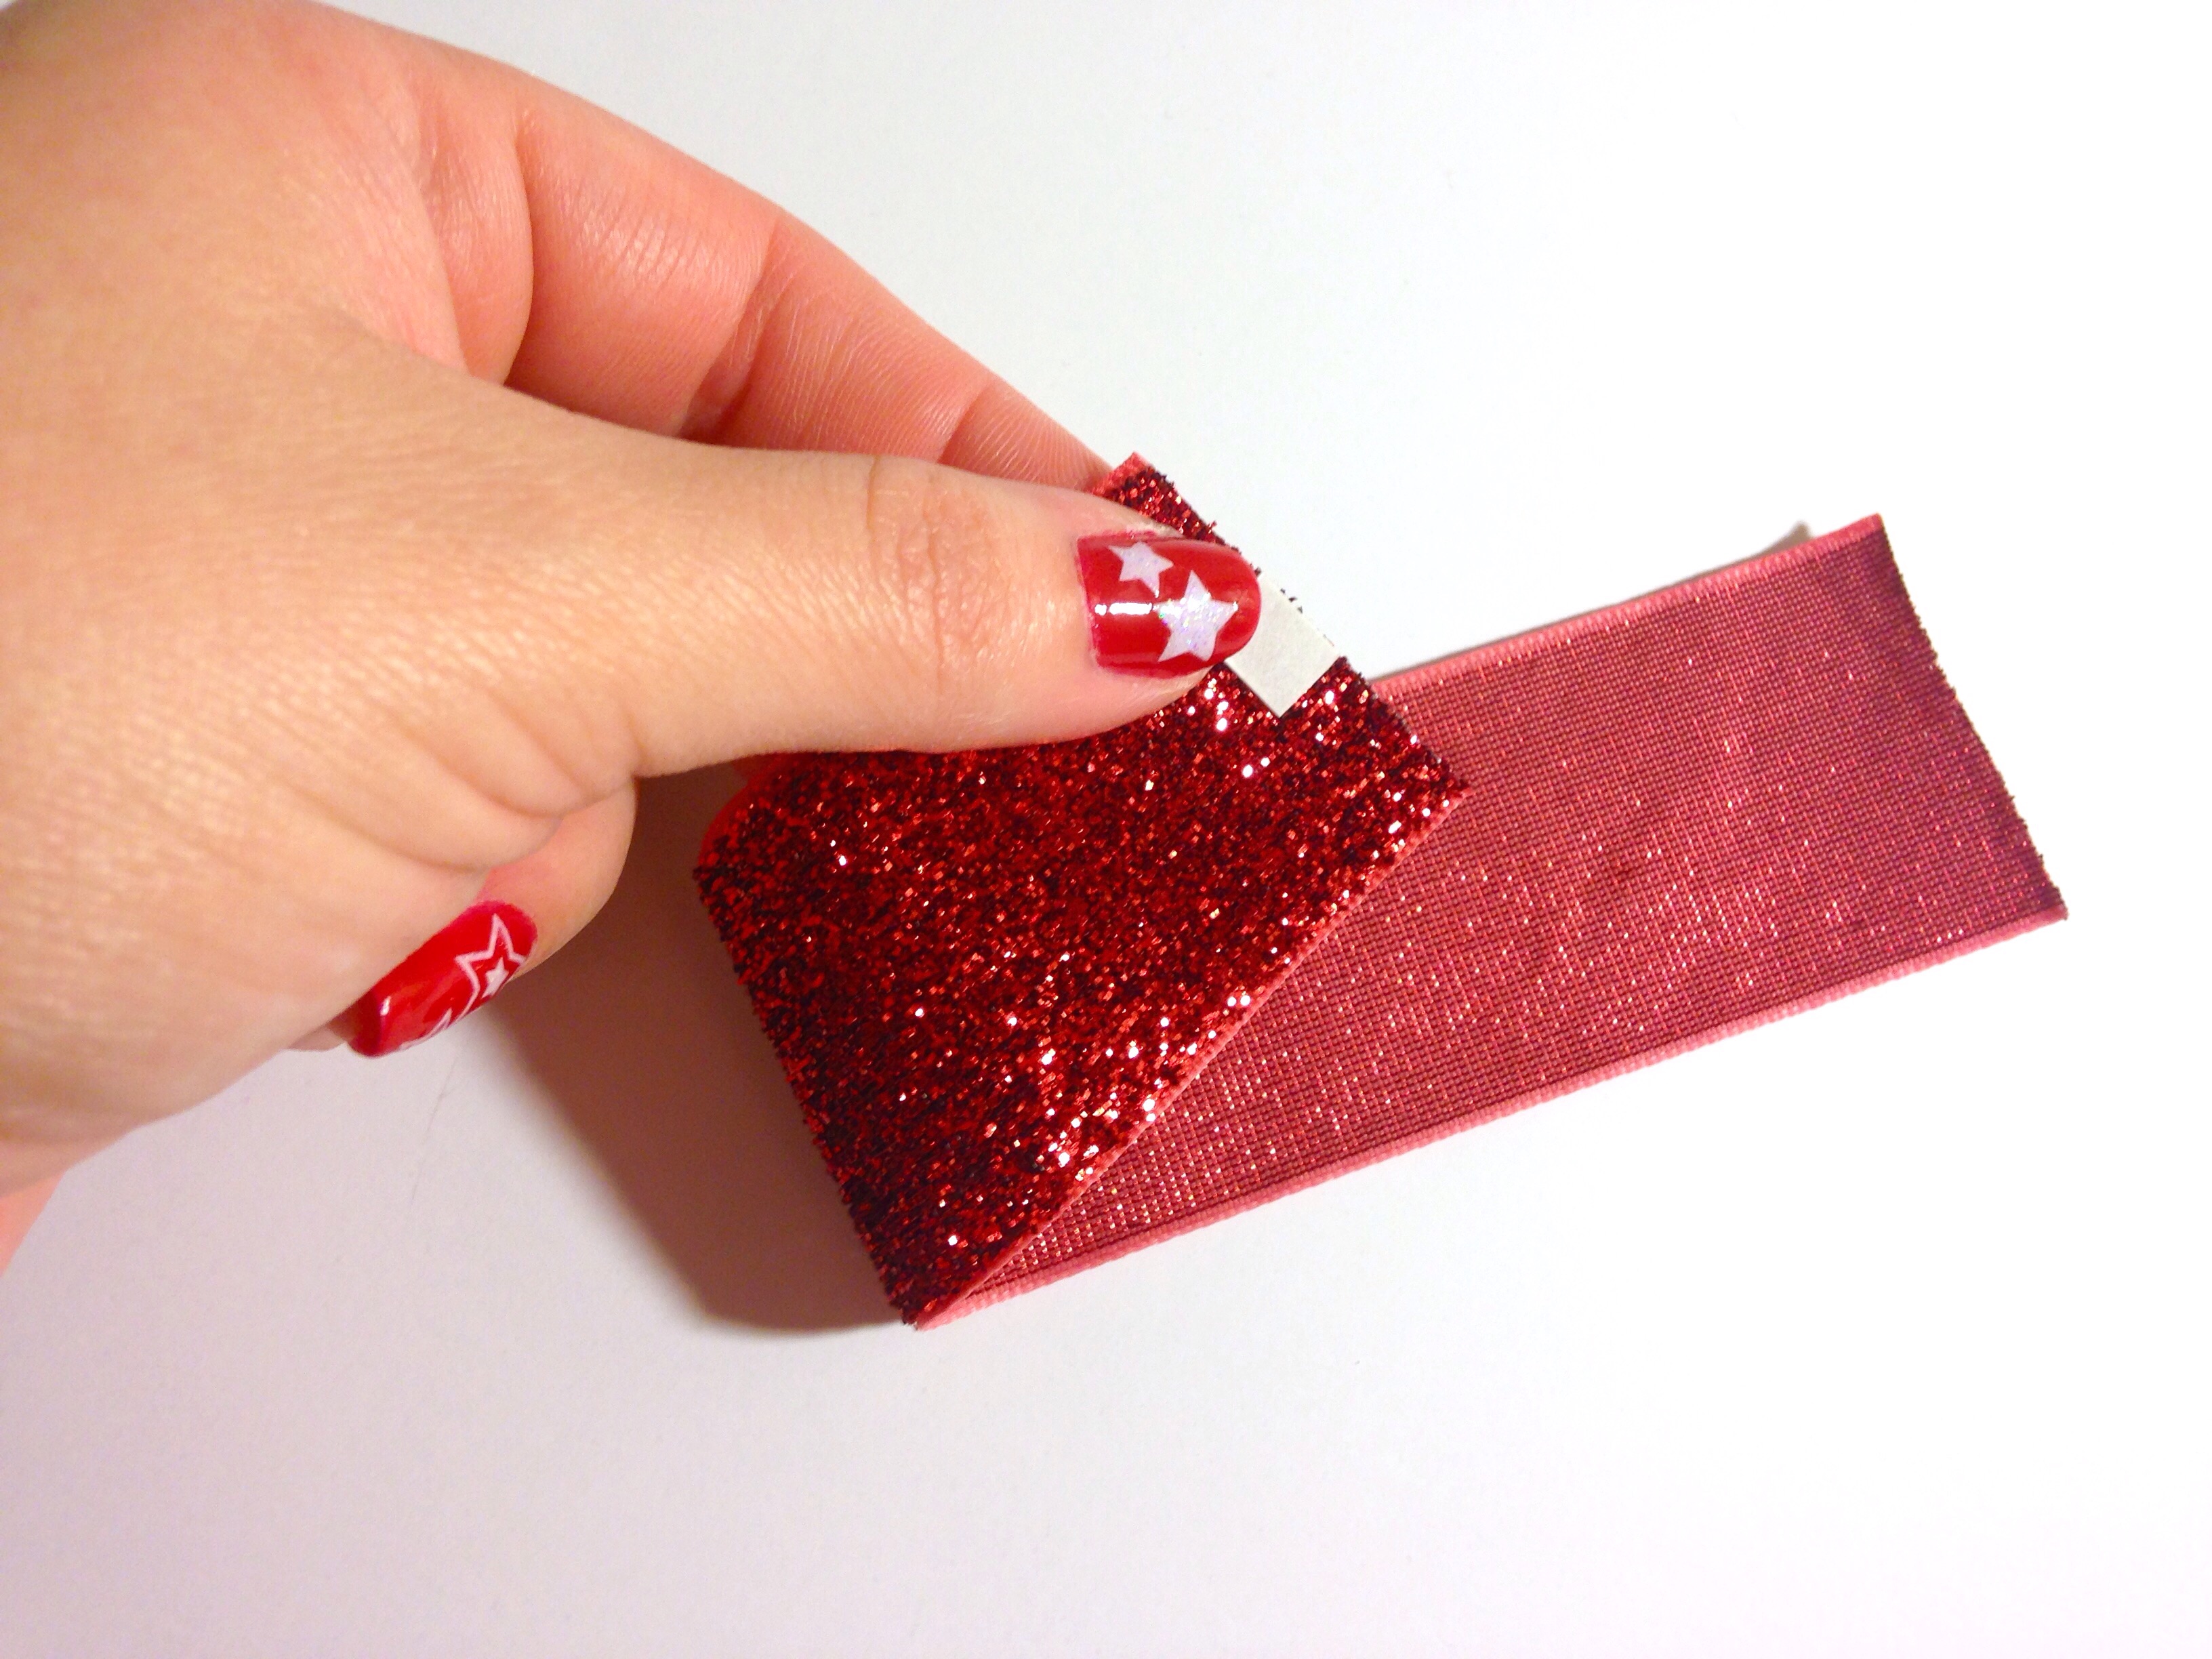
Cut off a small strip of 1/4" double sided fillet tape. Place it on the edge of your ribbon in the center and then remove the backing paper.
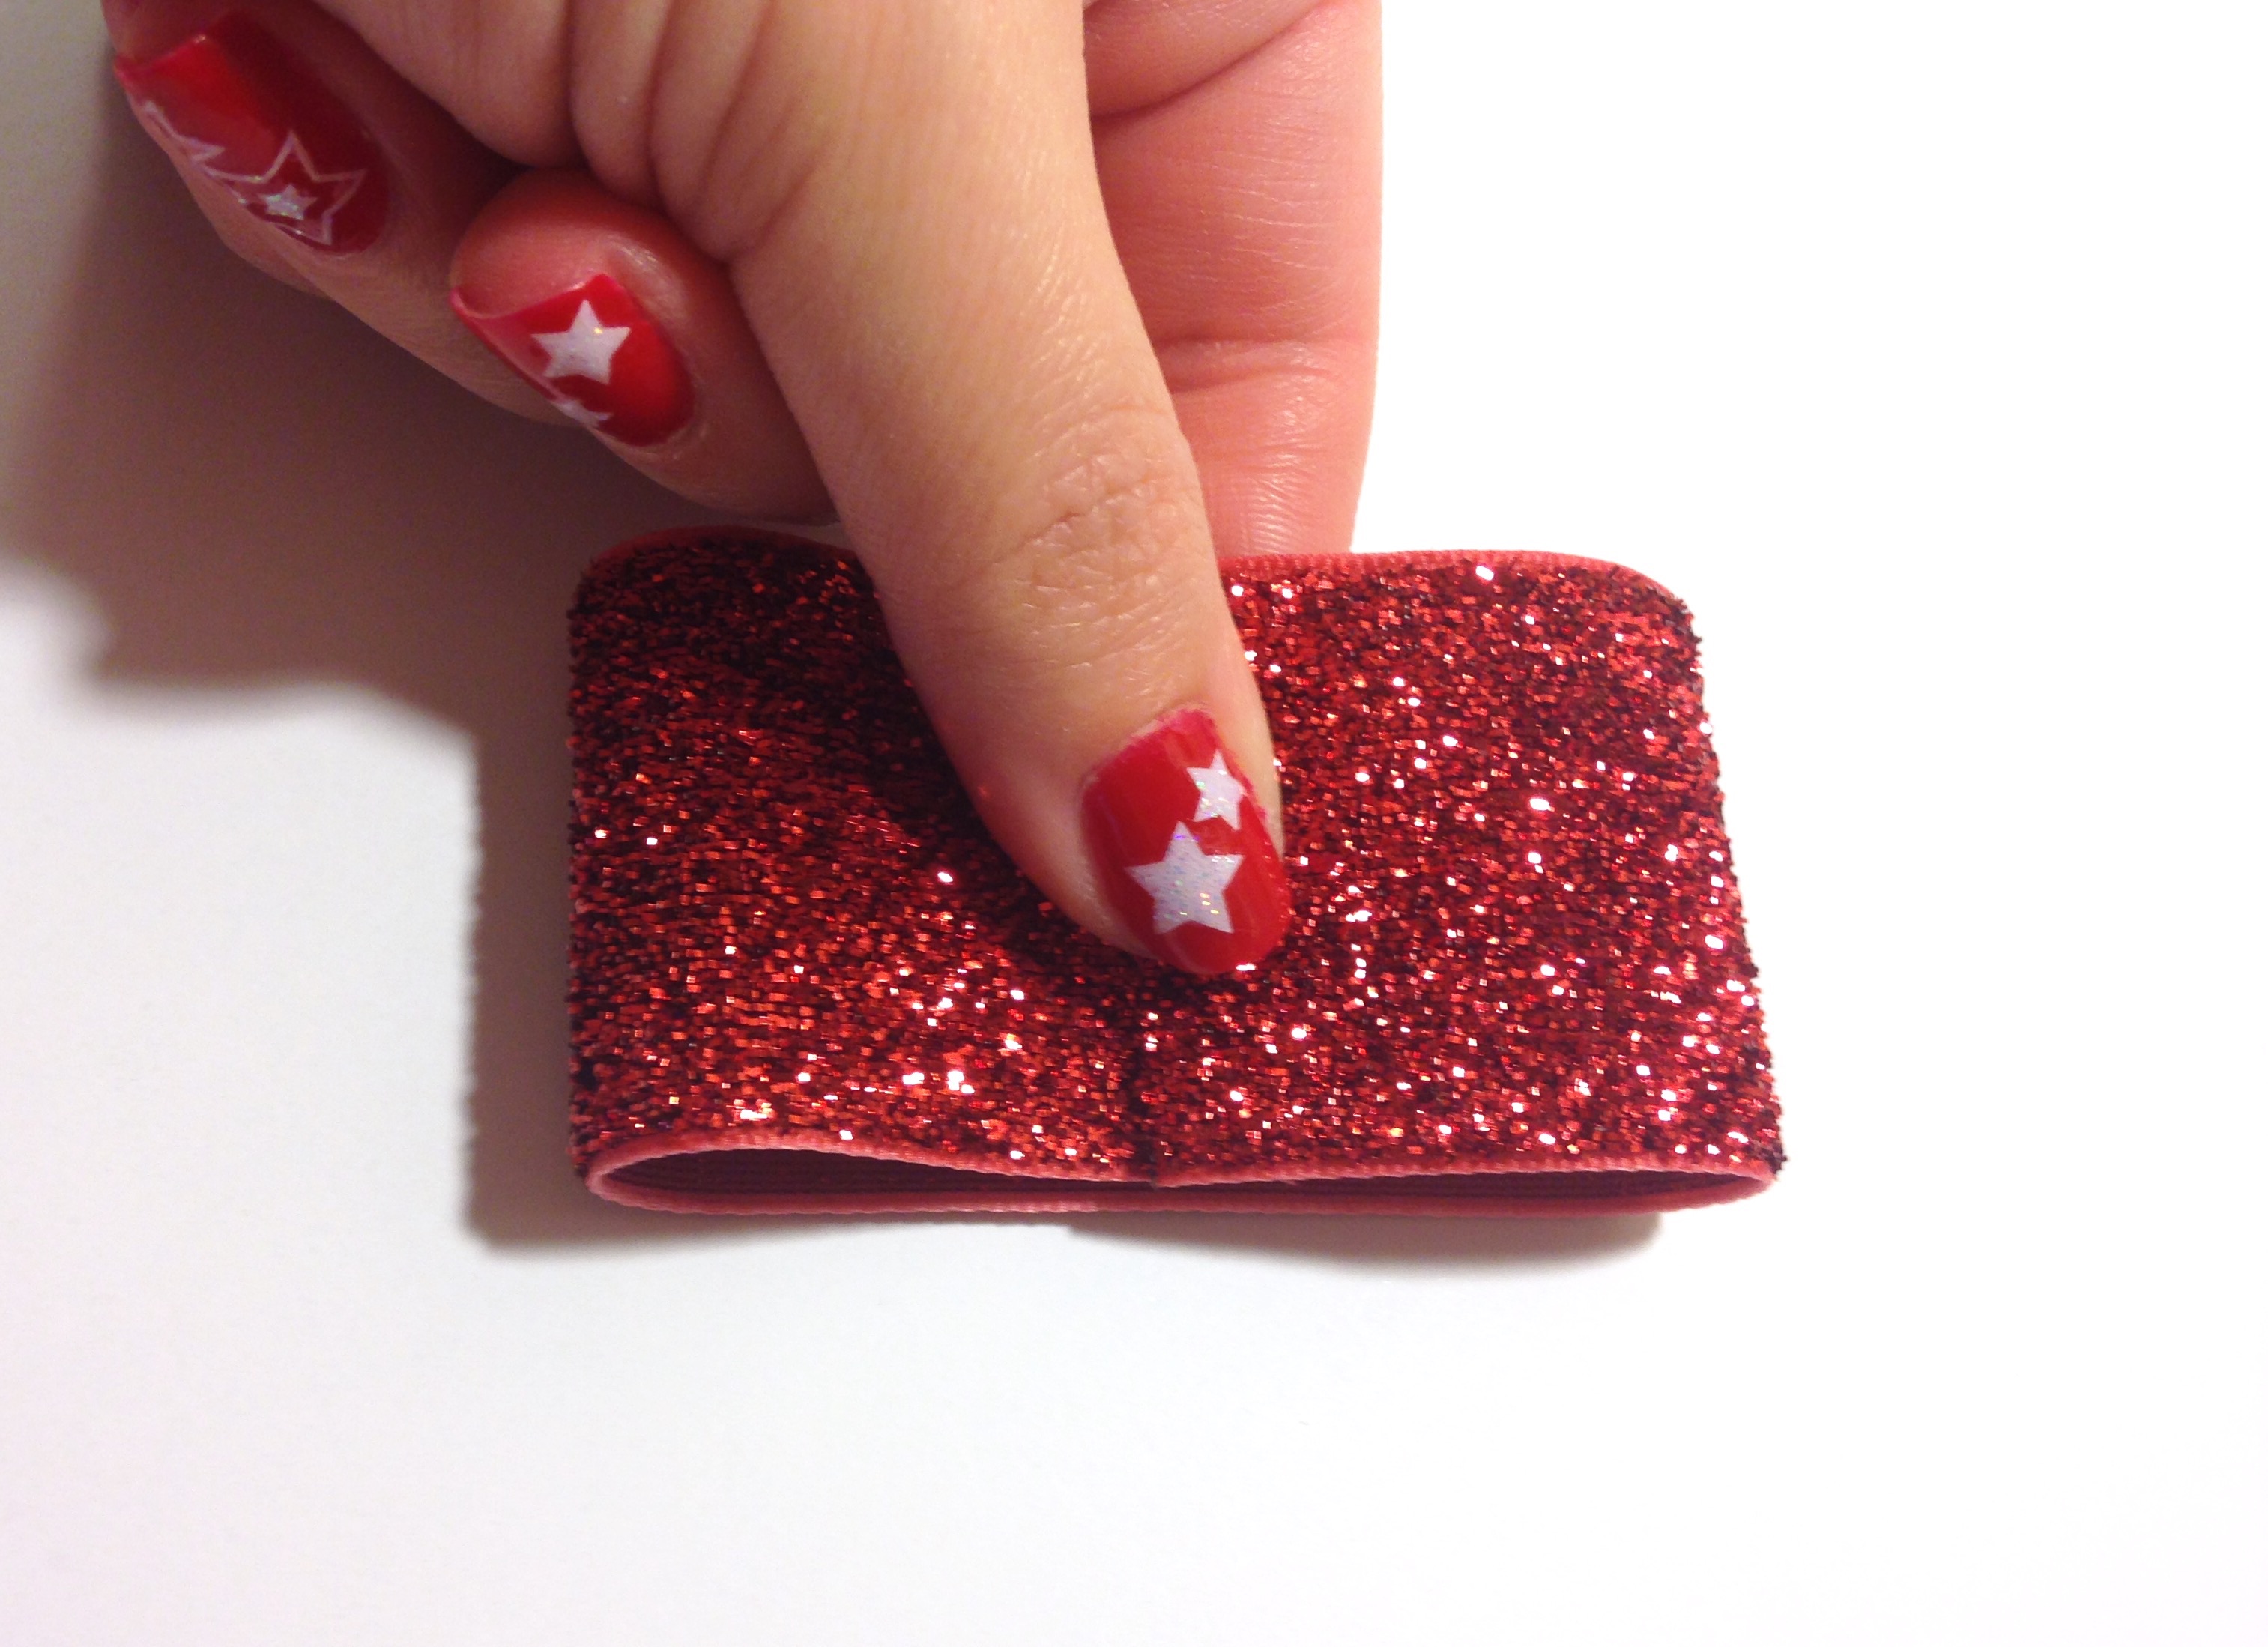
Making a circle with your ribbon, place the other end on top of the tape allowing the ends to overlap each other a bit.
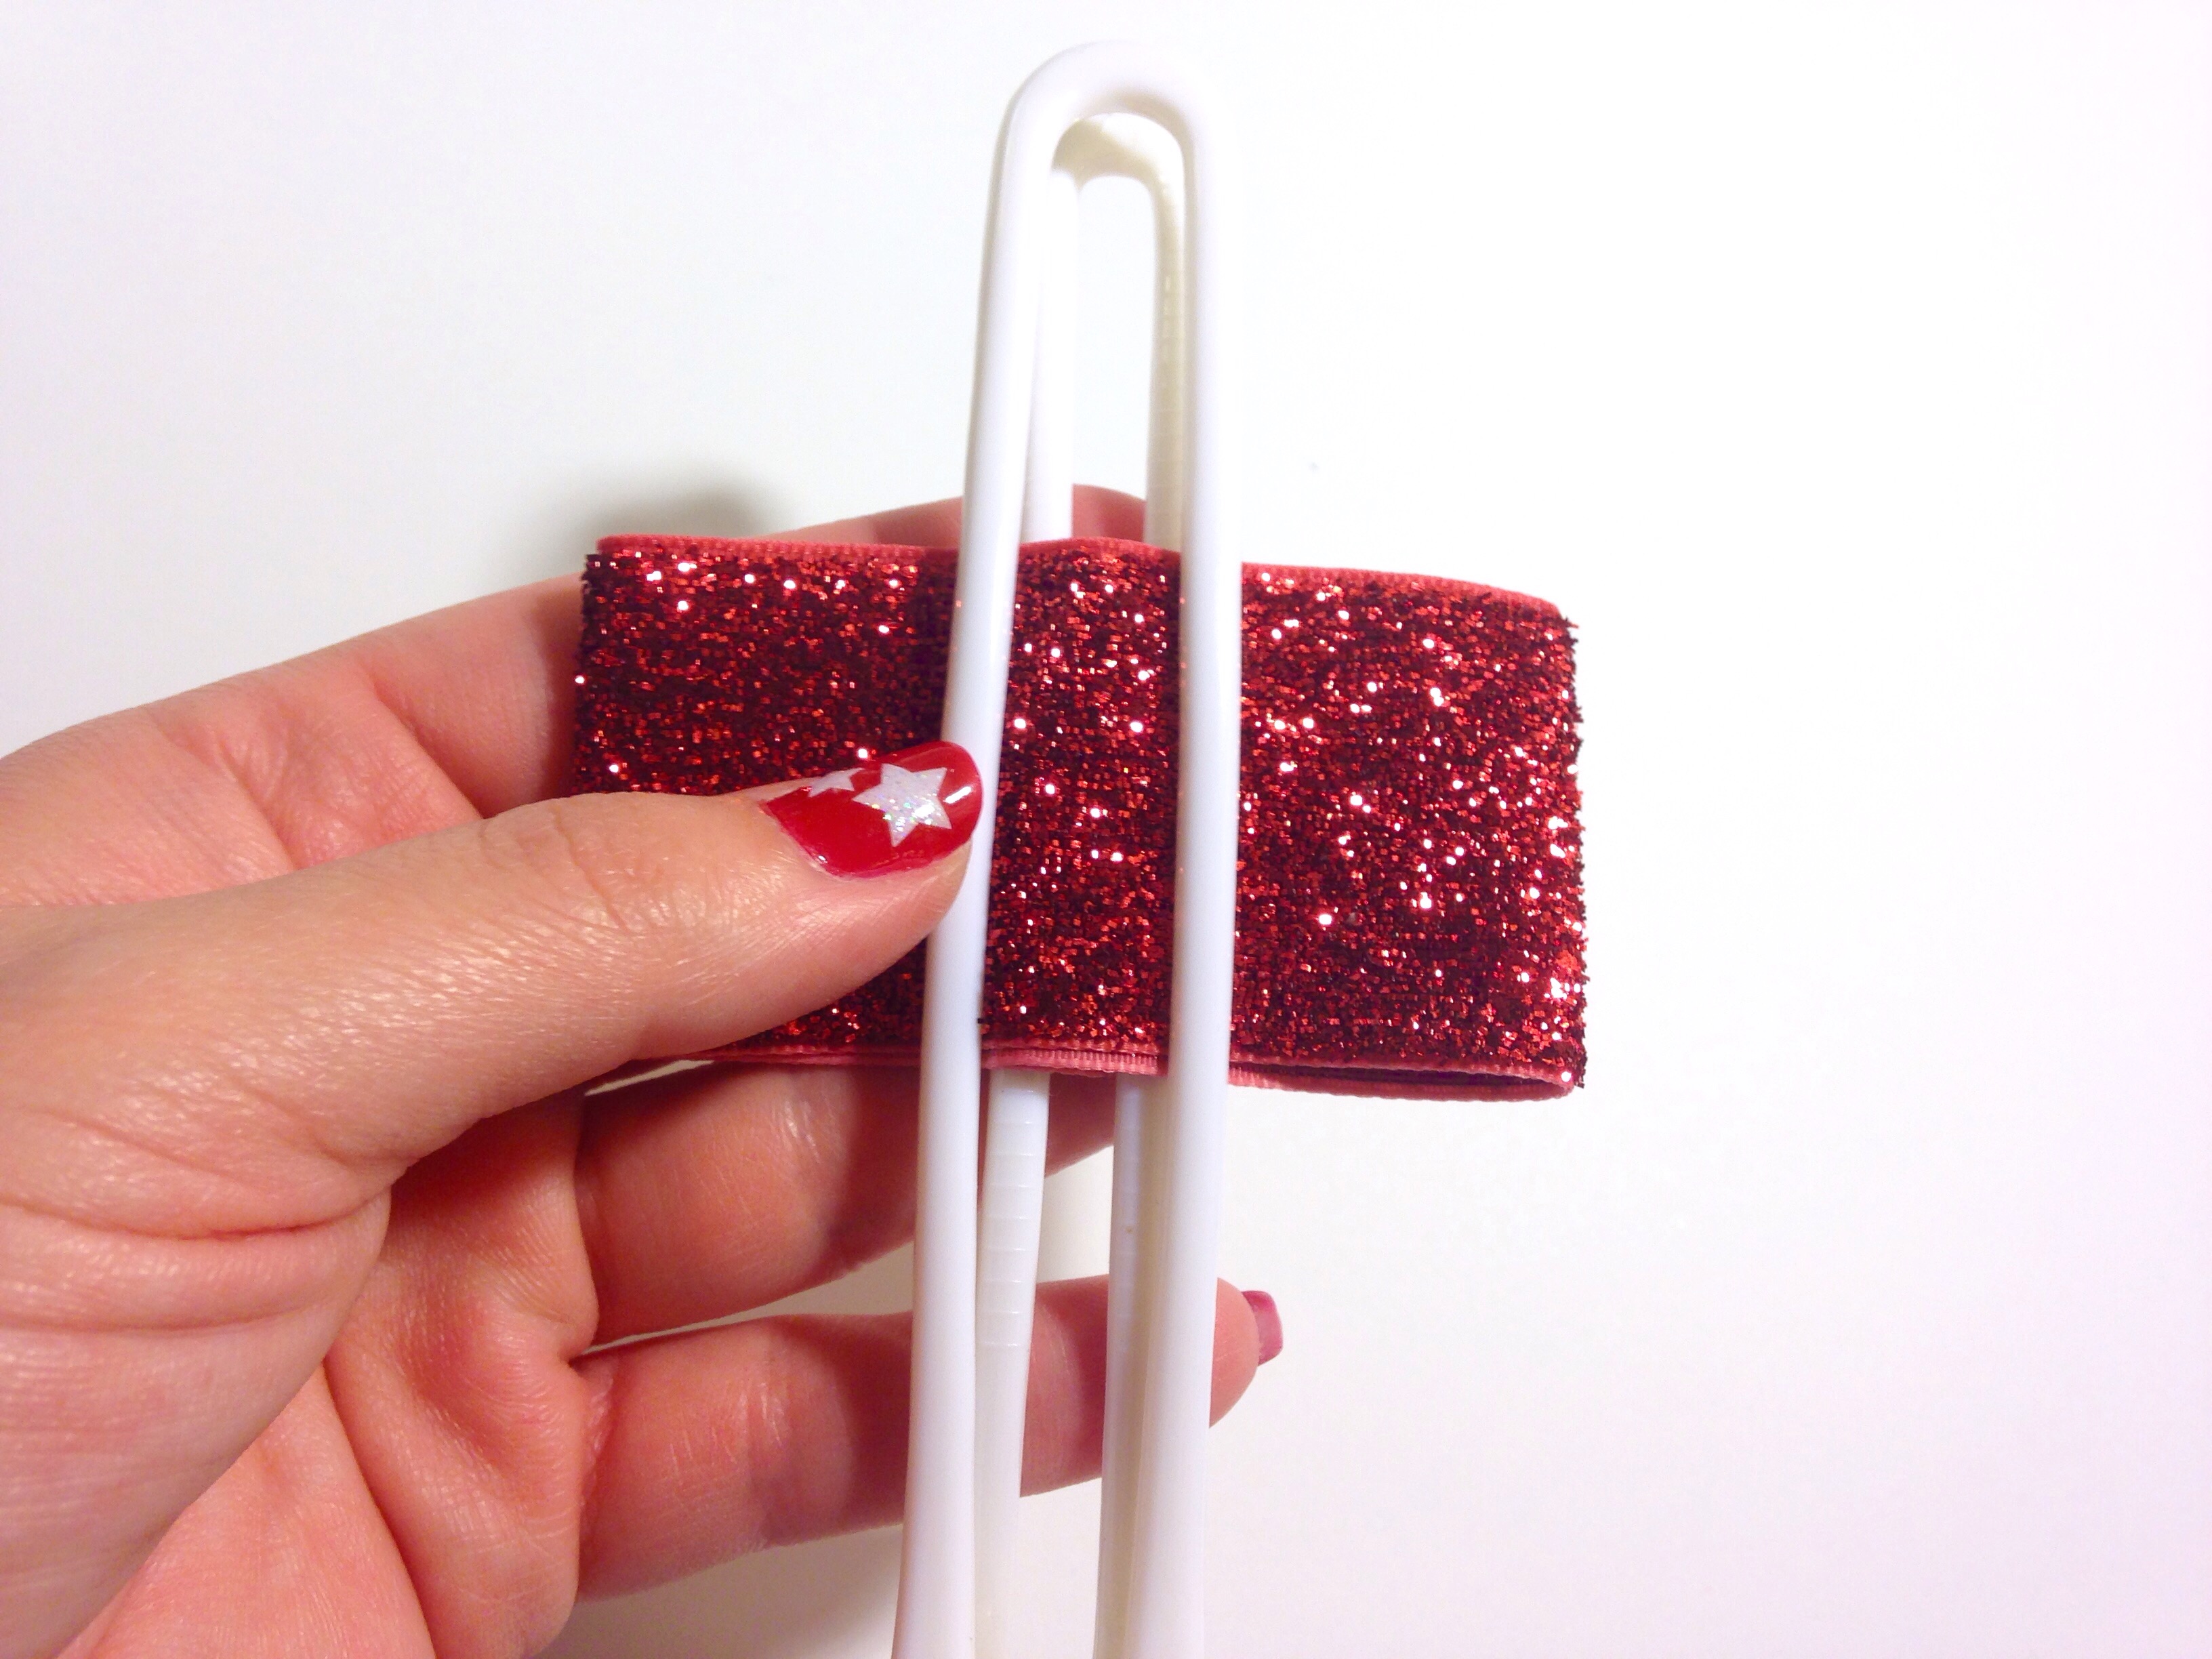
Place your glittery ribbon circle in a large salon clip.
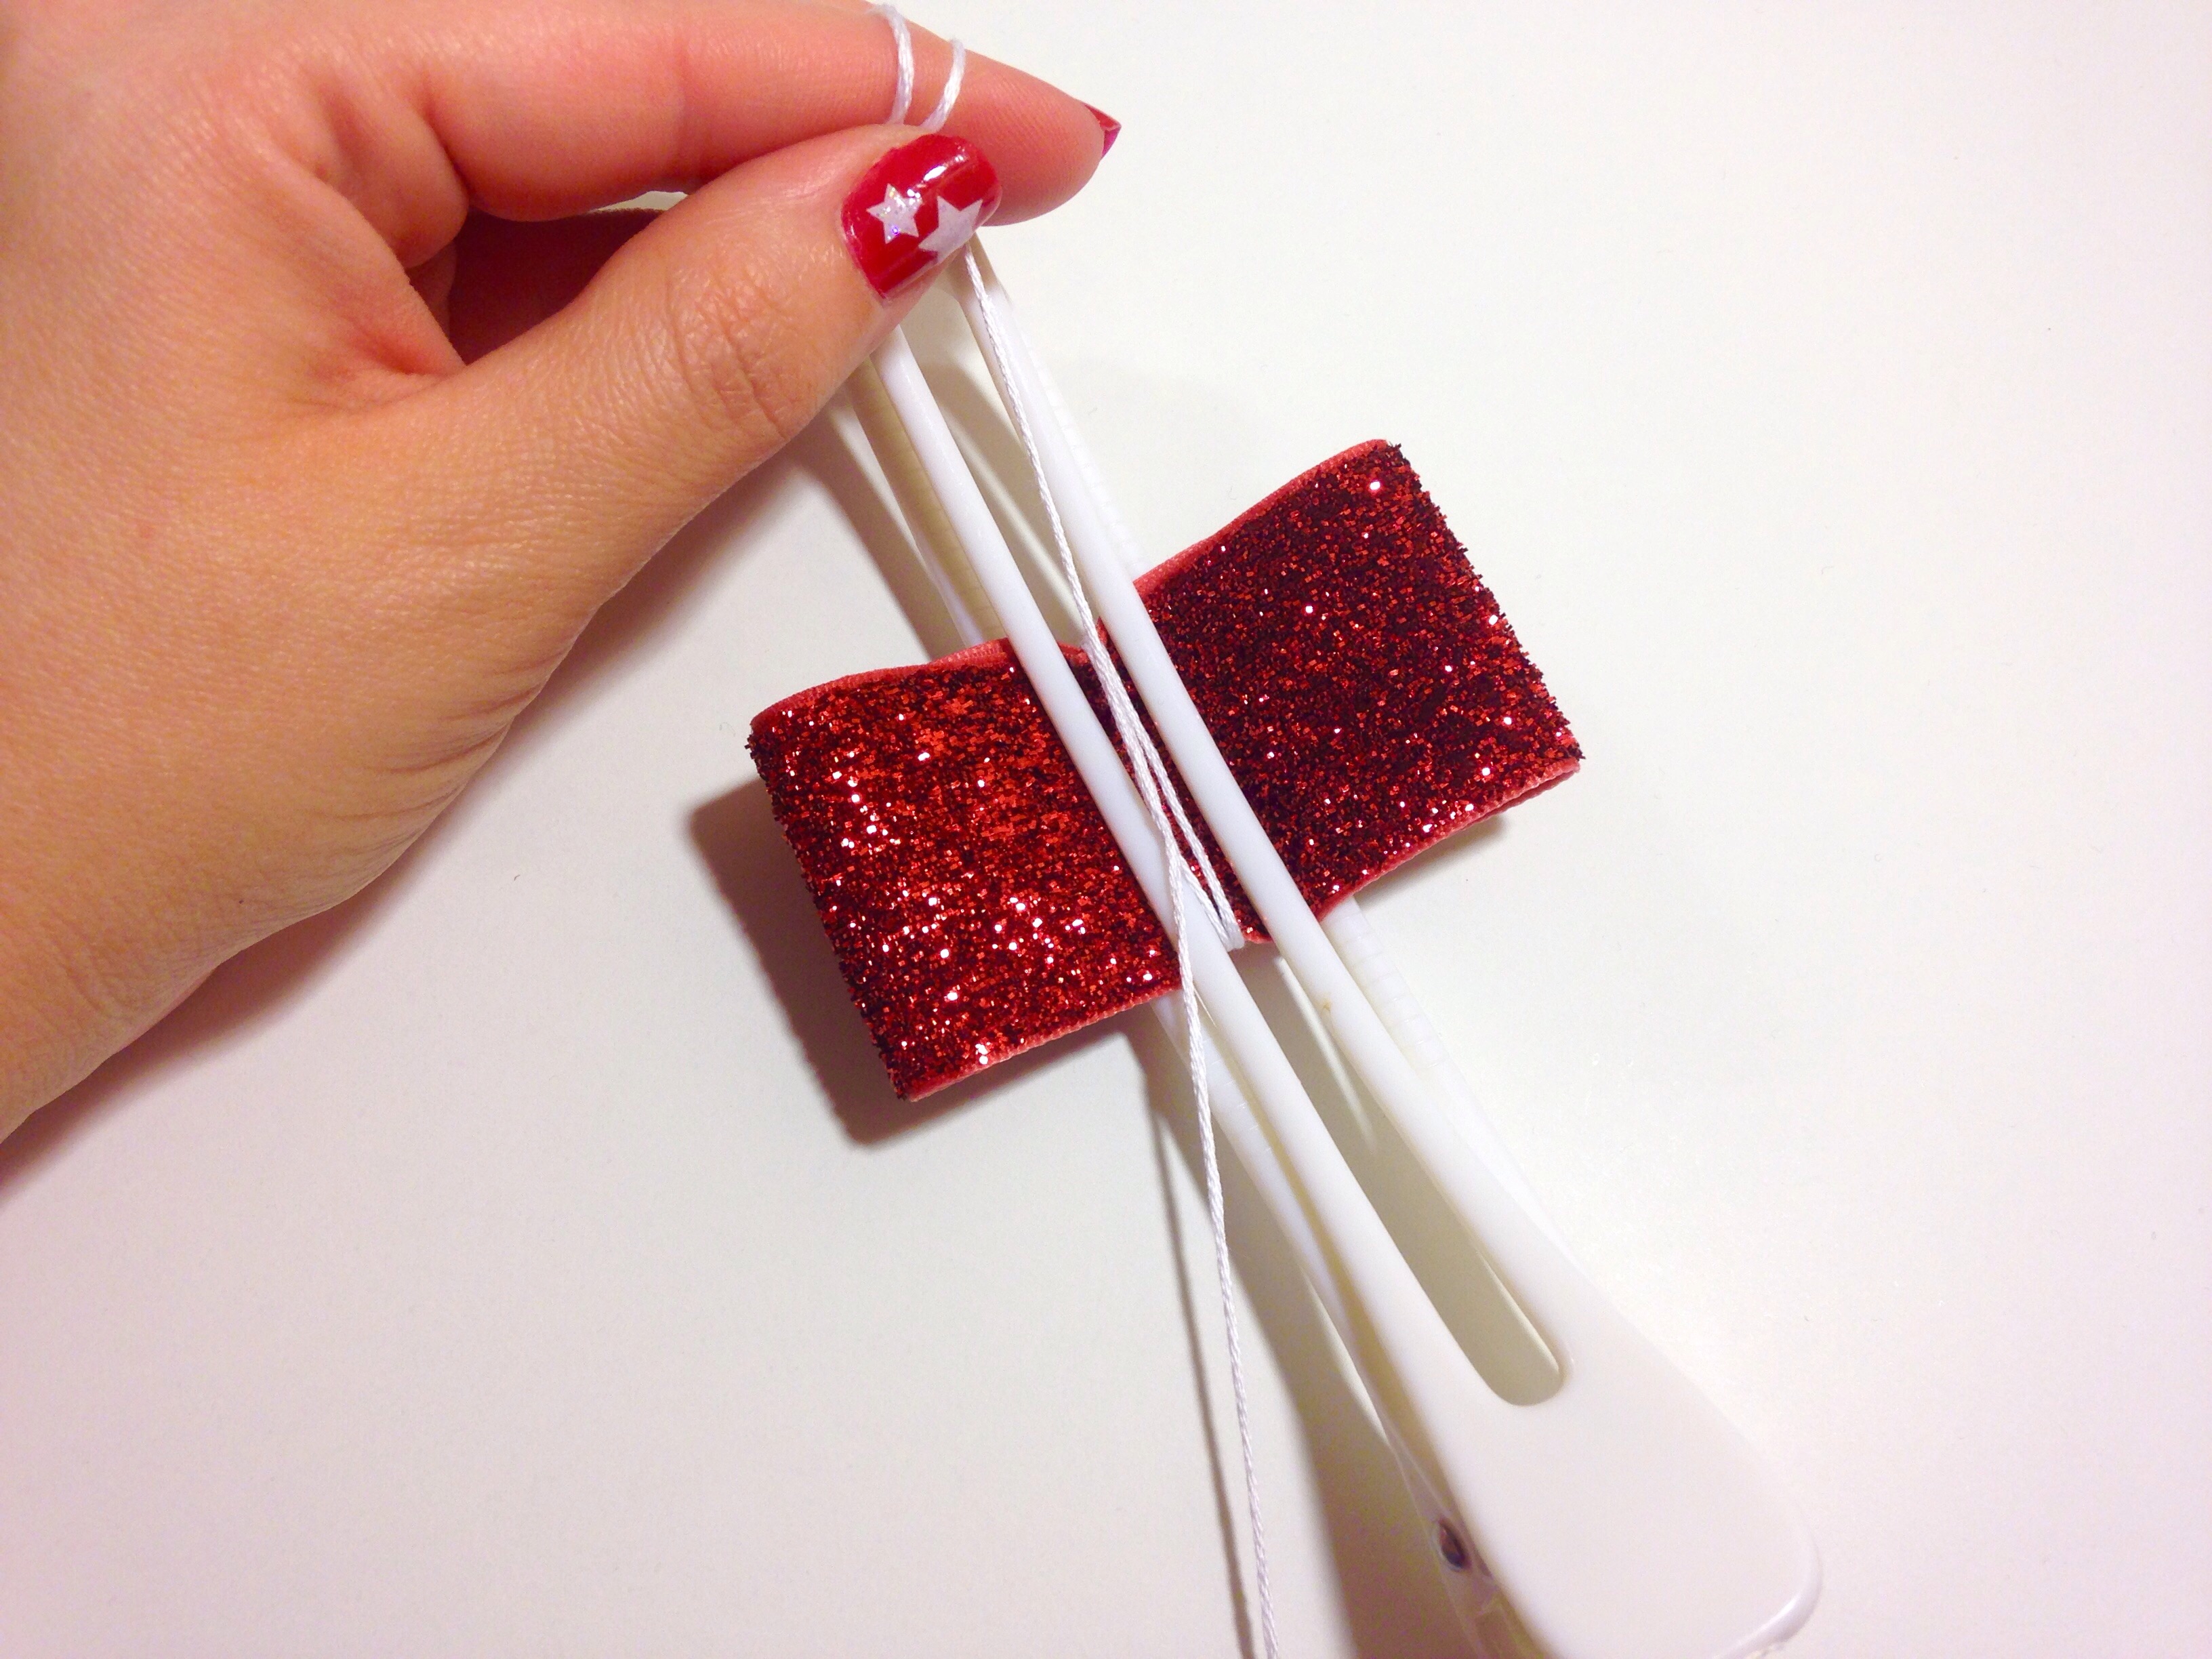
Flip your clip upside down and wrap the center of your ribbon twice using strong embroidery thread. Tying off your knot on the backside will make your ribbon edges lay the right way when pulled tight.
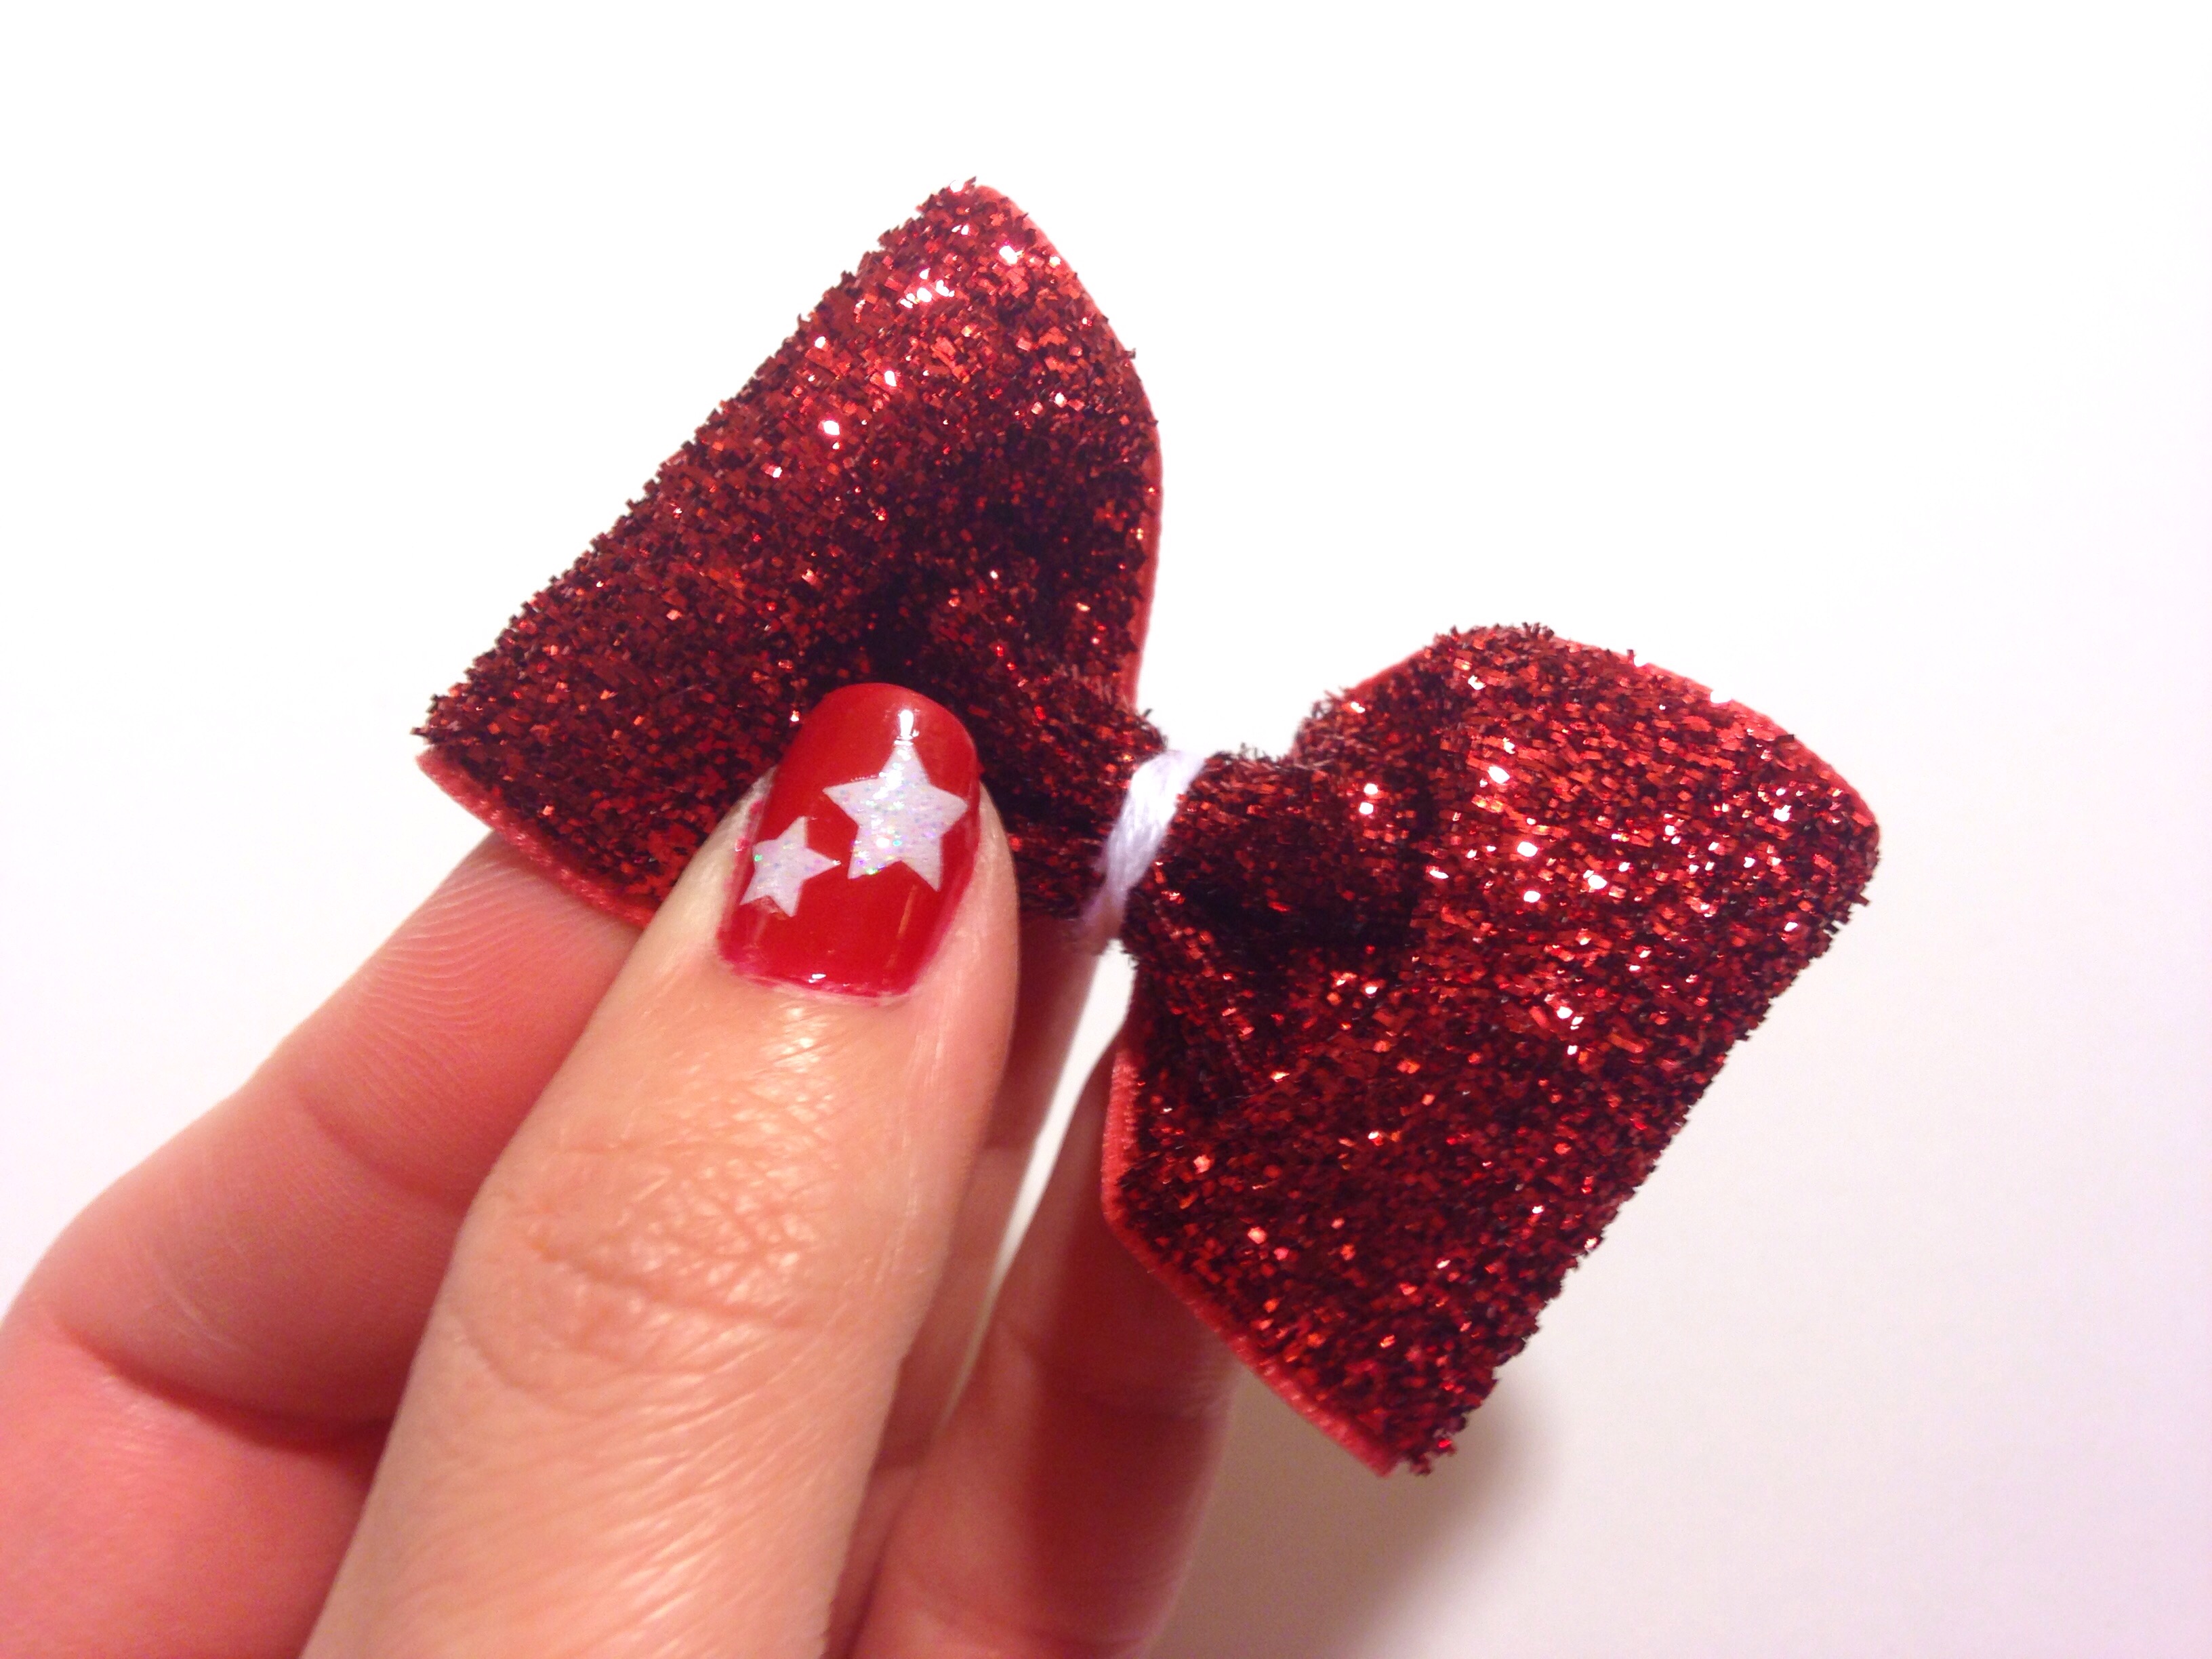
Remove the clip from your adorable little bow and adjust the loops. You may want them to be loopy or flat, the choice is yours!
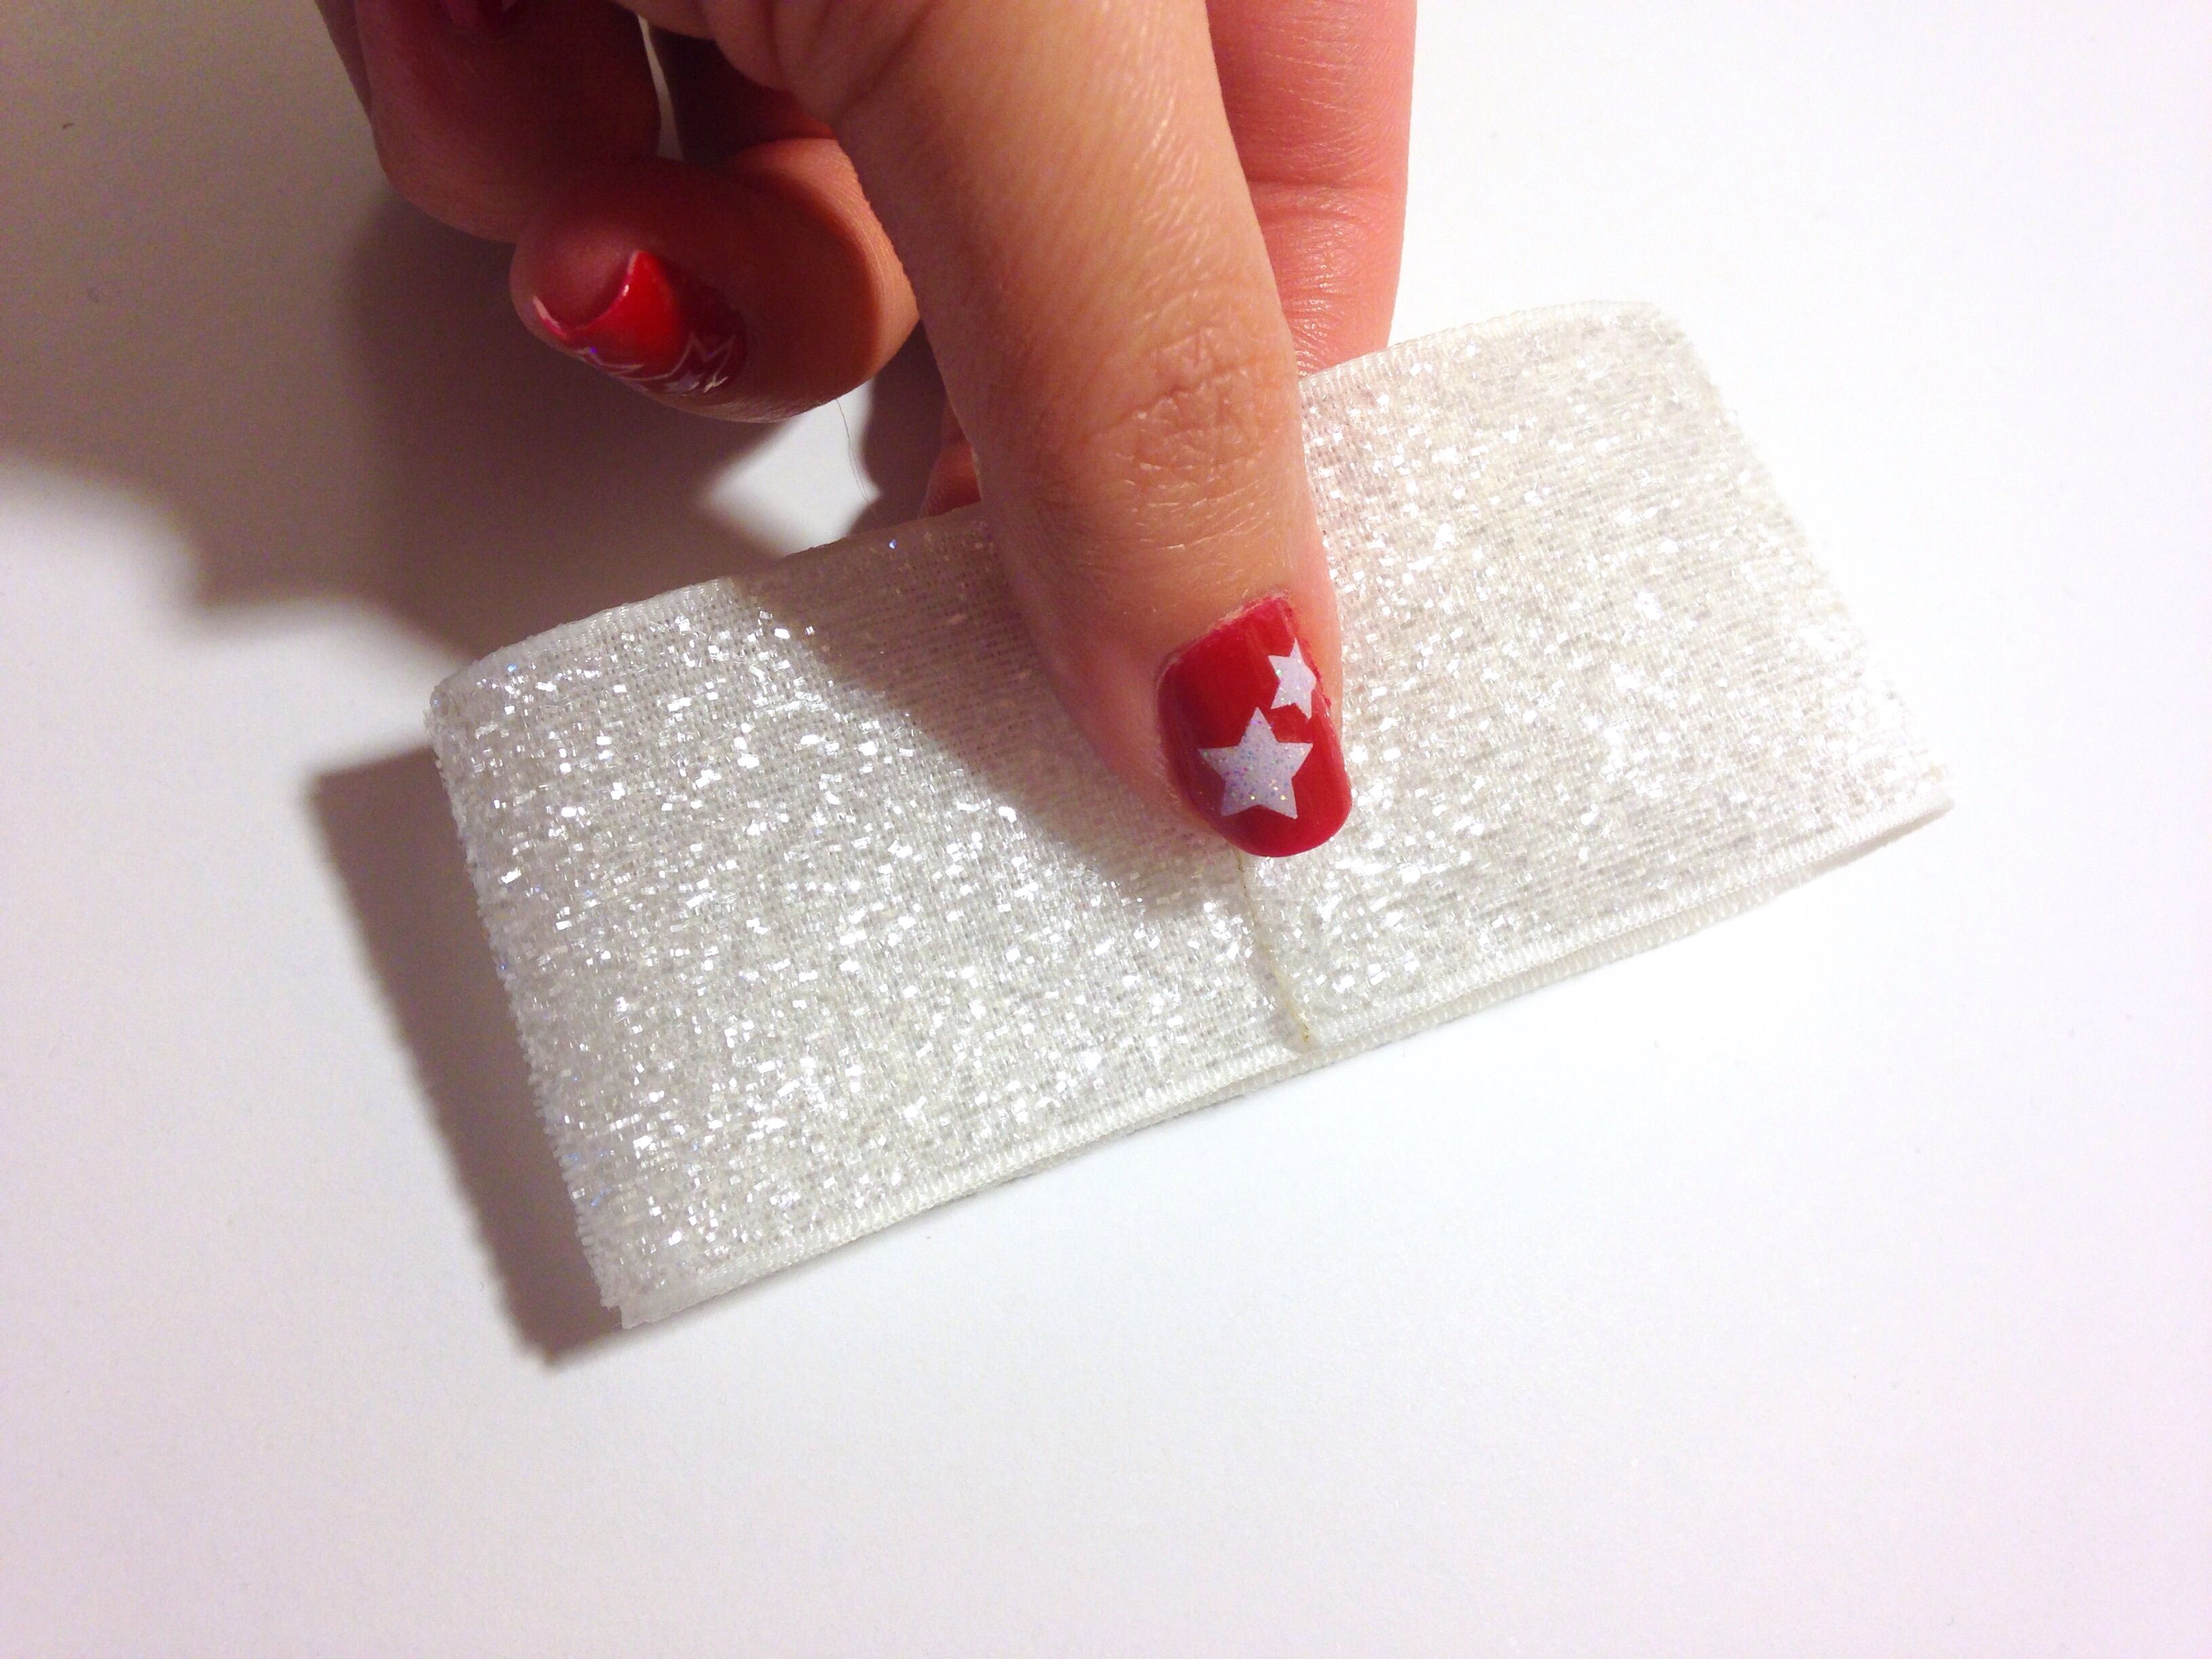
For our next layer we will be using approx 8" of 1.5" white glitter ribbon. Follow the exact same steps to form your bow just as we did our top bow.
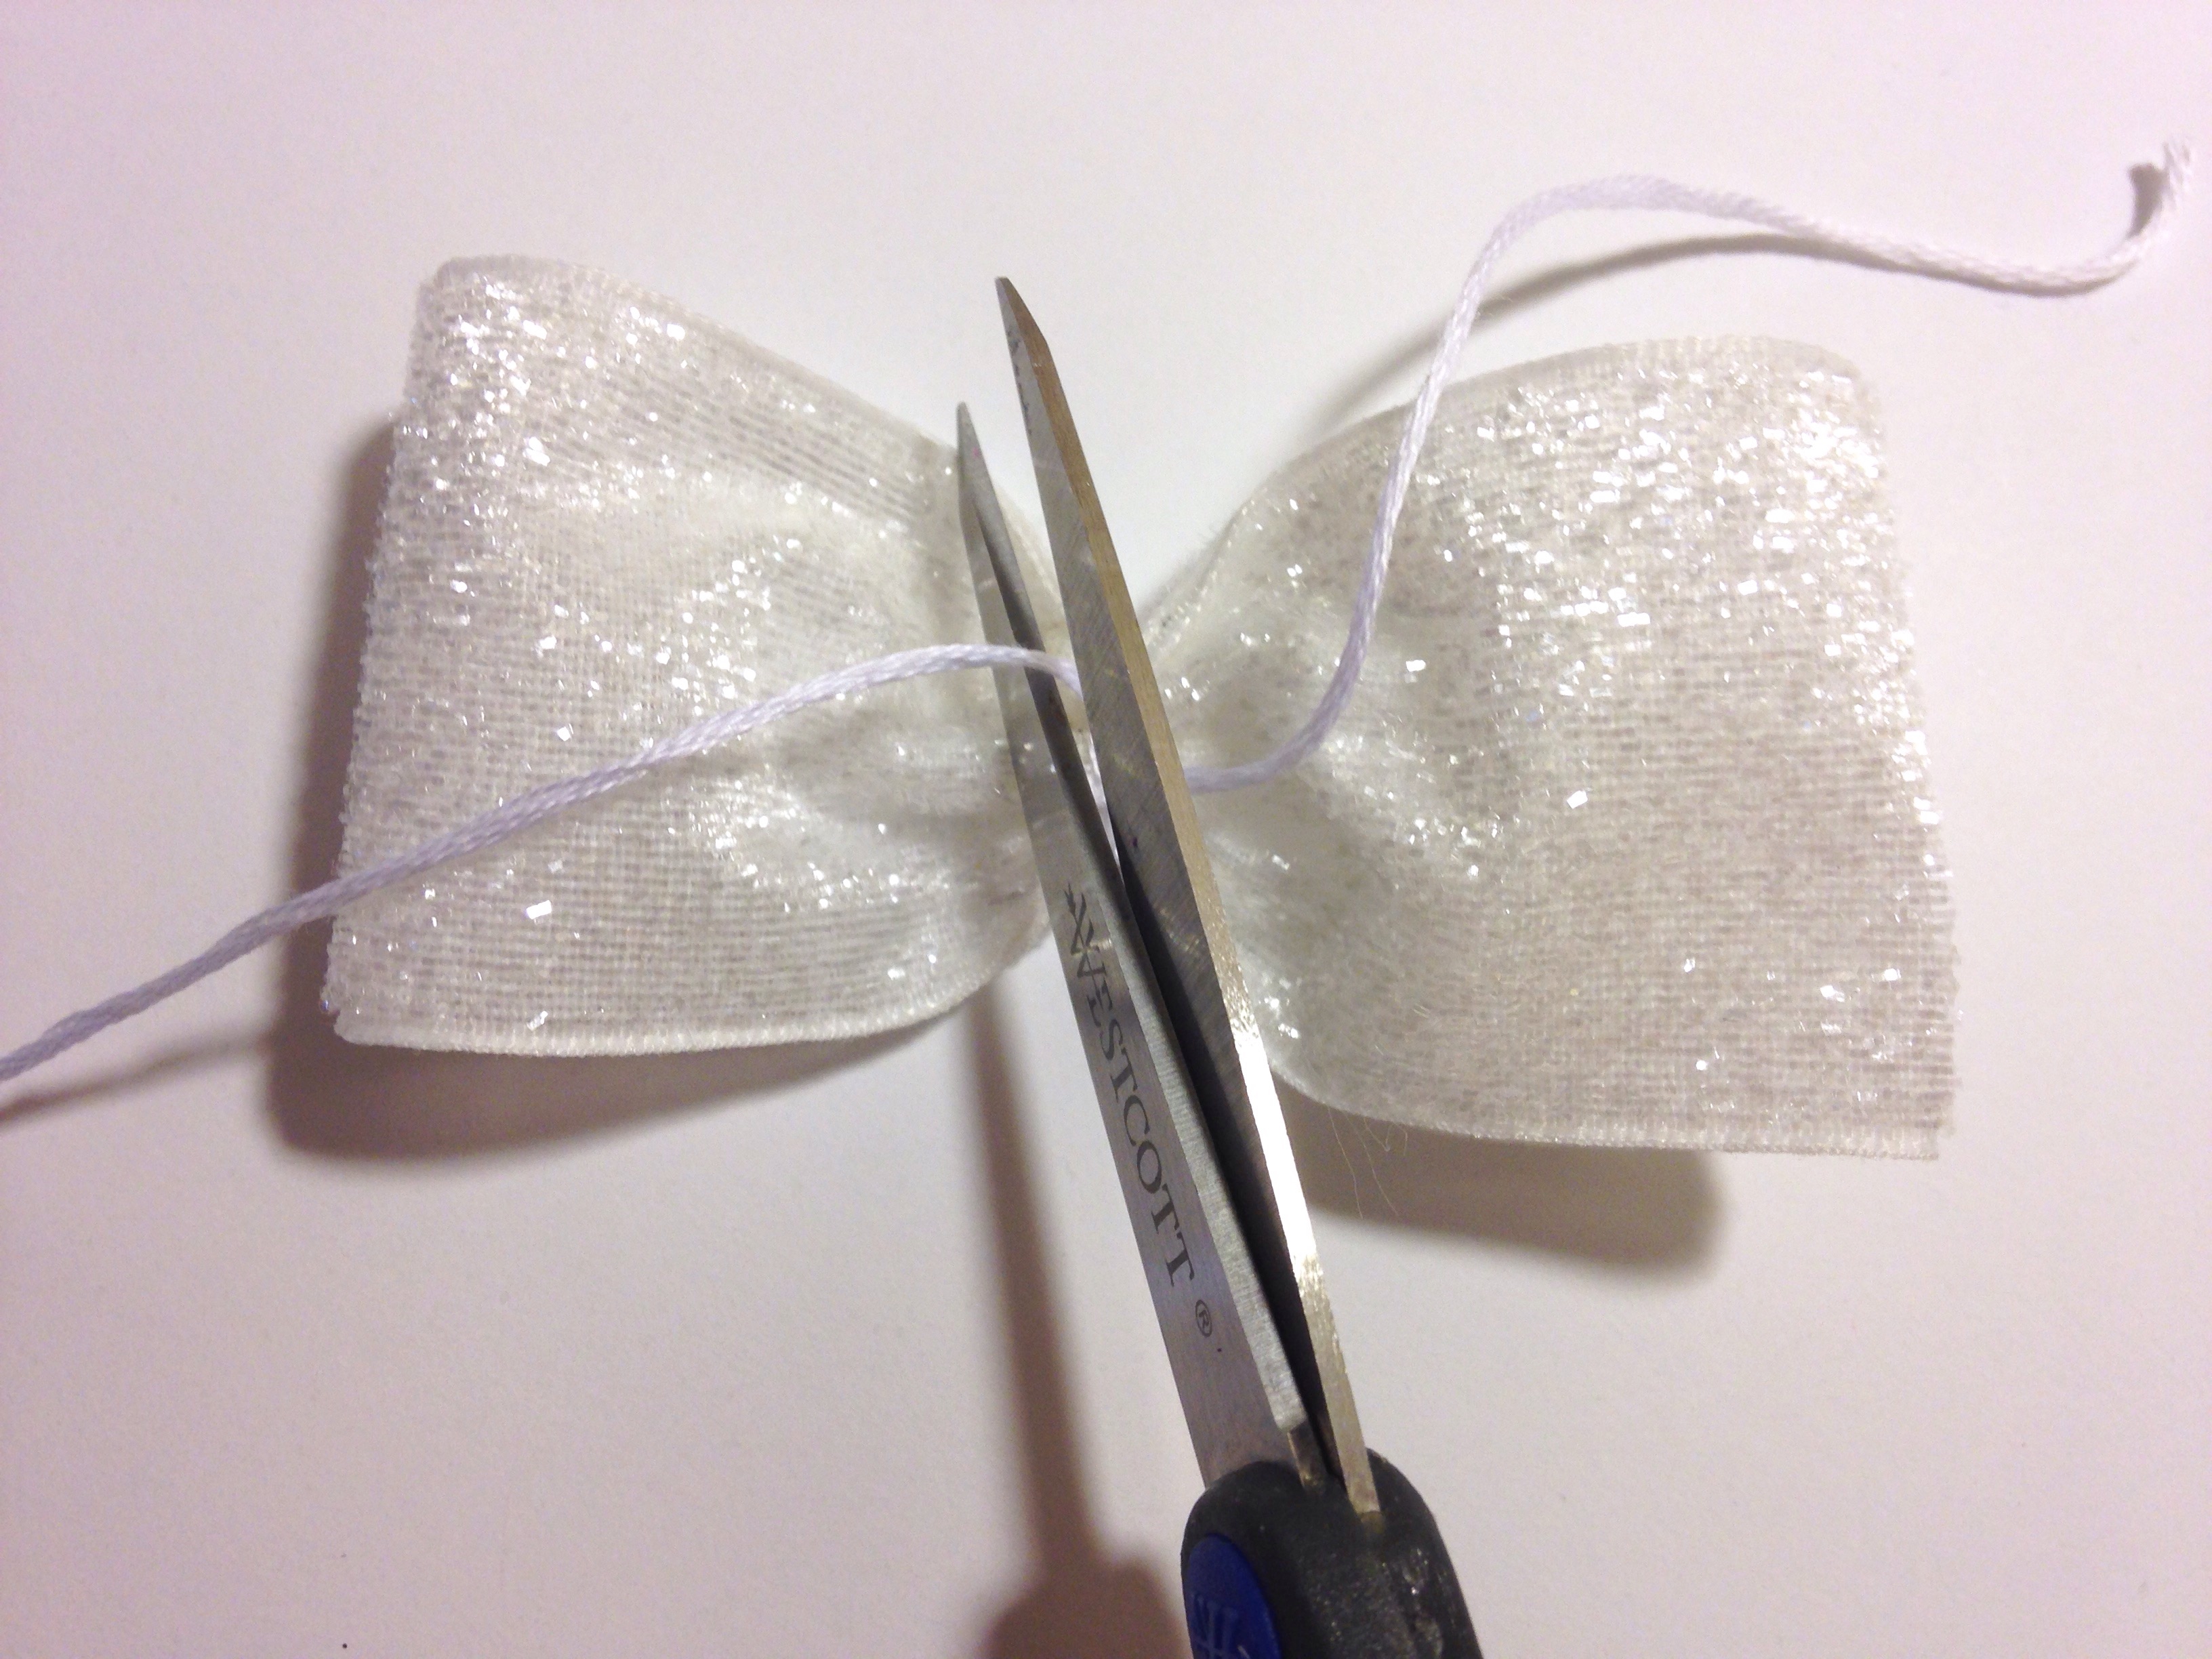
Trim the the ends of your thread and adjust the loops the same as you did the other bow.
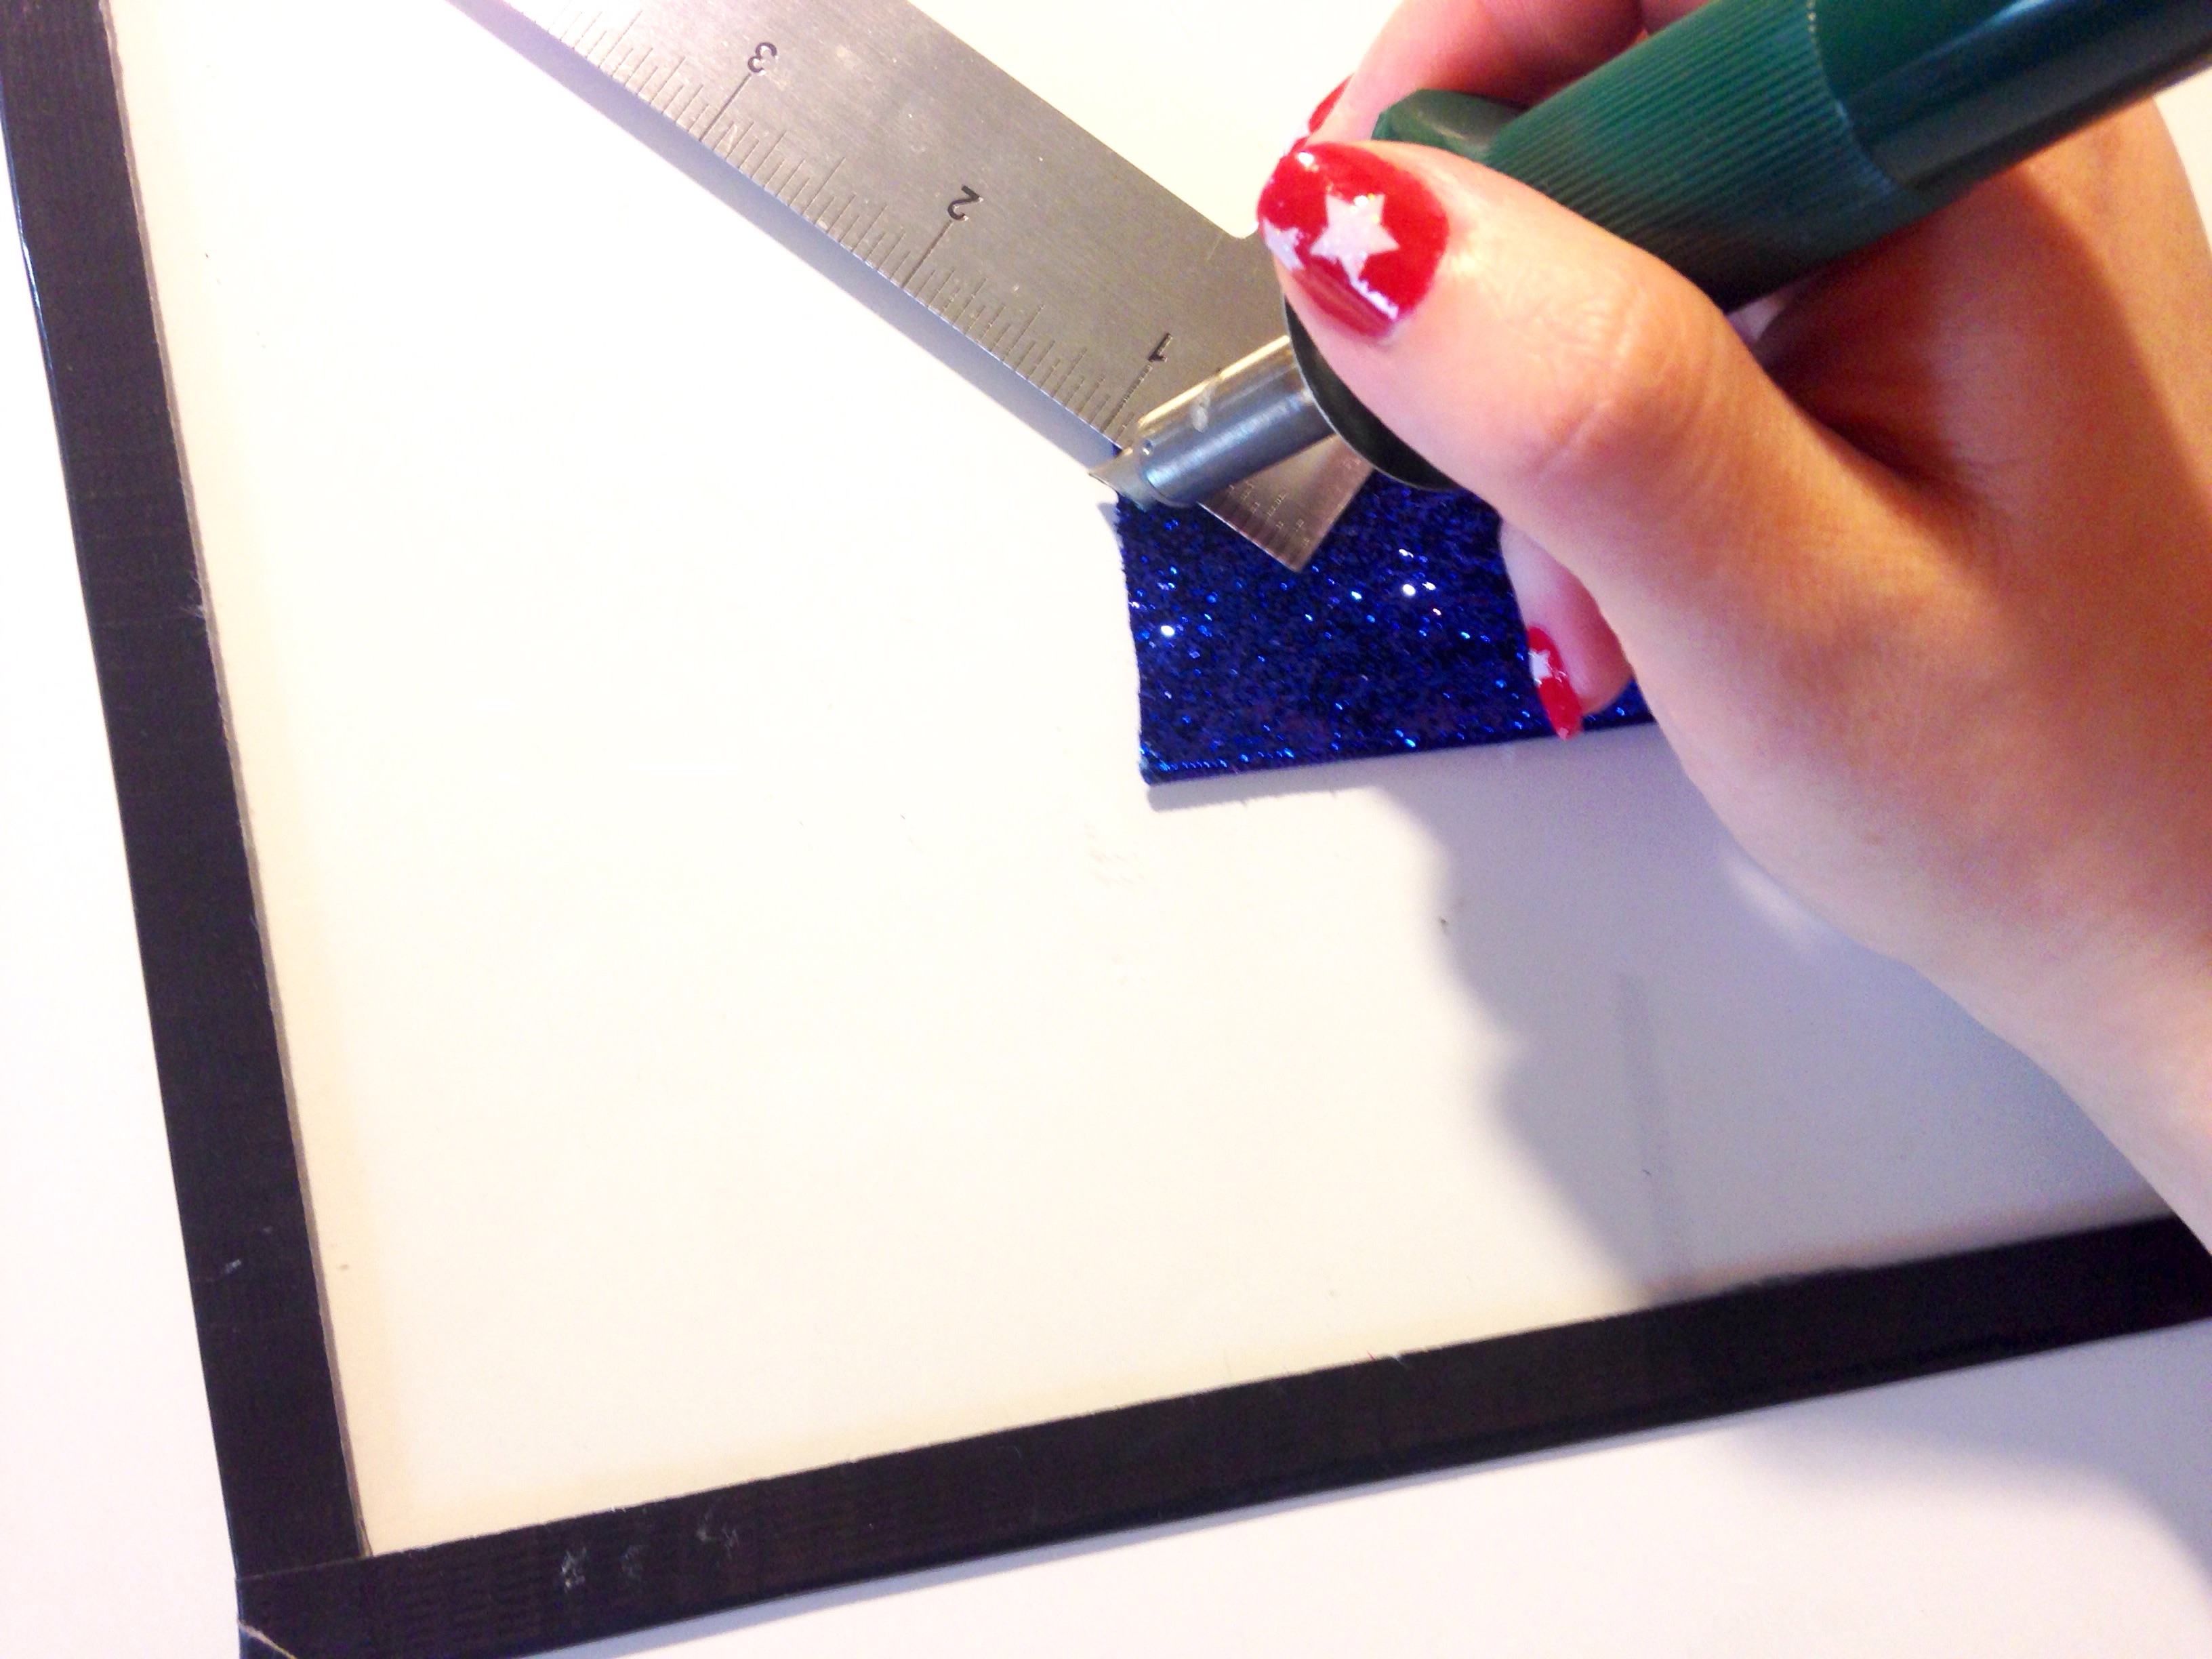
Our bottom layer will be tails made from gorgeous royal blue glitter ribbon. You will need approx 5 to 5.5" depending on how long you'd like your tails to be. I trimmed my ends into a V shape but you may also chose to make them diagonal or even straight. However, the V cut is most difficult but still not hard to do. Find the center of your ribbon and decide how deep you'd like your lines. Lay your ruler down as your guide and cut one side at a time.
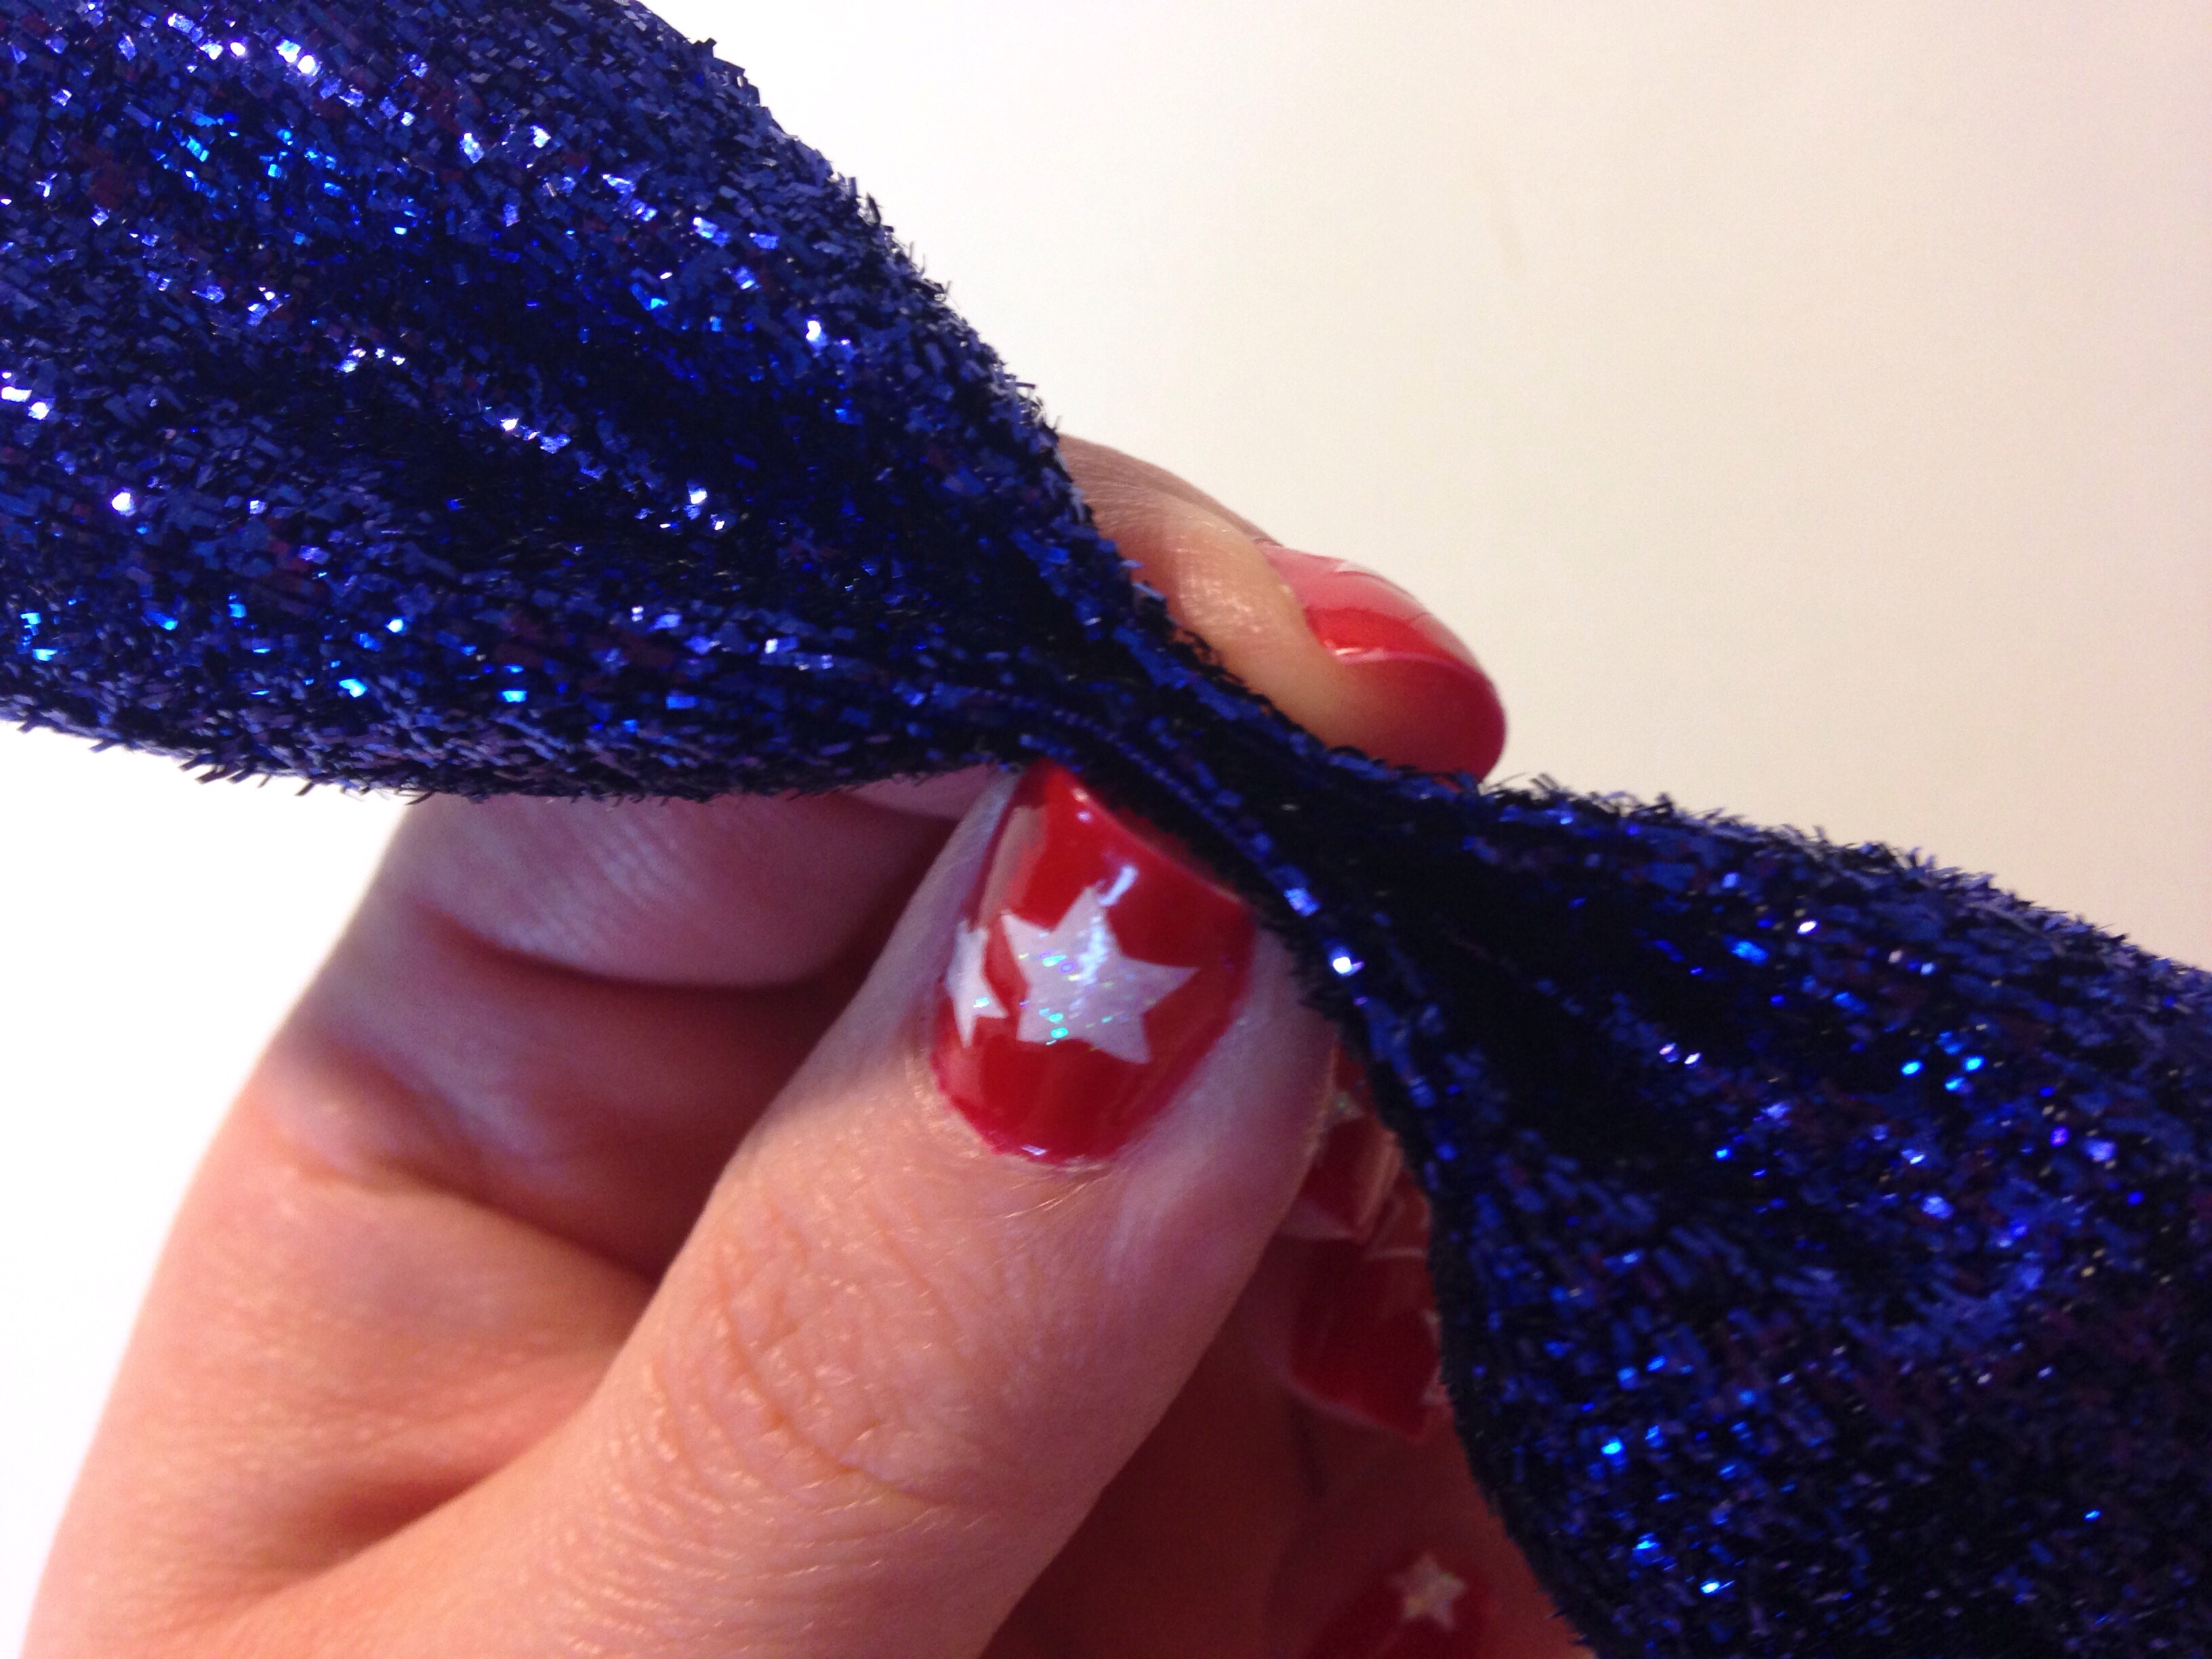
After you have carefully cut & sealed your ends for your tails find the center of your ribbon. Make an according fold and tie the center with embroidery thread. Instead of trimming the ends of your thread off this time, take your thread and tie around yiur entire bow pulling very tight to make your center gathering as small as possible. Now cut off enough 3/8" white glitter ribbon to wrap around the center at least twice. Attach with your hot glue gun and don't forget to add your alligator clip to the back!
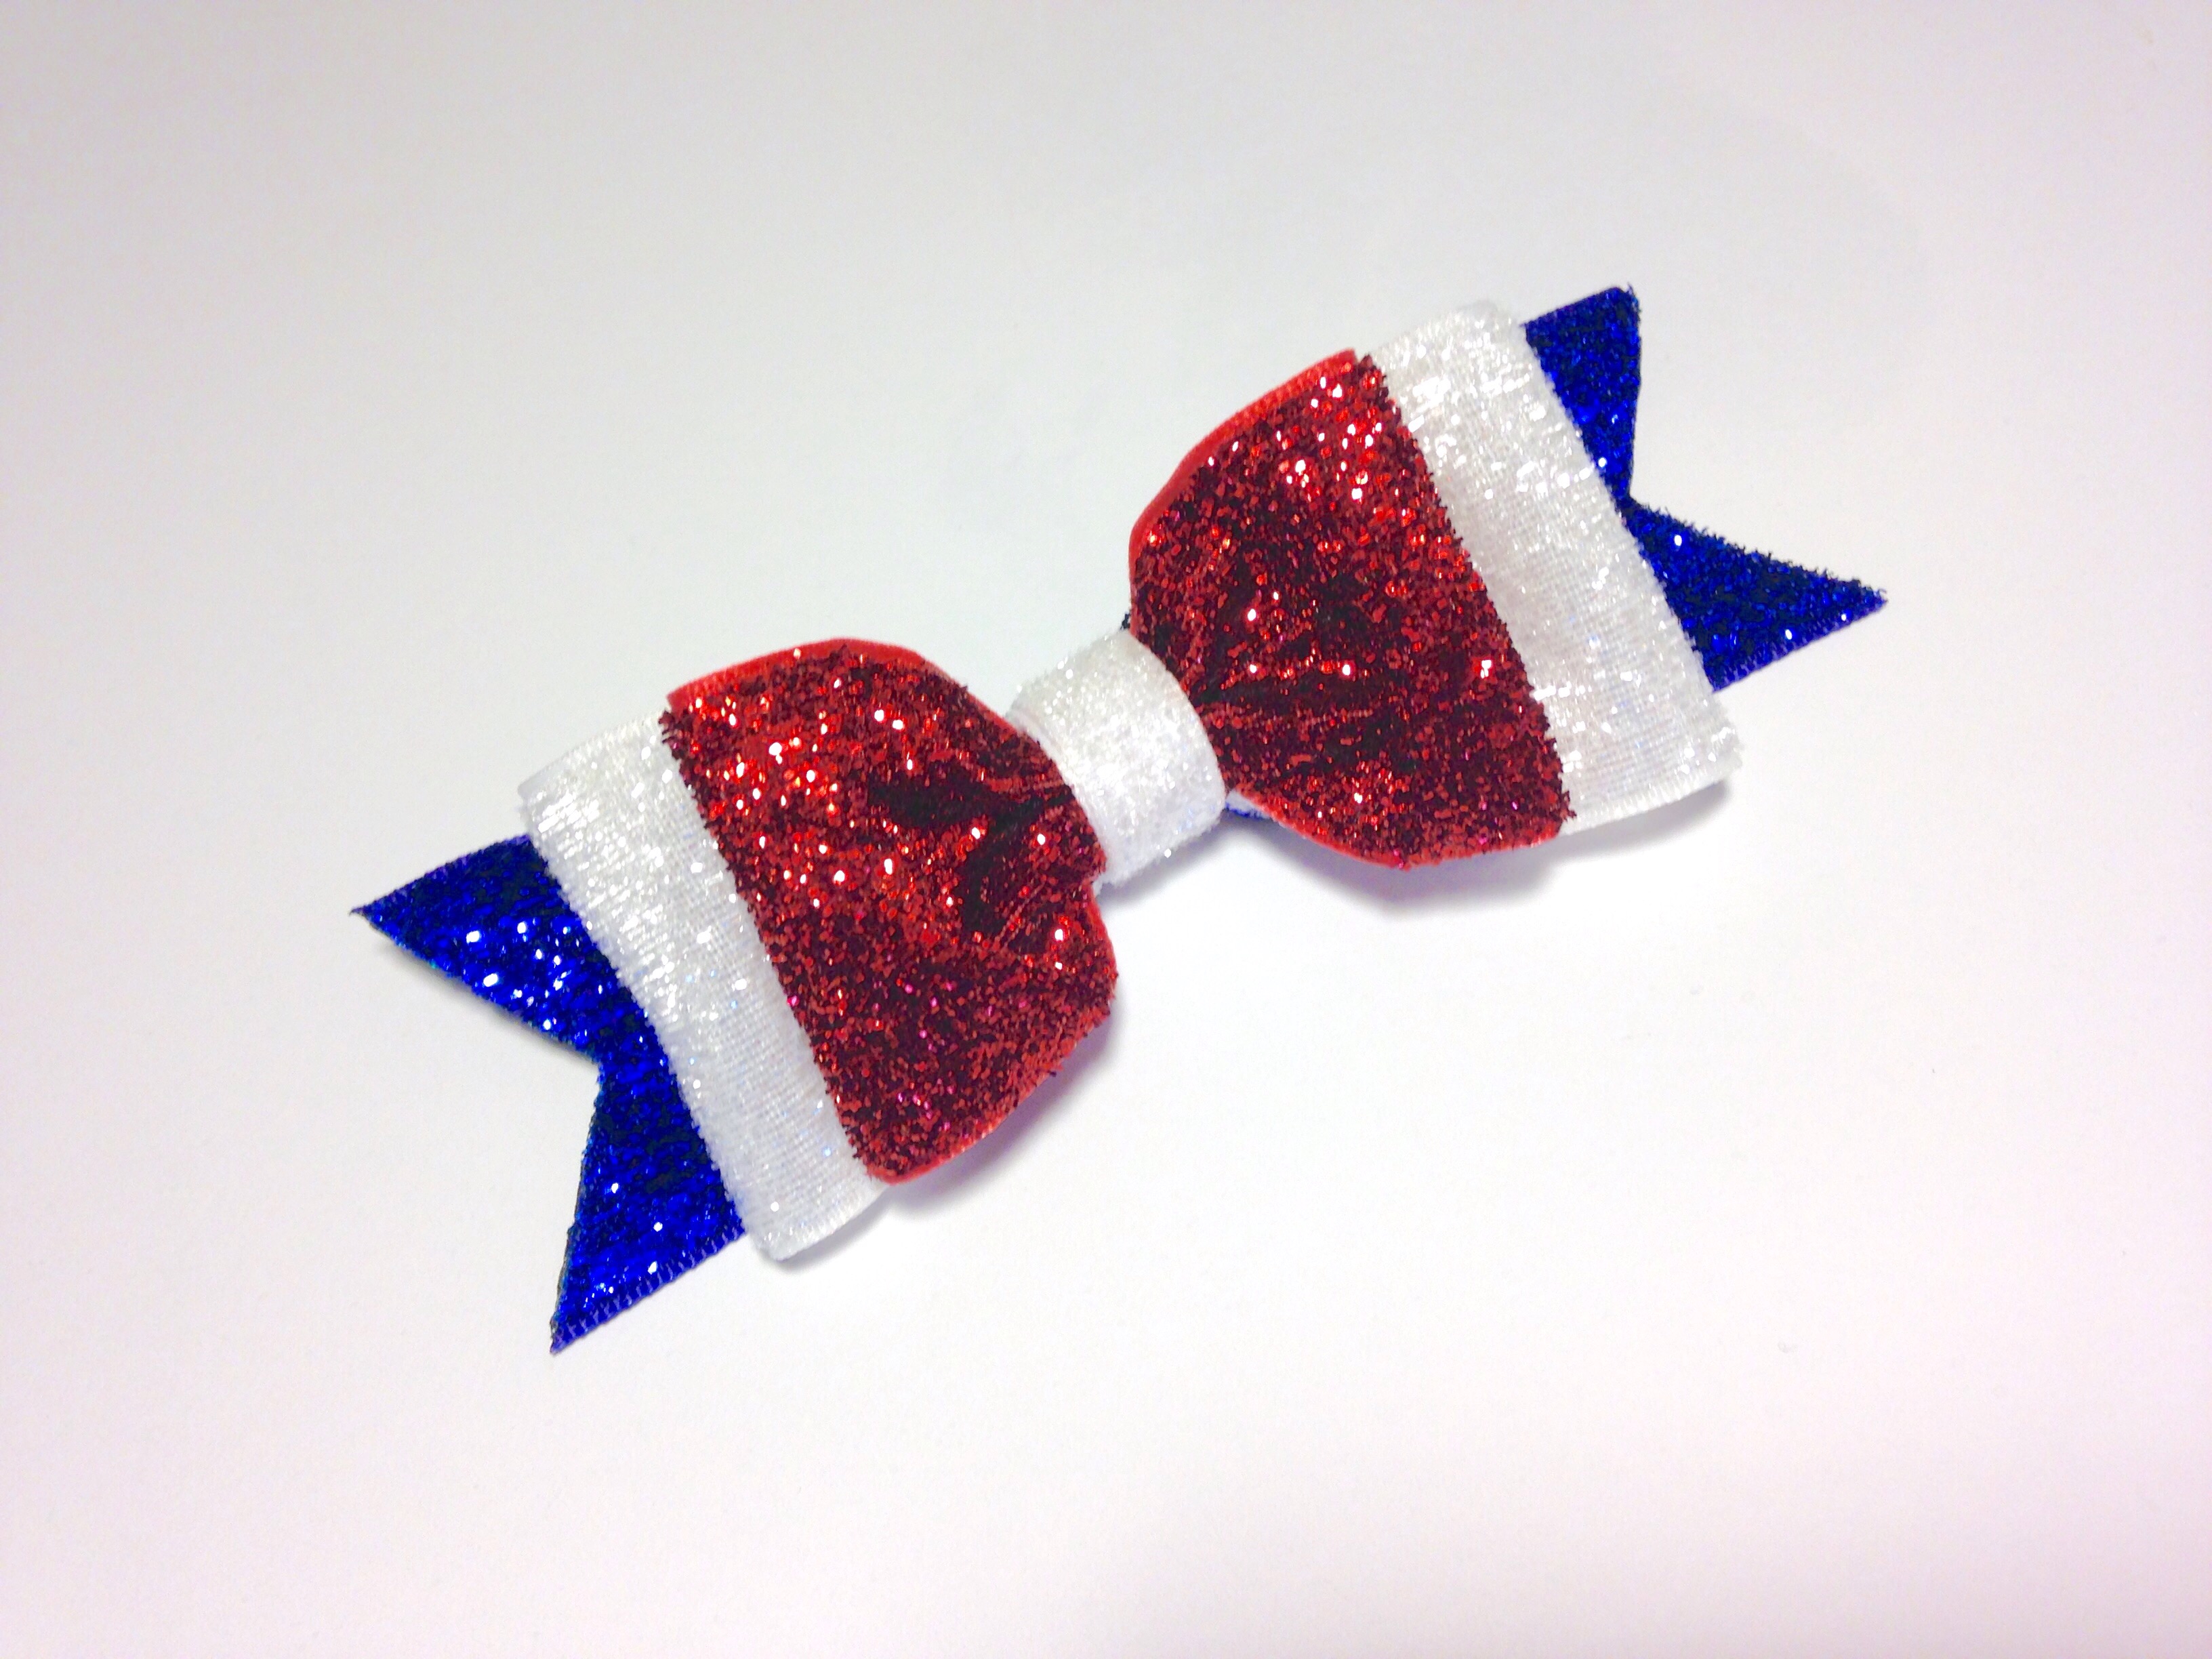
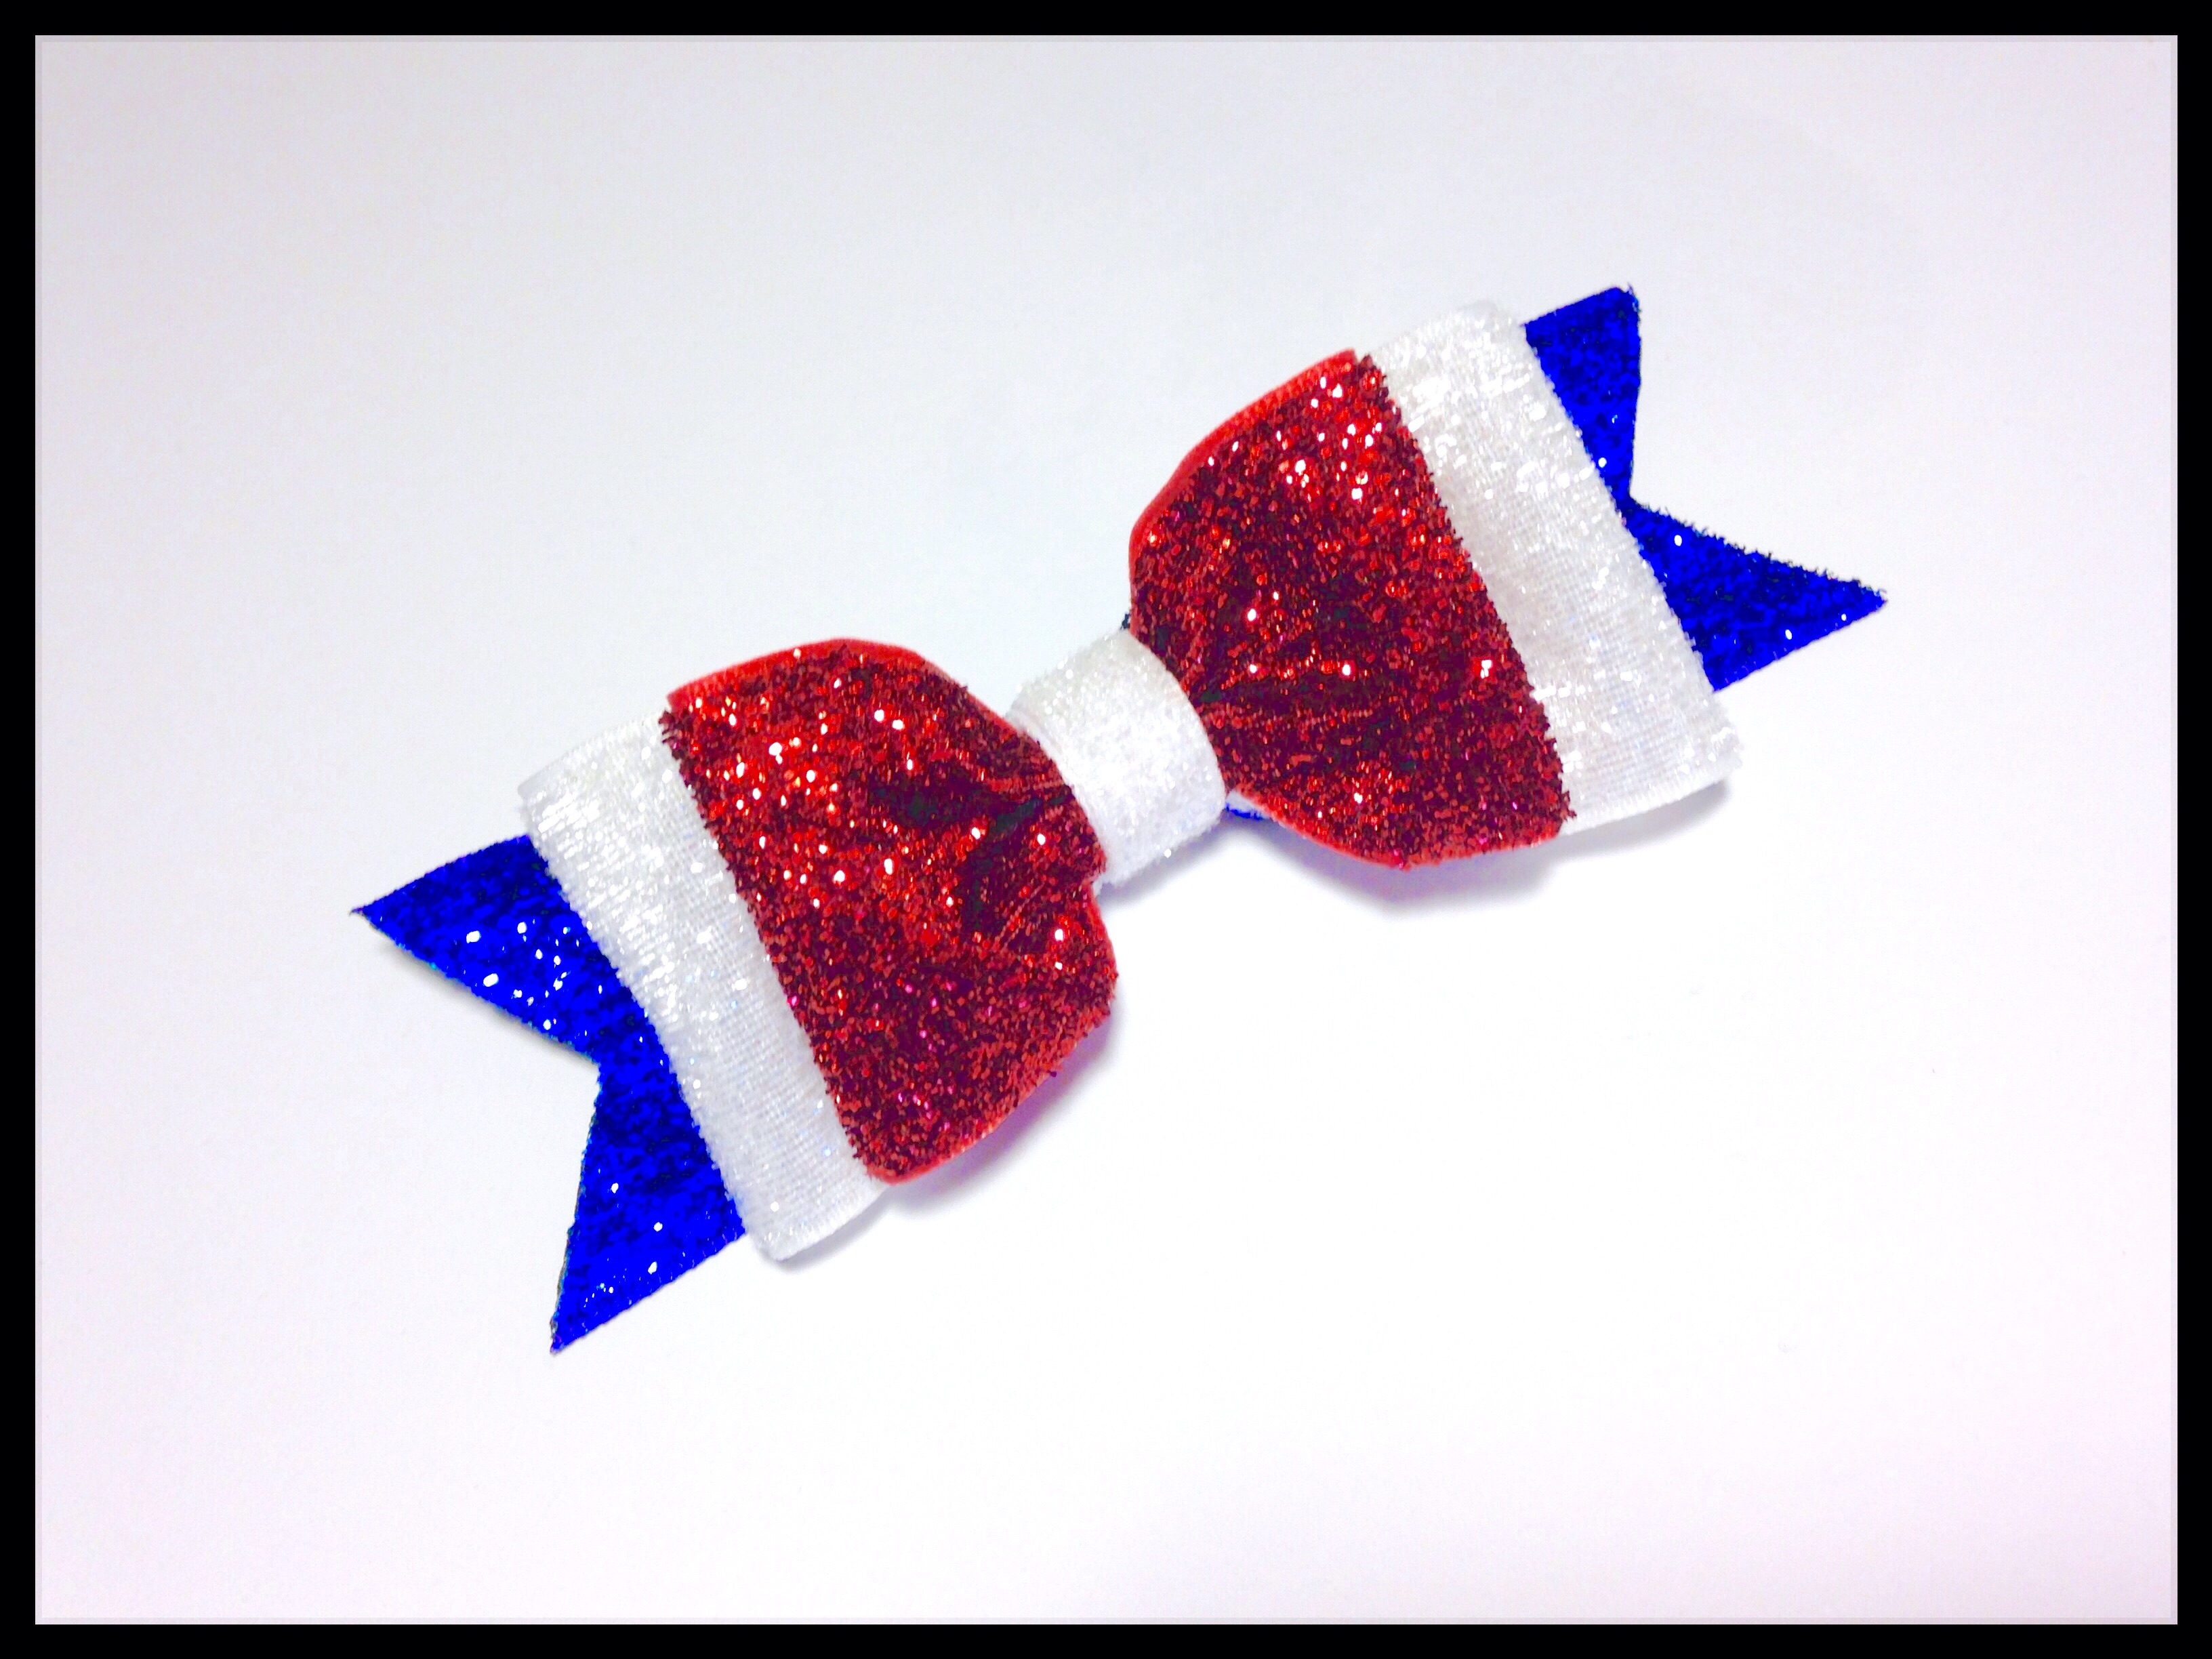
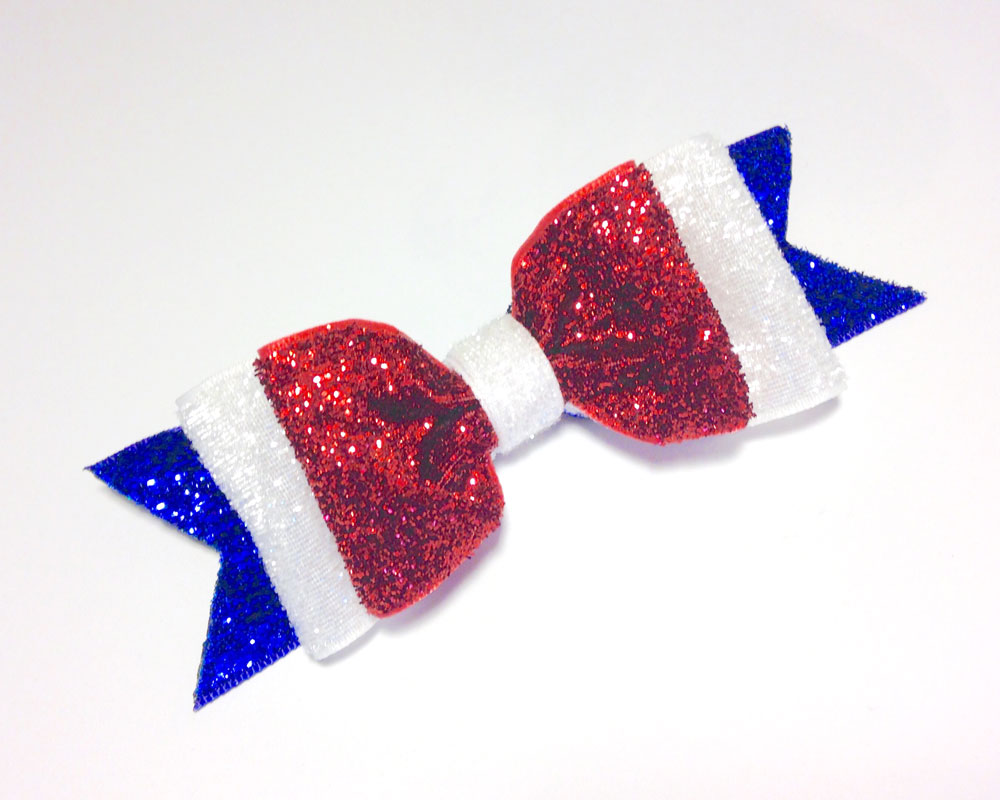
Now our sweet sparkly red, white & blue hair bow is complete! My bow measures a tad under 5 1/2 inches. This will look adorable no matter your little darling's age or how her hair is styled! This also looks great on a headband! I hope you've enjoyed learning how to make this simple yet stunning glittery hair bow! Have a great 4th of July!! :)
Visit the rest of our blog for more Crafting Tutorials and DIY Instructions!
 Contributor post by Brittany
The big celebration is just a few days away! If the holiday has snuck up on you and you're still in need of a fabulous hair bow in a flash, today is your lucky day! This stunning sparkler requires minimal supplies, time & effort! So let's gather up our supplies and get started!
 Pictured above are the items you will need:
•1.5" red glitter ribbon
•1.5" white glitter ribbon
•1.5" royal blue glitter ribbon
•3/8" white glitter ribbon
•wood burning tool
•8x10" piece of glass (or other appropriate surface to use woodburner)
•metal ruler
•hot glue gun
•alligator clip
•strong embroidery thread
•large salon clip
•1/4" double sided fillet tape
•scissors
Ready... Set... Here we go! Turn on your wood burning tool to let it heat up for a moment while you measure your first ribbon length (they heat up very fast!). Because this ribbon is flammable and should not be heat sealed with a lighter, I always use my wood burning tool to cut & heat seal my ribbon in one easy step! Do not use this tool directly on a delicate surface or one that could burn easily. You don't need to go out and buy an expensive work mat to use this tool! The piece of glass I'm using came out of an 8x10" picture frame and I covered the sharp edges & corners with duct tape just to keep from accidentally cutting myself. Always use a metal ruler with this tool (a plastic ruler will melt and a wooden ruler would burn).
 For your top layer of this patriotic colored bow you will need 6" of 1.5" red glitter ribbon. Measure your length of ribbon and use your metal ruler as a guide to cut against to keep a straight line.
 Cut off a small strip of 1/4" double sided fillet tape. Place it on the edge of your ribbon in the center and then remove the backing paper.
 Making a circle with your ribbon, place the other end on top of the tape allowing the ends to overlap each other a bit.
 Place your glittery ribbon circle in a large salon clip.
 Flip your clip upside down and wrap the center of your ribbon twice using strong embroidery thread. Tying off your knot on the backside will make your ribbon edges lay the right way when pulled tight.
 Remove the clip from your adorable little bow and adjust the loops. You may want them to be loopy or flat, the choice is yours!
 For our next layer we will be using approx 8" of 1.5" white glitter ribbon. Follow the exact same steps to form your bow just as we did our top bow.
 Trim the the ends of your thread and adjust the loops the same as you did the other bow.
 Our bottom layer will be tails made from gorgeous royal blue glitter ribbon. You will need approx 5 to 5.5" depending on how long you'd like your tails to be. I trimmed my ends into a V shape but you may also chose to make them diagonal or even straight. However, the V cut is most difficult but still not hard to do. Find the center of your ribbon and decide how deep you'd like your lines. Lay your ruler down as your guide and cut one side at a time.
 After you have carefully cut & sealed your ends for your tails find the center of your ribbon. Make an according fold and tie the center with embroidery thread. Instead of trimming the ends of your thread off this time, take your thread and tie around yiur entire bow pulling very tight to make your center gathering as small as possible. Now cut off enough 3/8" white glitter ribbon to wrap around the center at least twice. Attach with your hot glue gun and don't forget to add your alligator clip to the back!
 Now our sweet sparkly red, white & blue hair bow is complete! My bow measures a tad under 5 1/2 inches. This will look adorable no matter your little darling's age or how her hair is styled! This also looks great on a headband! I hope you've enjoyed learning how to make this simple yet stunning glittery hair bow! Have a great 4th of July!! :)


 TOOLS
TOOLS
 NEW
NEW


