 Contributor post by Danielle at Korker Krazy
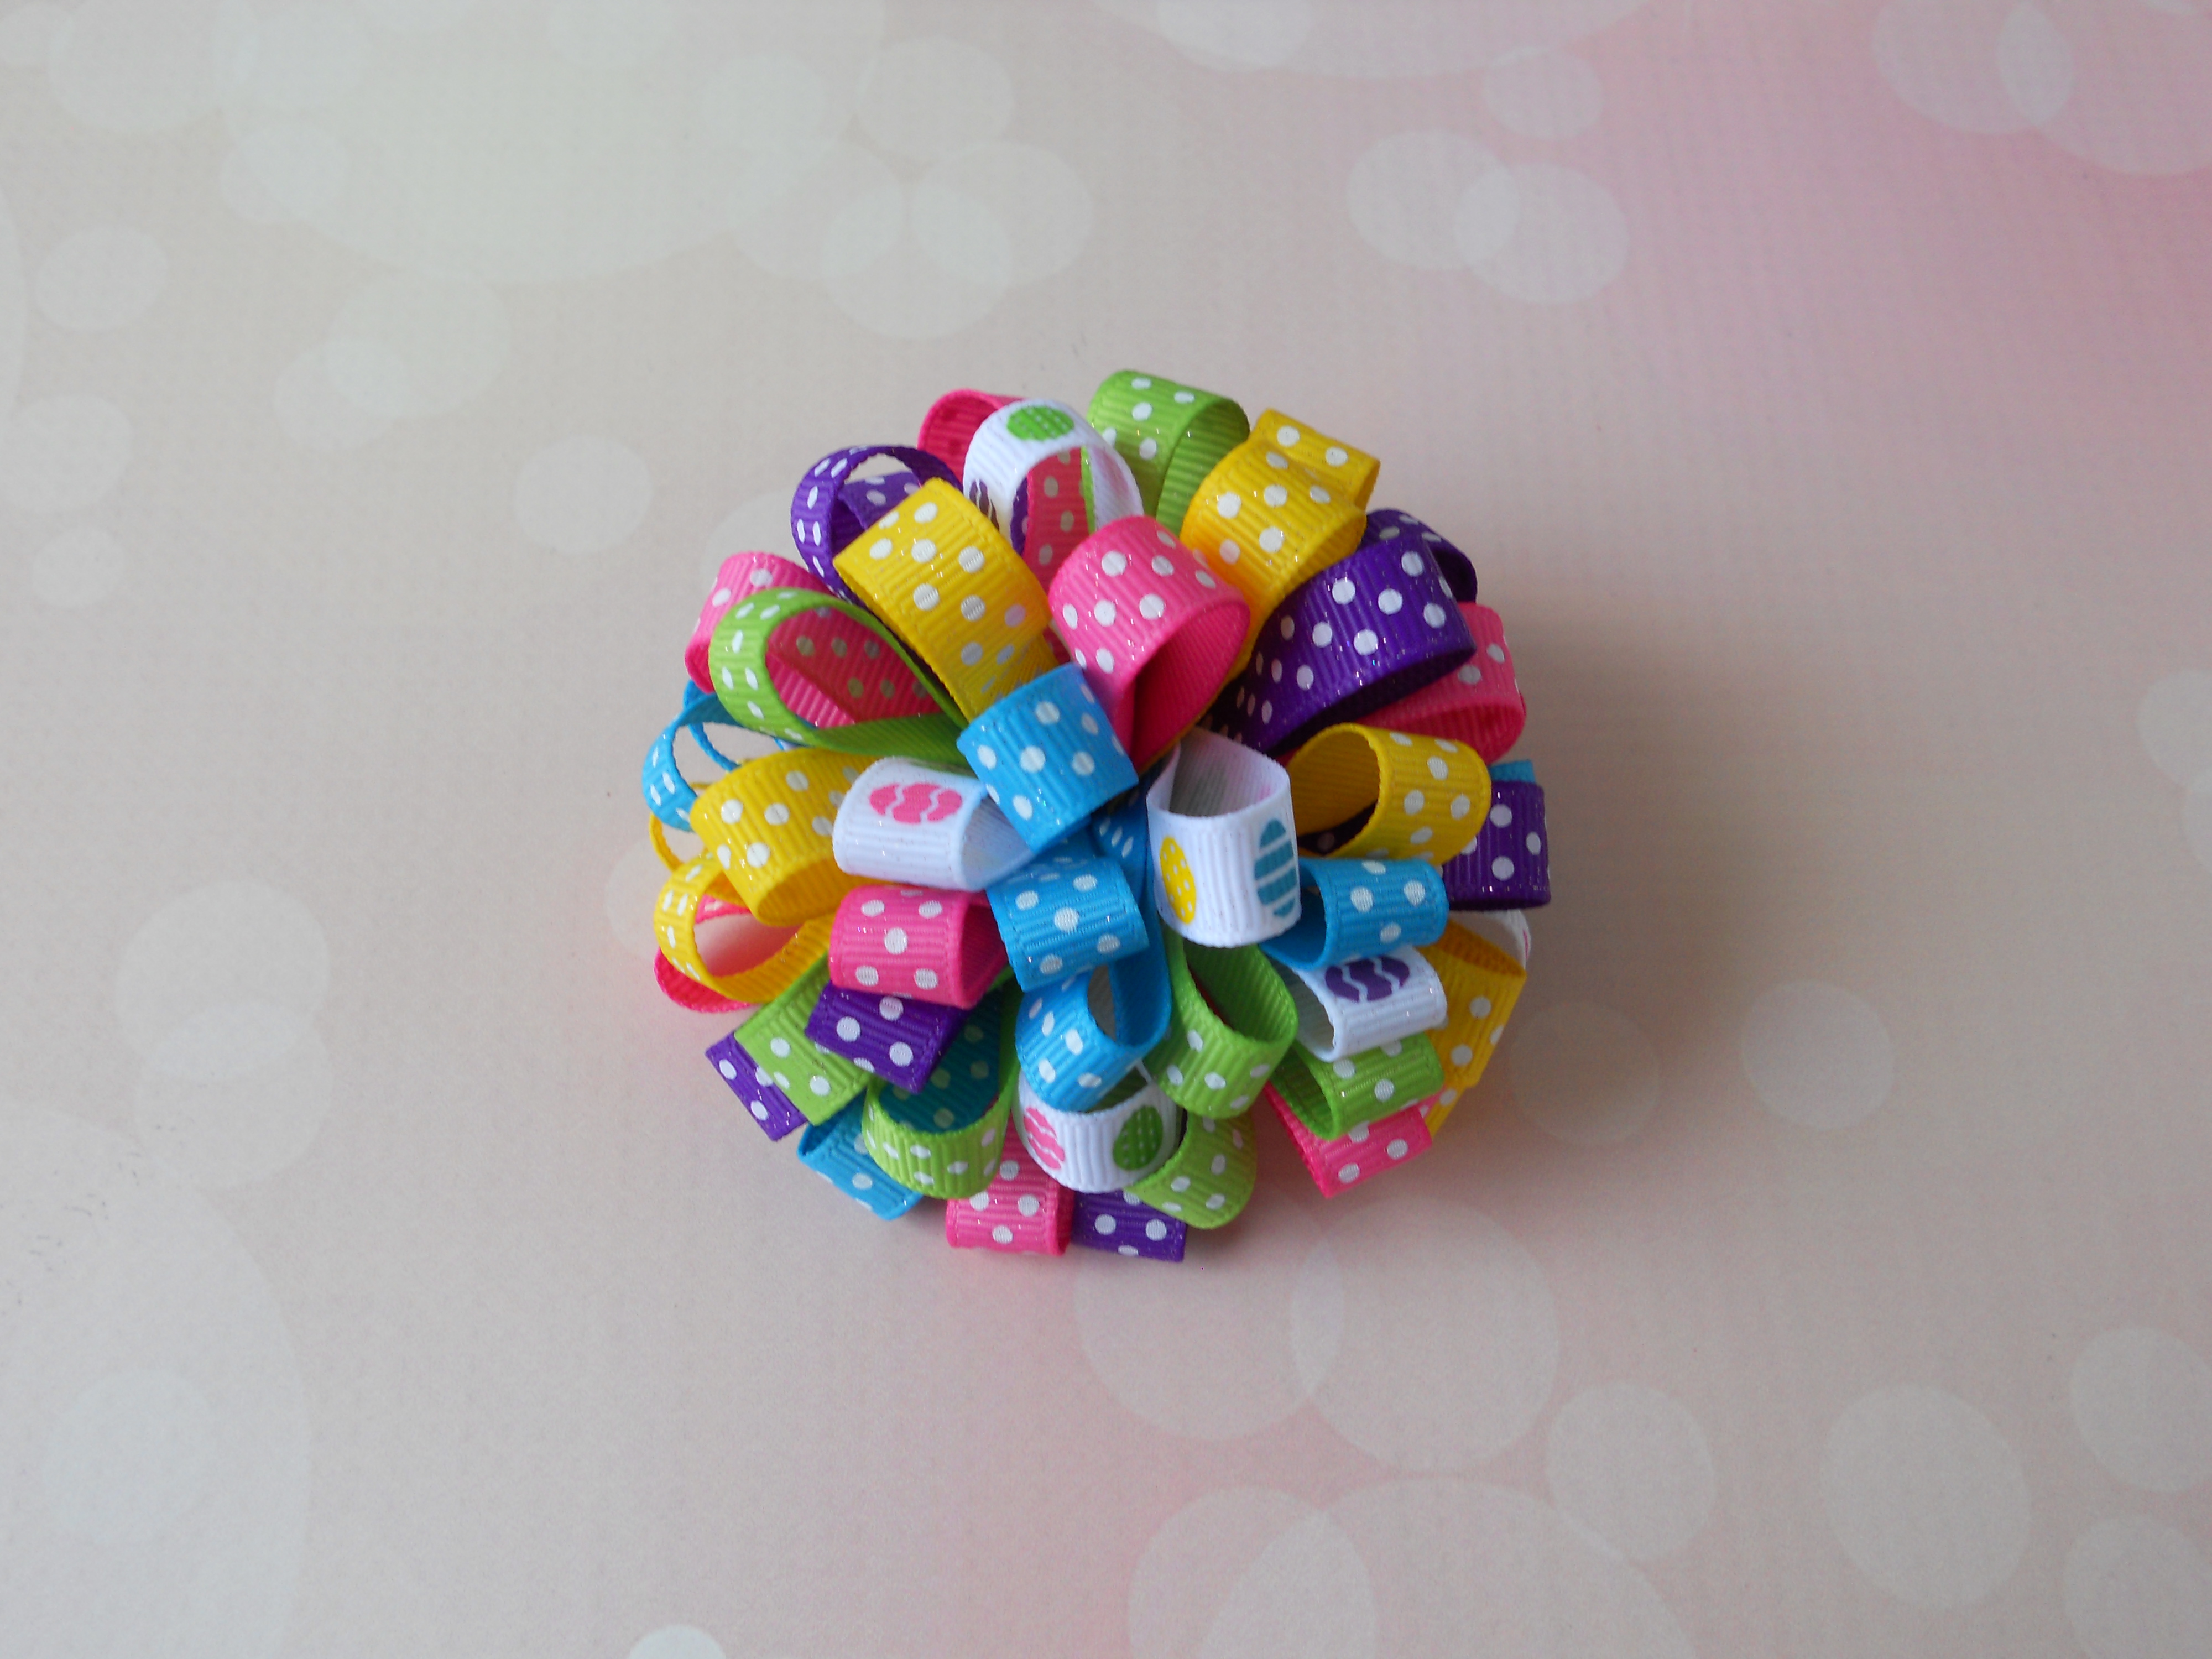
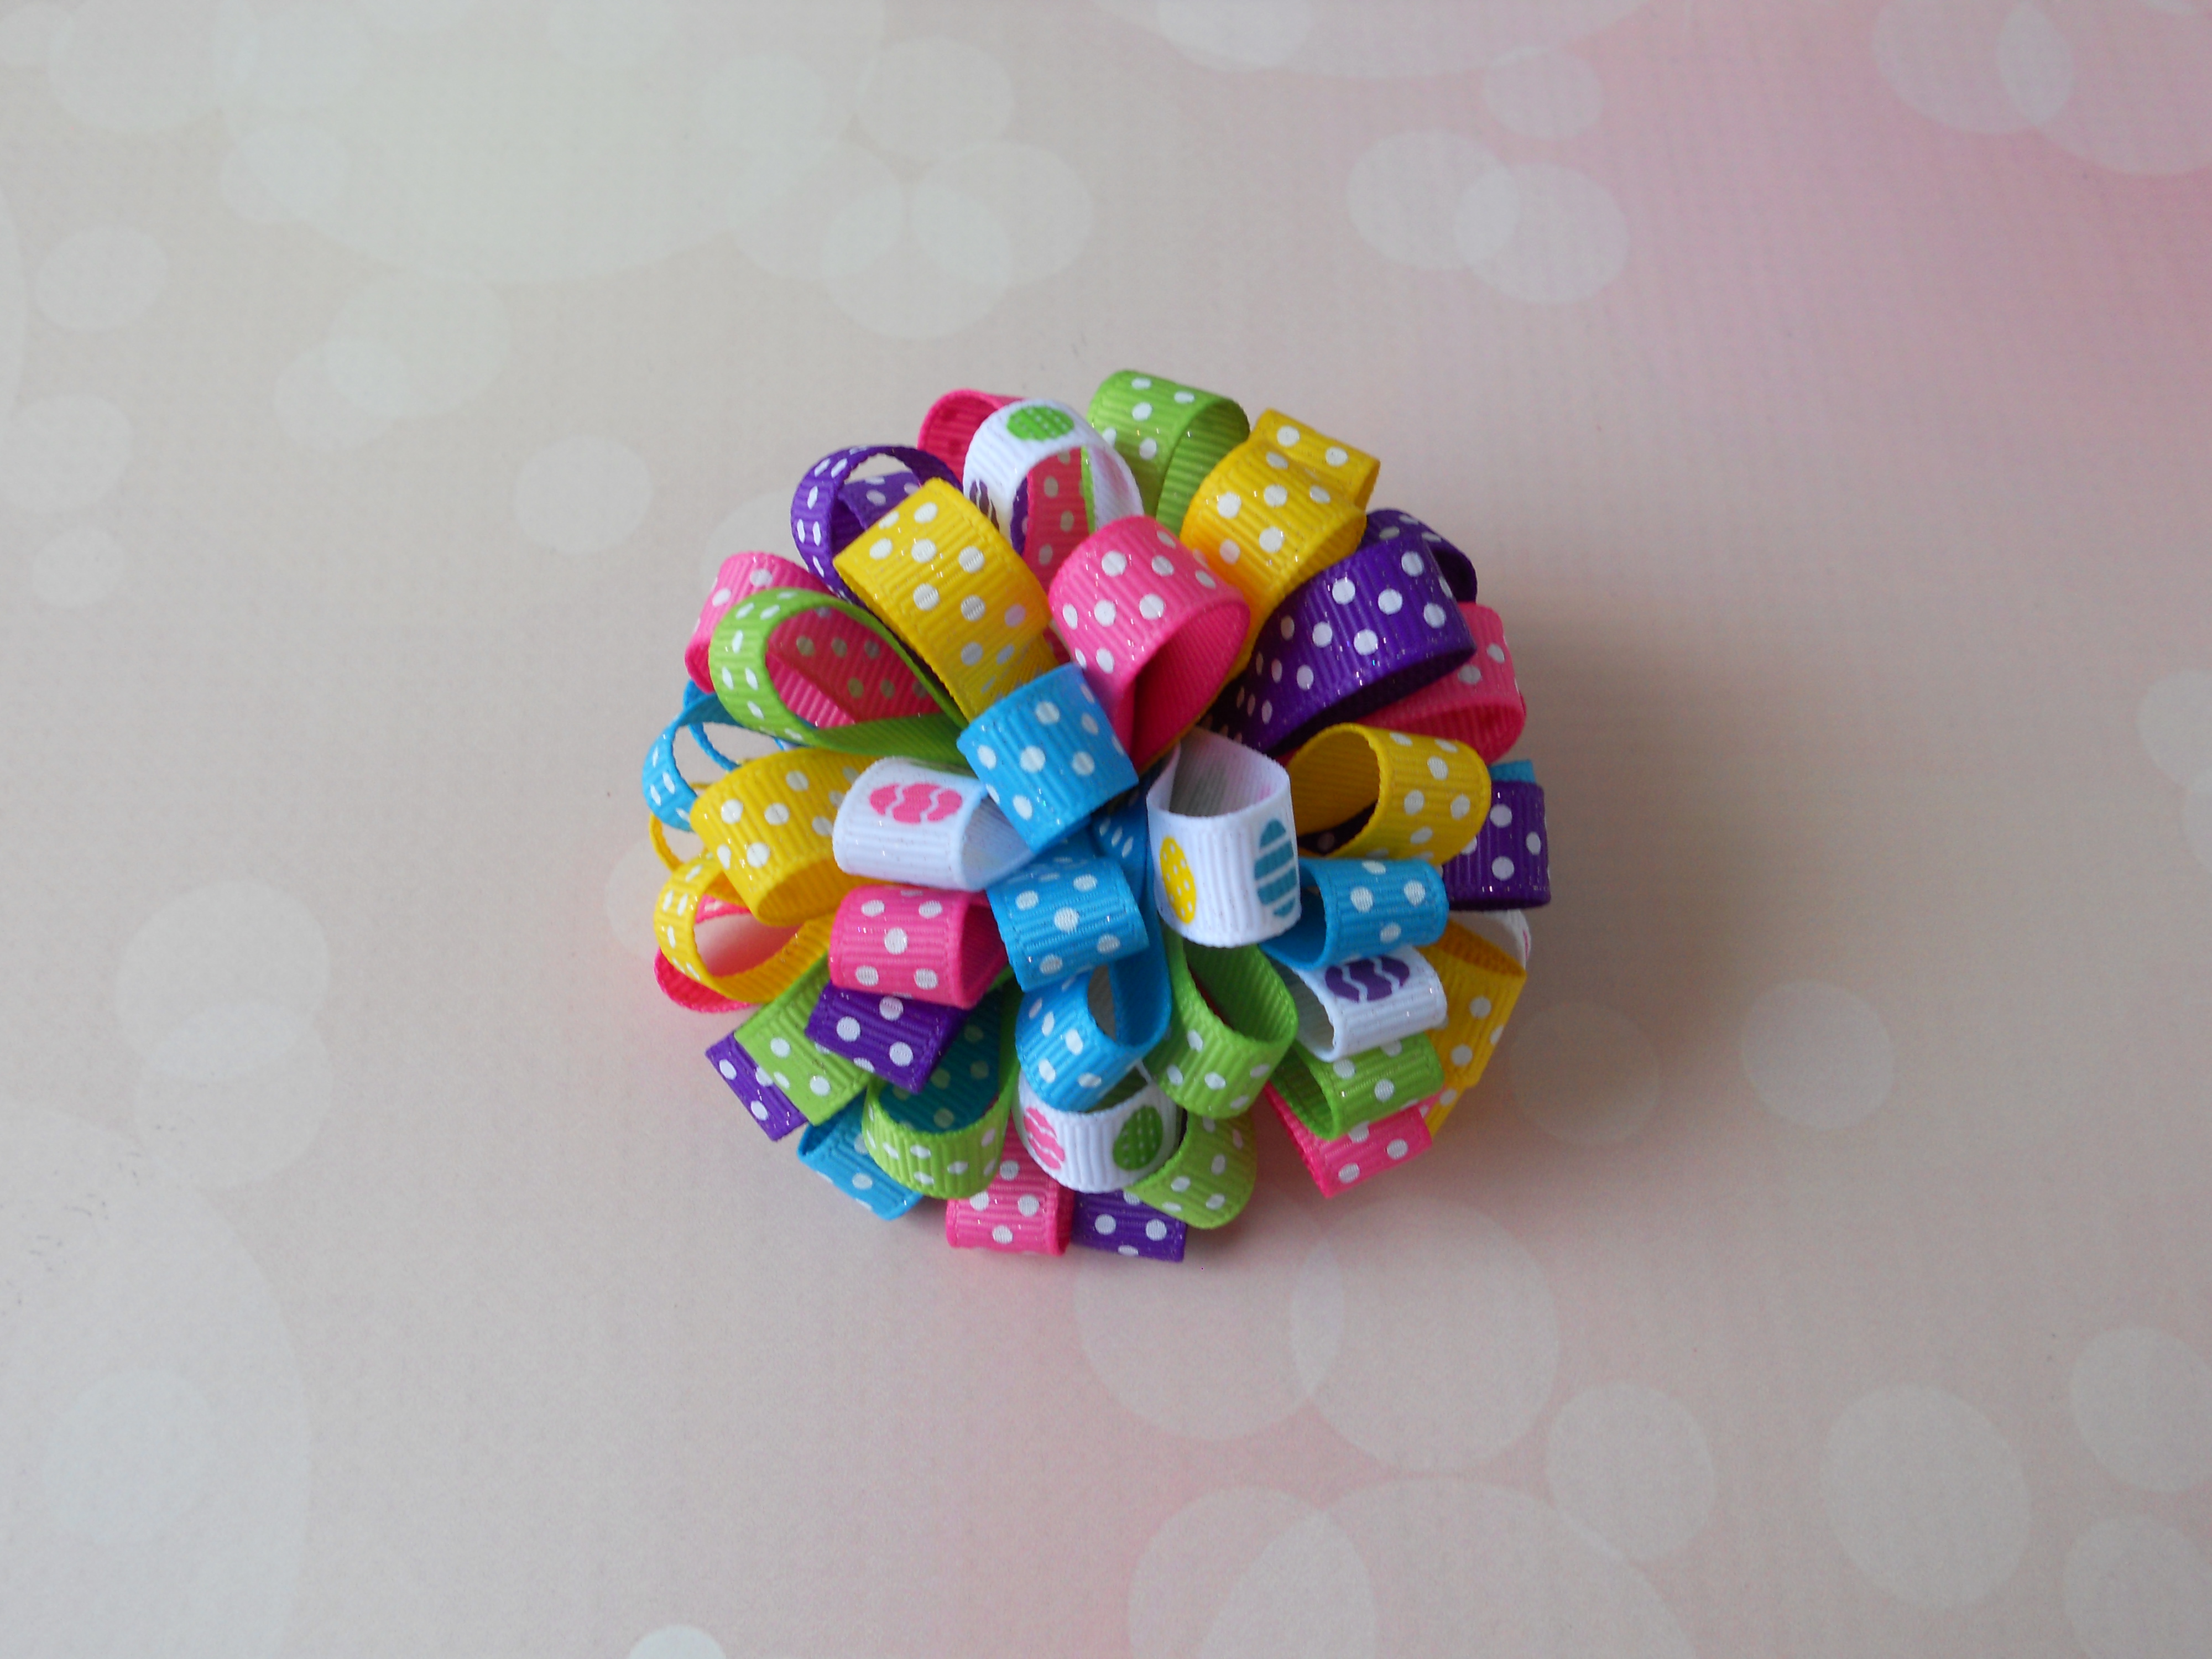
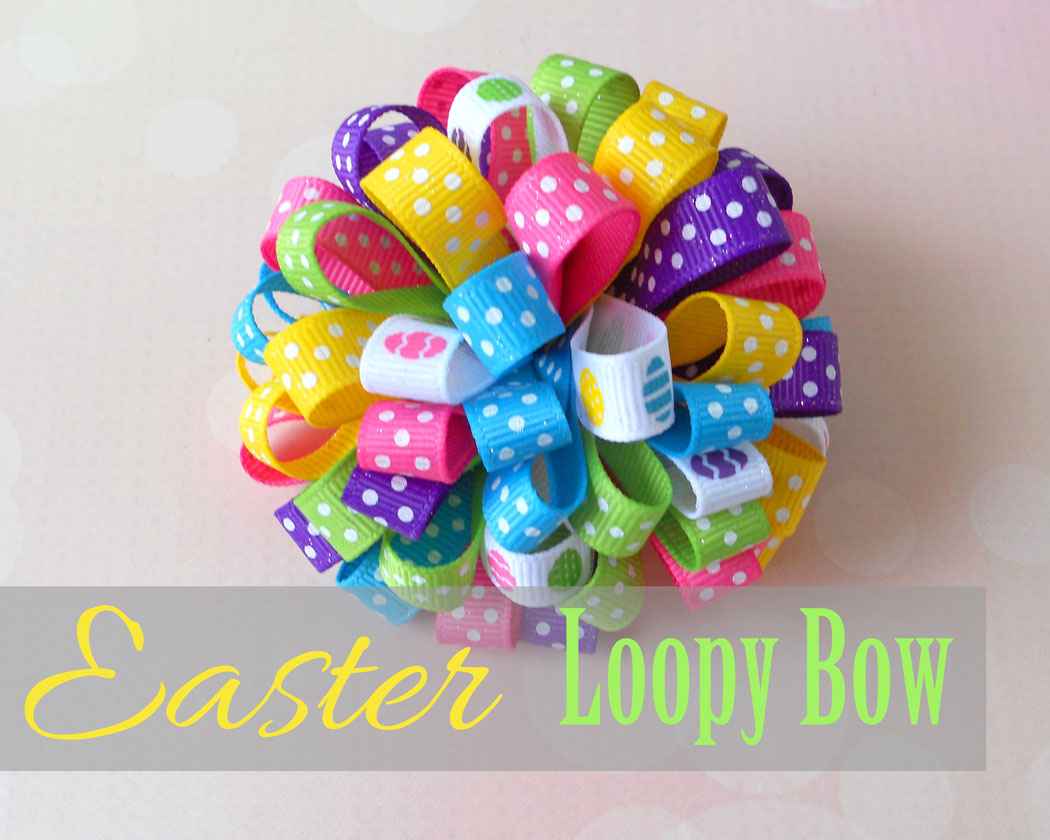
Easter is just around the corner and Easter Egg bows are a must!! Today I'm going to show you how to make this adorable Easter Loopy bow using HairBow Center's gorgeous 3/8" Easter Egg ribbon.
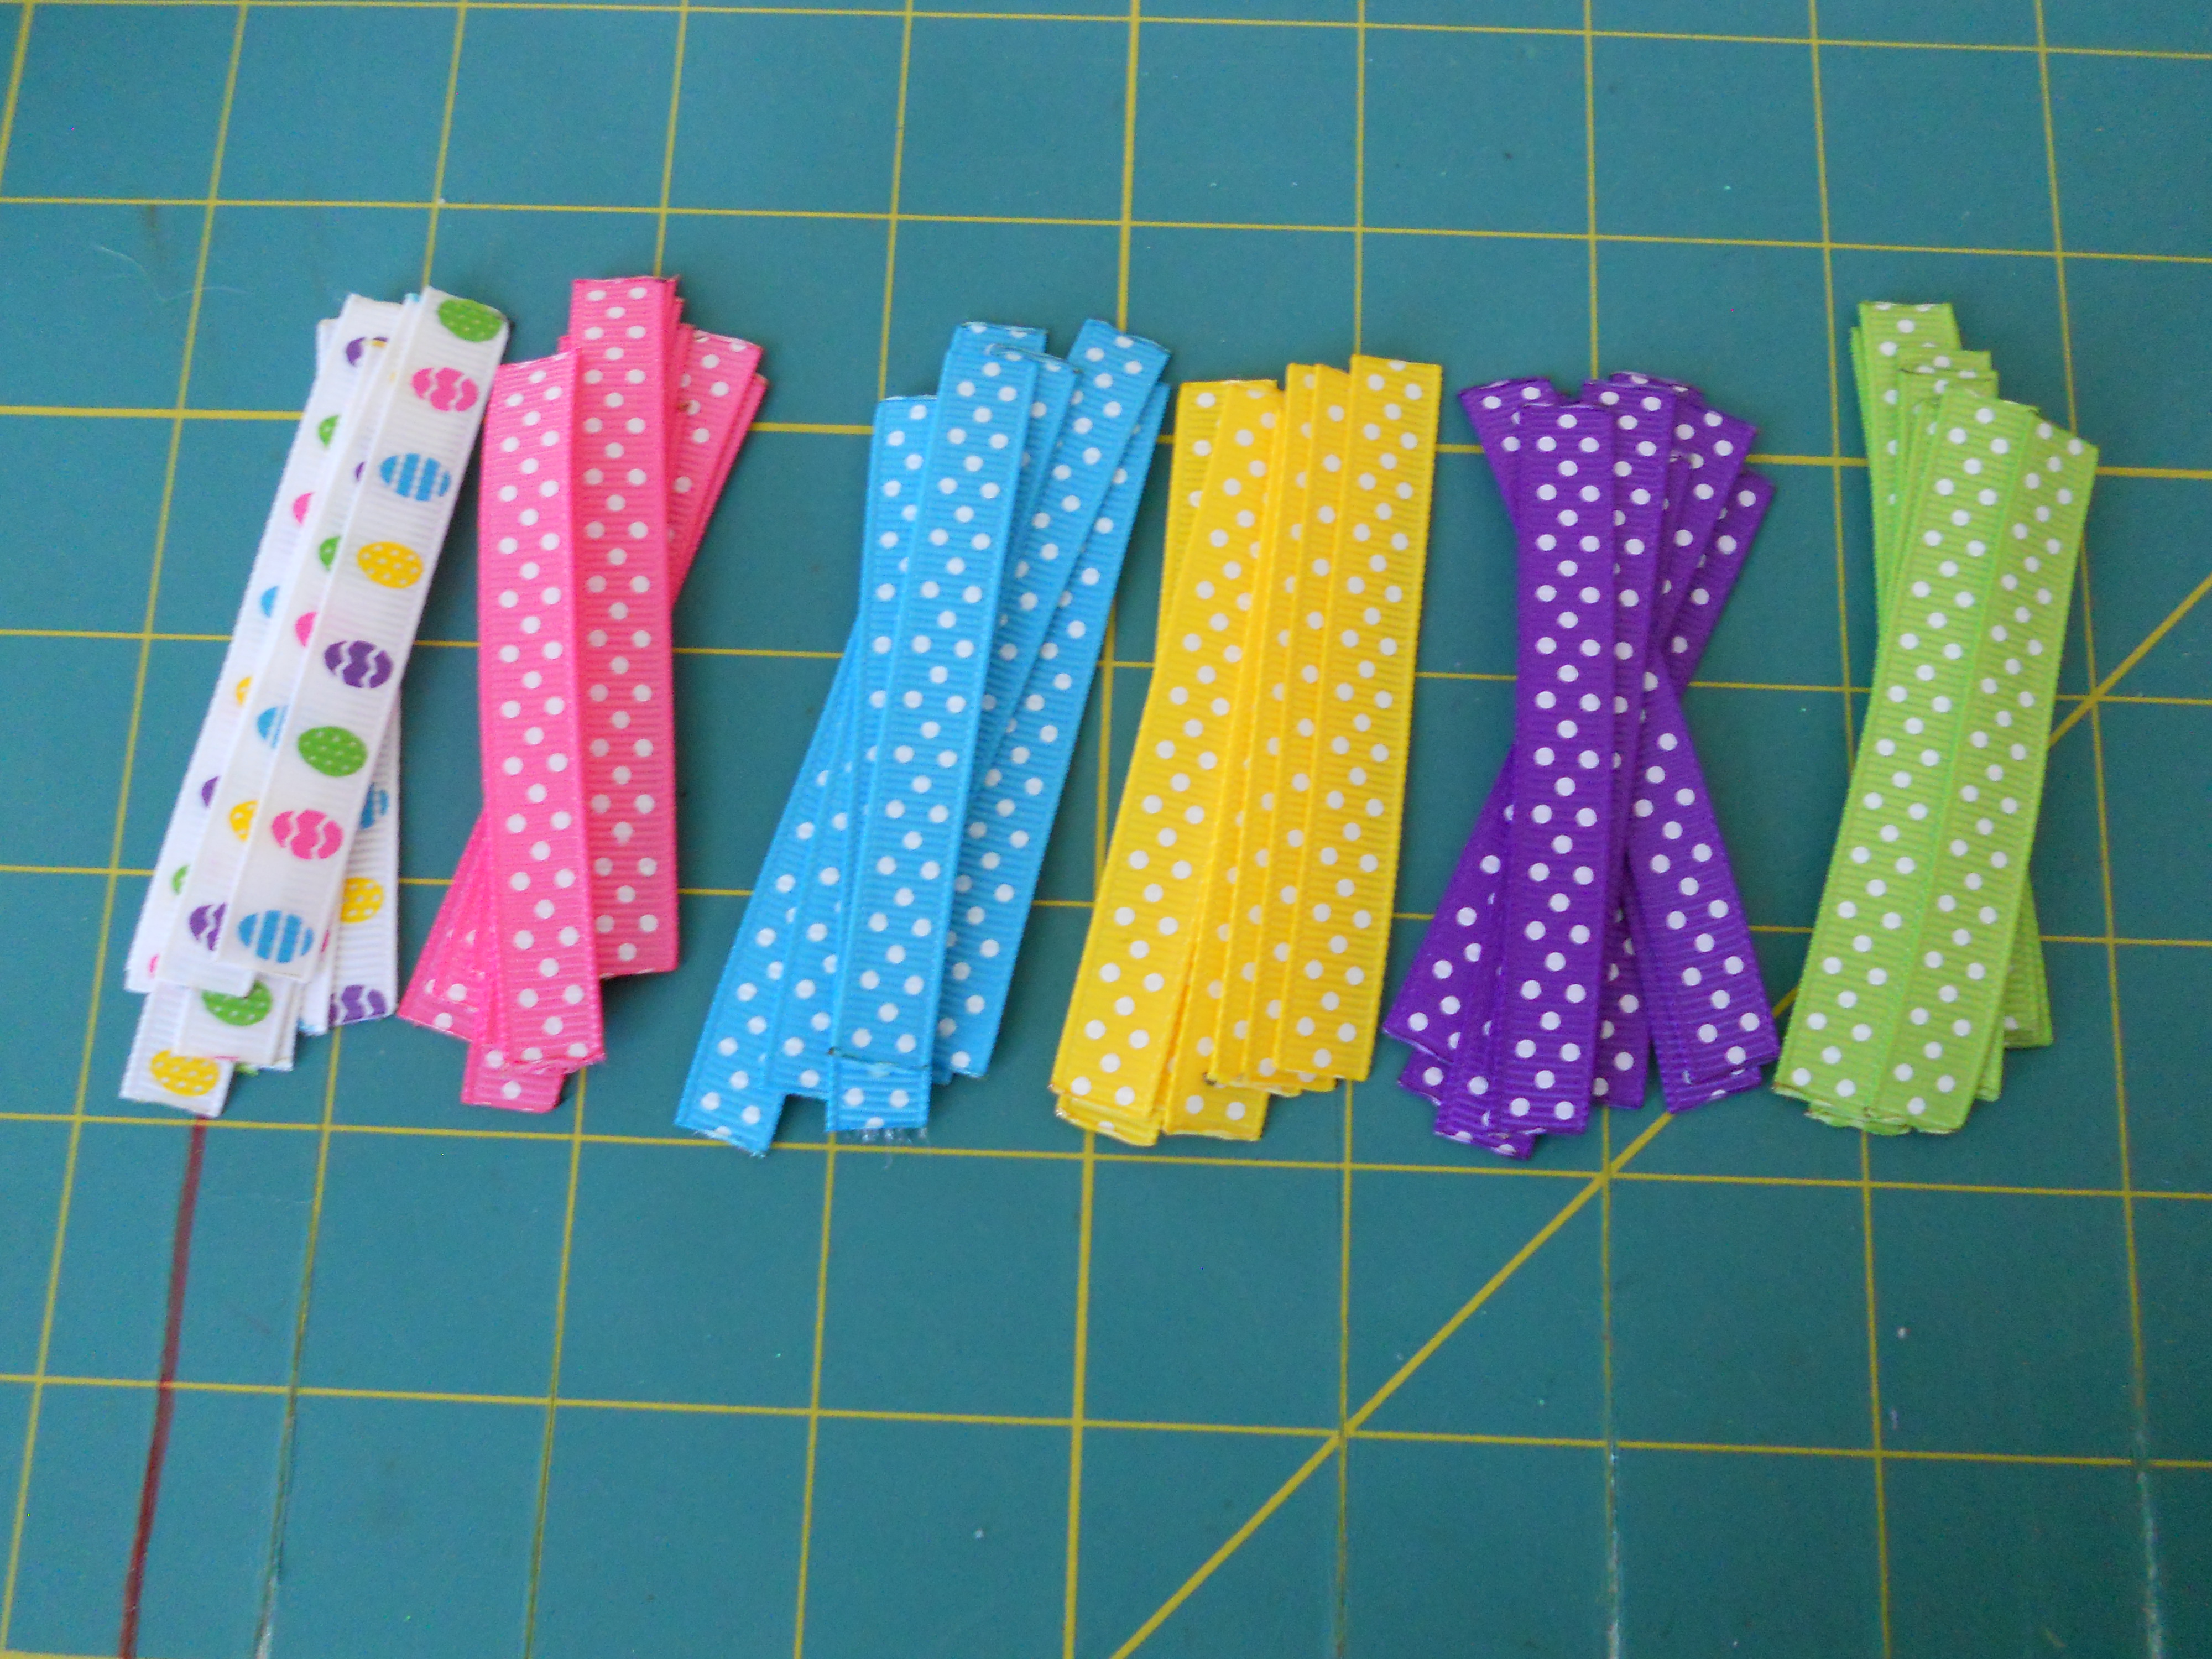
Supplies Needed: 3/8" Grosgrain ribbon: Easter Egg Print, Turquoise Swiss Dots, Apple Swiss Dots, Yellow Swiss Dots, Hot Pink Swiss Dots and Purple Swiss Dots. Felt Circle Needle & Thread Hot Glue Gun & Glue Scissors Alligator Clip Wood Burner
Step 1: Cut 10 3" pieces of each print. Heat seal your ends if you are not using a wood burner to cut the pieces.
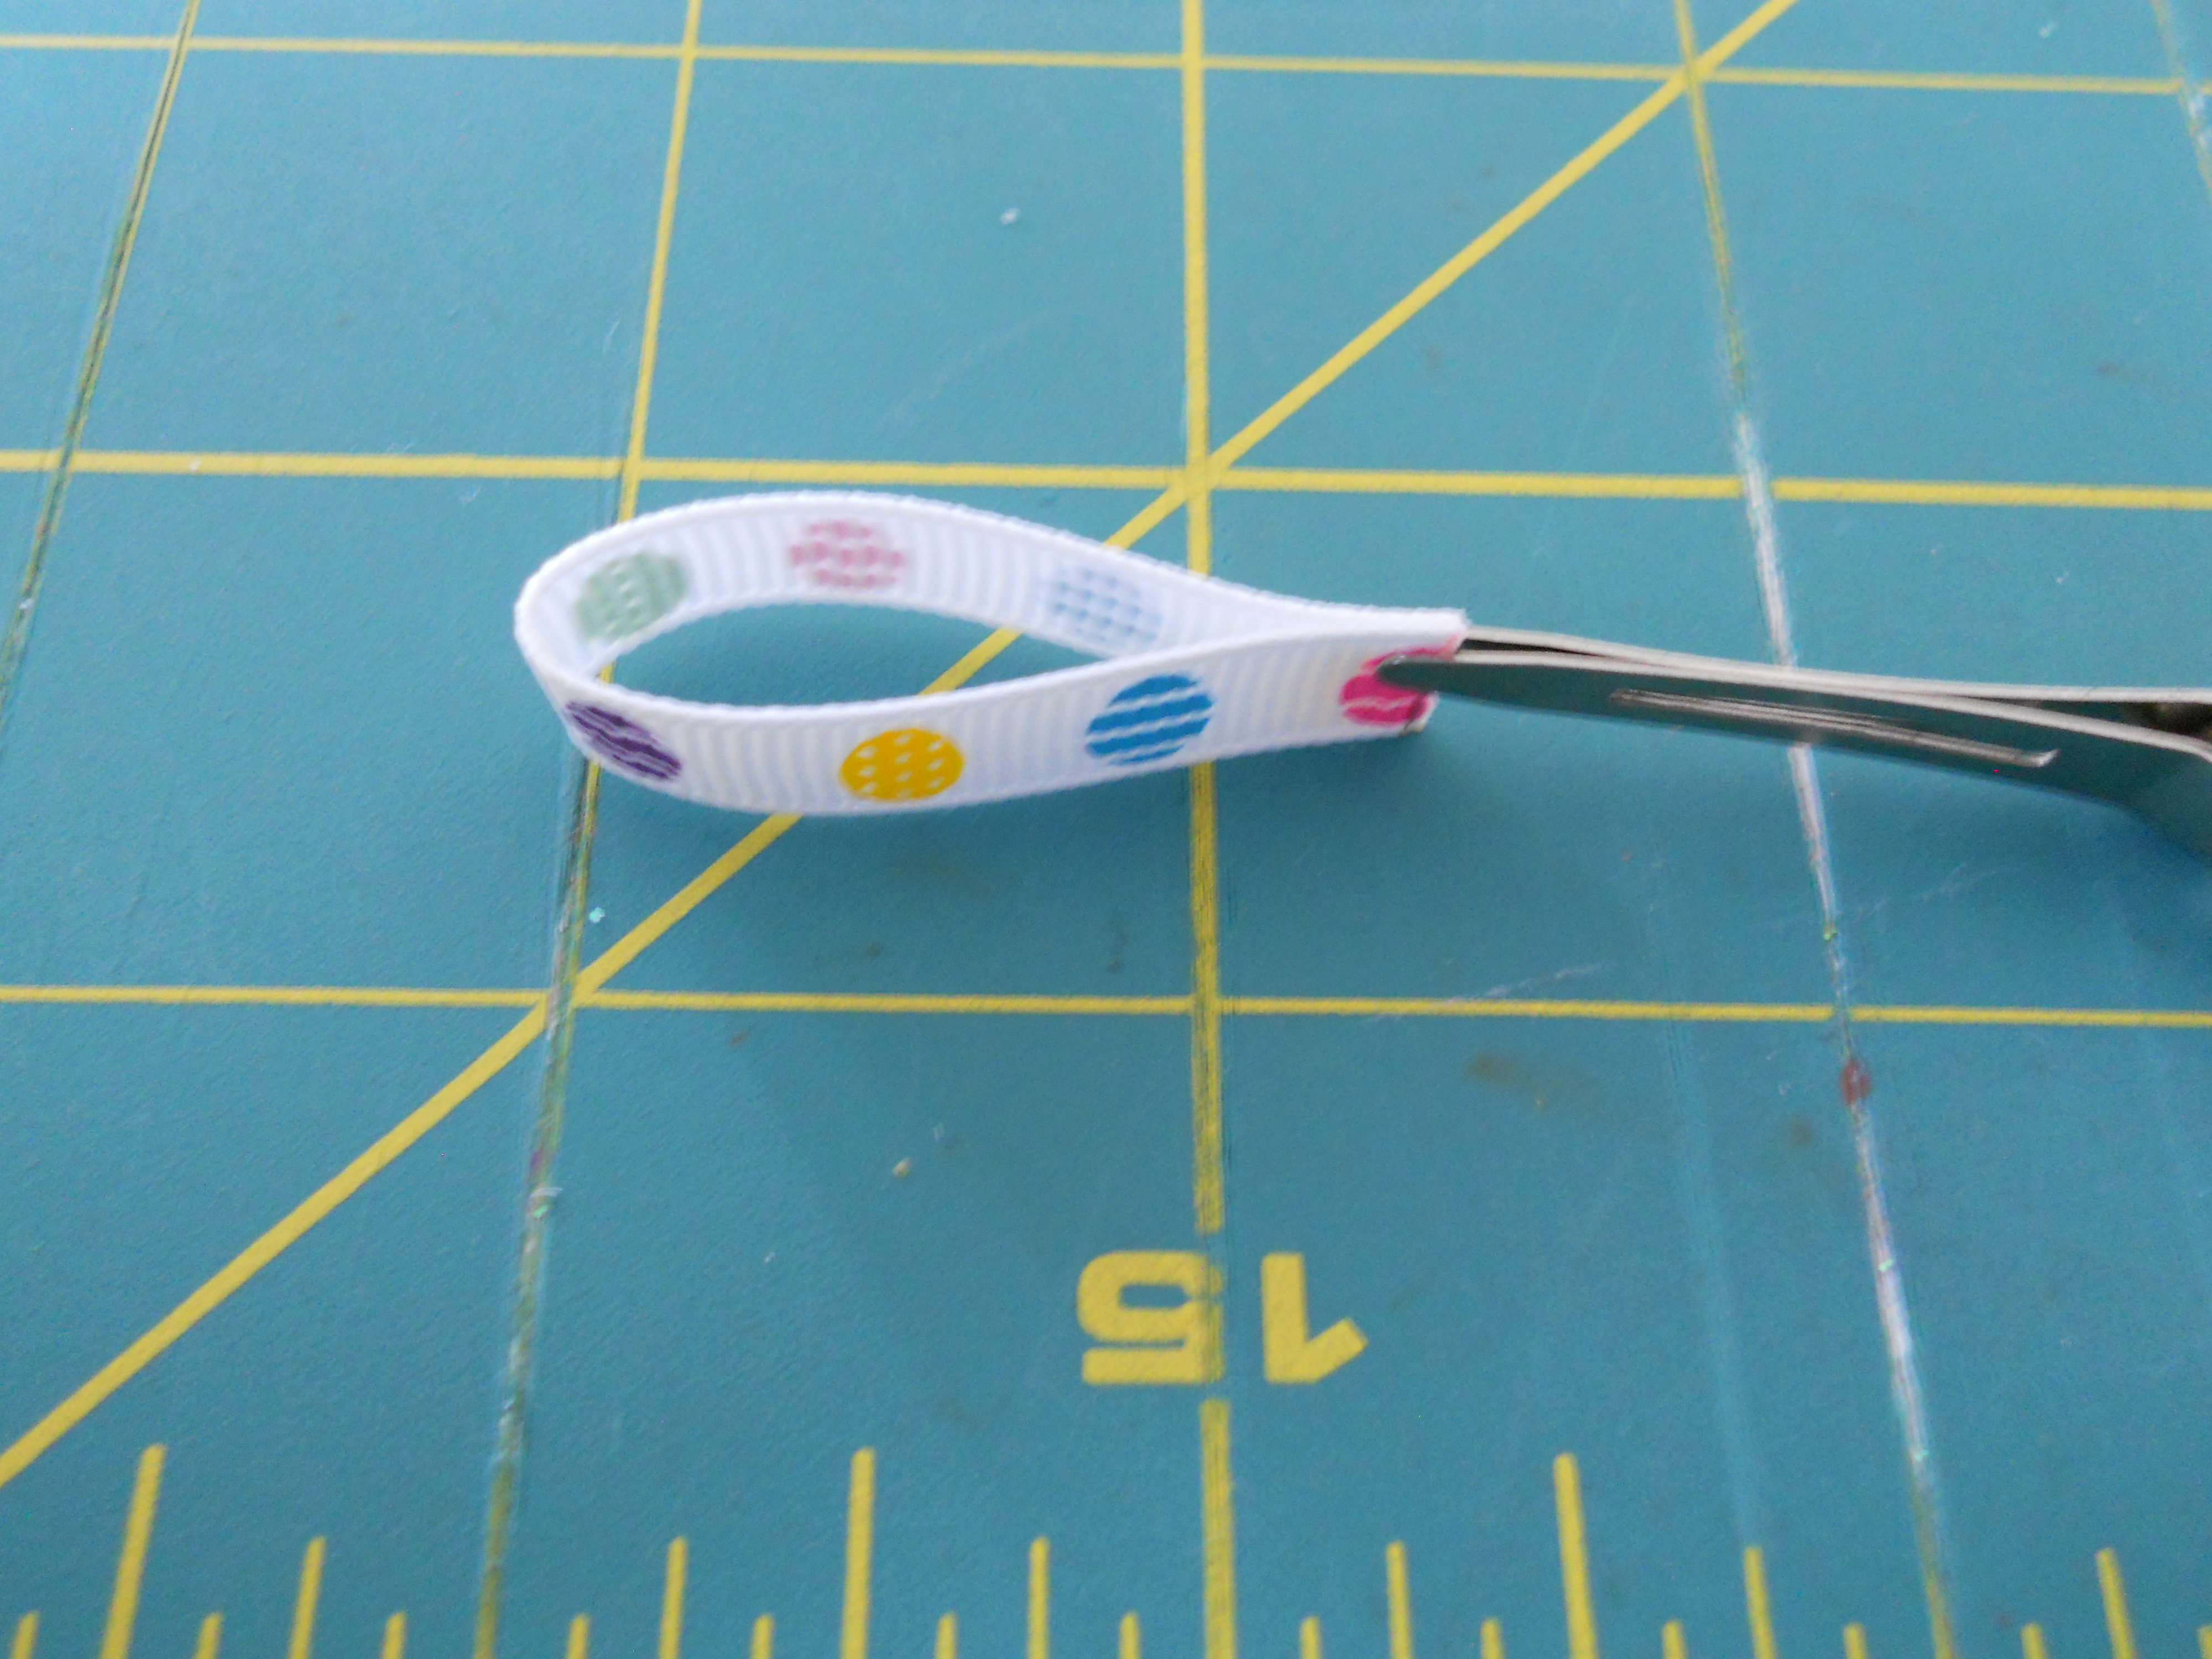
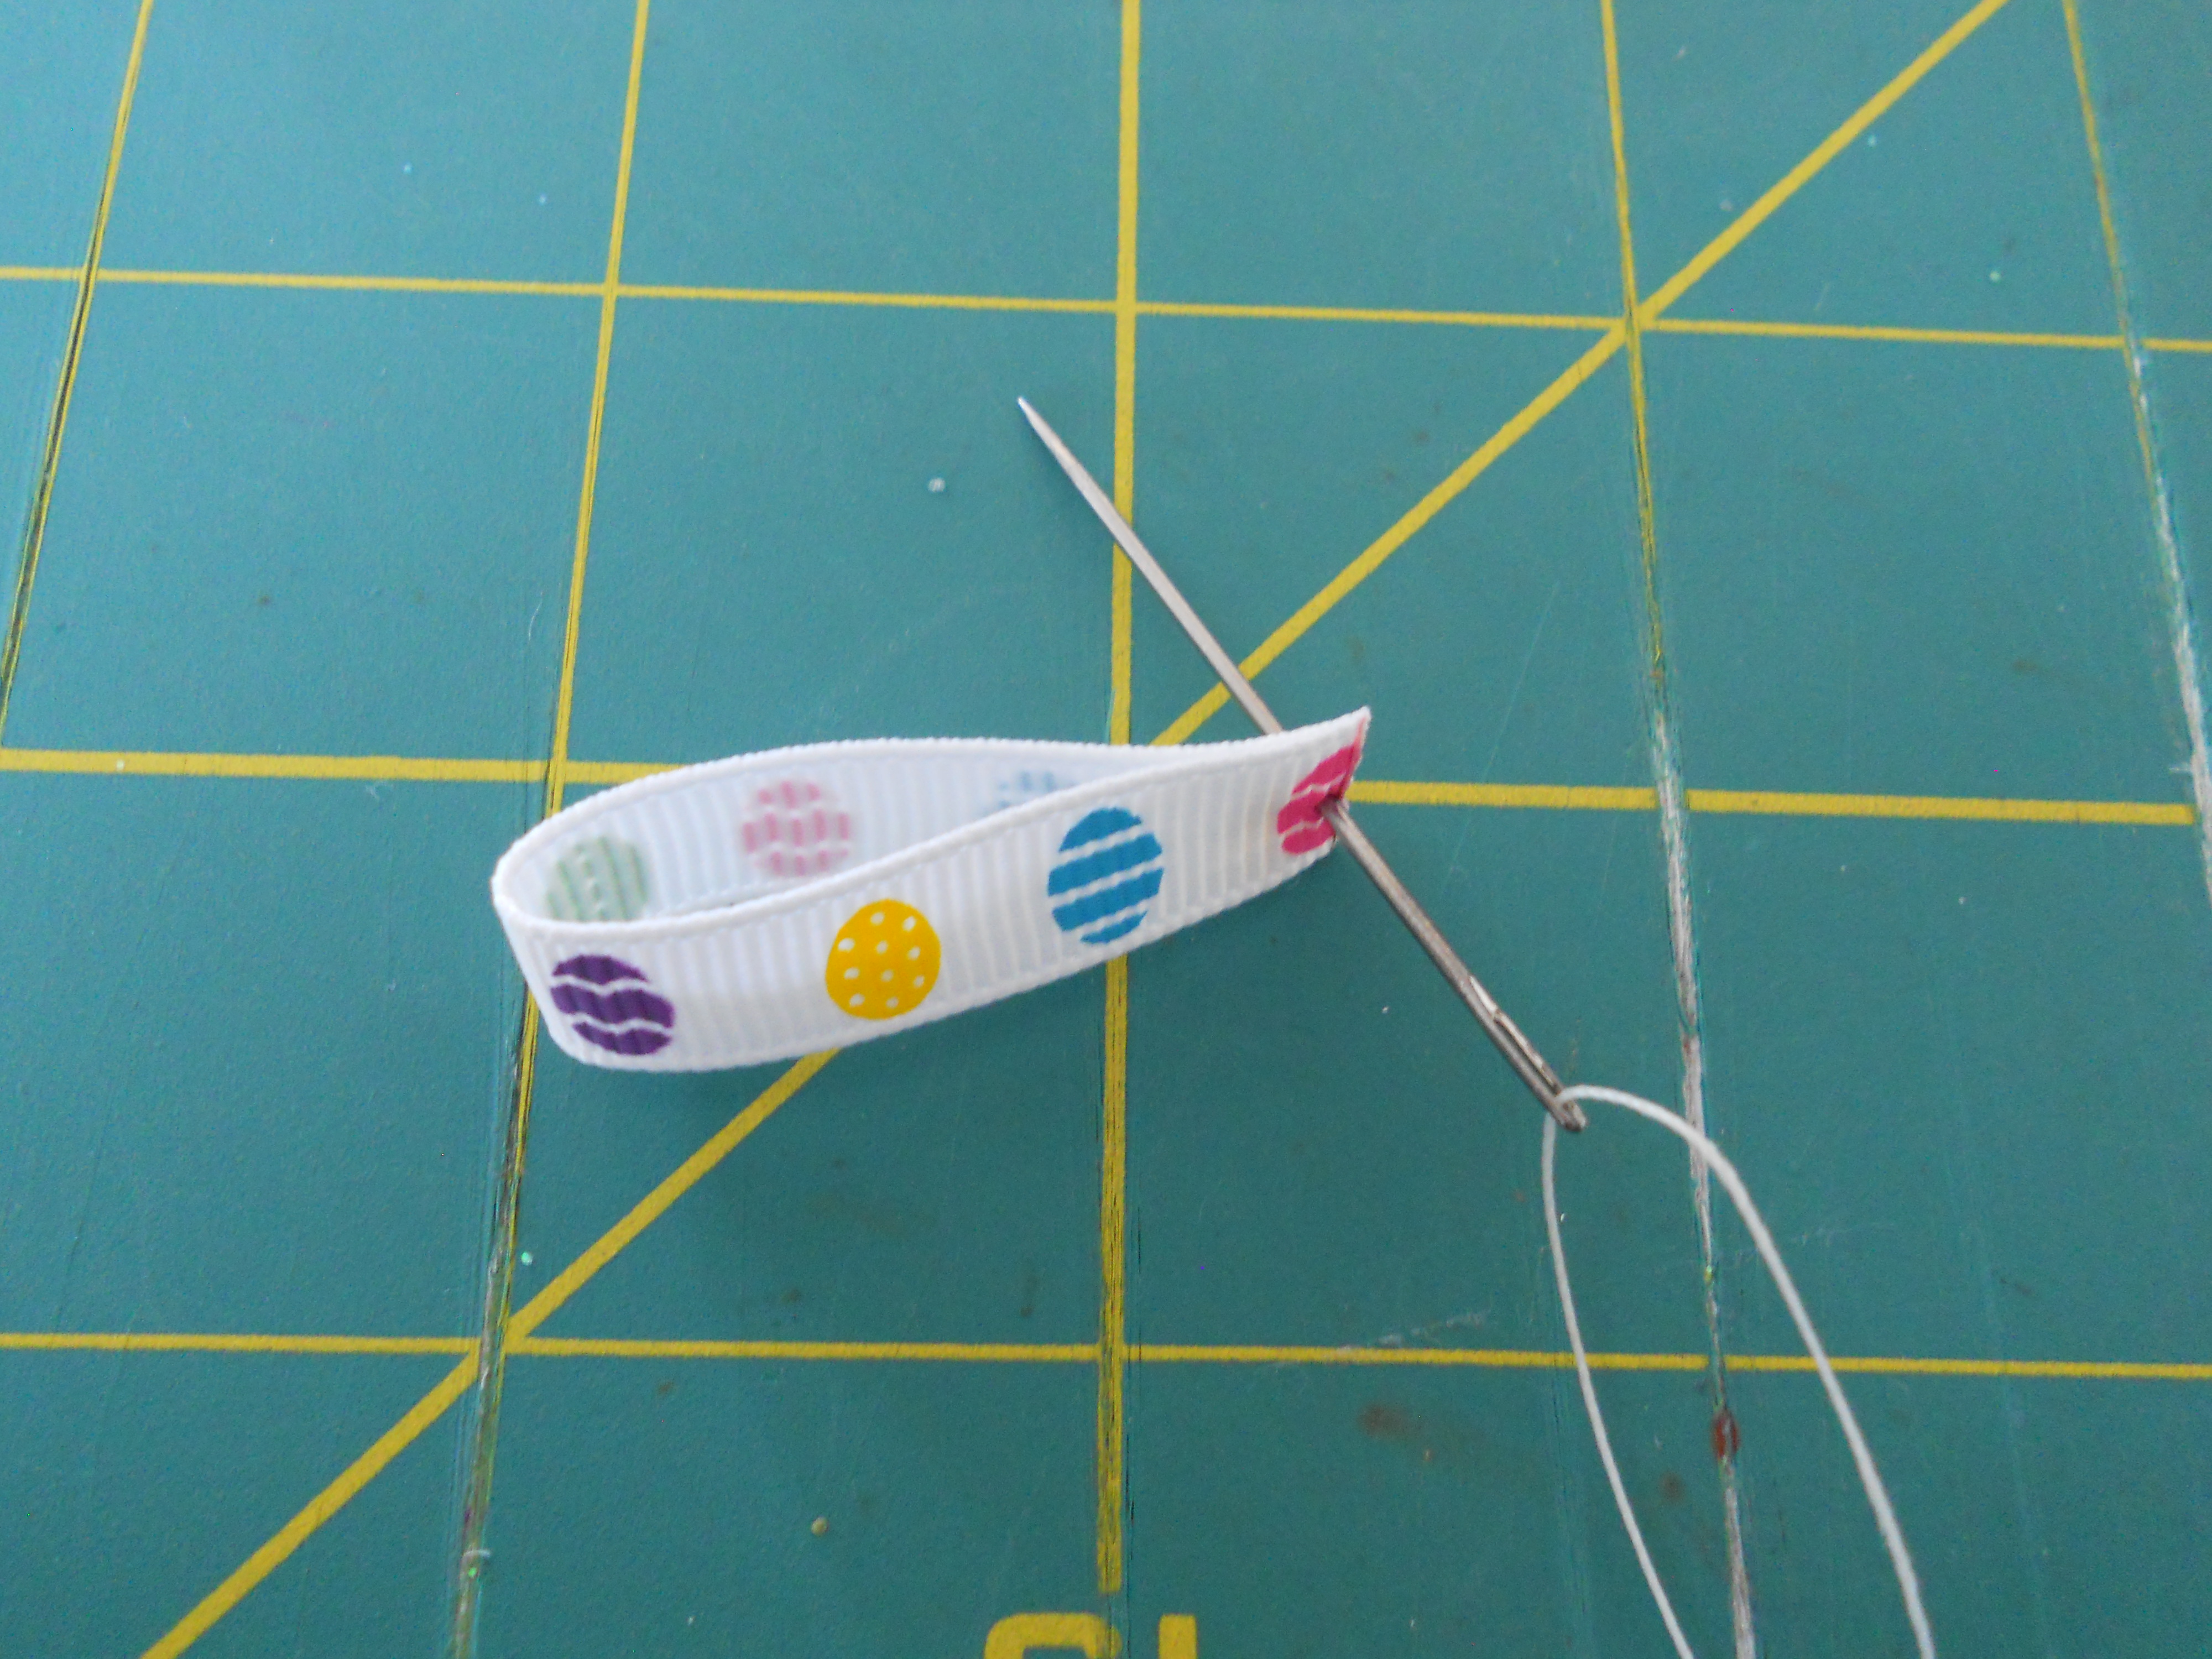
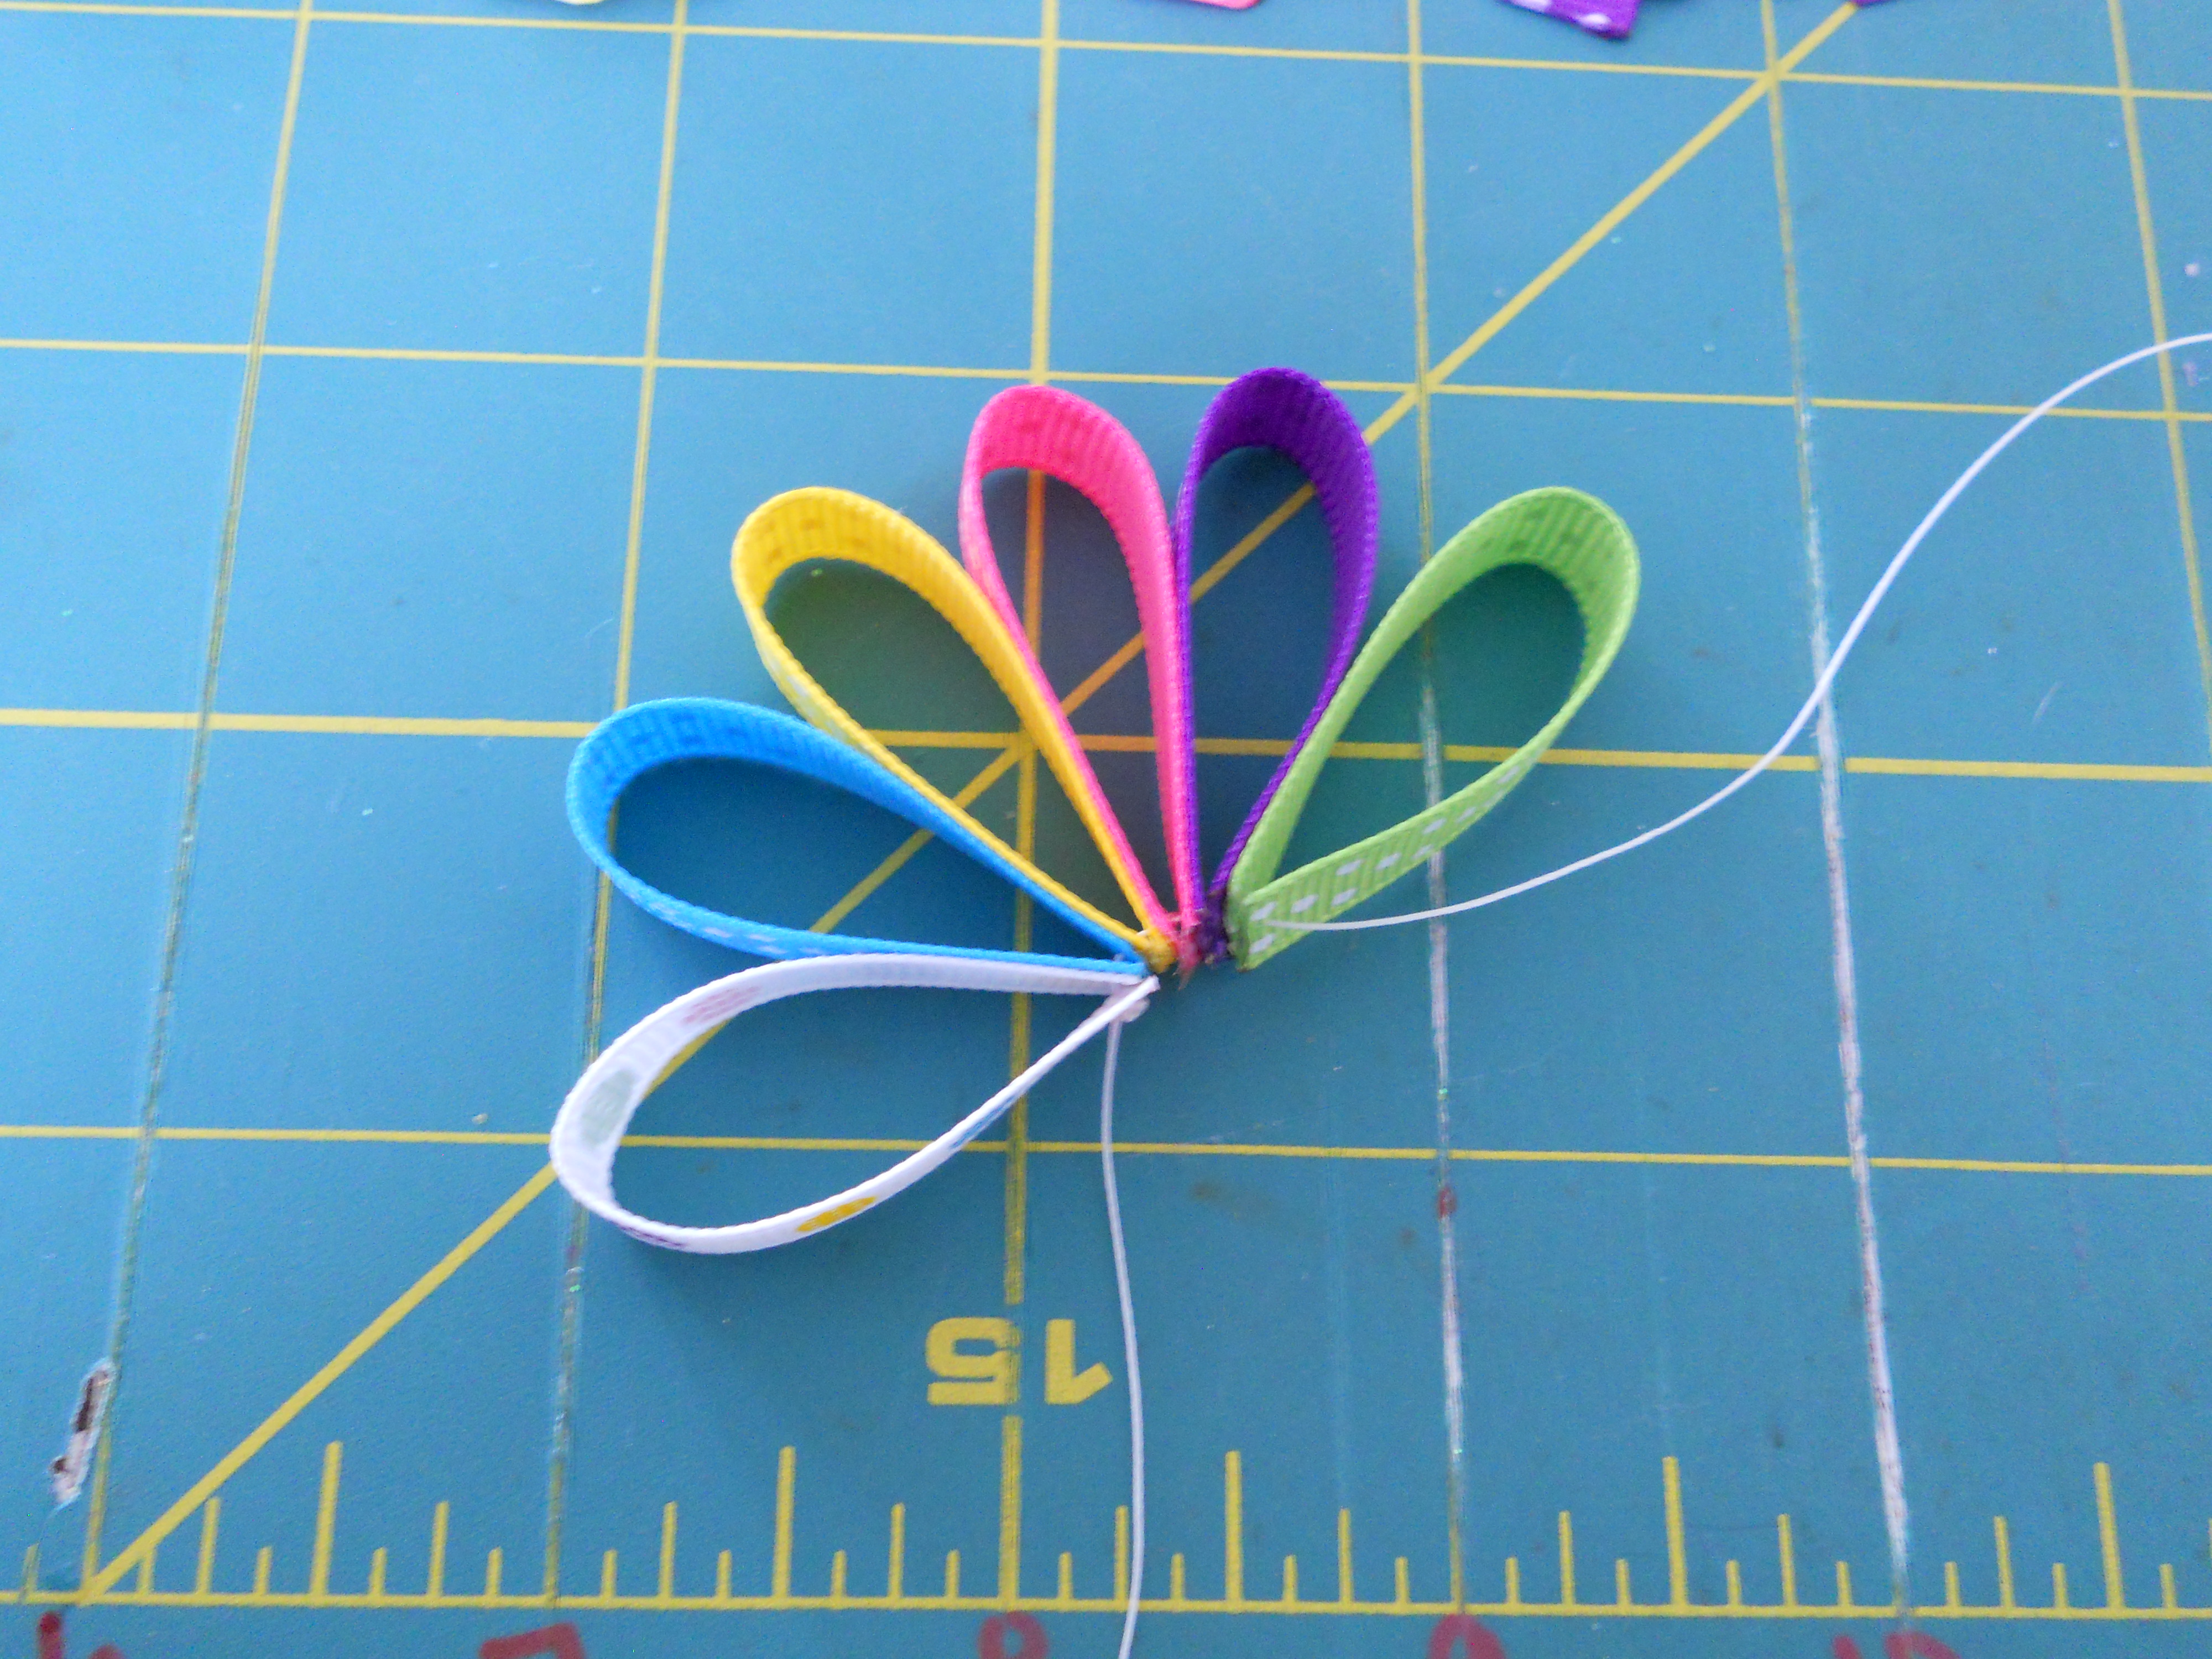
Step 2: Thread your needle with a large knot at the end. Fold your first ribbon in half and thread it through your needle.
Step 3: Decide on your pattern and start adding each piece onto your thread. Make sure you have a big knot at the end so your pieces don't fall off.
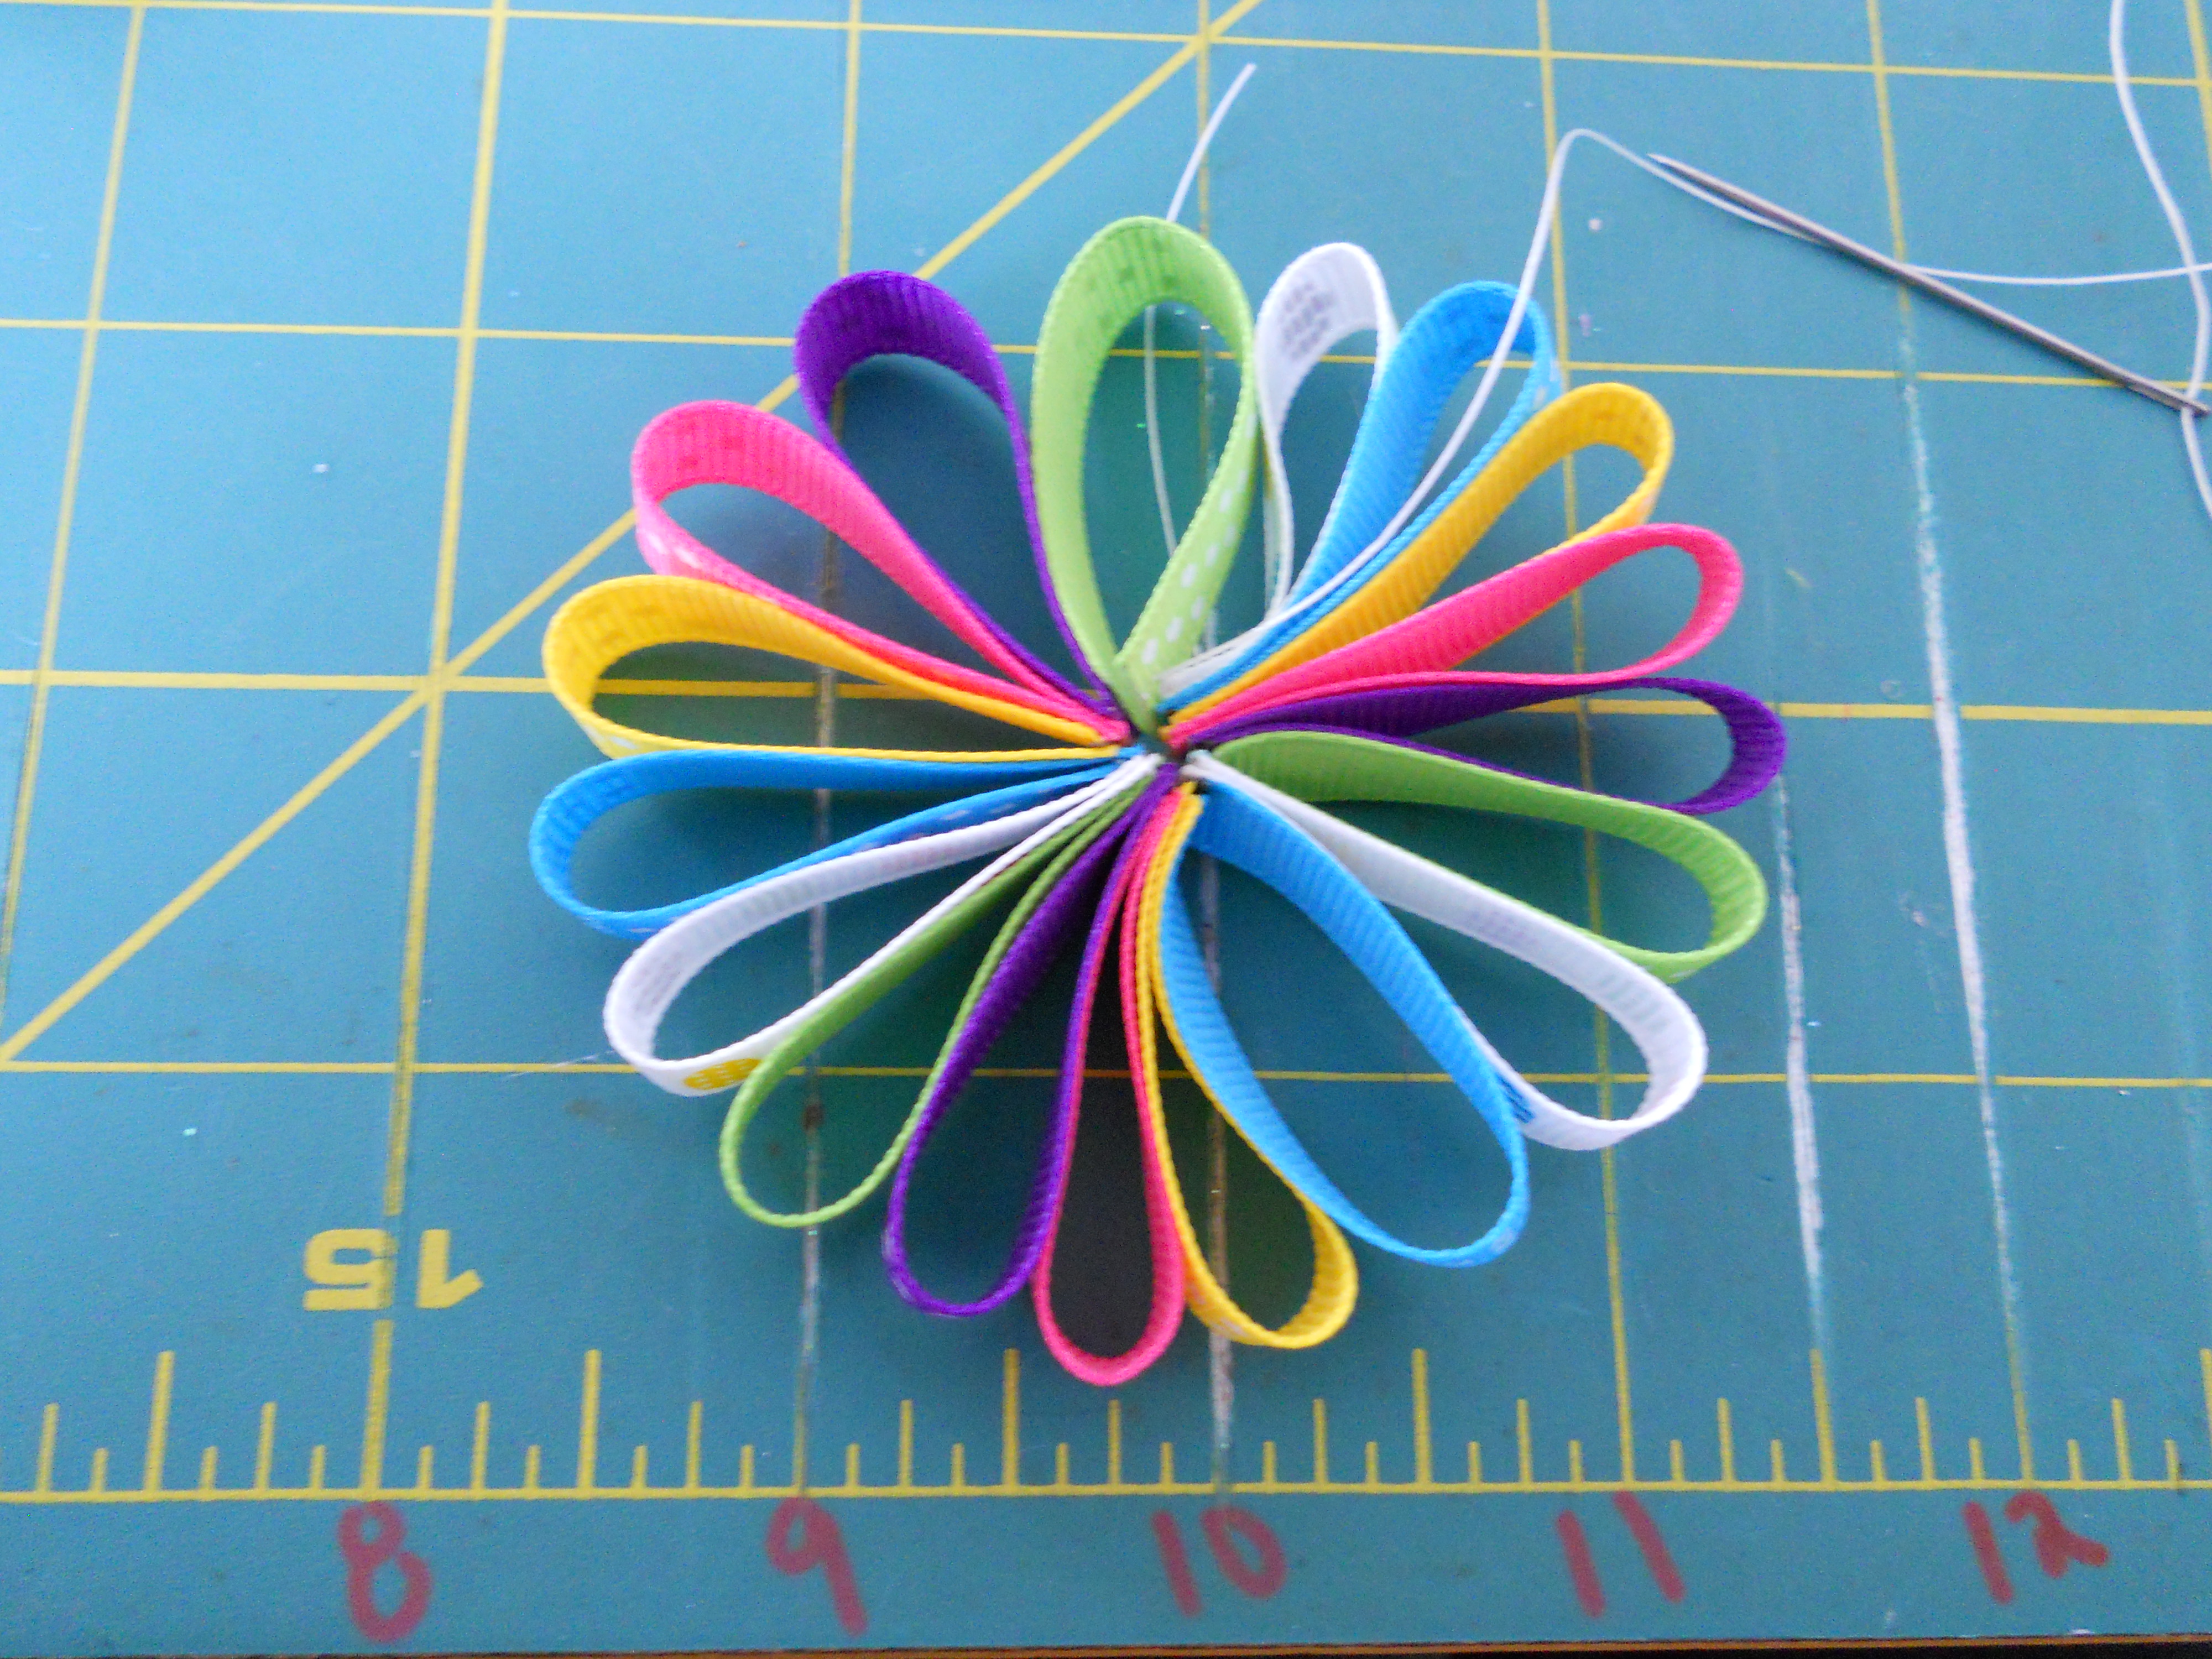
Step 4: Continue adding each piece onto the thread. You will start to see a flower like shape.
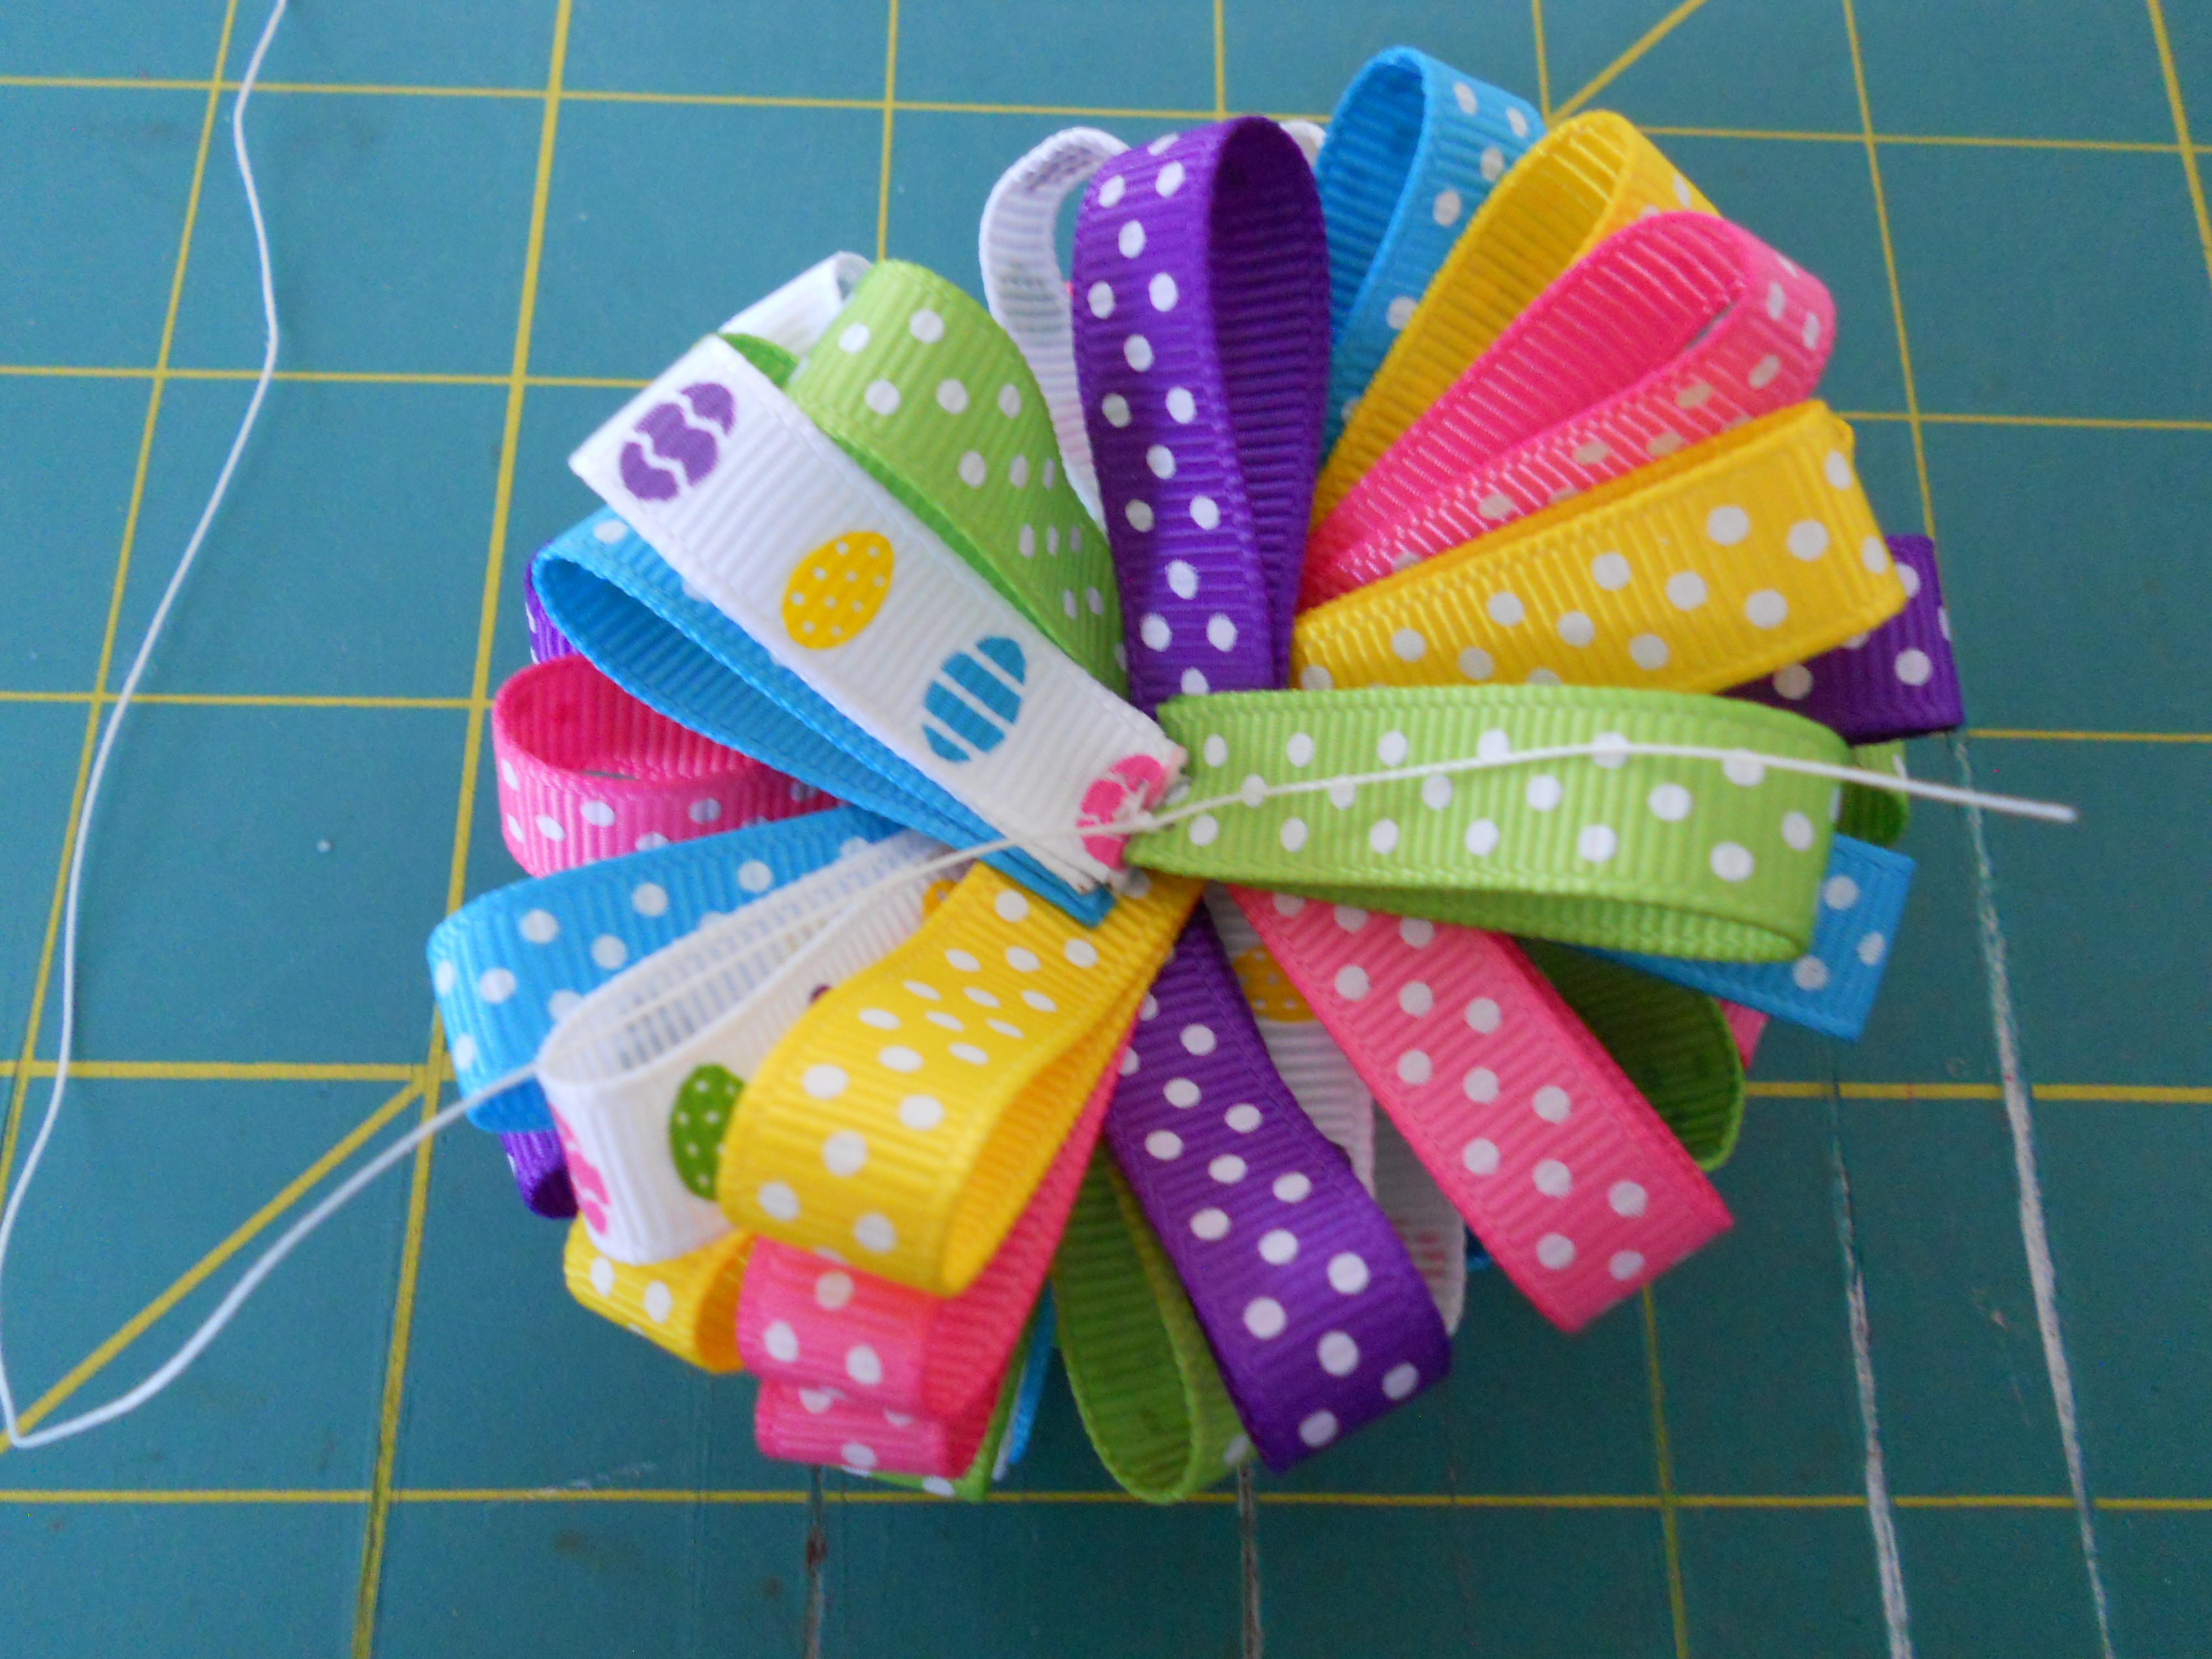
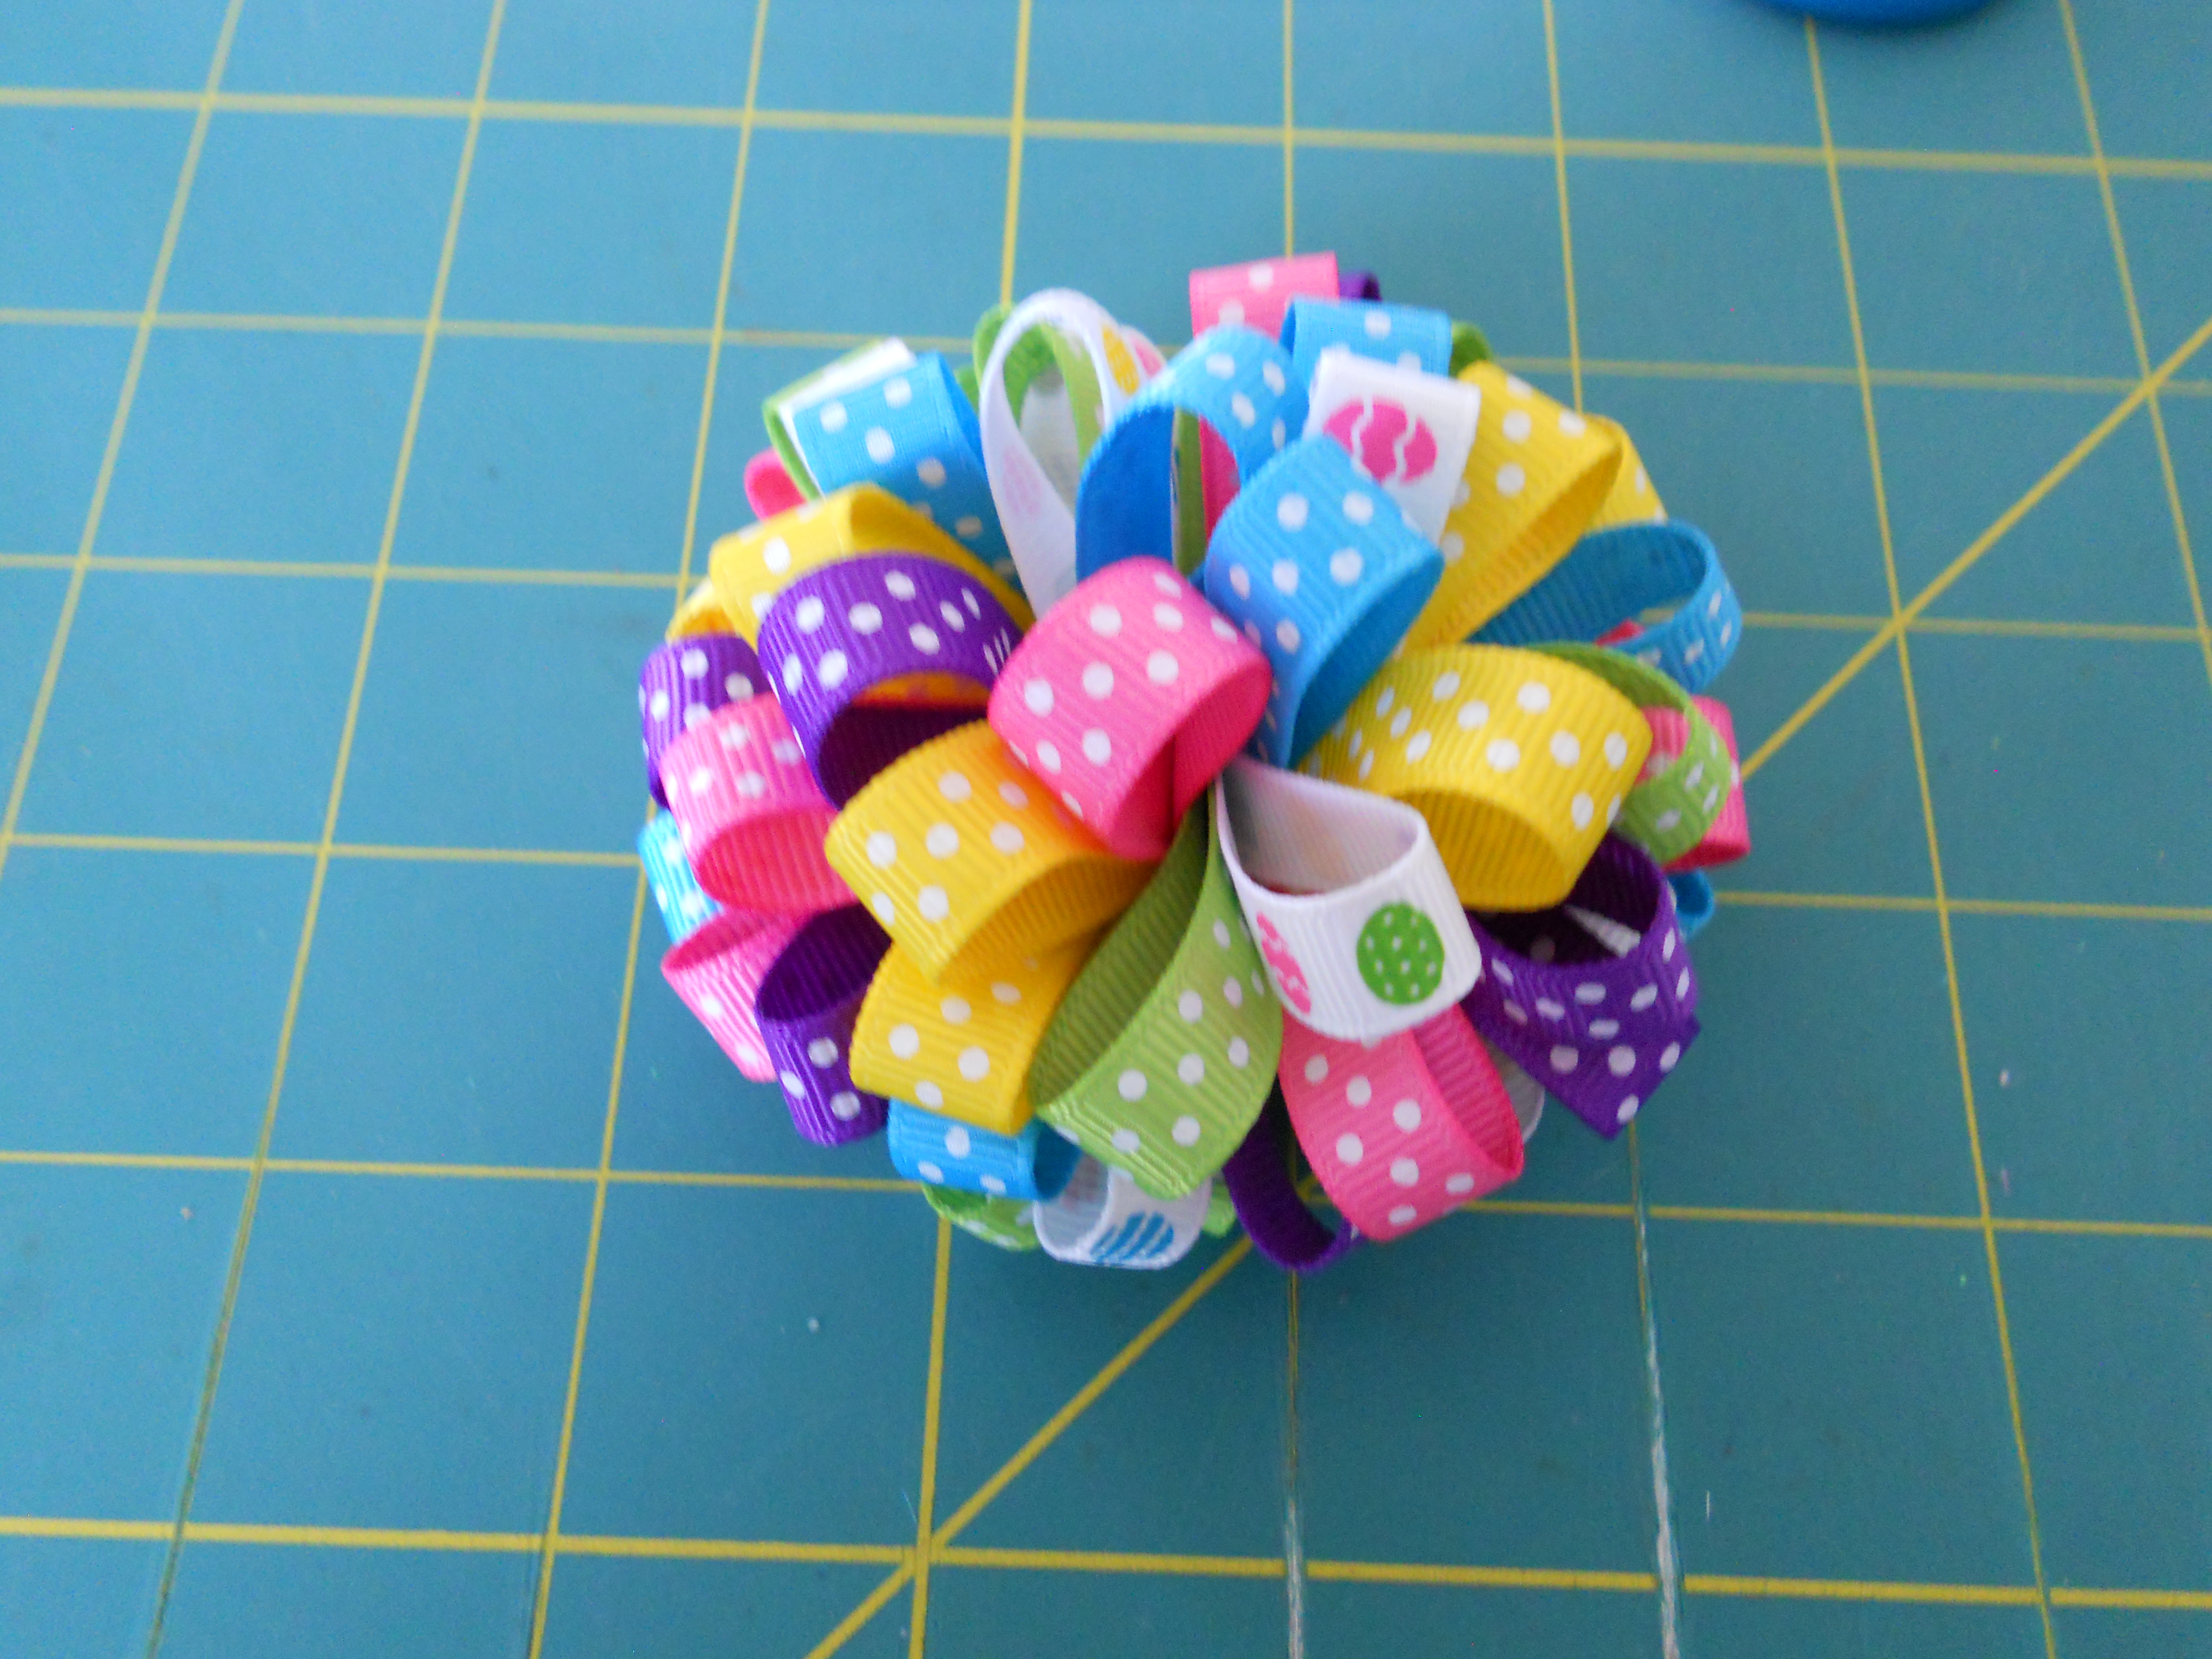
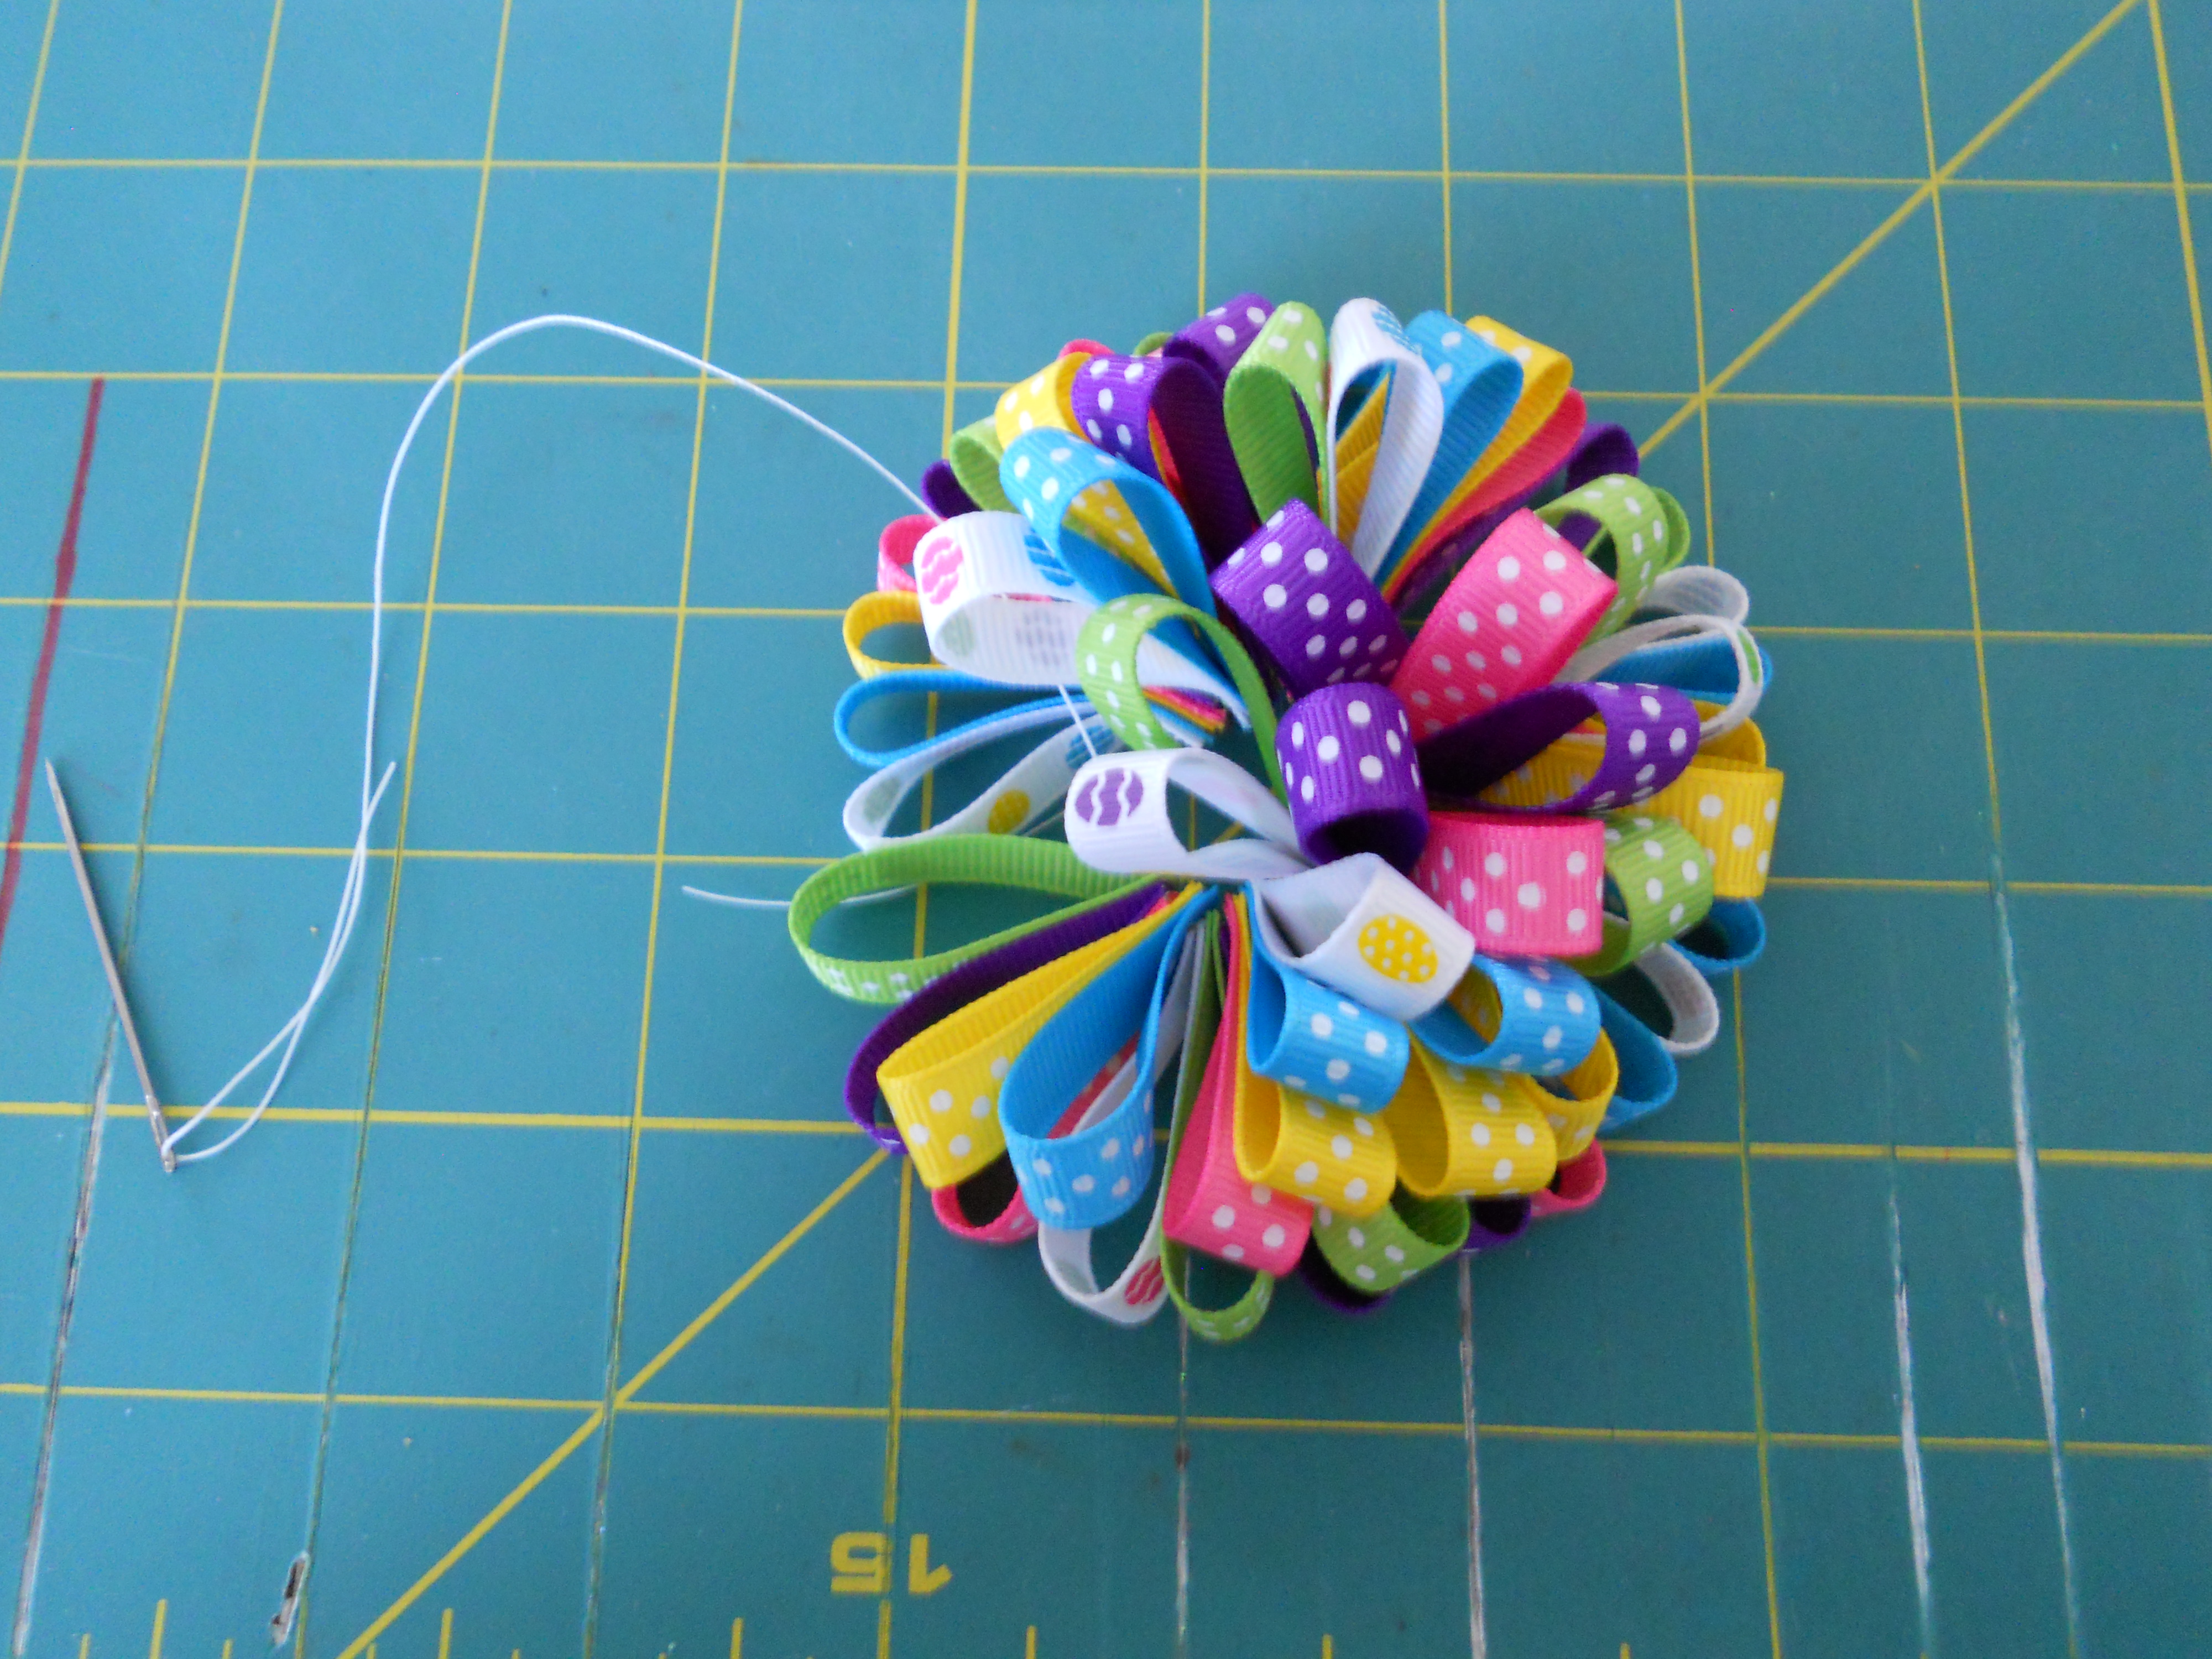 Step 5: Finish adding all 50 pieces onto your thread. Your bow may look a little wild at this point, that's okay. We will straighten it out soon.
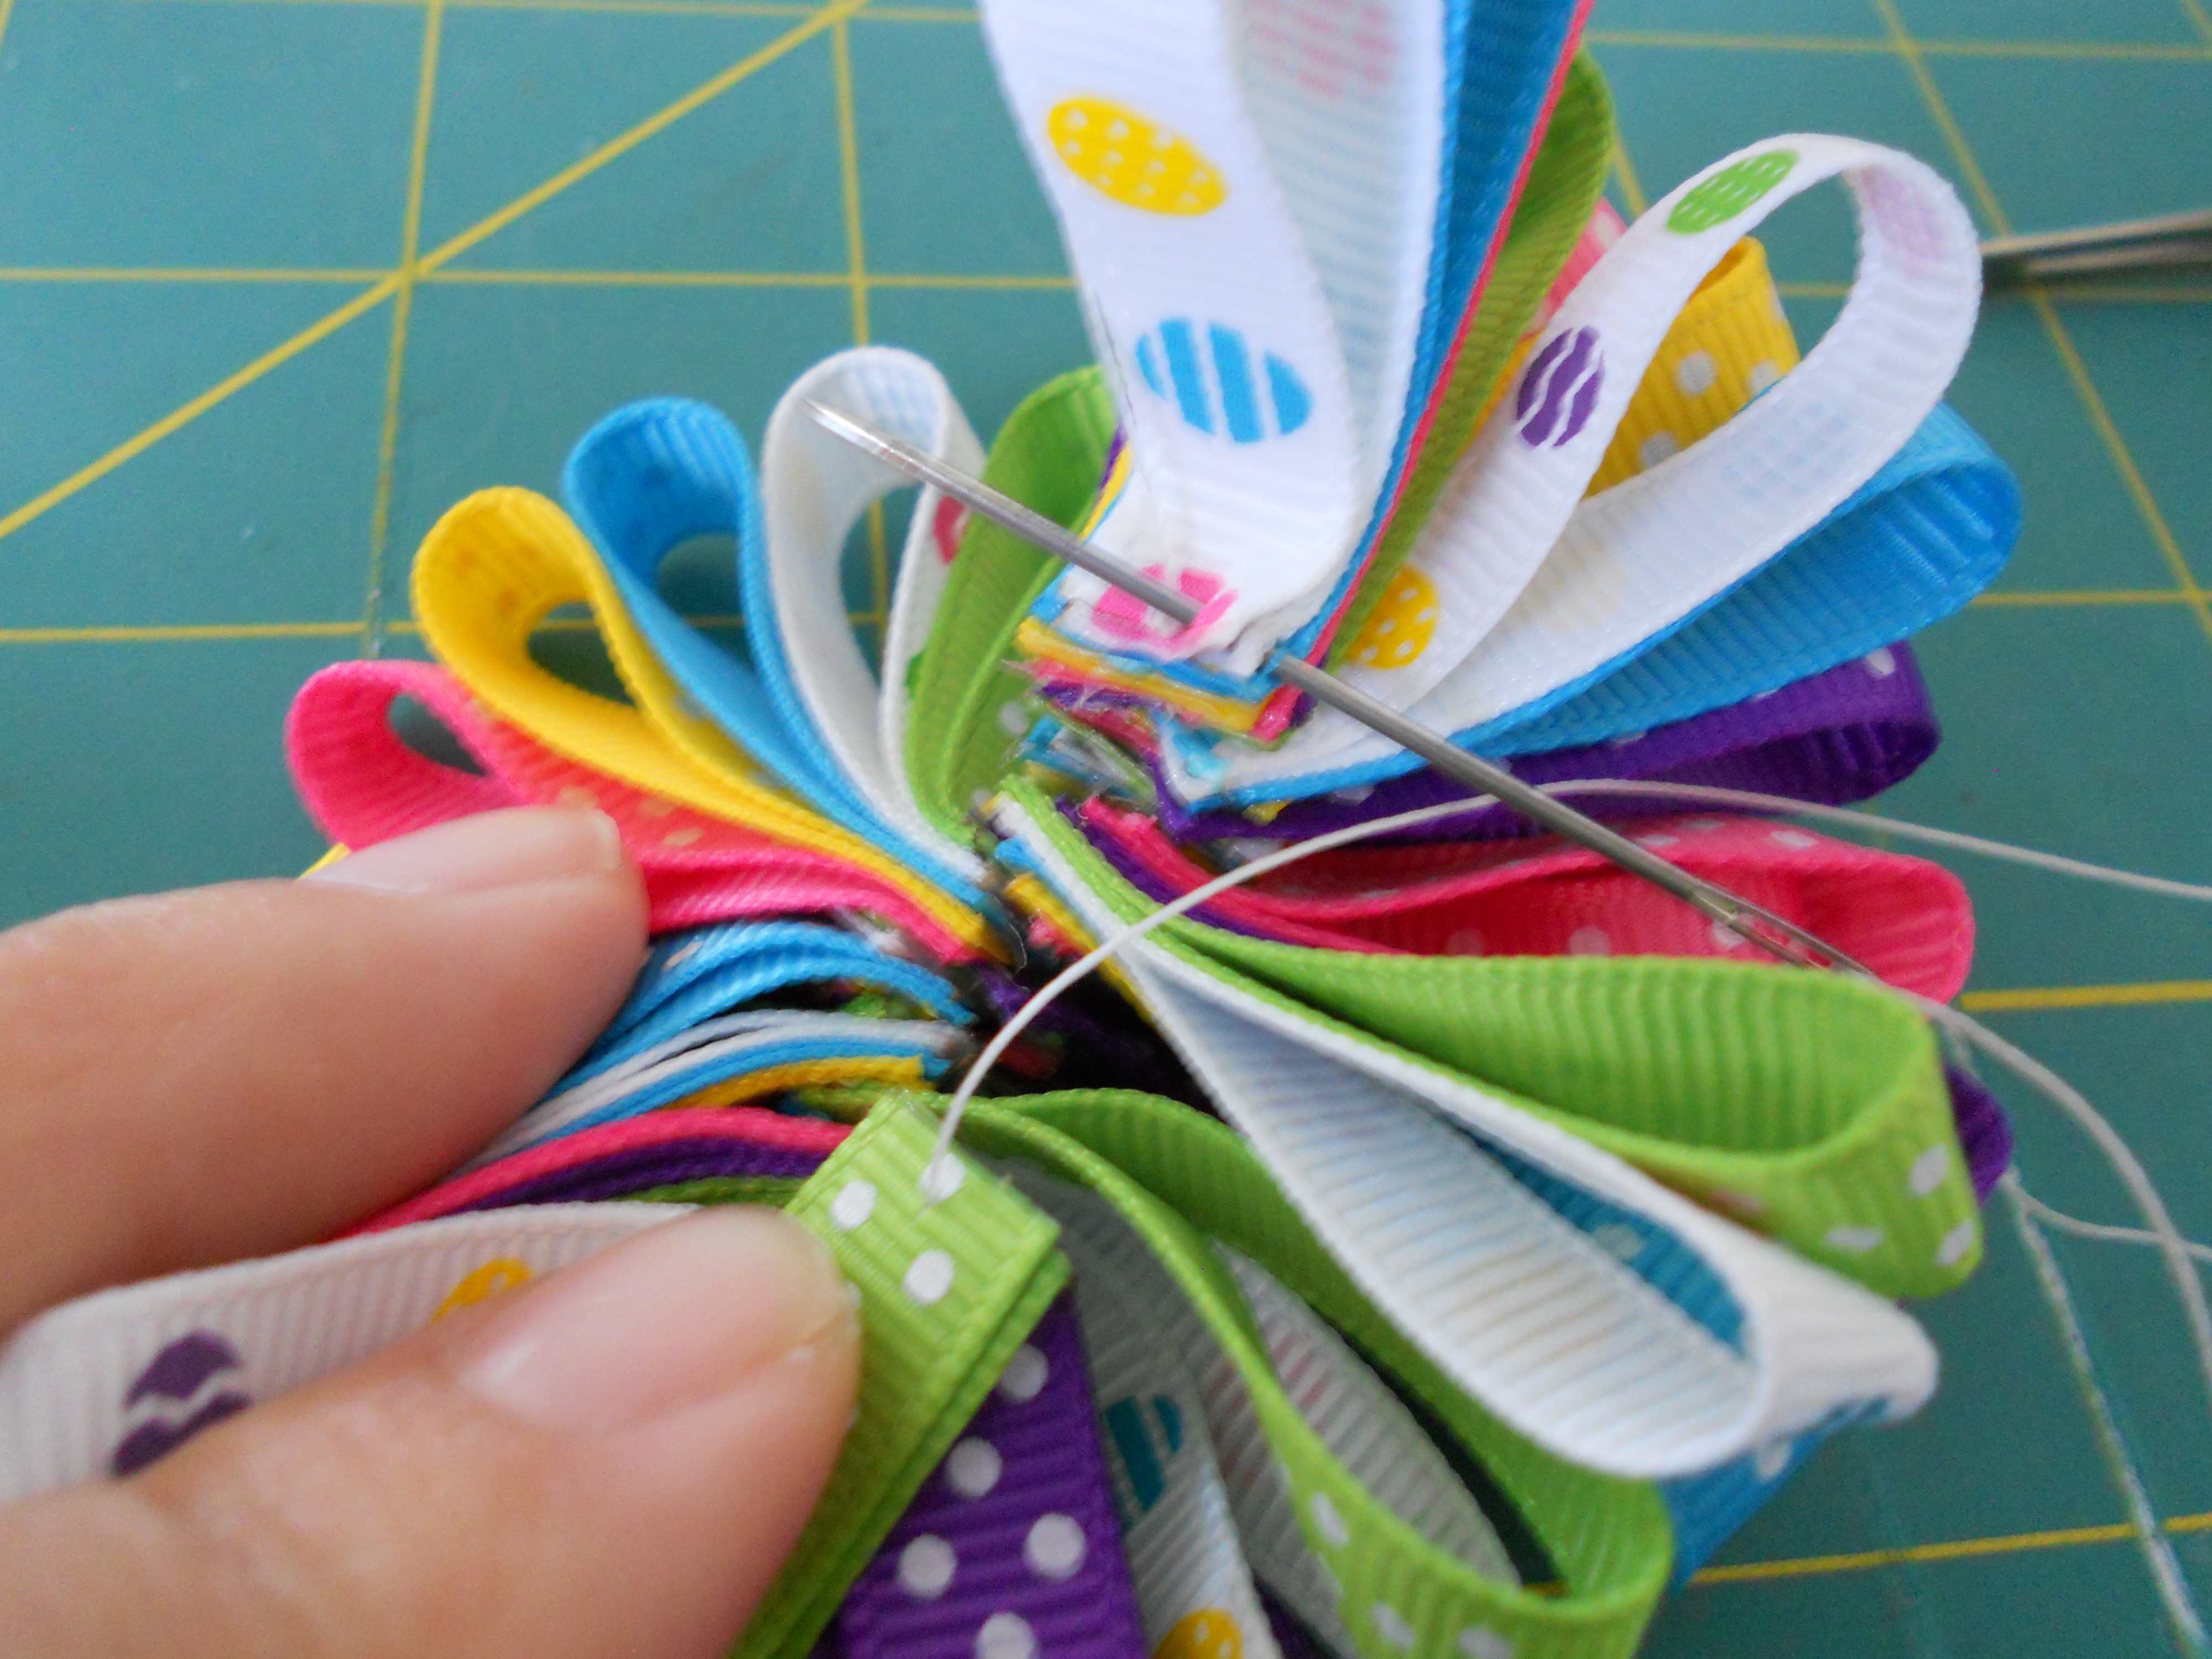
Step 6: Find the first piece you added and thread your needle through it. Pull the two ends together - This step is important to achieve the round look. Tie your thread a few times and clip the excess.
Step 7: Adjust your bow to the shape you want, some loops may be pressing against each other. I try to pull my loops all apart to make a fluffy look. Spray your finished bow with stiffen spray/starch and allow it to dry.
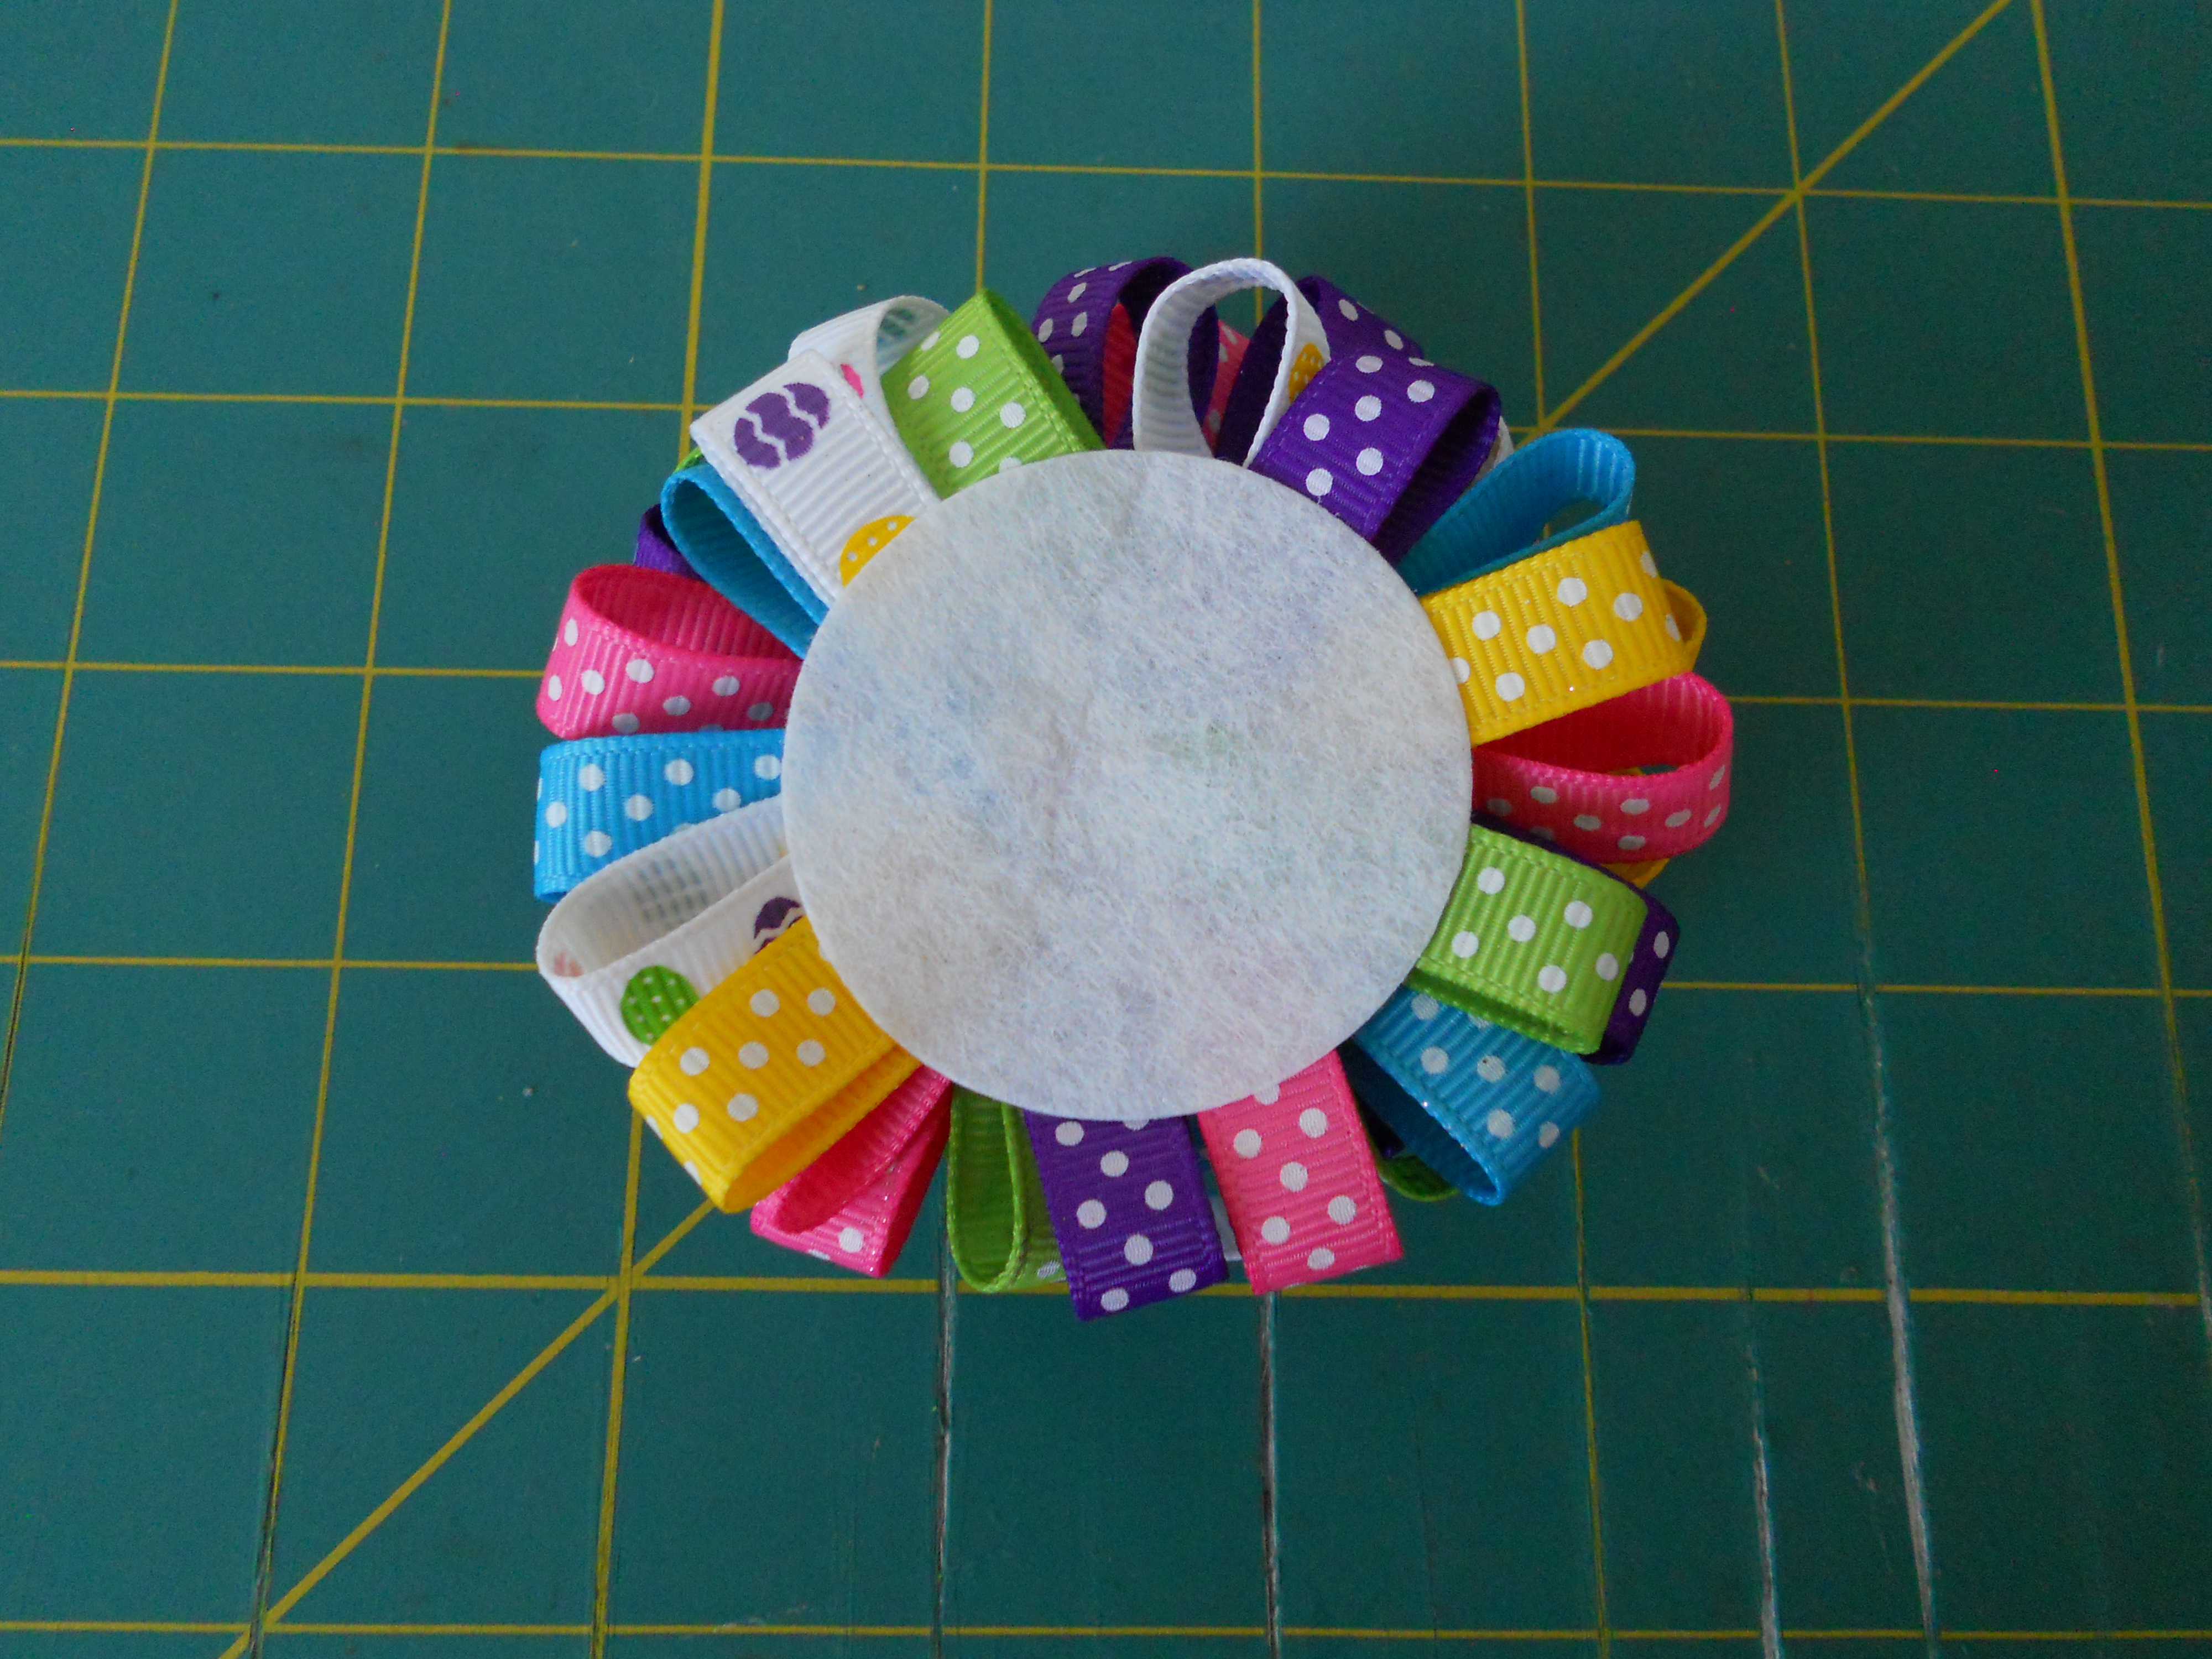
Step 8: When your bow is dry it's time to add your felt circle. Hot glue your felt circle to the bottom of your bow.
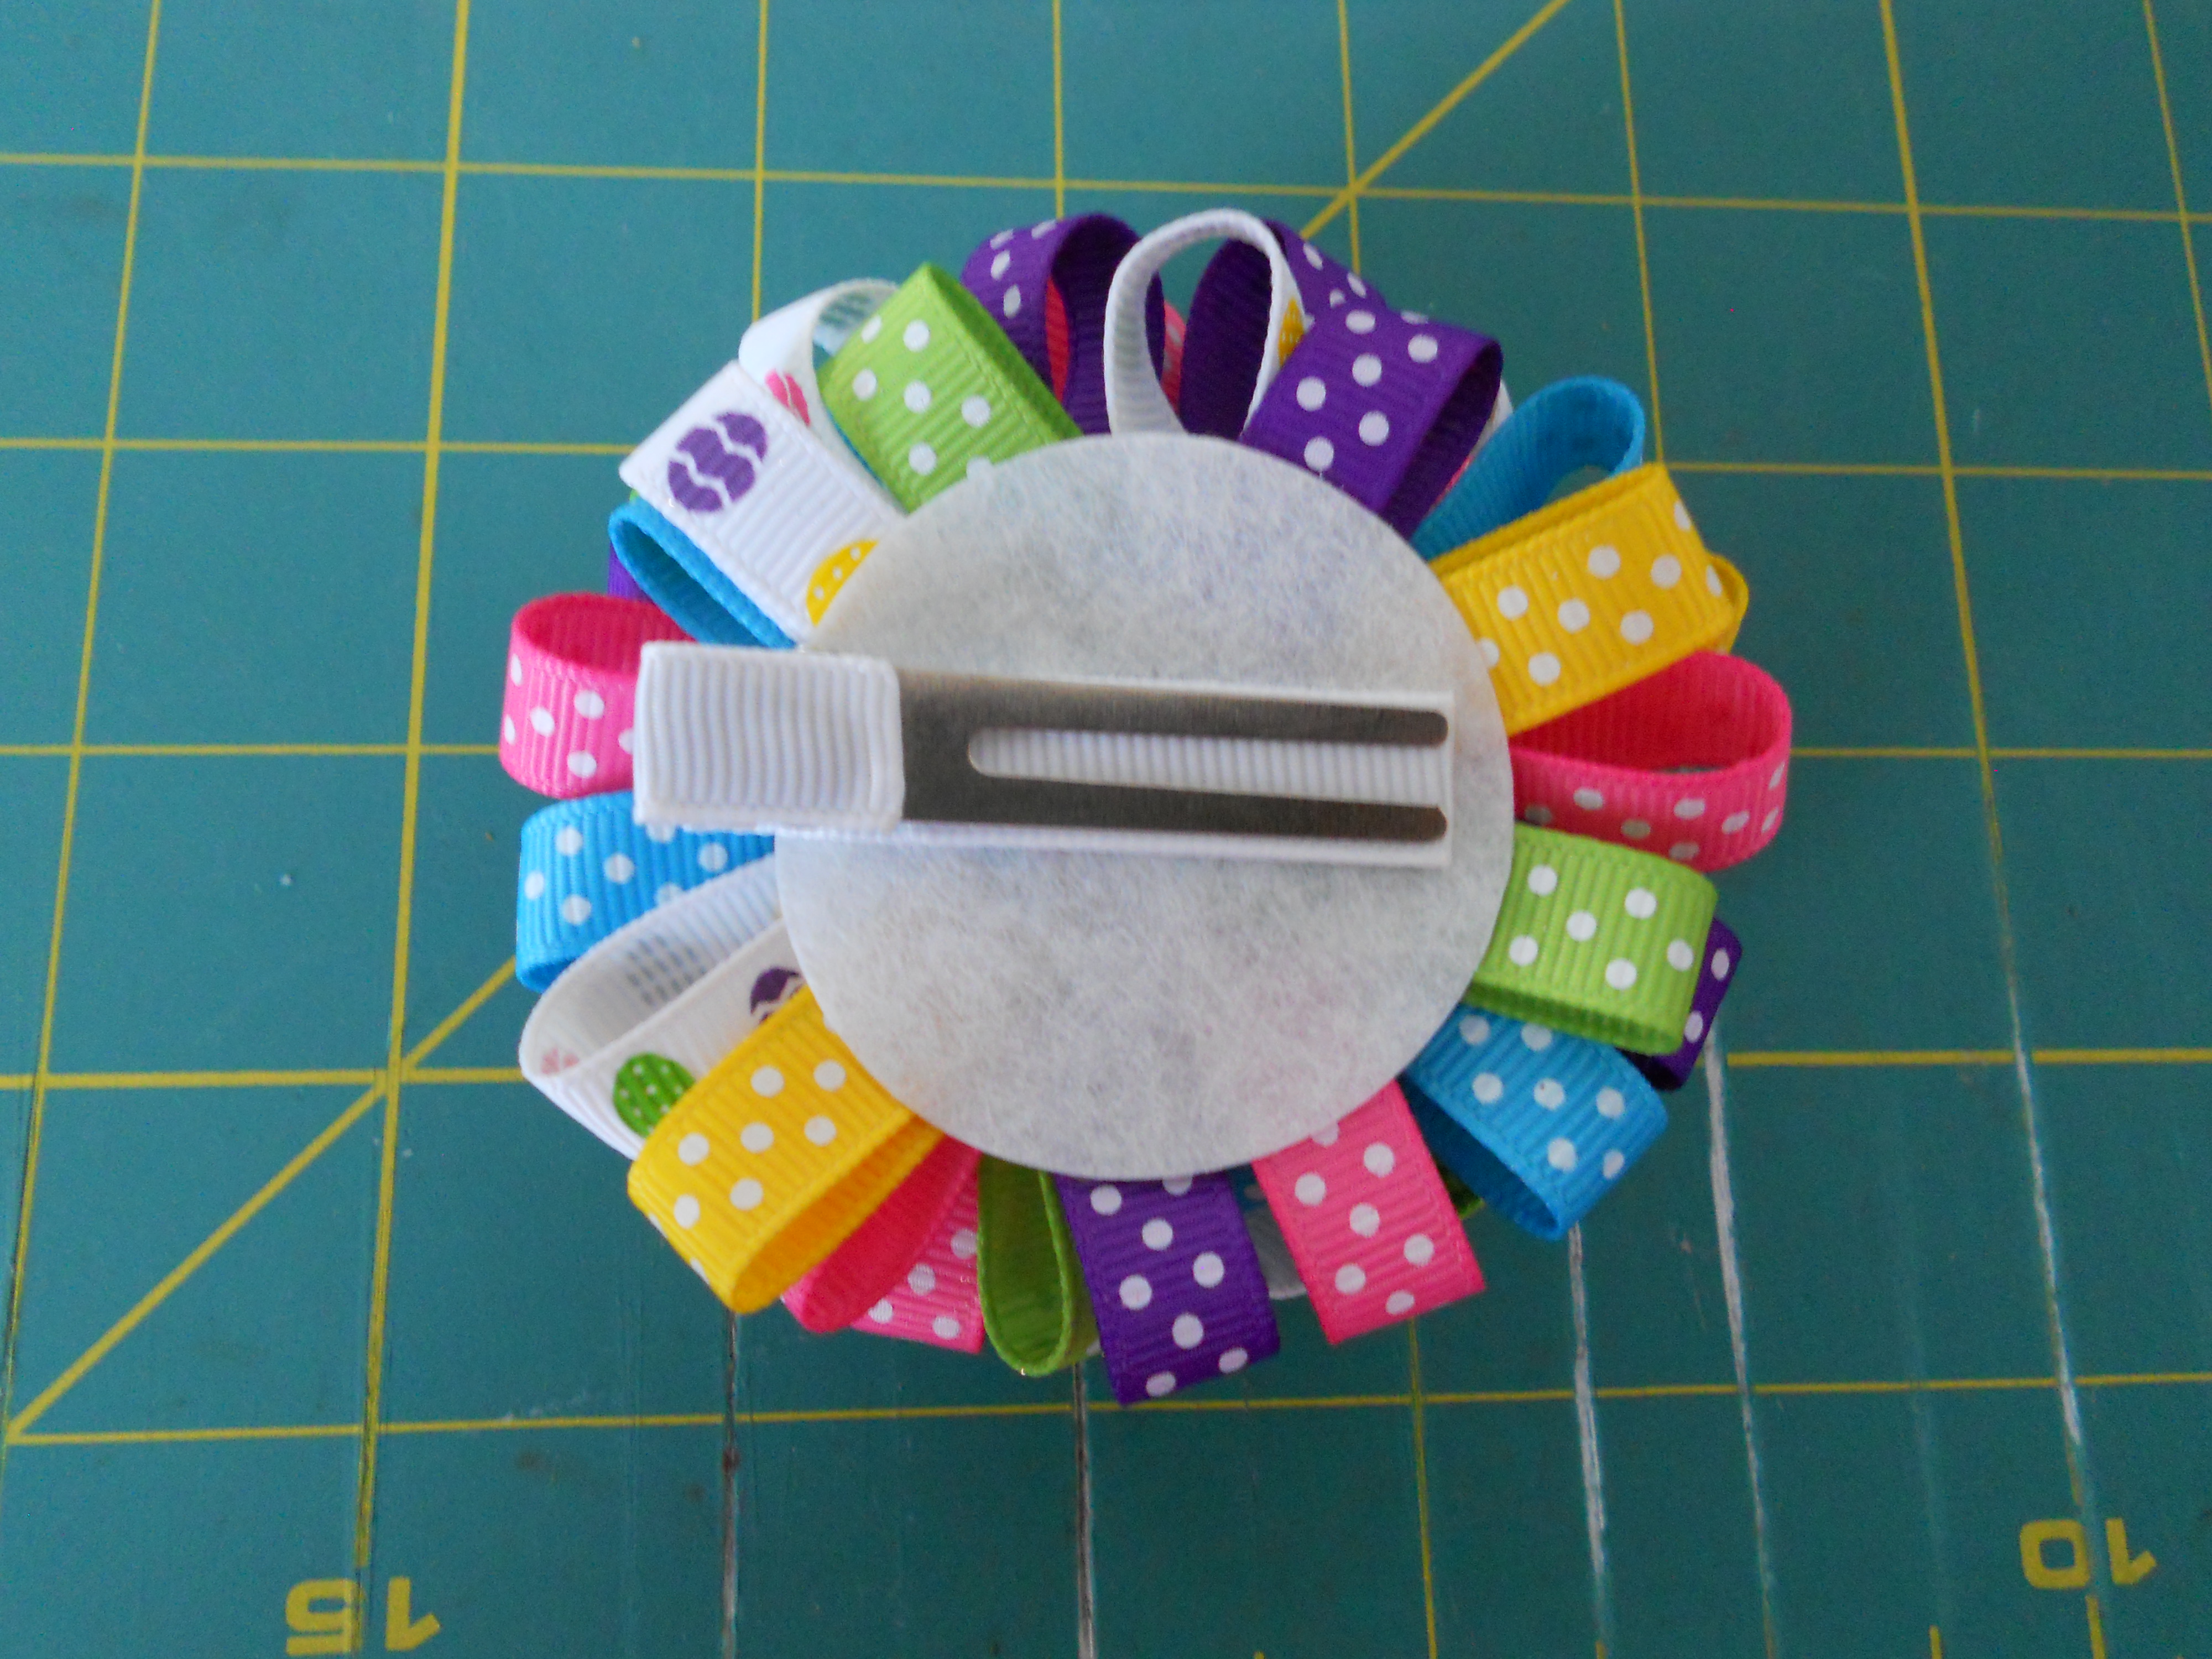
Step 9: Glue your alligator clip to the felt circle.
You're all finished!! How cute are these? I think I'm going to make another and have my niece wear them as pigtails! I'd love to see what other color combinations you can come up with for this bow!


 TOOLS
TOOLS
 NEW
NEW


