 Contributor post by Beth
IT'S SUMMER TIME HOT!!!! If you have a little girl or two then you know what that means. The hair has to stay up! And who doesn't love pigtails on their little girl anyway? For the moms out there that like cute and simple, this is the tutorial for you! In this post I will be showing you how to make cotton flower pigtails using Hairbow Center's small elastic and small nylon ponytail elastics.
Items you will need:
Two Ponytail Elastics-- small elastic or small nylon
Two 1.5" Small Cotton Padded Flowers
Two 1" White Felt Pads
Needle and thread
Glue gun and glue
Nylon Ponytail Elastic
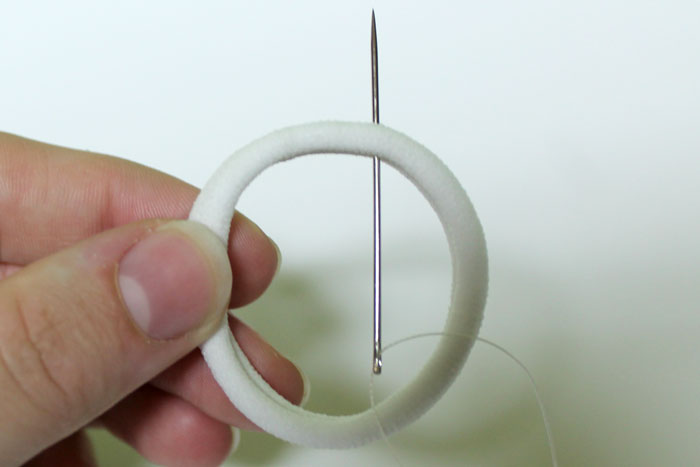
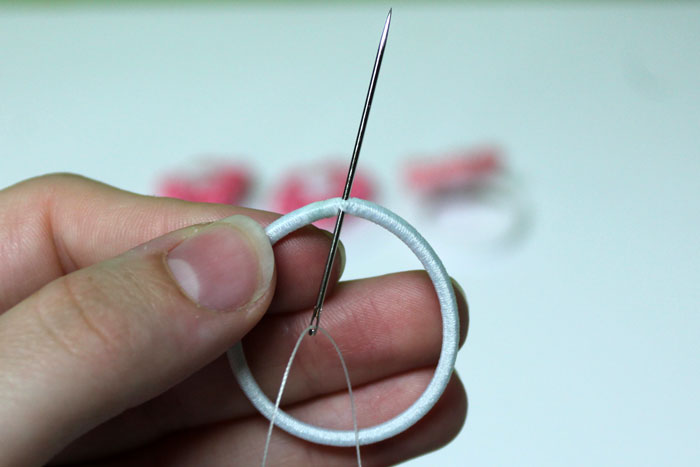
Take your needle and thread and run it through the center of the nylon ponytail elastic.
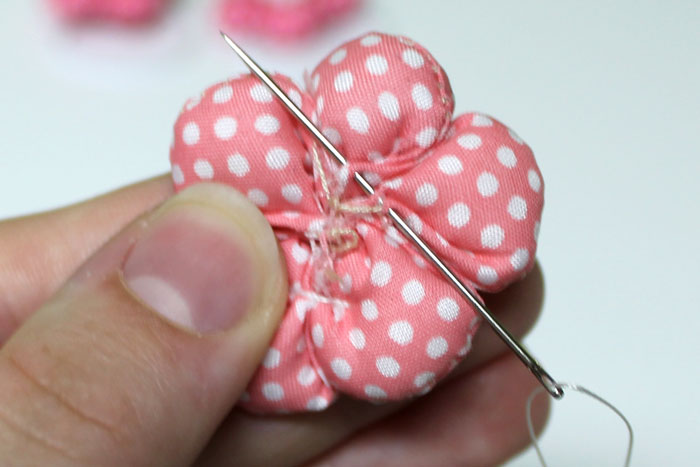
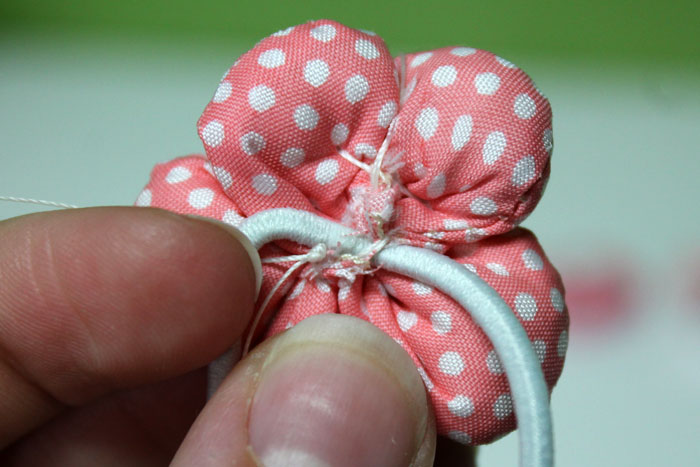
Start sewing simple stitches through the back of the cotton flower and through the elastic.
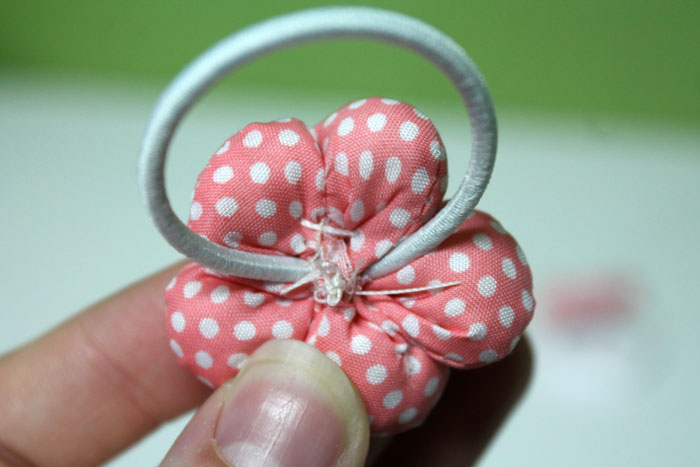
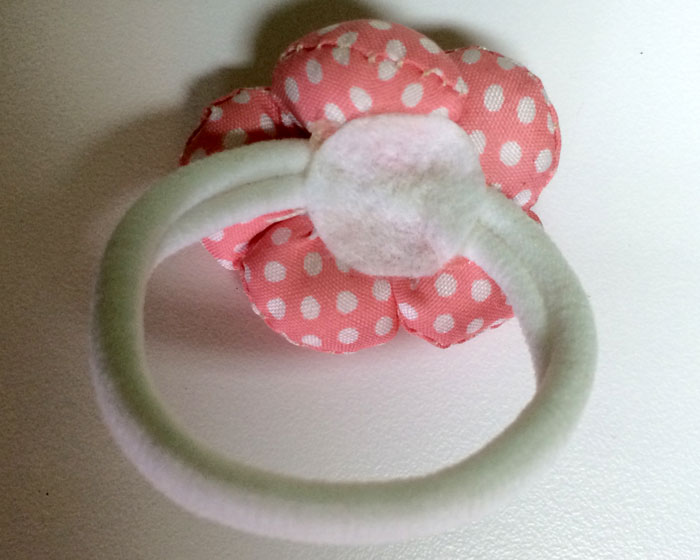
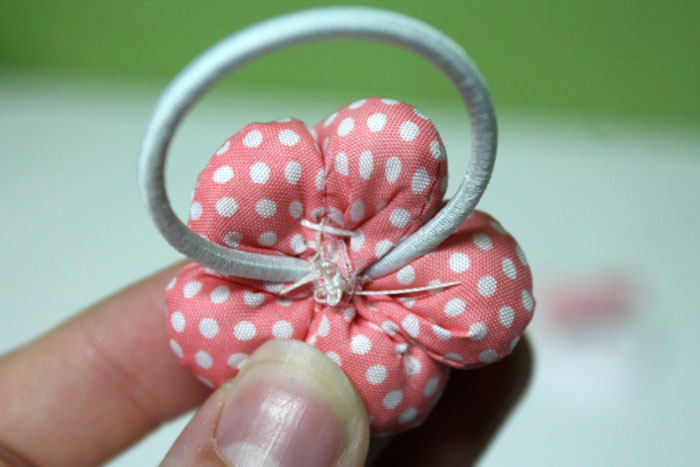
Keep your stitches tight and make sure to look at the flower from the front to make sure the elastic is not being sewn on crooked. I'm not the world's best sewer. So I didn't count my stitches. I just sewed it enough to where I felt the flower and ponytail elastic would not separate. One thing that I did make sure to do was to sew against the curves in the petals where the flower is sewn together in the back. I did this just as an extra precaution because I did not want the back of my flower to come undone as I was adding the elastic. Once your ponytail elastic is secured to the back of the cotton flower it should look something like this.Another reason I was not worried about the way my stitches would look is because I covered the back with a small felt pad.
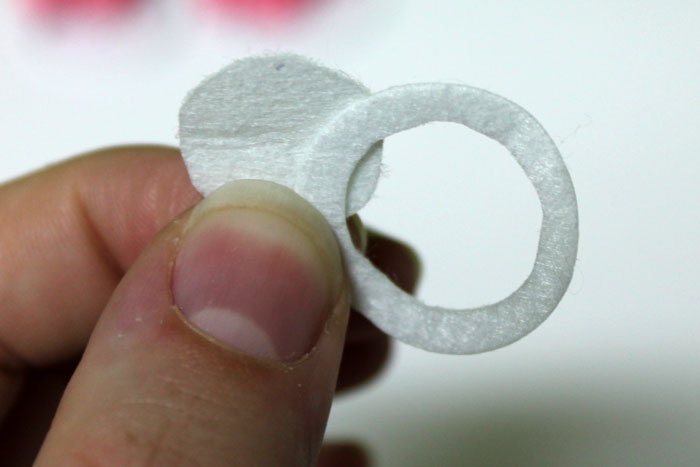
Use a one inch white felt pad, and cut a smaller circle from it.
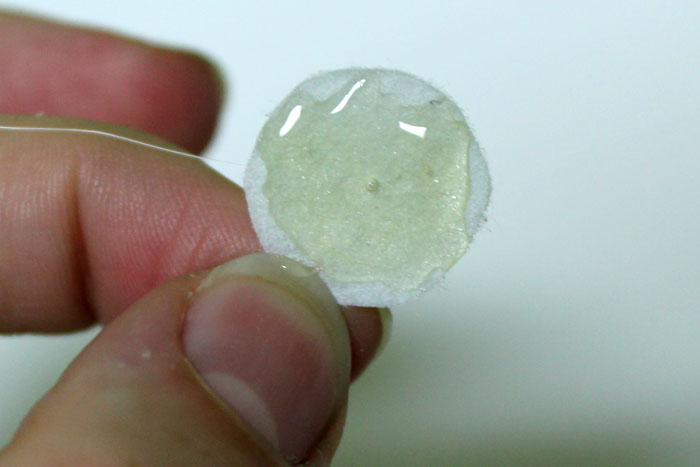
Add glue to the felt pad and apply it over the stitched area on the back of the cotton flower.
Elastic Ponytail Elastic
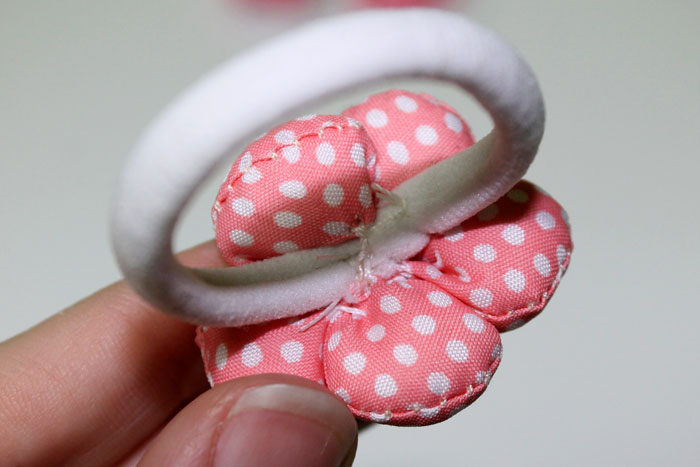
The process for the elastic ponytail holder is not that much different. But you will notice that you can not sew threw the elastic. You have to thread the needle between the elastic and the covering. I sewed my elastic on to where the seam will be the part of the ponytail holder that is sewn onto the back of the flower.
The process for sewing the elastic ponytail holder on my take a little longer that the nylon, just because of the elastic in the hairband.
As you can tell from the last picture, my flower did come undone on one side. But it was a simple fix, all I did was sew it down while I was sewing the elastic ponytail holder on.
All that's left to do now is to cut out a smaller circle from your felt pad and glue it to the back of the flower. That's it! I made four of these cute little things in less than twenty minutes, so they really are quite simple {and adorable}.


 TOOLS
TOOLS
 NEW
NEW


