 Contributor post by Brittany
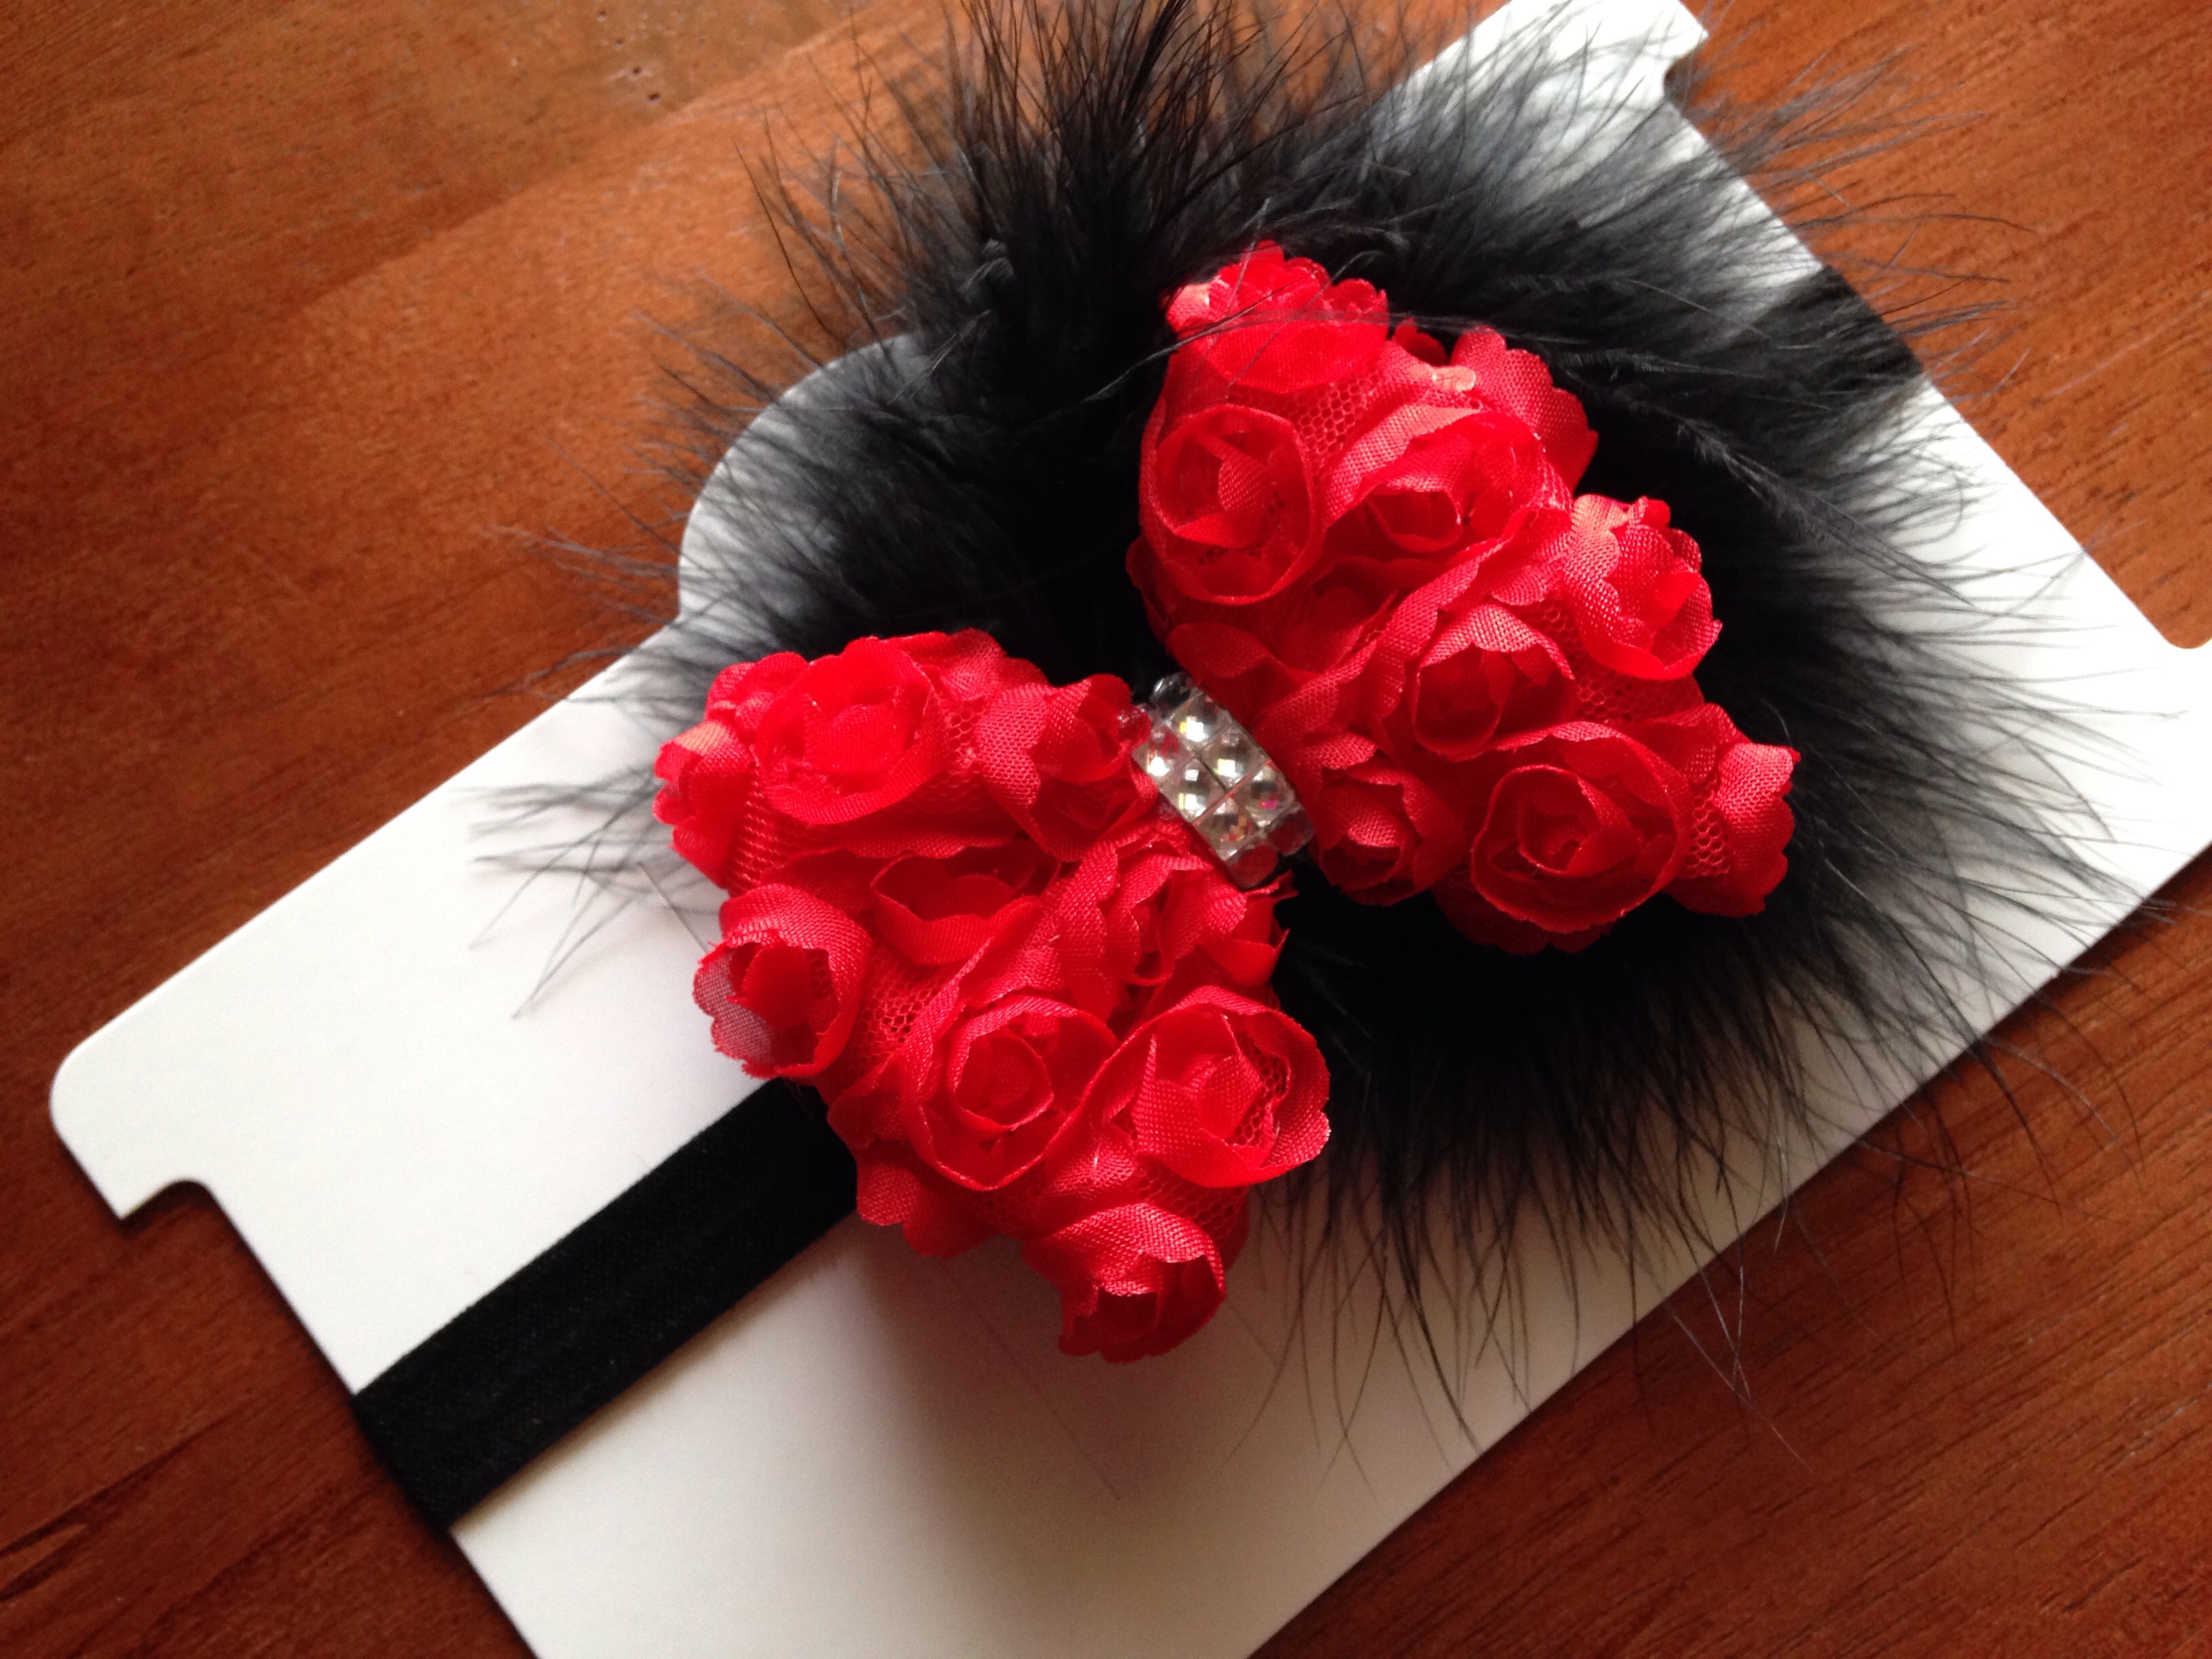
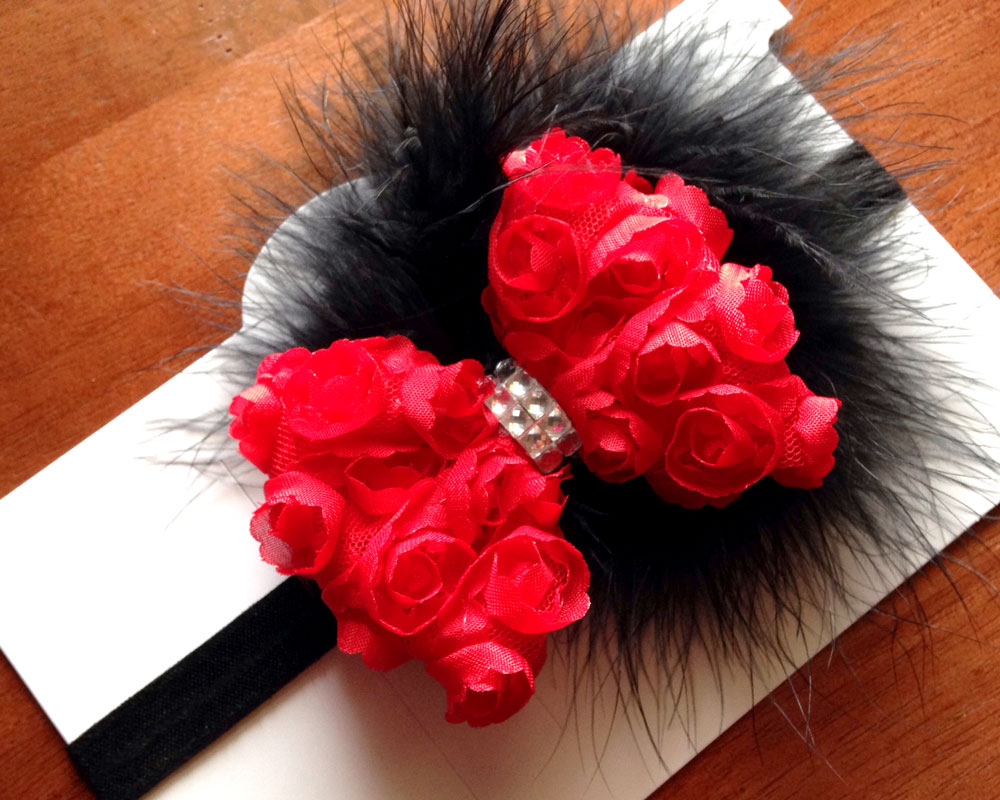
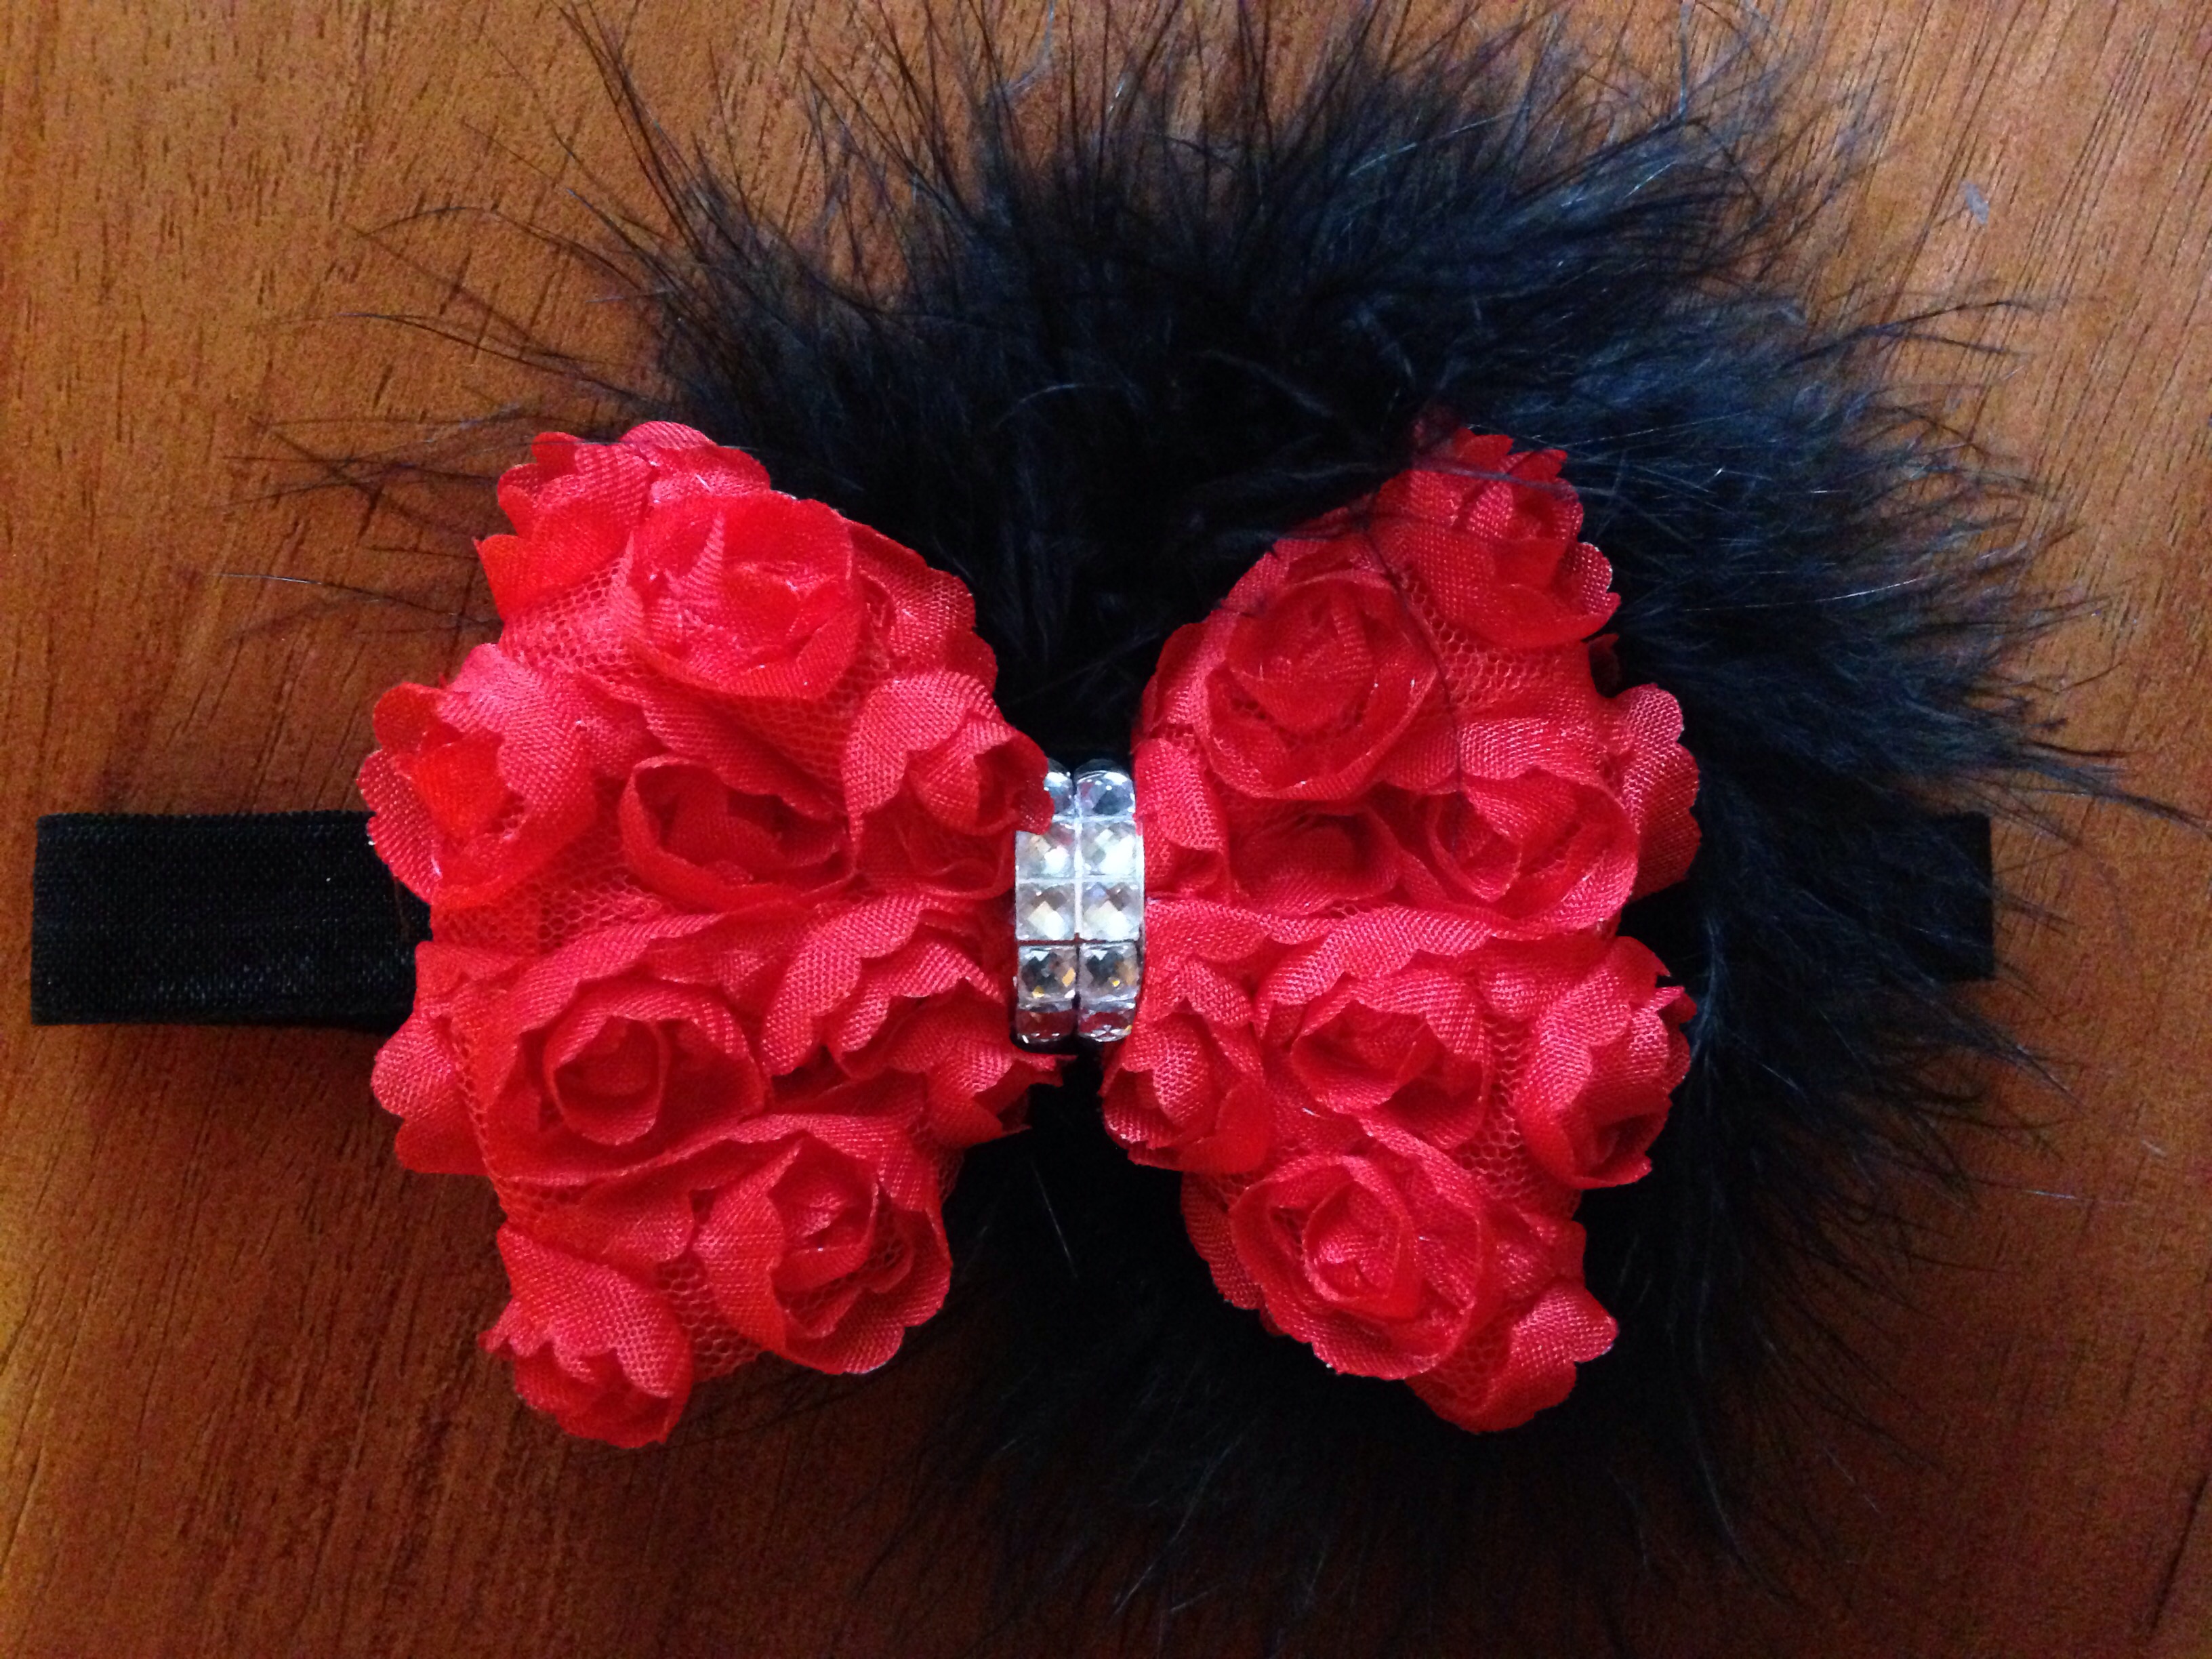
In need of a fabulous hair accessory in a flash for your little darling? Who isn't! This simply elegant hair piece takes just minutes to make! And guess what else? You don't have to be an expert at crafting or bow making to get fabulous results! Whether you have never made a bow in your life or you've been hard at it for years, you can make this! Ready... Set.... GO!
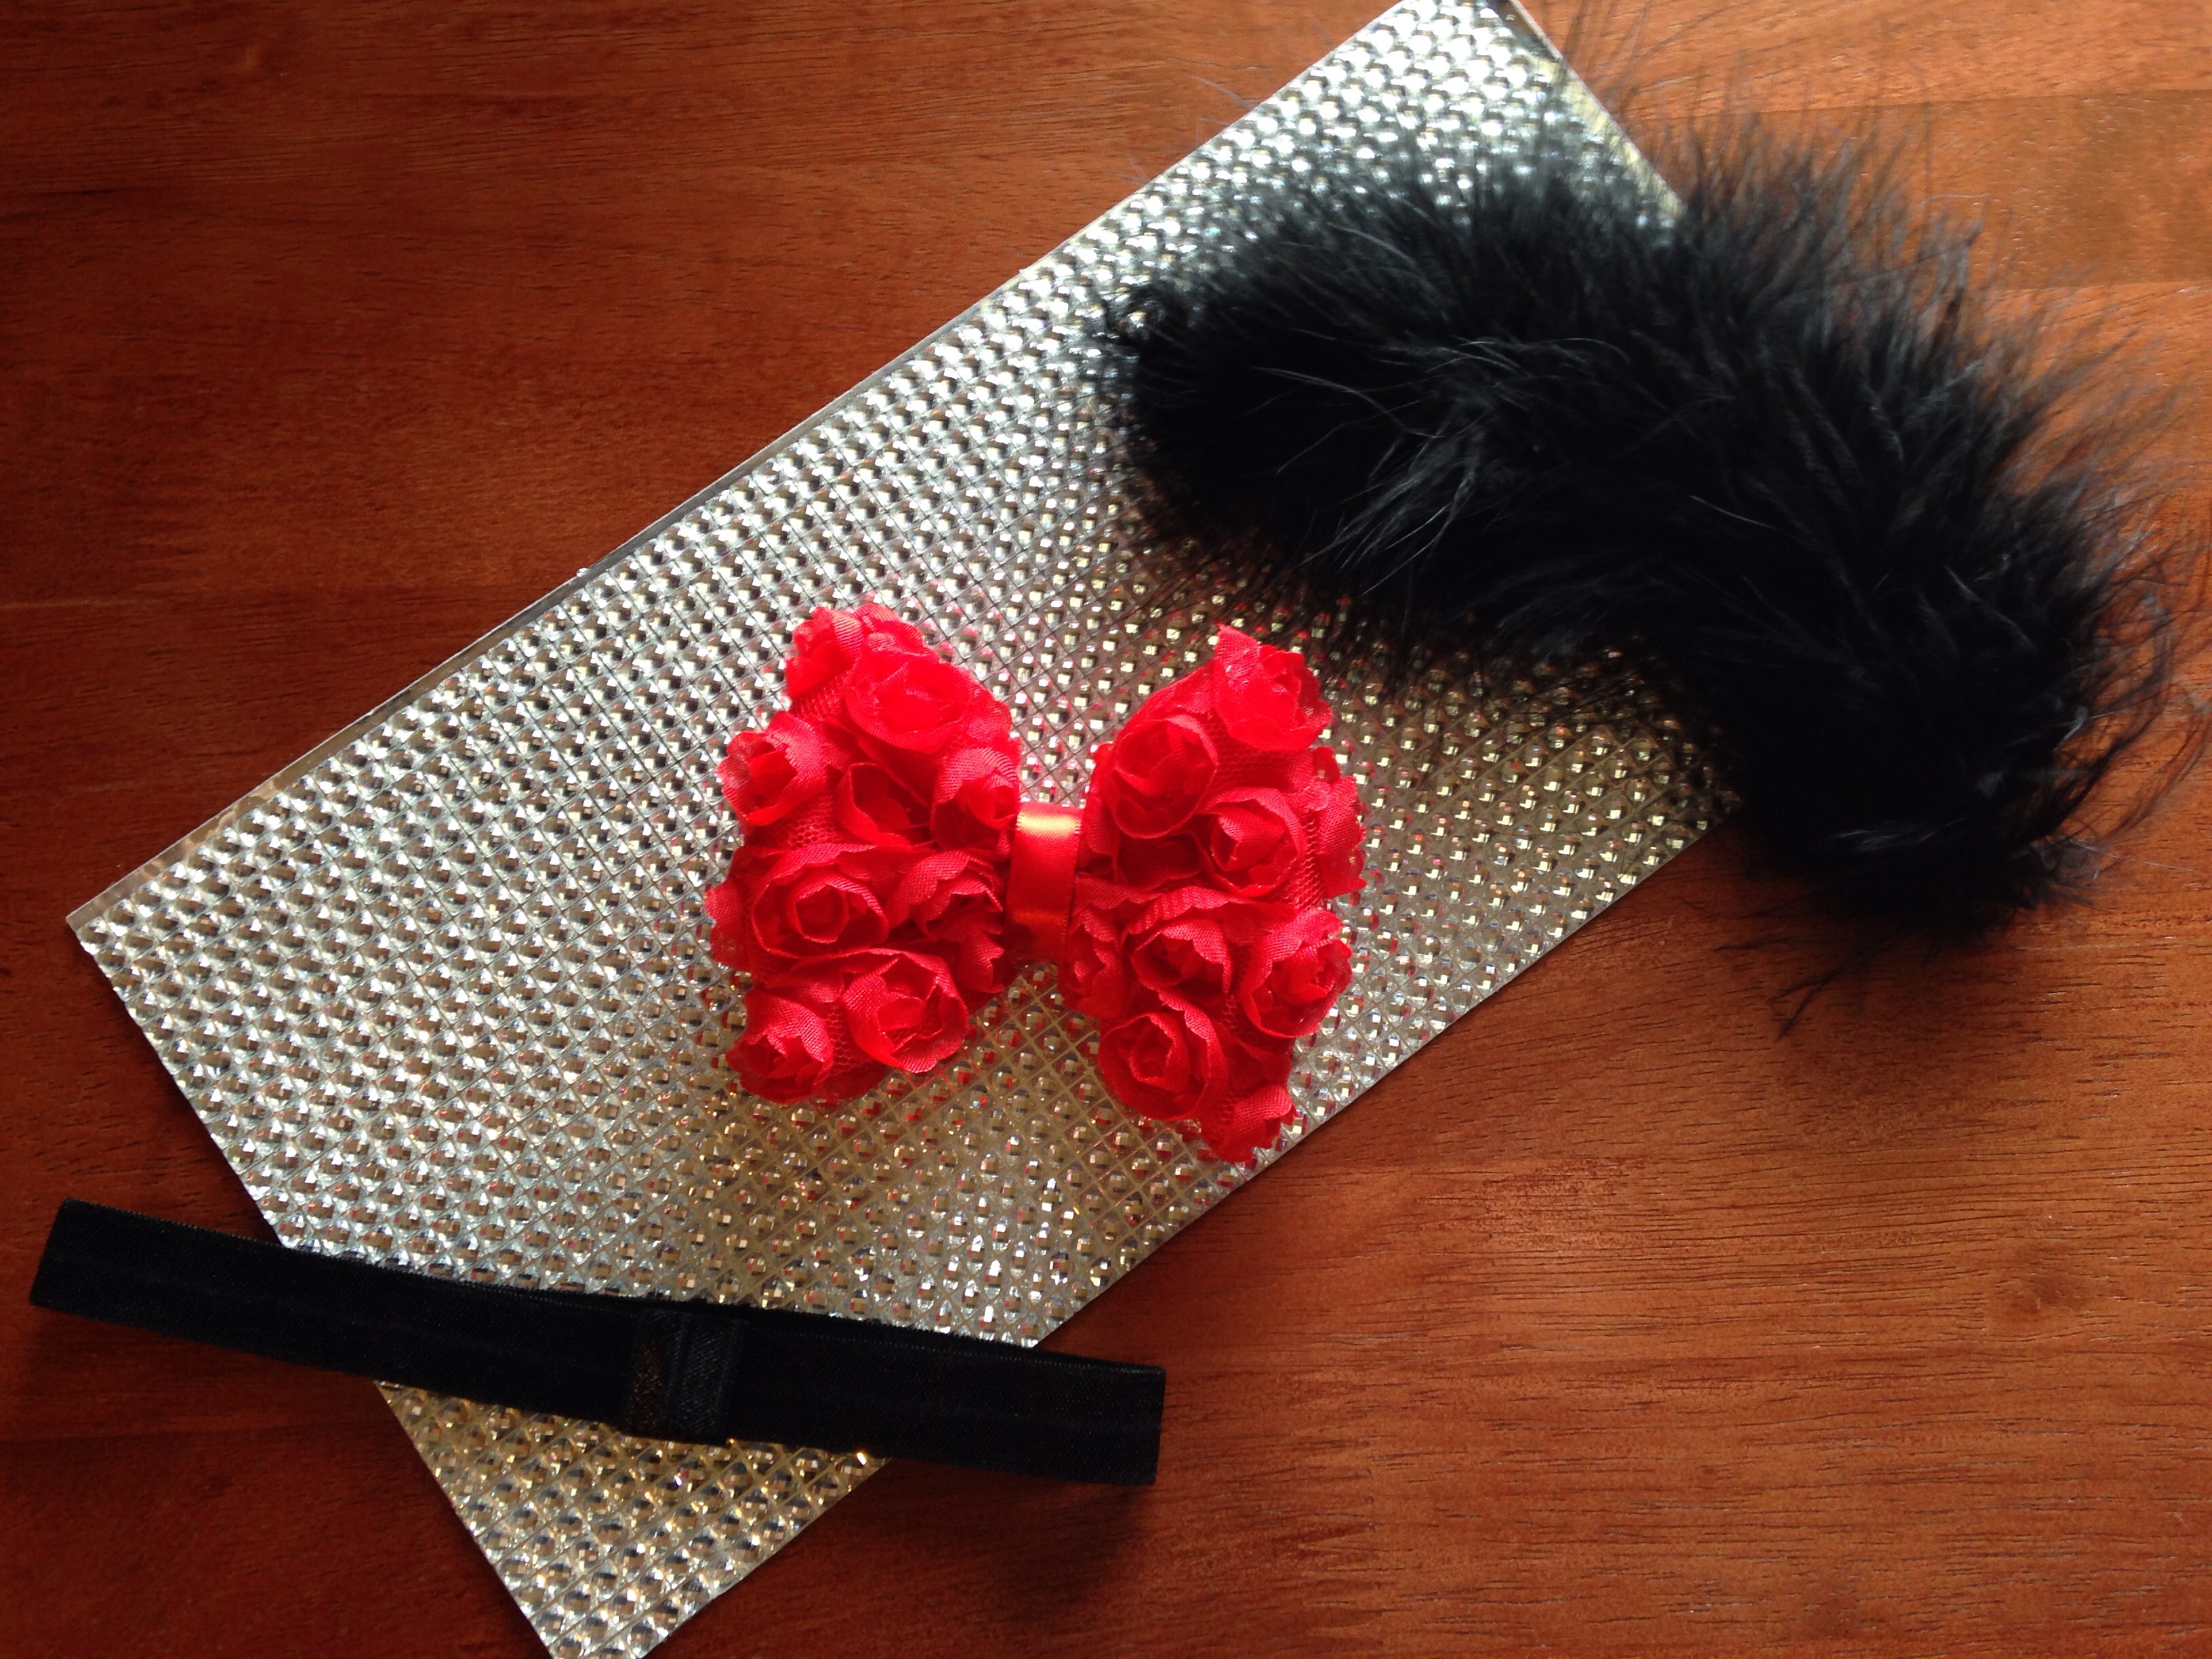
This adorable masterpiece requires very few items to make. Sometimes less really is more! Pictured above are the following and they can ALL be found at HBC!
•
Red shabby rose bow
•
Rhinestone sticker sheet
•
Black marabou feathers
•
Black elastic headband
You will also need scissors, a hot glue gun, ruler for measuring feather length, a fan felt pad, and an alligator clip or other hardware of your choice.
First you will need to measure the length to cover the center of your shabby rose bow. (You may use any color bow you like; since Valentine's Day is right around the corner I chose red! But this hair accessory will look adorable year round and not just on the LOVE-ly day!) For the center of my bow I cut a strip of rhinestones that were 2 wide and 12 long. Make sure to cut the proper length or even extra to cover the entire center!
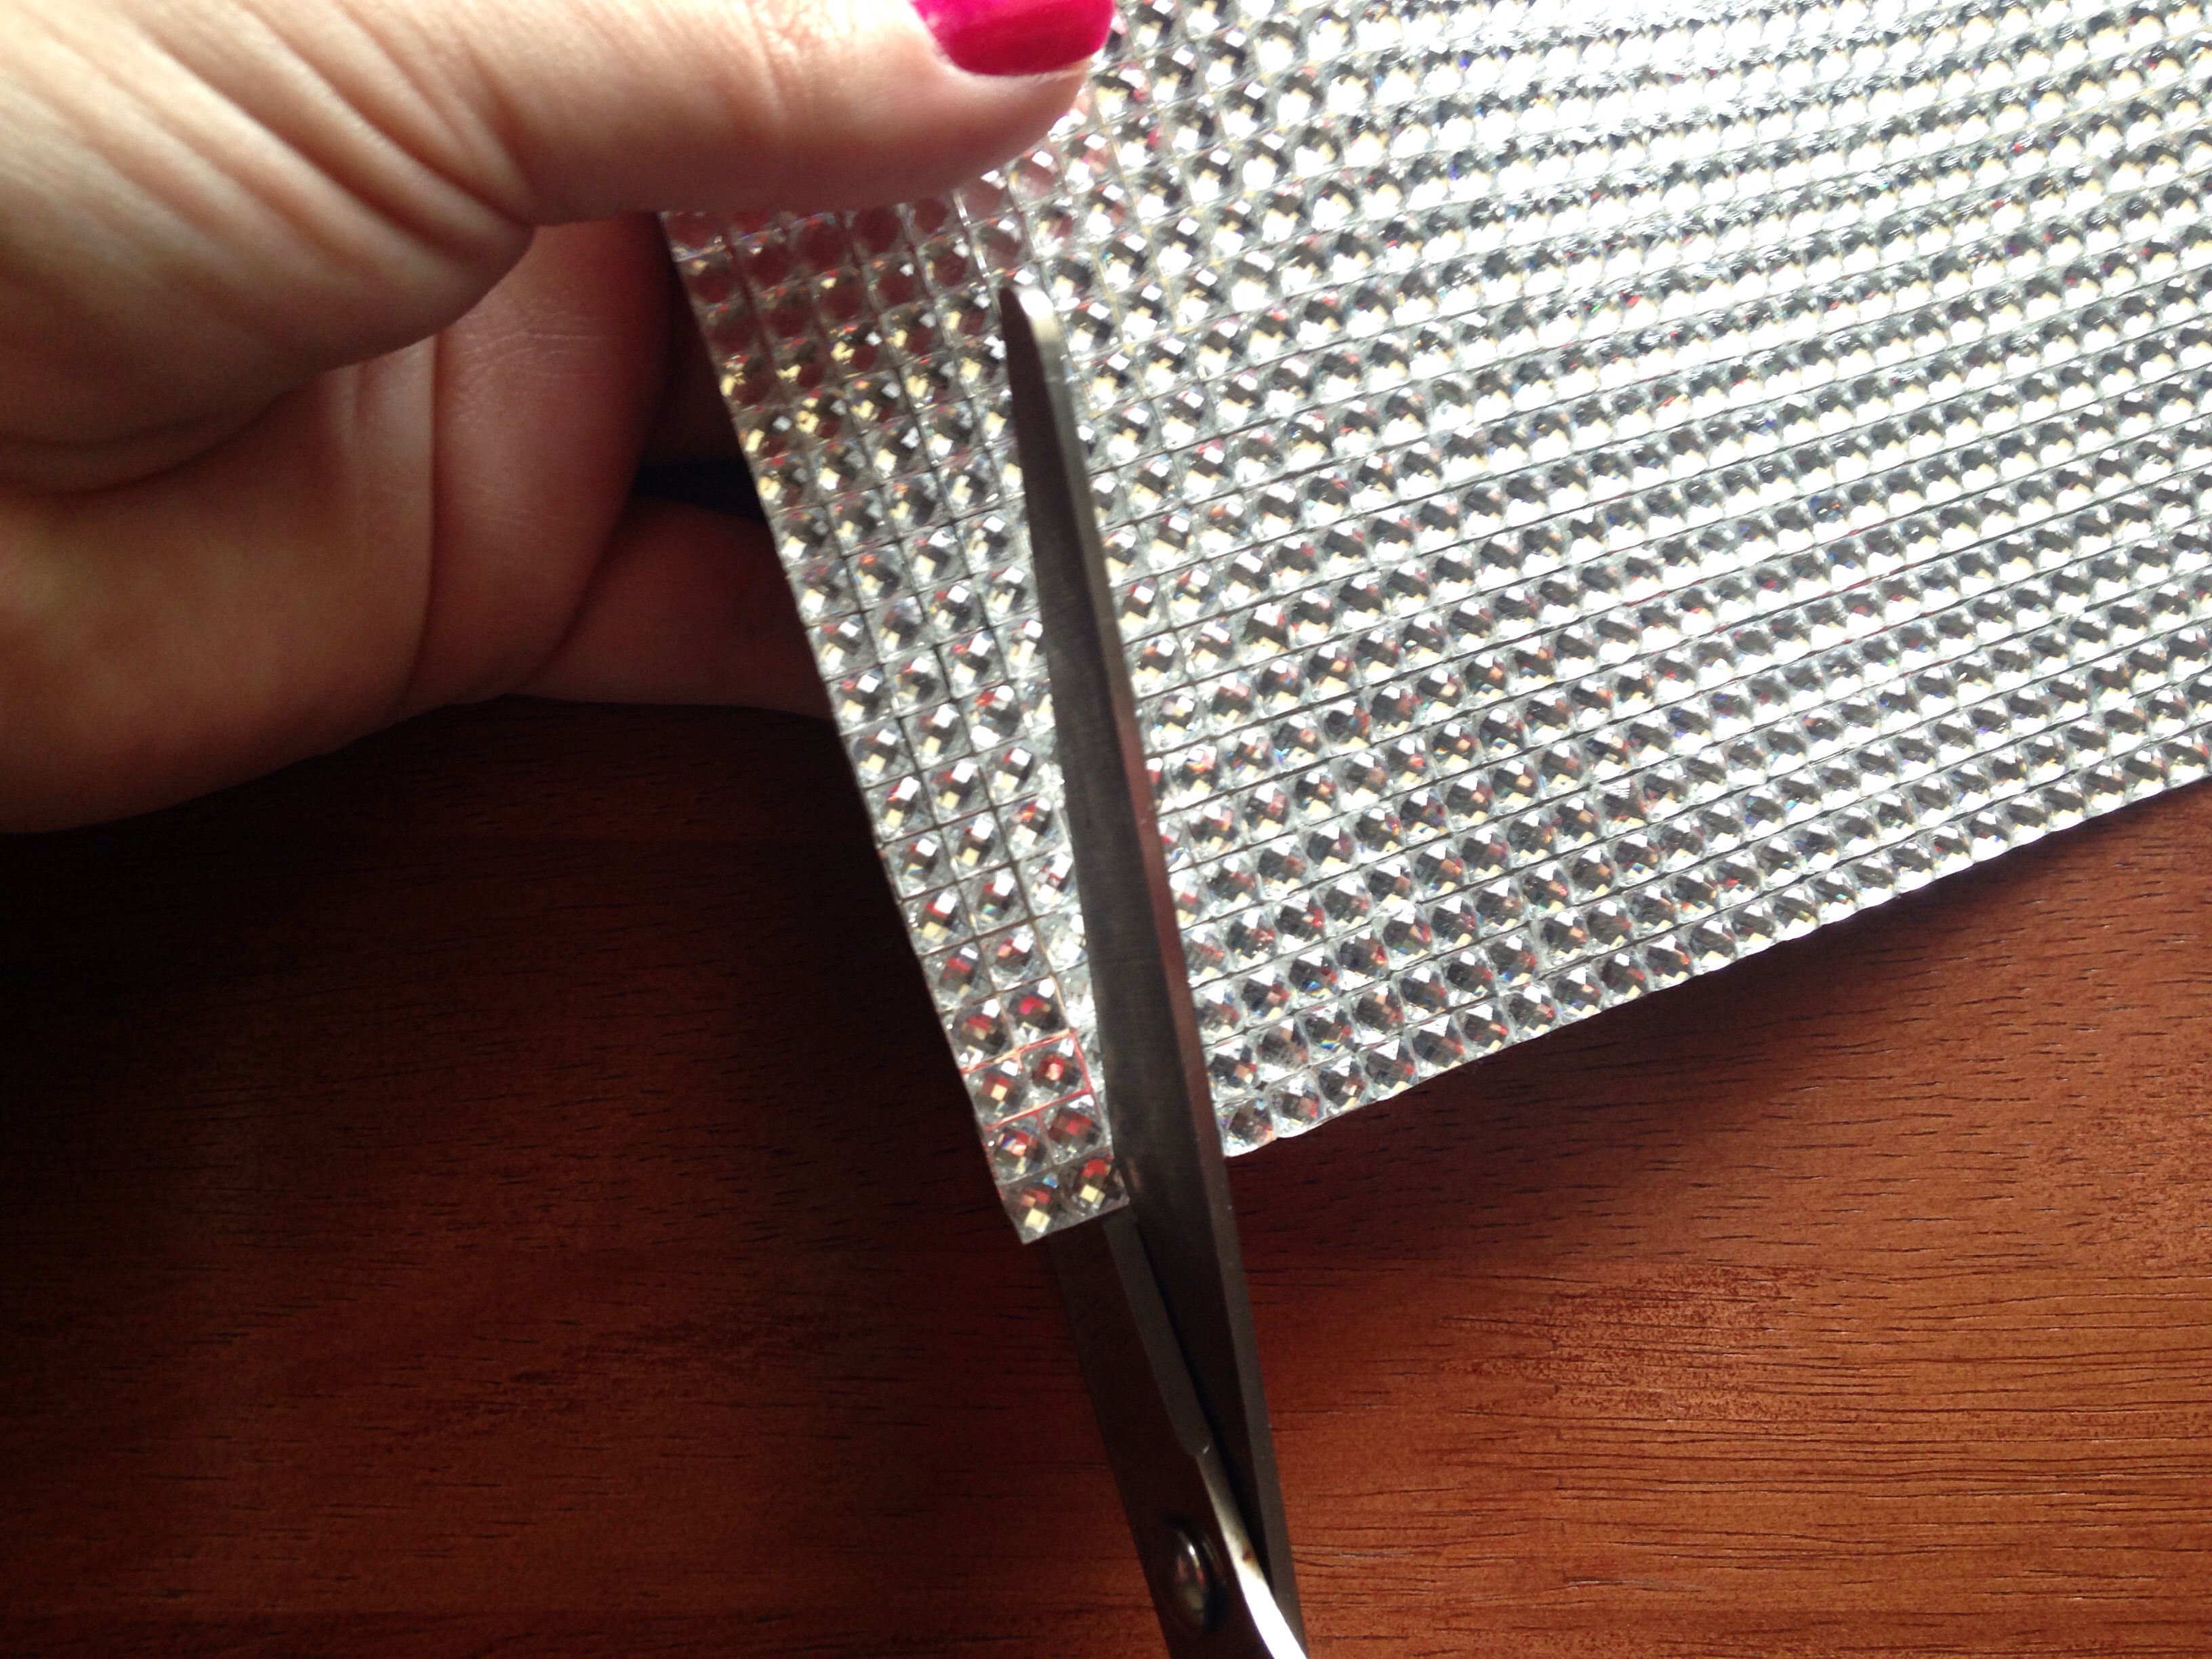
I absolutely LOVE these rhinestone sticker sheets! They add so much elegance to literally ANY project and they are super easy to use! They do have a backing that you will need to peel off, and then carefully place around the center of your already adorable shabby rose bow. For extra security you can add a dot of hot glue on the backside of your bow if desired. Next you will need approx 7" of marabou feathers. (If you have never cut into a marabou boa before, I highly suggest holding it over your trash can while cutting as feathers will fall and be somewhat messy! This will contain the mess so you can avoid picking up endless feathers later.) Take your 7" piece of feathers and bring your ends together forming a tear drop shape (or circle if desired). Play around with the placement of your bow to make sure you have it exactly the way you'd like before any gluing is done. There are so many possibilities!
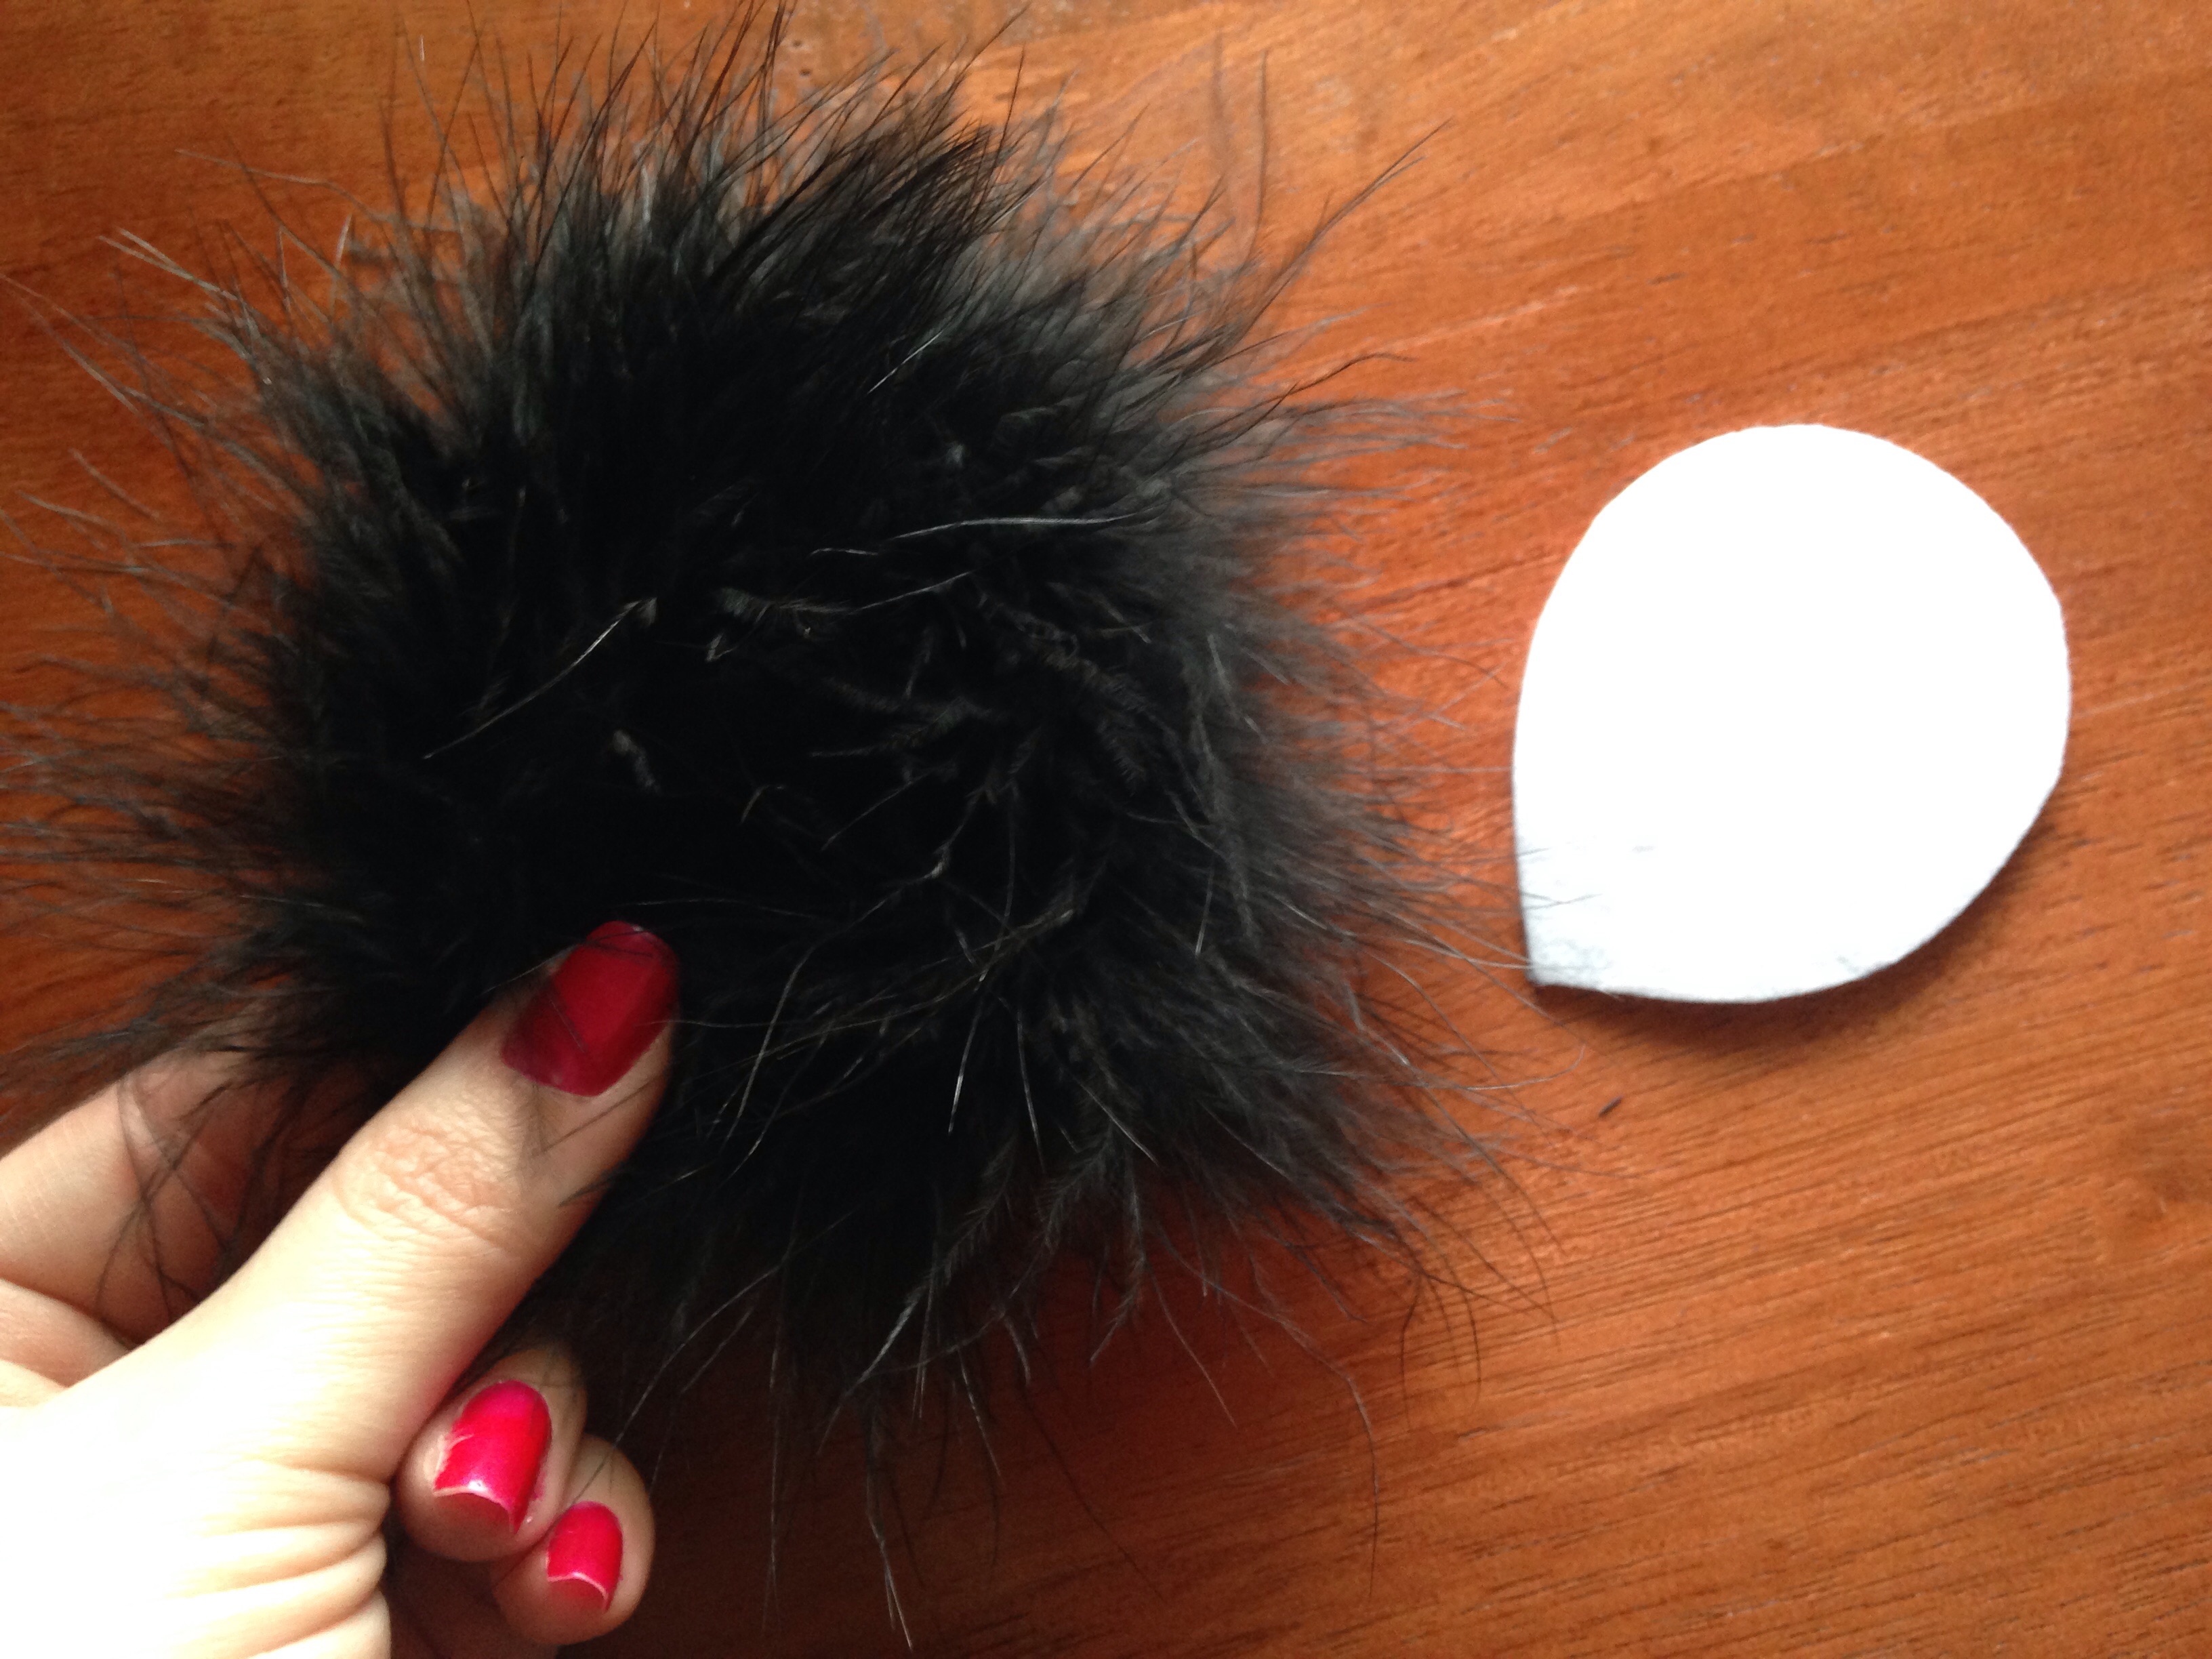
Using a fan felt pad as a base makes this project super easy and also helps to hold the feathers beautifully into place. I suggest matching your felt pad to the closest color match possible to your feathers, but to allow me to show you the steps I have chosen white so it is easier to see. If your felt pad is larger than you'd like you may want to trim it down some with your scissors. After you are satisfied with the shape of your feathers, start lining your felt pad by adding hot glue to the point and gently pressing the feather end down into the glue.
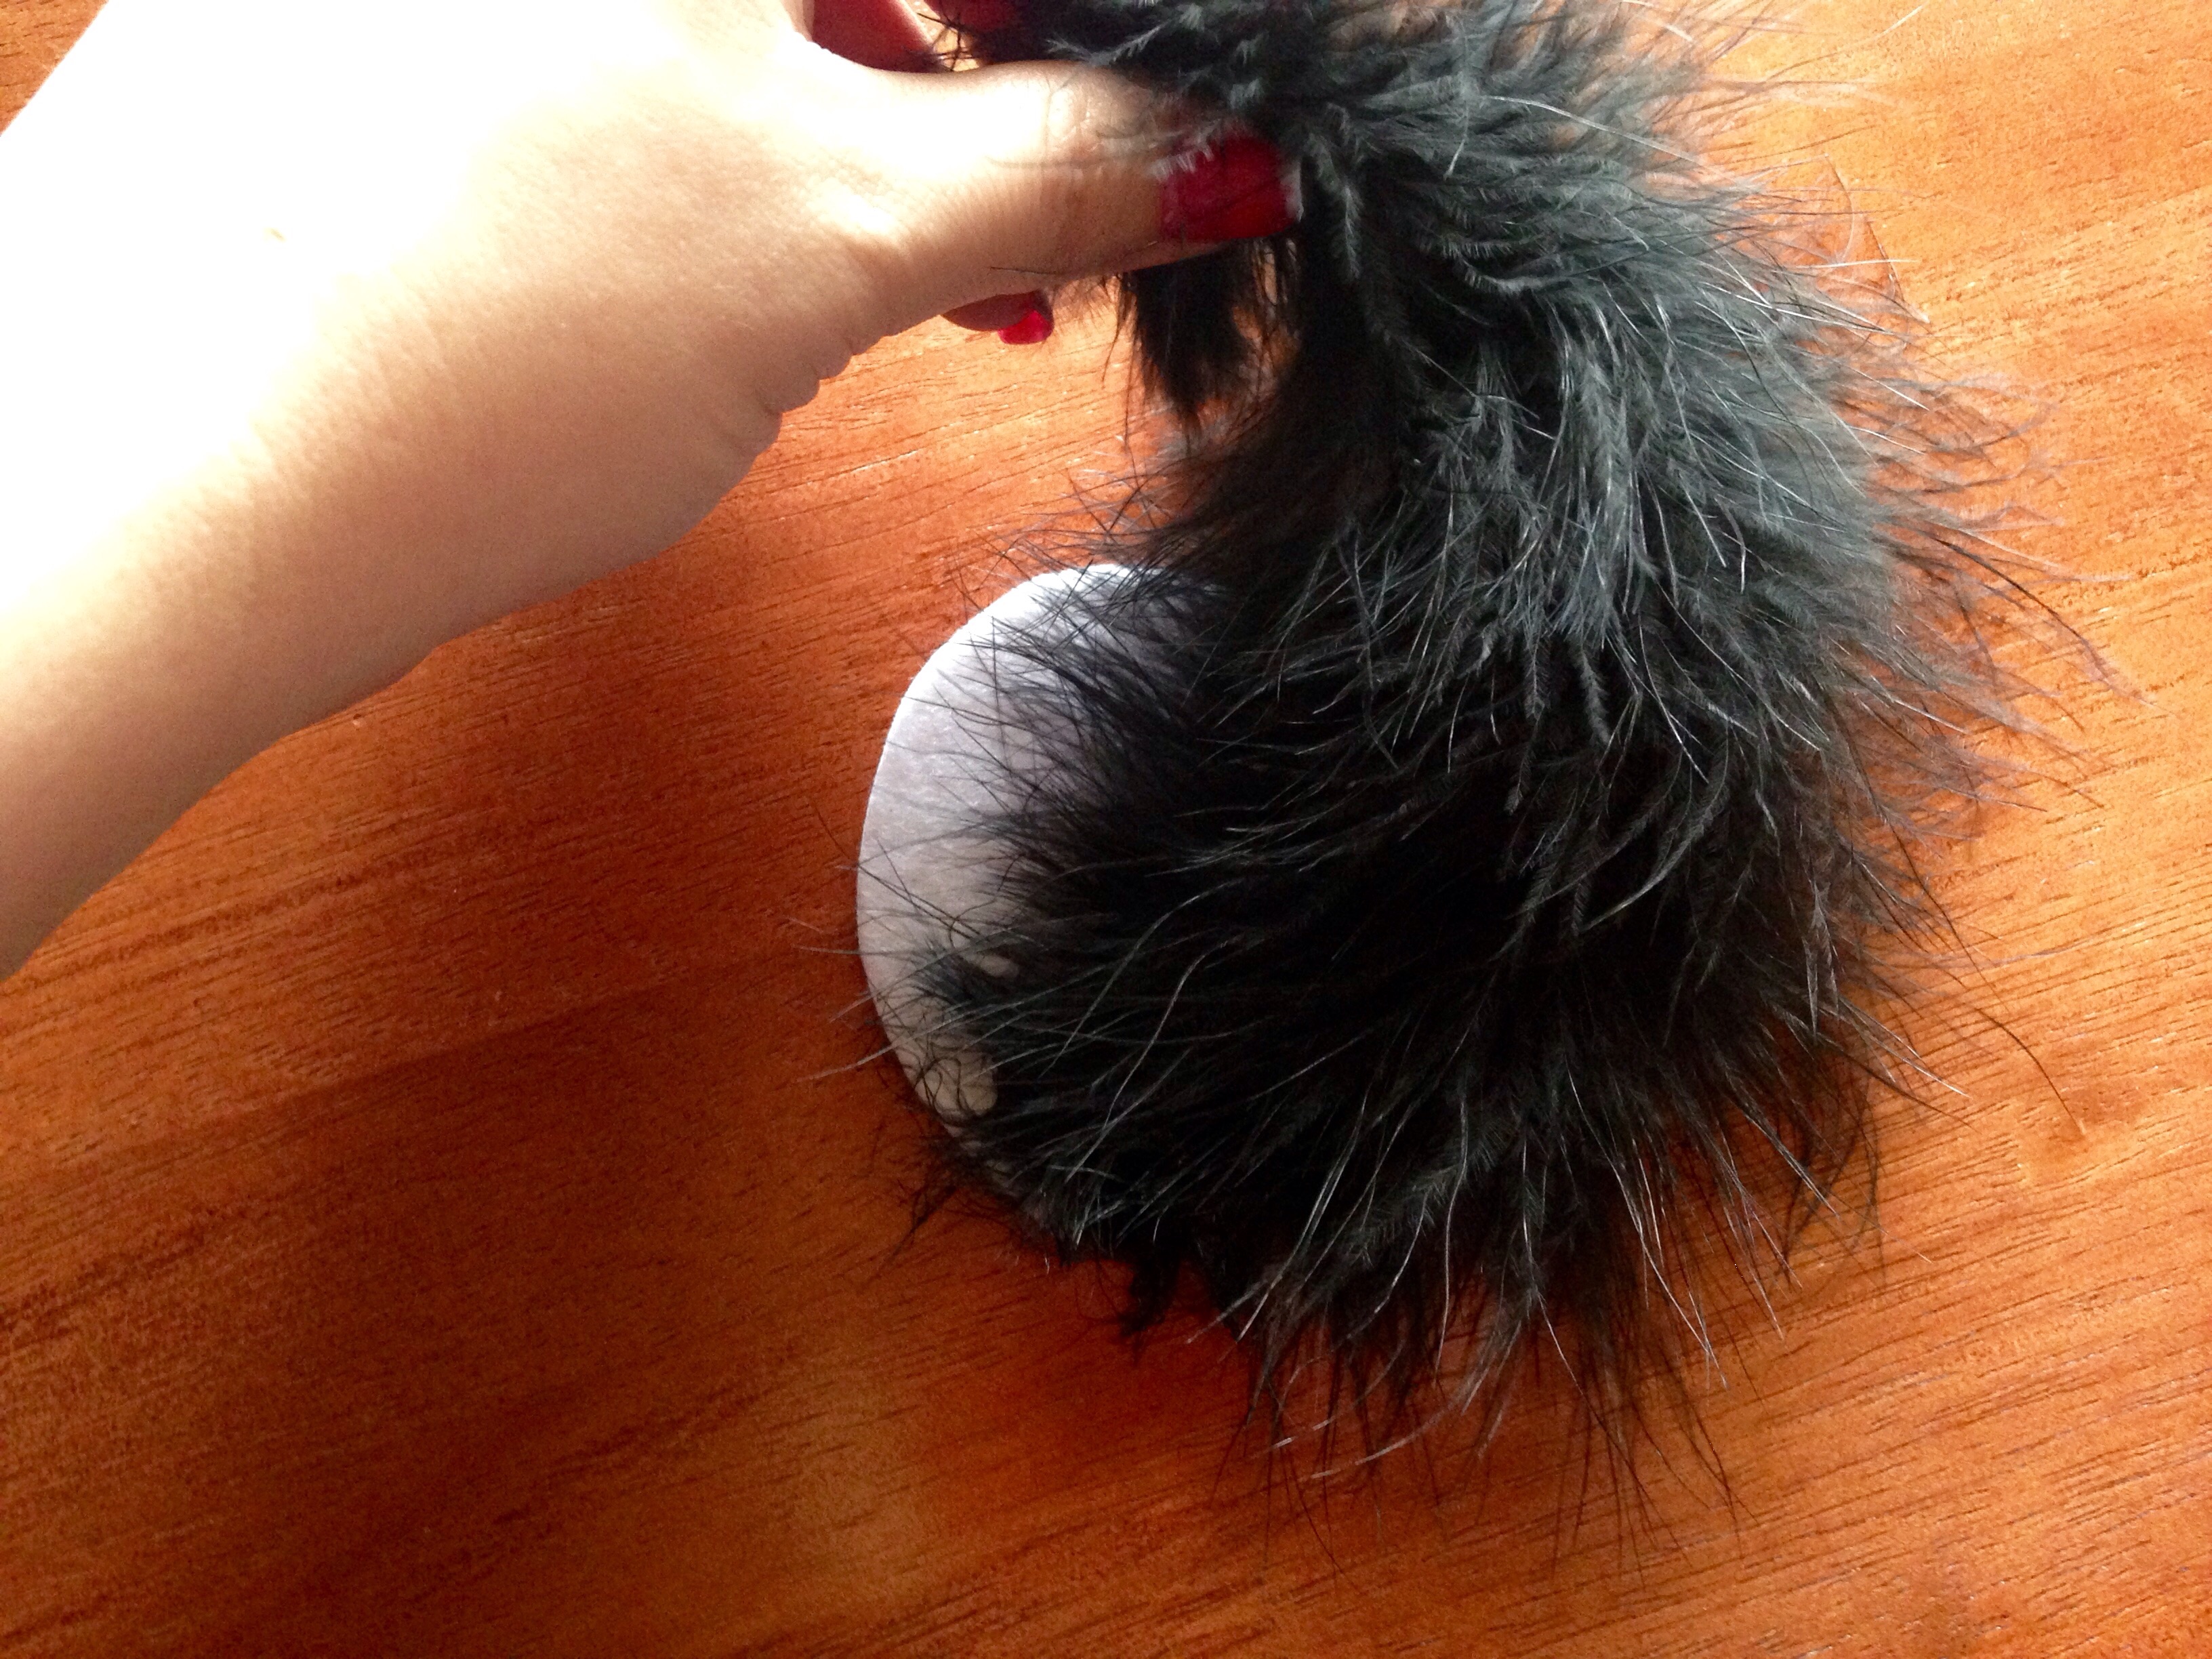
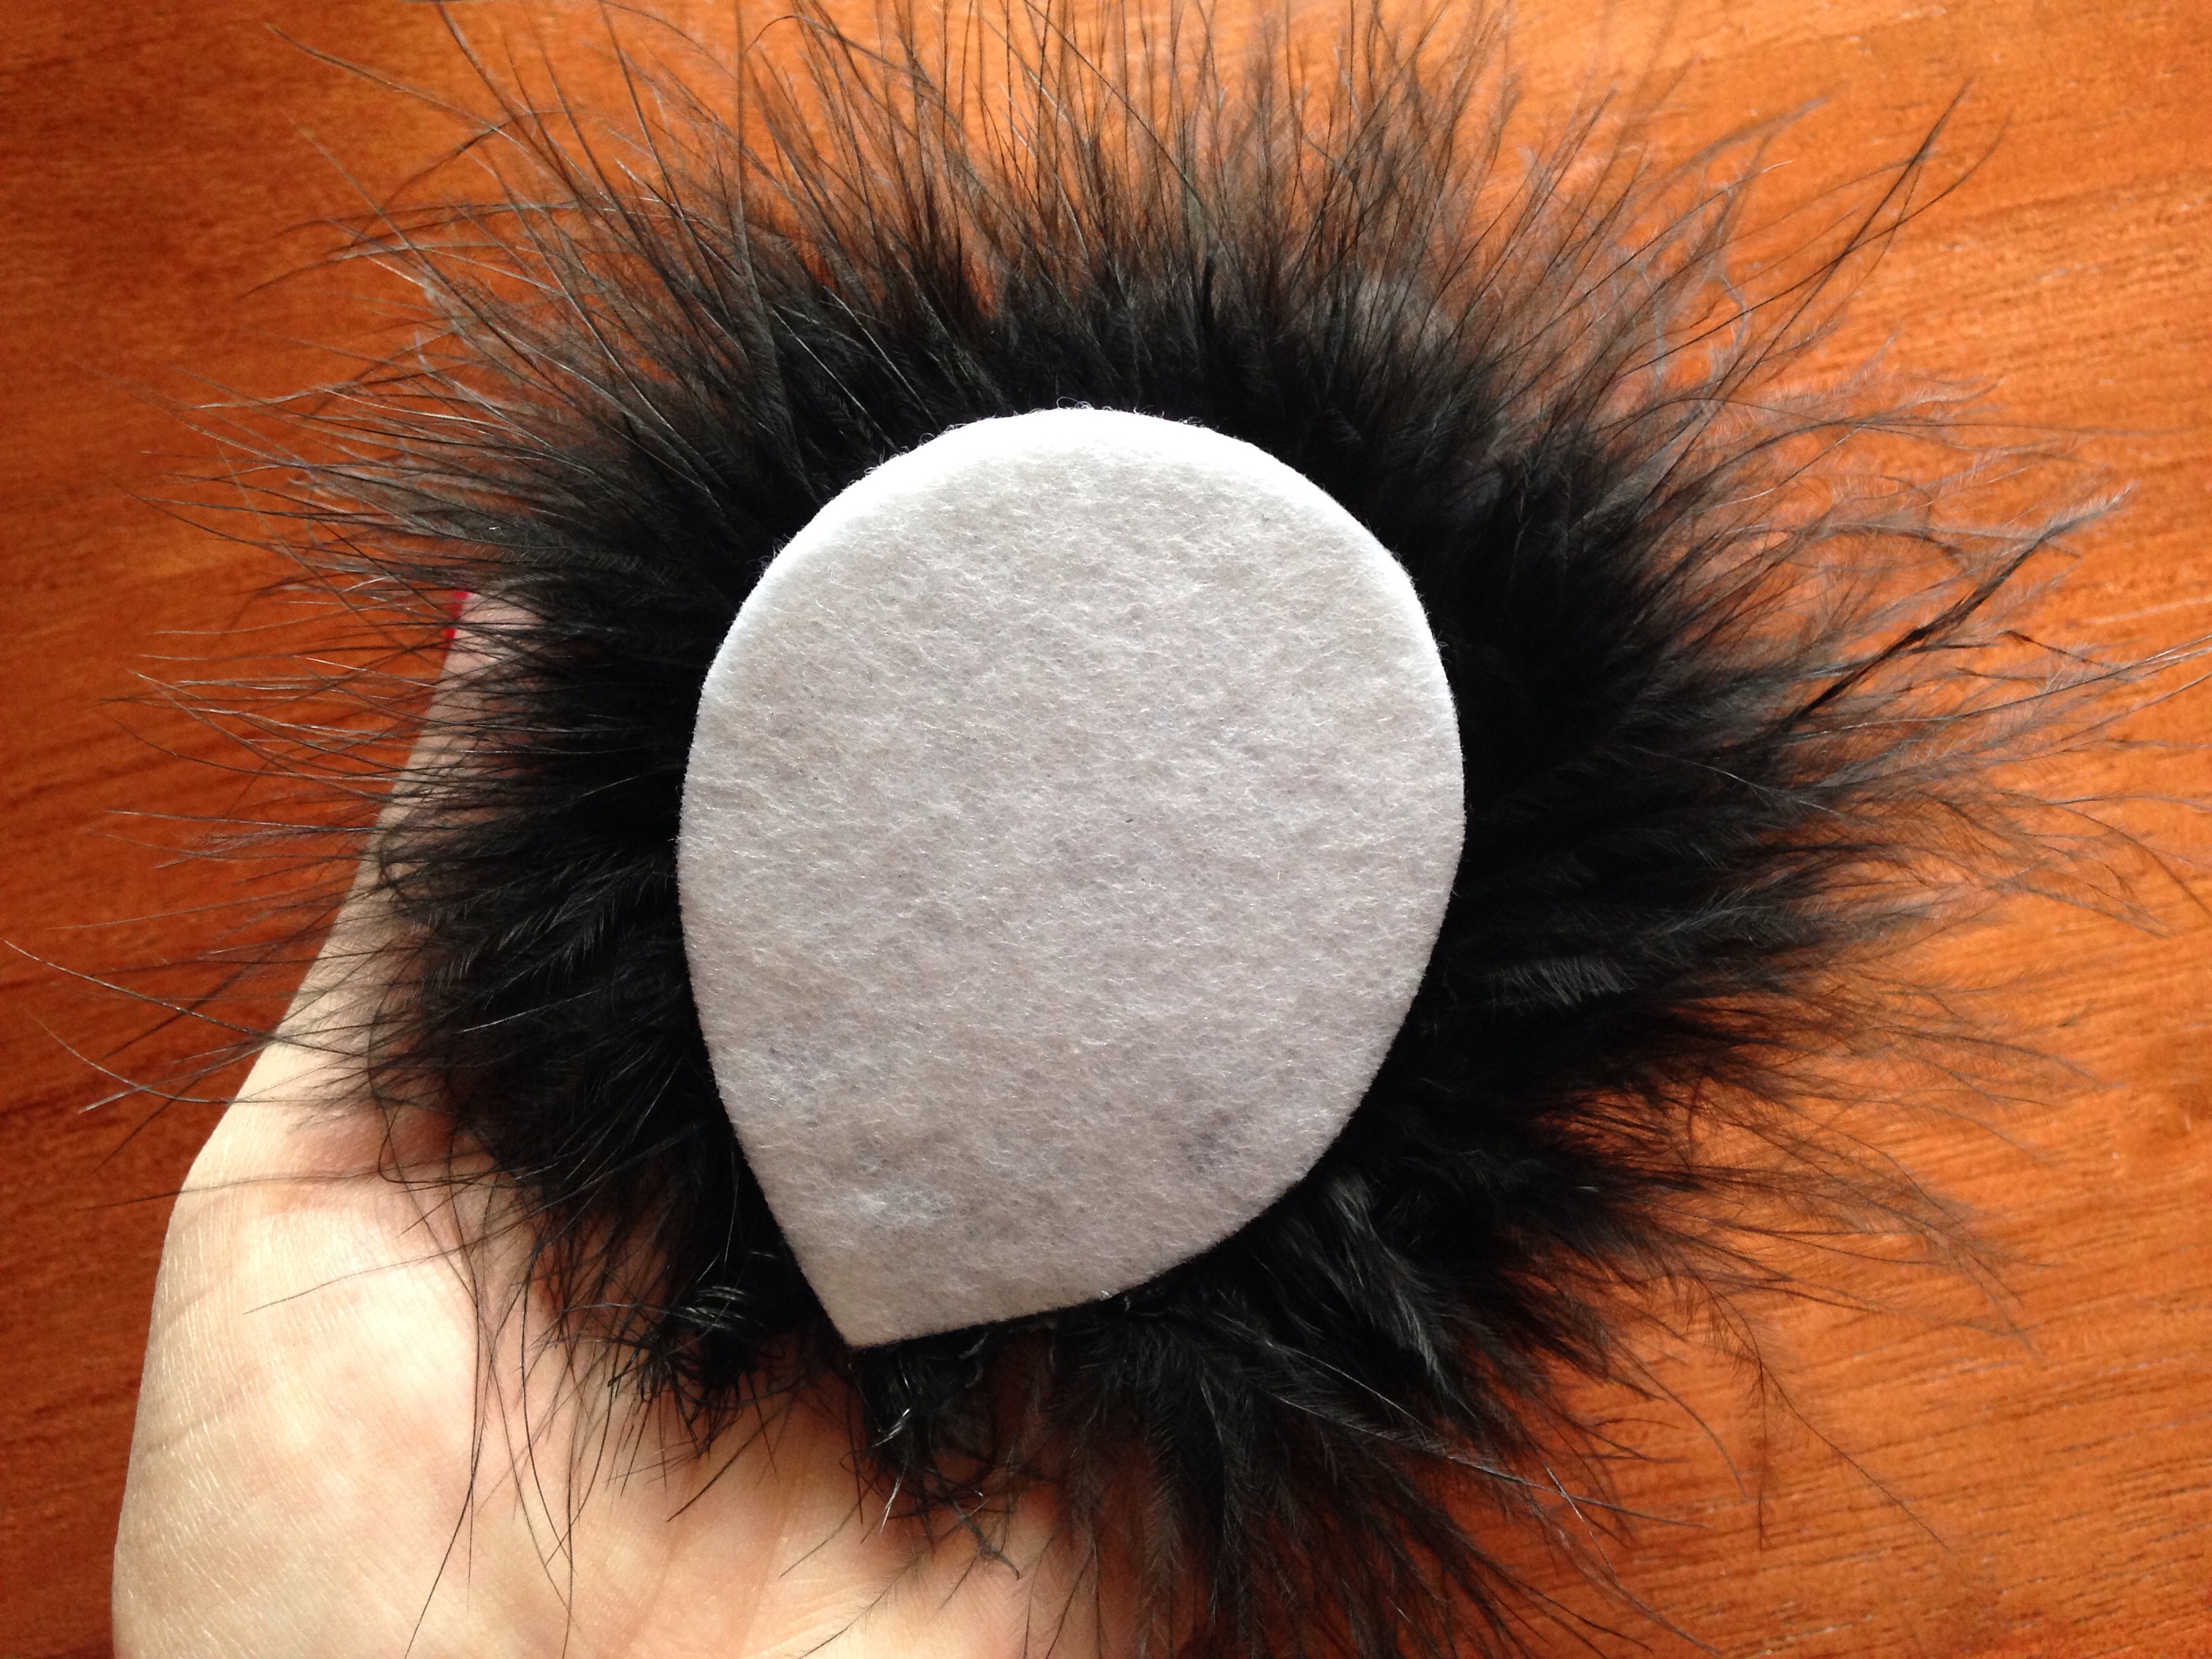
Keep your tear drop shape (or circle) and make your ends meet up once again and glue the top end onto the bottom. From the front side none of the felt pad should be visible. The back will look like this:
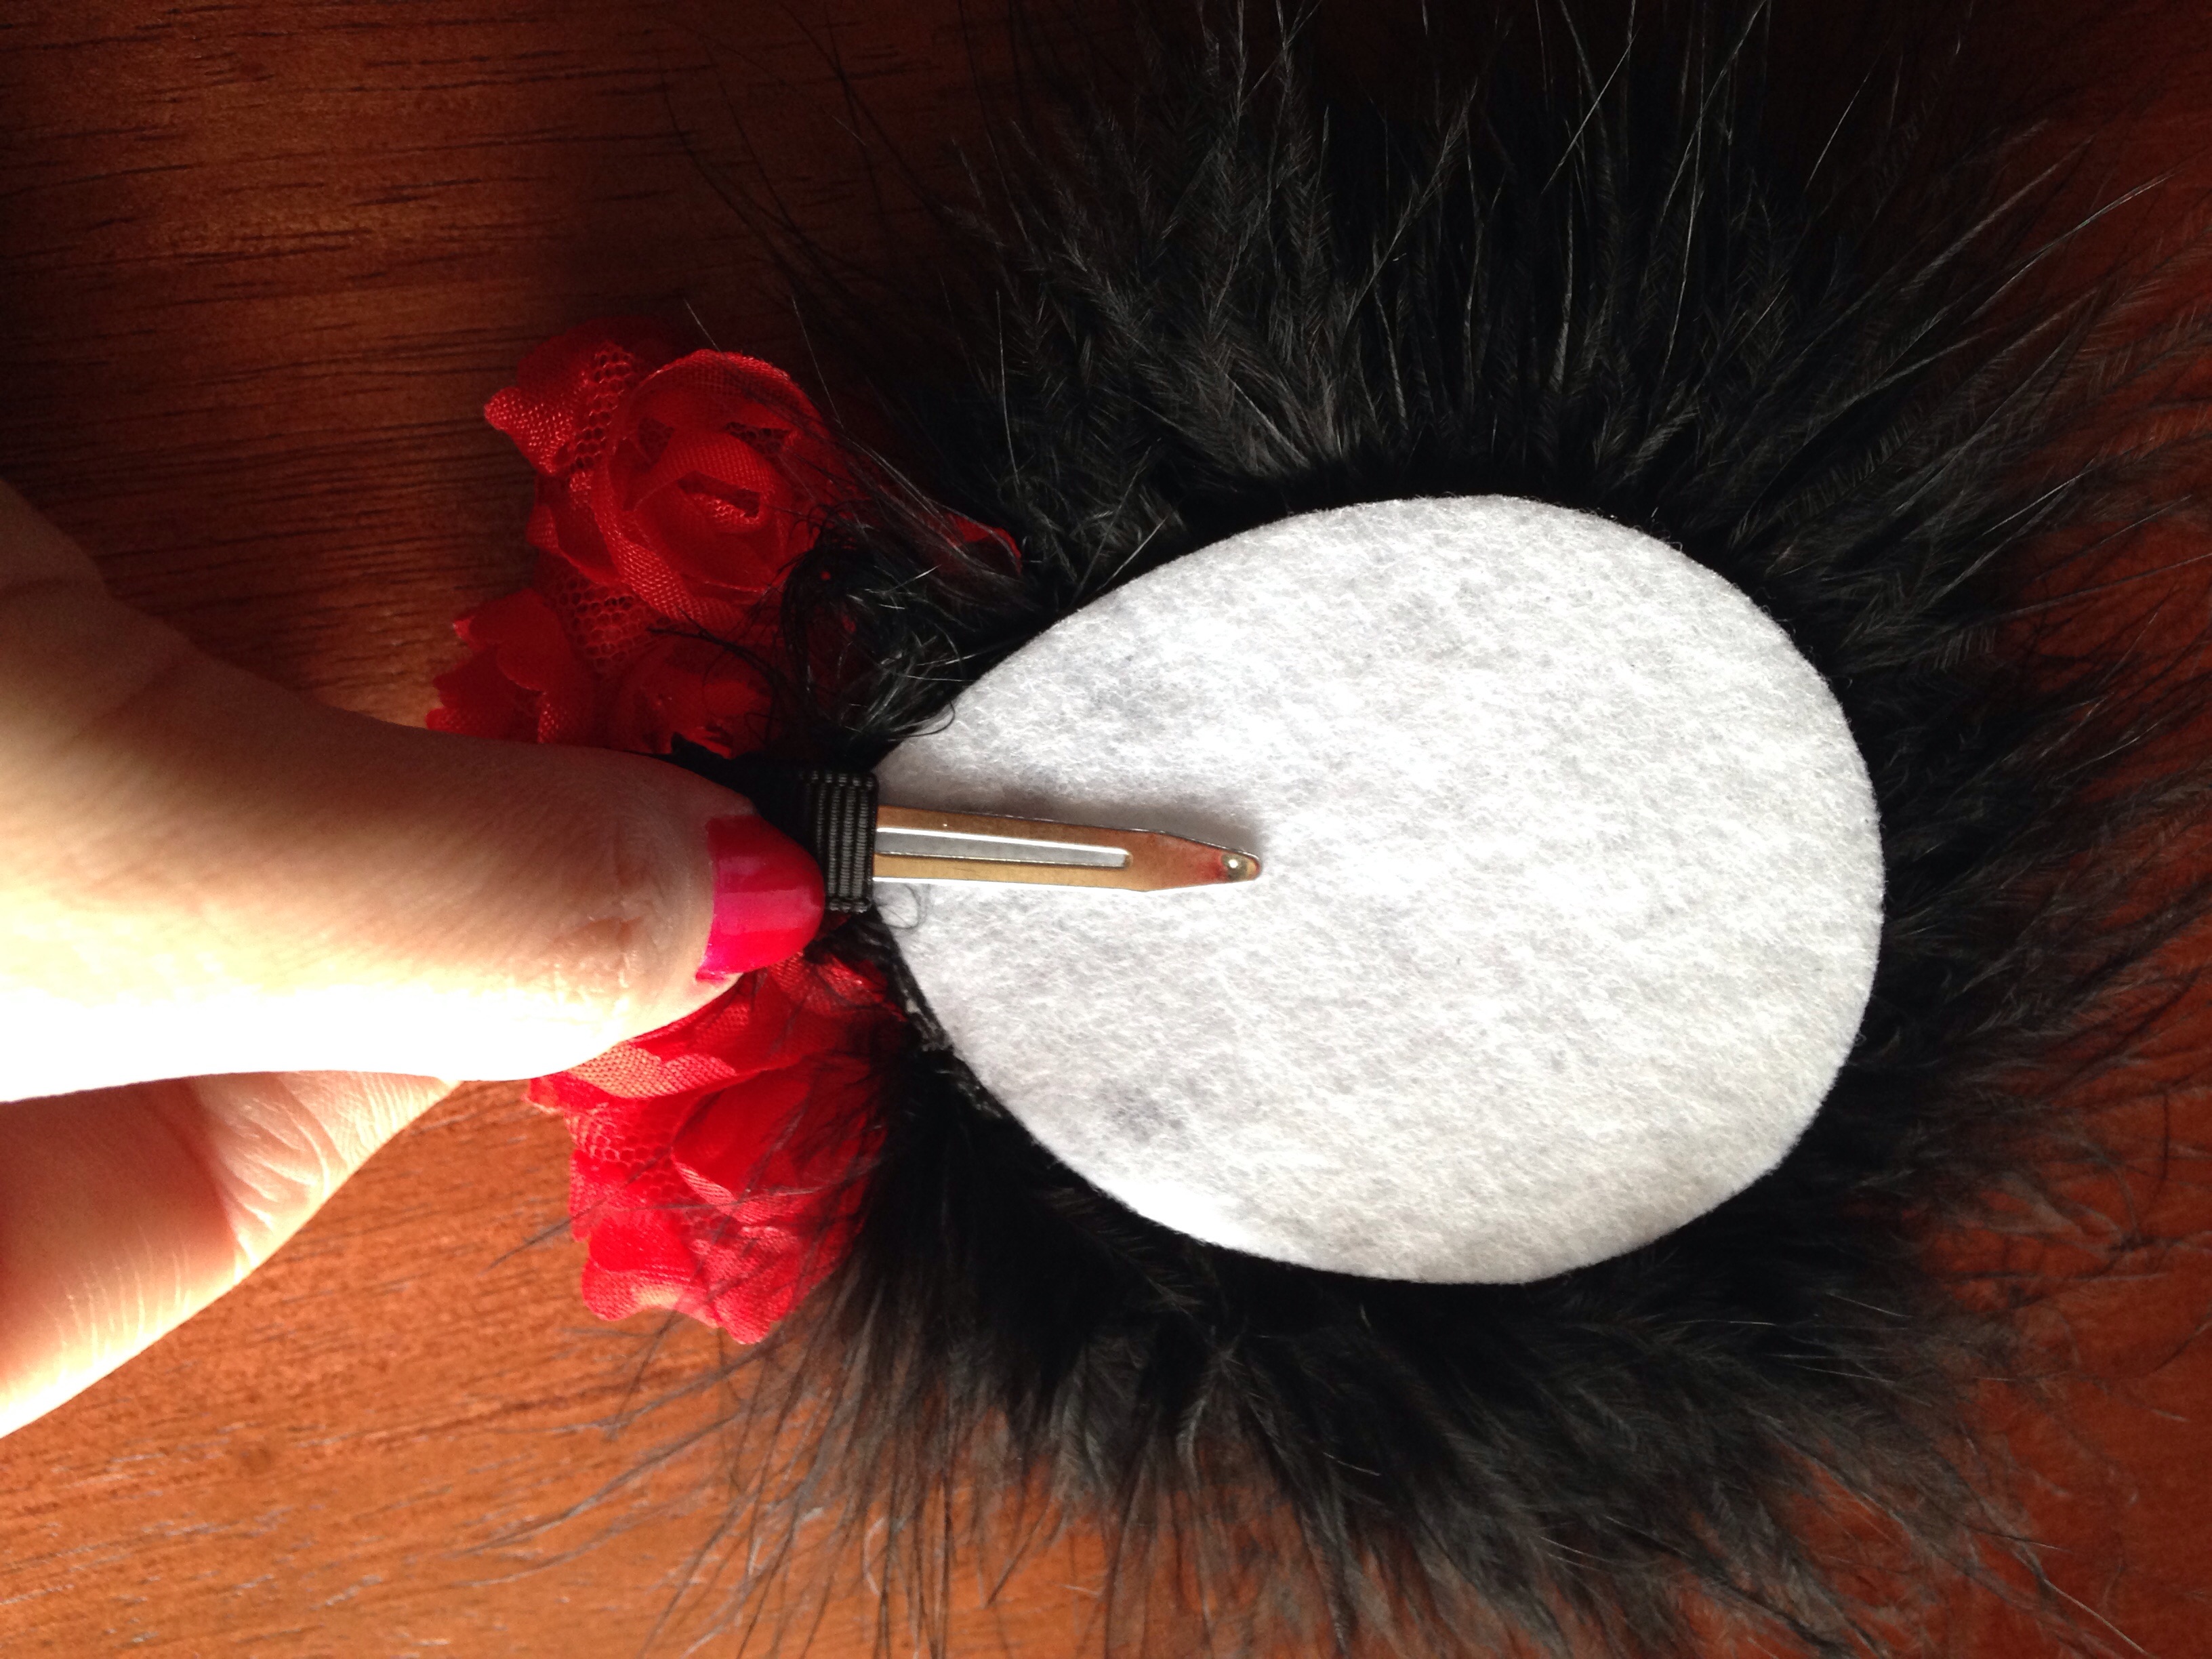
Place your shabby rose bow onto your feathers using the placement you desire. I wanted to create a shadowed effect so I chose to place the center of my bow on top of my feather ends. If you plan to use this as a headband only, you may now glue your felt pad directly to your elastic headband. But if you prefer to have the choice of using this hair piece by itself or on a headband, all you need is an alligator clip! This head-turning accessory is suitable for all ages, newborn to adult! So even if your sweetie is no longer wearing headbands this still looks stunning attached to a clip!
Once your clip is attached to the back, locate that awesome little loop on the headband that allows you to easily slide clips in & out. Clip your beautiful hair piece into the headband and...... TA-DA!!! You have created a stunning & oh so elegant hair accessory to enjoy for years to come!! ENJOY!
Visit the rest of our blog for more Crafting Tutorials and DIY Instructions!
 Contributor post by Brittany
In need of a fabulous hair accessory in a flash for your little darling? Who isn't! This simply elegant hair piece takes just minutes to make! And guess what else? You don't have to be an expert at crafting or bow making to get fabulous results! Whether you have never made a bow in your life or you've been hard at it for years, you can make this! Ready... Set.... GO!
 This adorable masterpiece requires very few items to make. Sometimes less really is more! Pictured above are the following and they can ALL be found at HBC!
•Red shabby rose bow
•Rhinestone sticker sheet
•Black marabou feathers
•Black elastic headband
You will also need scissors, a hot glue gun, ruler for measuring feather length, a fan felt pad, and an alligator clip or other hardware of your choice.
First you will need to measure the length to cover the center of your shabby rose bow. (You may use any color bow you like; since Valentine's Day is right around the corner I chose red! But this hair accessory will look adorable year round and not just on the LOVE-ly day!) For the center of my bow I cut a strip of rhinestones that were 2 wide and 12 long. Make sure to cut the proper length or even extra to cover the entire center!
 I absolutely LOVE these rhinestone sticker sheets! They add so much elegance to literally ANY project and they are super easy to use! They do have a backing that you will need to peel off, and then carefully place around the center of your already adorable shabby rose bow. For extra security you can add a dot of hot glue on the backside of your bow if desired. Next you will need approx 7" of marabou feathers. (If you have never cut into a marabou boa before, I highly suggest holding it over your trash can while cutting as feathers will fall and be somewhat messy! This will contain the mess so you can avoid picking up endless feathers later.) Take your 7" piece of feathers and bring your ends together forming a tear drop shape (or circle if desired). Play around with the placement of your bow to make sure you have it exactly the way you'd like before any gluing is done. There are so many possibilities!
 Using a fan felt pad as a base makes this project super easy and also helps to hold the feathers beautifully into place. I suggest matching your felt pad to the closest color match possible to your feathers, but to allow me to show you the steps I have chosen white so it is easier to see. If your felt pad is larger than you'd like you may want to trim it down some with your scissors. After you are satisfied with the shape of your feathers, start lining your felt pad by adding hot glue to the point and gently pressing the feather end down into the glue.
 Keep your tear drop shape (or circle) and make your ends meet up once again and glue the top end onto the bottom. From the front side none of the felt pad should be visible. The back will look like this:
 Place your shabby rose bow onto your feathers using the placement you desire. I wanted to create a shadowed effect so I chose to place the center of my bow on top of my feather ends. If you plan to use this as a headband only, you may now glue your felt pad directly to your elastic headband. But if you prefer to have the choice of using this hair piece by itself or on a headband, all you need is an alligator clip! This head-turning accessory is suitable for all ages, newborn to adult! So even if your sweetie is no longer wearing headbands this still looks stunning attached to a clip!
 Once your clip is attached to the back, locate that awesome little loop on the headband that allows you to easily slide clips in & out. Clip your beautiful hair piece into the headband and...... TA-DA!!! You have created a stunning & oh so elegant hair accessory to enjoy for years to come!! ENJOY!


 TOOLS
TOOLS
 NEW
NEW


