Contributor post by Danielle at Korker Krazy
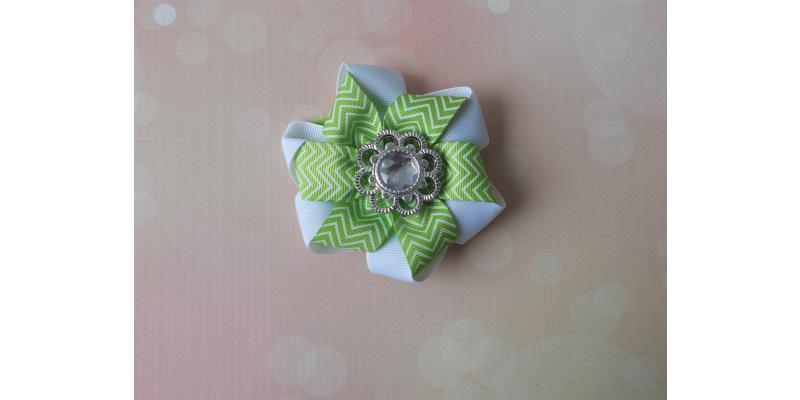
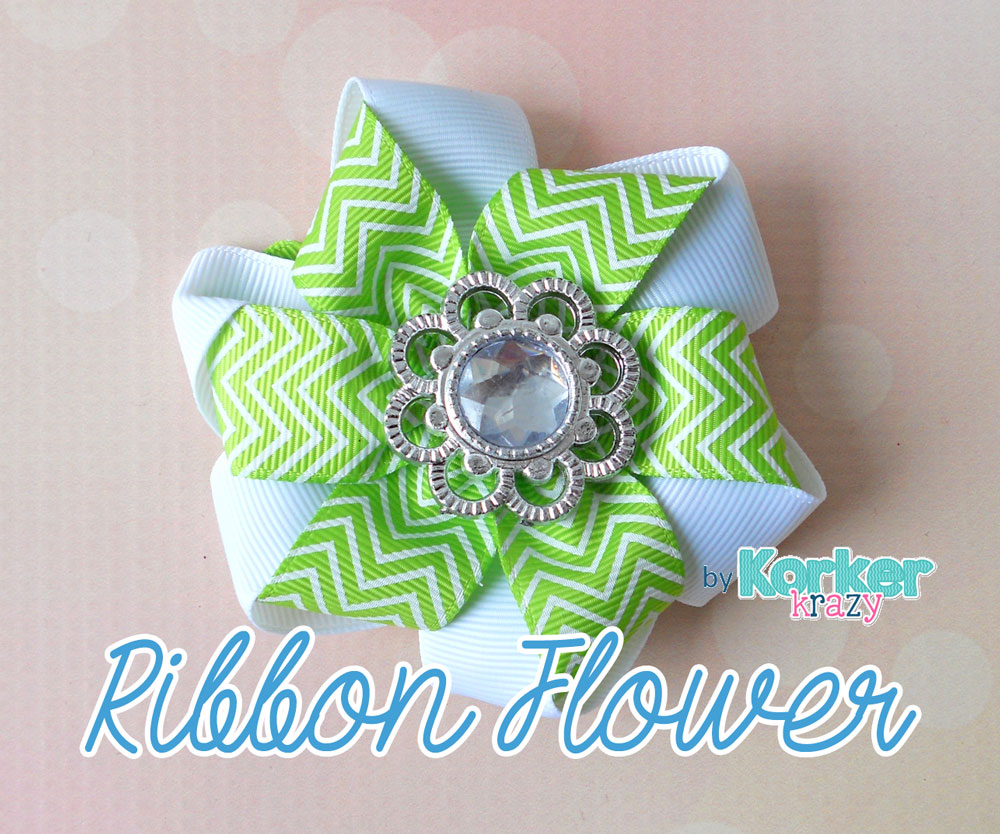
Try a fun new take on the standard hair-bow by making one pinwheel style! Mix and match different grosgrain ribbons in solids and prints together to create a funky flower-shaped pinwheel bow. Swap the center for anything you have on hand such as brightly colored buttons, bottle-caps, etc.
Supplies Needed:
7/8" Grosgrain Ribbon (click to view) You will need 1 print and 1 solid Needle and Thread Scissors Lighter Center Embellishment
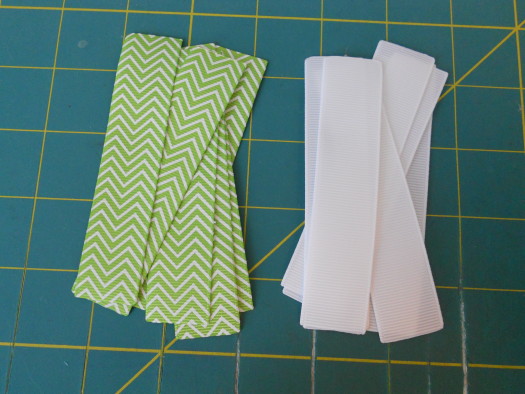
Step 1: Cut six 4" pieces of each ribbon. Heat seal the ribbon ends.
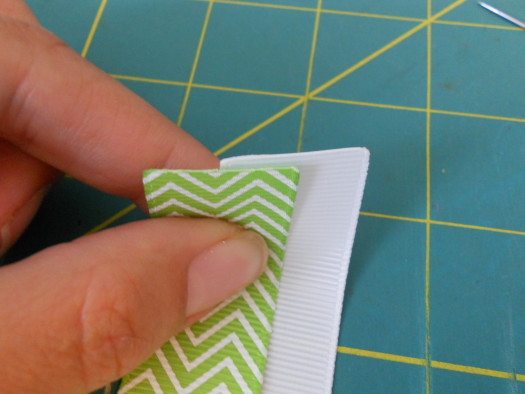
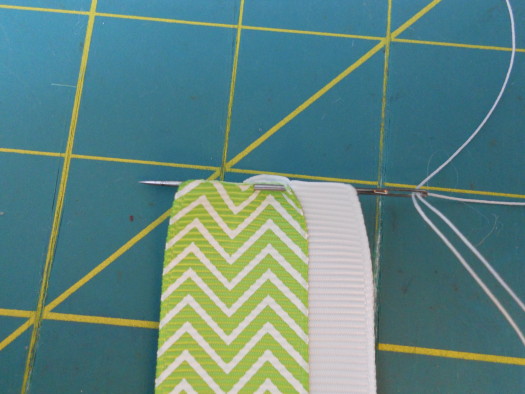
Step 2: Thread your needle with upholstery thread. We are going to sew the ribbons together. Start with a solid piece on the bottom and a printed piece on the top. They need to overlap about 1/2".

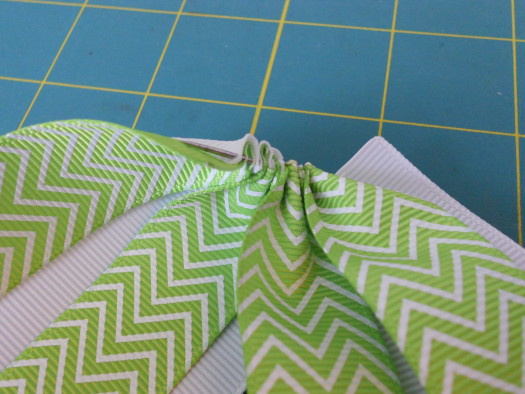
Step 3: Run your needle through the bottom piece of solid ribbon up through the corner of your printed ribbon piece.
Step 4: Run the needle through the top of your printed ribbon and down through the corner of your solid ribbon piece.
Step 5: Add another piece of your solid ribbon to the bottom. Run your needle up through the corner of the second piece of solid ribbon.
Step 6: Add another piece of your printed ribbon to the top. Repeat the same sewing pattern. You will sew through each piece of ribbon twice. The key is to make sure all corners are sewn and all of your printed ribbon is on top and all of the solid ribbon is on the bottom.
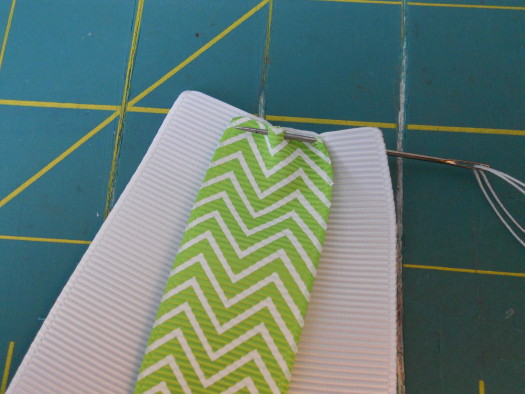
Step 7: Continue sewing all of your ribbon pieces together. It should start to look like this.
Step 8: When all of your ribbon pieces are sewn it should look like this. I prefer to keep my ribbon on the needle but you can slide it down onto the thread - just make sure you have a knot in the end!
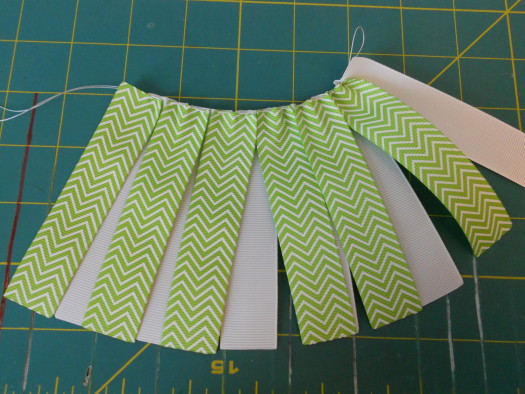
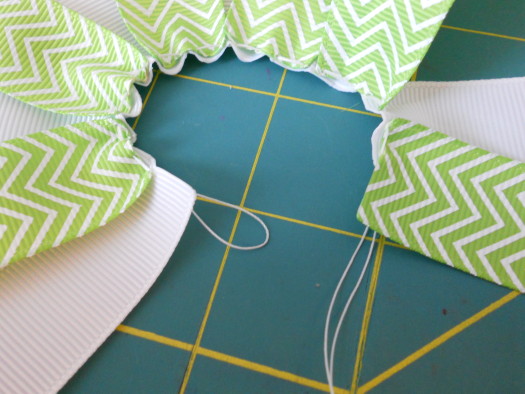
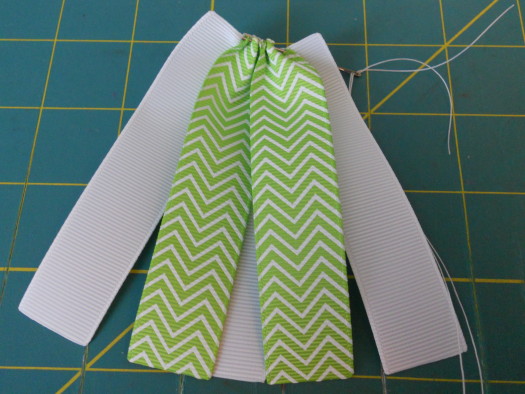
Step 9: When you have sewn all of the ribbon pieces together your ends will look like this. You will notice you have your printed ribbon on the top of one end and your solid on the bottom of the other end. Sew these two pieces together.
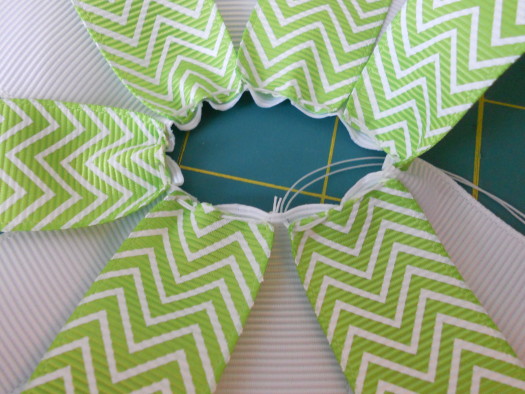
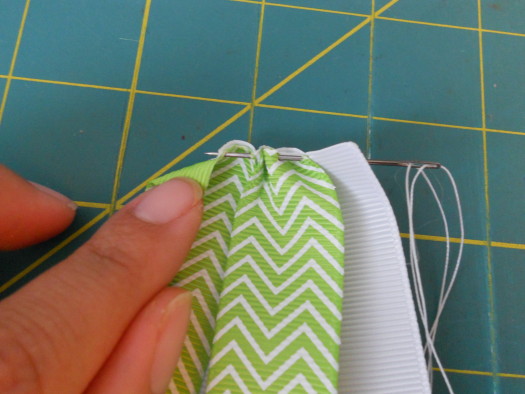
Step 10: After it is sewn together you will have a circle in the middle. Hold your knotted end of thread while you pull the loose end. We want all the pieces pulled together.
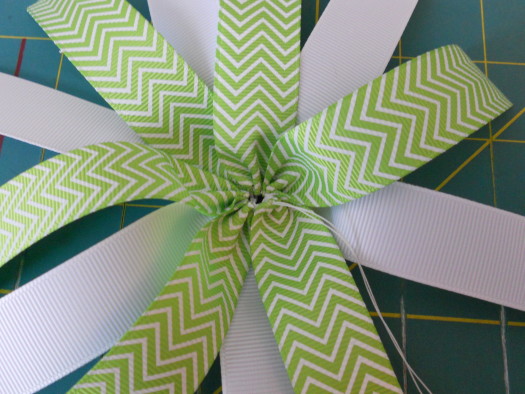
Step 11: Once your middle is cinched together thread your needle back and forth a few times and tie a knot. Do not cut your thread!
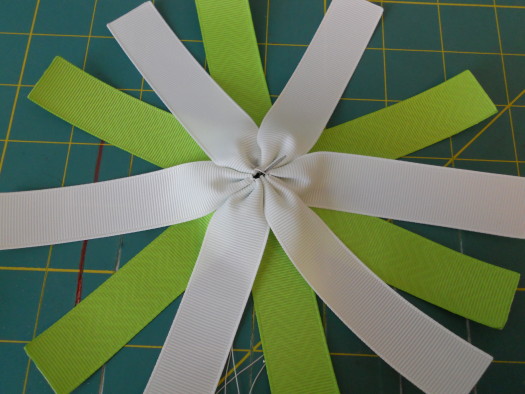
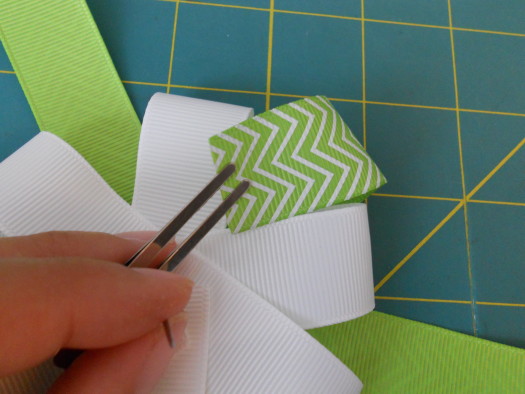
Step 12: Flip your flower over. Slide your needle up through the center. Hold the bottom of the needle under your bow.
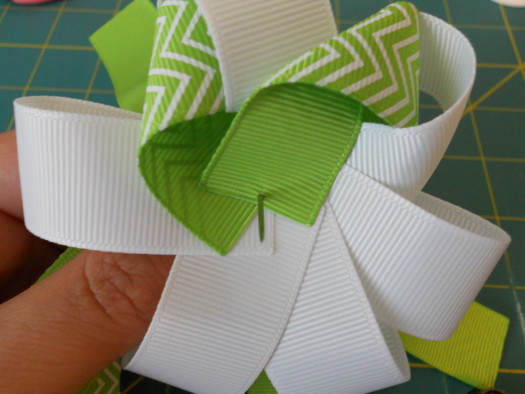
Step 13: Starting with one piece of solid ribbon - Loop it over and onto your needle.
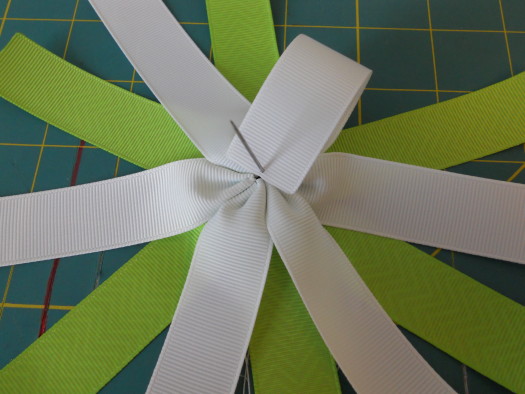
Step 14: Continue folding your solid ribbons over and onto the needle.
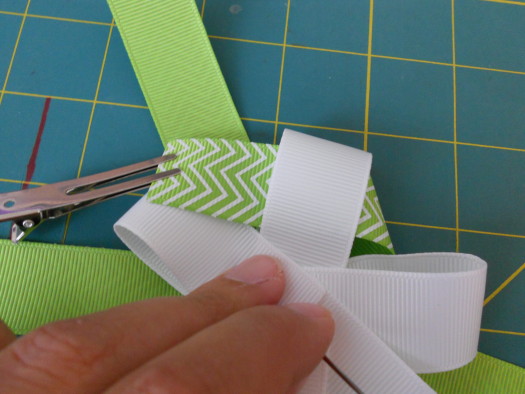
Step 15: Take one piece of your printed ribbon, Loop it through your solid ribbon loop.
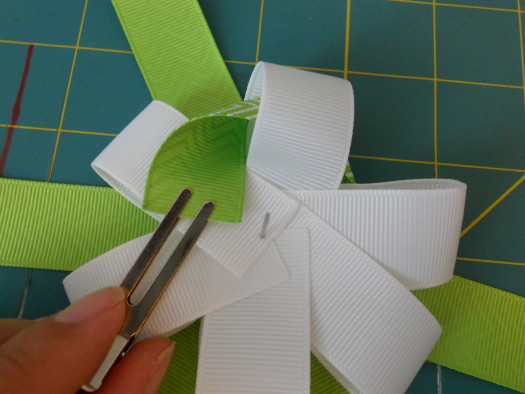
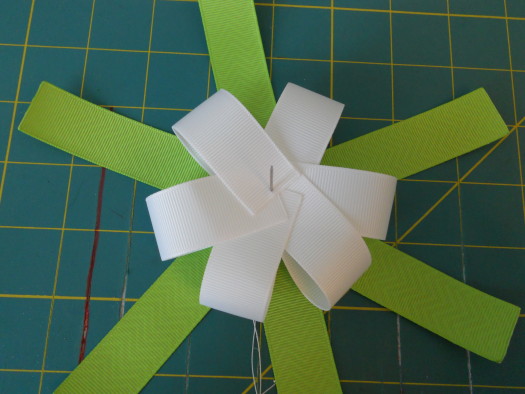
Step 16: Flip the ribbon under, thread onto your needle.
Step 17: Repeat the above steps with each piece of printed ribbon.
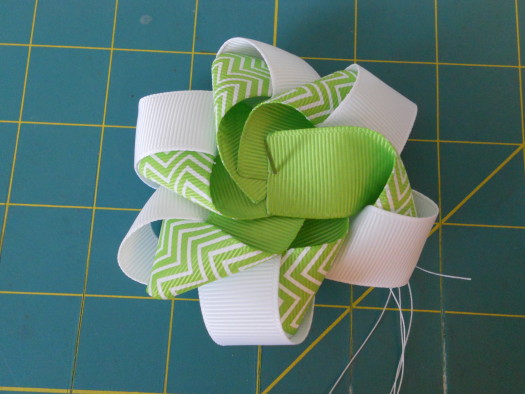
Step 18: Repeat until all of your ribbons are through the needle. Sew through the center several times and tie a knot. This is the back of your flower.
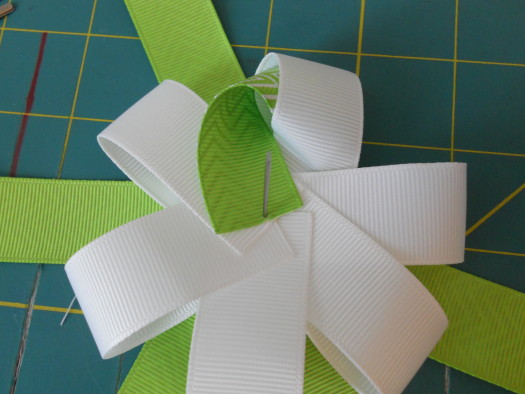
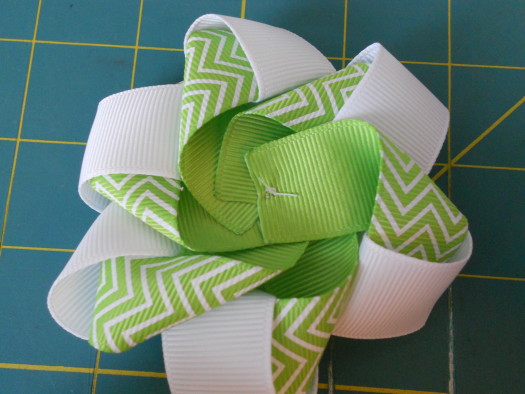
Step 19: Flip your flower over. Adjust the loops if needed.

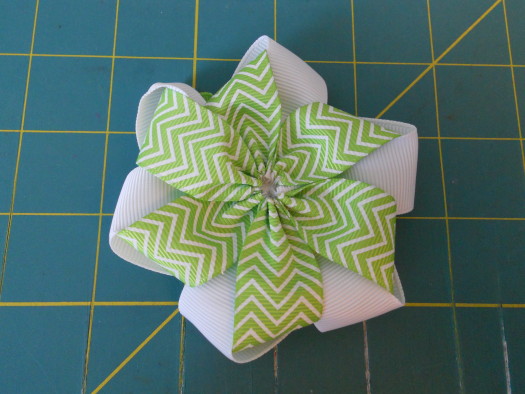
Step 20: Add your embellishment to the center. This particular embellishment has been discontinued, but you can find lots more fabulous centers here!
Have fun with this pinwheel hair-bow by trying different ribbon colors and prints and even trying different items as the center, such as a bottle-cap!
Visit the rest of our blog for more Ribbon and Hair-Bow Tutorials, Crafting Tutorials and DIY Instructions like this Pinwheel Hair-Bow!
Loading...

